Fixing the common "my window wont drop" problem (pic heavy)
Discussion


After fixing the driver door open switch not working the next little job was the passenger window drop. It had been intermittent only working very occasionally for a couple of weeks and then stopped working all together a few weeks ago (after visiting Mark - P9 AJP whose window also does not drop - perhaps it is catching!). This job was a lower priority as I rarely take passengers and you can just slightly drop the window from inside before opening but I like everything to work as it should and I had a couple of hours spare yesterday morning.
So, in the same process as when I was fixing the drivers door open button ( http://www.pistonheads.com/gassing/topic.asp?h=0&a...) here we go.
Step 1 - Work out where the fault is.
The window not dropping is going to be one of three things. Either the door/window ECU is faulty (unlikely if that is your only issue), the window position switch is faulty or the door reed switch is faulty.
For you information my problem was on the passenger side - if you want to check the issue on the drivers side just change the pins you test see http://www.timmason.com/doorecu1.jpg for a quick guide to the pins.
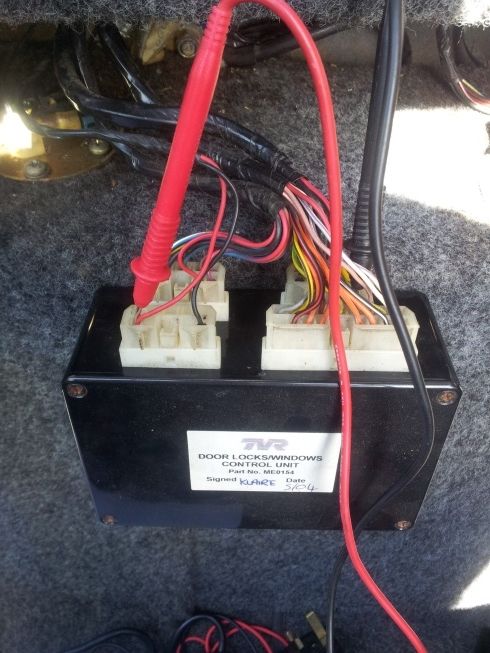
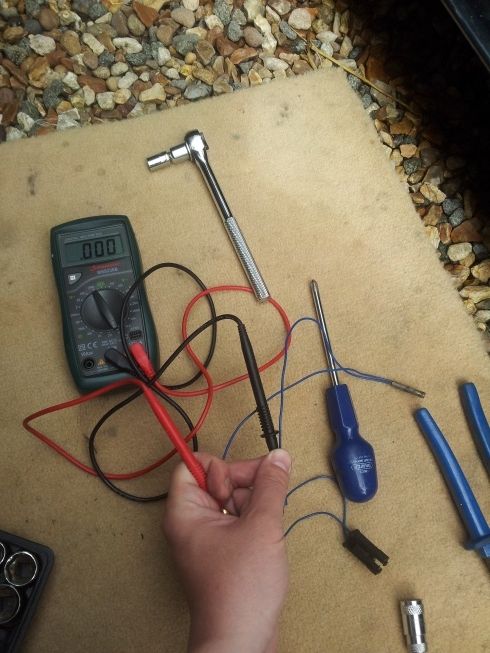
I started off by testing the window position switch, here is the test setup (pin B4 blue/red wire):
That worked fine, I think it was about 0.8 volts window up and 12v window down. I forgot to record the exact settings but so long as you see two obviously different signals one near 0v and one near 12v with the window in the two positions you know that is working fine.
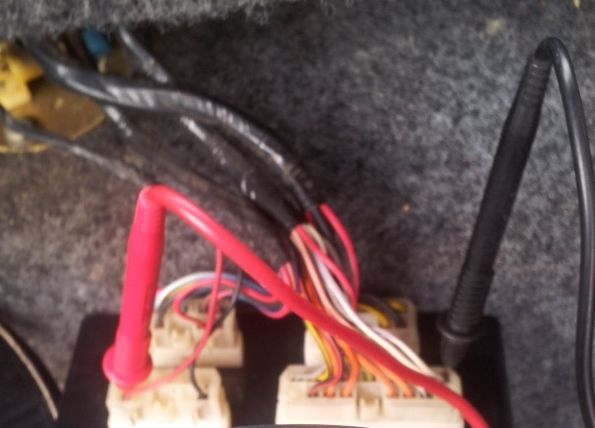
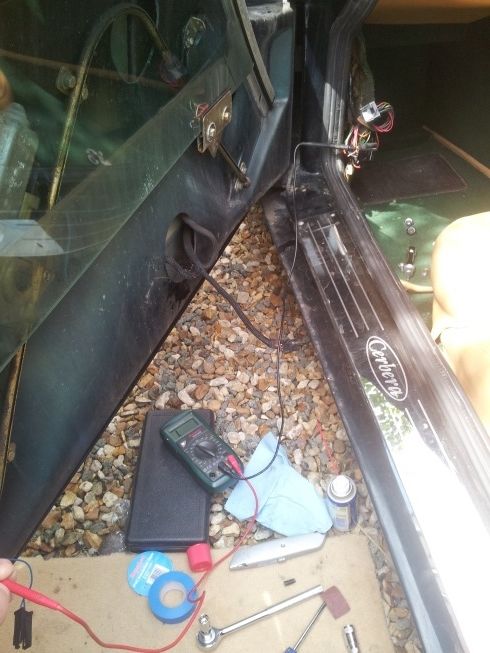
So onto the next possibility the door position reed switch. This is pin B1 the white/purple wire on the back row of the door/window ecu. It should be 12v with the door open and 0v (or near to 0) with the door shut. Here is the test setup:
And with the door shut I see this:
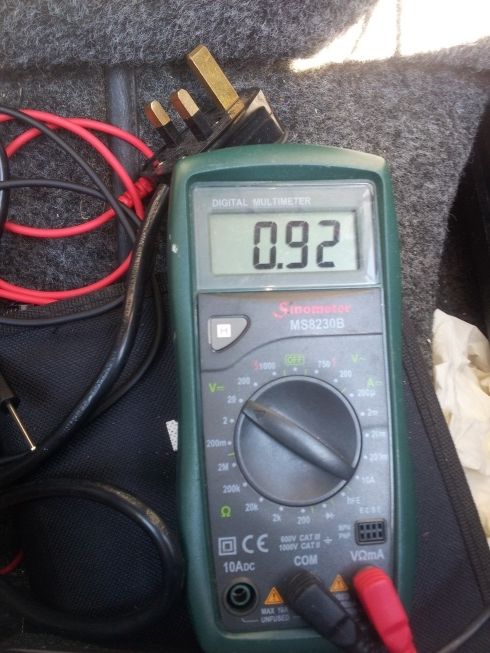
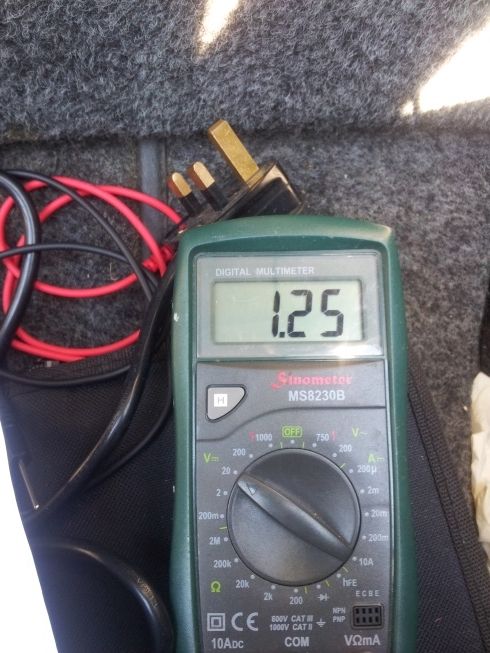
Next with the door open I should see around 12v on the meter, I opened the door and:
No change - still 0.92v showing on the multimeter.
So I now know the passenger door reed switch does not sent the correct signal with the door open and it is time to take the door card off to find out why.
Step 2 - Take off the door card.
I won't go into door card removal - I covered that in my first post on fixing the drivers door outside button.
So let's skip to...
Step 3 - Figure out if you have a bad switch or a faulty connection.
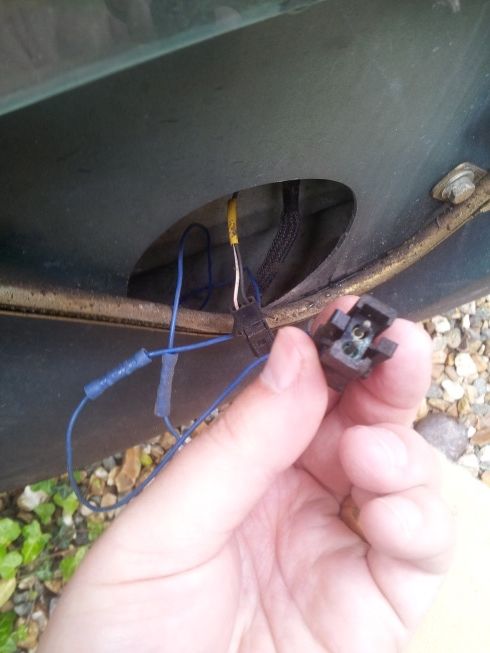
The door open reed switch is down on the bottom lip of the door. It works with a small magnet that is embedded in the sill of the car to sense the door open/shut position. Like when I was investigating the driver door issue I had I am not the first person here. In fact the door reed switch looks like a new replacement. I unclipped the connector and it was corroded on one terminal pin:
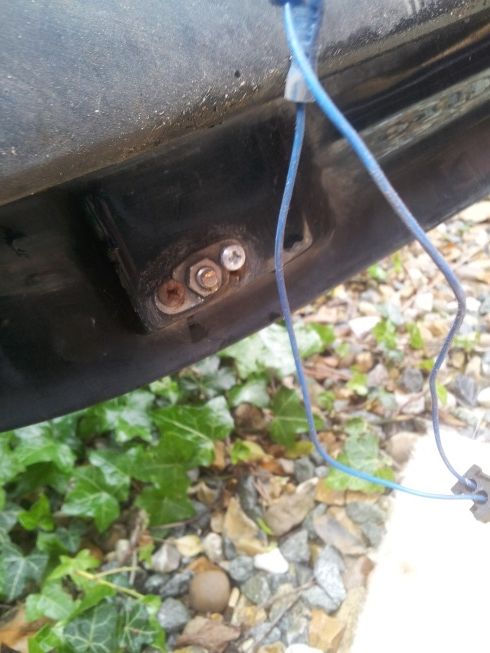
Testing the unit was tricky as the magnet to activate it was in the sill and I decided the best action would be to remove the switch. If you have a small enough socket set it is easier to undo the locking nut slightly before undoing the two securing screws if you are removing or replacing the switch.
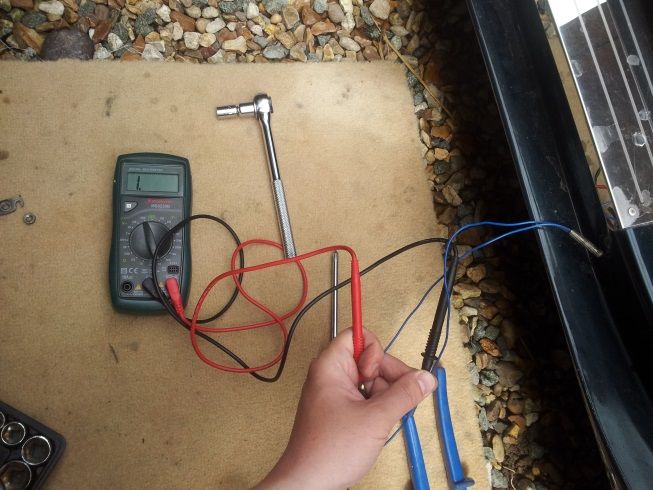
With the switch removed I could easily access the switch wires themselves with the probes in the rear of the bullet connectors rather than testing at the corroded connector block. With the multimeter set to test continuity the switch was correctly returning 0.
With the switch resting against the magnet in the sill it switched to 1.
So the switch is fine. I cleaned up the corroded connector pins with wd40 and sand paper before refitting the switch and reconnecting the sensor. Re-testing the connector which had previously failed now returned the correct signal so I thought perhaps the issue was just that corosion on the connector pin and fingers crossed it would all work now.
Back in the boot with the multimeter which had previously stayed at 0.92v door open or shut now showed this with the door open:
That's odd.
Step 4 - Working out if you have a break in a wire.
I was fully expecting the door to work fine having cleaned up the corroded connector block and confirming the sensor worked after cleaning. The fact it wasn't receiving a full signal means there must be a break in the wiring somewhere. Great.
The problem now was finding the break. The most common place will be somewhere in the door so I wiggled the wires I could reach through the door loom and just by the splice location the 1.25v I had fell back to 0.92v.
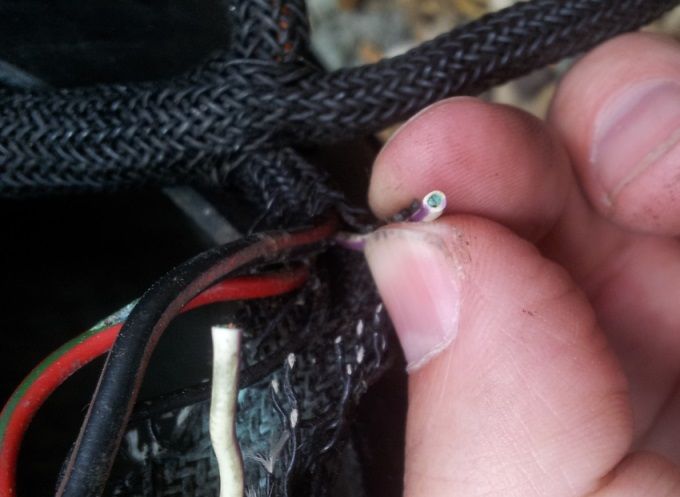
I pulled the carpet back form the inside passenger footwell to find the door connector block and tested for continuity from the connector reed switch pin (pin 2, white/purple) to the reed switch connector block and nothing.
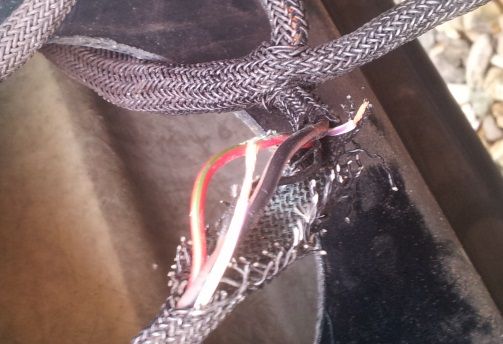
So as I suspected there was a break in the door loom wire and not in the main harness and luckily it was at a point I could easily access. The place where I lost all voltage in the door loom wiggle test also felt different - harder. I carefully cut away the loom wrapping and found this:
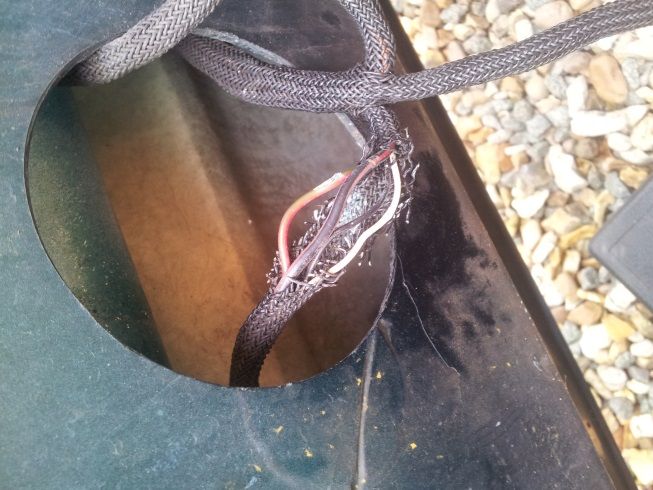
There was a greenish deposit and the white/purple door reed wire was very hard. Cutting the wire revealed the problem. The wire inside was all but gone and all that remained was a greenish powder.
I cut an inch or so of wire out until I was back to clear copper again and then re-joined the wire with a connector:

Back to the boot and testing the voltage again with the door still open and I was very happy to see 12.09v:
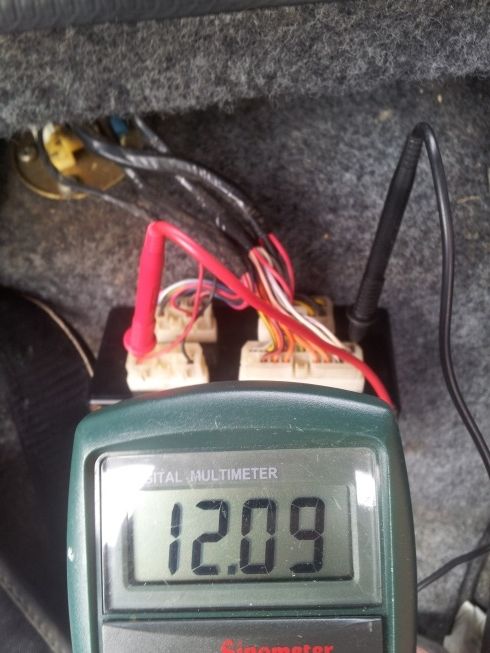
Shutting the door returned to the 0.92v reading. The problem was now fixed. I cleaned up all other connectors, re-wrapped/insulated the wiring and put the door card back on for the final test. All working as expected, the window drops as it should every door open and closes as it should on every door shut:
http://youtu.be/u5PlOAntKk0
So it turns out I had two issues. One was the corroded connector pins that were not passing continuity tests and the other was a break in the wire that was only returning partial continuity.
This has been a long post but I have tried to walk you thought my thought process as well as providing plenty of pics.
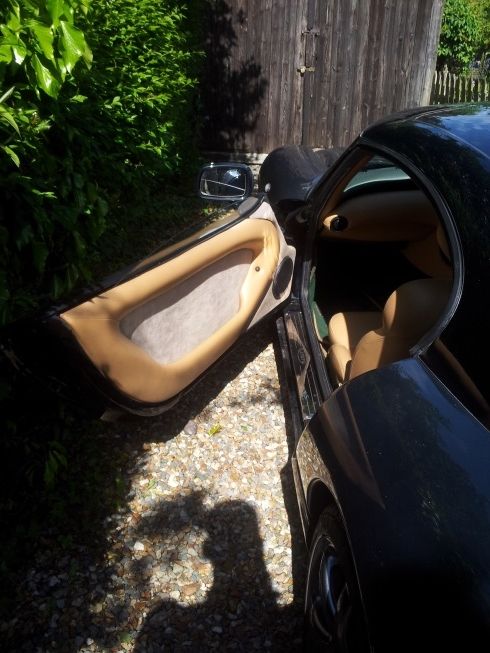
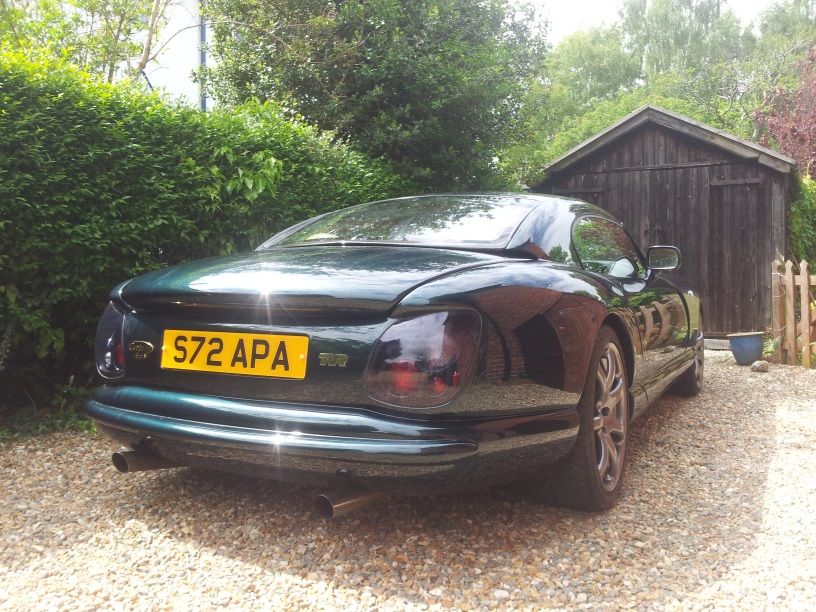
And here is one last pic (as it you haven't had enough)of why I go to this trouble:
So, in the same process as when I was fixing the drivers door open button ( http://www.pistonheads.com/gassing/topic.asp?h=0&a...) here we go.
Step 1 - Work out where the fault is.
The window not dropping is going to be one of three things. Either the door/window ECU is faulty (unlikely if that is your only issue), the window position switch is faulty or the door reed switch is faulty.
For you information my problem was on the passenger side - if you want to check the issue on the drivers side just change the pins you test see http://www.timmason.com/doorecu1.jpg for a quick guide to the pins.
I started off by testing the window position switch, here is the test setup (pin B4 blue/red wire):
That worked fine, I think it was about 0.8 volts window up and 12v window down. I forgot to record the exact settings but so long as you see two obviously different signals one near 0v and one near 12v with the window in the two positions you know that is working fine.
So onto the next possibility the door position reed switch. This is pin B1 the white/purple wire on the back row of the door/window ecu. It should be 12v with the door open and 0v (or near to 0) with the door shut. Here is the test setup:
And with the door shut I see this:
Next with the door open I should see around 12v on the meter, I opened the door and:
No change - still 0.92v showing on the multimeter.
So I now know the passenger door reed switch does not sent the correct signal with the door open and it is time to take the door card off to find out why.
Step 2 - Take off the door card.
I won't go into door card removal - I covered that in my first post on fixing the drivers door outside button.
So let's skip to...
Step 3 - Figure out if you have a bad switch or a faulty connection.
The door open reed switch is down on the bottom lip of the door. It works with a small magnet that is embedded in the sill of the car to sense the door open/shut position. Like when I was investigating the driver door issue I had I am not the first person here. In fact the door reed switch looks like a new replacement. I unclipped the connector and it was corroded on one terminal pin:
Testing the unit was tricky as the magnet to activate it was in the sill and I decided the best action would be to remove the switch. If you have a small enough socket set it is easier to undo the locking nut slightly before undoing the two securing screws if you are removing or replacing the switch.
With the switch removed I could easily access the switch wires themselves with the probes in the rear of the bullet connectors rather than testing at the corroded connector block. With the multimeter set to test continuity the switch was correctly returning 0.
With the switch resting against the magnet in the sill it switched to 1.
So the switch is fine. I cleaned up the corroded connector pins with wd40 and sand paper before refitting the switch and reconnecting the sensor. Re-testing the connector which had previously failed now returned the correct signal so I thought perhaps the issue was just that corosion on the connector pin and fingers crossed it would all work now.
Back in the boot with the multimeter which had previously stayed at 0.92v door open or shut now showed this with the door open:
That's odd.
Step 4 - Working out if you have a break in a wire.
I was fully expecting the door to work fine having cleaned up the corroded connector block and confirming the sensor worked after cleaning. The fact it wasn't receiving a full signal means there must be a break in the wiring somewhere. Great.
The problem now was finding the break. The most common place will be somewhere in the door so I wiggled the wires I could reach through the door loom and just by the splice location the 1.25v I had fell back to 0.92v.
I pulled the carpet back form the inside passenger footwell to find the door connector block and tested for continuity from the connector reed switch pin (pin 2, white/purple) to the reed switch connector block and nothing.
So as I suspected there was a break in the door loom wire and not in the main harness and luckily it was at a point I could easily access. The place where I lost all voltage in the door loom wiggle test also felt different - harder. I carefully cut away the loom wrapping and found this:
There was a greenish deposit and the white/purple door reed wire was very hard. Cutting the wire revealed the problem. The wire inside was all but gone and all that remained was a greenish powder.
I cut an inch or so of wire out until I was back to clear copper again and then re-joined the wire with a connector:
Back to the boot and testing the voltage again with the door still open and I was very happy to see 12.09v:
Shutting the door returned to the 0.92v reading. The problem was now fixed. I cleaned up all other connectors, re-wrapped/insulated the wiring and put the door card back on for the final test. All working as expected, the window drops as it should every door open and closes as it should on every door shut:
http://youtu.be/u5PlOAntKk0
So it turns out I had two issues. One was the corroded connector pins that were not passing continuity tests and the other was a break in the wire that was only returning partial continuity.
This has been a long post but I have tried to walk you thought my thought process as well as providing plenty of pics.
And here is one last pic (as it you haven't had enough)of why I go to this trouble:
 . In my bookmarks it goes, as I have a drivers window that sometimes goes to near fully open before the door catch pops open. One of those nice summer time 'tinker on the car' that turns into a major fault find job.
Great thread!
TimJM said:
Testing the unit was tricky as the magnet to activate it was in the sill and I decided the best action would be to remove the switch.
Any small magnet will work fine for testing, I keep a little button magnet in my tool kit for just that purpose. Just avoid big neodymium ones as they may bend the switch contacts internally!Tanguero said:
Any small magnet will work fine for testing, I keep a little button magnet in my tool kit for just that purpose. Just avoid big neodymium ones as they may bend the switch contacts internally!
I couldn't find my test magnet...but I could find a screwdriver and a small socket set to remove the switch! In fact once I had finished the job and was putting my tools away I noticed my led torch I was using has a magnet on the back to stick to chassis/stuff when working on cars...
 Oh well, it was less than a five minute job to remove and refit the switch and at least testing on the sill you confirm you haven't lost your magnet.
Gassing Station | Cerbera | Top of Page | What's New | My Stuff