Interior Light LED Upgrade with pictures
Discussion


This might help some people to upgrade their lights. It is very easy to do and you get a brighter white light in your car. These pictures are for Vantage MY2007.
Map reading and foot well lights are the same. These are the parts required from ArgoCity on eBay.
http://www.ebay.co.uk/itm/111333591645?_trksid=p20...
Door lights are different. These are the parts required from ArgoCity on eBay.
http://www.ebay.co.uk/itm/111404187616?_trksid=p20...
Map Reading light
This takes less than five minutes.
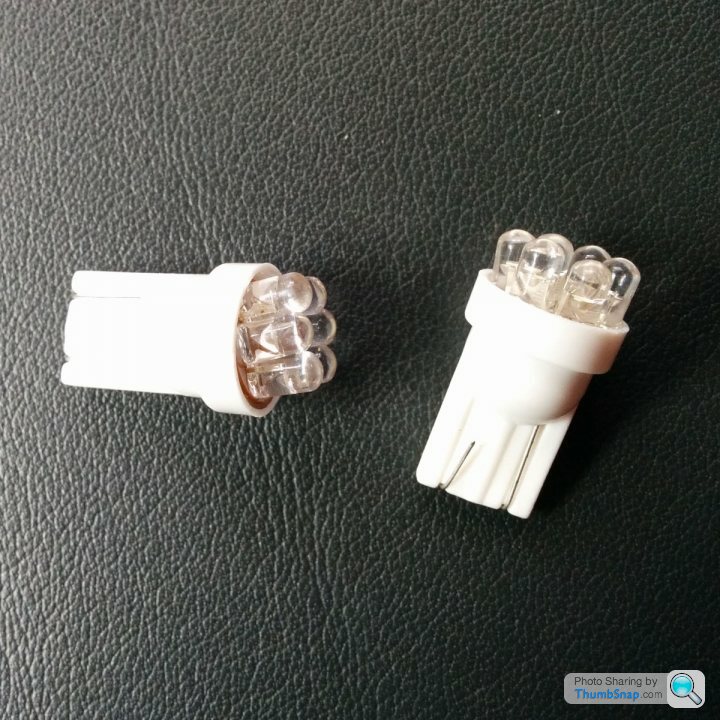
Here are the bulbs.
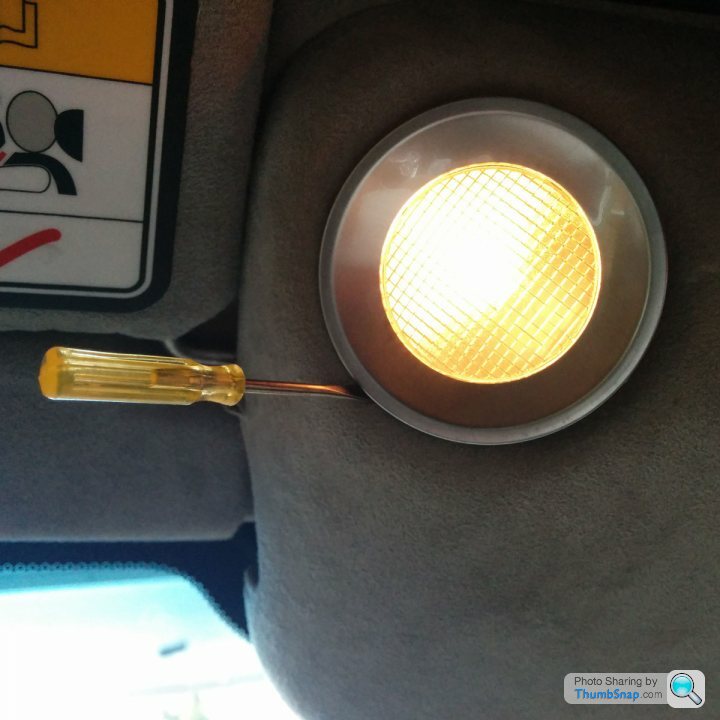
Prise out the silver light housing with a child's screw driver. Work you way around and prise the plastic a little at a time until it comes away enough for you to just hold with your fingers and remove.
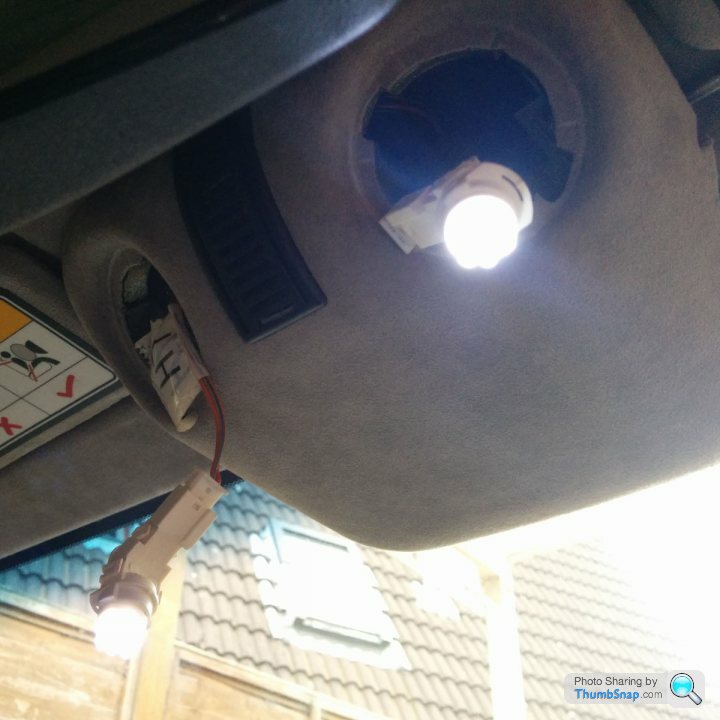
Twist the bulb out of the housing.
Replace the bulb with the LED bulb. Wait until the bulb has cooled down!
Place bulb back in housing and push housing back into place. Not much force required, just slowly push it back.
Footwell Bulbs
This is tricky only because you have to get your hand around the back.
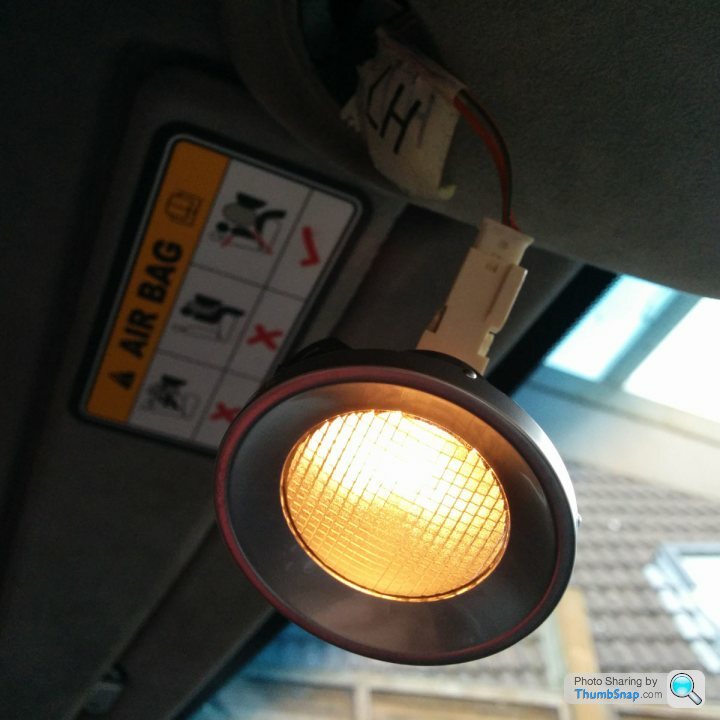
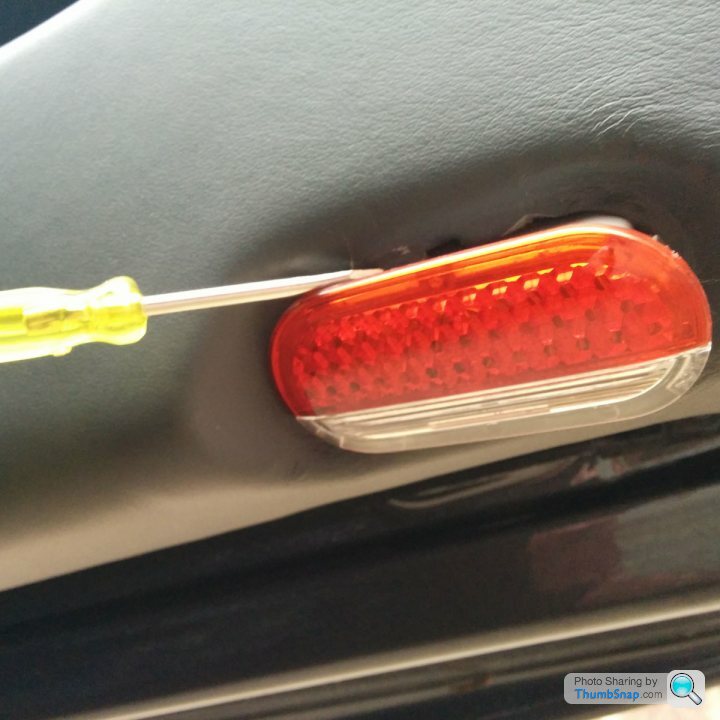
Before, with the yellow/orange light.
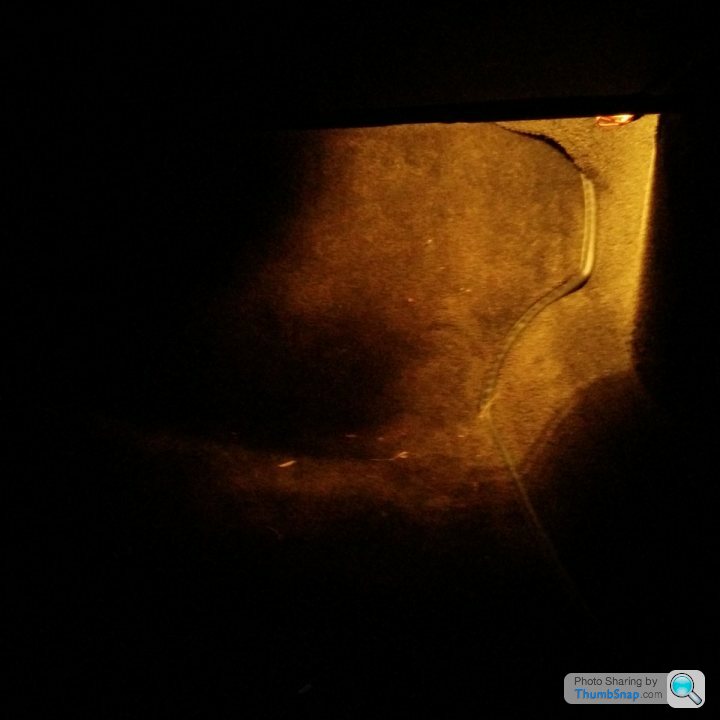
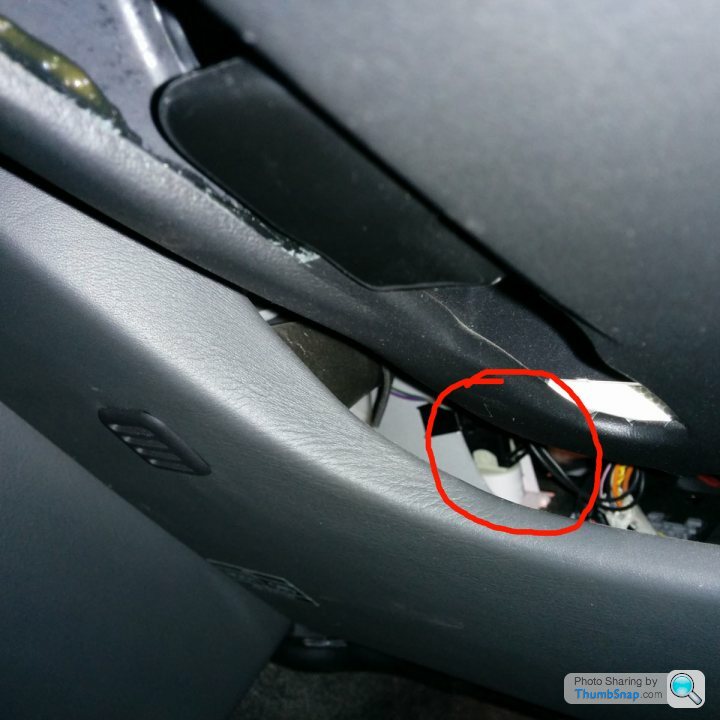
This is the light in place in the roof of the foot well. Do not attempt to remove the light cover or housing.
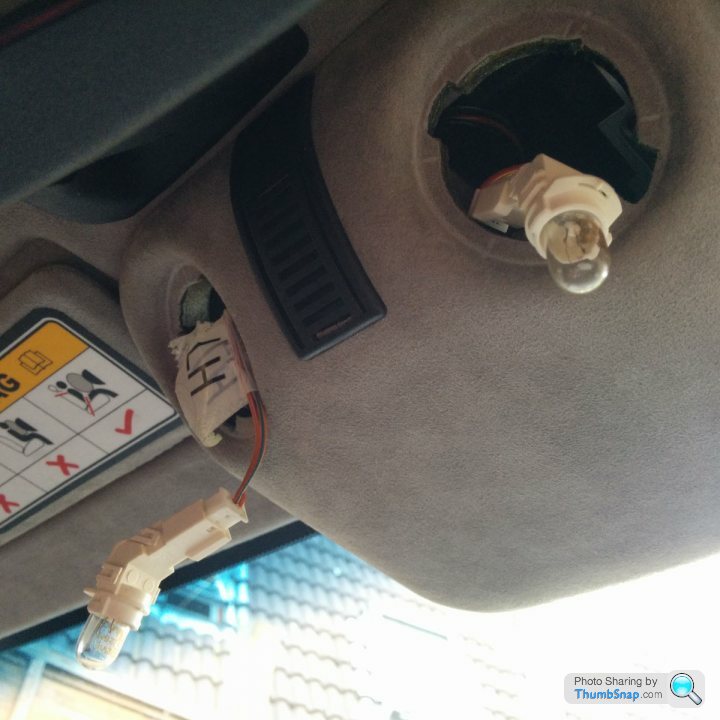
Simply place you hand around the back and twist out the bulb from the housing. Then replace the bulb and twist back in. It is fiddly and needs patience to get your fingers into the right position.
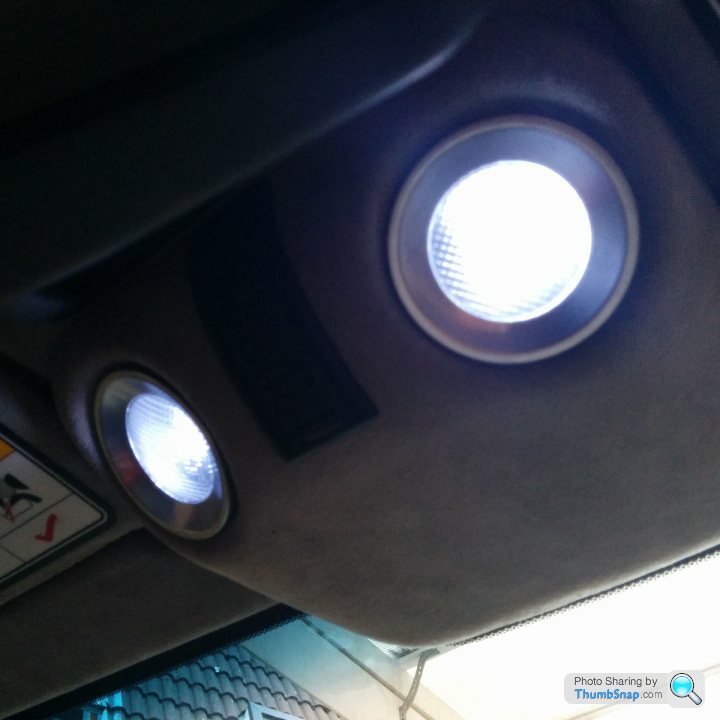
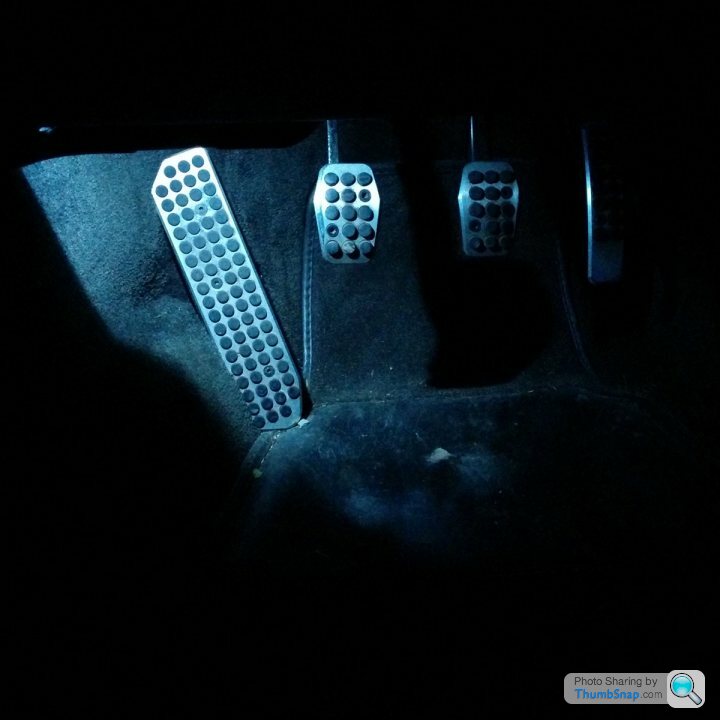
Whiter light now illuminates more of the foot well.
Door Lights
This one is as easy as the map reading lights.
Prise out the silver light housing with a child's screw driver. Work you way around and prise the plastic a little at a time until it comes away enough for you to just hold with your fingers and remove. This rights a bit more force.
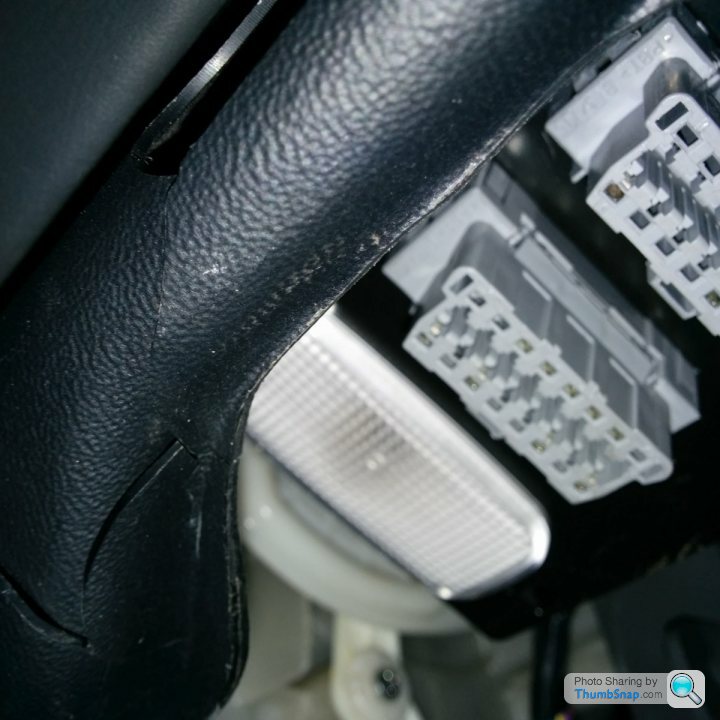
Unclip the wire from the back of the housing.

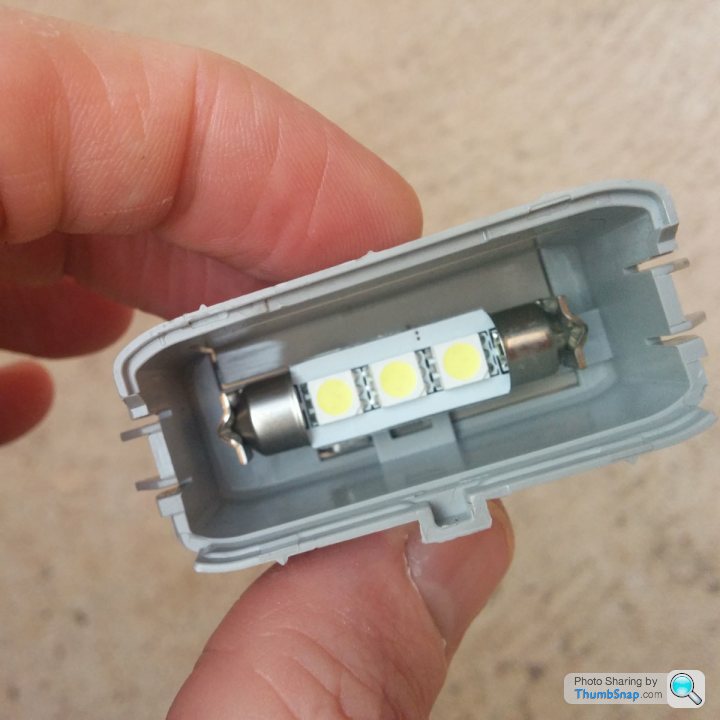
Unclip the front lens to reveal the bulb.

Replace with the LED bulb making sure it is facing out.
Map reading and foot well lights are the same. These are the parts required from ArgoCity on eBay.
http://www.ebay.co.uk/itm/111333591645?_trksid=p20...
Door lights are different. These are the parts required from ArgoCity on eBay.
http://www.ebay.co.uk/itm/111404187616?_trksid=p20...
Map Reading light
This takes less than five minutes.
Here are the bulbs.
Prise out the silver light housing with a child's screw driver. Work you way around and prise the plastic a little at a time until it comes away enough for you to just hold with your fingers and remove.
Twist the bulb out of the housing.
Replace the bulb with the LED bulb. Wait until the bulb has cooled down!
Place bulb back in housing and push housing back into place. Not much force required, just slowly push it back.
Footwell Bulbs
This is tricky only because you have to get your hand around the back.
Before, with the yellow/orange light.
This is the light in place in the roof of the foot well. Do not attempt to remove the light cover or housing.
Simply place you hand around the back and twist out the bulb from the housing. Then replace the bulb and twist back in. It is fiddly and needs patience to get your fingers into the right position.
Whiter light now illuminates more of the foot well.
Door Lights
This one is as easy as the map reading lights.
Prise out the silver light housing with a child's screw driver. Work you way around and prise the plastic a little at a time until it comes away enough for you to just hold with your fingers and remove. This rights a bit more force.
Unclip the wire from the back of the housing.
Unclip the front lens to reveal the bulb.
Replace with the LED bulb making sure it is facing out.
Edited by GingerMunky on Wednesday 10th September 11:19

Just ordered the bulbs from the links and will give it a go, looks nice and simple to do 
Thanks for the pics and info on how to do this. I have been thinking of doing this for my interior lights for ages, as you will know the original lights are quite dim
I do love it when someone puts pictures and links to the items up on here, as I am a complete DIY duffer when someone much better than me does these things and puts it up on here, it makes it much easy for people like me to have a go
Thanks for the pics and info on how to do this. I have been thinking of doing this for my interior lights for ages, as you will know the original lights are quite dim
I do love it when someone puts pictures and links to the items up on here, as I am a complete DIY duffer
when someone much better than me does these things and puts it up on here, it makes it much easy for people like me to have a go GingerMunky said:
This might help some people to upgrade their lights. It is very easy to do and you get a brighter white light in your car. These pictures are for Vantage MY2007.
Map reading and foot well lights are the same. These are the parts required from ArgoCity on eBay.
http://www.ebay.co.uk/itm/111333591645?_trksid=p20...
Door lights are different. These are the parts required from ArgoCity on eBay.
http://www.ebay.co.uk/itm/111404187616?_trksid=p20...
Some time ago I replaced the original interior/boot light bulbs with LED bulbs in my 05 DB9 all was/is well.Map reading and foot well lights are the same. These are the parts required from ArgoCity on eBay.
http://www.ebay.co.uk/itm/111333591645?_trksid=p20...
Door lights are different. These are the parts required from ArgoCity on eBay.
http://www.ebay.co.uk/itm/111404187616?_trksid=p20...
Edited by GingerMunky on Wednesday 10th September 11:19
Decided to up rate the door puddle lights, obtained the LED as shown in this thread. After fitting them I noticed that they both give a very slow strobe flash after they have turned off. I did read that it is possible that if all the lamps are replaced with LED's it is possible that the LED's will not turn completely off, something to do with resistance, and an incandescent bulb should be left in the circuit. Well I tried that by replacing a boot interior light with one of the original bulbs. This has not made any difference to the strobe effect. So as a precaution I have removed the door LED's and replaced the original bulbs plus the boot LED.
Any suggestions greatly received. Thank you.
Edited by DB531 on Saturday 13th September 00:08
W1111AM said:
Little Donkey said:
Another top tip, O.P. The horrible stickers on the sun visors peel off no problem and don't leave a residue. Looks sooooo much better without them.
You are so right! I have removed mine too, so much cleaner looking 
huggy1 said:
W1111AM said:
Little Donkey said:
Another top tip, O.P. The horrible stickers on the sun visors peel off no problem and don't leave a residue. Looks sooooo much better without them.
You are so right! I have removed mine too, so much cleaner looking Well I ordered the bulbs and they arrived today.
So armed with my trusty small screw driver and bulbs I set about changing the bulbs
I tackled the door lights first. As described above they came off quite easy, you just have to move the screw driver around the edged of the plastic cover. I just took my time and it eventually came out. Just unplug the cable from the socket (it only goes in/out one way). Remove the bulb and put the new one in. (remember to put the LEDs the correct way round) Plug the cable back in, push the outer cover on and push the unit back into the door until it clicks and is flush with the panel around the outside of the cover.
The interior lights were a little tricky, maybe I wasn't doing it right. I prised the edge of the light cover out and moved the screw driver around the edge as described above. As I did this the actual cover just popped off into my hand leaving the inner caser and bulb still in the socked. No worries, just put the screw driver against the side where the holes are and push inwards and the inner pops out. Easy to swap the bulbs over. I then clipped the cover onto the inner and pushed the whole unit back into its hole and it clicked into place. That one made me sweat I can tell you
Having looked at the description above about the foot wells I thought, that looks like a pain in the f g as to change them. Well I had purchased enough bulbs to do the doors, interior and boot. So I thought I would give it a go.
You know when the Victorians use to put children up chimneys because they were small and could get into small places??? Well I needed one of these kids to get their bodies into my foot well and use their little fingers to reach the light unit
So to do this you have to be a fg contortionist. Not only that, But you can't see the unit and you have to have a good sense of touch. Once found it is easy enough to twist the cable and bulb housing and pull it away from the main unit. Guess what, the cable is short so you can't pull it down so you can see the bulb housing 
So there I am swearing profusely because I am trying to put both hands under the dashboard. One hand to hold the cable and bulb housing and the other to hold the LED and push it into the bulb housing, hence the small child requirement
So after a lot swearing and back bending, trying to get my large frame into the foot well and both my hands under the dash, it wasn't a pretty sight I can tell you, I did managed to do both my foot wells
So onto the boot. This was the easiest of them all. The plastic covers just come away as you put your finger nail under one of the edges. On looking at the bulb I found that it was slightly bigger than the door bulbs. The bulbs that fit the doors are the ones in the link, but they are 38mm. The ones in the boot are about 42-43mm. So I bent the connectors in a little and the bulb fitted and worked. I would have preferred to have the larger bulb, but these will be ok. I have dropped the seller an e-mail asking if they do these bulbs in the larger size.
So after about half an hour, most of it in the foot wells, I have changed the bulbs. Even in the day light they are brighter and look much better. The interior lights don't look like they are trying to force light through 2 years of cigarette smoke congealed over the covers, if you know what I mean?
If I can change these, anyone can, as I am a complete DIY duffer I can tell you. Give it a go, it is inexpensive and you will see the difference.
So armed with my trusty small screw driver and bulbs I set about changing the bulbs
I tackled the door lights first. As described above they came off quite easy, you just have to move the screw driver around the edged of the plastic cover. I just took my time and it eventually came out. Just unplug the cable from the socket (it only goes in/out one way). Remove the bulb and put the new one in. (remember to put the LEDs the correct way round) Plug the cable back in, push the outer cover on and push the unit back into the door until it clicks and is flush with the panel around the outside of the cover.
The interior lights were a little tricky, maybe I wasn't doing it right. I prised the edge of the light cover out and moved the screw driver around the edge as described above. As I did this the actual cover just popped off into my hand leaving the inner caser and bulb still in the socked. No worries, just put the screw driver against the side where the holes are and push inwards and the inner pops out. Easy to swap the bulbs over. I then clipped the cover onto the inner and pushed the whole unit back into its hole and it clicked into place. That one made me sweat I can tell you
Having looked at the description above about the foot wells I thought, that looks like a pain in the f
g as to change them. Well I had purchased enough bulbs to do the doors, interior and boot. So I thought I would give it a go.You know when the Victorians use to put children up chimneys because they were small and could get into small places??? Well I needed one of these kids to get their bodies into my foot well and use their little fingers to reach the light unit
So to do this you have to be a f
g contortionist. Not only that, But you can't see the unit and you have to have a good sense of touch. Once found it is easy enough to twist the cable and bulb housing and pull it away from the main unit. Guess what, the cable is short so you can't pull it down so you can see the bulb housing So there I am swearing profusely because I am trying to put both hands under the dashboard. One hand to hold the cable and bulb housing and the other to hold the LED and push it into the bulb housing, hence the small child requirement
So after a lot swearing and back bending, trying to get my large frame into the foot well and both my hands under the dash, it wasn't a pretty sight I can tell you, I did managed to do both my foot wells
So onto the boot. This was the easiest of them all. The plastic covers just come away as you put your finger nail under one of the edges. On looking at the bulb I found that it was slightly bigger than the door bulbs. The bulbs that fit the doors are the ones in the link, but they are 38mm. The ones in the boot are about 42-43mm. So I bent the connectors in a little and the bulb fitted and worked. I would have preferred to have the larger bulb, but these will be ok. I have dropped the seller an e-mail asking if they do these bulbs in the larger size.
So after about half an hour, most of it in the foot wells, I have changed the bulbs. Even in the day light they are brighter and look much better. The interior lights don't look like they are trying to force light through 2 years of cigarette smoke congealed over the covers, if you know what I mean?
If I can change these, anyone can, as I am a complete DIY duffer I can tell you.
Give it a go, it is inexpensive and you will see the difference. Gassing Station | Aston Martin | Top of Page | What's New | My Stuff