Harrogate House Renovation..
Discussion


Hello again everybody!
Following on from my last restoration thread on here which was for this: http://www.pistonheads.com/gassing/topic.asp?h=0&a... I'm back with my next project..
I took my first step on the property ladder in 2013 when I bought this house.. My offer was accepted in May and due to a bit of faffing about I didn't get the keys until September. As soon as I had the keys in my hand the work started in earnest to take the property from wood chip covered, Seventies boring-ness to a nice contemporary house. I'm a huge fan of Grand Designs and the various other home programmes so I was gagging to have a go myself!
I was fortunate enough to buy a place in arguably the most desirable part of town at the bottom of the market so I think I got a great deal and I hope that with the work I have carried out I will have increased the value.
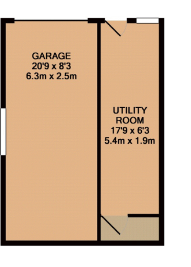
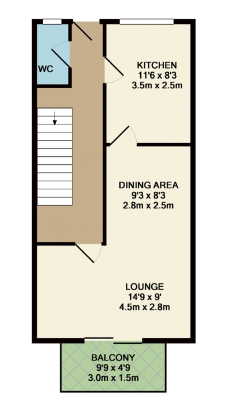
The property is a 3 bed townhouse with living space over 3 floors with a front garden and a rear courtyard with a single garage which forms part of the lower ground floor.. In simple terms if you look at the property from the front it looks like a regular 2 story terraced house whereas there are 3 stories at the rear and the lower ground floor is a single garage and utility room. I must say the house has a lot more space than you imagine before going inside.
My initial plans were to modernise the whole place into somewhere I would love to live. Work would consist of removal of wood chip throughout, re plastering where neccessary, new lighting, new carpets, new bathrooms, new kitchen, removal of internal walls on ground floor creating an open plan space and new flooring throughout. To be fair most things have been and are getting done besides the roof and the windows have already been done.
I have been living in the house for a year now whilst carrying out the work.. This has been a bit inconvenient but not the worst as I live on my own so I can generally work in one area at a time and keep other areas free from too much building muck!..
Anyway this was the front of the house followed by the floor plans.. The front of the house was/is pretty uninspiring but with a a few tweaks I have already done and plan to do I think the kerb appeal will improve.


Unfortunately I haven't taken any photos from the rear and unfortunately I didn't take any photos of the overgrown garden either!
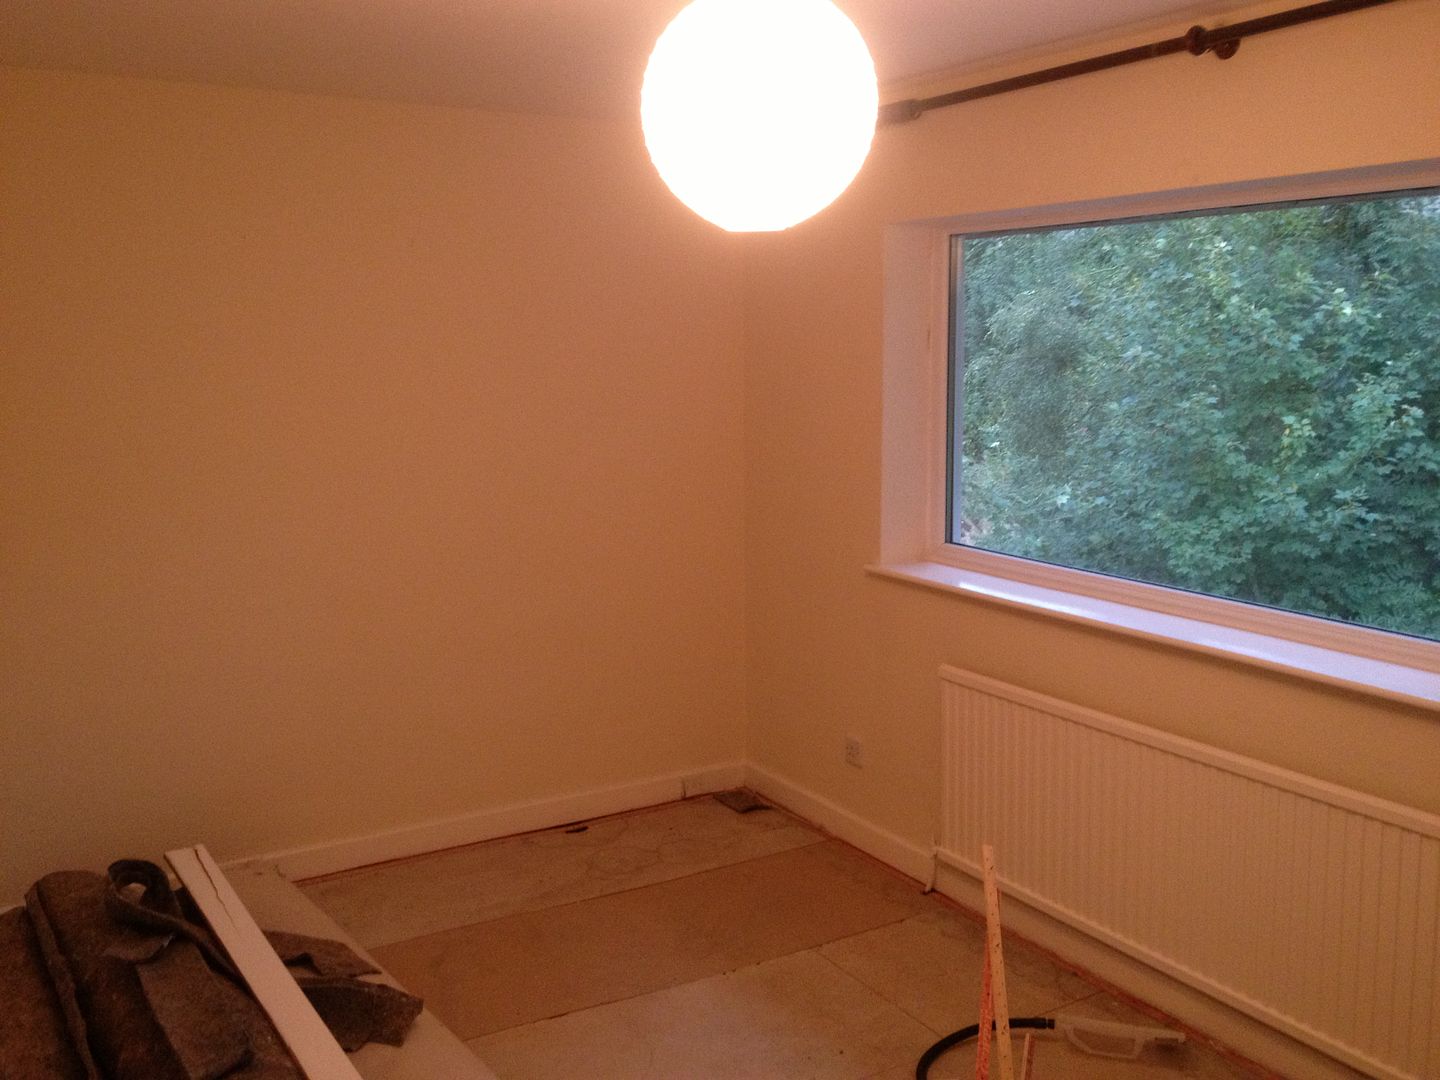
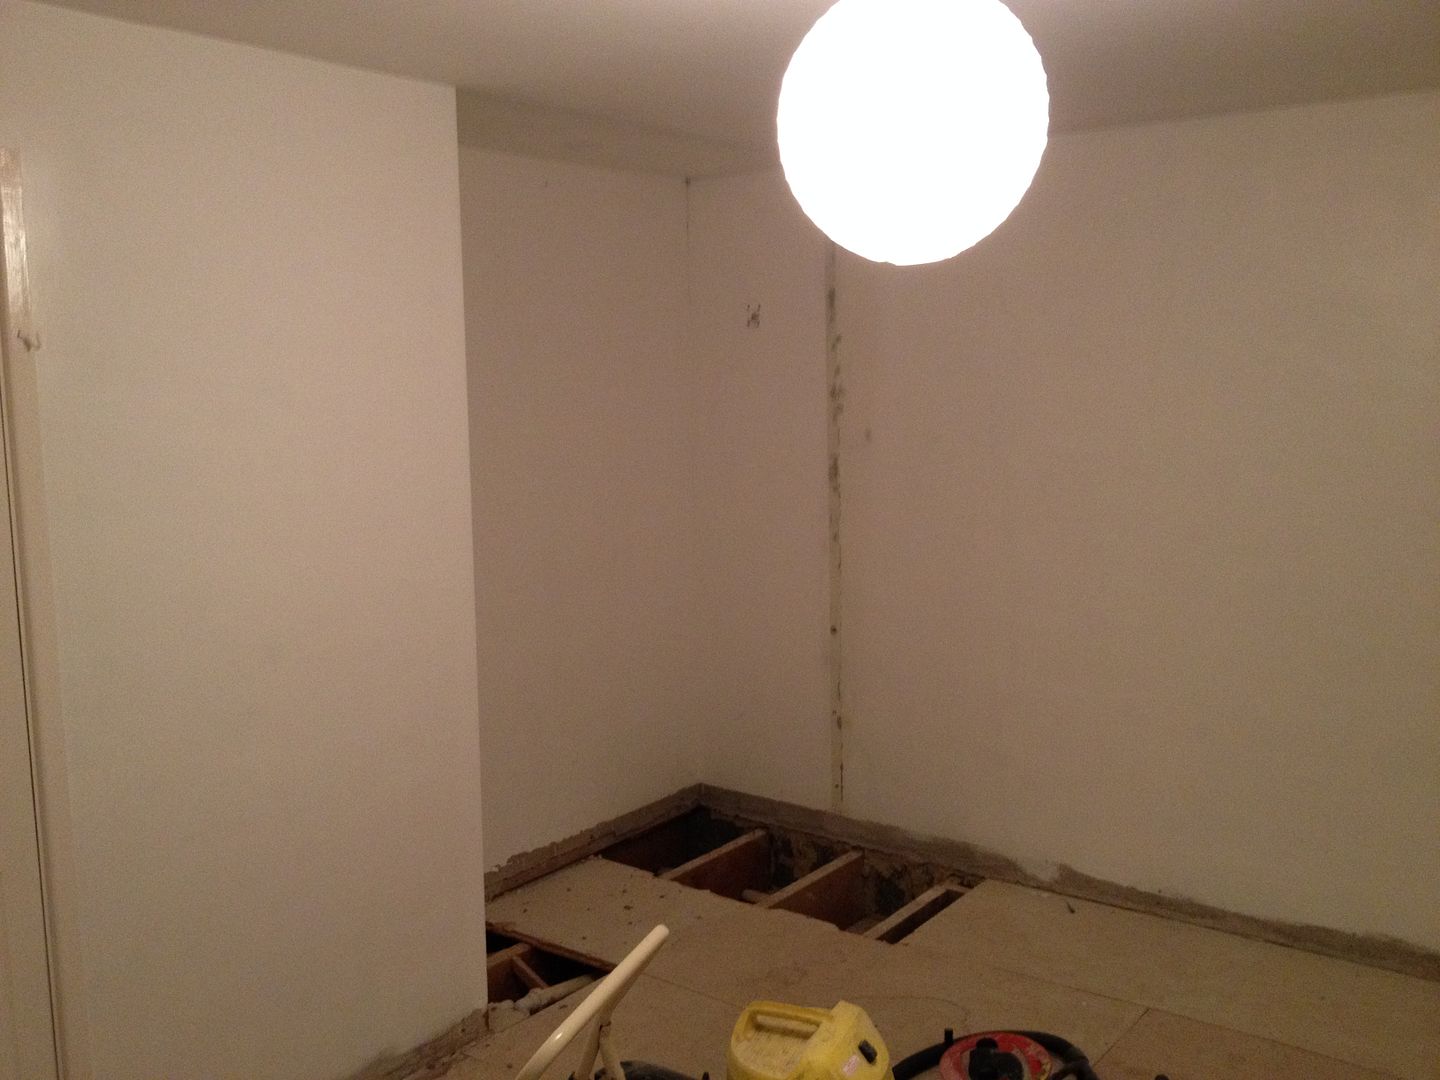
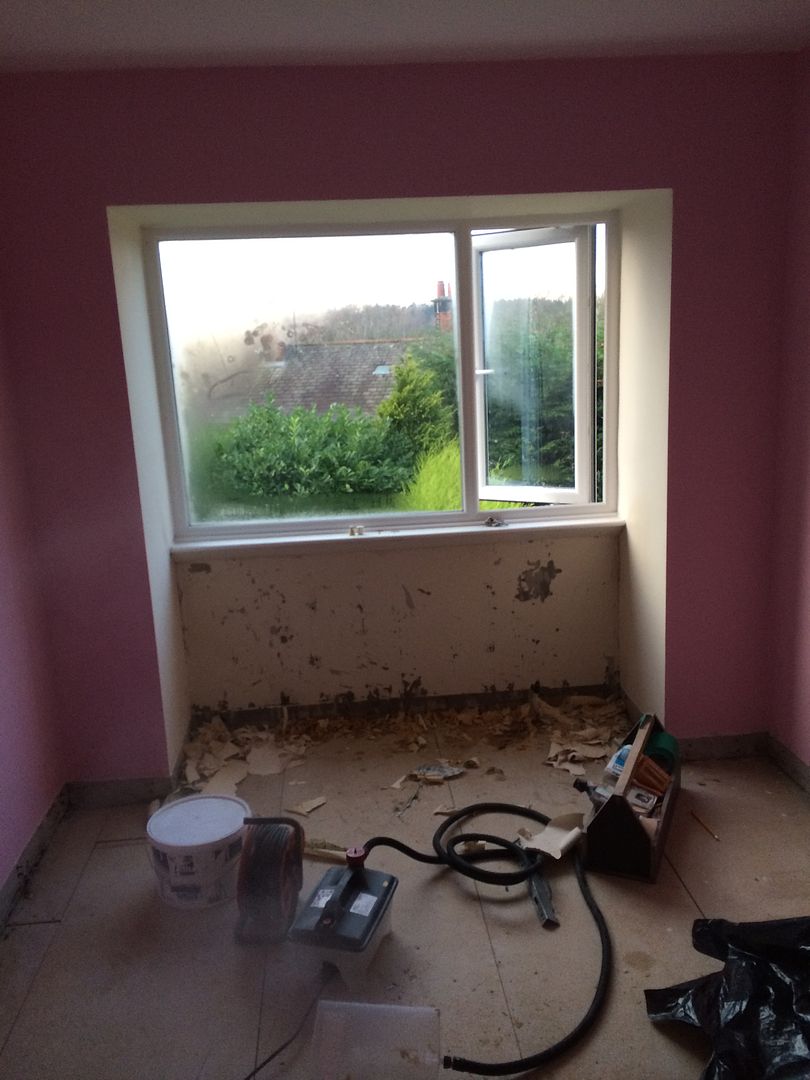
So the first job which was started as soon as I moved in was to sort the master bedroom out which included the addition of a glass shower room/en-suite without the thunder box. This was an idea I had which I thought would be very exciting and give a wow factor to the master bedroom.. With the benefit of hindsight I would have been better playing things safe and putting up a stud wall but hey ho its a bit different and it works great for me. So the work on the master bedroom commenced.. First job was to get rid of the carpets and all the wood chip..

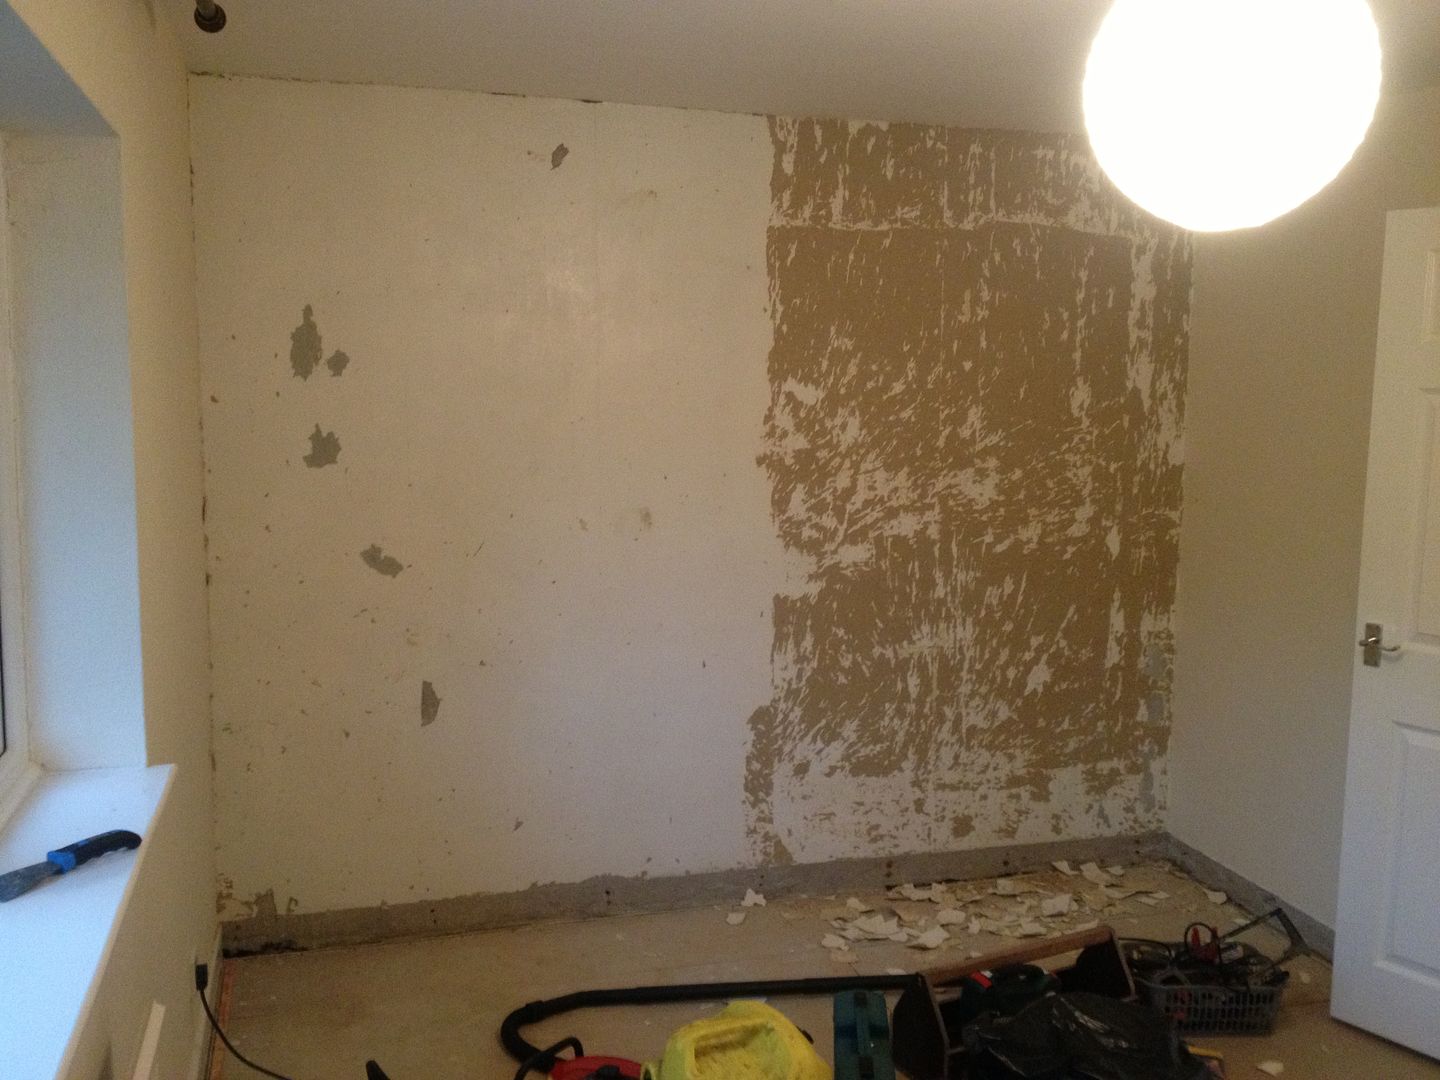
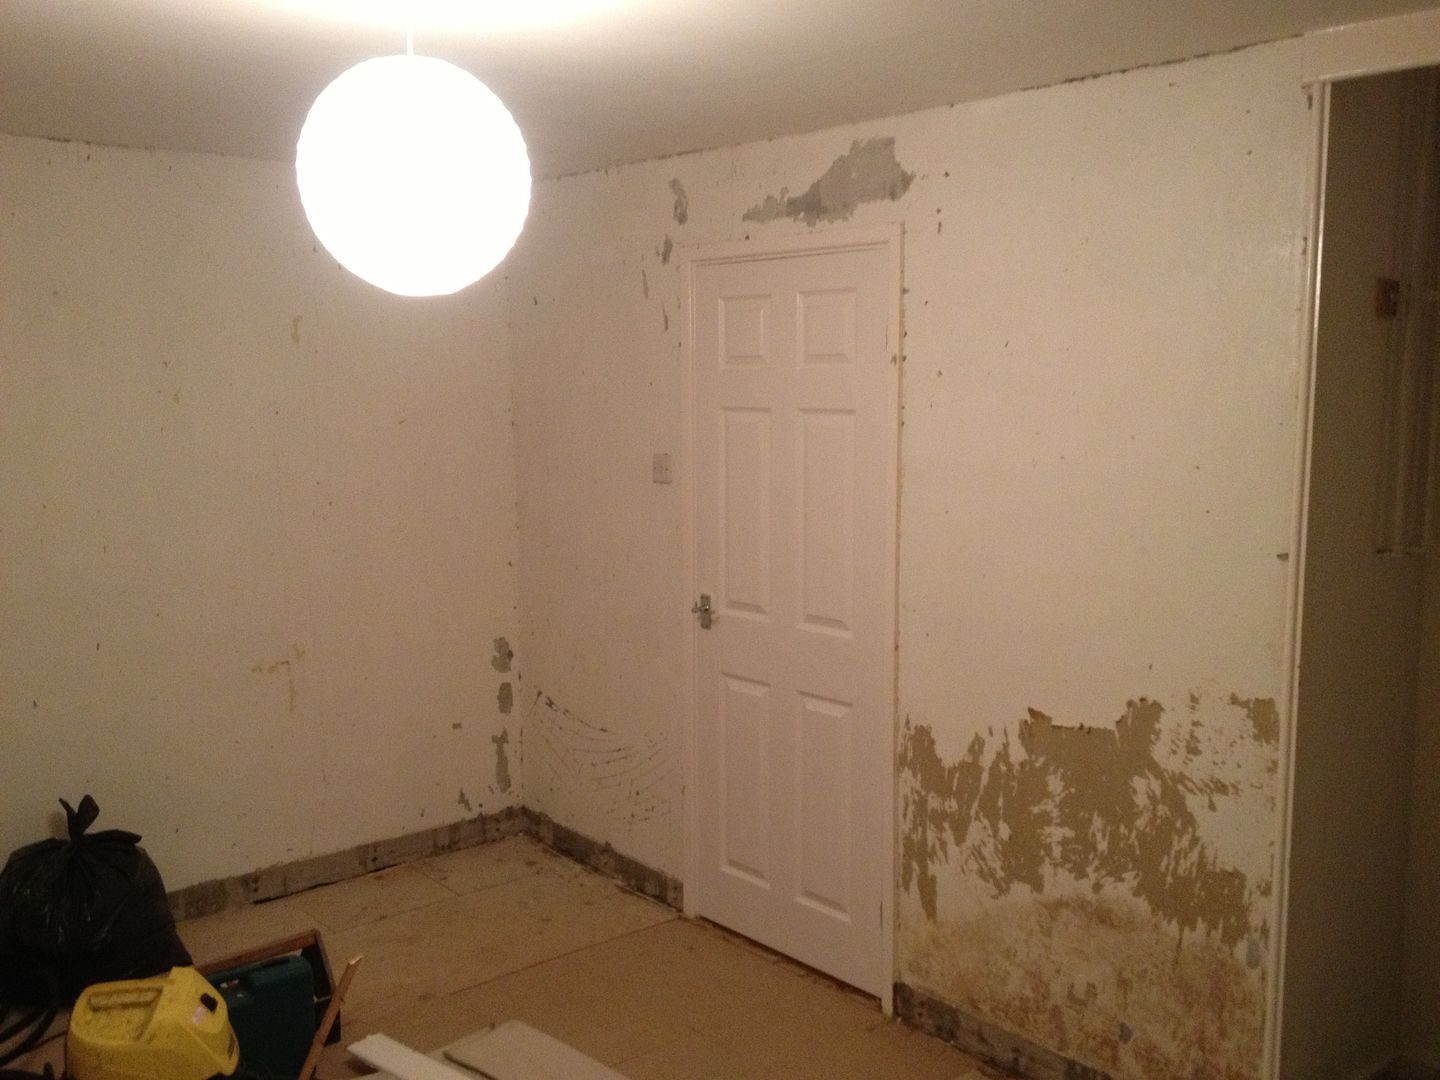
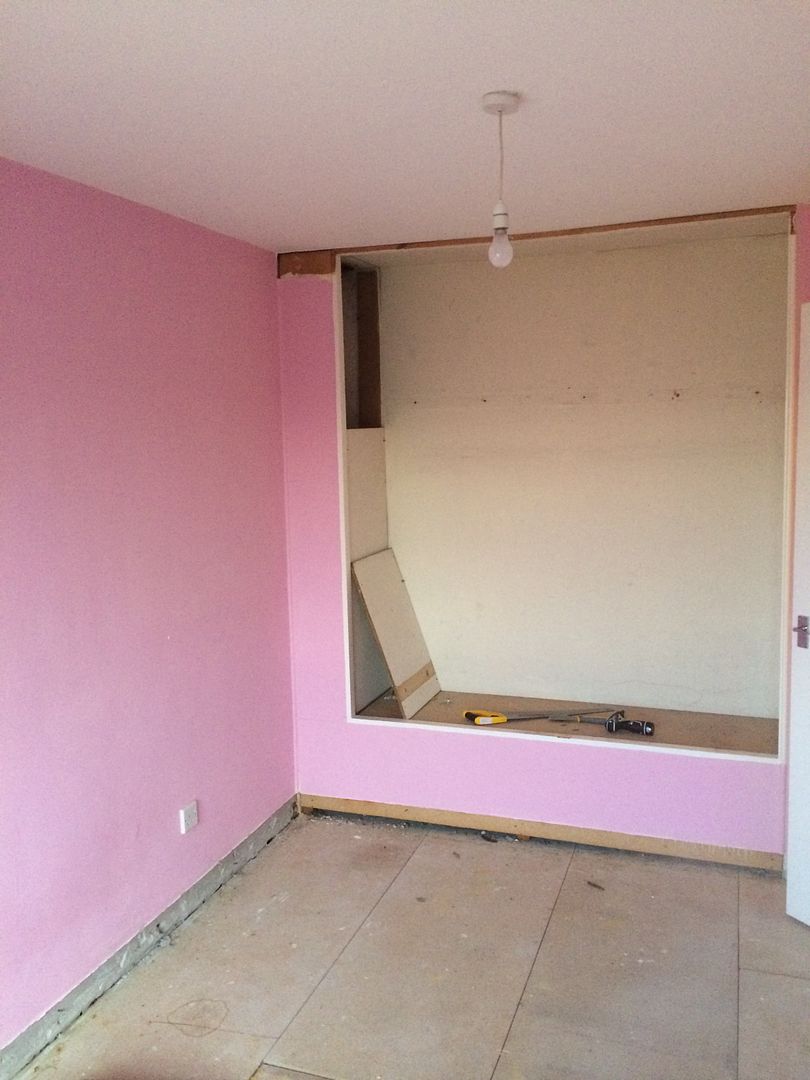
In the next picture you can see the built in wardrobe that was in the corner of the master bedroom which I planned to remove and utilise the space for the Ensuite shower room.
[URL=http://s1271.photobucket.com/user/PatrickMcDowall/media/House/06A4CF7C-4269-42BC-B2AF-CEAFF3033F94_zpsp2wmseu0.jpg.html][IMG]http://i1271.photobucket.com
/albums/jj622/PatrickMcDowall/House/06A4CF7C-4269-42BC-B2AF-CEAFF3033F94_zpsp2wmseu0.jpg[/IMG][/URL]
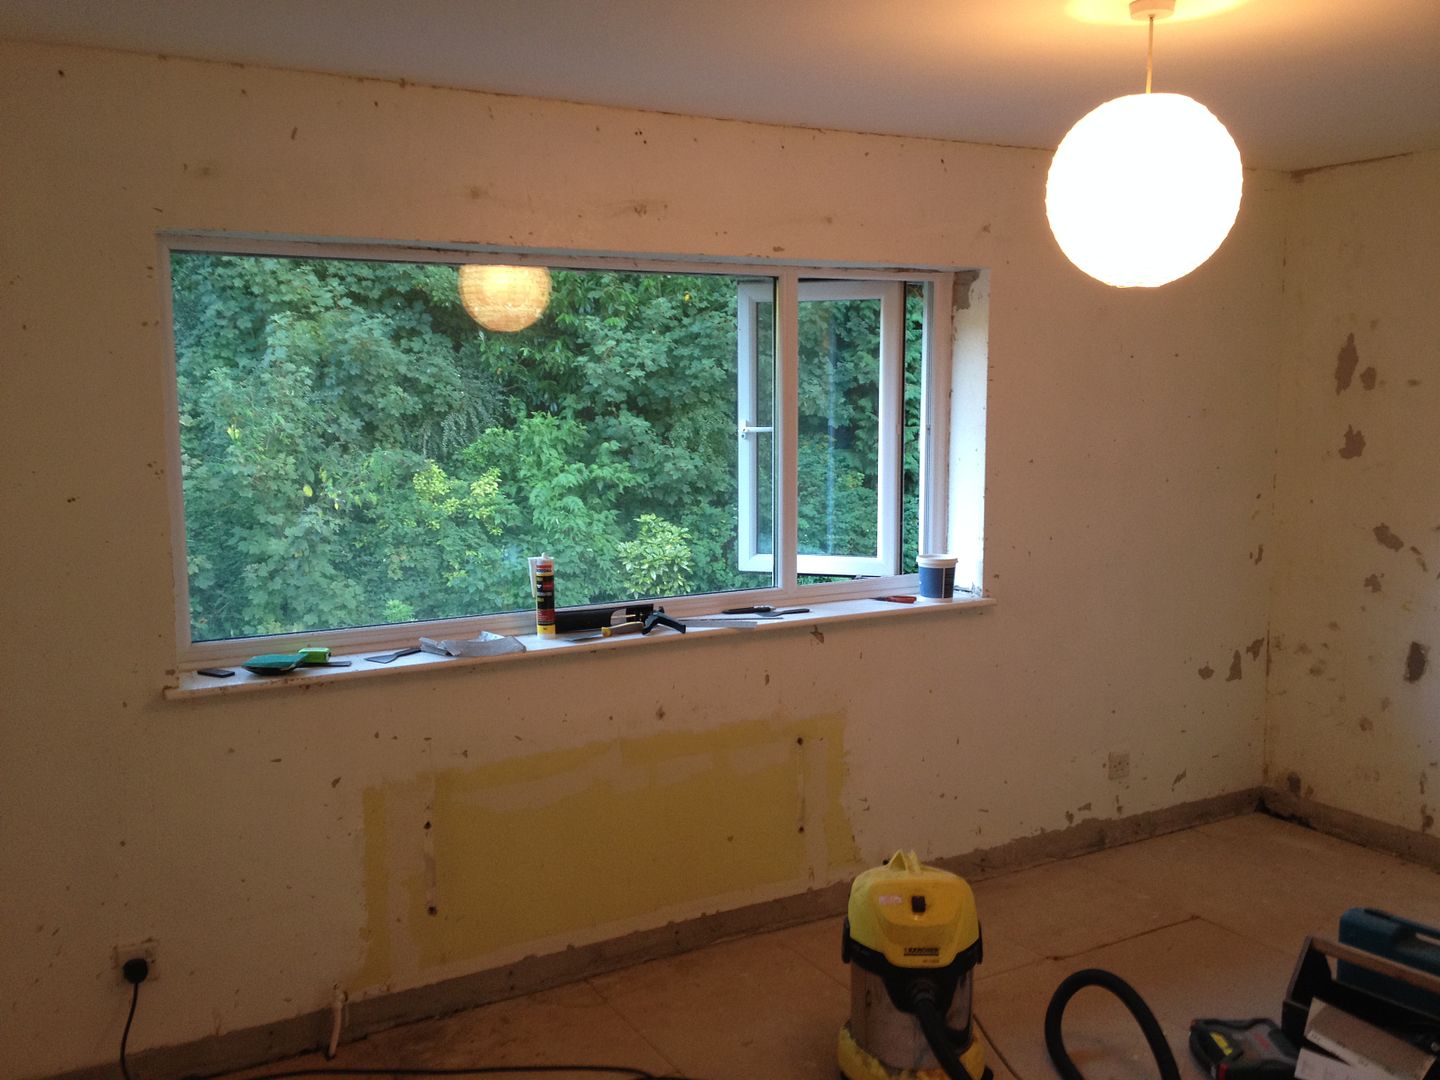
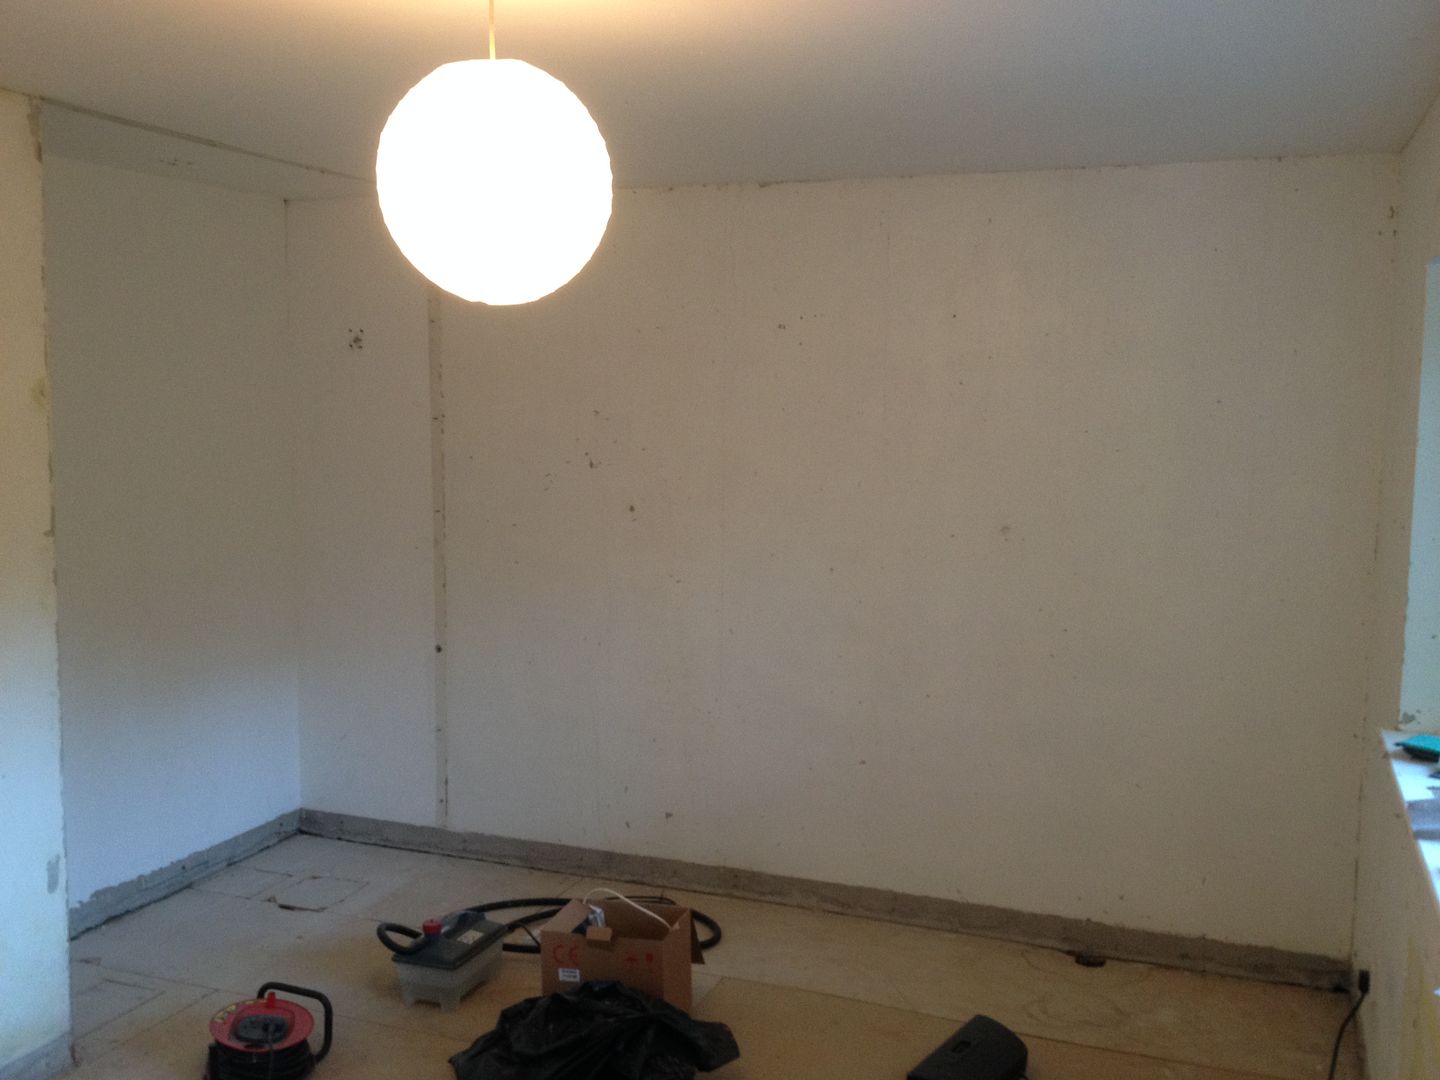
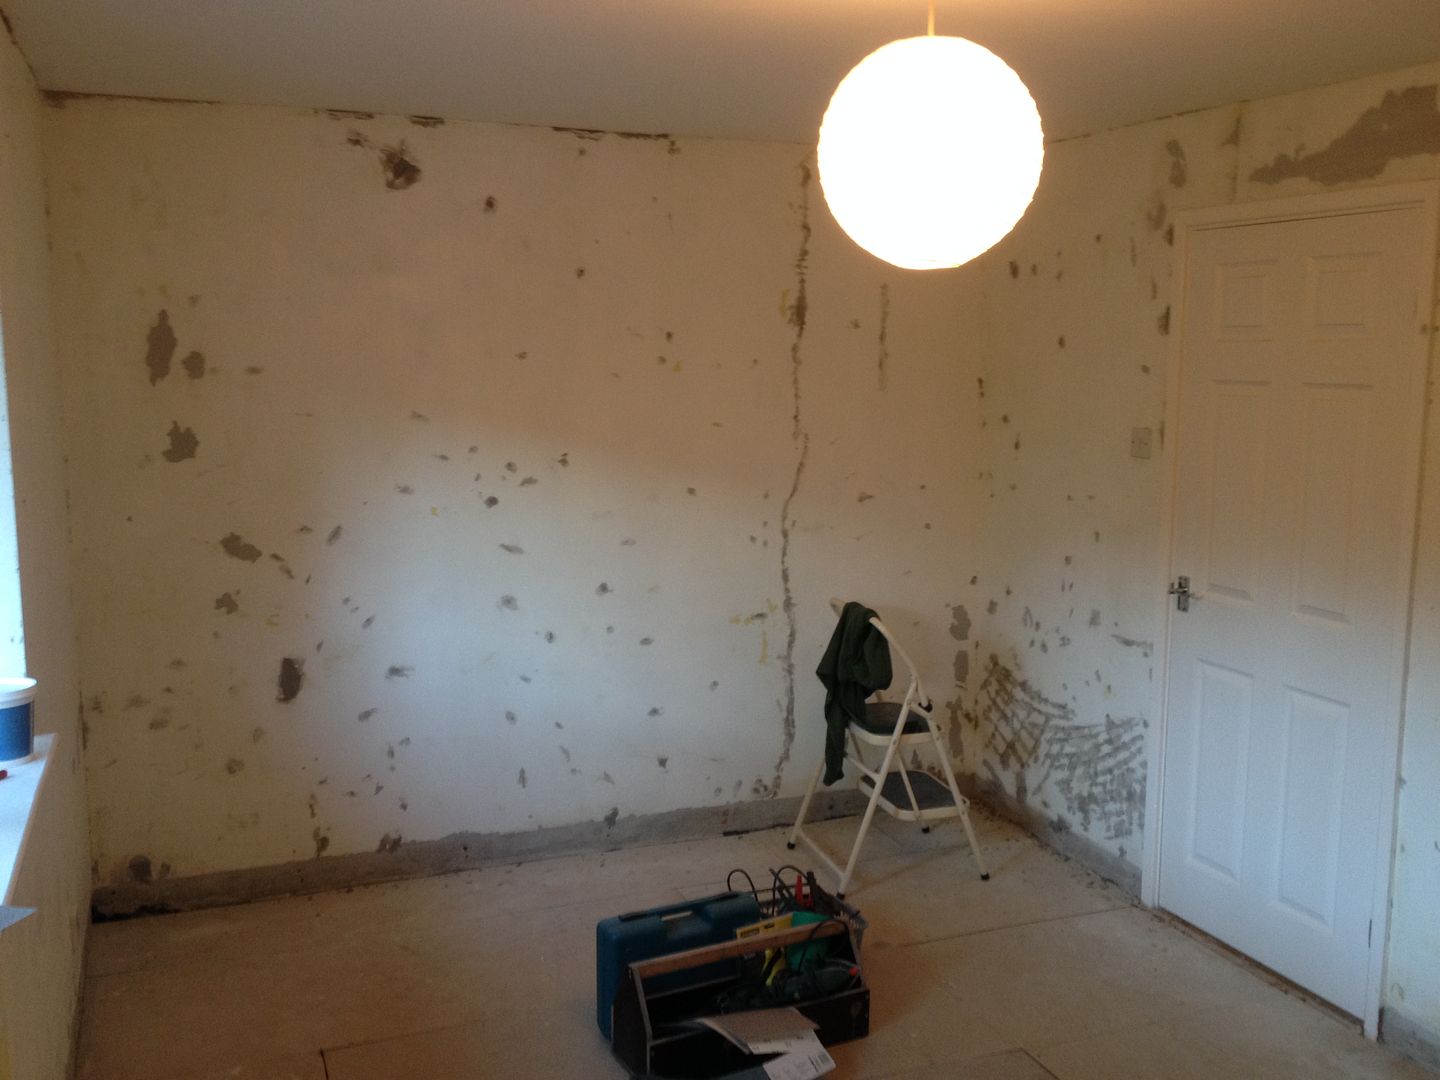
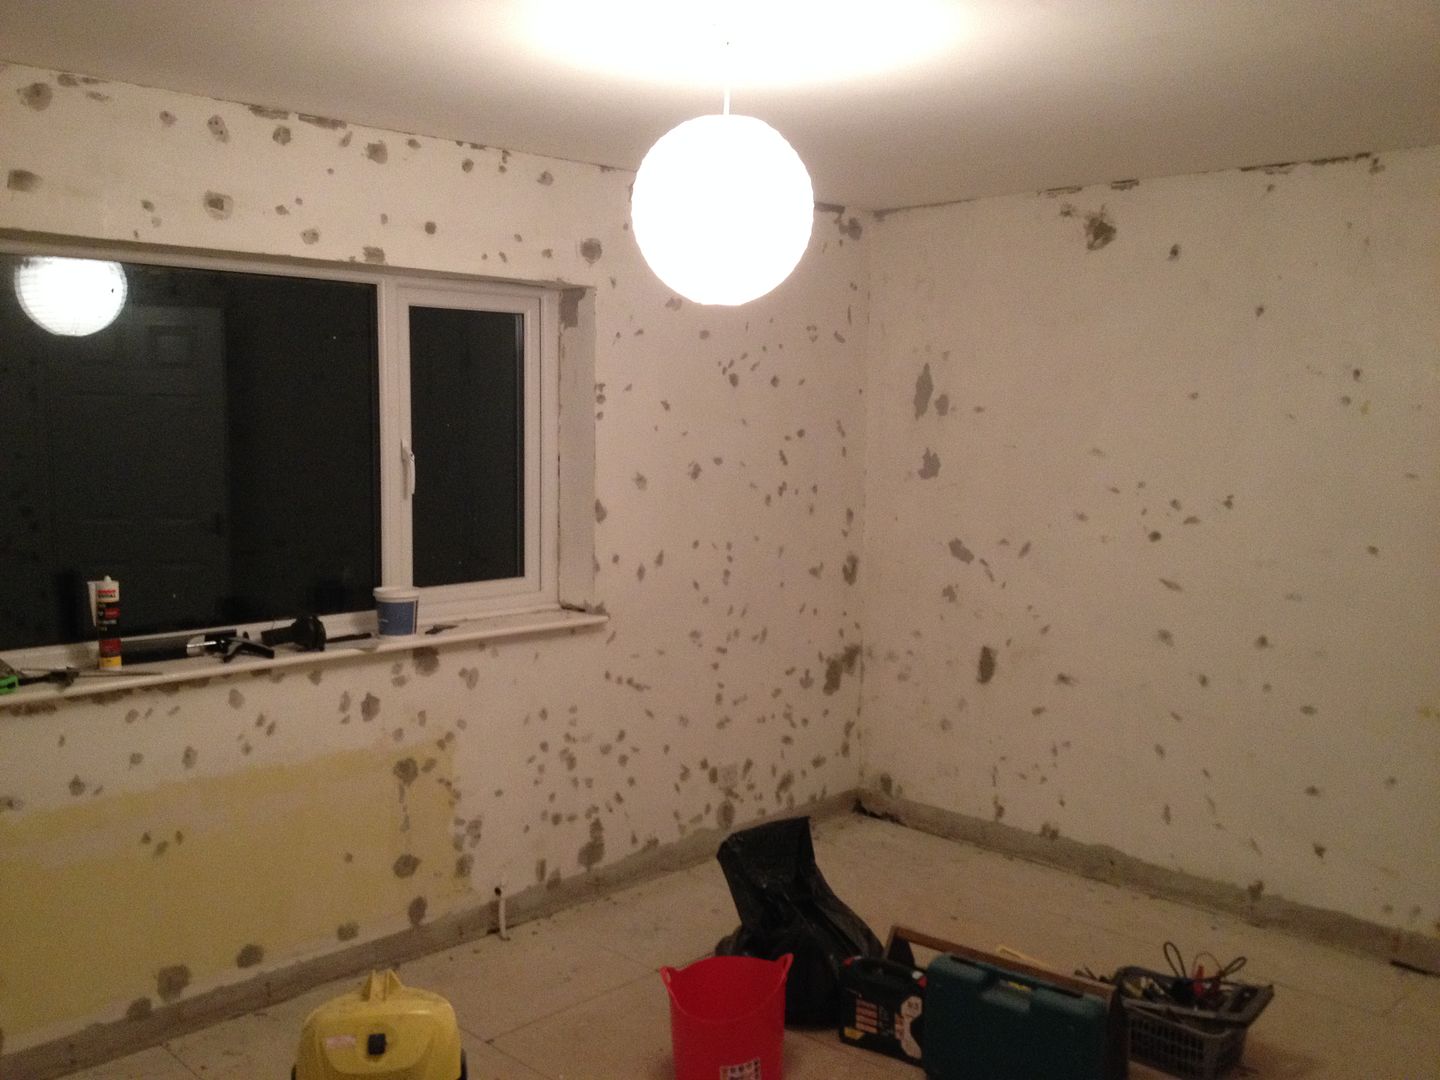
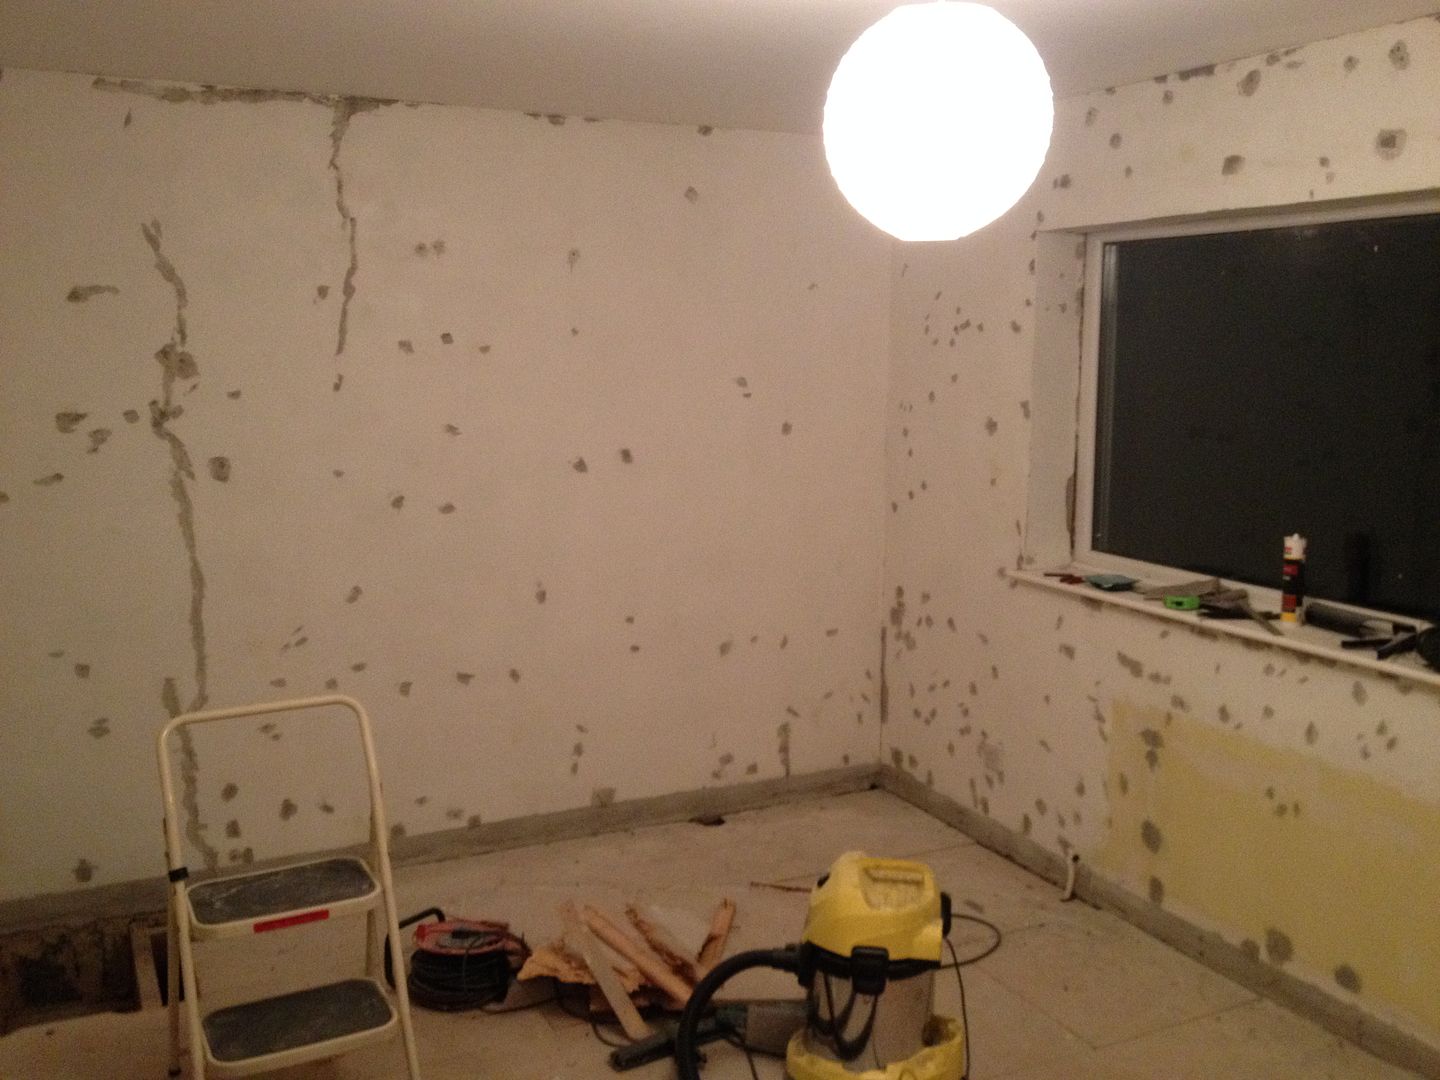
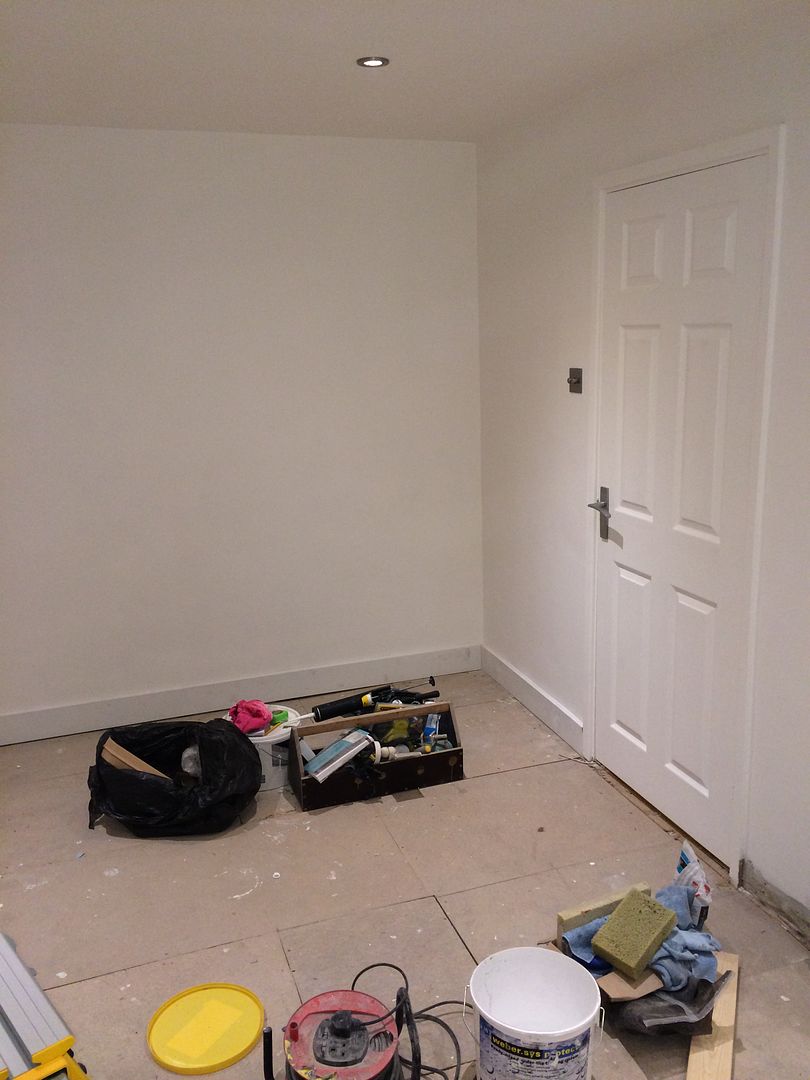
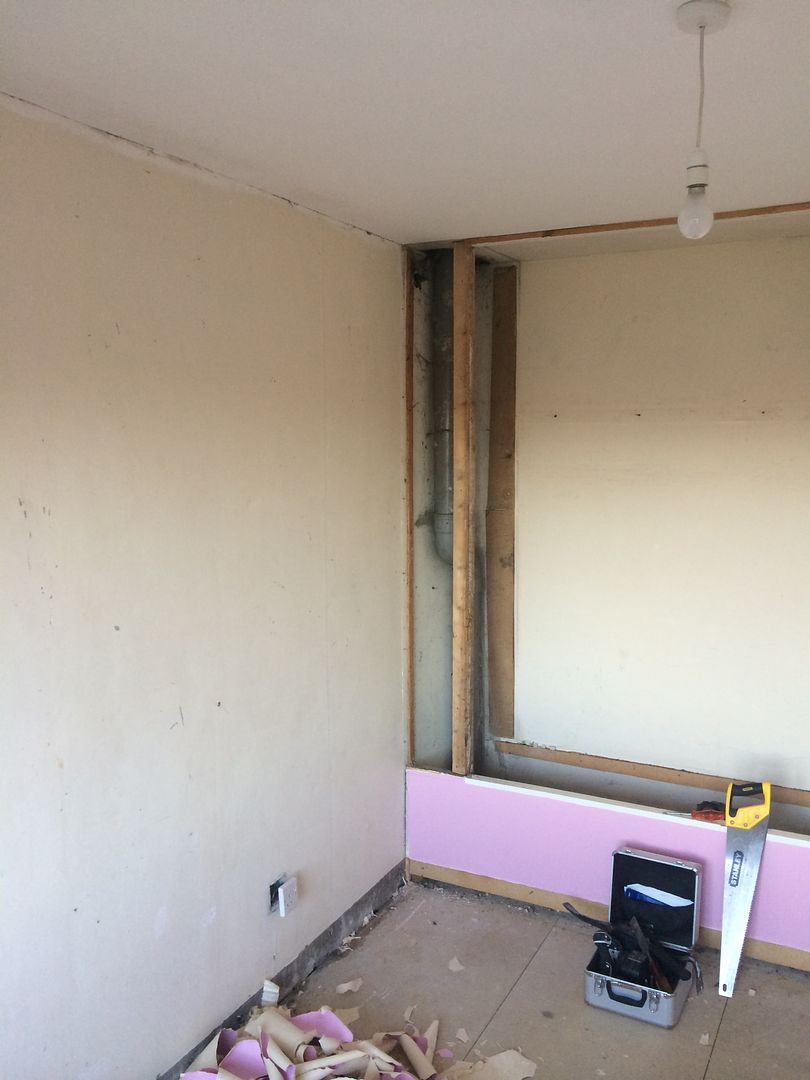
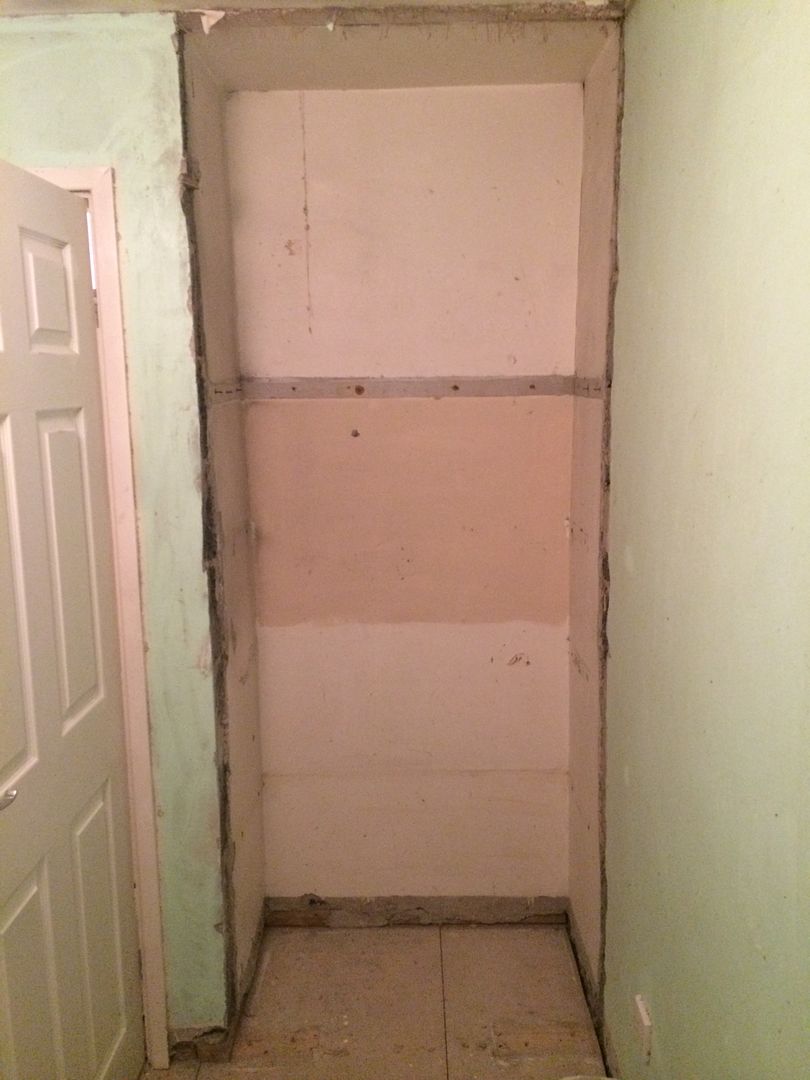
And with the built in wardrobe removed and the woodchip off the walls
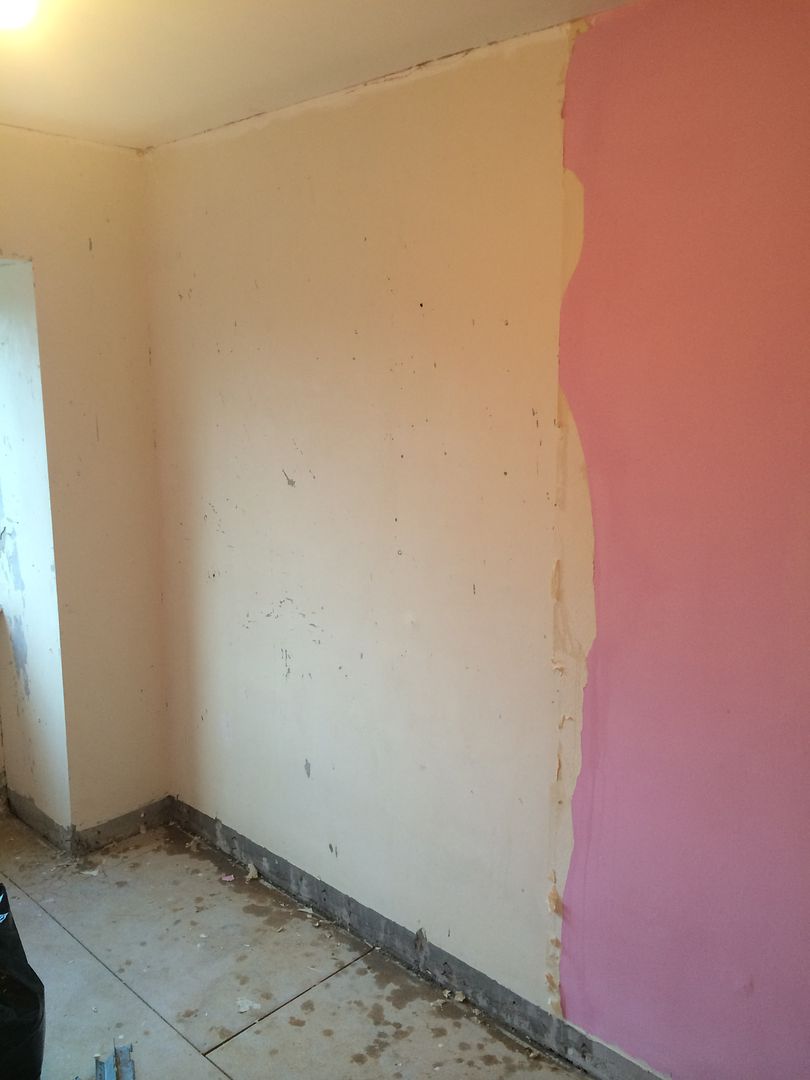
The next step was to go over all the walls with a tub of filler to remove any imperfections.. This was a real pain of a job and one that after the next room I decided was too time consuming so re-skimming from there on in!..
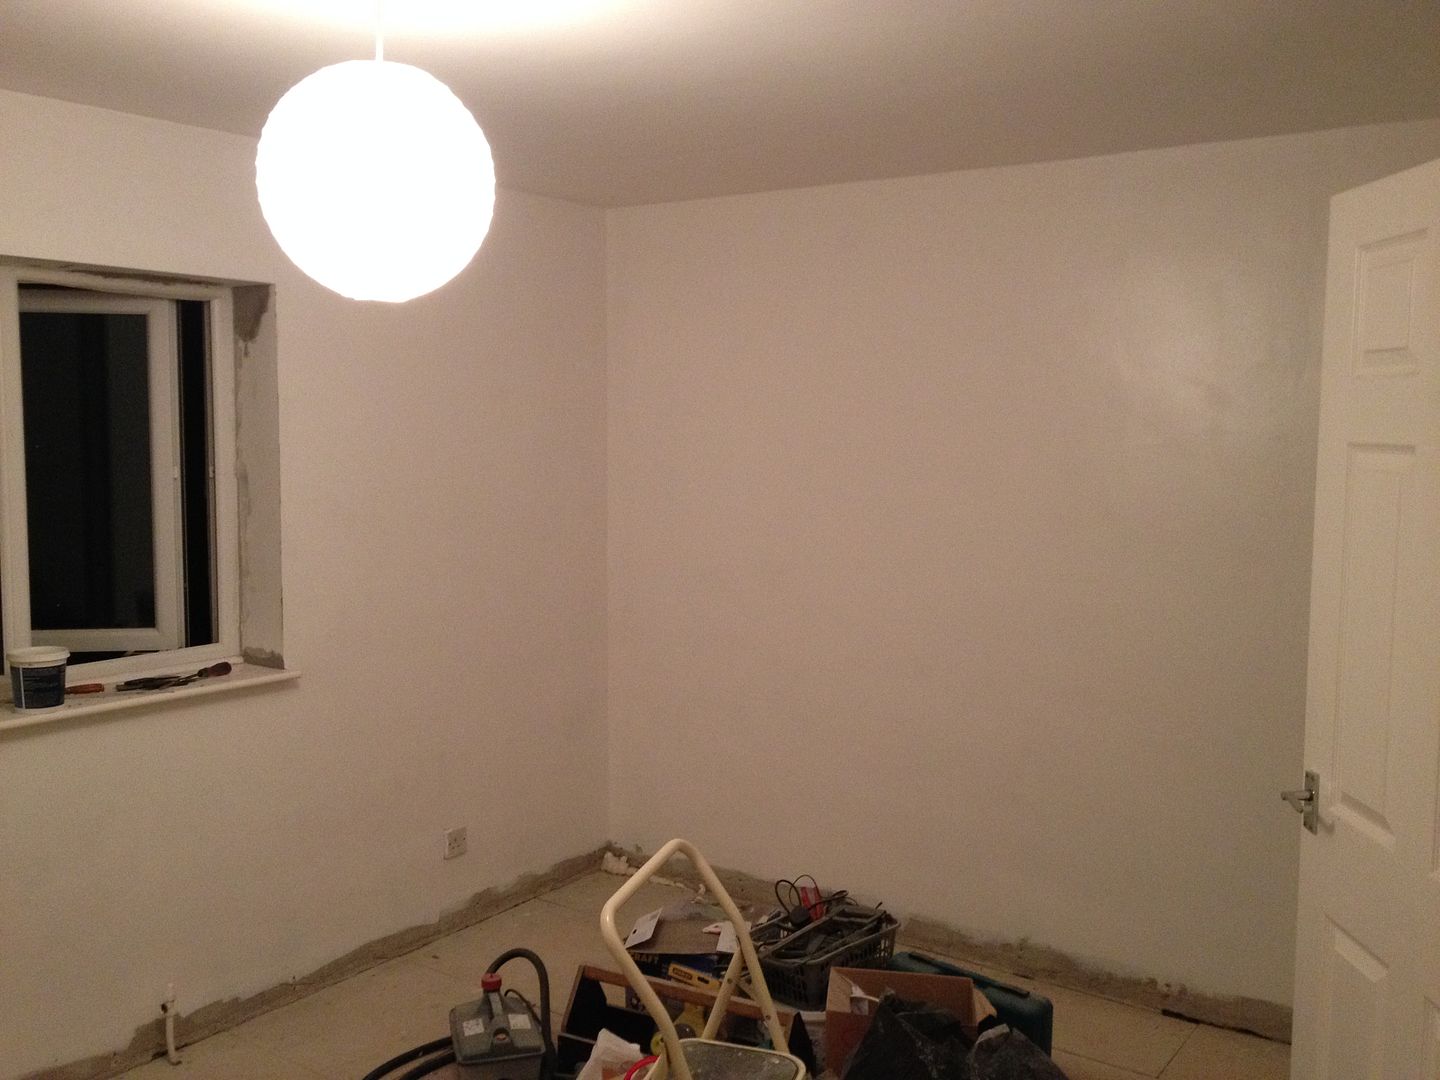
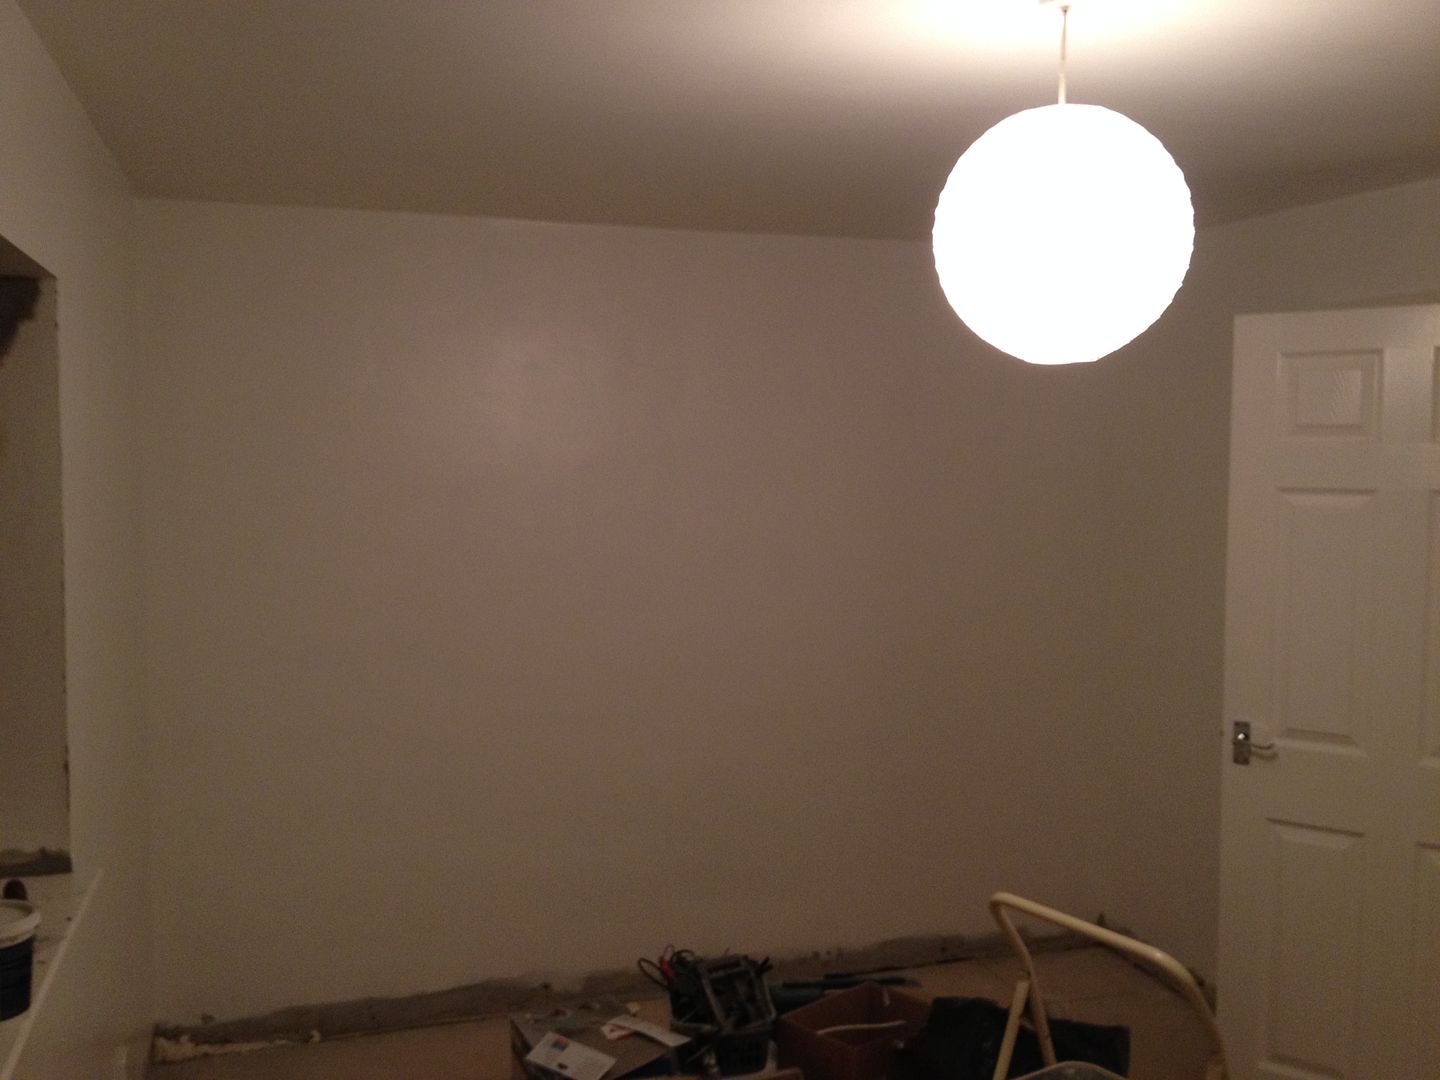
And after a lot of hard work with the filling and sanding I went over the walls with a couple of coats of high build primer type stuff..
So the next job from there was to start the prep work for the shower room.. This would entail bringing water in taking water out with waste pipes...
More to follow..
Following on from my last restoration thread on here which was for this: http://www.pistonheads.com/gassing/topic.asp?h=0&a... I'm back with my next project..
I took my first step on the property ladder in 2013 when I bought this house.. My offer was accepted in May and due to a bit of faffing about I didn't get the keys until September. As soon as I had the keys in my hand the work started in earnest to take the property from wood chip covered, Seventies boring-ness to a nice contemporary house. I'm a huge fan of Grand Designs and the various other home programmes so I was gagging to have a go myself!
I was fortunate enough to buy a place in arguably the most desirable part of town at the bottom of the market so I think I got a great deal and I hope that with the work I have carried out I will have increased the value.
The property is a 3 bed townhouse with living space over 3 floors with a front garden and a rear courtyard with a single garage which forms part of the lower ground floor.. In simple terms if you look at the property from the front it looks like a regular 2 story terraced house whereas there are 3 stories at the rear and the lower ground floor is a single garage and utility room. I must say the house has a lot more space than you imagine before going inside.
My initial plans were to modernise the whole place into somewhere I would love to live. Work would consist of removal of wood chip throughout, re plastering where neccessary, new lighting, new carpets, new bathrooms, new kitchen, removal of internal walls on ground floor creating an open plan space and new flooring throughout. To be fair most things have been and are getting done besides the roof and the windows have already been done.
I have been living in the house for a year now whilst carrying out the work.. This has been a bit inconvenient but not the worst as I live on my own so I can generally work in one area at a time and keep other areas free from too much building muck!..
Anyway this was the front of the house followed by the floor plans.. The front of the house was/is pretty uninspiring but with a a few tweaks I have already done and plan to do I think the kerb appeal will improve.


Unfortunately I haven't taken any photos from the rear and unfortunately I didn't take any photos of the overgrown garden either!
So the first job which was started as soon as I moved in was to sort the master bedroom out which included the addition of a glass shower room/en-suite without the thunder box. This was an idea I had which I thought would be very exciting and give a wow factor to the master bedroom.. With the benefit of hindsight I would have been better playing things safe and putting up a stud wall but hey ho its a bit different and it works great for me. So the work on the master bedroom commenced.. First job was to get rid of the carpets and all the wood chip..


In the next picture you can see the built in wardrobe that was in the corner of the master bedroom which I planned to remove and utilise the space for the Ensuite shower room.
[URL=http://s1271.photobucket.com/user/PatrickMcDowall/media/House/06A4CF7C-4269-42BC-B2AF-CEAFF3033F94_zpsp2wmseu0.jpg.html][IMG]http://i1271.photobucket.com
/albums/jj622/PatrickMcDowall/House/06A4CF7C-4269-42BC-B2AF-CEAFF3033F94_zpsp2wmseu0.jpg[/IMG][/URL]
And with the built in wardrobe removed and the woodchip off the walls

The next step was to go over all the walls with a tub of filler to remove any imperfections.. This was a real pain of a job and one that after the next room I decided was too time consuming so re-skimming from there on in!..


And after a lot of hard work with the filling and sanding I went over the walls with a couple of coats of high build primer type stuff..


So the next job from there was to start the prep work for the shower room.. This would entail bringing water in taking water out with waste pipes...
More to follow..
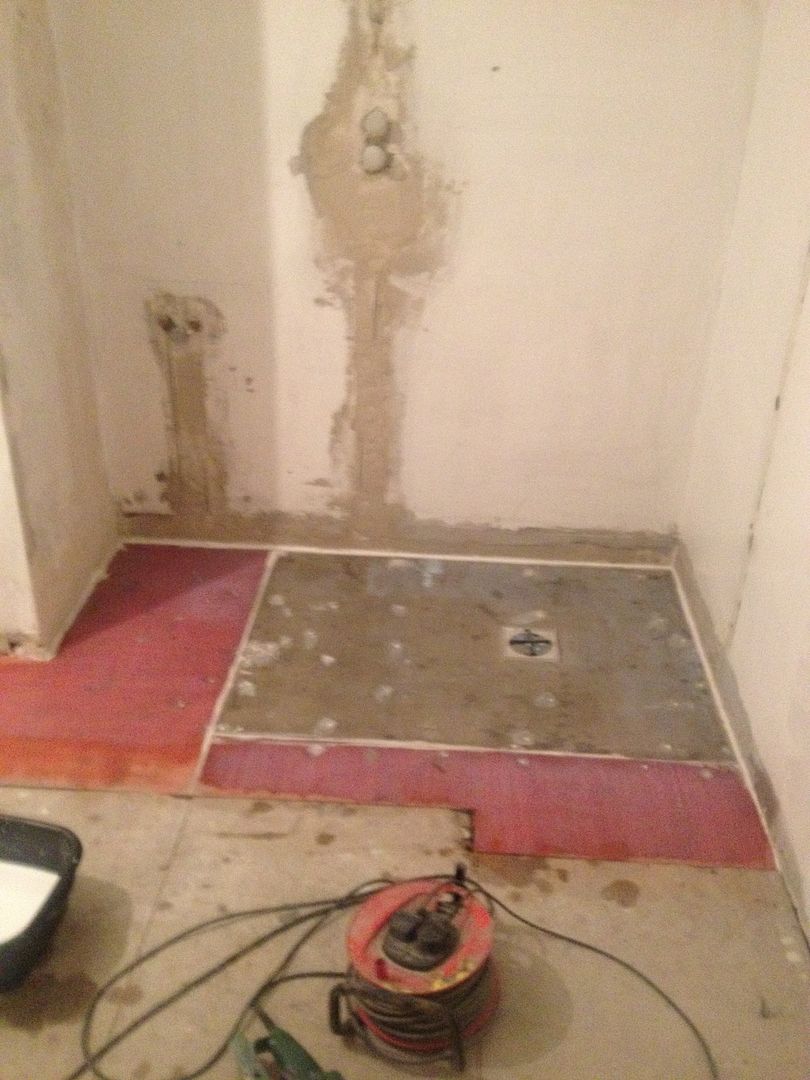
So because I wanted to make life hard for myself I wanted the shower room to be a wet room as opposed to having a shower tray.. The first step here was to 'under board' the floor to ensure a bit more strength for the wetroom shower tray to sit on.. First job was lifting the existing floor boards.
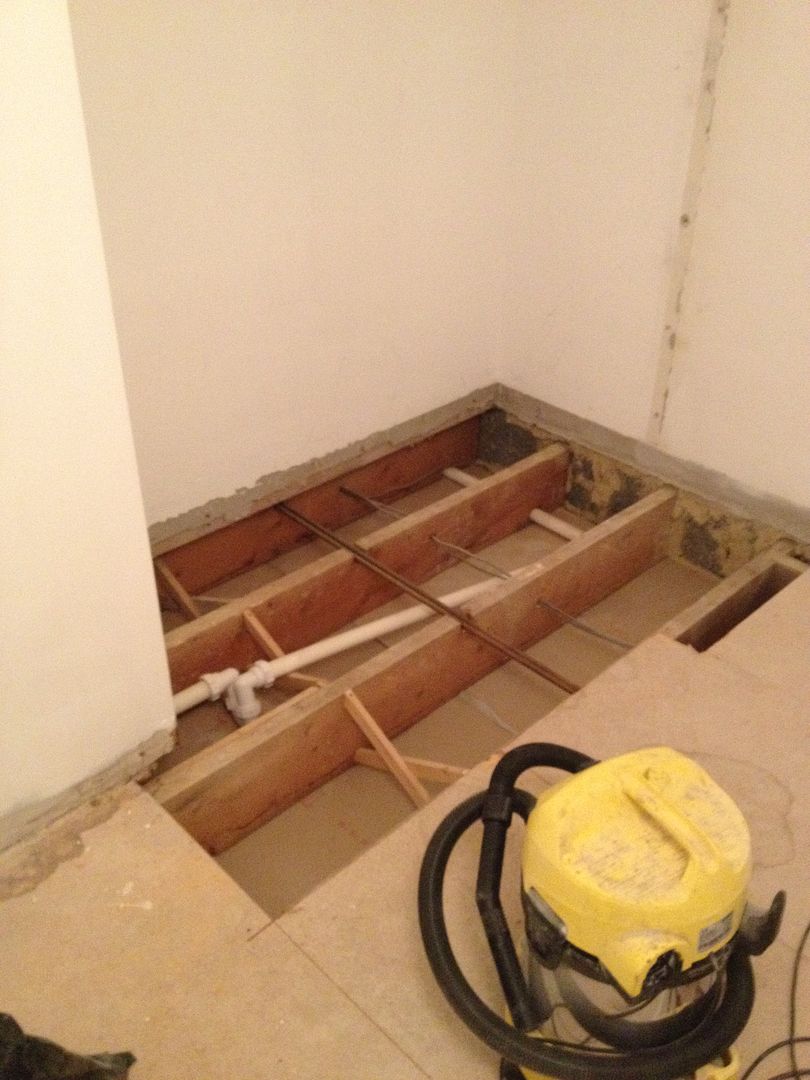
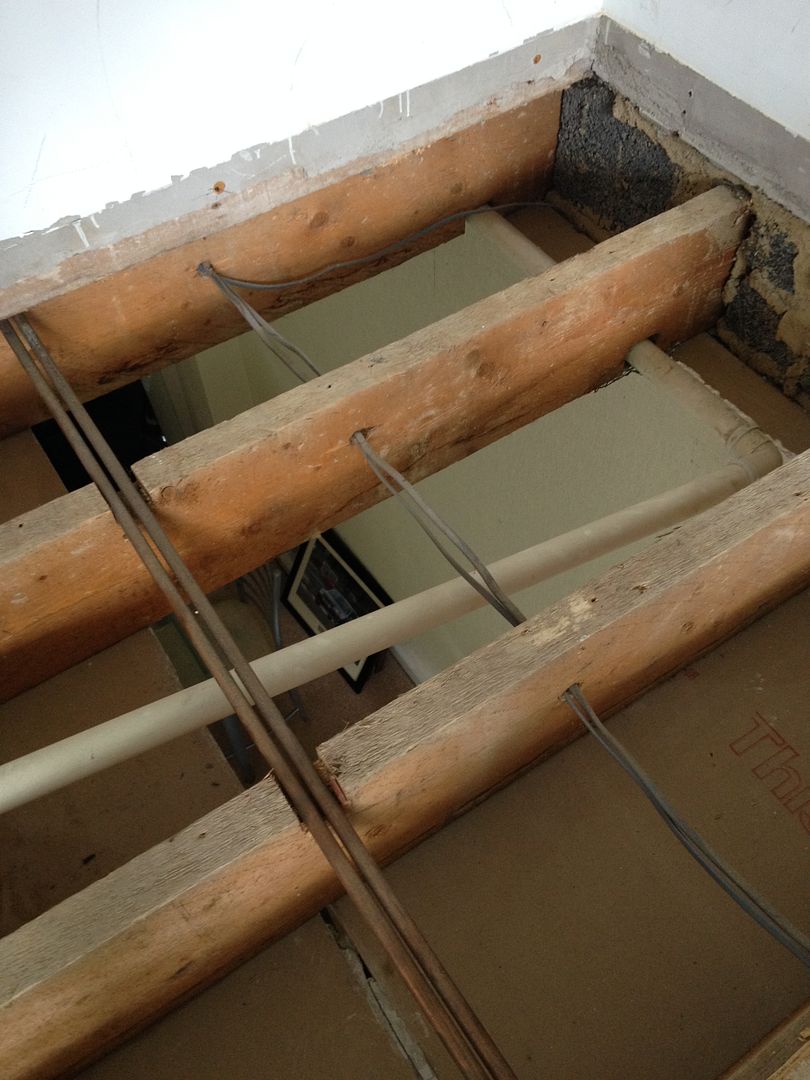
Because the ceilings were going to eventually come down on the ground floor I created an opening from below to allow me to access the waste pipes easier.
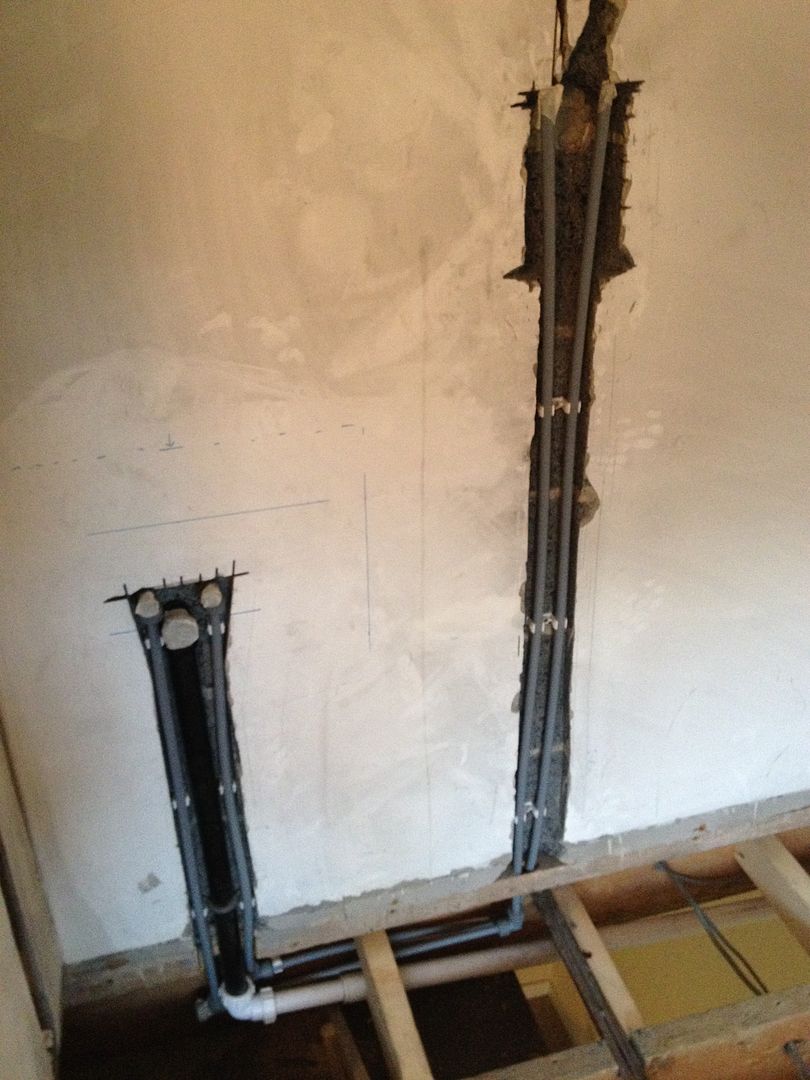
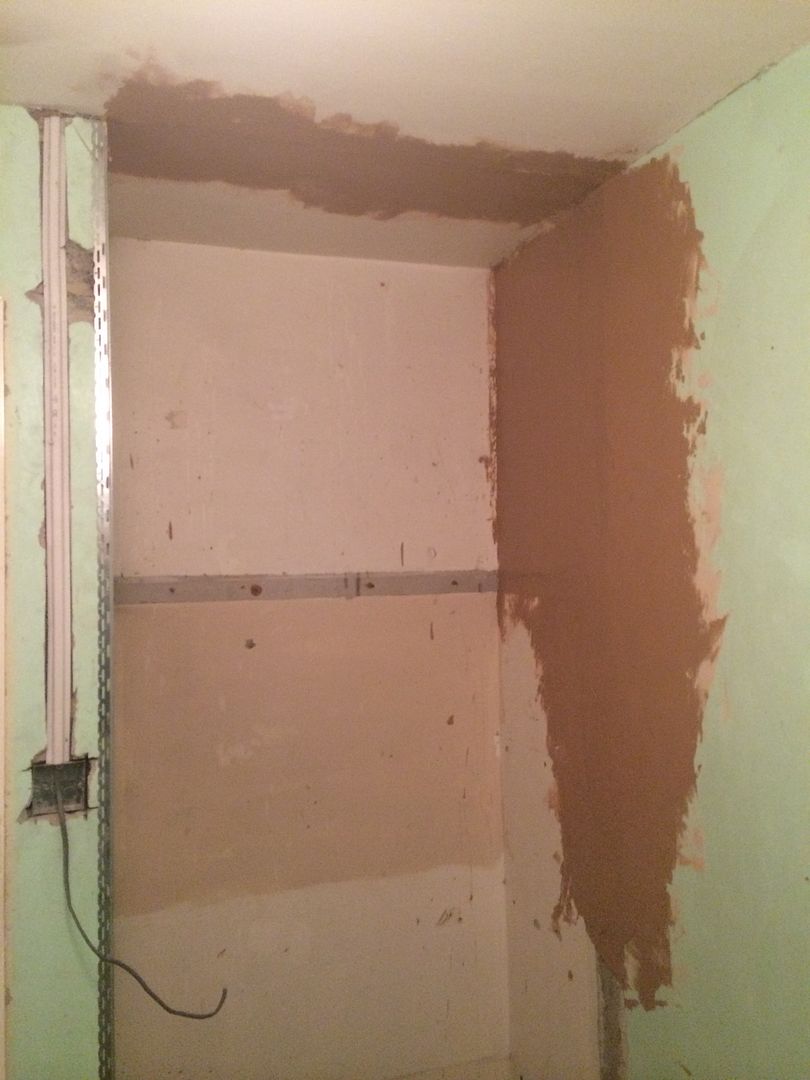
The next job was to create some channels for pipework in the walls. This was a very messy job with the grinder..
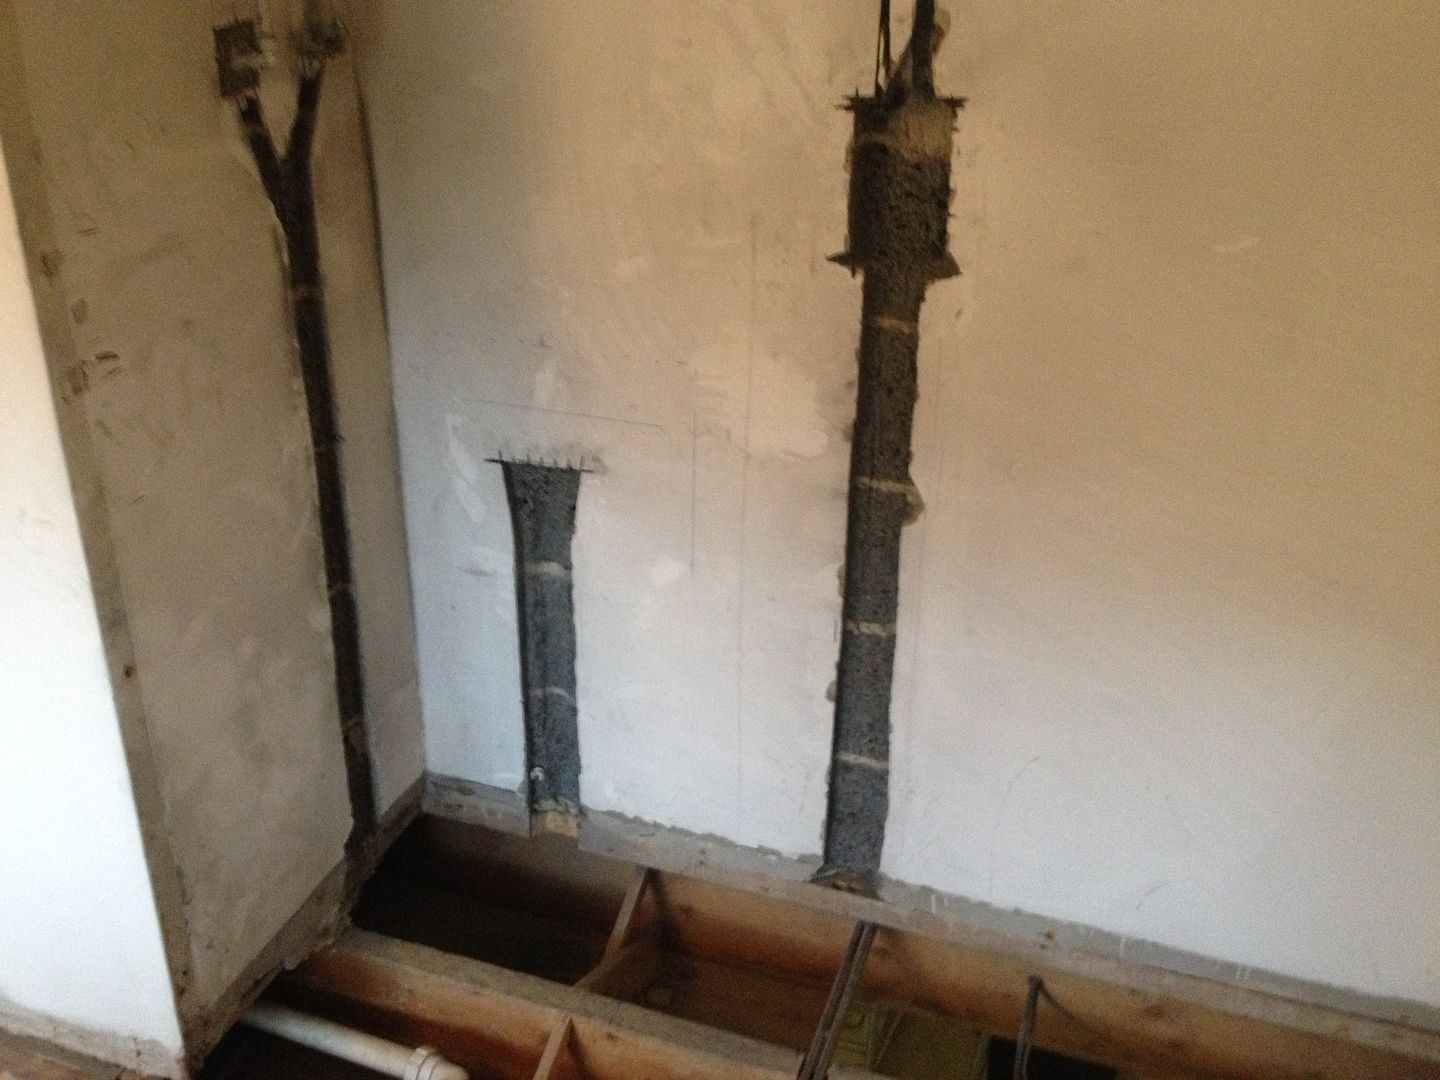
With some pipework in place..
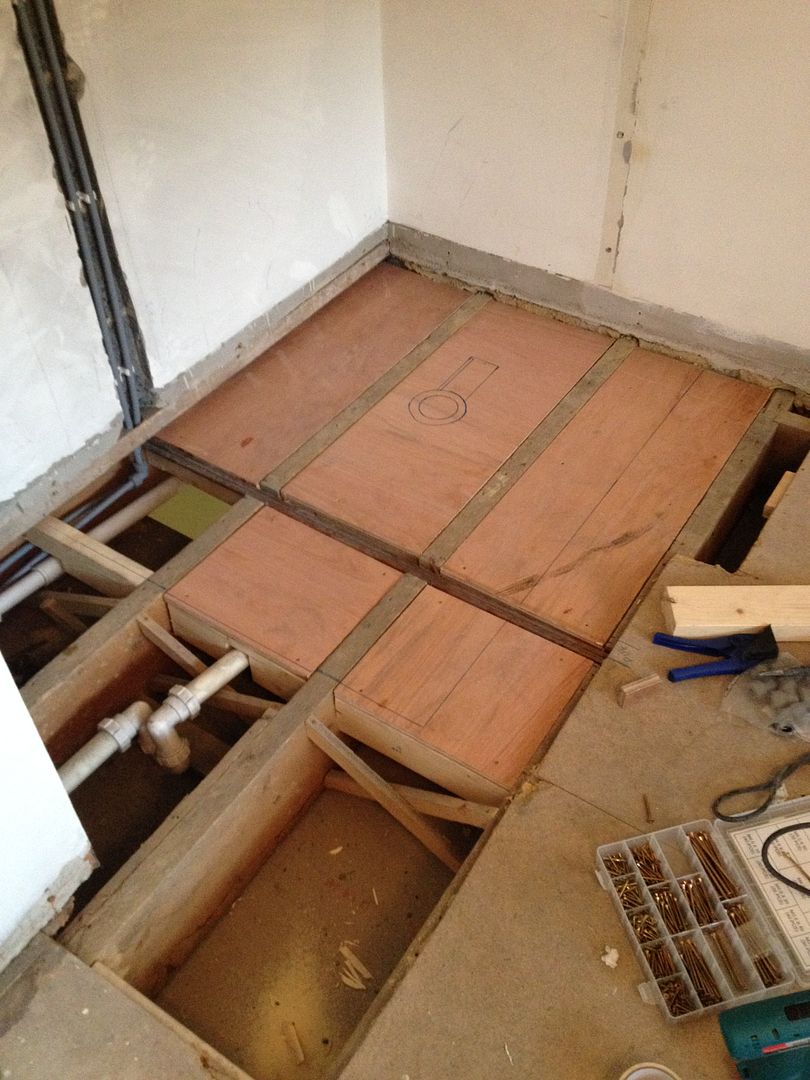
So with the batons in place ready to underboard.

And with the plyboard in place..
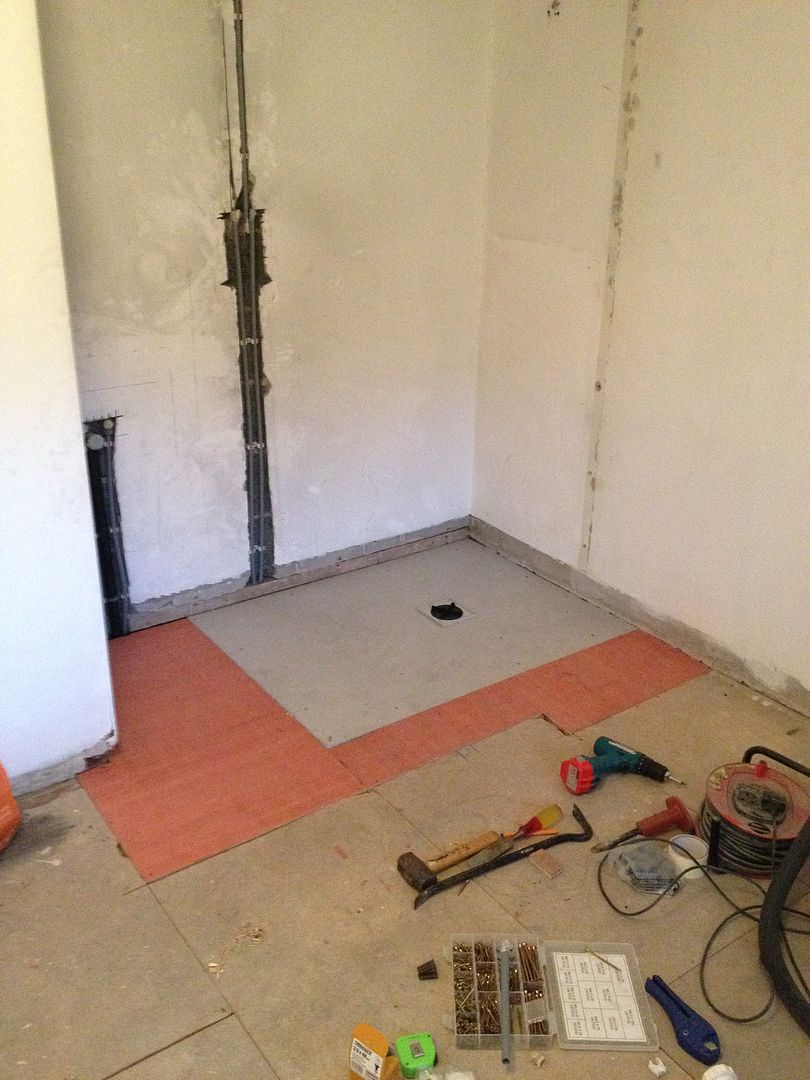
The shower tray was then put in place along with some more boards to bring the whole floor back to level..
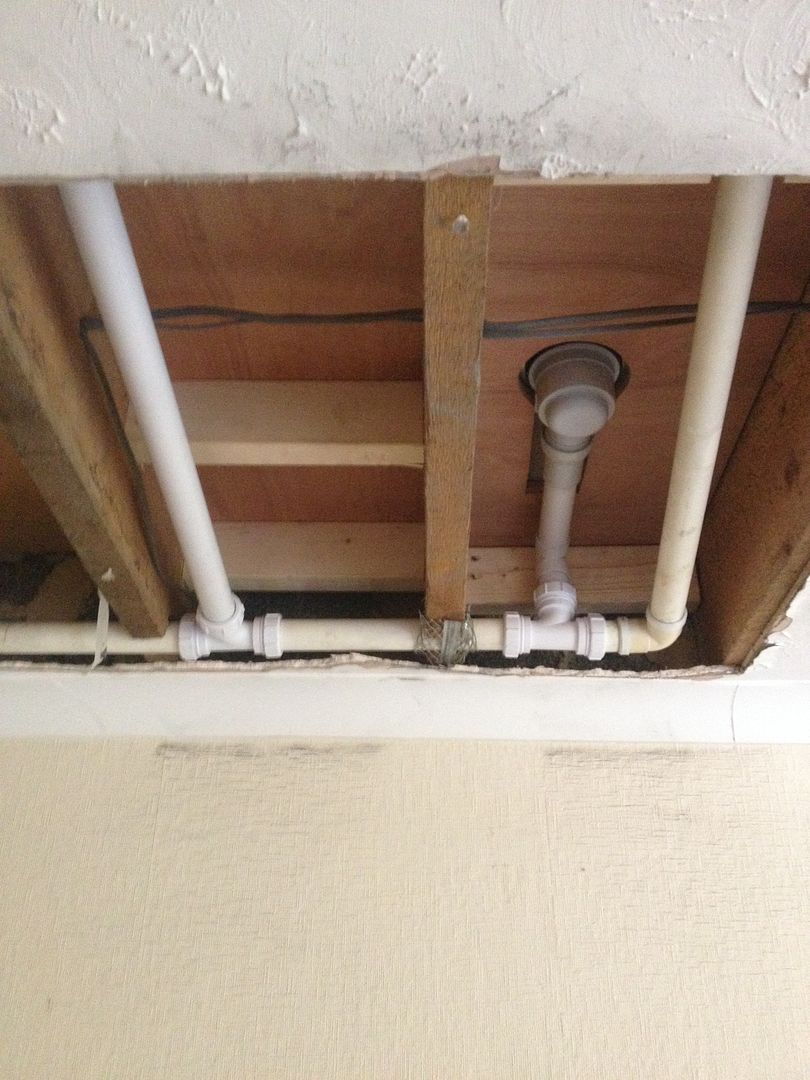
And a view from underneath with the waste pipes joined up..
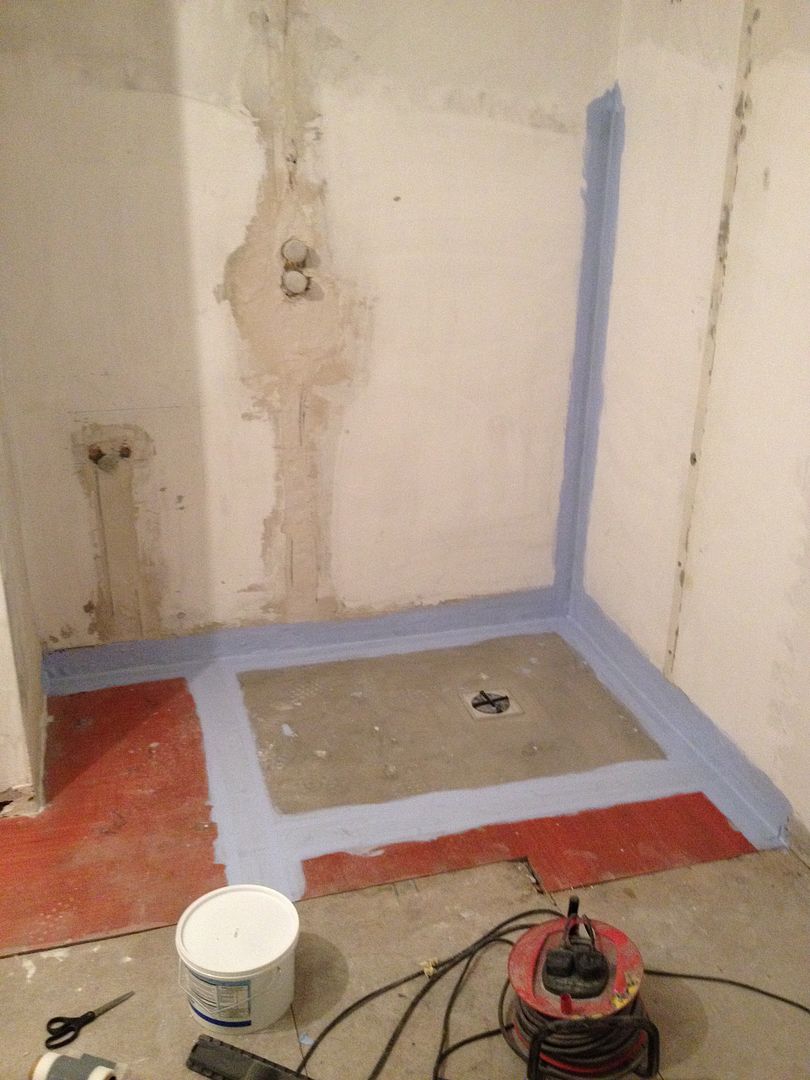
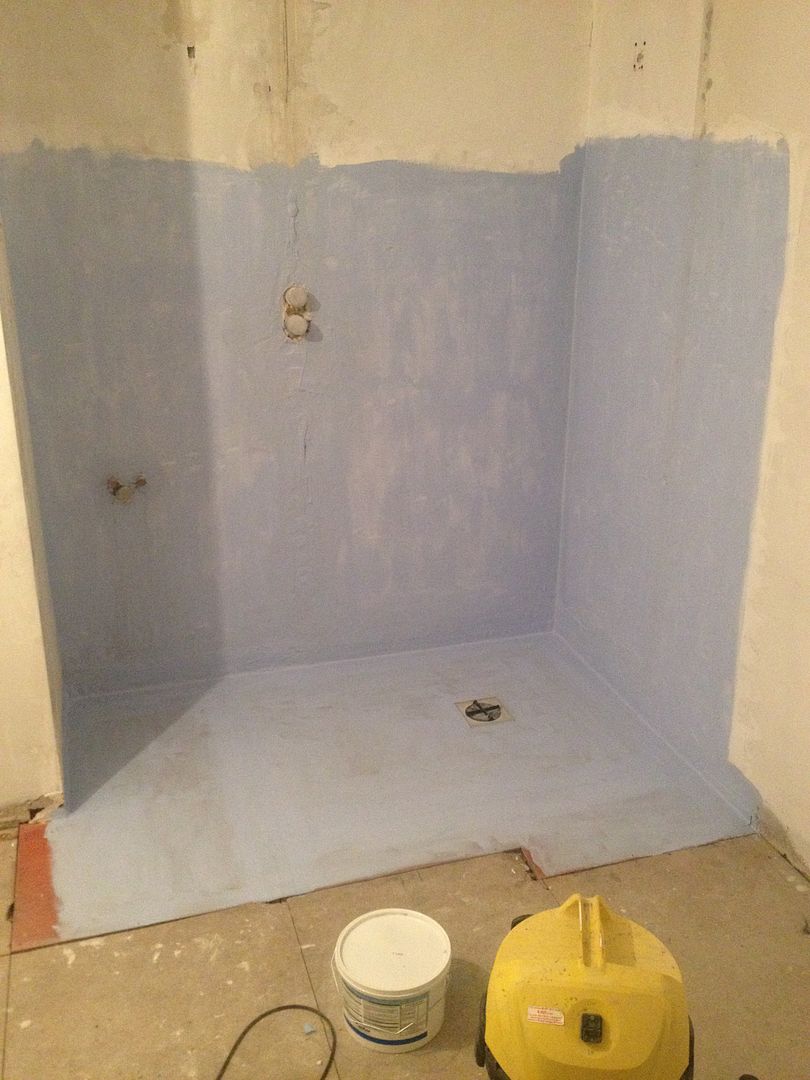
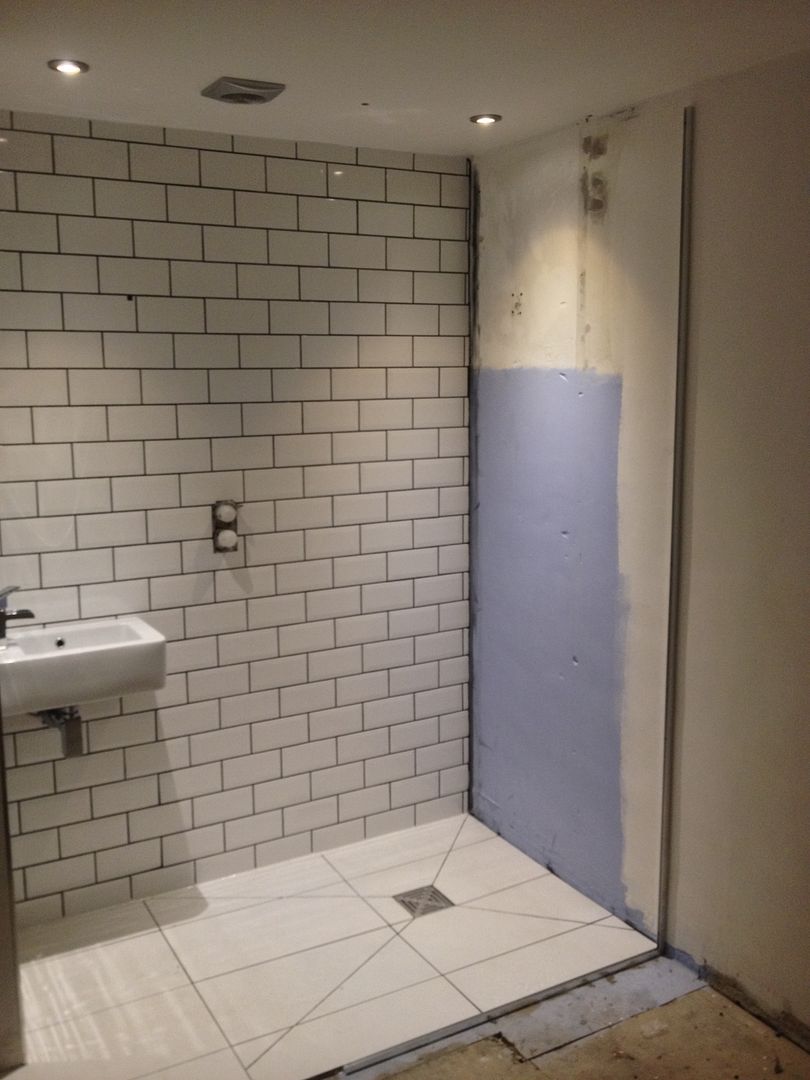
The next step was to tank the area where the shower room is going to be..

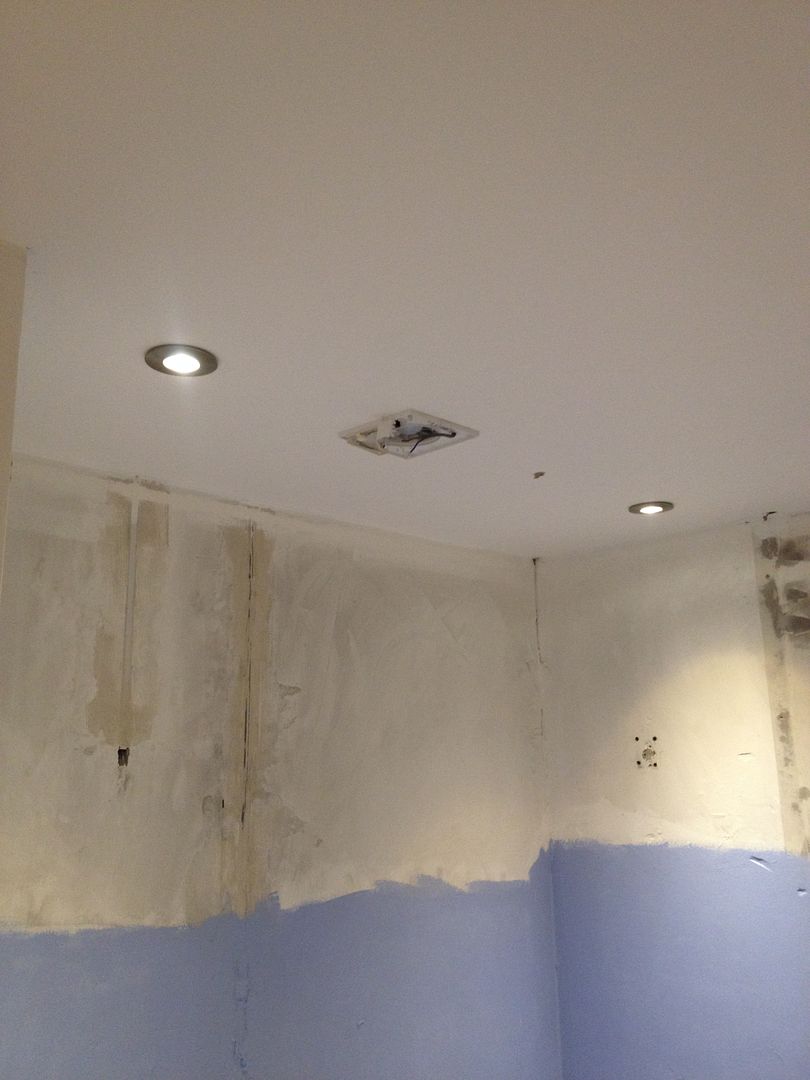
In the meantime the ceiling has been filled and sanded and for the area where the shower room is going to be some bathroom specific downlights and a fan were installed..
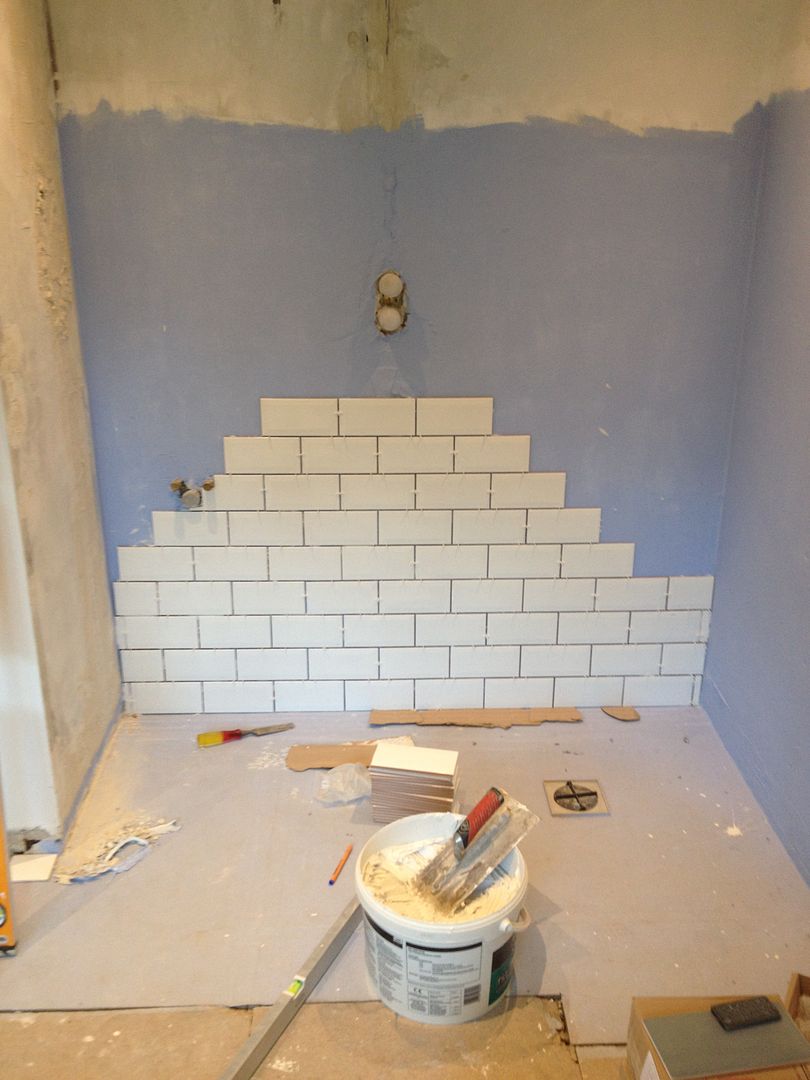
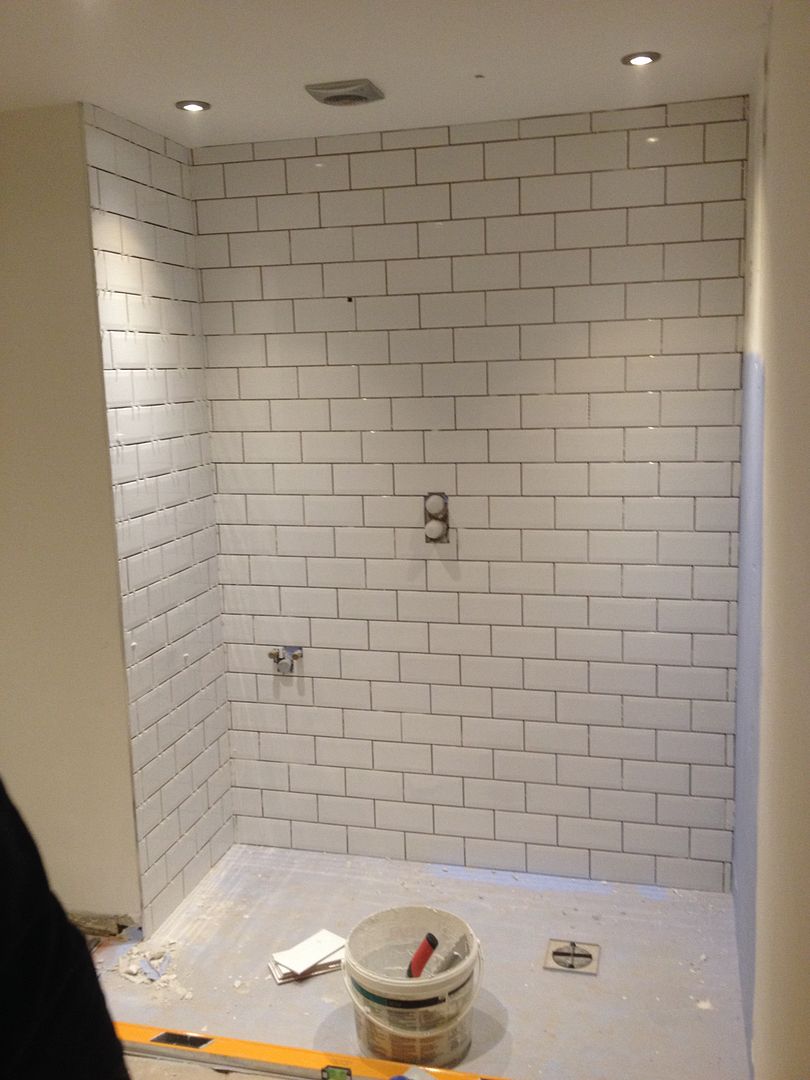
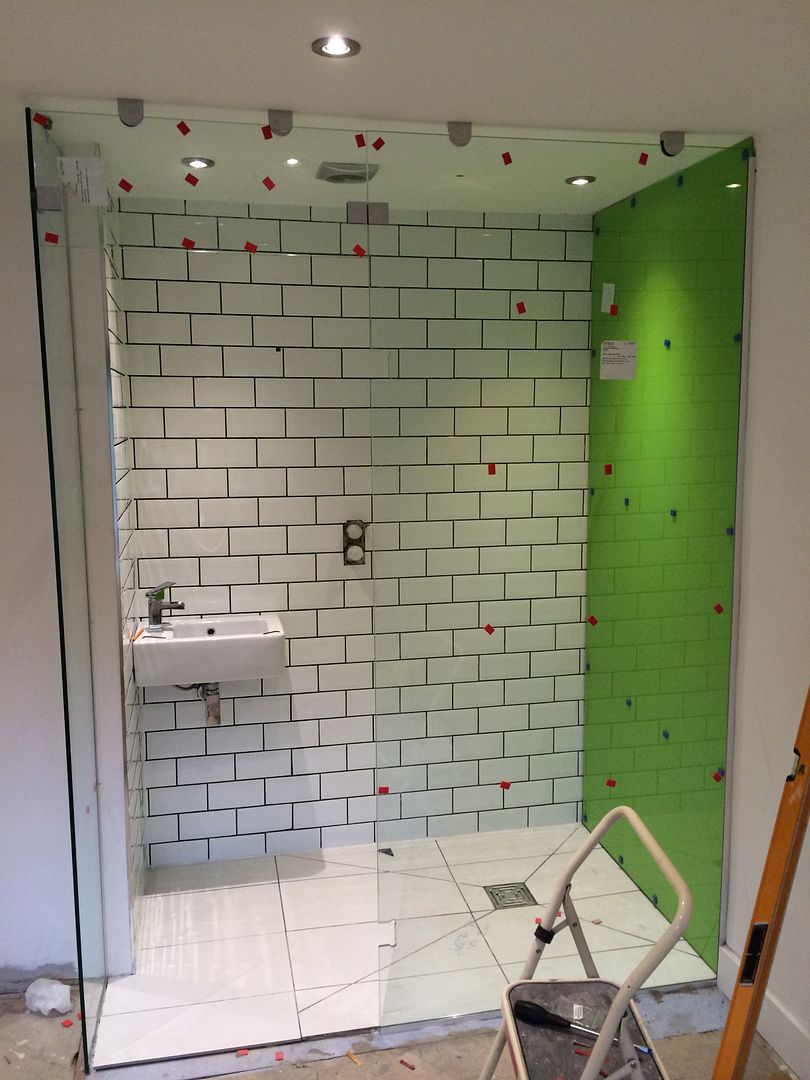
Next job was to start the tiling.. I chose the brick tile type..
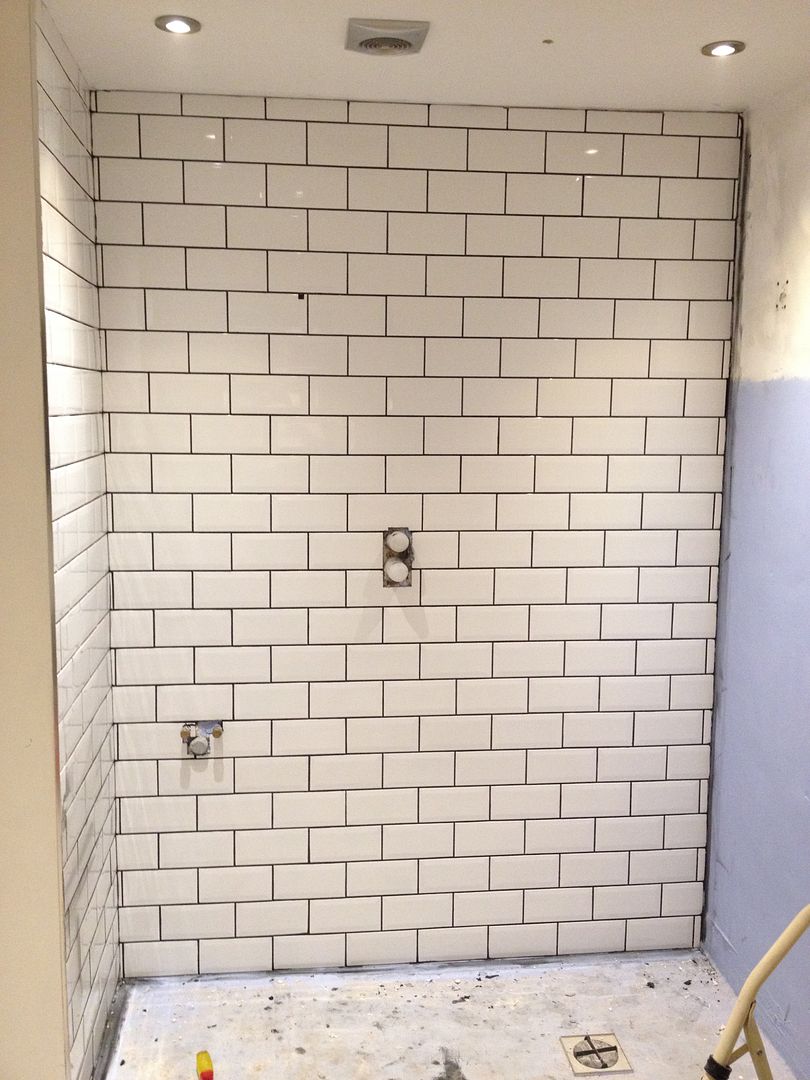
And then grouted..
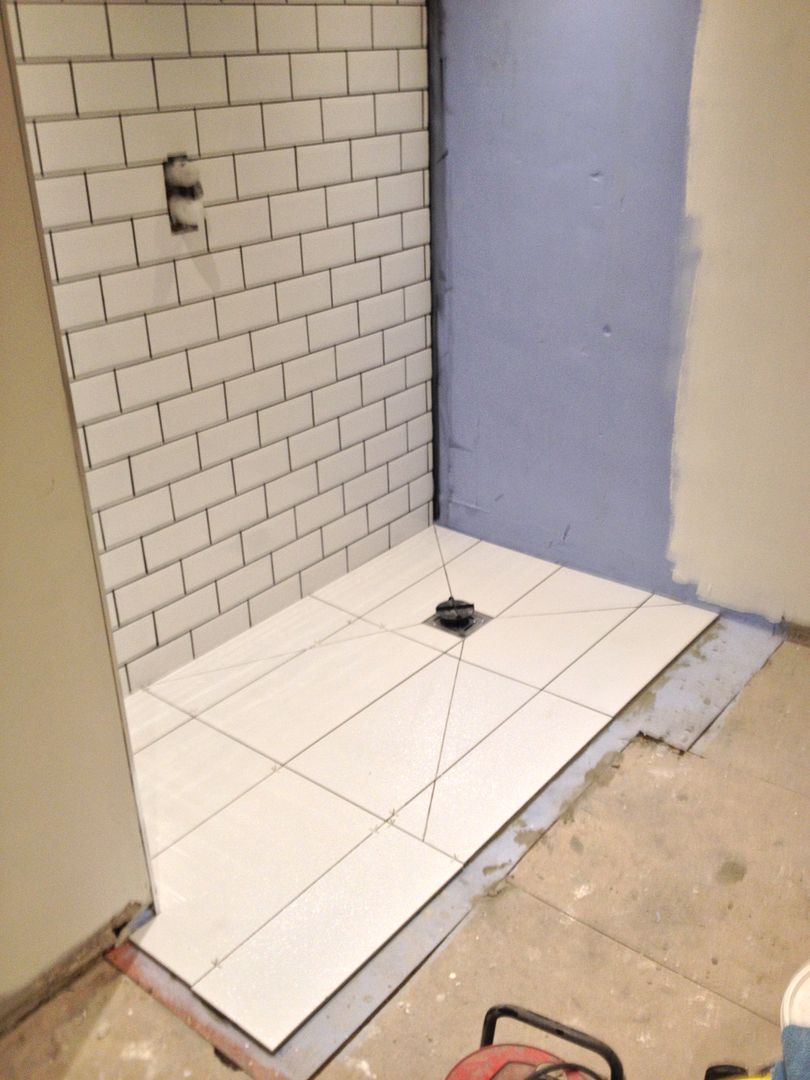
The floor tiles were then laid..
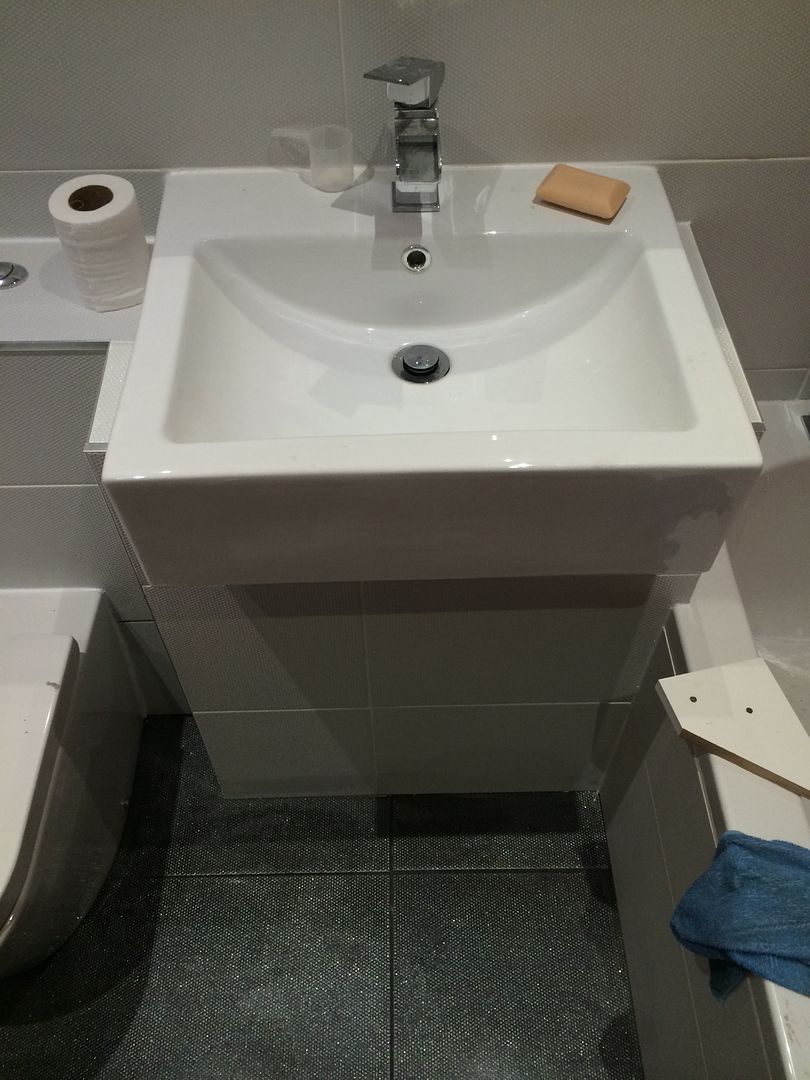
A basin was then installed..
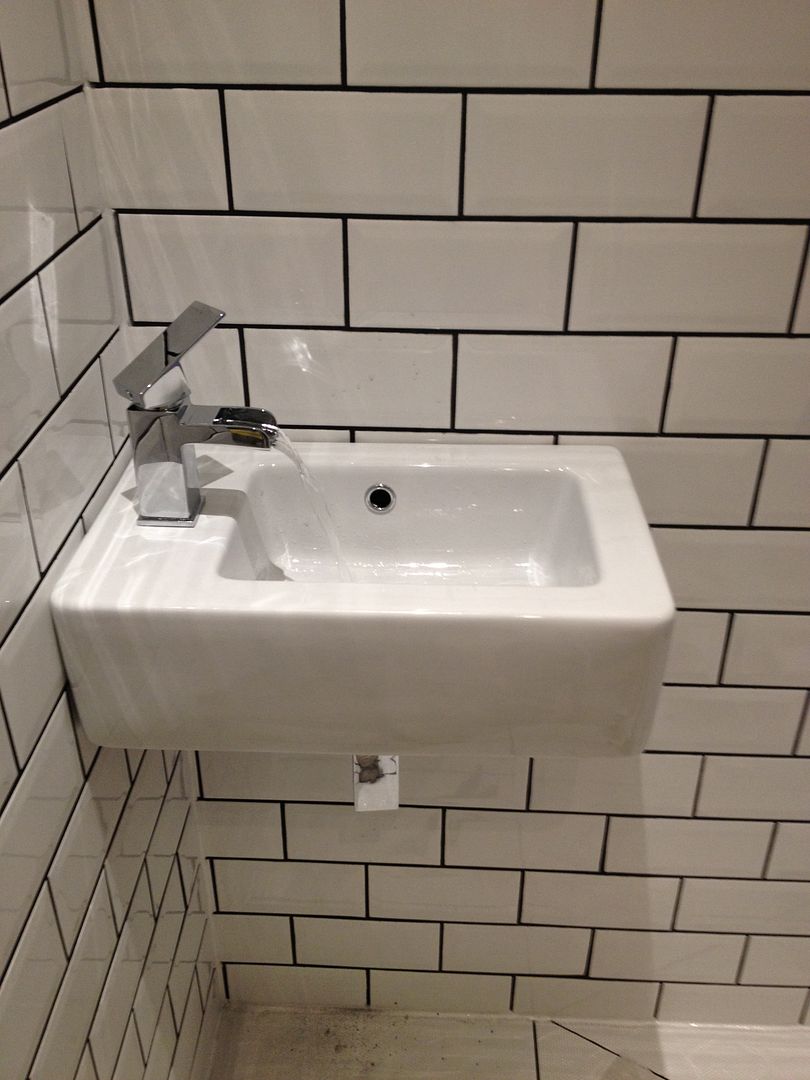
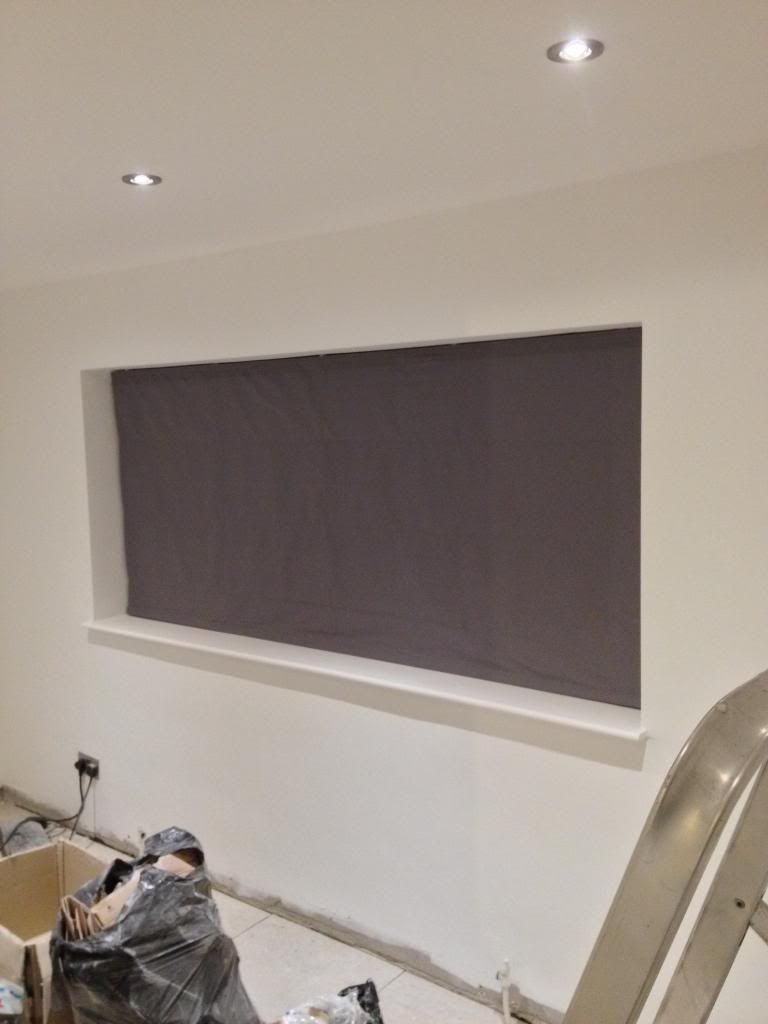
As the real dusty work had now finished I set about giving the walls a final coat of paint, installing the downlights, putting on new skirting boards and hanging a Roman blind.

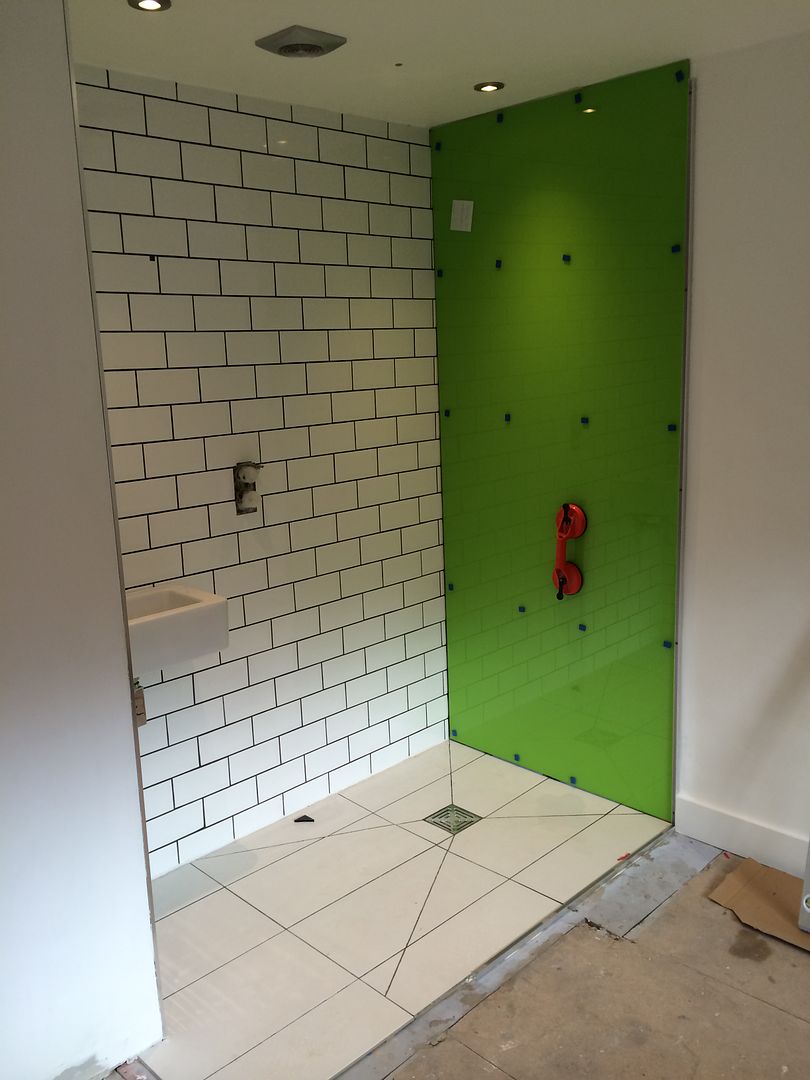
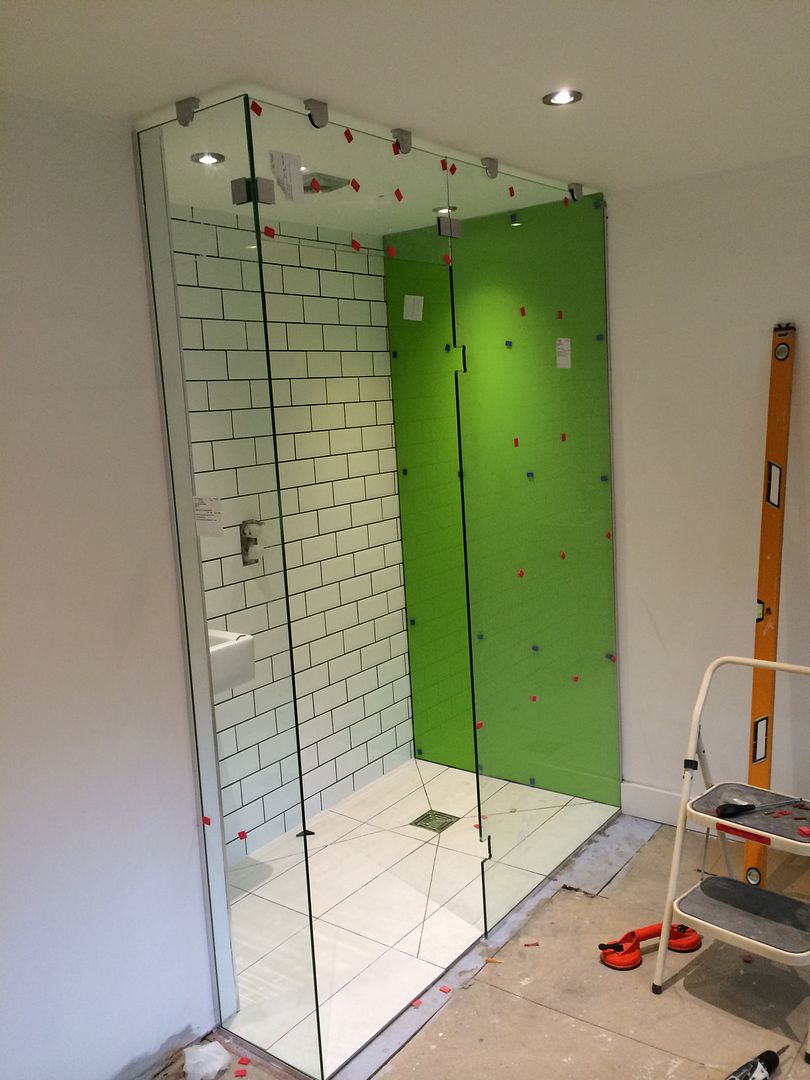
The next step was the one I had been looking forward to the most... It was time for some glass! The back wall of the shower room was going to be a coloured glass panel and the walls will be clear... So the channels in place
Coloured back panel in place
Walls going in..
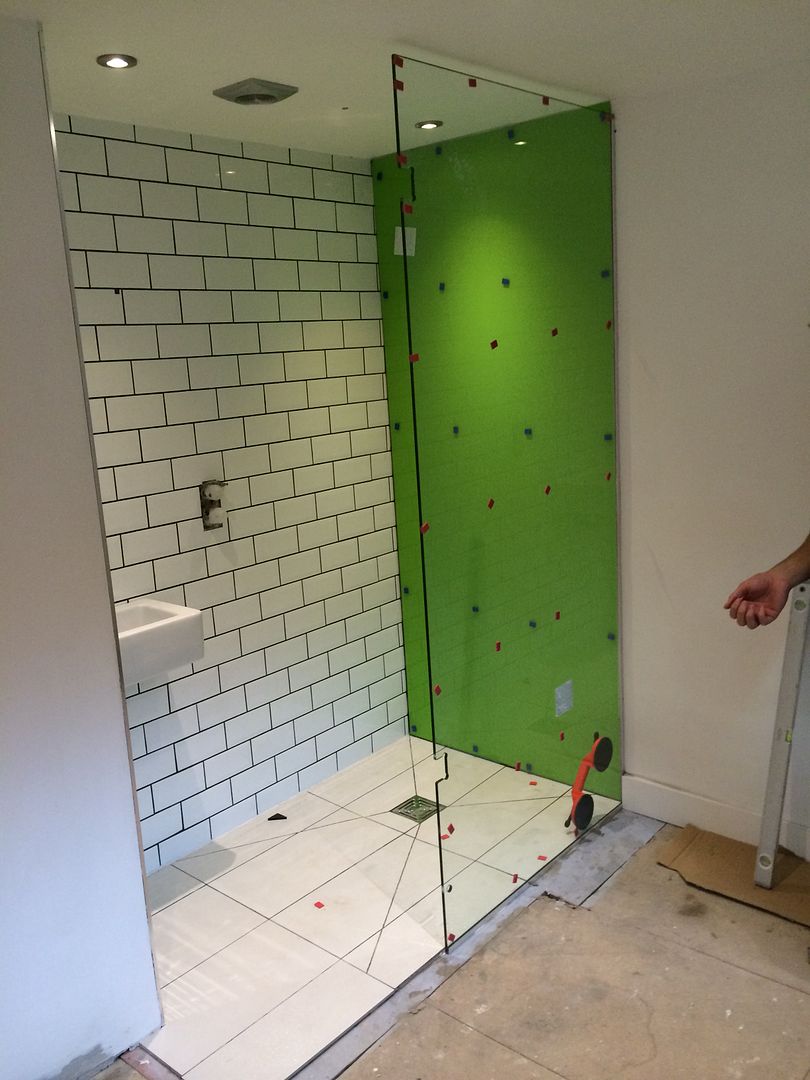
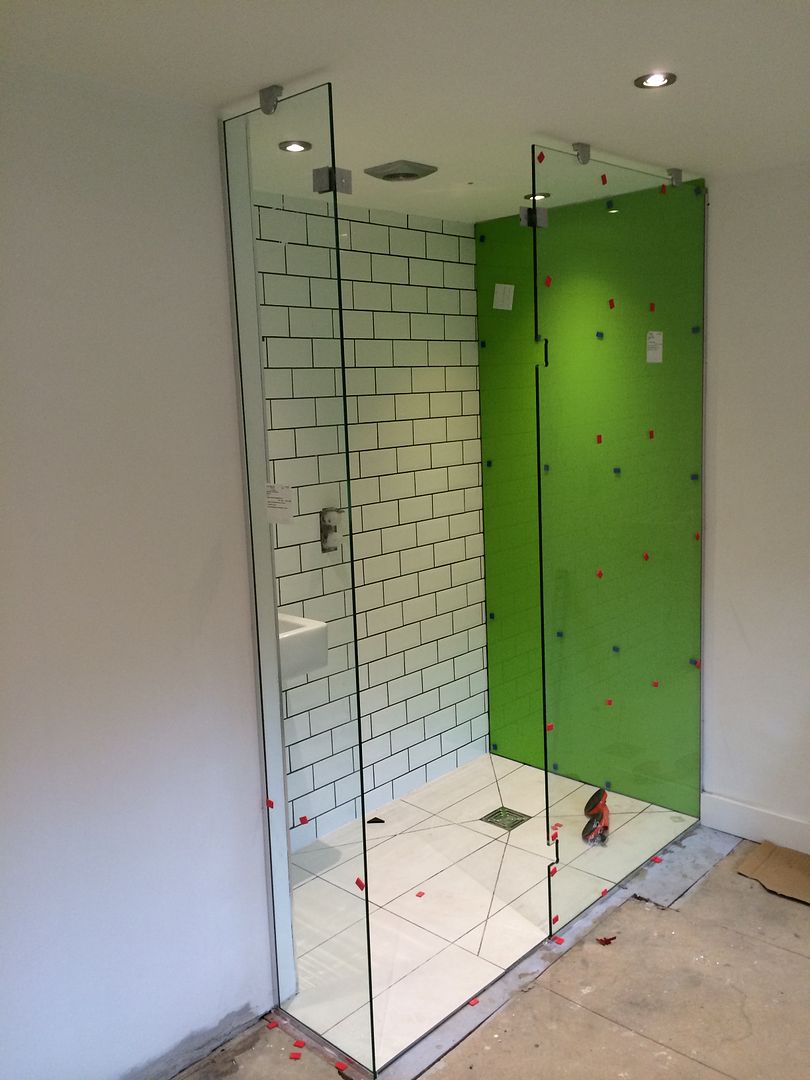
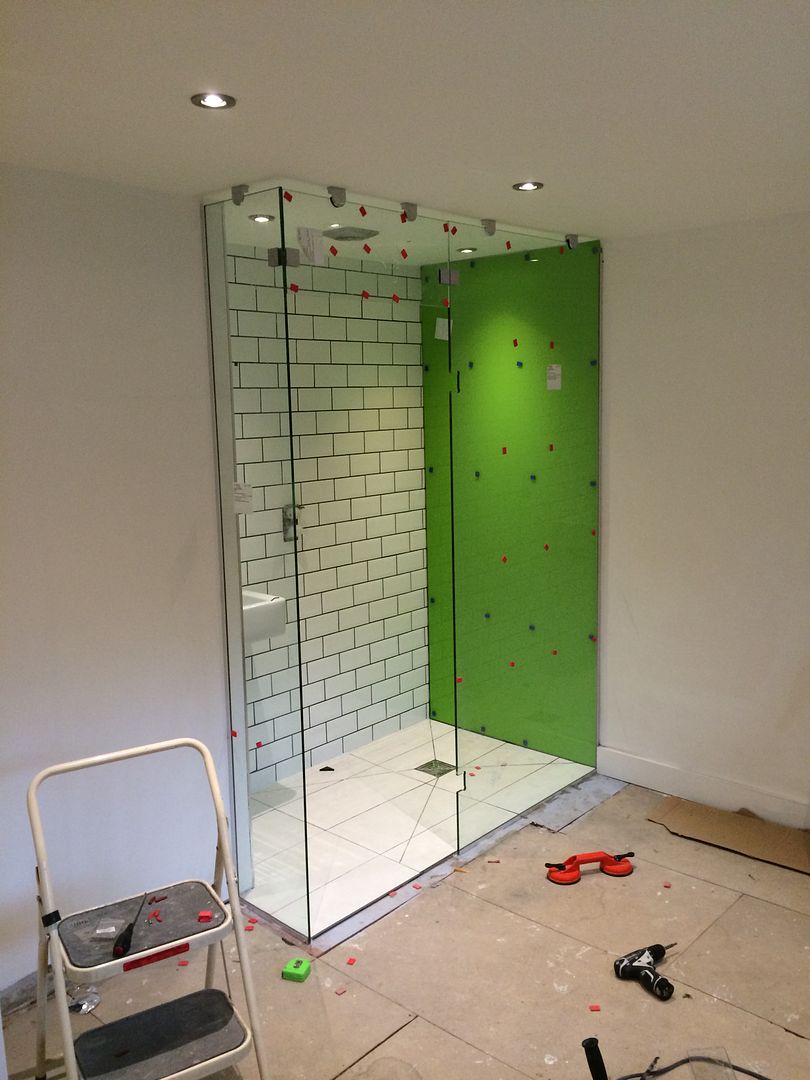
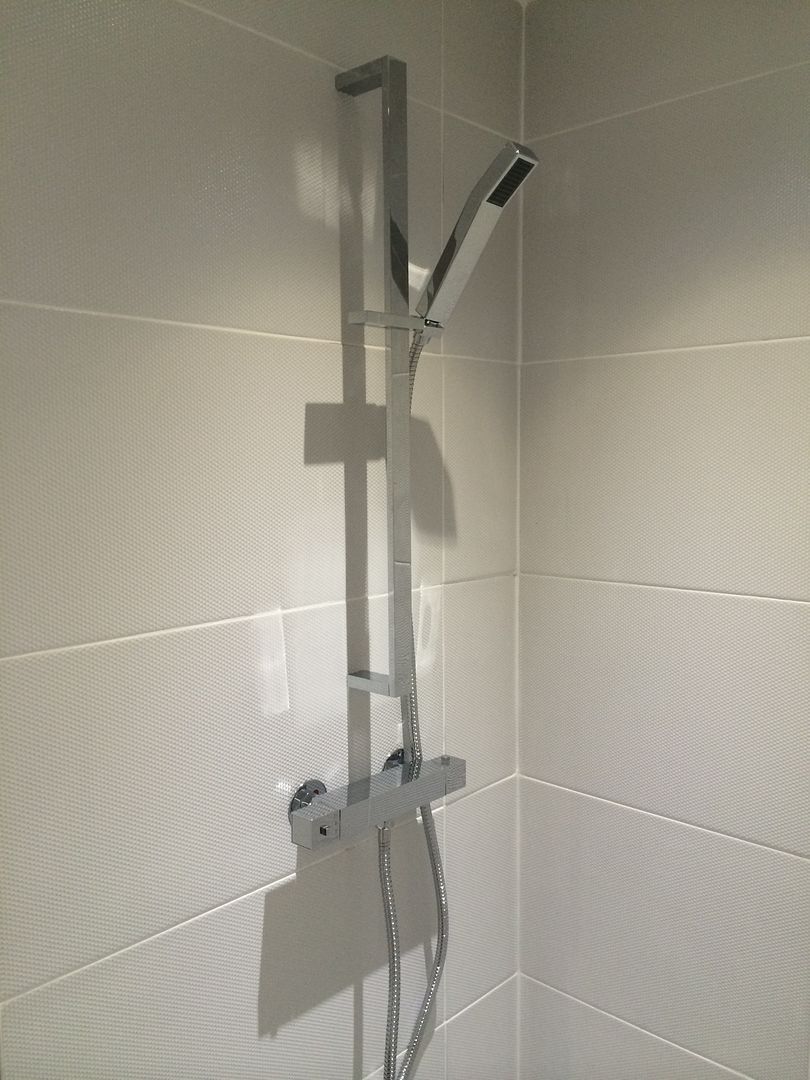
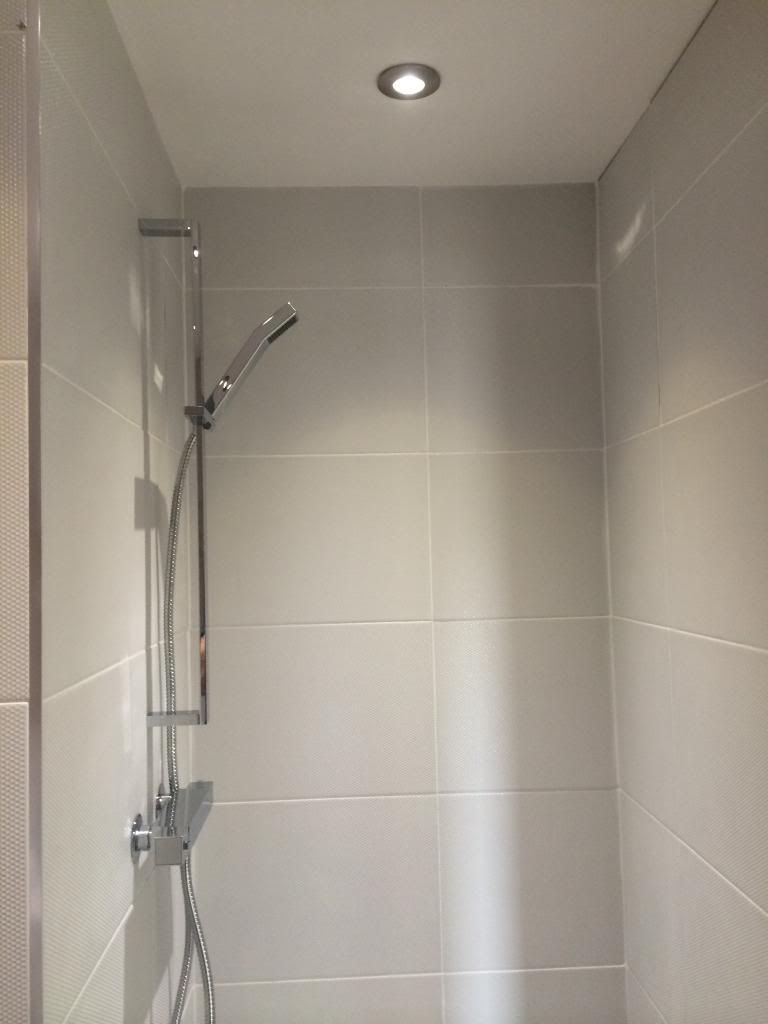
I then removed all the sticky bits off the glass and installed the rainfall shower head..


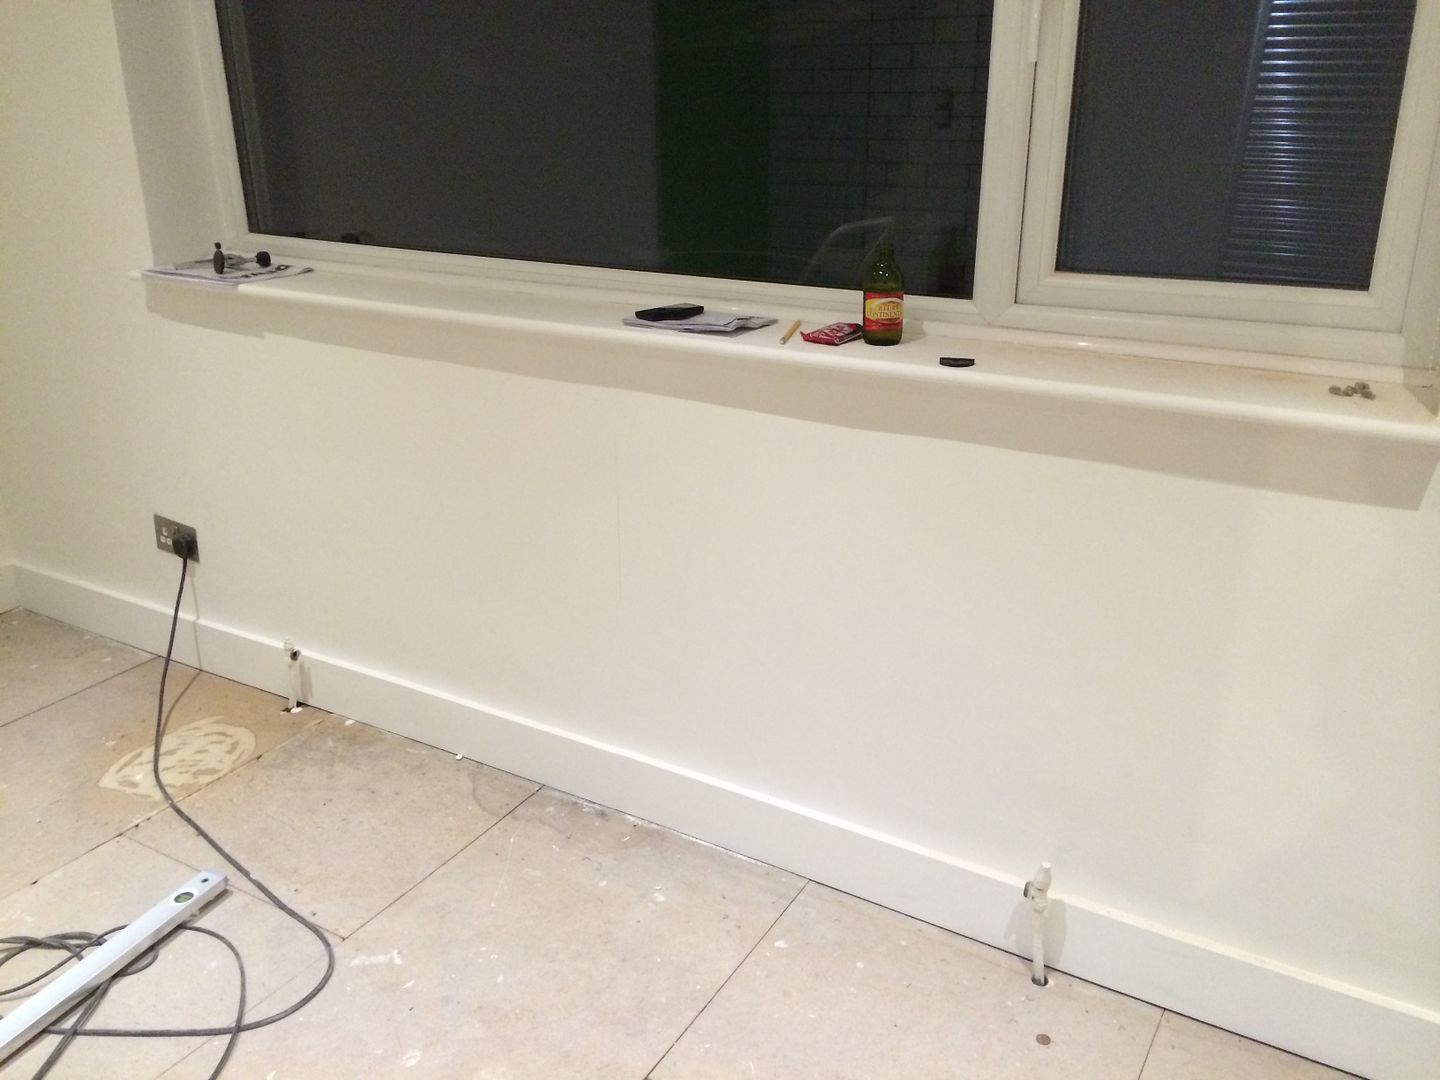
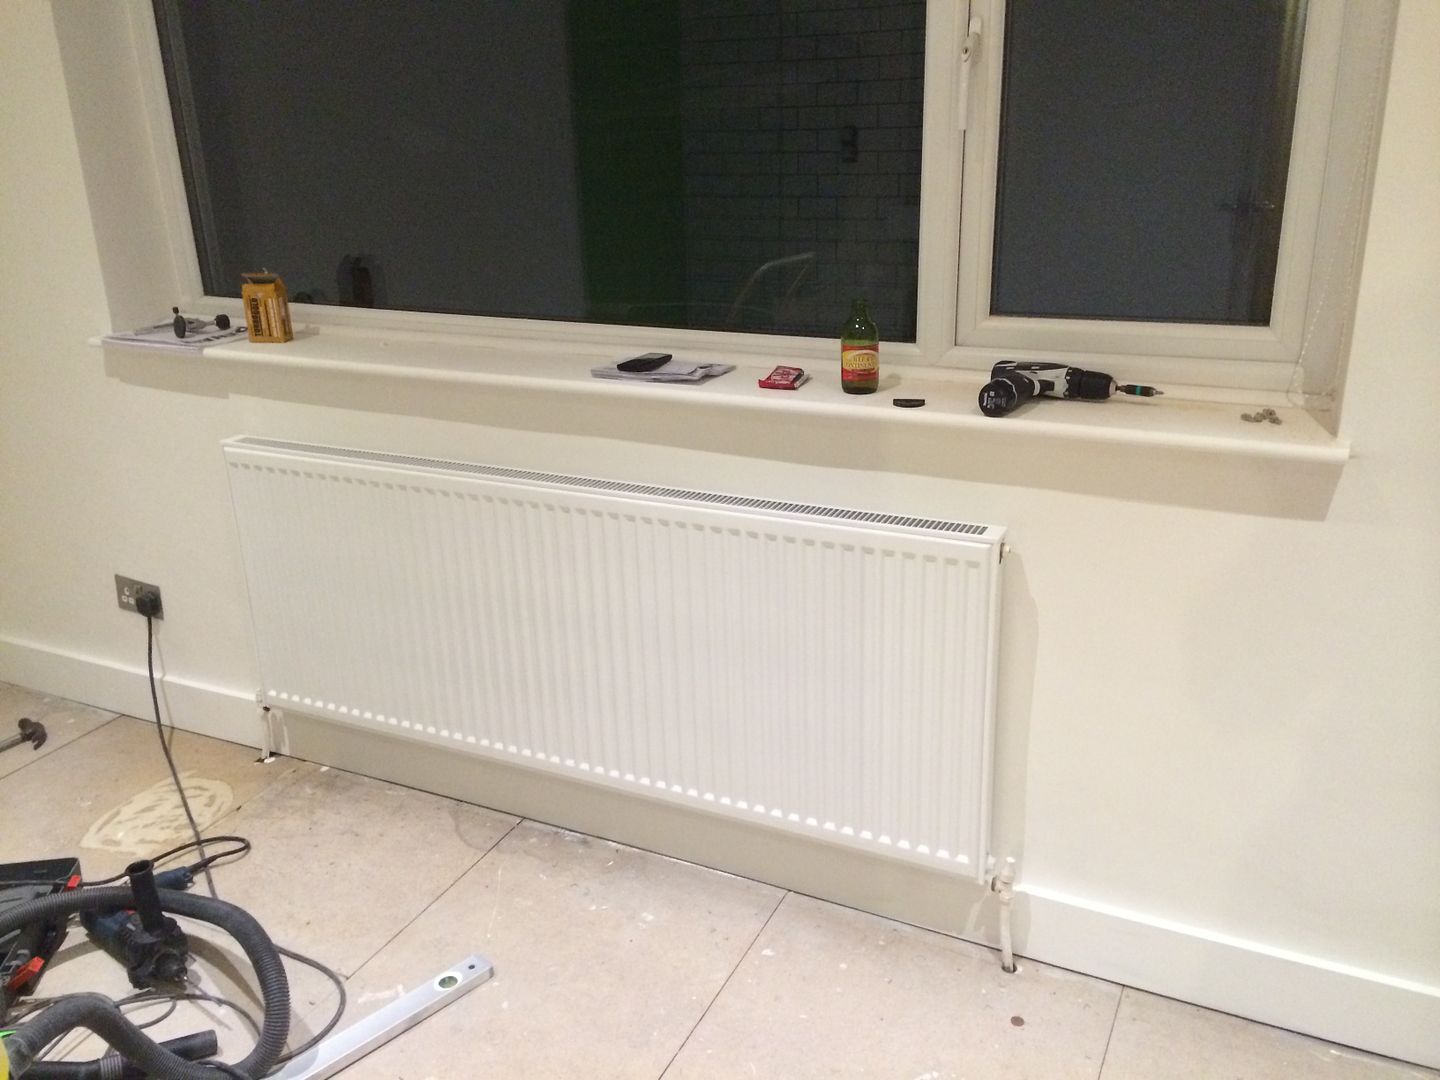
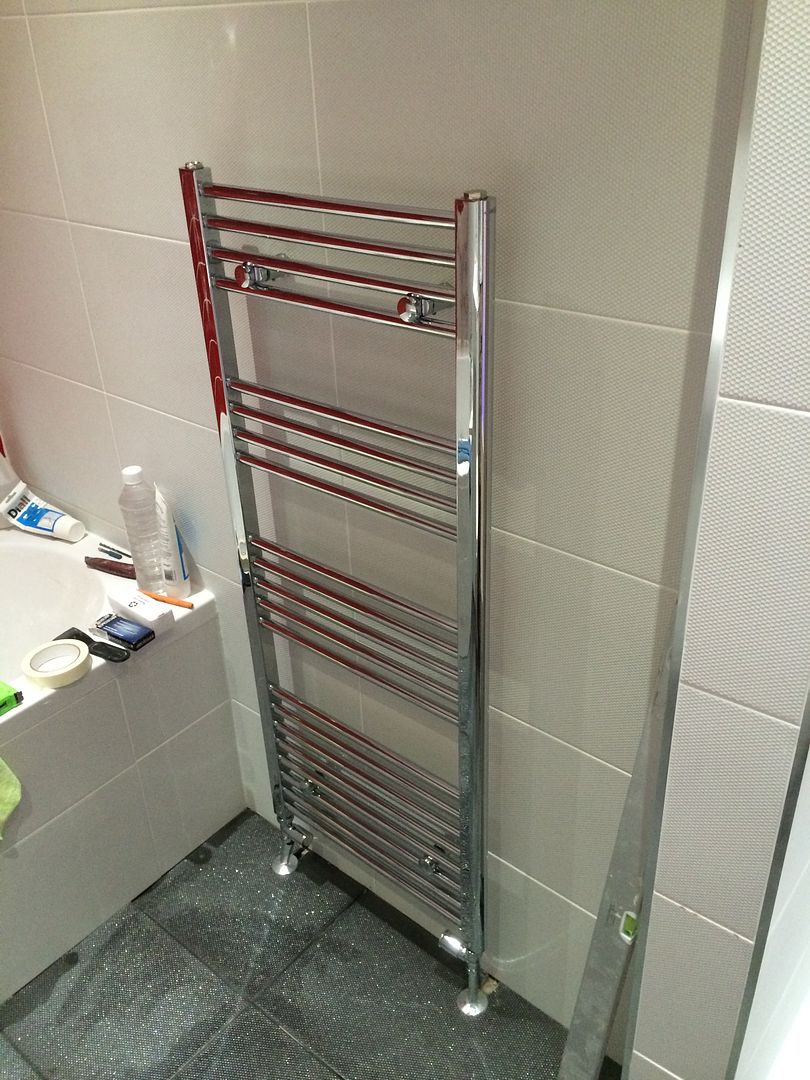
The next job was to hang a new radiator
Then it was carpet time..
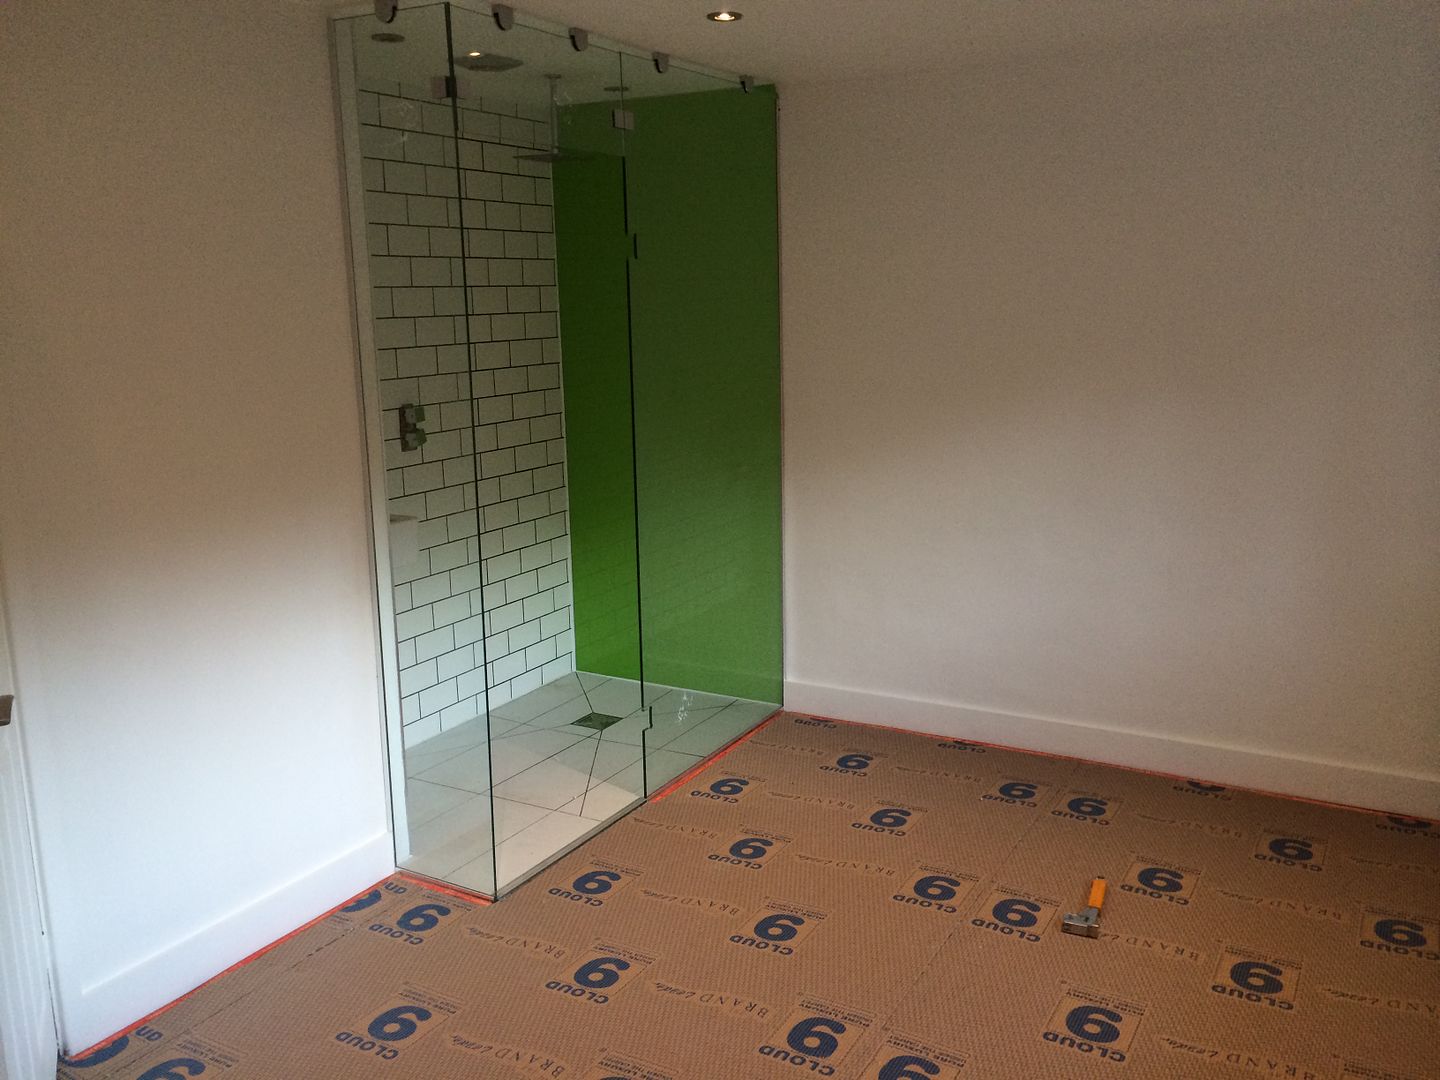

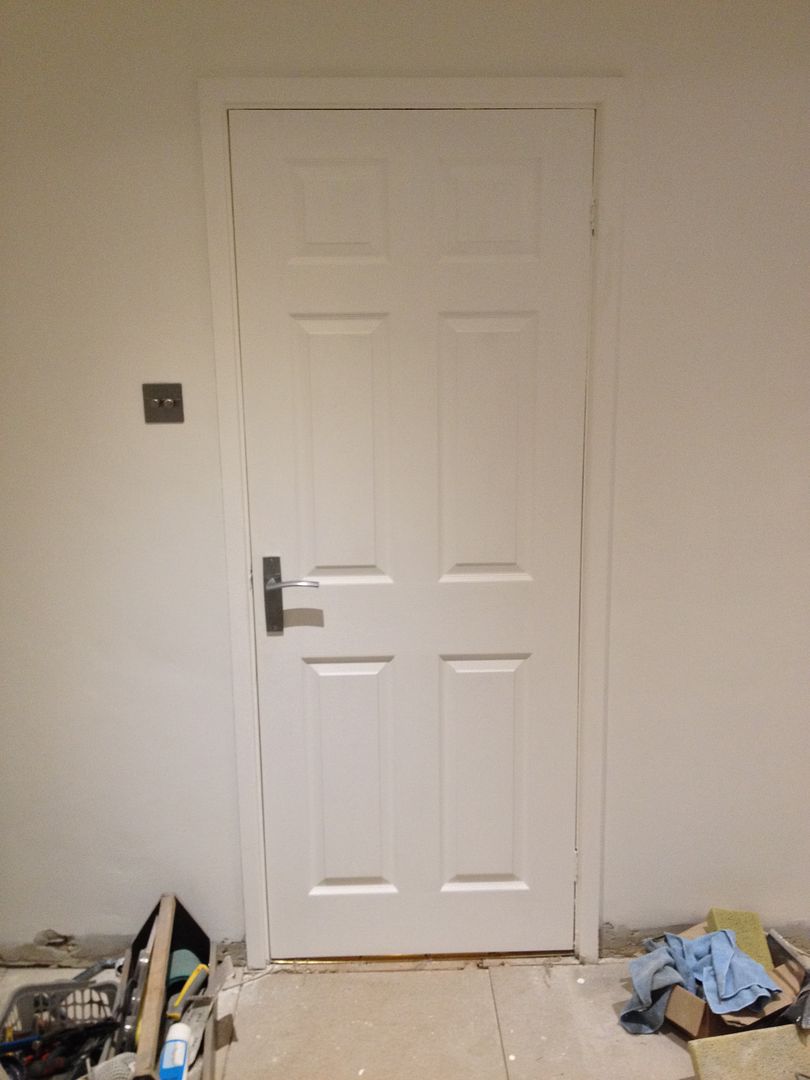
I waited with ordering the door for the shower room until the carpet had gone in so I knew the exact sizes I had to play with..
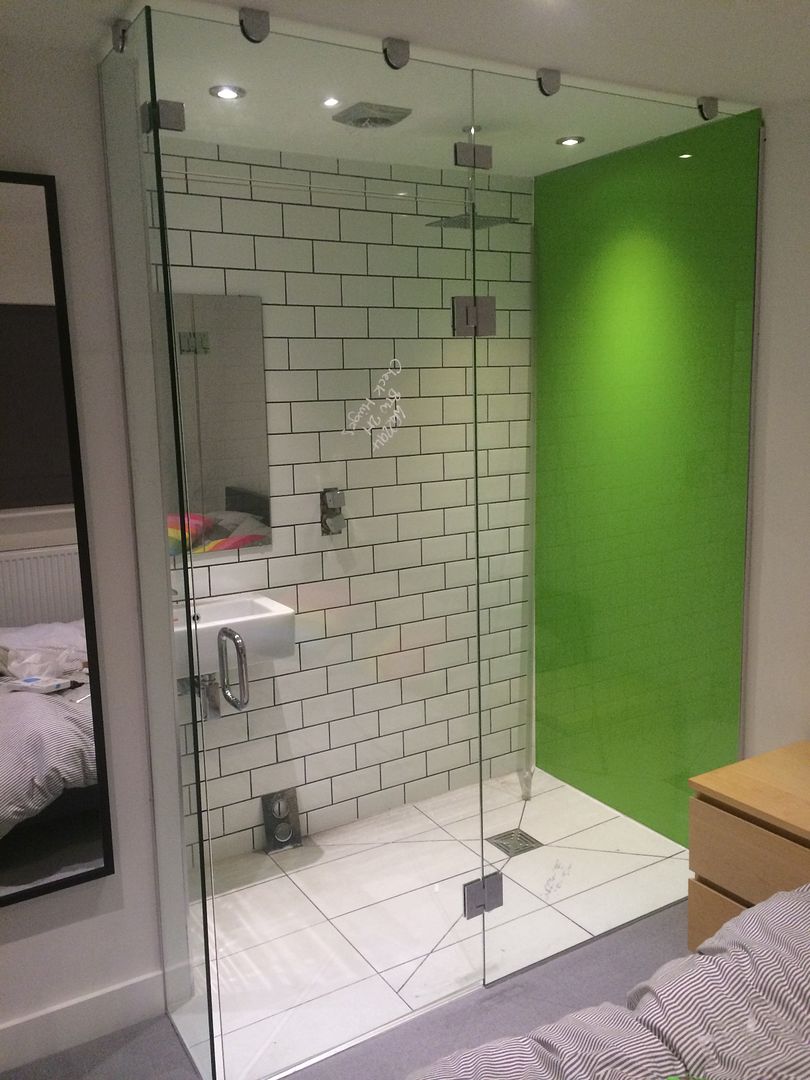
The CLEAR glass shower room has divided opinion if I'm honest.. The way I viewed it was that if there is someone else in the room with you the chances are they are your partner meaning you have probably seen each other naked before or if its a stranger chances are you have just seen each other naked anyway!.. The option of a frosted modesty bar is always available should I feel the need in the future..

Because the ceilings were going to eventually come down on the ground floor I created an opening from below to allow me to access the waste pipes easier.

The next job was to create some channels for pipework in the walls. This was a very messy job with the grinder..

With some pipework in place..

So with the batons in place ready to underboard.

And with the plyboard in place..

The shower tray was then put in place along with some more boards to bring the whole floor back to level..

And a view from underneath with the waste pipes joined up..

The next step was to tank the area where the shower room is going to be..


In the meantime the ceiling has been filled and sanded and for the area where the shower room is going to be some bathroom specific downlights and a fan were installed..

Next job was to start the tiling.. I chose the brick tile type..


And then grouted..

The floor tiles were then laid..

A basin was then installed..

As the real dusty work had now finished I set about giving the walls a final coat of paint, installing the downlights, putting on new skirting boards and hanging a Roman blind.


The next step was the one I had been looking forward to the most... It was time for some glass! The back wall of the shower room was going to be a coloured glass panel and the walls will be clear... So the channels in place

Coloured back panel in place

Walls going in..


I then removed all the sticky bits off the glass and installed the rainfall shower head..


The next job was to hang a new radiator


Then it was carpet time..


I waited with ordering the door for the shower room until the carpet had gone in so I knew the exact sizes I had to play with..

The CLEAR glass shower room has divided opinion if I'm honest.. The way I viewed it was that if there is someone else in the room with you the chances are they are your partner meaning you have probably seen each other naked before or if its a stranger chances are you have just seen each other naked anyway!.. The option of a frosted modesty bar is always available should I feel the need in the future..
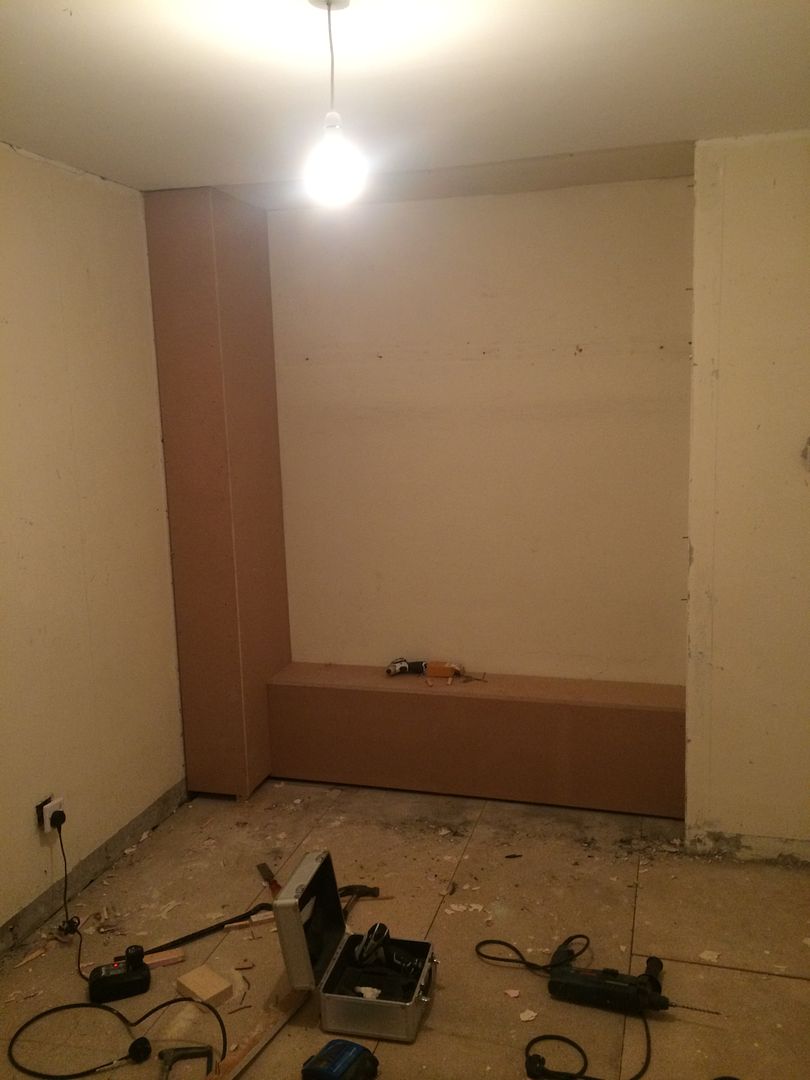
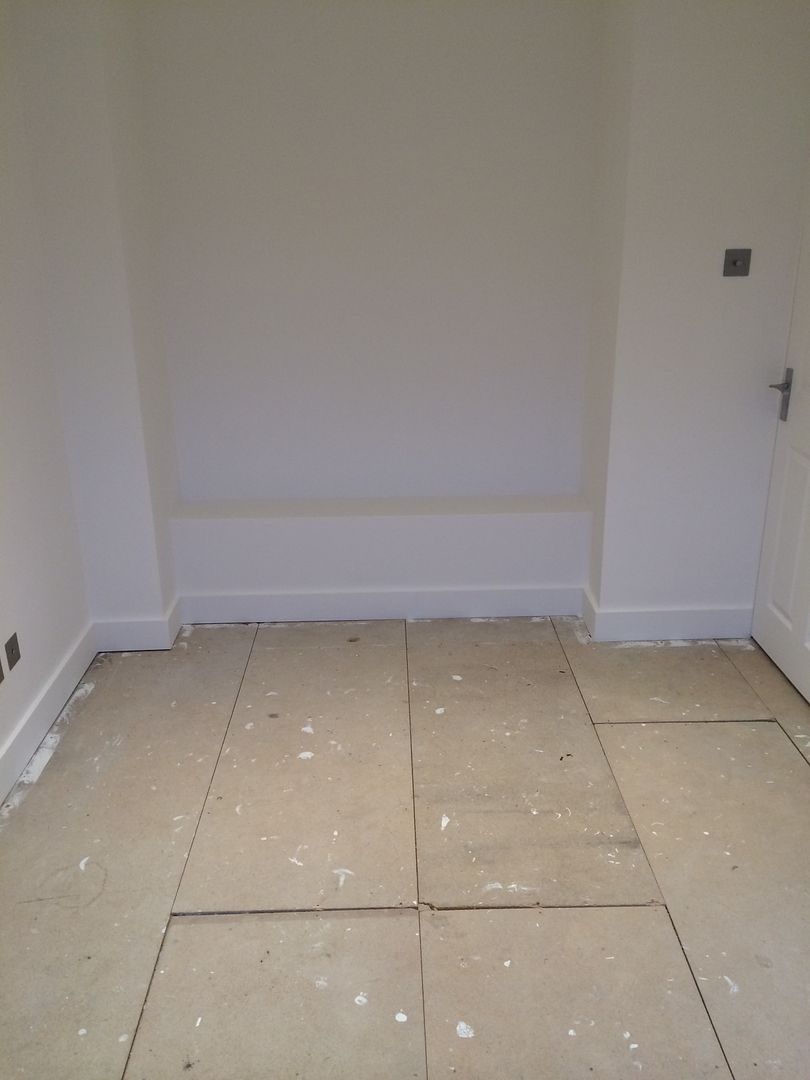
So the master bedroom was just about finished so I moved myself out of the second bedroom into the master and then work commenced on the second bedroom. The second bedroom was fortunately not woodchip but was still papered then painted in bright pink. There was also a built in wardrobe. I am not a fan of built in wardrobes so they have been removed from every bedroom. So the to do list for this room was remove the built in wardrobe, strip the paper, sort the walls and ceiling out, fit downlights, create new open wardrobe, new radiator and new carpet.

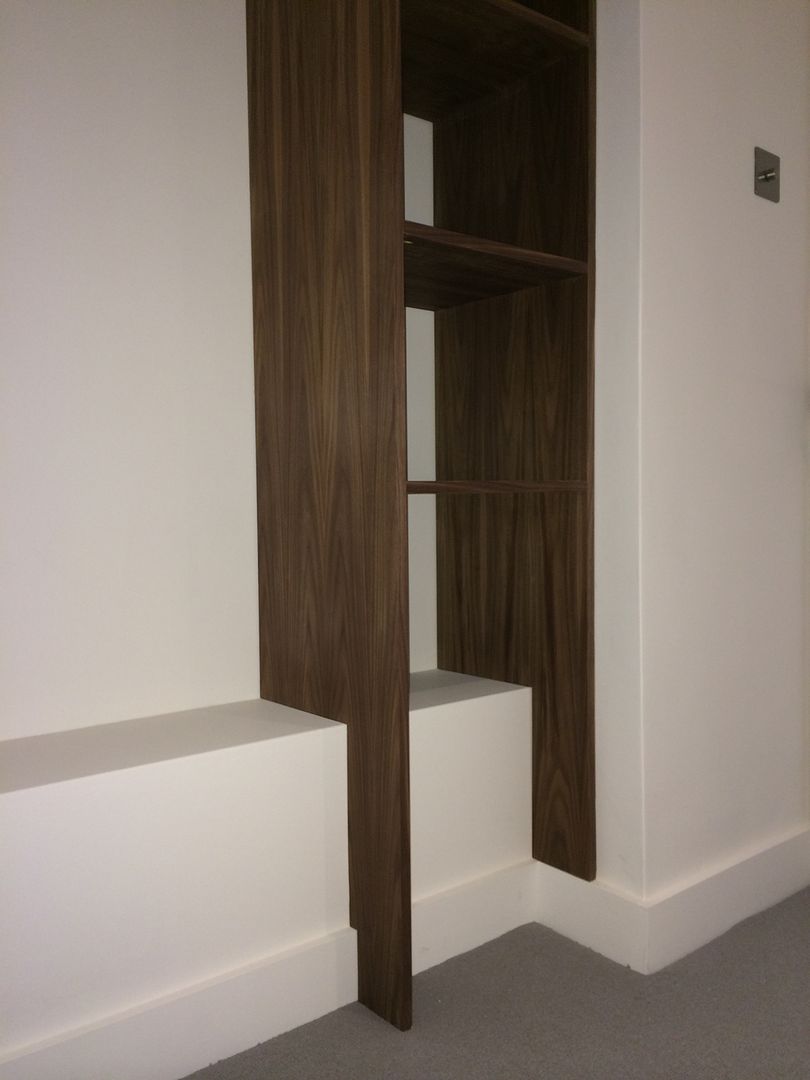
It became apparent that part of the boxing in was for the waste pipes from the bathroom next door and the soil stack so I decided to slim down the existing boxing in and use it as a base for my open wardrobe to come..

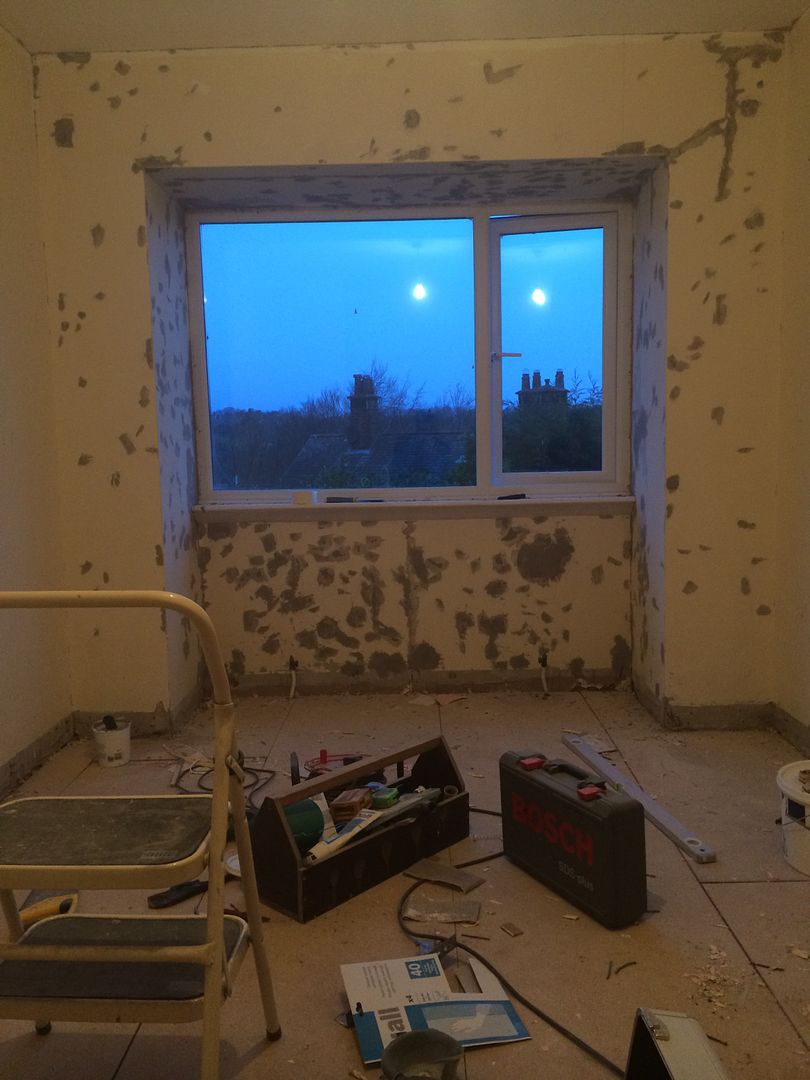
The walls and ceilings were then filled and sanded as per the master bedroom. I was using deep fill filler which is grey hence the room looking a lot worse after filling!
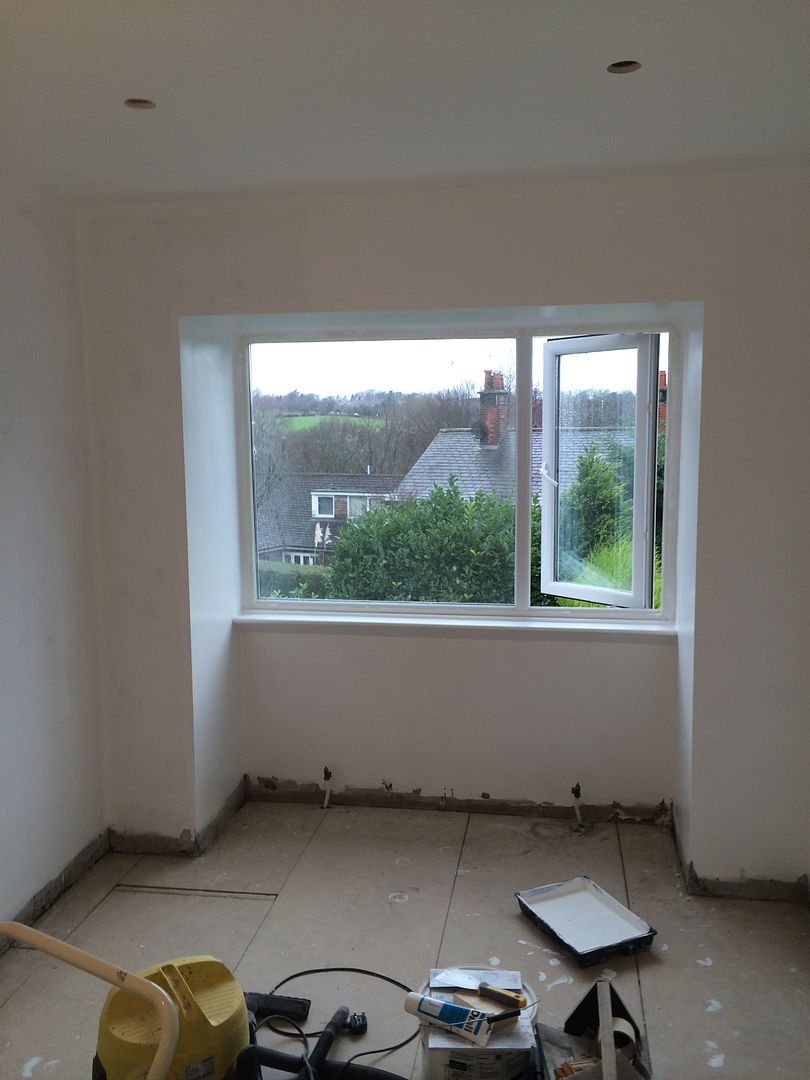
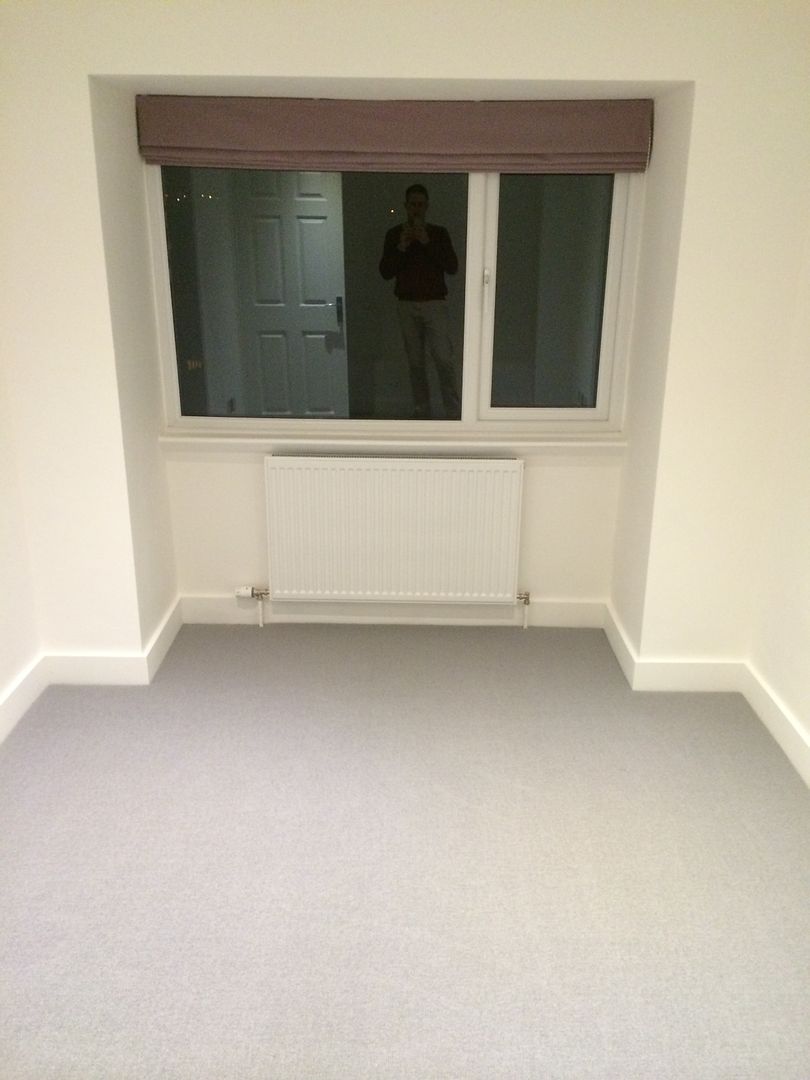
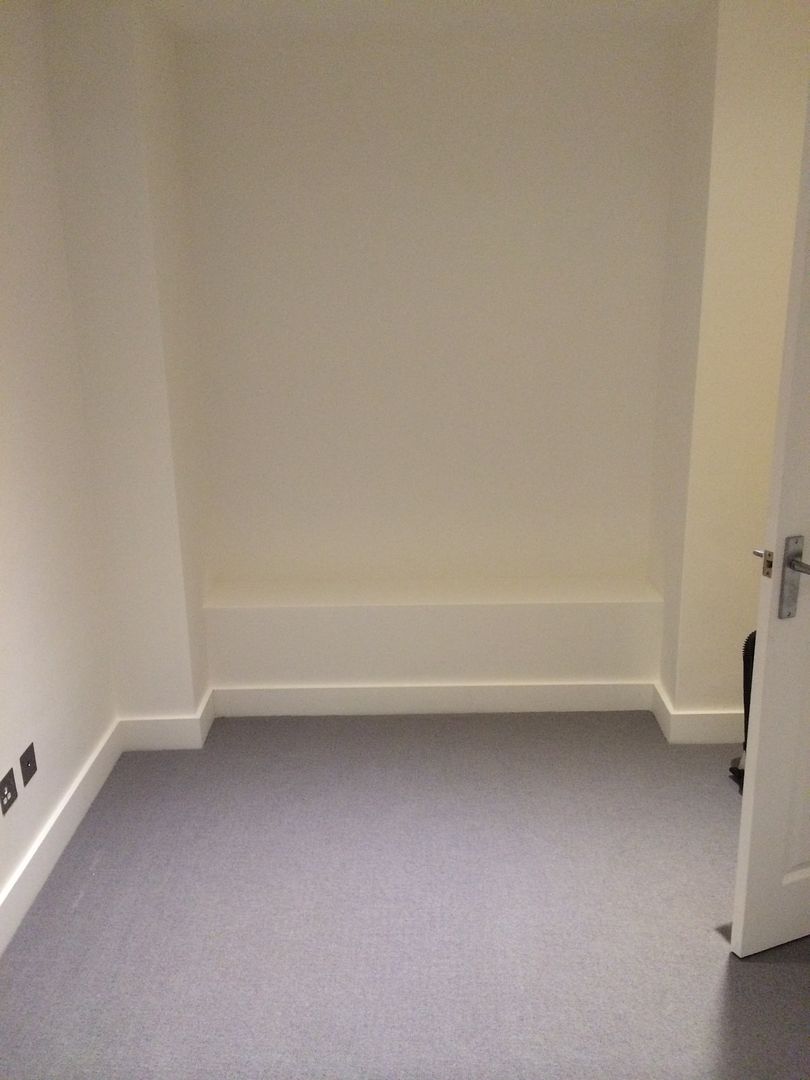
The walls and ceilings were then painted with the high build primer stuff then some satin white.. The new skirting boards were then fitted and a new radiator put in.

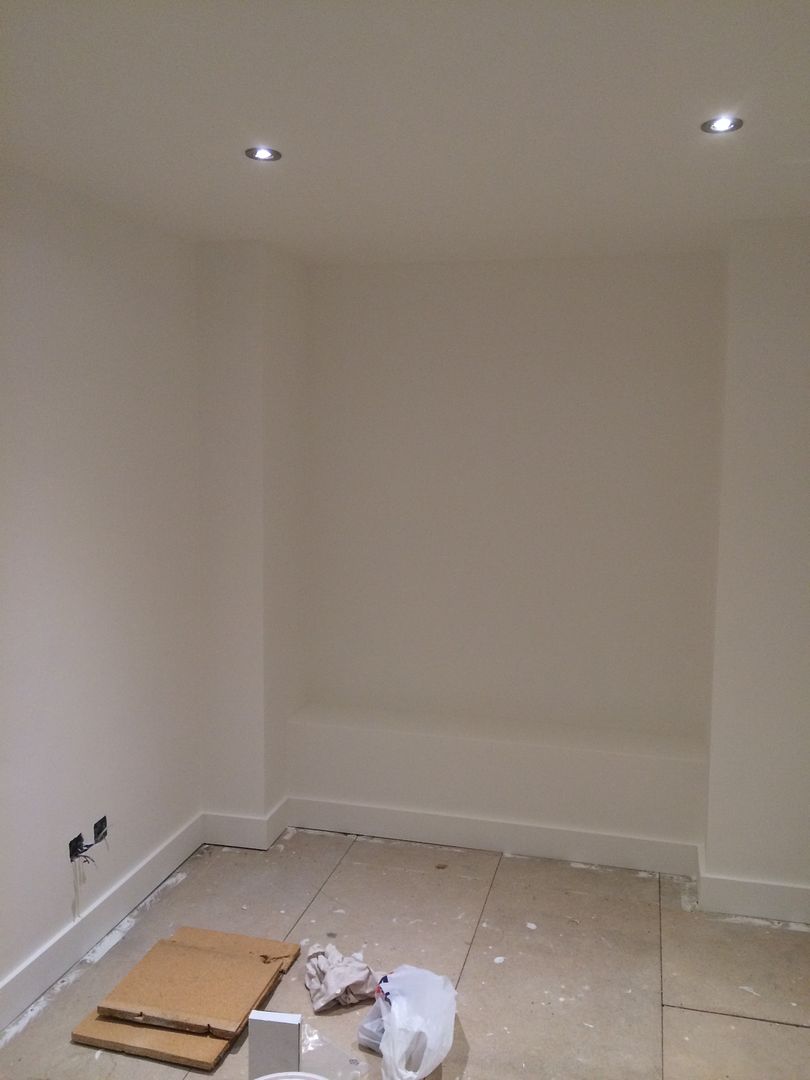

It was then time for some more carpet..
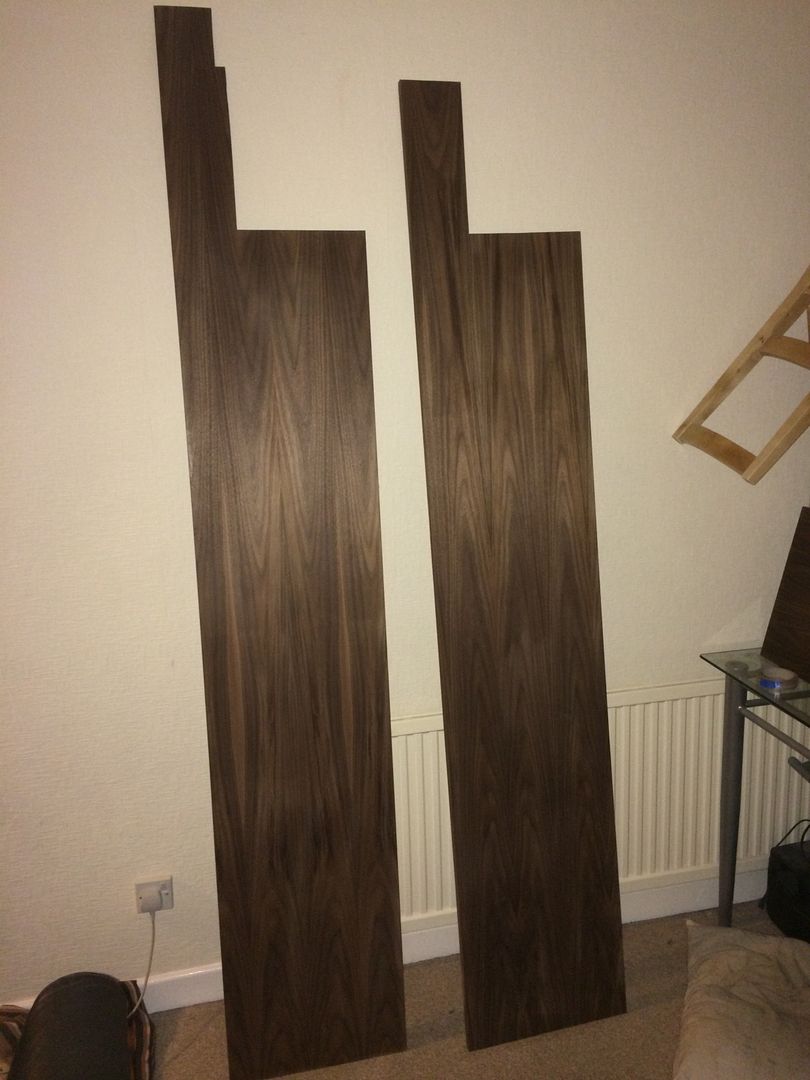
I then decided to make a bit of an open wardrobe to go in the space where the previous built in wardrobe was.. I used to be a cabinet maker once upon a time but you'd never tell!.. I am a huge fan of walnut so some walnut veneered MDF was bought along with some edge stripping and I fashioned the following..
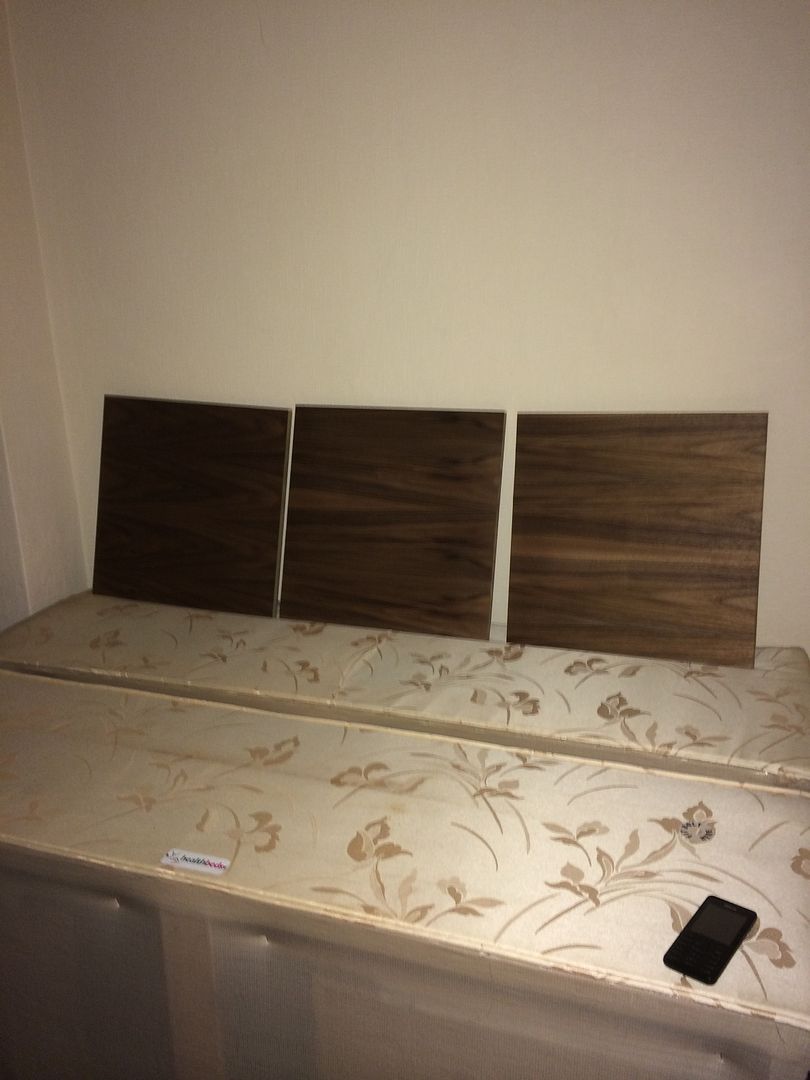
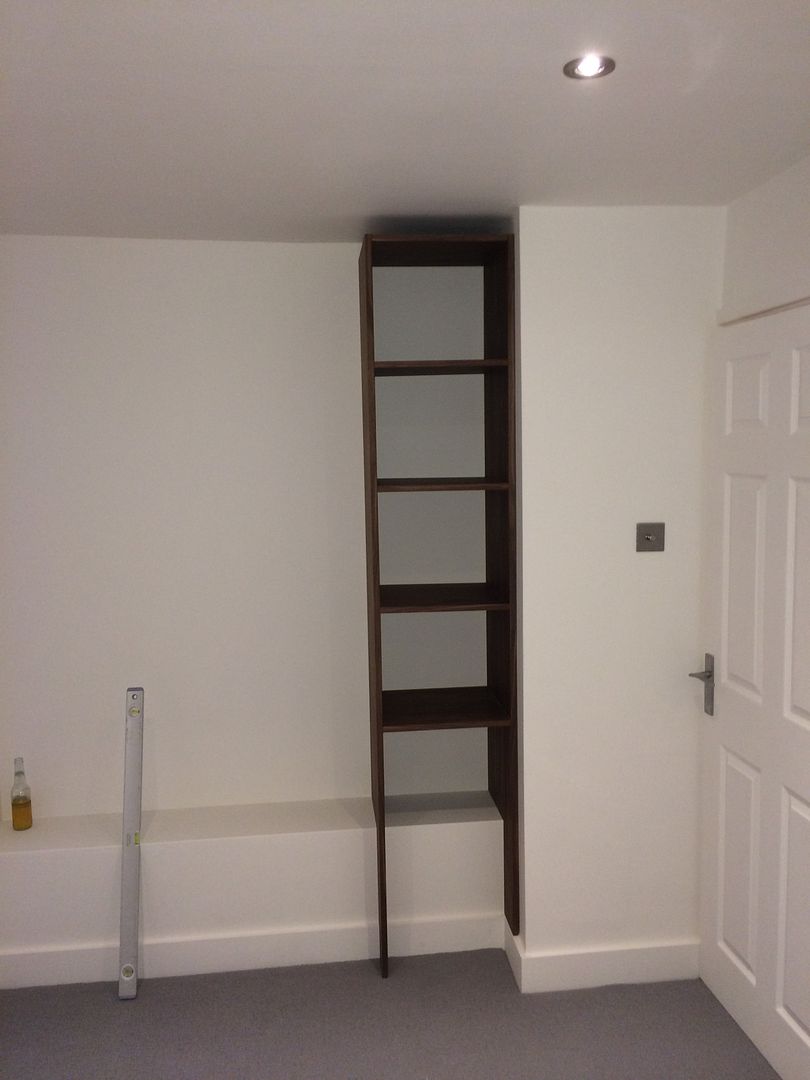
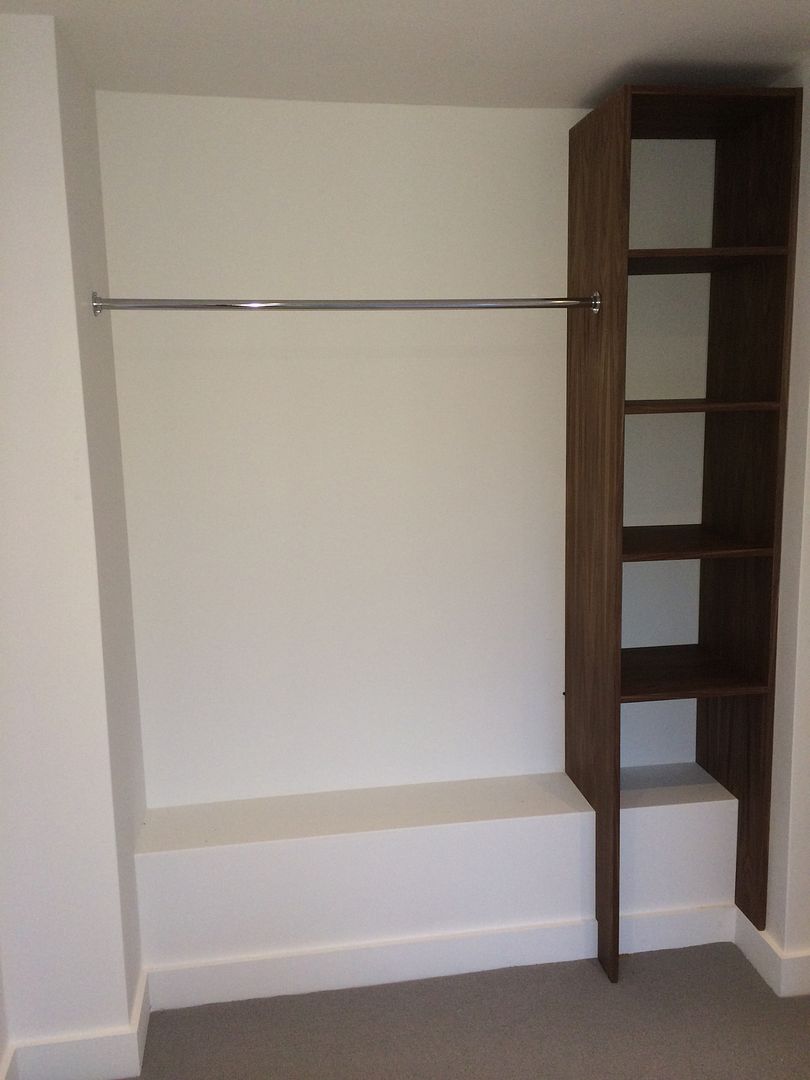
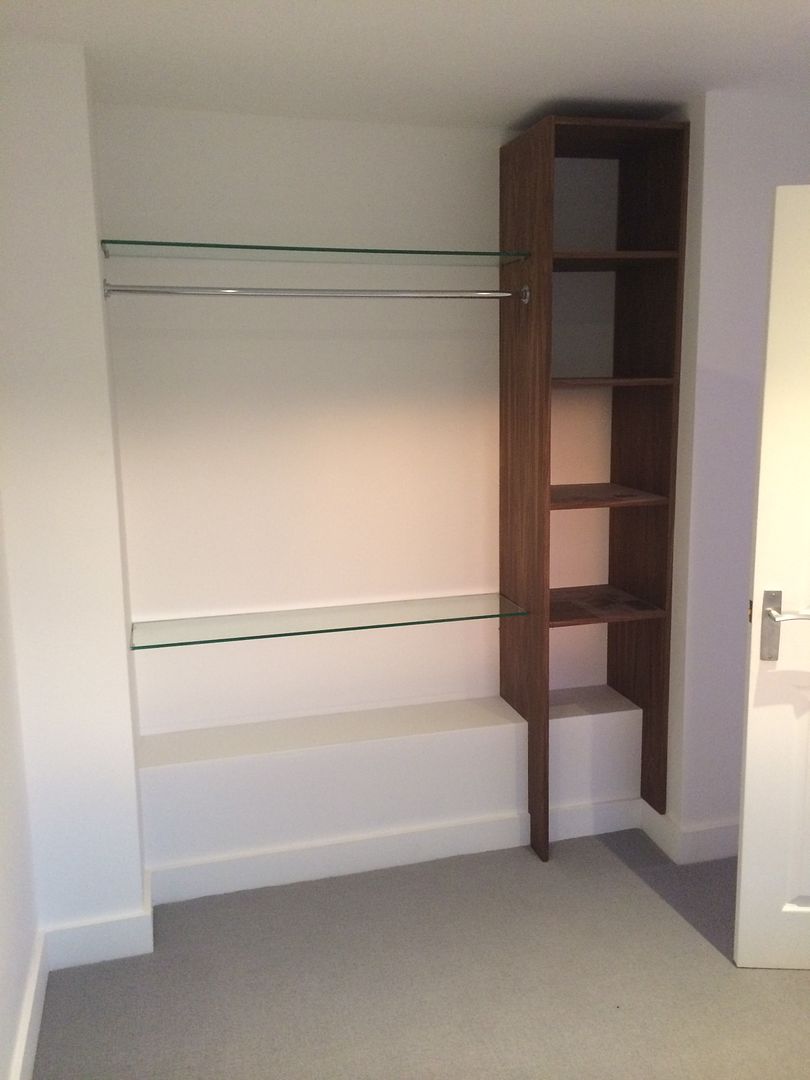
So that was the second bedroom finished.. Next was the third bedroom...


It became apparent that part of the boxing in was for the waste pipes from the bathroom next door and the soil stack so I decided to slim down the existing boxing in and use it as a base for my open wardrobe to come..


The walls and ceilings were then filled and sanded as per the master bedroom. I was using deep fill filler which is grey hence the room looking a lot worse after filling!

The walls and ceilings were then painted with the high build primer stuff then some satin white.. The new skirting boards were then fitted and a new radiator put in.


It was then time for some more carpet..


I then decided to make a bit of an open wardrobe to go in the space where the previous built in wardrobe was.. I used to be a cabinet maker once upon a time but you'd never tell!.. I am a huge fan of walnut so some walnut veneered MDF was bought along with some edge stripping and I fashioned the following..


So that was the second bedroom finished.. Next was the third bedroom...

5potTurbo said:
How's the shower in real life use? Are the door seals keeping the carpet dry, or are you padding out with soggy feet anyway?
The shower and seals work well as far as keeping shower water inside the glass enclosure but as you say wet feet when leaving are the only issue. I plan to create a bathmat type scenario similar to inset front door mats outside the door. I will get some of the crucial trading type carpet which will be inset into the existing carpet to dry one's feet on when leaving the shower.. That way it can be viewed as a consumable and always be replaced in the future should it get worn from wet feet or should water find its way out in the door cracks.After the second bedroom was completed I moved onto the third bedroom. The plans were much the same for the third bedroom and again, there was a built in wardrobe that I wanted to get rid of to maximise space as with the room being smaller.
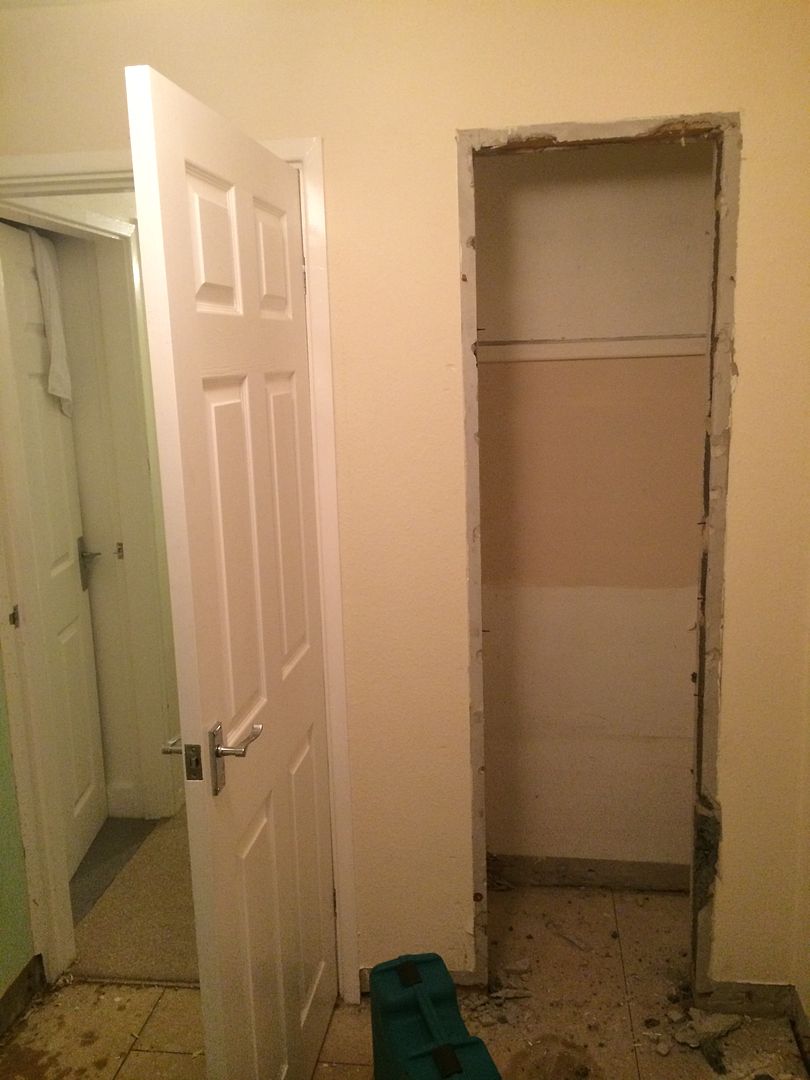
So first job was stripping the dreaded wood chip once again..


The built in wardrobe in this bedroom was a slightly more complicated affair as it was built up using breeze blocks. All of the internal walls on the top floor of the property have been breeze blocks laid directly onto the chipboard floorboards.. This was obviously common practice back when the house was built whereas nowadays everything is usually stud walls.
Anyway I got the lump hammer out and was able to bray out the blocks on the right hand side.. because the left hand side consisted of a full block and I only wanted half removing I used a stihl saw to cut straight down.
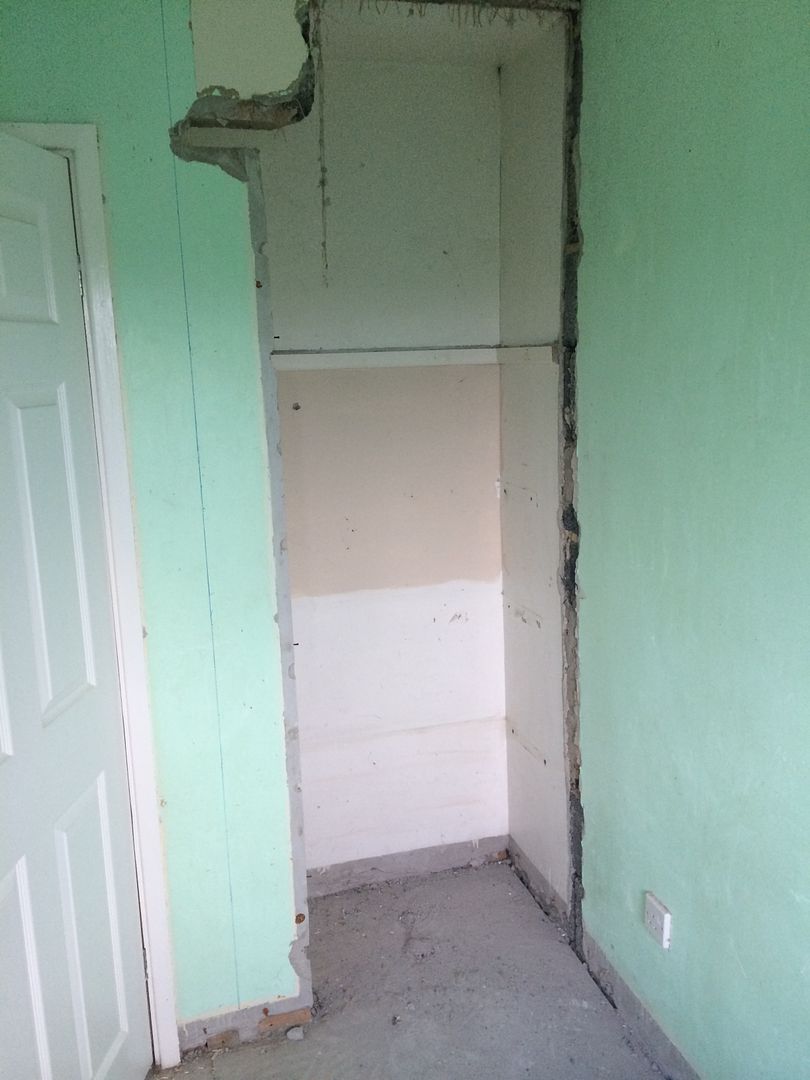
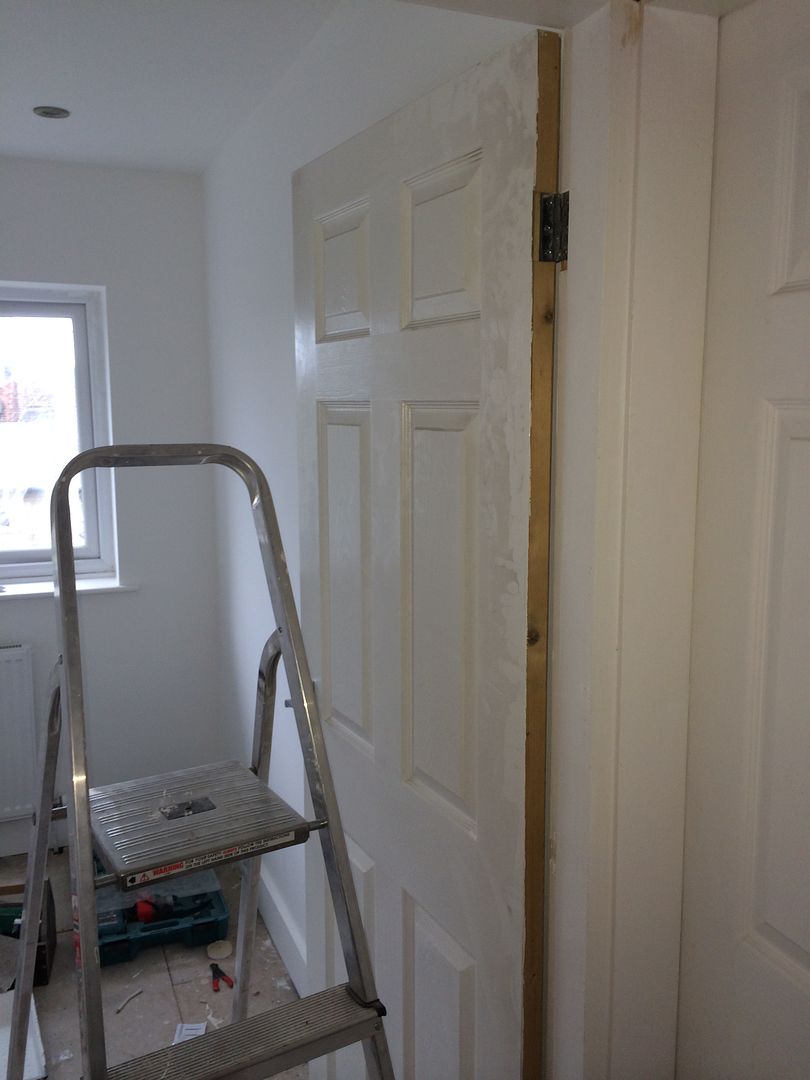
The door was hinged on the left meaning it opened into the middle of an already small room so I decided to change it to hinge on the right so that it opened against the wall instead. This meant the light switch would have been behind the door so I moved the switch also.. I then decided to see if I could plaster... Well I definately couldn't!
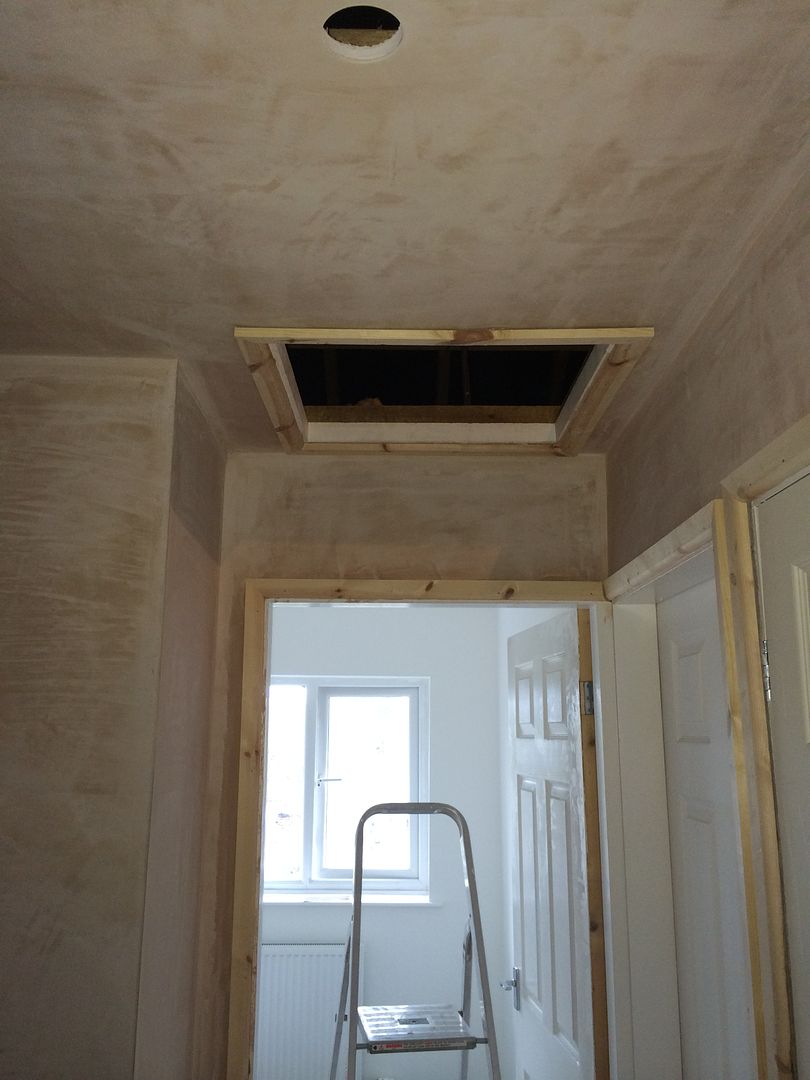
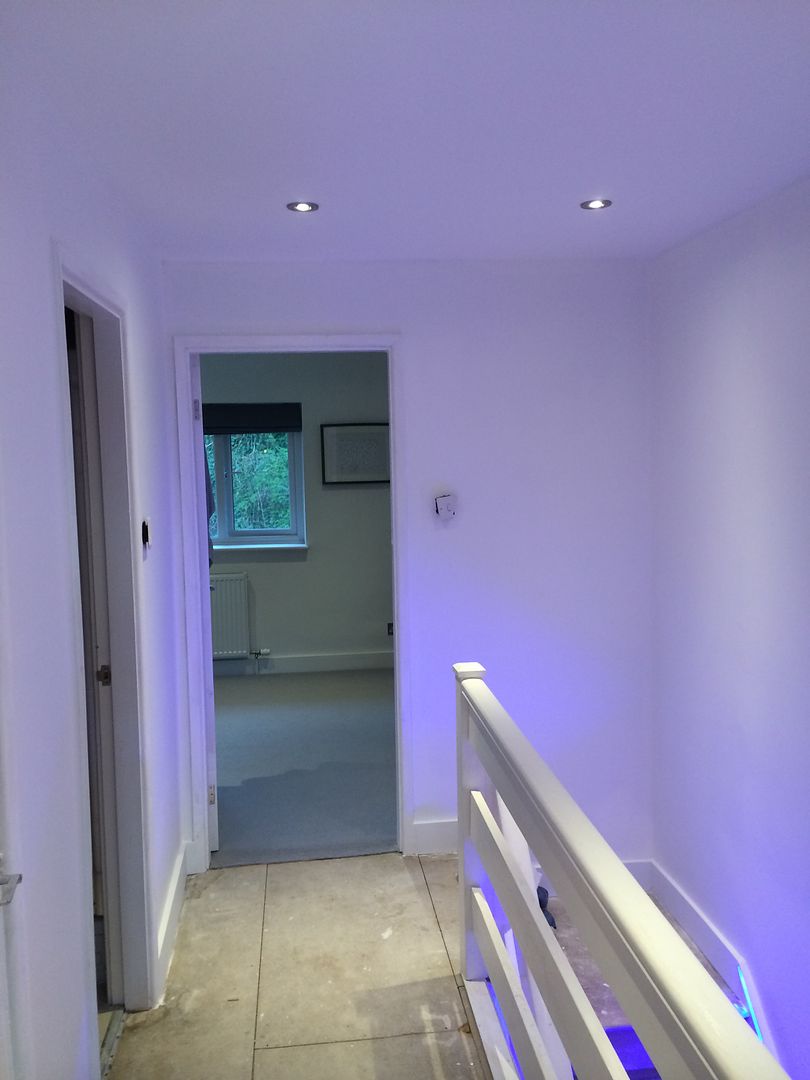
I needed the roof re skimming in the upstairs landing so I decided I would strip the paper there also first.. As I stripped the paper I decided to have the whole landing and stairwell re-skimmed.

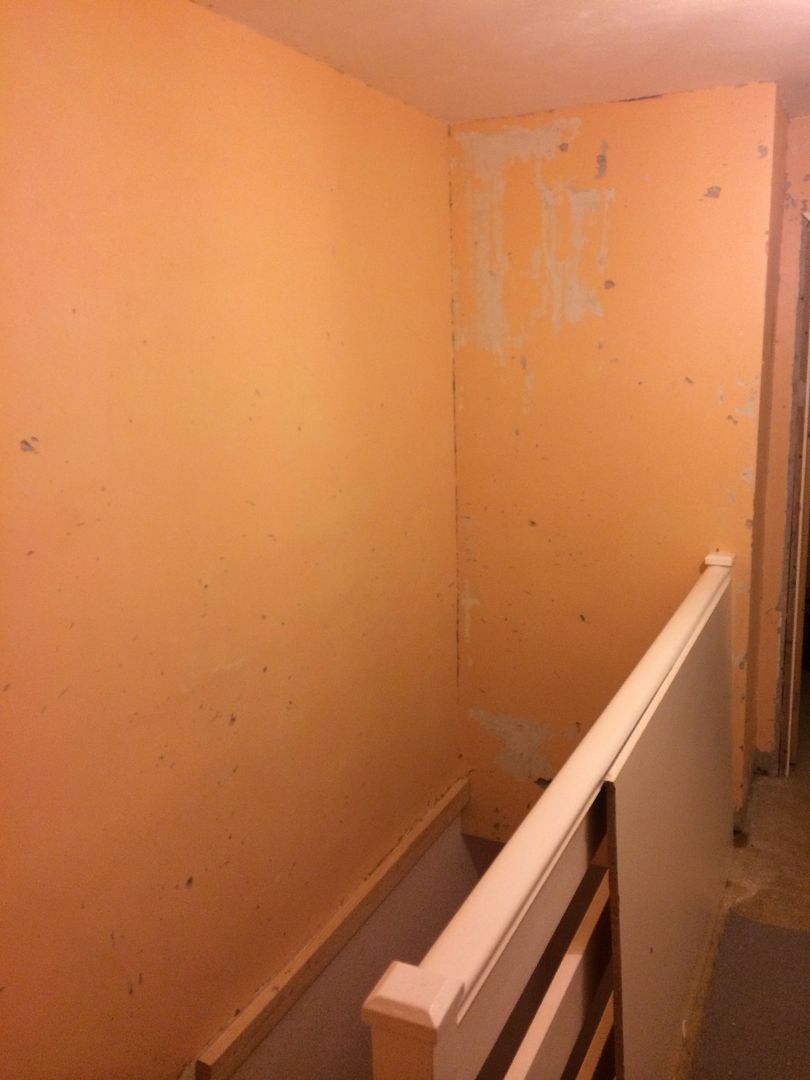

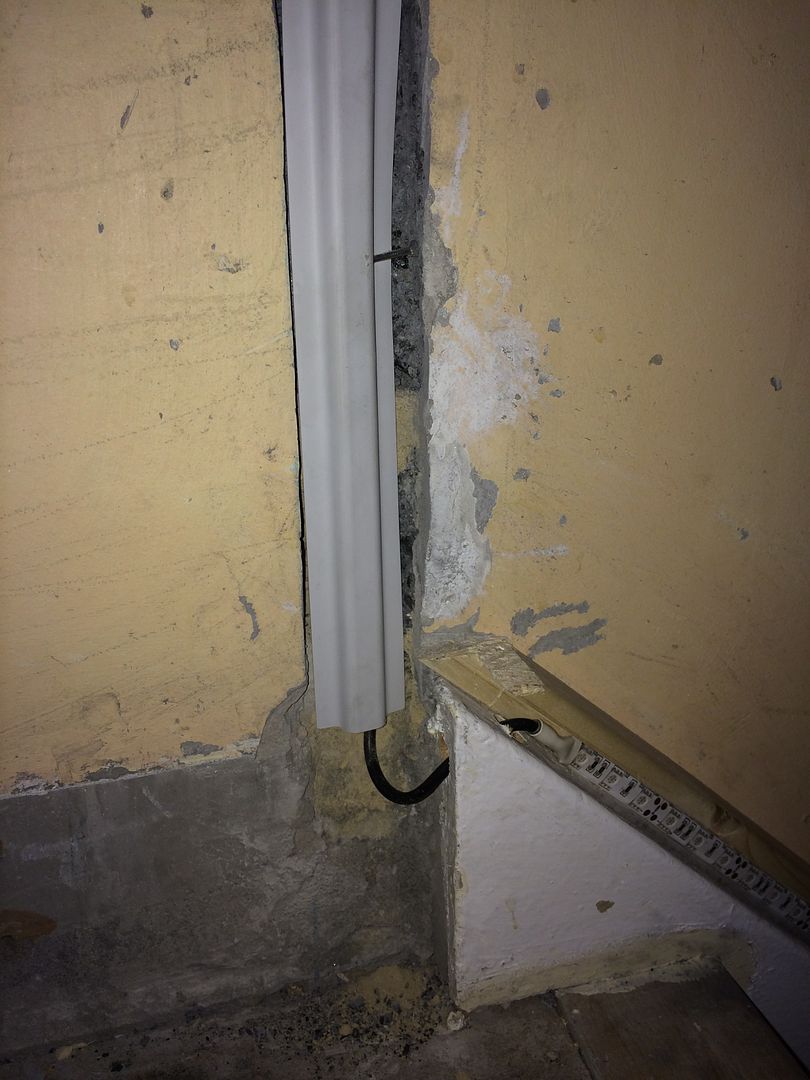
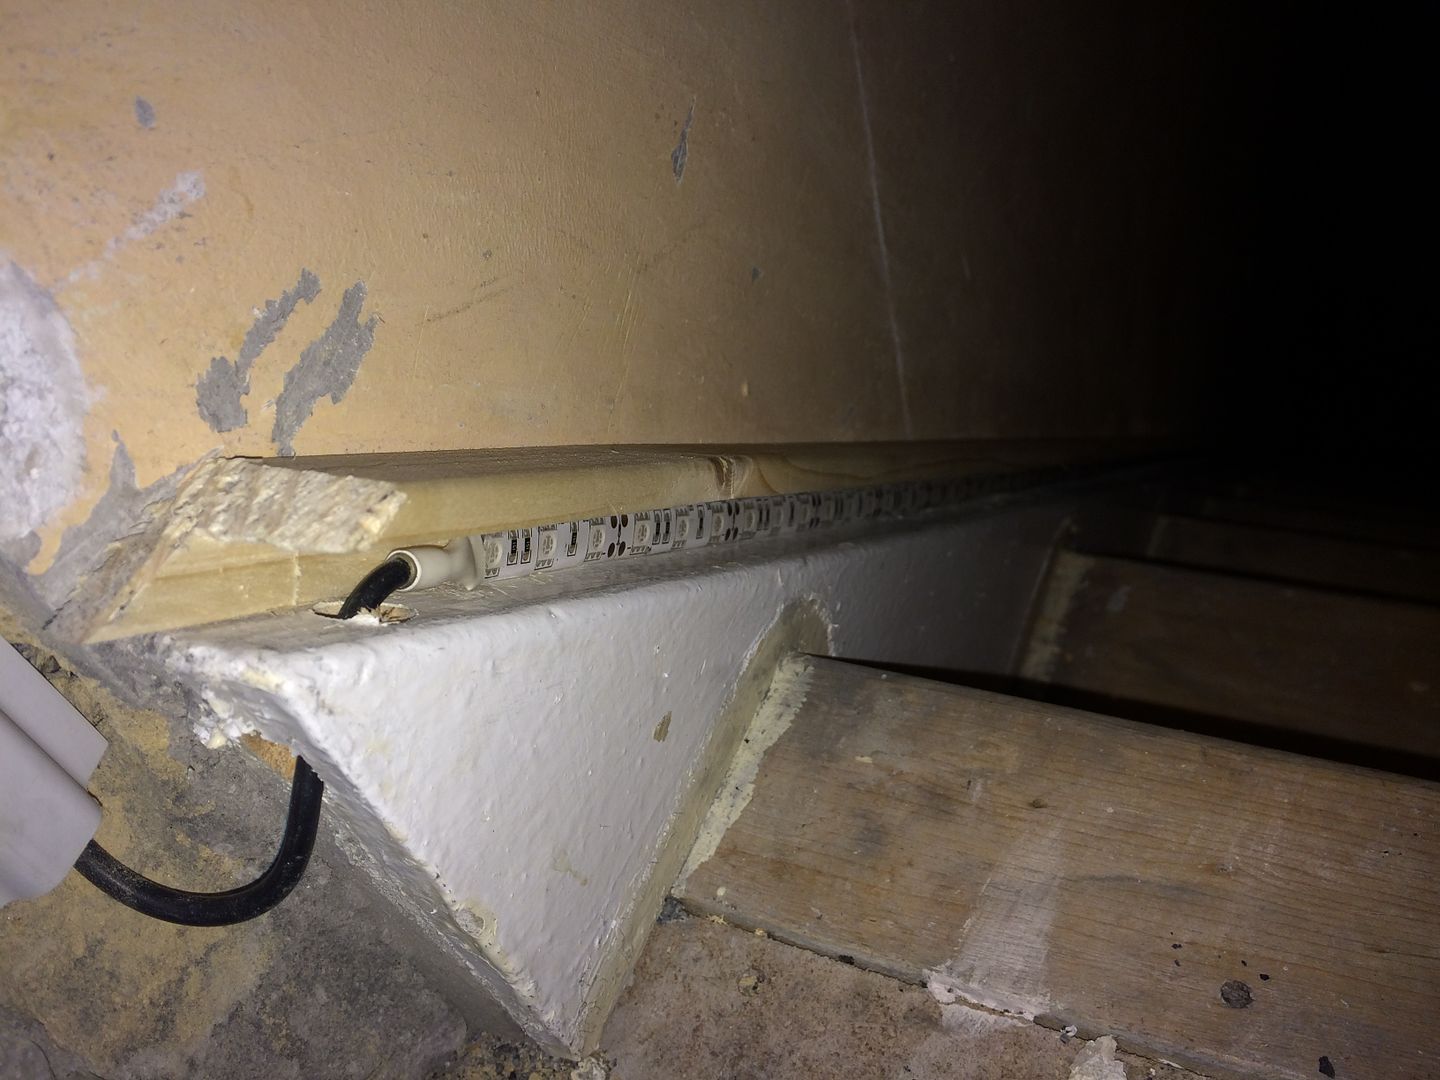
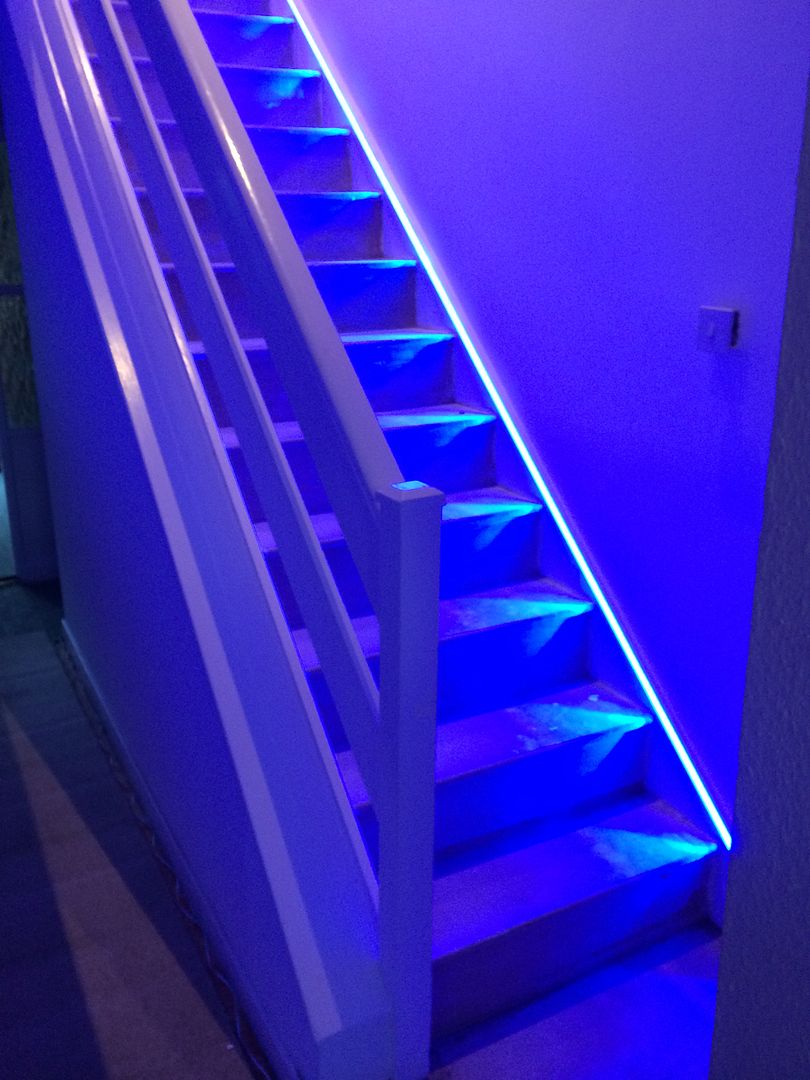
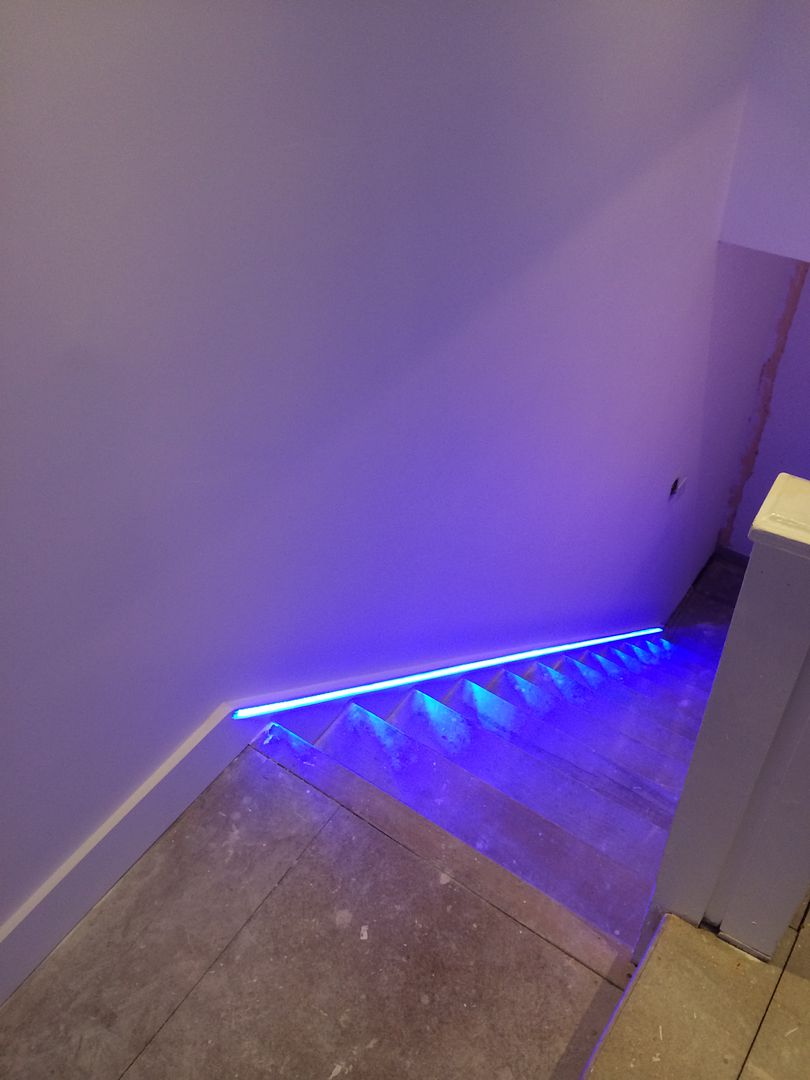
I had also decided that I wanted some kind of feature lighting down the stairs.. I bought an led strip and set about whittling a bit of timber to use to diguise it.
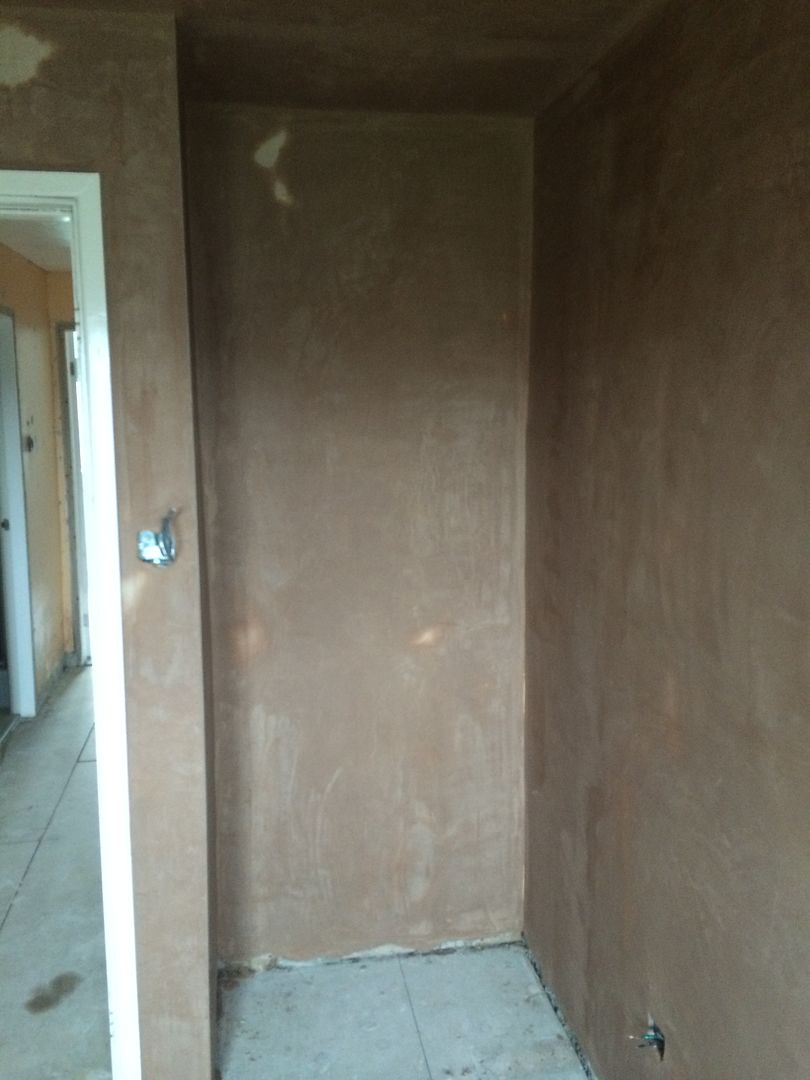
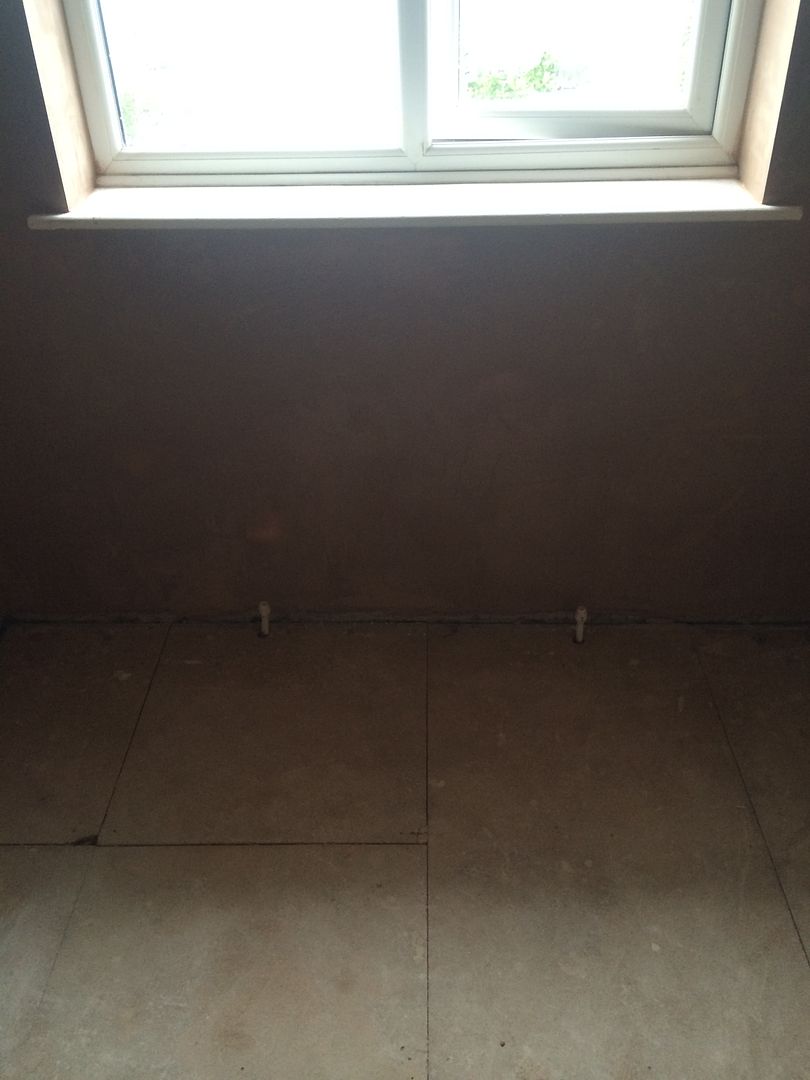
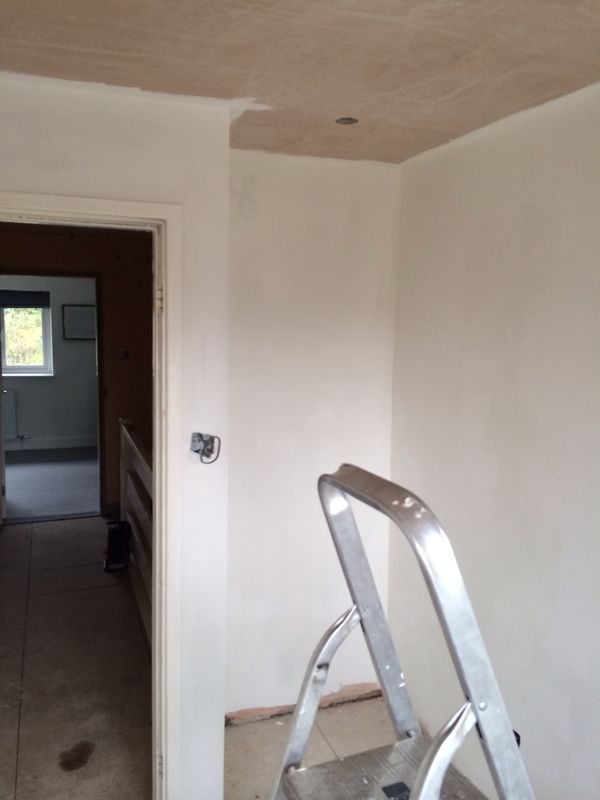
The plasterer then came in and re skimmed the third bedroom, landing and the stairwell..


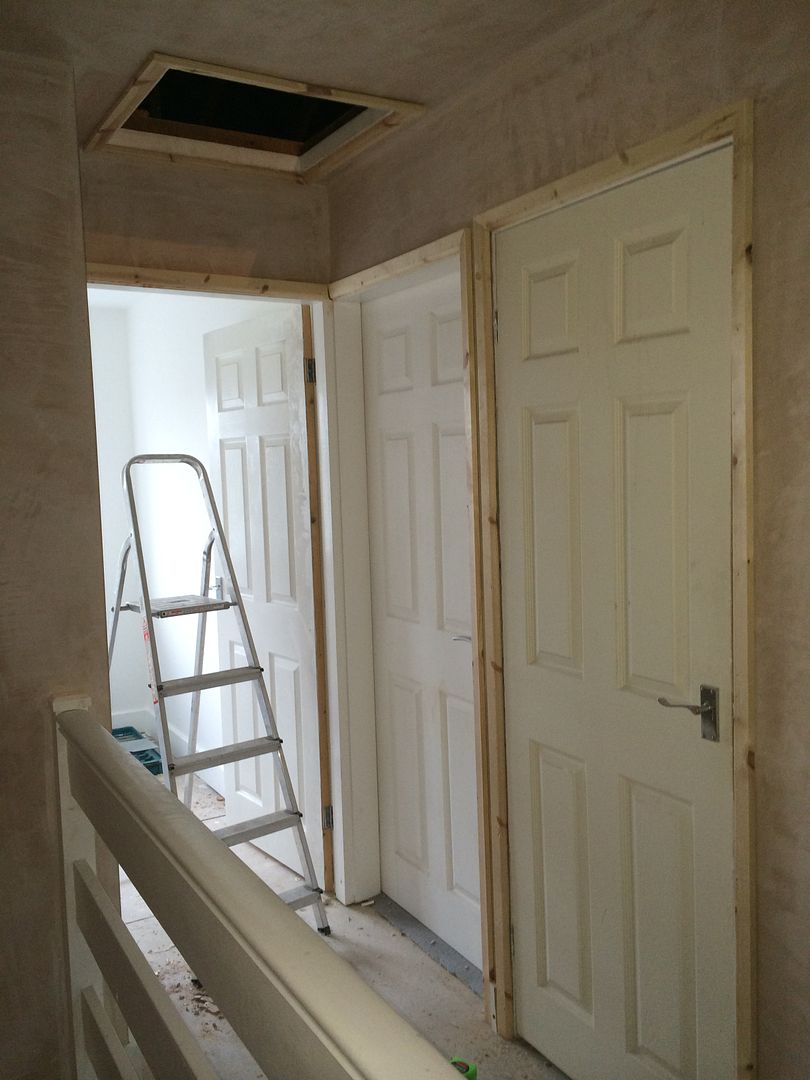
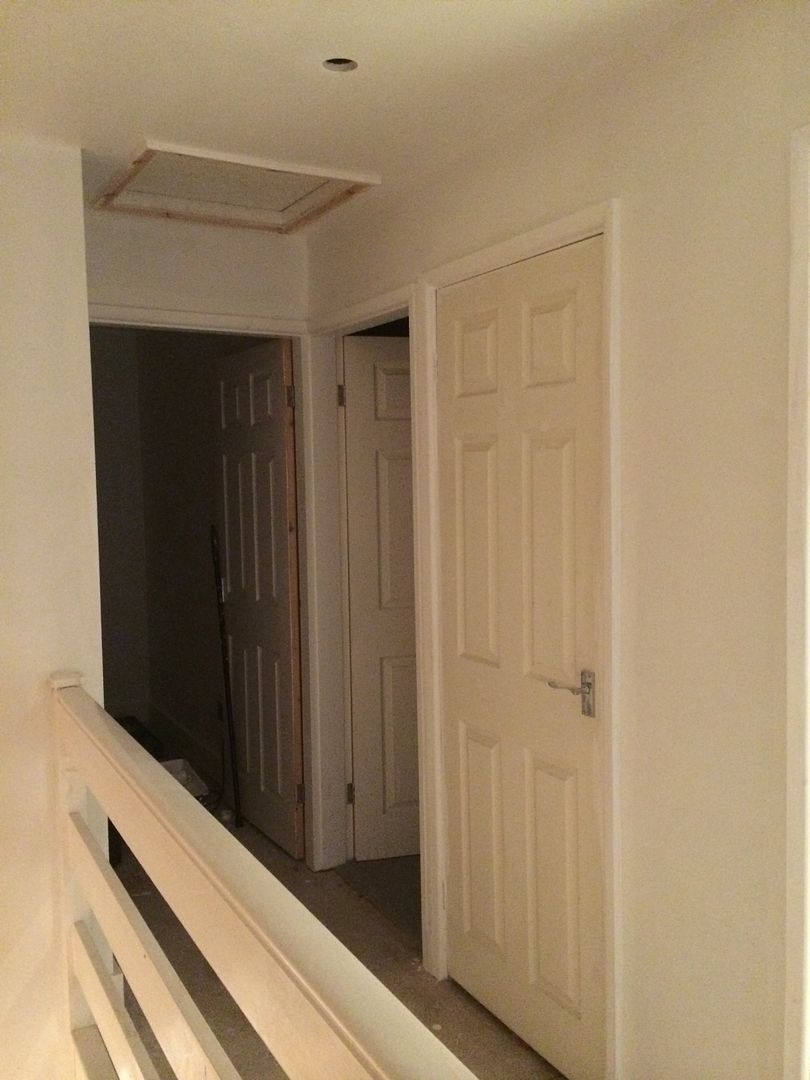
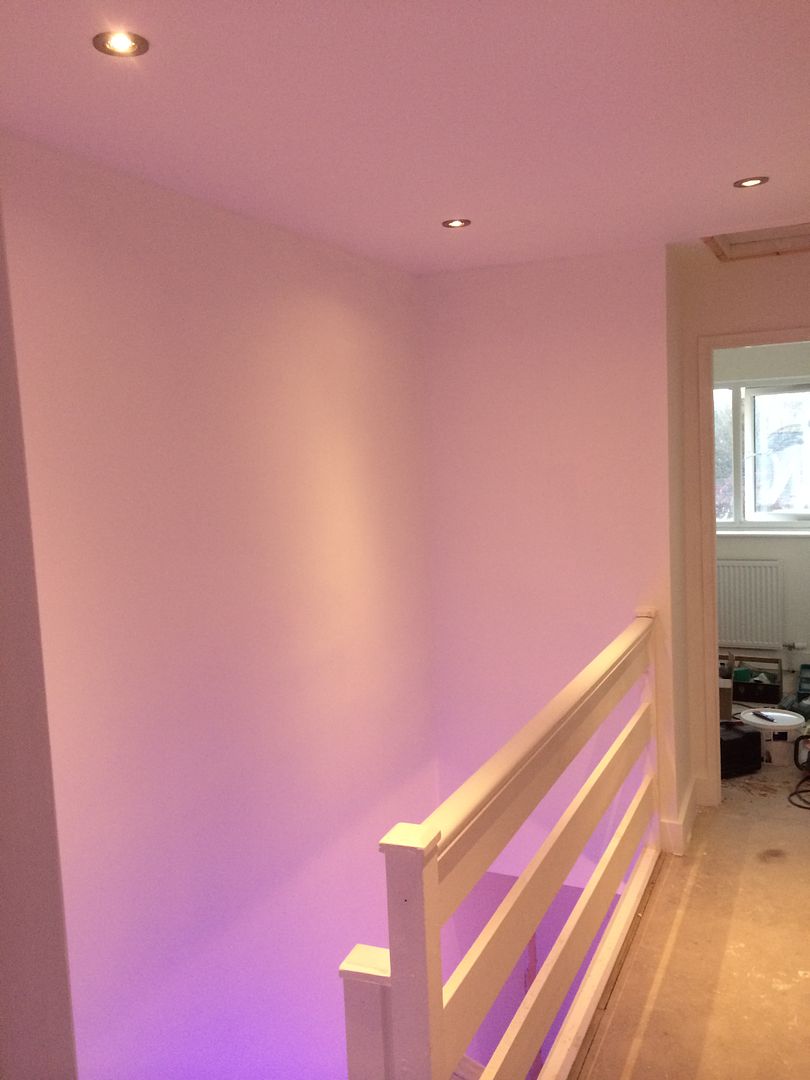
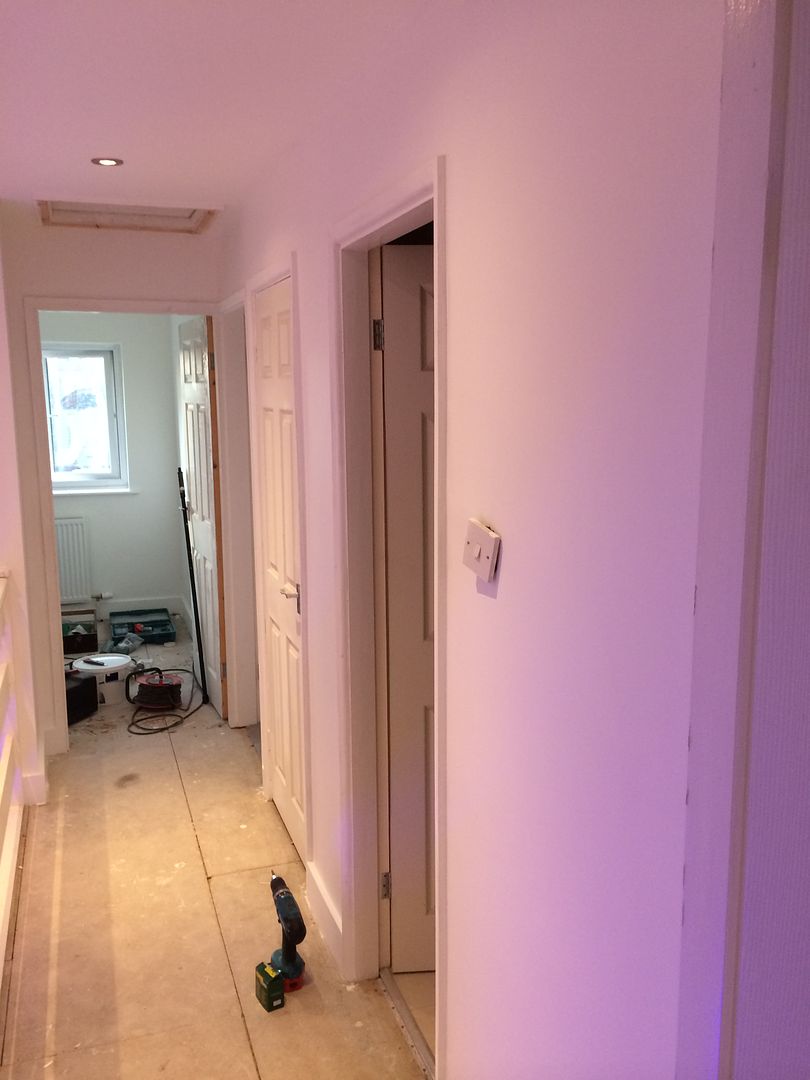
I then put new architraves back on the landing..


The paint brush then came out..

New radiator went on..

Downlights went in and the LED light up the stairs also had its first showing!.. I had wired the led strip light into the circuit for the landing spotlights however after seeing the brightness of the LEDs I am going to take it off that circuit and have a 'party' switch which will control the strip as well as other aspects of feature lighting that is going into the house..
So the next job after the third bedroom and landing was the upstairs bathroom...
So first job was stripping the dreaded wood chip once again..


The built in wardrobe in this bedroom was a slightly more complicated affair as it was built up using breeze blocks. All of the internal walls on the top floor of the property have been breeze blocks laid directly onto the chipboard floorboards.. This was obviously common practice back when the house was built whereas nowadays everything is usually stud walls.
Anyway I got the lump hammer out and was able to bray out the blocks on the right hand side.. because the left hand side consisted of a full block and I only wanted half removing I used a stihl saw to cut straight down.


The door was hinged on the left meaning it opened into the middle of an already small room so I decided to change it to hinge on the right so that it opened against the wall instead. This meant the light switch would have been behind the door so I moved the switch also.. I then decided to see if I could plaster... Well I definately couldn't!

I needed the roof re skimming in the upstairs landing so I decided I would strip the paper there also first.. As I stripped the paper I decided to have the whole landing and stairwell re-skimmed.


I had also decided that I wanted some kind of feature lighting down the stairs.. I bought an led strip and set about whittling a bit of timber to use to diguise it.


The plasterer then came in and re skimmed the third bedroom, landing and the stairwell..


I then put new architraves back on the landing..


The paint brush then came out..


New radiator went on..

Downlights went in and the LED light up the stairs also had its first showing!.. I had wired the led strip light into the circuit for the landing spotlights however after seeing the brightness of the LEDs I am going to take it off that circuit and have a 'party' switch which will control the strip as well as other aspects of feature lighting that is going into the house..


So the next job after the third bedroom and landing was the upstairs bathroom...


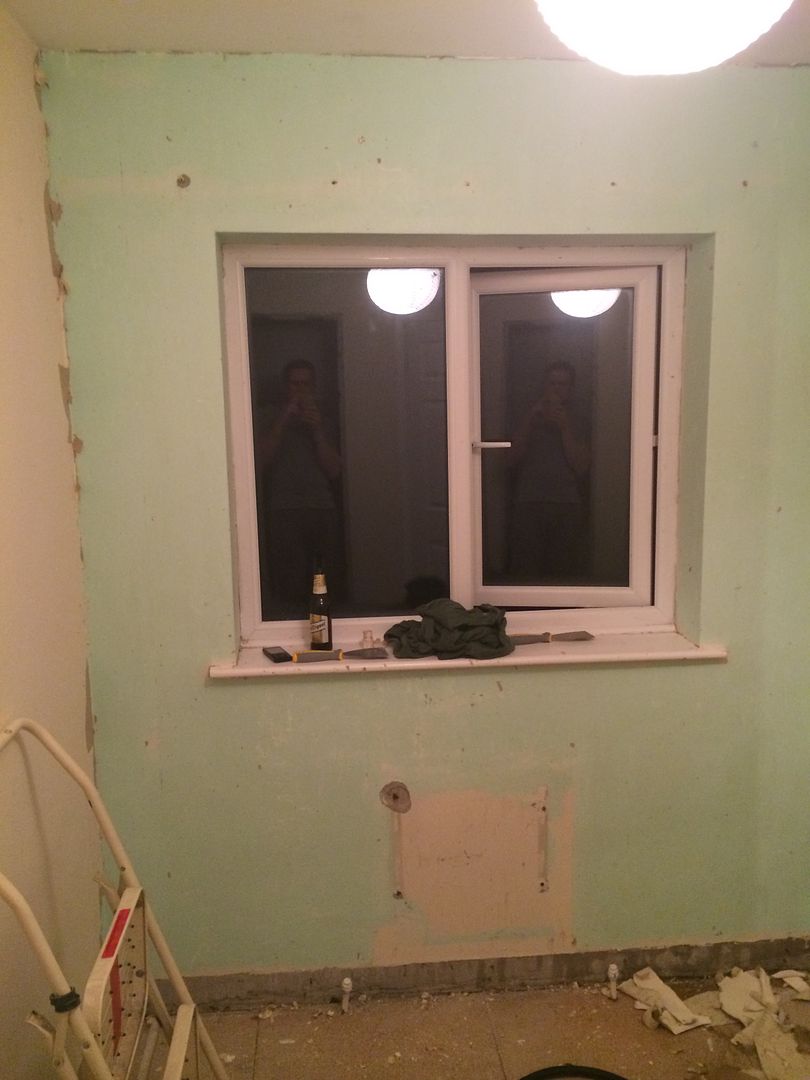
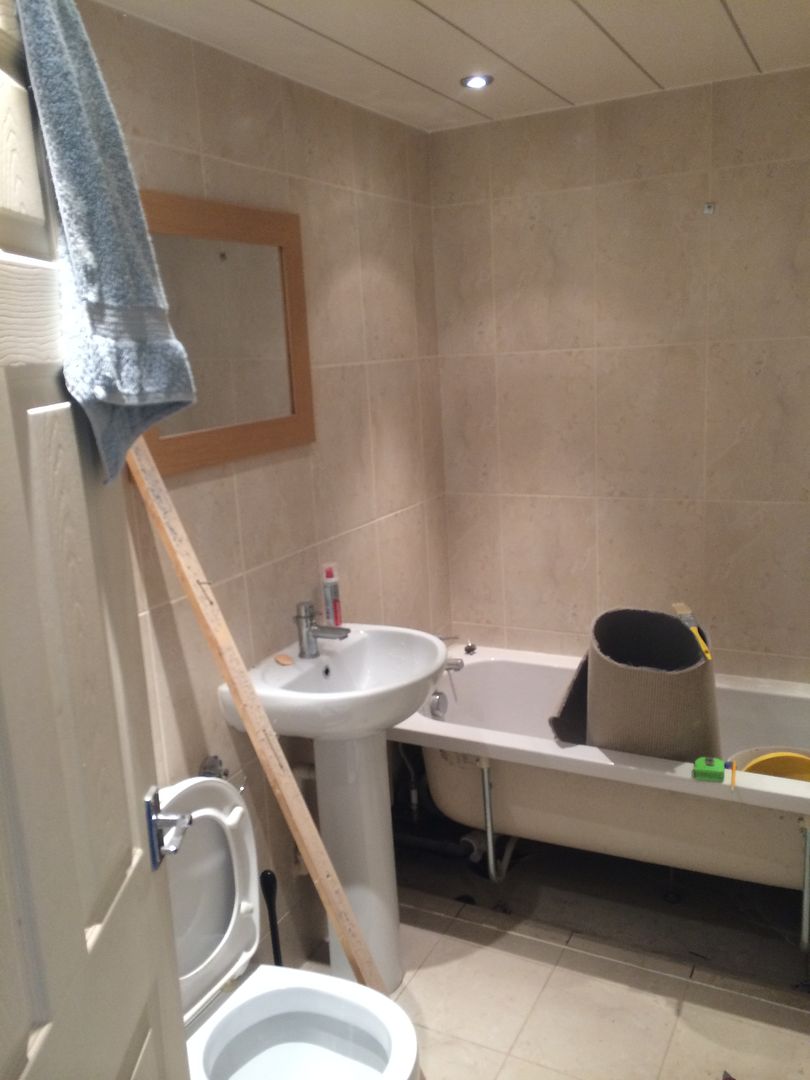
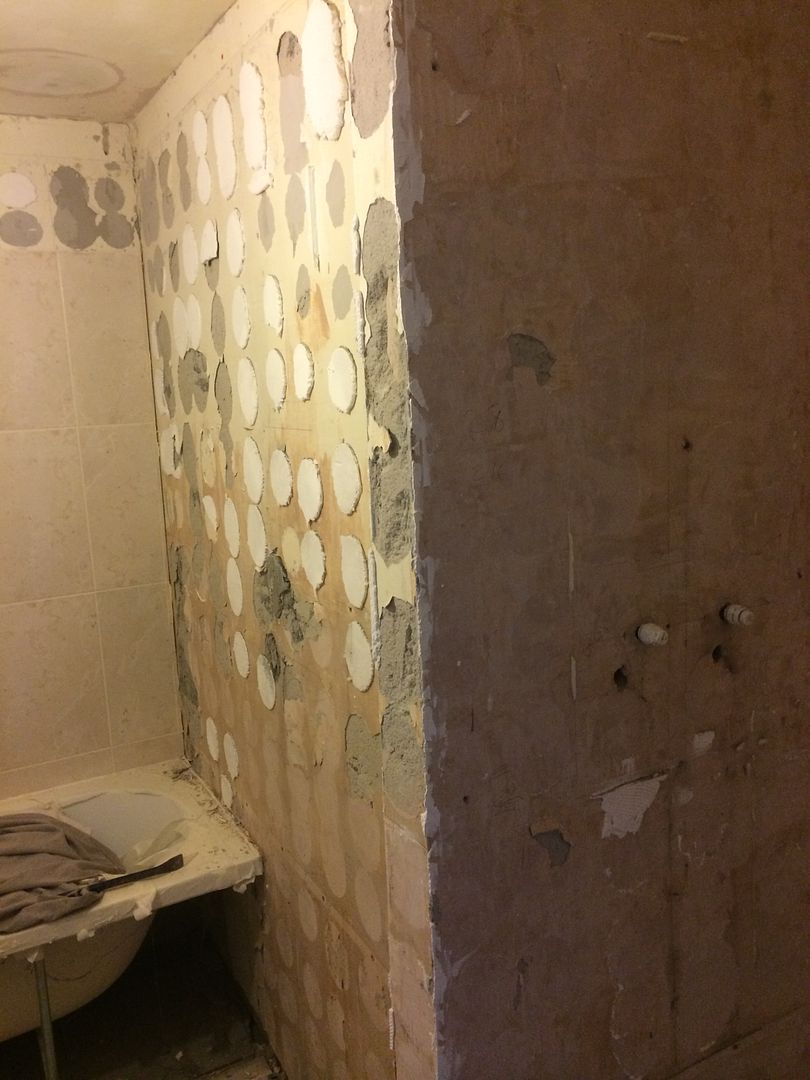
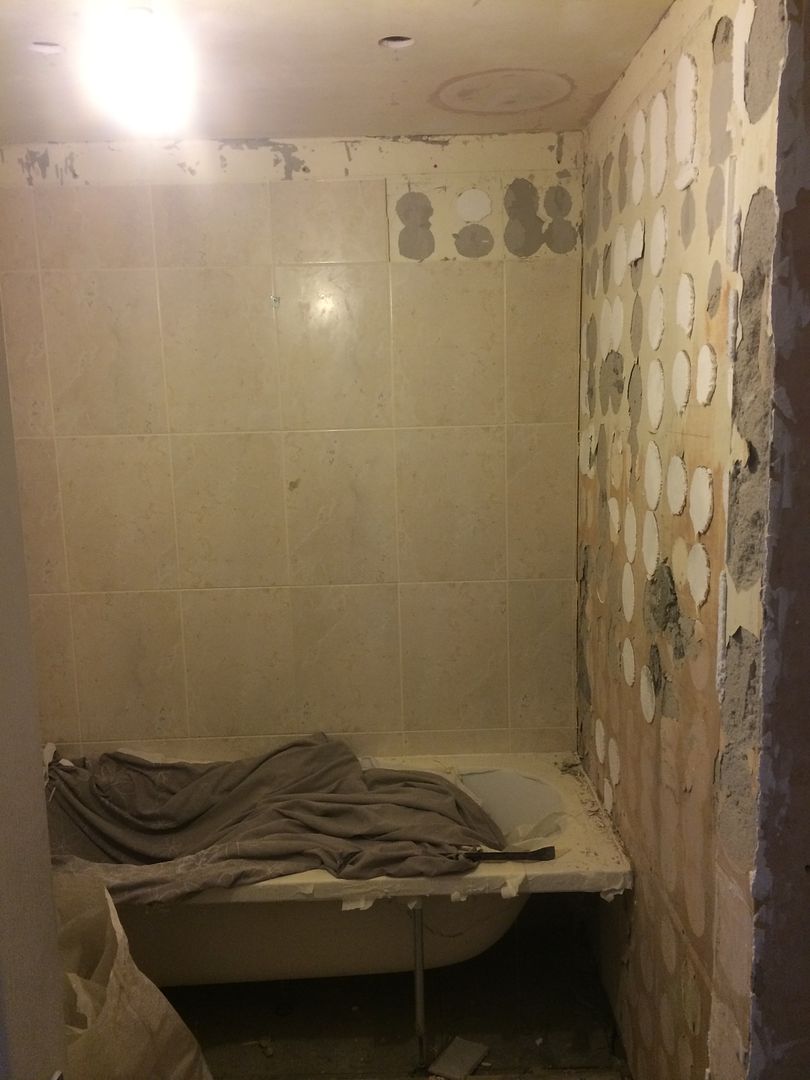
Ok, next on the to do list was the upstairs bathroom. There was an argument for not doing anything with the bathroom as it had been re done a few years prior however it just wasn't to my taste and I felt it would let the rest of the house down.
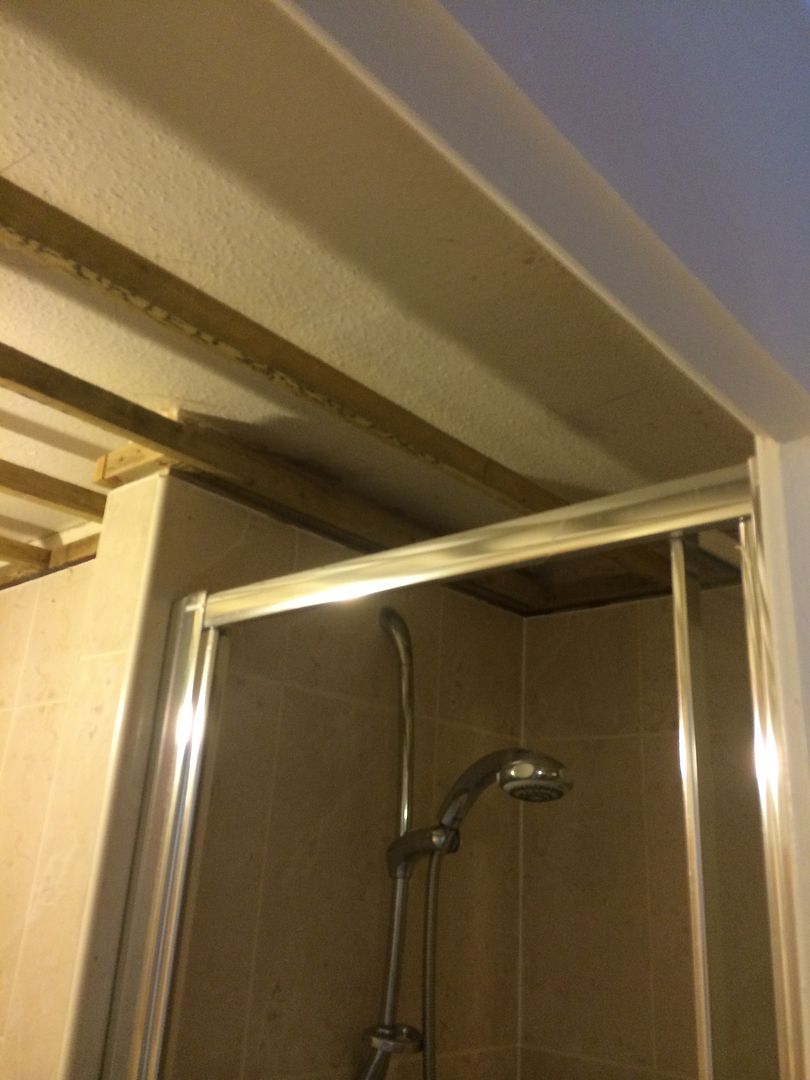
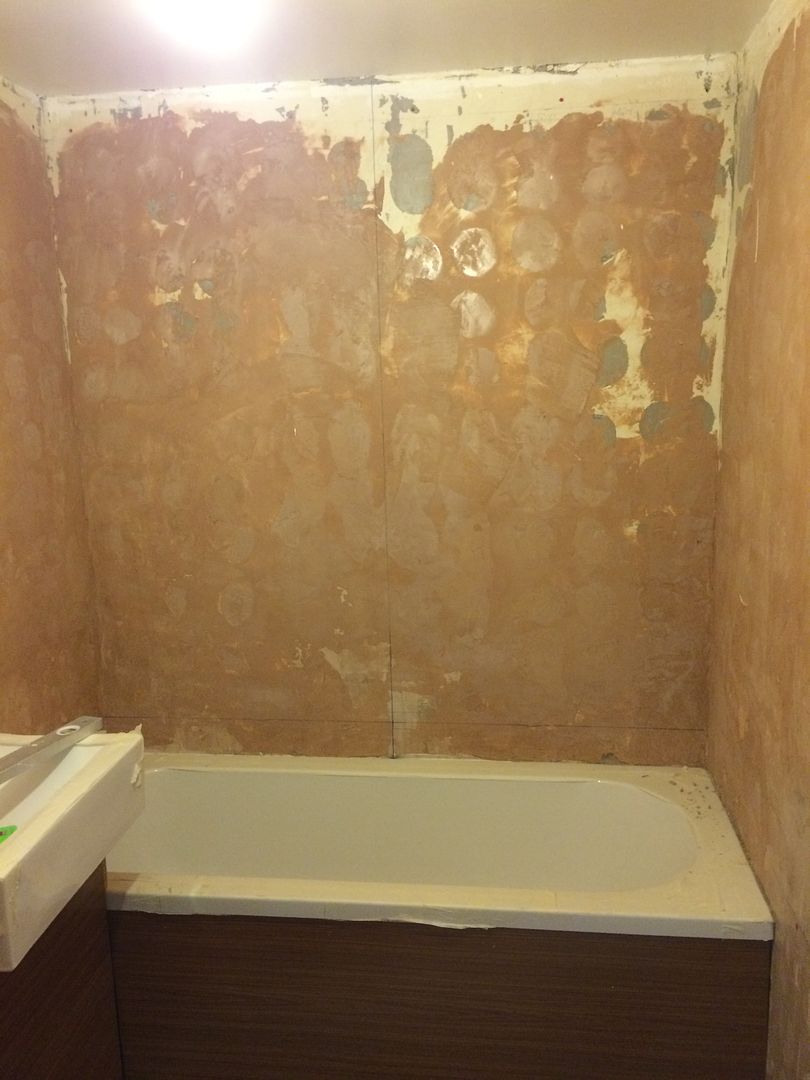
A couple of photos as work was about to commence. There was also a false ceiling in the bathroom which was made of a plastic material.. I really wasn't a fan of that either so the plan was to remove it.

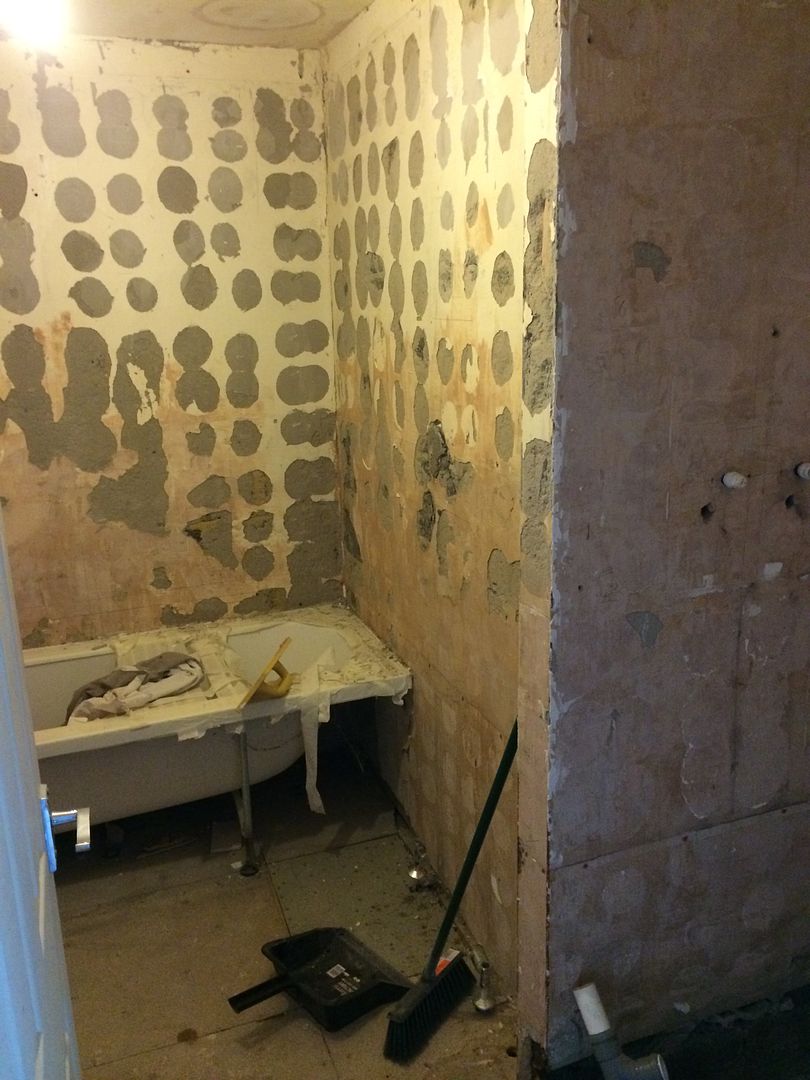
So first job was to pull down the ceiling.. This exposed a wood chipped ceiling and quite botched wiring in place for the downlights that were already in place.

I set about removing the woodchip from the ceiling and removing all of the existing tiles. The tiles ended up taking off quite a lot of the existing plaster on the walls.

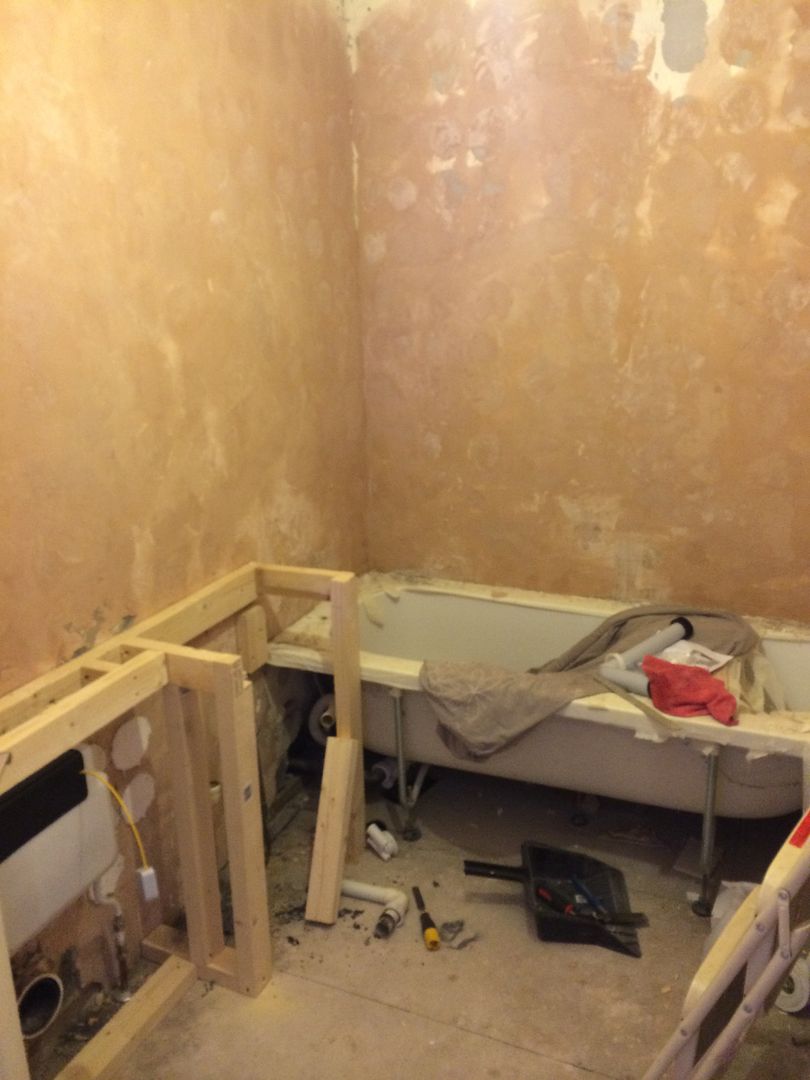
I skimmed over the walls with some plaster to help give the fresh tiles a decent backing. I then commenced building some boxing in for a concealed cistern and the basin to sit on..
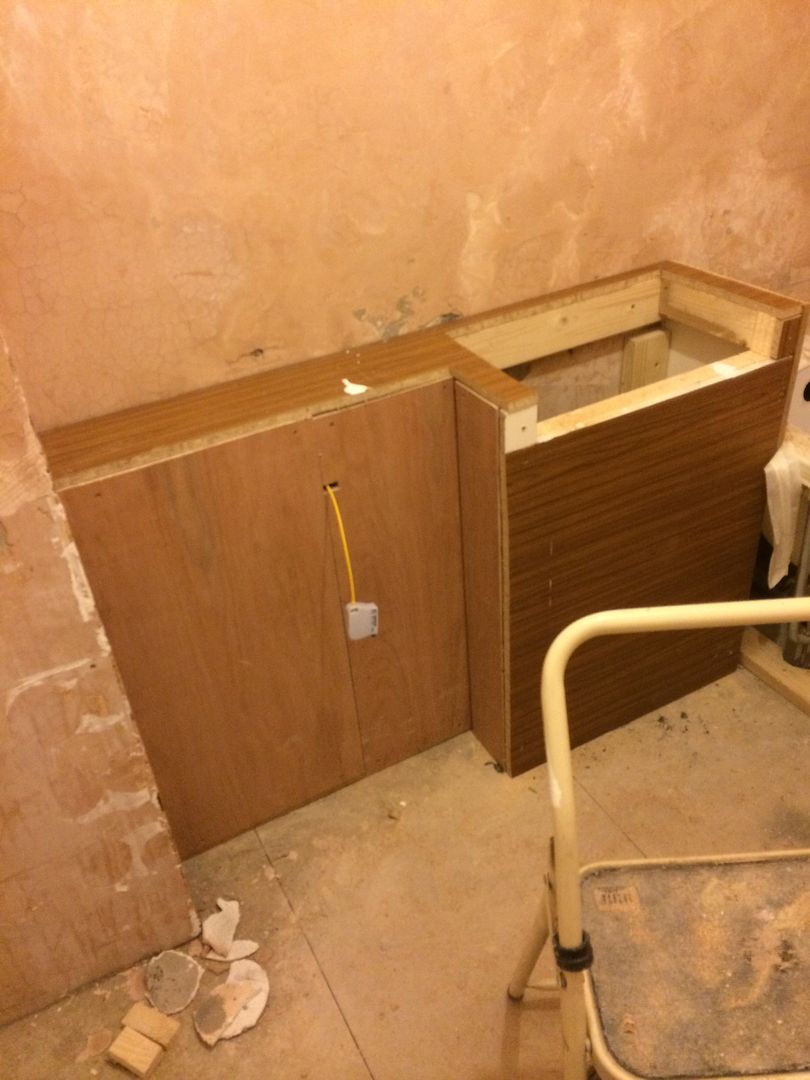
And I made a new bath panel.
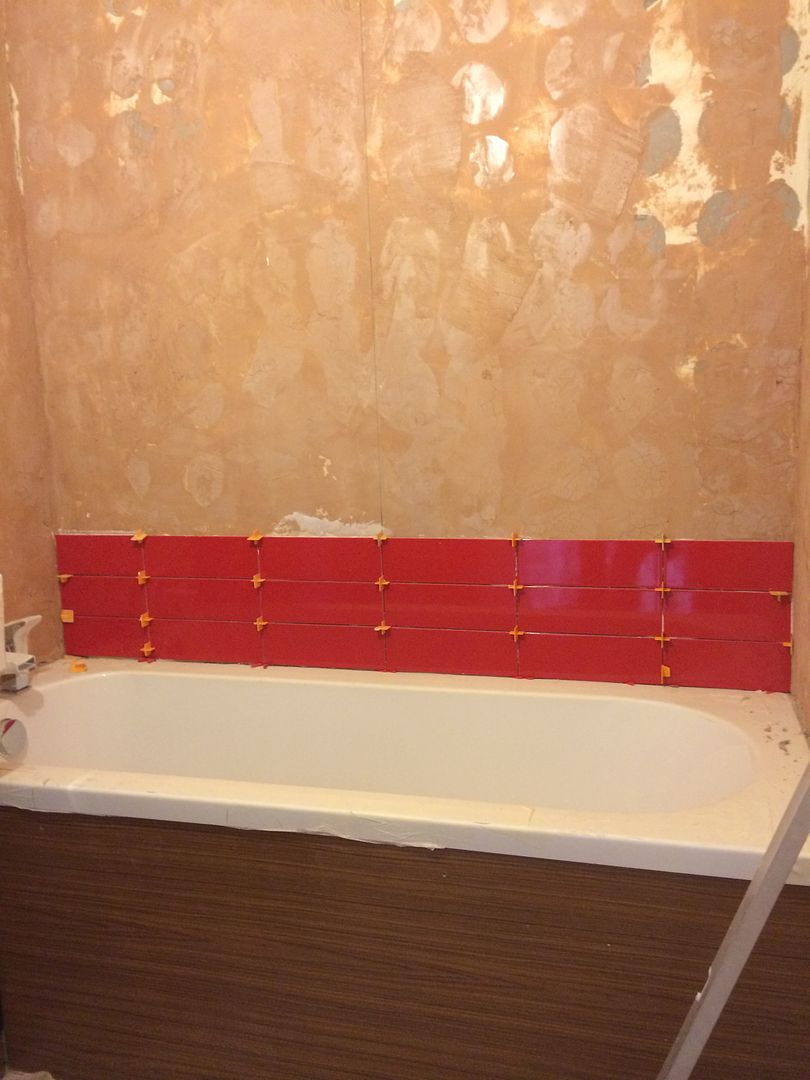
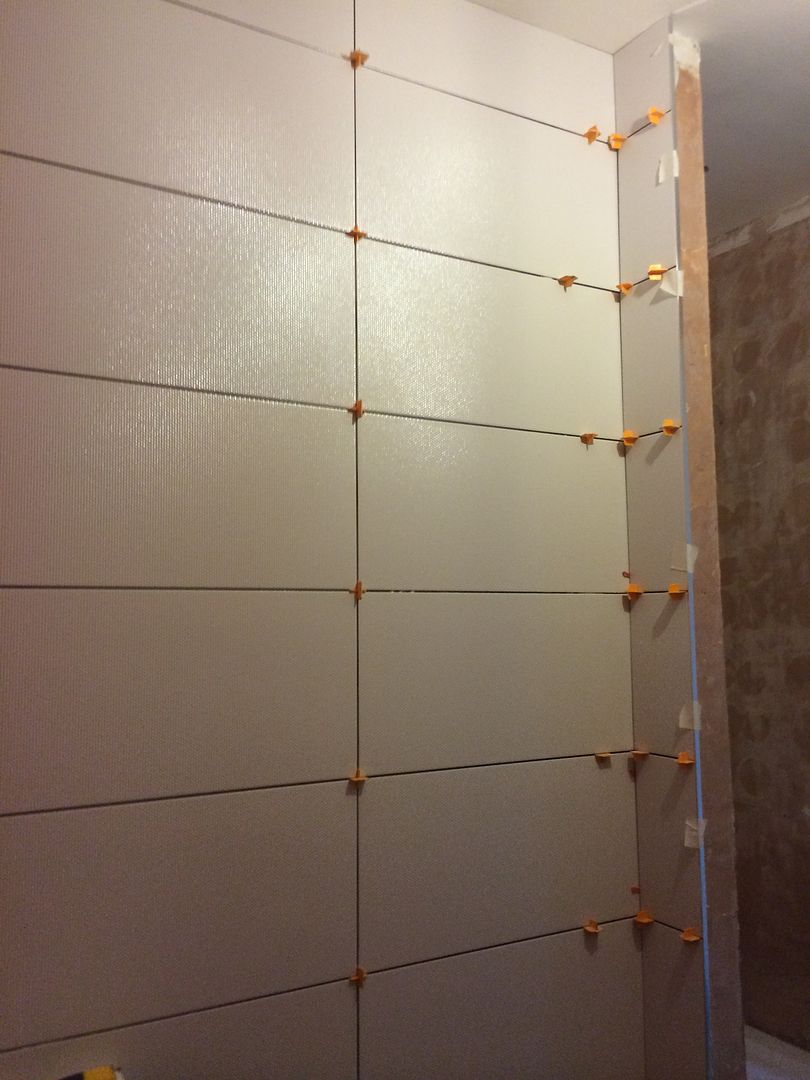
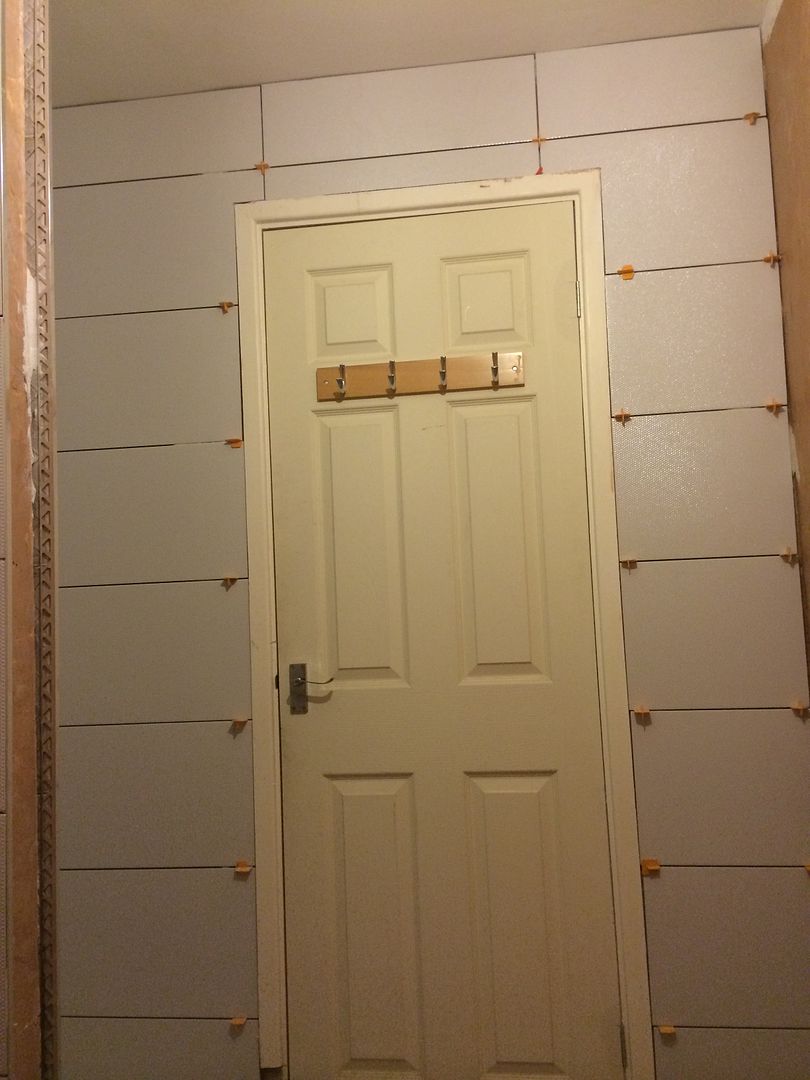
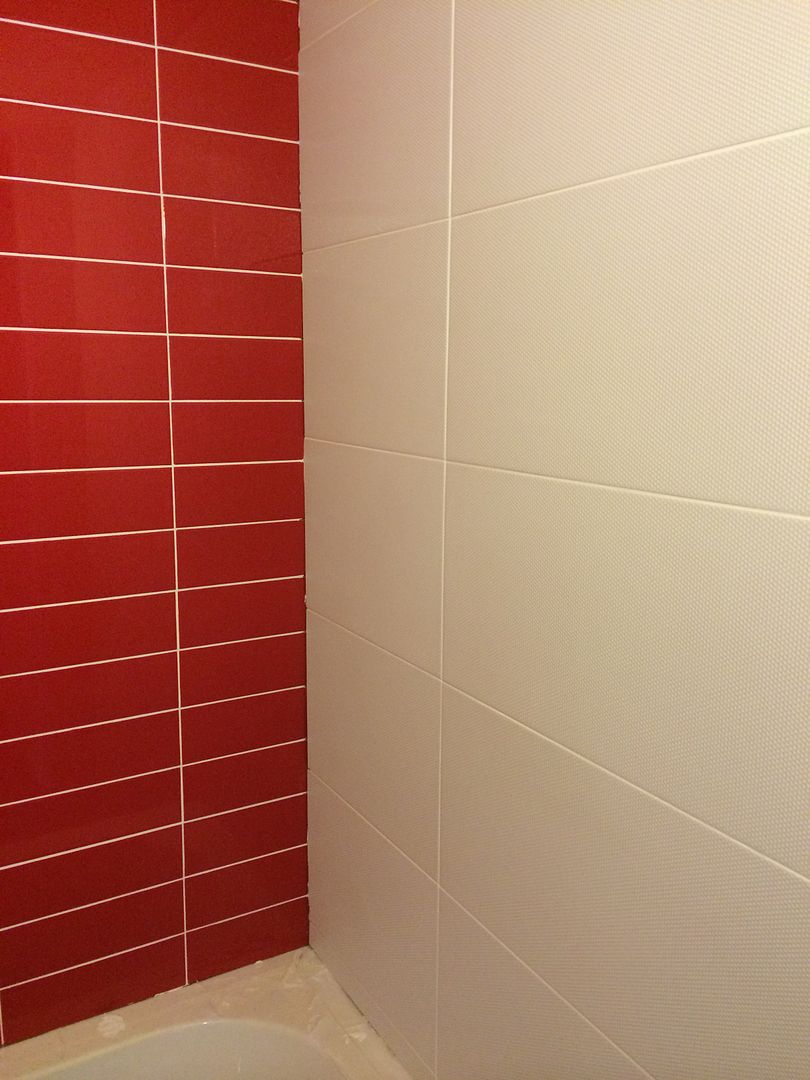
Tiling commenced.. Feature back wall in red..


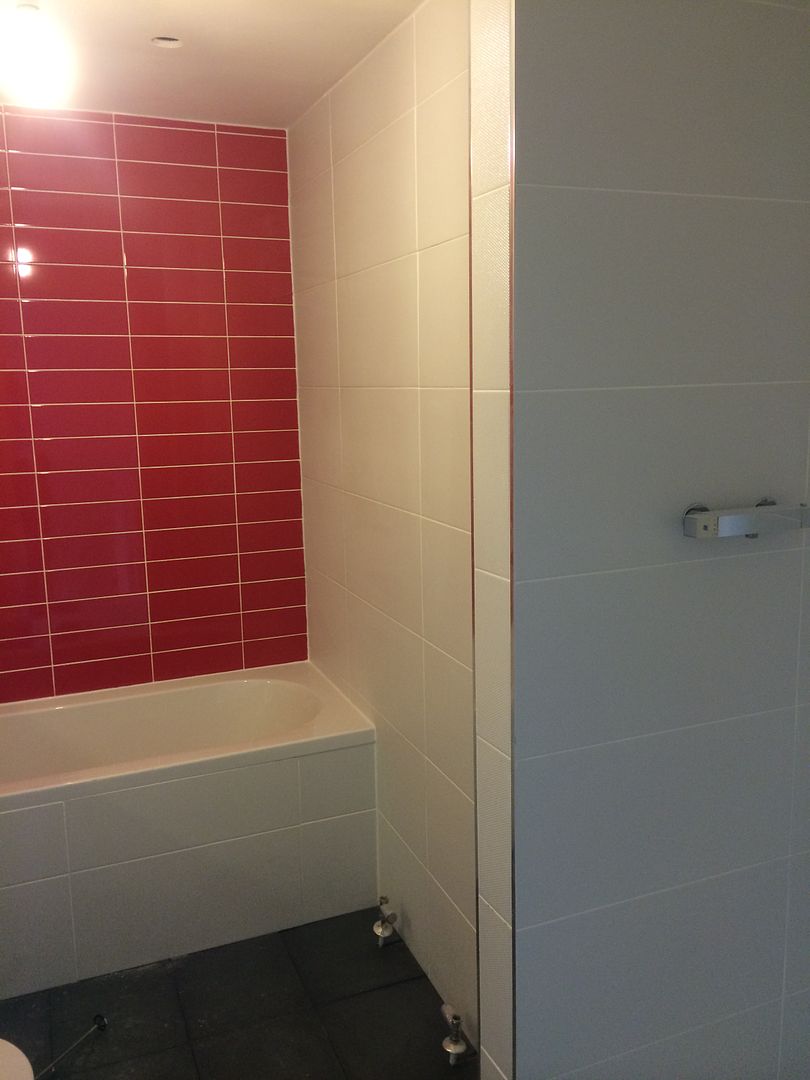
The other walls were done in the same tiles as the ones used on the floor in my ensuite shower room. They are a 600x300 tile with a textured finish. The tiling was a bit of a pita to be honest as the walls were not very square.
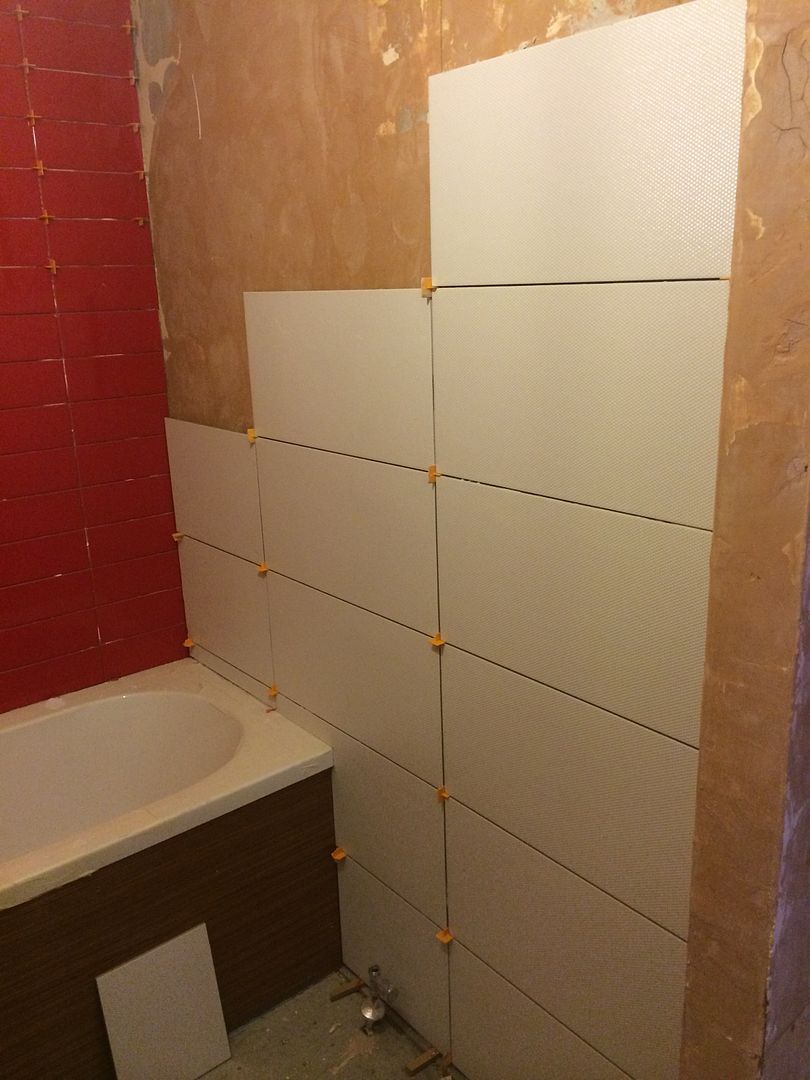
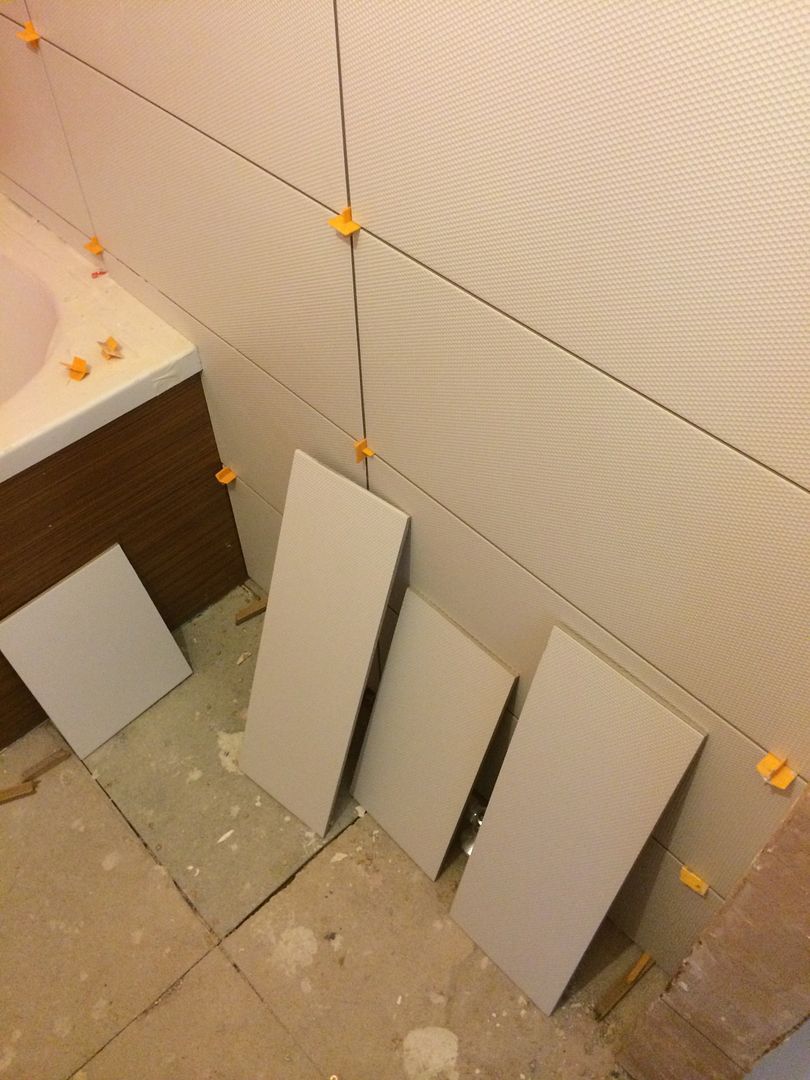
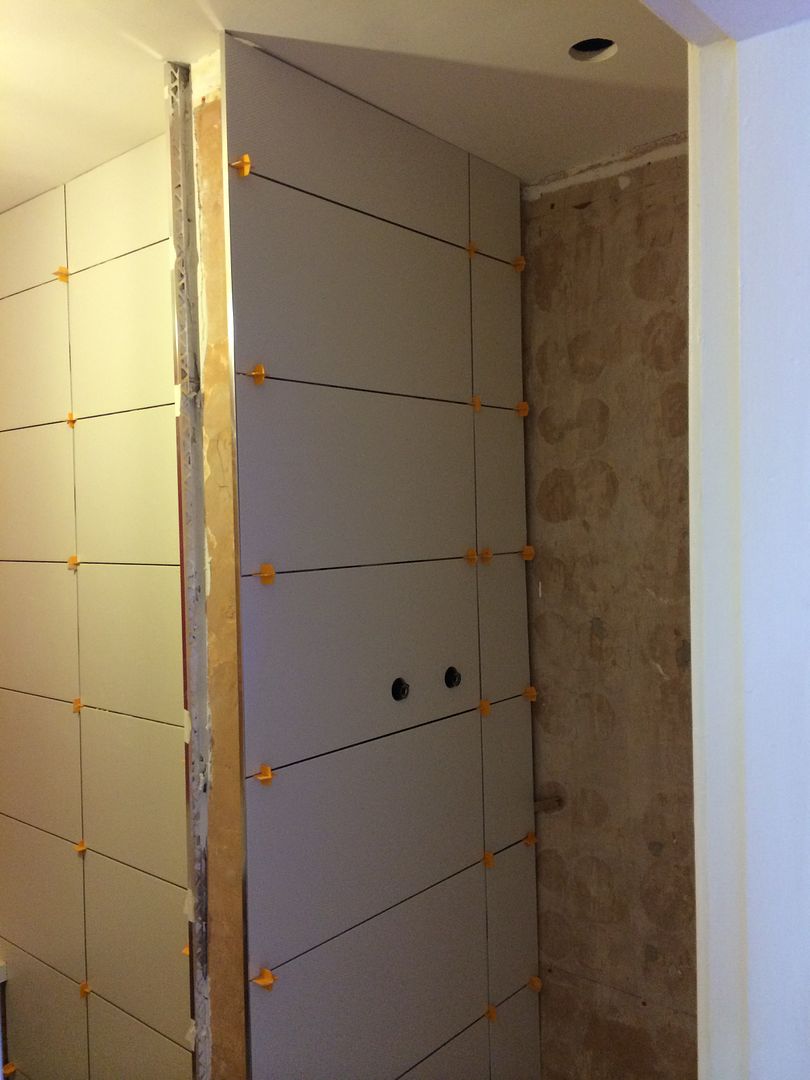
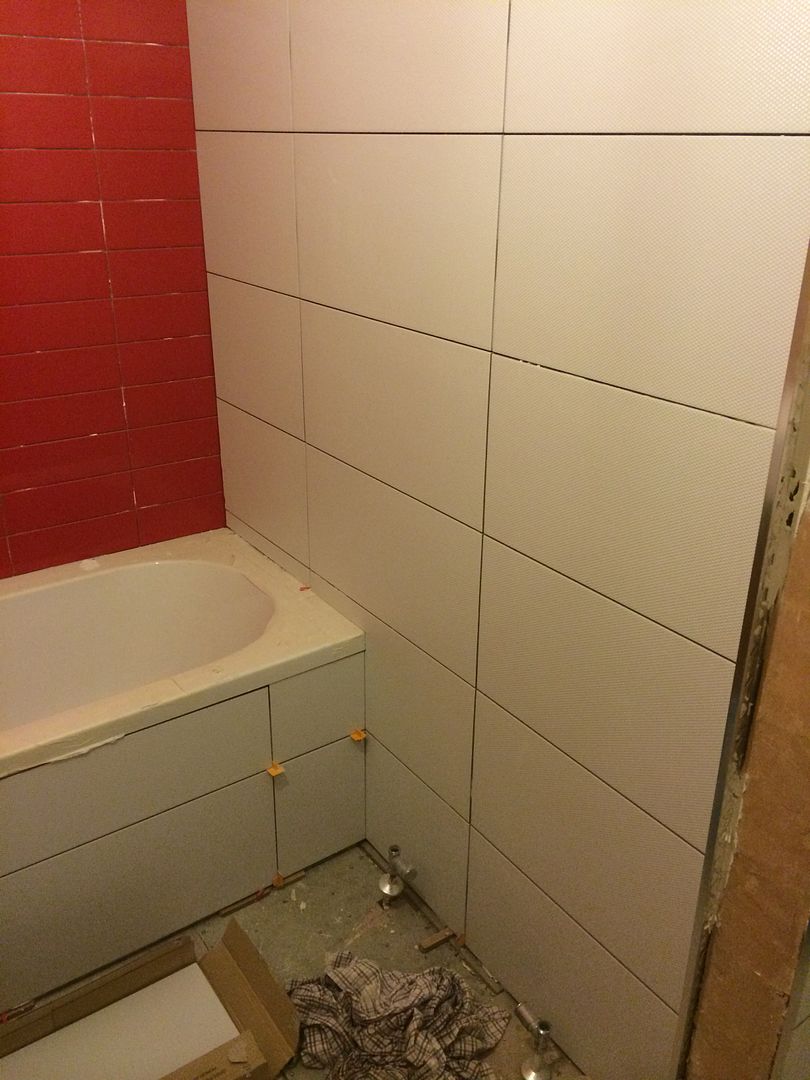
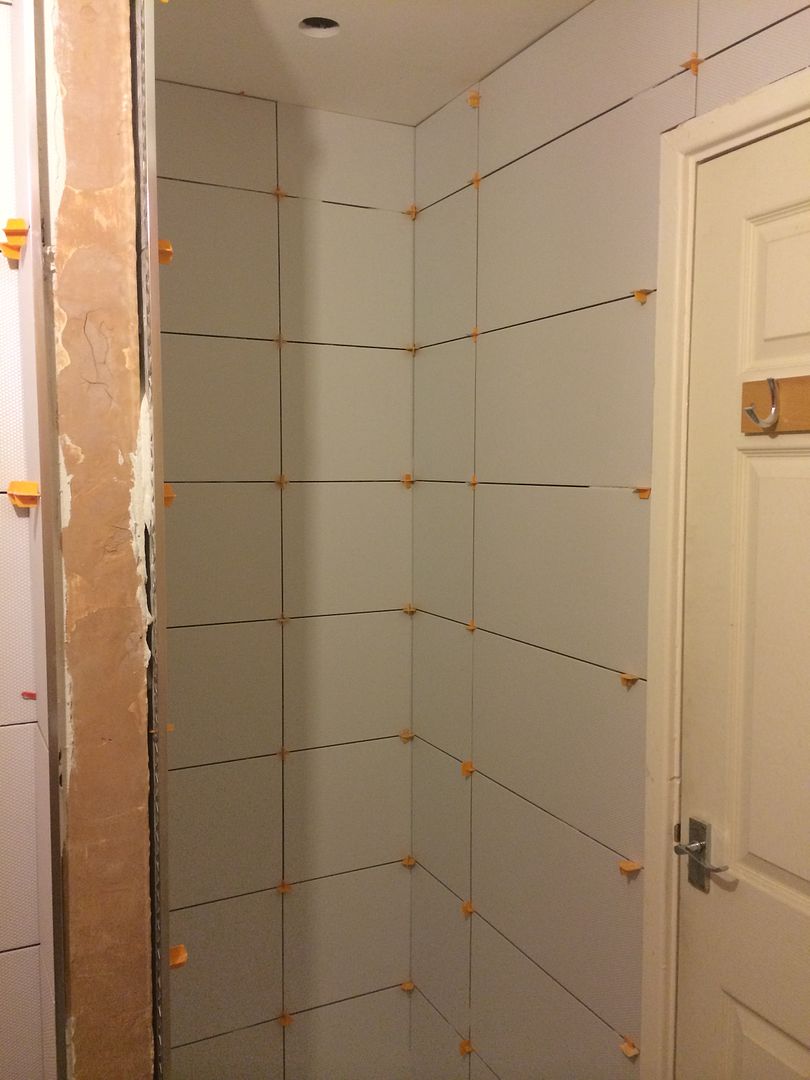
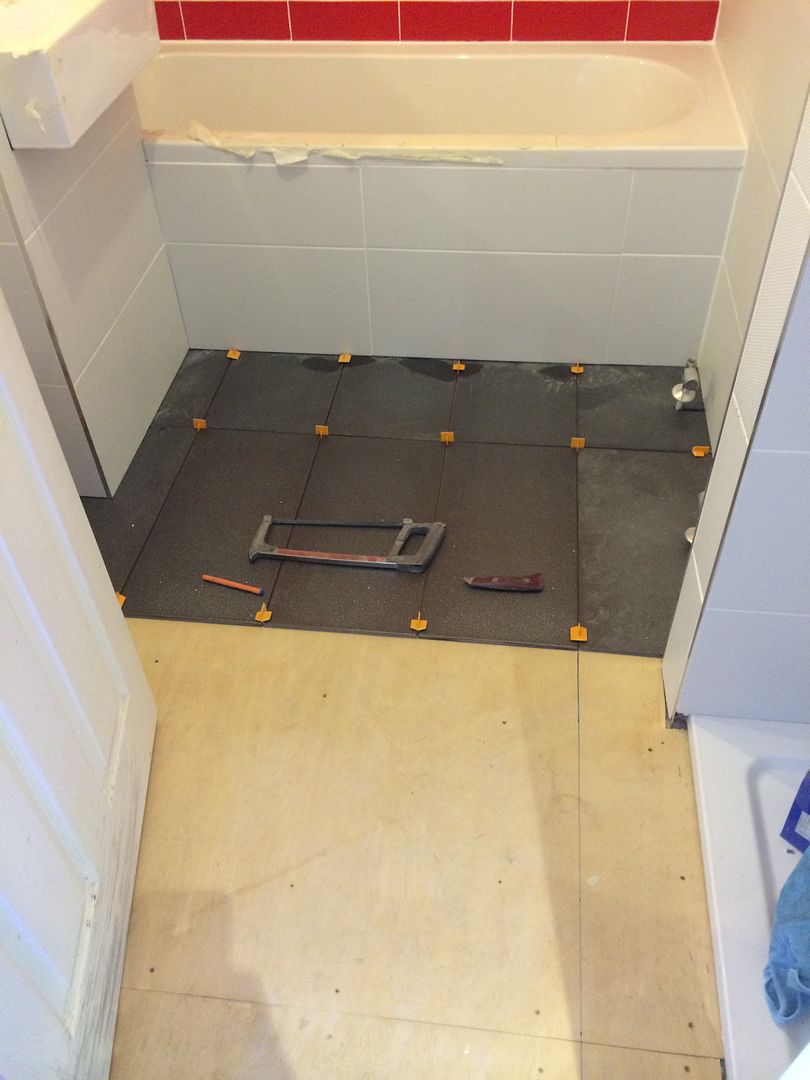
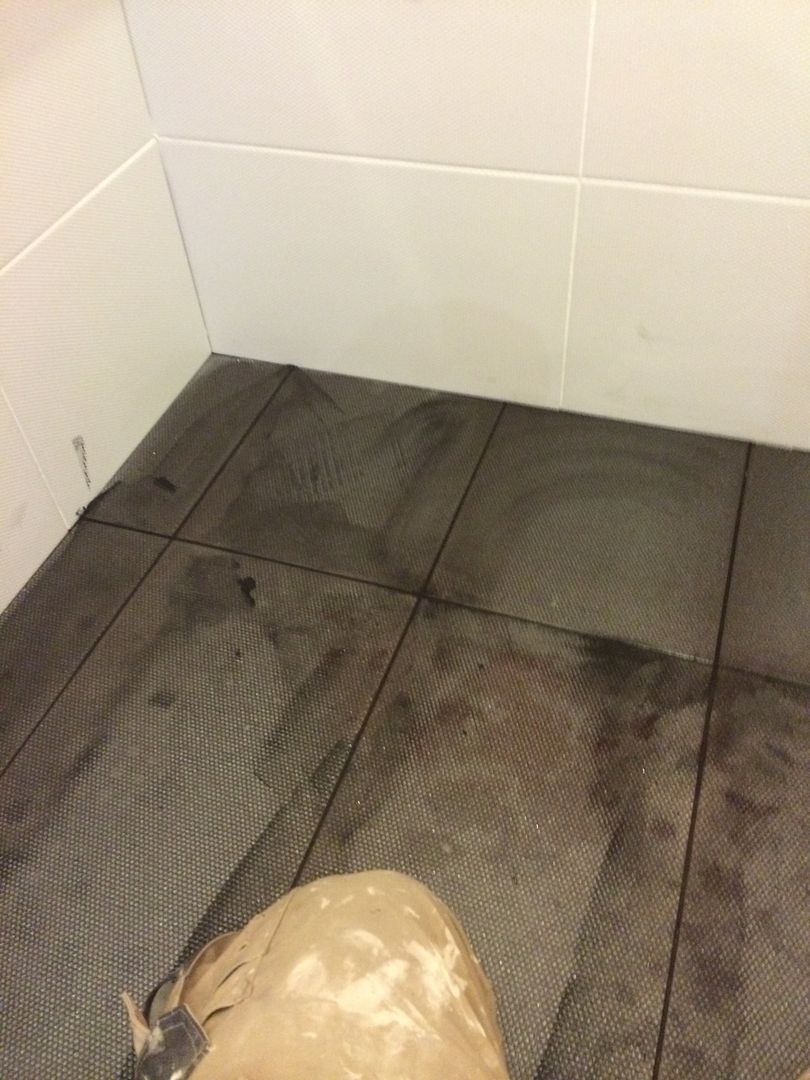
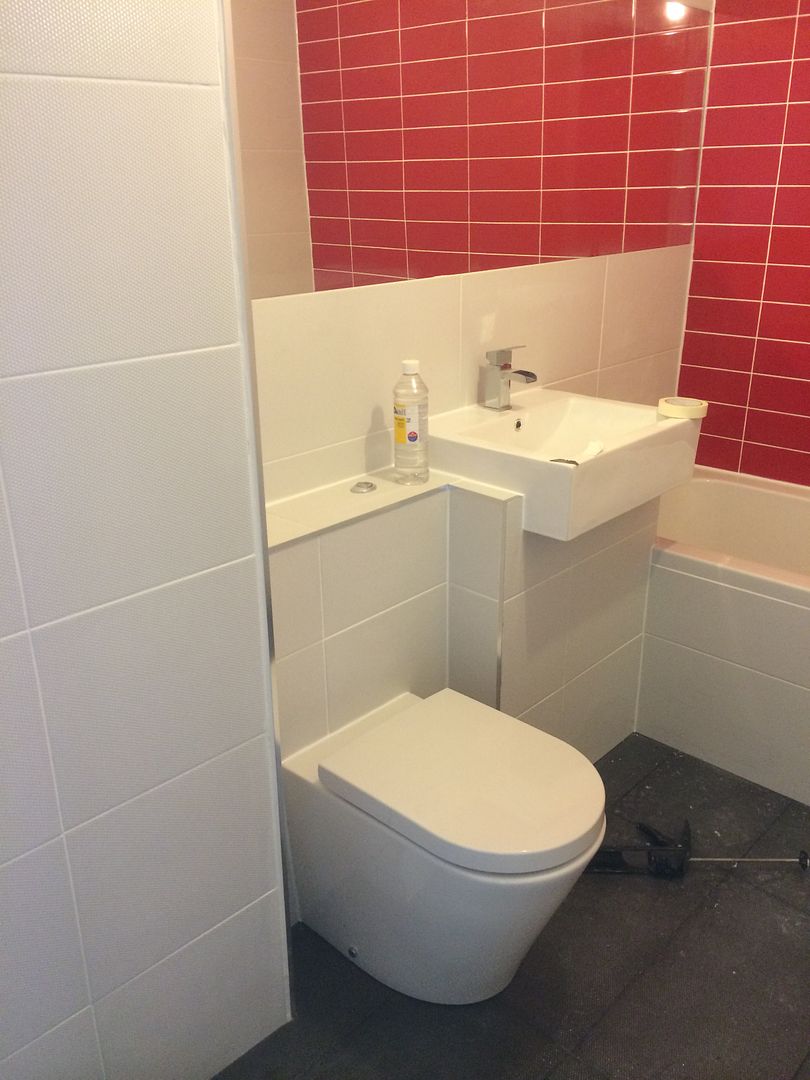
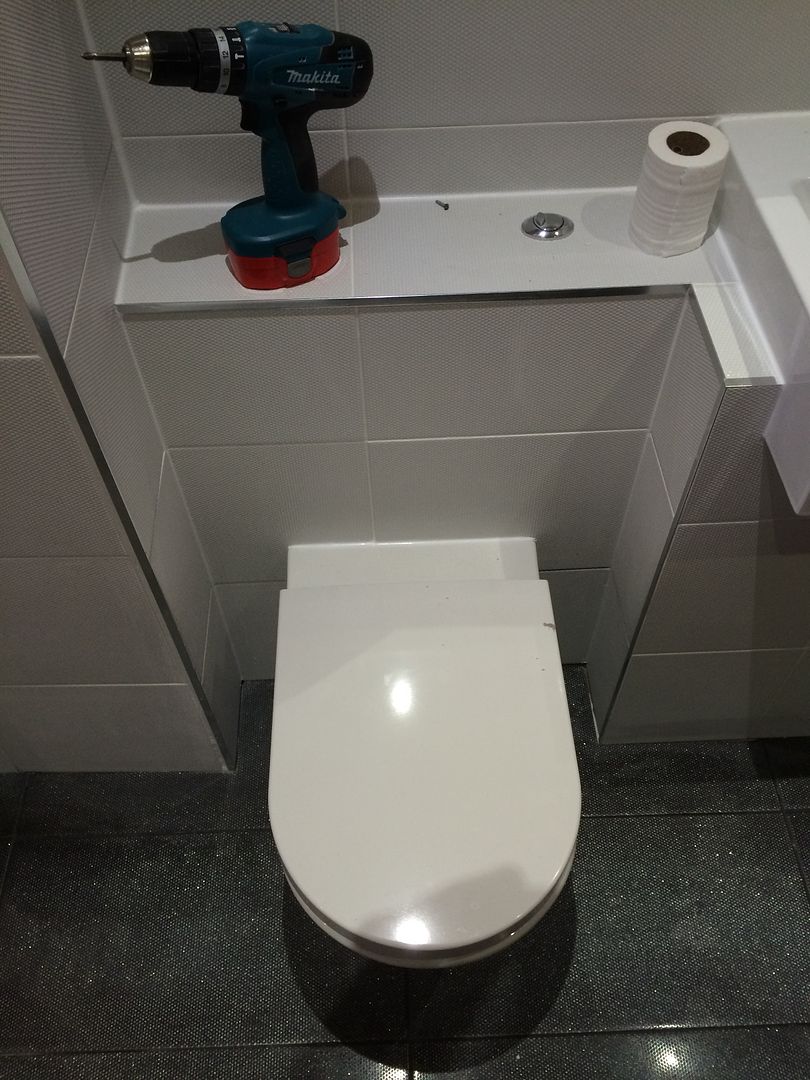
The grouting was then done and the floor laid. The floor tiles were of the same design as the wall tiles but with a different finish. I decided to leave a couple of rows of tiles off above the sink/toilet and infill with a mirror which would be grouted in as if it were a tile.
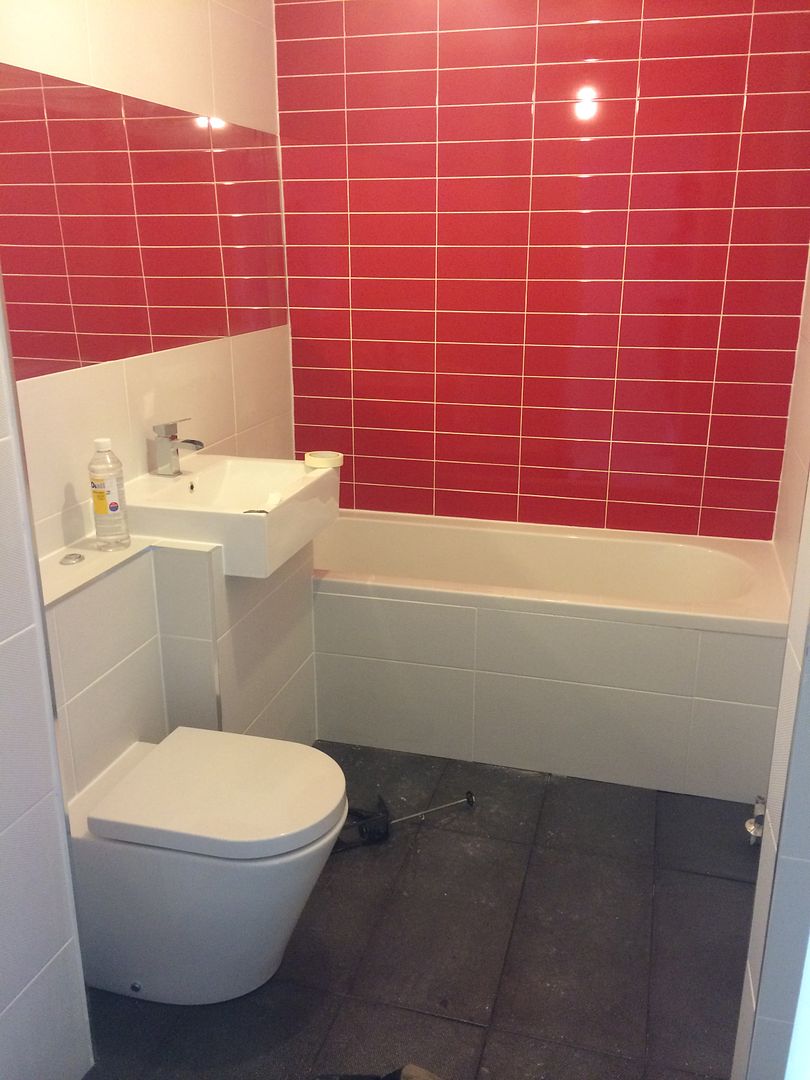

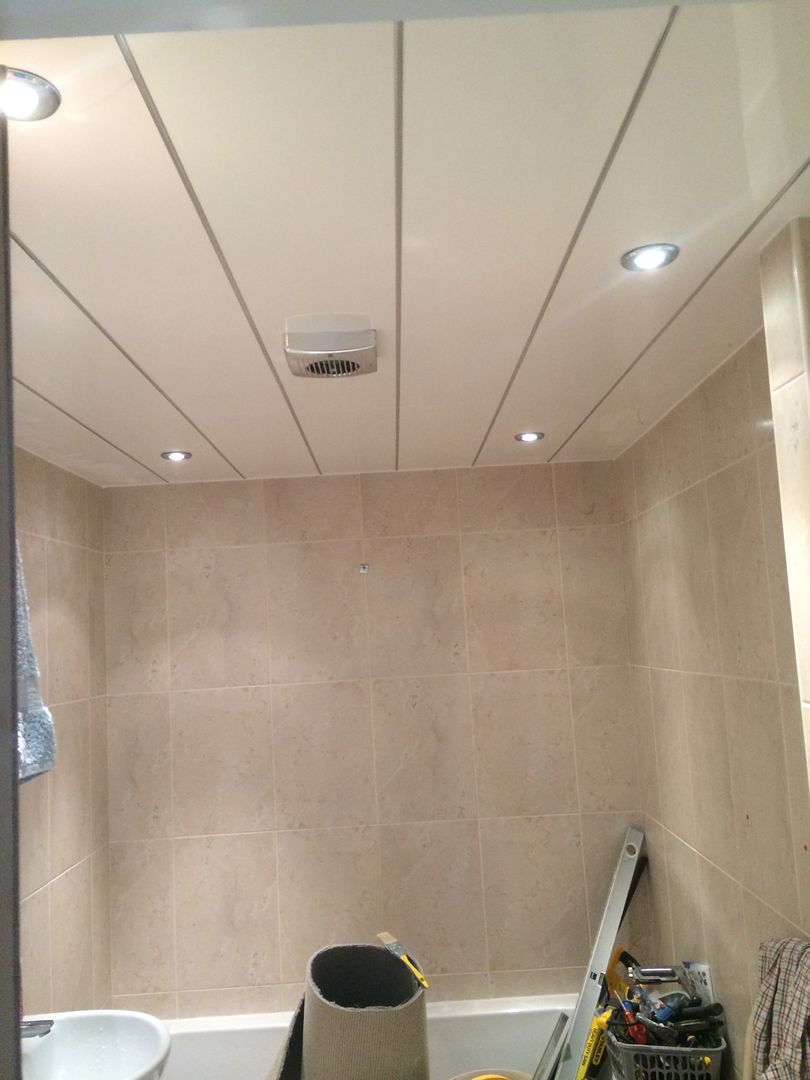
And that was the bathroom just about done.. New downlights were also put in along with a ceiling extractor fan.
A couple of photos as work was about to commence. There was also a false ceiling in the bathroom which was made of a plastic material.. I really wasn't a fan of that either so the plan was to remove it.


So first job was to pull down the ceiling.. This exposed a wood chipped ceiling and quite botched wiring in place for the downlights that were already in place.


I set about removing the woodchip from the ceiling and removing all of the existing tiles. The tiles ended up taking off quite a lot of the existing plaster on the walls.


I skimmed over the walls with some plaster to help give the fresh tiles a decent backing. I then commenced building some boxing in for a concealed cistern and the basin to sit on..


And I made a new bath panel.

Tiling commenced.. Feature back wall in red..


The other walls were done in the same tiles as the ones used on the floor in my ensuite shower room. They are a 600x300 tile with a textured finish. The tiling was a bit of a pita to be honest as the walls were not very square.


The grouting was then done and the floor laid. The floor tiles were of the same design as the wall tiles but with a different finish. I decided to leave a couple of rows of tiles off above the sink/toilet and infill with a mirror which would be grouted in as if it were a tile.


And that was the bathroom just about done.. New downlights were also put in along with a ceiling extractor fan.
Gassing Station | Homes, Gardens and DIY | Top of Page | What's New | My Stuff