Honda VRX400 1995 "barn find" restoration
Discussion


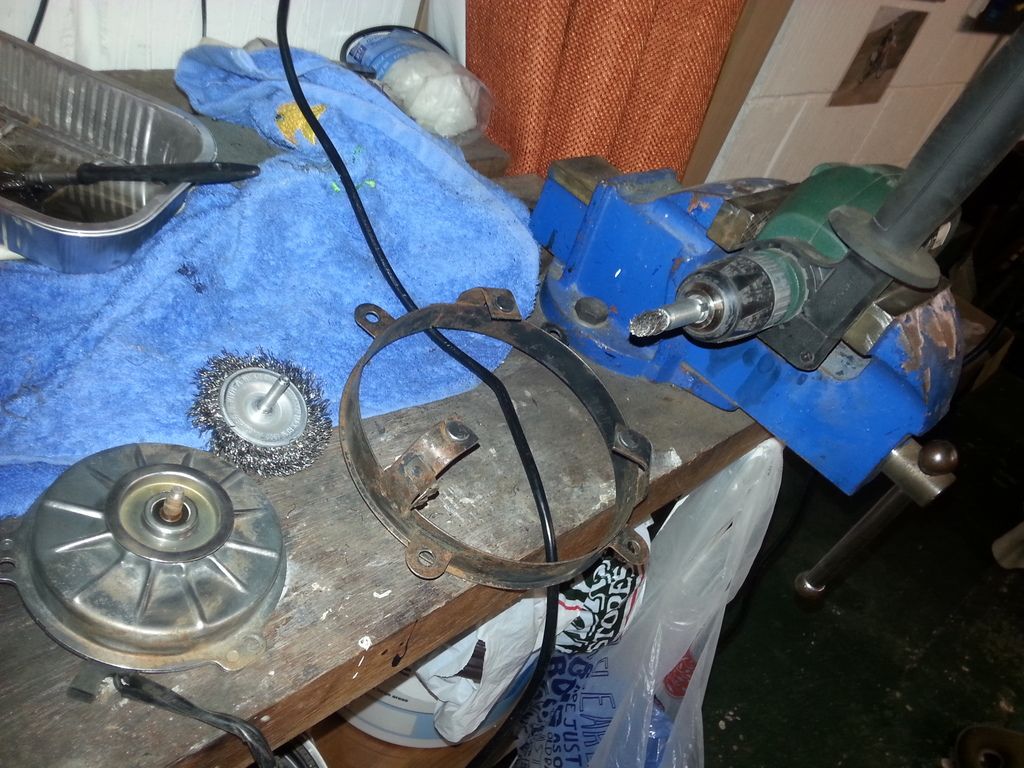
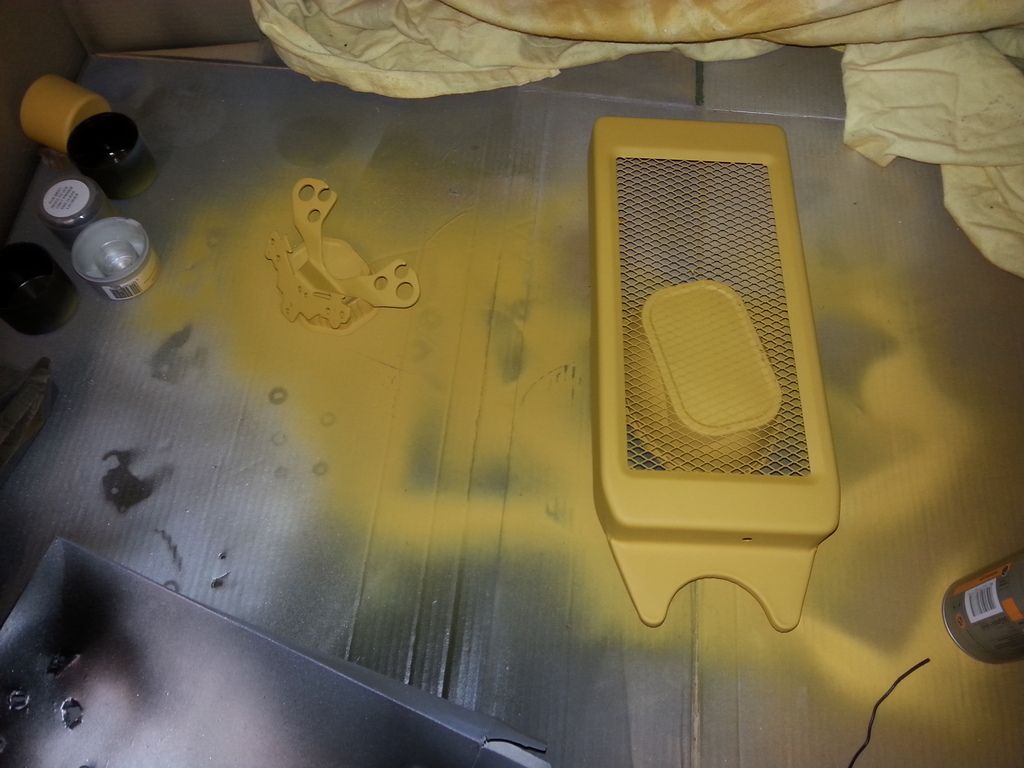
Jumping back in time a little bit, a couple of photos I forgot about ... prepping and painting the radiator cowl and fan/mount :
Okay, right, time to put this back on the bike then.
All fitted, easy as pie. A good dose of LM on the bearings and races. Sticky but fun (like some women)
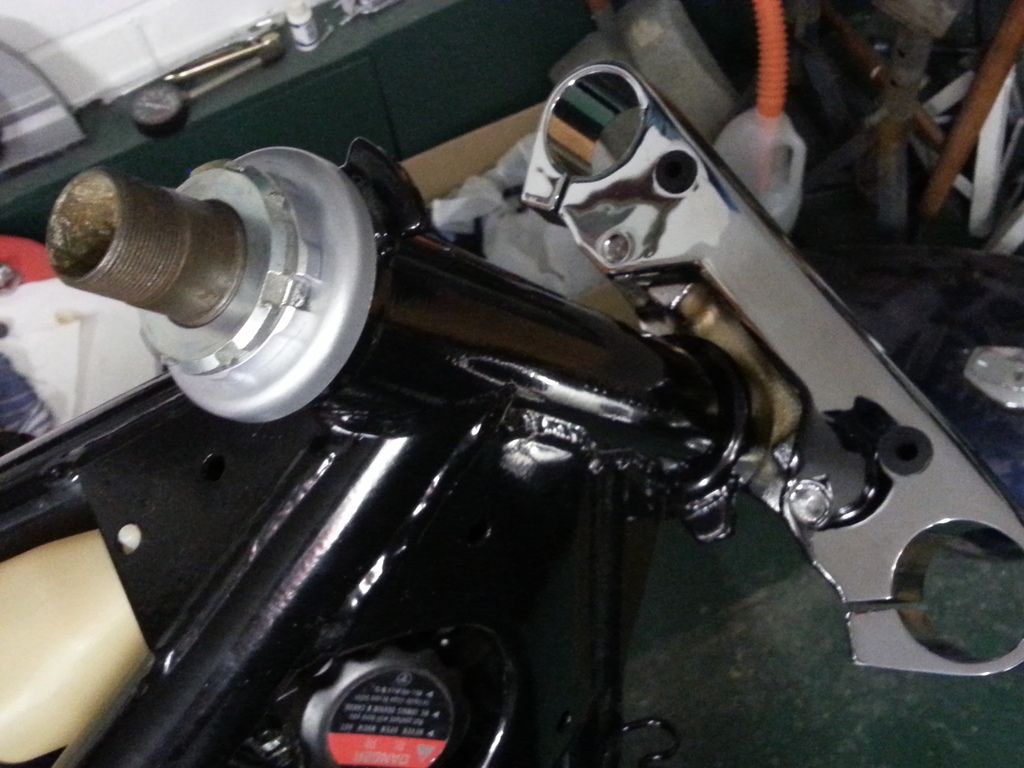
Don't forget to bend over the tabs on the castle nuts. Didn't I do a good job on the paint work of the lower (silver) nut ? Pity it's utterly hidden by the top yoke when it goes on ...
I can't fit the top yoke yet as I'm still working on the paintwork of the headlight/indicator mount, which fits between the two yokes. It was rusty, and quite bent ... had to hammer it like hell to get it pretty much straight. That's not the kitchen sink. Don't tell the wife.


Okay, right, time to put this back on the bike then.

All fitted, easy as pie. A good dose of LM on the bearings and races. Sticky but fun (like some women)

Don't forget to bend over the tabs on the castle nuts. Didn't I do a good job on the paint work of the lower (silver) nut ? Pity it's utterly hidden by the top yoke when it goes on ...

I can't fit the top yoke yet as I'm still working on the paintwork of the headlight/indicator mount, which fits between the two yokes. It was rusty, and quite bent ... had to hammer it like hell to get it pretty much straight. That's not the kitchen sink. Don't tell the wife.

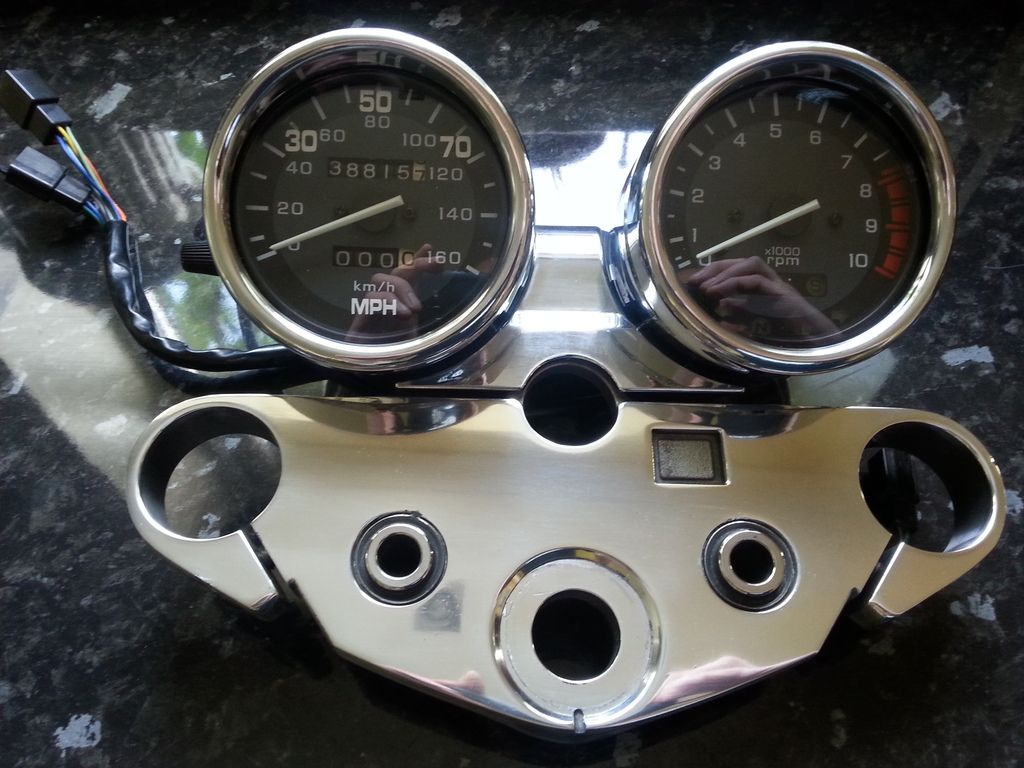
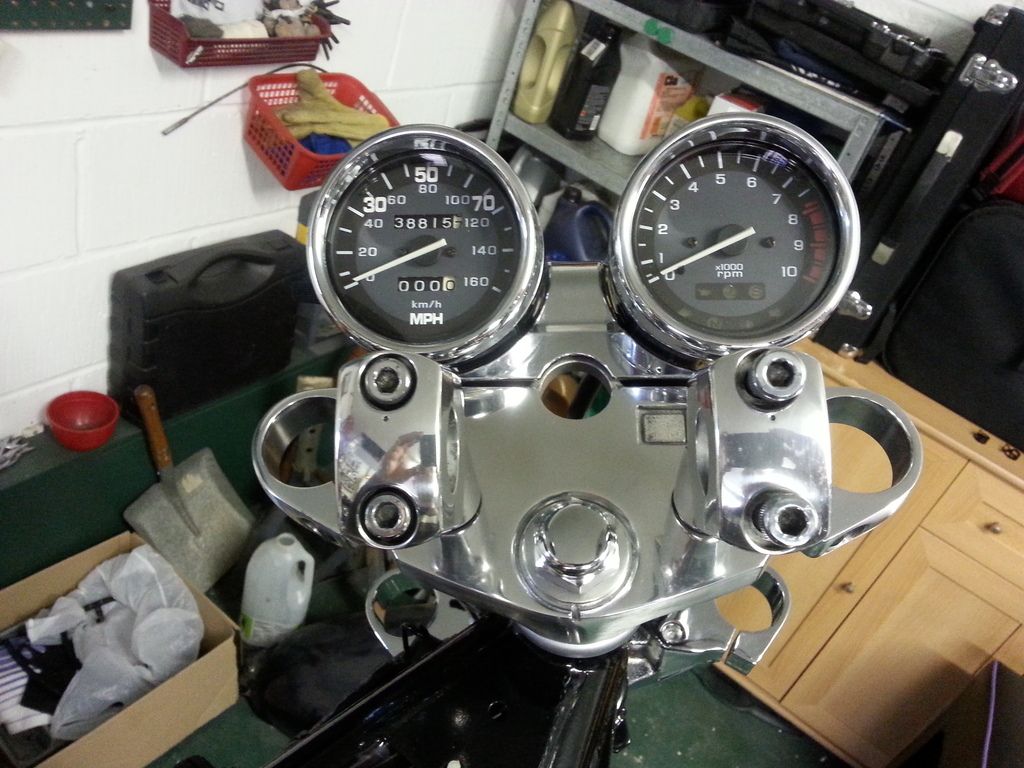
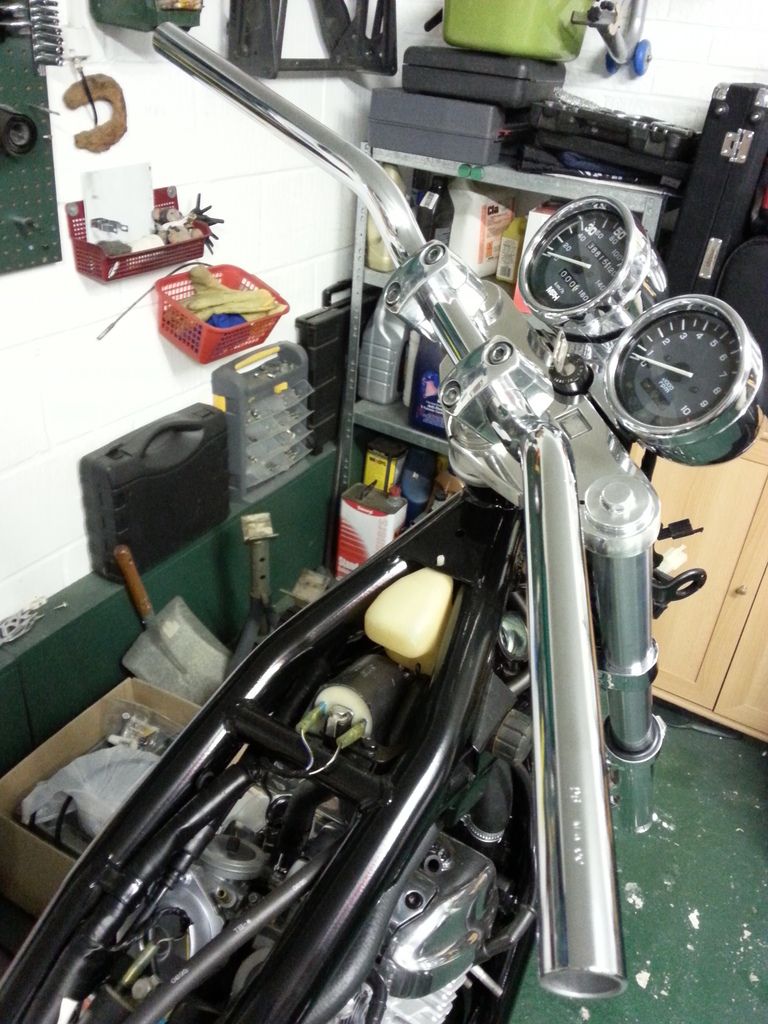
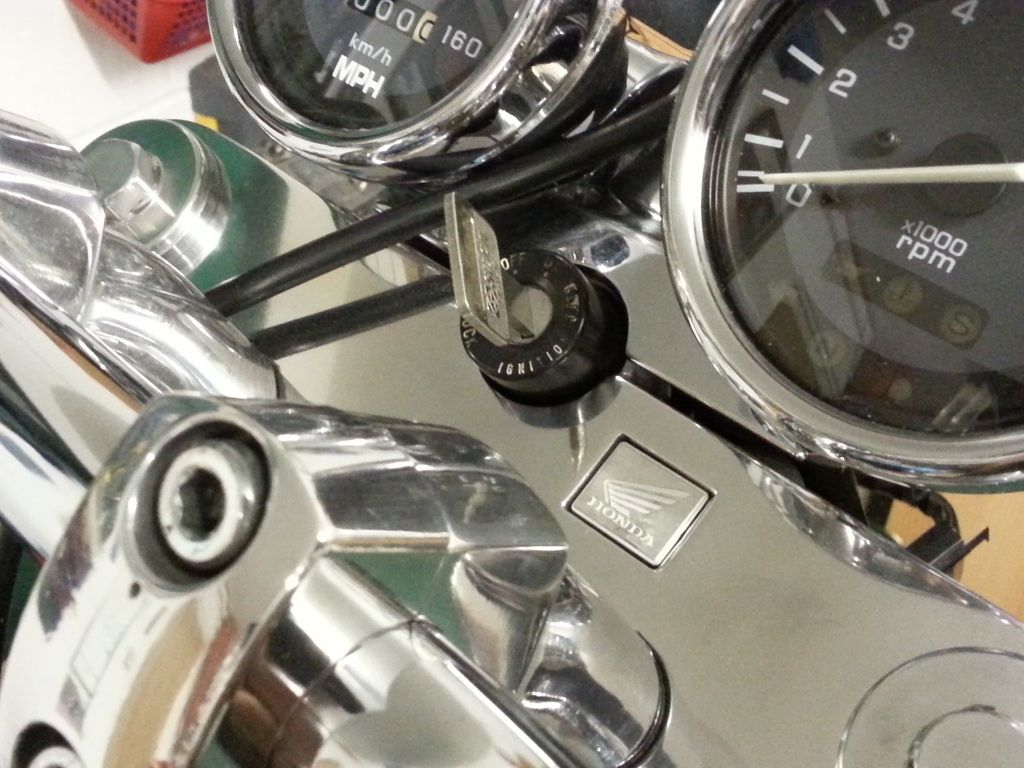
Clocks are back together, the clock mounting bracket all painted up, and assembled with the top yoke. Once again, I repeat, this is NOT the kitchen side (dearest wife).

The clocks were a bit of an arse to put back together ... spent many a happy hour trying to get the lip that you fold over to clamp the glass face in place, trying to get that smooth. Unless it was perfectly flat, it showed terribly. Still only about 8/10, but it will have to do.
Here you can see my solution to converting to MPH. Instead of stickers on the outside of the glass, I've put transfers (from ebay) on the clock dial.
And top yoke in position. I can't do up the top nut (to 103nm) till the stanchions are in place, as I need to get the alignment with the bottom yoke.
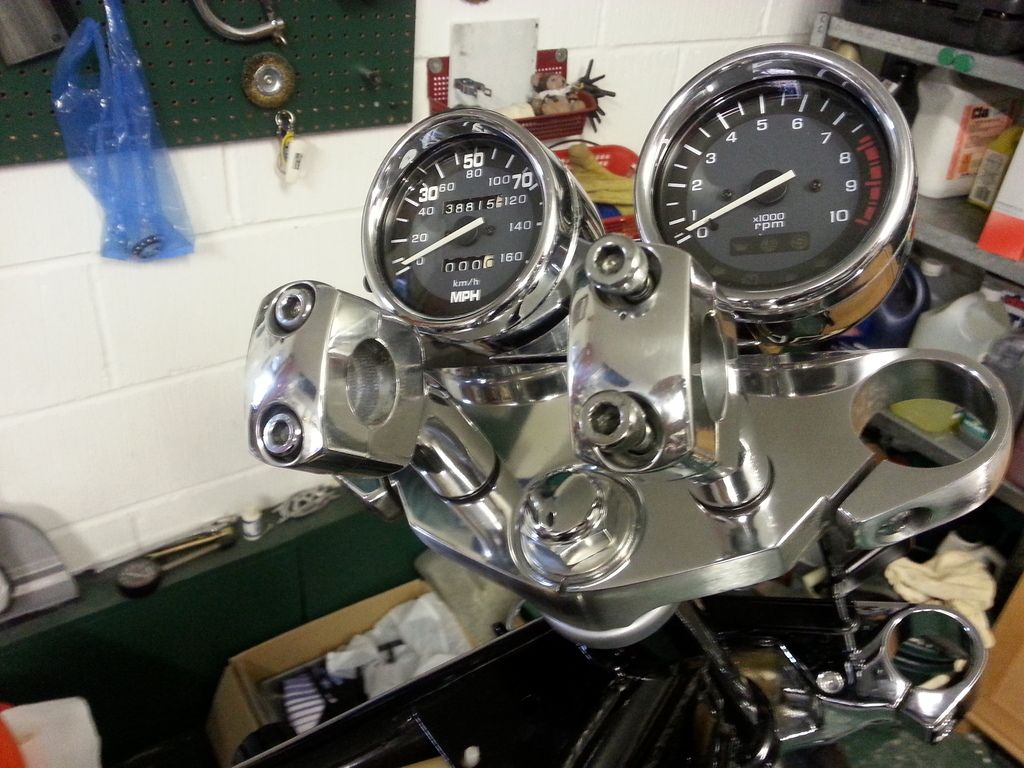
As you can see, I've also spent a couple of hours (or more) on the bench polisher with the handlebar stems.
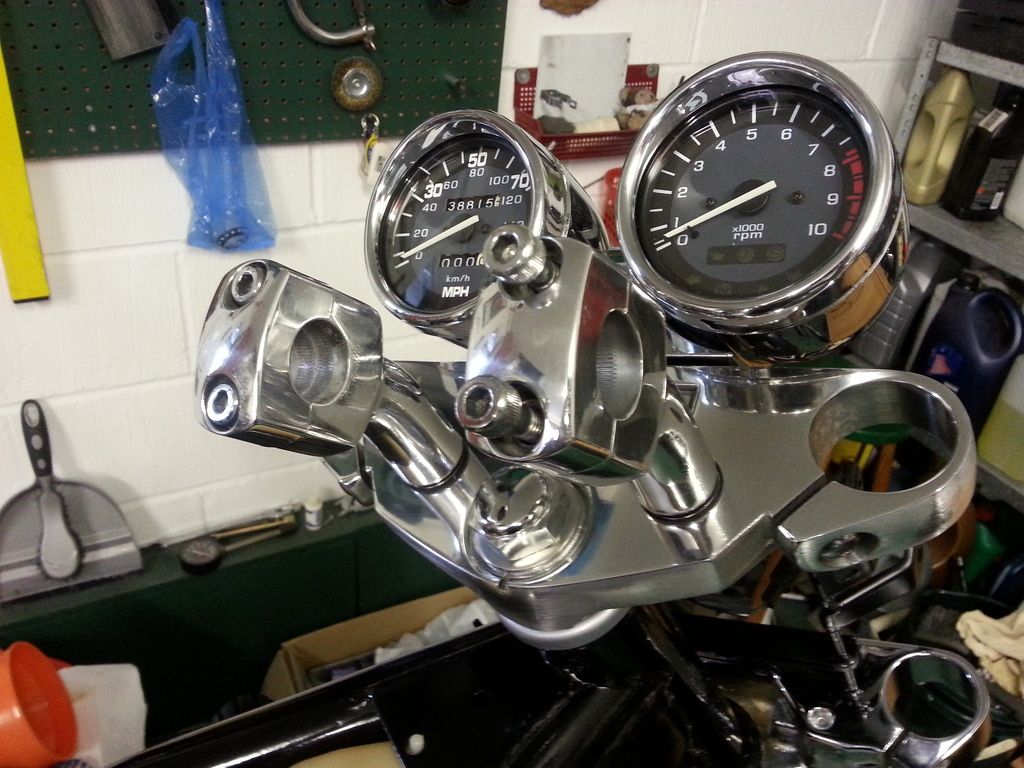
That's a new top nut.
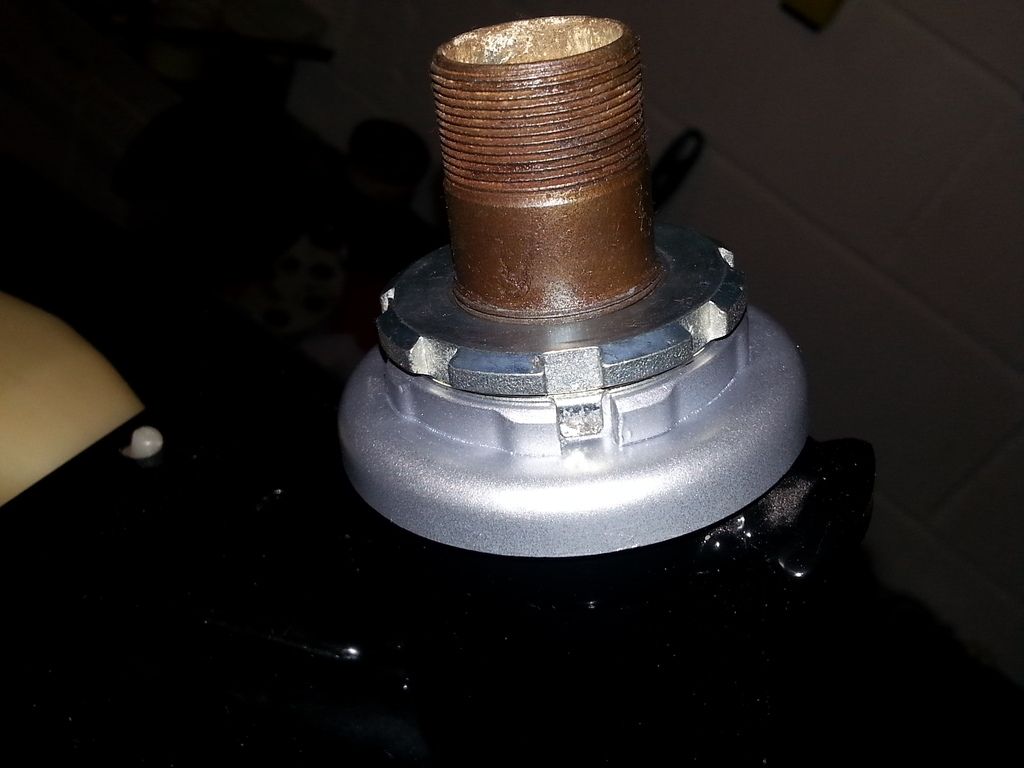
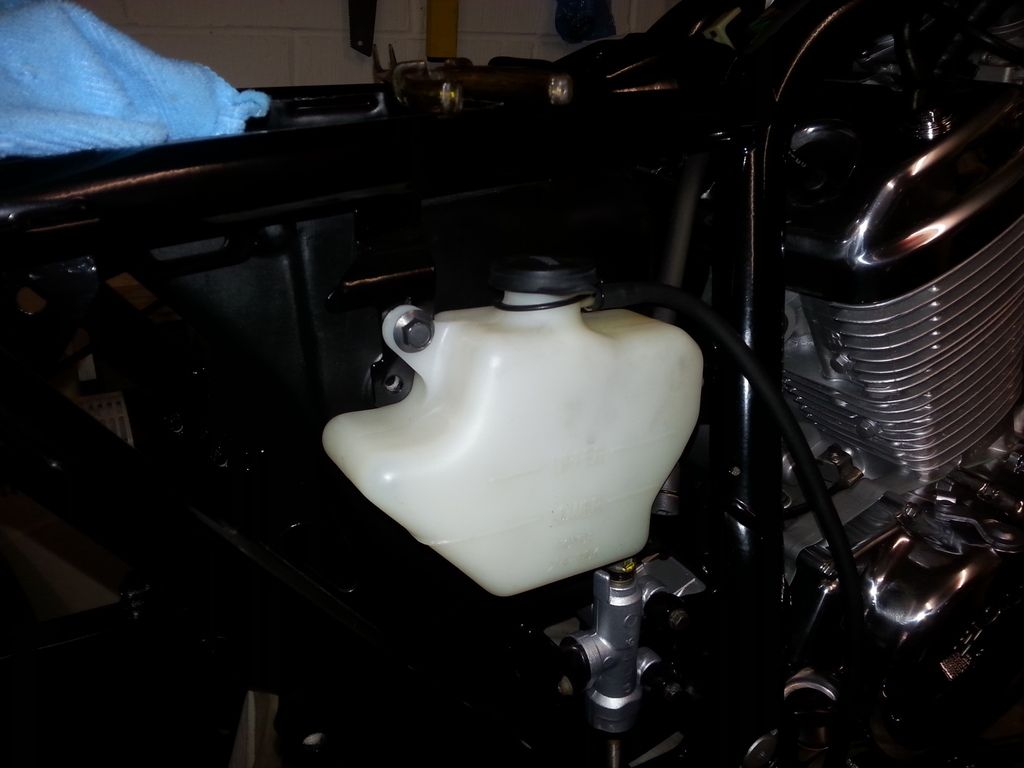
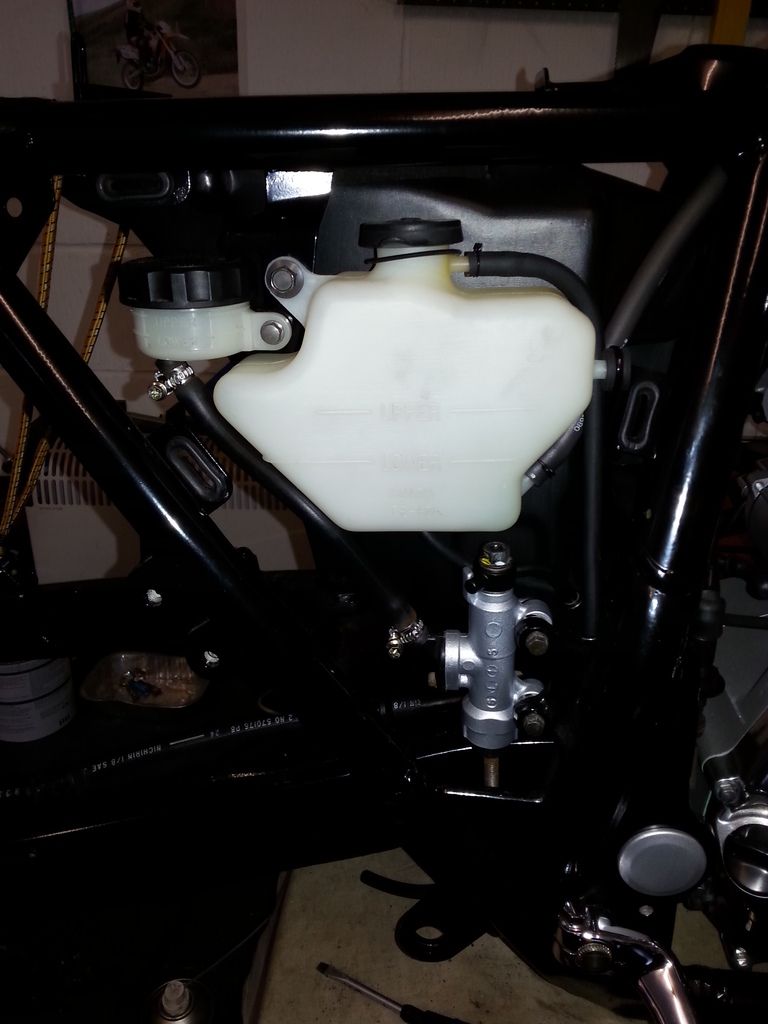
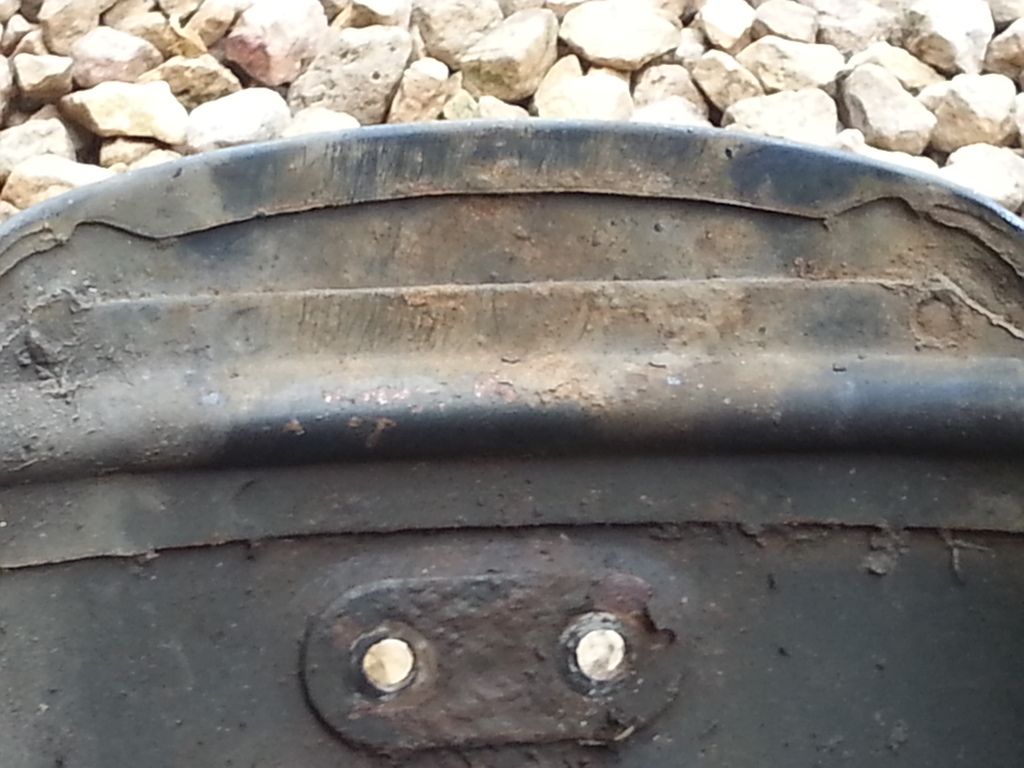
Reservoir all cleaned up. It was green inside ... had to soak in bleach for a day, then get inventive with various spoon handles, bits of thick wire, and a cloth to clean out the inside. There's still a bit of a rust mark on the top face (from the hose clamp), but that won't come off.
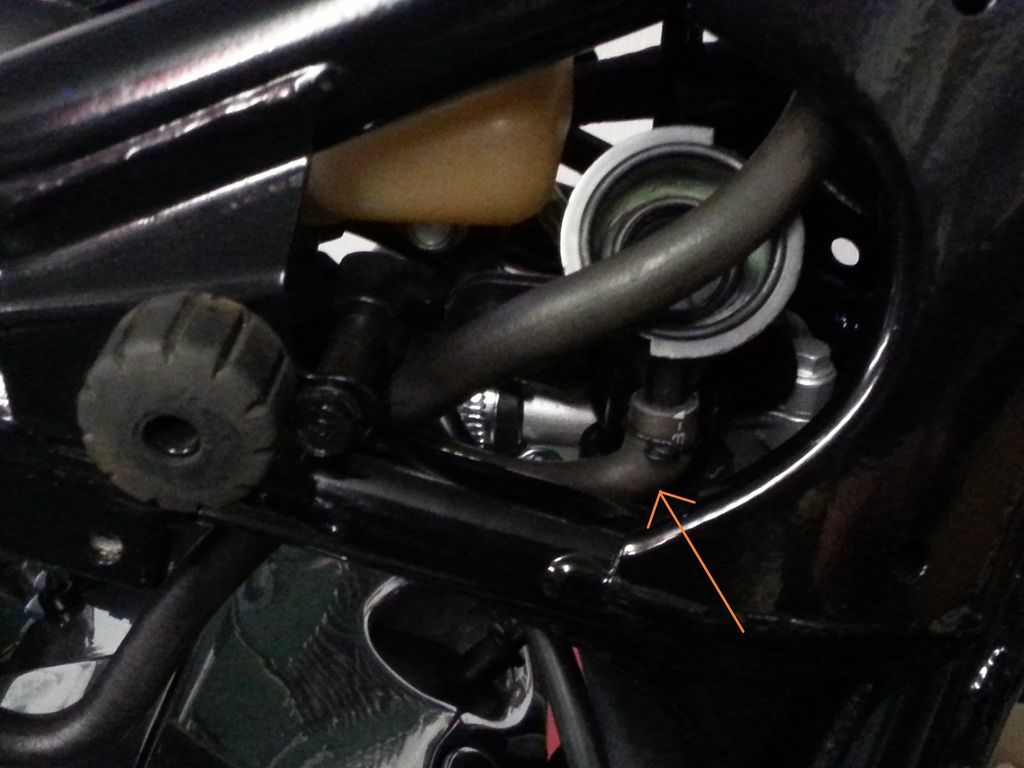
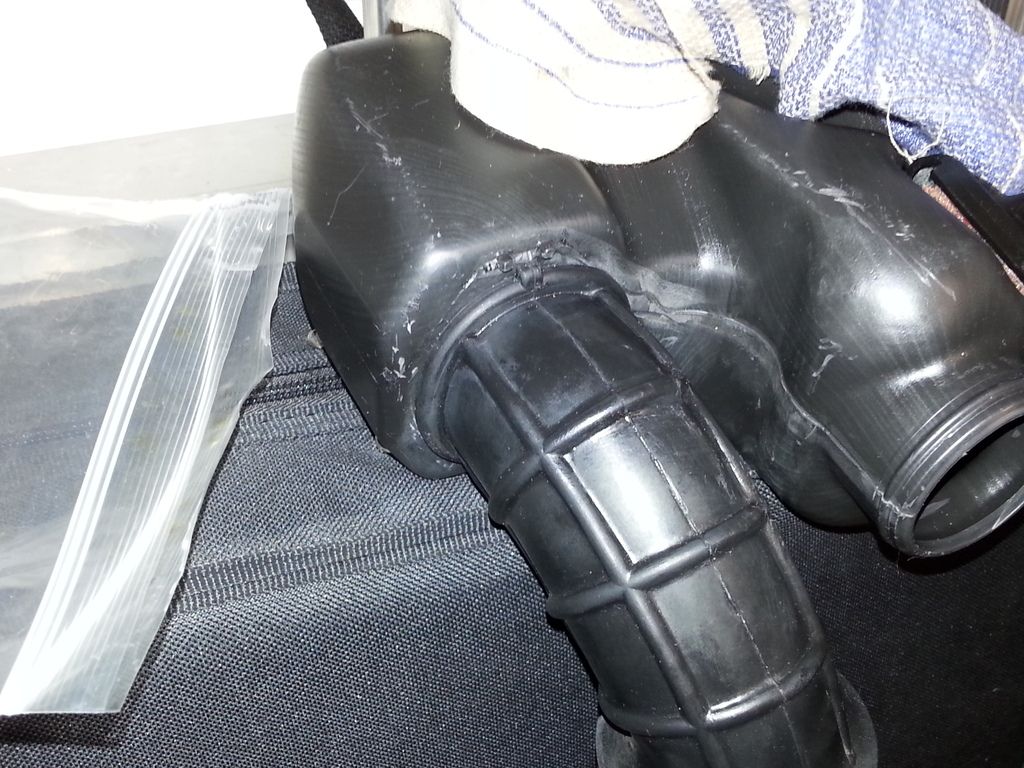
Are you feeling a little horny ?
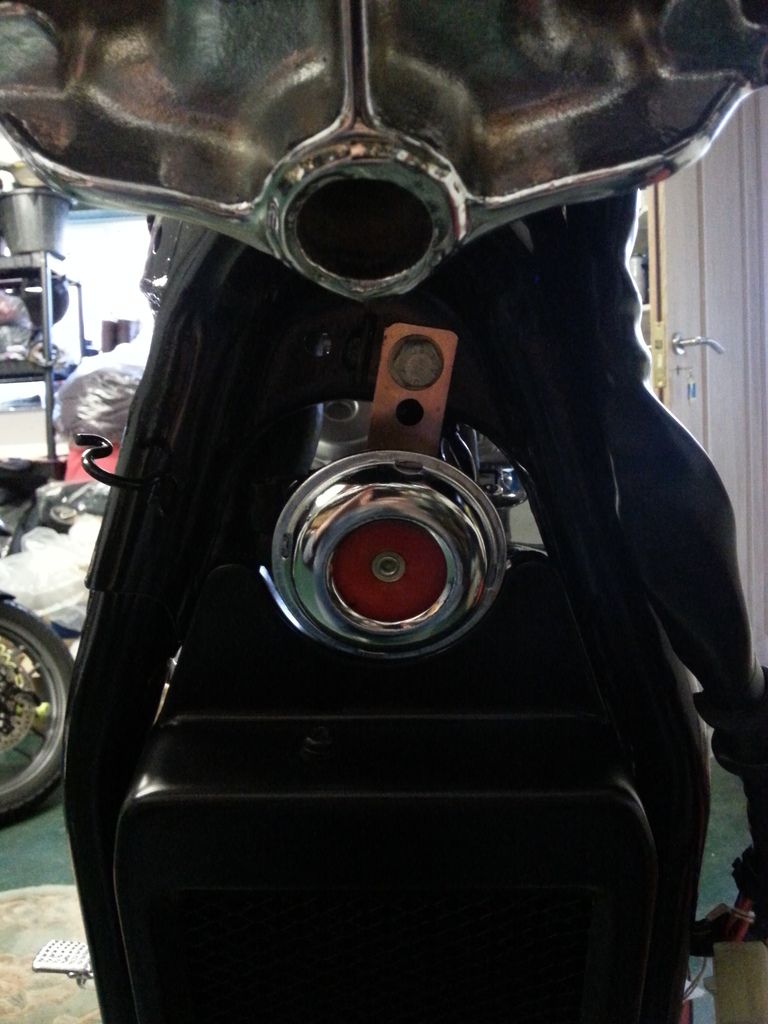
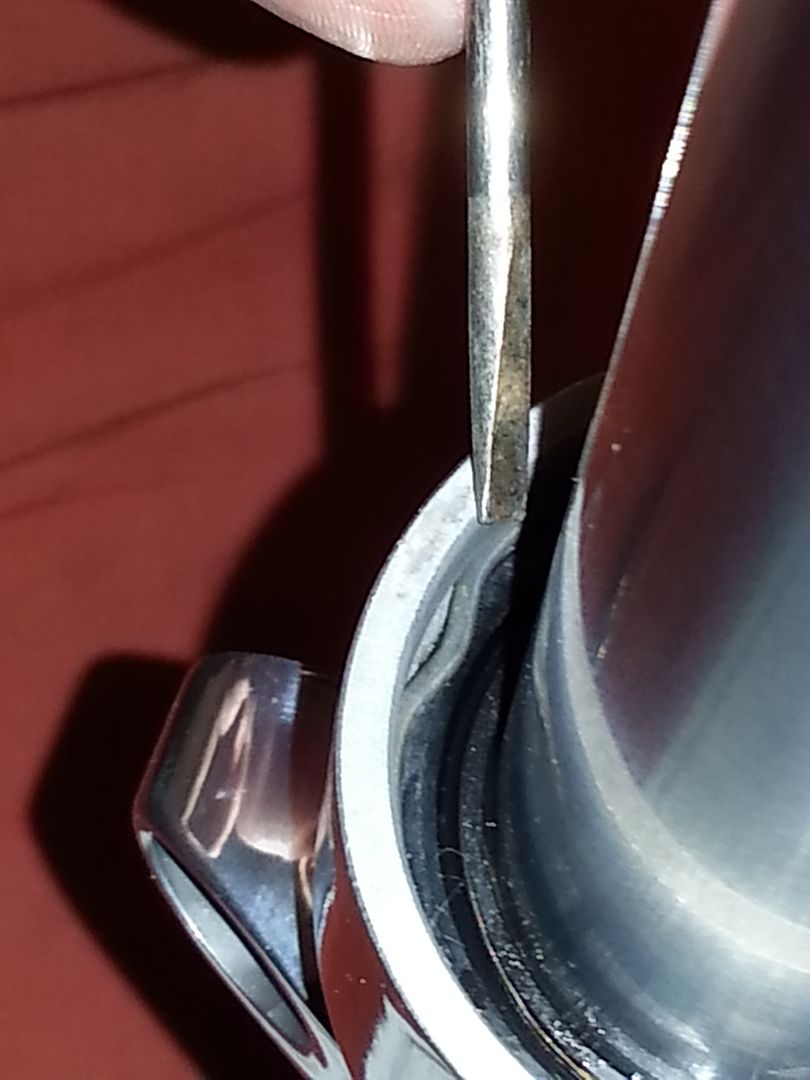
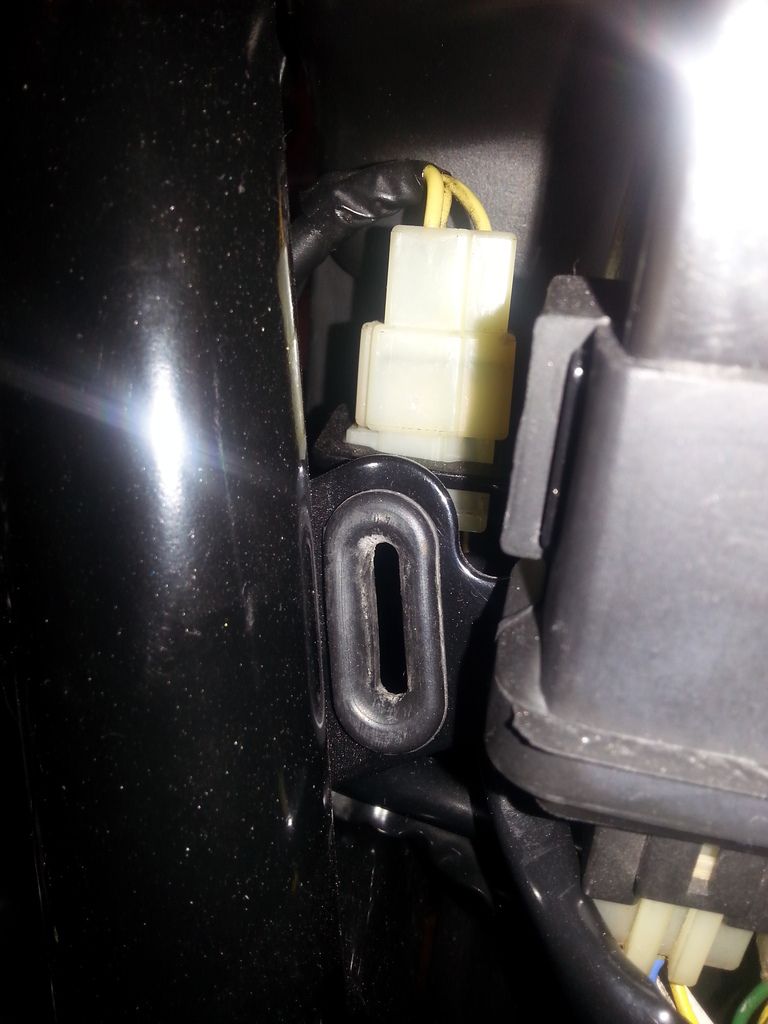
Do you see this little pipe ?
Did you know it's the pipe that goes to the overflow/reservoir ?
Did you know you need to put that on before putting the whole assembly in ?
Evil Len didn't.
Evil Len had to take the whole cocking thing back out again, just to be able to fit the poxy little pipe ...

The clocks were a bit of an arse to put back together ... spent many a happy hour trying to get the lip that you fold over to clamp the glass face in place, trying to get that smooth. Unless it was perfectly flat, it showed terribly. Still only about 8/10, but it will have to do.
Here you can see my solution to converting to MPH. Instead of stickers on the outside of the glass, I've put transfers (from ebay) on the clock dial.

And top yoke in position. I can't do up the top nut (to 103nm) till the stanchions are in place, as I need to get the alignment with the bottom yoke.

As you can see, I've also spent a couple of hours (or more) on the bench polisher with the handlebar stems.

That's a new top nut.

Reservoir all cleaned up. It was green inside ... had to soak in bleach for a day, then get inventive with various spoon handles, bits of thick wire, and a cloth to clean out the inside. There's still a bit of a rust mark on the top face (from the hose clamp), but that won't come off.

Are you feeling a little horny ?

Do you see this little pipe ?
Did you know it's the pipe that goes to the overflow/reservoir ?
Did you know you need to put that on before putting the whole assembly in ?
Evil Len didn't.
Evil Len had to take the whole cocking thing back out again, just to be able to fit the poxy little pipe ...

I'm in a bit of a situation now where several jobs that I want to do need other jobs to be done first. I want to get the engine running ... to be able to do that I need the exhaust on ... to put the exhaust on I need it off the little table and onto proper bike stands (the exhaust hangs lower than the frame) ... to be able to put it on proper stands I need the front and rear shocks in place.
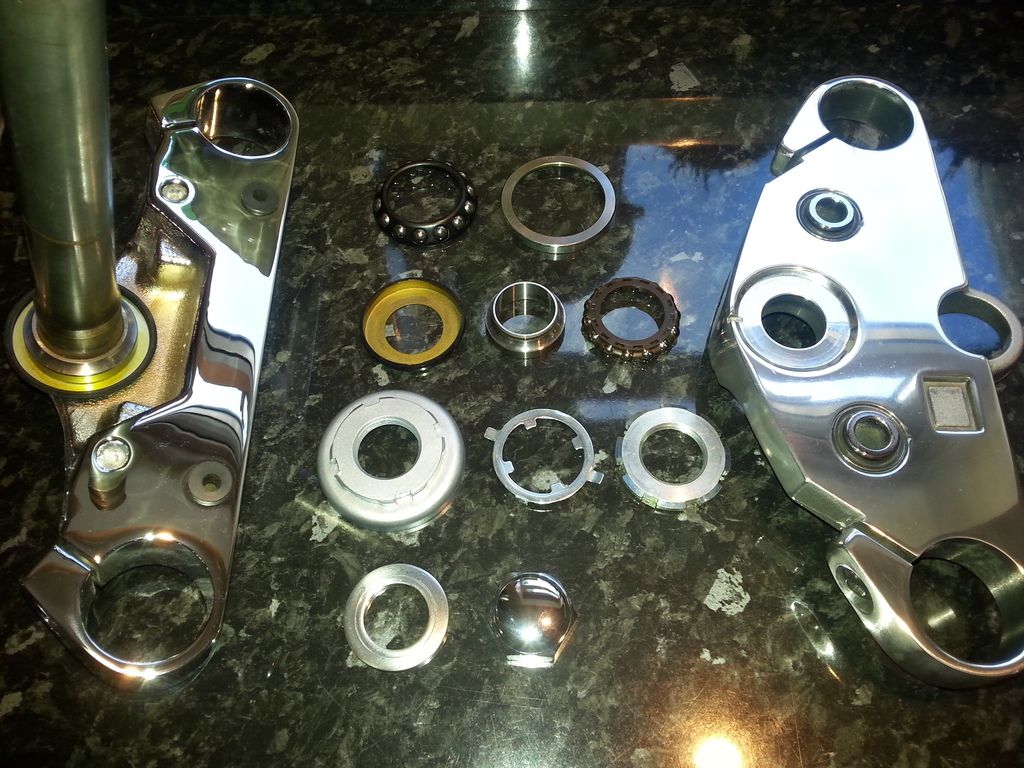
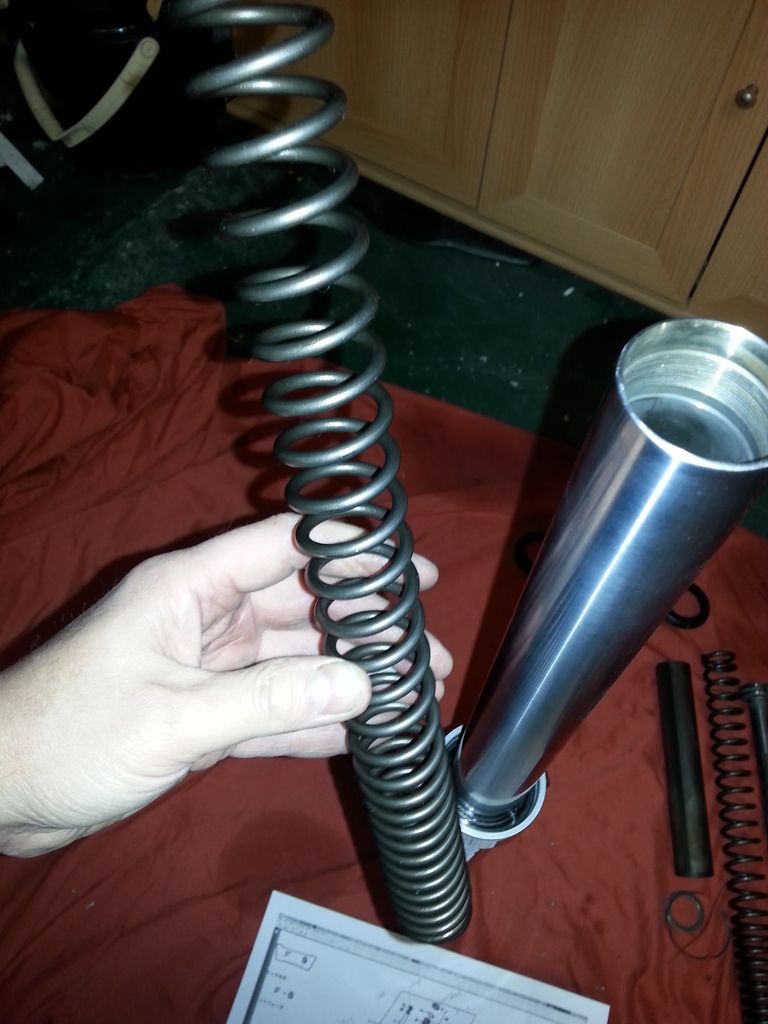
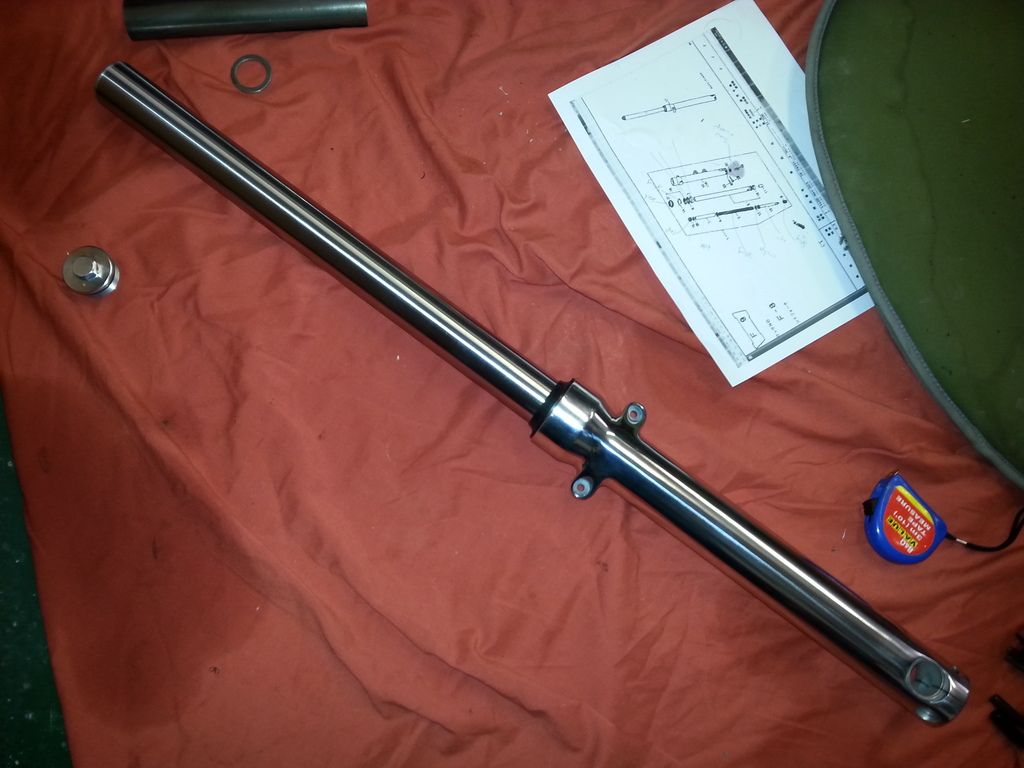
So ... time to put these bad boys back together ! Now, um ... how do these go ? Time to dig out the workshop manual / parts explosion. I kept all the parts for each leg together as a complete side, however looking at them I'm not sure that really matters.
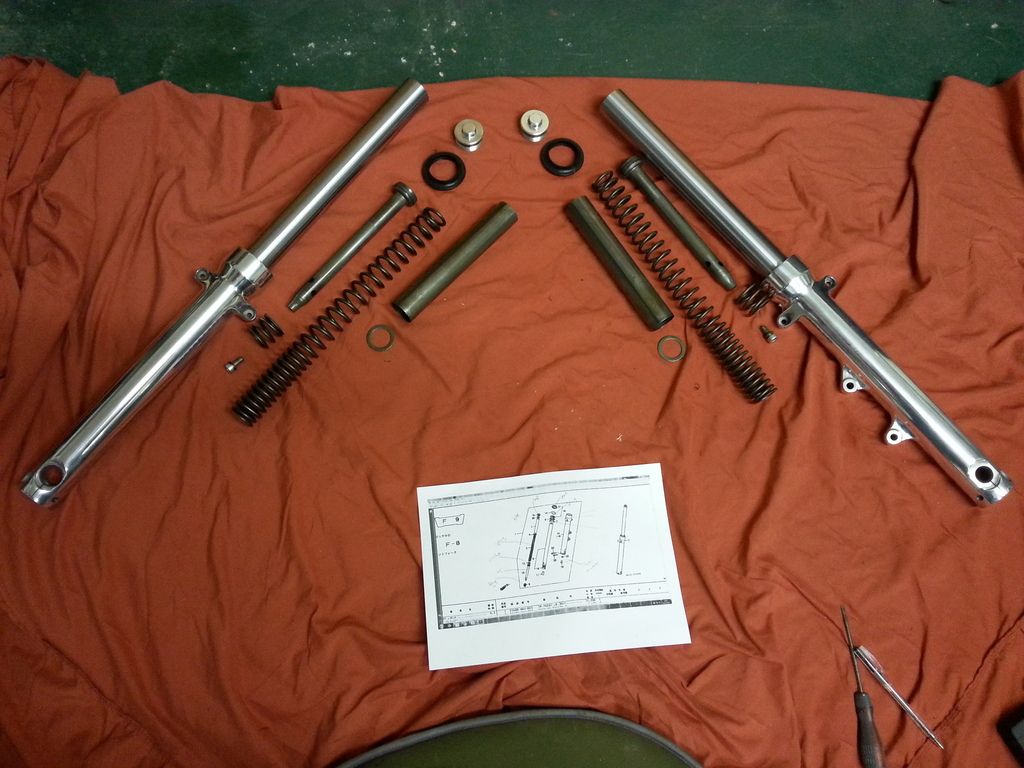
I had Pitted Forks replace the bush and lower seals for me when they did the chroming ... it's fiddly, you need a special tool, and for £25 a pair there are certain things in life that are just not worth doing yourself.
When doing a dry fitting run a spring came out a bit dirty, so I flushed the insides of the forks through with white spirit and let them dry.
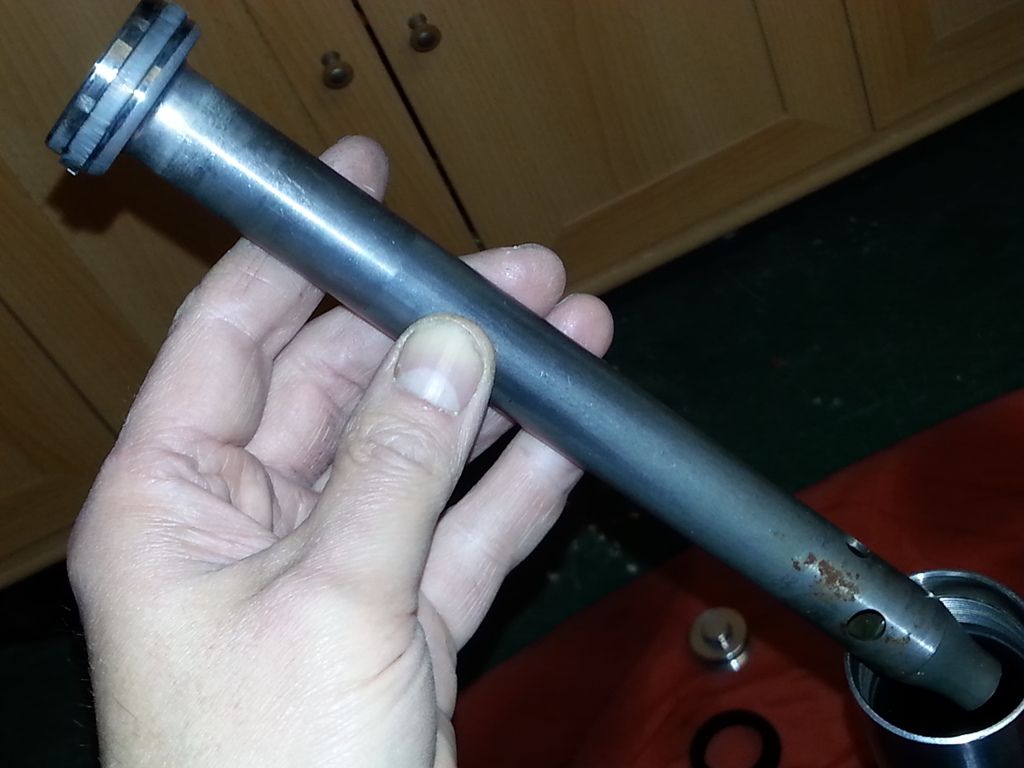
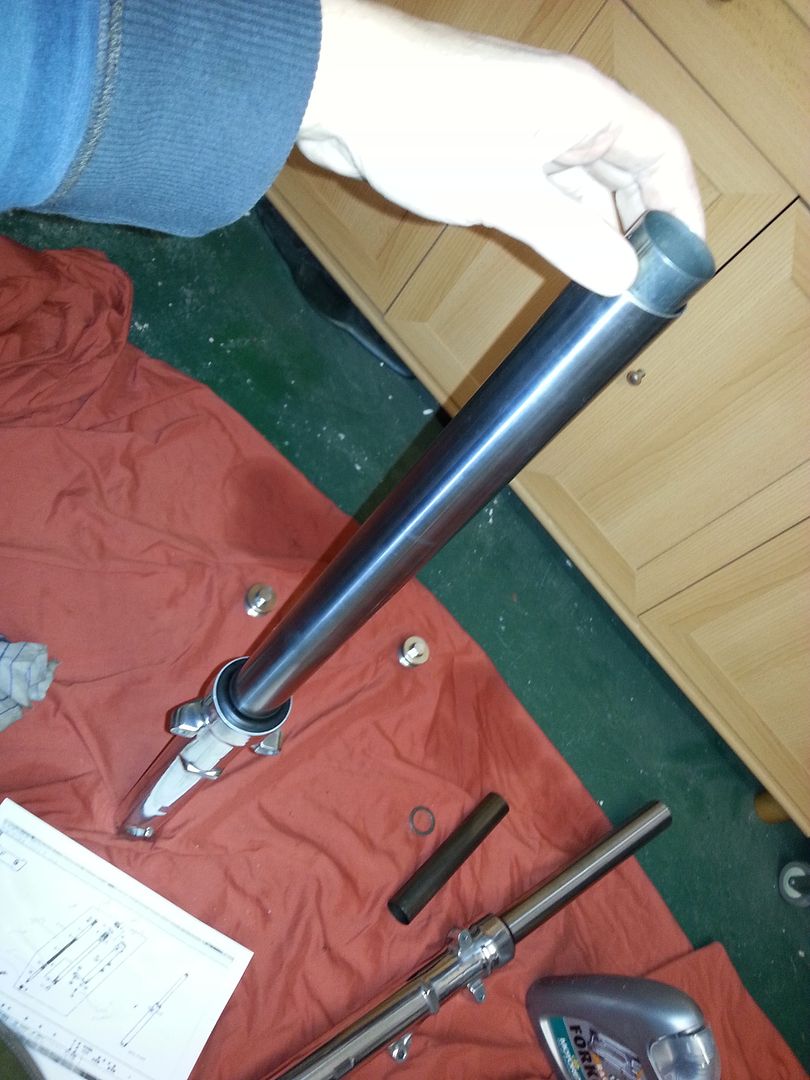
First item into the fork is this spring ...
Then goes the damping rod. The size of the holes at the end are what govern whether you have soft or hard damping (smaller holes = harder for the oil to go through = more damped effect). I'm leaving it standard. What appears to be rust on the photo on the rod isn't, it's just staining in the metal.
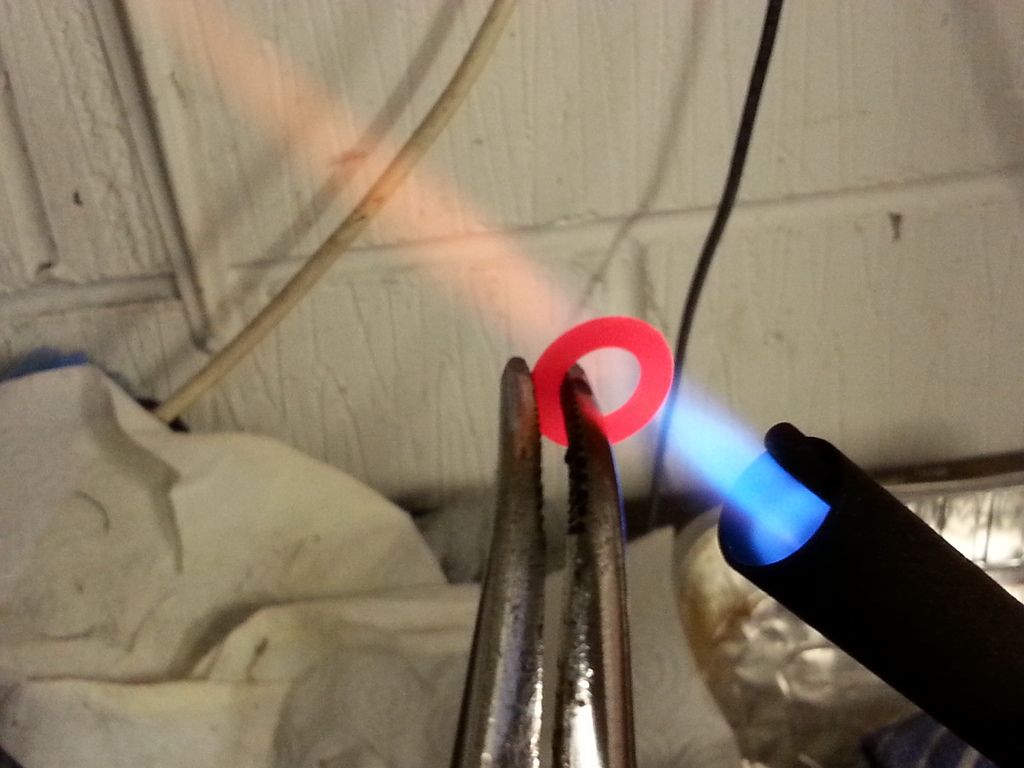
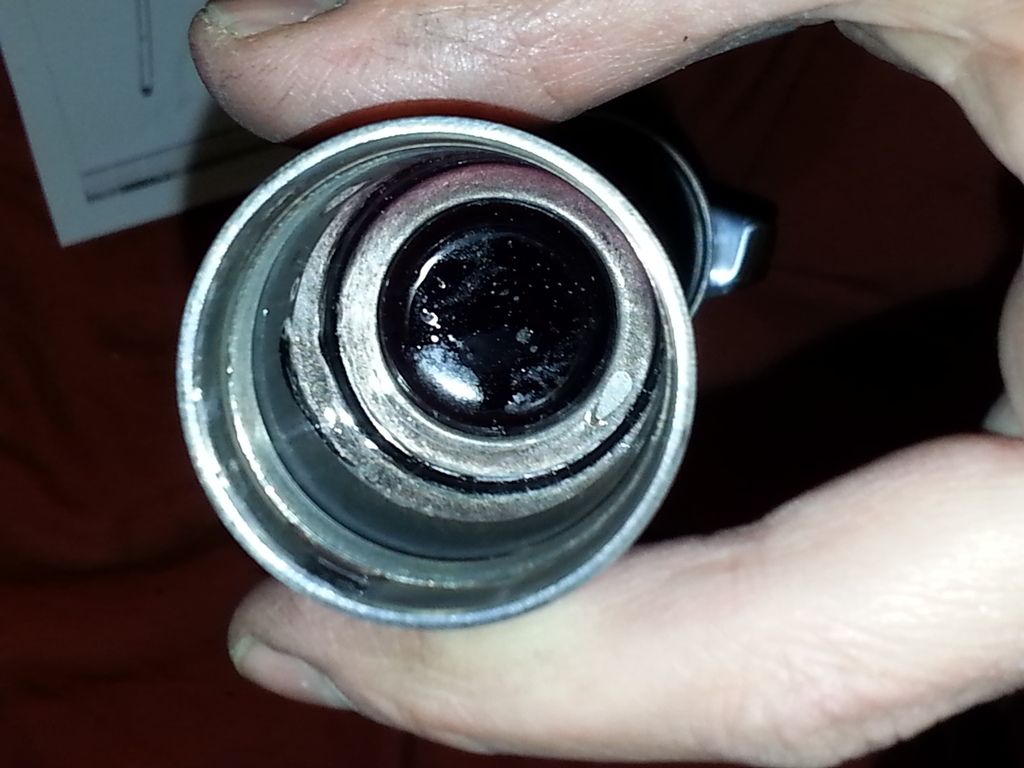
There's a bolt which comes up under the fork and into the damping rod. The copper washer on that allen bolt is what holds all the oil in. I should have ordered new ones but forgot, so time to re-anneal the old ones. Heat up till cherry red then allow to cool naturally in the air (don't cool with water as they go brittle). This makes the copper go soft again (goes hard over time/use) so makes a better seal.
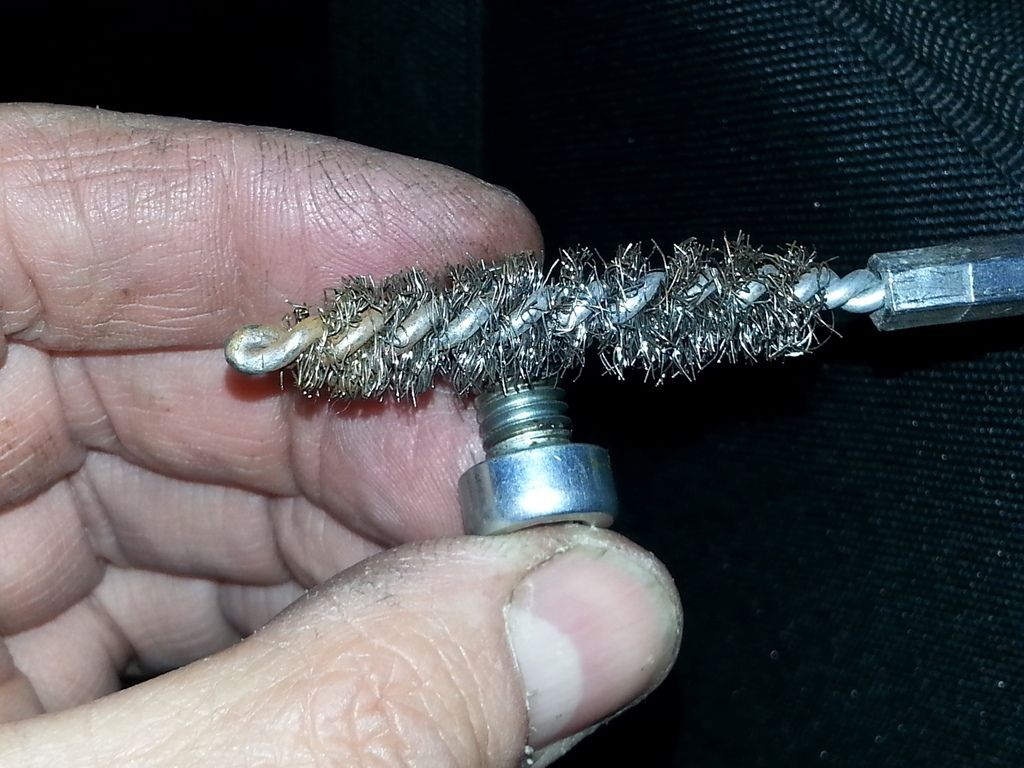
I cleaned up the allen bolt ... this needs to be all very clean, I don't want drips from the bottom of my forks !
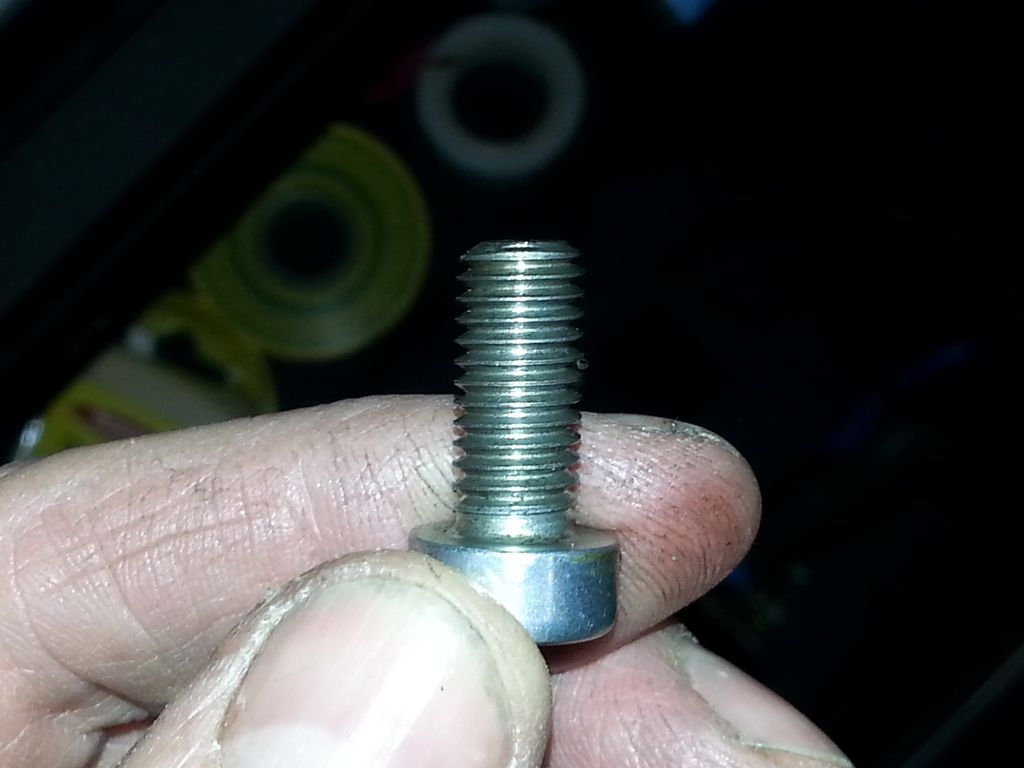
Apply medium strength thread lock to this.
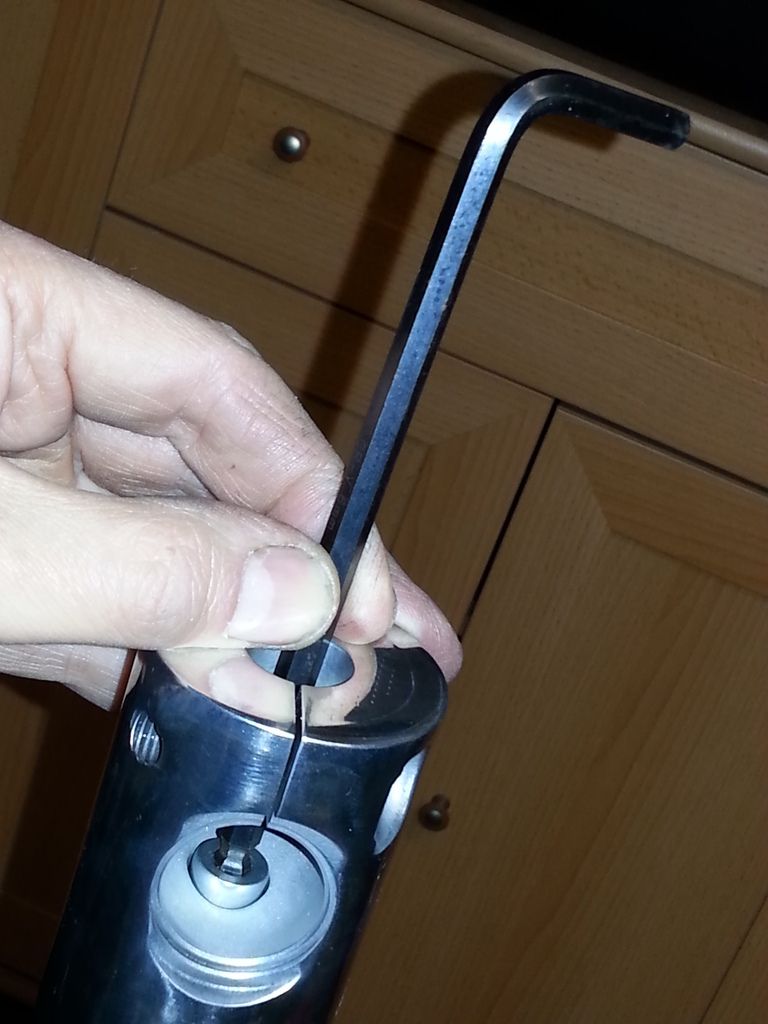
Putting the main spring and tube in and turning the forks upside down make putting the bolt in easier (pushes the damping rod against the bottom of the fork). Ensure the damping rod isn't spinning when you tighten up. No nm listing in the workshop manual for this, so had to do it by feel ("fairly tight")
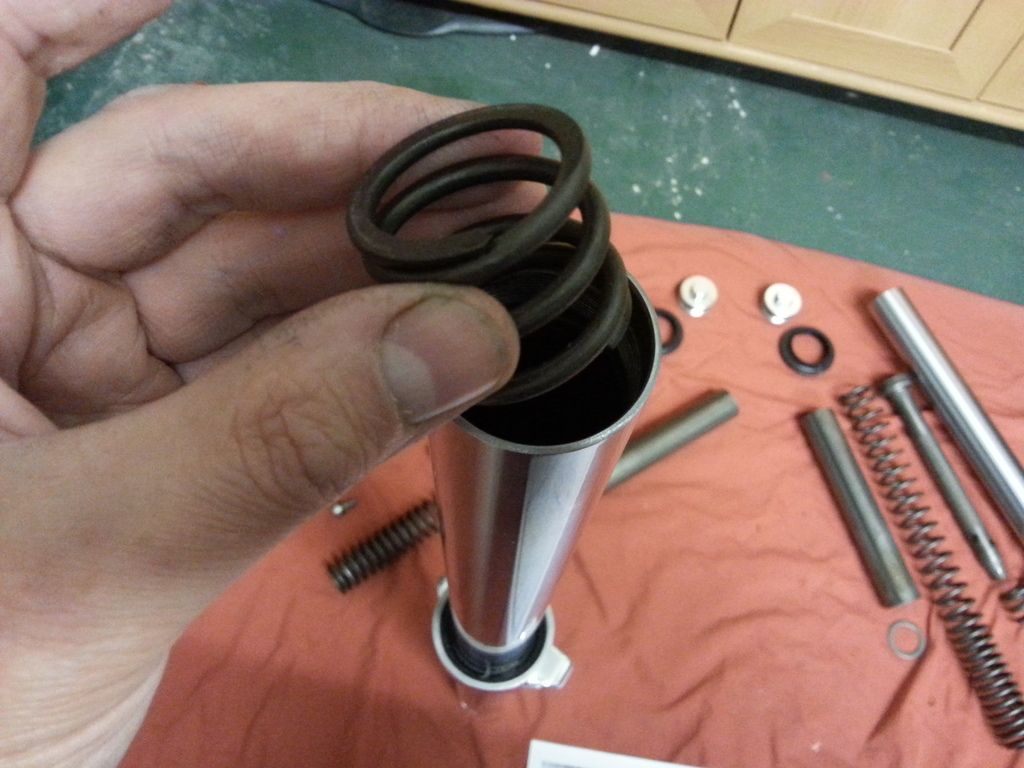
Back the right way up, and big spring goes in next. Tighter coils to the bottom (so the further down the travel there is, the more resistance there is)
Washer on top of the spring.
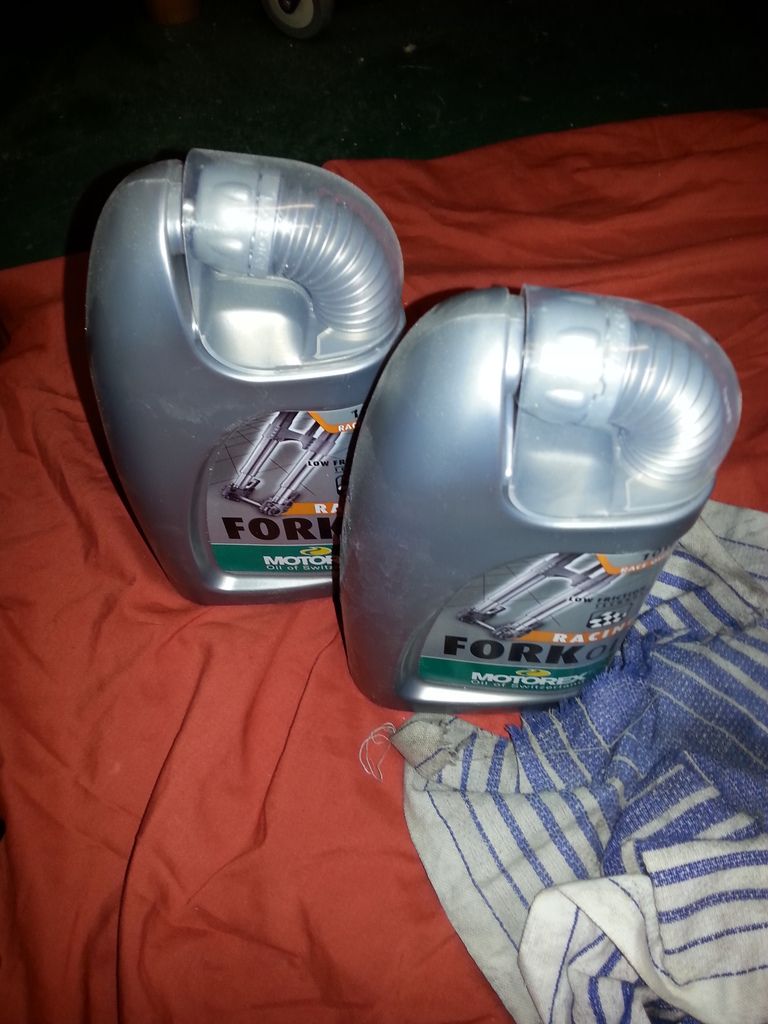
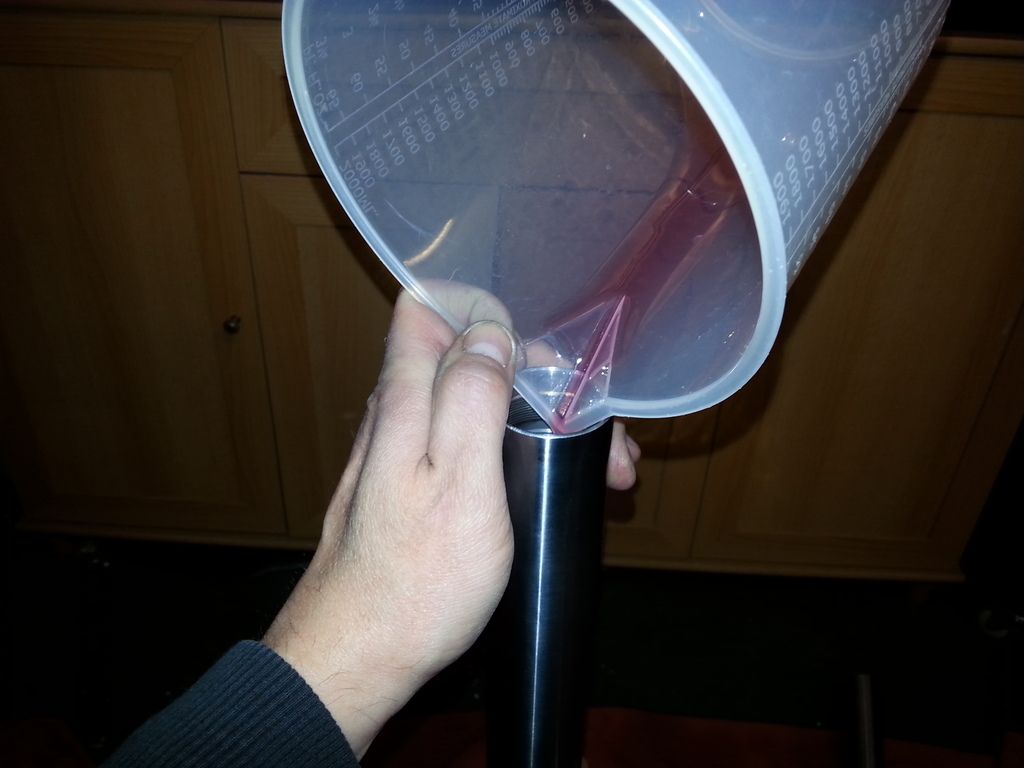
Time to fill with oil. 523ml to be specific. I 'borrowed' a measuring jug from the kitchen, which I'm now in the bad books for (not for the first time)
I put a bit of oil in first, left it a bit, to check it didn't all come running out of the bottom, then I extended the fork all the way to the top ...
... so I was able to put the spacer tube in next, which just sits on top of the spring/washer.
Getting the last drops of oil out of the jug.
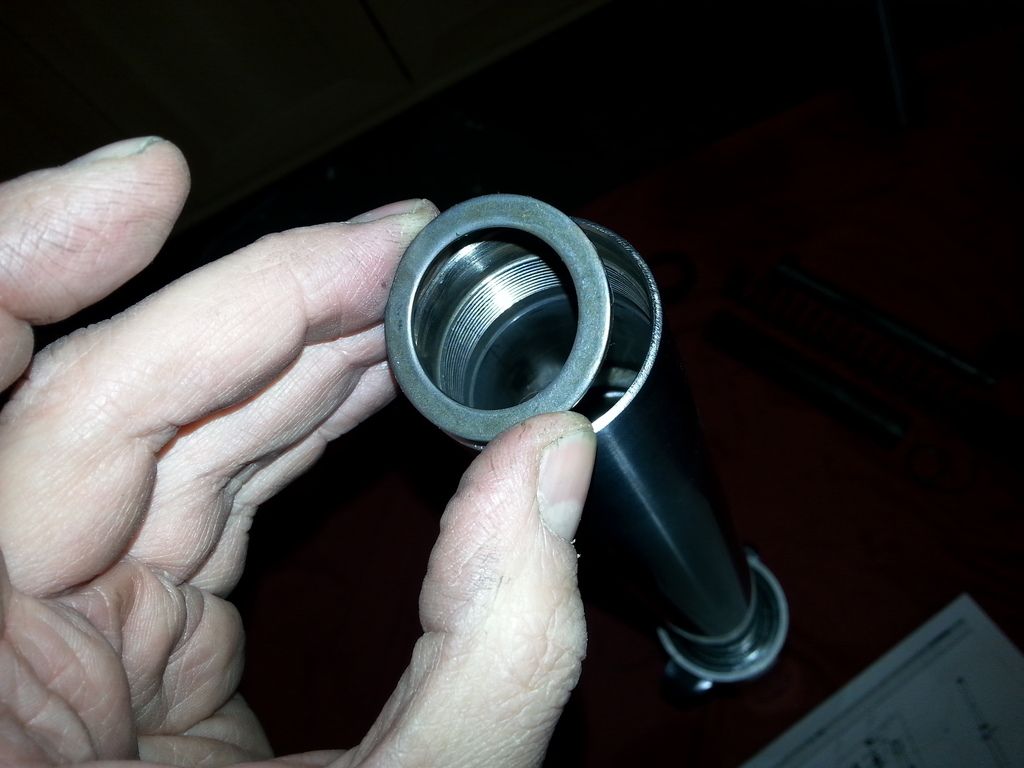
You have to press down on the spring to get the cap on ... getting the thread to engage was the only awkward part of this build.
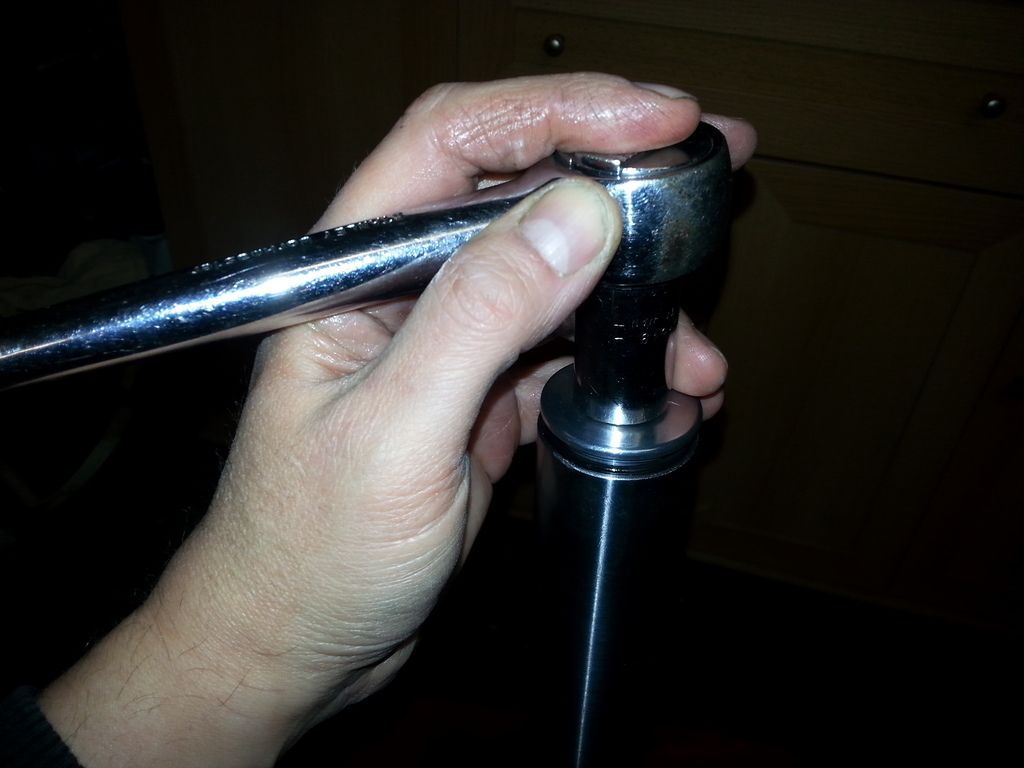
Polished cap in place, ensuring you don't break the rubber seal whilst fitting.
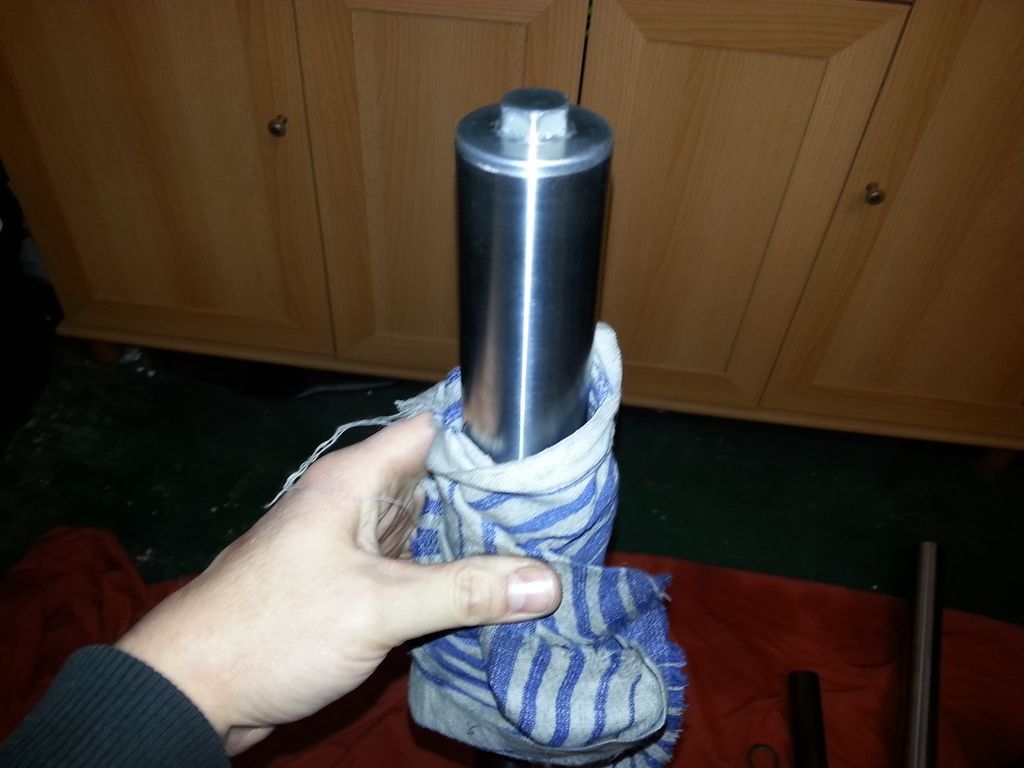
Fitted the big circlip into the top of the fork (just pops in)
Followed by the dust seal, which is a press fit.
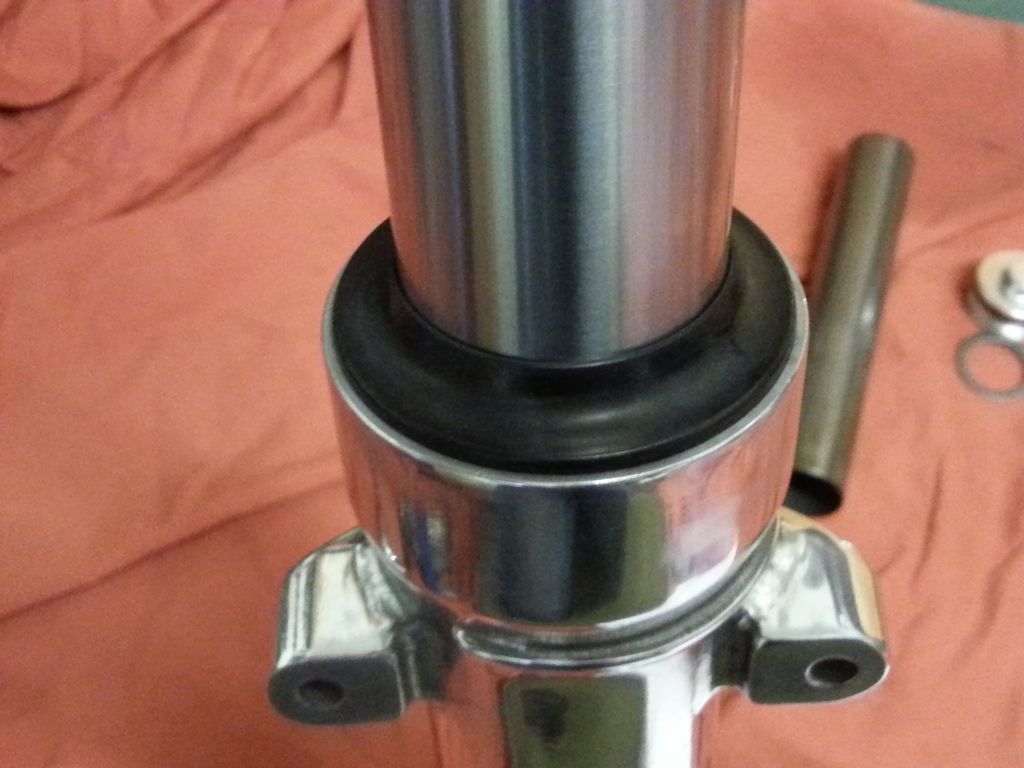
And there you go ... one completed fork ! Boings up and down nicely when you lean on it. Repeat on the other side.
So ... time to put these bad boys back together ! Now, um ... how do these go ? Time to dig out the workshop manual / parts explosion. I kept all the parts for each leg together as a complete side, however looking at them I'm not sure that really matters.

I had Pitted Forks replace the bush and lower seals for me when they did the chroming ... it's fiddly, you need a special tool, and for £25 a pair there are certain things in life that are just not worth doing yourself.
When doing a dry fitting run a spring came out a bit dirty, so I flushed the insides of the forks through with white spirit and let them dry.

First item into the fork is this spring ...

Then goes the damping rod. The size of the holes at the end are what govern whether you have soft or hard damping (smaller holes = harder for the oil to go through = more damped effect). I'm leaving it standard. What appears to be rust on the photo on the rod isn't, it's just staining in the metal.

There's a bolt which comes up under the fork and into the damping rod. The copper washer on that allen bolt is what holds all the oil in. I should have ordered new ones but forgot, so time to re-anneal the old ones. Heat up till cherry red then allow to cool naturally in the air (don't cool with water as they go brittle). This makes the copper go soft again (goes hard over time/use) so makes a better seal.

I cleaned up the allen bolt ... this needs to be all very clean, I don't want drips from the bottom of my forks !

Apply medium strength thread lock to this.

Putting the main spring and tube in and turning the forks upside down make putting the bolt in easier (pushes the damping rod against the bottom of the fork). Ensure the damping rod isn't spinning when you tighten up. No nm listing in the workshop manual for this, so had to do it by feel ("fairly tight")

Back the right way up, and big spring goes in next. Tighter coils to the bottom (so the further down the travel there is, the more resistance there is)

Washer on top of the spring.

Time to fill with oil. 523ml to be specific. I 'borrowed' a measuring jug from the kitchen, which I'm now in the bad books for (not for the first time)

I put a bit of oil in first, left it a bit, to check it didn't all come running out of the bottom, then I extended the fork all the way to the top ...

... so I was able to put the spacer tube in next, which just sits on top of the spring/washer.

Getting the last drops of oil out of the jug.

You have to press down on the spring to get the cap on ... getting the thread to engage was the only awkward part of this build.

Polished cap in place, ensuring you don't break the rubber seal whilst fitting.

Fitted the big circlip into the top of the fork (just pops in)

Followed by the dust seal, which is a press fit.

And there you go ... one completed fork ! Boings up and down nicely when you lean on it. Repeat on the other side.


This is a story of two re-chromers ... one called Derby Plating in the Midlands, and the other called ... um, well, lets call them "Maple-Vauxhall Chroming" in the garden of England.
If you recall, back at the start of the year I split my chrome 50/50 between these two chromers, going for best quoted price on each item. The parts were sent off to each company at the same time.
Derby Plating
Quoted 6 weeks.
Returned my items in 4 weeks.
Was the same price as their quote.
Had superb quality chrome.
So ... Len was a pretty happy bunny at that ...
Maple-Vauxhall
Quoted 6 weeks.
Went silent.
At 10 weeks Len emailed them.
2 weeks later they finally replied saying "Sorry, we've marked it as urgent, will do them soon"
Another 3 weeks went by.
Cue a long series of excuses, unreplied to emails, and promises broken.
At 16 weeks they finally returned my parts, and charge me £45 more than the quote.
Also I'd told them twice to send the parts to my wife's work address, they sent them home where no-one was in.
But wait ... oh no ... what's this, they've only returned 2/3rds of the parts.
Some parts were missing.
Contact them again.
They've lost my parts.
They find my parts.
They say "Sorry, we've marked it as urgent, will do them soon"
I tell them to send them to my wife's work address.
Time moves on.
Emails are exchanged.
Emails are ignored.
Promises are made.
Promises are broken.
Finally after 21.5 weeks in total, I get the last of my parts ...
... sent again to the wrong address.
... thrown over the fence by the postman, and discovered by accident.
Oh, and compared to Derby Plating, the quality of the chrome is "okay" at best.
So in conclusion ... I would highly recommend Derby Plating !
Maple-Vauxhall can go f k themselves.
If you recall, back at the start of the year I split my chrome 50/50 between these two chromers, going for best quoted price on each item. The parts were sent off to each company at the same time.
Derby Plating
Quoted 6 weeks.
Returned my items in 4 weeks.
Was the same price as their quote.
Had superb quality chrome.
So ... Len was a pretty happy bunny at that ...
Maple-Vauxhall
Quoted 6 weeks.
Went silent.
At 10 weeks Len emailed them.
2 weeks later they finally replied saying "Sorry, we've marked it as urgent, will do them soon"
Another 3 weeks went by.
Cue a long series of excuses, unreplied to emails, and promises broken.
At 16 weeks they finally returned my parts, and charge me £45 more than the quote.
Also I'd told them twice to send the parts to my wife's work address, they sent them home where no-one was in.
But wait ... oh no ... what's this, they've only returned 2/3rds of the parts.
Some parts were missing.
Contact them again.
They've lost my parts.
They find my parts.
They say "Sorry, we've marked it as urgent, will do them soon"
I tell them to send them to my wife's work address.
Time moves on.
Emails are exchanged.
Emails are ignored.
Promises are made.
Promises are broken.
Finally after 21.5 weeks in total, I get the last of my parts ...
... sent again to the wrong address.
... thrown over the fence by the postman, and discovered by accident.
Oh, and compared to Derby Plating, the quality of the chrome is "okay" at best.
So in conclusion ... I would highly recommend Derby Plating !
Maple-Vauxhall can go f
k themselves.Mr2Mike said:
evil len said:
This is a story of two re-chromers ... one called Derby Plating in the Midlands, and the other called ... um, well, lets call them "Maple-Vauxhall Chroming" in the garden of England.
Would that be powdery-residue-after-burning + shallow-river-crossing?crofty1984 said:
Mr2Mike said:
evil len said:
This is a story of two re-chromers ... one called Derby Plating in the Midlands, and the other called ... um, well, lets call them "Maple-Vauxhall Chroming" in the garden of England.
Would that be powdery-residue-after-burning + shallow-river-crossing?
Private Pile said:
Len, have you chosen a colour yet?
Might have  ... not telling !
Got a quote today over the internet for "about £500 ish". Got Monday off, so I'm going round two other local m/c paint shops to get quotes.
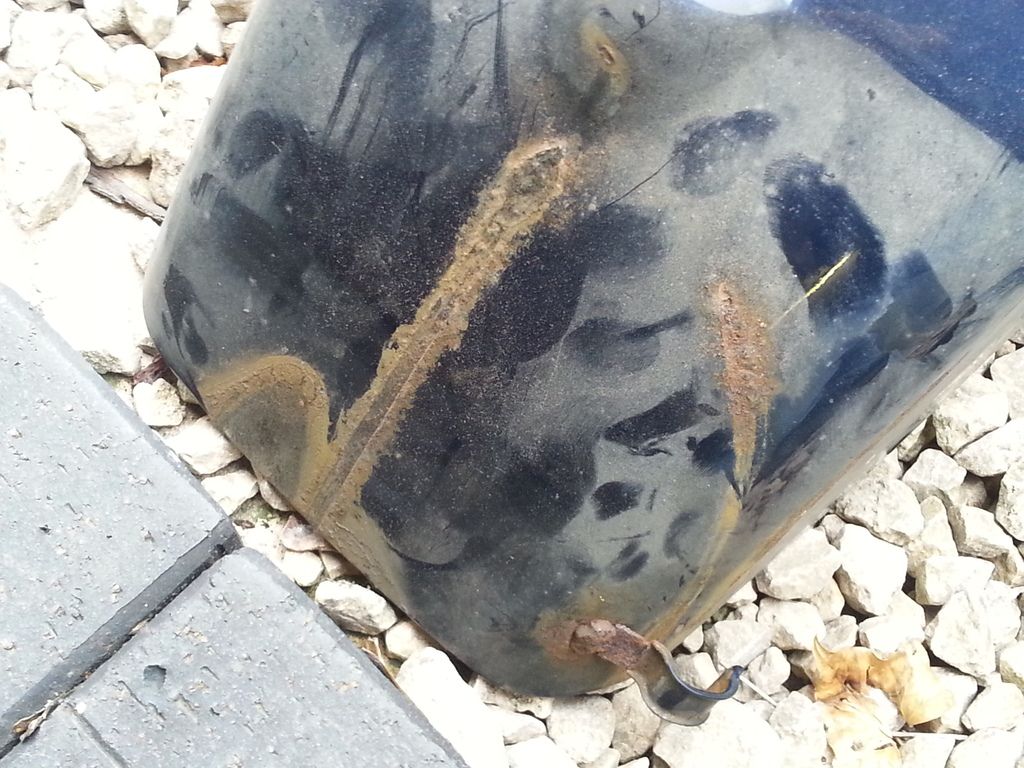
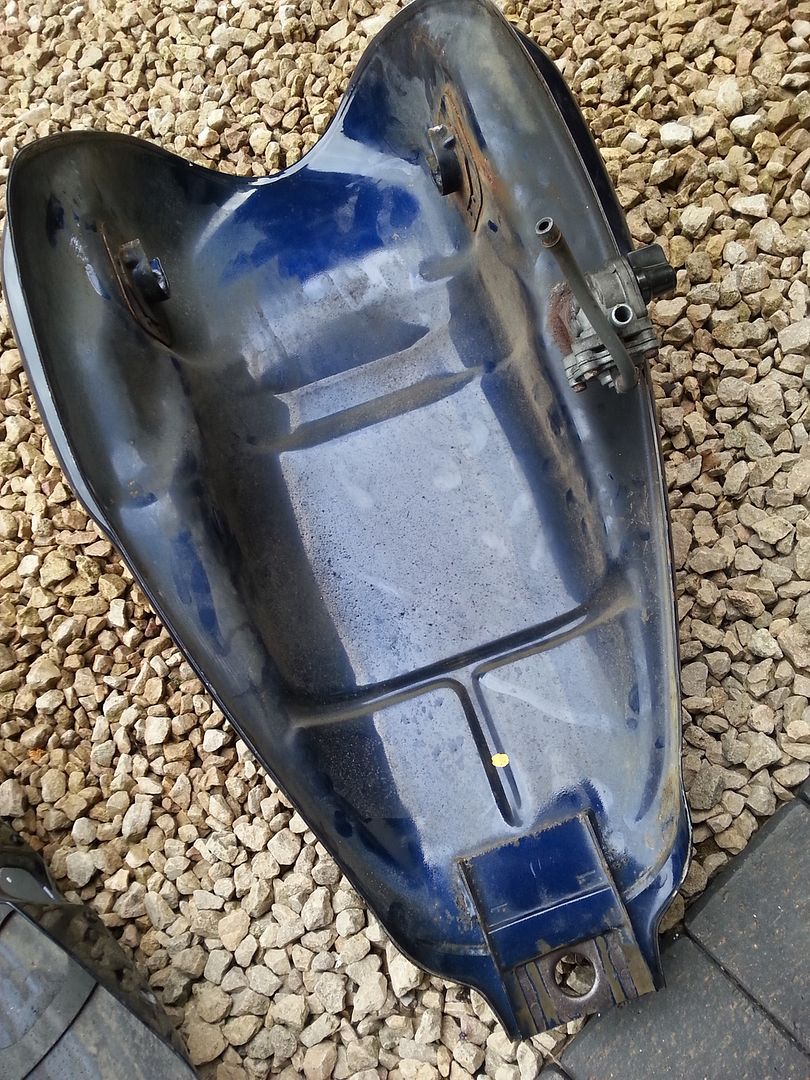
Drained the fuel tank the other night, managed to get petrol everywhere ...
Proper photo update tomorrow.
Painted the covers that go over the swing arm pivot bolts, and cleaned up and put in various mounting lug rubbers like this one ...
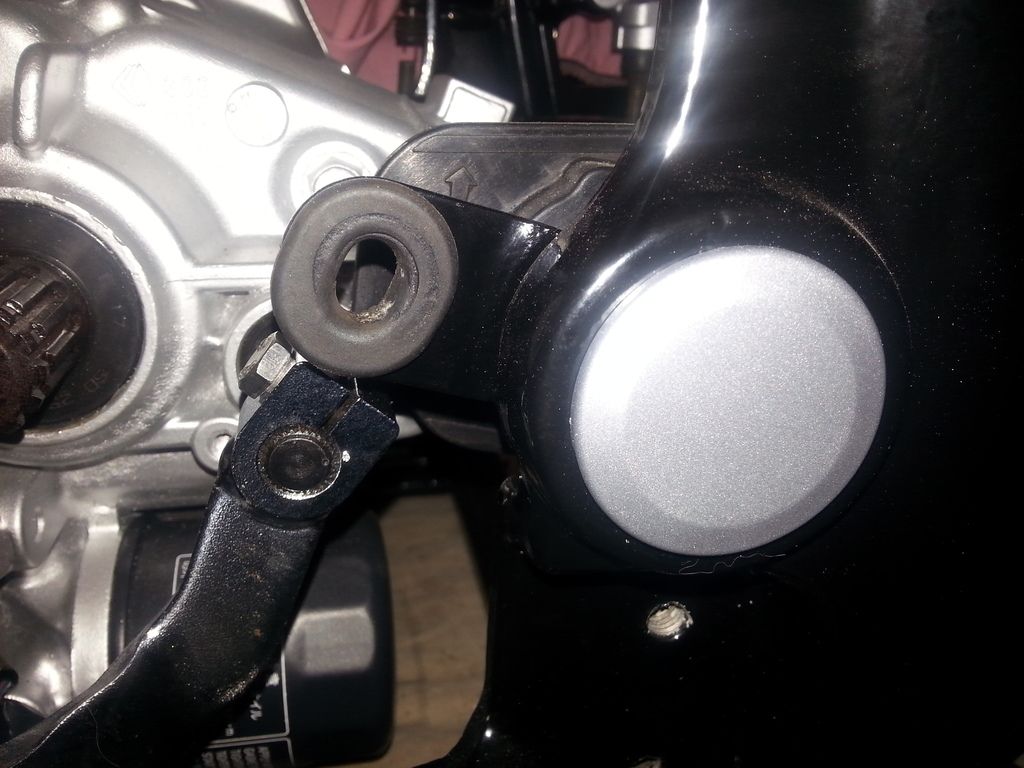
... and this one ...
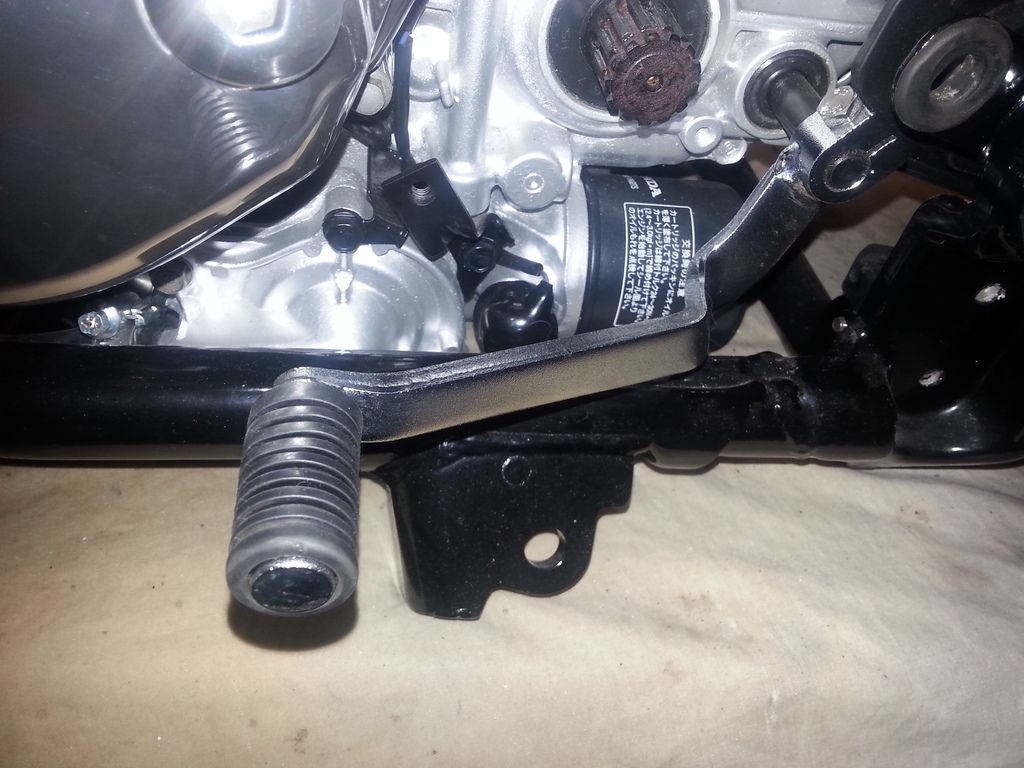
The gear change lever is chrome but on a rough surface. It cleaned then buffed up nicely.
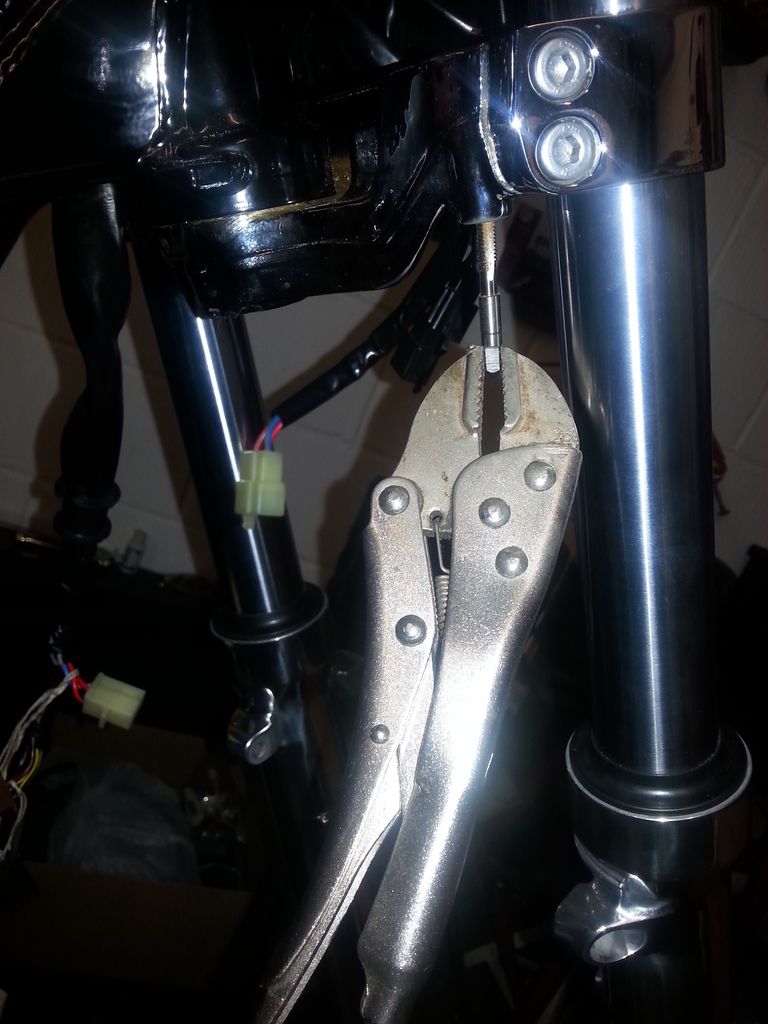
Bugger. So, when I had the lower fork tree rechromed, I forgot about the two threaded holes on the underneath (where a couple of cable guides go). The chrome had filled in the thread and needed re-tapping. A two minute job ... if I'd done it before assembling the forks ! So had to laboriously tap both sides with the aid of a mole grips ... probably not advised really.
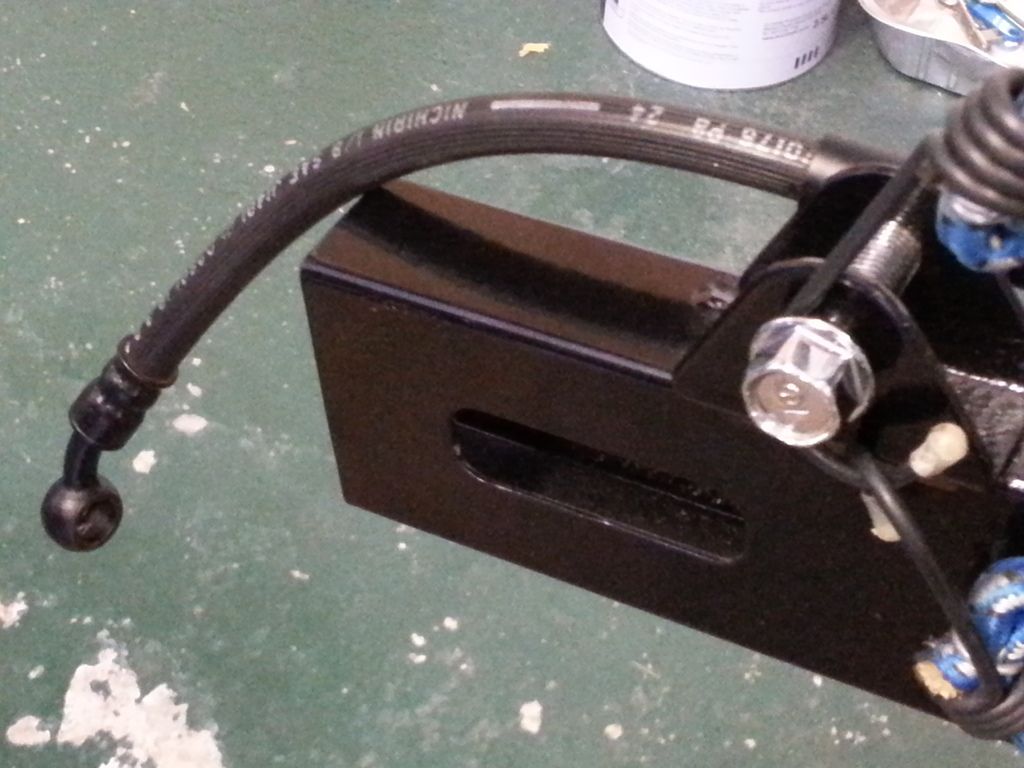
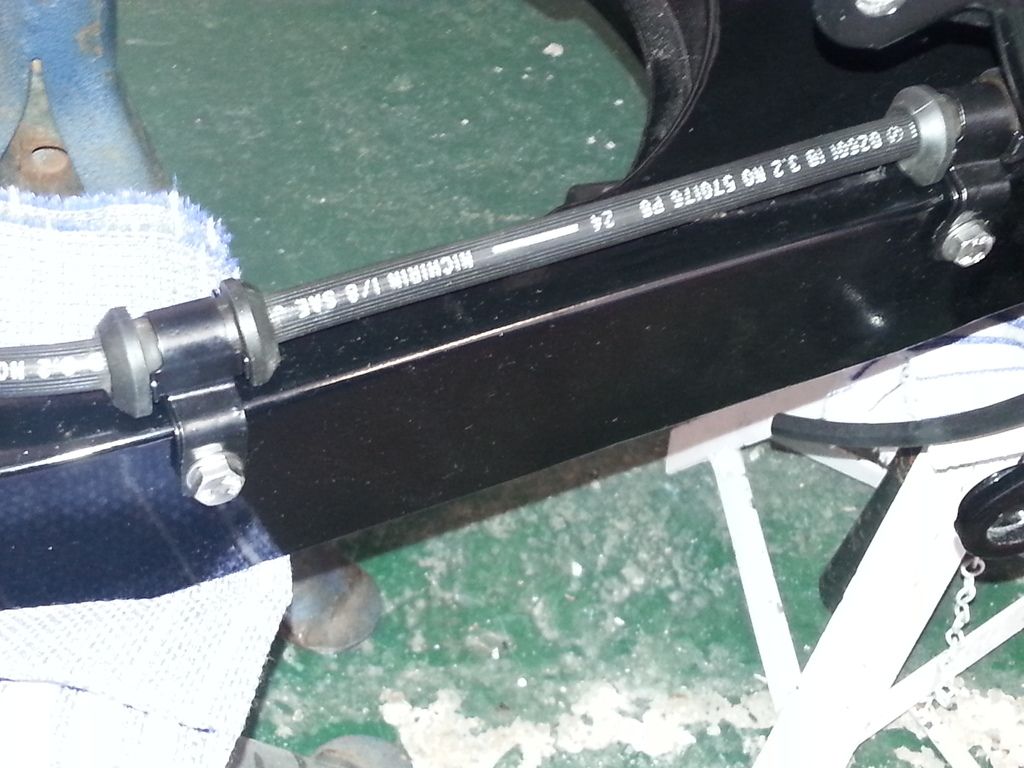
Cleaned and buffed the four chrome mounting bolts for the rear shocks. One's got a bit of rust on, so I'll probably get a new one next order. You can also see here the cleaned and refurbished rear brake hose ... you can't get new ones. (sorry for poor photo)
Fitted the coolant overflow bottle, rear brake reservoir, and the rear brake hose.
A quick but mentally satisfying job ! Handlebars ...
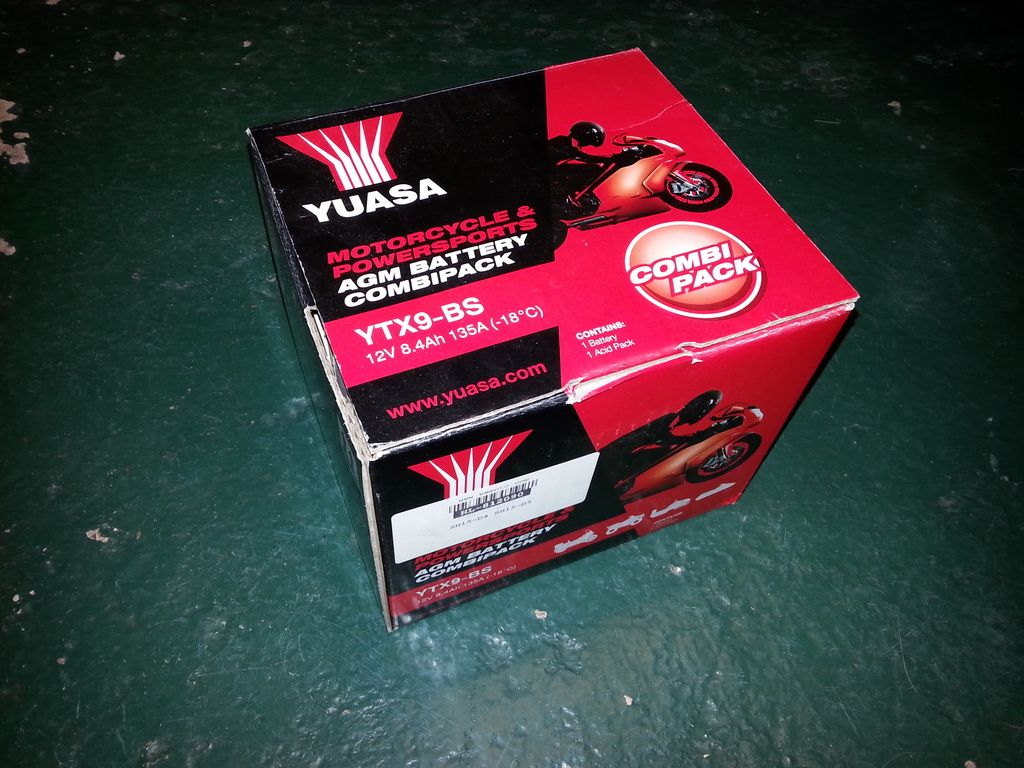
The new battery arrived ...
It comes dry, with a pouch of sulphuric acid.
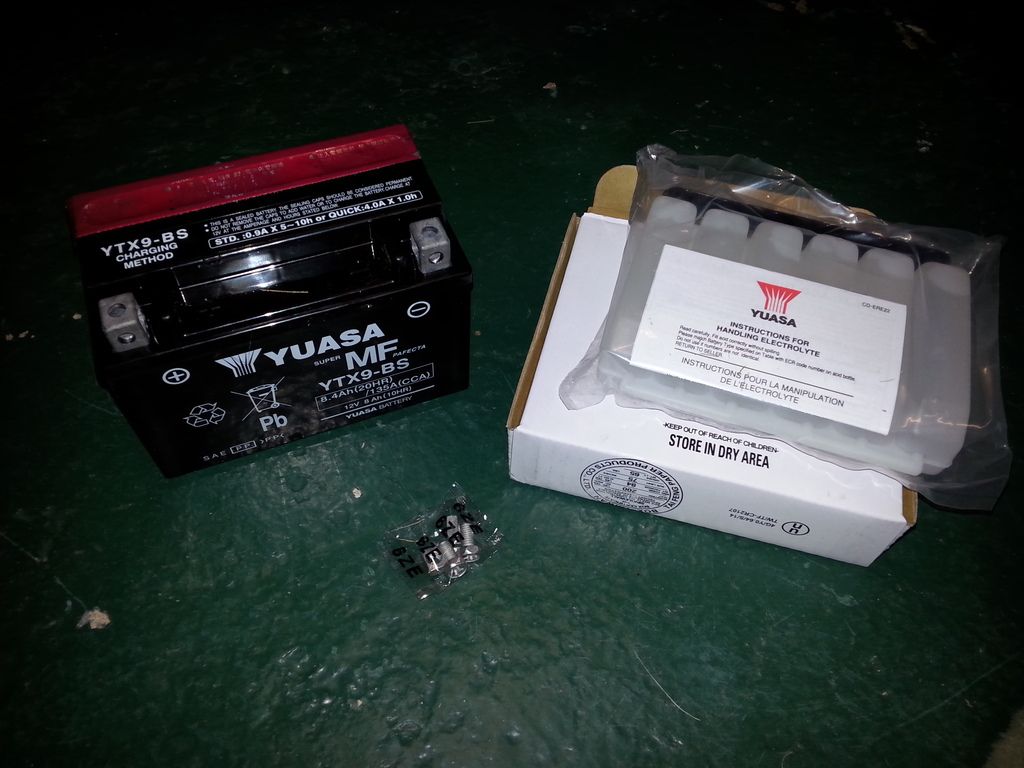
Remove the red tape off the battery to uncover the filling ports, and the black caps off the acid ... be careful with the black caps, as they will be used to seal the battery.
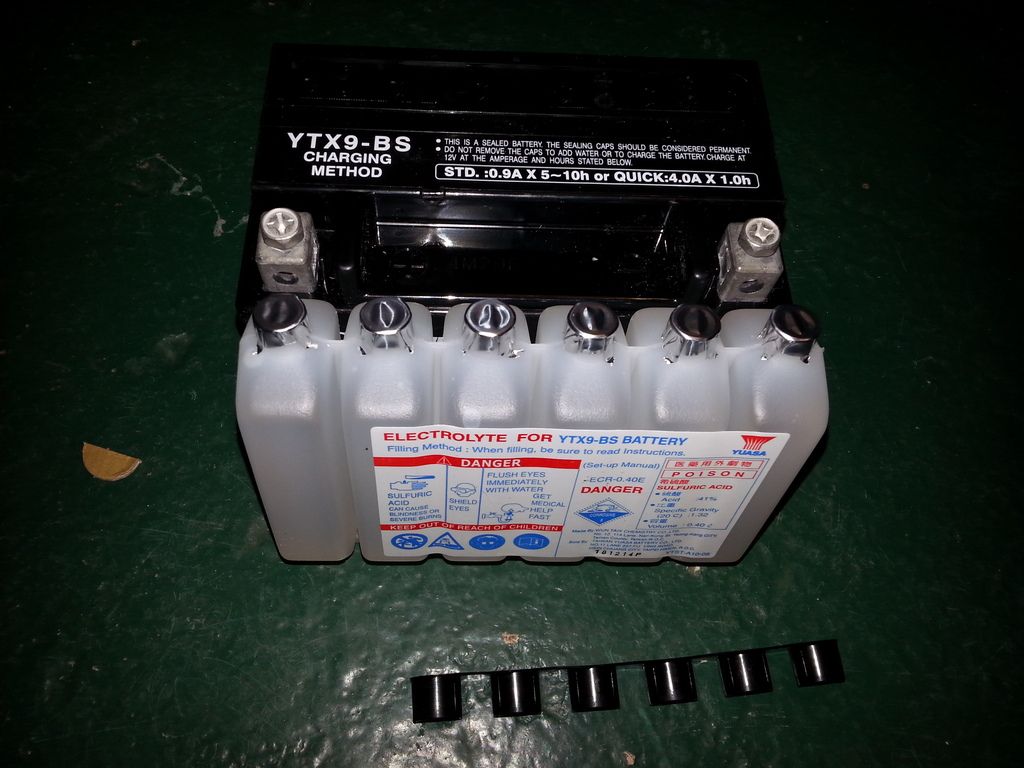
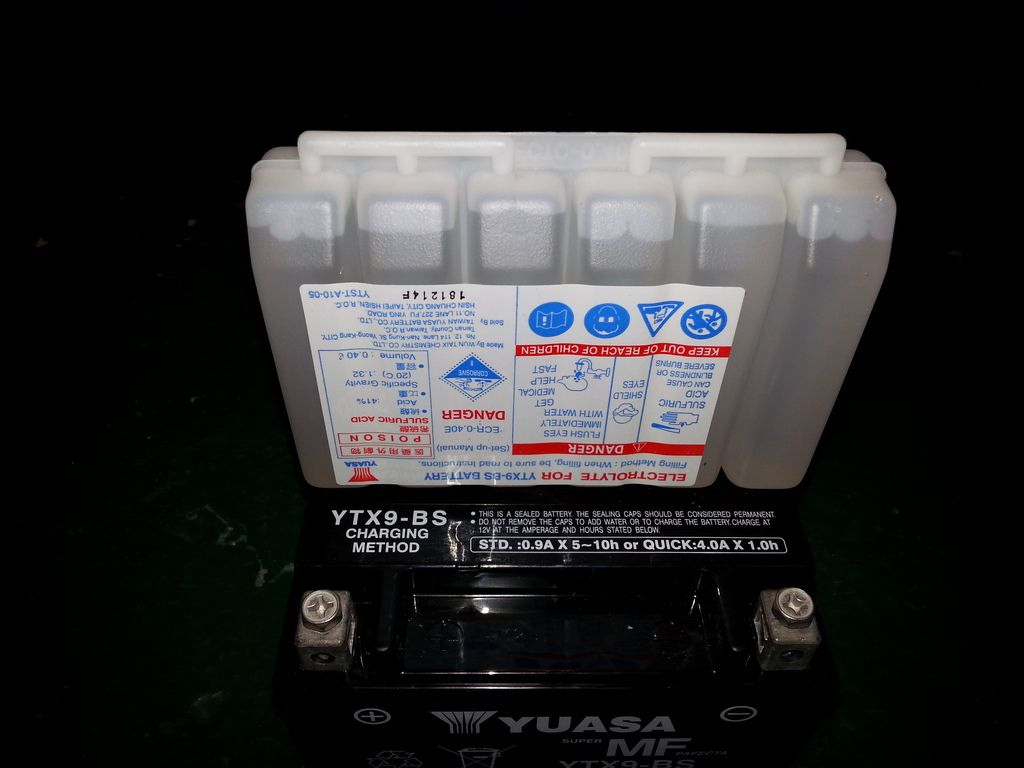
Turn the acid upside down and press down onto the battery filling holes ... these will break the silver seals and allow the acid to flow into the battery. You should see bubbles ... if you dont, rap the acid pack (but don't take it back off again). Leave for 20 minutes at least. Best to do this in a well ventilated area, as it smells of rotten eggs ...
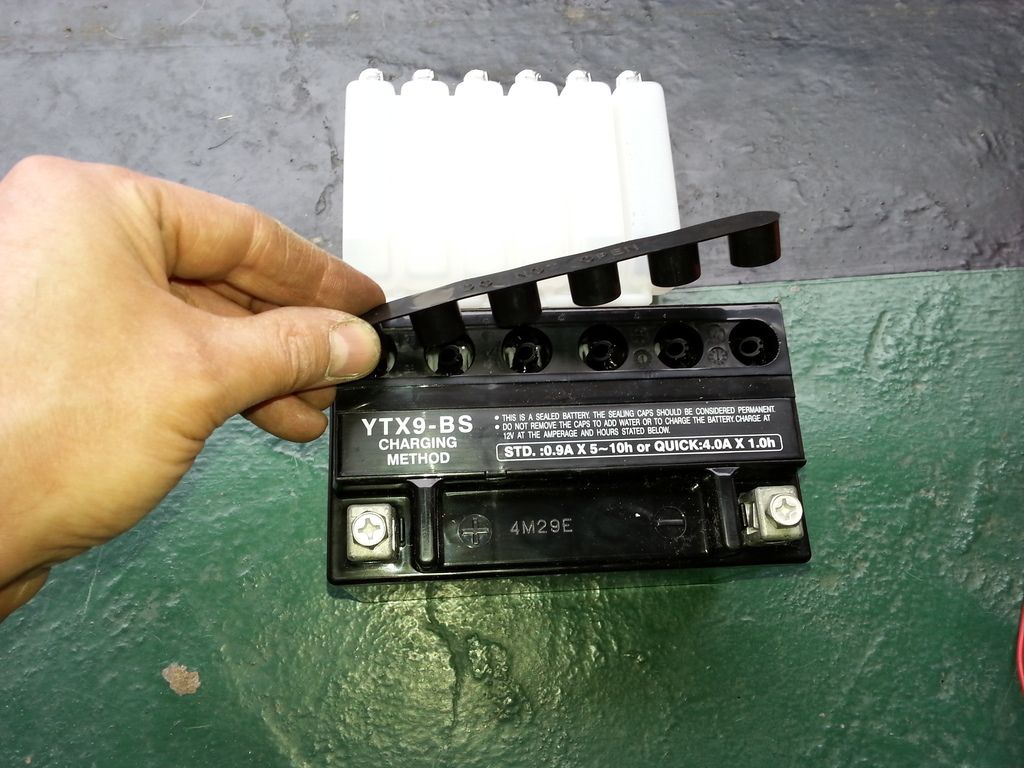
Put the black caps on to seal the battery ...
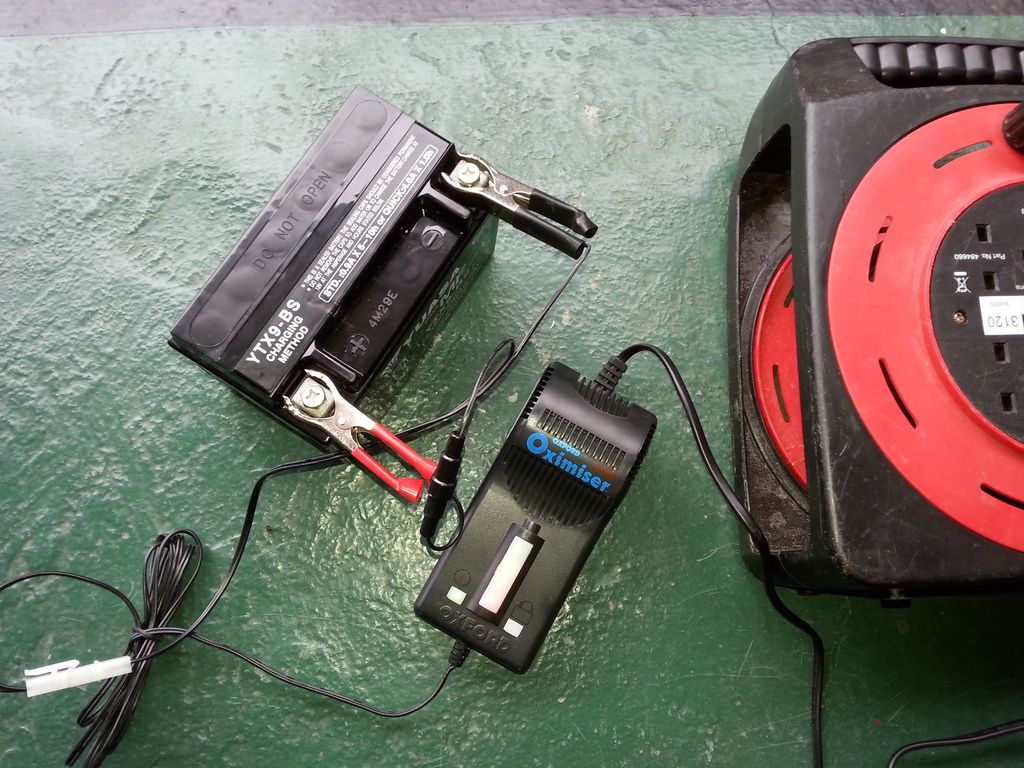
... and give it a charge (thanks photobucket for turning my photo upside down for no reason)
Fitted the ignition and wired it up, and found and glued on the little Honda badge.
The rest of the afternoon was spent filling with 50/50 coolant/water (including overfilling, getting it everywhere, and having to spend ages with paper towels cleaning the front of the bloody engine and radiator area) and dicking around with the air box that goes above the front cylinder ... it's a pain to fit, and I had to move and jiggle about with several things already mounted in that area, including THAT bit of coolant assembly, that's already been off at least once before. Managed to scratch the top of the polished cylinder head cover ... I'll have to get the dremel out with a polishing tip.
I noticed that on the air box someone had used black gobbo to seal the rubber hose to the plastic box. Cleaned it all off, and the hose underneath is perfect. No idea why someone had done it, but I'll bear that in mind ...

... and this one ...

The gear change lever is chrome but on a rough surface. It cleaned then buffed up nicely.

Bugger. So, when I had the lower fork tree rechromed, I forgot about the two threaded holes on the underneath (where a couple of cable guides go). The chrome had filled in the thread and needed re-tapping. A two minute job ... if I'd done it before assembling the forks ! So had to laboriously tap both sides with the aid of a mole grips ... probably not advised really.

Cleaned and buffed the four chrome mounting bolts for the rear shocks. One's got a bit of rust on, so I'll probably get a new one next order. You can also see here the cleaned and refurbished rear brake hose ... you can't get new ones. (sorry for poor photo)

Fitted the coolant overflow bottle, rear brake reservoir, and the rear brake hose.

A quick but mentally satisfying job ! Handlebars ...

The new battery arrived ...

It comes dry, with a pouch of sulphuric acid.

Remove the red tape off the battery to uncover the filling ports, and the black caps off the acid ... be careful with the black caps, as they will be used to seal the battery.

Turn the acid upside down and press down onto the battery filling holes ... these will break the silver seals and allow the acid to flow into the battery. You should see bubbles ... if you dont, rap the acid pack (but don't take it back off again). Leave for 20 minutes at least. Best to do this in a well ventilated area, as it smells of rotten eggs ...

Put the black caps on to seal the battery ...

... and give it a charge (thanks photobucket for turning my photo upside down for no reason)

Fitted the ignition and wired it up, and found and glued on the little Honda badge.

The rest of the afternoon was spent filling with 50/50 coolant/water (including overfilling, getting it everywhere, and having to spend ages with paper towels cleaning the front of the bloody engine and radiator area) and dicking around with the air box that goes above the front cylinder ... it's a pain to fit, and I had to move and jiggle about with several things already mounted in that area, including THAT bit of coolant assembly, that's already been off at least once before. Managed to scratch the top of the polished cylinder head cover ... I'll have to get the dremel out with a polishing tip.
I noticed that on the air box someone had used black gobbo to seal the rubber hose to the plastic box. Cleaned it all off, and the hose underneath is perfect. No idea why someone had done it, but I'll bear that in mind ...


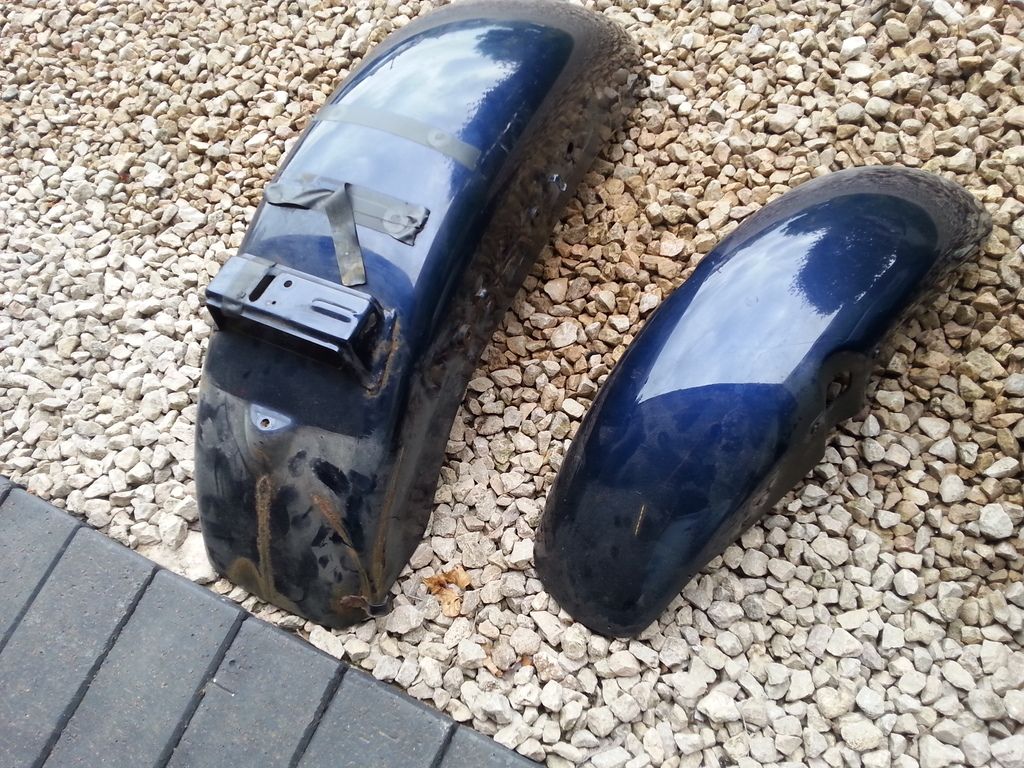
Not much visible progress over the last week as I've been researching paint shops. Visited a few, talked to more. Got quotes varying from £300 to £1200 (!) to paint the 2 mudguards, tank, and 2 side panels.
In the end I've gone with ... http://www.faircharm.co.uk/ ... dropped them off today, should be ready end of July.
And no ... I'm not going to tell you what colour !
There's the usual amounts of surface rust that need taking care of, so Shane at Faircharm is going to blast all the metal items and seam seal them.

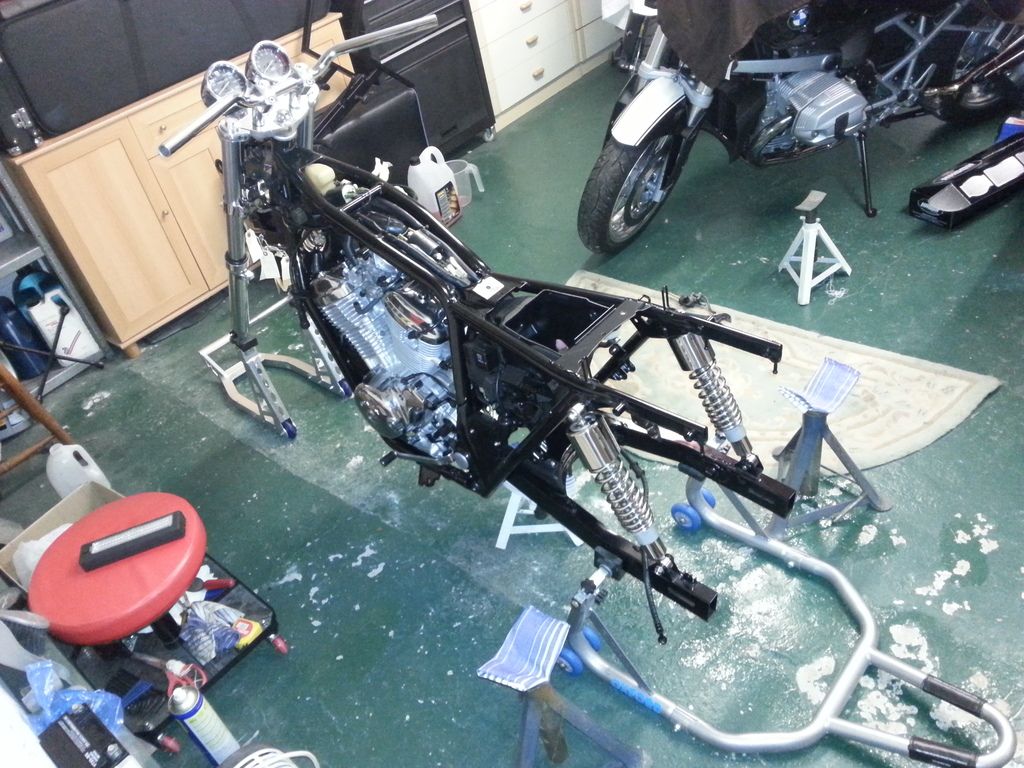
In other news, my new rear shocks arrived ... popped them on last night, quick easy and satisfying job.
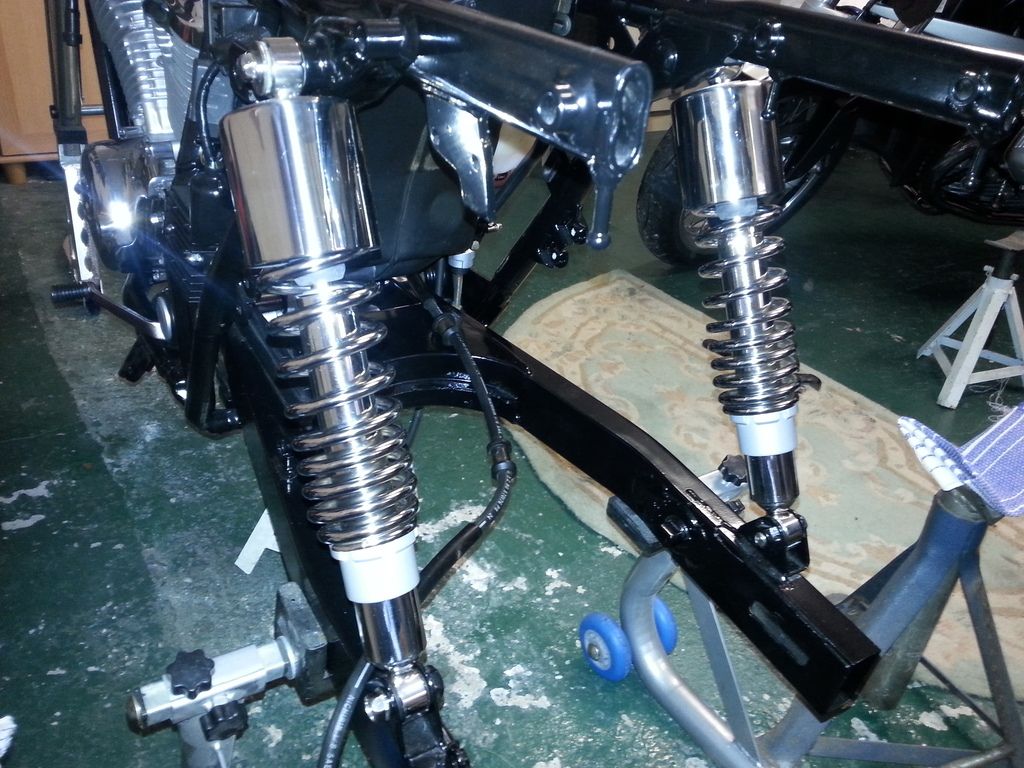
Also a mate came round today to help me lift the bike off the small coffee table it's been sat on all this while (which was getting a bit beyond its original working capacity to be honest !) and onto proper stands. It's lower to work on now which is a pain, but it's more stable, and I can start to put the exhaust on and address the tiny water seep around the water pump. Also I can stand straddling it and make brum brum noises ...
Derusted, primed, painted and fitted the two clips that hold the rear brake hose on.
In the end I've gone with ... http://www.faircharm.co.uk/ ... dropped them off today, should be ready end of July.
And no ... I'm not going to tell you what colour !
There's the usual amounts of surface rust that need taking care of, so Shane at Faircharm is going to blast all the metal items and seam seal them.


In other news, my new rear shocks arrived ... popped them on last night, quick easy and satisfying job.

Also a mate came round today to help me lift the bike off the small coffee table it's been sat on all this while (which was getting a bit beyond its original working capacity to be honest !) and onto proper stands. It's lower to work on now which is a pain, but it's more stable, and I can start to put the exhaust on and address the tiny water seep around the water pump. Also I can stand straddling it and make brum brum noises ...

Derusted, primed, painted and fitted the two clips that hold the rear brake hose on.

Gassing Station | Biker Banter | Top of Page | What's New | My Stuff