New Build - Tamiya Caterham Masters Coachwork JPE 1/12
Discussion


so the nights are cold and dark, and instead of spending all my money on beer and fine wines and Belgian chocolates, I thought it was high time to get around to build this model,I have owned for over 10 years,,but never done much but open the box lid.
Here it is in all its glory before taking the main parts out of the box.


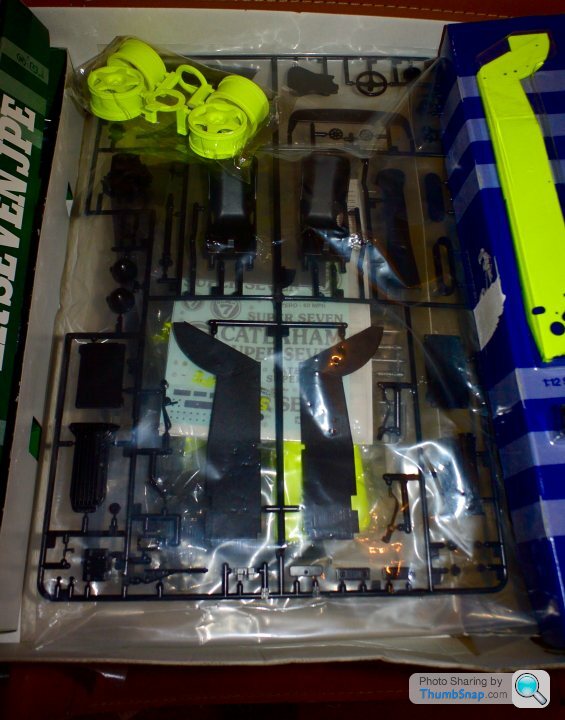


Here it is in all its glory before taking the main parts out of the box.
Murph7355 said:
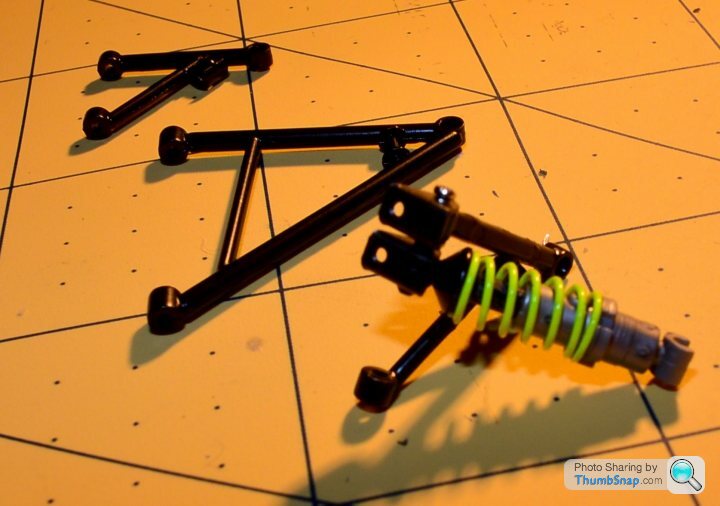
These go together nicely.
Mine needs a rebuild and tweaks to make it look how my 1:1 version now looks
I am sure it will actually be pretty easy to build, these Tamiya models are always perfectly designed and built.Mine needs a rebuild and tweaks to make it look how my 1:1 version now looks
I had thought about reworking the features, and repainting it as well , to match my current R500 Durstec n the F1 colours.
However I decided that would devalue the model,and distract too much from the original design, plus I actually like the JPE and its colour scheme, as it was the very first Caterham that inspired to own one for myself!
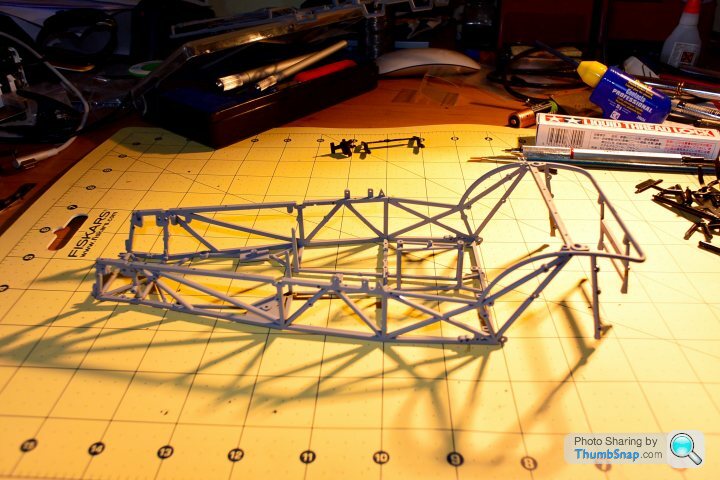
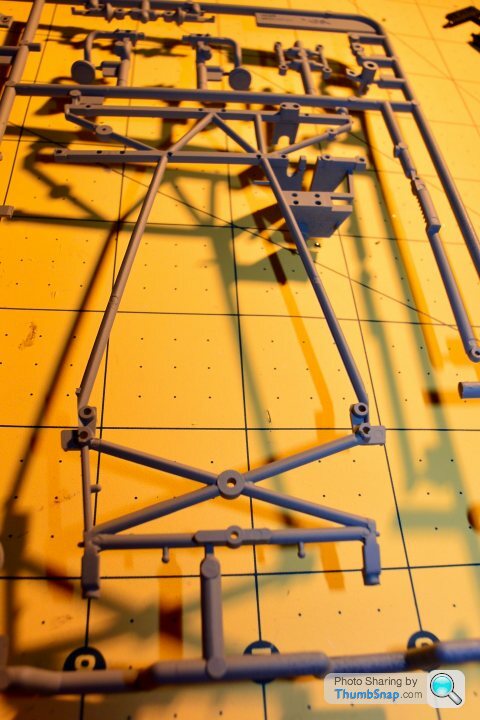
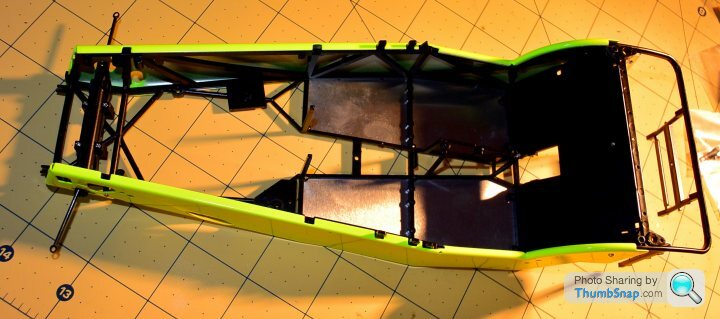
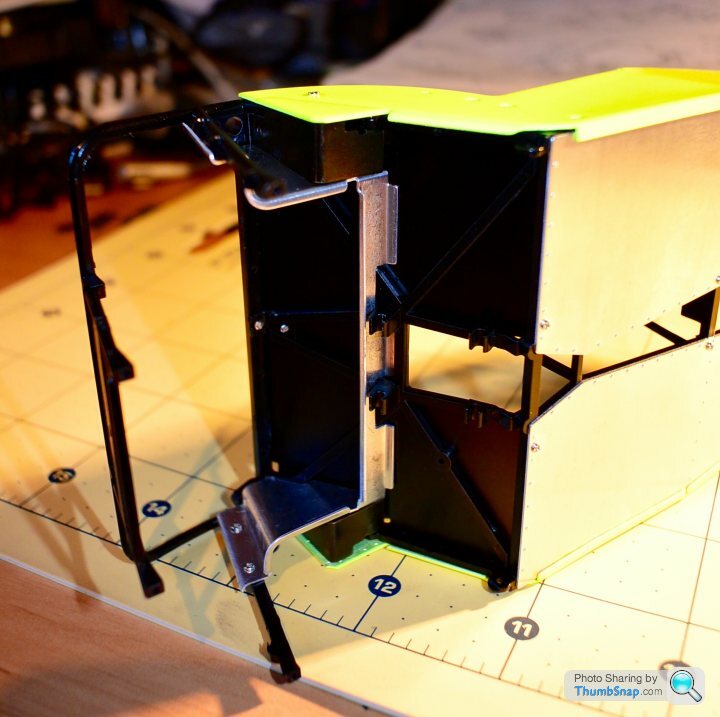
I hope to get a bit more done today, I am going to finish trimming the chassis and other black plastic parts that are needing a proper cost of undercoat and black paint finish.


mharris said:
I'm envious. Have been checking on ebay for one of these kits. Prices are ridiculous though when they do come up. We're talking £300 - £500!
I love the detail and the fact that it goes together in the same way / order as a real caterham car.
I know what you mean, they do seem to go for quite serious amounts of cash these days.I love the detail and the fact that it goes together in the same way / order as a real caterham car.
I bought mine from a Japanese Toy distributor over 10' years ago, I was lucky as it was only about £100 back then, and I didn't even get stung for duties either.
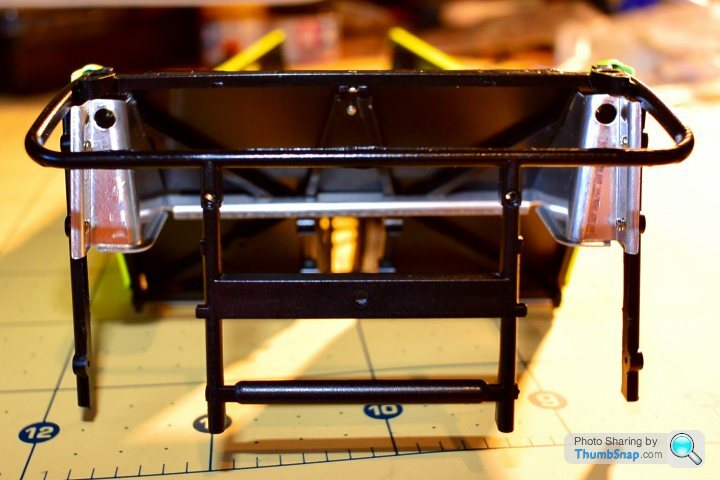
Having built so many of my own caterhams from roadsports to K Series R400's and Duratec R500's I can confirm that they do go together in very similar ways, if anything the real,thing is even easier.,


mickrick said:
That's really nice! But surely there must be some parts missing, then Tamiya can send you more wrong parts several times, to make the experience realistic 
Yes indeed mIck!I have had so many parts missing from all of my various builds of real cars I lost count.,
Of course on a kit such as this, Tamiya like all perfect Japanese manufactures have it down to a fine art!
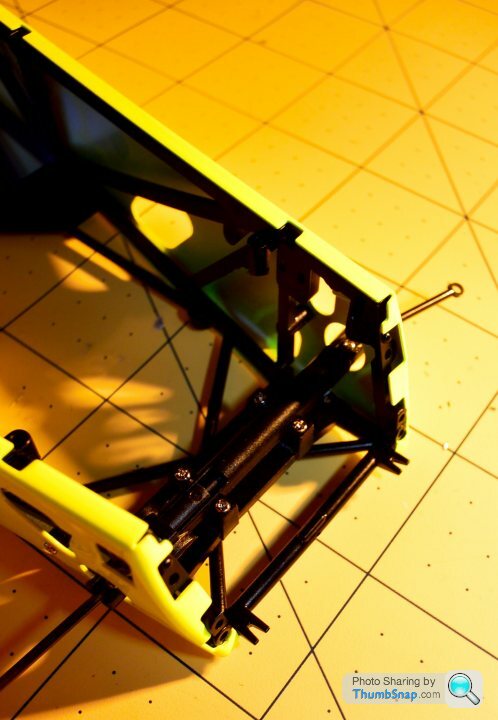
Do keep losing the 1.2mm bolts though, Jesus they are super micro tiny!
dr_gn said:
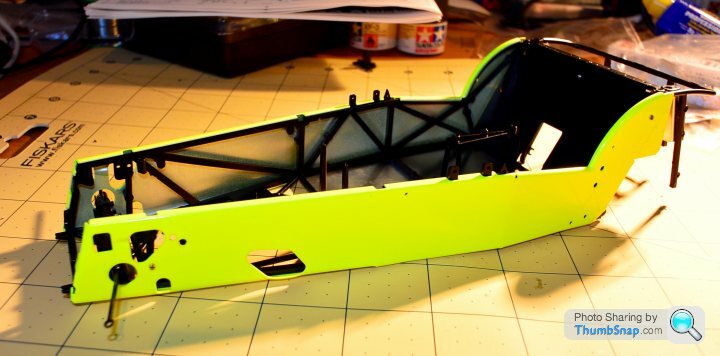
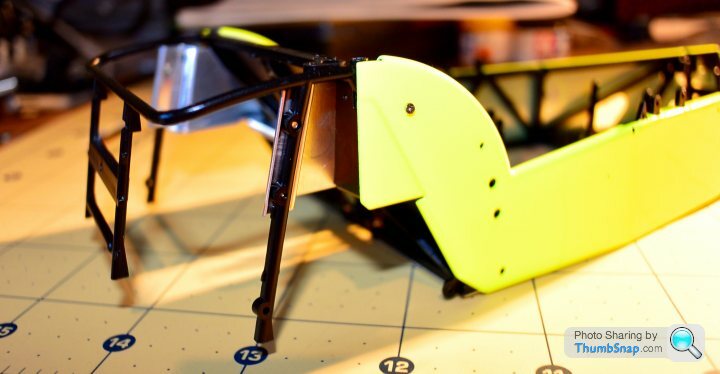
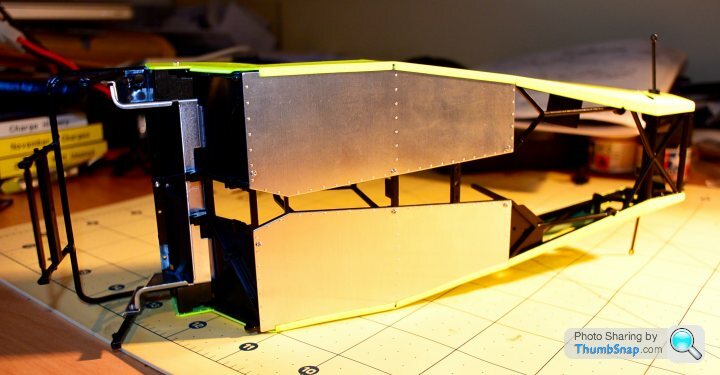
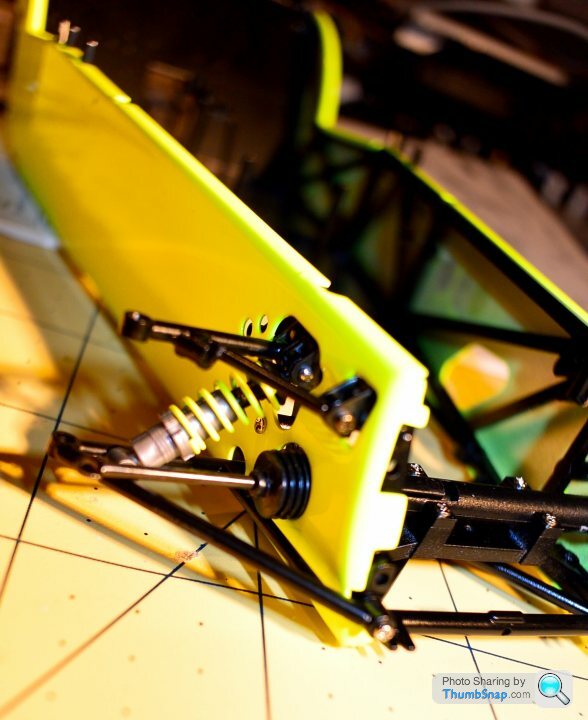
Looks great so far. Presumably the sides are painted aluminium?
Yes a lot or the panels are aluminium, in fact pretty much the same one that are aluminium on the real thing are the same thing on this kit.So the sides, wings, bonnet are all pre painted in the JPE colours, which means it's one less colour I have to worry about making a mess of with my poor painting skills!
Gassing Station | Scale Models | Top of Page | What's New | My Stuff