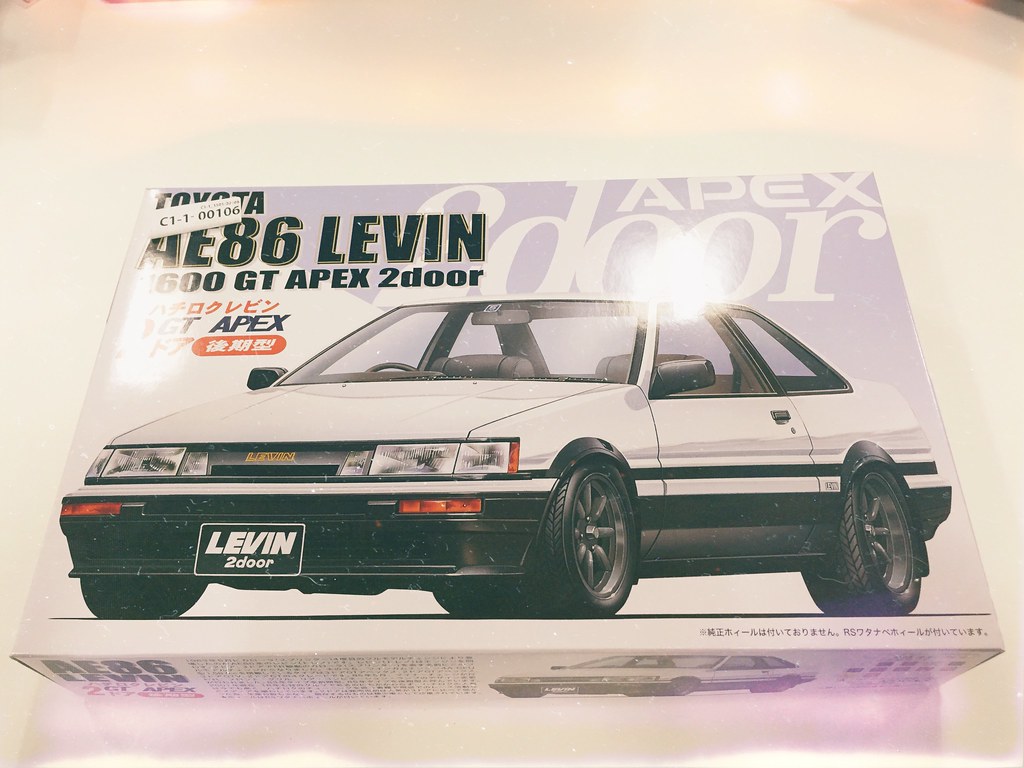
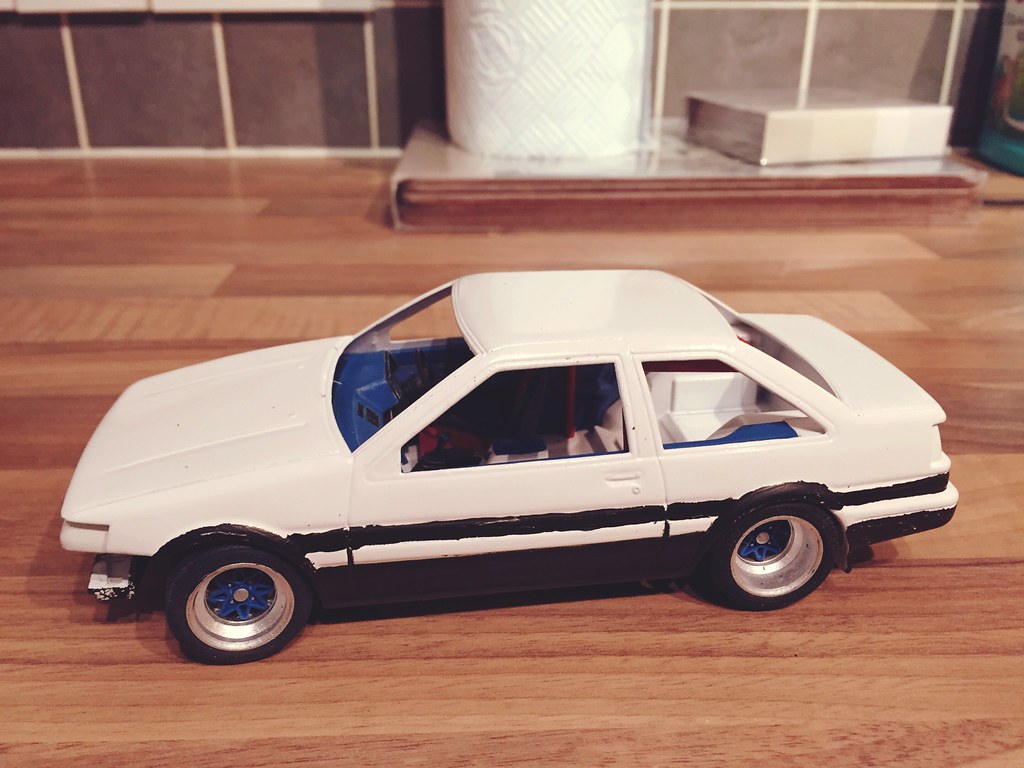
Build: 1/24 Fujimi AE86 Levin GT APEX Late Type
Discussion


I've not done any modelling for quite a few years but something triggered a spending spree on Amazon and eBay resulting in my having 4 kits turn up in the last couple of weeks. I thought tonight I better get out of the HorneyMX5 shaped hole in the sofa and start one of them. Due to a lack of practice (and I've never been that great at it) I'd start with one of the more simple kits.
 Untitled by Nicholas R Horne, on Flickr
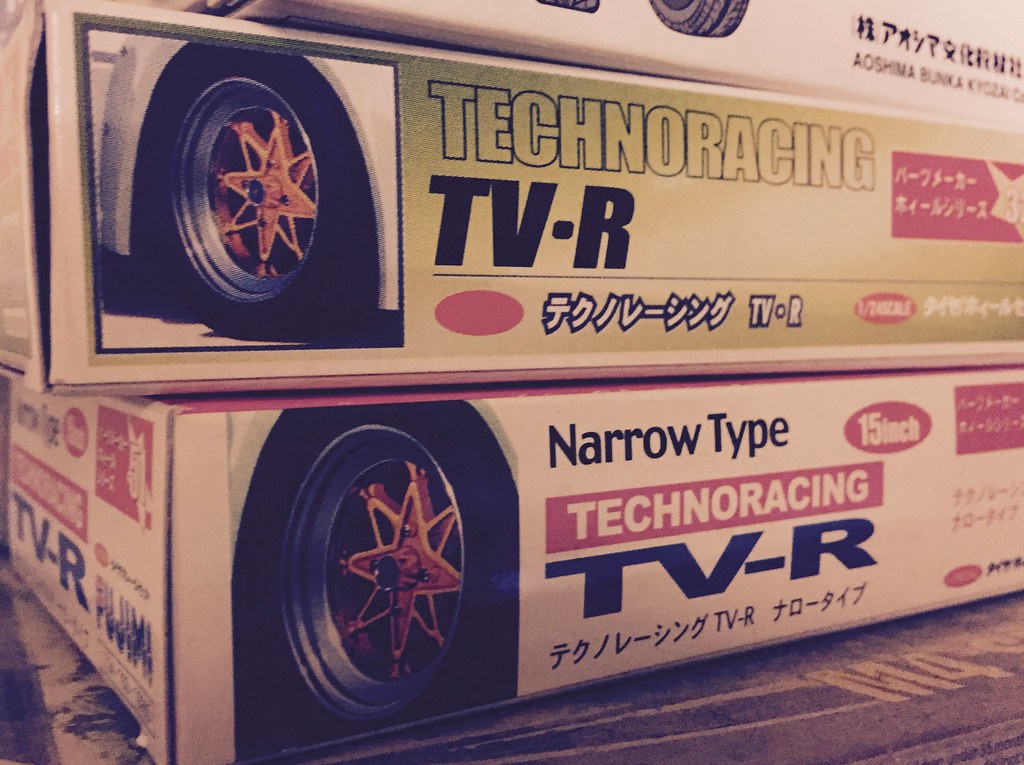
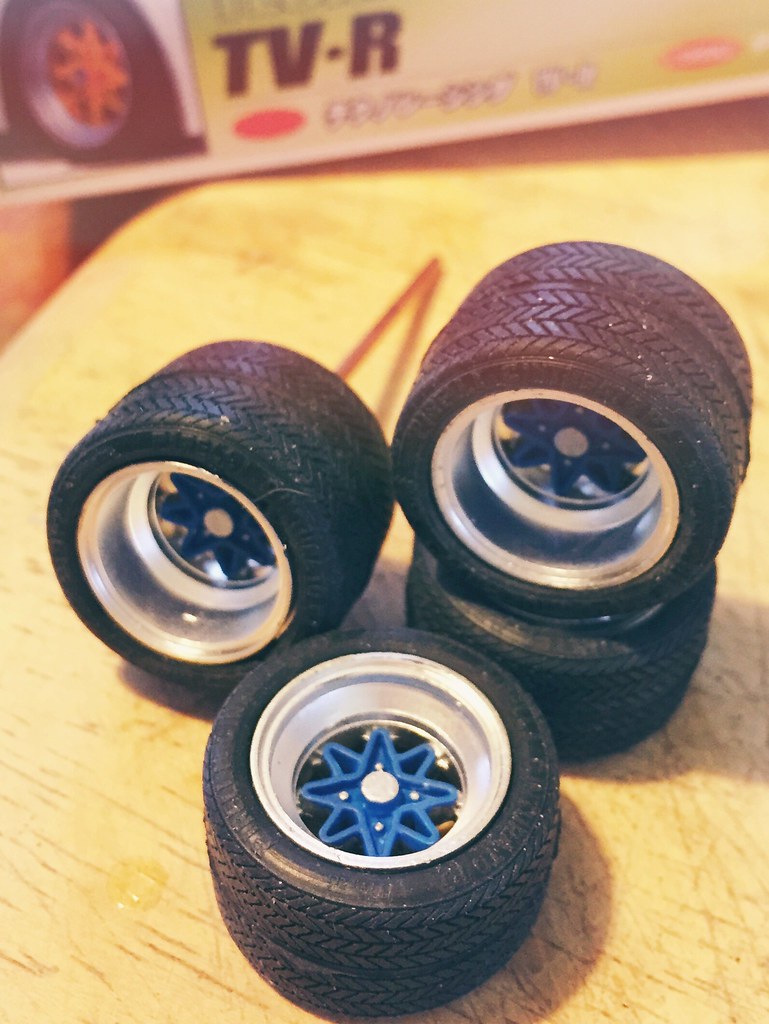
I thought I'd try my hand at running aftermarket wheels so bought these:
 Untitled by Nicholas R Horne, on Flickr
One set 14" and one set 15". I'll see which I prefer once the main car is completed.
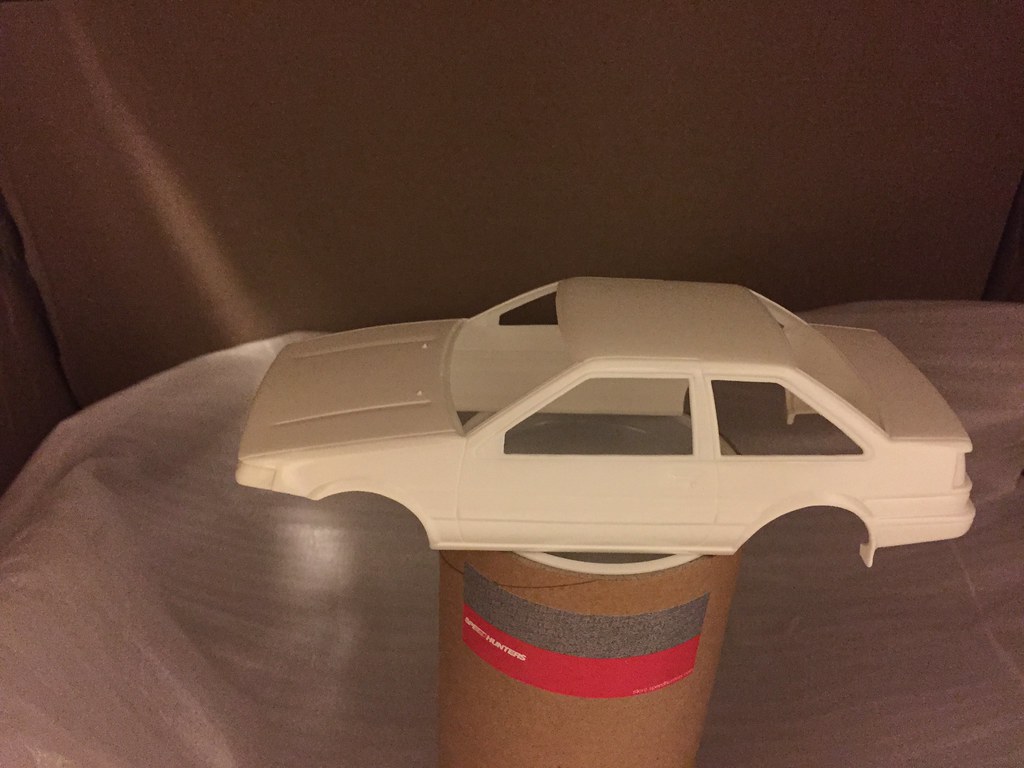
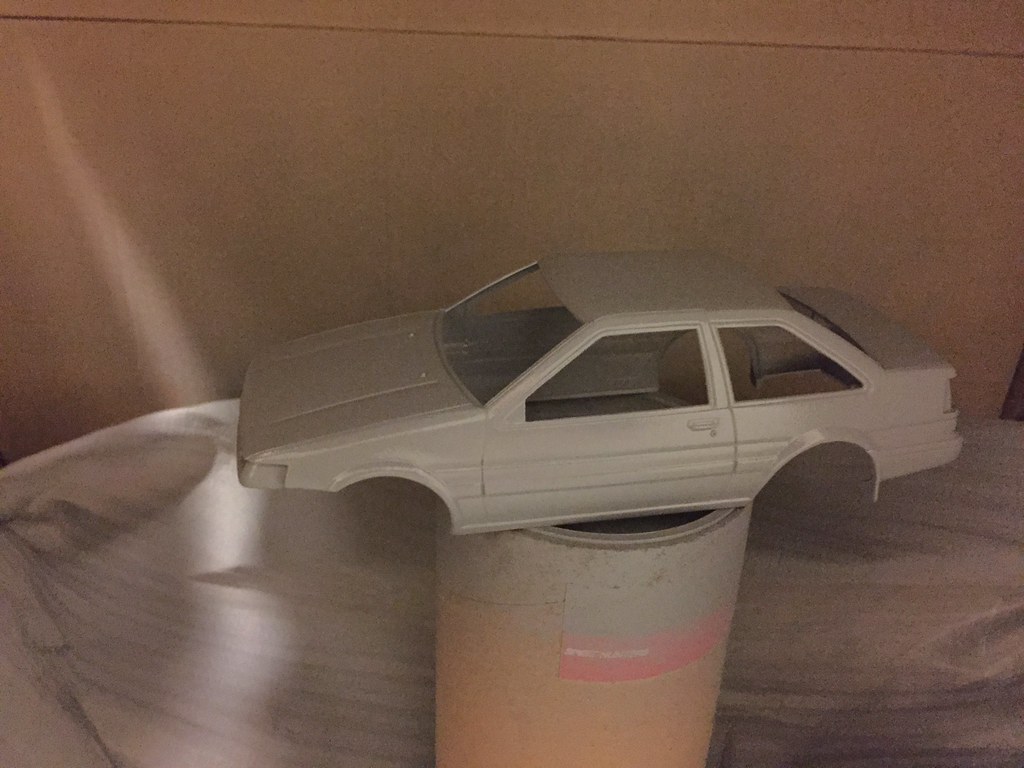
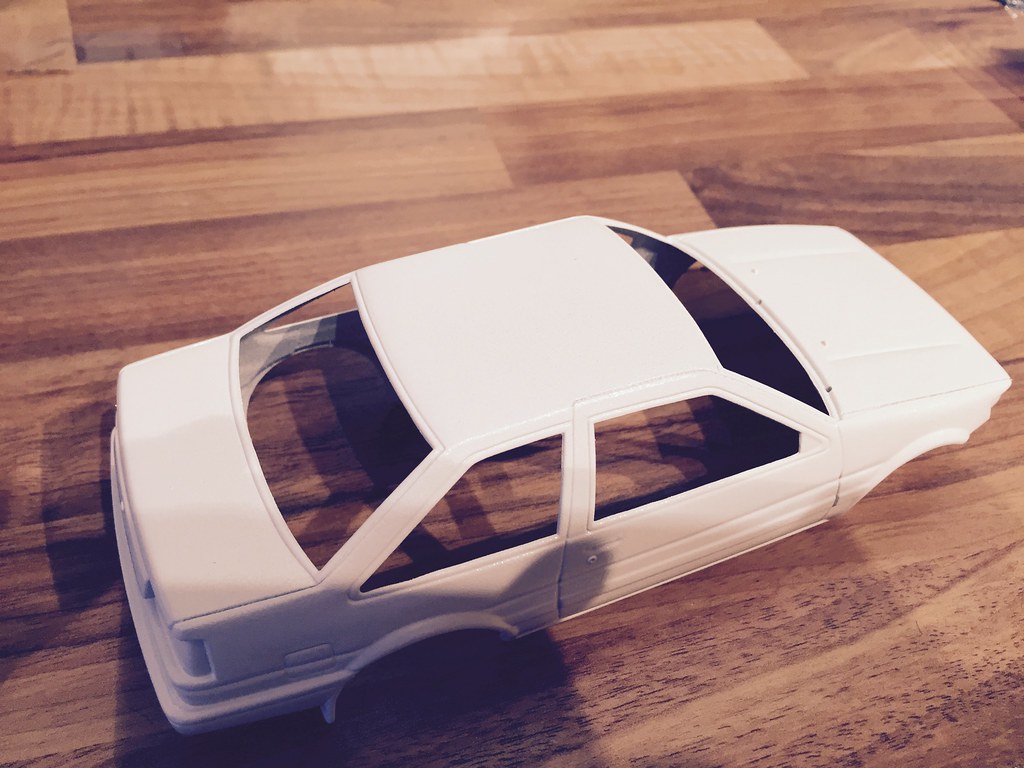
A simple start tonight. Flat back any molding marks on the shell and blat it with a coat of Humbrol Acrylic primer.
 Untitled by Nicholas R Horne, on Flickr
 Untitled by Nicholas R Horne, on Flickr
Untitled by Nicholas R Horne, on FlickrI thought I'd try my hand at running aftermarket wheels so bought these:
Untitled by Nicholas R Horne, on FlickrOne set 14" and one set 15". I'll see which I prefer once the main car is completed.
A simple start tonight. Flat back any molding marks on the shell and blat it with a coat of Humbrol Acrylic primer.
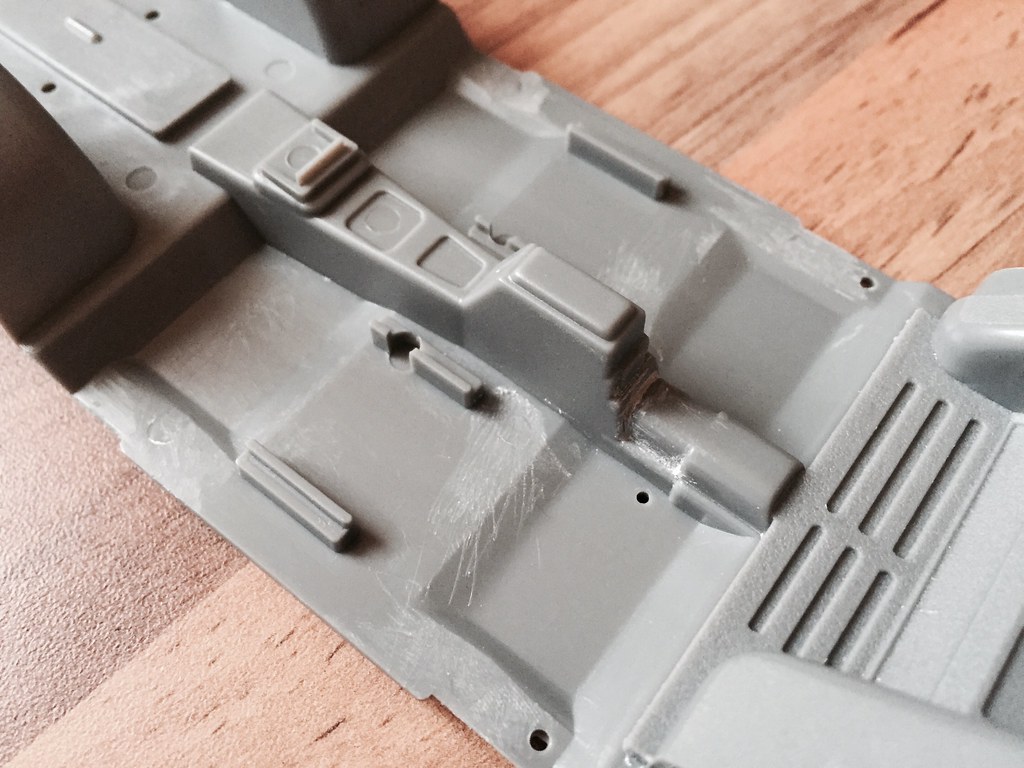
Untitled by Nicholas R Horne, on FlickrUntitled by Nicholas R Horne, on FlickrA bit of filler work and filing on the floor pan.
 Untitled by Nicholas R Horne, on Flickr
Looks a bit scrappy but just put a coat of primer on and it looks pretty good. Never used modeling filer before.
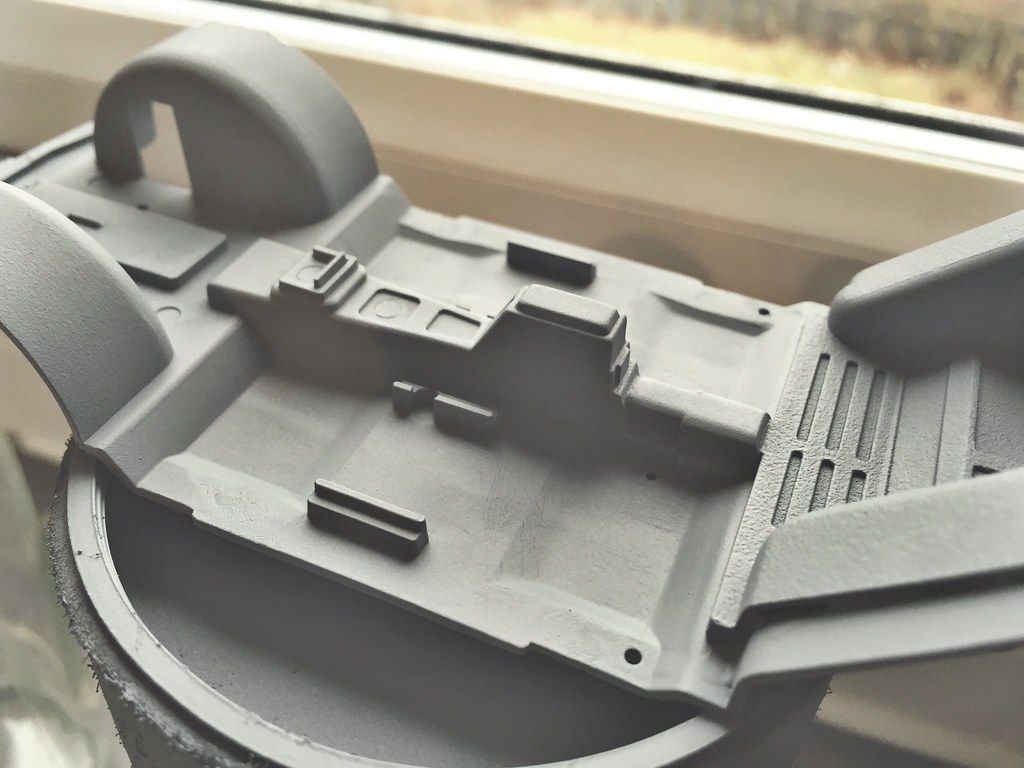
Untitled by Nicholas R Horne, on FlickrLooks a bit scrappy but just put a coat of primer on and it looks pretty good. Never used modeling filer before.
Sway said:
Looking good!
Where did you get the wheels from? I have the tamiya NA miata kit with which I'd like to make a replica of my old Eunos - need some Rota Grid V or RB style wheels...
There's a few places, a lot in the states or Japan. If you google 1/24 Rota grid or similar you find places selling them. THe problem I've found is a lot of them come as a set with much wider rims for the rear which is annoying. Where did you get the wheels from? I have the tamiya NA miata kit with which I'd like to make a replica of my old Eunos - need some Rota Grid V or RB style wheels...
I too have have the Tamiya Eunos Roadster kit to do but I'm laving that till last as I need to build a lot of custom bits for it like a cage, front splitter and rear spoiler. I've got a set of Watanabe RSs that look close enough to my Compomotives so the wheel side is at least sorted. I also have some 1/24 scale bucket seats on order.
Sway said:

Mine will be much more straightforward - GV lip at the front, slight lower and a half cage which should be pretty straightforward to make out of sprue. Mariner blue paint and I'm sorted.
 Untitled by Nicholas R Horne, on Flickr
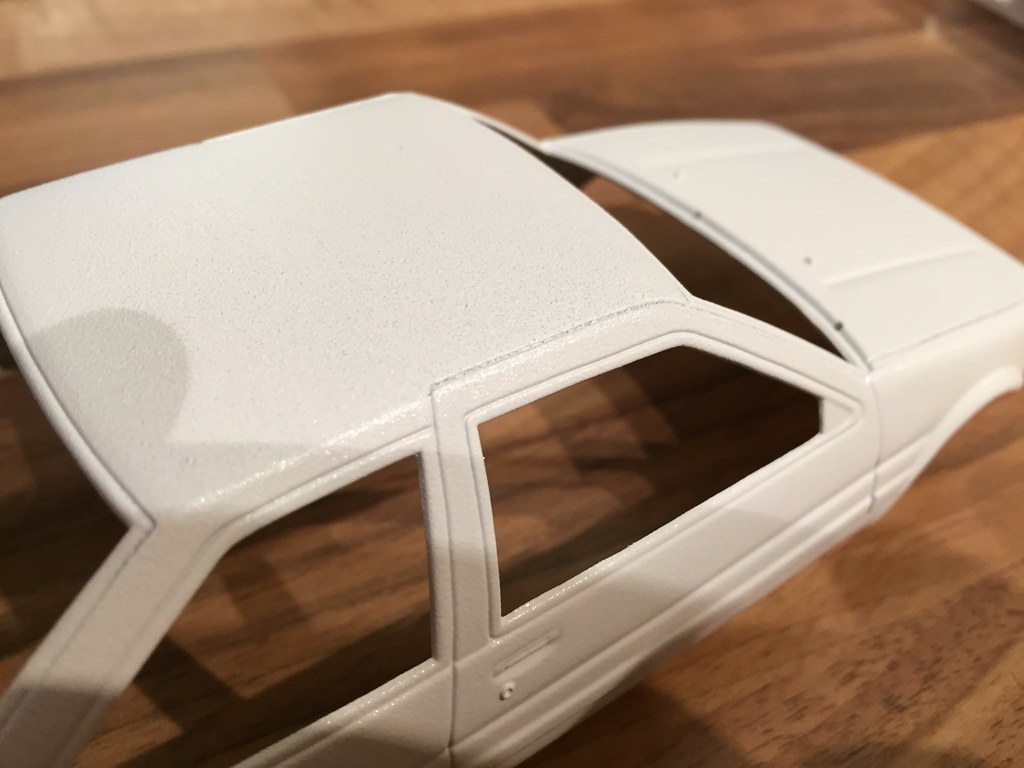
I've had a bit of nightmare with the shell. The spray can ran out and the finish is dreadful. I'm hoping a flat back tomorrow and a coat from a fresh can will fix it. Otherwise it's oven cleaner time which I've never tried before. 
 Untitled by Nicholas R Horne, on Flickr
 Untitled by Nicholas R Horne, on Flickr
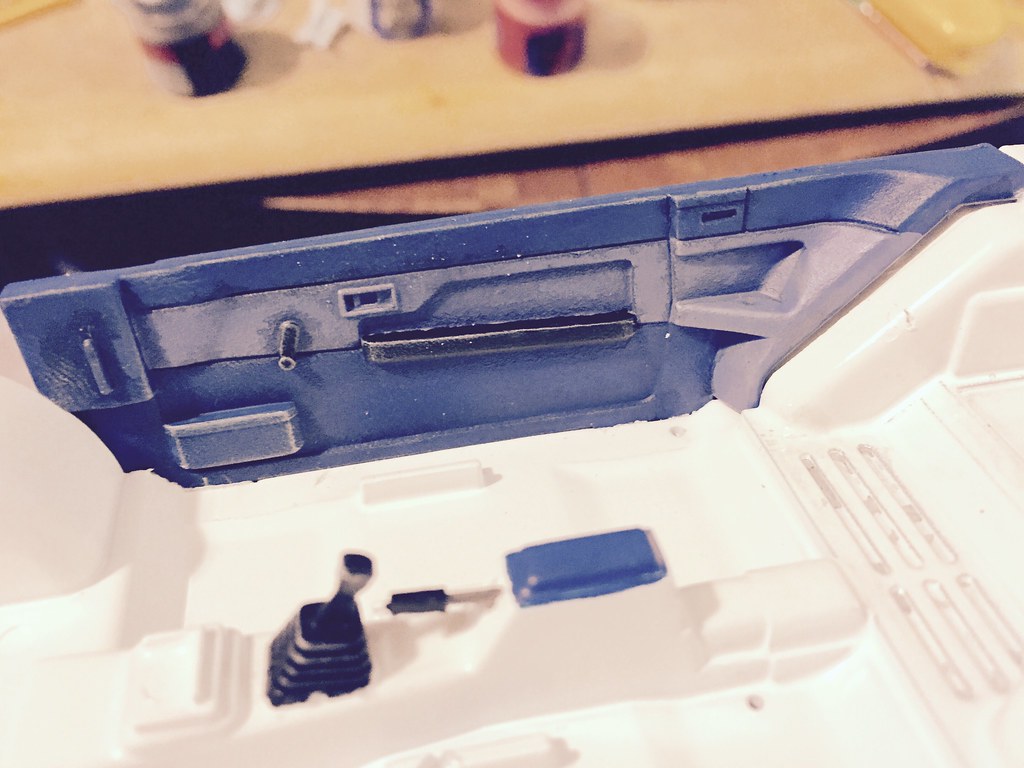
The interior is coming along. Went for a two tone blue after googling the types of interior these came with.
 Untitled by Nicholas R Horne, on Flickr
Untitled by Nicholas R Horne, on FlickrUntitled by Nicholas R Horne, on FlickrThe interior is coming along. Went for a two tone blue after googling the types of interior these came with.
Untitled by Nicholas R Horne, on Flickr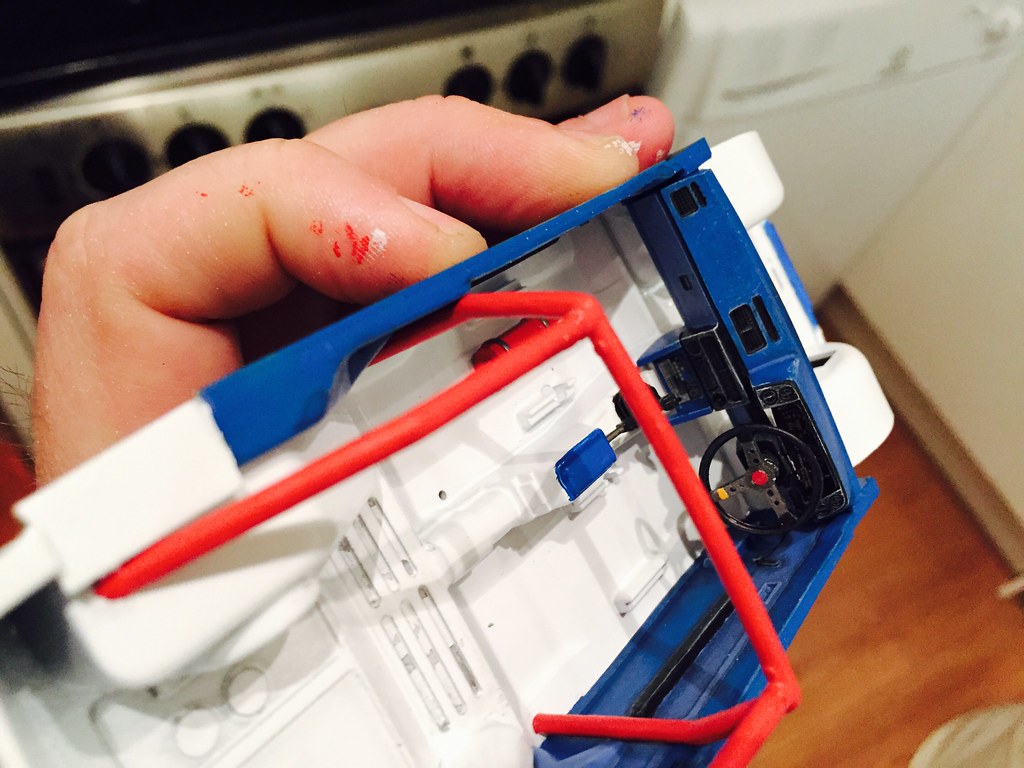
Went with blue centres for the aftermarket wheels.
 Untitled by Nicholas R Horne, on Flickr
It also looks like I've rescued the shell without having to brake fluid dip it.
Untitled by Nicholas R Horne, on FlickrIt also looks like I've rescued the shell without having to brake fluid dip it.
Massive fail.
 Masking tape fail. 😥 by Nicholas R Horne, on Flickr
The masking tape bled and I tried to correct it by hand but my hands are too shaky. I'll have to try the oven cleaner trick to strip the shell back.
Anyone got any tips on how on earth I paint the black bits without it looking like a 3 year old did it?
I'm pleased with the aftermarket wheel fitment though.
Masking tape fail. 😥 by Nicholas R Horne, on FlickrThe masking tape bled and I tried to correct it by hand but my hands are too shaky. I'll have to try the oven cleaner trick to strip the shell back.
Anyone got any tips on how on earth I paint the black bits without it looking like a 3 year old did it?
I'm pleased with the aftermarket wheel fitment though.
The_Jackal said:
Mask with Tamiya tape and spray with an airbrush. If using a can you have to be very light with the coats as cans put out a lot of paint.
I did wonder if spraying the black bits might be better with the tape than using paint on a brush. THe Gloss white means the black doesn't take very well, will it better with spray. Sadly I can't justify the cost of an airbrush at the moment so spray cans only.
You have my sympathy - my masking ends up with seepage, ridge lines and a ham-fisted manual attempt to rectify it. No idea how modellers manage to get such perfect finishes, and I'm unconvinced that an airbrush would make much difference in my hands given the added complexity of pressure, thinning, cleaning, etc.
Bugger!
I've managed to do nice crisp lines with spray cans from Halfords a couple of times.
Tricks seem to be bloody good masking tape well pressed in on all edges, and starting spraying well away from the model, then passing the spray quickly over the model for a stupidly thin coat. I took something like 4 coats (if they're really thin they'll dry really quickly) just to cover the area, with another few to build up the opacity...
Possible tip - this was seen on a video where the modeller was airbrushing with acrylics.
Go over the base colour with a clear gloss varnish and leave to dry fully before masking. This should (a) give a better seal for the masking tape and (b) if there is any seepage you should be able to clean it off with a damp cotton bud. Does need de-masking within 10 mins of spraying though, before any overspray has cured.
Another option I've read on a recent thread here was to make the first coat the same colour as the base coat, so any seepage matches (so is invisible) and also seals the mask.
I did the air intake bit on this with a brush and tape. Did and single coat of white, and then took the tape off immediately, as ive found tamiya paint dries pretty quickly anyways.
The nose was done using a template Tamiya gave me, but made from the same material as their tape. I got a couple of small runs, but used a teeny tiny brush to cover them back up, which looked ok.
I feel your pain on the edging though, the civic I built a while back has 0 straight lines on it, I couldnt get a finish that was even remotely decent :/

Gassing Station | Scale Models | Top of Page | What's New | My Stuff