V8S Suspension
Discussion


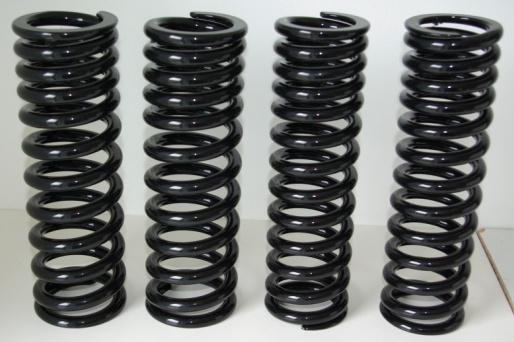
Just got my springs back from Maldon Shotblasting Powder Coating and they look better than new. The powder coating is Plascoat ppa 571 and has produced a deep lustrous smooth black finish which is flexible and so shouldn’t crack when the springs move about.
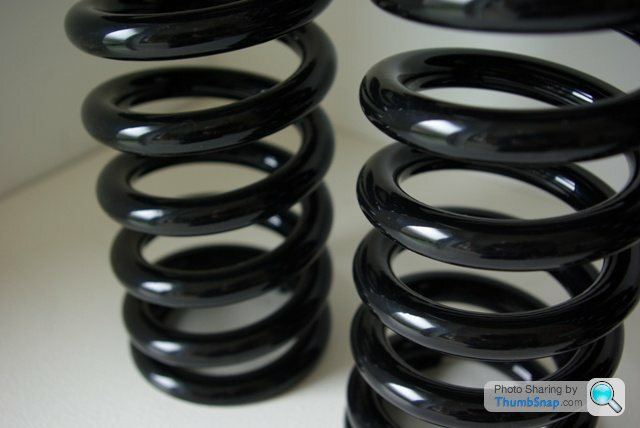
This product is also available in red and white so give Trevor Lodge a call if you’re interested in finding out more. Trevor has been very helpful and while I was there he had my rear dampers blasted while I waited.
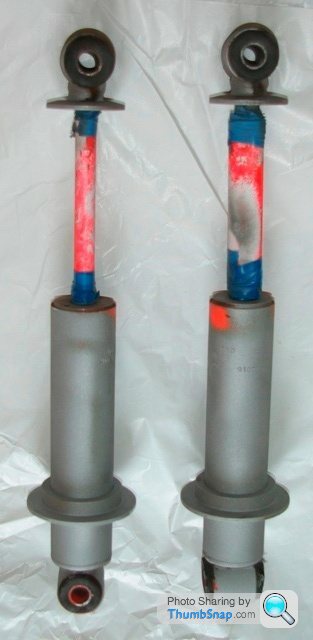
These will now be going off to be refurbished once the primer has dried. I've got some new dampers for the front
so when the rears come back the whole lot will be built up and put on the car – watch this space.
This product is also available in red and white so give Trevor Lodge a call if you’re interested in finding out more. Trevor has been very helpful and while I was there he had my rear dampers blasted while I waited.
These will now be going off to be refurbished once the primer has dried. I've got some new dampers for the front
so when the rears come back the whole lot will be built up and put on the car – watch this space.
Just noticed something odd……..according to the Suspension Wiki every set-up has heavier springs on the front, which seems to make sense given the weight of the engine. However, on the original set-up the rear spring has a larger diameter than the front. Also, the diameter of the steel coil is 13mm against 12mm on the front. Given they are the same length, doesn’t this mean that the original rear spring is a higher poundage than the front? Thoughts?
I’ve used one of the online spring rate calculators using these values
Front Rear
Free length 288 285
Coil diameter 82 90
Wire diameter 12 13
Active coils 11 10
But because I don’t know the thickness of the powder coating or the type of steel used for the spring so the values are just relative. The result was F: 302ft/lbs, R:343ft/lbs which means the heavier springs are on the rear. Does this make sense?
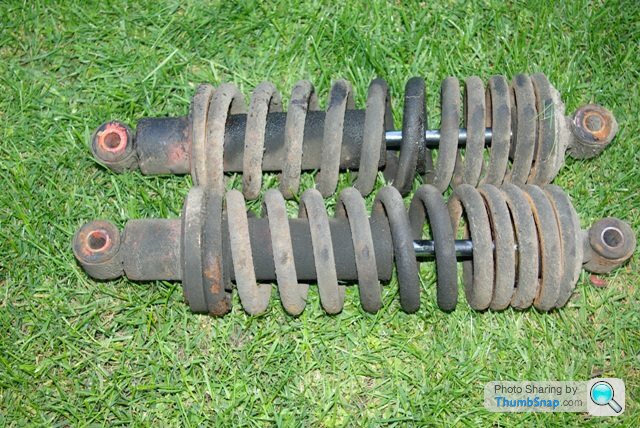
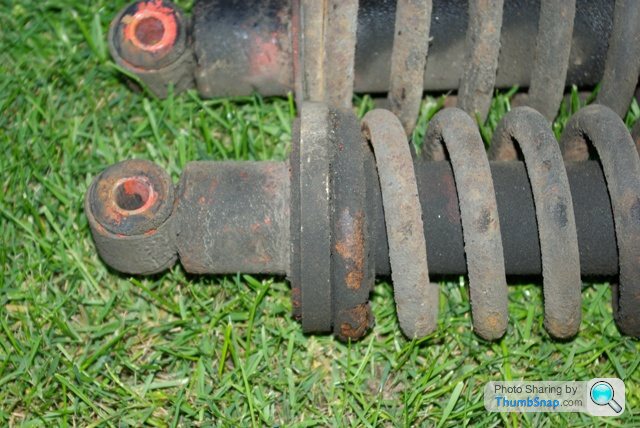
Glen – another question for you. In the photo above of your rear dampers it looks like the tighter coils are at the bottom of the damper but on mine they are at the top. Originally the tighter coils were at the top on the fronts as well but when the garage re-assembled them after the chassis work in 2010 they put the tighter coils on the bottom. Does it matter? I didn’t notice any difference.
Common sense says the more open coils should be at the bottom so that they compress more on the initial bump and then as the force travels up the spring the tighter coils slow the compression down to reduce body roll.
Picking up on my other point above about front and rear spring rates, why are all aftermarket set-ups arranged with the heavier spring at the front and the lower one at the rear ie the reverse of what TVR designed?
Any engineers out there like to suggest what’s going on here?
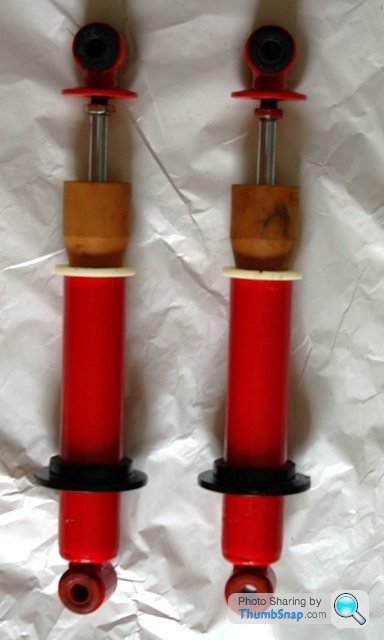
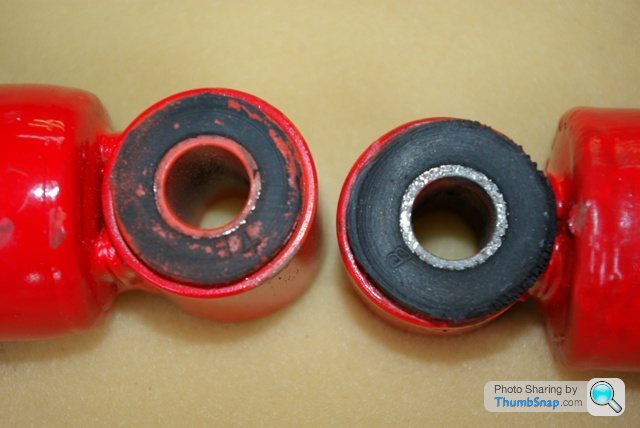
Here’s the re-assembled units awaiting fitting. The pair on the left are the new front dampers and the re-furbished rears are on the right all fitted with the re-furbished springs. The second picture shows for comparison the bushes on the new dampers with the old ones which have done about 40,000 miles. They made them to last! 
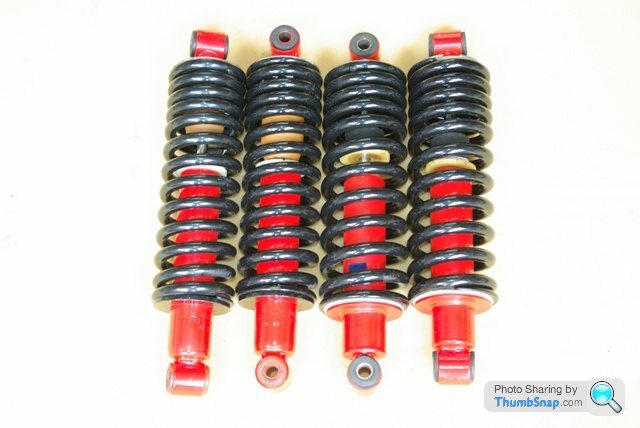
I’ve set them up with maximum damping on rebound compared with the minimum setting which is the way TVR sent them out of the factory. I know Glen is desperate to bounce on my back end to see how tight it is.
Once they’ve been fitted I’ll update the WIKI. Is there any point in putting ride height on? I will if anyone is interested but let’s face it, if the outriggers have been repaired they aren’t going to be in exactly the same place as when new and tyre profile and wear will make a difference as well.
phillpot said:
By 'eck Joe you don't like rushing a job do you? 
What are you talking about? That was a quick job! Remember those wheels? Well, I only got around to taking them to be powder coated on Tuesday. phillpot said:
.....I'd hope they're no more than perhaps a millimetre out!
So you want me to put the ride heights in then? 
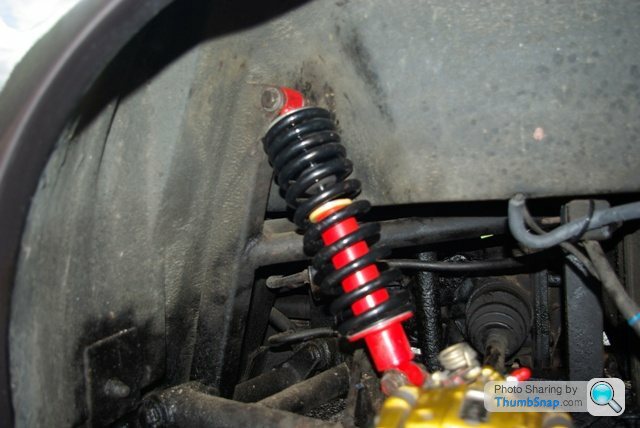
All plausible. Here's one of the new ones insitu ......
Top Tip 1.Get yourself a new set of nuts and bolts BEFORE starting this job
Top Tip 2. Those upper nuts are a BAS RD to get back on and tighten up! Refer to Top Tip 1.
Top Tip 3. Read the WIKI BEFORE starting the job.
And another odd thing. Looking at the WIKI (yes I know I should have looked there first!) the suspension bolts are listed as ½” UNF. I had to use a 19mm spanner on mine because none of my UNF tools would fit. Have I got M12 bolts then? And will ordinary M12 nylocks from the local ironmongers do the job?
Top Tip 1.Get yourself a new set of nuts and bolts BEFORE starting this job
Top Tip 2. Those upper nuts are a BAS
RD to get back on and tighten up! Refer to Top Tip 1.Top Tip 3. Read the WIKI BEFORE starting the job.
And another odd thing. Looking at the WIKI (yes I know I should have looked there first!) the suspension bolts are listed as ½” UNF. I had to use a 19mm spanner on mine because none of my UNF tools would fit. Have I got M12 bolts then? And will ordinary M12 nylocks from the local ironmongers do the job?
Edited by v8s4me on Tuesday 29th April 23:11
glenrobbo said:
A 19 mm spanner is exactly the same as a 3/4" AF Joe. 
I thought some glenrobbo said:
..I had no problems at all fitting my rear suspender top nuts & bolts, it was all very straightforward 
- like I said, smart-arse Are the V8S trailing arms/top mounts different to the V6 cars?glenrobbo said:
... 1/2" UNF thread is NOT compatible with M12. 
I learnt that a very long time ago, when I was in the scrap nut & bolt business zombeh said:
3/4" is 19.05mm so a 3/4 socket/spanner should be if anything very slightly bigger than a 19
It's a fair cop. Which ever way round it was, the AF wouldn't turn the bloody thing. At the time of my statment officer ie 10.30pm, I wasn't going back out to the garage to check my story. themee said:
Joe, Where did you get the refurb on dampers done? Thinking of doing mine, only about 8 years old but want to take them off and "stiffen up" would like shorter stiffer springs too, am sure mine sits too high. any sugestions where to get new springs for the Koni dampers? And do you fully contract and turn clockwise to stiffen? remember reading something on this a while ago.
I used this guy, listed by Koni as one of their refurbishment workshops. Shaun Pickering SP Suspension 07811 108123
He did mine earlier in the year and I was quite happy with his service. Might be worth a call and he may know where to get new springs. I wouldn't shorten them if I were you because at best you'll lose ground clearance and at worst may not be able to open your bonnet very far.
To adjust the Koni damper (copied from the Koni website - have a look there for more info):-
1. Fully compress the left and right struts, at the same time turning the dust cap or piston rod slowly to the left (anti-clockwise), until it is felt that the cams of the adjusting nut engage in the recesses of the foot valve assembly.
NOTE:
Some shock absorbers include a bump rubber concealed under the dust cover and this must be removed prior to adjusting. Don’t forget to re-install.
2. Keeping the struts absorber (the what?
) compressed make 1 full turn (360°) to the right (clockwise). The total range is about 5 half turns.3. Extend the shock absorber(*) vertically for at least 1 cm without turning in order to disengage the adjusting mechanism. The dust cap or piston rod may now be turned freely.
(*) Interestingly they describe the unit as a "shock absorber". Technically the spring is the shock absorber and the oil filled telescopic thing is the damper. But what do I know
Koni probably got someone from its marketing department to translate (from Dutch) a technical bulletin.themee said:
... Do you recommend "fully hard" then? ....
Don't know about "fully hard" but I set mine to the give the most rebound resistance. On mine the compression resistance seemed to be unaffected by the rebound setting so changing the rebound will not make the ride stiffer. It may just appear stiffer because it's not "bouncing" so much. Hope that makes sense.themee said:
... so maybe I should just leave it alone!...
If it aint broke don't fix it Top Gear TVR said:
Joe - are you happy with this set up? ....
Definately!Top Gear TVR said:
....... as i recall a better ride, a bit more roll but less bouncing :-)
Set the rebound to maximum resistance and there is no roll. You'll also get better ground clearance and you won't wear out the knees of your jeans from constantly having to adjust them.Top Gear TVR said:
....how expensive was the damper refurb?
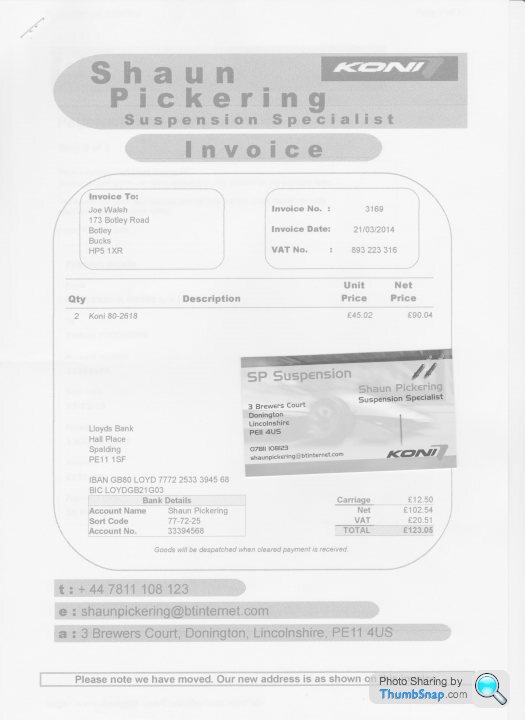
Note this was to two dampers. I had two new OE ones as well.
Thanks are due to Lee Harvey on FaceBook for finding a solution to the long standing Koni damper bush problem.
Apparently the damper bush from a Triumph TR6 will fit. So if you want to refurbish your old OEM units you will need:-
Shock bushes - 8 x Triumph part No. 141481 1/2” ID
So at long last it is now possible to give the OEM units a new lease of life as an economical and practical alternative to after-market units without having to use poly bushes.
And there's more good news! Other Triumph rubber bushes can be used on these 'S' parts:-
Front Wishbone upper - 4 x Triumph 141481 1/2” ID
Front Wishbone lower - 4 x Triumph 548208 1/2” ID
The Triumph bushes from James Paddock Triumph Parts.
The 4 x Rear Trailing arms are sourced from Land Rover (5697f46 - 9/16”) but are too long off the shelf and so need cutting down to length. Make into 2 halves to make easier to push in from each side.
The Land Rover trailing arm bushes are available from John Craddock Ltd Land Rover Spares
Thanks Lee!
Great to meet you at last!  I din't realise you were one in the same.
That's a great build you're completing there. I've been following your regular updates.
It also great that at long last we now have a proper alternative that bloody awful poly. I know some poly is better than others but the good stuff is pricey. Still poly has plenty of fans but for me you can't beat OEM rubber. After all, that was what all the components were designed to work with.
A shame you had those electrical problems but then that sort of thing always happens just when you think you're at the point of turning the key. Good luck for this weekend
I din't realise you were one in the same.That's a great build you're completing there. I've been following your regular updates.
It also great that at long last we now have a proper alternative that bloody awful poly. I know some poly is better than others but the good stuff is pricey. Still poly has plenty of fans but for me you can't beat OEM rubber. After all, that was what all the components were designed to work with.
A shame you had those electrical problems but then that sort of thing always happens just when you think you're at the point of turning the key. Good luck for this weekend
Gassing Station | S Series | Top of Page | What's New | My Stuff