Winter Projects
Discussion


Project 1. Thanks to redV8S for the tip on this
It will re-locate the ignition module to the bulkhead where the expansion used to be. Hopefully this will cure cure one of the possible causes of the intermittent cutting out problem I've been experiencing.

It was £49.00 including delivery but as the kit includes a Lucas OE ignition module it's not bad value. I'm going to move the coil to the same location while I'm at it so I'm going to need an extra long king lead; does anyone know there I can get one?
Project 2. The second, and more likely cause of the cutting out is a knackered speedo transducer. I've had the original one rebuilt by Speedycables (eventually ). This was £117.00, which might seem a lot, but it's considerably cheaper than a new one.

Project 3. Unfortunately the fuel gauge sender is going to have to come out again as it keeps lying to me.I seems to recall someone posting some time ago about a source of replacement floats. Does anyone know where I might get one from?
Thanks
It will re-locate the ignition module to the bulkhead where the expansion used to be. Hopefully this will cure cure one of the possible causes of the intermittent cutting out problem I've been experiencing.
It was £49.00 including delivery but as the kit includes a Lucas OE ignition module it's not bad value. I'm going to move the coil to the same location while I'm at it so I'm going to need an extra long king lead; does anyone know there I can get one?
Project 2. The second, and more likely cause of the cutting out is a knackered speedo transducer. I've had the original one rebuilt by Speedycables (eventually
). This was £117.00, which might seem a lot, but it's considerably cheaper than a new one.Project 3. Unfortunately the fuel gauge sender is going to have to come out again as it keeps lying to me.I seems to recall someone posting some time ago about a source of replacement floats. Does anyone know where I might get one from?
Thanks

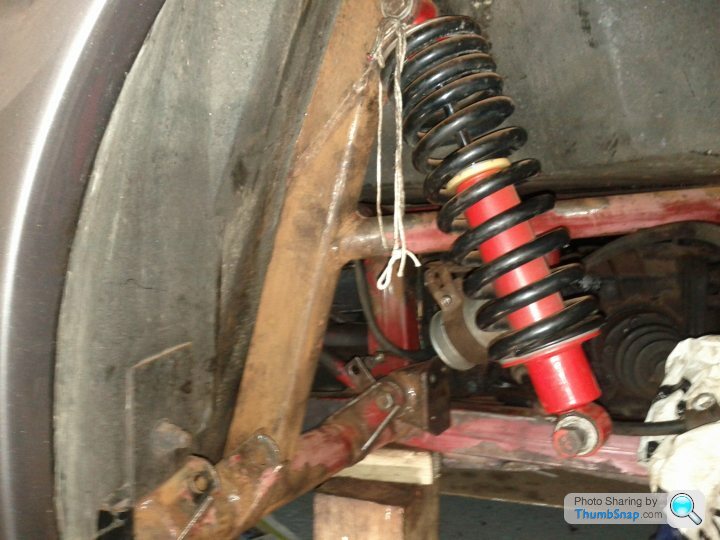
It wasn't on the original list but I can't put it off any longer. I've made a start on cleaning all the muck off the trailing arms.What a filthy job!
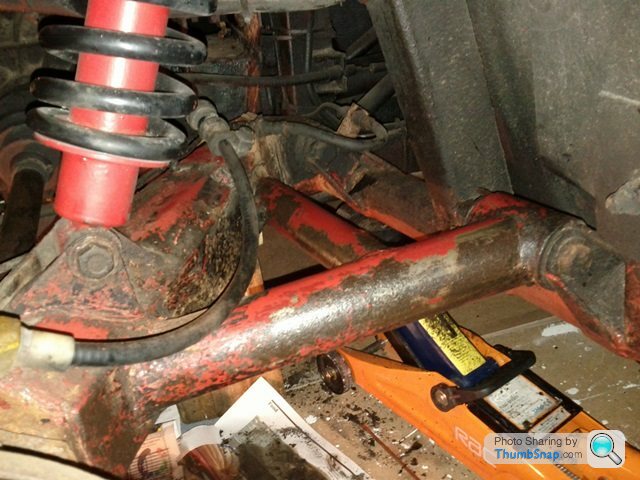
So far so good; just surface rust under the layers of Waxoyl and road dirt. The old powder coat finish is just lifting off so it's just as well there was plenty of the sticky black stuff on top to keep the worst of the wet out. I can't help thinking that painting just has to be a better option for a full chassis refurb.
Lots of tins of red Hammerite on the shopping list now
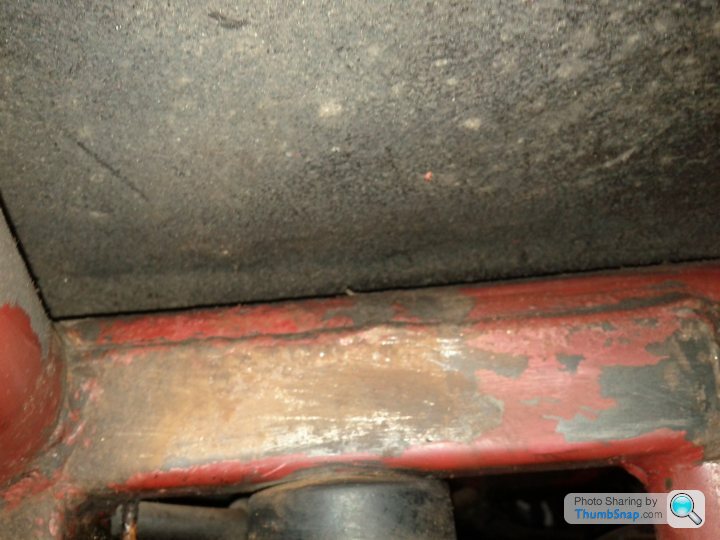
Bit of an improvement
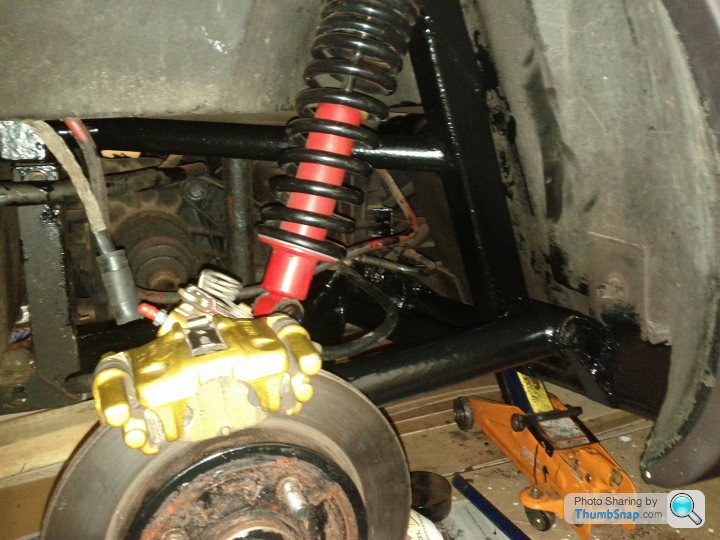
Fingers crossed the other side will be as sound as this was. I have to say, Waxoyl does seem to be very effective. Underneath a thick coat of the stuff the powder coating had cracked and lifted but mostly all there was, was surface rust and minor pitting. It looks like the Waxoyl does what is says on the tin. Filthy stuff to get off and clean up though. Two weeks off now and then onto the other side.
Fingers crossed the other side will be as sound as this was. I have to say, Waxoyl does seem to be very effective. Underneath a thick coat of the stuff the powder coating had cracked and lifted but mostly all there was, was surface rust and minor pitting. It looks like the Waxoyl does what is says on the tin. Filthy stuff to get off and clean up though. Two weeks off now and then onto the other side.
In the past I've used cheap plant sprays because you can only use them a couple of times before they clog up and have to be thrown away. I leave the Waxoyl tin in a bowl of very hot water until it thins enough to spray. I wasn't too worried about the finish as I was putting it on areas which were out of sight and where protection was more important than asthetics. Thick and globby keeps the water out
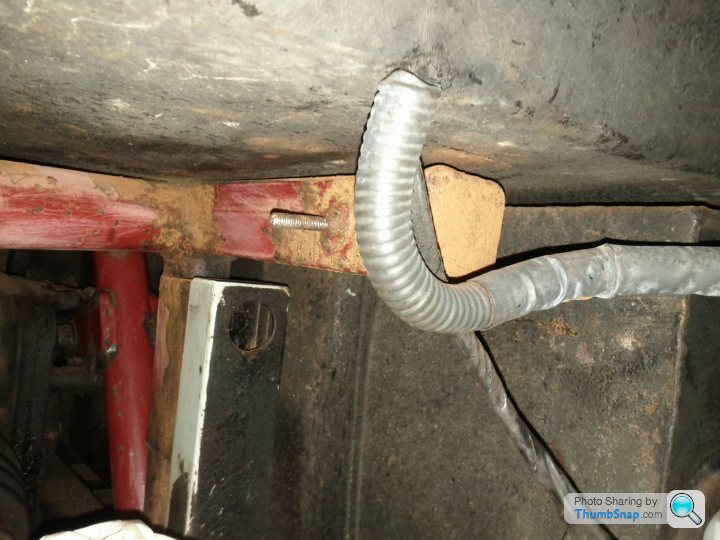
And it was all going so well......
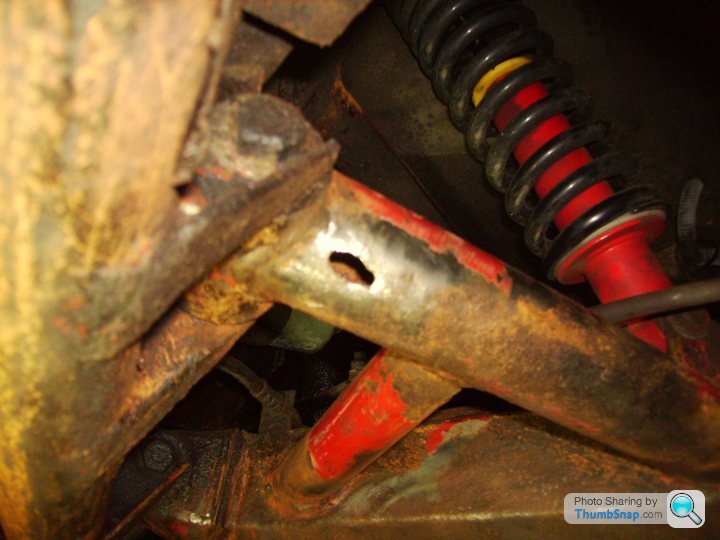
The other one was fine so I had my fingers crossed this one would be solid as well. Bugger!
So...how hard is it to get this off and what is the best sequence to do the job?
Does anyone know the best way to get hold of Adrian Venn?
I suppose I may as well do the rear brake upgrade now seeing as I'm going to have to take the hub off.
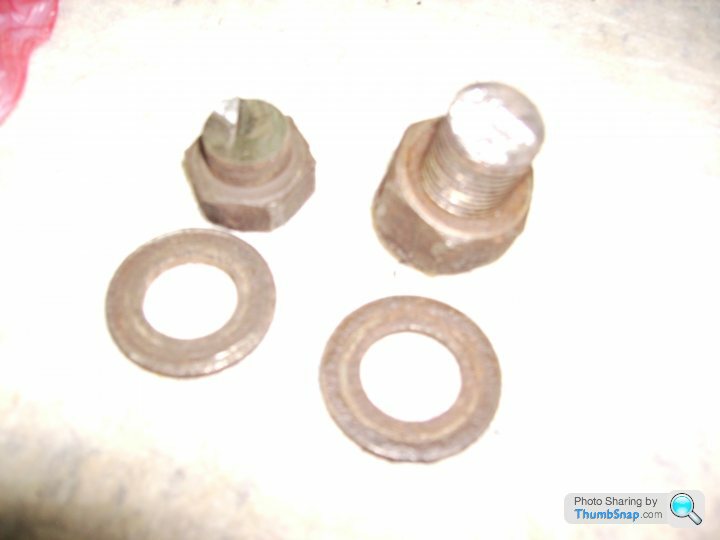
I've got hold of Adrian and got a price for the job. Now to get the bugger off..I got the drive shaft nut off thanks to the loan of an impact thingy and a big socket...
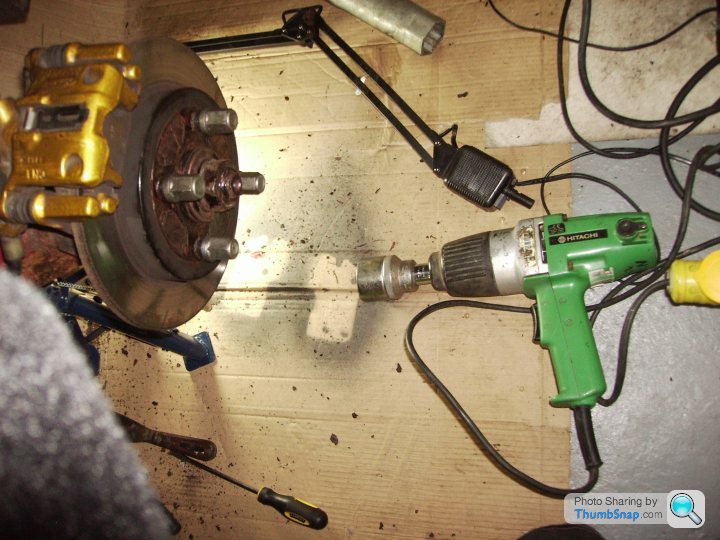
I've loosened the nut on the pivot bolt thanks to brute force...
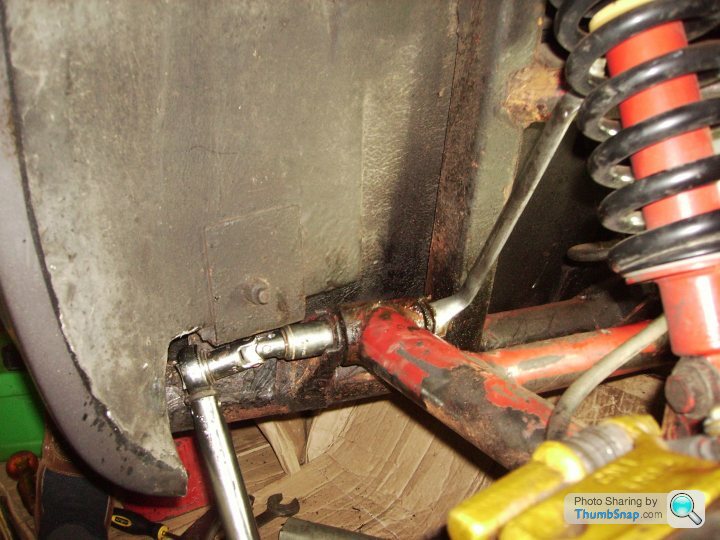
... but although the bolt turns in the bush, I can't budge it to get it out. I've been thumping the end on the nut with the biggest hammer I can get in there but the bolt won't move. Any suggestions?
In case anyone is wondering why I didn't strip off the brake/hub etc first I wanted to make it easily driveable in case I ran into trouble and had to give up and take it in somewhere. Once I've got the pivot bolt to move I'll know I'm on my way to getting it all apart.
I've loosened the nut on the pivot bolt thanks to brute force...
... but although the bolt turns in the bush, I can't budge it to get it out. I've been thumping the end on the nut with the biggest hammer I can get in there but the bolt won't move. Any suggestions?
In case anyone is wondering why I didn't strip off the brake/hub etc first I wanted to make it easily driveable in case I ran into trouble and had to give up and take it in somewhere. Once I've got the pivot bolt to move I'll know I'm on my way to getting it all apart.
Thanks Tim, very helpful, especially the tip about the reassembly sequence.
Although "...and remove the bolts from the two bushes at steps 8 and 9." is the bit which is causing me dome difficulty, the trailing arm pivot bolt/bush, not the suspension one. I thought I might be able to waggle it up and down if I disconnected the damper, but the drive shaft is going to limit how much I can move it.
Although "...and remove the bolts from the two bushes at steps 8 and 9."
is the bit which is causing me dome difficulty, the trailing arm pivot bolt/bush, not the suspension one. I thought I might be able to waggle it up and down if I disconnected the damper, but the drive shaft is going to limit how much I can move it.magpies said:
soak with plusgas or similar, refit the nut 'til just fully on the threads, use an air ratchet and while the bolt is turning hit the end with the nut
Tried that but couldn't get the impact gun into the space to get purchase on the socket. Guess I need some sort of right-angle attachment.phillpot said:
Not really understanding what you'll gain from a few millimetres extra diameter? If the bias valve is doing its job you shouldn't be getting 100% from what you have ?...
The original TVR set-up had a 240mm front disc matched to a 253mm rear disc. I've got 260mm front discs now and find it fairly easy to out brake the front tyres (Dunlop Fast Response - so nothing wrong with those), so I'm trying to restore the 13mm back/front balance by increasing the rear discs to 273mm. Just a theory.
phillpot said:
..It won't...angle grinder with one of those very slim and it'll be out in no time
I was 
I'm struggling to get the flexible brake pipe off the bracket on the trailing arm.
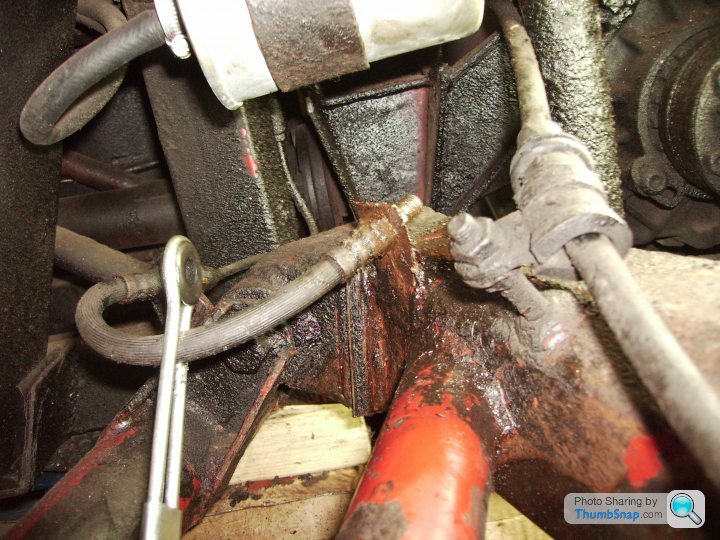
I may have to cut the pipe so do we know if these are available? Can I replace the whole length of pipe from the copper (see bracket on chassis) to the caliper?
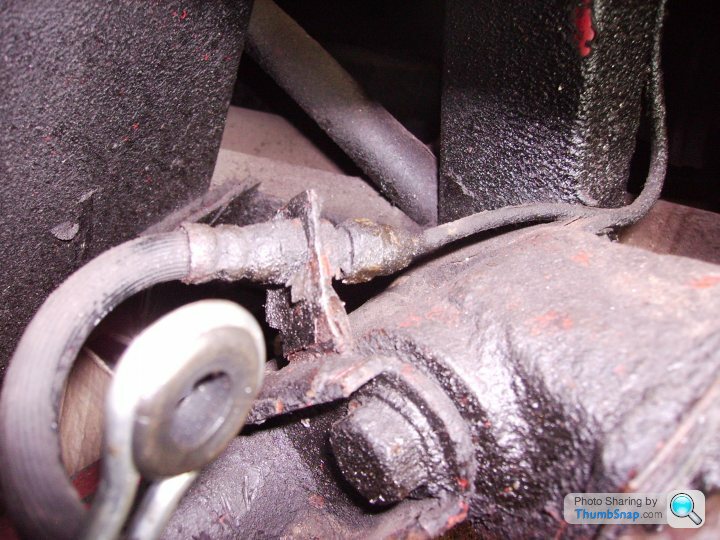
Has anyone done this and do you know what the thread sizes are? If there was somewhere local I could just take the old parts in but I don't this I have any one near by.
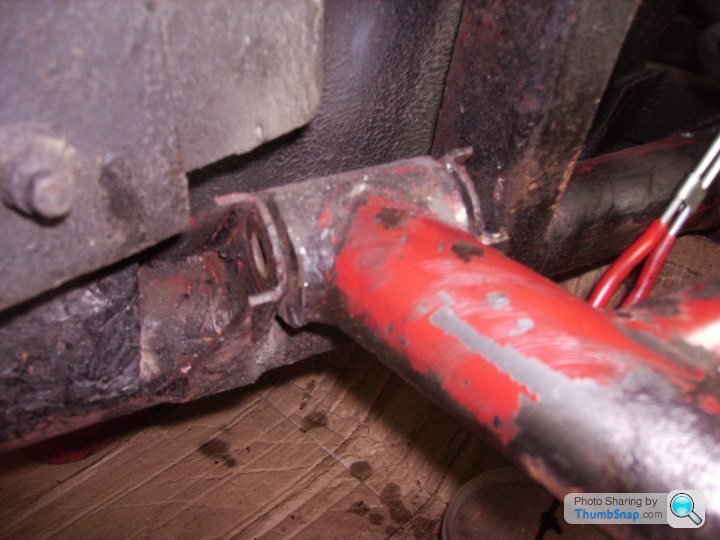
Well...as bas rd jobs go, this is right up there on the top ten basrd jobs list.
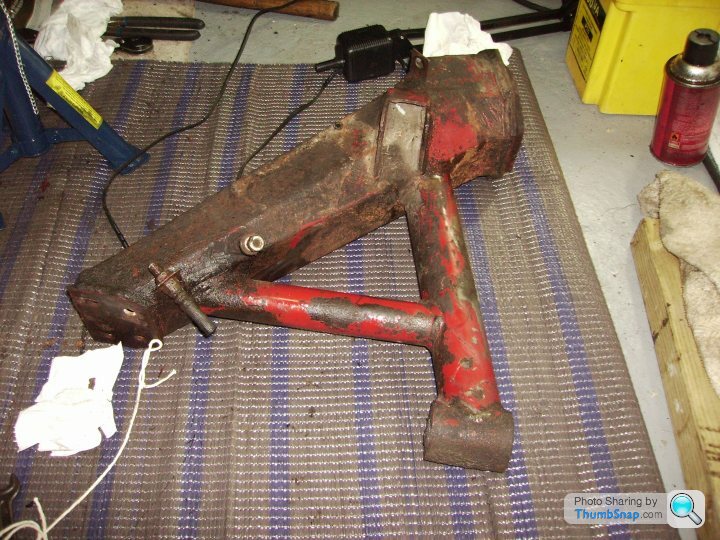
The metal was wafer thin around the hole, now a bigger hole and it look like I caught it just in time. But is is off and will now be sent to Adrian Venn to sort out.
Now to clean up the chassis ready for re-installing. Lets hope there's no more unpleasant surprises.
rd jobs go, this is right up there on the top ten basrd jobs list. The metal was wafer thin around the hole, now a bigger hole
and it look like I caught it just in time. But is is off and will now be sent to Adrian Venn to sort out.Now to clean up the chassis ready for re-installing. Lets hope there's no more unpleasant surprises.
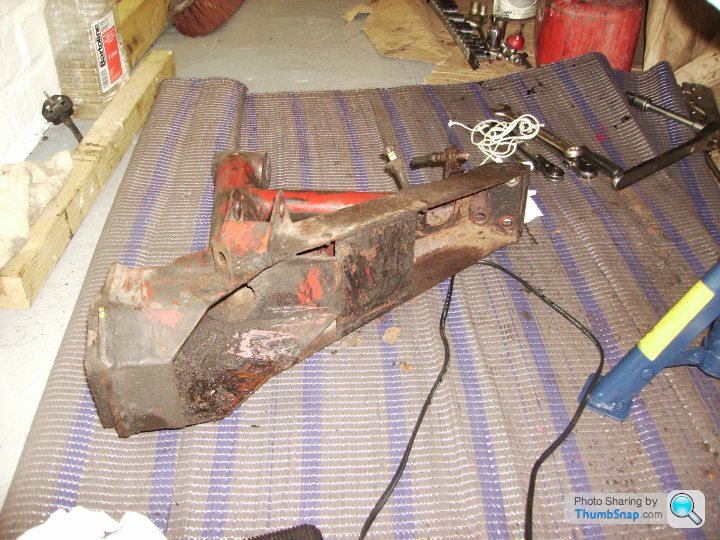
The trailing arm went off to Adrian Venn last week and since then I've spent every evening scraping, rubbing and picking off layers of old Waxoyl and powder coat. Underneath it all though thing seem pretty sound with just a layer of mainly surface rust.

The Kurust is drying now and tomorrow I'll painting it all.
Of course this is only putting off the day when I'll do the inevitable body-off chassis refurb, but it's reassuring to know these vulnerable bits are in good shape for a while yet. Somehow I don't think I'll be using powder coat though. Where it is still attached to the chassis, it is a tough and bright as the day it left factory, but it's all to easy to see how it has just lifted off like bits of old paper where moisture has got in and spread under the surface of the coating. Thank goodness Waxoyl does what is says on the tin, or this would be a dam sight worse than surface rust. It might be horrible to work with but I think it is brilliant at what it does. When I eventually do the chassis I think it will be painted.
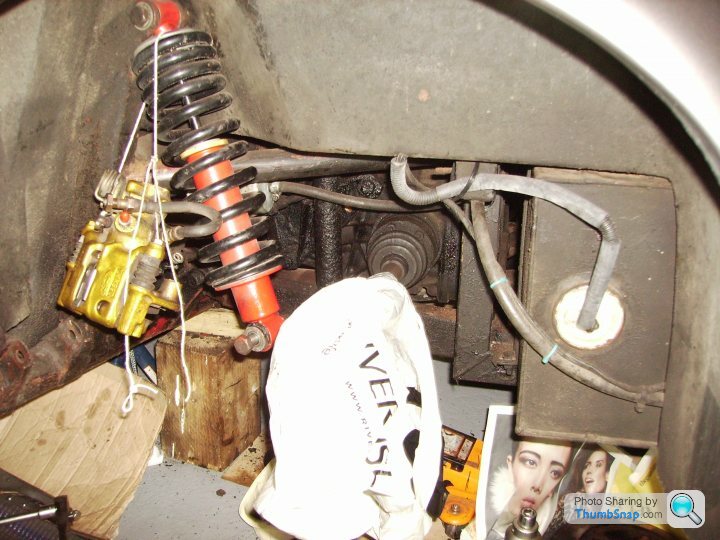
phillpot said:
...For the sake of one bolt why not get the shocker right out of your way?...
You're right, I should do. But that was the nut which took over an hour to get off and then almost as long to put back on due to the gap between the top of the suspension mount and the body being a knats pube smaller than the thickness of the nut.phillpot said:
...Have you tried removing the trailing arm bracket, suspect bolt will be seized but should you be lucky and it comes out would make re-assembly easier....
No way! after the struggle with the outer one I'm leaving well alone. I tried to get a turn on it and it wouldn't budge so if I ripped out the steel bush, like I did with the outer one, I'd have no choice but to cut it out. The access is worse than the outer one, so I didn't fancy trying to get the angle grinder in there. The bush looks fine so if it aint broke, don't fix it Gassing Station | S Series | Top of Page | What's New | My Stuff