Fuel tank repair
Discussion


Some of you may remember a thread I started a while ago entitled " Running like a pig"
http://www.pistonheads.com/gassing/topic.asp?t=578...
Many of you gave some useful comments ~ once again thank you.
To cut a long story short I took out the fuel tank and repaired it using a kit suggested by a couple of posters
POR 15 Fuel tank repair kit ~ from Holdens)
http://tinyurl.com/4r9hlj
In case anyone is interested, or is contemplating doing this themselves, this is what I did
I'm lucky in that I have a pit in my garage so access and comfort is probably better than for those of you without such luxuries (Although I'm not sure comfort is the right word!). I haven't really yielded a spanner for years and so approached the task with some trepidation.
Once the dead hedgehog was removed from the pit (my they stink!) and the exhaust was off I set too taking off all wires, pipes and hoses attached to the tank, taking notes and photos of where they came from.
Removing the tank is straightforward ~ there are a couple of bolts under the carpet in the boot and 4 holding the cradle to the chassis. Once loose the tank slides out.
4 more bolts hold down the straps that secure the tank onto the cradle.
The repair kit has three procedures:
Cleaning ~ add one bottle of "Marine clean" and hot water to the tank having first blanked off the exits. I also added a few nuts and bolts and gave the tank a good shake and rattle around for half an hour or so. Drain then repeat and rinse. The tank should now be clean of any residue, grease, varnish, loose rust etc.
Priming ~ Add the bottle of "Metal ready" ~ this is an acid which stabilises the rust and prepares the metal surface for the final coating. You need to roll the tank around a bit to make sure all surfaces are treated. The instructions say that the tank must be completely dry before moving onto the next stage. I let the tank drain overnight and put it in the greenhouse (!) in the morning when the sun came out. As it is painted black and all bungs were removed there was good flow of hot air moving through it, which dried it nicely.
Sealing ~ give the tin a good stir and pour it in, making sure it coats all sides and drain off the excess. You then need to leave it for 4 days
Once that is done it's just a case of putting everything back together again. I'm glad I took photos ~ you are never quite sure if the grommet went above or below the flange!
In fact I did the job twice as I had managed to get hold of a spare second hand tank. This I treated too ~ one kit with an extra pint of sealant was enough for both of them.
One tip if anyone else is going to do this ~ as you put the tank back in fit the filler hose at the same time. If you leave it to be the last thing you connect, as I did, it's a bugger to get on (at any angle, greased, ungreased or dunked in boiling water for half an hour!)
Whilst I was there I also greased the UJs on the prop shaft,checked fluid levels in diff and gearbox, changed fuel filters (main one and inline one that I had fitted previously) changed oil and filter and scrapped and painted bits of chassis that needed attention.
All in all the tank repair was pretty easy ~ something that could be tackled by anyone who is practically minded. There’s nothing too technical, it's just connecting and unconnecting stuff and swishing liquids around! Don’t forget safety precautions of course ~ petrol, acid etc ~ disconnect battery, wear gloves and goggles. Also wear hat ~ you'll soon get sick of bumping your head on the bolts that hold the exhaust on. Check and double check that there are no leaks of fuel. I found that the high pressure connections to fuel pump and filter needed to be very tight.
I'm very glad that I tackled the job. Not only did it save me a shed load of money but it was good to be able to work on the car successfully. It has given me confidence to tackle other jobs as and when they arise and has given me a better understanding of the car's workings. I intend to keep the car for the long term so I'm going to need to learn some mechanical skills.This was a good place to start.
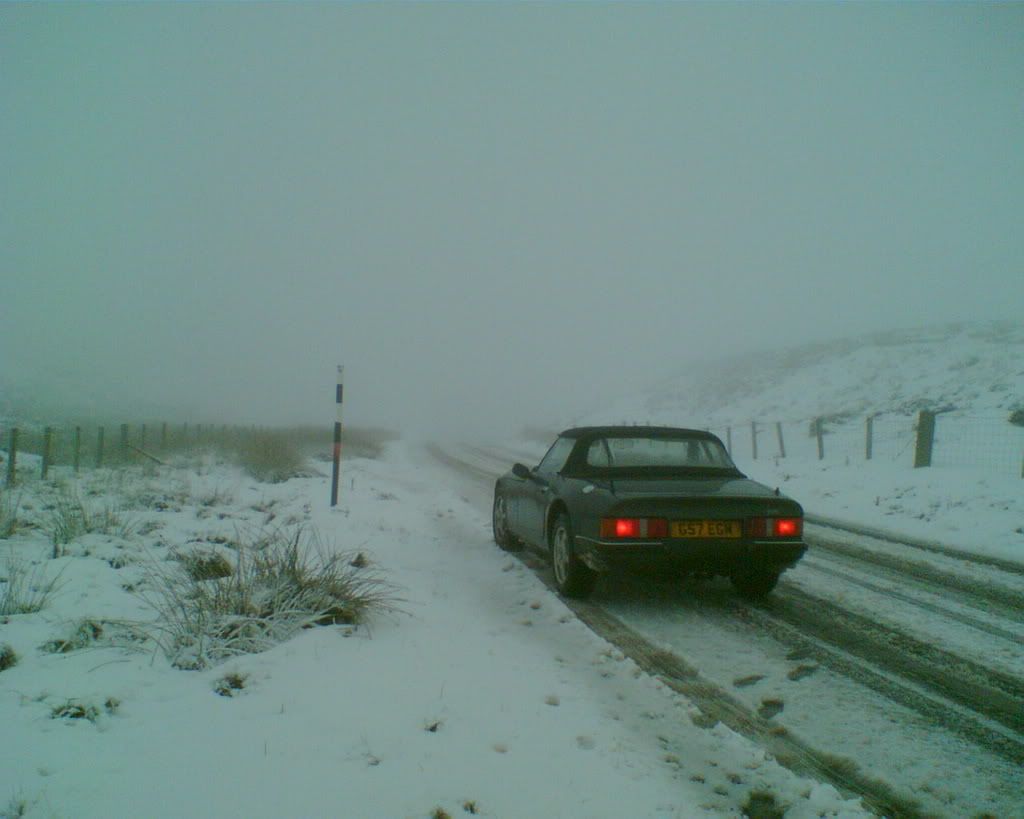
The car seems to work fine now, I've done a couple of hundred miles with no problems. I just need some better weather now, this is last week's test run...........
Cheers
Tim
http://www.pistonheads.com/gassing/topic.asp?t=578...
Many of you gave some useful comments ~ once again thank you.
To cut a long story short I took out the fuel tank and repaired it using a kit suggested by a couple of posters
POR 15 Fuel tank repair kit ~ from Holdens)
http://tinyurl.com/4r9hlj
In case anyone is interested, or is contemplating doing this themselves, this is what I did
I'm lucky in that I have a pit in my garage so access and comfort is probably better than for those of you without such luxuries (Although I'm not sure comfort is the right word!). I haven't really yielded a spanner for years and so approached the task with some trepidation.
Once the dead hedgehog was removed from the pit (my they stink!) and the exhaust was off I set too taking off all wires, pipes and hoses attached to the tank, taking notes and photos of where they came from.
Removing the tank is straightforward ~ there are a couple of bolts under the carpet in the boot and 4 holding the cradle to the chassis. Once loose the tank slides out.
4 more bolts hold down the straps that secure the tank onto the cradle.
The repair kit has three procedures:
Cleaning ~ add one bottle of "Marine clean" and hot water to the tank having first blanked off the exits. I also added a few nuts and bolts and gave the tank a good shake and rattle around for half an hour or so. Drain then repeat and rinse. The tank should now be clean of any residue, grease, varnish, loose rust etc.
Priming ~ Add the bottle of "Metal ready" ~ this is an acid which stabilises the rust and prepares the metal surface for the final coating. You need to roll the tank around a bit to make sure all surfaces are treated. The instructions say that the tank must be completely dry before moving onto the next stage. I let the tank drain overnight and put it in the greenhouse (!) in the morning when the sun came out. As it is painted black and all bungs were removed there was good flow of hot air moving through it, which dried it nicely.
Sealing ~ give the tin a good stir and pour it in, making sure it coats all sides and drain off the excess. You then need to leave it for 4 days
Once that is done it's just a case of putting everything back together again. I'm glad I took photos ~ you are never quite sure if the grommet went above or below the flange!
In fact I did the job twice as I had managed to get hold of a spare second hand tank. This I treated too ~ one kit with an extra pint of sealant was enough for both of them.
One tip if anyone else is going to do this ~ as you put the tank back in fit the filler hose at the same time. If you leave it to be the last thing you connect, as I did, it's a bugger to get on (at any angle, greased, ungreased or dunked in boiling water for half an hour!)
Whilst I was there I also greased the UJs on the prop shaft,checked fluid levels in diff and gearbox, changed fuel filters (main one and inline one that I had fitted previously) changed oil and filter and scrapped and painted bits of chassis that needed attention.
All in all the tank repair was pretty easy ~ something that could be tackled by anyone who is practically minded. There’s nothing too technical, it's just connecting and unconnecting stuff and swishing liquids around! Don’t forget safety precautions of course ~ petrol, acid etc ~ disconnect battery, wear gloves and goggles. Also wear hat ~ you'll soon get sick of bumping your head on the bolts that hold the exhaust on. Check and double check that there are no leaks of fuel. I found that the high pressure connections to fuel pump and filter needed to be very tight.
I'm very glad that I tackled the job. Not only did it save me a shed load of money but it was good to be able to work on the car successfully. It has given me confidence to tackle other jobs as and when they arise and has given me a better understanding of the car's workings. I intend to keep the car for the long term so I'm going to need to learn some mechanical skills.This was a good place to start.
The car seems to work fine now, I've done a couple of hundred miles with no problems. I just need some better weather now, this is last week's test run...........
Cheers
Tim
I'm happy to let you know prices assuming the relevant people don't object ( Don't see why they should)
These were the prices that I was quoted in early September.
TVR Carparts : £395 +vat + carriage
David Gerald : £539 + Vat + carriage
I didn't get a reply from Steve Reid
I emailed Eric Neave at DCdevs and he was going to look into it after his holiday. I later told him not to bother as I had already sorted mine. EricNeave@dcdevs.co.uk
Douglas Valley had an untreated second hand tank at £205 plus carriage
The tank repair kit from Holden's costs just over £55 inc vat and delivery.
I have a spare second hand tank that I refurbished internally with a POR-15 tank repair kit
It is up for sale if anyone is interested. (First refusal to SparkyPete)
Cheers
Tim
Gassing Station | S Series | Top of Page | What's New | My Stuff