Vehicle detailing - 56kers go make a cup of tea!
Discussion


A bit of a free plug and demonstration of my work but here's a few pics of some cars that I have detailed.
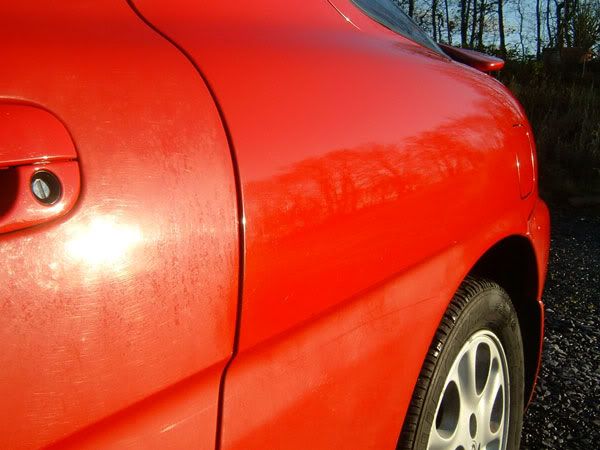
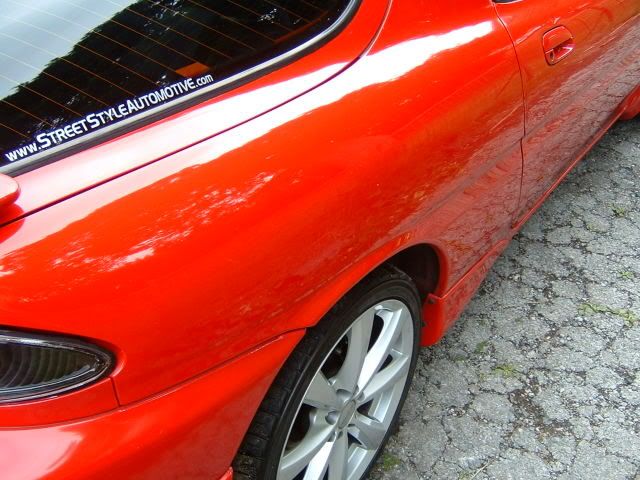
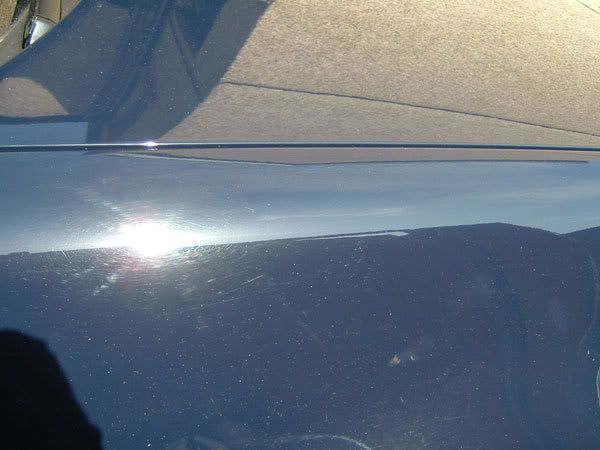
A rather flat painted Mazda Mx3:
You can see the difference with the rear quarter in this pic

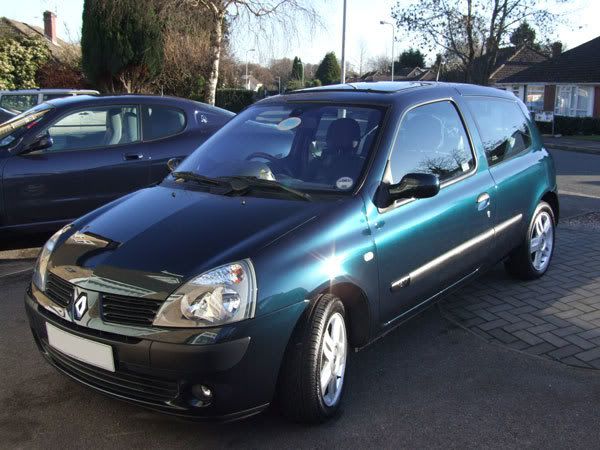
A Golf thats spent a fair share of its time in the carwash
Before:
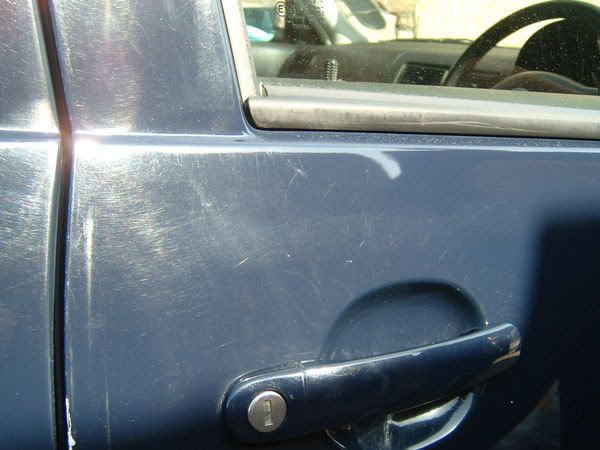
After:
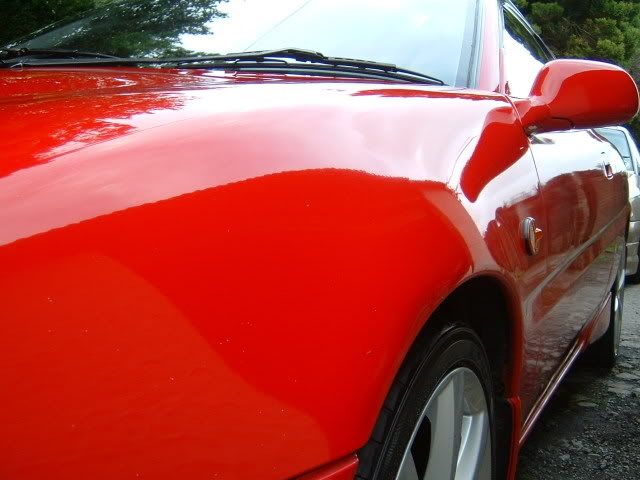
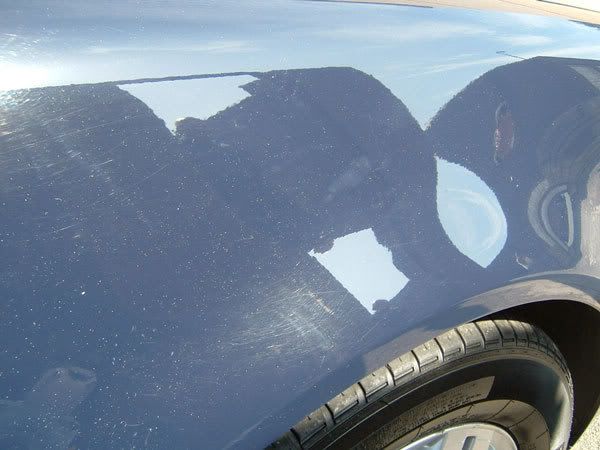
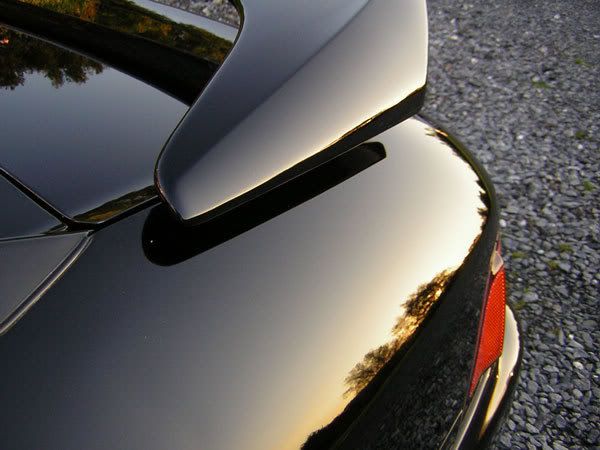
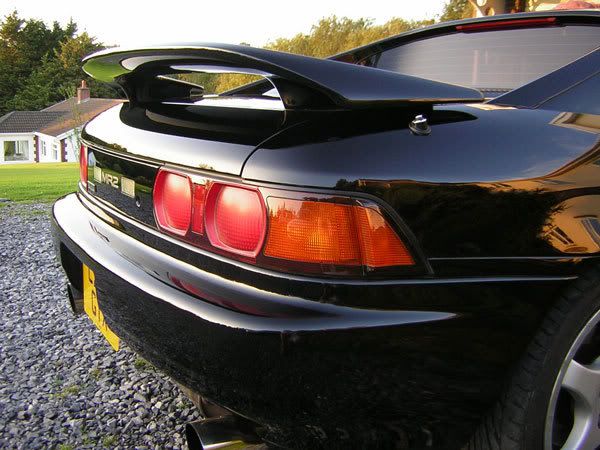
An MR2 with bad swirl marks
Before:
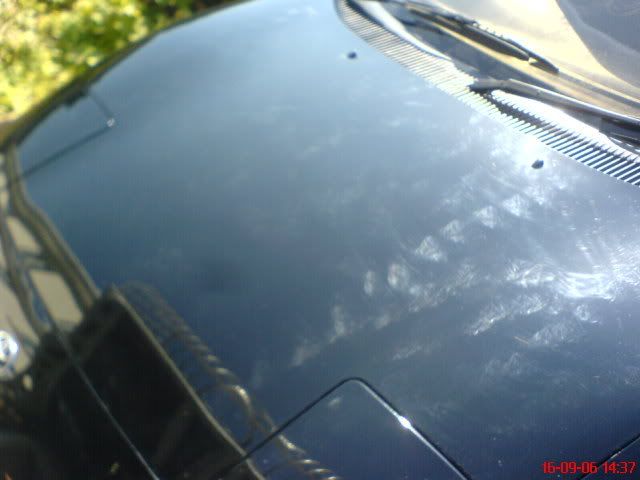
After:
A rather flat painted Mazda Mx3:
You can see the difference with the rear quarter in this pic
A Golf thats spent a fair share of its time in the carwash
Before:
After:
An MR2 with bad swirl marks
Before:
After:
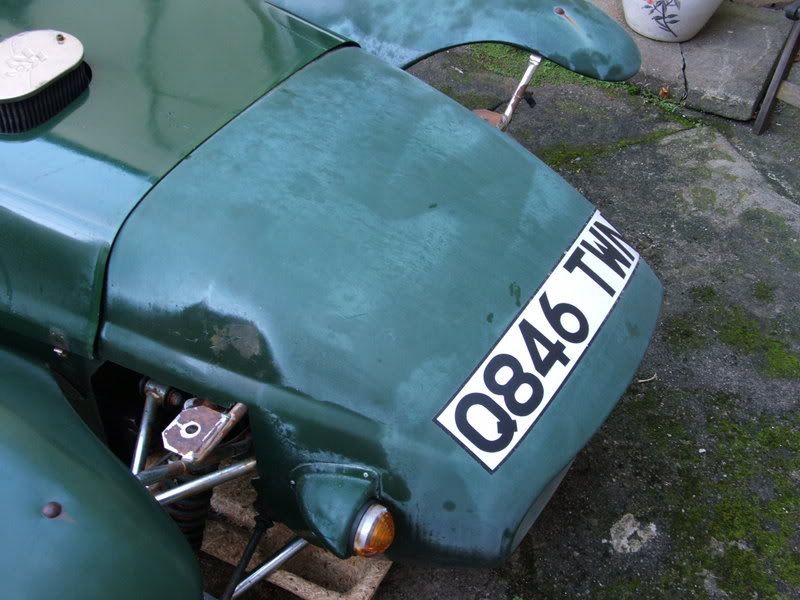
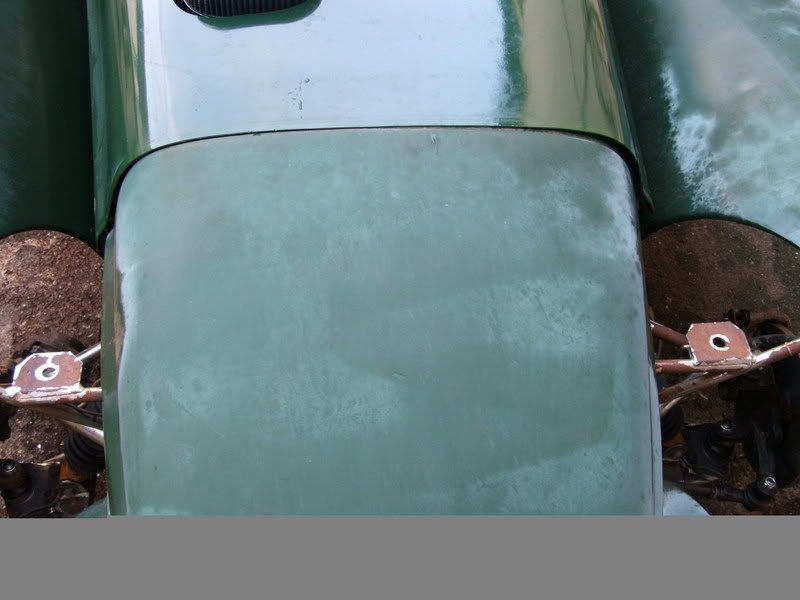
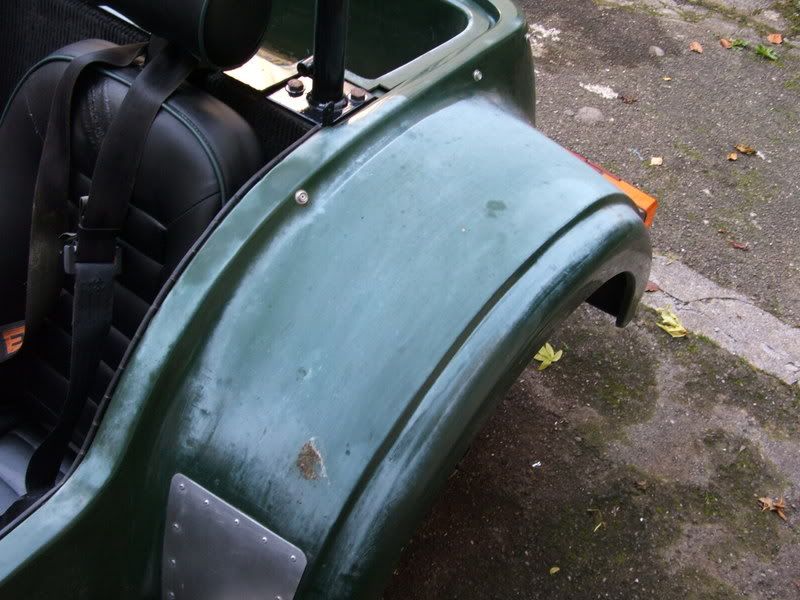
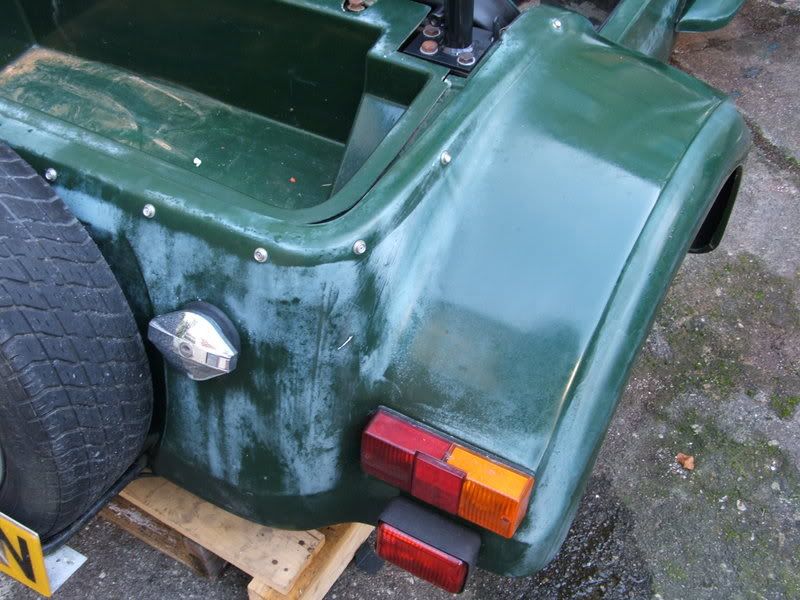
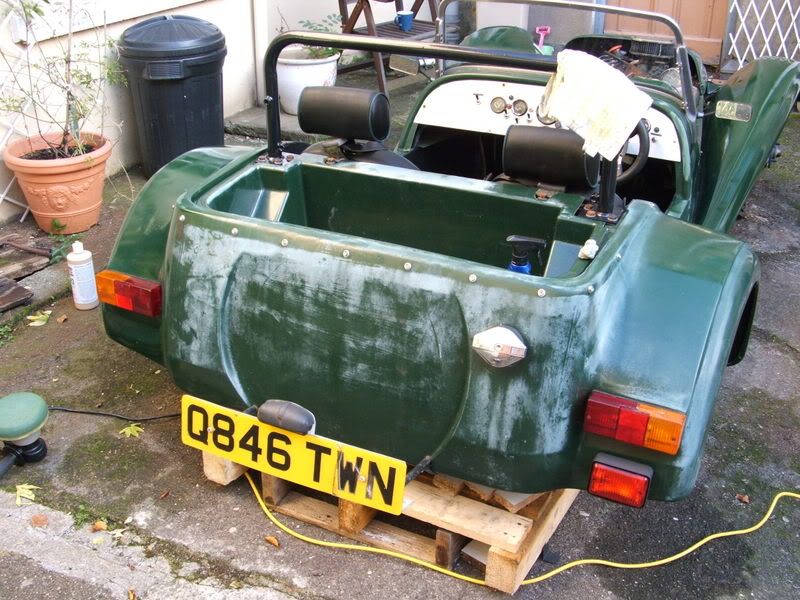
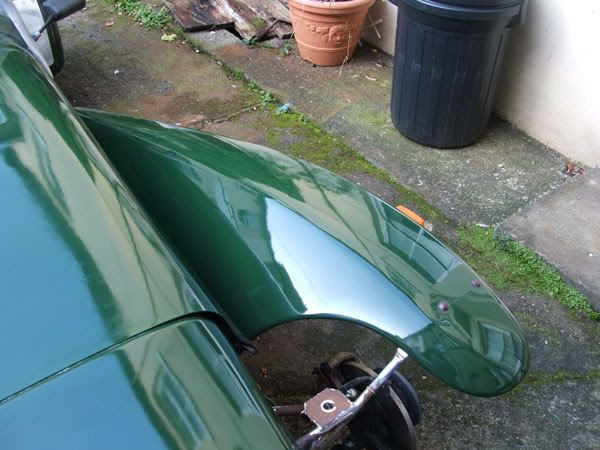
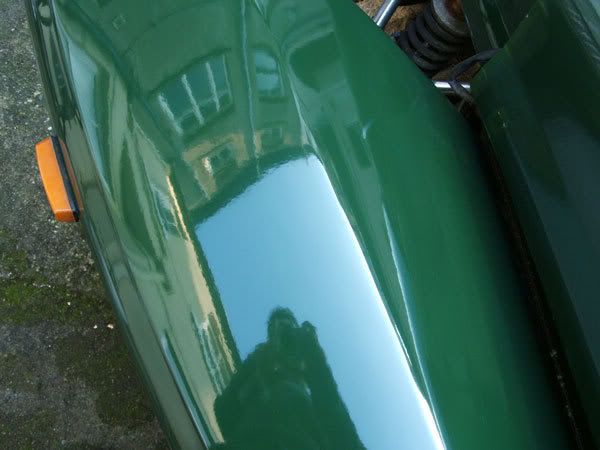
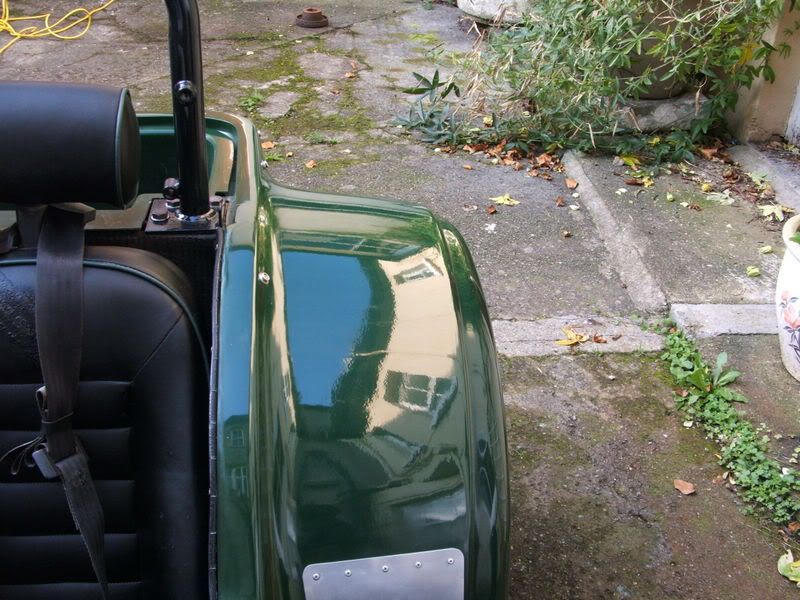
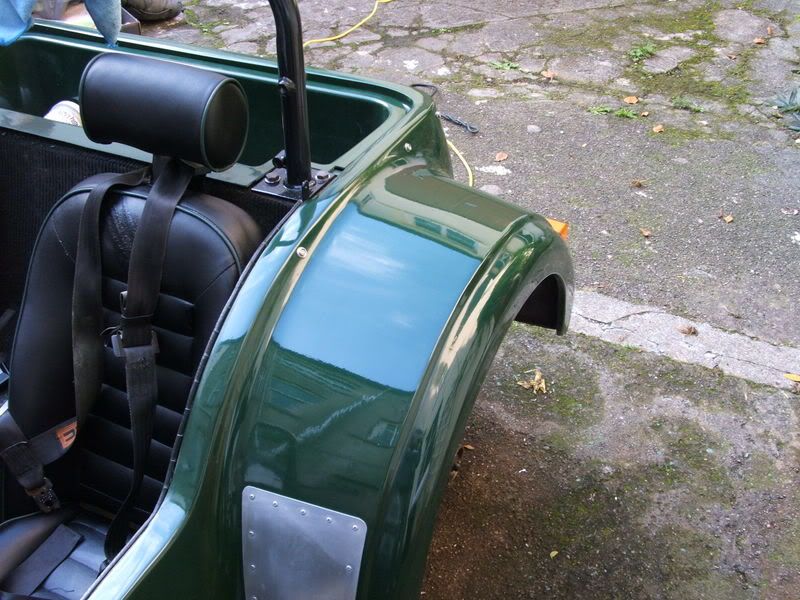
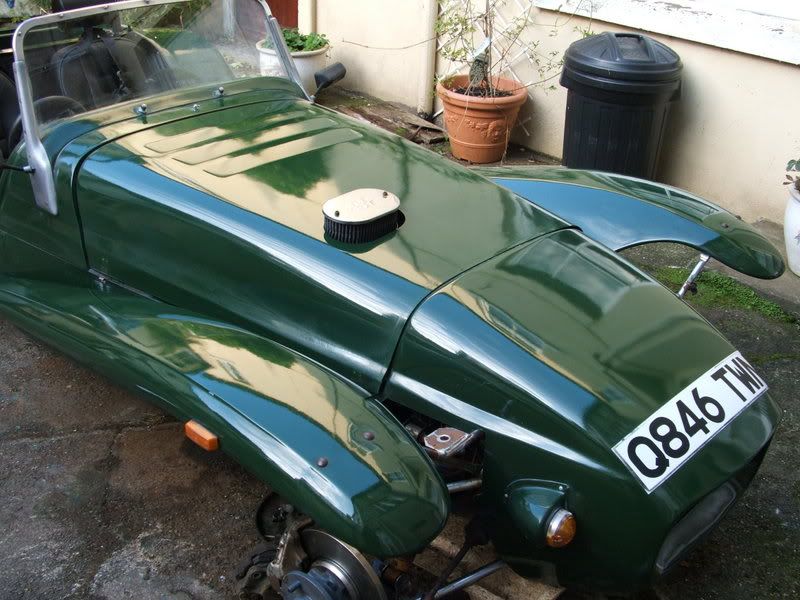
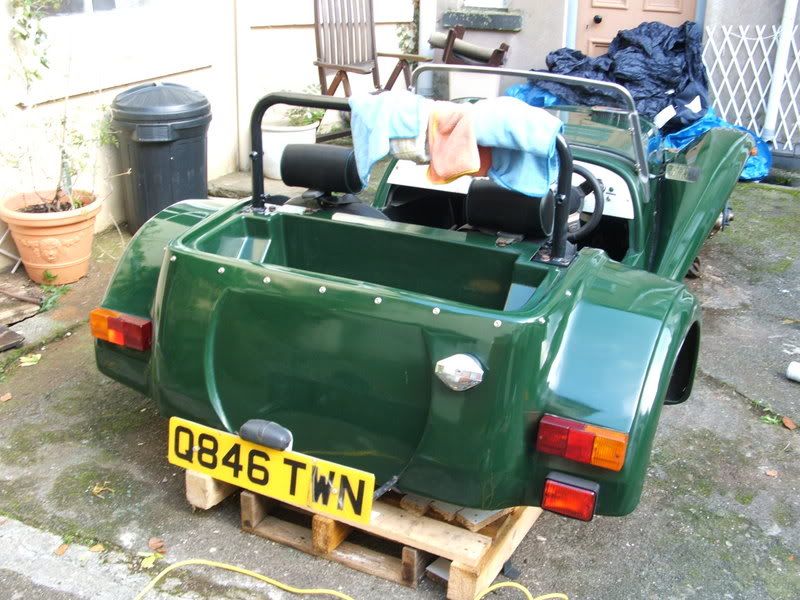
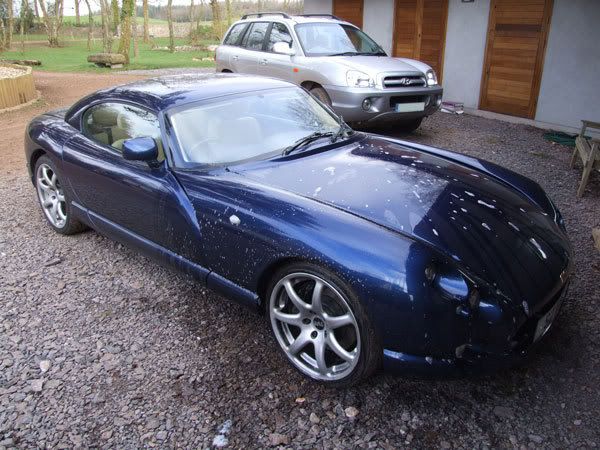
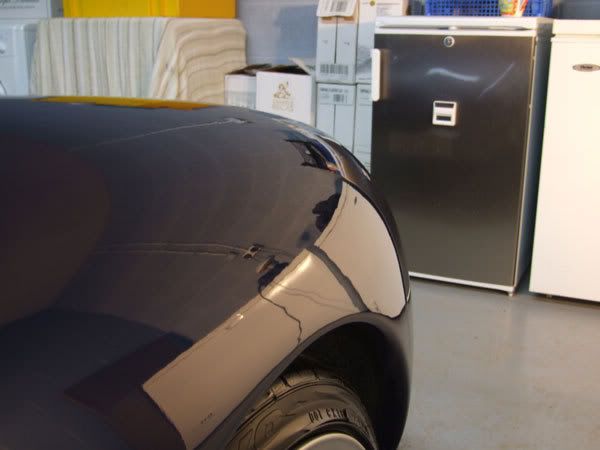
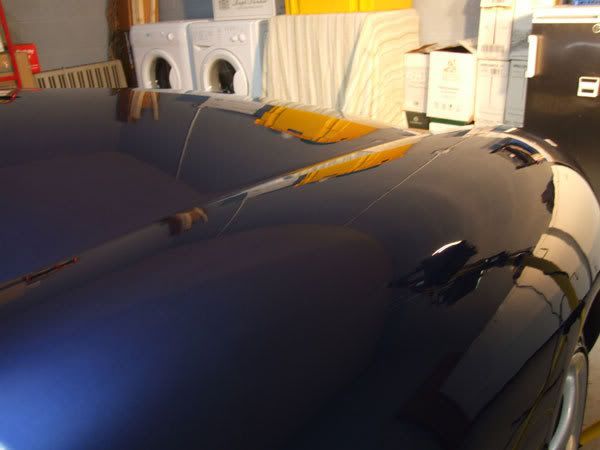
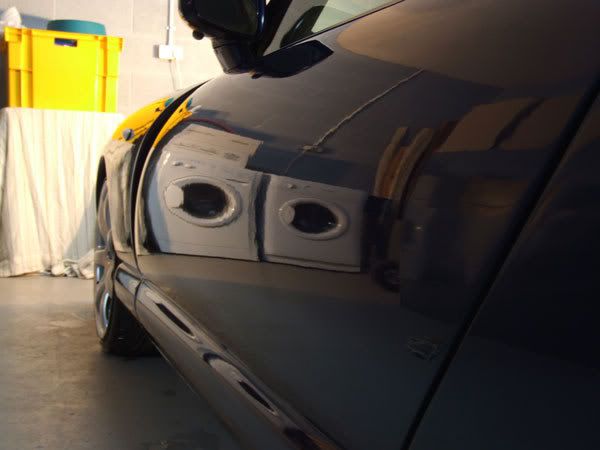
This Westfield is nearly as old as me, and has been standing for pretty much the last five years i think. The owner is currently in the process of getting it back on the road and wanted it looking good ready for the mot soon.
13 hours and a rather cold me and the car was done. Im not 100% happy with it, but nevertheless a slight improvement.
The photo i was given when Jason asked me to detail it.
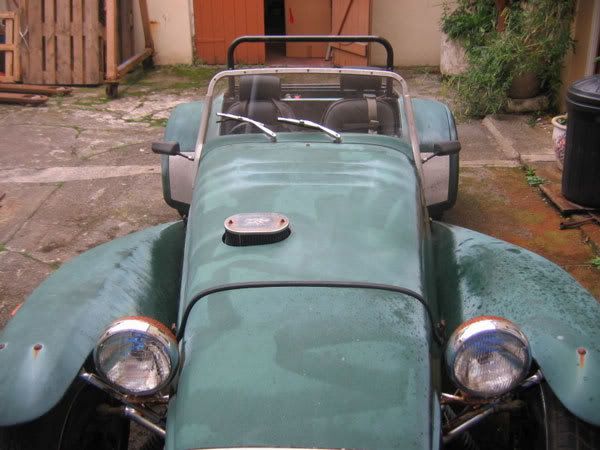
The before pics:
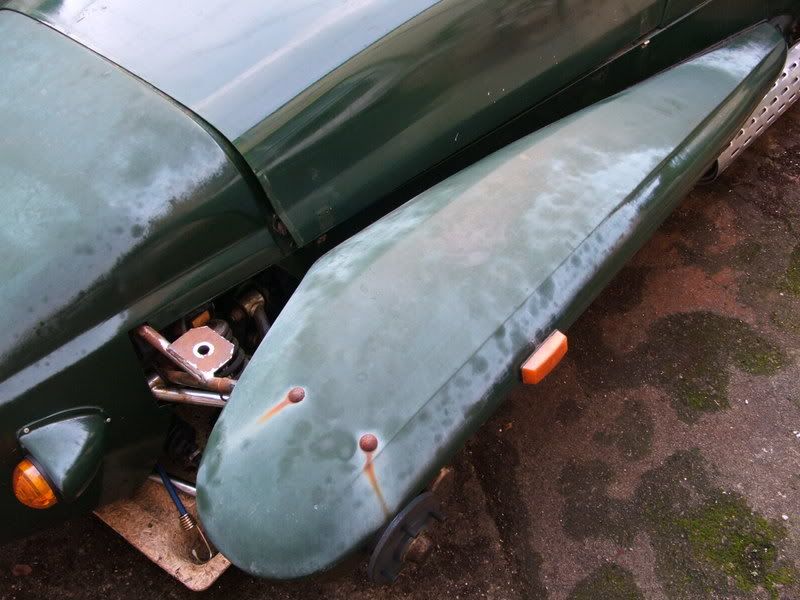
And After:
13 hours and a rather cold me and the car was done. Im not 100% happy with it, but nevertheless a slight improvement.
The photo i was given when Jason asked me to detail it.
The before pics:
And After:
LMAO at the WOWO method.
Naturally I wouldn't dream of using the forum to advertise, it's merely a demostration of what can be done to poorly looked after paint. Unfortunately though freebies are a no no. lol.
The process for each car varies depending on the quality of the paint, but basically involves:
Wash
Full Clay
Poorboys SSR3 or 2.5 (depeding on the quality of the paint)
Poorboys SSR1
3 x coats of Poorboys Polish
Poorboys Ex-P Sealant
And a couple of coats of Poorboys wax.
The SSRs and Polish are applied using a Portercable Polisher and buffed off with some nice soft microfibre cloths.
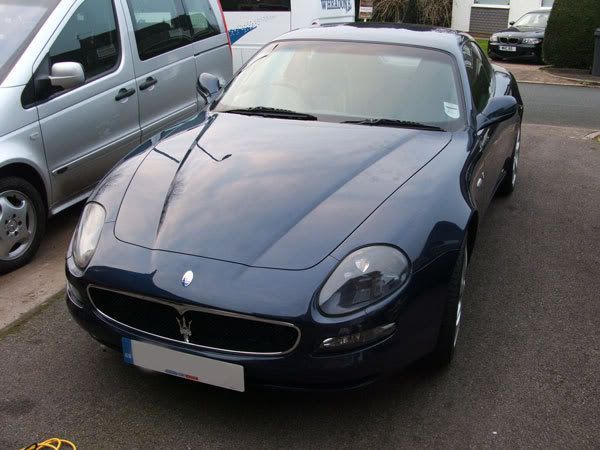
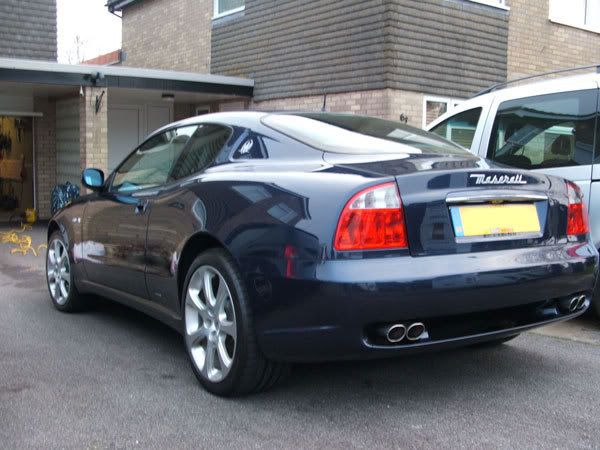
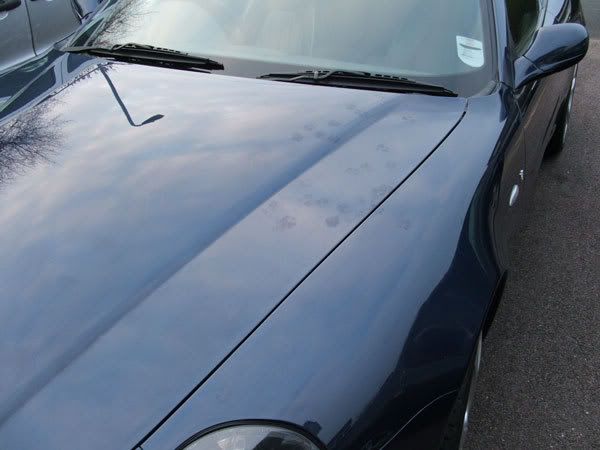
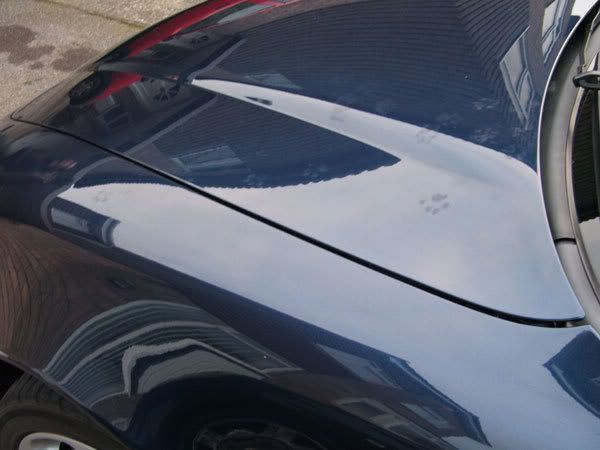
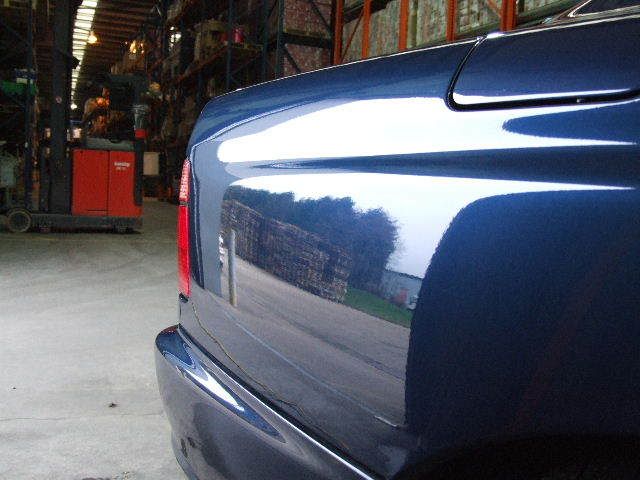
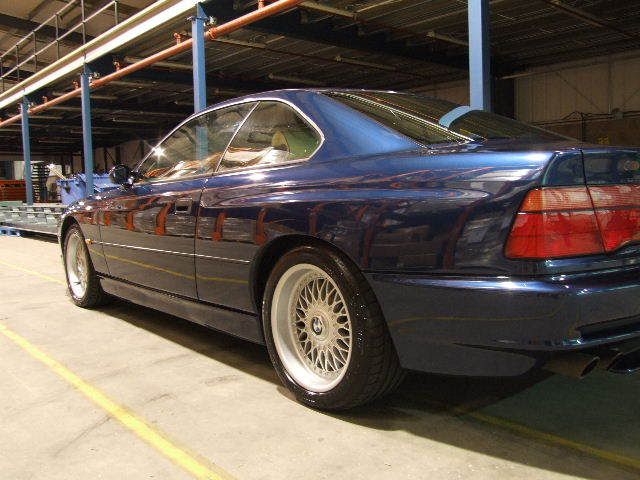
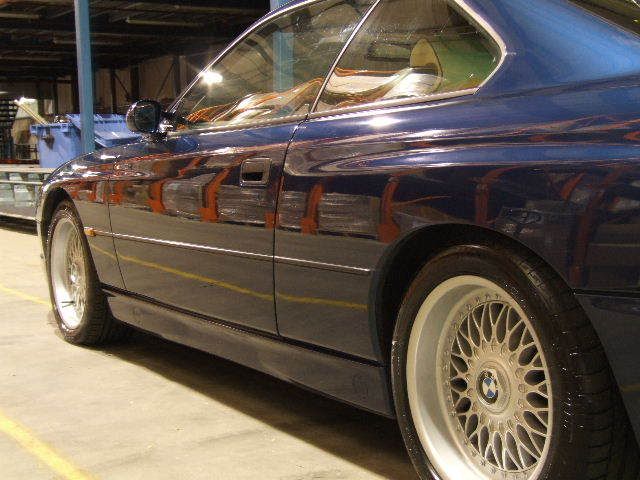
Here's a few pics of Martins aka "maser-artists" 4200. I've got to say that the car was quite possibly the best kept car i've done to date (despite the paw prints  ).
).
The state of the clay just goes to show though, how much dirt vehicle paint can hide (that was after doing just one half of the roof). The car didn't look like it had a spec of dirt on it, it's only 2 yrs onld and only done 26k. For those that aren't familiar, the clay lifts small dirt particles that are embedded in the paint. Couple the clay with a few other products and techniques and you can end up with a paint finish as smooth as glass.
The pics aren't great, but give you an idea.
Before:
The Clay:
After:
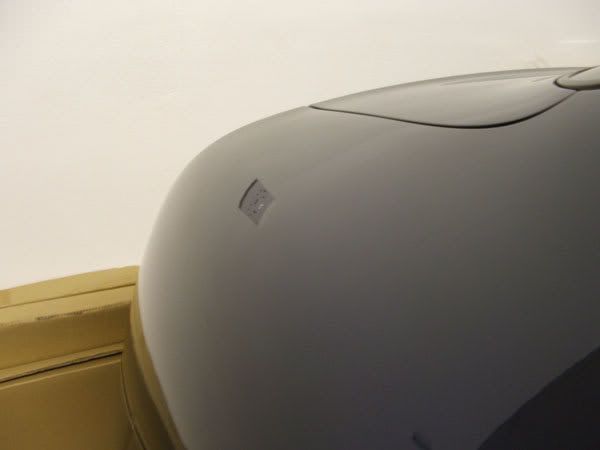
). The state of the clay just goes to show though, how much dirt vehicle paint can hide (that was after doing just one half of the roof). The car didn't look like it had a spec of dirt on it, it's only 2 yrs onld and only done 26k. For those that aren't familiar, the clay lifts small dirt particles that are embedded in the paint. Couple the clay with a few other products and techniques and you can end up with a paint finish as smooth as glass.
The pics aren't great, but give you an idea.
Before:
The Clay:
After:
David - It'd be a pleasure. 
Here's another car showing what can be done to swirled paint. I wasn't 100% happy with this one, but the finish is 10x better than before.
The process:
Washed with Meguires and warm water.
Chamoised dry
Clayed all round using DP Clay bay and a watered down mix of Optimum Quick Spray
PC'd with a mix of Poor boys SSR3 & SSR2.5
PC'd with Poorboys SSR1
PC'd with a couple of coats of Poorboys Polish (Blue)
Poorboys Ex-P Sealant
Poorboys Nattys Paste Wax
Before:
Here you can see the swirls in the paint:
Here you can see the swirled paint on the left hand part of the wing and the finished look on the right, having masked the section off:
And the After's:
Gavstar - Generally, i'd recommend the full works no more than twice a year. If the car is only a weekend car then it'll obviously need alot less work to keep it looking good. A decent polish and wax every couple of months would be more than enough to keep on top of it.
Here's another recent detail for your viewing pleasure.
This was one of my more favourable details, although the wheels were a bit of a mare.
Firstly rinsed the car down with the hose,
Wonder wheels brushed onto the wheels and left for a minute or so before being rinsed
Then washed with Megs NXT
Clayed with DP clay
2 passes with Poorboys SSR2.5
1 pass with Poorboys SSR1
2 coats of Poorboys Polish (Blue)
1 Coat of Poorboys EX-P sealant
1 Coat of Poorboys Nattys Paste Wax
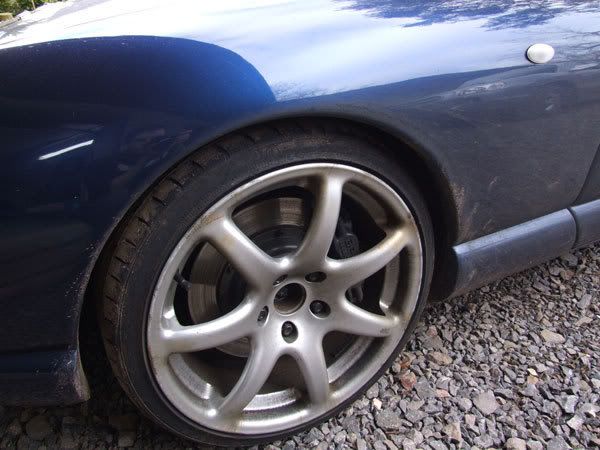
Wheels waxed
Blackfire tyre blackener applied to tyres
Before:
Wheels:
After:
There's a few more pics to come, but i've forgotten to blank the plates out. Will update shortly.
Here's another recent detail for your viewing pleasure.
This was one of my more favourable details, although the wheels were a bit of a mare.
Firstly rinsed the car down with the hose,
Wonder wheels brushed onto the wheels and left for a minute or so before being rinsed
Then washed with Megs NXT
Clayed with DP clay
2 passes with Poorboys SSR2.5
1 pass with Poorboys SSR1
2 coats of Poorboys Polish (Blue)
1 Coat of Poorboys EX-P sealant
1 Coat of Poorboys Nattys Paste Wax
Wheels waxed
Blackfire tyre blackener applied to tyres
Before:
Wheels:
After:
There's a few more pics to come, but i've forgotten to blank the plates out. Will update shortly.
maser-artist said:
Vesuvius 996 said:
Could you please quote me for a 911 Carrera - basically very clean but paint is seven years old and has swirl marks. Has been washed weekly and waxed every three months with Auto Glym so it looks great from five feet, but needs a Spring clean!!
Thanks.
Thanks.
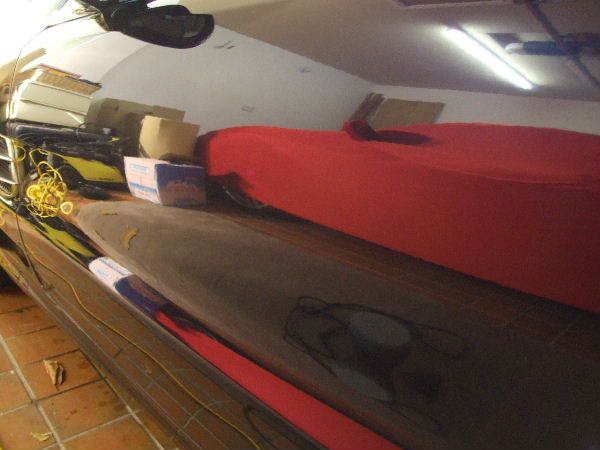
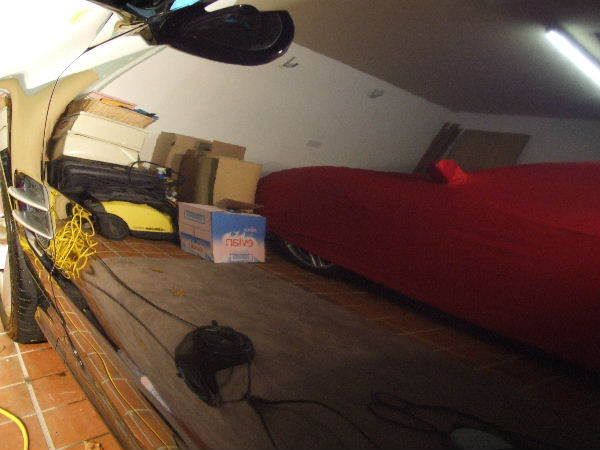
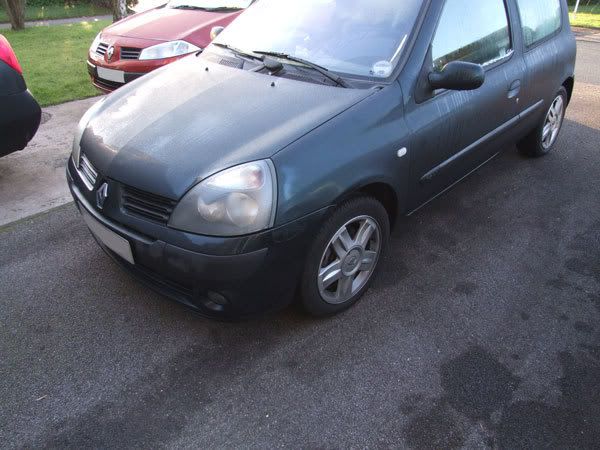
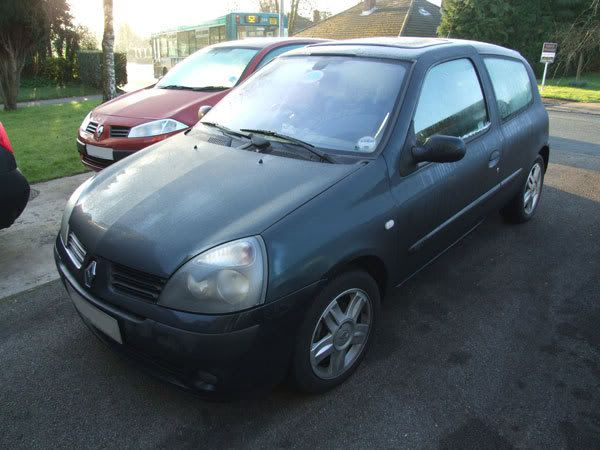
Before he does yours, I am still waiting a call-back for the Renault Clio !! Incidentally, the Fezza under the covers in the pics' has a dud battery and is awaiting a "jump start"...any offers ? (tee hee)
Ooh me me!!
My bad on the lack of calling! The Clio will be next though.
for those wanting quotes or just some help and advice, please drop me a pm at huwpugh@hotmail.co.uk
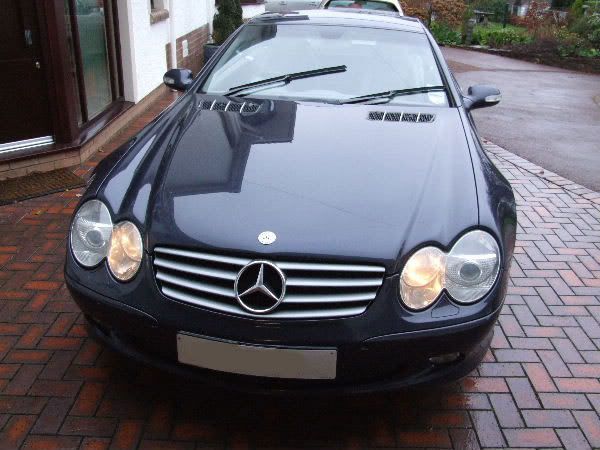
This one has to be one of my more favourite details. The car belongs(ed) to Maser-Artist's son and I had intended to not do as much as when I did his Maser. Once I got started though, I eneded up getting a little carried away.
This was the car that greeted me on my arrival. After a spate of bad weather and plenty of salt being laid on the roads the car was a little dirty.
First up I rinsed the car down with the hose then gave it a good wash with Meguires Nxt Wash Shampoo. This was then followed up with a full clay with Sonus Ultra Fine Green clay and Optimum spray wax. The car was then rinsed down again and dried using Sonus Der Wunder drying towels.
The swirls in the paint are now clear to see.
I then set to work masking up all the plastic/rubber parts of the car ready to get to work. First up a pass with Poorboys SSR2.5 on Sonus SFX 1 pad. Once buffed off it was followed with a pass with SSR1 on an SFX 2 pad. Once that was done some Poorboys Polish was applied with a SFX 3 Pad.
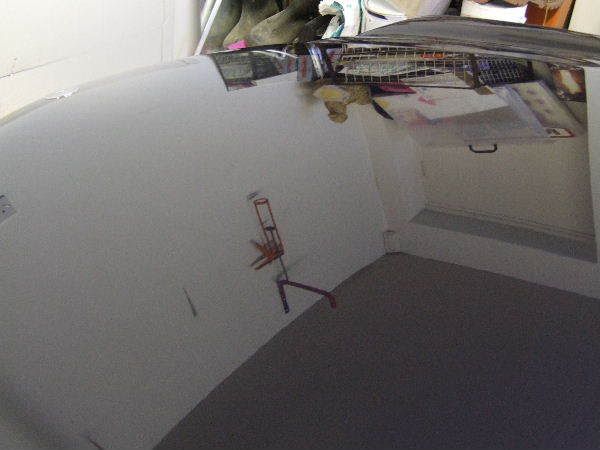
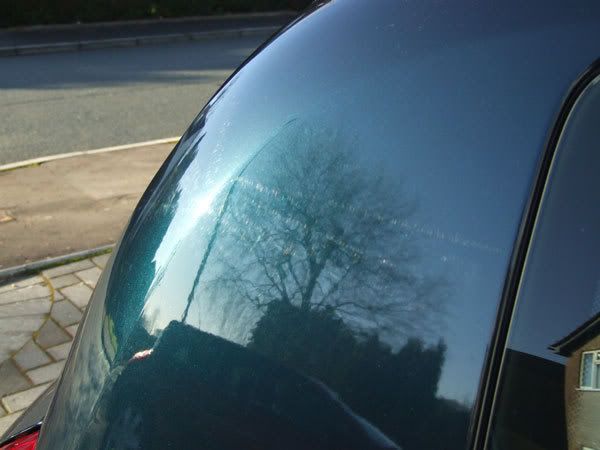
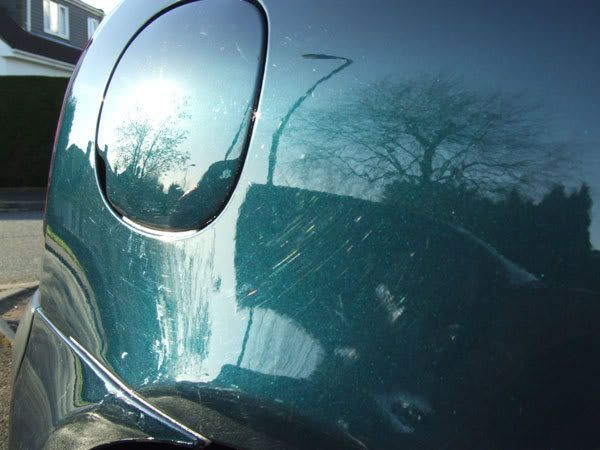
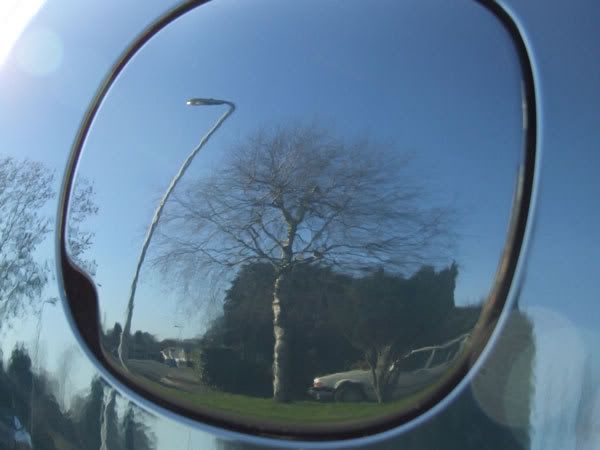
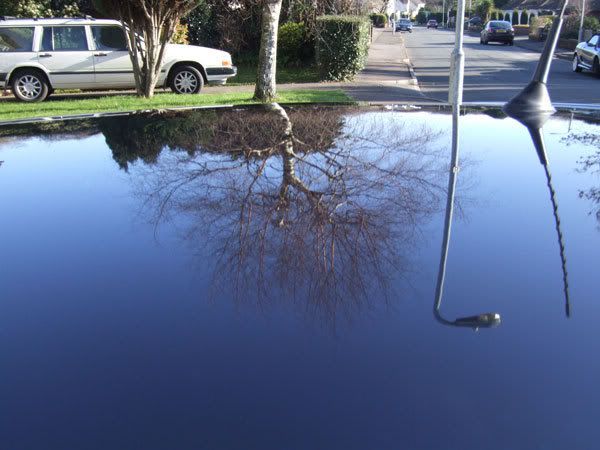
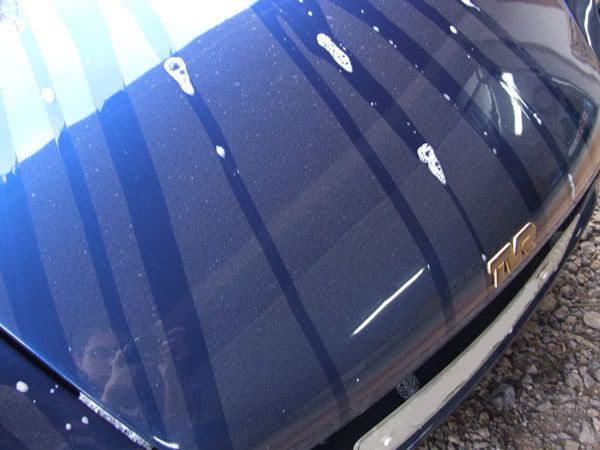
Heres a quick tree shot in the fuel cap before any finishing products were used.
The paint was then sealed with Poorboys Ex-P Sealant followed with Nattys Paste Wax Blue.
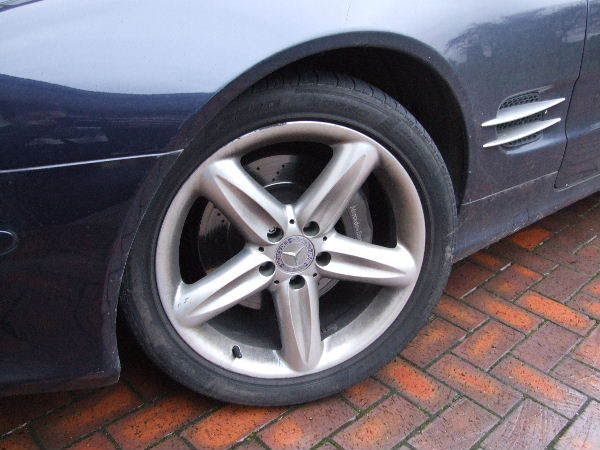
Once all buffed down, the masking tape was removed and all the plastics were treated with Auto Glym (I've forgotten the name). The wheels were treated to Blackfire Tyre Gel and all the windows wiped and polished.
The results?
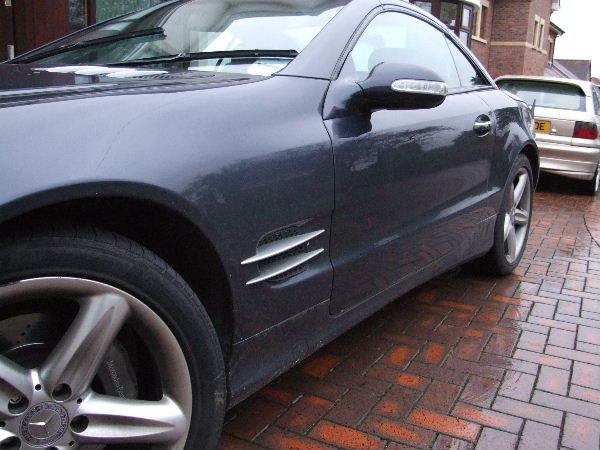
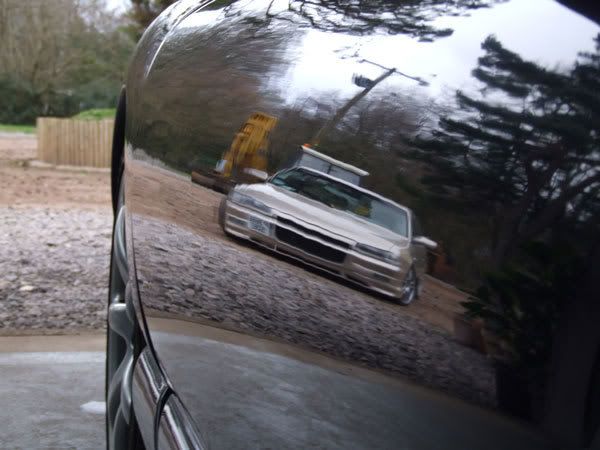
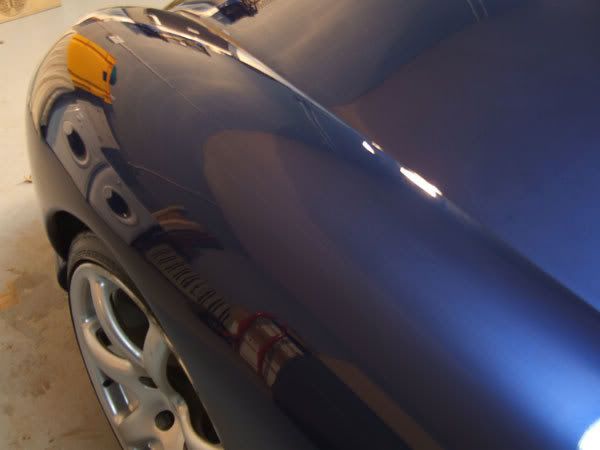
A handsome chap in the rear quarter.
.... and on the bonnet... I say!
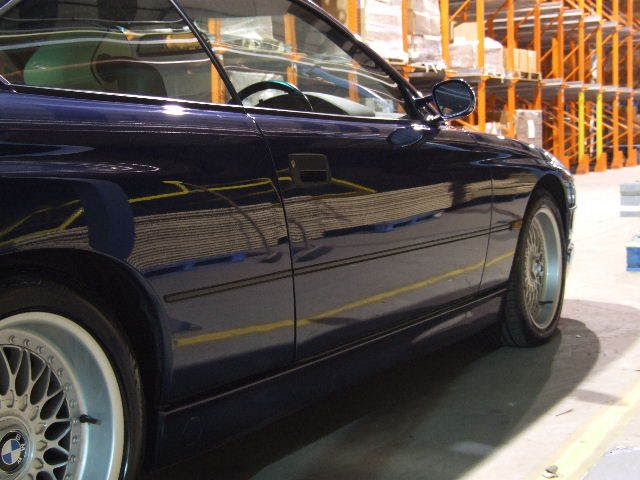
Free plug.
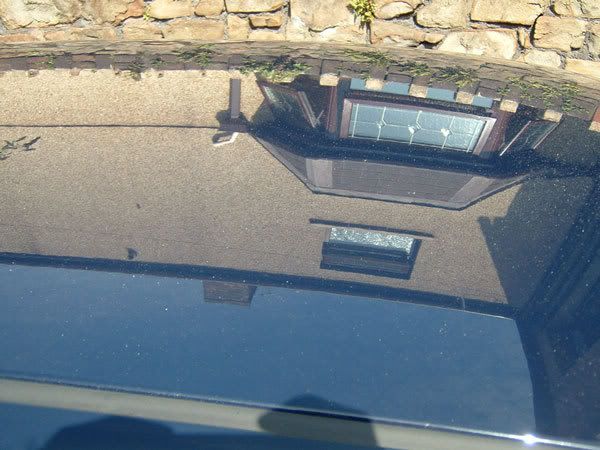
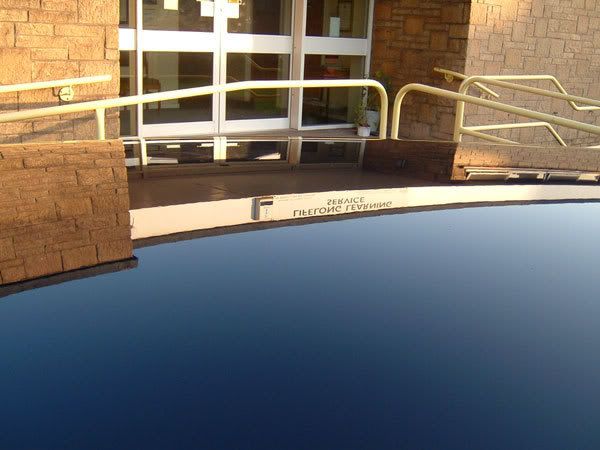
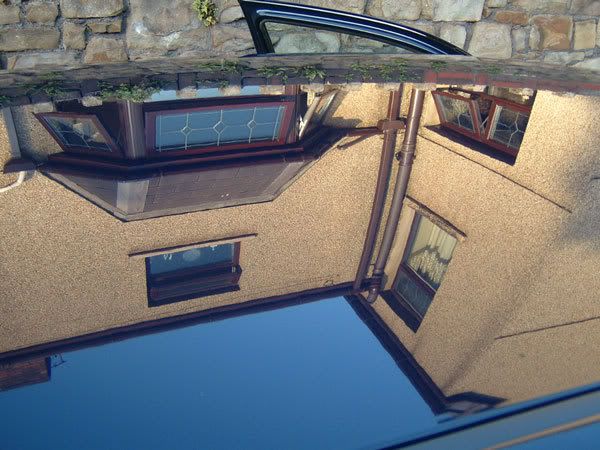
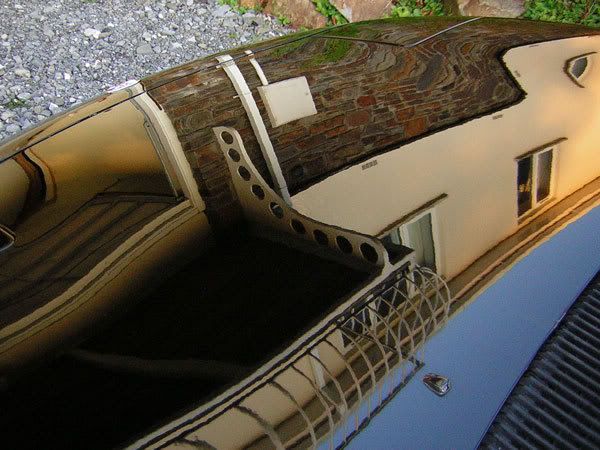
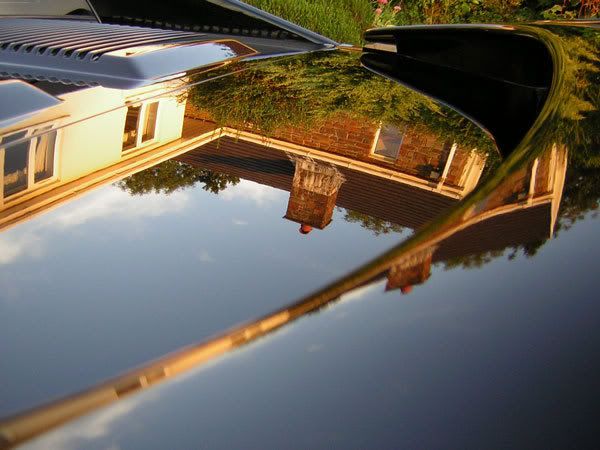
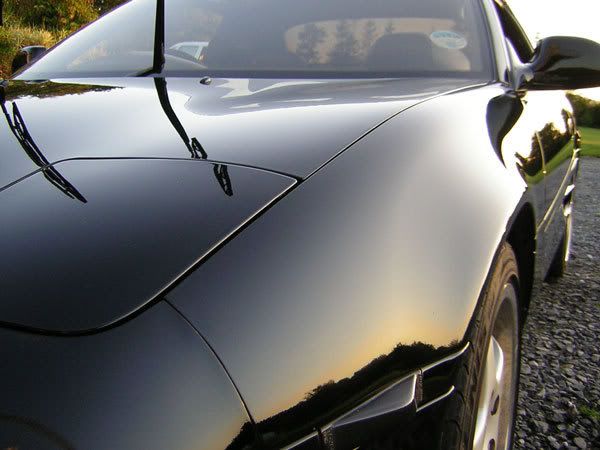
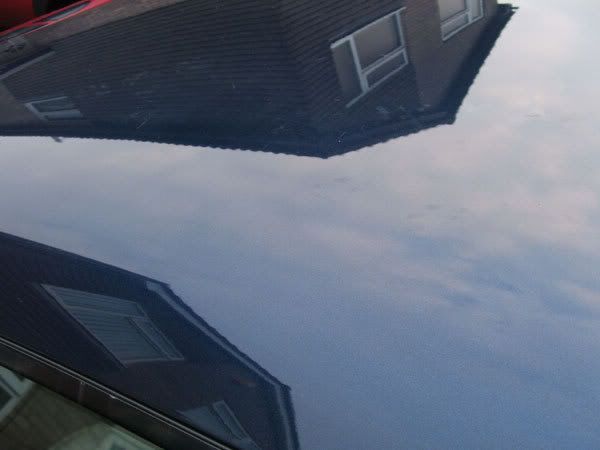
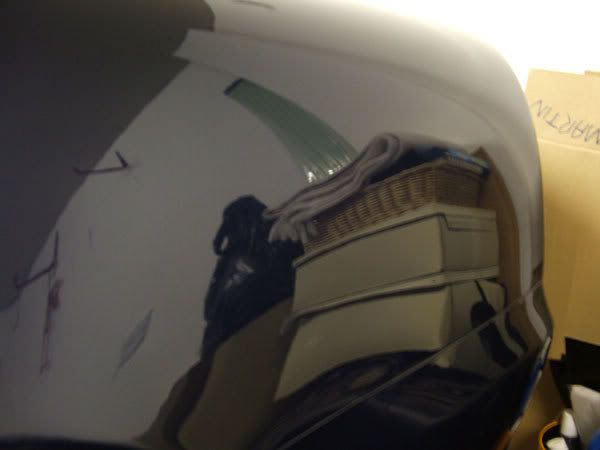
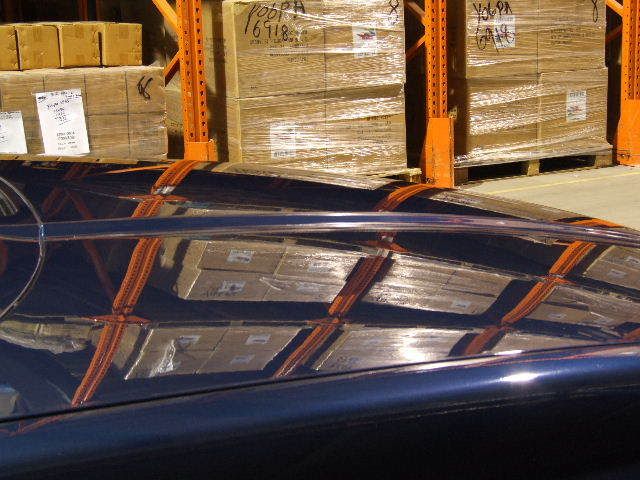
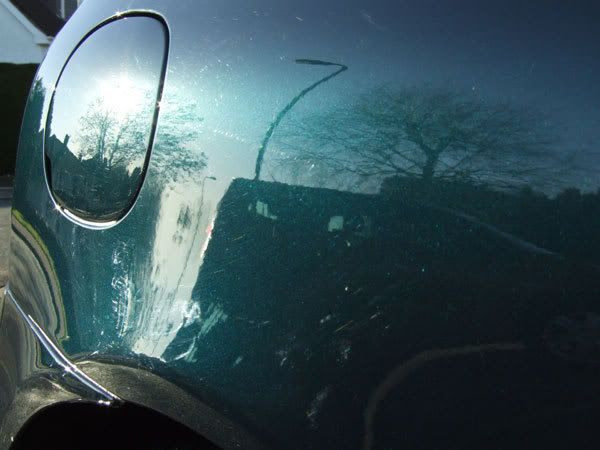
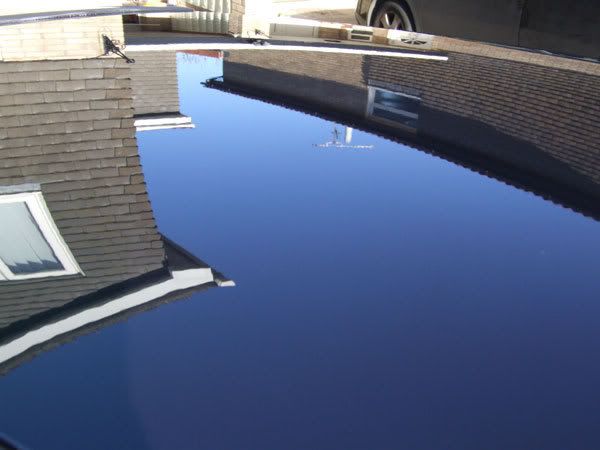
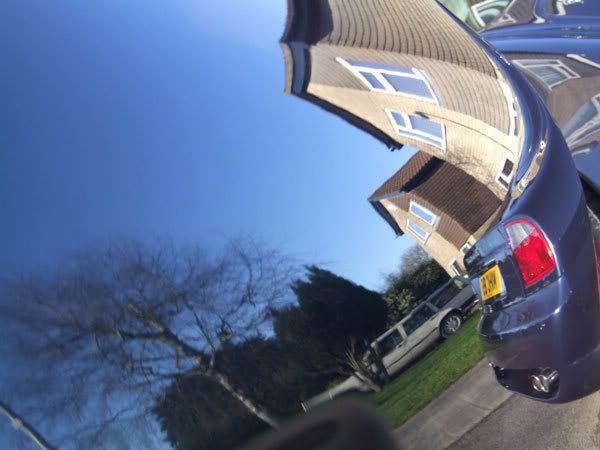
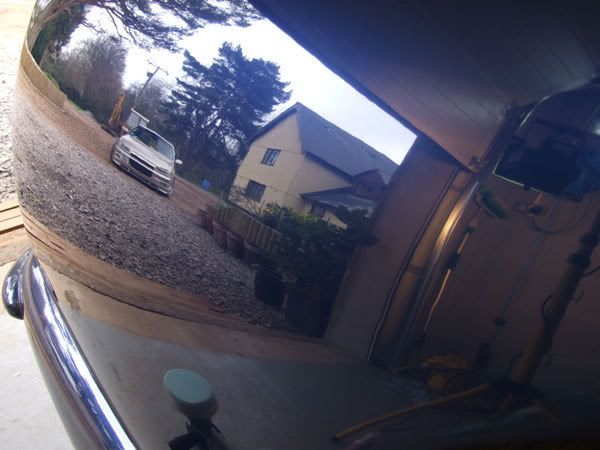
Reflection shots:
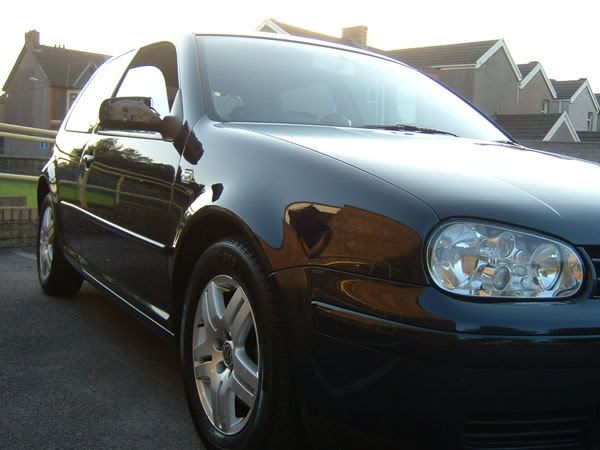
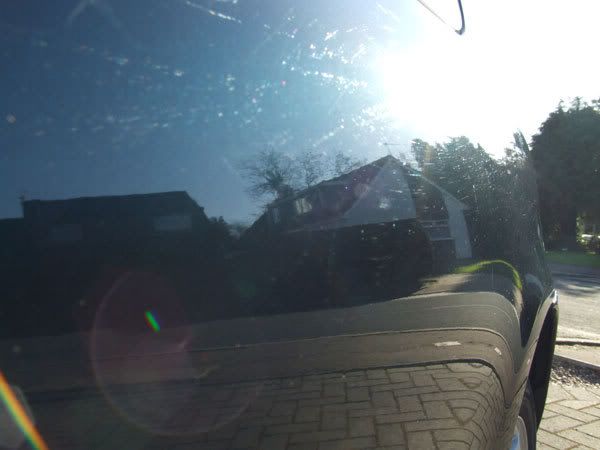
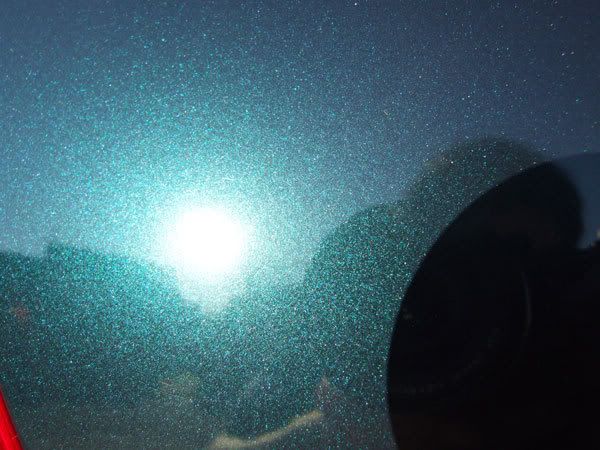
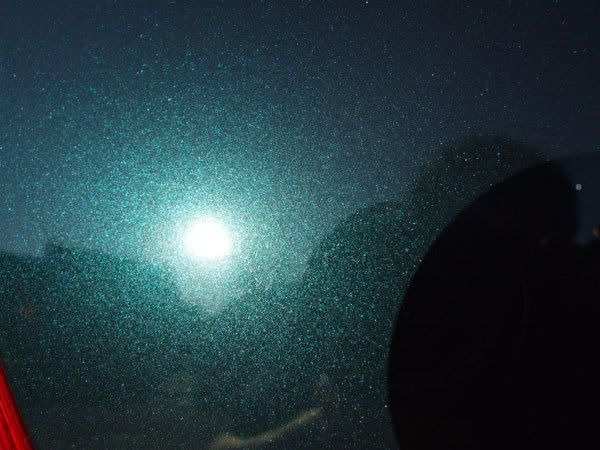
A close up of the paint where you can really see the metalic:
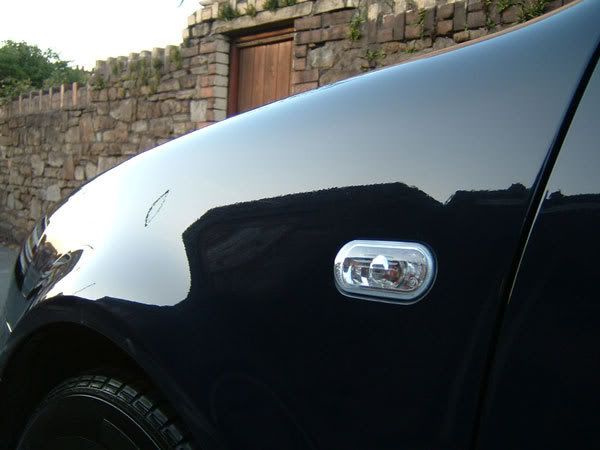
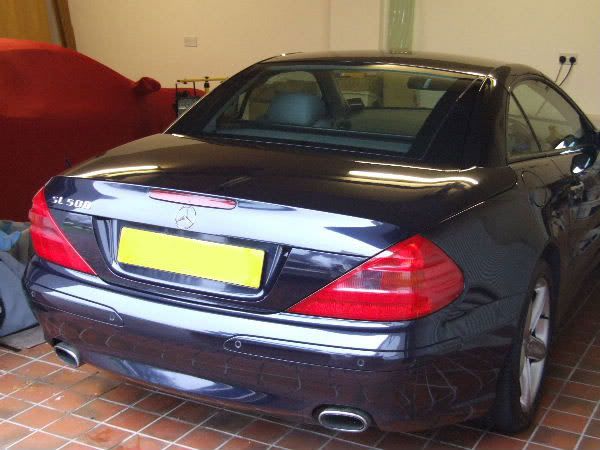
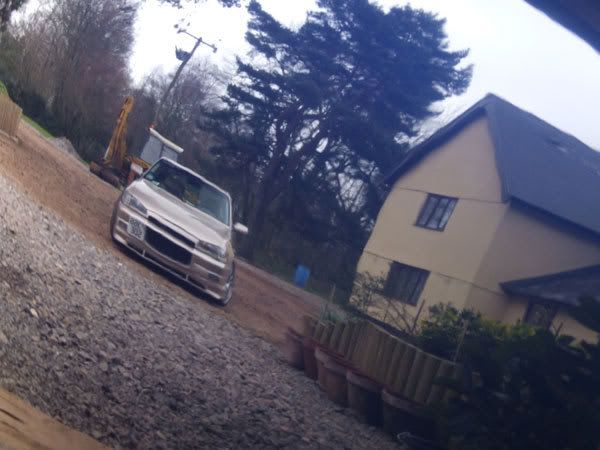
And the finshed article:
This was the car that greeted me on my arrival. After a spate of bad weather and plenty of salt being laid on the roads the car was a little dirty.
First up I rinsed the car down with the hose then gave it a good wash with Meguires Nxt Wash Shampoo. This was then followed up with a full clay with Sonus Ultra Fine Green clay and Optimum spray wax. The car was then rinsed down again and dried using Sonus Der Wunder drying towels.
The swirls in the paint are now clear to see.
I then set to work masking up all the plastic/rubber parts of the car ready to get to work. First up a pass with Poorboys SSR2.5 on Sonus SFX 1 pad. Once buffed off it was followed with a pass with SSR1 on an SFX 2 pad. Once that was done some Poorboys Polish was applied with a SFX 3 Pad.
Heres a quick tree shot in the fuel cap before any finishing products were used.
The paint was then sealed with Poorboys Ex-P Sealant followed with Nattys Paste Wax Blue.
Once all buffed down, the masking tape was removed and all the plastics were treated with Auto Glym (I've forgotten the name). The wheels were treated to Blackfire Tyre Gel and all the windows wiped and polished.
The results?
A handsome chap in the rear quarter.
.... and on the bonnet... I say!
Free plug.
Reflection shots:
A close up of the paint where you can really see the metalic:
And the finshed article:
LuS1fer said:
Hang on, I saw you give it a quick wipe over with a tin of Mr Sheen and a yellow duster before going down the pub.
Shhhhh!
Firefoot - It's all to do with your washing and protection technique. You'll always find little marks around the car no matter how well you look after it, but the majority of cars are just given a bucket and sponge wash every now and then, with little regard to looking after the paint. The sponge can cause little marks, as can wiping it down to dry it. The swirls develop over time so unless the paint is well looked after they'll start to develop. Dont even get me started on mechanical car washes and what they do to your paint!!
There are a few ways to improve how you wash your car, but it all depends on how anal you want to be when cleaning. Where possible, always rinse the car down with a hose first (although this may well be common practice for most). The two bucket wash technique is also good. If you have 2 buckets to hand, fill one with shampoo and one just water. Place your sponge in the soapy water then wash the desired area on the car. Once done, rinse the sponge in the "just water" bucket. That way, any dirt your taking off the car isn't being placed in the water you're going to wash it with. Once washed, hose down again if possible.
Drying is another thing. A good microfiber drying towel is better than a chamois - It's softer and much more absorbant. When drying with a drying towel, rather than wiping the car down, "pat" it dry. That way, you wont be dragging the towel across the paint.
Polishing and waxing is also a key part, but that's for another day.

Here endeth the first lesson.
Firefoot said:
Huw Pugh said:
There are a few ways to improve how you wash your car, but it all depends on how anal you want to be when cleaning.
Well it takes me about 3 hours every time I clean the car (minimum of once a week, more often if a seagull visits), and I have a toothbrush in my cleaning kit. How anal am I

Never used the 2 bucket approach though, seems like a good excuse to go and buy more cleaning products
(BTW, Pledge work wonders under the bonnet as well
) As anal as me it would seem. There's a toothbrush in my kit too.

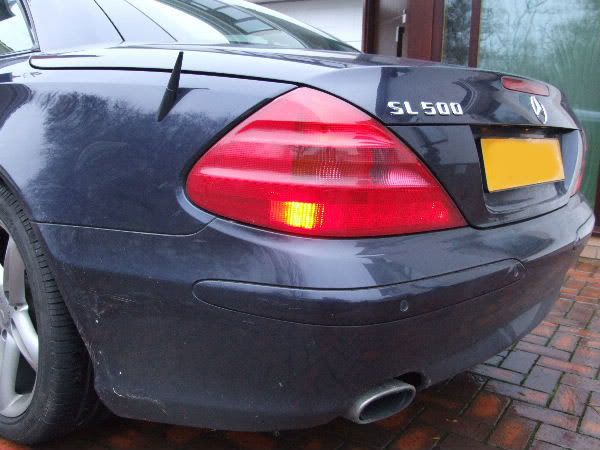
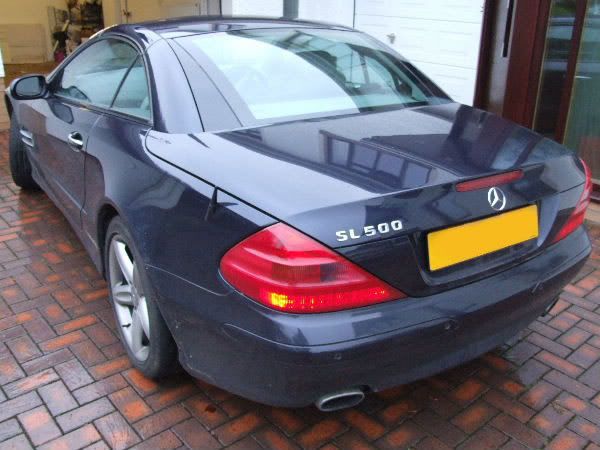
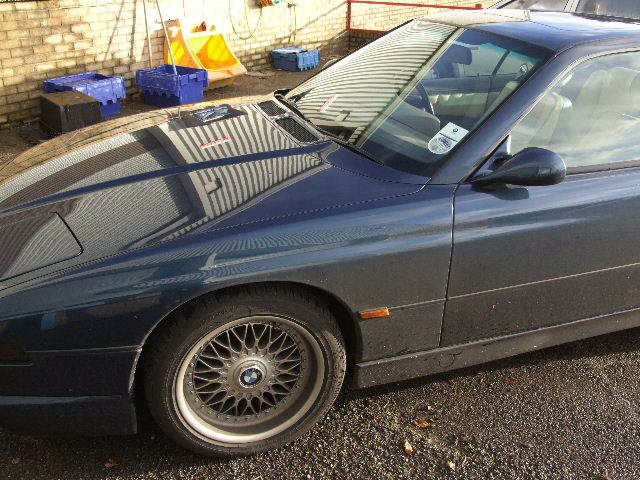
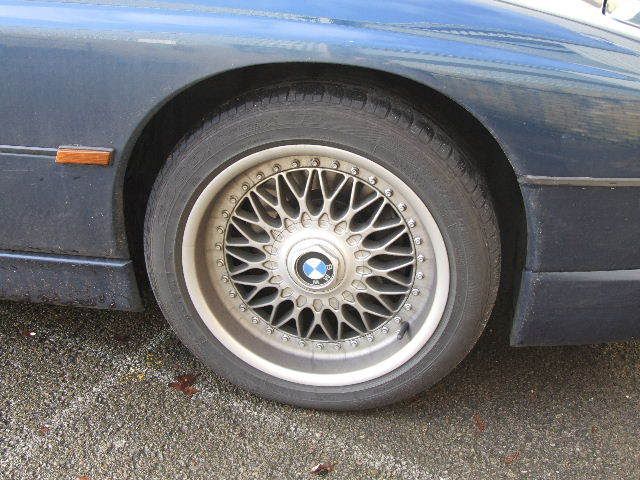
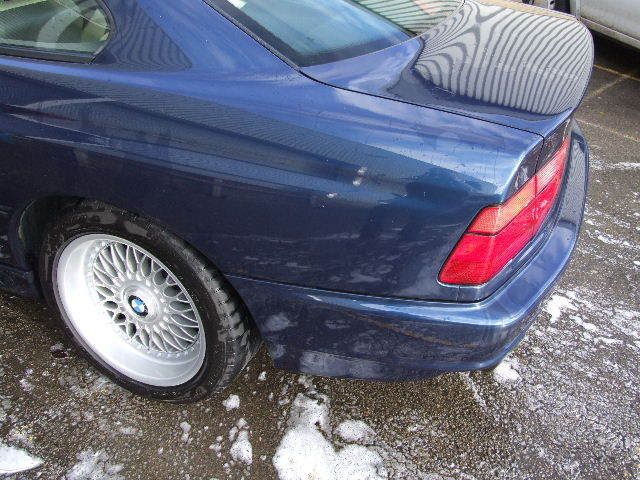
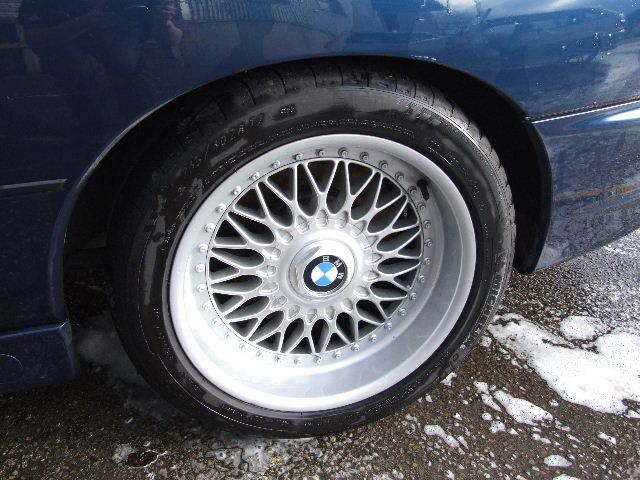
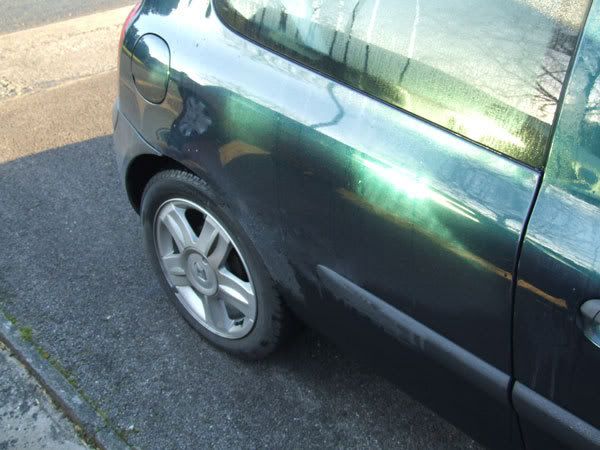
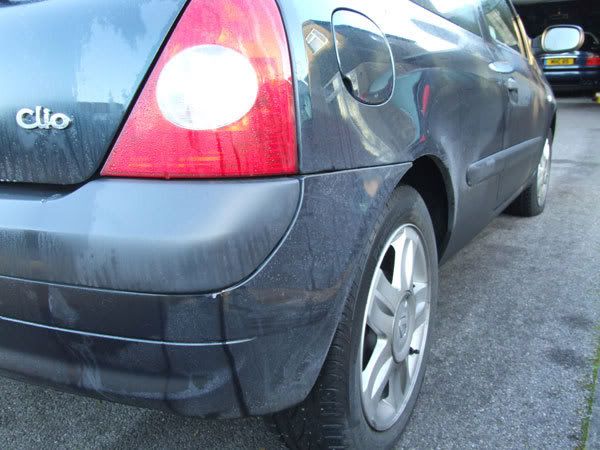
Some of you may well recognise this little beauty - owned by Tony aka 2DOGS.
If I'm honest, I'm not totally happy with my work on this one. The paint was the hardest paint i've ever encountered and I still can't get to grips with my camera properly so lots of the pics were blured.
Still, not to worry, this is one sexy motor and the engine noise was phenominal!!!
Here's a few pics before hand.


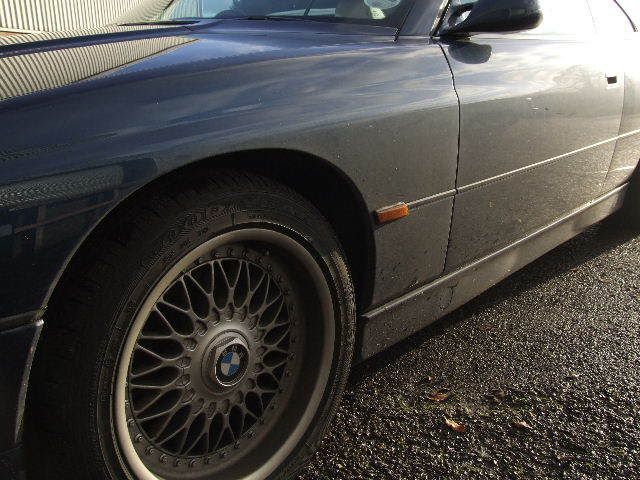
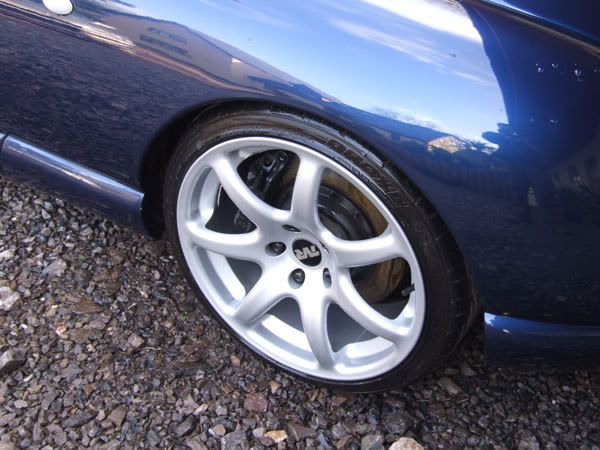
First up the wheels were treated with some wonder wheels. This lifted pretty much all the dirt and brake dust off them. There were a few little spots here and there so I used some clay to lift the more stubborn areas. The results:
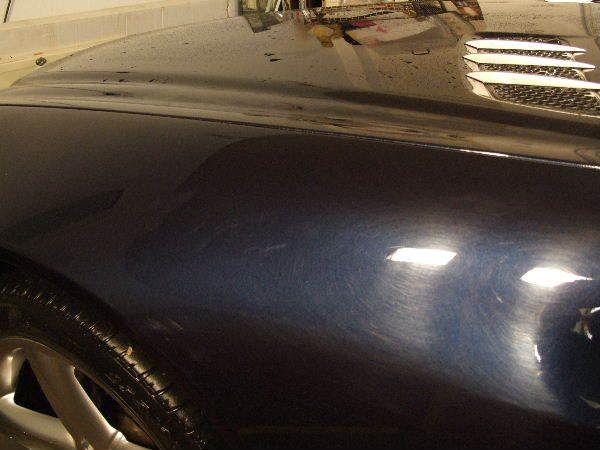
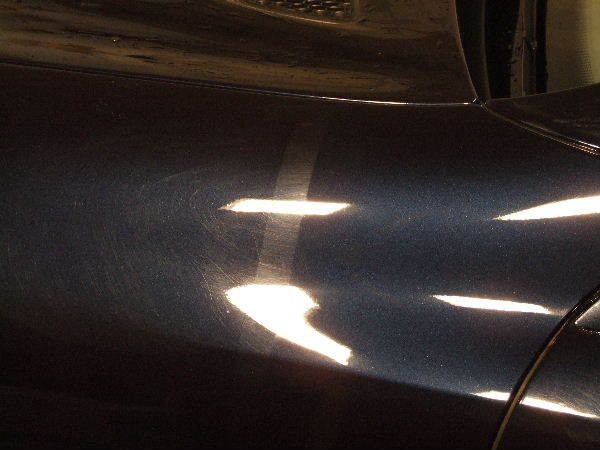
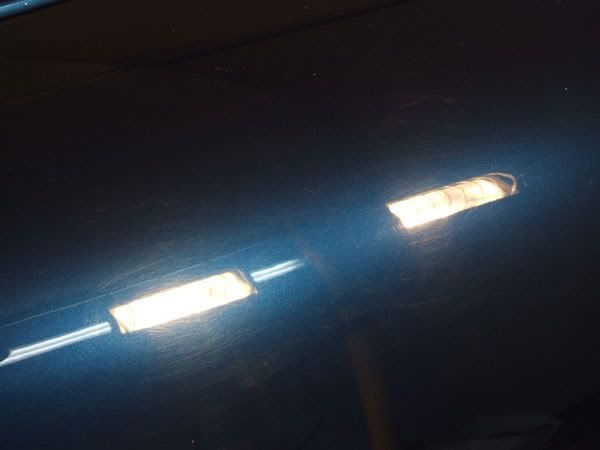
After all the wheels were done, the car was washed down with Megs NXT Gen shampoo, then clayed using Sonus green clay. Under the lamps you can see the the swirls in the paint.
The next part was a bit of a tough call. Whilst Poorboys SSR2.5 on a 6" pad cleared up most of the swirls, it wasn't making much impact on the scratches in the paint - and there were quite a few. Going down to a 4" pad and some SSR3 started to shift them but it was taking longer than was ideal. We ended up drawing a bit of a happy medium using SSR3 in a few areas and SSR25 on the bulk of the car.
I was then out with the Poorboys Blue polish and a couple of passes on the PC. This was followed up with a coat of Meguires Show Car Glaze, a coat of Poorboys Ex-P Sealant and then finally Nattys Paste Wax (Blue).
The wheels were also sealed and waxed, which should help stop the brake dust sticking so much. The tyres were dressed with Blackfire Trye Gel, and the windows polished. The results:
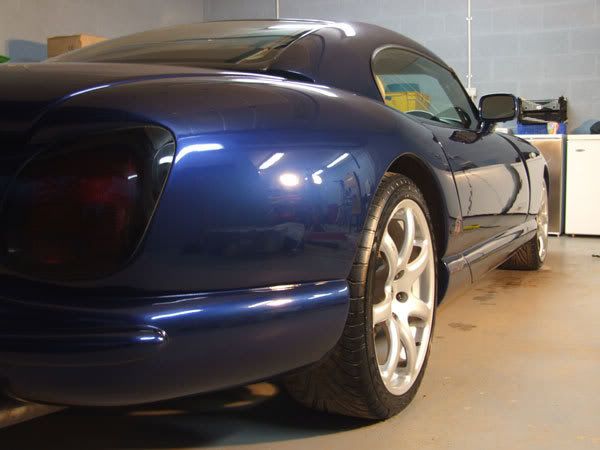
The rear quarter:
Drivers door:
Drivers wing:
Passenger wing/door:
Drivers side:
If I'm honest, I'm not totally happy with my work on this one. The paint was the hardest paint i've ever encountered and I still can't get to grips with my camera properly so lots of the pics were blured.
Still, not to worry, this is one sexy motor and the engine noise was phenominal!!!
Here's a few pics before hand.
First up the wheels were treated with some wonder wheels. This lifted pretty much all the dirt and brake dust off them. There were a few little spots here and there so I used some clay to lift the more stubborn areas. The results:
After all the wheels were done, the car was washed down with Megs NXT Gen shampoo, then clayed using Sonus green clay. Under the lamps you can see the the swirls in the paint.
The next part was a bit of a tough call. Whilst Poorboys SSR2.5 on a 6" pad cleared up most of the swirls, it wasn't making much impact on the scratches in the paint - and there were quite a few. Going down to a 4" pad and some SSR3 started to shift them but it was taking longer than was ideal. We ended up drawing a bit of a happy medium using SSR3 in a few areas and SSR25 on the bulk of the car.
I was then out with the Poorboys Blue polish and a couple of passes on the PC. This was followed up with a coat of Meguires Show Car Glaze, a coat of Poorboys Ex-P Sealant and then finally Nattys Paste Wax (Blue).
The wheels were also sealed and waxed, which should help stop the brake dust sticking so much. The tyres were dressed with Blackfire Trye Gel, and the windows polished. The results:
The rear quarter:
Drivers door:
Drivers wing:
Passenger wing/door:
Drivers side:
Allblackdup said:
Stunning pics, stunning results as always and a stunning car too!
Do you do all the detailing at your place Huw? or do you use the garage of the car owners?
Do you do all the detailing at your place Huw? or do you use the garage of the car owners?
If only that place were mine....
Nah, I travel out to wherever the car is. It's easier and means that the car doesnt have to move if the weathers bad etc.
Gaz - no worries mate, more than happy to answer questions in here.
Have you tried any fabric cleaners/shampoos?? Halfords stock quite a few different versions for not alot of ££. Auto Glym Interior Shampoo is pretty good. The vinyl rubber care isn't designed for removing odours etc - I tend to use it on exterior plastic trim.
Gassing Station | South Wales | Top of Page | What's New | My Stuff