Plasma cutters - easy to go to far
Discussion


chormy said:
Need need need one Lol! just think ho much I can lighten the MGB
Yeah - unfortunately the weight has to go back - just a different shell going over it so need to adjust what I have to the required dimensions of the new shellJust in case anyone thinks I'm just cutting up the car to dispose of it.
Whatty said:
B'stard Child said:
Yeah - unfortunately the weight has to go back - just a different shell going over it so need to adjust what I have to the required dimensions of the new shell
Just in case anyone thinks I'm just cutting up the car to dispose of it.
NASCAR theme for the next body?Just in case anyone thinks I'm just cutting up the car to dispose of it.
I'm having a 'Days Of Thunder' moment with that last picture.
Good job you're taller than Little Tippy Tommie Cruise.


robg2 said:
Absolutely barking!
Possibly......Not sure today's progress is worthy of an update but as I took pictures I'll share
First job remove the mounts for the "removable" rear brace (If I didn't I'd either have to cut a lot of metal out of the parcel shelf to get the shell over or the shell would sit on them and not go all the way - easier to remove now)


Then clean all the old paint, waxoil, makers rust proofing from the inside of the sills both sides and weld up some trim holes for the door step covers which are long gone
Holes be gone

Break out the red oxide

An of course repeat on the other side

I think this is the other side - hard to tell!!

Old passenger seat mounts removed

And the bulkhead edge trimmed and a little more paint to protect

Painting made a change from cutting and grinding - I can remove a strip off the edge with a strip disc just before welding but at least it stops it going f'rusty.
Next jobs (from the plan)
- clean up the welds on the cage
- give it a clean/de-rust and paint it as it's difficult to paint in a lot of places when a shell is on top of it.
- Clean the floor pans and grind back a couple of repair patches
- Finish the rear inner arches and stitch weld the shock turrets

Well today the other half of the jigsaw arrived home
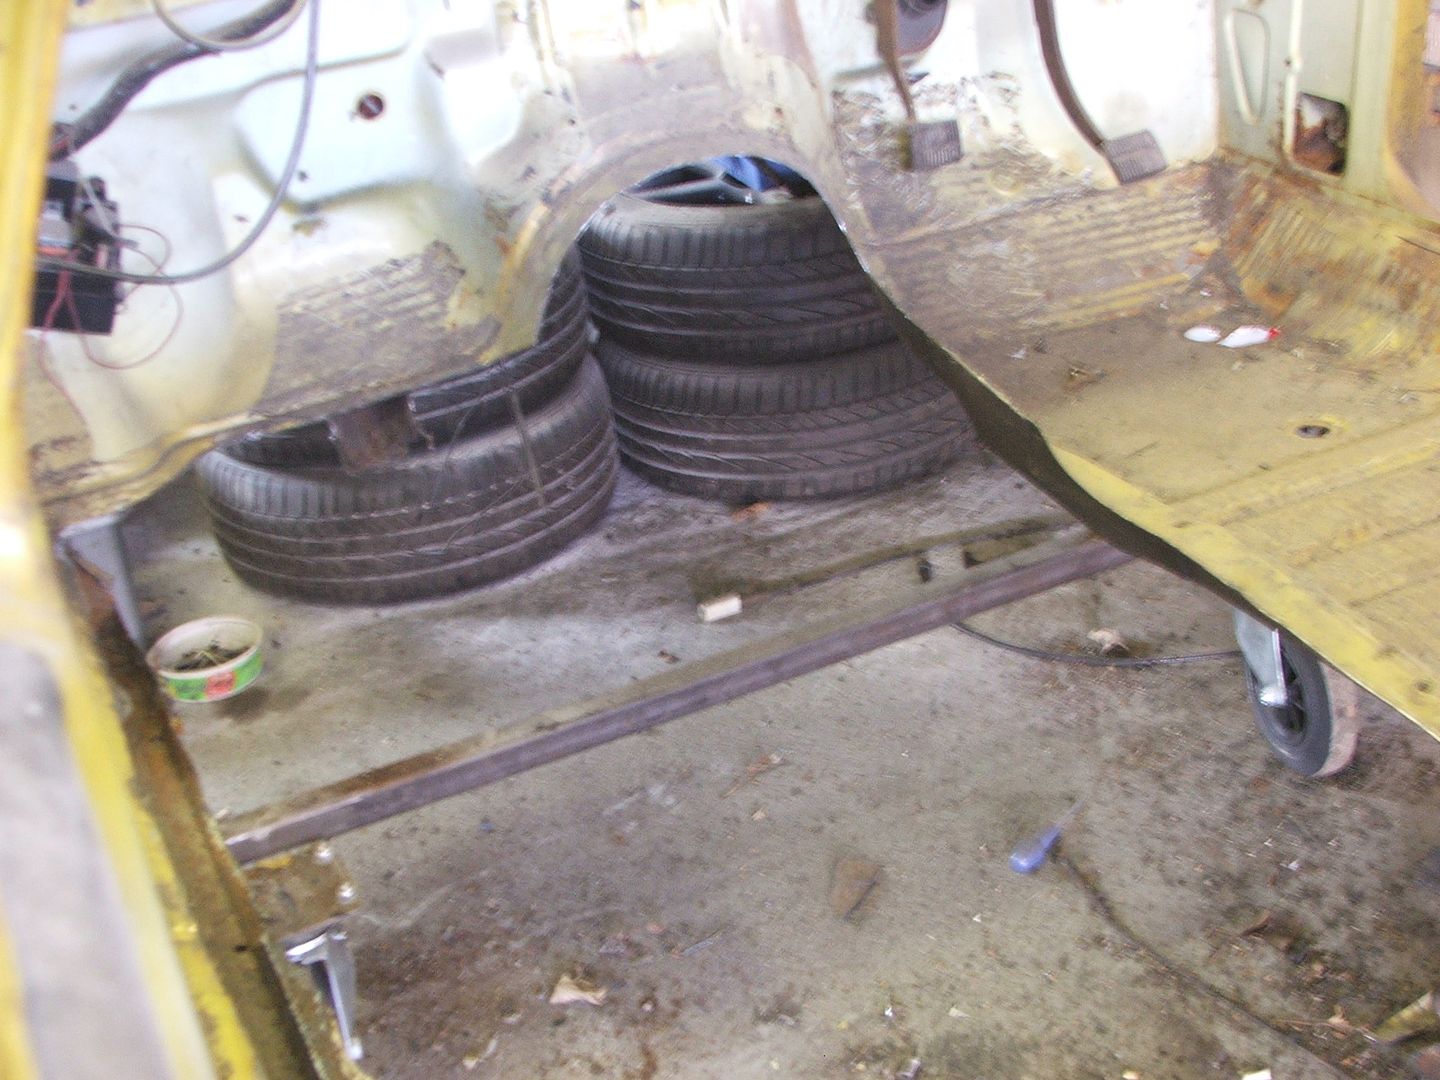
Liberated from it's storage place (it's been there a long while)
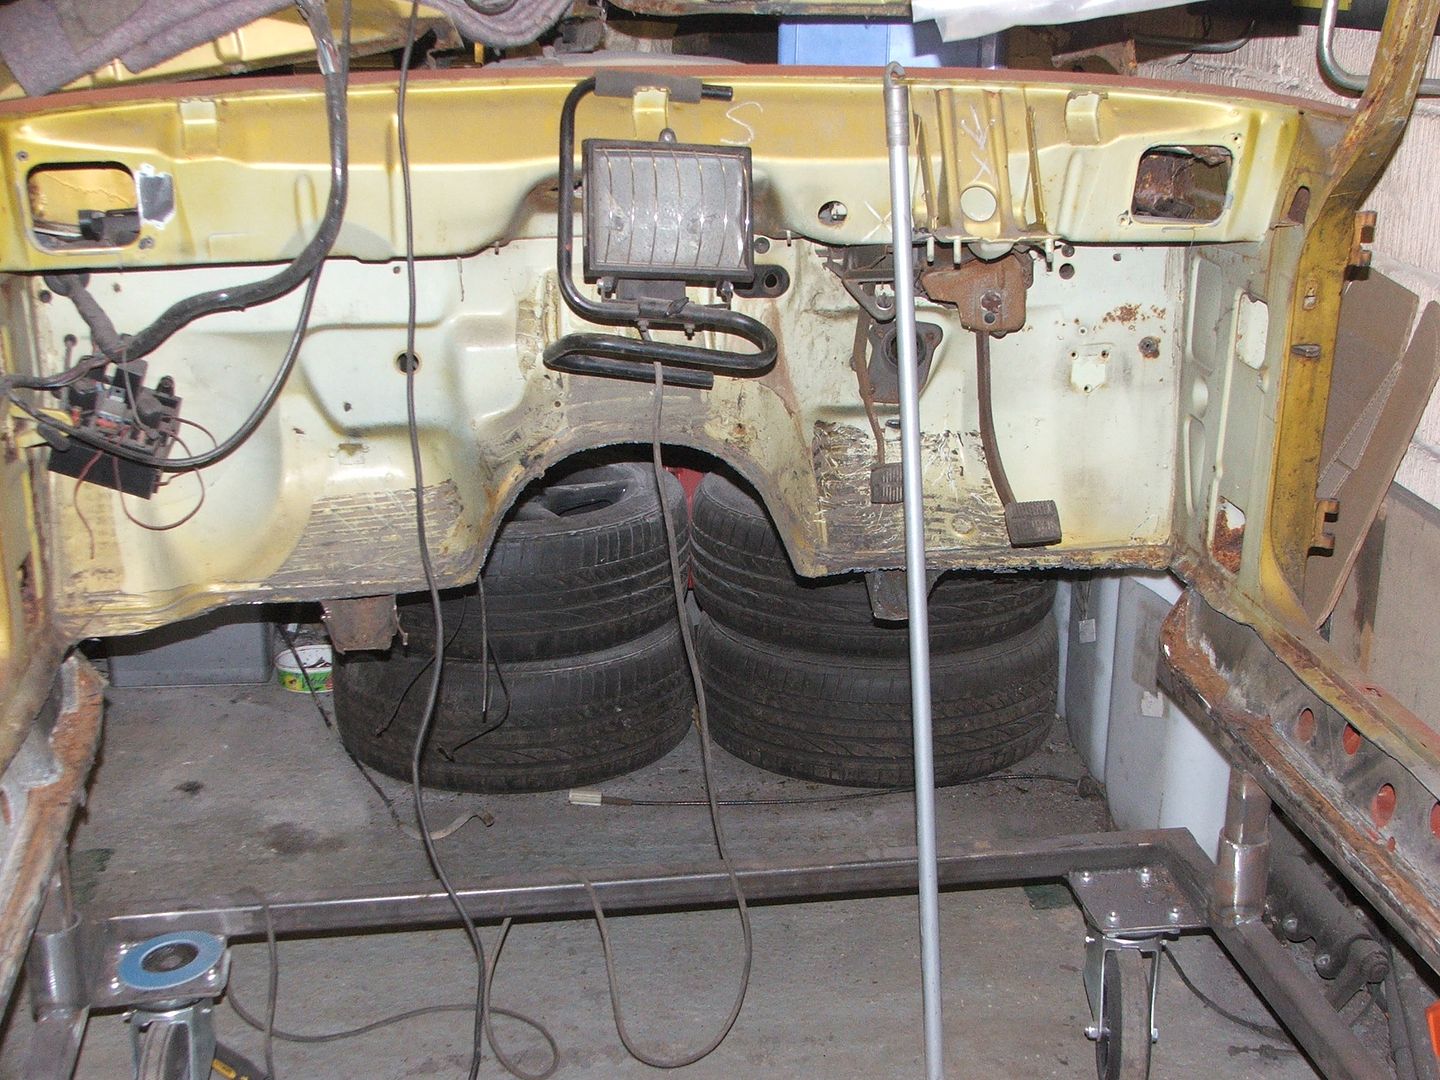
Loaded (quite easy with a power winch but the tyres were struggling to hold much air - picture below shows the side where air was staying in the rubber - other side had splits in the tyre walls that you could put your fingers in)
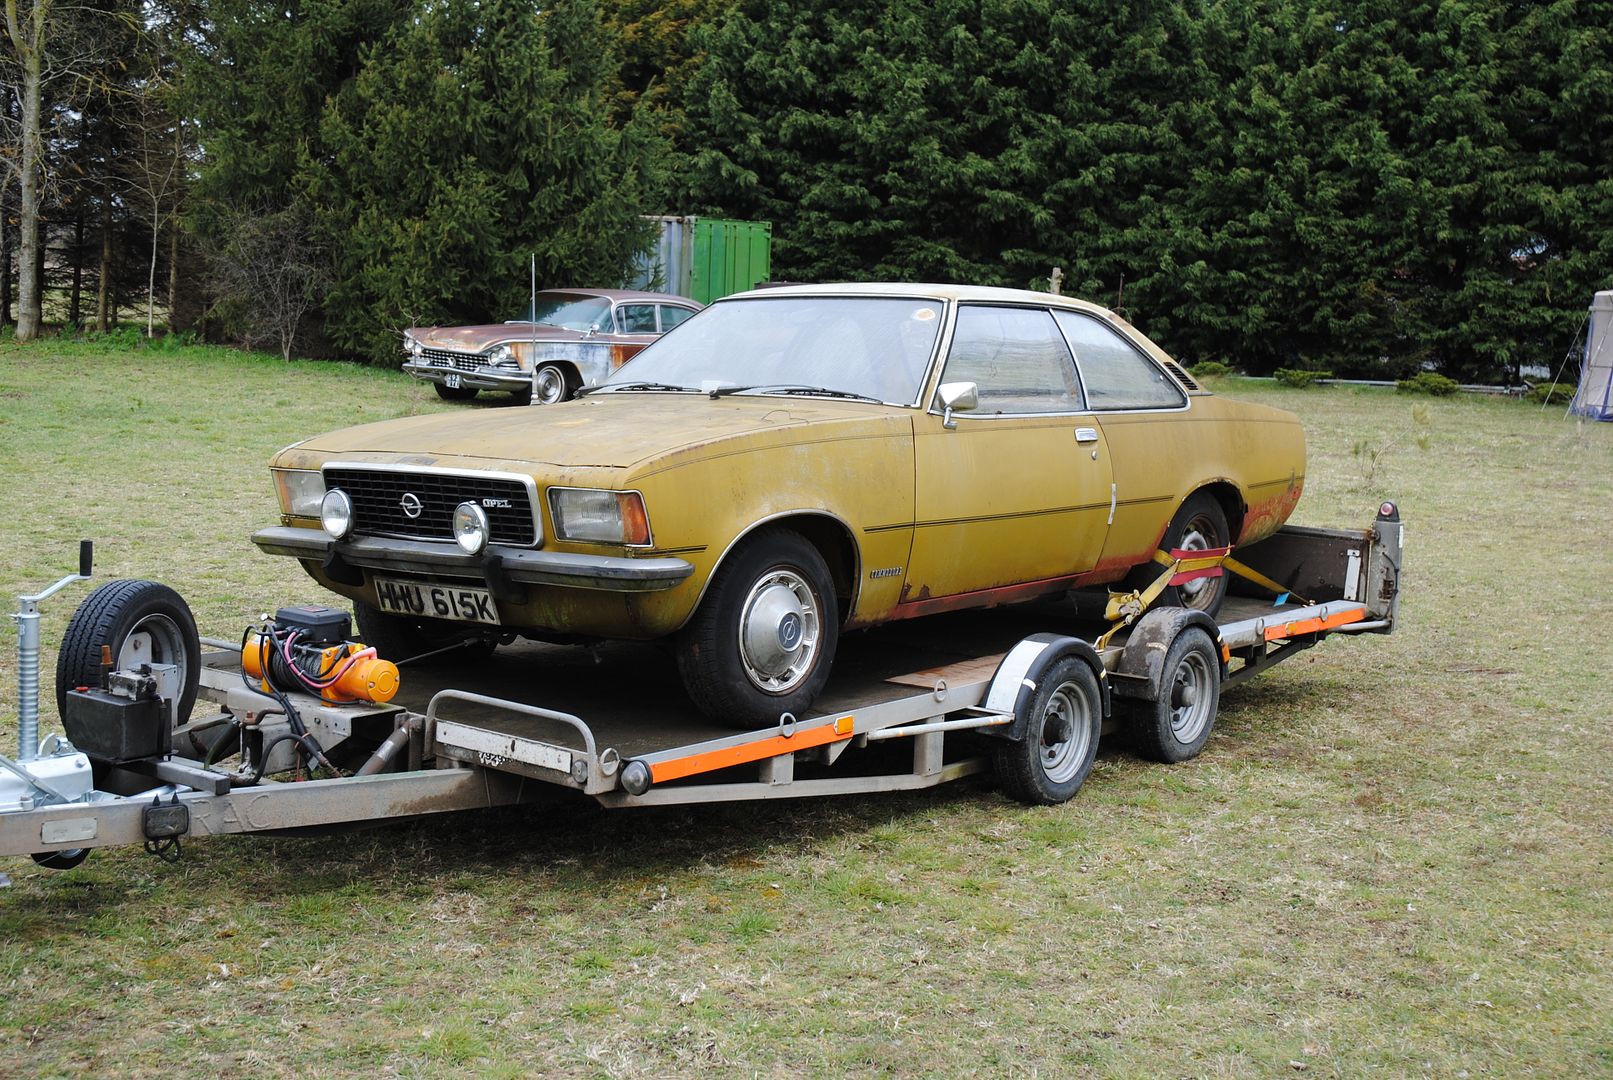
Gewy providing the tug and trailer (Technically the tug was provided by his lovely wife Gillian as it's her Pathfinder that got borrowed)
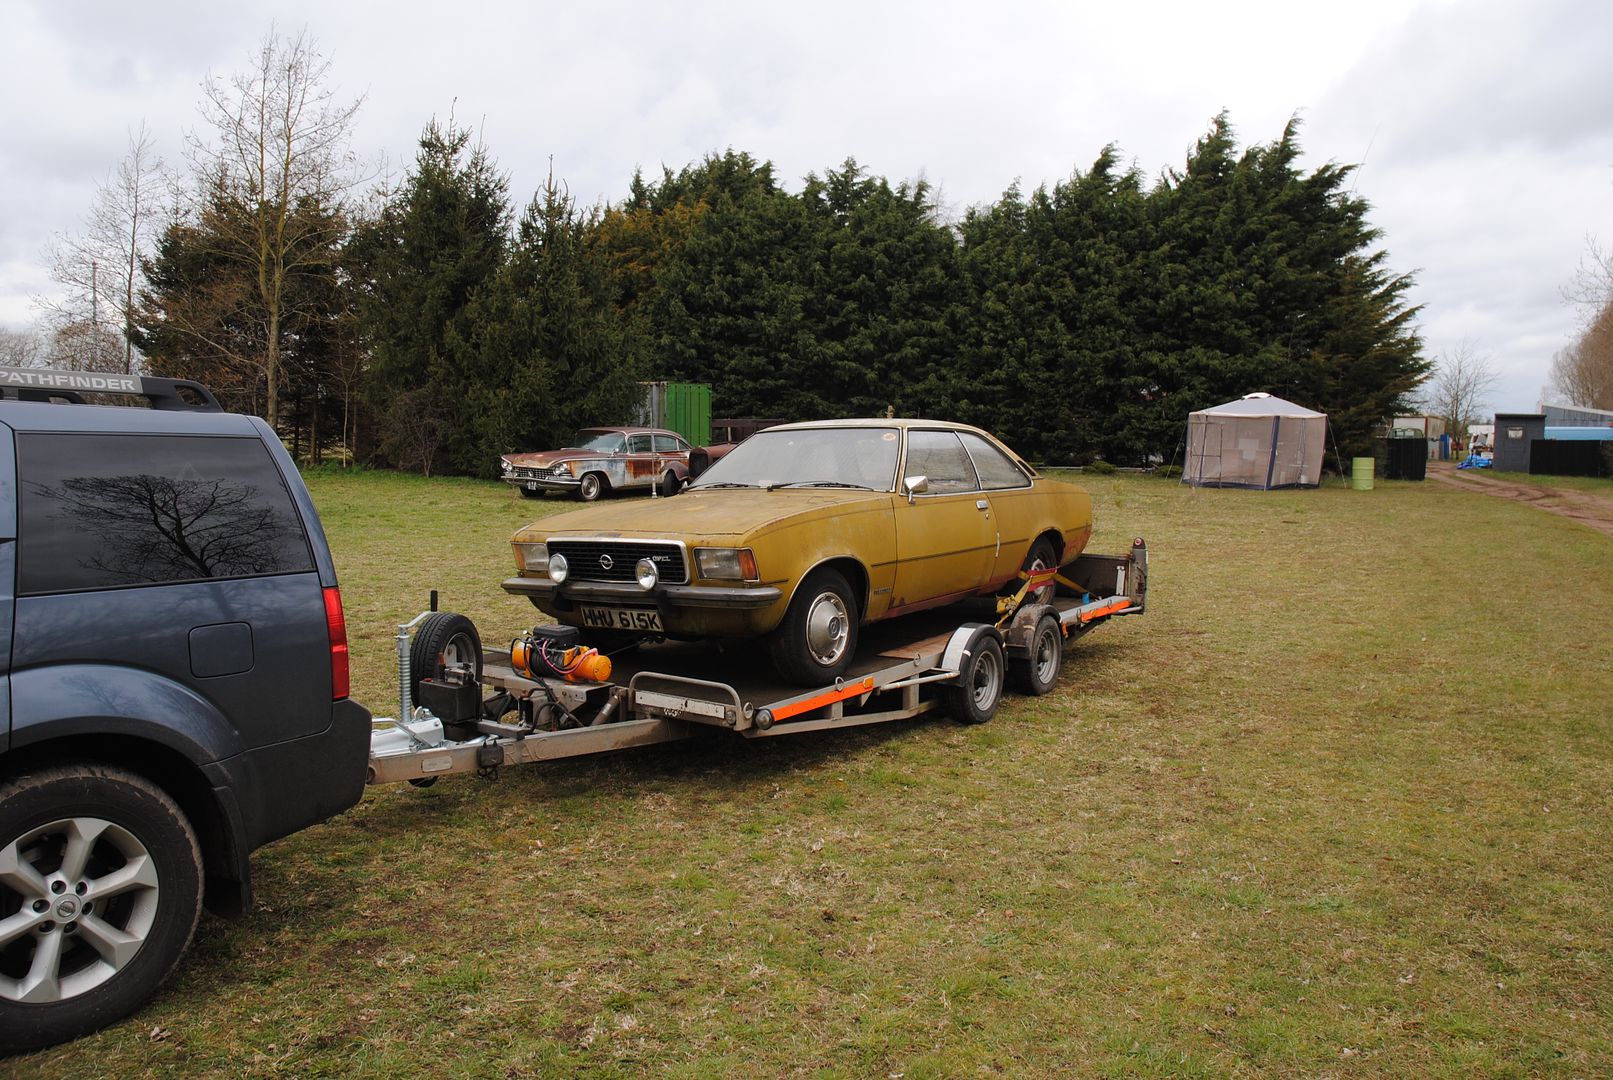
So a little distance to cover and the Commodore was home
Gravity provided the input to get it off the trailer but pushing a car with two flat tyres up a drive with a slope was gonna be a bit tough......
So the first thing that needed to be done was - a wheel swap obviously

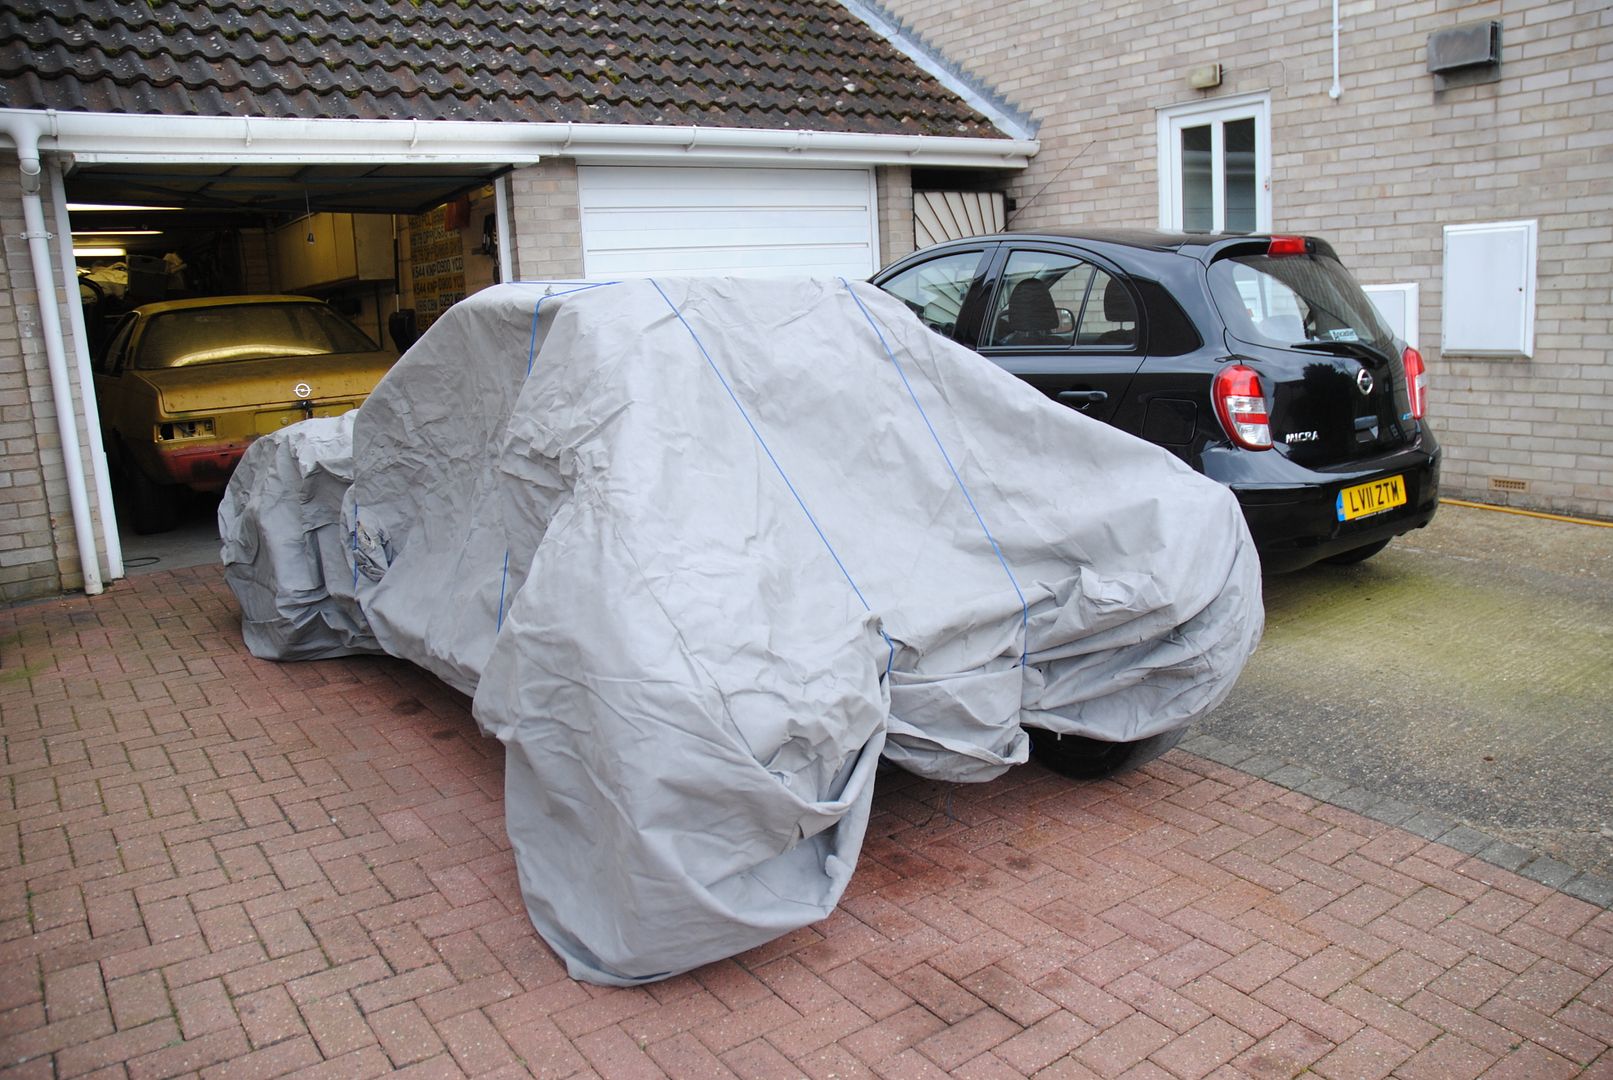
Cheeky picture with the Monza looking at it's sexy new bodywork
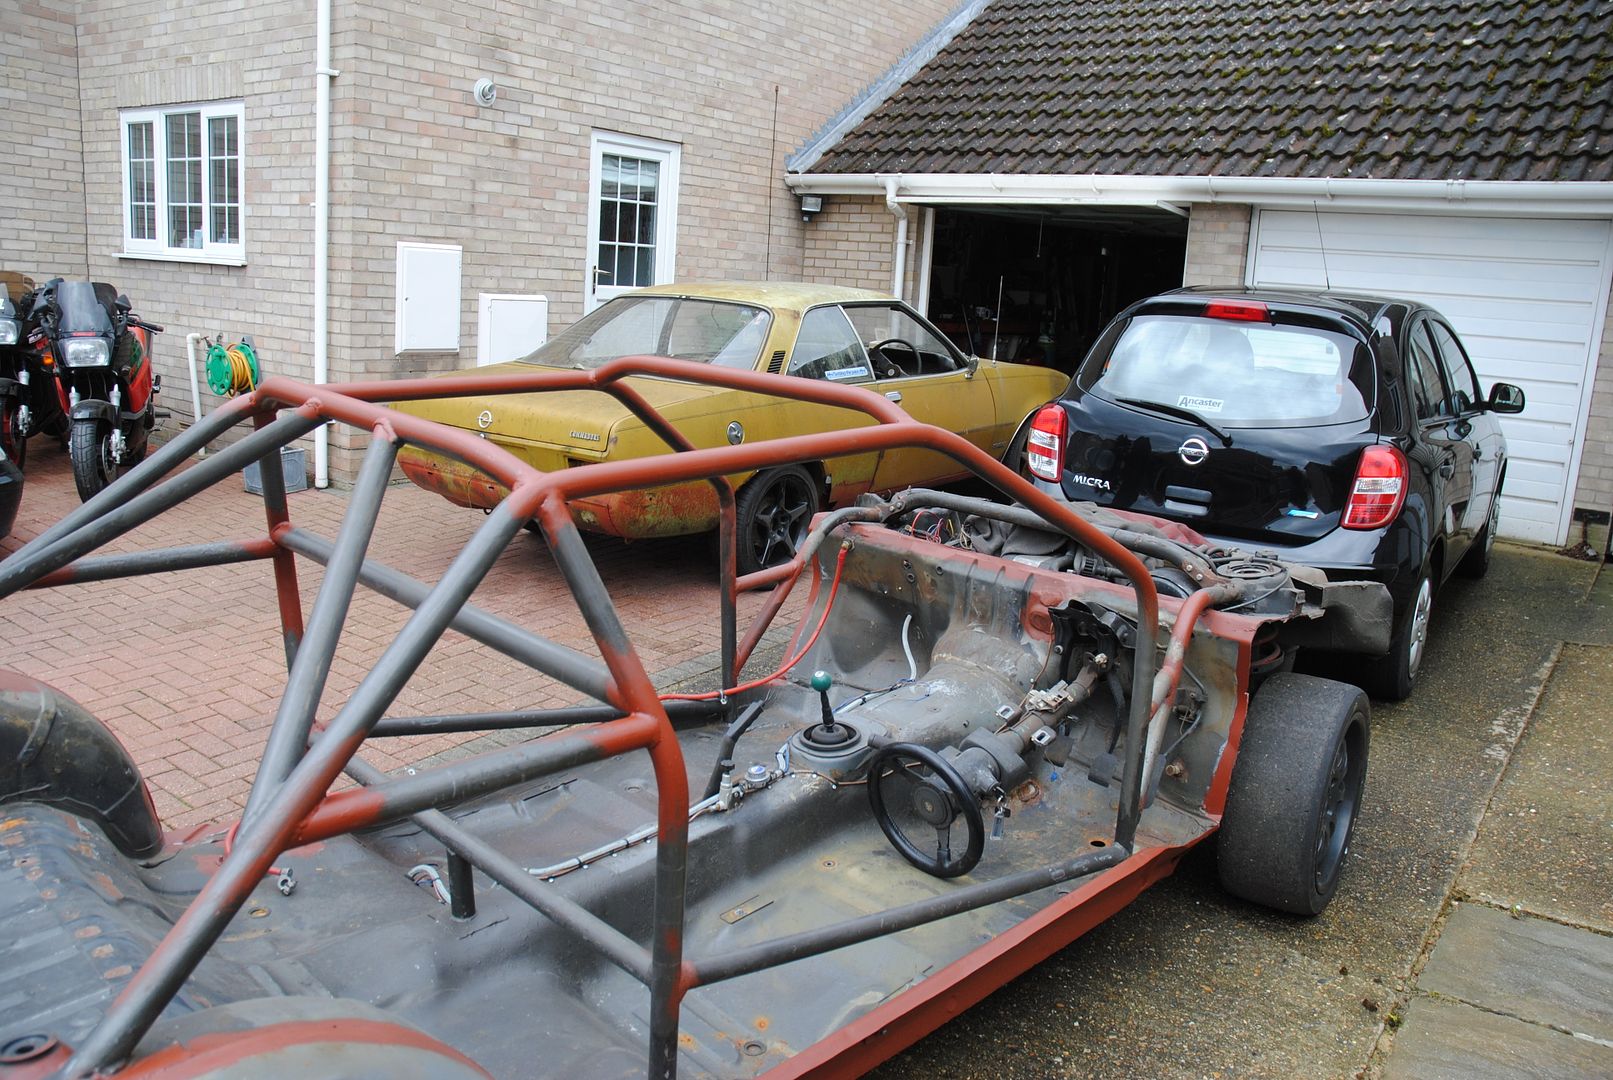
Then bonnet removal as it needs four hands followed by a final push into the garage
Monza wrapped for temporary driveway storage
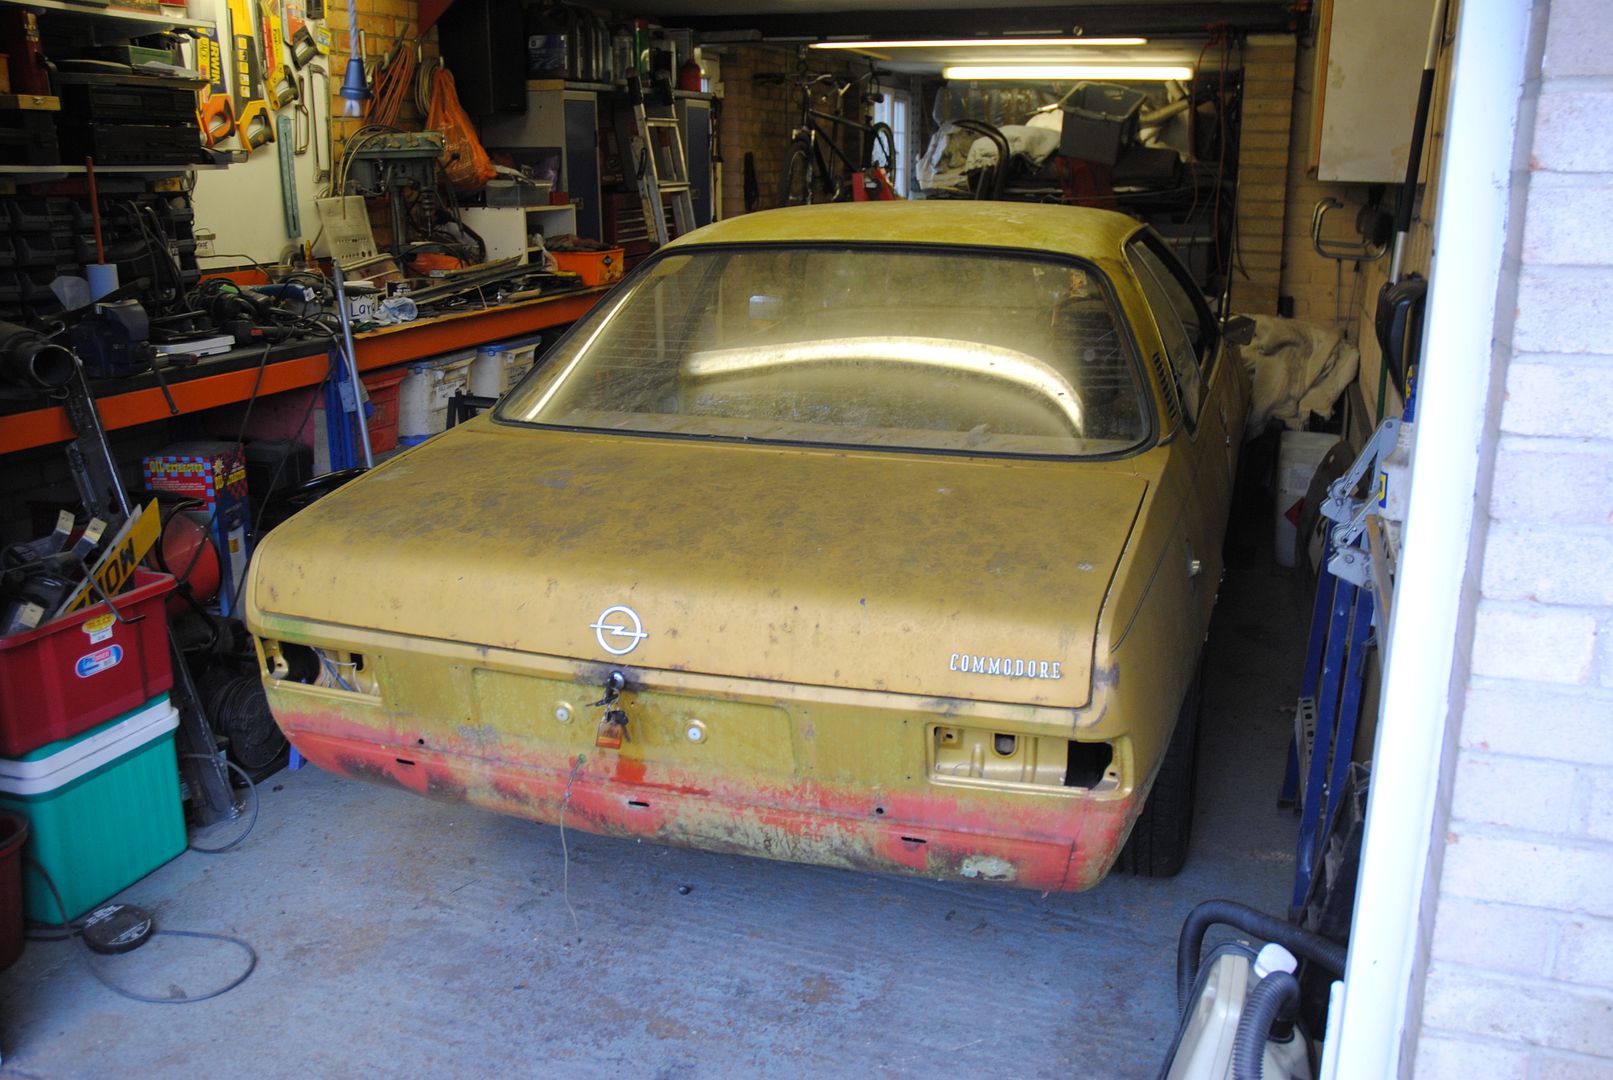
Then I got stuck into to mucking it out........
Liberated from it's storage place (it's been there a long while)
Loaded (quite easy with a power winch but the tyres were struggling to hold much air - picture below shows the side where air was staying in the rubber - other side had splits in the tyre walls that you could put your fingers in)

Gewy providing the tug and trailer (Technically the tug was provided by his lovely wife Gillian as it's her Pathfinder that got borrowed)

So a little distance to cover and the Commodore was home
Gravity provided the input to get it off the trailer but pushing a car with two flat tyres up a drive with a slope was gonna be a bit tough......
So the first thing that needed to be done was - a wheel swap obviously

Cheeky picture with the Monza looking at it's sexy new bodywork

Then bonnet removal as it needs four hands followed by a final push into the garage

Monza wrapped for temporary driveway storage

Then I got stuck into to mucking it out........

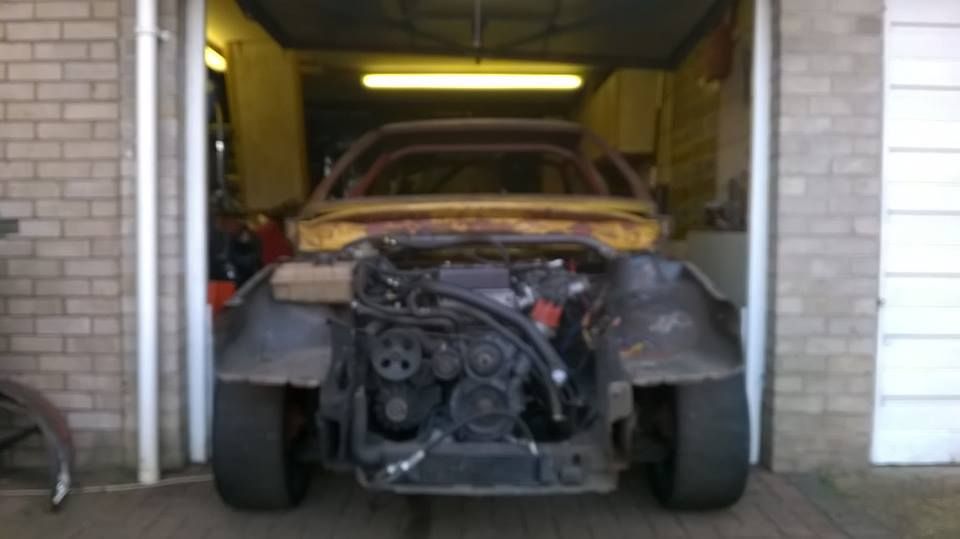
Well a bit more progress tonight (well this week) but I said no pictures till the engine was out so have some pictures
Front screen is out (un broken and with the screen rubber intact) - the rubber has seen better days but they are silly money and normally on a Monza I chose to sacrifice either glass or rubber and never try to save both - double win with the commodore
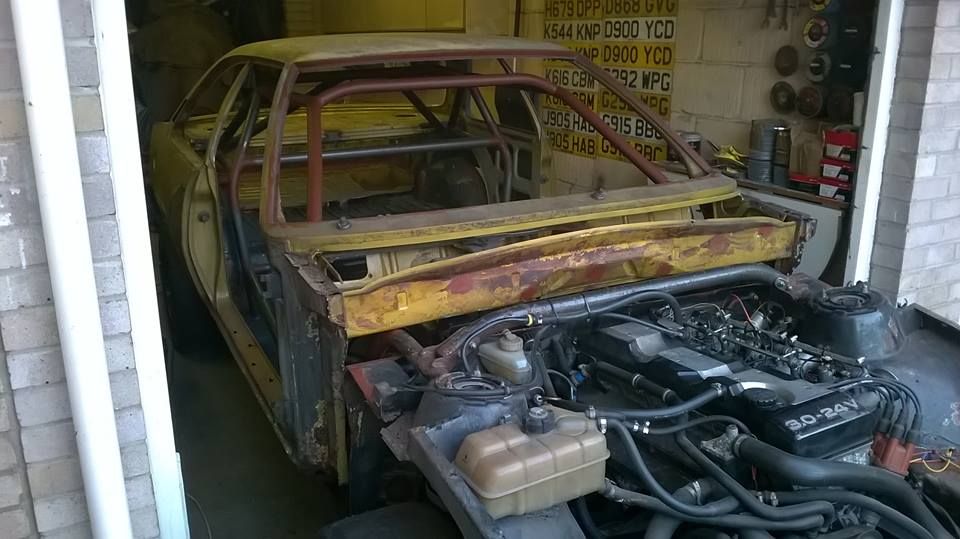
The rear side windows are also out - more on this later!
It takes up less floor space this way up
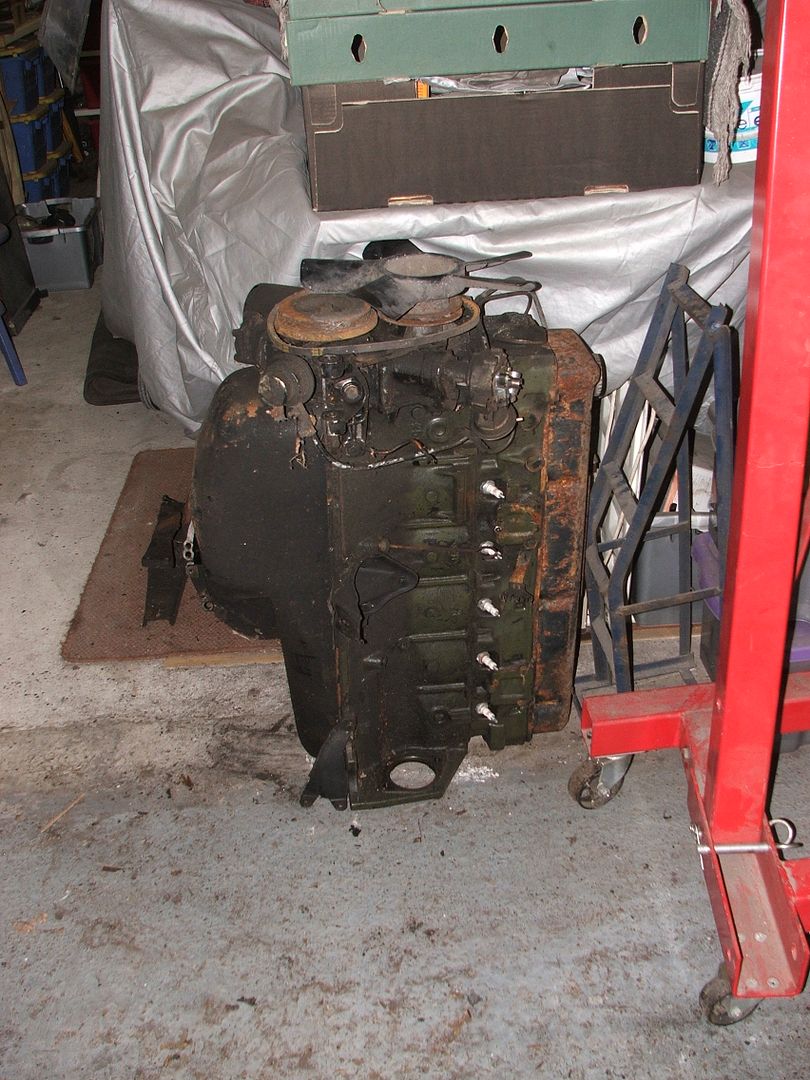
If that's on the floor then
So I finished removing the trim from around the rear windows and it came away without damage - not sure if I will use it or not but it gives me options and I'm sure someone else who is more "concors" will find it useful if I don't use it myself
Anyway the three lower screws holding the trim on both sides had to be ground away (On a Monza they are normally completely dissolved) so that was a good sign
This is what was underneath the trim
Driver side
Passenger side
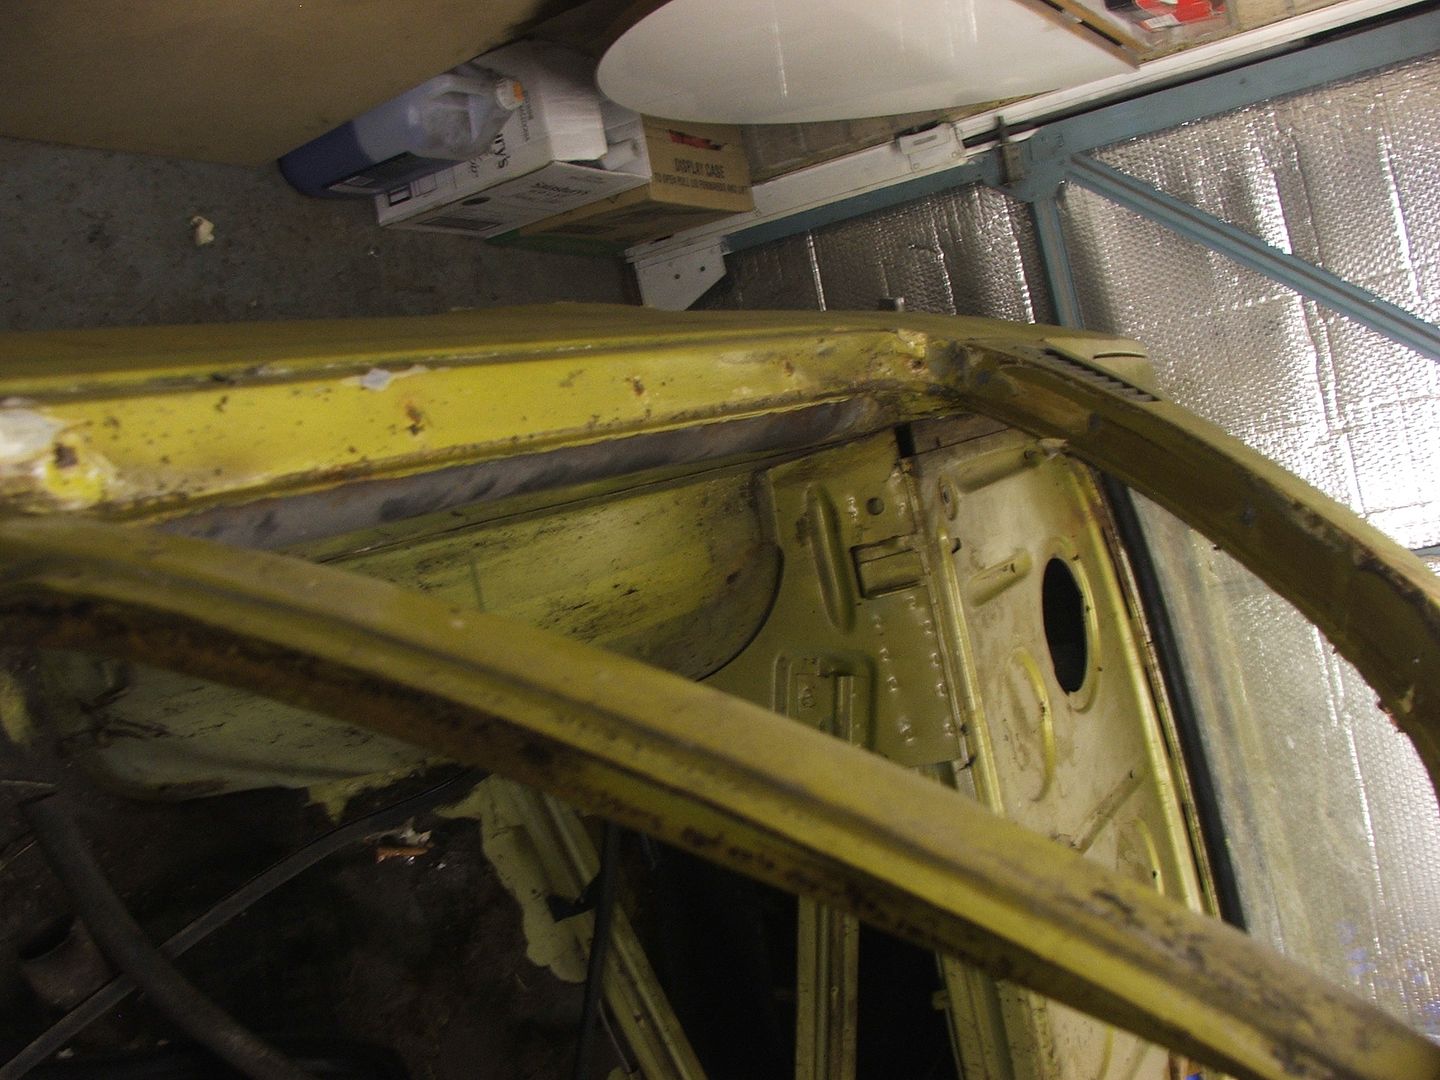
And then I had a close look at the windscreen aperture
Effectively in Monza terminology I have just won the lottery and been asked out for a drink by Nicole Scherzinger and Mrs BC has said sure it's fine go have fun!!!!
Front screen is out (un broken and with the screen rubber intact) - the rubber has seen better days but they are silly money and normally on a Monza I chose to sacrifice either glass or rubber and never try to save both - double win with the commodore
The rear side windows are also out - more on this later!
It takes up less floor space this way up

If that's on the floor then

So I finished removing the trim from around the rear windows and it came away without damage - not sure if I will use it or not but it gives me options and I'm sure someone else who is more "concors" will find it useful if I don't use it myself
Anyway the three lower screws holding the trim on both sides had to be ground away (On a Monza they are normally completely dissolved) so that was a good sign
This is what was underneath the trim
Driver side

Passenger side

And then I had a close look at the windscreen aperture

Effectively in Monza terminology I have just won the lottery and been asked out for a drink by Nicole Scherzinger and Mrs BC has said sure it's fine go have fun!!!!
Getting there slowly
Day 1 - Tunnel be gone

Then one side of the floor pan because I now had a handy hole where the tunnel used to be to stand in (Health and safety first - I didn't fancy sitting on a floor I wanted to remove)
Salvaged for someone
Then a bit more came out (a bit got left in for tommorrow)
Then an easy bit to finish
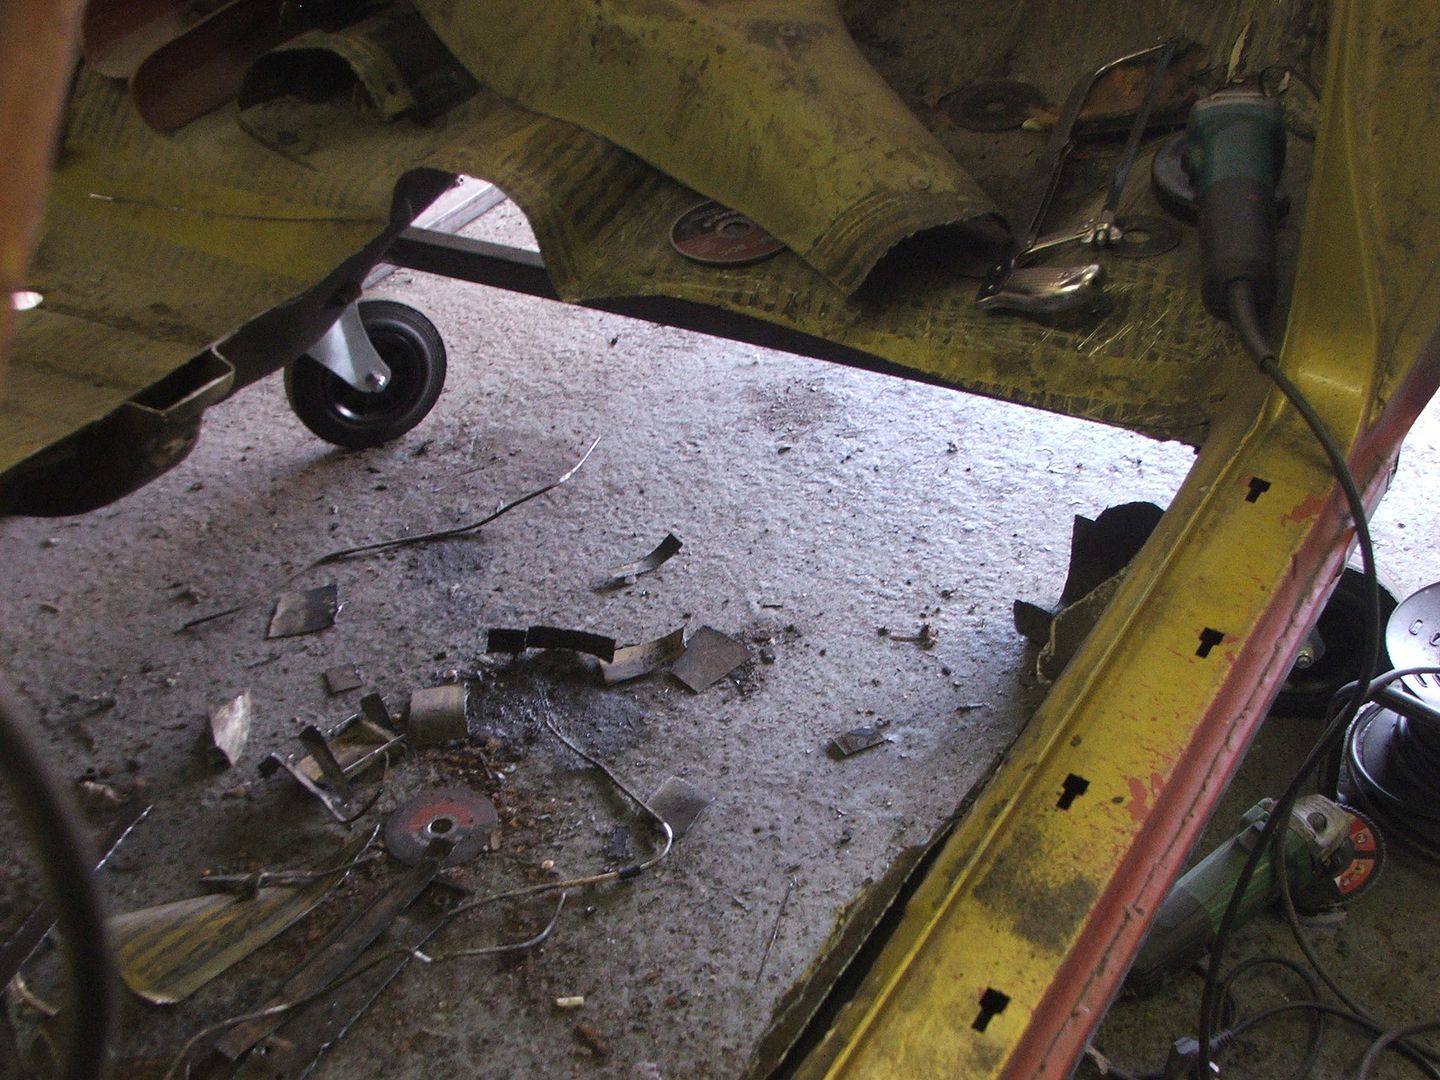
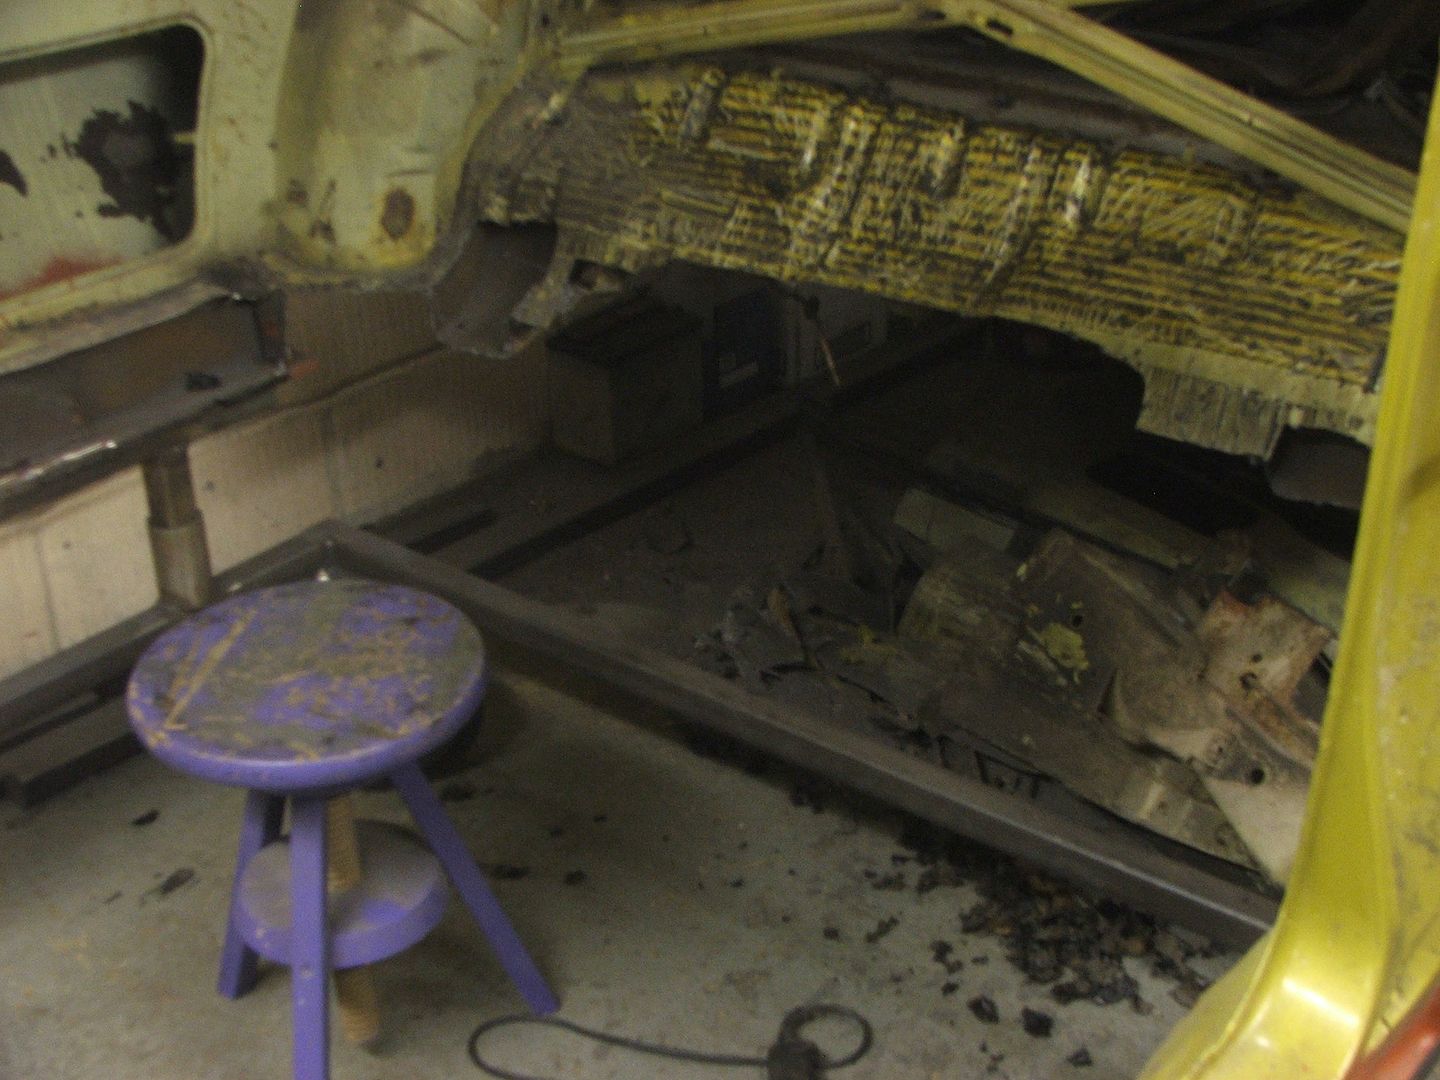
Day 2 - Now peeps I left a little bit of floor in yesterday - so that was despatched in lightening speed (who am I kidding it was an utter cow to remove as my cunning plan based on yesterdays fun and games failed at the first hurdle) so as it was the worst floor section I got brutal with it.....
Floor be gone
As I said not the best repair panel but it can be repaired and it got added to a pile that somehow I need to get to Dusseldorf
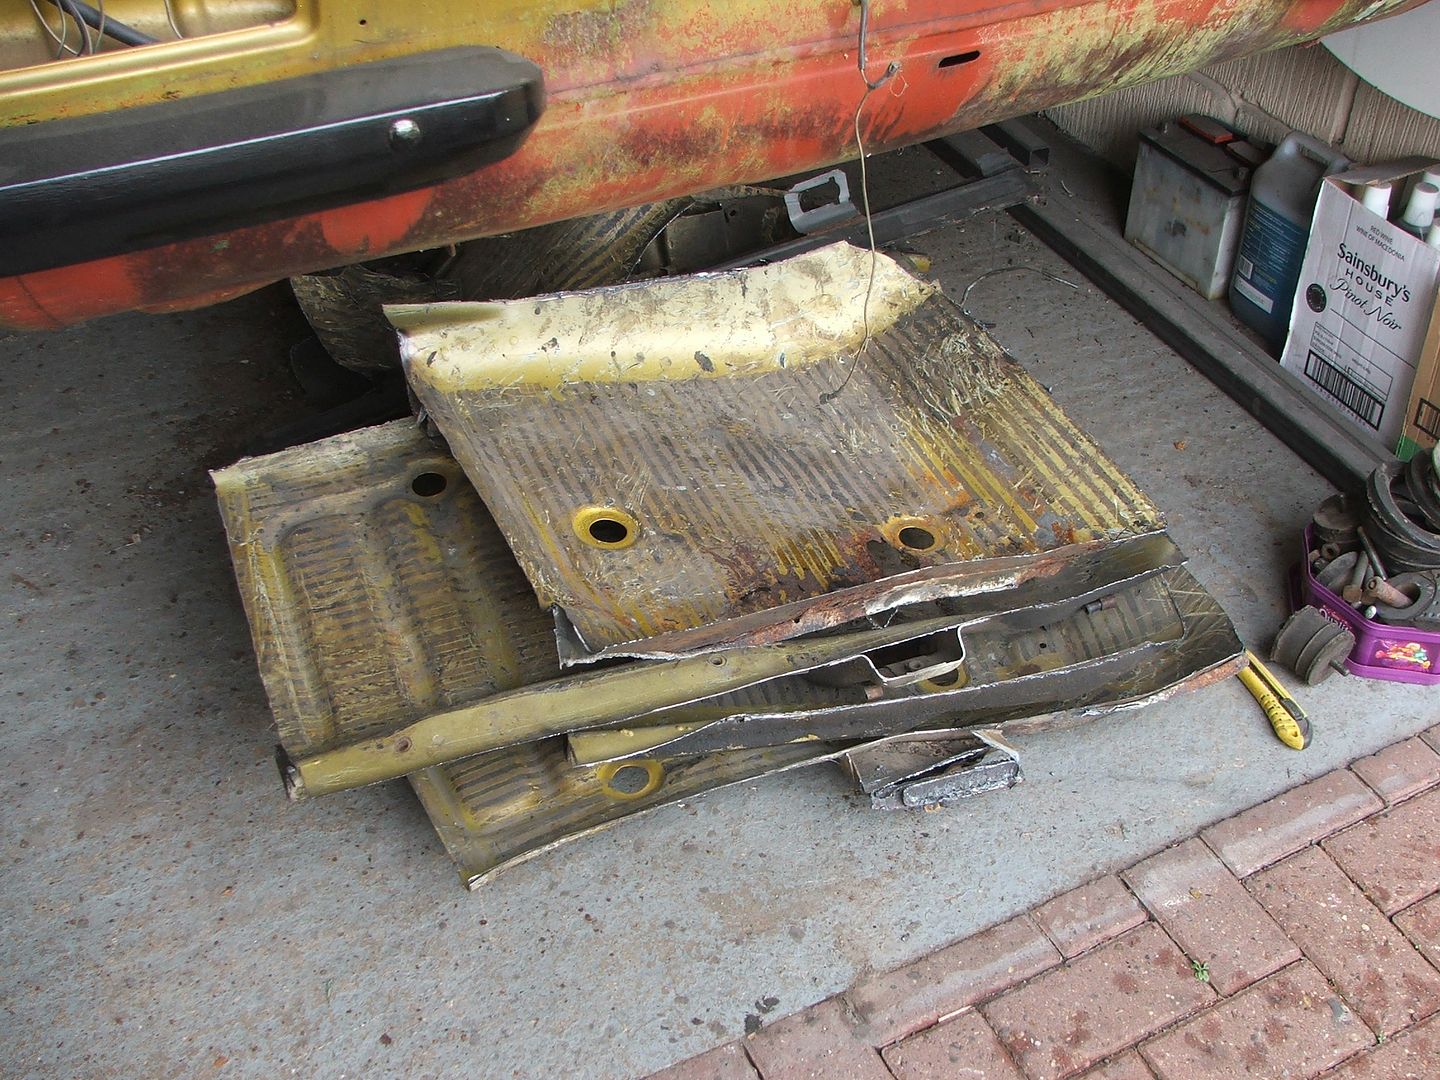
Oh and if anyone thinks the Commodore could have been saved have a look at this chassis rail
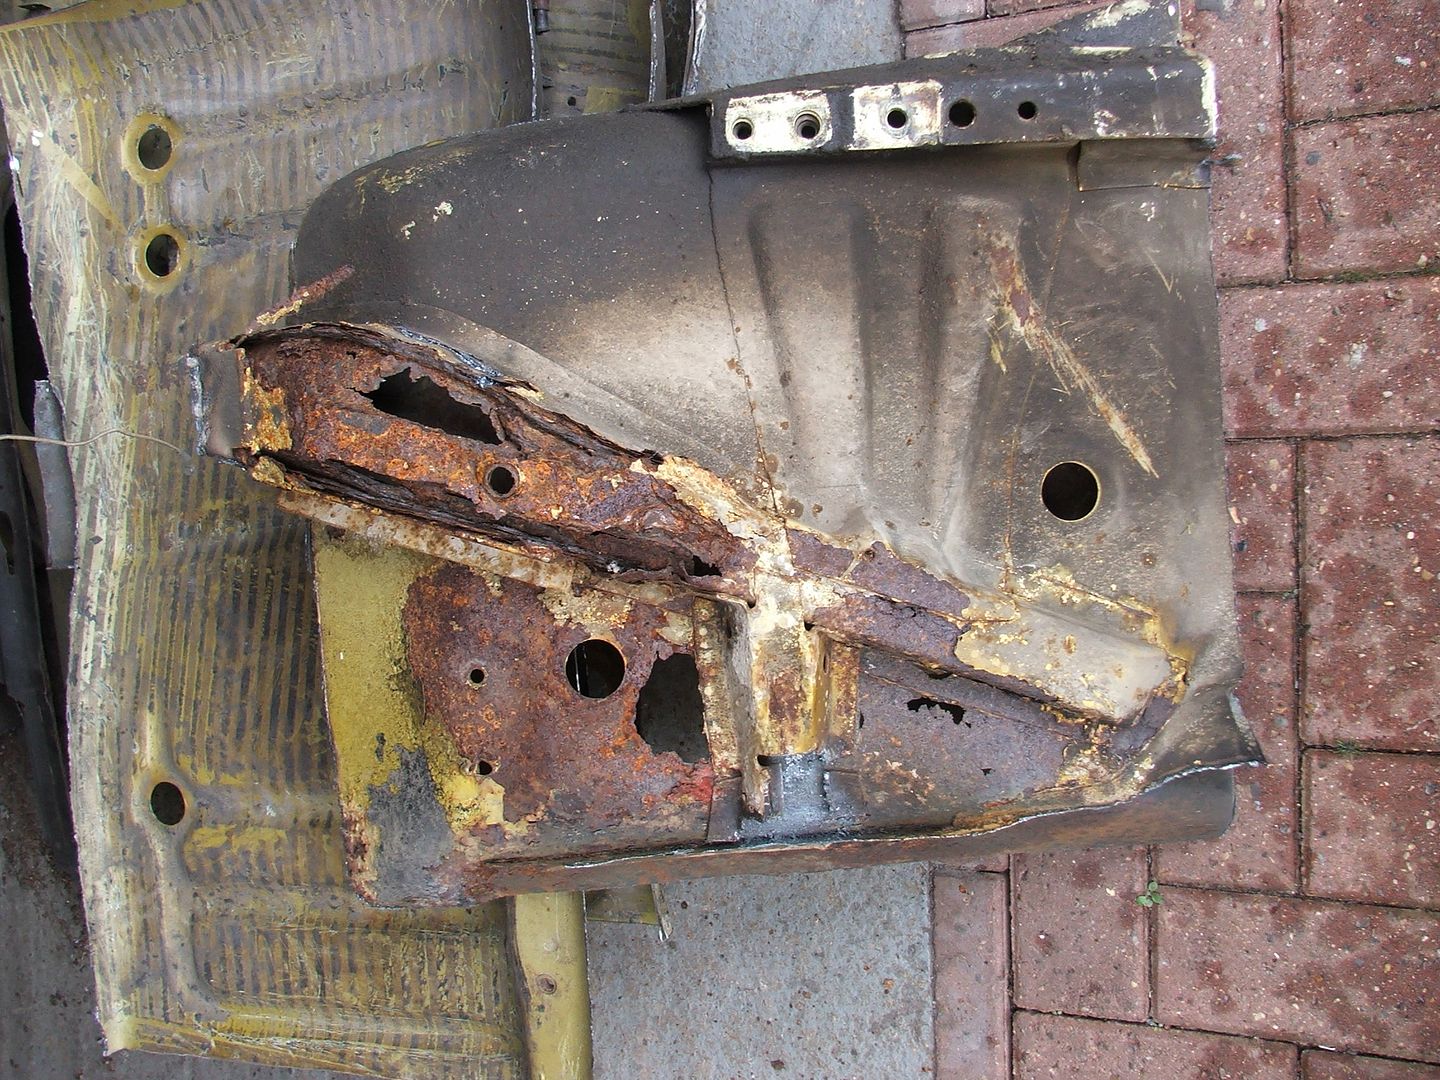
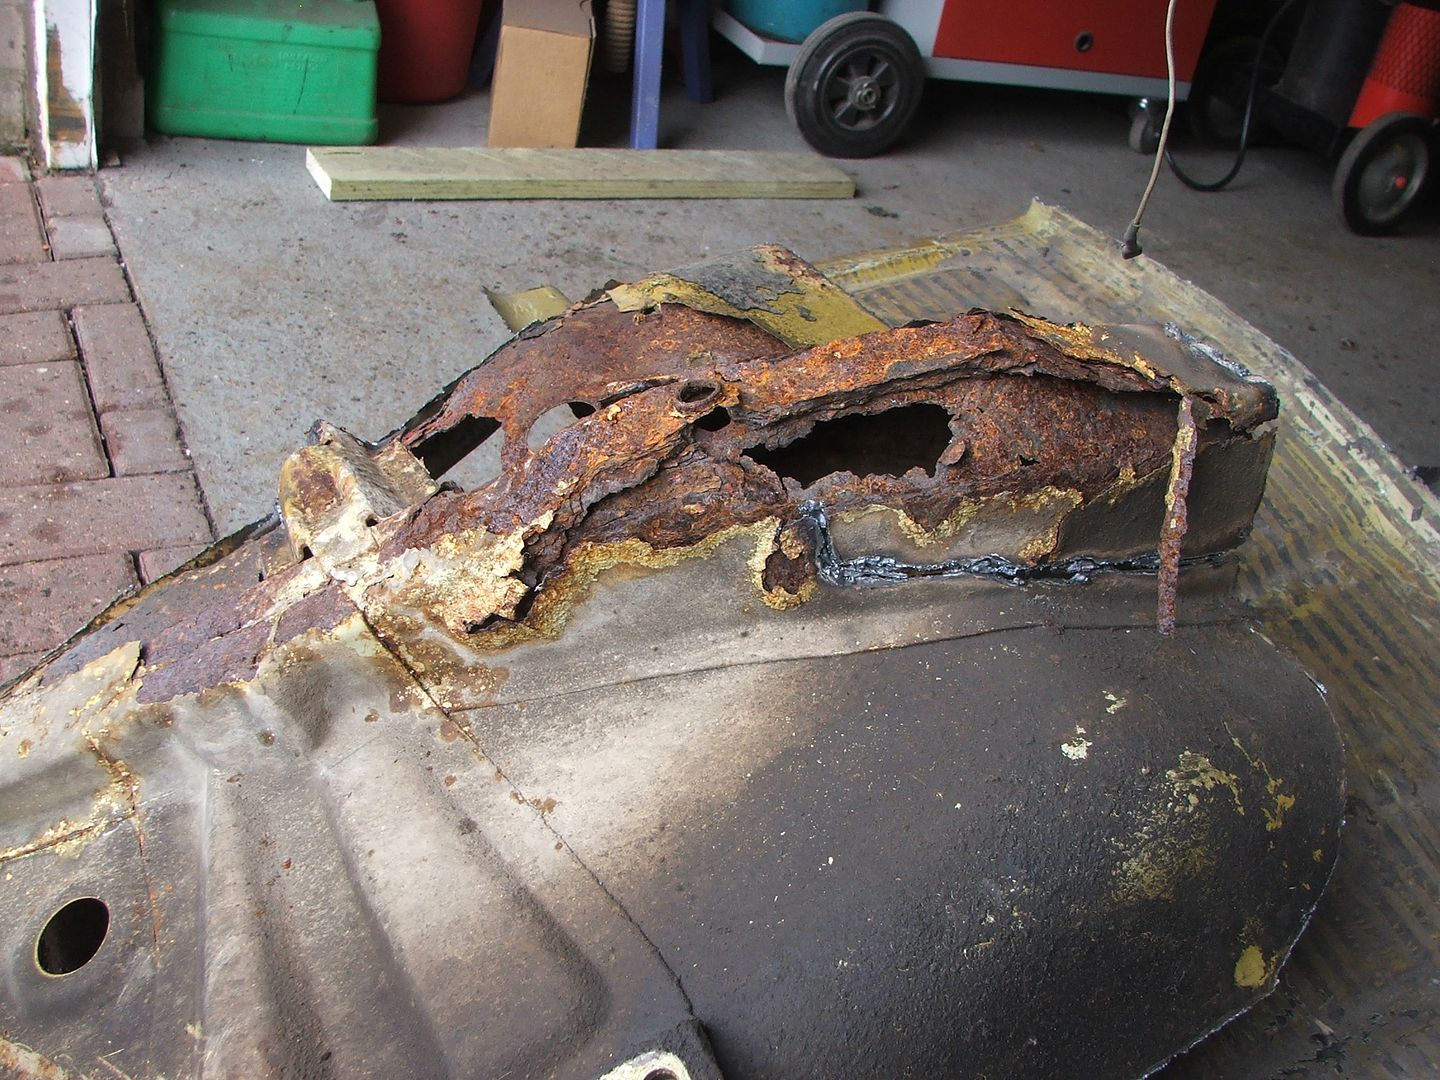
Other side was worse and the rot extends right up into the engine bay rails - yes it probably could but then this thread would read a lot different.
Bit more work at the back end (still more to do)
Tidied up the sills and got rid of the inner sill skin
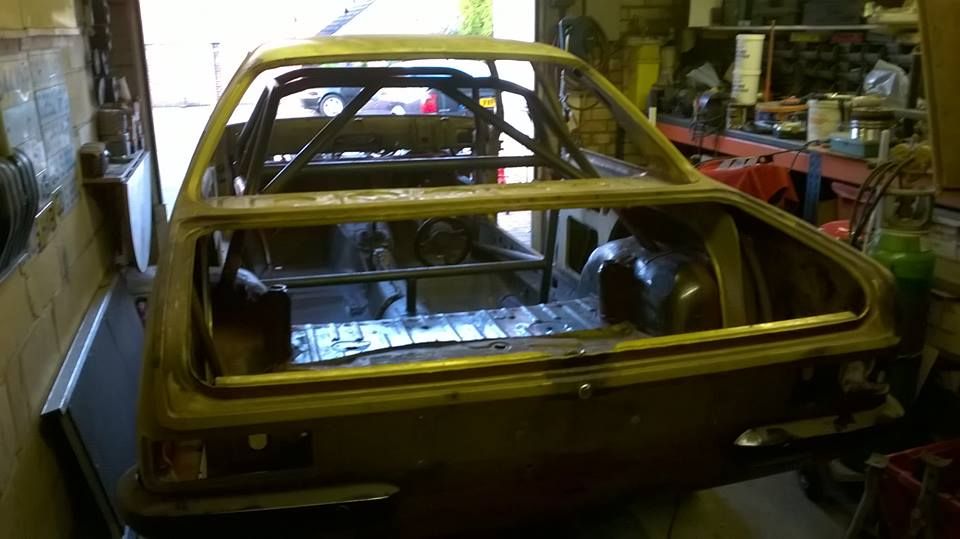
Then scraped of the matting on the inside of the roof cos it kept getting in my hair and I can now stand up and walk around inside the car so it's easy.
So front
And back
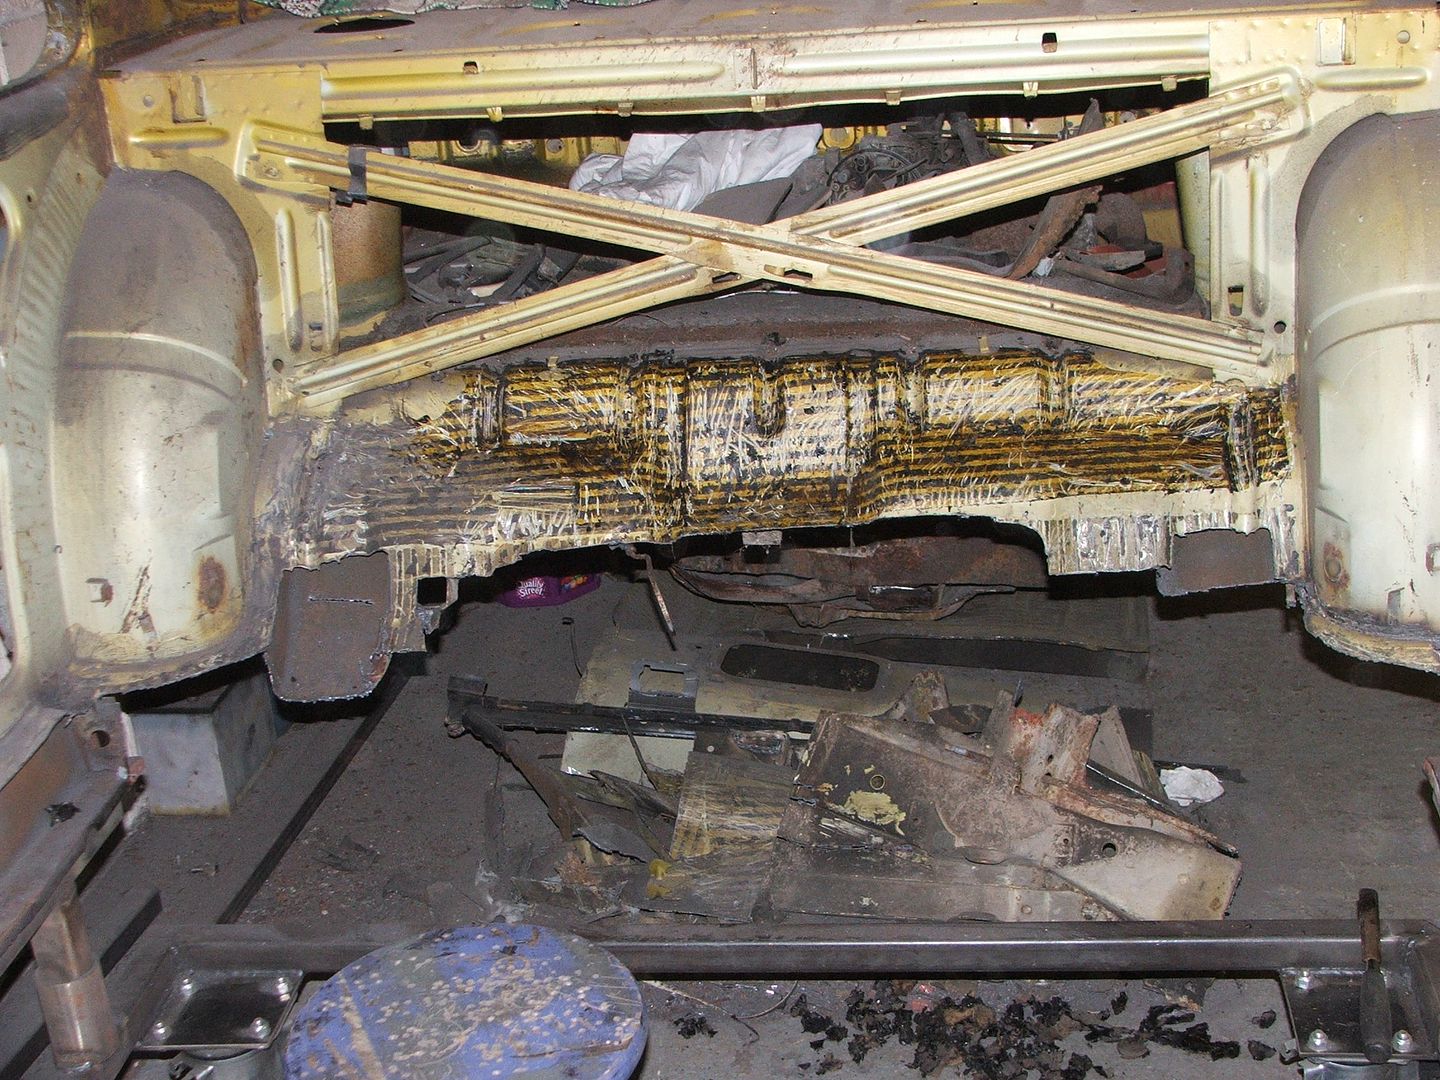
Need to dig out my spot welding drills out next as that back panel has got to come out.
Doesn't seem like much done really...........
Day 1 - Tunnel be gone

Then one side of the floor pan because I now had a handy hole where the tunnel used to be to stand in (Health and safety first - I didn't fancy sitting on a floor I wanted to remove)


Salvaged for someone

Then a bit more came out (a bit got left in for tommorrow)


Then an easy bit to finish

Day 2 - Now peeps I left a little bit of floor in yesterday - so that was despatched in lightening speed (who am I kidding it was an utter cow to remove as my cunning plan based on yesterdays fun and games failed at the first hurdle) so as it was the worst floor section I got brutal with it.....
Floor be gone

As I said not the best repair panel but it can be repaired and it got added to a pile that somehow I need to get to Dusseldorf

Oh and if anyone thinks the Commodore could have been saved have a look at this chassis rail


Other side was worse and the rot extends right up into the engine bay rails - yes it probably could but then this thread would read a lot different.
Bit more work at the back end (still more to do)

Tidied up the sills and got rid of the inner sill skin
Then scraped of the matting on the inside of the roof cos it kept getting in my hair and I can now stand up and walk around inside the car so it's easy.
So front

And back

Need to dig out my spot welding drills out next as that back panel has got to come out.
Doesn't seem like much done really...........
robg2 said:
Very impressed with this venture Ian. Keep it going!
Just you, chormey, whatty and me then 
OK just for you both the most recent update
So I had a day off the Commodore yesterday - sometimes you have to take a break
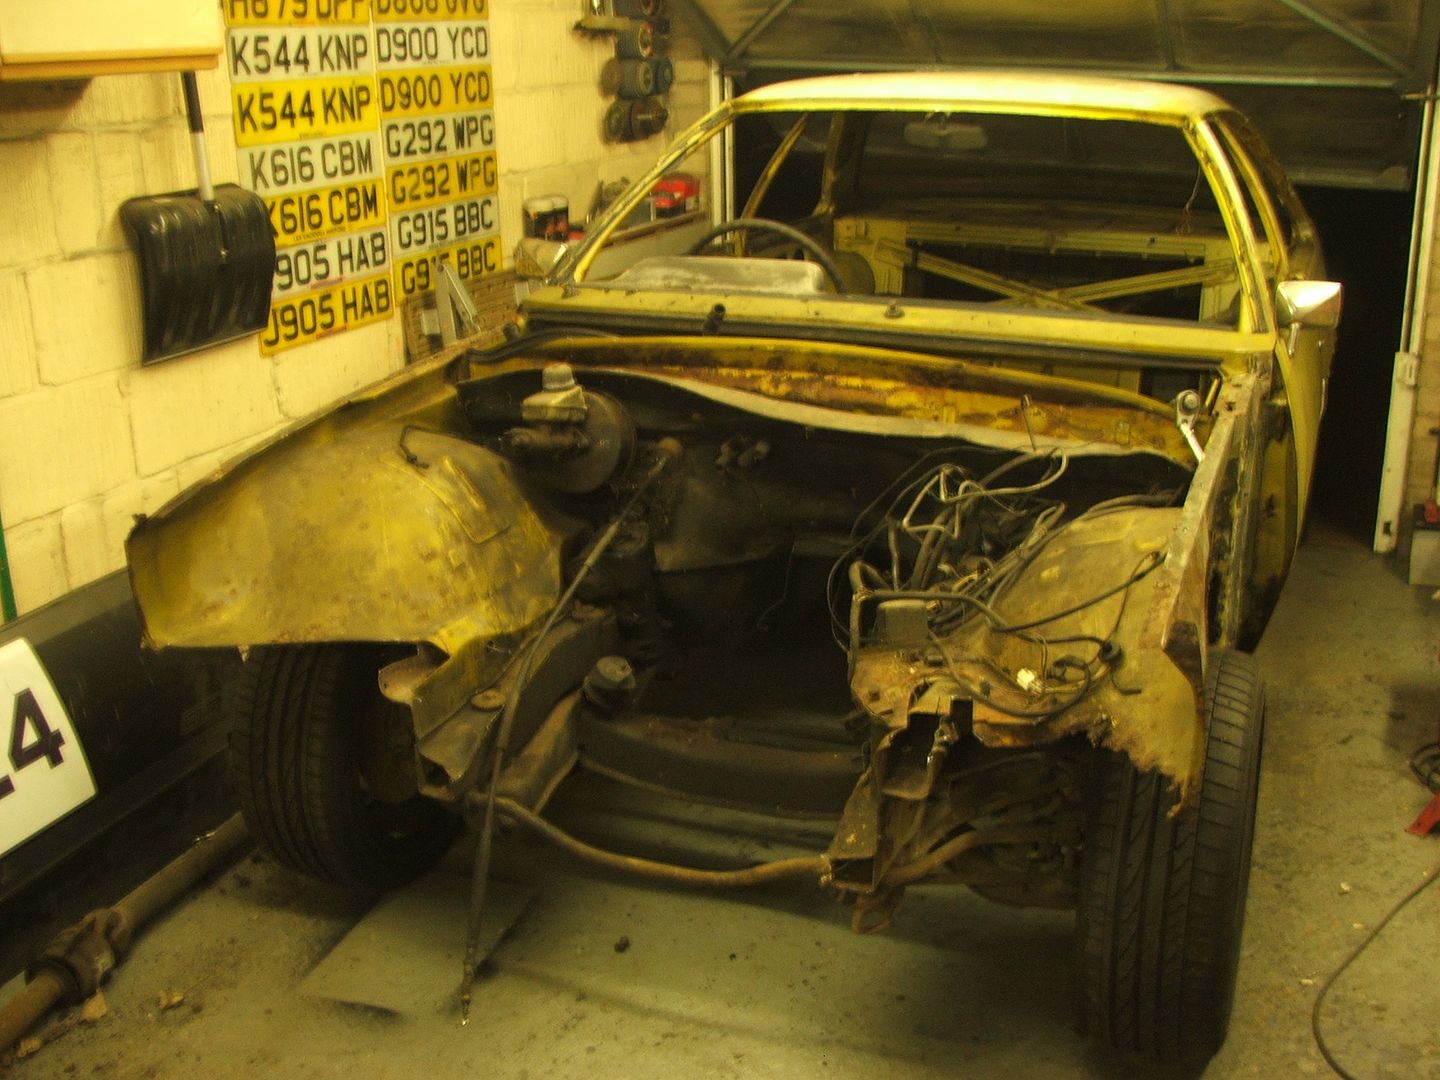
back at it - bracing be gone

Followed shortly by an arch

then another

then some other metal (mainly chassis rails)

Yeah better picture needed

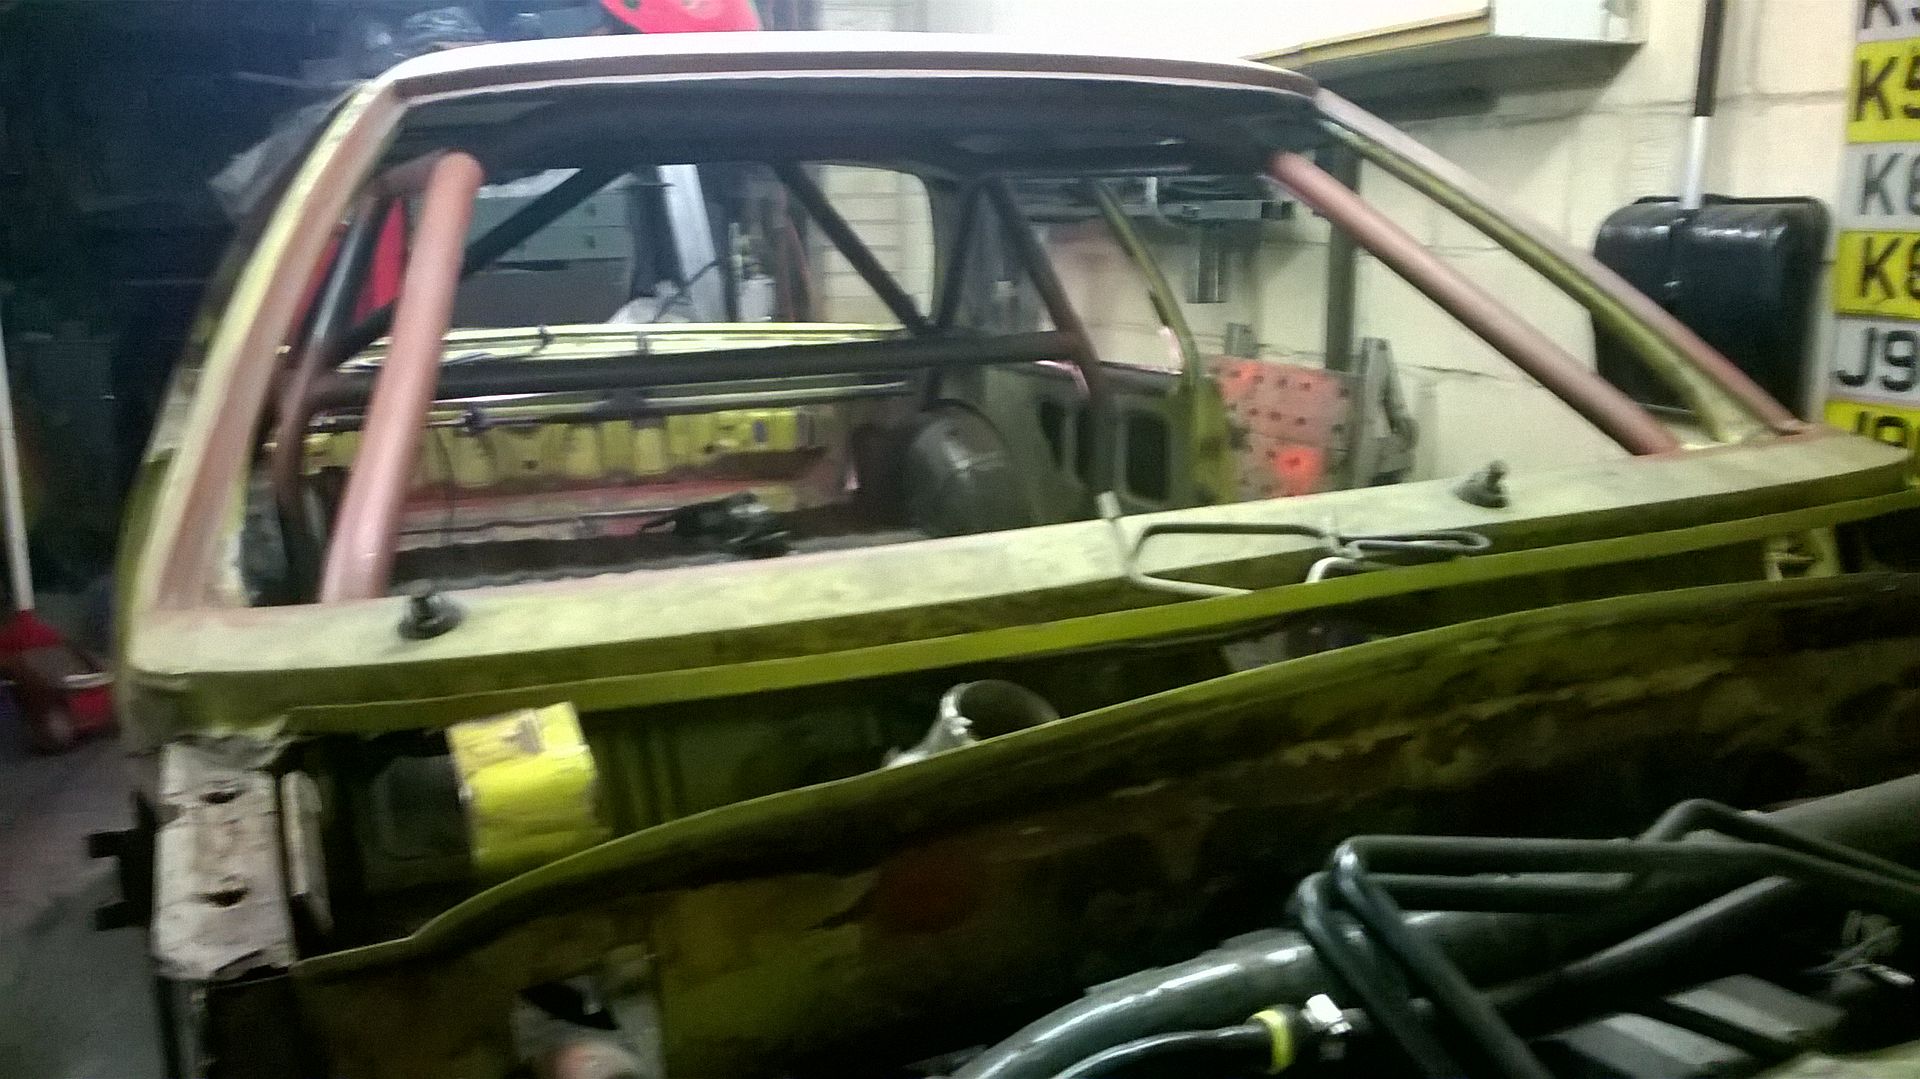
Pretty much all of the major cutting is done now just need to clean up the edges pending fitting and fettling
I needed to leave part of the original bulkhead in place because I want to use the Commodore heater box and demist pipework (track cars with no heaters aren’t much fun on a wet track day)
From inside

From outside

Inner wing rails have been removed at the bulkhead joint by drilling out the spot welds (never like that job)
Finished up the back end too


So getting nearer to the end point.....
Right now (well not exactly right now) I'm mainly welding up trim holes and removing glue residue from the roof and that's resisting any chemical I throw at it!!!
iluvmercs said:
B'stard Child said:
OK just for you both the most recent update
There will be one or two lurkers following and enjoying the updates, too 

Darren
It's tucked away here rather than in the main readers cars section because I'd like to keep it local... That way if it fails my humiliation is also only local...
iluvmercs said:
A local trait, our hopes are never high enough for much expectation and the resultant humiliation 
NFN iluvmercs said:
Keep on cuttin'!
I'm dun cutting..... (for now)I have discovered (somewhat late to be any help for the astronauts that lost their lives) a replacement for the glue that couldn't keep the tiles stuck to a space shuttle, unfortunately you'll need to go back to Opel in 1972 for find the recipe - this stuff is super sticky and stuck fast - even where there is rust underneath it...........
A club member suggested thinners and as I don't paint anything yet I think I'll get some and see how that handles it!!!
Thinners is for winners......
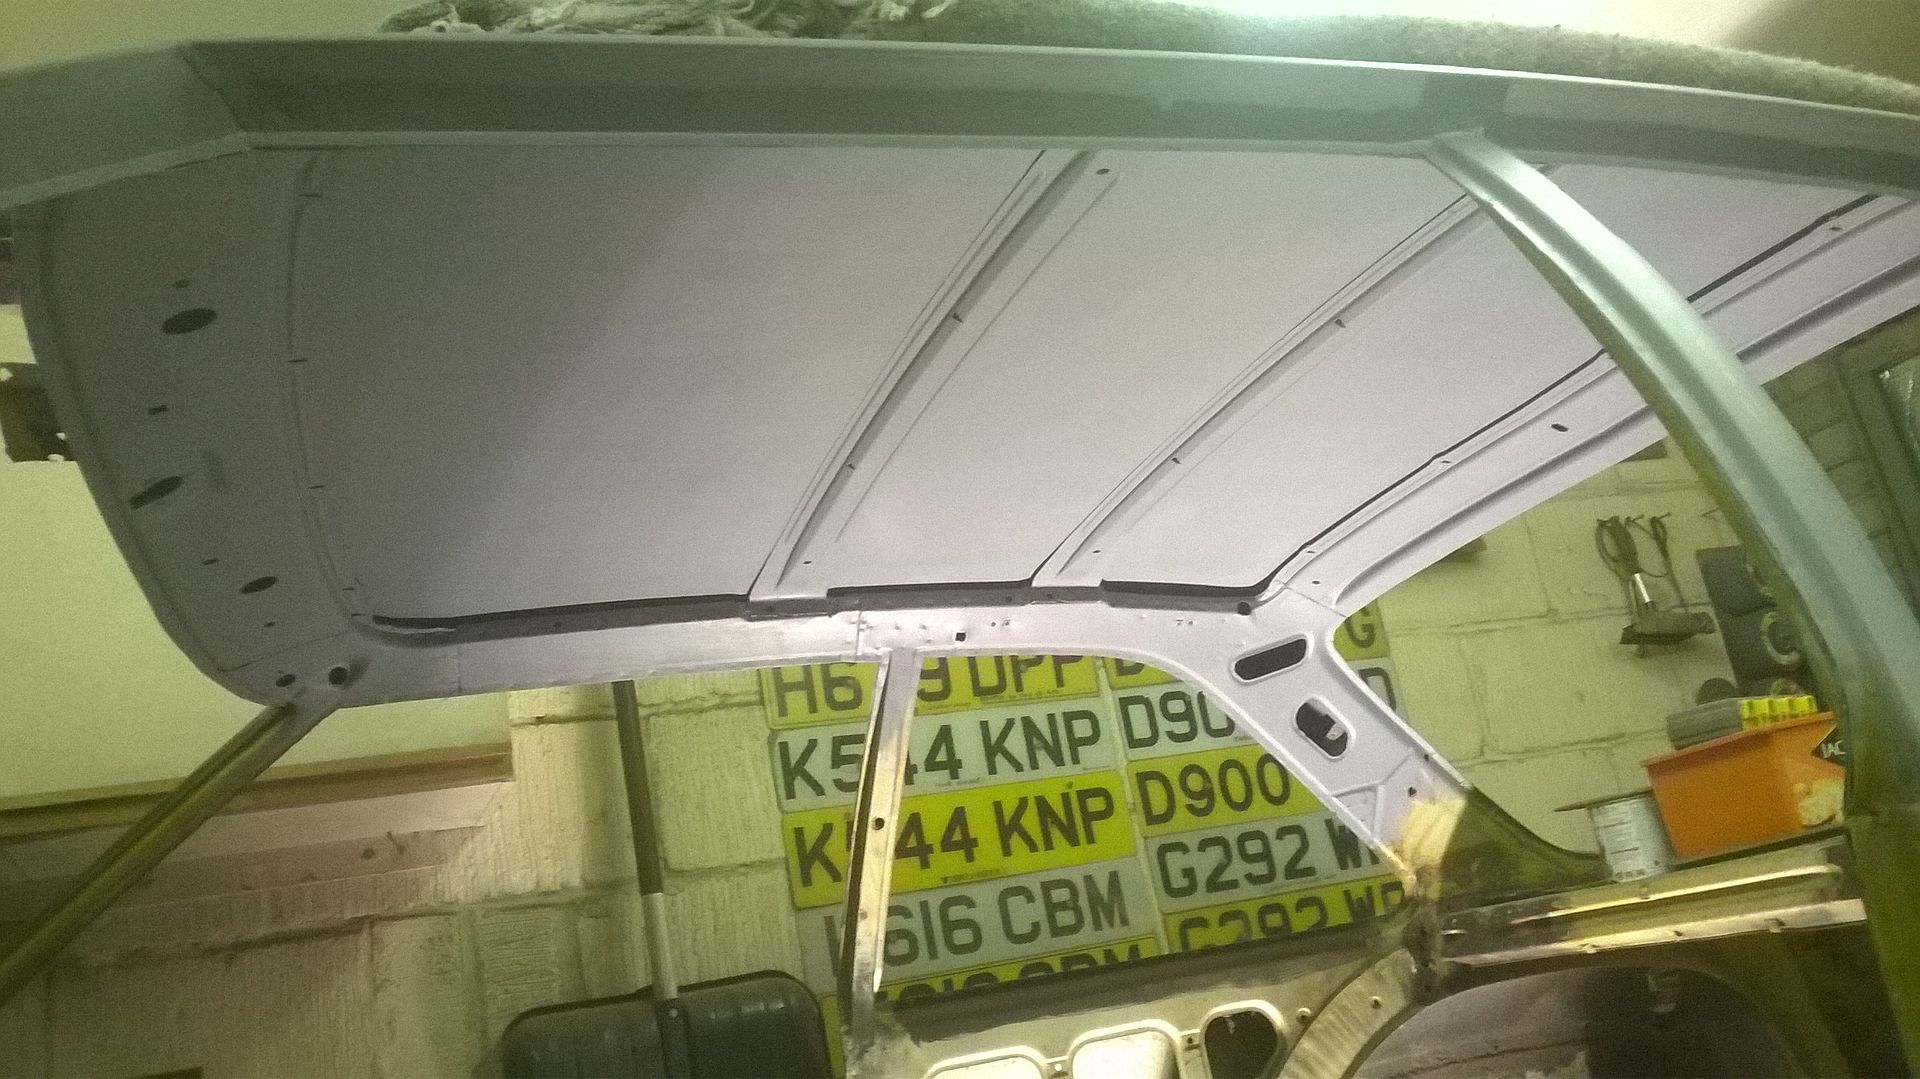
Had to resort to painting it on, repeatedly and then after it had softened up, using a sharp wallpaper scrapped to lift the majority.
Then apply more thinners and follow up with scotchbrite again soaked in thiners
Hit the surface rust with a zip wheel followed by my last strip disc and I had a surface I could paint. So I did, two coats of primer and it looks so much better.
Painting now because I'm not going to be able to do it when the roll cage is in the way.
High as a kite now.........
Oh and I need to re-paint my garage floor as it appears that thinners is very good at bubbling floor paint...... Needed doing anyway once this project is done.
Poor lighting - crappy phone camera - not my best composition but I know you guys like pictures
Thinners is for winners......
Had to resort to painting it on, repeatedly and then after it had softened up, using a sharp wallpaper scrapped to lift the majority.
Then apply more thinners and follow up with scotchbrite again soaked in thiners
Hit the surface rust with a zip wheel followed by my last strip disc and I had a surface I could paint. So I did, two coats of primer and it looks so much better.
Painting now because I'm not going to be able to do it when the roll cage is in the way.
High as a kite now.........
Oh and I need to re-paint my garage floor as it appears that thinners is very good at bubbling floor paint...... Needed doing anyway once this project is done.
Poor lighting - crappy phone camera - not my best composition but I know you guys like pictures

I have made some progress (apologies for rubbish mobile pictures)
So it's sort of on
A bit high Sitting on the roll cage where it links the main cage to the turrets
Sitting on the sills - sills on top of sills (not quite what I had in mind)
So I have some arch gap issues

Oh and the body needs to go three inches forwards
But it's progress right
Best bit for me is just before the winter both bits are in the garage and I have a winter to get it sorted
So it's sort of on

A bit high Sitting on the roll cage where it links the main cage to the turrets

Sitting on the sills - sills on top of sills (not quite what I had in mind)

So I have some arch gap issues

Oh and the body needs to go three inches forwards
But it's progress right
Best bit for me is just before the winter both bits are in the garage and I have a winter to get it sorted
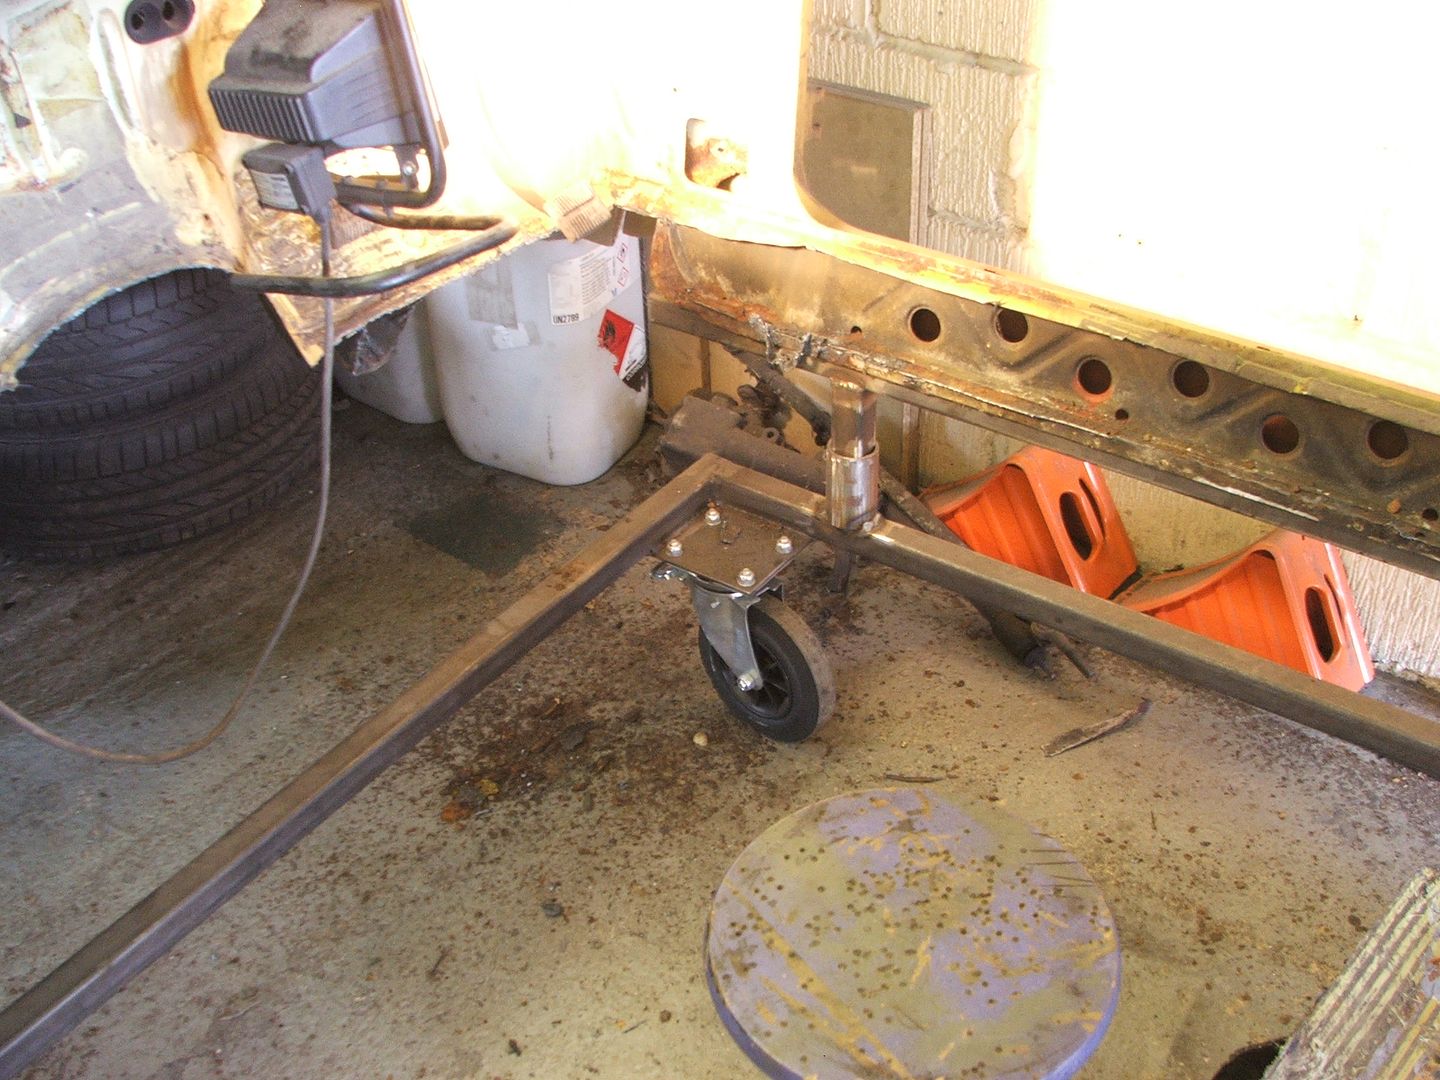
OK a suggestion from another forum I use regarding my up and down requirements (I really can't rely on my three first fitment helpers everytime it needs to go up or down) scissor jacks - great idea I thought - so I bought 4 new ones
Intention was to use two at the back and one or maybe 2 at the front depending on how well it worked out
So I mig'd in a 140mm 40x40 box section in across the back (I needed to consider that the body still needs to move forward 3 inches)
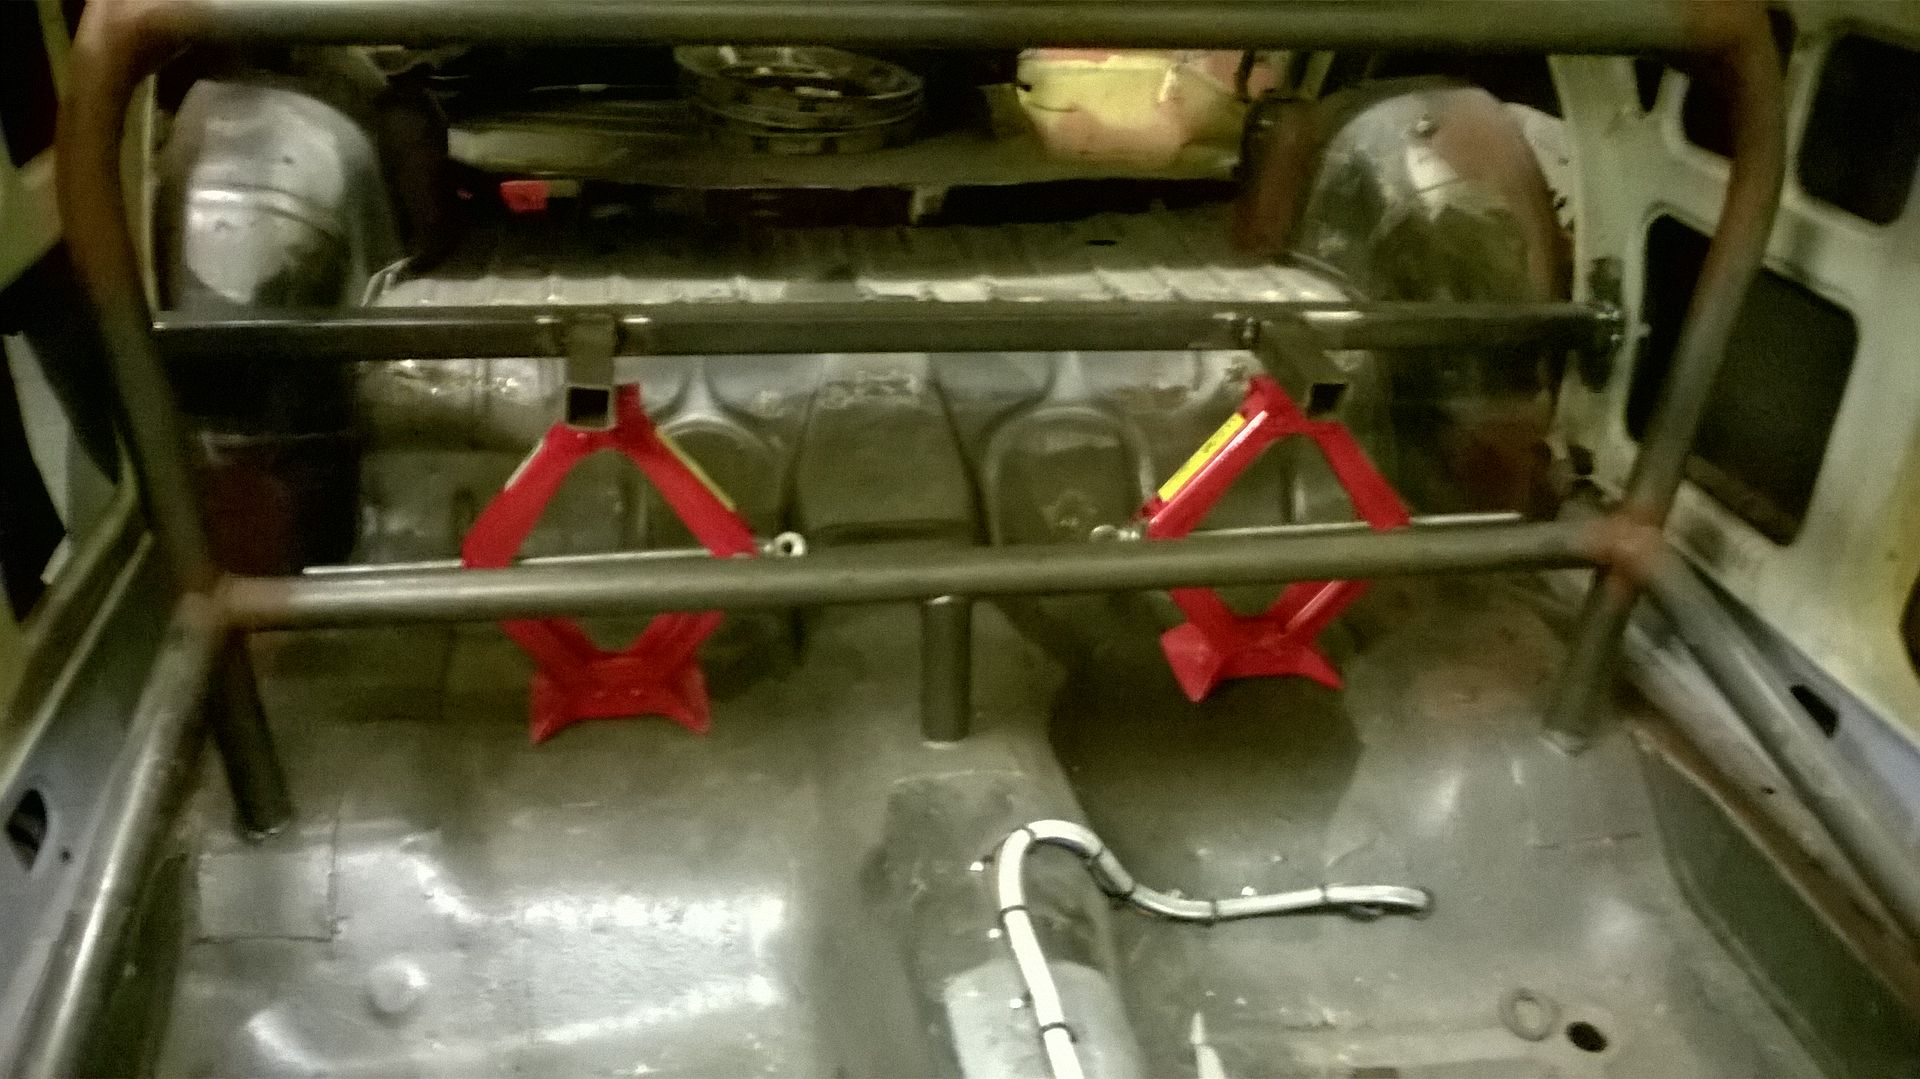
So then I thought I'll jack the back end and see what I need to do with the front
Hmmmm wasn't expecting that - the whole shell was lifting evenly front and rear with just the two rear scissors in use
Oh well carry on and see if it gets a bit tippy as I go higher - then I can almost certainly get away with just adding a bit of support/lifting capability at the front............
Or not...... I guess I've found the centre of effort!!!
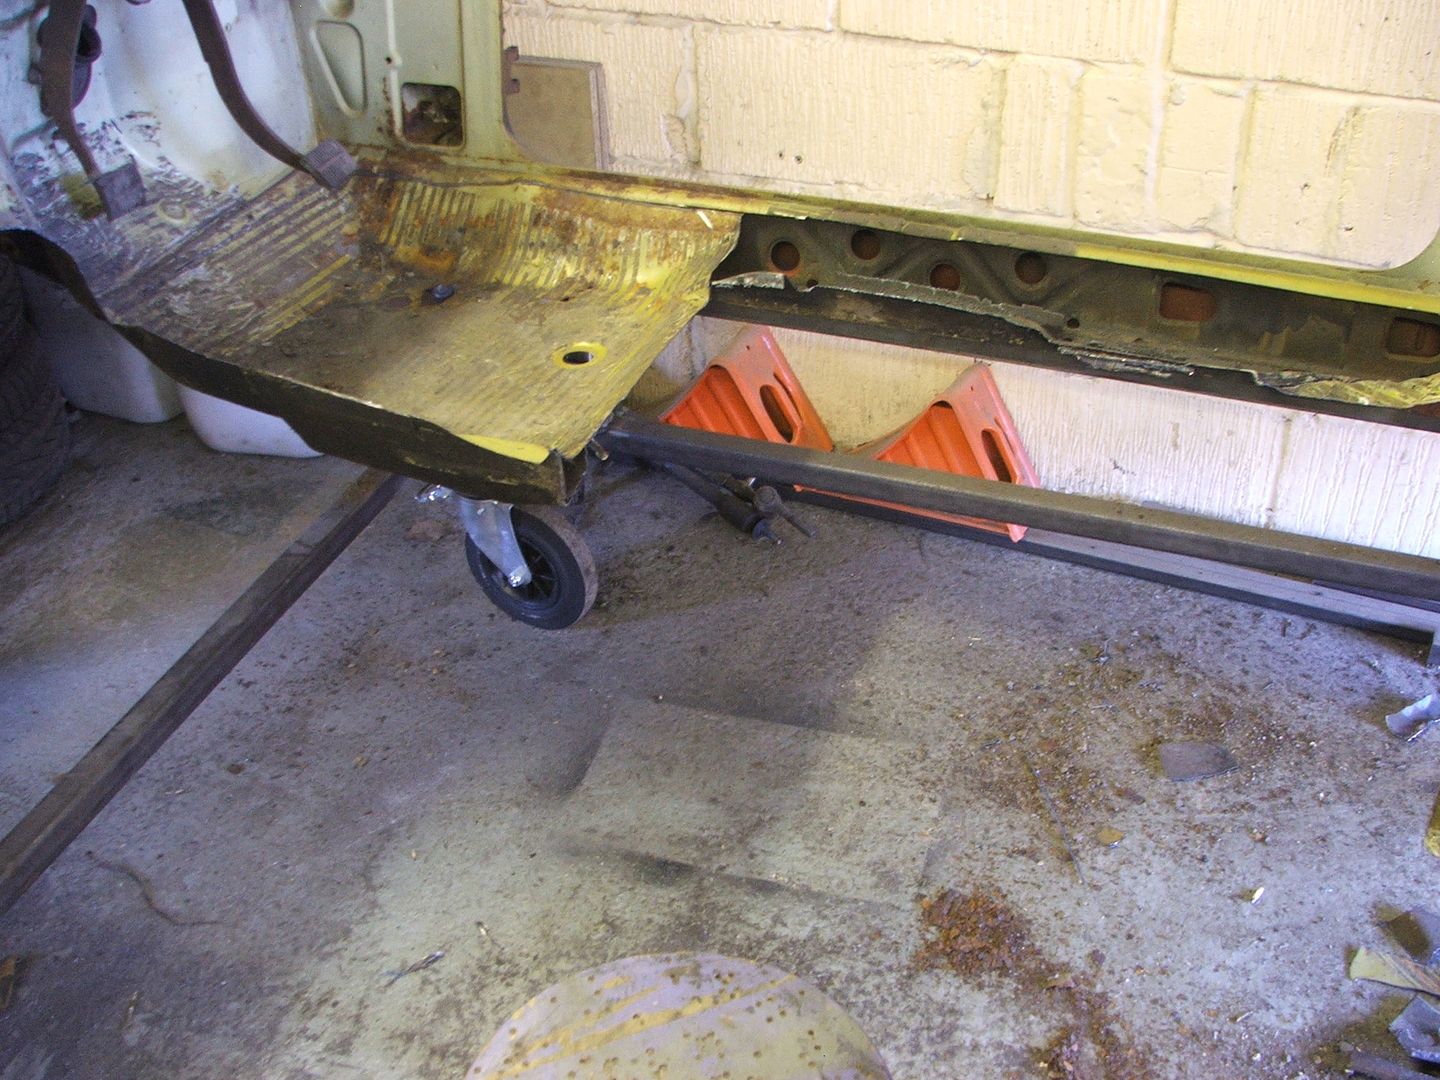
So I got one side of the floor pan folded up to allow the body to slide over and dropped it down

Needs to go down another 4 inches but it can't right now
- The parcel shelf is fouling the rear section of the cage
- The scuttle is fouling the front section of the cage
- The "boot floor" is fouling on the "boot floor"
So until I have both sides over the step I'm not cutting yet - space is a bit tight in the other side of the garage so I may well push it out and turn it round so I have better access
Intention was to use two at the back and one or maybe 2 at the front depending on how well it worked out
So I mig'd in a 140mm 40x40 box section in across the back (I needed to consider that the body still needs to move forward 3 inches)

So then I thought I'll jack the back end and see what I need to do with the front

Hmmmm wasn't expecting that - the whole shell was lifting evenly front and rear with just the two rear scissors in use
Oh well carry on and see if it gets a bit tippy as I go higher - then I can almost certainly get away with just adding a bit of support/lifting capability at the front............

Or not...... I guess I've found the centre of effort!!!
So I got one side of the floor pan folded up to allow the body to slide over and dropped it down

Needs to go down another 4 inches but it can't right now
- The parcel shelf is fouling the rear section of the cage
- The scuttle is fouling the front section of the cage
- The "boot floor" is fouling on the "boot floor"
So until I have both sides over the step I'm not cutting yet - space is a bit tight in the other side of the garage so I may well push it out and turn it round so I have better access
So where was I....................
Needs to go down another 4 inches but it can't right now
- The parcel shelf is fouling the rear section of the cage
- The scuttle is fouling the front section of the cage
- The "boot floor" is fouling on the "boot floor"
So until I have both sides over the step I'm not cutting yet - space is a bit tight in the other side of the garage so I may well push it out and turn it round so I have better access
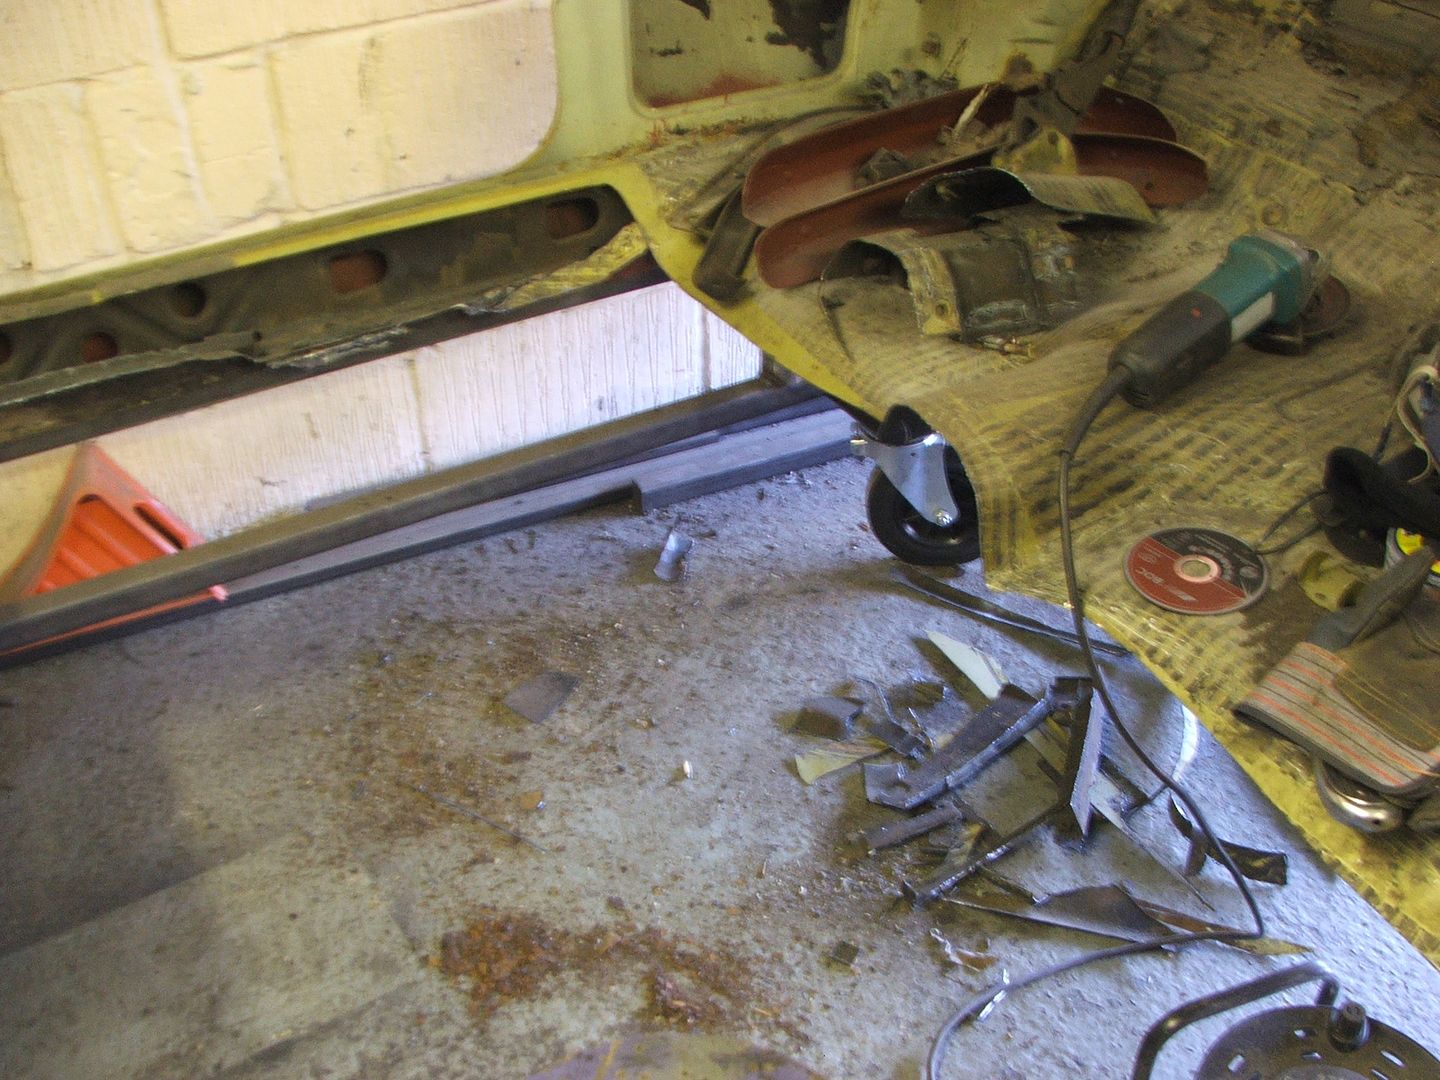
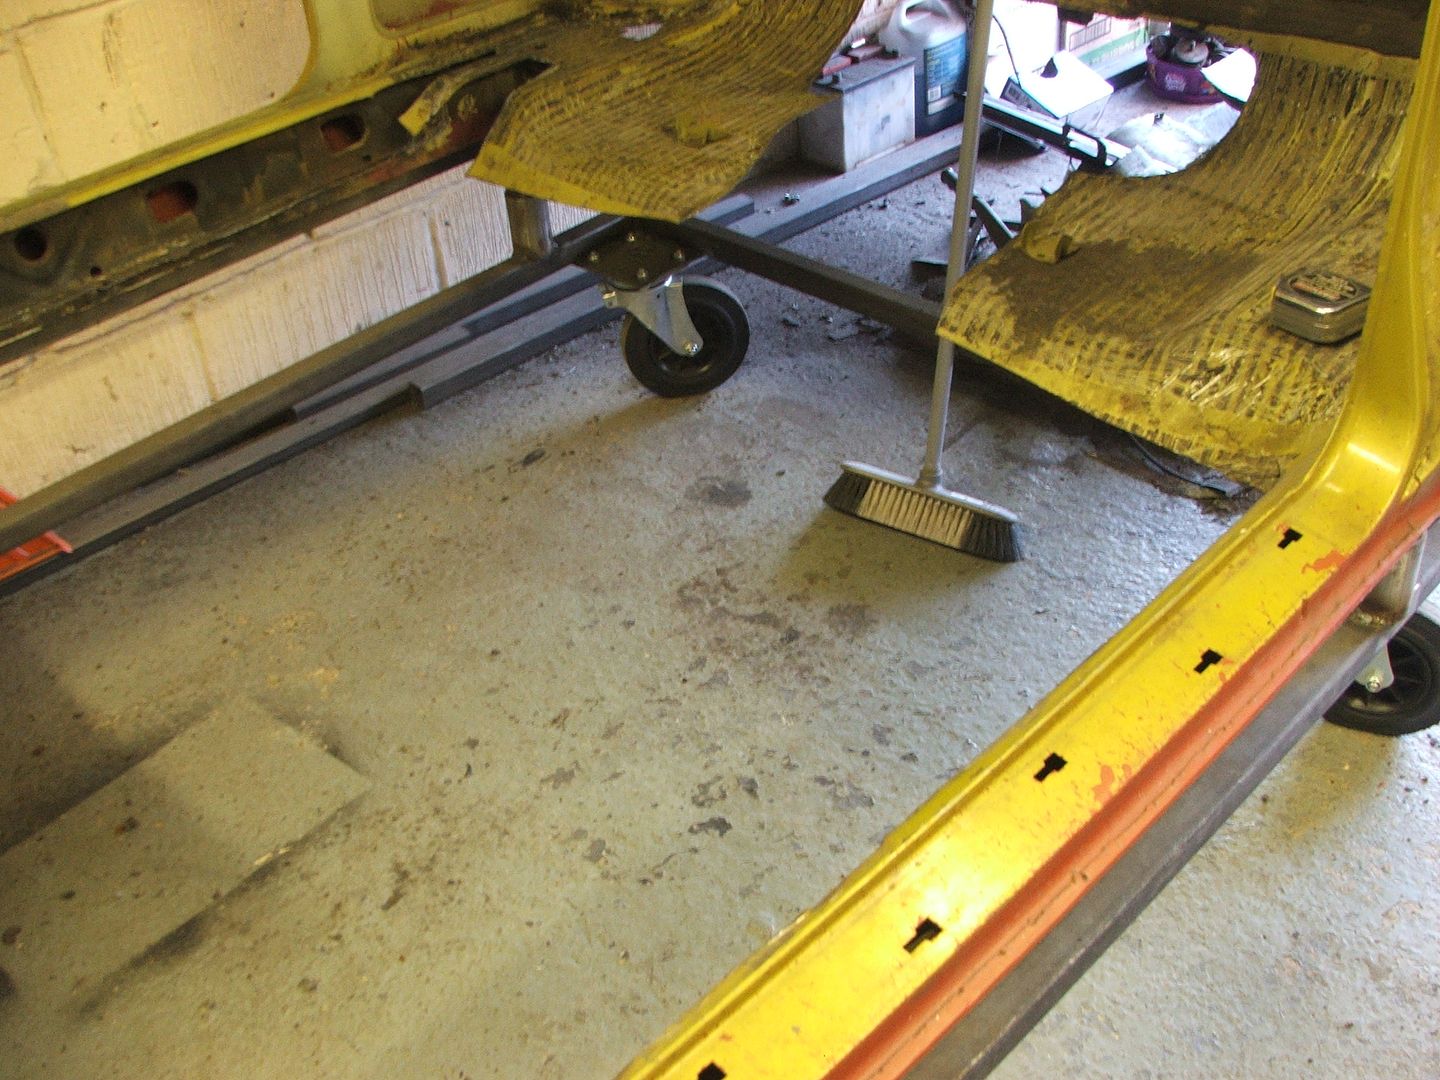
Well I jacked up the back and dragged it across the garage to make some room and got stuck in before I hit my power tool curfew
Other side sill is now over - not all the way down but it's over and that's much better - arch gap has closed
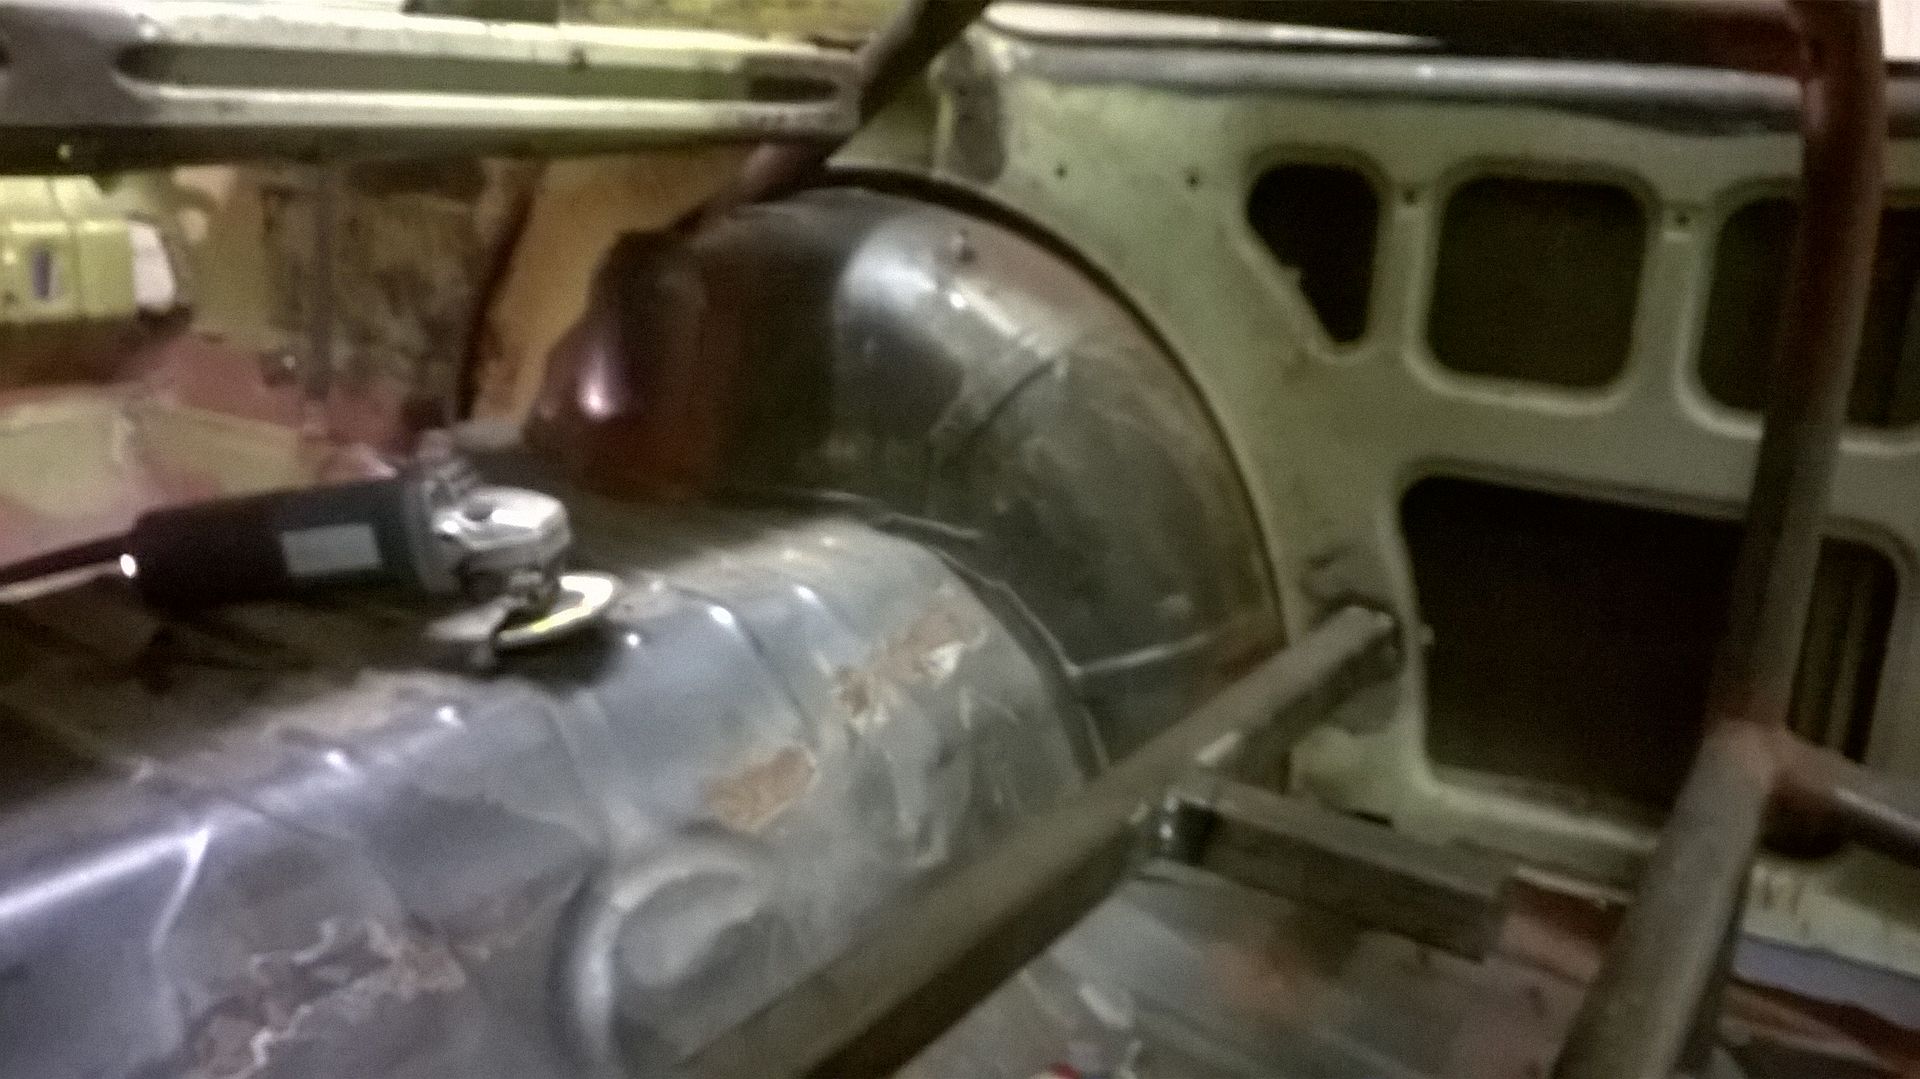
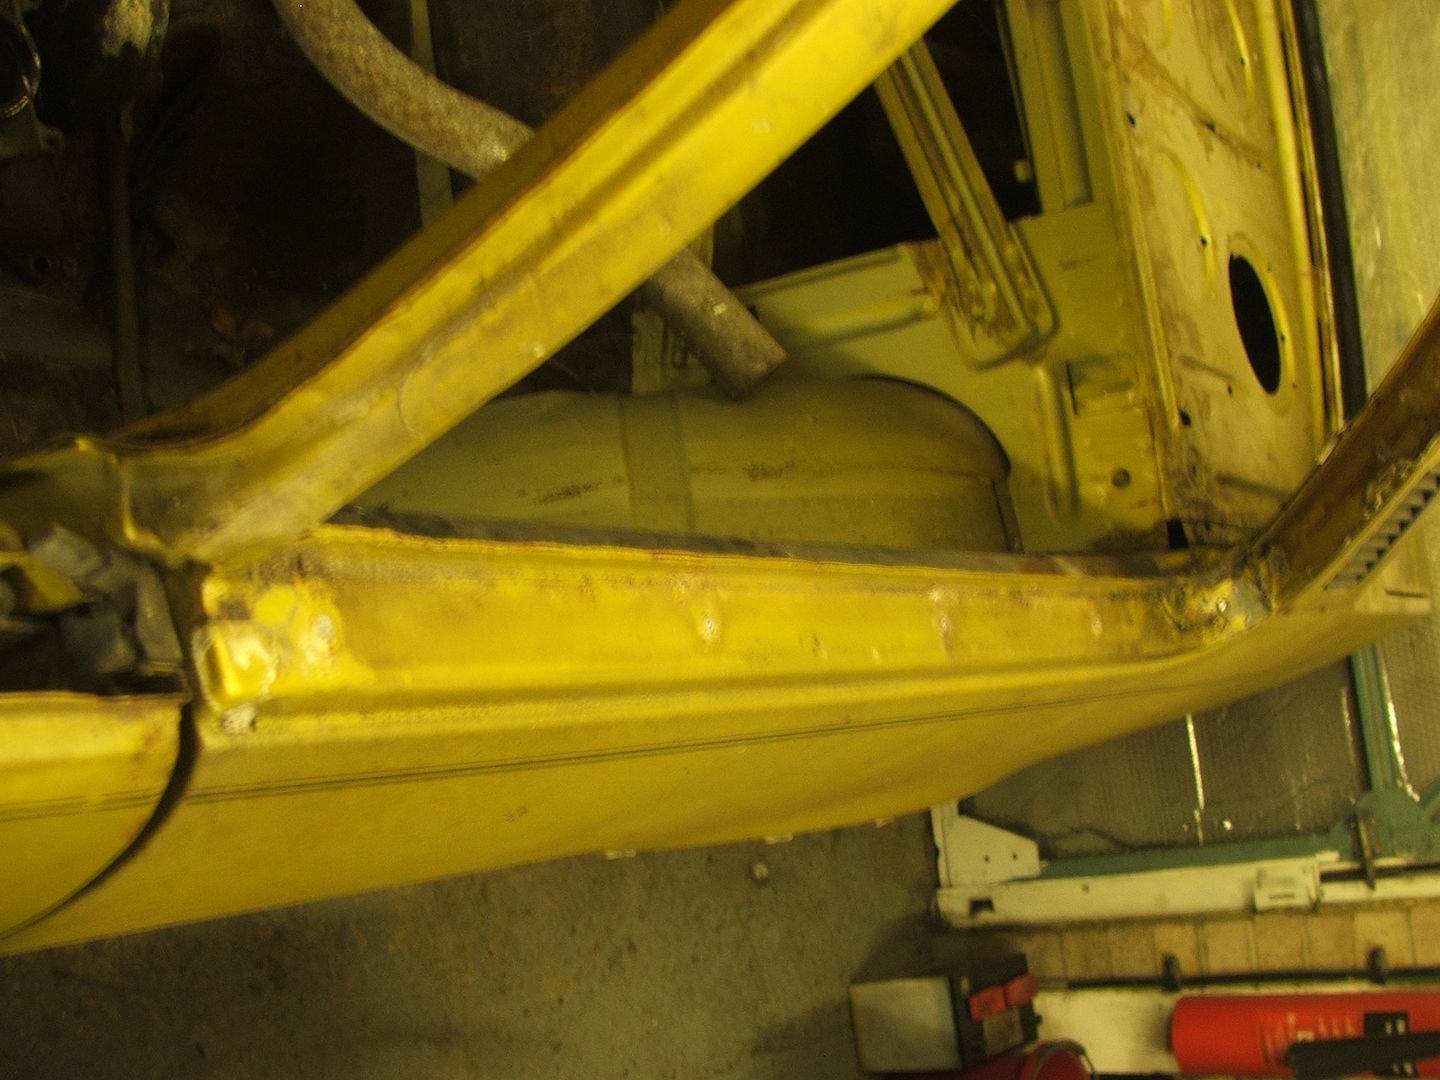
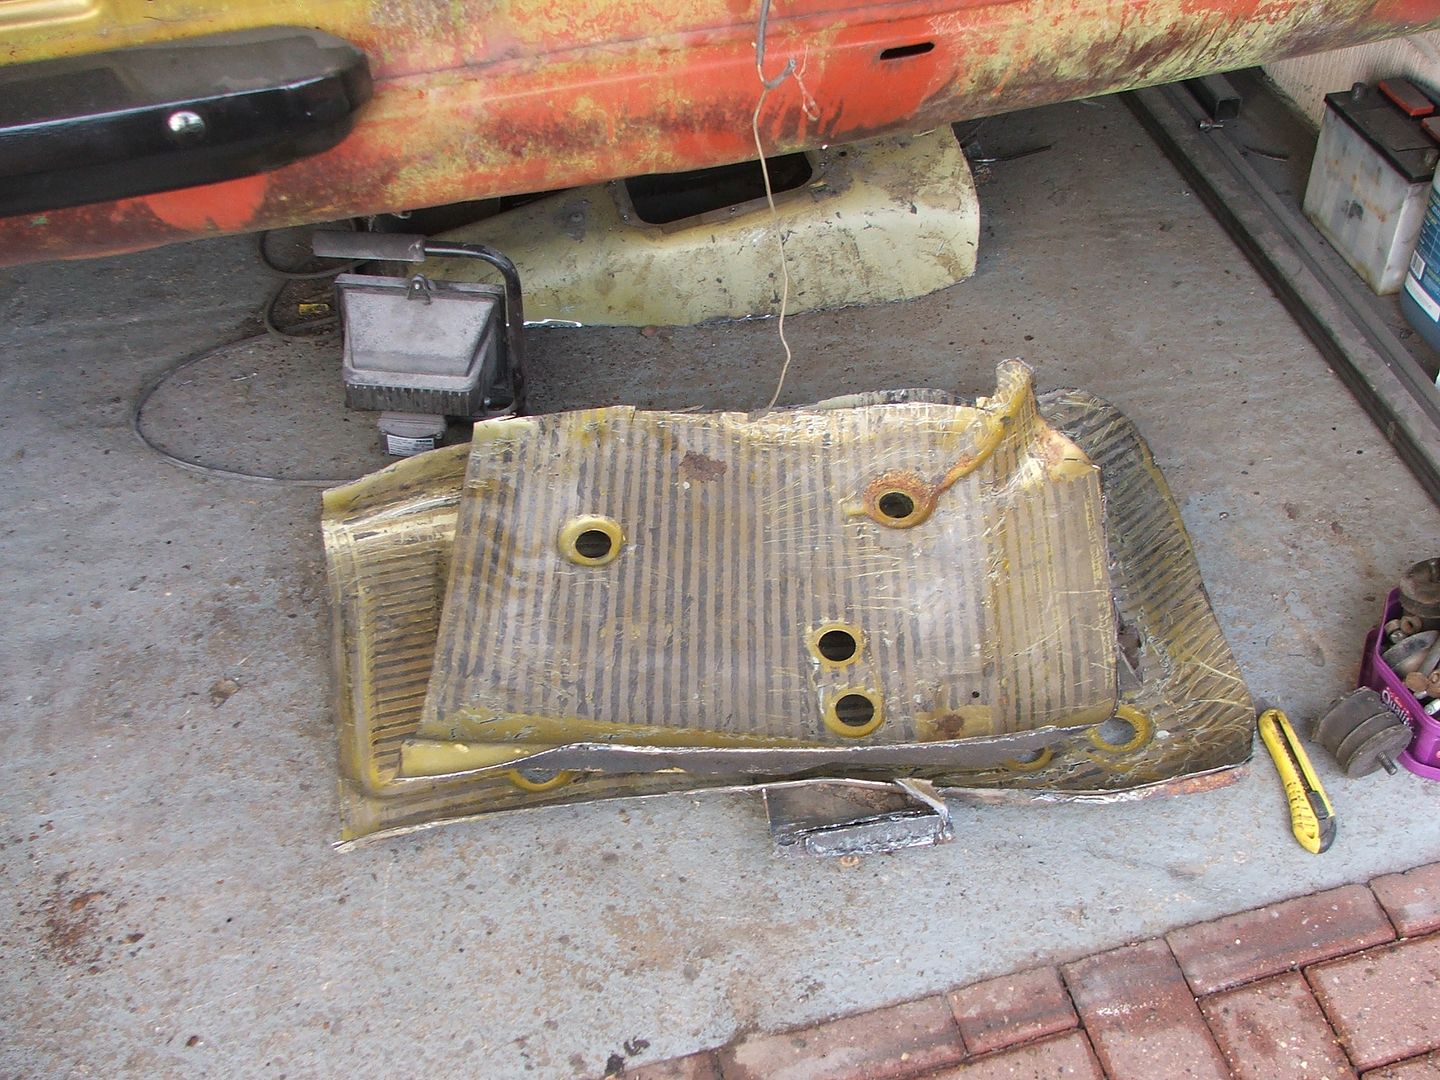
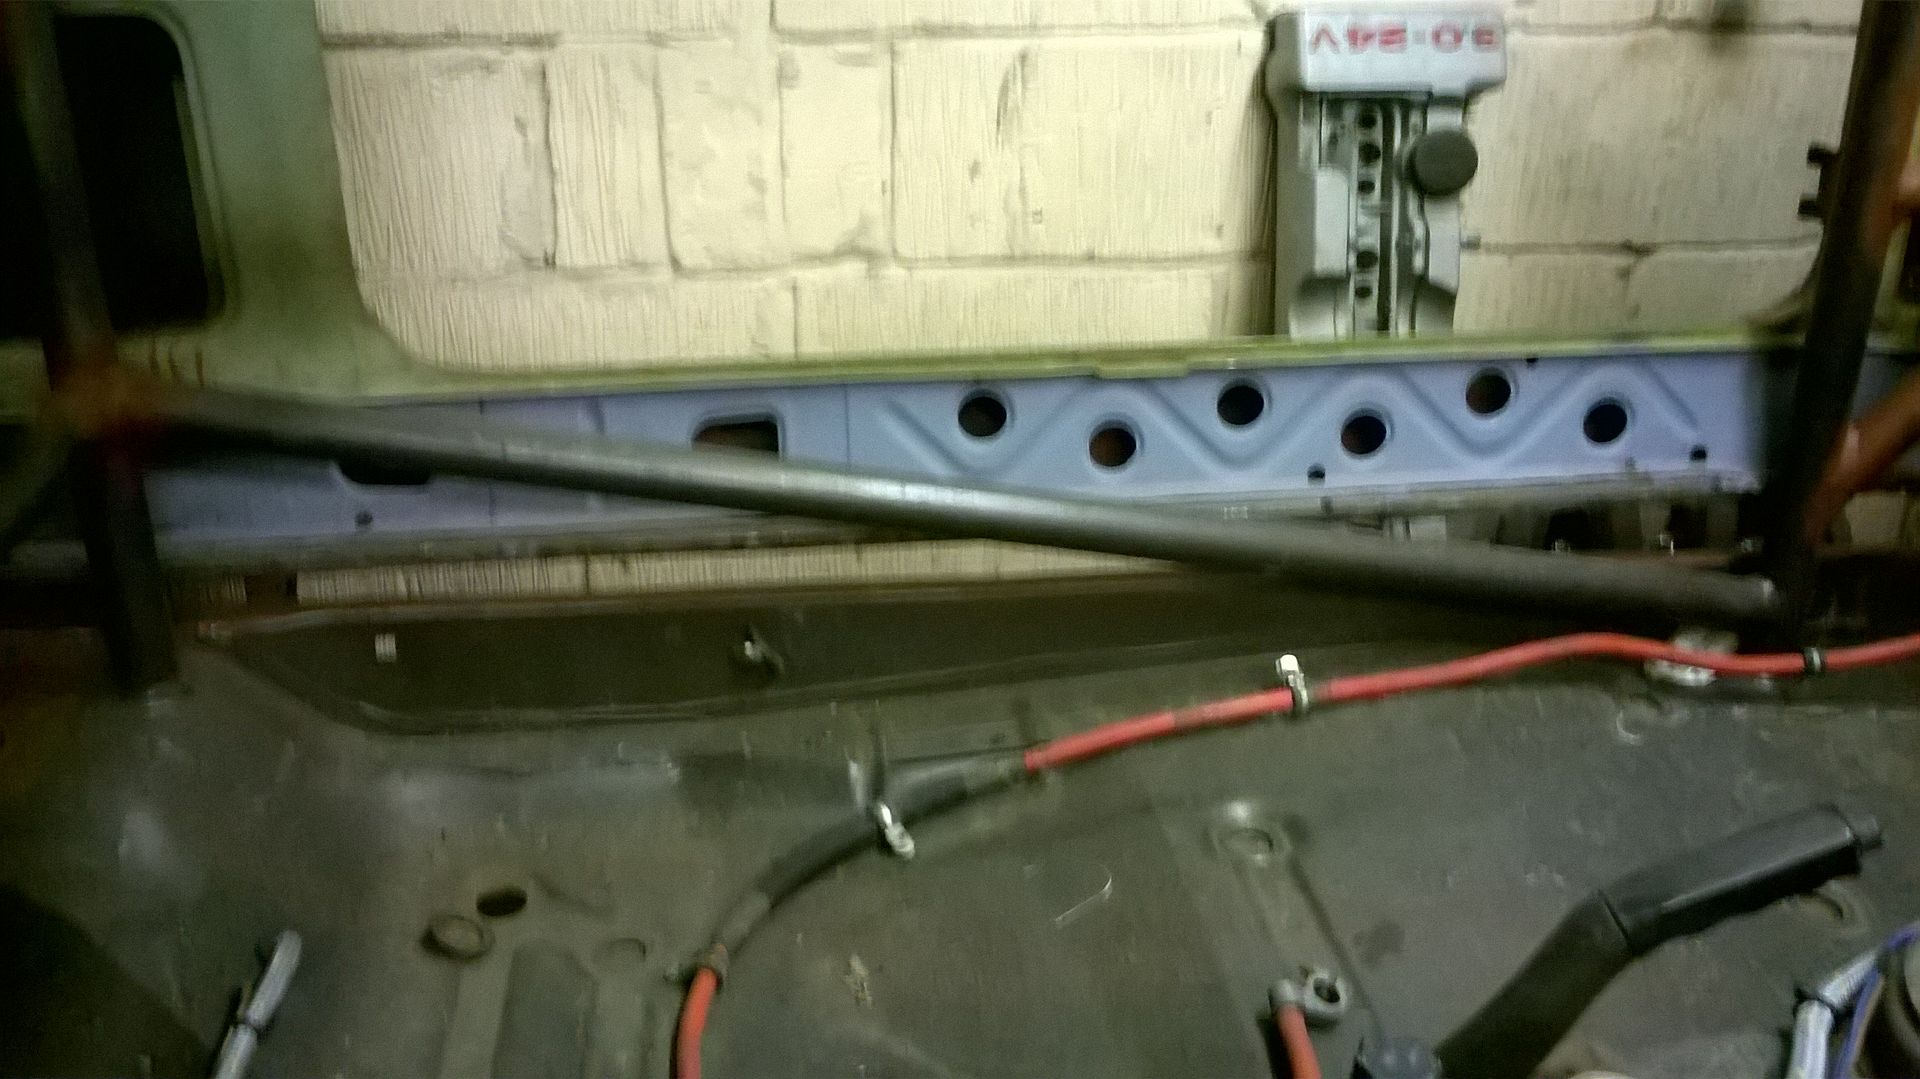
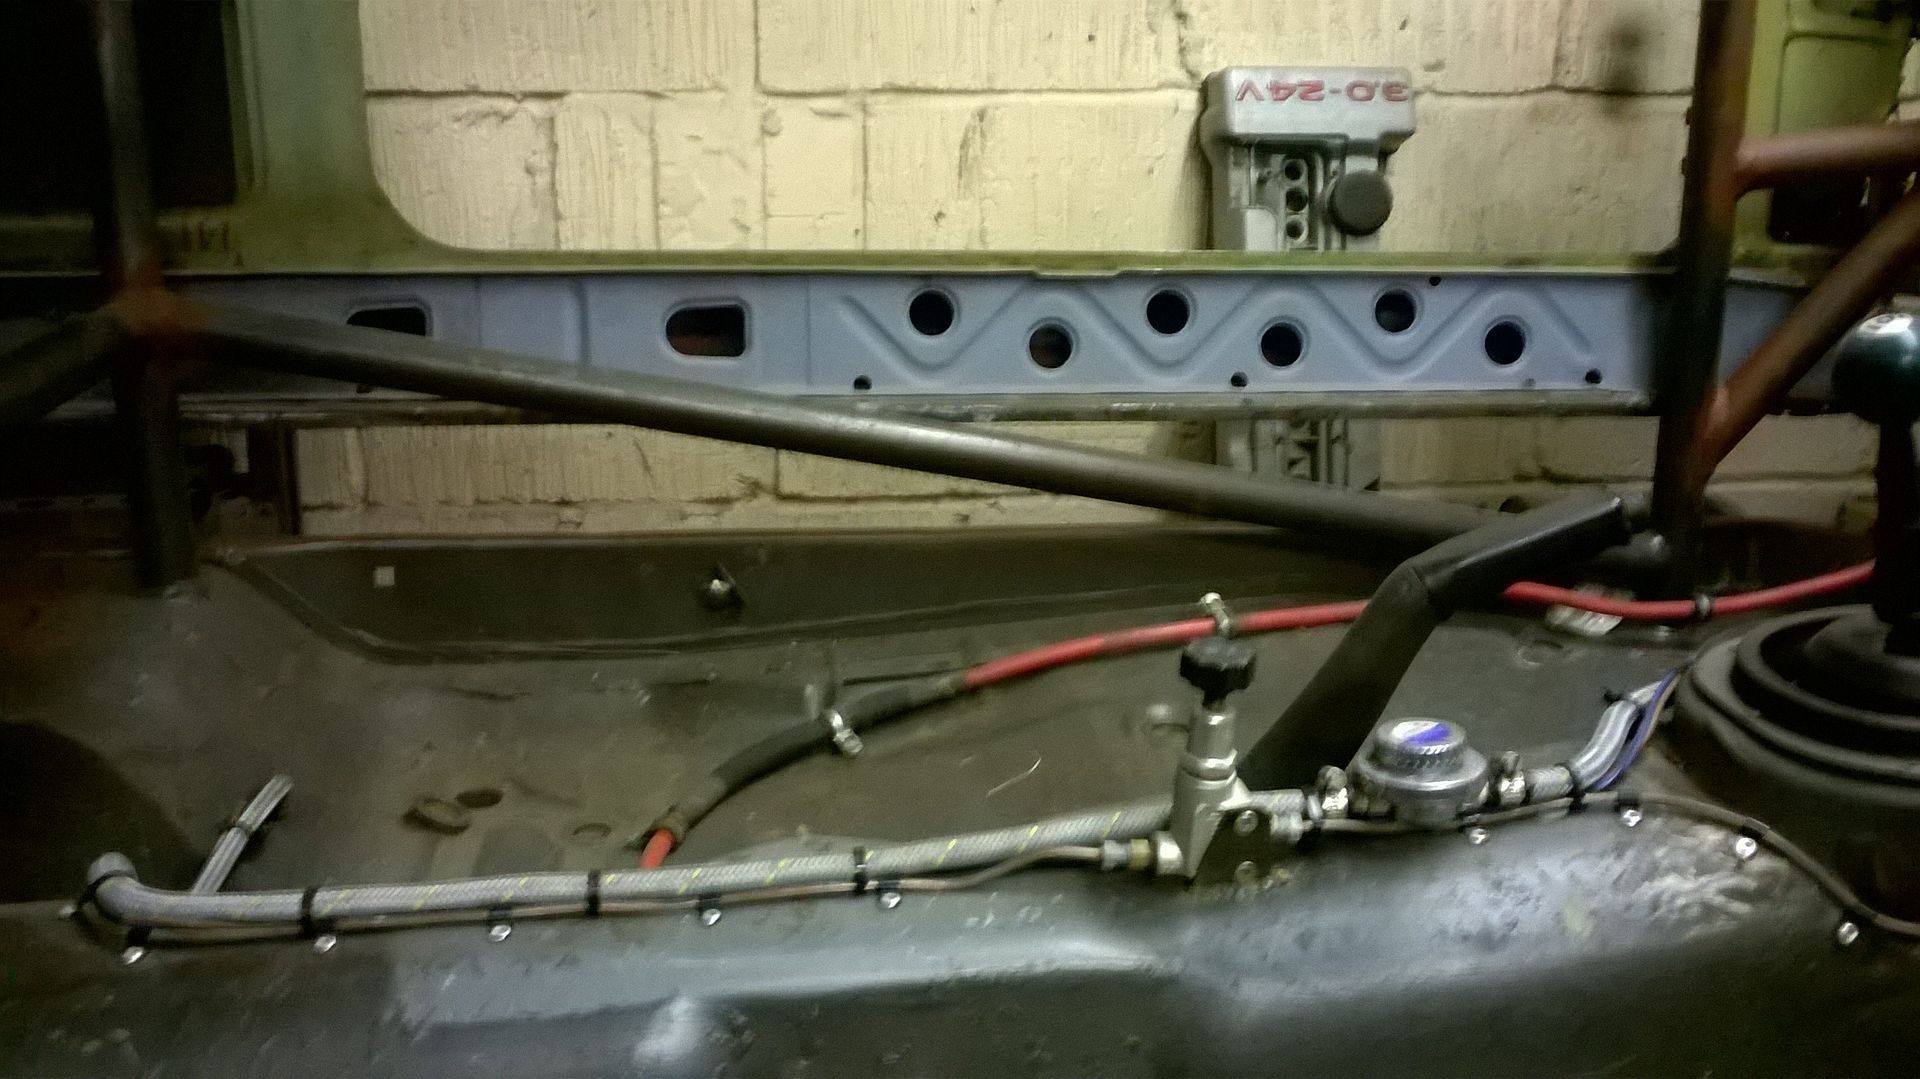
So Boot floor
Solution
Slightly drastic but I looked at my issues for a while and got the tank down and had a measure up - I have a bad memory of a wet track day where I spent a lot of time getting very wet and cold while I fixed an issue with a fuel pump and filter - the commodore boot floor if I left it would be 4 inches lower than the Monza floor level and I had an alloy fuel tank made to hang under the boot floor - a floor 4 inches lower and that's not gonna fit so better plan is build a new boot floor incorporating the tank, pump and filtration - oh and a swirl pot and lift pump wouldn't be a bad thing either.
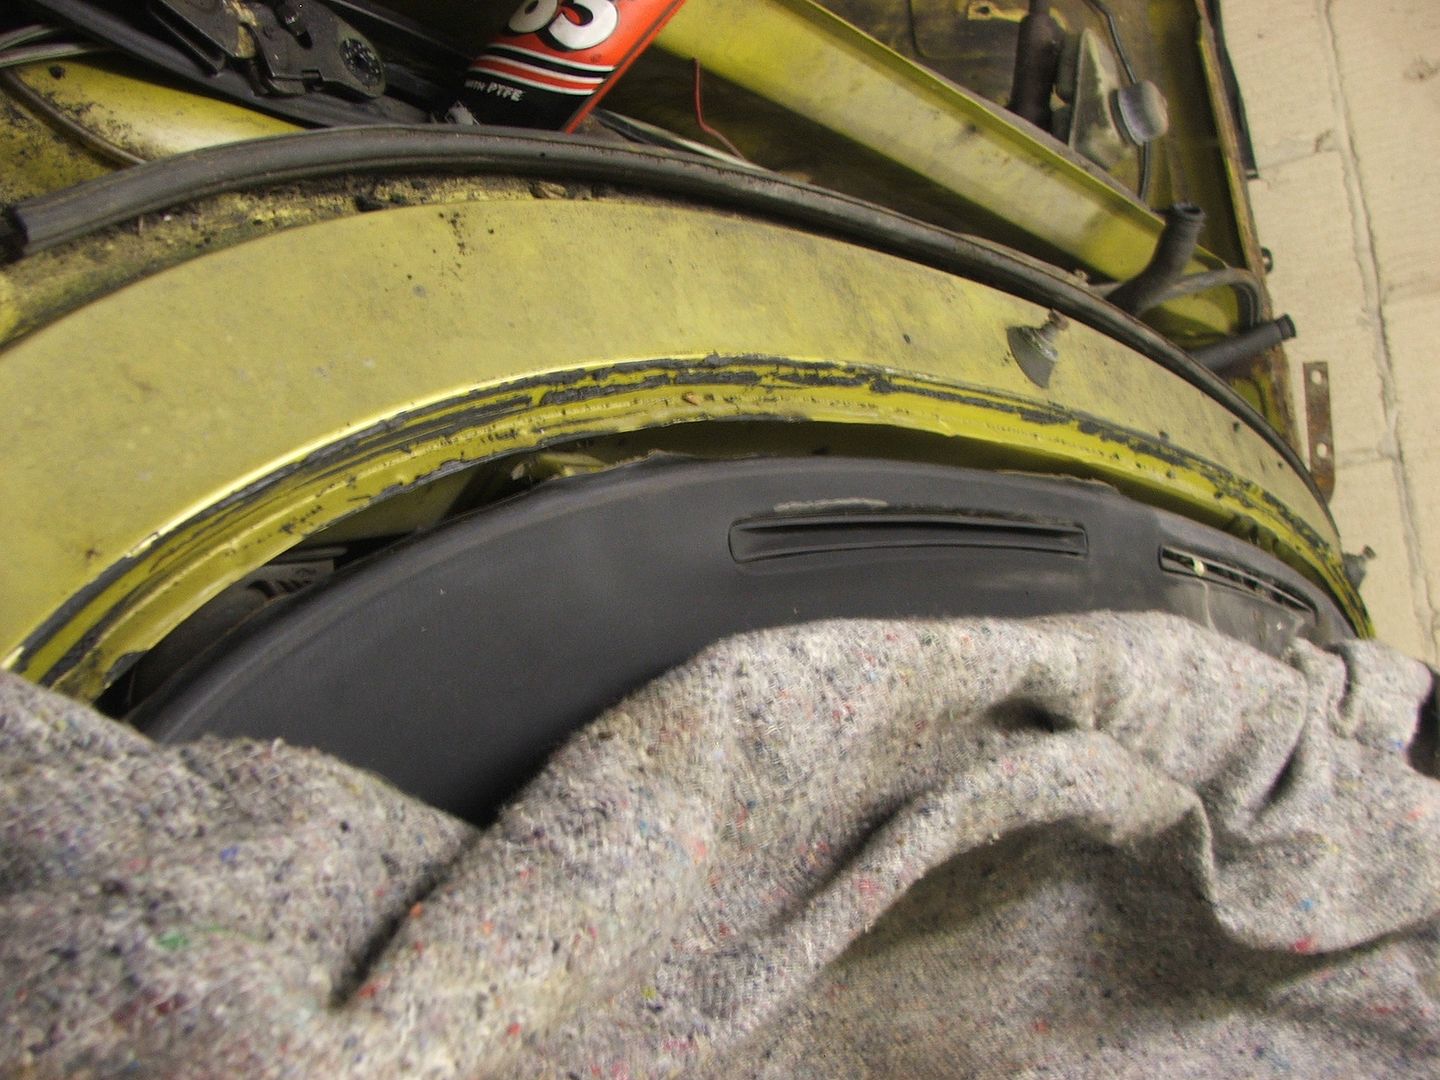
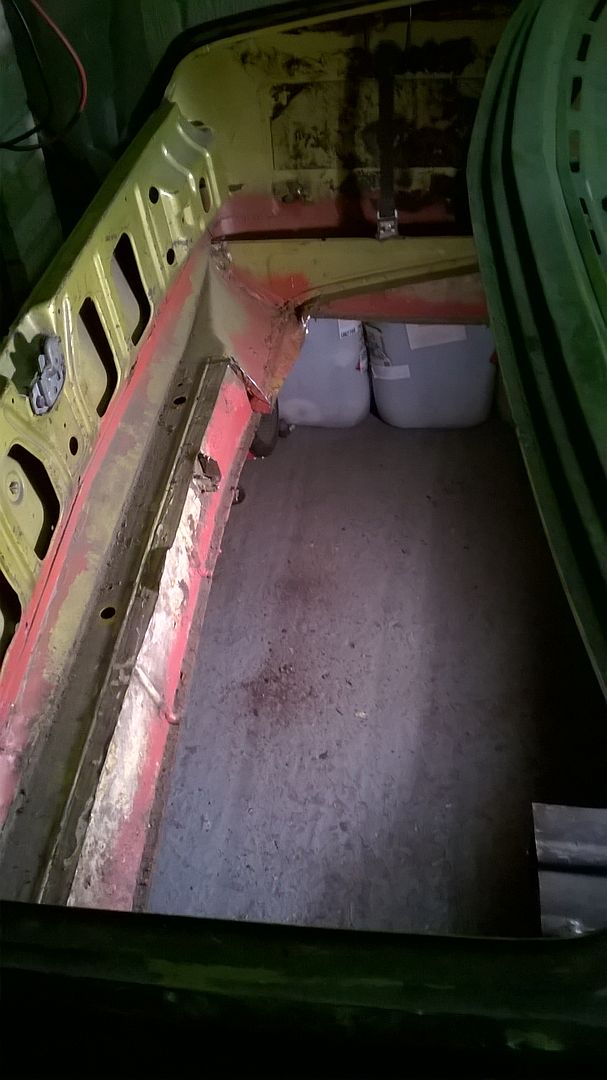
Oh and once I got the other side down and the shell level I chopped a couple of chunks out of the parcel shelf and that got the arch gap down
So back end down - front end still sitting on the cage where it links to the turrets - I knew what was needed here
Now that's looking better - still a fair few inches to come down yet but it's going in the right direction
Needs to go down another 4 inches but it can't right now
- The parcel shelf is fouling the rear section of the cage
- The scuttle is fouling the front section of the cage
- The "boot floor" is fouling on the "boot floor"
So until I have both sides over the step I'm not cutting yet - space is a bit tight in the other side of the garage so I may well push it out and turn it round so I have better access
Well I jacked up the back and dragged it across the garage to make some room and got stuck in before I hit my power tool curfew
Other side sill is now over - not all the way down but it's over and that's much better - arch gap has closed

So Boot floor
Solution

Slightly drastic but I looked at my issues for a while and got the tank down and had a measure up - I have a bad memory of a wet track day where I spent a lot of time getting very wet and cold while I fixed an issue with a fuel pump and filter - the commodore boot floor if I left it would be 4 inches lower than the Monza floor level and I had an alloy fuel tank made to hang under the boot floor - a floor 4 inches lower and that's not gonna fit so better plan is build a new boot floor incorporating the tank, pump and filtration - oh and a swirl pot and lift pump wouldn't be a bad thing either.
Oh and once I got the other side down and the shell level I chopped a couple of chunks out of the parcel shelf and that got the arch gap down
So back end down - front end still sitting on the cage where it links to the turrets - I knew what was needed here

Now that's looking better - still a fair few inches to come down yet but it's going in the right direction
perdu said:
As one of your unreported lurkers I have tell you it's looking very promising there
Lurkers is fine - I don't expect a lot of comments here but it's mainly people I know or have met on PH runs or meets and I thought I'd share it here - If I wanted lots of comments (and some I wouldn't like I'm sure I'd have stuck it in members cars and probably only posted a couple of times before I gave it up as a bad ideaperdu said:
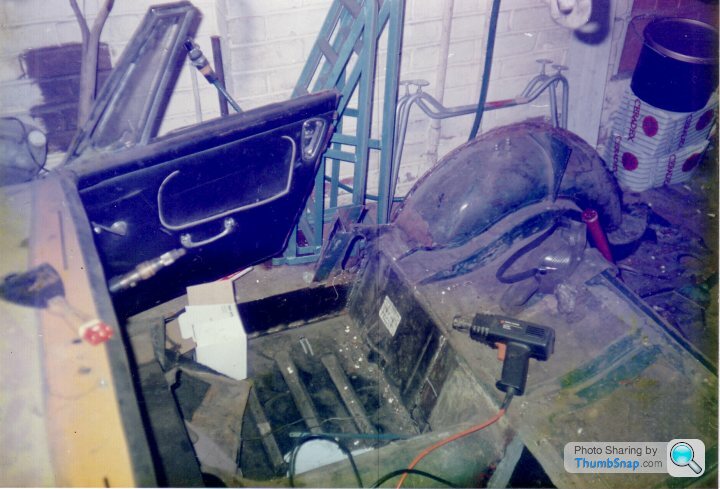
I had a similar task set for myself a long time ago on the green Midget you've seen at the Marham track days
Rotted fibreglass back end stuck over rust gave me little choice but to hack it all off and apply the exterior of a second hand scrapper Sprite rather like the great job you are doing here
but no-where near as drastic
Here's mine awaiting the stitch up back in the late eighties, still stuck up nicely now
You are kidding me - that's pretty drastic!!! I'm impressed Rotted fibreglass back end stuck over rust gave me little choice but to hack it all off and apply the exterior of a second hand scrapper Sprite rather like the great job you are doing here
but no-where near as drastic
Here's mine awaiting the stitch up back in the late eighties, still stuck up nicely now
perdu said:
Coming along very nicely I'm still going to be lurking, I'm enjoying it immensely
Bill
Well hopefully I can crack along nicely now and you can continue to enjoy the progress - nothing to report for tonight as it was the monthly Norfolk Mountain Rescue Club meeting - more progress tommorrowBill
Gassing Station | East Anglia | Top of Page | What's New | My Stuff