Mixing Tamiya paints - quick question
Discussion


in the course of my Tamiya JPE build, I was looking ahead and noticed that I have to mix two paints to Colour the Kevlar seats.
In the manual is shows the two paints , which I already have, and states the following:-
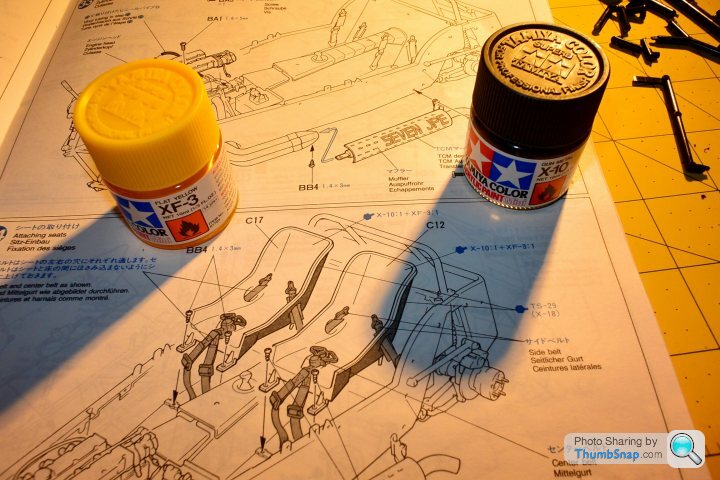
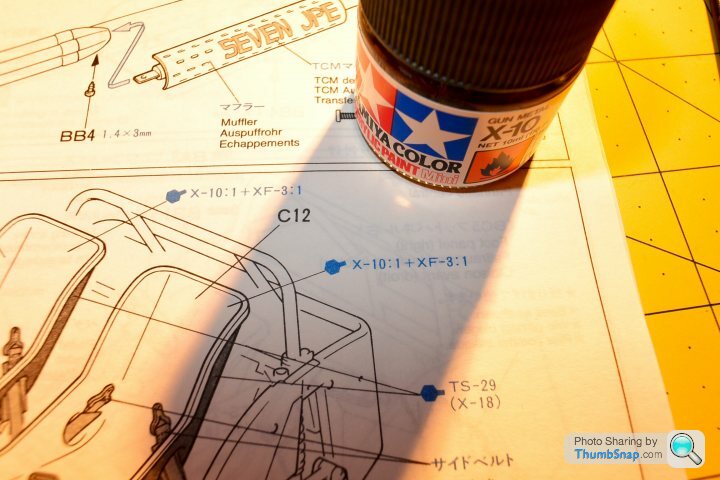
X-10:1 + XF -3:1
Where X-10 is Gun Metal and XF-3 is flag yellow.
Does this mean mix equal parts of each, I assume it does.
Also if I use my H+S airbrush should I thin these paints when mixed to make them flow from the airbrush more easily?
Thanks in advance guys.
In the manual is shows the two paints , which I already have, and states the following:-
X-10:1 + XF -3:1
Where X-10 is Gun Metal and XF-3 is flag yellow.
Does this mean mix equal parts of each, I assume it does.
Also if I use my H+S airbrush should I thin these paints when mixed to make them flow from the airbrush more easily?
Thanks in advance guys.
nigelpugh7 said:
in the course of my Tamiya JPE build, I was looking ahead and noticed that I have to mix two paints to Colour the Kevlar seats.
In the manual is shows the two paints , which I already have, and states the following:-
X-10:1 + XF -3:1
Where X-10 is Gun Metal and XF-3 is flag yellow.
Does this mean mix equal parts of each, I assume it does.
Also if I use my H+S airbrush should I thin these paints when mixed to make them flow from the airbrush more easily?
Thanks in advance guys.
Also here is a picture of the pair of paints, and the instruction in the build manual too:-In the manual is shows the two paints , which I already have, and states the following:-
X-10:1 + XF -3:1
Where X-10 is Gun Metal and XF-3 is flag yellow.
Does this mean mix equal parts of each, I assume it does.
Also if I use my H+S airbrush should I thin these paints when mixed to make them flow from the airbrush more easily?
Thanks in advance guys.
[url
 |http://thumbsnap.com/dvcM32f3[/url]
Eric Mc said:
First - there is no law that you have to use Tamiya paints. You might find some other paint range has a closer colour.
If you are mixing, the best way is to do a bit of test mixing until you get the shade you want. Kit instructions are not gospel so looking at photos of the real thing might give you a better idea of the actual colour - although even photos vary.
If you do end up mixing Tamiya paints, I would use their own brand thinner.
Thanks Eric, I thought you would be the man to know!If you are mixing, the best way is to do a bit of test mixing until you get the shade you want. Kit instructions are not gospel so looking at photos of the real thing might give you a better idea of the actual colour - although even photos vary.
If you do end up mixing Tamiya paints, I would use their own brand thinner.
As you can see I have already purchased the paints, and I do have Tamiyas own brand thinner too, so will end up using those.
I can see I will,have to do a fair bit of experimenting with the colour until I am happy it ends up close to the genuine article !
Thanks again.
Eric Mc said:
If there are any "bare" carbon fibre areas, you can get decal sheet that replicates the look -
http://www.hannants.co.uk/search/index.php?product...
Now thats a damn good idea!! Thanks Eric.http://www.hannants.co.uk/search/index.php?product...
Might have to try the Black Carbon sheet for the front wings, and the Kevlar for the seats too!!
Cheers!!
chrisga said:
You have read the mix ration correctly. 1 part X-10 to 1 part XF-3 If it was 3 parts X-10 to 2 part XF-3 the instructions would read X-10:3 + XF-3:2.
I dont have an airbrush so apply all my paints with a brush. I use the dead scientific method of a part being a single drip from the end of a paint brush.......
As Eric says you can use other paints but I always use the tamiya ones. I do so as I have never had an issue with them and generally always make Tamiya kits anyway. The paint always looks good and is usually a pretty good match colourwise.
As Eric also says you can buy decals that replicate carbon or kevlar weave relatively cheaply. They can be a real pig if covering large areas though.
Hi Chris,I dont have an airbrush so apply all my paints with a brush. I use the dead scientific method of a part being a single drip from the end of a paint brush.......
As Eric says you can use other paints but I always use the tamiya ones. I do so as I have never had an issue with them and generally always make Tamiya kits anyway. The paint always looks good and is usually a pretty good match colourwise.
As Eric also says you can buy decals that replicate carbon or kevlar weave relatively cheaply. They can be a real pig if covering large areas though.
Thanks for the response and the confirmation on the mixing ratios.
Looking at the quite complex radius on the insides of the seats, it might be quite hard to get that kevlar sheet applied.
I might just try the mixed paint first to see how i get on.
Cheers.
dr_gn said:
I'd stick with Tamiya paints - they are fine so long as you use the correct X-20A thinners, and yes, you're 1:1 ratio assumption is fine.
Carbon decals can be very tricky to apply. I tried a lot of techniques before almost giving up on my XJR9 build. They way I settled on was to make templates out of Tamiya tape, which you can apply directly to the model, then remove them and put them on the decal sheet for cutting out. Don't try to get them around compound curves - try to arrange the pieces so that you're only going around one curve direction at a time:
If you look at post #79 onwards here, you can see what's involved:
http://www.britmodeller.com/forums/index.php?/topi...
Also, don't apply Microsol until the very last moment - it makes the carbon decals turn to treacle. I overcoated mine with Tamiya satin varnish IIRC.
The last thing to remember is that it's often best to use the decals a smaller scale than stated, ie for 1:12 use 1:24. Carbon on models can look overdone if you're not careful.
Great Thanks Dr!!Carbon decals can be very tricky to apply. I tried a lot of techniques before almost giving up on my XJR9 build. They way I settled on was to make templates out of Tamiya tape, which you can apply directly to the model, then remove them and put them on the decal sheet for cutting out. Don't try to get them around compound curves - try to arrange the pieces so that you're only going around one curve direction at a time:
If you look at post #79 onwards here, you can see what's involved:
http://www.britmodeller.com/forums/index.php?/topi...
Also, don't apply Microsol until the very last moment - it makes the carbon decals turn to treacle. I overcoated mine with Tamiya satin varnish IIRC.
The last thing to remember is that it's often best to use the decals a smaller scale than stated, ie for 1:12 use 1:24. Carbon on models can look overdone if you're not careful.
Yes i already have the Tamiya X20 thinner so will try that in my airbrush.
Will post pics when i eventually get around to that point!
Cheers.
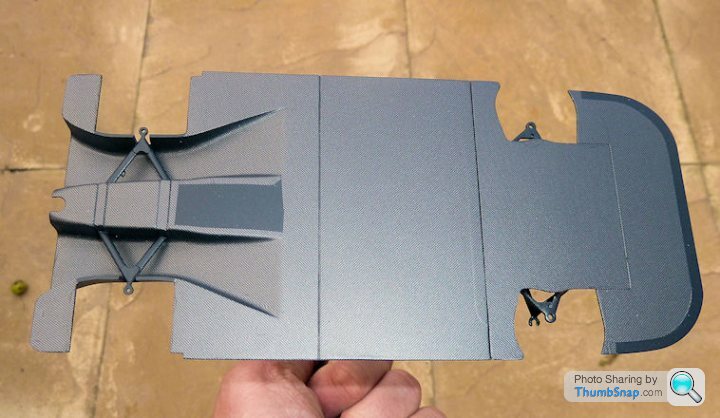
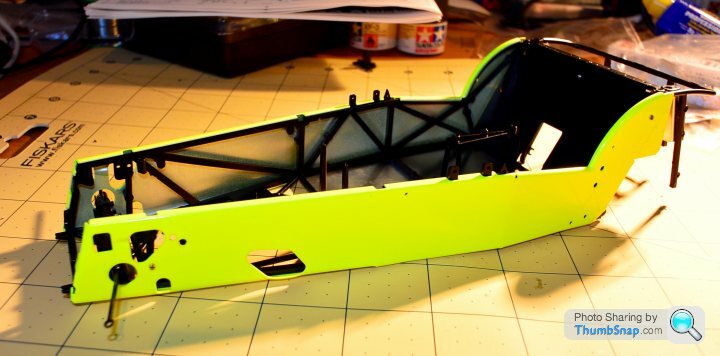
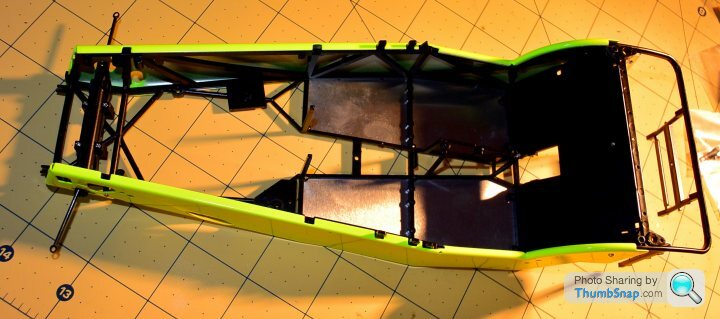
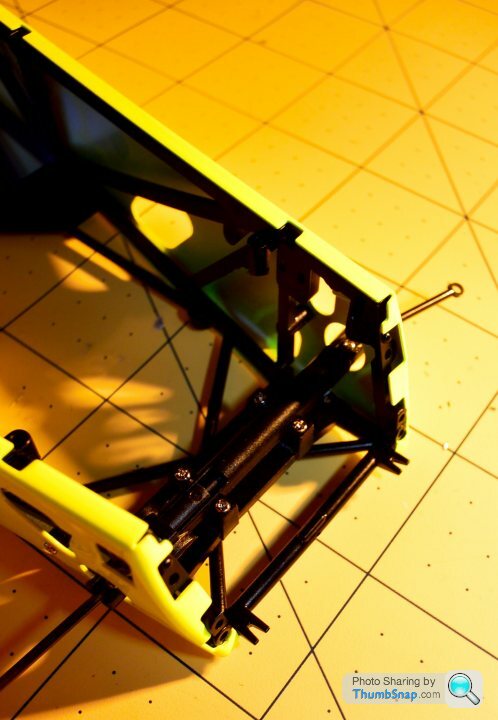
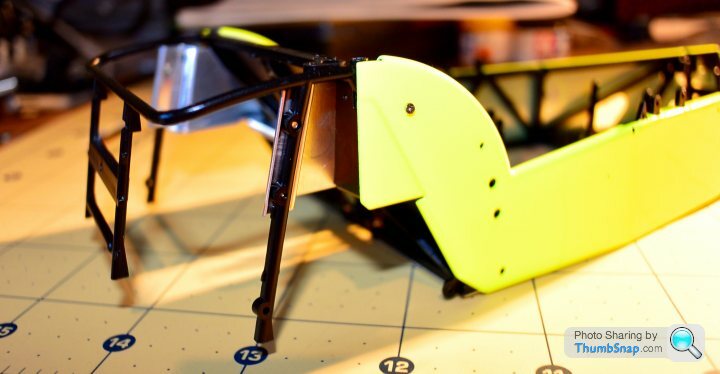
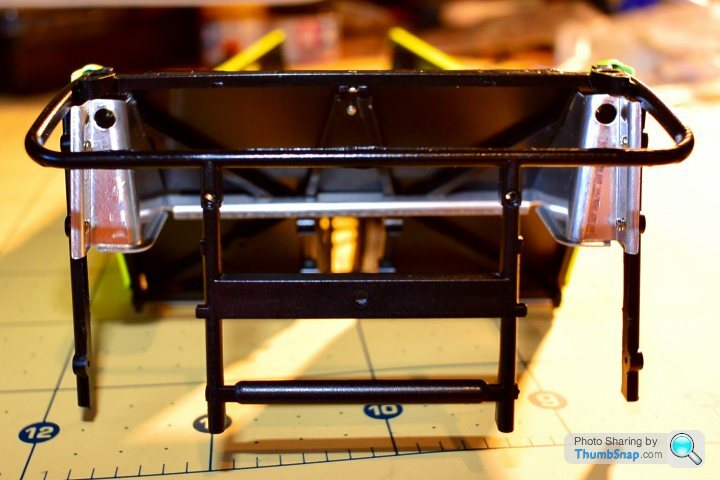
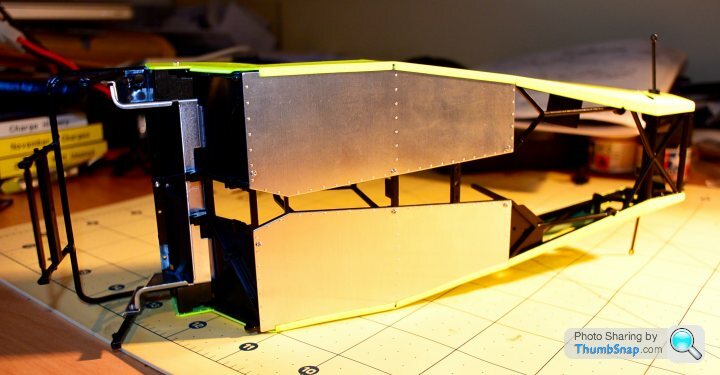
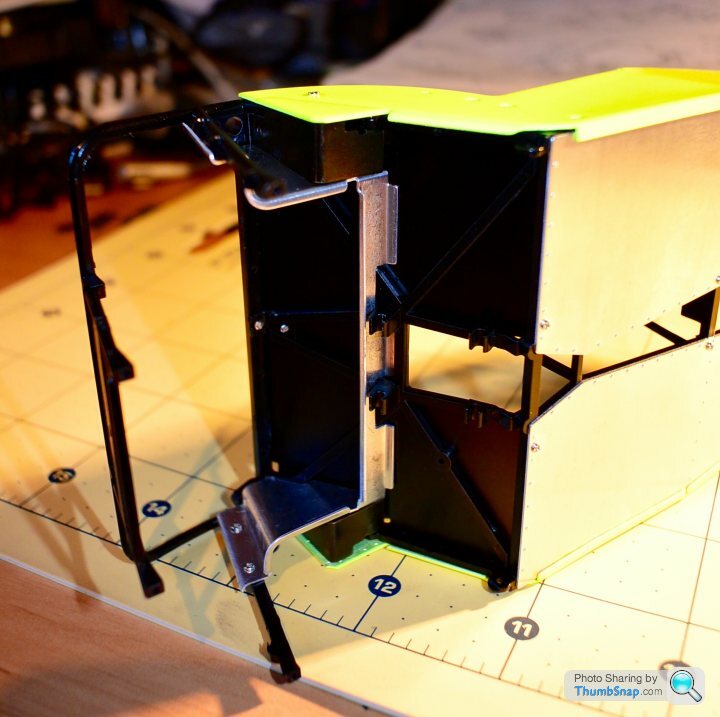
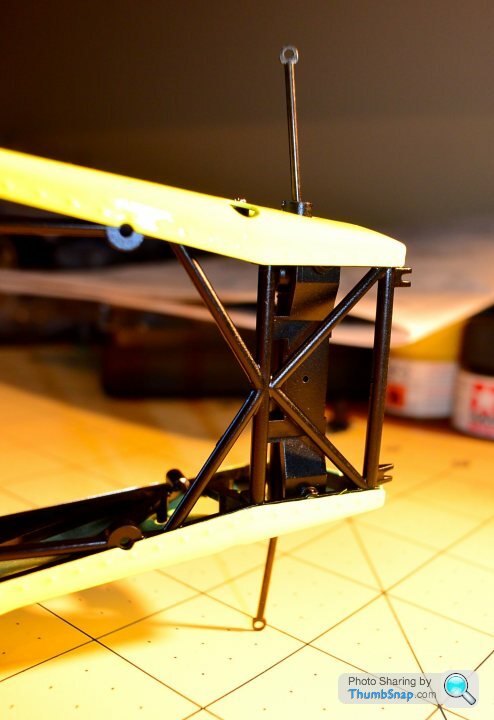
Got quite a bit of of work on the JPE today!
The black chassis and associated parts was finished with the top cost of semi gloss black.
I then got onto fitting the steering rack and some panels too.
I can confirm that the smallest screw used at 1.2 mm X 2.5 mm is a right tiny little bustard!
The black chassis and associated parts was finished with the top cost of semi gloss black.
I then got onto fitting the steering rack and some panels too.
I can confirm that the smallest screw used at 1.2 mm X 2.5 mm is a right tiny little bustard!
Gassing Station | Scale Models | Top of Page | What's New | My Stuff