Matchbox 1:72 Dornier Skyservant
Discussion


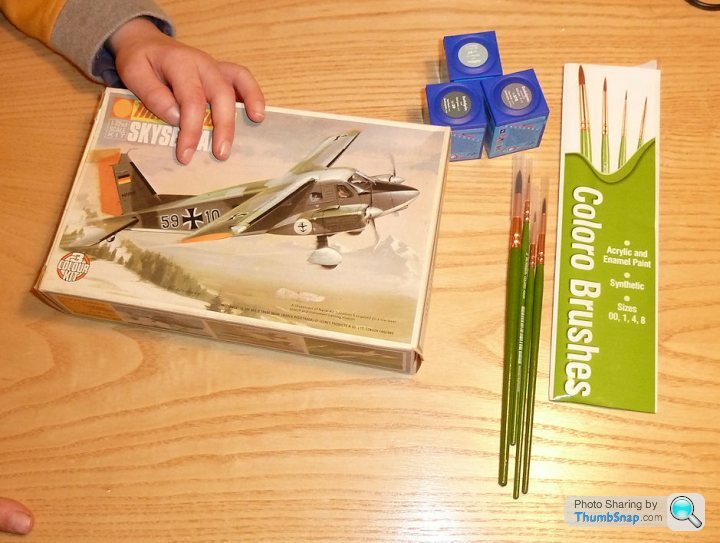
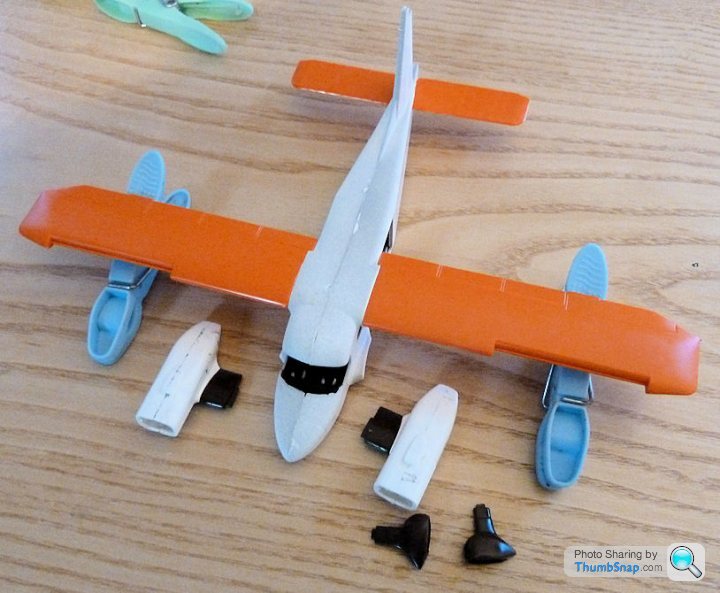
This is one I picked up from Huddersfield show my son to build. Only cost £3, and IMO Matchbox kits are still hard to beat in terms of ease of build vs. realism, especially for a 7 year old. I must have built most of the Matchbox range in a previous life, but never this one. Also got him some Revell Aqua acrylics and some cheap brushes:
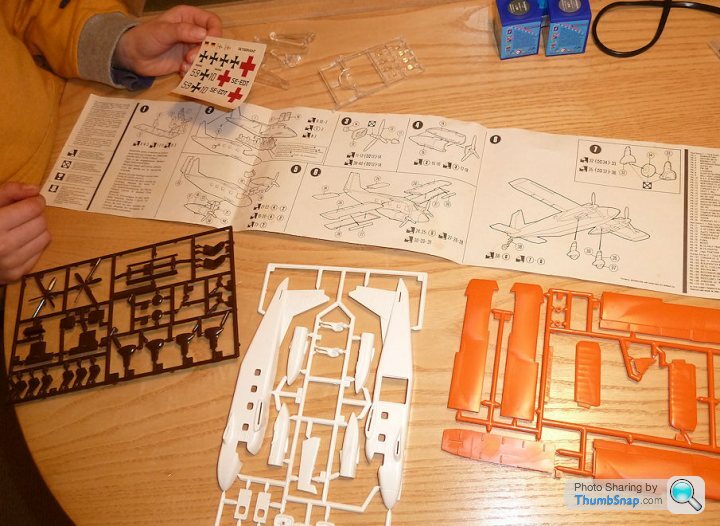
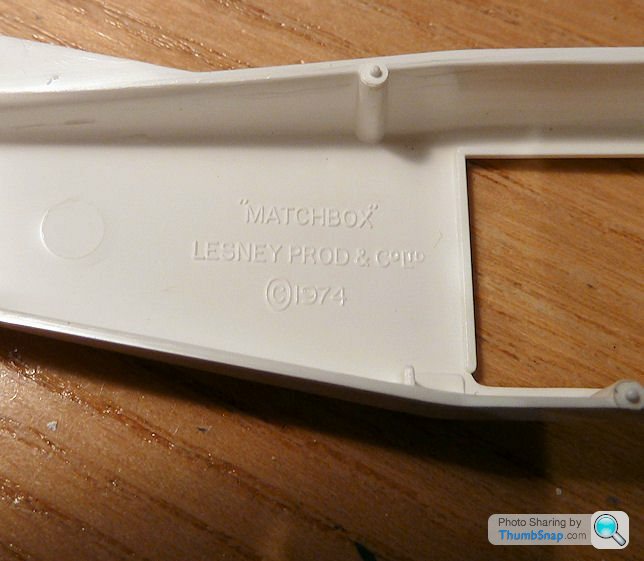
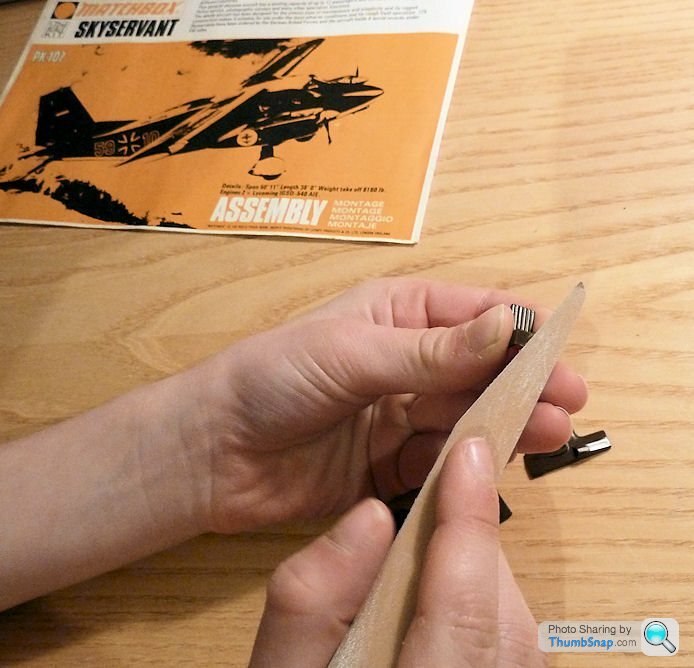
Started by cutting the parts off the sprues:
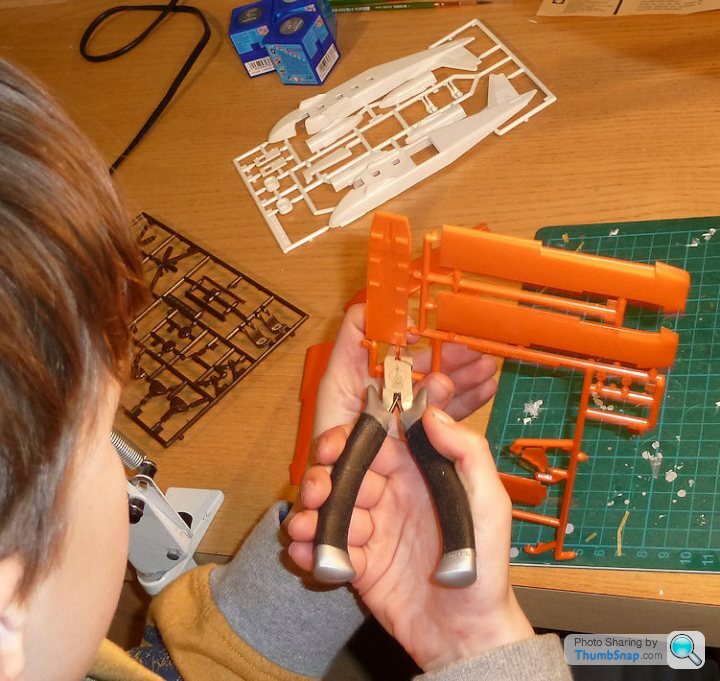
and sanding the gates smooth:
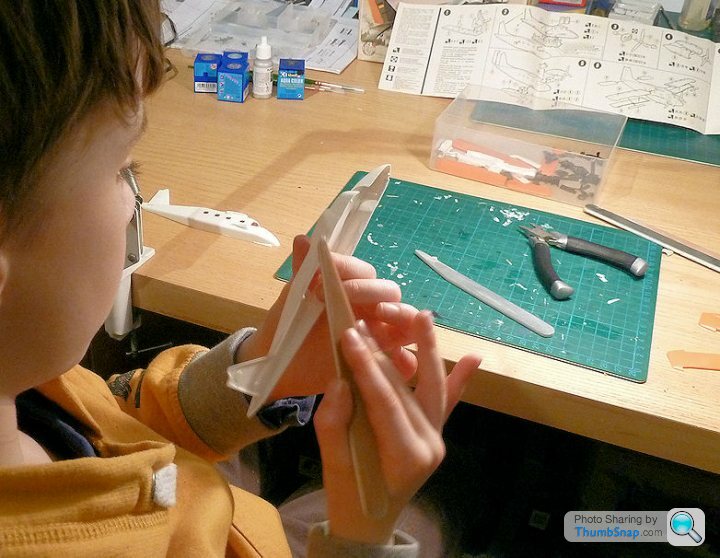
He has enjoyed building a few models in the past, but this one he wants to be more realistic, and wants to enter it in a model competition. I think he likes the look of the prizes. So do we do some filling of parts? Masking? A bit of airbrushing? I'm thinking they're all potentially fun things to do, and add more dimensions than cut, file, glue, paint, so why not?
I must admit, I'm a bit skeptical about the whole competition idea: Many junior class models have blatantly not been built entirely by a child. Last year for example, I overheard a proud grandad/dad(?) showing the offspring the trophy they'd just won, yet the little girl seemed to have difficulty identifying which model she'd actually built...
Anyway, competition or not, I'm not letting the boy loose with a scalpel, so I'll try and document how he AND I built the model here, and then decide if it's fair to enter it as "built be a 7 year old". At the end of the day it's about building something and enjoying the process.
Started by cutting the parts off the sprues:
and sanding the gates smooth:
He has enjoyed building a few models in the past, but this one he wants to be more realistic, and wants to enter it in a model competition. I think he likes the look of the prizes. So do we do some filling of parts? Masking? A bit of airbrushing? I'm thinking they're all potentially fun things to do, and add more dimensions than cut, file, glue, paint, so why not?
I must admit, I'm a bit skeptical about the whole competition idea: Many junior class models have blatantly not been built entirely by a child. Last year for example, I overheard a proud grandad/dad(?) showing the offspring the trophy they'd just won, yet the little girl seemed to have difficulty identifying which model she'd actually built...
Anyway, competition or not, I'm not letting the boy loose with a scalpel, so I'll try and document how he AND I built the model here, and then decide if it's fair to enter it as "built be a 7 year old". At the end of the day it's about building something and enjoying the process.
He'd had enough for this evening after about 45 minutes of cutting and sanding. Which is par for the course. We've put all the parts in a container and I've left two sanding sticks with it. I've told him to get on with it whenever he wants, but only the files for now...and don't even TRY to find the scalpel!
sad61t said:
Great idea, and it looks like an interesting kit too.
Filling might be a bit advanced as it needs a lot of time where the model doesn't progress visibly. Though Milliput as Plasticine should be OK (and better than normal solvent based filler).
Masking sounds good - the camouflage scheme ( photo) looks hard edged so he should get better results than using brushing alone.
There's a great civilian scheme here with eye-catching colours, though it looks a bit tricky:
http://de.wikipedia.org/wiki/Dornier_Do_128#mediav...
Maybe try using clear to improve the transparency of the glass? It's simple and is supposed to be quite effective for realism.
Yeah I thought Milliput would be good - thin it with plenty of water and scrape it into the joins, then wipe it with a damp cloth/finger. Won't bother sanding it when cured. We're going for the splinter camo version, so masking should be very easy for him. I was thinking either leave the windscreen framing altogether, or use painted tape strips. I got some 0.7mm tape to try so could easily use that.Filling might be a bit advanced as it needs a lot of time where the model doesn't progress visibly. Though Milliput as Plasticine should be OK (and better than normal solvent based filler).
Masking sounds good - the camouflage scheme ( photo) looks hard edged so he should get better results than using brushing alone.
There's a great civilian scheme here with eye-catching colours, though it looks a bit tricky:
http://de.wikipedia.org/wiki/Dornier_Do_128#mediav...
Maybe try using clear to improve the transparency of the glass? It's simple and is supposed to be quite effective for realism.
johnS2000 said:
As I have problems with painting canopy's and am experimenting with decal strips I'd be interested in a tape solution to this .
It's not the ideal solution at this scale, plus if you're doing weathering on the paintwork it's pretty much impossible to get consistent colour tone. I think in this case it might give a better result than hand painting. Canopy masking is beyond what he'd have the patience to do, and I don't want it to become a chore.sad61t said:
Maskol?
Never used it myself, but it could give reasonable results (or at least better results than I ever managed trying to hand paint a frame).
If you've dipped a canopy in Klear, the ammonia in Maskol can react with the Klear. It won't apply in this case, but I think if you're hand painting Maskol, you're almost at the same disadvantage as hand painting the frames. Never used it myself, but it could give reasonable results (or at least better results than I ever managed trying to hand paint a frame).
perdu said:
Hmm
Nice try but I think you should have bought him an aerosol can of Tamiya Gloss varnish instead
Two quick coats and a half hour wait will fix the decals nicely
Or Microsol decal film is another good bet
I'm glad he's keeping at it though
Little and rarely is my own personal model making cross to bear
I've got some Tamiya gloss - when we get to "spraying with an aerosol" I'll let him do it again.Nice try but I think you should have bought him an aerosol can of Tamiya Gloss varnish instead
Two quick coats and a half hour wait will fix the decals nicely
Or Microsol decal film is another good bet
I'm glad he's keeping at it though
Little and rarely is my own personal model making cross to bear
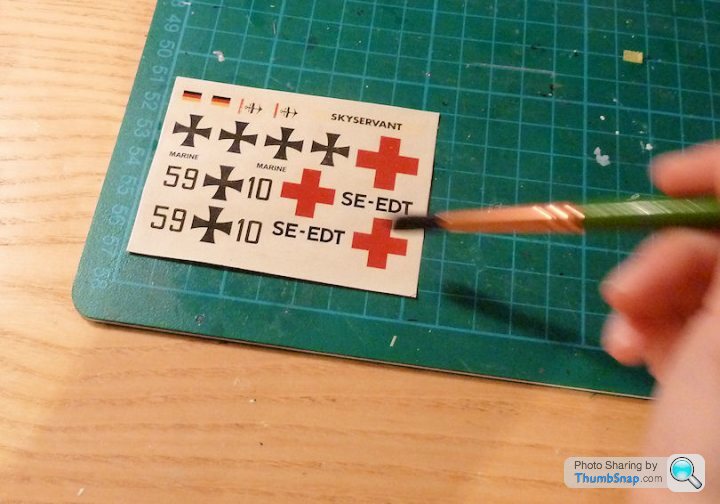
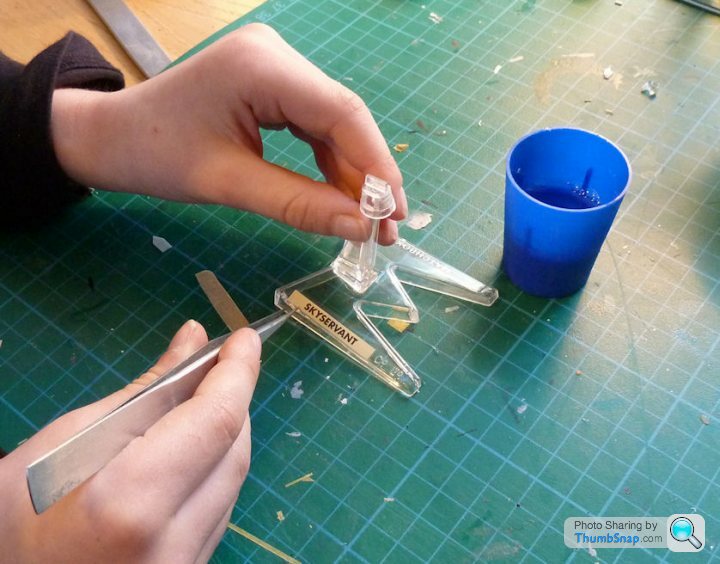
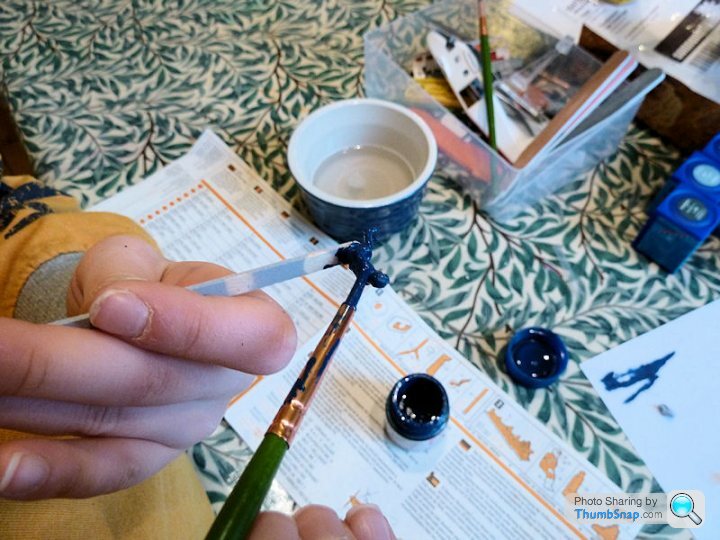
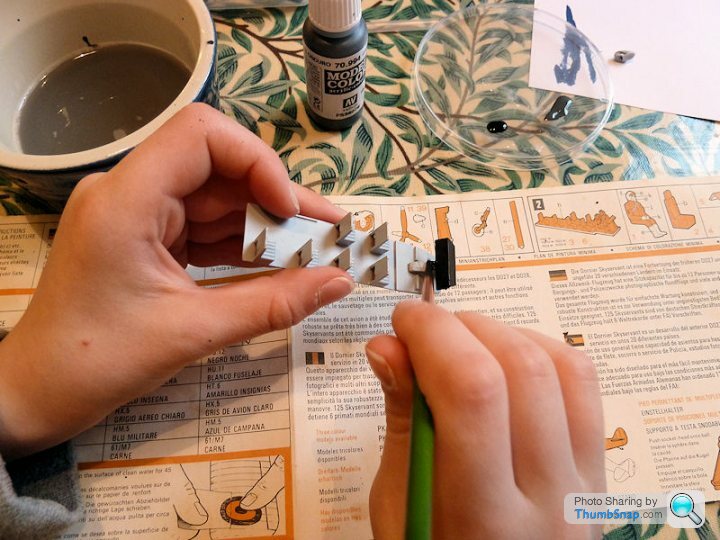
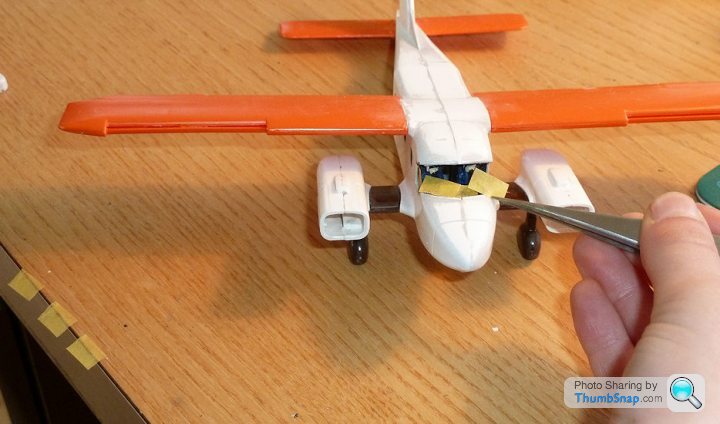
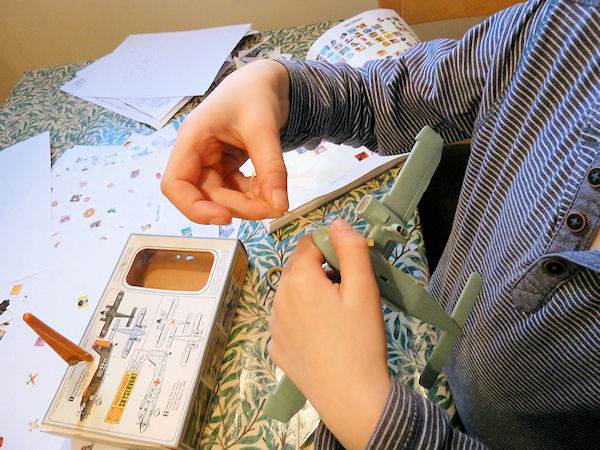
I thought we'd use glue today - so he assembled the stand (using Revell liquid cement applied with a cocktail stick), and tried the repaired decals. The name decal seemed to work fine with just the coat of Klear, so hopefully the rest will also be good. He dipped it in Klear to act as an adhesive. No issues with using tweezers to place it fairly accurately, so that was good:
Then glued the seats and instrument panel to the floor:
Filed and glued the engine naceles:
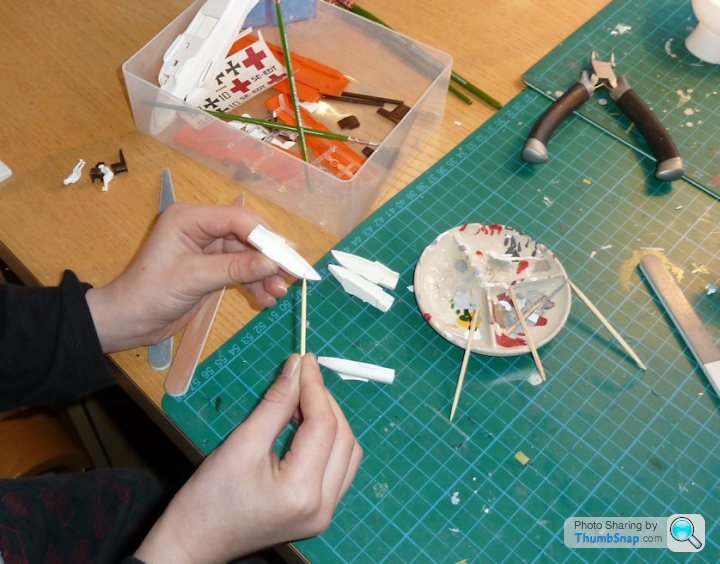
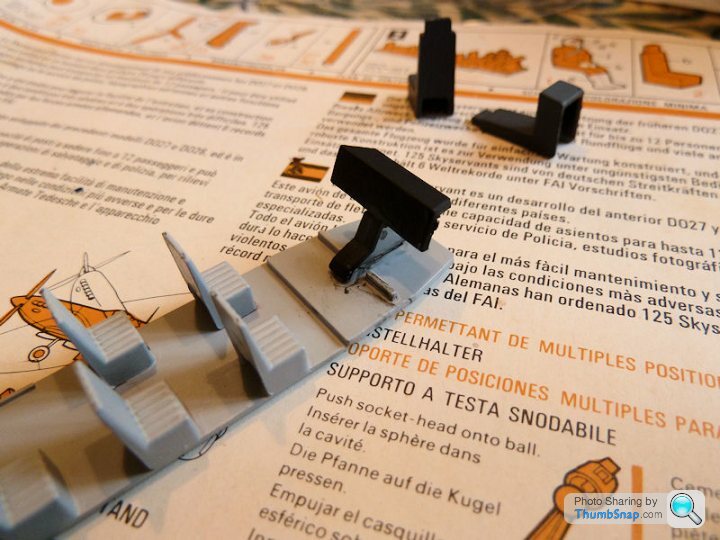
and blu-tacked the pilots and pilots seats to a wooden stirrer...:

...ready for priming:
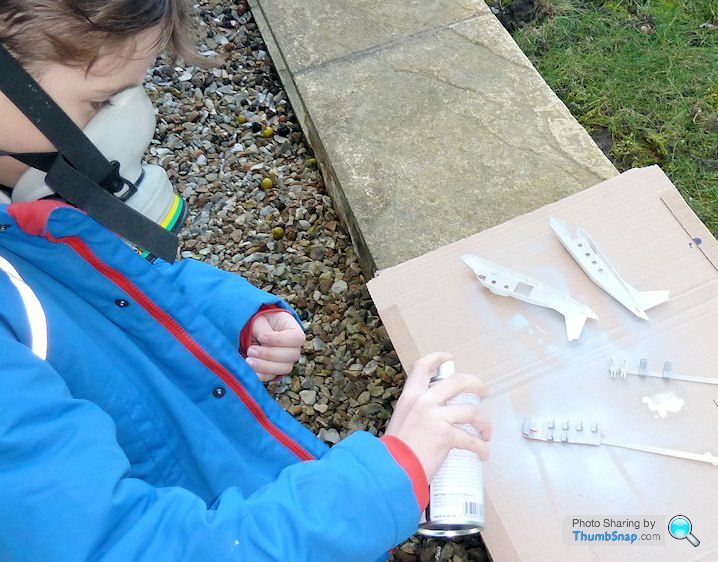
Except the instrument panel, that'll be the final colour for most of the interior, but the pilots seats and pilots will be painted separately. The only issue with the spraying was he wasn't strong enough to press the nozzle and retain enough control to move the can accurately. So we both held the can and called it a team effort.
Then glued the seats and instrument panel to the floor:
Filed and glued the engine naceles:
and blu-tacked the pilots and pilots seats to a wooden stirrer...:
...ready for priming:
Except the instrument panel, that'll be the final colour for most of the interior, but the pilots seats and pilots will be painted separately. The only issue with the spraying was he wasn't strong enough to press the nozzle and retain enough control to move the can accurately. So we both held the can and called it a team effort.
sad61t said:
Good to see it progressing, looks like he's getting stuck in 
Primer cans are normally quite chunky, so I'd guess it was as much getting his hand around the can as well as pressing the trigger. Scaled up it would probably be as tough for us if the can was the diameter of a CD.
Would a trigger airbrush suit him? Something like the Iwata Neo TRN1 that's still dual action but has a proper handle (looks child hand size friendly) and more simple action than a traditional airbrush; it looks as though the air is always first in and last out as the trigger is press for air, then squeeze for paint control. Quite tempted myself.
I'll perhaps try him with the airbrush for some other bits. Might ba a bit much for now though.Primer cans are normally quite chunky, so I'd guess it was as much getting his hand around the can as well as pressing the trigger. Scaled up it would probably be as tough for us if the can was the diameter of a CD.
Would a trigger airbrush suit him? Something like the Iwata Neo TRN1 that's still dual action but has a proper handle (looks child hand size friendly) and more simple action than a traditional airbrush; it looks as though the air is always first in and last out as the trigger is press for air, then squeeze for paint control. Quite tempted myself.
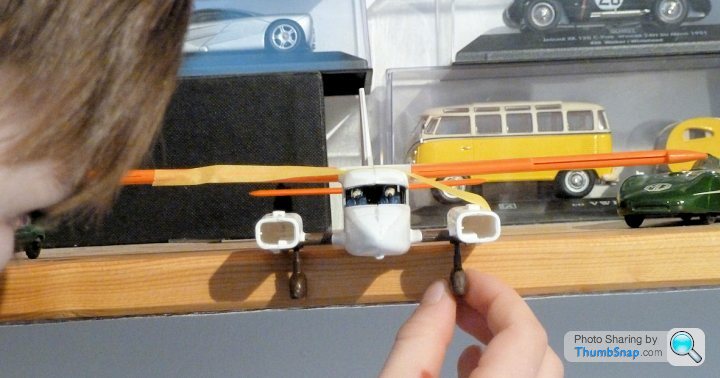
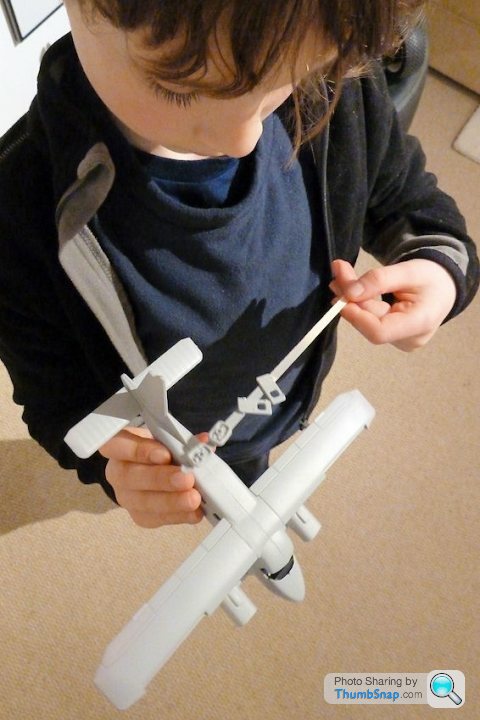
Bit more progress this morning: We're doing the detail painting as outlined in the instructions, no more, no less. first off, the pilots:
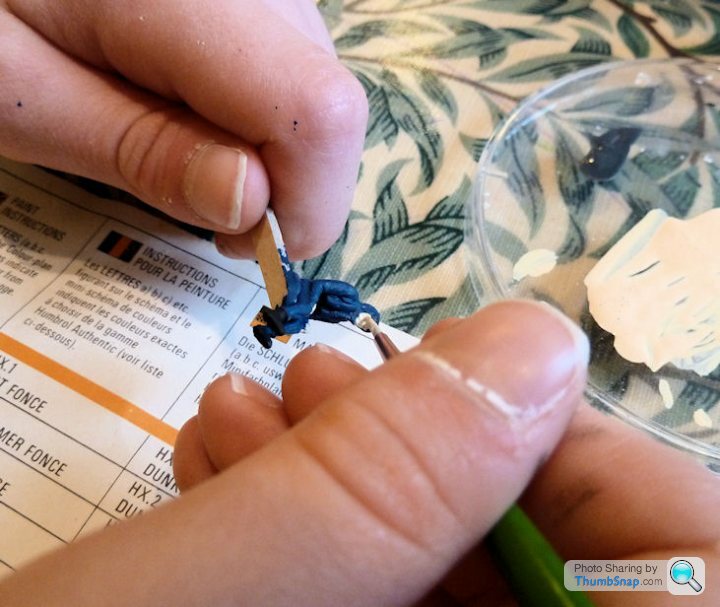
Seats:
Instrument panel
Bit of smudging, but will be covered with the seats:
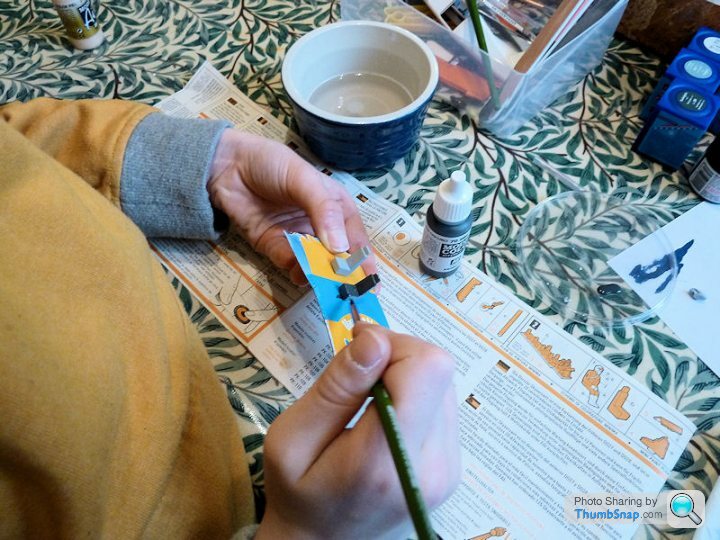
Assembly of cockpit:

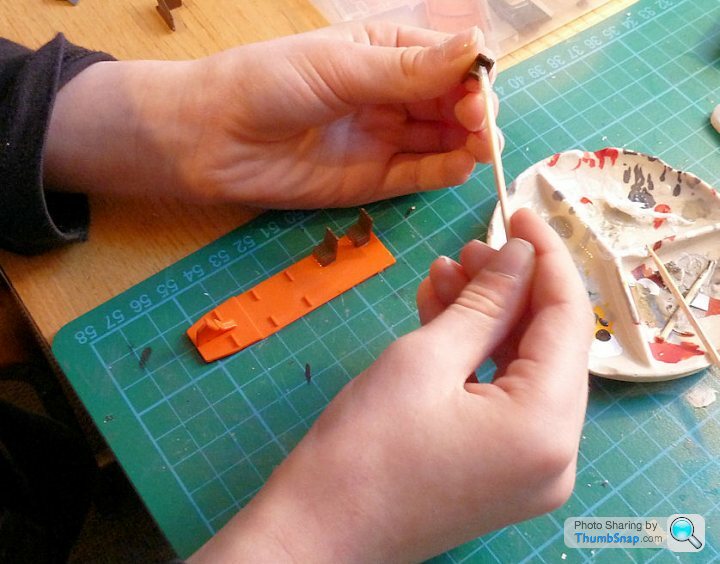
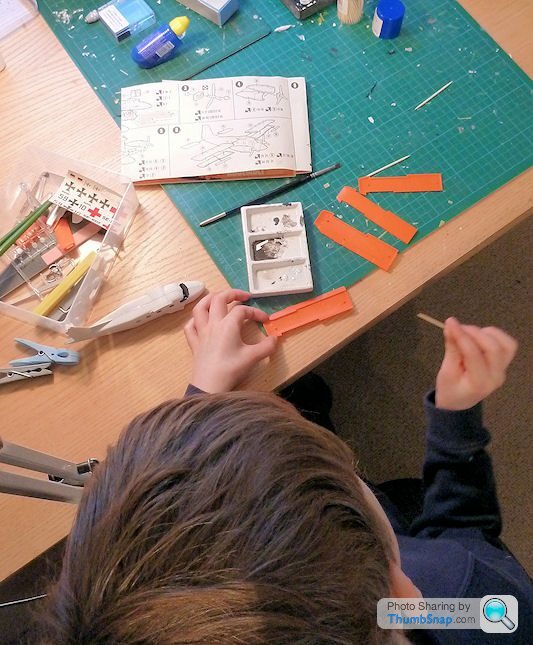
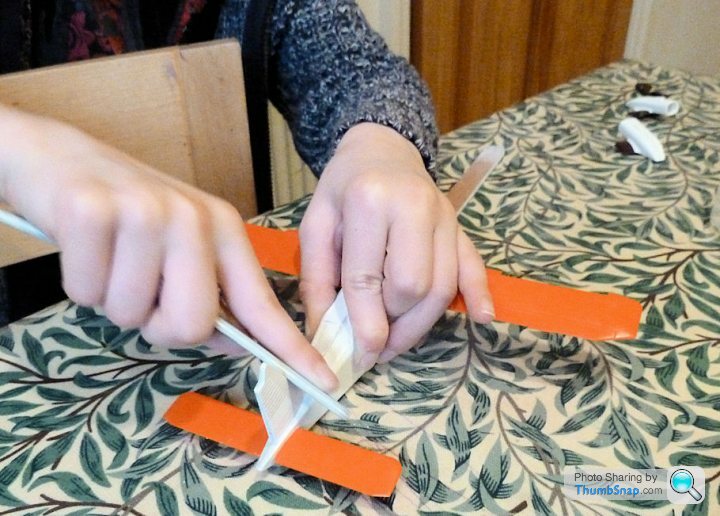
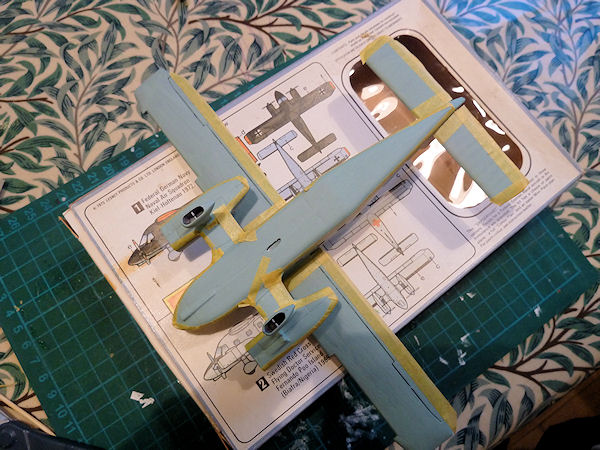
Masking of prop tips. I showed him how to do one blade, then he did the other two:
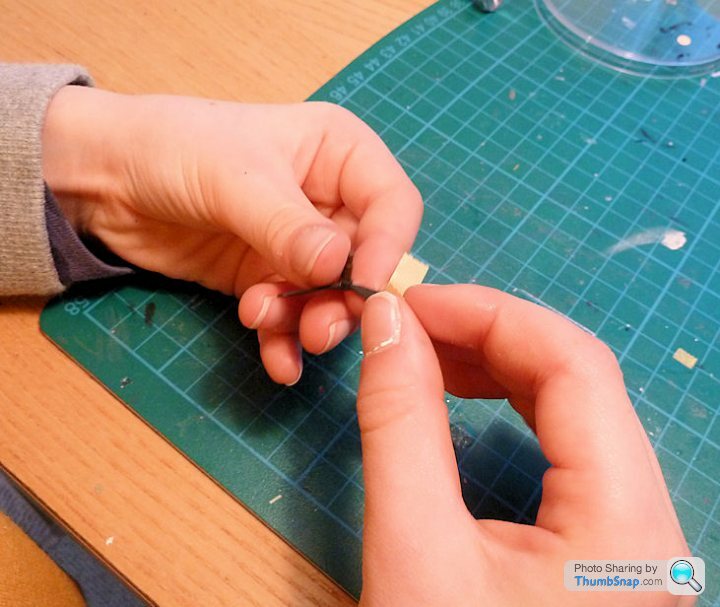
Strange how the other prop he did entirely by himself (apart from cutting the tape into strips), was better than the one I helped him with
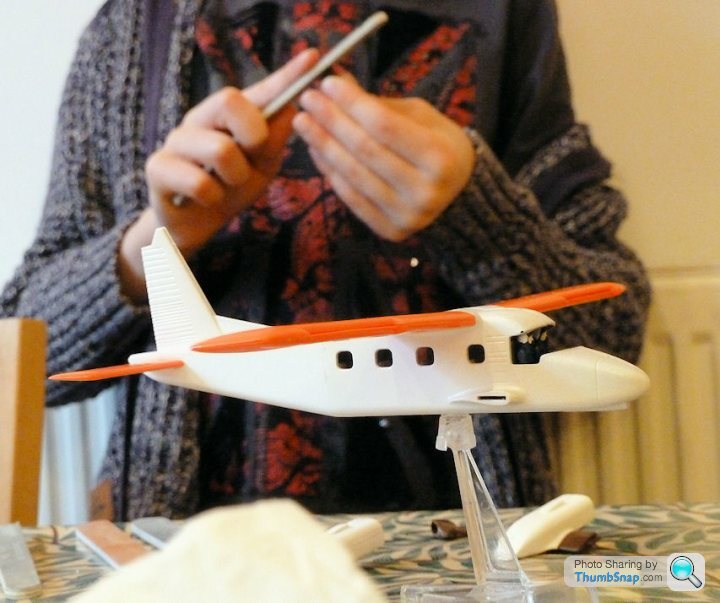
 Anyway, close of play:
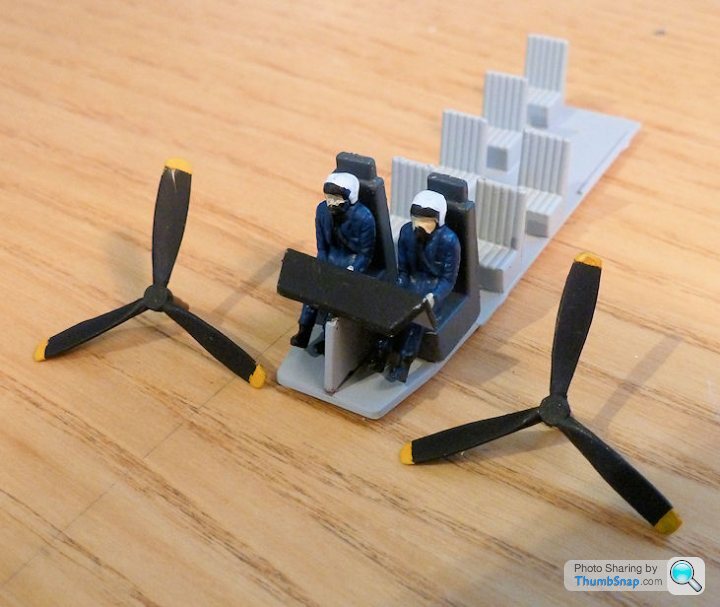
Not bad.
ETA: The Revell Aqua Colour paint was absolutely crap - like trying to paint custard. In the end we used Tamiya and Vallejo Model Colour.

MonkeySpanker said:
dr_gn said:
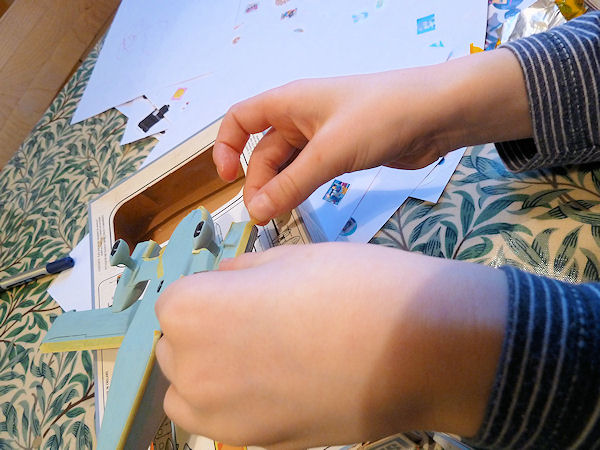
We did some Milliputting this evening. Seems tricky to get the hang of scraping accross the gaps rather than along them, but we got there in the end:
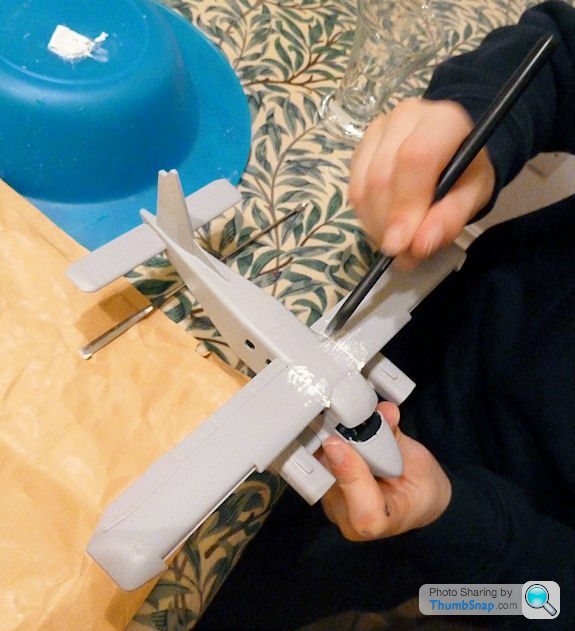
Wiping with a damp cloth soon got rid of the excess, so no flatting required once it's set:

Next job: Paint.
Have you ever tried Tipp-Ex for gaps?Wiping with a damp cloth soon got rid of the excess, so no flatting required once it's set:
Next job: Paint.
Painted the undersides with Vallejo Model Colour:
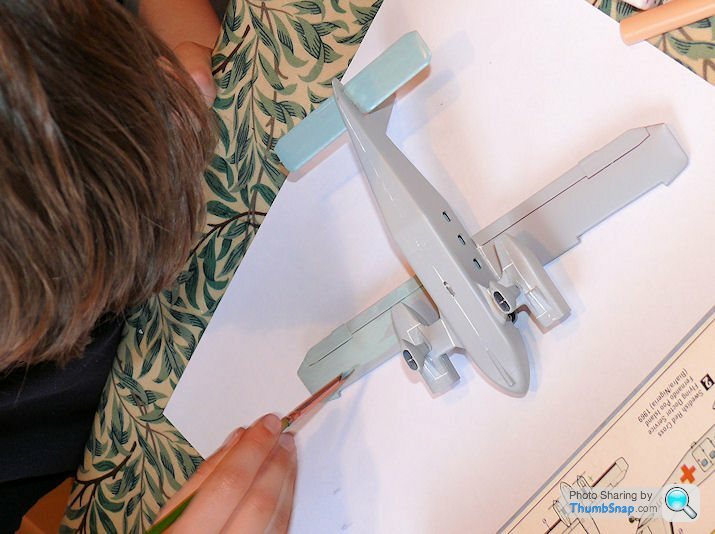
Smooth, but a bit streaky.
[son] decided on a second coat (I'd have passed it under the circumstances, but I'm glad he didn't):
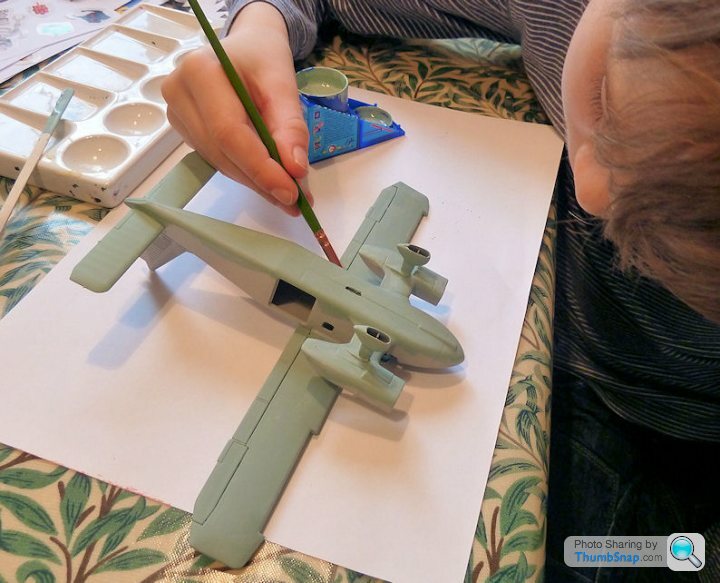
For the second coat, gave the revell aqua colour a second chance, but it is very difficult to work with. almost perfect colour match with Vallejo strangely enough.
Smooth, but a bit streaky.
[son] decided on a second coat (I'd have passed it under the circumstances, but I'm glad he didn't):
For the second coat, gave the revell aqua colour a second chance, but it is very difficult to work with. almost perfect colour match with Vallejo strangely enough.

I know where you're coming from, but he seems to be enjoying it, at least he keeps asking if we can continue with it. As I said he's built a couple previously where I just helped with the cutting out of the parts, and he painted them how he wanted. There doesn't seem to be much difference in his attitude towards this one where I'm telling him what to do. Must admit I'm a bit surprised about this.
The next one, I'll leave him to it and see how much of what I've shown him he decides to apply.
The next one, I'll leave him to it and see how much of what I've shown him he decides to apply.
Gassing Station | Scale Models | Top of Page | What's New | My Stuff