Hasegawa 1:72 Spitfire Mk. IXc
Discussion


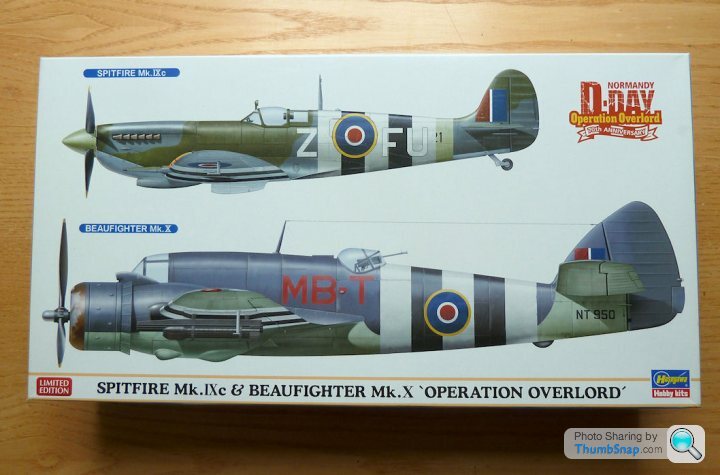
I never learn. Building two kits at once takes at least three times as long as building them one at a time, but whatever; the Mosquito is more of an experiment, right? I wanted a grey/green Spitfire to go with my Mk.1, and since I've been a bit Beaufighter curious for a while, when I saw this I thought it would be rude not to get it:
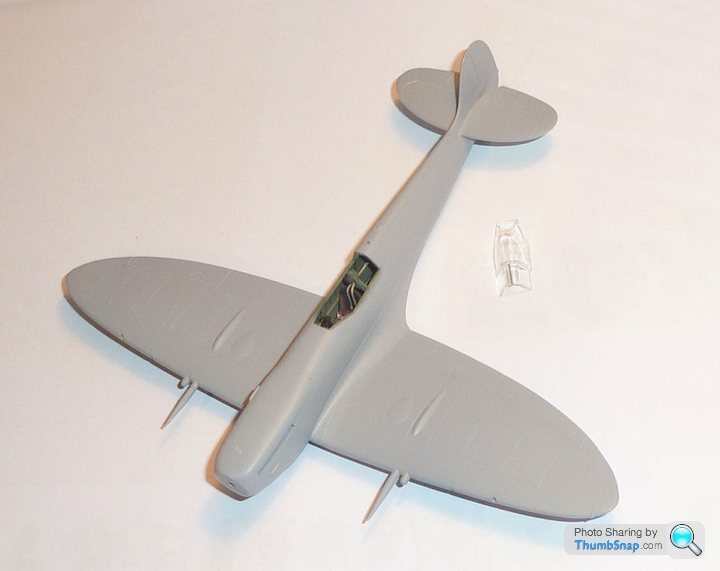
I believe the Spitfire dates from the '90's, and comprised relatively few parts, and pretty sparse interior detail. This won't be much of a problem with a closed canopy though:

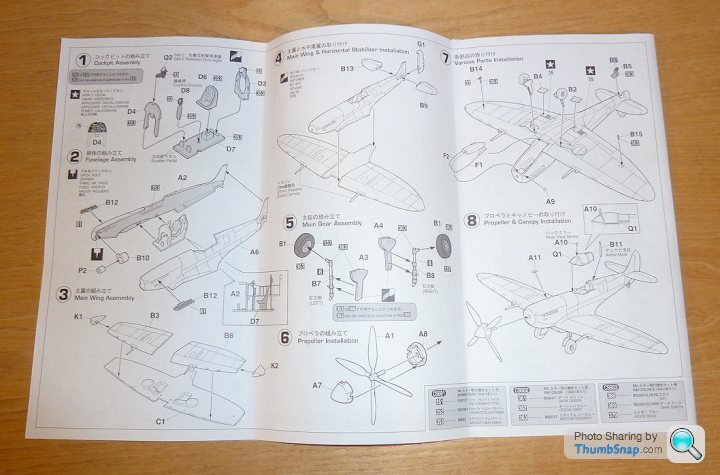
With the exception of some seatbelts, this will be OOB (really this time), although I'd like to finish it without invasion stripes, so I've got some alternative decals in the pipeline.
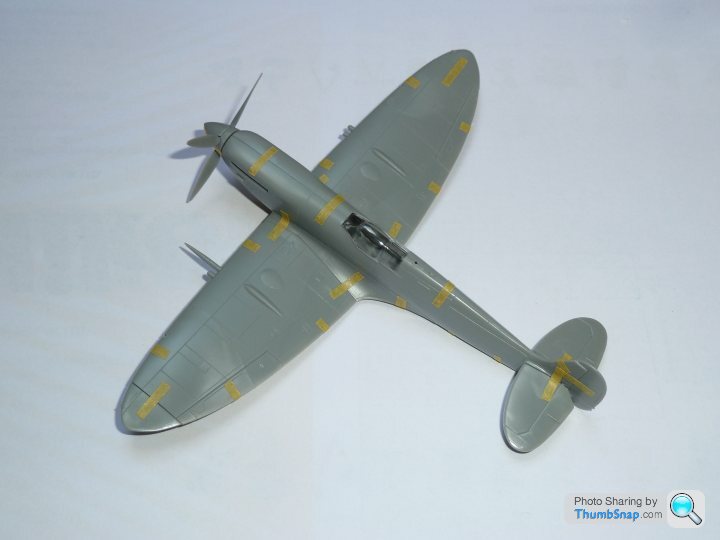
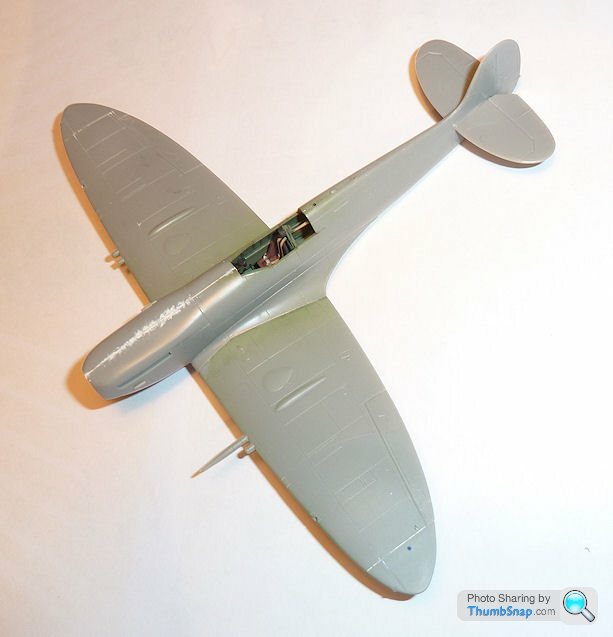
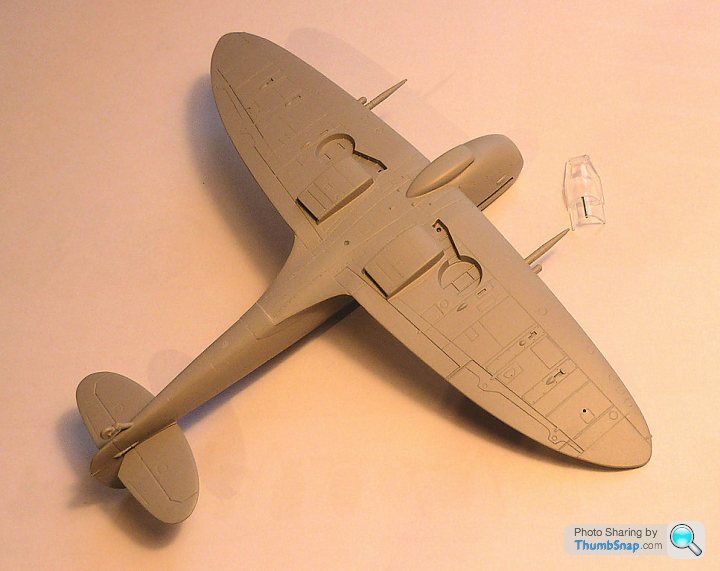
An hour of cleaning up the parts allowed pretty much the whole model to be assembled with Tamiya tape, with very little evidence of any significant gaps or fit issues. One of the cannon fairings had got broken in the box, but a bit of work with a drill and brass pin will soon fix that:
A decent 1:72 Spitfire is always a good model to build...
I believe the Spitfire dates from the '90's, and comprised relatively few parts, and pretty sparse interior detail. This won't be much of a problem with a closed canopy though:
With the exception of some seatbelts, this will be OOB (really this time), although I'd like to finish it without invasion stripes, so I've got some alternative decals in the pipeline.
An hour of cleaning up the parts allowed pretty much the whole model to be assembled with Tamiya tape, with very little evidence of any significant gaps or fit issues. One of the cannon fairings had got broken in the box, but a bit of work with a drill and brass pin will soon fix that:
A decent 1:72 Spitfire is always a good model to build...
vx220 said:
4321go said:
dr_gn said:
vx220 said:
"Beaufighter curious" will be a challenge to get in to a conversation!
I take it you've never attended a plastic model show?wolfracesonic said:
That's great! I think someone does a kit of it, including the beer barrels.
Mutley said:
dr_gn said:
wolfracesonic said:
That's great! I think someone does a kit of it, including the beer barrels.http://www.hannants.co.uk/product/BRL72063
Definitely "Out Of Box" (apart from the seat harness).
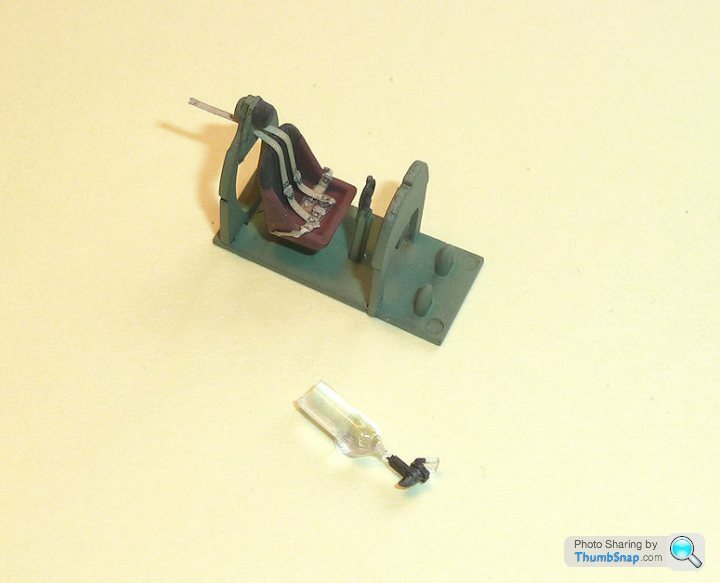
Here are the Eduard pre-painted RAF belts, along with the seat (which subsequently had the rear painted black):
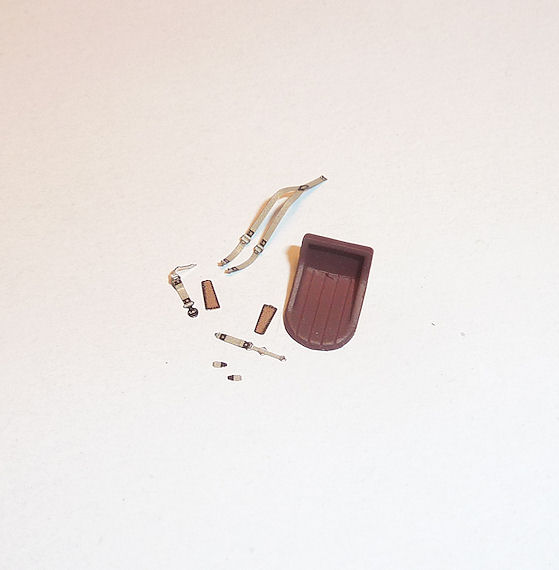
And completed cockpit, with gunsight which will be fitted later:
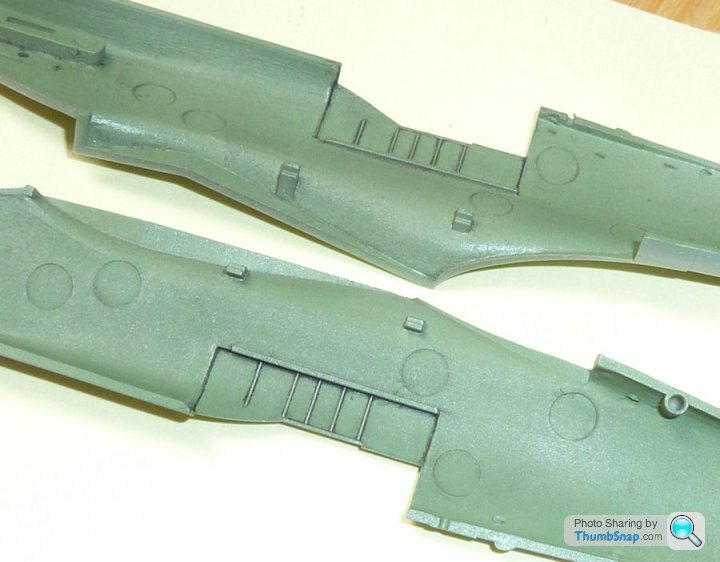
Cockpit sides complete - or at least painted - there's not much to see:
Propeller and spinner assembled:

and finally wheels and u/c doors:
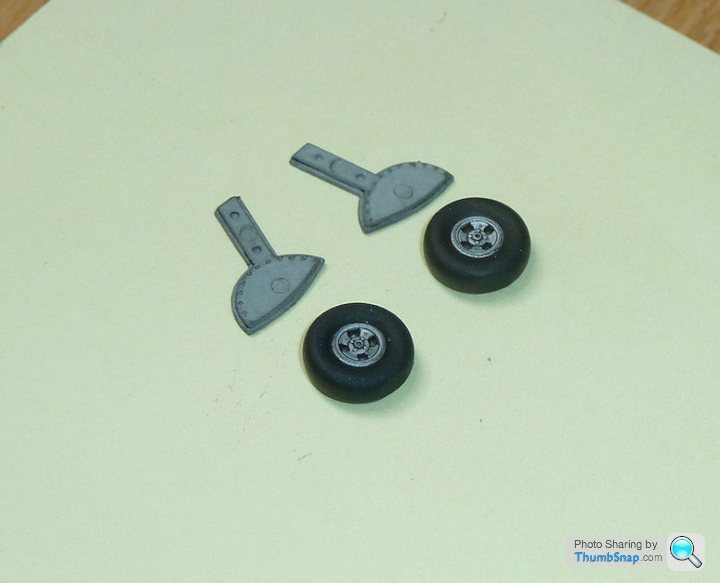
All the ejector pin marks will be covered on assembly.
Here are the Eduard pre-painted RAF belts, along with the seat (which subsequently had the rear painted black):
And completed cockpit, with gunsight which will be fitted later:
Cockpit sides complete - or at least painted - there's not much to see:
Propeller and spinner assembled:
and finally wheels and u/c doors:
All the ejector pin marks will be covered on assembly.
So I've now pretty much completed the sanding/guide coat/filling/rescribing/re-rivetting process. Just a couple of dots on the nose and fuselage need flatting. I repaired the cannon fairing with some brass tube. I also fitted the gunsight and added a small strip of cockpit green painted decal paper internally to the rear canopy, to represent some internal framing:
I've also partially drilled the ventral signalling lamp out to make subsequent painting easier. This will be a dot of Vallejo silver followed by Tamiya clear red, both applied with the end of a cocktail stick:
Next job will be to paint the undersides in Medium Sea Grey.
I've also partially drilled the ventral signalling lamp out to make subsequent painting easier. This will be a dot of Vallejo silver followed by Tamiya clear red, both applied with the end of a cocktail stick:
Next job will be to paint the undersides in Medium Sea Grey.
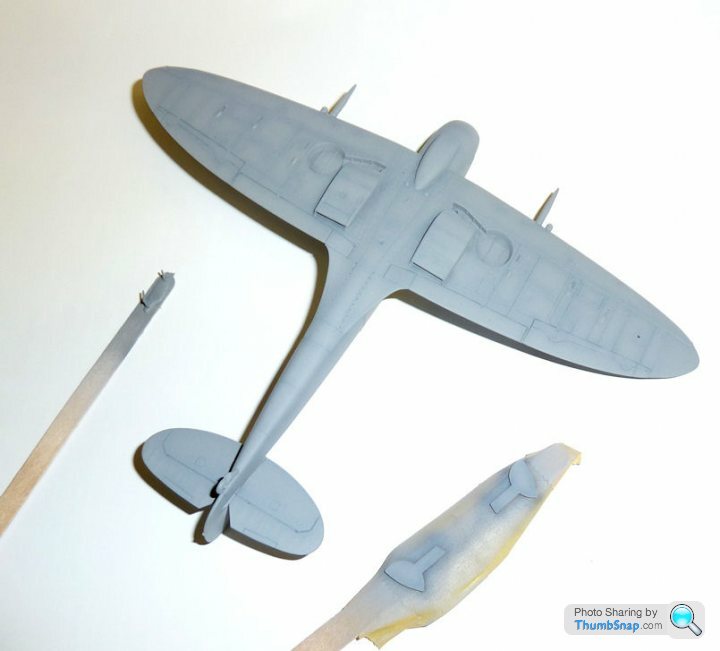
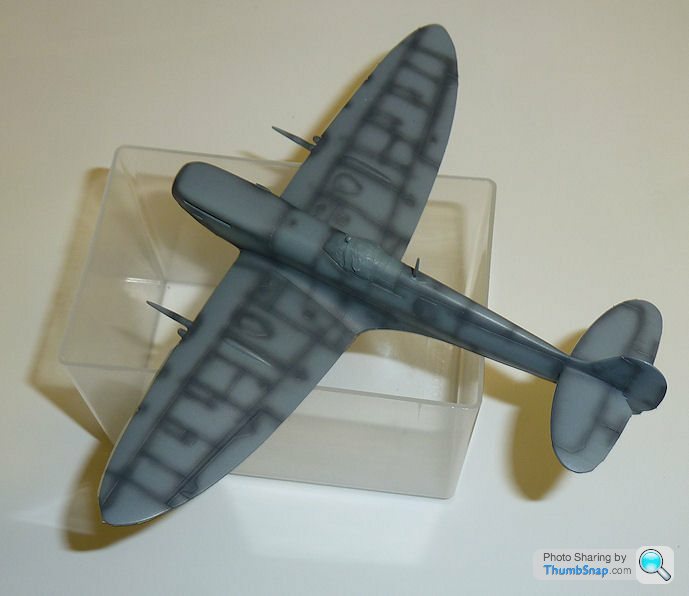
Added a missing panel line under the nose, then sprayed with Vallejo MSG plus a drop of white grey, then preshaded with Vallejo German Grey:
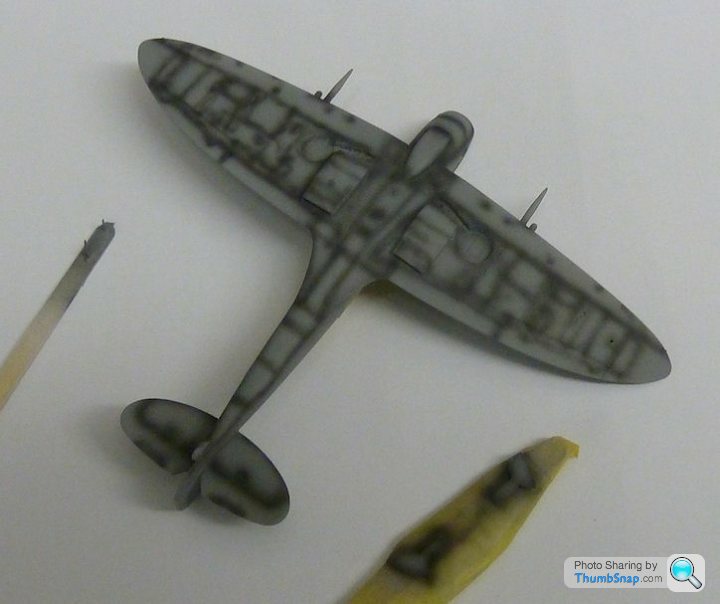
Then oversprayed to leave my favoured (very subtle) preshade:
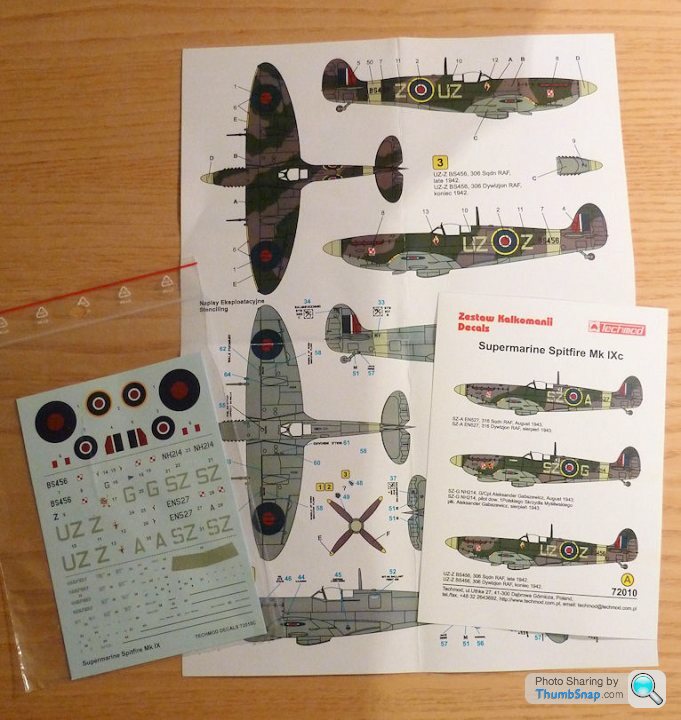
The replacement Techmod decal set arrived today from hannants. I've never used Techmod before, but they look good, and include a comprehensive set of stencils, which is not always the case with aftermarket decals:
Then oversprayed to leave my favoured (very subtle) preshade:
The replacement Techmod decal set arrived today from hannants. I've never used Techmod before, but they look good, and include a comprehensive set of stencils, which is not always the case with aftermarket decals:
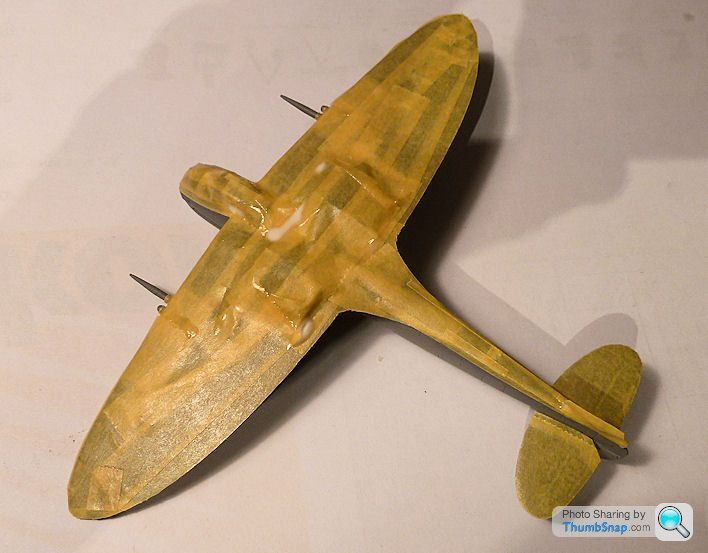
Most of the masking is complete now, although the rear canopy lower frames aren't well defined, so I still need to check that I've masked them at the right height. I always use Tamiya tape to completely cover the undersides these days, plus I add masking fluid along any dodgy looking joints to make sure there is no overspray. Might seem excessive, but correcting overspray is worse...
According to Tamiya paint schemes, the cannon fairings should be top camo colour all around, apart from their roots, so that's how I've masked them.
According to Tamiya paint schemes, the cannon fairings should be top camo colour all around, apart from their roots, so that's how I've masked them.
Finished the canopy masking and fitted the mast and rear view mirror, then followed the usual process for the Ocean Grey upper camo:

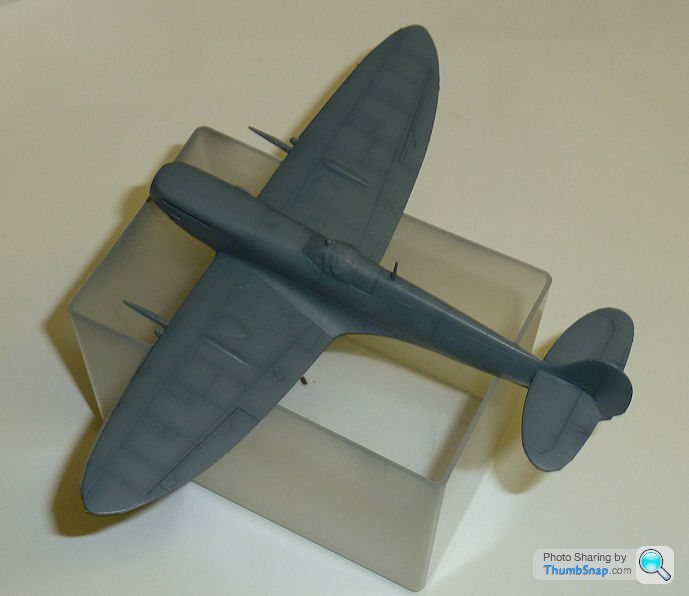
The Ocean Grey was Xtracrylix, preshading with Vallejo German Grey. I normally only use retarder meduim for the preshading, but in this case I used it for both colours; I've never used Xtracrylix before, and it did seem more prone to clogging than other paints.
The Ocean Grey was Xtracrylix, preshading with Vallejo German Grey. I normally only use retarder meduim for the preshading, but in this case I used it for both colours; I've never used Xtracrylix before, and it did seem more prone to clogging than other paints.
Mark-C said:
Your attention to detail is astonishing to a lazy occasional model hack ... keep it up 
Ha ha ta. TBH I enjoy watching the kids bodging their kits together just as much as pratting about with my own efforts. At the end of the day, I think just building something from individual parts is satisfying no matter how you go about it.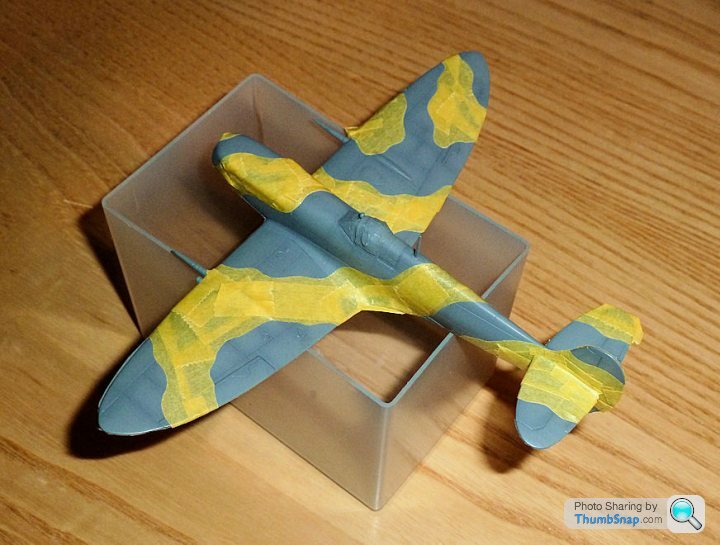
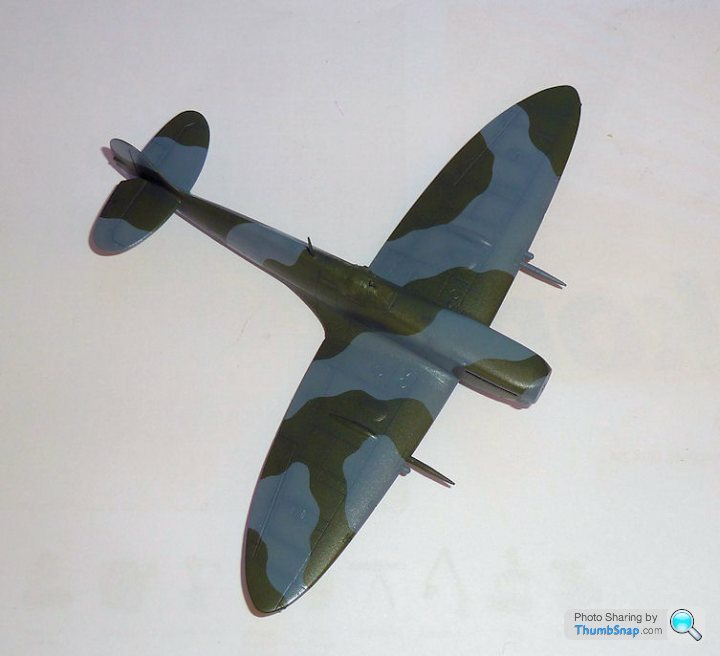
So the green is on, and shaded of course:
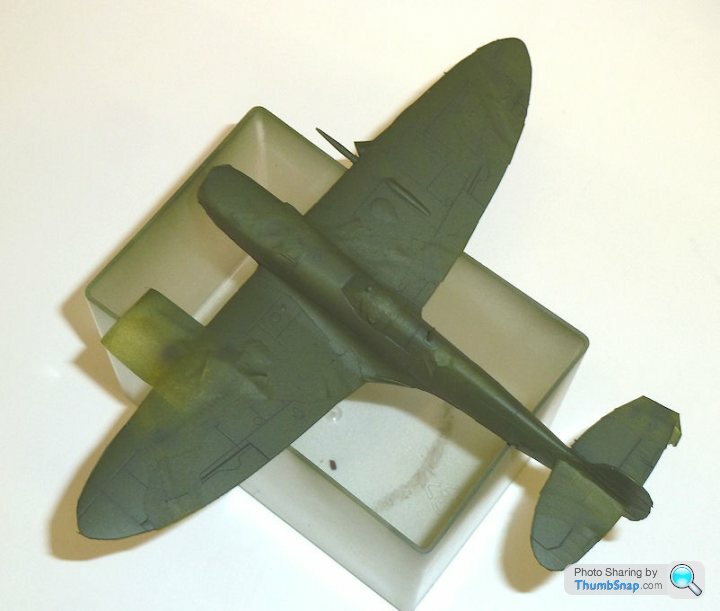
One of the best modelling 'things' is to de-mask a Spitfire...all the contrasting greys and greens pop out after you've seemingly been spraying colour after colour of totally the wrong shade onto layers of masking tape:

...but it harldy ever goes smoothly (at least for me!). Here, I've obviously got some contamination on the primer coat, and the masking tape has pulled off the top coats:
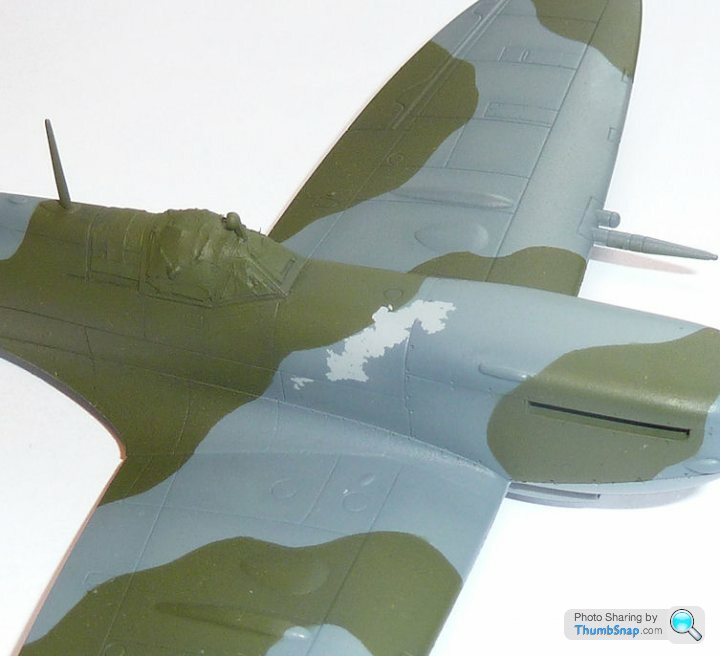
So the whole process of masking, painting, pre-shading and de-masking has to be done again locally (after first carefully and gently cleaning the affected area with dilute detergent). The repair needs to be seamlessly faded out into the good paint. It's much more tricky to do this, but that's one of the reasons I invested in a good quality airbrush; I don't need to fight against the equipment!
One of the best modelling 'things' is to de-mask a Spitfire...all the contrasting greys and greens pop out after you've seemingly been spraying colour after colour of totally the wrong shade onto layers of masking tape:
...but it harldy ever goes smoothly (at least for me!). Here, I've obviously got some contamination on the primer coat, and the masking tape has pulled off the top coats:
So the whole process of masking, painting, pre-shading and de-masking has to be done again locally (after first carefully and gently cleaning the affected area with dilute detergent). The repair needs to be seamlessly faded out into the good paint. It's much more tricky to do this, but that's one of the reasons I invested in a good quality airbrush; I don't need to fight against the equipment!
Yup, I think with the old enamels, the solvent cleaned or at least slightly keyed to the plastic to some degree, whereas with acrylics it doesn't happen. Having said that, the underside of the model, which was 100% masked, was fine...plus the paint lifted from the Tamiya primer, not the plastic.
No problem I thought, so I partially masked the wings with tissue to protect from overspray, accidentally caught the right hand one and...
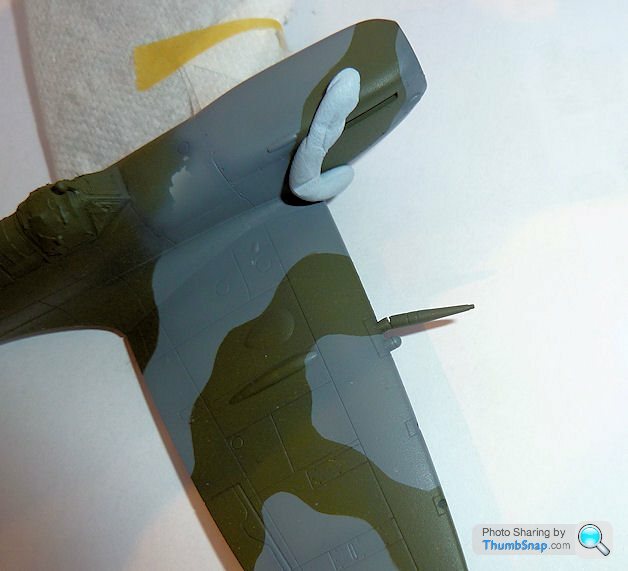
Goodbye cannon fairing repair. Luckily I'd used brass rod to strengthen it, so it went back OK with a dot or cyano. Excellent example of one error compounding to create a total screw-up. Anyway, it's now all repaired, and I gave it a coat of Klear in the hope that it might consolidate the paint a bit for when I mask for the sky band and yellow leading edge stripes.
No problem I thought, so I partially masked the wings with tissue to protect from overspray, accidentally caught the right hand one and...
Goodbye cannon fairing repair. Luckily I'd used brass rod to strengthen it, so it went back OK with a dot or cyano. Excellent example of one error compounding to create a total screw-up. Anyway, it's now all repaired, and I gave it a coat of Klear in the hope that it might consolidate the paint a bit for when I mask for the sky band and yellow leading edge stripes.
End of play tonight and the sky fuselage band is done, along with the leading edge strips. The yellow is a bit sudden, but I'll probably end up giving an overall coat or two of Tamiya smoke to tone down the white in the decals, so that should sort it:
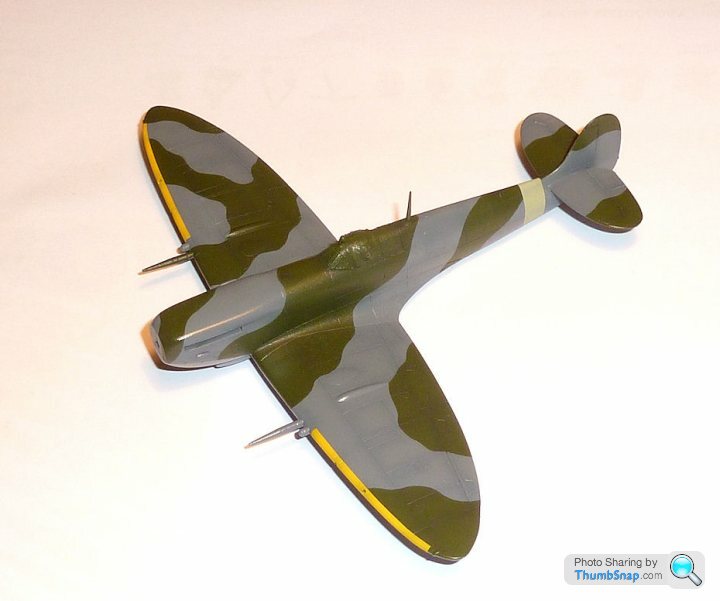
Apart form a couple of bits of overspray, no problens masking this time.
Apart form a couple of bits of overspray, no problens masking this time.
Gassing Station | Scale Models | Top of Page | What's New | My Stuff