1:250 Scale Paper Model: Multi-Purpose Vessel "Mellum"
Discussion


Following on from the trawler "Wuppertal":
http://www.pistonheads.com/gassing/topic.asp?h=1&a...
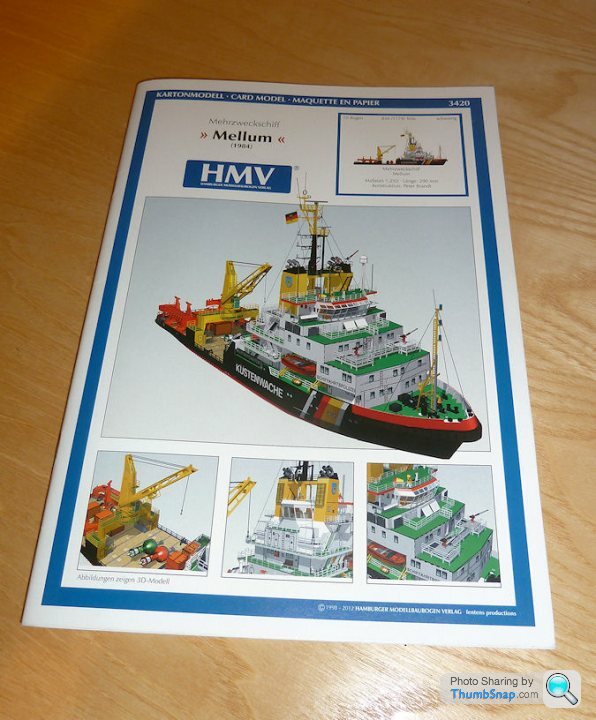
I've made a start on a more modern, more complex ship called "Mellum". It's a multi-purpose vessel used mainly for pollution control duties. It's based at the island of Helgoland (interseting history) which I visited this summer.
As with the "Wuppertal", I bought the kit at the Hamburg Maritime Museum:
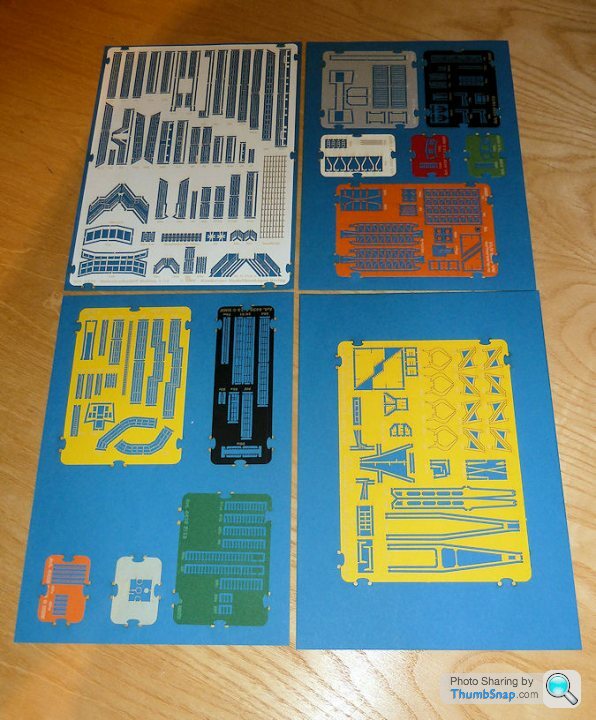
Got the laser-cut detail set from EBay:
First thing, cut out the hull and deck parts:
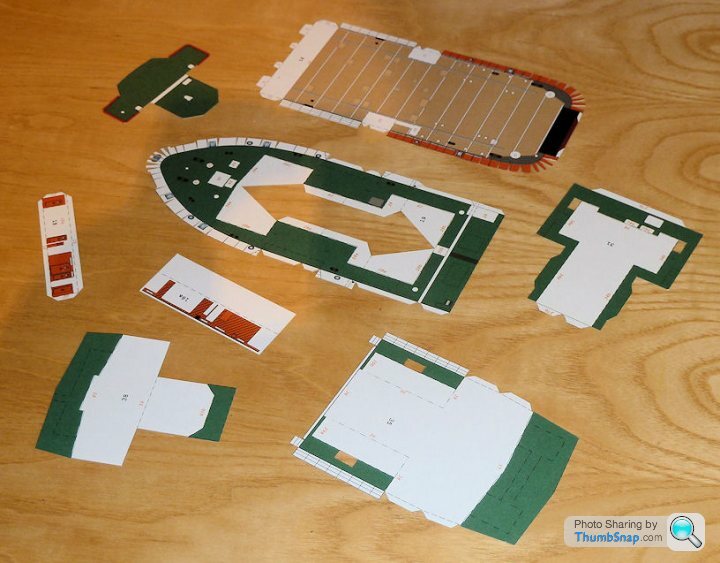
And build up the hull substructure:
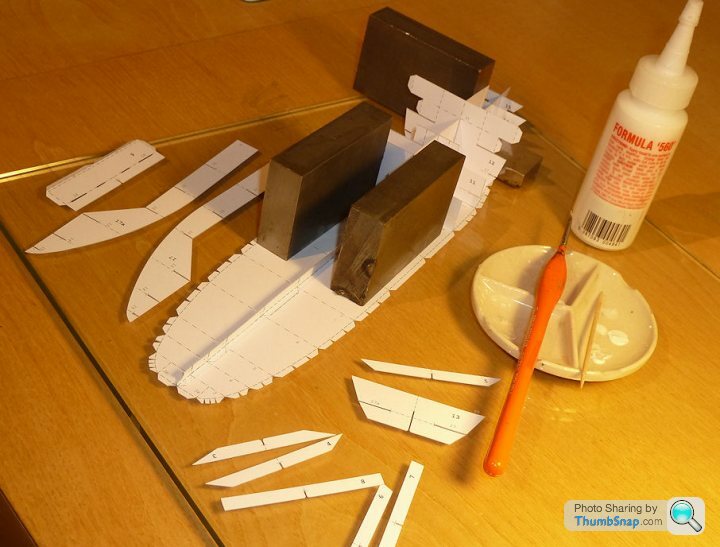
I'm building it on a glass plate to make sure of no warping; if you get this stage wrong, any inaccuracies tend to stack up during the build, making things a bit difficult...
http://www.pistonheads.com/gassing/topic.asp?h=1&a...
I've made a start on a more modern, more complex ship called "Mellum". It's a multi-purpose vessel used mainly for pollution control duties. It's based at the island of Helgoland (interseting history) which I visited this summer.
As with the "Wuppertal", I bought the kit at the Hamburg Maritime Museum:
Got the laser-cut detail set from EBay:
First thing, cut out the hull and deck parts:
And build up the hull substructure:
I'm building it on a glass plate to make sure of no warping; if you get this stage wrong, any inaccuracies tend to stack up during the build, making things a bit difficult...
AshVX220 said:
HoHoHo said:
Looking forward to this and slightly better than I brought back from Hamburg recently - I got the squits!
To be fare, it's Hamburg, you could have gotten something a lot worse!  (<-- see what I did there)
Looking forward to seeing how this one goes as always with these modelling build threads.

lufbramatt said:
dr_gn said:
Yep, I've been to Hamburg a few times and am aware of what's available.
Have you been to Miniatur Wunderland? That place blew me away with the sheer ridiculousness of what they have achieved. Loved it.The last time we went to Hamburg we got an impromptu tour around HMS Illustrious which happened to be visiting, and between that and getting hammered on gluhwein I got engaged to my now wife
 happy days!
I once saw where there was something like the largest model kit warehouse in Europe, near Hamburg, but could never find a reference to it. Also it's the home of Harder & Steenbeck airbrushes.
Bit of progress:
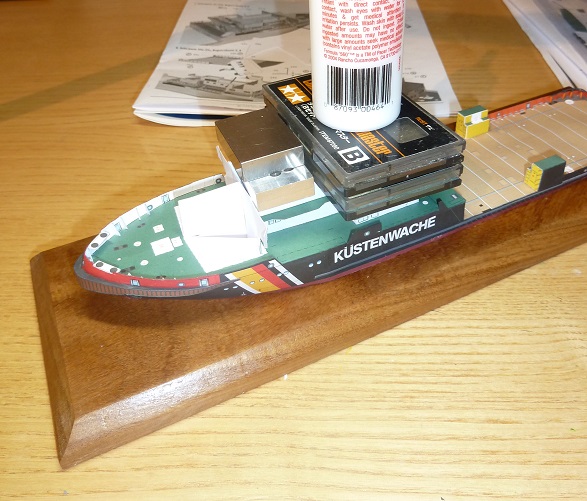
The rear deck is Uhu'd in place, the other is just temporary. The two decks and the four hull sides have to line up precisely for it to work. Despite cutting access holes in the base of the model, there's no practical way of taping these pieces together and brushing glue on the joints later. In the absence of any decent paper adhesive with long working time, this one could go either way.
The rear deck is Uhu'd in place, the other is just temporary. The two decks and the four hull sides have to line up precisely for it to work. Despite cutting access holes in the base of the model, there's no practical way of taping these pieces together and brushing glue on the joints later. In the absence of any decent paper adhesive with long working time, this one could go either way.
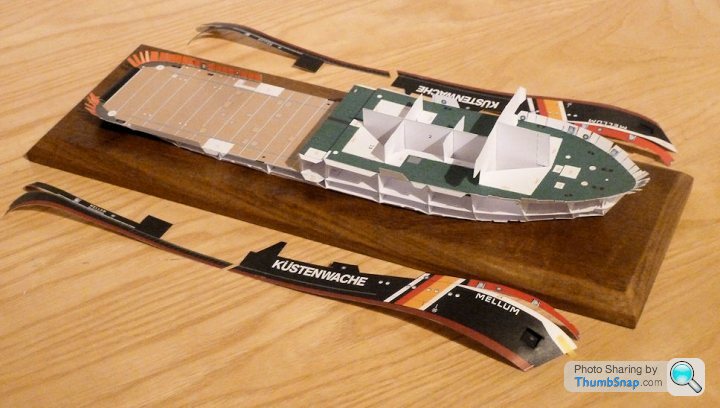
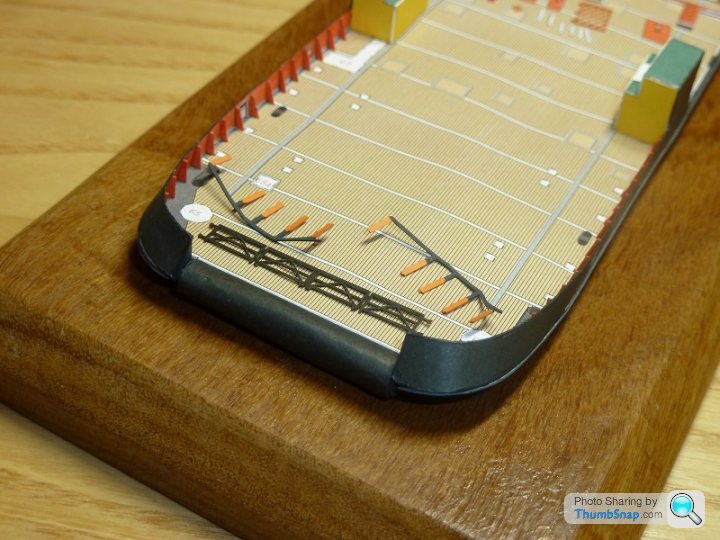
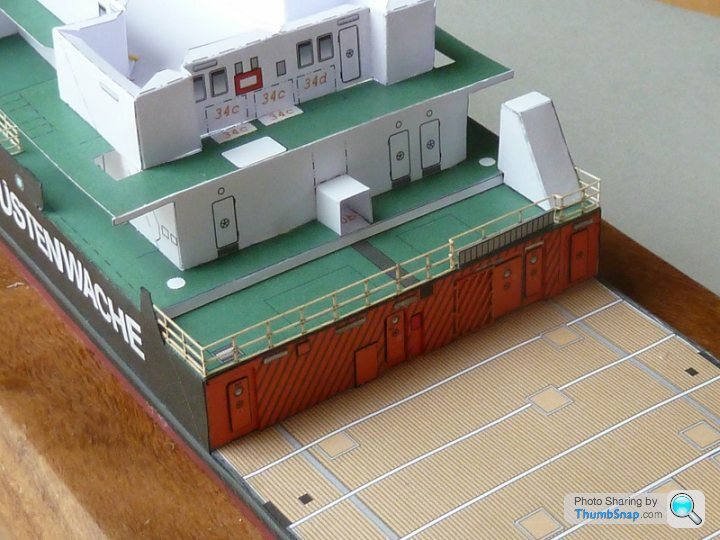
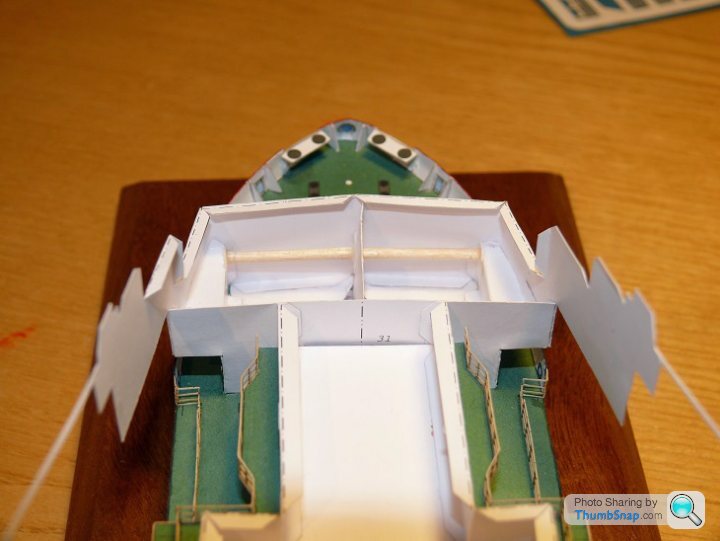
Got the hull together now, it's far more complicated than the Wuppertal Trawler. The front end is still not quite there, and there are some buffer strips to go on the sides. When the crane supports are fixed on teh deck, I'll glue it to it's base so I can complete the model without handling the hull directly:
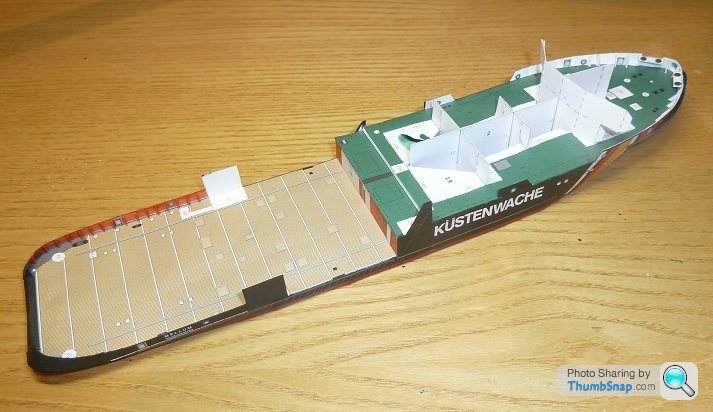
So now it's firmly fixed to the base. The hull still needs some fiddly details like the bow and hull side buffer panels, but these aren't too tricky.
Also cut out the rear deck details ready for attaching to the main structure (you can also see the gantry crane supports here:
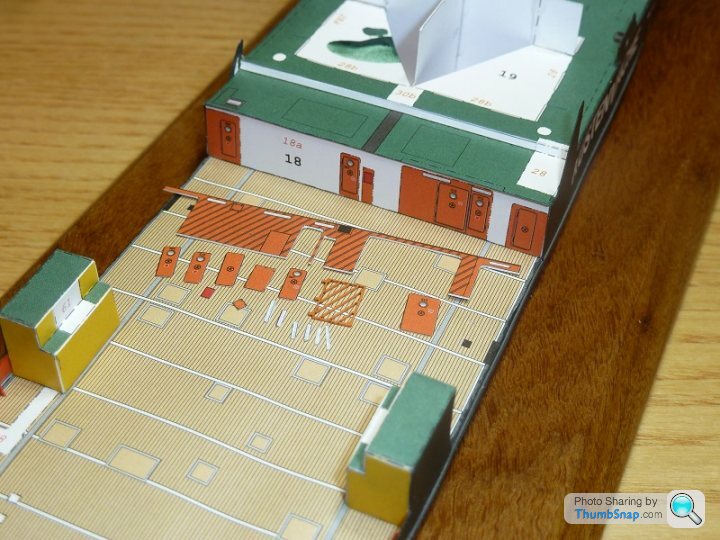
It's little details like this that make these models pop - some 3D features to break up the flat panels.
Also made a start on the laser-cut railings for the stern:
Also cut out the rear deck details ready for attaching to the main structure (you can also see the gantry crane supports here:
It's little details like this that make these models pop - some 3D features to break up the flat panels.
Also made a start on the laser-cut railings for the stern:
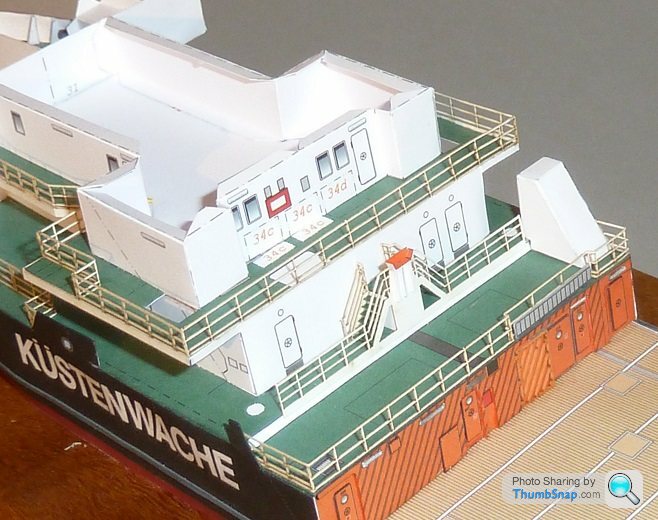
I'm making a bit of progress with the endless stack of decks:
I found a couple of decks didn't line up with the other parts, and assumed I'd made a mistake somewhere - small errors quickly stack up with these models. A couple of the cabin sides were too long for their footprints on the deck plates, so this made me think the model was wrong. Having looked a another build online, they had exactly the same issues. Anyway, I can correct/bodge it as I go so it should be fine:
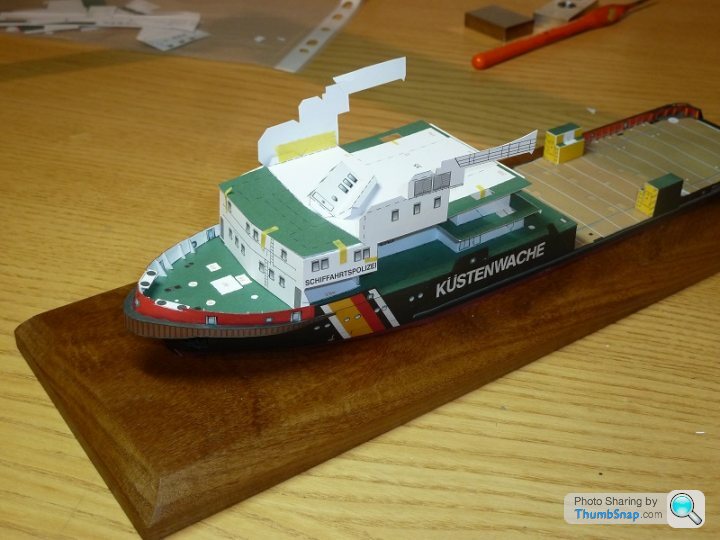
I think the piece in the photo is the most complex of the whole model - it covers the front, and sides on five levels of the cabin. I've taped it in place to make sure it connects with all the other pieces before applying the glue.
I found a couple of decks didn't line up with the other parts, and assumed I'd made a mistake somewhere - small errors quickly stack up with these models. A couple of the cabin sides were too long for their footprints on the deck plates, so this made me think the model was wrong. Having looked a another build online, they had exactly the same issues. Anyway, I can correct/bodge it as I go so it should be fine:
I think the piece in the photo is the most complex of the whole model - it covers the front, and sides on five levels of the cabin. I've taped it in place to make sure it connects with all the other pieces before applying the glue.
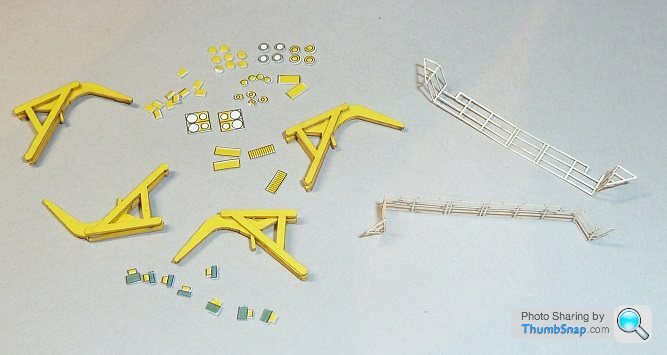
Bit of progress on railings:
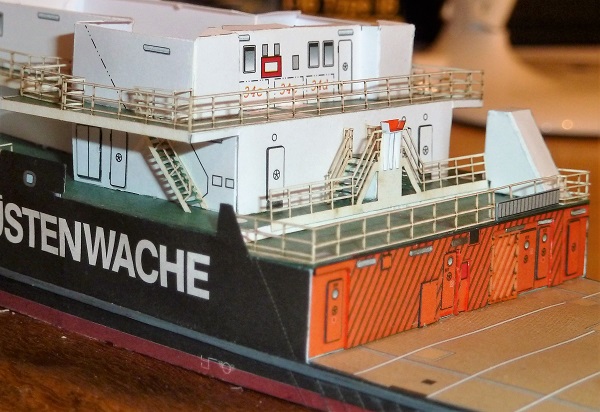
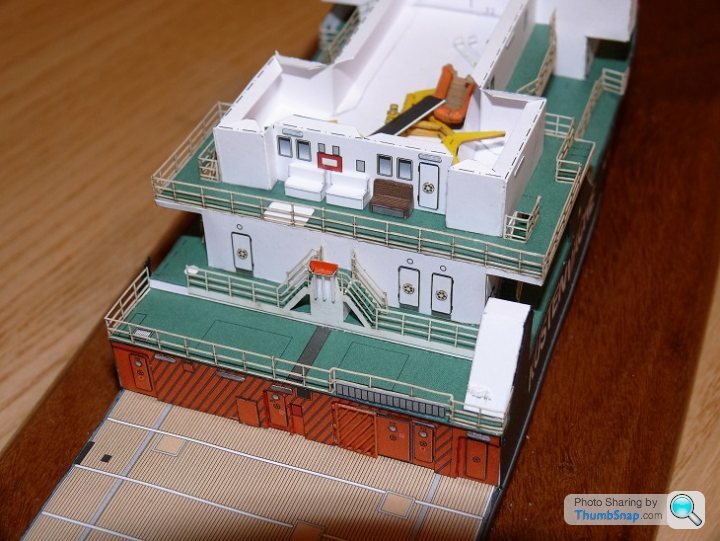
This kit isn't half as good as the Wuppertal Trawler in terms of fit. Some parts just don't fit as they are. Also, the chaindot cut and fold lines remain visible on many superstructure parts (you can see this to a degree on the diagonal fold of the stair housing on the right). I'll have to go over all the visible lines with Vallejo off white.
And some stairs, which, with the laser-cut detail set, have individual treads:
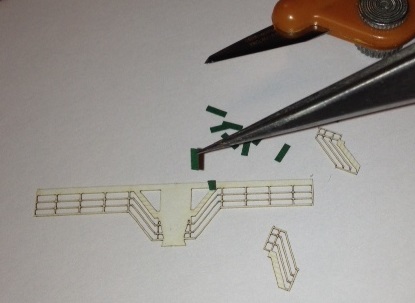

I think the platform at the top of these stairs forms a rest for the tip of the crane jib.
Excuse the poor photo quality these days, my PC packed up, so I've got no photo-editing software at the moment.
This kit isn't half as good as the Wuppertal Trawler in terms of fit. Some parts just don't fit as they are. Also, the chaindot cut and fold lines remain visible on many superstructure parts (you can see this to a degree on the diagonal fold of the stair housing on the right). I'll have to go over all the visible lines with Vallejo off white.
And some stairs, which, with the laser-cut detail set, have individual treads:
I think the platform at the top of these stairs forms a rest for the tip of the crane jib.
Excuse the poor photo quality these days, my PC packed up, so I've got no photo-editing software at the moment.

robemcdonald said:
How do you manage not to show the edge of the paper after you've cut it out? Having seen my efforts you'll know it's something I struggle with.
By the way this is awesome. I'd love to see how well you could make one of the Yamaha models.
It's vey simple - just get some water based paint, mix it to the right colour and paint it along the edges with a fine brush (and whatever other white bits you think might show through once assembled). Once the paint is completely dry, pva sticks to it just as well as to printed paper. The beauty of water paints over felt tips is that you can - to a degree, remove any errors with a damp paintbrush.By the way this is awesome. I'd love to see how well you could make one of the Yamaha models.
I also sometimes brush over an entire substructure with Tamiya weathering powders of the appropriate colour. It tends to blend the parts together and make the joints less obvious.
Hope this helps.

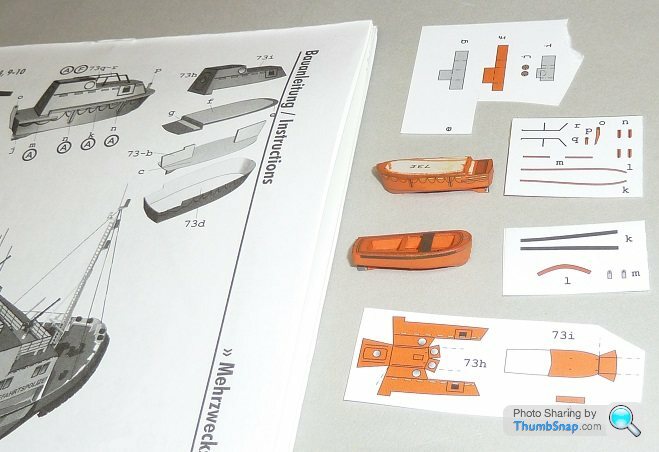
I don't use a magnifying glass, just a decent lamp.
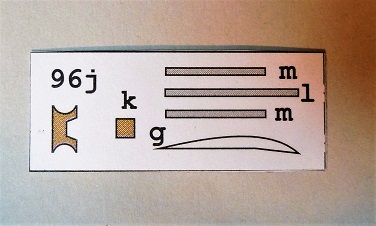
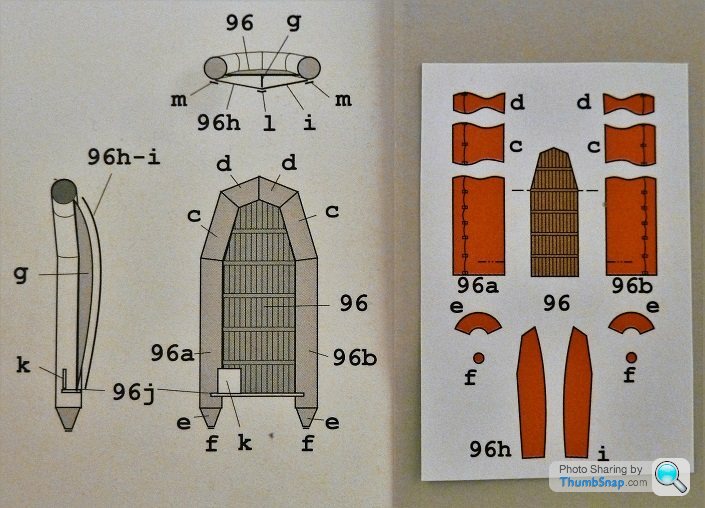
Most of the parts aren't too small to cut out with small scissors, or failing that a scalpel. The sides were just cut out and wrapped around a small drill, and glued along the join to form tubes. All the parts are pretty much self-jigging.
The small circular "f" parts were about 2mm in diameter, but these looked far too big stuck on the ends of the sponsons, so I found some scrap orange paper from another part and punched them out at 1mm diameter using a punch and die set, so there was no cutting at all needed for those.
perdu said:
If you havent met dr_gn you won't realise he has microbladed fingertips and stereohypervision which makes all this awesome precision inevitable
or I am talking utter b ks as usual?
Any way, just butting in to congratulate him for his and junior doc's successes at Cosford
Certificated excellence from both again
Well done, nice to see you lot again at the show
b
Nice to see you too Perdu. We always try to seek you out at model shows: Its good to interact with a normal person at these events.or I am talking utter b
ks as usual? Any way, just butting in to congratulate him for his and junior doc's successes at Cosford
Certificated excellence from both again
Well done, nice to see you lot again at the show
b
There have been quite a few fairly big fit errors so far, and they are not easy to correct once the parts are cut out. Since you have to glue the decks pretty much as you go, and some parts span several decks, there is no room for adjustment. Strange really - the trawler was almost spot on in this respect, and it's the same scale and same designer. It's a good challenge though.
Gassing Station | Scale Models | Top of Page | What's New | My Stuff