Hasegawa 1:72 Polikarpov I-16
Discussion


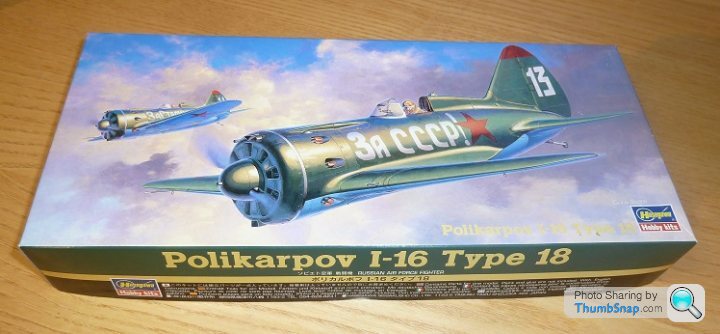
Made a start on the next in the stash: Hasegawa Polikarpov I-16. I picked it up at Telford last year for not much.
I remember the last one of these I built, aged about 6; it was the Revell version and it was so small and fiddly that it ended up with more glue on the outside that in the joins. I've always like these aircraft though.
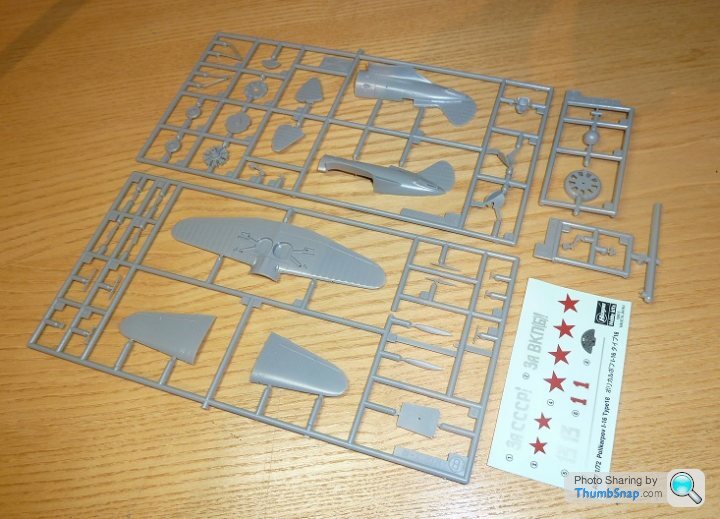
Decent mouldings, very fine surface details, plus there's a length of thin wire for the u/c retraction cables. There's an optional gun camera too.
Picked up some Eduard etch too, although I'll not be using all of it:

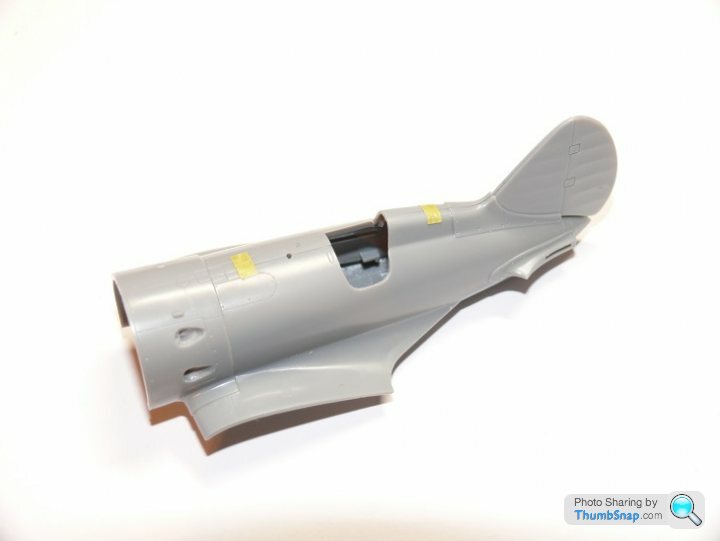
Unfortunately, the decals are a bit of an issue - pretty sure the rudder number and hand painted writing on the fuselage side should be white, but it's beautifully printed...in silver.
Anyway, I've taped it together and it fits very nicely. Just need to source some new decals now:

I remember the last one of these I built, aged about 6; it was the Revell version and it was so small and fiddly that it ended up with more glue on the outside that in the joins. I've always like these aircraft though.
Decent mouldings, very fine surface details, plus there's a length of thin wire for the u/c retraction cables. There's an optional gun camera too.
Picked up some Eduard etch too, although I'll not be using all of it:
Unfortunately, the decals are a bit of an issue - pretty sure the rudder number and hand painted writing on the fuselage side should be white, but it's beautifully printed...in silver.
Anyway, I've taped it together and it fits very nicely. Just need to source some new decals now:
perdu said:
looks like fun, you could always make the transfers yourself with your printer and a scanner
Letters as 'handpainted' as them can be copied with a thin green outline that you can trim clear
With any luck though there's a decent AM one around
So consider me along for the fun
If I had a printer it would be no problem...The printer ink went awol from shops ages ago, and my (home made)PC packed up a few weeks ago after about 8 years of service.Letters as 'handpainted' as them can be copied with a thin green outline that you can trim clear
With any luck though there's a decent AM one around
So consider me along for the fun
Got some big invoices for the MG and E-Type this month too, so no IT purchases on the horizon.
Red Firecracker said:
No worries. An alternative. Scan decals, email scan, receive a frisket mask (or many) in return. New toy that I'm playing with and can get some quite fine/small detail. Can churn out stuff like this;
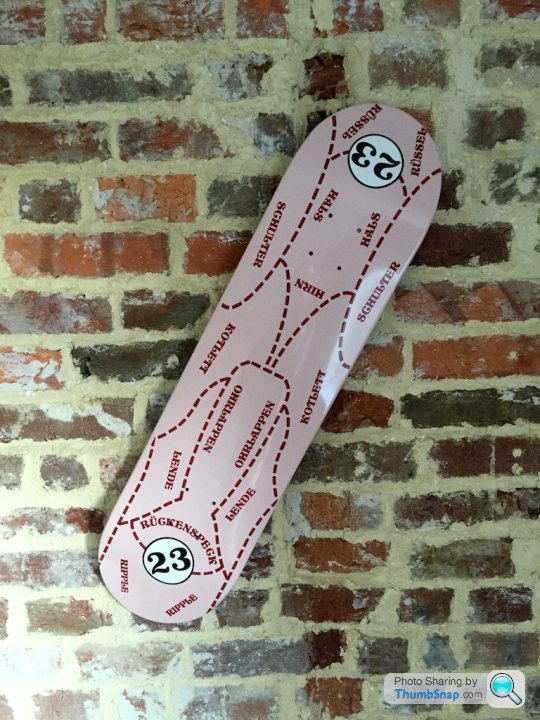
which is admittedly big, but there are some very small details on the lettering.
Thats pretty cool.which is admittedly big, but there are some very small details on the lettering.
Would a high resolution jpeg and a scale be OK in place of a scan?
Red Firecracker said:
We can certainly give it a go. Decals and masks?
Yeah, if you want to give both a try I'd be interested in testing the masks. I bought some for a 1:32 Bf109 a few years back, and although actually using them was a bit terrifying, the results were great in the end. Thanks for the offer, I'll get something emailed.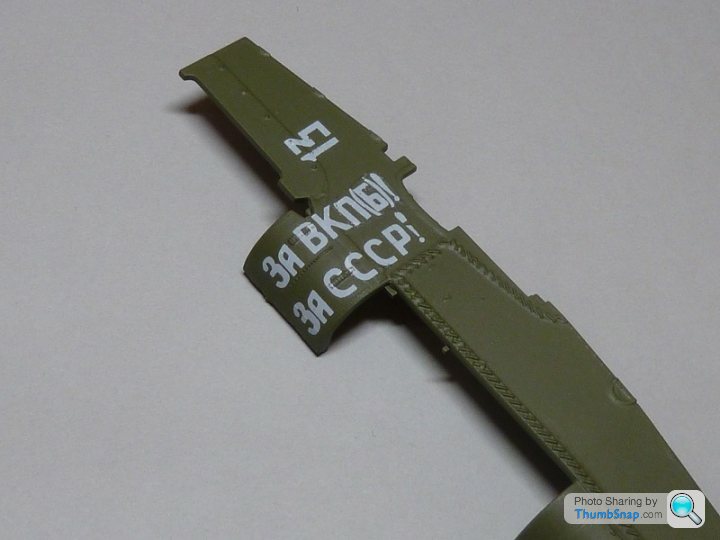
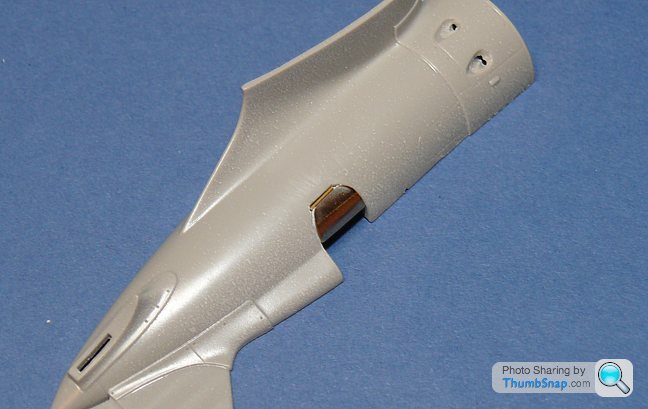
The Eduard etch set contains a replacement engine cowl front, which is far more scale thickness than the standard item (difficult to see from this terrible picture):
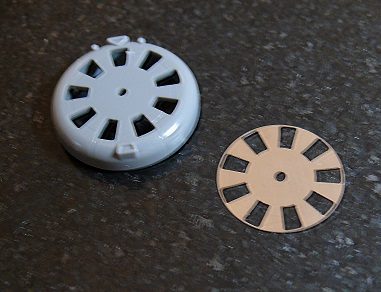
Since I'm modelling it with the cooling apertures open, I decided to risk it and hack out the plastic:
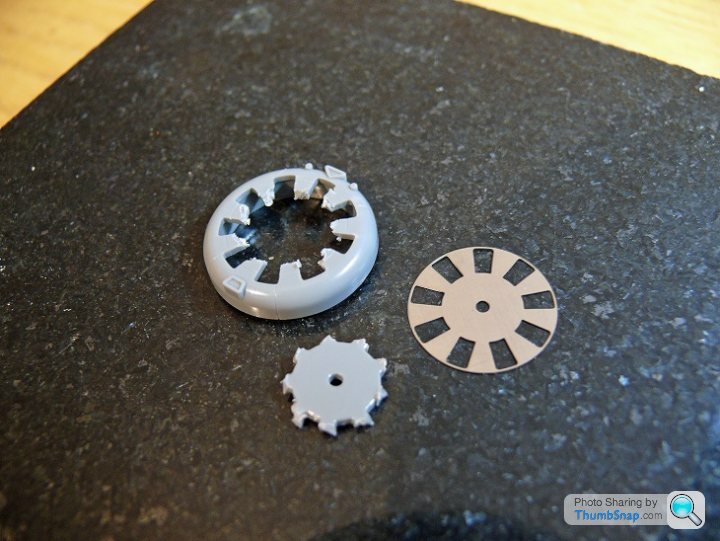
After a bit of work with scalpels and abrasive paper wrapped around various tubes, it's a pretty good fit:

I also made a start on drilling out the gun barrels - in fact I'll remove the stubs completely once I've got some decent pilot holes through the cowling, and replace with brass tube. also need to hollow out the intakes before fixing the front plate in place.
Since I'm modelling it with the cooling apertures open, I decided to risk it and hack out the plastic:
After a bit of work with scalpels and abrasive paper wrapped around various tubes, it's a pretty good fit:
I also made a start on drilling out the gun barrels - in fact I'll remove the stubs completely once I've got some decent pilot holes through the cowling, and replace with brass tube. also need to hollow out the intakes before fixing the front plate in place.
OK forget the idea of replcing the gun stubs with brass, they are in fact just fabricated blast tubes and form part of the cowl.
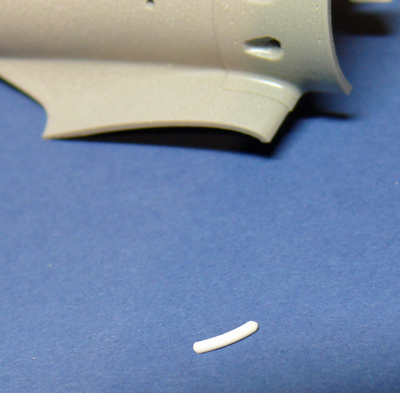
I did however decide to improve the look of the moulded-in exhaust stubs for the 9 cylinder Shvetsov engine:
Just drilling them out would have made a big difference, but I decided they weren't quite sharp enough, so I opened out some 0.8mm brass tube to give a more scall wall thickness, and skew cut it to form the oblique ended stubs:
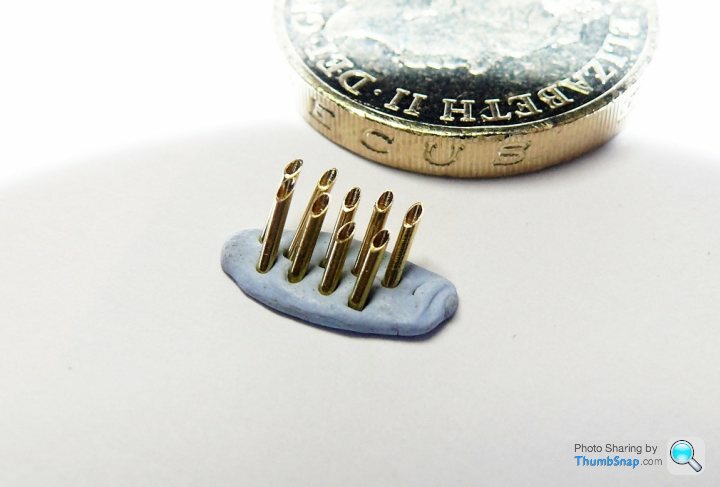
Then drilled out and replaced the originals:
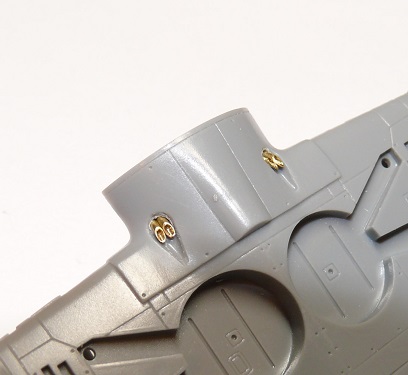
Still a bit of fettling needed on the plastic depressions. This easy mod will also simplify painting.
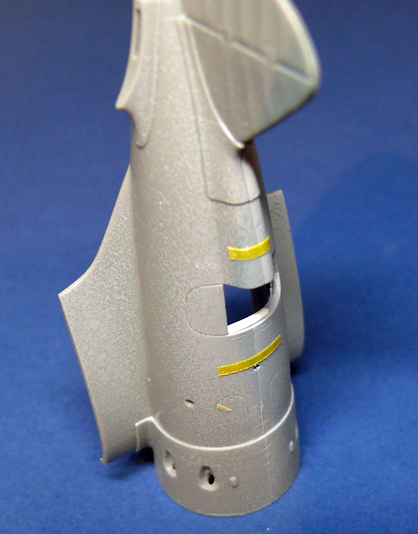
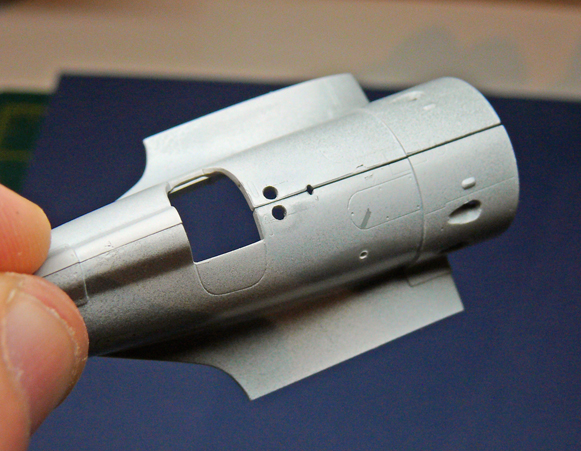
I also decided to cut out the moulded-in port side cockpit door:
I'll make a new one and pose it open so that more cockpit detail will be visible.
I did however decide to improve the look of the moulded-in exhaust stubs for the 9 cylinder Shvetsov engine:
Just drilling them out would have made a big difference, but I decided they weren't quite sharp enough, so I opened out some 0.8mm brass tube to give a more scall wall thickness, and skew cut it to form the oblique ended stubs:
Then drilled out and replaced the originals:
Still a bit of fettling needed on the plastic depressions. This easy mod will also simplify painting.
I also decided to cut out the moulded-in port side cockpit door:
I'll make a new one and pose it open so that more cockpit detail will be visible.
MonkeySpanker said:
No, there are some nice references there, thanks.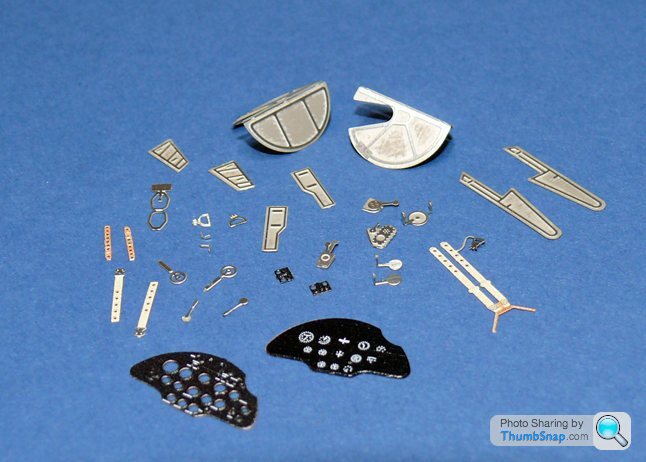
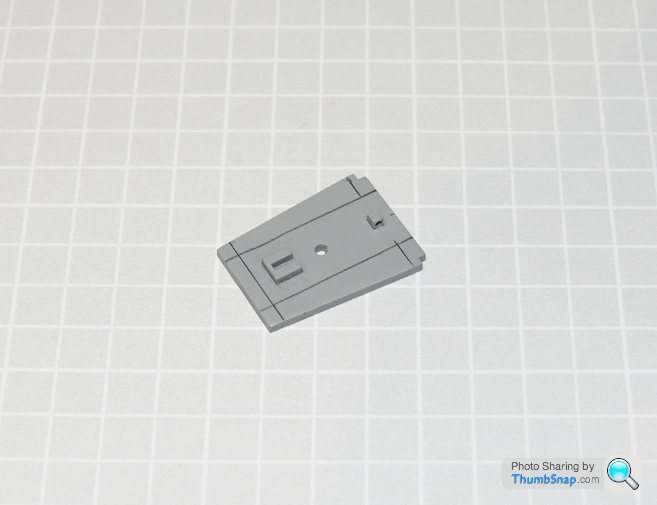
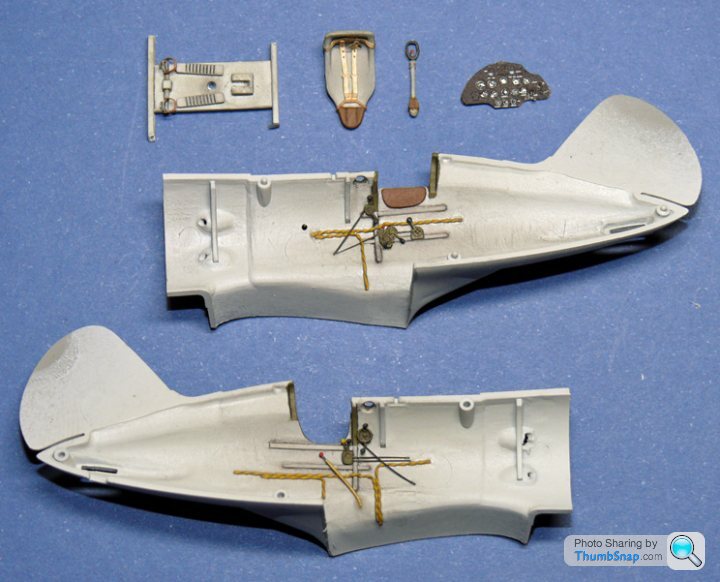
Got the engine cowl fitted with the photo-etch, which is much more of a scale thickness than the original plastic, as is the cooling shutter plate which I want to fit half open. Filling and fettling was a bit of a pain, especially since there's no room to build glue up inside the cowl becasue of the close-fitting shutter plate:


Also made a cockpit door out of scrap p/e, a hinge from brass tube and leather padding from plastic card. Just needs a latch making. It'll obviously be posed open when complete allowing a better view of the cockpit details:

Also made a leather crash pad for the front of the cockpit opening:
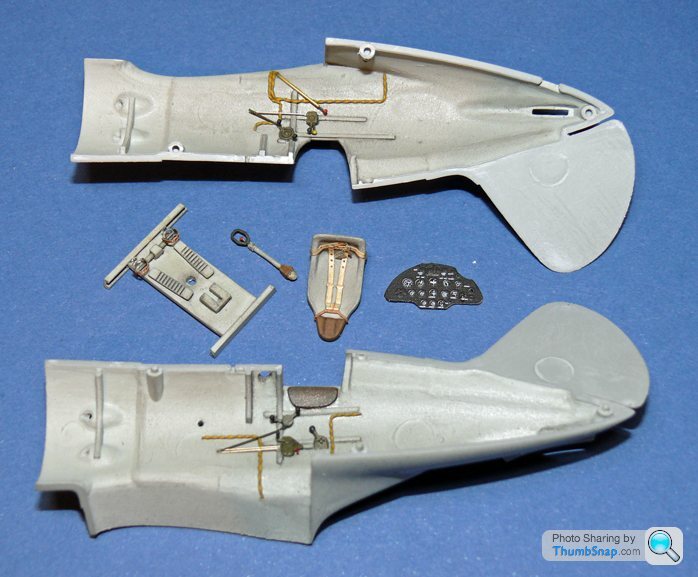
I added an internal longeron that would be visible with the door open. After scratching some heel boards, folding cockpit p/e such as the control colum grip, and making a more realistic rudder bar, I found out that real aircraft has the seat and rudder pedals etc. mounted within the fuselage on a framework, rather than on a full-width floor as in the kit.
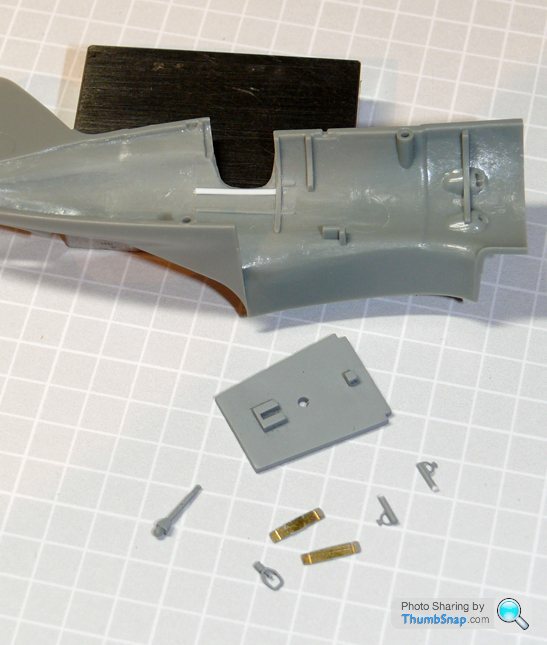
So I cut the original floor down and made some cross-braces:
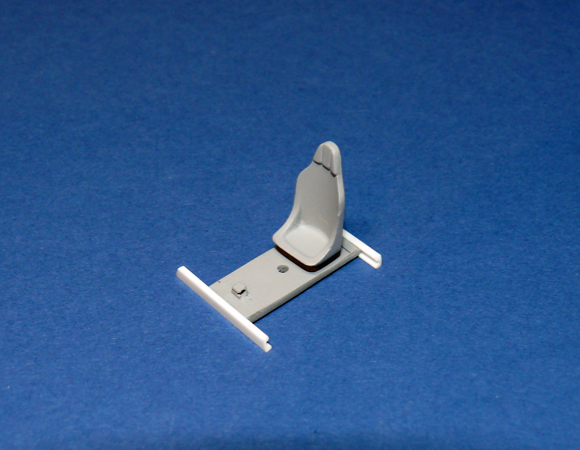
Needs one more brace adding, probably during assembly to aid painting.
Also made a cockpit door out of scrap p/e, a hinge from brass tube and leather padding from plastic card. Just needs a latch making. It'll obviously be posed open when complete allowing a better view of the cockpit details:
Also made a leather crash pad for the front of the cockpit opening:
I added an internal longeron that would be visible with the door open. After scratching some heel boards, folding cockpit p/e such as the control colum grip, and making a more realistic rudder bar, I found out that real aircraft has the seat and rudder pedals etc. mounted within the fuselage on a framework, rather than on a full-width floor as in the kit.
So I cut the original floor down and made some cross-braces:
Needs one more brace adding, probably during assembly to aid painting.
Slow progress really; made some progress on the cockpit by drilling the missing instrument panel light holes:
And drilled out the fuselage venturi for the airspeed indicator:
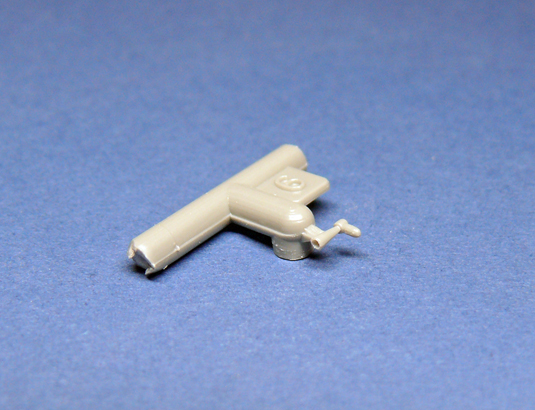
Finally, detailled the cockpit with Eduard etch, wiring and various cables etc. Also finished the modified cockpit floor:
And drilled out the fuselage venturi for the airspeed indicator:
Finally, detailled the cockpit with Eduard etch, wiring and various cables etc. Also finished the modified cockpit floor:
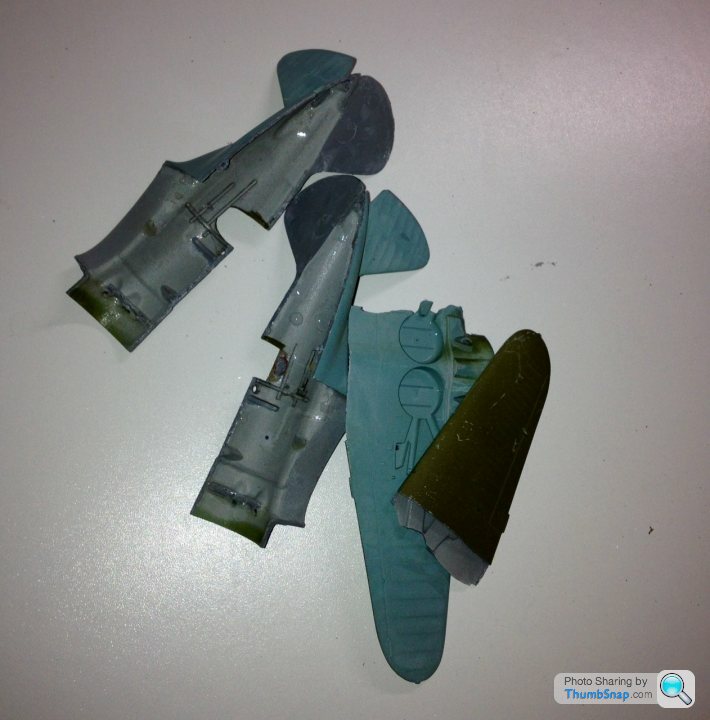
Binned it - ruined some panel lines in the vicinity of the screwed-up join line on top of the fuselage. Salvaged the internals and will try again with a new kit, but I've no idea what happened here. It's like the acrylic paint thinners reacted with the glue, which is...weird.
Edited by dr_gn on Thursday 13th October 00:45
Yertis said:
dr_gn said:
Binned it - ruined some panel lines in the vicinity of the screwed-up join line on top of the fuselage. Salvaged the internals and will try again with a new kit, but I've no idea what happened here. It's like the acrylic paint thinners reacted with the glue, which is...weird.
Edited by dr_gn on Thursday 13th October 00:45

BTDT myself.
I split it apart to salvage the photo-etch stuff and new floor etc. inside the cockpit.
I got a replacement off EBay, so will try again. It's looking likely that it was the new Humbrol poly cement I used that reacted with the acrylic paint and caused the disaster; that's the only thing I don't usually use.
Humbrol. Hmmm.
Einion Yrth said:
Funny thing is that I'm willing to bet that you could have fixed that to everyone else's satisfaction; at root you are probably why I don't build models anymore, you are much, much better at it than I ever was, and you have an attention to detail that I never had.
Still, I enjoy looking at the models you build. Hat's off to you.
I'll take it as a compliment - overall!Still, I enjoy looking at the models you build. Hat's off to you.
It's a long time since I scrapped a model, IIRC it was "Old Crow", but I started again and completed it.
If you enjoy the process of building models, then you really should just get on with it irrespective of what anyone else does. I go to shows and see models I couldn't ever replicate, but it doesn't put me off, I just select subjects that interest me and that I think I can make a good job of.
Once you stray from "out of box" builds is when the trouble can start. Select a good quality, modern kit, and you should have few issues. Tamiya Zero maybe?
It's a new purchase, using all the old detail stuff. I've salvaged the old one and my son is going to build it into the Finnish version with skis - he likes painting figures so I'll find him a pilot to put in it which will cover the missing cockpit details.
He's not bothered about panel lines, he just likes to paint things.
He's not bothered about panel lines, he just likes to paint things.
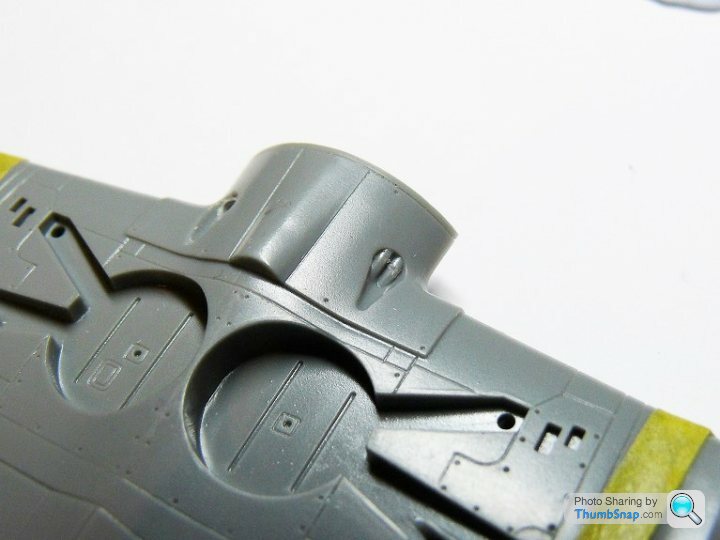
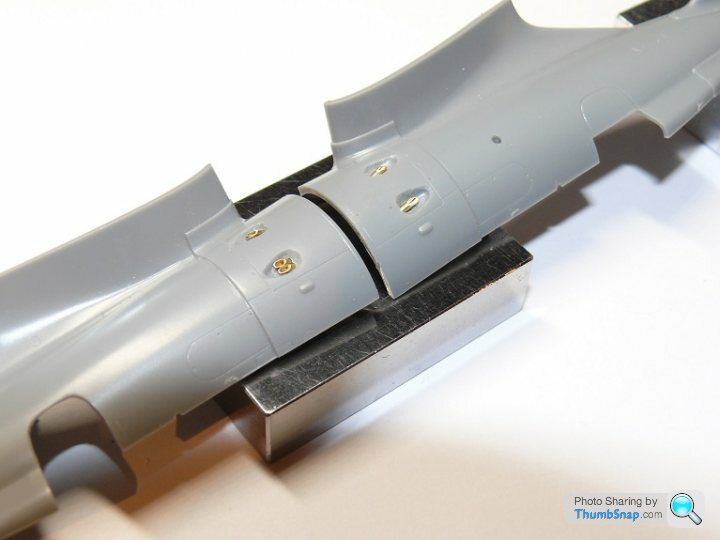
For some reason, this time around there were some prety major gaps where the wings meet the root panels:

In this case - which is quite extreme - I opted to make some plastic card shims, dissolved into place with liquid cement. This makes re-scribing a bit easier, since you're not trying to scribe rock-hard/crumbly filler.
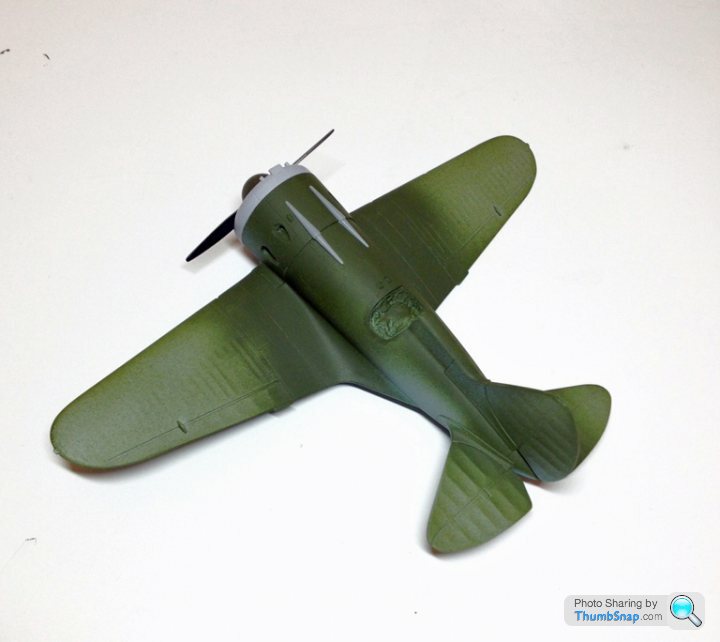
I made a better job of the hollowed-out exhaust stub teardrops this time. after drilling/scraping the moulded-in stubs, I was left with a rough, scored surface. I've coated them with a thick layer of Mr.Surfacer, which has smoothed the whole thing out much more effectively. Just need to sand the excess from around the periphery of the teardrops now. Once this is done, it will be on with some long-awaited paint.
Also visible is the insert I (re)made for the fuselage venturi, the hole for which was way too big for some reason.
In this case - which is quite extreme - I opted to make some plastic card shims, dissolved into place with liquid cement. This makes re-scribing a bit easier, since you're not trying to scribe rock-hard/crumbly filler.
I made a better job of the hollowed-out exhaust stub teardrops this time. after drilling/scraping the moulded-in stubs, I was left with a rough, scored surface. I've coated them with a thick layer of Mr.Surfacer, which has smoothed the whole thing out much more effectively. Just need to sand the excess from around the periphery of the teardrops now. Once this is done, it will be on with some long-awaited paint.
Also visible is the insert I (re)made for the fuselage venturi, the hole for which was way too big for some reason.
Gassing Station | Scale Models | Top of Page | What's New | My Stuff