Painting over a few decades - advice
Discussion


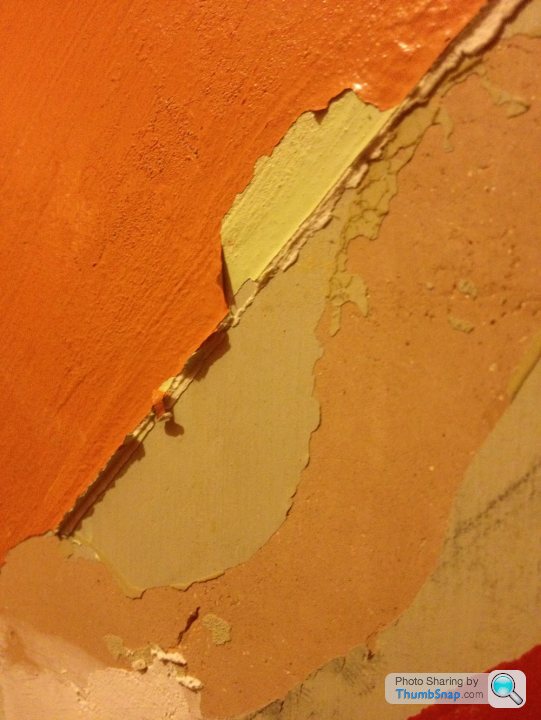
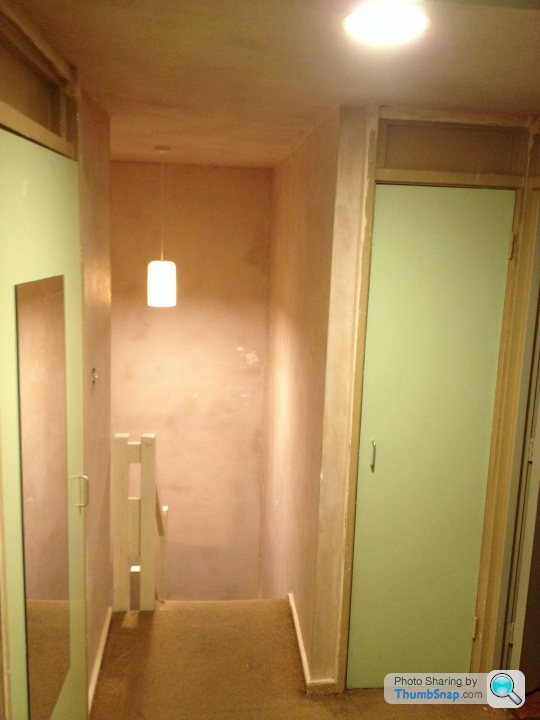
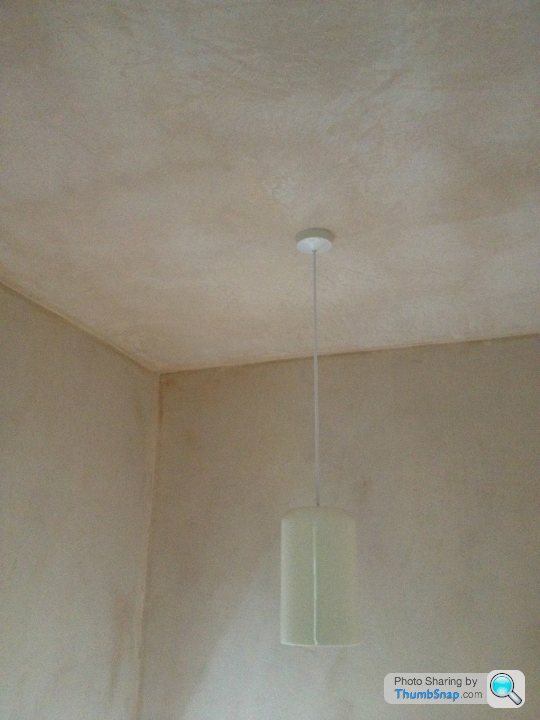
We're repainting the hallway of our 70s house which was painted sometime in the 90s ish in some rather dark colours. It was done using cheap B&Q "Colours" range vinyl silk. The paint is crap, and very very rough to touch, plus there are some weird bubbled areas, but not damp related - seems like it was just applied very badly on top of the previous coat.
So, we're going to repaint it all to a (light!) colour we actually like.

I've already removed the dado rails which left holes in the plaster. I've sanded back and filled all dents in the wall that I can see so far.
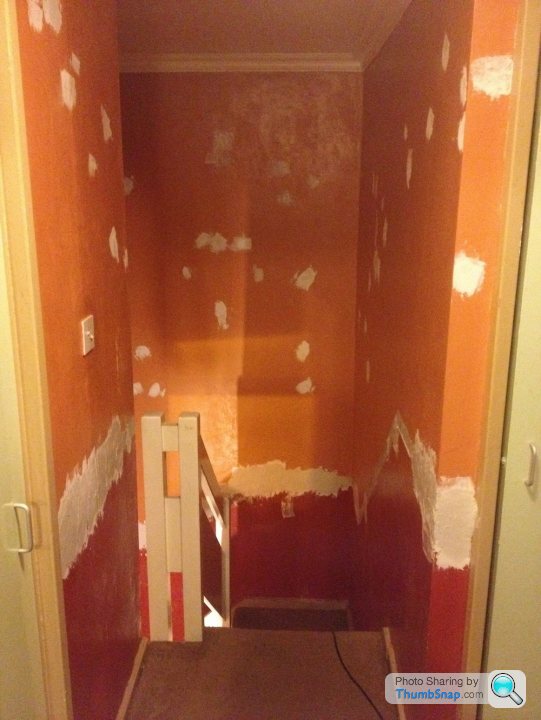
The plan was to sand the whole wall once dry to a smooth finish, not necessarily removing all paint. I've done a test of this, and it looks like it could be a good surface and any 'bad' bits of orange paint will come off in the process, but will it be enough? Do I need to strip the paint?
How would you approach this next?
PS. Can't afford to skim, so please don't say skim the walls!
So, we're going to repaint it all to a (light!) colour we actually like.
I've already removed the dado rails which left holes in the plaster. I've sanded back and filled all dents in the wall that I can see so far.
The plan was to sand the whole wall once dry to a smooth finish, not necessarily removing all paint. I've done a test of this, and it looks like it could be a good surface and any 'bad' bits of orange paint will come off in the process, but will it be enough? Do I need to strip the paint?
How would you approach this next?
PS. Can't afford to skim, so please don't say skim the walls!
Thanks for comments so far. Really reluctant to skim unless the finish is really unusable just as it's such a large area (includes downstairs, upstairs landing too) so could come out very costly - and we have bigger fish to fry elsewhere.
But, lining paper sounds almost worse as I remember last time I did lining paper it took forever.
I like the idea of doing a basic paint job on it and seeing what it looks like first.
The cabling is a sore point. There's alarm cabling (and the occasional terrifying electric cables going to things we're removing) all over the place which I've not yet decided on the destiny of yet. If it was being skimmed it would probably make sense to chase it into the wall.
Update. Have spent a lot (lot) of time filling, which has been largely successful. Got myself a nice Makita 1/4 Palm Sander which is brilliant, way better than the cheap 1/3 I found in the shed here.
Had loads of different opinions, went down the middle with local paint merchant advice to get some contract white emulsion as a couple of base layers and see how I get on. Had plasterer over to quote the artex ceiling upstairs, but we agreed that if we're to gallery most walls (we have a lot of framed prints that in the old house covered the walls) and we're likely to do significant works to the house, it's not worth skimming it as it'll get damaged in no time.
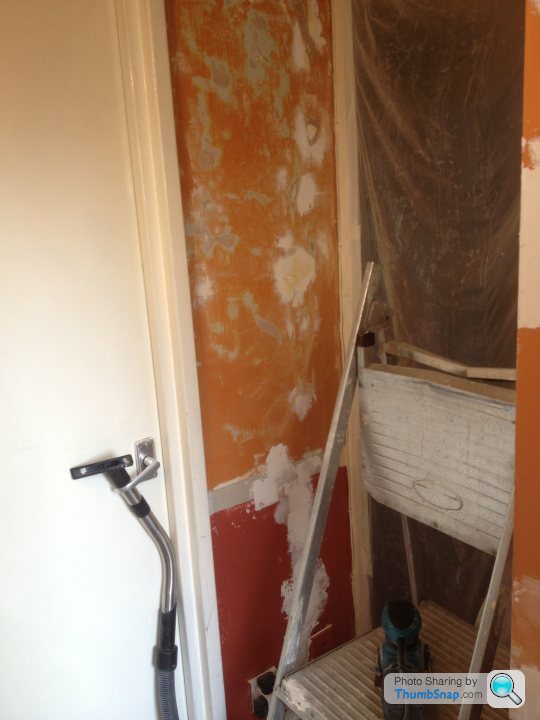
Spent today sanding with 80 on my 'test' wall. Super easy to get the plaster repairs into good shape. However, paint is super problematic. I have an amazing smooth surface but there are parts where it refuses to sand and goes into tiny little crackled patches, which once worn, encourage other patches.
Eventually cut my losses, left messing with the (rather troublesome edges) and just got the roller out just to see what it'd be like. Have done the first coat and it's not too bad. My view has been that, as mentioned here - it'll never be perfect. So I'm going to accept that and if it looks real bad with a fully opaque coating of contract white, we'll have to skim it.

Had loads of different opinions, went down the middle with local paint merchant advice to get some contract white emulsion as a couple of base layers and see how I get on. Had plasterer over to quote the artex ceiling upstairs, but we agreed that if we're to gallery most walls (we have a lot of framed prints that in the old house covered the walls) and we're likely to do significant works to the house, it's not worth skimming it as it'll get damaged in no time.
Spent today sanding with 80 on my 'test' wall. Super easy to get the plaster repairs into good shape. However, paint is super problematic. I have an amazing smooth surface but there are parts where it refuses to sand and goes into tiny little crackled patches, which once worn, encourage other patches.
Eventually cut my losses, left messing with the (rather troublesome edges) and just got the roller out just to see what it'd be like. Have done the first coat and it's not too bad. My view has been that, as mentioned here - it'll never be perfect. So I'm going to accept that and if it looks real bad with a fully opaque coating of contract white, we'll have to skim it.
I've surrendered. We're going to get it skimmed.
I could cope with the work, the perpetual filling, but the dust which will be 30x that thin strip of wall (literally) is just something I'm not sure is practical never mind safe in the house! And ultimately we'd still be doing the wall the 'wrong' way.
So, plasterer it is.
I could cope with the work, the perpetual filling, but the dust which will be 30x that thin strip of wall (literally) is just something I'm not sure is practical never mind safe in the house! And ultimately we'd still be doing the wall the 'wrong' way.
So, plasterer it is.
mart 63 said:
What about 1400 lining paper?
I've helped a friend lining paper a room, and we both swore never to do it again. If there is a secret to it I can imagine it's a secret as big as good skimming is a secret.Also, the walls aren't particularly flat on average - some palm width dips in the plaster - so I think I'd be chasing air bubbles for the rest of my life. And I still think I'd need to sand all the rough paint flecks.
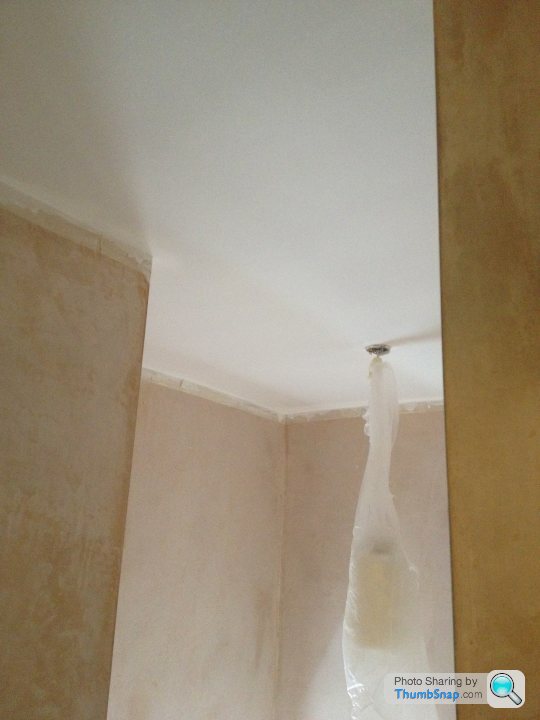
It's OK. My fancy extractor fan plan has been replaced with some nice smooth walls instead.
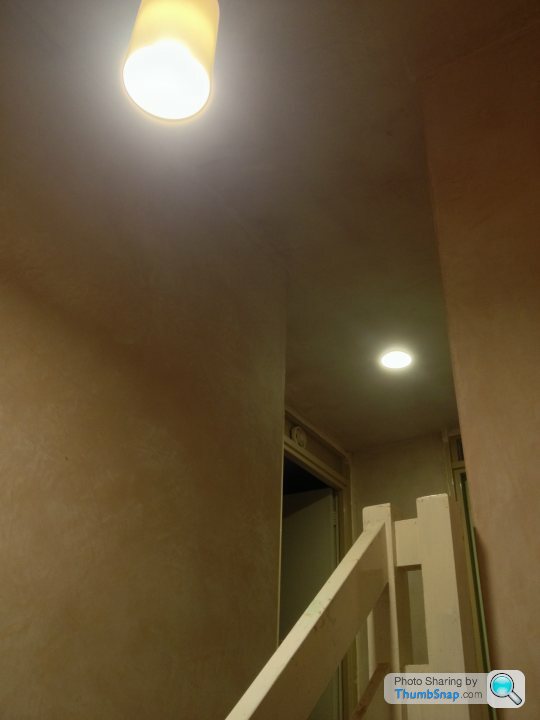
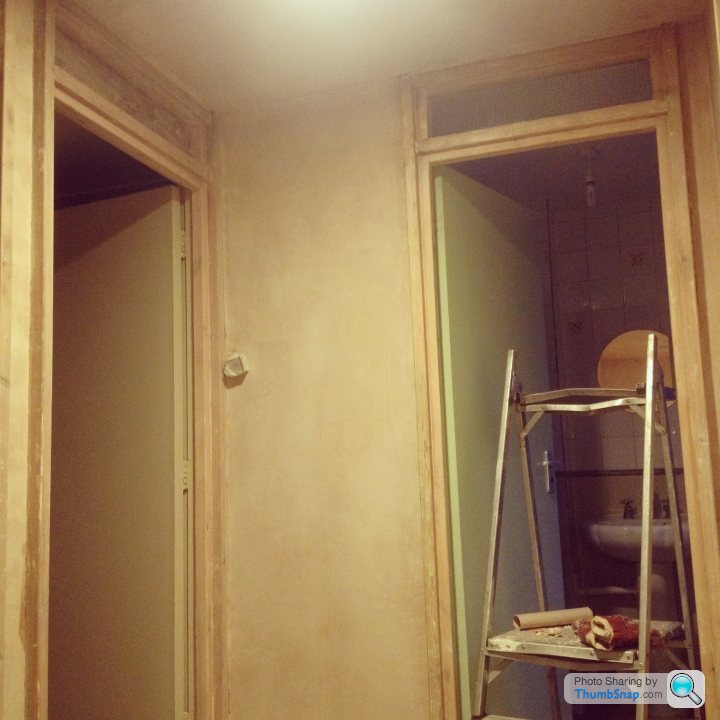
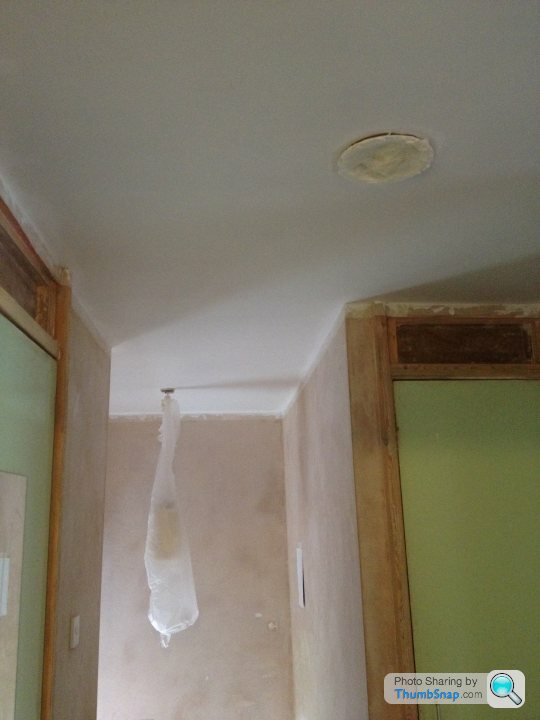
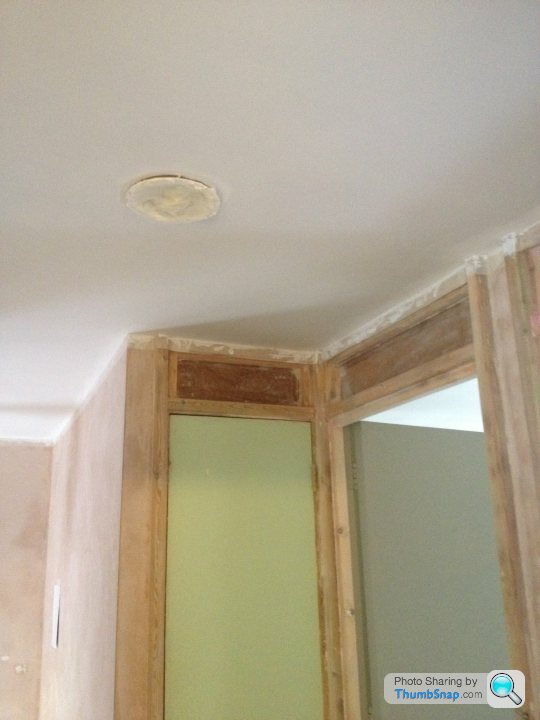
And here it is, plastered, finished today.
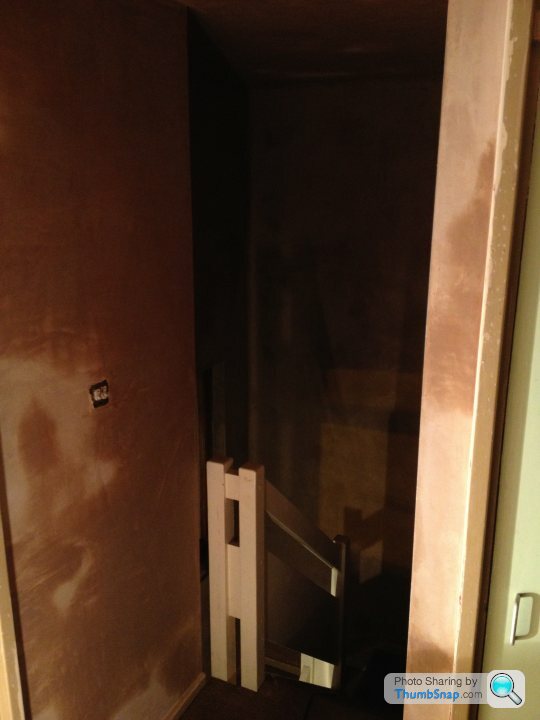
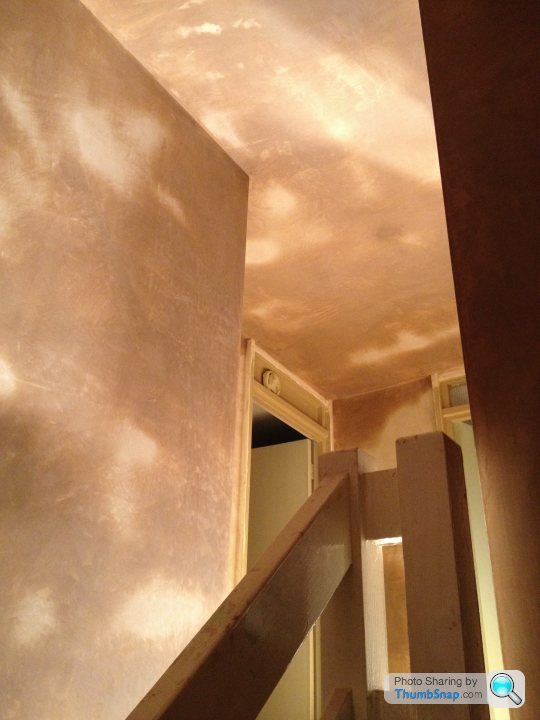
Downstairs ceiling not being plastered because eventually the area will be opened up but nice to see the Artex gone upstairs. Finally the 70s lines make sense now all the crazy cornicing is gone.
Now my attention moves to stripping a lot of paint work...
Downstairs ceiling not being plastered because eventually the area will be opened up but nice to see the Artex gone upstairs. Finally the 70s lines make sense now all the crazy cornicing is gone.
Now my attention moves to stripping a lot of paint work...
You were brave. I know the wood is going to be multiple weekends as it is and the walls were horrendous. I didn't realise just how wobbly they were never mind rough.
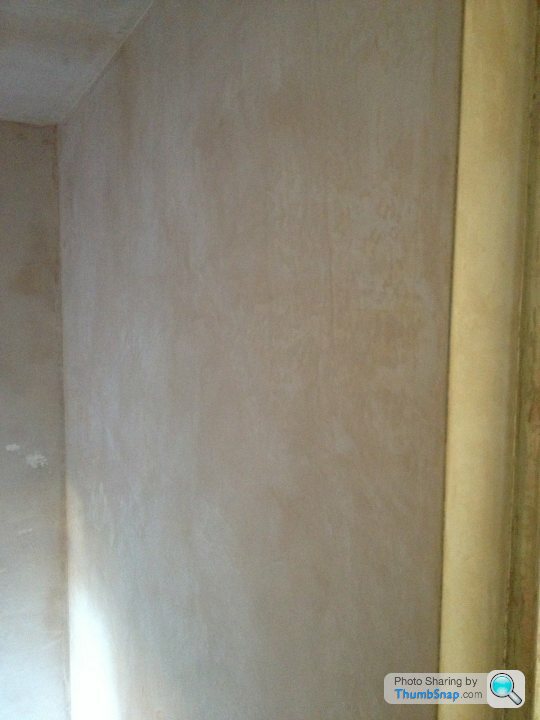
All the wood's being stripped (with my patient hands...) and eggshelled. The wood isn't quality enough grain to be varnished and a refurb would be pretty difficult, so we're avoiding that.
Plan with the walls - we have contract matt emulsion from Brewers, which will be 30% watered down and mist coated one or two times. Then, painted a very light greyish (Clouded Pearl 3) in Dulux Trade Diamond Matt for hopefully just 2 coats.
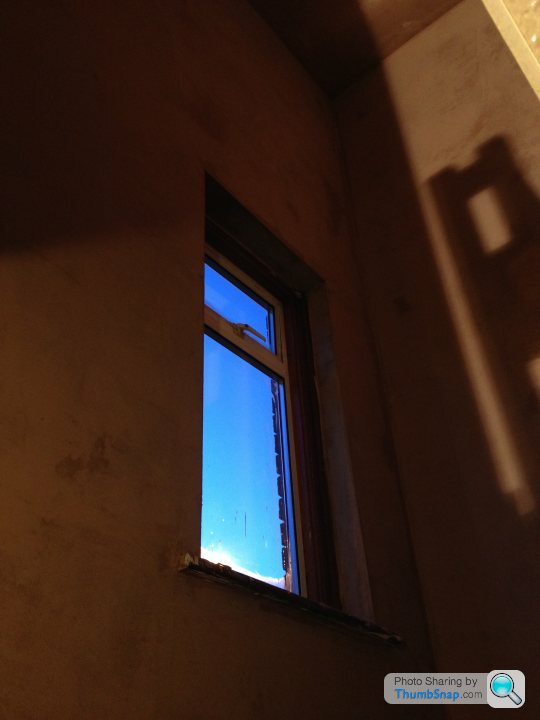
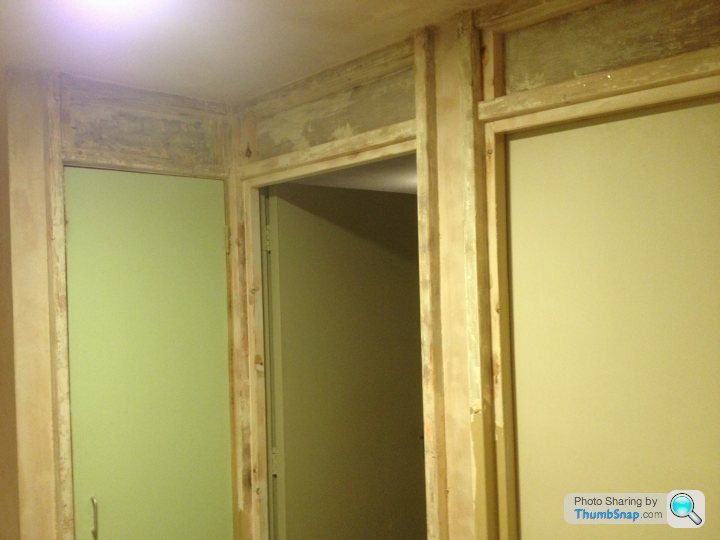
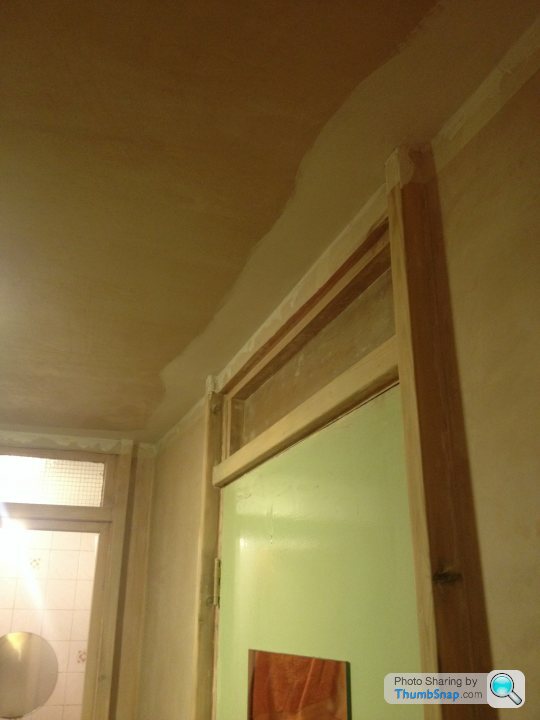
So I've been spending my precious weekends stripping 6(!) layers of paint on door frames, for better or for worse.
Finally broke the back of it today, leaving the room-side of each frame unstripped - it was repainted by old occupier (a painter/decorator) very nicely. Turns out after peeking under one of their painted bits that it was stripped before they eggshelled it, so I've saved myself the same task on the room side, and will just key it and paint over (thus starting the paint layer cycle all over again for a future generation).
Once done, I will be chemically stripping the last flecks of paint from the stripped frames, giving it a sand and a fill in parts, keying the newer paint, and then get our colour rolled out...
Photos. I'm learning on the job so there's some slightly crappy dents in the wood where I got too enthusiastic, and I've not managed to totally avoid burning the wood... but not too shoddy.
Got 2 weeks until we can mist coat the new plaster so the timing isn't too bad.[url]

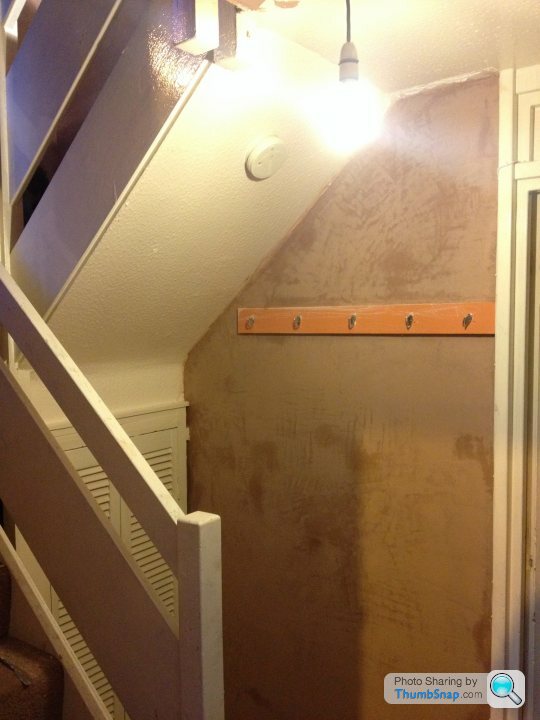
Another update. It has taken a good few weekends to actually do it, but I've stripped back all 5 door frames and surrounds. I've not done the inner frames because that'll require taking doors off and I don't quite have the enthusiasm for that yet.
For anyone who is interested, after a lot of internet advice browsing, I made a final hybrid way of working which really worked for me:
1. Heat gun and scrape 3-4 top layers of paint, mainly the tough outer paint.
2. Brush on chemical paint stripper. I did a comparison of Nitromors and TX10 and I found TX as good, if not better. And, it's only £25 for 5L, much cheaper than TX10.
3. Wirewool rub down the surface, which will pull 99% of the paint off, leaving a few ingrained bits, which you could probably remove if you really kept going at it.
4. Wash down with sugar soap/water mixture
Which brings me to 5... which will be to sand it down ready to be painted.
Doing this near new plaster was a bit nerve wracking. I masked every adjoining piece but it wasn't fun to do as I spent half my time trying not to get anything on it.
Anyway, I'm now at the point where I have lots of options. I can do the insides of the frames (easy bit), or I can mist-coat walls. I'm thinking of finishing stripping all of the stairway wood as I'd rather do that when I can make a mess easily without worrying about freshly painted walls.
Craikeybaby said:
Good work. I'm beginning to thing I should have done that on our door frames, but it would probably have been better to do it before painting the room and getting the carpets fitted 
It's frustrating to still not be painting the walls (I've even bought the mixed paint!) but I know it'll pay off. I don't want to be sanding near newly painted walls, so that will come first.As for carpet - I've destroyed the (already pretty bad) carpet that came with the house doing this. Melted it in a few places! I would rip it up until replacement but the floorboards need totally replacing on the landing as there's a few holes in the floor(!) that it's covering up. So, carpet won't be ripped up until I have the guts to replace the landing floor.
My main debate is whether I paint the walls once frames are sanded, or work my way down the stairs and get the banister and skirting/stair construction stripped first, then paint walls. It's never ending.
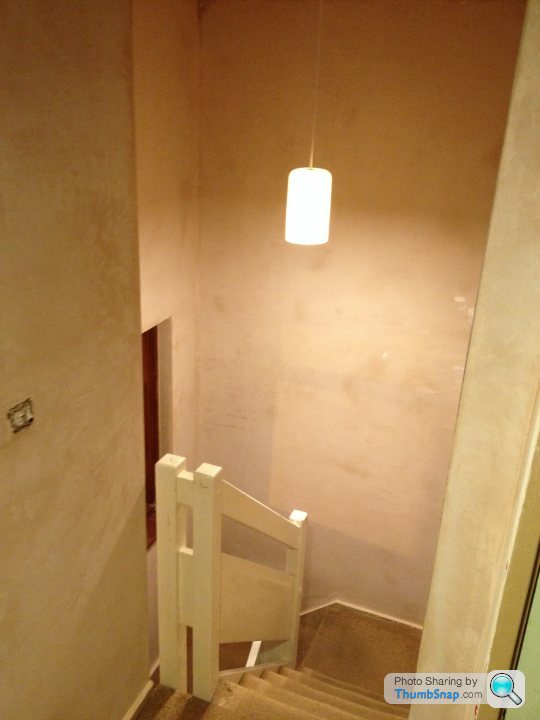
Here we go, I took the plunge. Sanded all the wood down and filled the entire house with dust, cleaned up... then had just enough time to practice my cutting in with a mist coat, though I can't help but think even though the contract emulsion was 40% watered down, it still came up pretty white on one coat.
 |http://thumbsnap.com/xryx7R4a
Anyone got any experience with one of these Shur-Lines? Apparently pretty good on the end of a pole...

Just spent a day on various configurations of my multi-ladder on the stairs painting the ceiling, and I'd quite like to not have to do so again. The stairs folds back on itself which actually means the clever platform thing is only useful for one half of the ceiling.
|http://thumbsnap.com/xryx7R4aAnyone got any experience with one of these Shur-Lines? Apparently pretty good on the end of a pole...
Just spent a day on various configurations of my multi-ladder on the stairs painting the ceiling, and I'd quite like to not have to do so again. The stairs folds back on itself which actually means the clever platform thing is only useful for one half of the ceiling.

Gassing Station | Homes, Gardens and DIY | Top of Page | What's New | My Stuff