Been Doing Some DIY Upholstery......
Discussion


Been doing work on the interior of our Bongo camper van, post having had a new engine fitted (nice & cheap - not)
The original seats were tired & tatty & to be honest dated, so we cut them up & used the old material as templates, I did the cutting up, making the templates & cutting out the new fabric & a little sewing. SWMBO did most of the sewing however, this is the result on the passenger side.
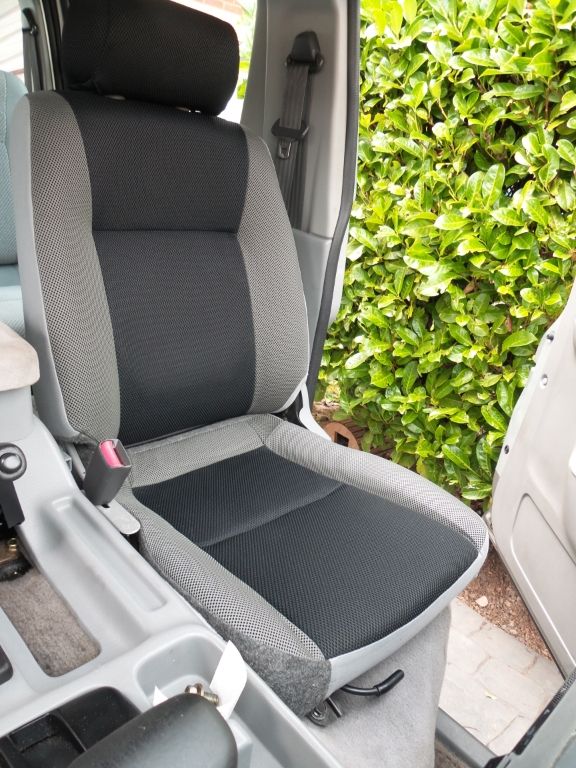
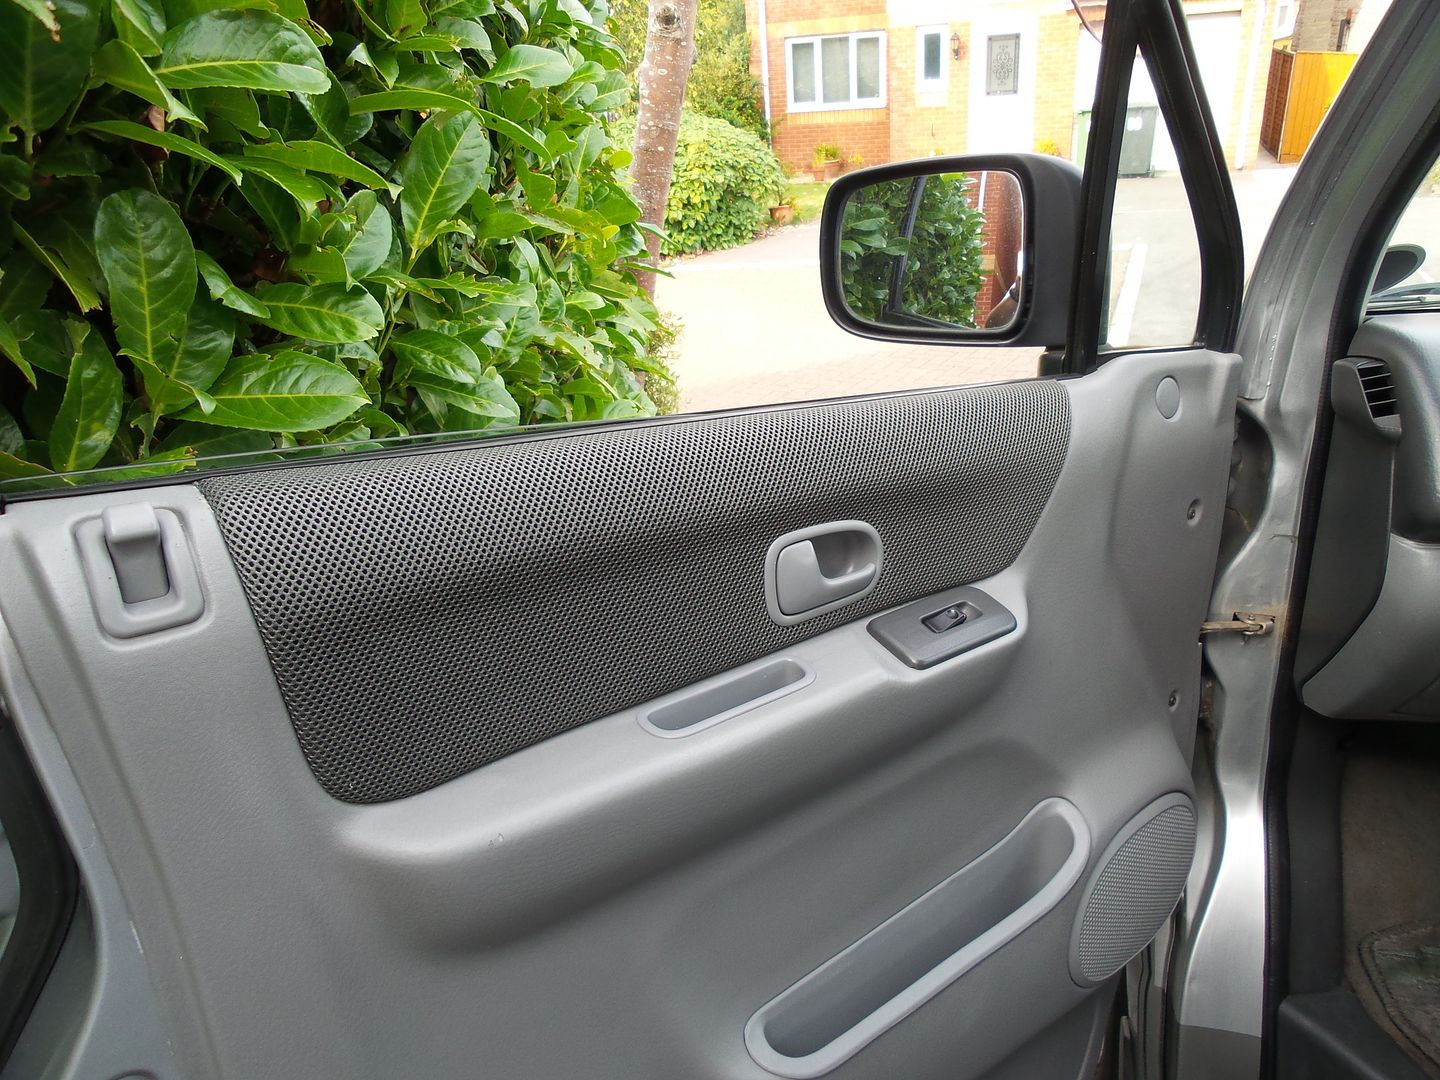
I re-covered the door card too.
The drivers seat was knackered........
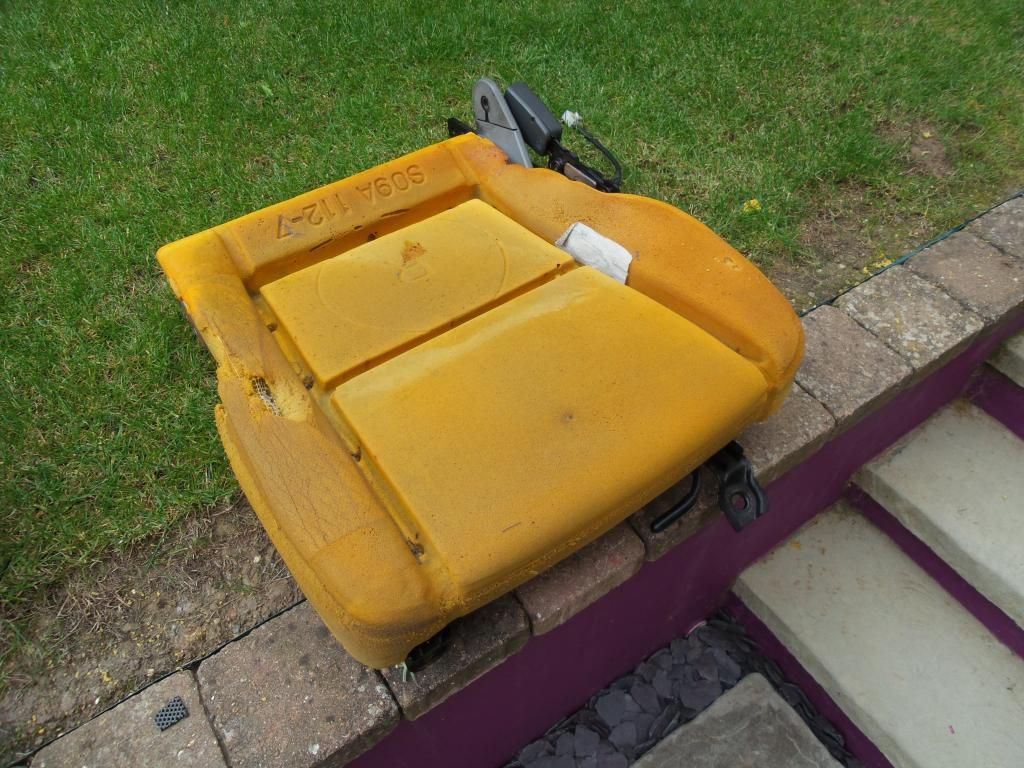
So I cut up the rear seat we removed when we fitted the kitchens, glued some sections to the bolsters on the seat base & carved with an angle grinder.
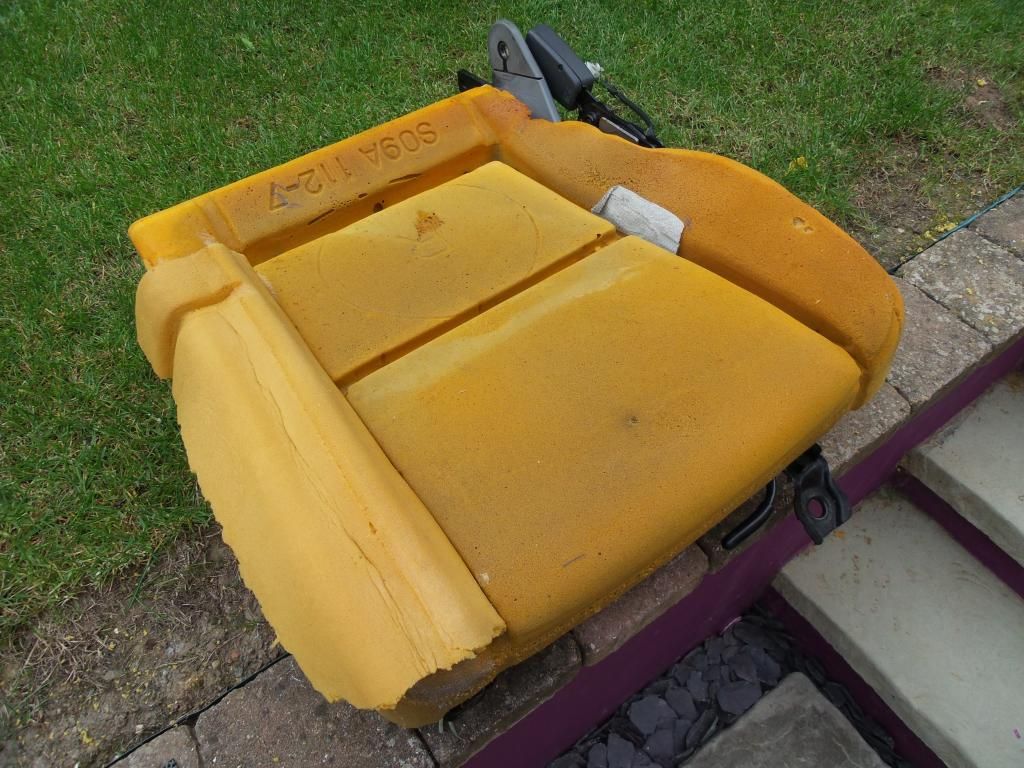
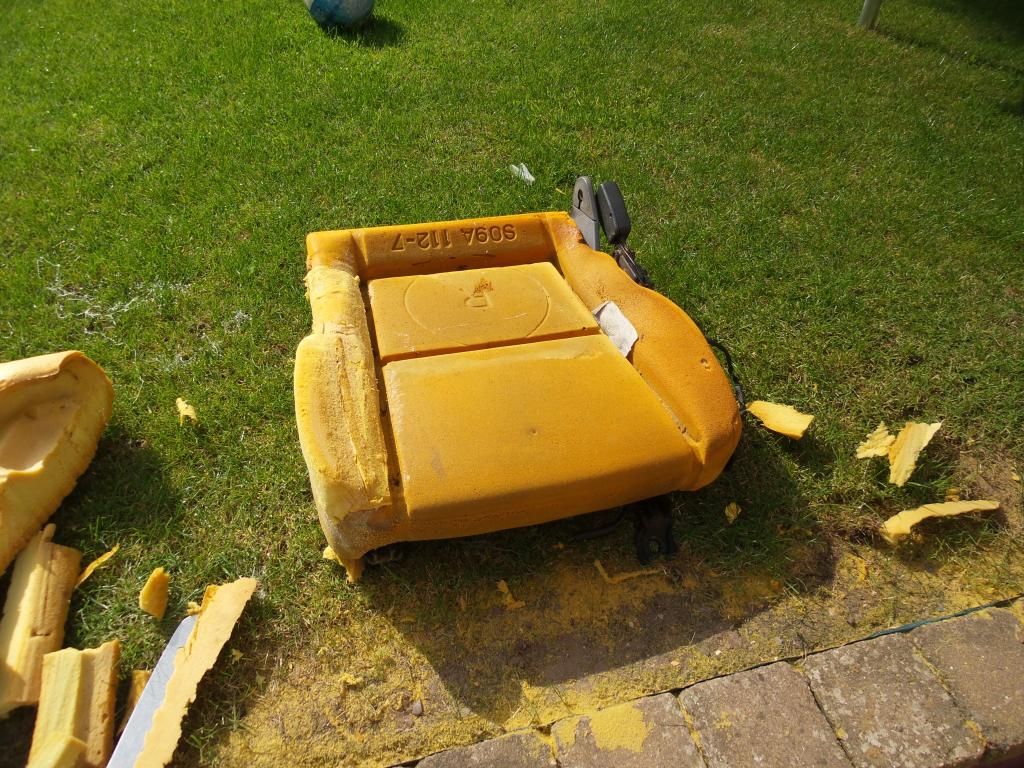
Just waiting on the 1/4" memory foam to arrive so I can glue it onto the repair to smooth it off & some 1" memory foam to plump up the base a bit as it's sunk.
Once the front is complete, it's time to attack the rear seat, which will, I'm sure be a pretty mammoth task.
The original seats were tired & tatty & to be honest dated, so we cut them up & used the old material as templates, I did the cutting up, making the templates & cutting out the new fabric & a little sewing. SWMBO did most of the sewing however, this is the result on the passenger side.

I re-covered the door card too.

The drivers seat was knackered........

So I cut up the rear seat we removed when we fitted the kitchens, glued some sections to the bolsters on the seat base & carved with an angle grinder.


Just waiting on the 1/4" memory foam to arrive so I can glue it onto the repair to smooth it off & some 1" memory foam to plump up the base a bit as it's sunk.
Once the front is complete, it's time to attack the rear seat, which will, I'm sure be a pretty mammoth task.

steveo3002 said:
is it proper car cloth ? if so where did you find it , ive always struggled to find proper automotive stuff
Yes, it's the same type of fabric used on many Hondas, it's called spacer fabric, seconds from Ebay due to a flaw running along it's length. The flaw can be worked around though as the panels are quite small on these seats.More worryingly this sheet steel part should be attached to the frame............

Some really dodgey OEM welding here


wildoliver said:
I'm blown away that's outstanding!
What sewing machine did you use?
Just our domestic Brother.What sewing machine did you use?
Apart from the rear panel cappings we are done. The rear cappings can wait until the winter as it's a kitchen out job.
Whilst it hasn't been easy, we have both really enjoyed doing it and the results speak for themselves.


Mark Benson said:
I assume you just removed the old covers, traced around the component parts onto new fabric and then sewed together? My wife is handy with a sewing machine so it's doable I think - did your wife do anything special/any tips?
That pretty much sums it up. We did add some 1/4" memory foam to the seat faces to make up for the fact the seats were old.Also added these....


Gassing Station | Home Mechanics | Top of Page | What's New | My Stuff