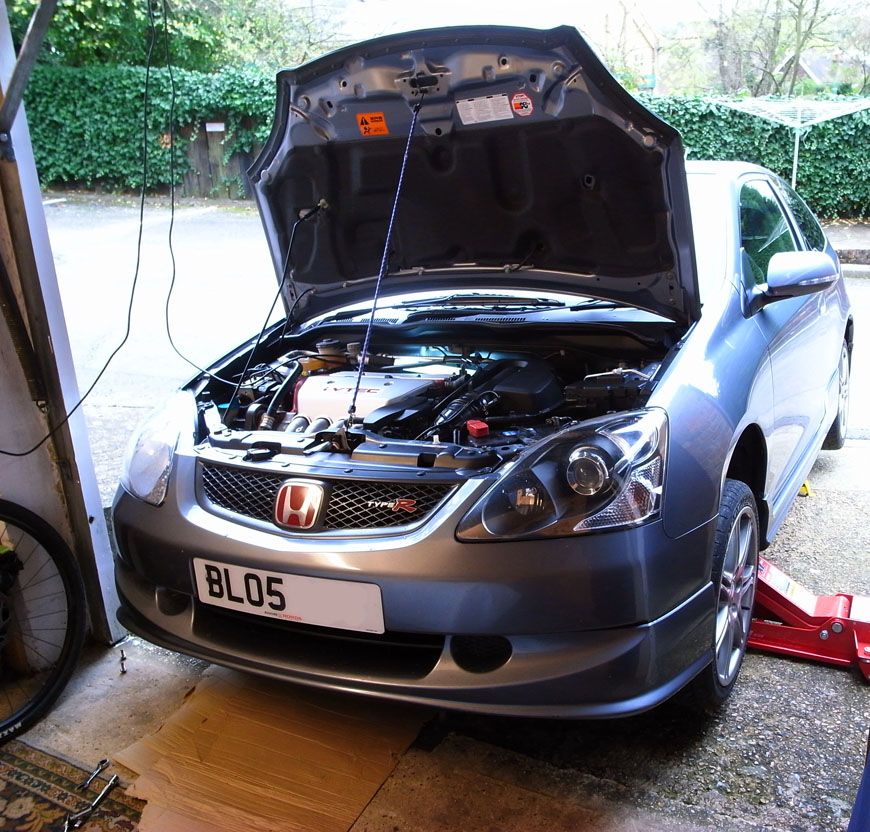
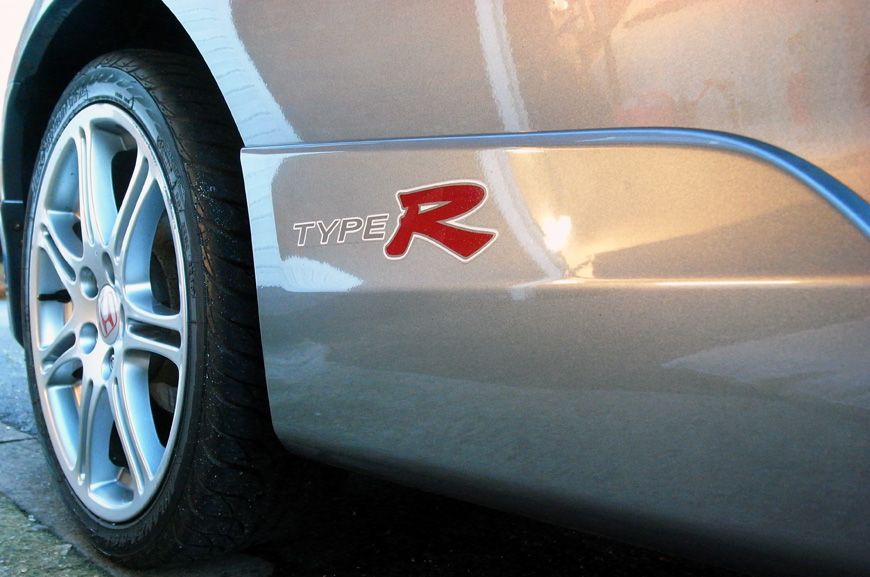
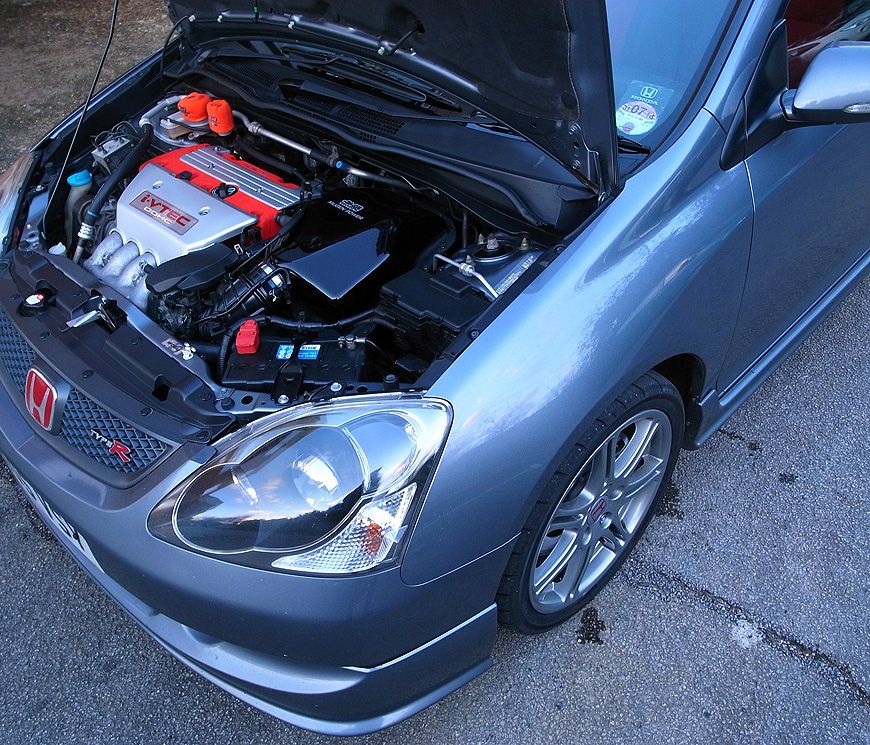
The 3rd Wife: Cosmic Grey EP3 Civic Type R - Project OEM
Discussion


Hello all, It's a long one - sorry! I call it the third wife as I already have my Rallye, there's a build thread knocking about somewhere on here (still a WIP but it's not going anywhere!)
After hankering after a Type R for a while, I recently sold my Audi S3 and spent ages trying to find a decentish EP2 or EP3 type R for the right money, one which hadn't been thrashed or chavved or generally ruined (a seemingly impossible task!)
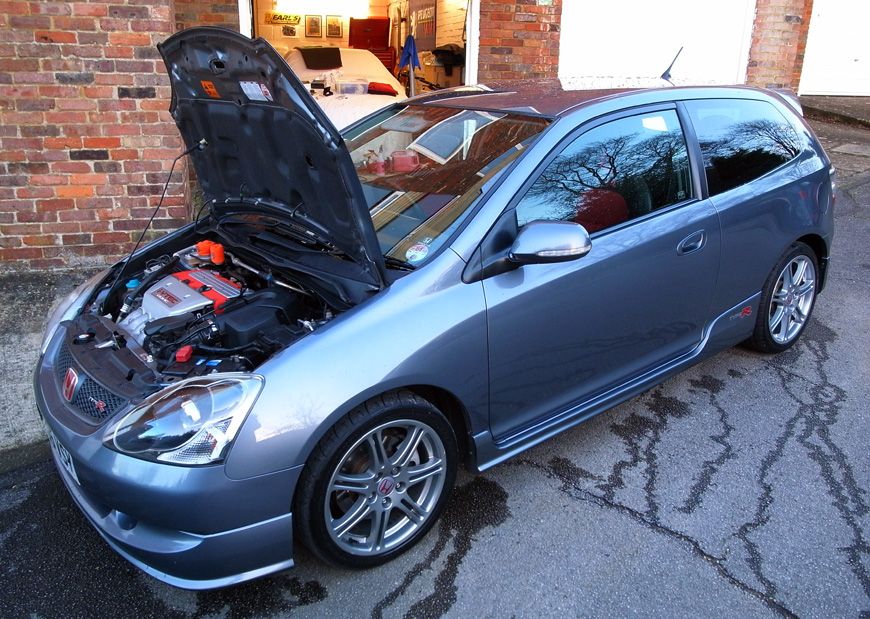
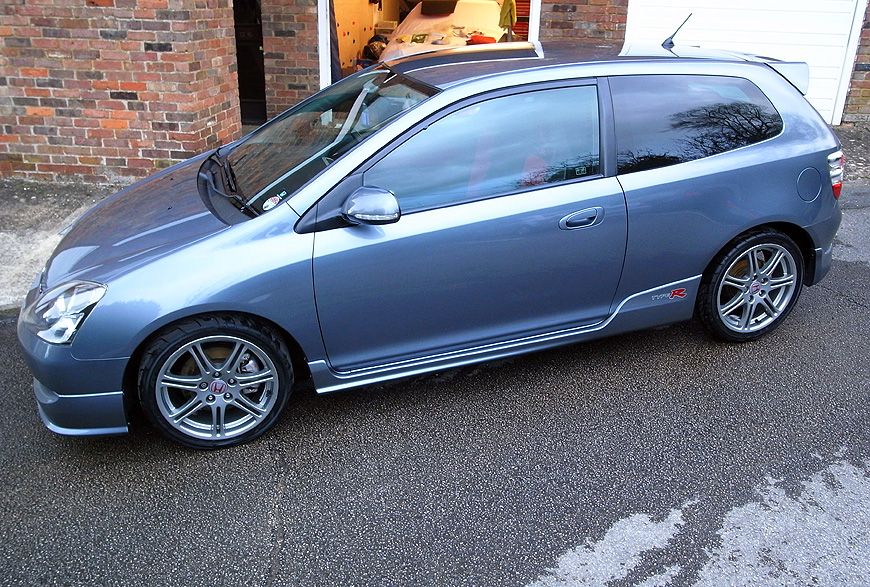
After viewing some right haggard old dogs, I eventually found a 2005 Cosmic Grey one which was in pretty good condition considering the age and mileage. Hell, the owner had even run a sponge over it before my arrival which was unusual, most didn't bother their ar*e! Although the mileage was quite high (103k), it was a 2005 model and had been fitted with a recent new clutch. I bought it off a nice chap called Steve in Northampton, coincidentally he was a member on the other forum which I didn't realise at the time. His original build thread is located here:
http://type-r-owners.co.uk/forums/showthread.php?8...
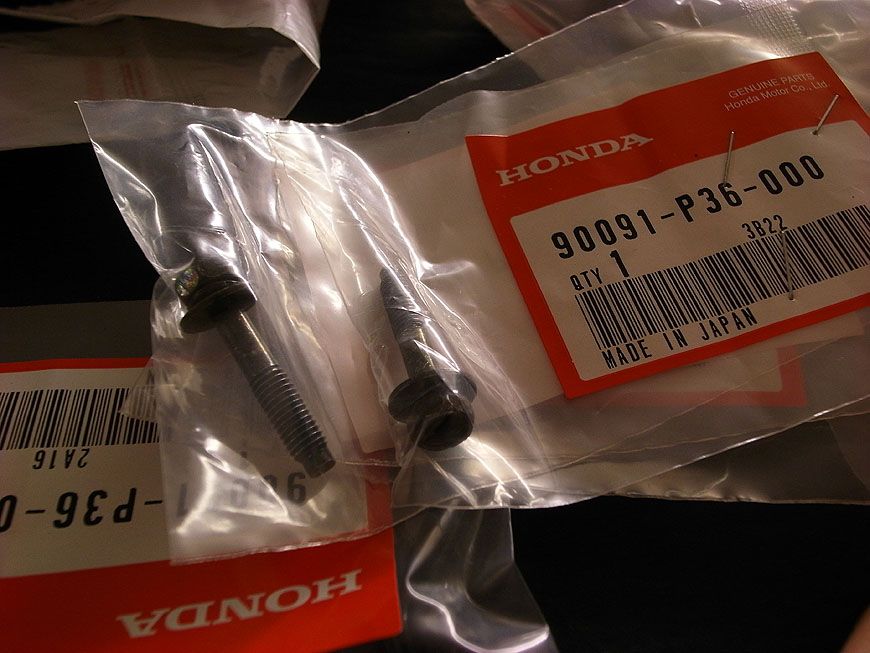
It had a slight blow in the exhaust from the manifold area, and a few dings, so I was able to bargain with the price and get him down a little. I thought it would be an easy fix and he even included some new bolts and springs. However, nothing is ever easy with cars and I should've realised this! :P
The plan is to get it back to as mint and original as possible. I already have a 106 Rallye track car which is seriously modified, so this is my fun but practical daily whip. I only drive 8 miles each way to work, so it shouldn't be TOO thirsty. While not quite as savagely fast as the Audi on motorways, it's more fun and 'immediate' as there's no turbo lag. It also handles the rubbish roads round here and is less crashy than the S3. It's fast enough for me as it is!
I plan to sort mechanics first and the cosmetic issues later (although I have done a few things already as it messes with my OCD!) :lol:
Quick run down of issues from when I bought it:
1) Exhaust blow - which I knew about
2) Rear bumper has had some paint on the corner in the past, not perfect but not too bad
3) Few parking dings which I plan to sort eventually
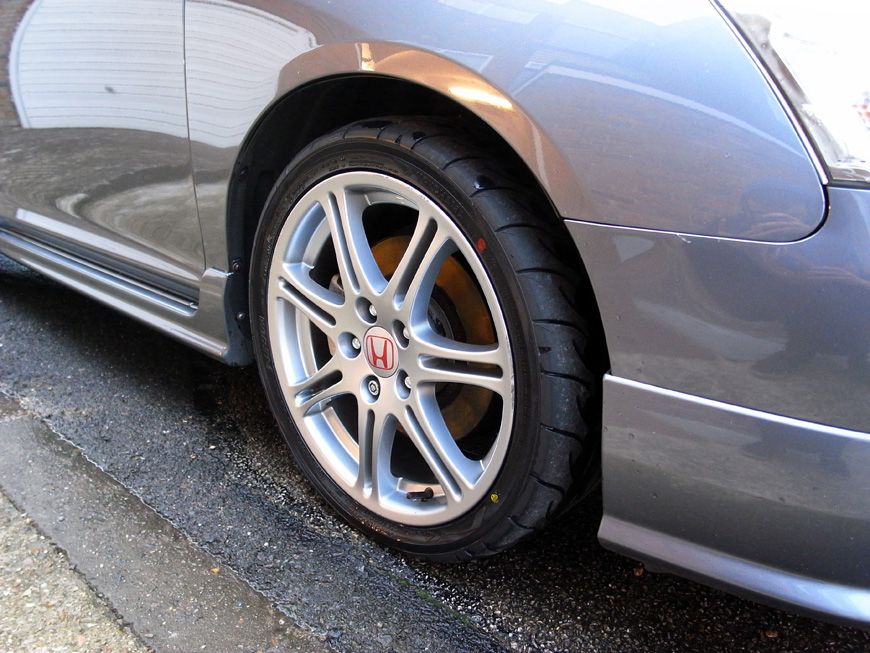
4) Wheels are good overall but I would like to refurb eventually
5) Front under tray has come off slightly so will need replacing (caught on a low kerb at some point so I was told)
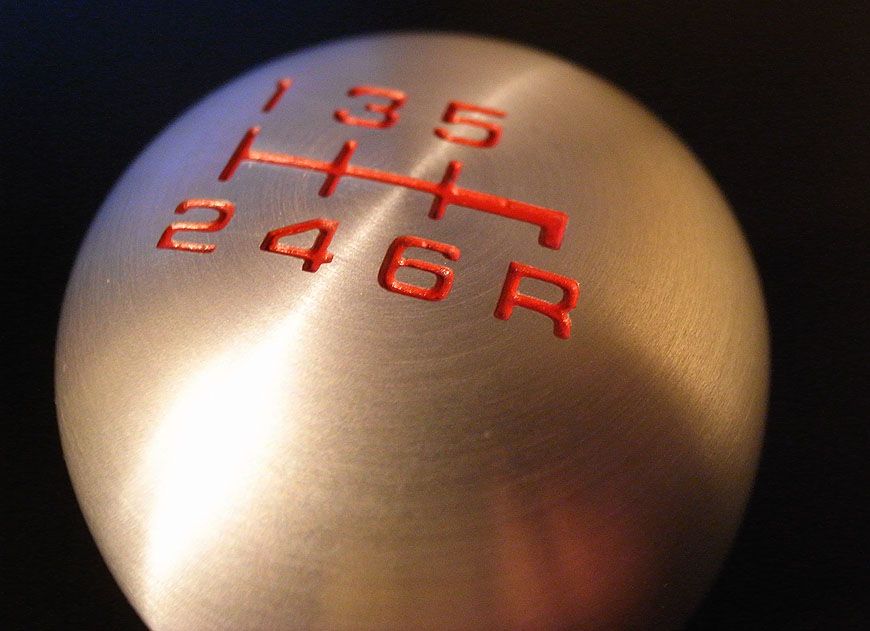
6) Gearknob was a bit scratched up - to be expected with the age/mileage
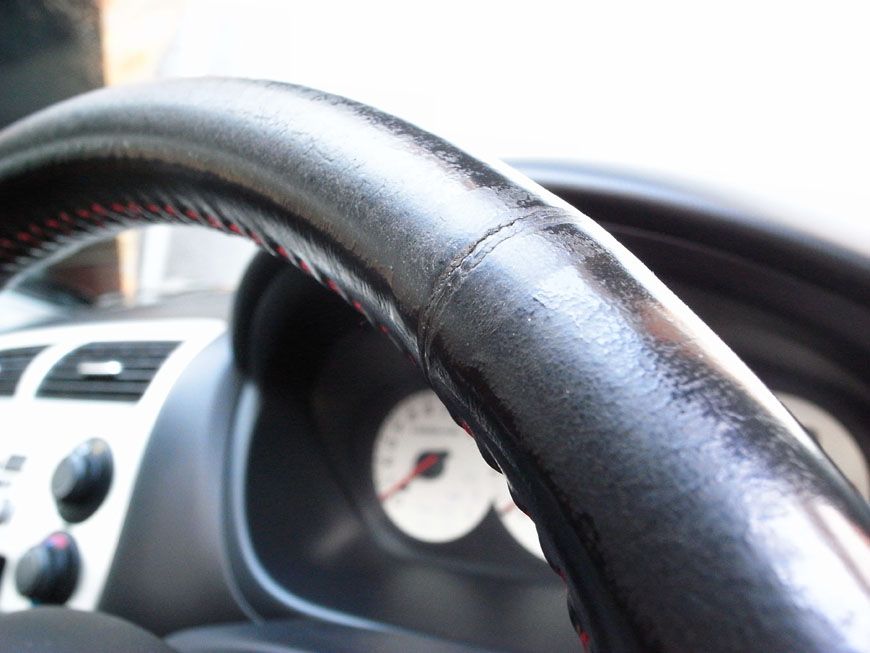
7) Steering Wheel worn - as above
8) Brake discs will need to be replaced soon
9) Tyres were cheap ass mickey mouse brand - already replaced with two front Yoko Parada's - rear to come soon
10) Think I have the dreaded input shaft bearing issue too, but it's not that bad at present so will be sorted as and when
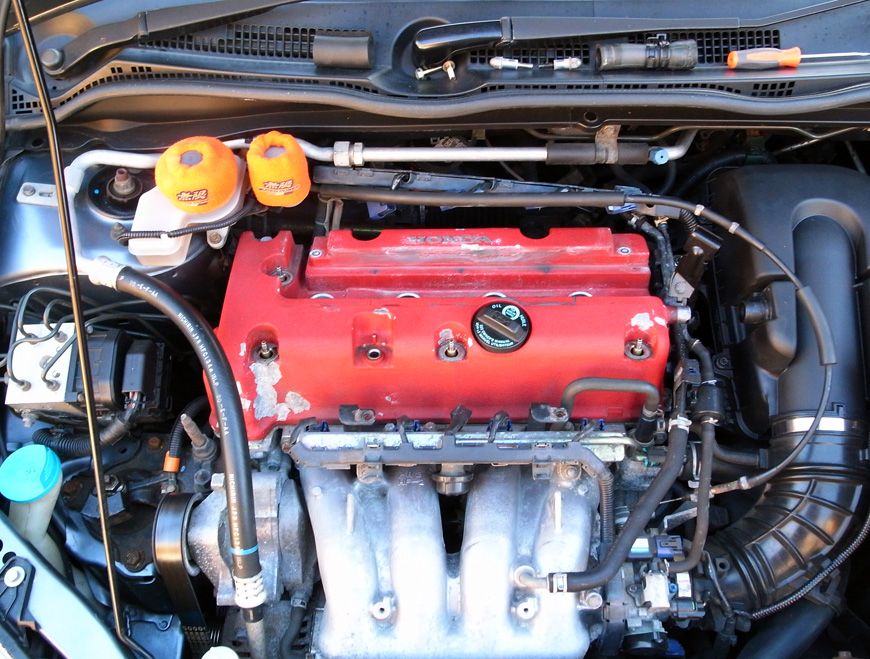
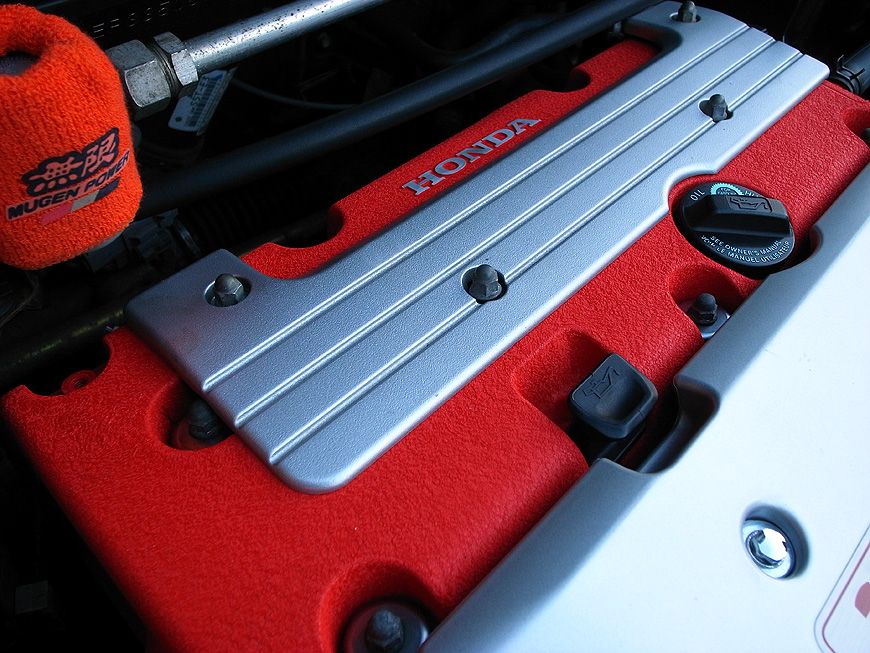
11) Paint peel to rocker cover, will get it painted in OEM wrinkle red by one of the boys on the forum
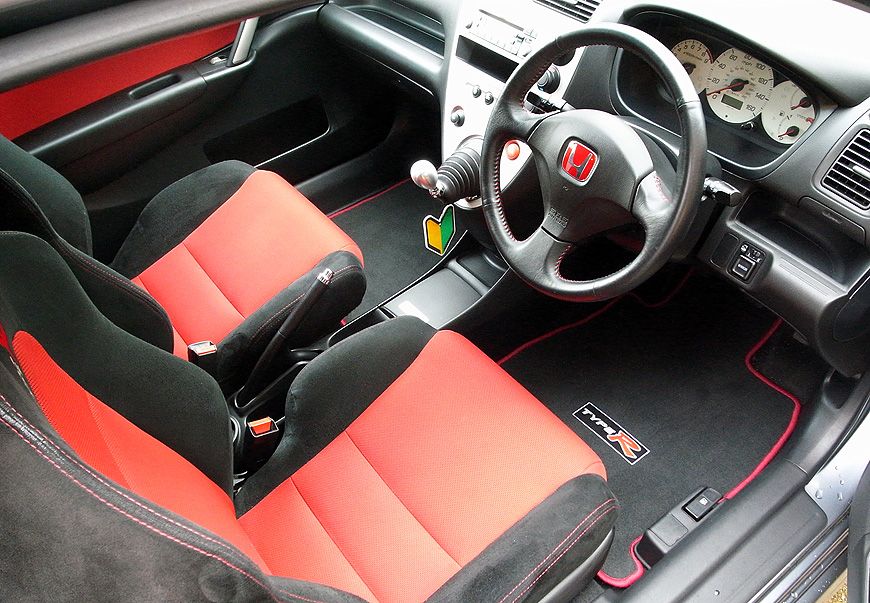
12) Some wear to the front seats, so MAY swap out with some premier edition ones or even just standard EP3 ones in better condition at some point, but that's on the long finger for now!
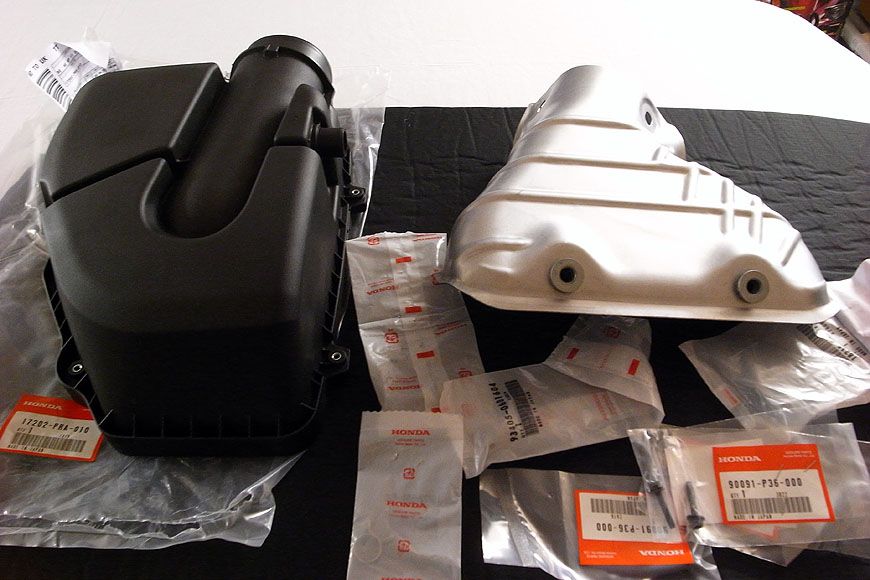
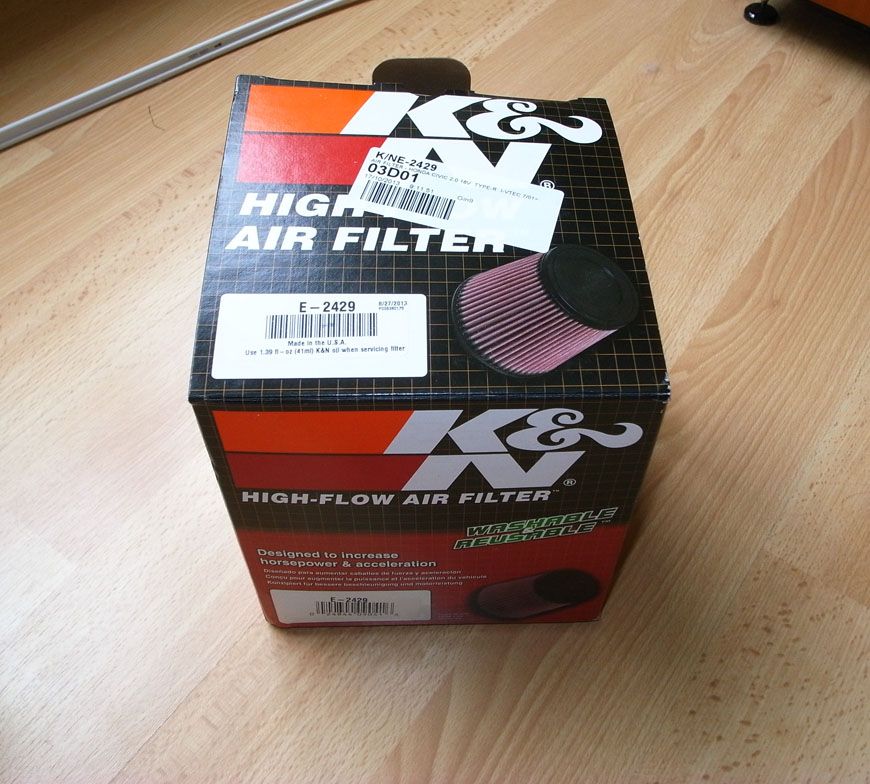
13) Was fitted with a PiperX induction kit which I swiftly removed (although it did sound good!) and replaced it with the existing airbox which was a bit scratched up so I bought a brand new top for it from Honda ops:
ops:
Overall I am getting through it and starting to feel happier about the car. So far I have done the following:
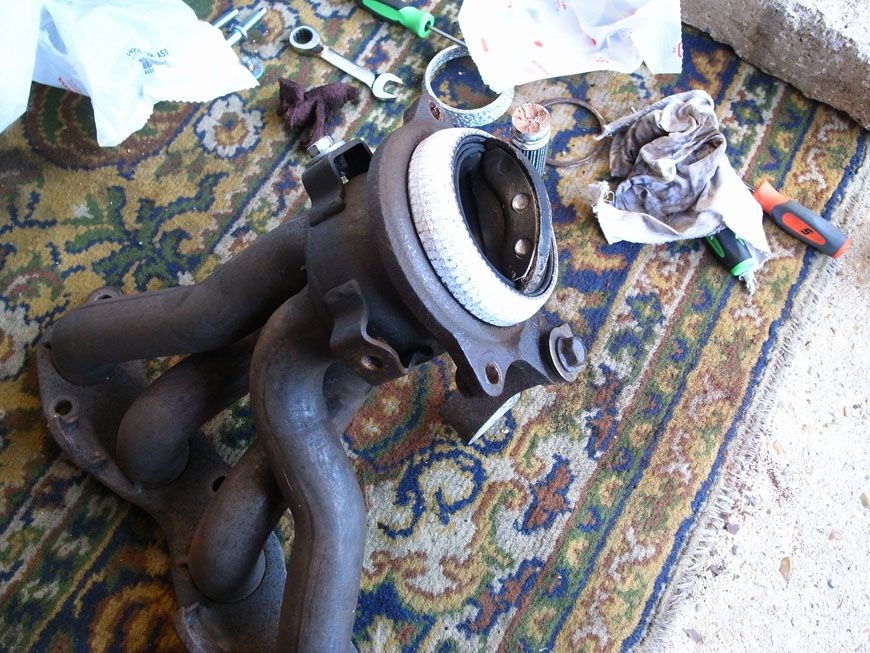
1) 'New' used OEM manifold off ebay as the bolts were rusted to buggery so was easier to swap out the whole thing
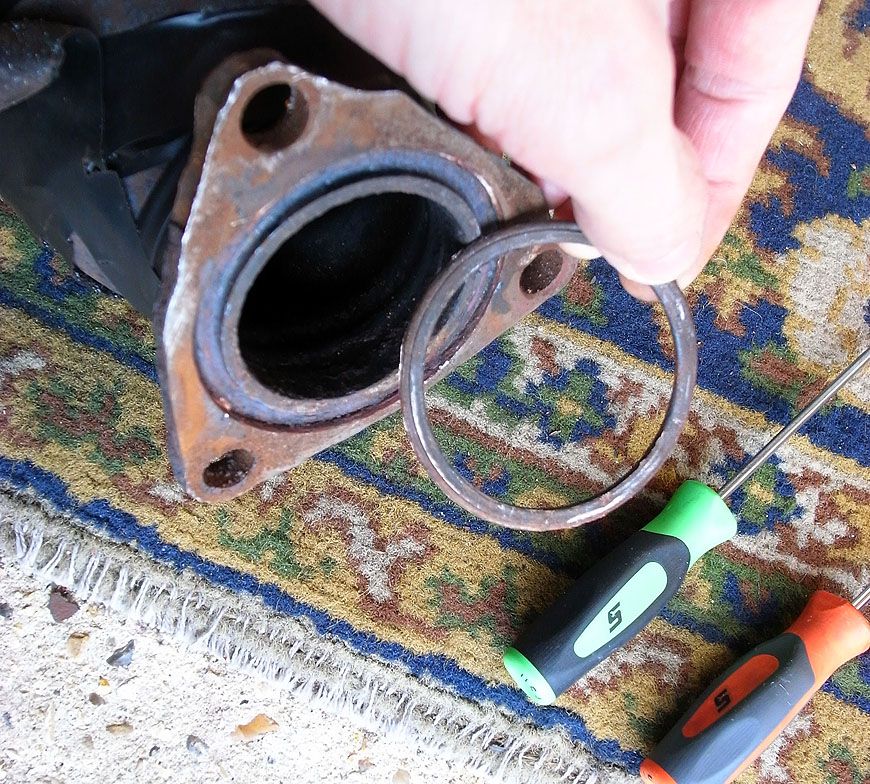
2) New centre section - the old one snapped off with rust a week into ownership! :roll:
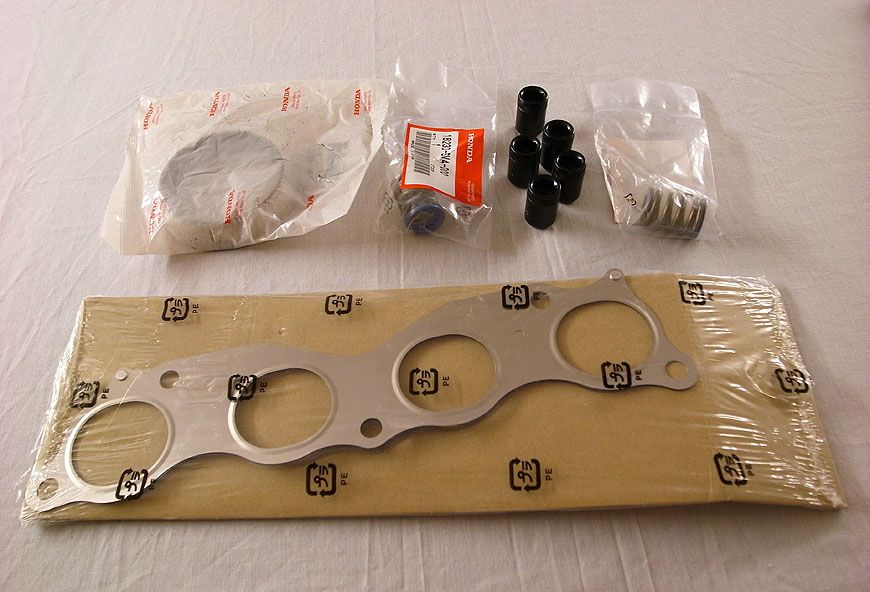
3) New Manifold heat sheild and gaskets and bolts from Honda
4) New air box lid from Honda
5) New bolts to replace various rusted ones in the bay
6) Painted various brackets back to satin black in the bay, will replace other bits that have rusted with new bits from Honda too
7) K&N Air filter for the OEM airbox. It already had the Hondata Airbox mod to the internal base which was handy!
8) New Gearknob to replace the scratched up one - bargain refurbed one off ebay, looks brand new!
9) Managed to get a new steering wheel too, well used but it had been in storage for years so is like new and OEM too :bigthumb:
The exhaust job turned out to be a total f*cking ar*eache as all the bolts had rusted on so I had to replace them all and take the whole system off and drill all the old one's out in order to retain the OEM CAT and save buying another. It was a fairly big job but got it all done without too much bother, just a few evenings after work and lots of swearing! :bad-words: Also had the dreaded heat shield rattle after I had put it all back on, so had to take off the driveshaft heat shield and flatten the bolts with a hammer. I kinda feel like since I got it i've had all the common faults rear their head, but I enjoy the car a lot and plan to keep it for a while so want to sort everything on it and use it. That way I know I have addressed all the problems and won't be worried about the 'what ifs'. I was a bit gutted Steve didn't fit a new input shaft bearing when he fit the new OEM clutch and release bearing, as he had everything out to do the clutch but nevermind, that's life!
Sorry for the epistle, here are the photos of the work so far. I haven't been able to take a nice one of the whole car clean yet but will do ASAP.
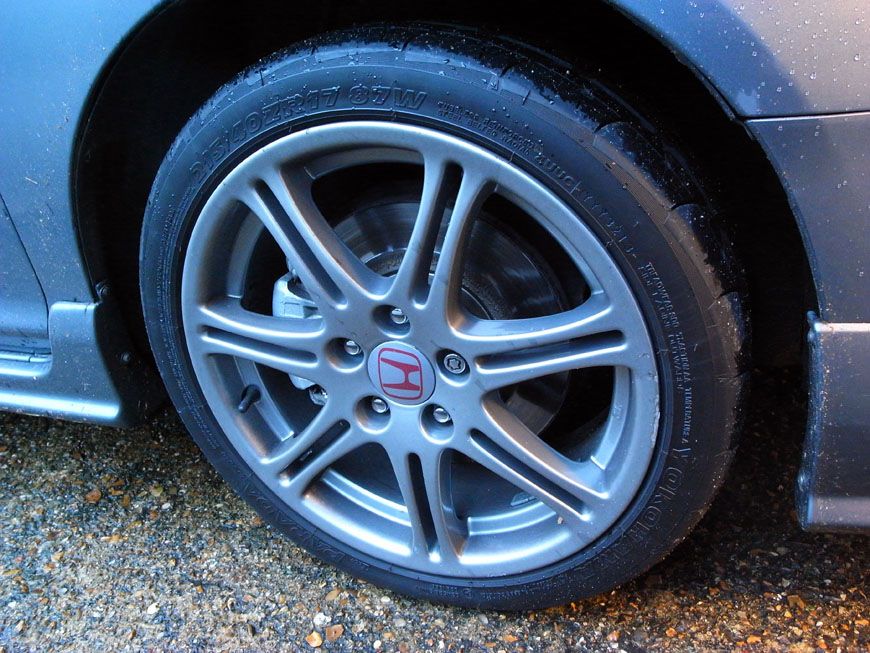
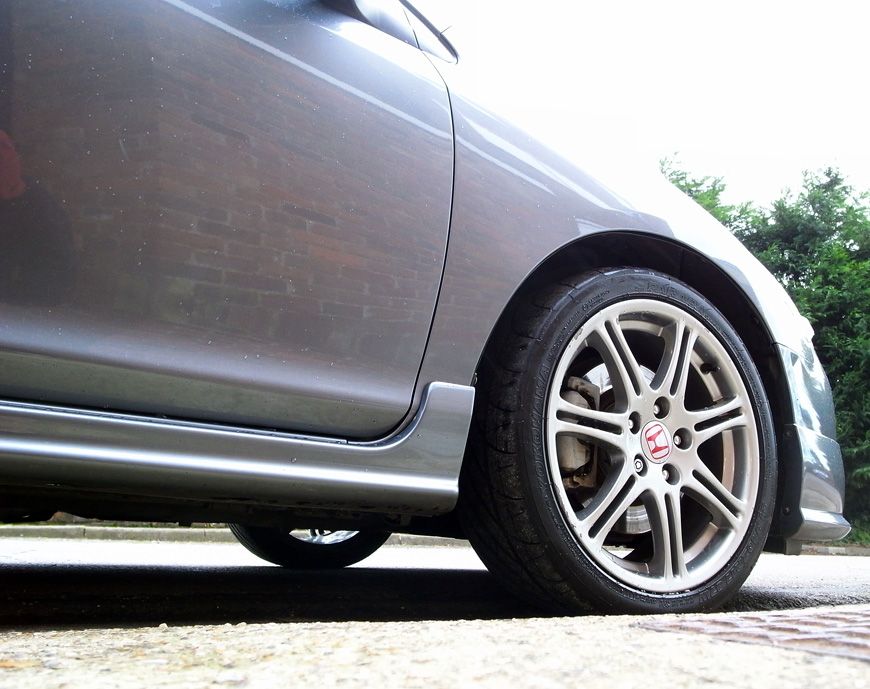
First job was take all the wheels off and clean them properly:

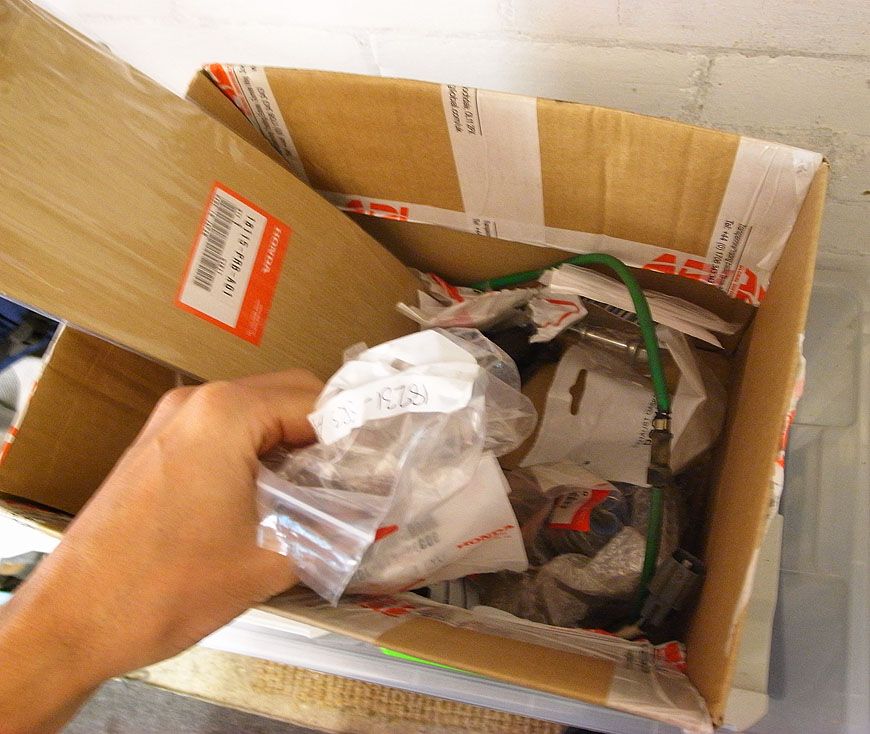
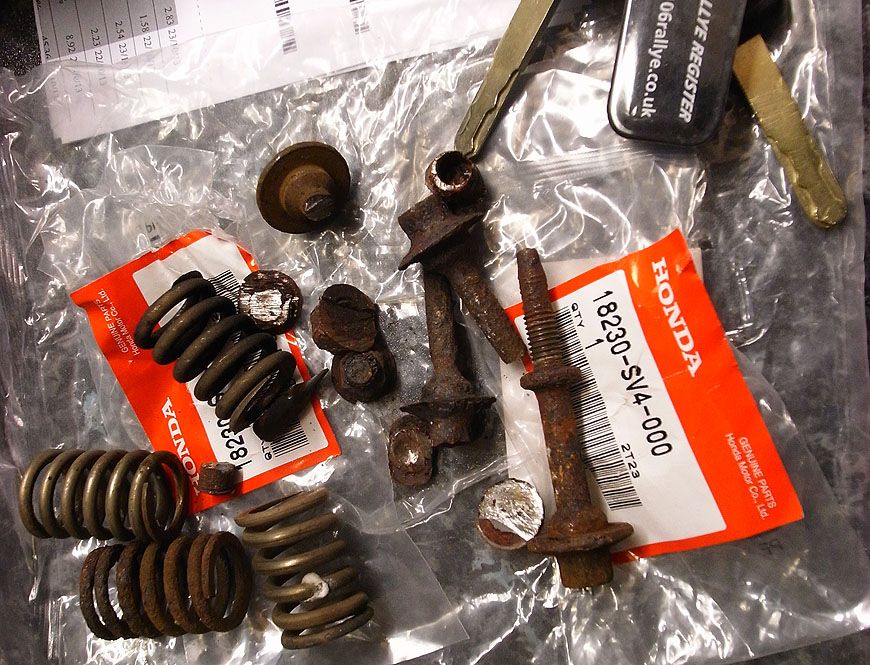
Then buy a load of bits and bobs from Lings Honda:
Then tackle the exhaust (only took a few pics as I was stressed doing this!):
A few of the old bolts that had been drilled / hacked off - this was a nightmare but got there in the end!
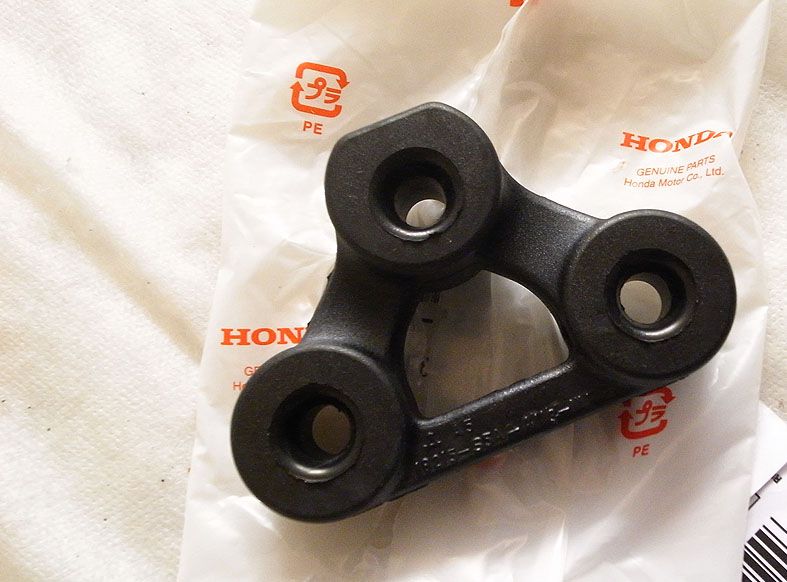
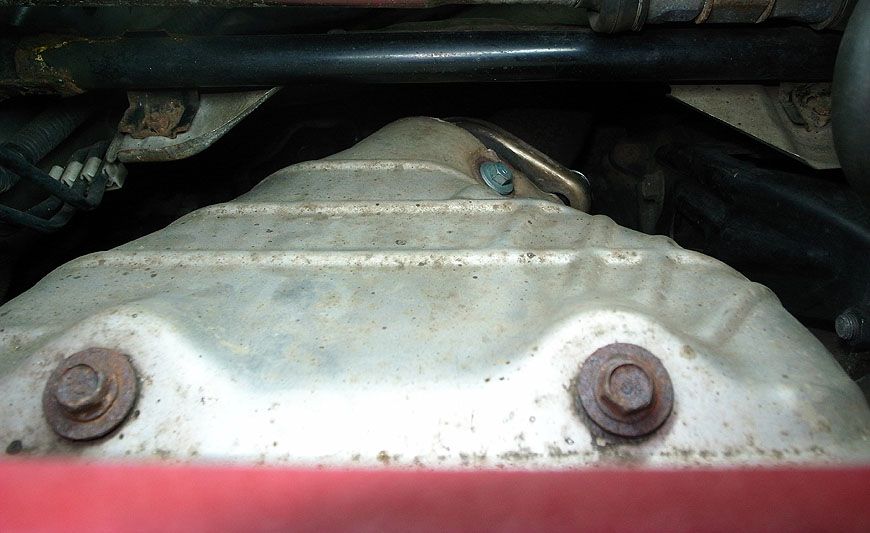
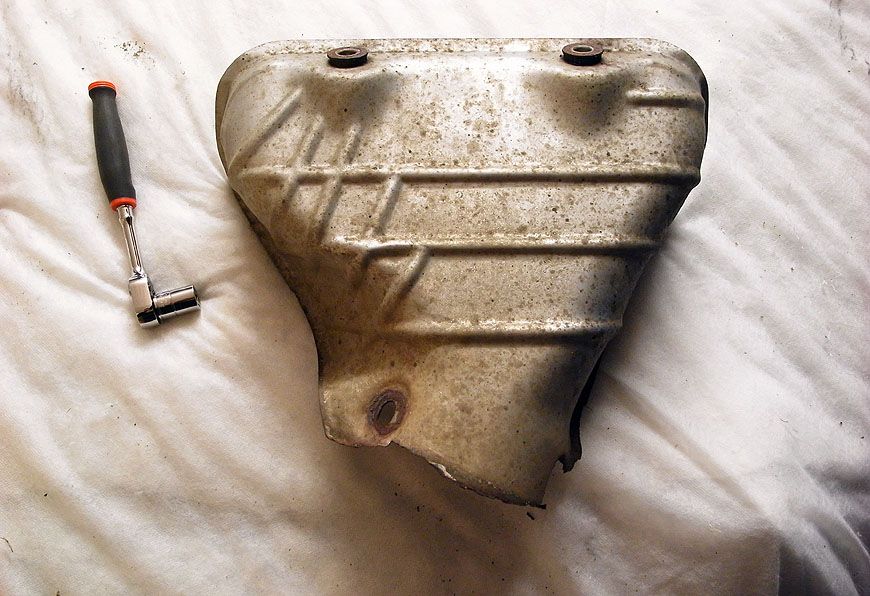
The old heat shield over the manifold had eroded too so I replaced that:
Removed:
New one:
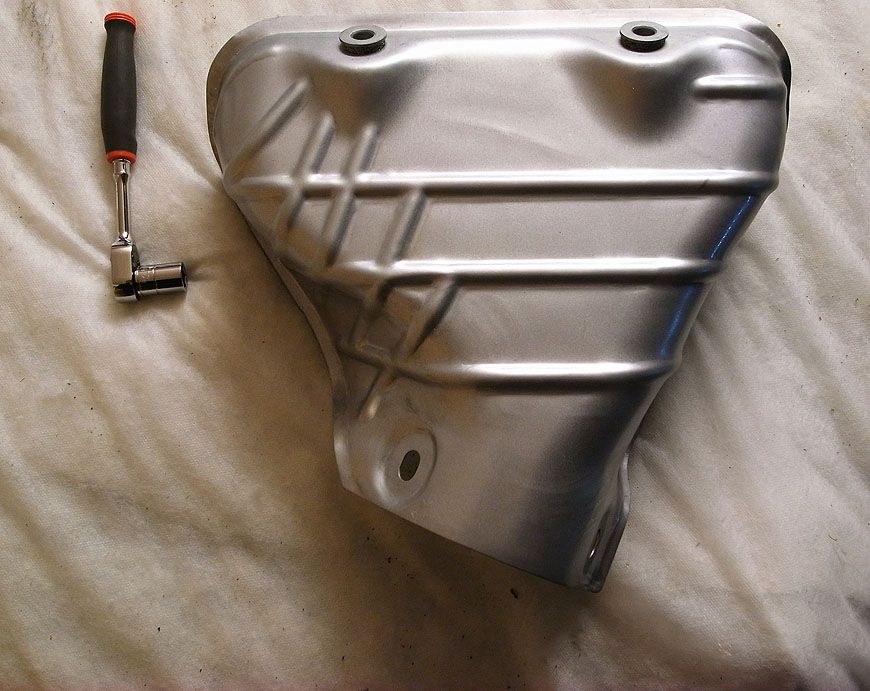
Fitted:
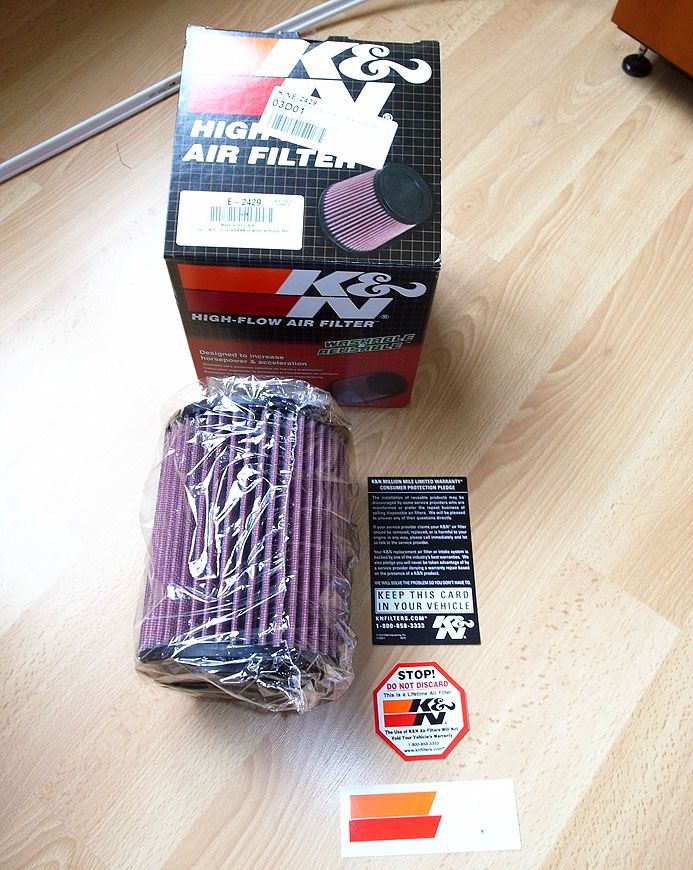
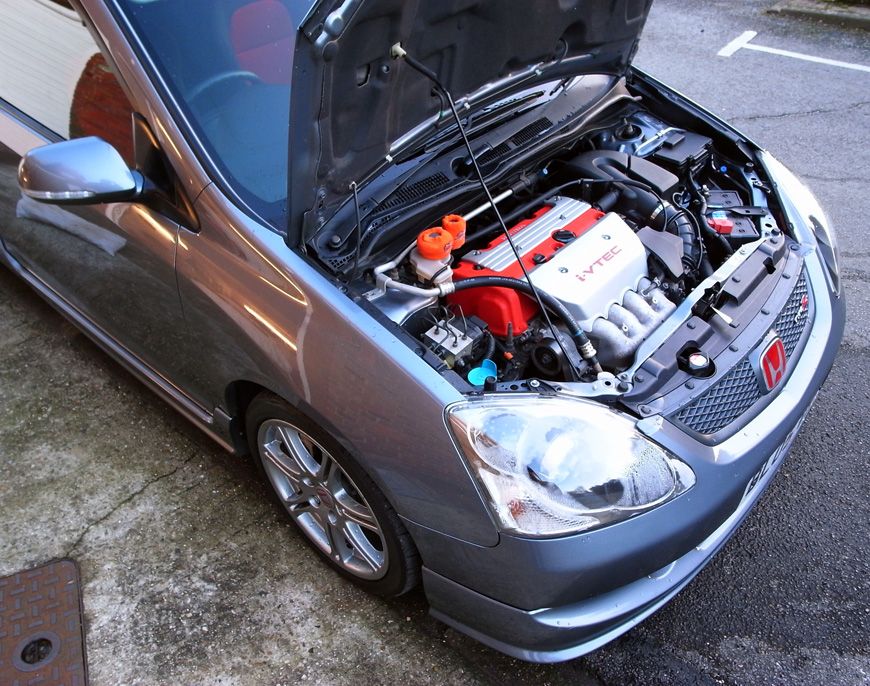
With the exhaust sorted I got on to a few bitty jobs such as bolts swapping and painting bits and bobs in the bay, also fitted the new K&N air filter:
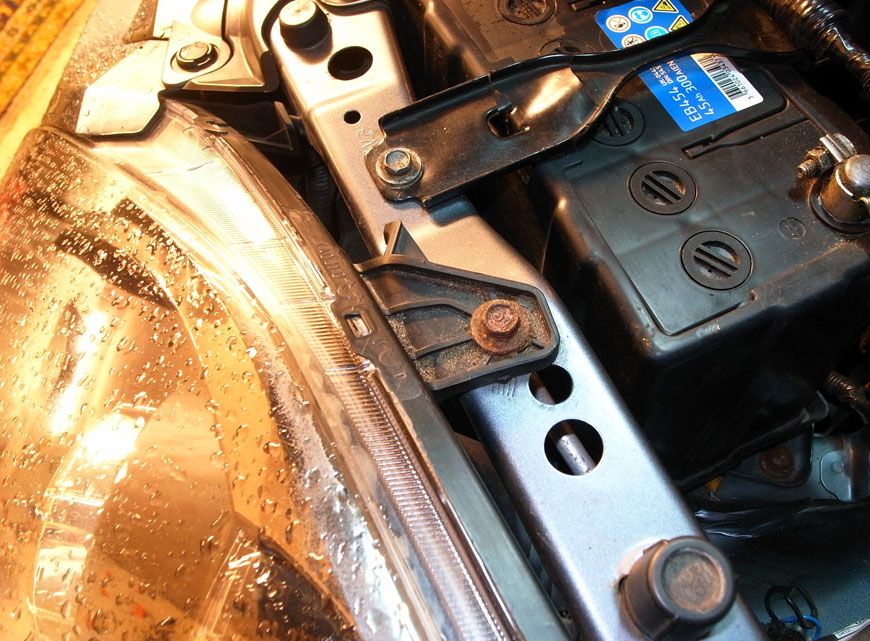
New headlight reatining bolts, before:
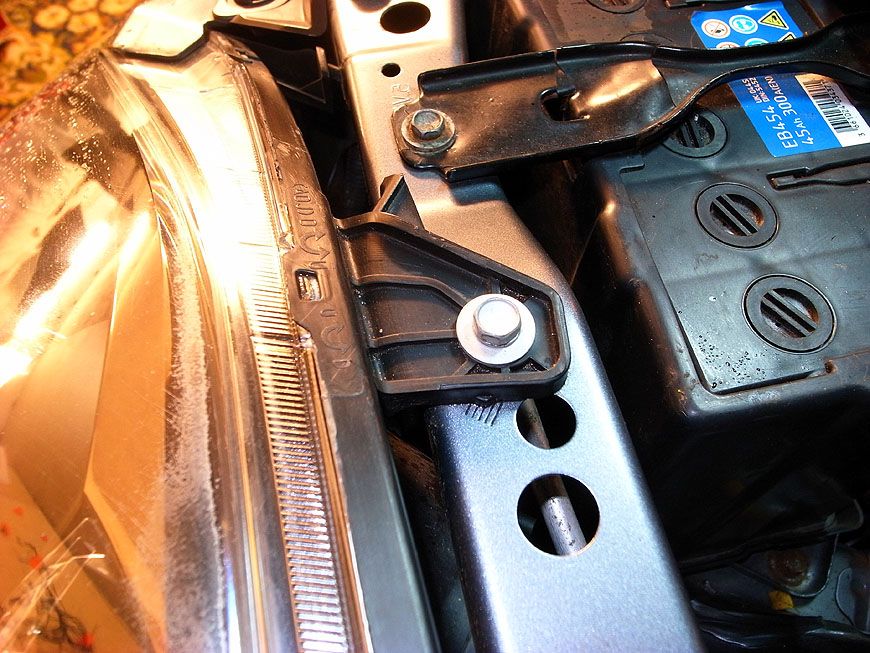
After:
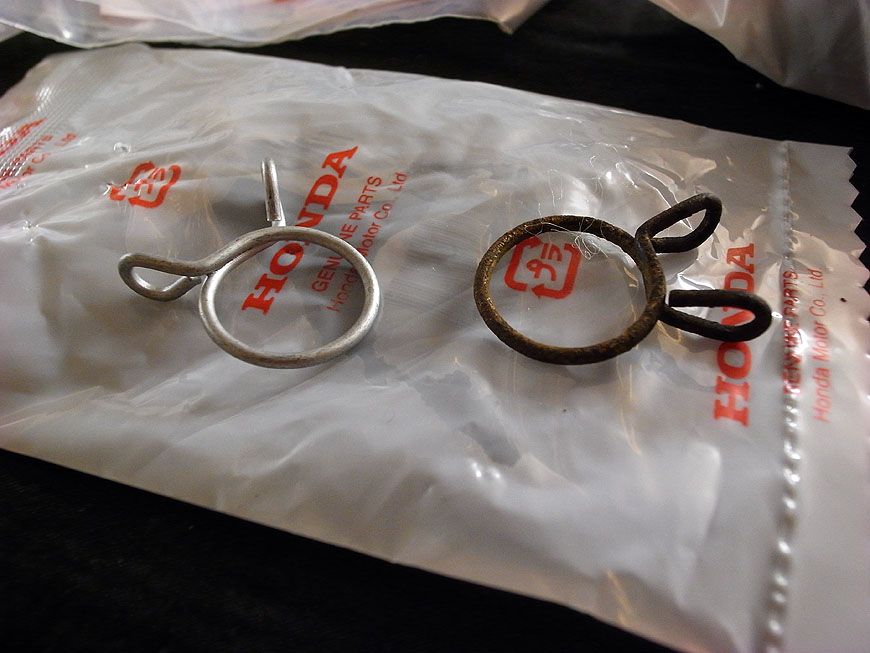
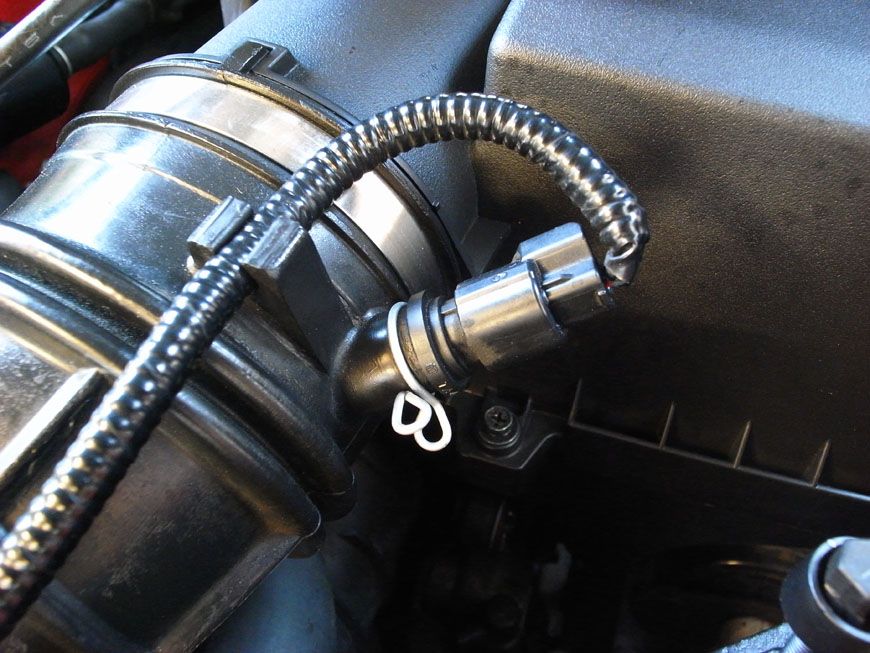
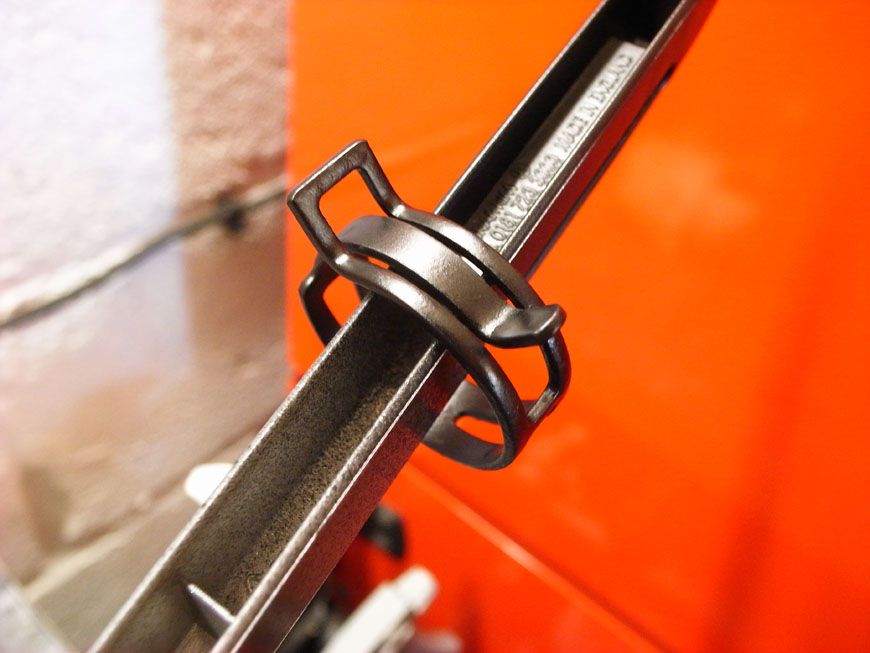
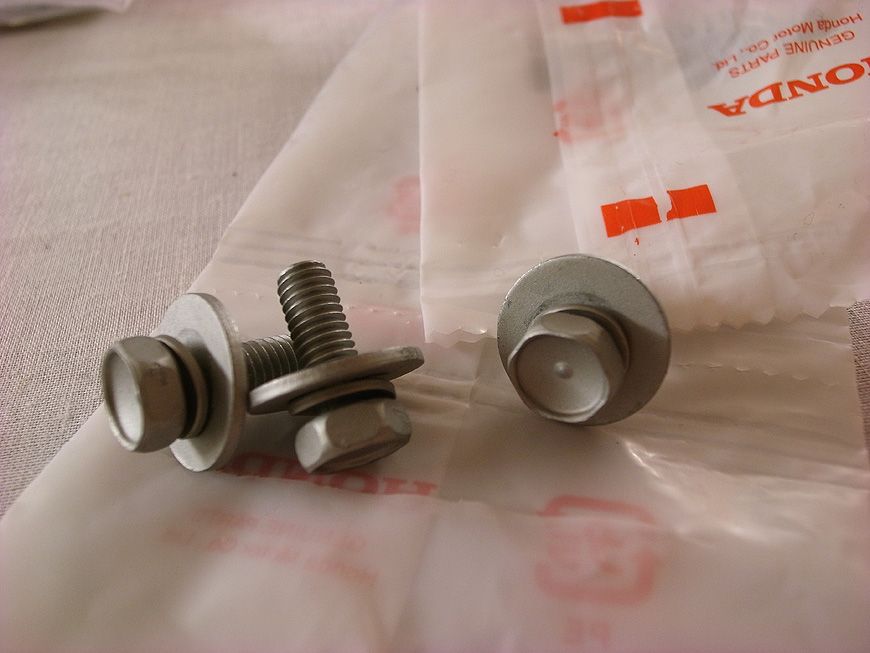
New retaining clip for the air sensor (new vs old below):
Fitted:
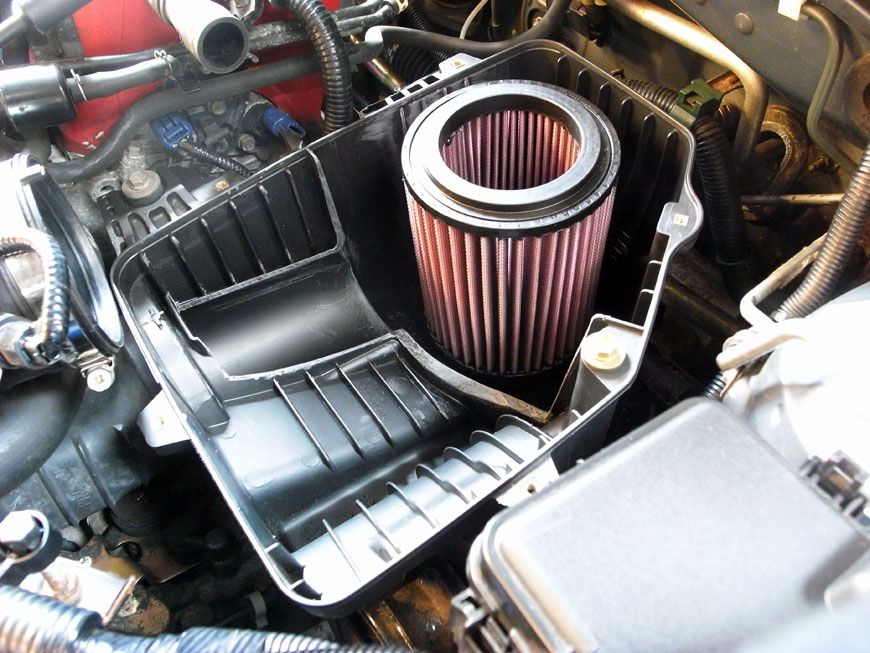
New Air Filter:
Hondata Airbox Mod:
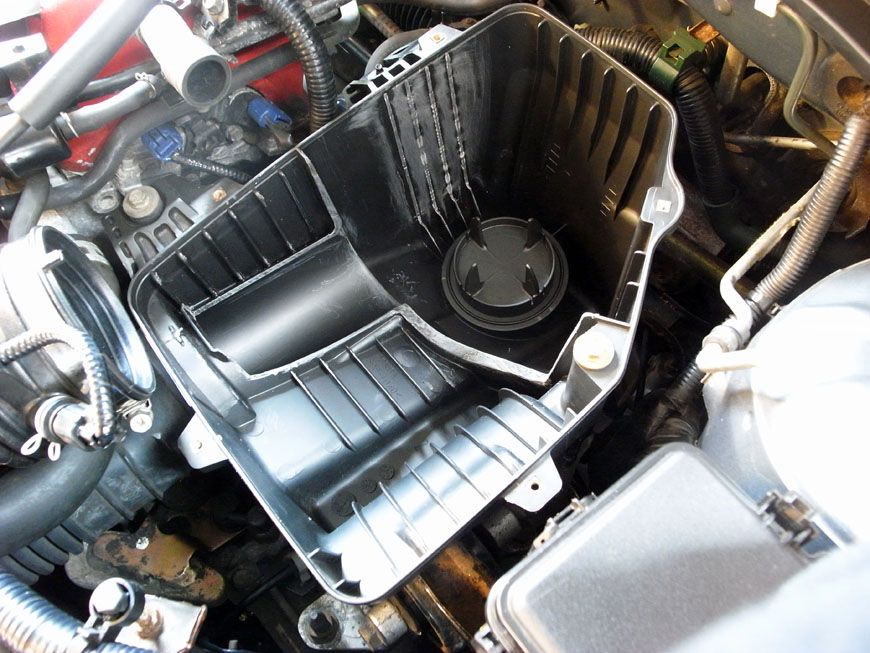
Fitted:
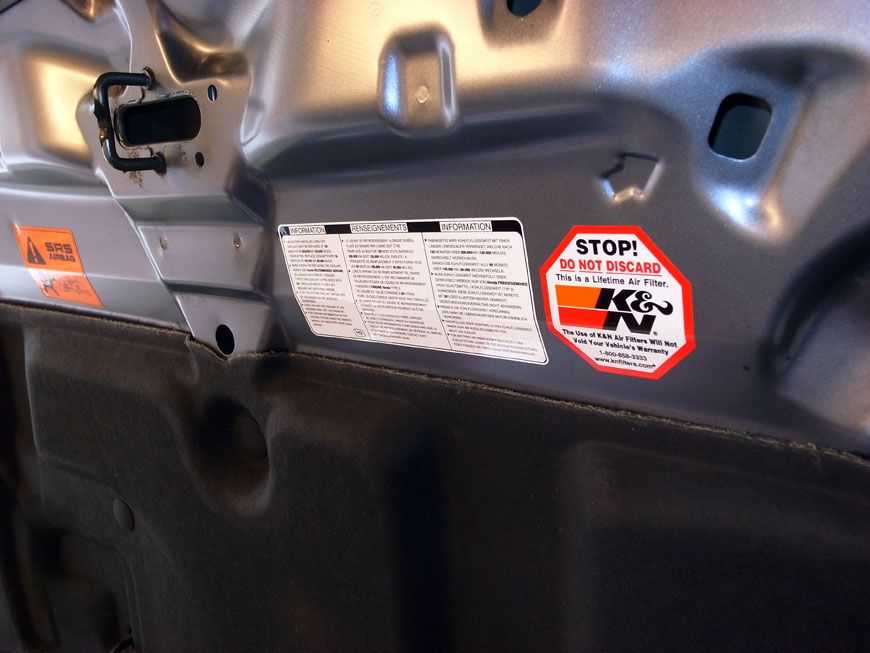
Warning sticker applied in bay next to the other info stickers:
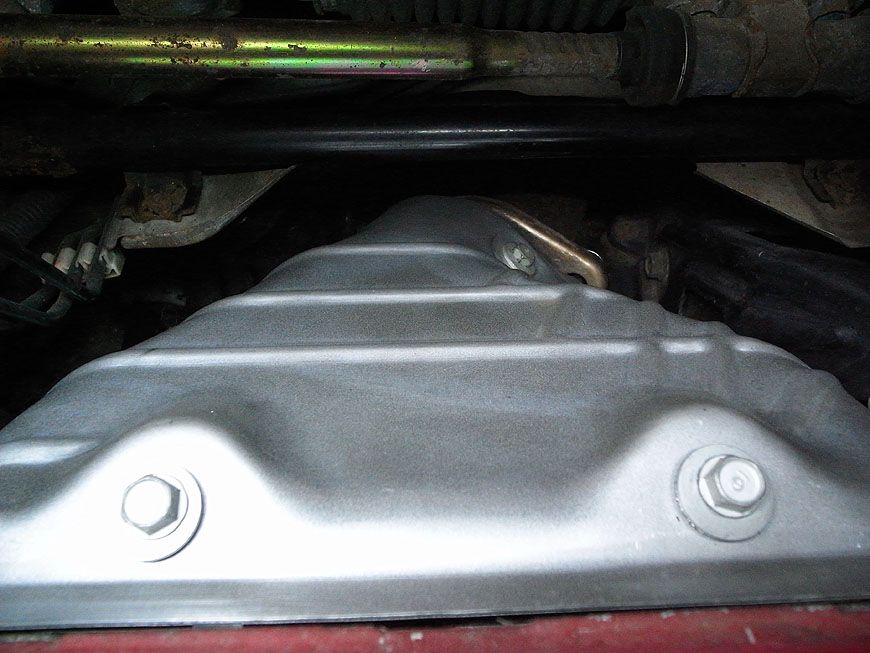
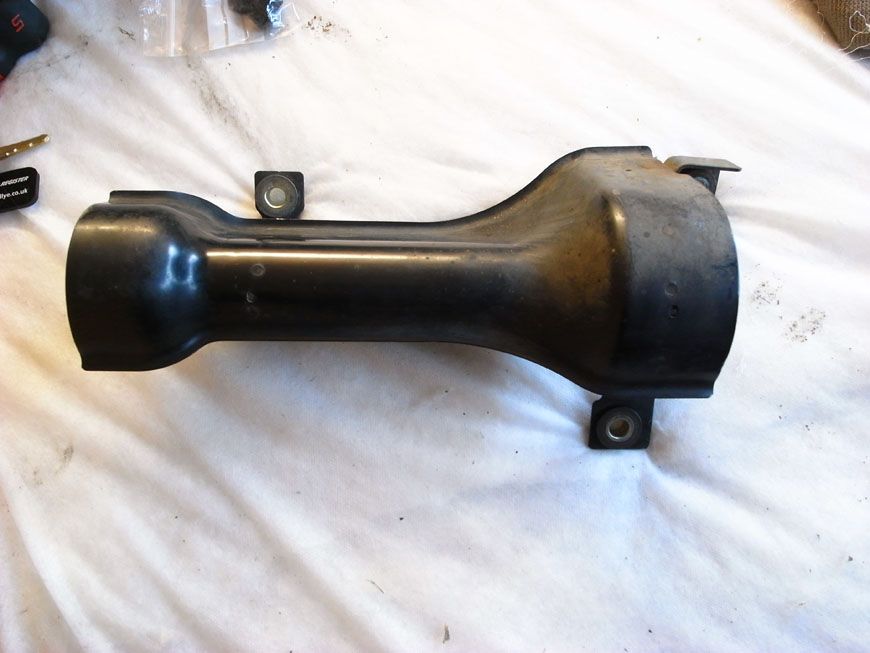
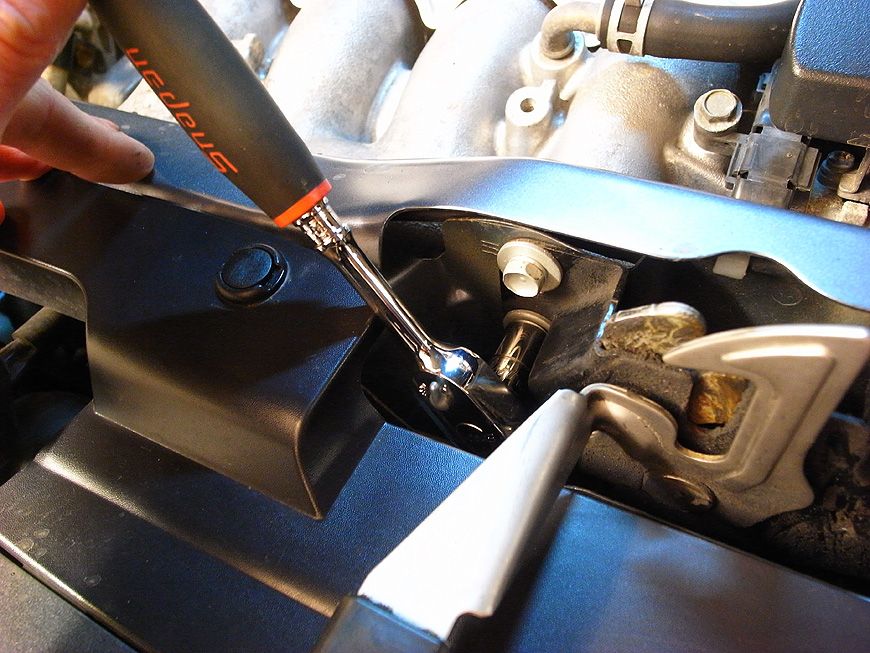
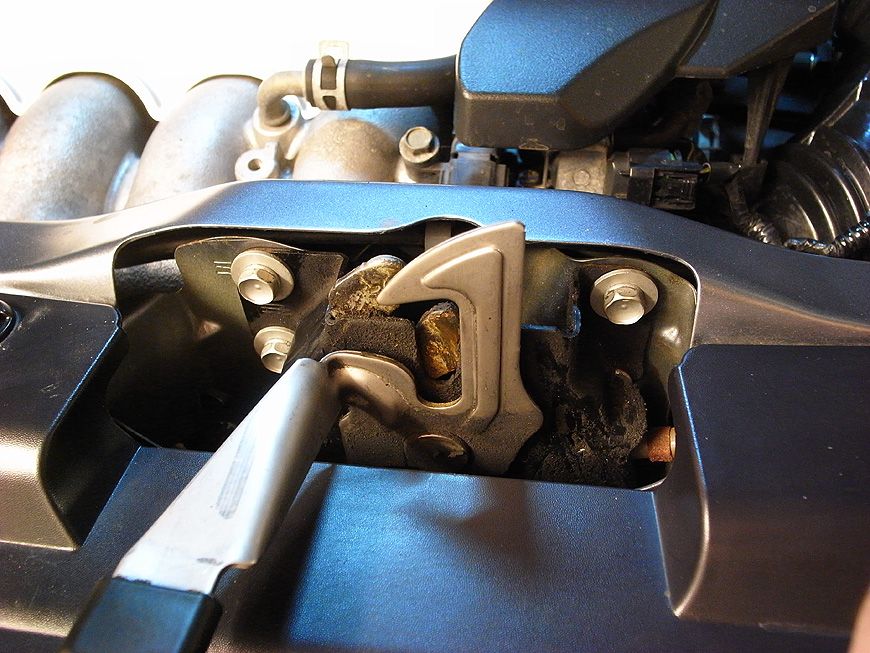
Sorting the drive shaft heat shield out:
Removed:
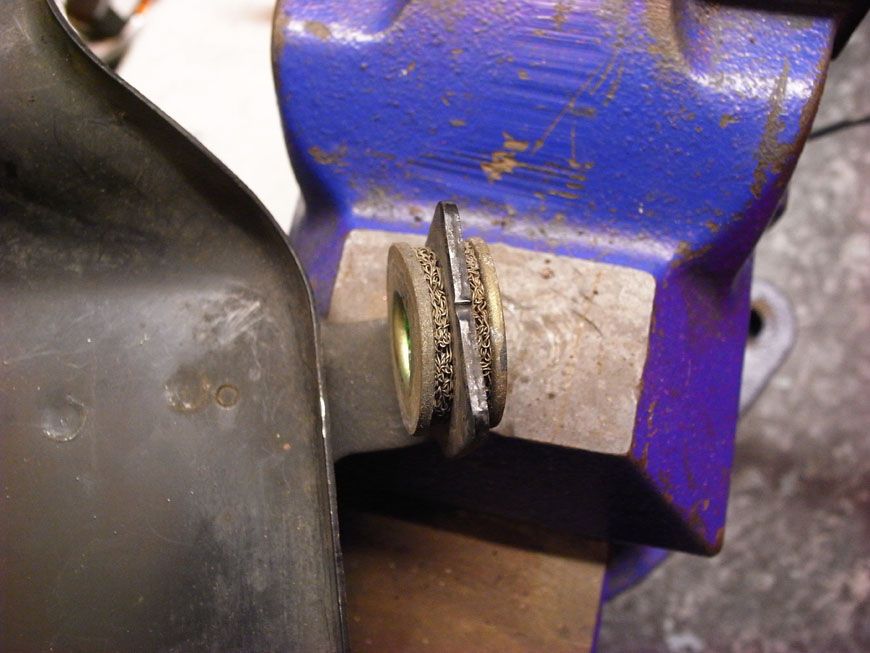
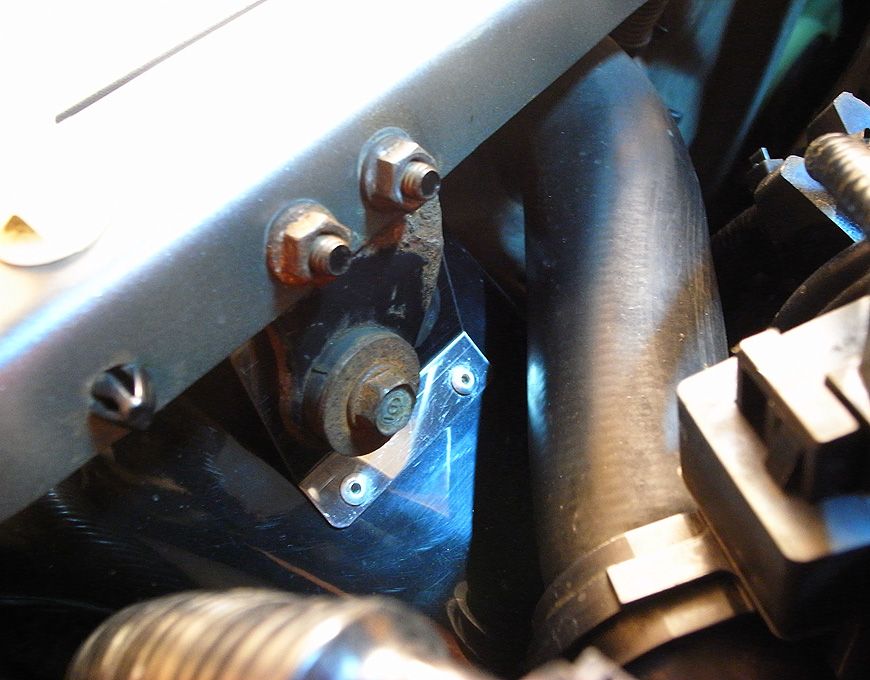
Hammer these buggers flat:
Tarting up a few of the little retaining clips for the rocker breather pipe, I also painted the throttle cable bracket but no pics:
All back together:
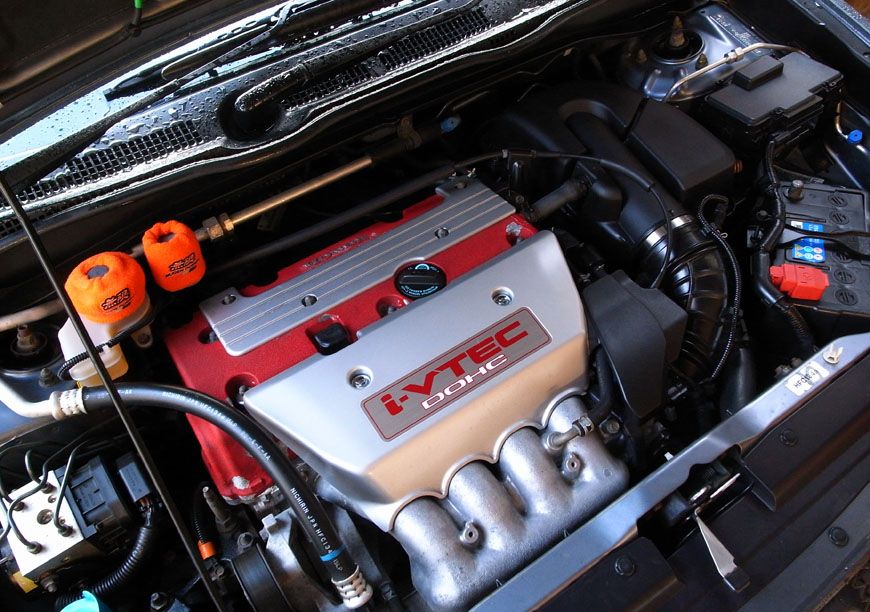
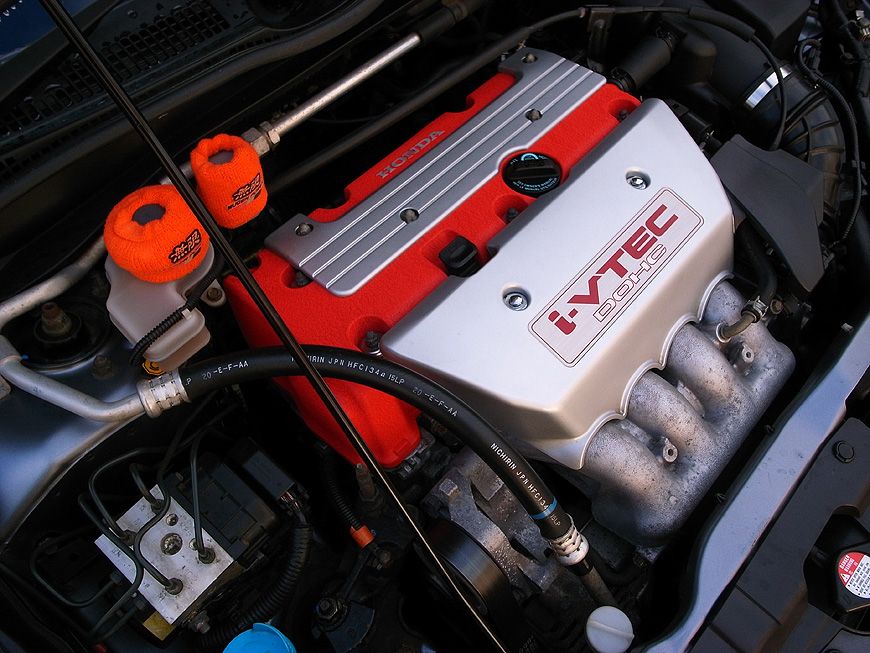
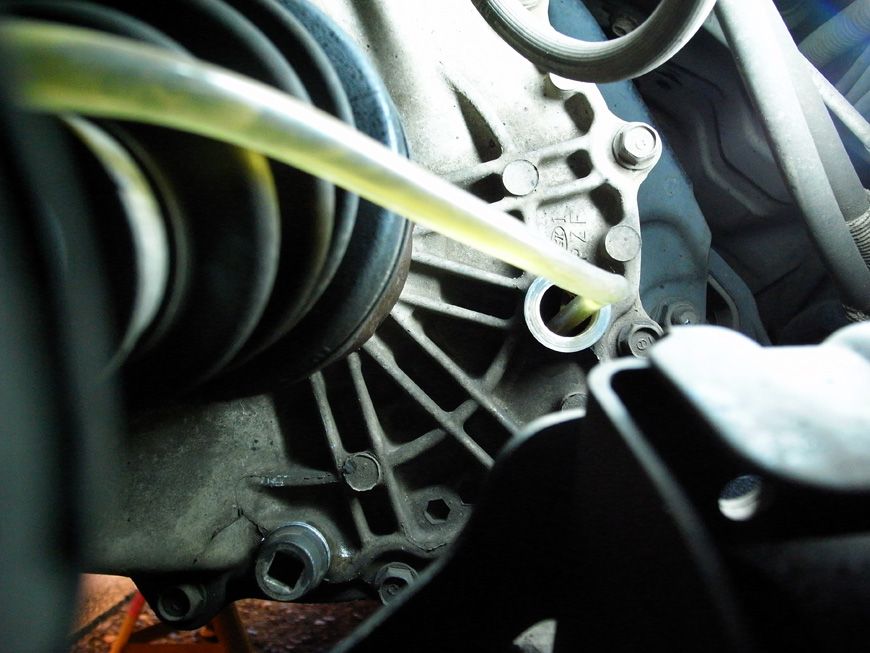
Bought some 'obligatory JDM reservoir socks!' :lol: Used to think these were ridiculous but when you understand their purpose it does make sense, as there is marks to my rocker cover where fluid has leaked onto it in the past:
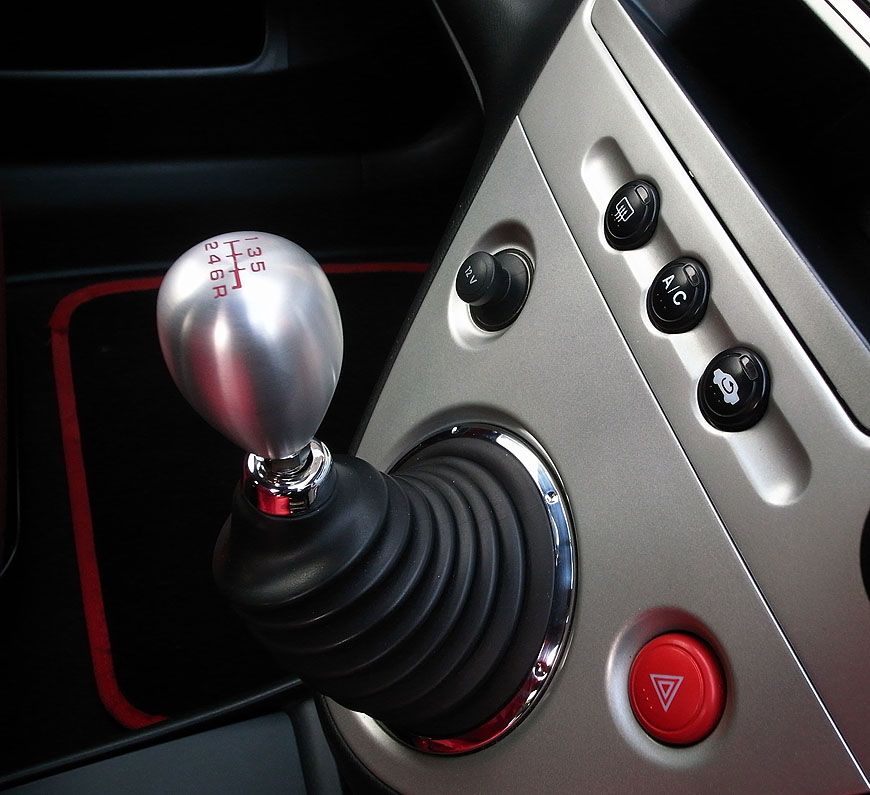
New Gearknob:
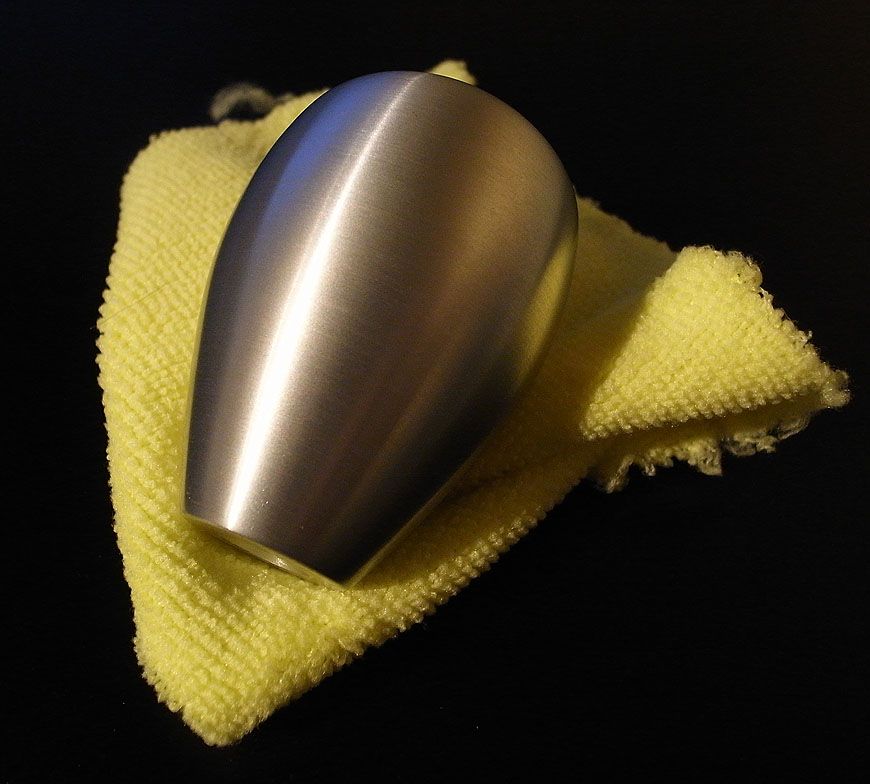
Fitted:
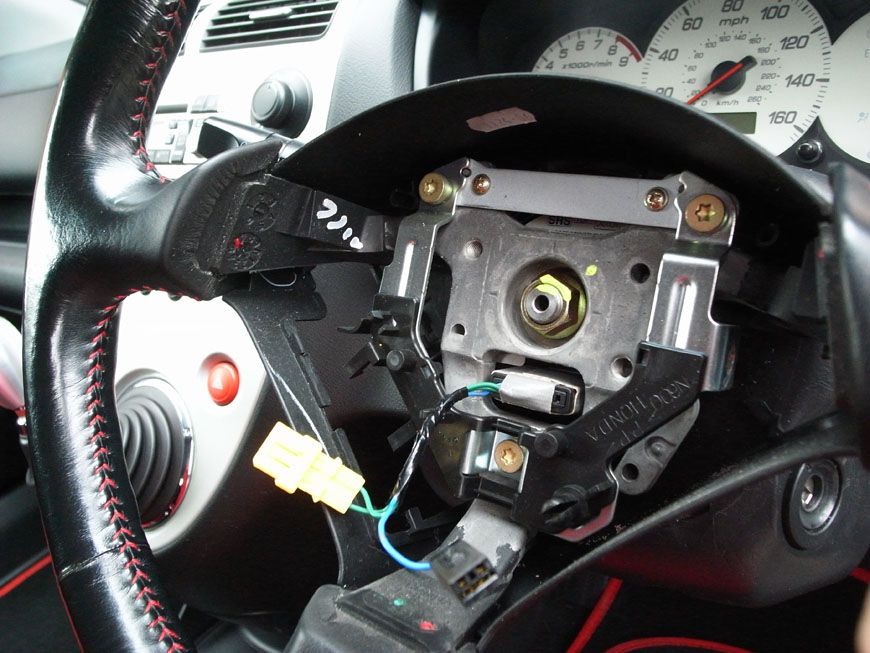
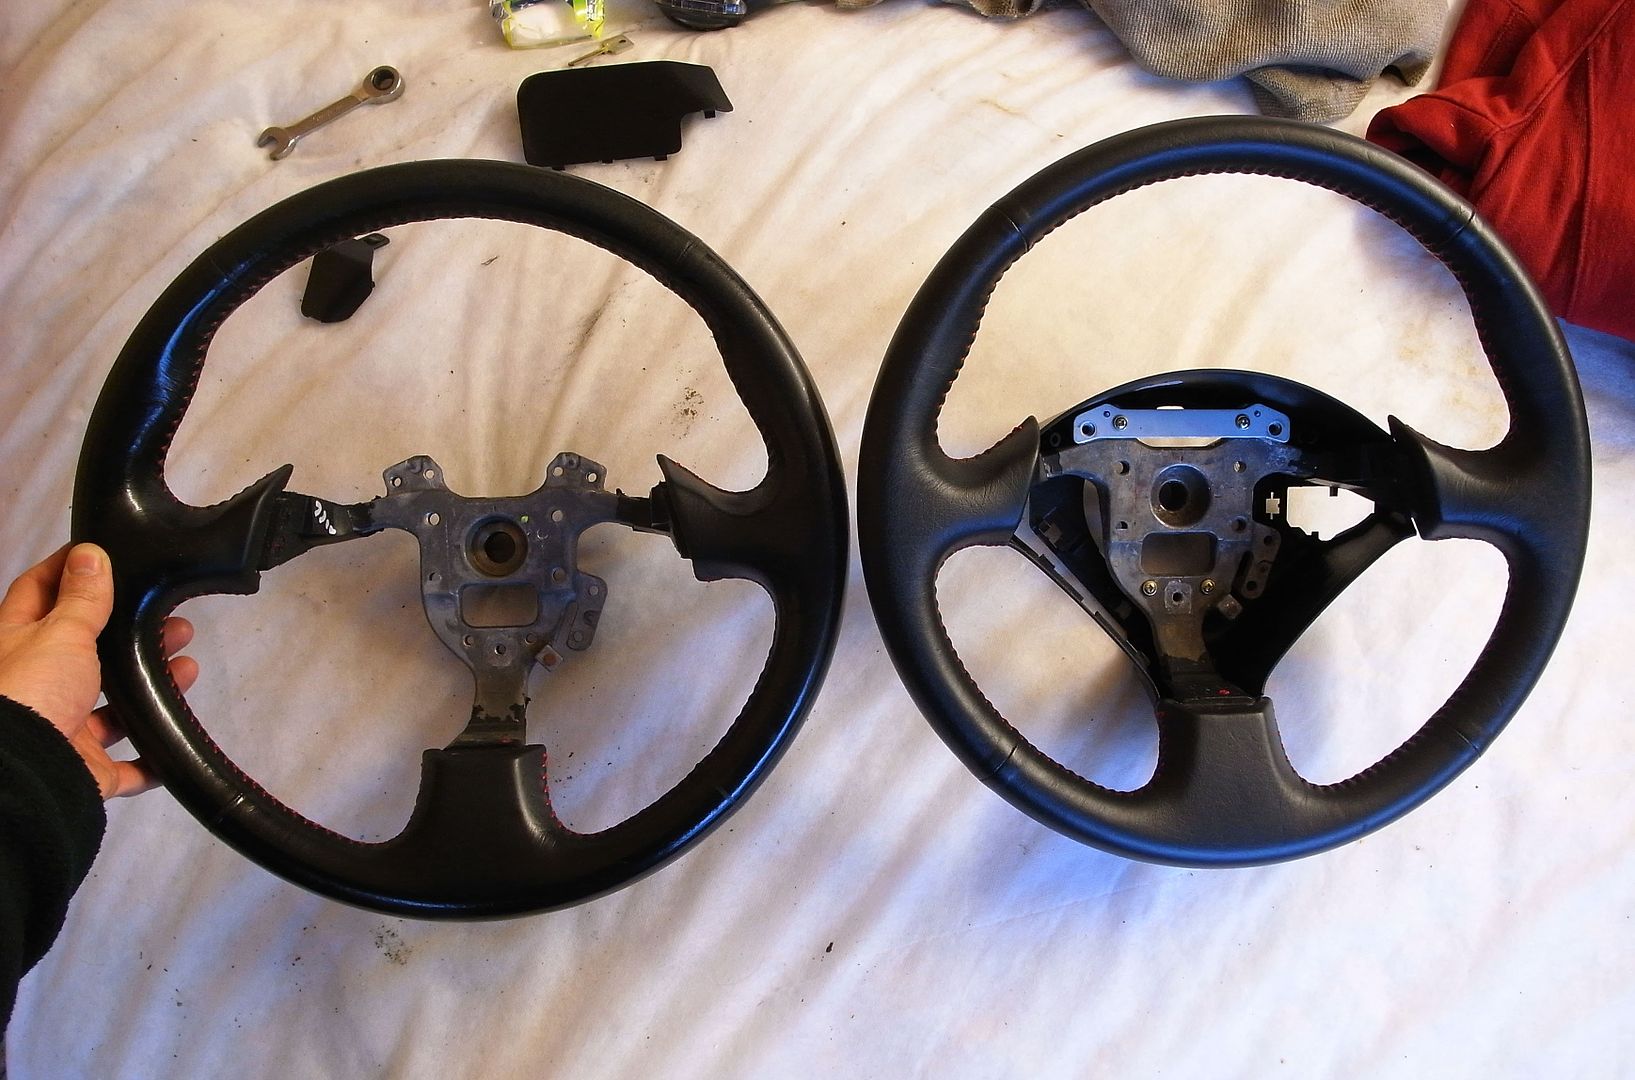
Fitting the new steering wheel. This is the old worn one in situe:
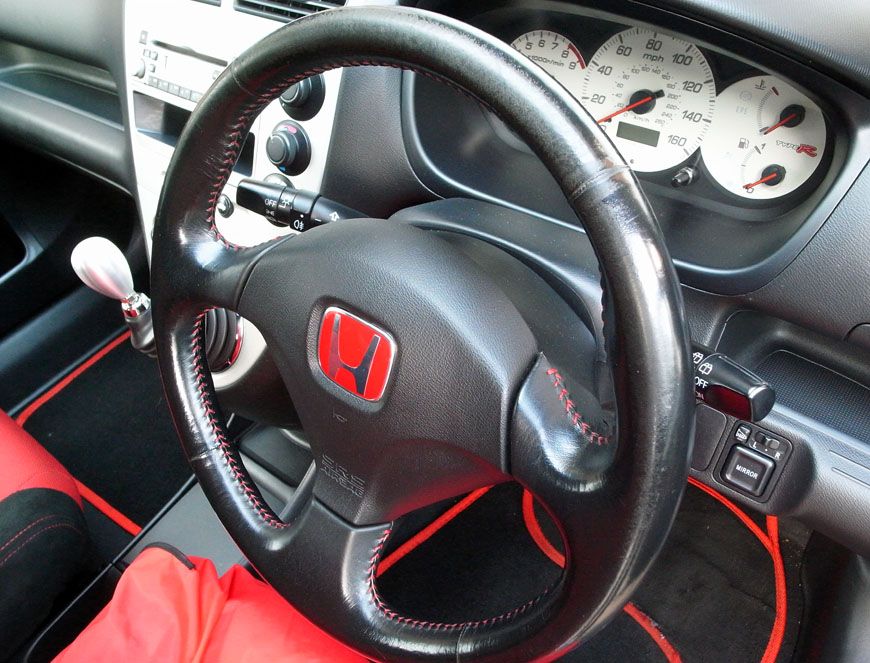
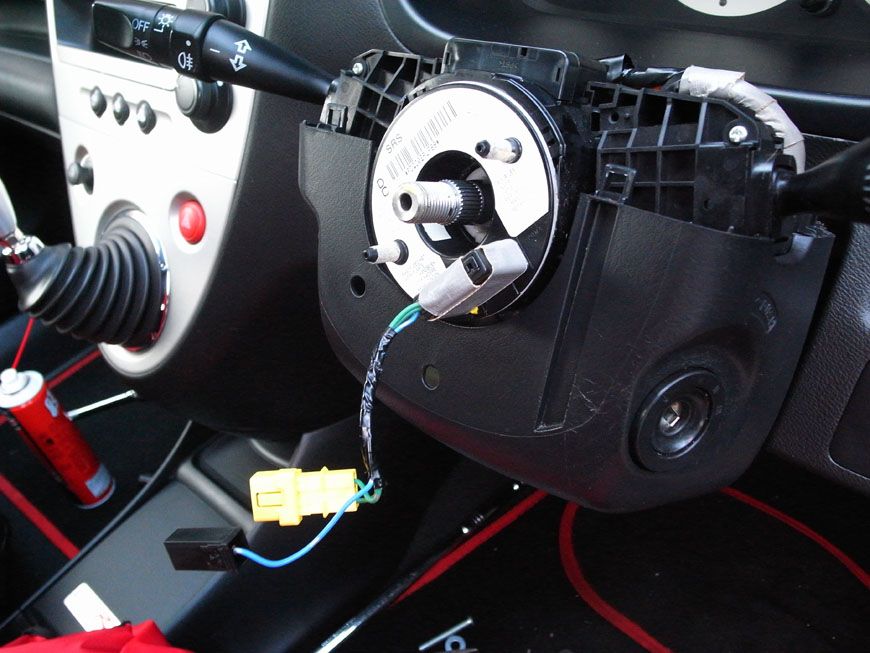
Removal of the old one, was easy until it came to pulling it off which was a pig of a job, it was properly welded on, but brute force and persistence prevailed and I got the ba*tard off in the end! :mrgreen:
Airbag out first after disconnecting the battery:
Removed:
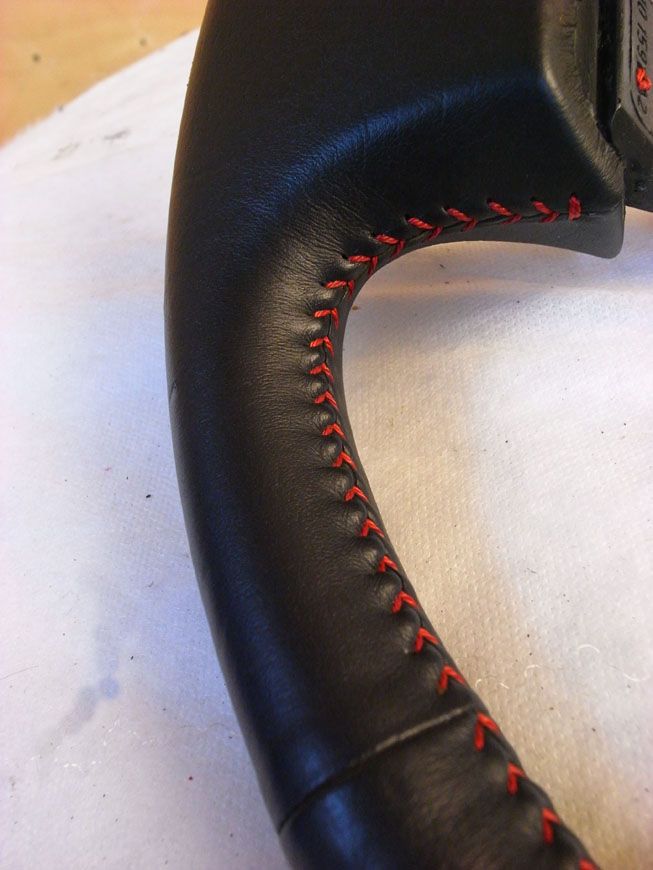
'New' one, nice dull finish to the leather still once I had cleaned it up with Dr Leather cleaner (great stuff):
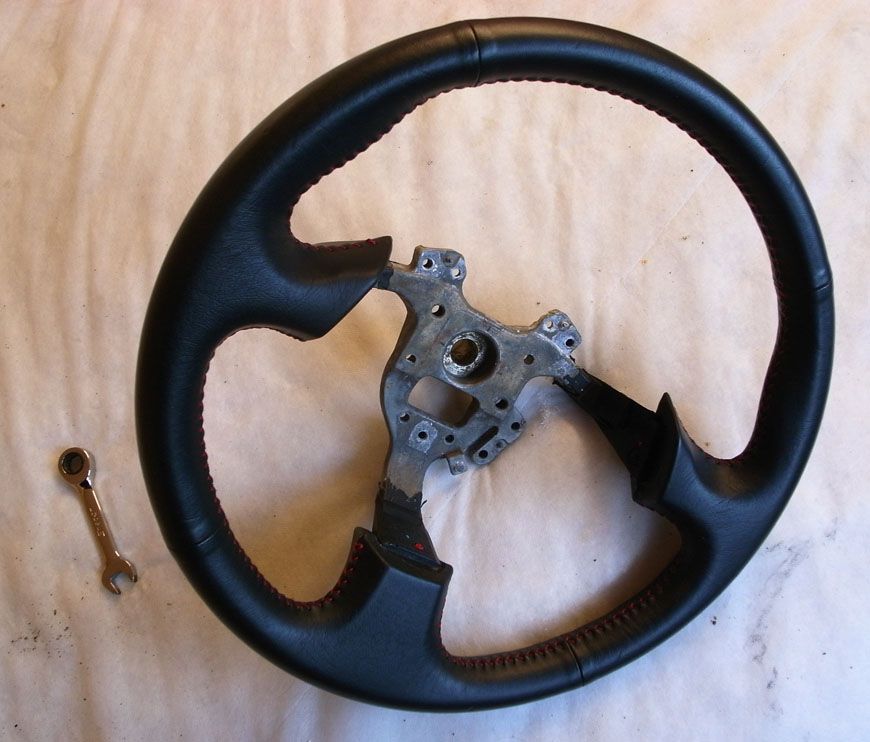
Stitching in good nick still:
Old vs new:
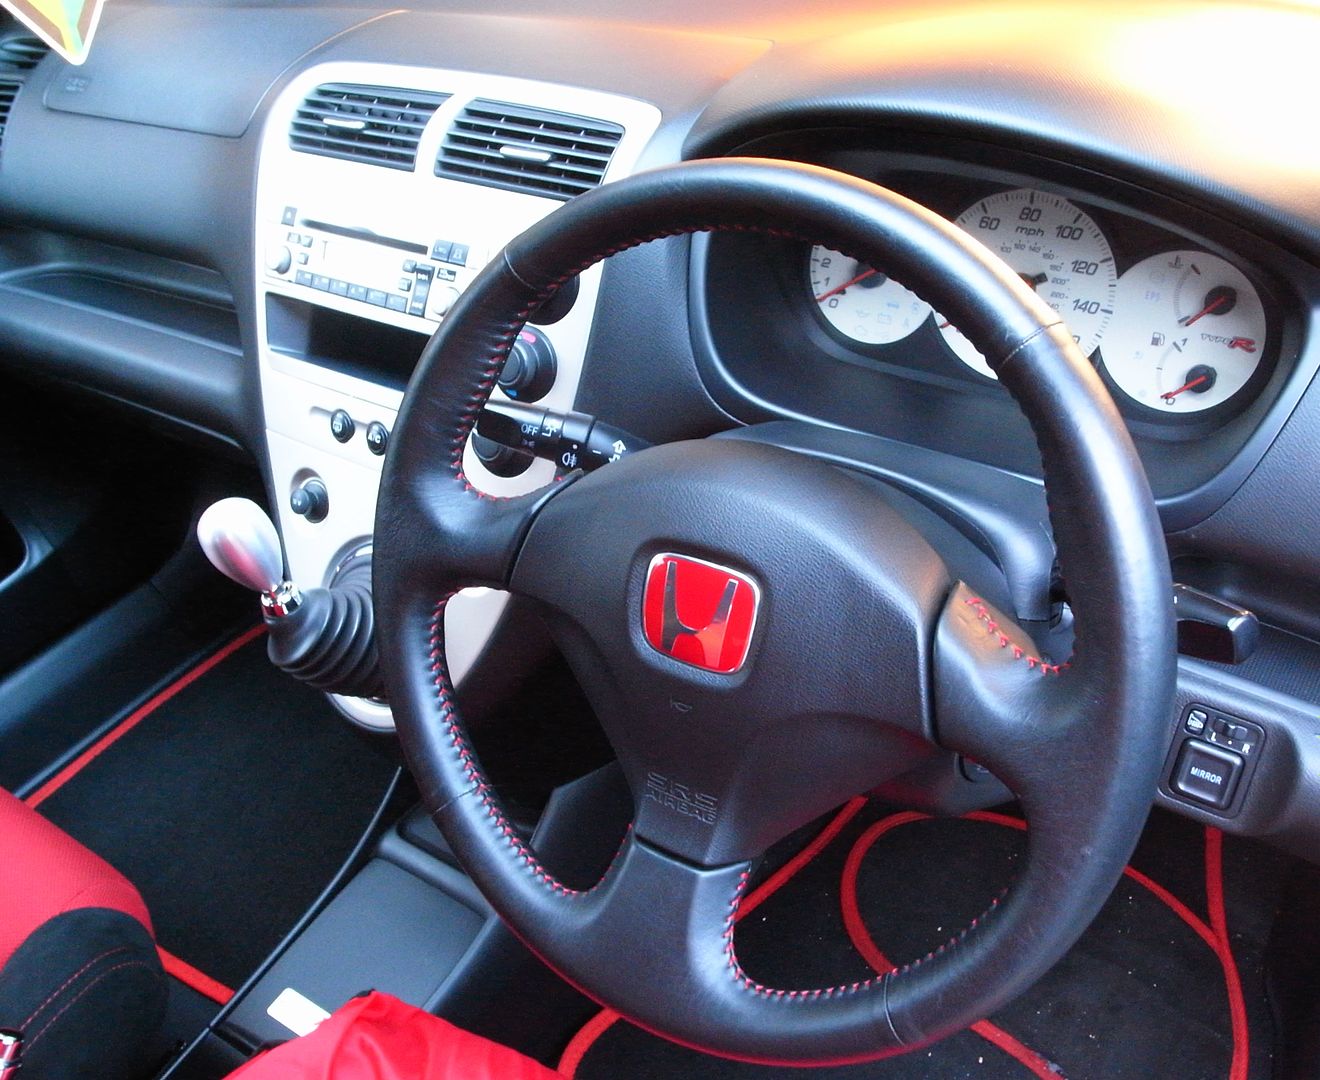
Fitted:
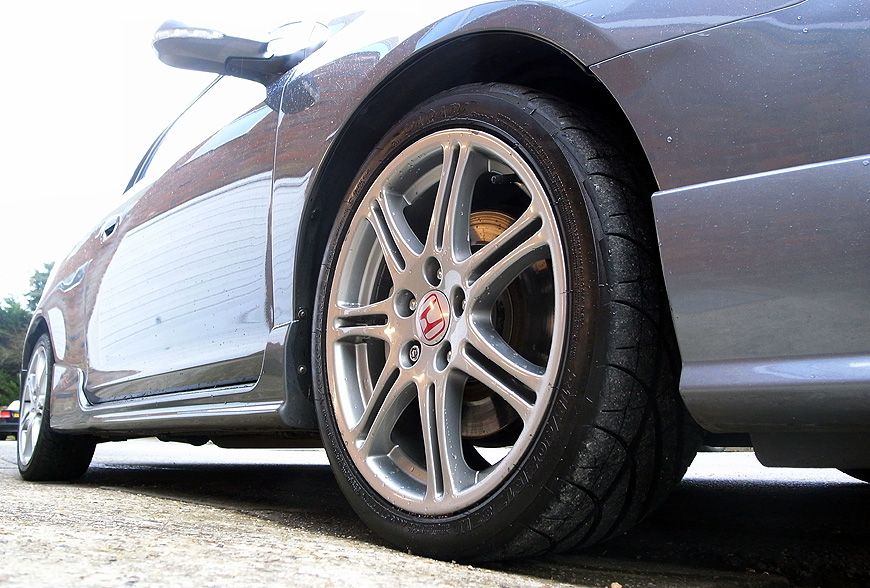
New front tyres:
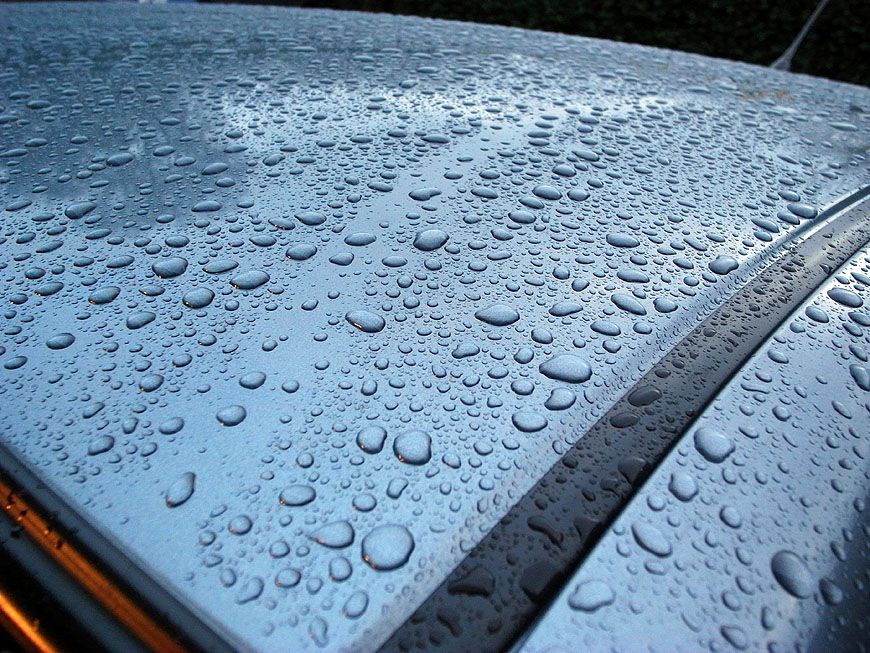
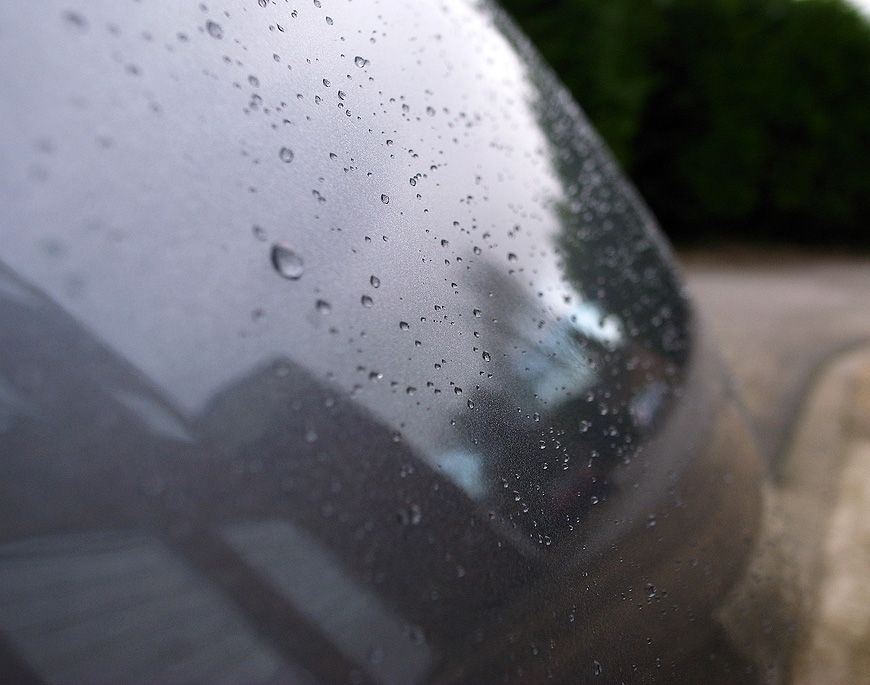
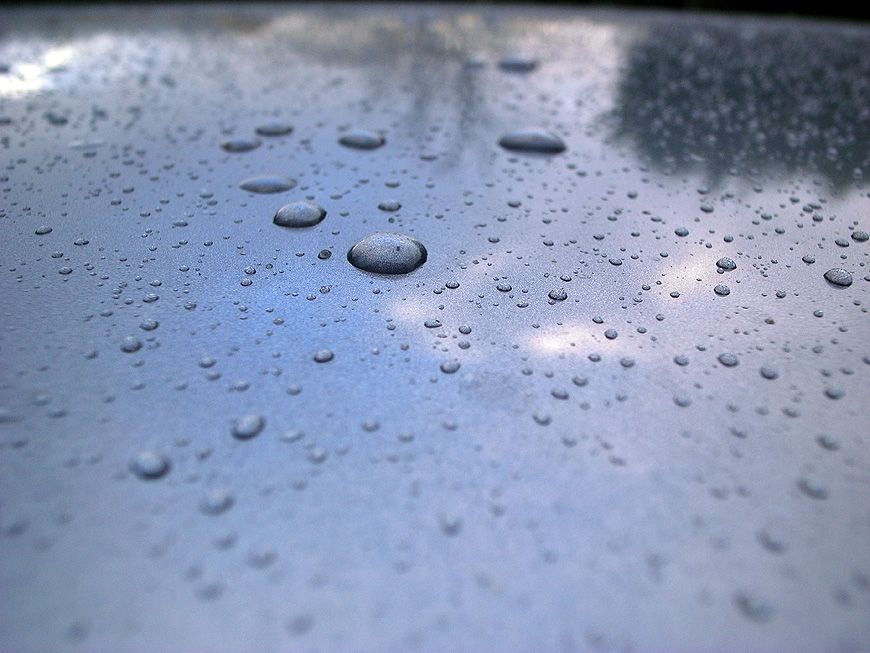
Gave her a good clean and polish the other day but it rained and got dark before I could take good photos (damn winter) but she is beading up nicely in this poxy rain:
Plans for the next few months are as follows:
1) Matching pair of Yokohama Parada's for the rear (next month)
2) Brand new OEM Honda discs all round
3) Engine and Gearbox Oil change and fitment of magnetic sump plug
4) New OEM Honda Type R mat set
5) Full paint correction and detail as soon as the weather isn't turd!
That's all for now, thanks for reading and sorry it;s so biblically long!
Lewis
After hankering after a Type R for a while, I recently sold my Audi S3 and spent ages trying to find a decentish EP2 or EP3 type R for the right money, one which hadn't been thrashed or chavved or generally ruined (a seemingly impossible task!)
After viewing some right haggard old dogs, I eventually found a 2005 Cosmic Grey one which was in pretty good condition considering the age and mileage. Hell, the owner had even run a sponge over it before my arrival which was unusual, most didn't bother their ar*e! Although the mileage was quite high (103k), it was a 2005 model and had been fitted with a recent new clutch. I bought it off a nice chap called Steve in Northampton, coincidentally he was a member on the other forum which I didn't realise at the time. His original build thread is located here:
http://type-r-owners.co.uk/forums/showthread.php?8...
It had a slight blow in the exhaust from the manifold area, and a few dings, so I was able to bargain with the price and get him down a little. I thought it would be an easy fix and he even included some new bolts and springs. However, nothing is ever easy with cars and I should've realised this! :P
The plan is to get it back to as mint and original as possible. I already have a 106 Rallye track car which is seriously modified, so this is my fun but practical daily whip. I only drive 8 miles each way to work, so it shouldn't be TOO thirsty. While not quite as savagely fast as the Audi on motorways, it's more fun and 'immediate' as there's no turbo lag. It also handles the rubbish roads round here and is less crashy than the S3. It's fast enough for me as it is!
I plan to sort mechanics first and the cosmetic issues later (although I have done a few things already as it messes with my OCD!) :lol:
Quick run down of issues from when I bought it:
1) Exhaust blow - which I knew about
2) Rear bumper has had some paint on the corner in the past, not perfect but not too bad
3) Few parking dings which I plan to sort eventually
4) Wheels are good overall but I would like to refurb eventually
5) Front under tray has come off slightly so will need replacing (caught on a low kerb at some point so I was told)
6) Gearknob was a bit scratched up - to be expected with the age/mileage
7) Steering Wheel worn - as above
8) Brake discs will need to be replaced soon
9) Tyres were cheap ass mickey mouse brand - already replaced with two front Yoko Parada's - rear to come soon
10) Think I have the dreaded input shaft bearing issue too, but it's not that bad at present so will be sorted as and when
11) Paint peel to rocker cover, will get it painted in OEM wrinkle red by one of the boys on the forum
12) Some wear to the front seats, so MAY swap out with some premier edition ones or even just standard EP3 ones in better condition at some point, but that's on the long finger for now!
13) Was fitted with a PiperX induction kit which I swiftly removed (although it did sound good!) and replaced it with the existing airbox which was a bit scratched up so I bought a brand new top for it from Honda
ops: Overall I am getting through it and starting to feel happier about the car. So far I have done the following:
1) 'New' used OEM manifold off ebay as the bolts were rusted to buggery so was easier to swap out the whole thing
2) New centre section - the old one snapped off with rust a week into ownership! :roll:
3) New Manifold heat sheild and gaskets and bolts from Honda
4) New air box lid from Honda
5) New bolts to replace various rusted ones in the bay
6) Painted various brackets back to satin black in the bay, will replace other bits that have rusted with new bits from Honda too
7) K&N Air filter for the OEM airbox. It already had the Hondata Airbox mod to the internal base which was handy!
8) New Gearknob to replace the scratched up one - bargain refurbed one off ebay, looks brand new!
9) Managed to get a new steering wheel too, well used but it had been in storage for years so is like new and OEM too :bigthumb:
The exhaust job turned out to be a total f*cking ar*eache as all the bolts had rusted on so I had to replace them all and take the whole system off and drill all the old one's out in order to retain the OEM CAT and save buying another. It was a fairly big job but got it all done without too much bother, just a few evenings after work and lots of swearing! :bad-words: Also had the dreaded heat shield rattle after I had put it all back on, so had to take off the driveshaft heat shield and flatten the bolts with a hammer. I kinda feel like since I got it i've had all the common faults rear their head, but I enjoy the car a lot and plan to keep it for a while so want to sort everything on it and use it. That way I know I have addressed all the problems and won't be worried about the 'what ifs'. I was a bit gutted Steve didn't fit a new input shaft bearing when he fit the new OEM clutch and release bearing, as he had everything out to do the clutch but nevermind, that's life!
Sorry for the epistle, here are the photos of the work so far. I haven't been able to take a nice one of the whole car clean yet but will do ASAP.
First job was take all the wheels off and clean them properly:
Then buy a load of bits and bobs from Lings Honda:
Then tackle the exhaust (only took a few pics as I was stressed doing this!):
A few of the old bolts that had been drilled / hacked off - this was a nightmare but got there in the end!
The old heat shield over the manifold had eroded too so I replaced that:
Removed:
New one:
Fitted:
With the exhaust sorted I got on to a few bitty jobs such as bolts swapping and painting bits and bobs in the bay, also fitted the new K&N air filter:
New headlight reatining bolts, before:
After:
New retaining clip for the air sensor (new vs old below):
Fitted:
New Air Filter:
Hondata Airbox Mod:
Fitted:
Warning sticker applied in bay next to the other info stickers:
Sorting the drive shaft heat shield out:
Removed:
Hammer these buggers flat:
Tarting up a few of the little retaining clips for the rocker breather pipe, I also painted the throttle cable bracket but no pics:
All back together:
Bought some 'obligatory JDM reservoir socks!' :lol: Used to think these were ridiculous but when you understand their purpose it does make sense, as there is marks to my rocker cover where fluid has leaked onto it in the past:
New Gearknob:
Fitted:
Fitting the new steering wheel. This is the old worn one in situe:
Removal of the old one, was easy until it came to pulling it off which was a pig of a job, it was properly welded on, but brute force and persistence prevailed and I got the ba*tard off in the end! :mrgreen:
Airbag out first after disconnecting the battery:
Removed:
'New' one, nice dull finish to the leather still once I had cleaned it up with Dr Leather cleaner (great stuff):
Stitching in good nick still:
Old vs new:
Fitted:
New front tyres:
Gave her a good clean and polish the other day but it rained and got dark before I could take good photos (damn winter) but she is beading up nicely in this poxy rain:
Plans for the next few months are as follows:
1) Matching pair of Yokohama Parada's for the rear (next month)
2) Brand new OEM Honda discs all round
3) Engine and Gearbox Oil change and fitment of magnetic sump plug
4) New OEM Honda Type R mat set
5) Full paint correction and detail as soon as the weather isn't turd!
That's all for now, thanks for reading and sorry it;s so biblically long!
Lewis
Thanks for the comments fellas She is coming along but still work to do until I am satisfied entirely!
What are you driving these days?
She is coming along but still work to do until I am satisfied entirely!stew-S160 said:
Lewis you nutball. Damn good choice on going Honda, finally. I would suggest you do the decent thing and get a proper exhaust(header all the way back). The improvement is something else!
Look at geo setups too. The EP3 responds well to these changes.
Knowing you though matey, this car will be looked after and be better than when new in no time.
Stu!! How are you man? What are you driving these days? I did think of you when I bought this actually. Going to get an uprated rear ARB and sort the geometry, but would like to keep it as standard as poss and preserve the funds for the Rallye (yes I still have it and it's still a WIP!) But I did buy some rose jointed steering arms for it this week so it hasn't been forgotten. Just need to resist buying wheels for the Honda, the temptation to modify it is incredible! Wouldn't mind an exhaust but it needs a map with a decat doesn't it, then it becomes (more) expensive. Look at geo setups too. The EP3 responds well to these changes.
Knowing you though matey, this car will be looked after and be better than when new in no time.
What are you driving these days?
Doodles19 said:
You're back!!
Please cure my curiosity... what ever happened to that glorious S2 16v 106 Rallye build you did?
Still going strong I hope?
Yep, see above, I still have it! I had it sold (pretty much) then actually cried when I started to take it apart so I decided to keep it (yes it's sad but true!)Please cure my curiosity... what ever happened to that glorious S2 16v 106 Rallye build you did?
Still going strong I hope?
Richair said:
Lewis this is great news re. your Rallye!!! Good man; you've put far too much time and money to give in now 
Rich
Thanks pal. I don't think I could ever sell it. My Dad offered to buy it off me and keep it for me which was super cool of him Rich
I think he and my good Mum and two of the only people who appreciate how much that thing means to me....I just updated the thread. With a bit of luck it should be tearing up the tarmac by next summer! Back onto Japanese matters, I am loving this Honda. Next up for this will be some fresher seats. The current one's are pretty well used and I would like to get the inside pukka if I can do so on a sensible budget. I spent a few hours at the weekend hoovering the interior so it's starting to look how I want it. I still need to get some photo's of the car that do it justice! Will try and do a full paint correction detail sesh too when the weather isn't absolutely heinous as it has been lately.
All I plan to with the Honda is as follows (and long term too)
New rear tyres
New discs all round (would love Spoon front calipers but = £££££££)
Uprated JDM rear ARM
Possible new bushes all round (OEM though)
There's a slight knock at the front which is either suspension or steering (common fault I think) so need to address this at some point as it's annoying
Other than that I think it will stay as is. I really enjoy driving it. Pulls hard in the gears and feels 'yobbish' enough to be fun on a day to day basis. Would recommend one to anyone!
Thanks guys.
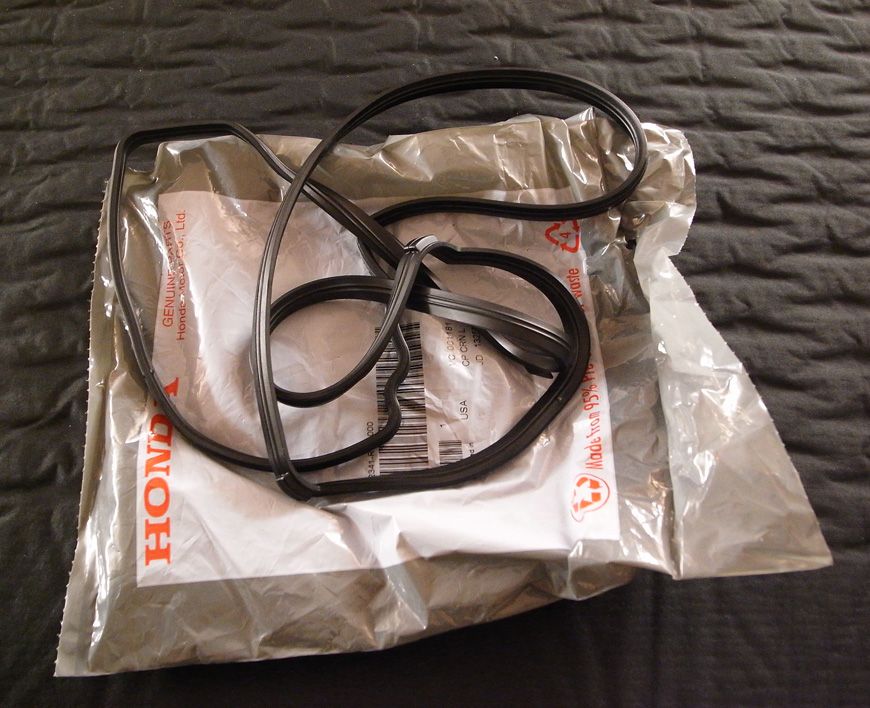
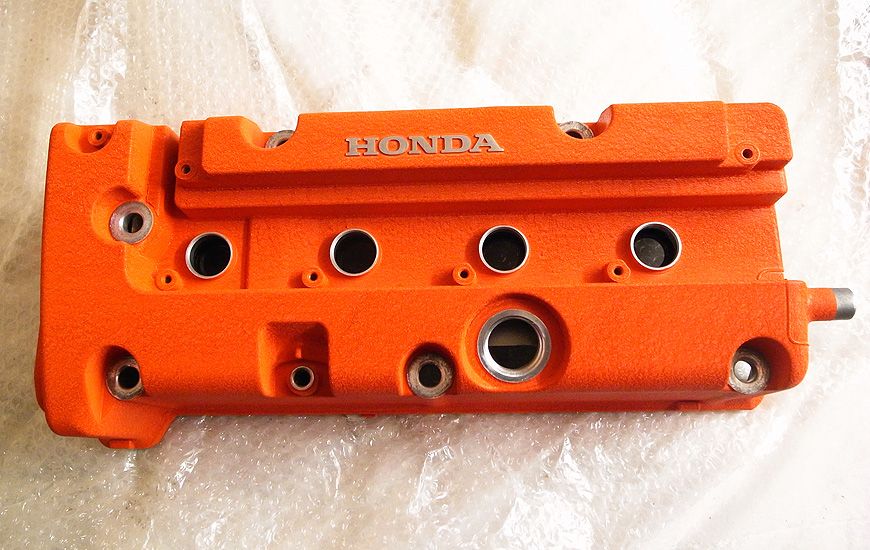
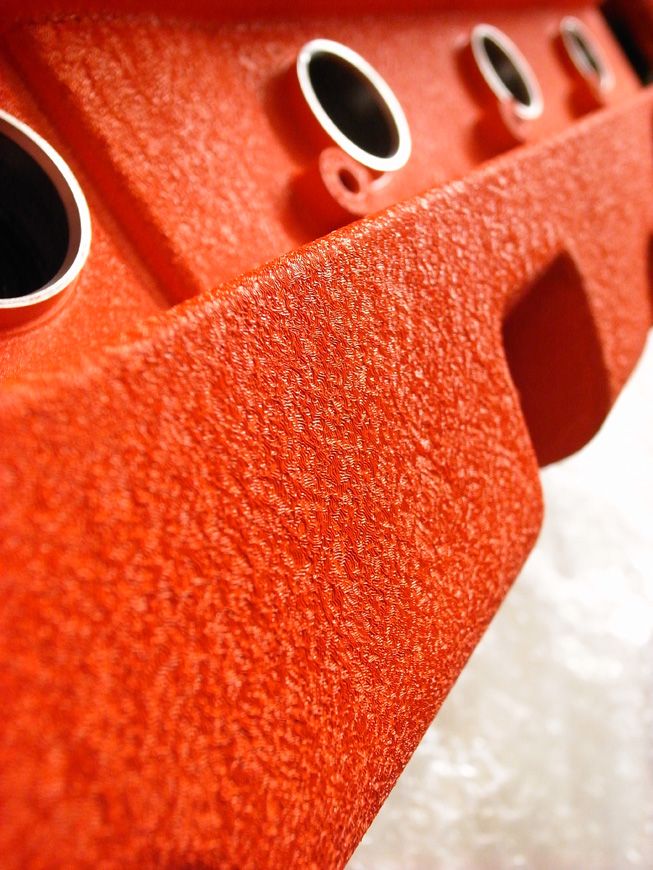
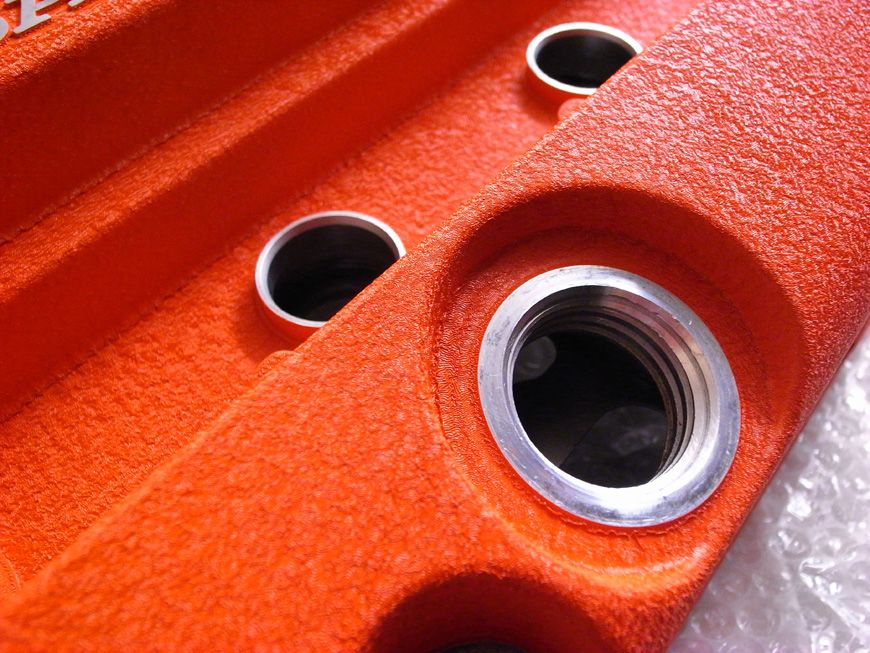
Few more updates. Got my refreshed cam cover from Paul @ Spooner Restorations, nice guy and fast delivery. I will try and get it fitted a le weekend, but here are some snaps to whet the appetite! I went for OEM wrinkle red, and although it's slightly lighter red than the current one (more like the red of my Snap On toolbox) it looks much nicer nevertheless, and will really tidy the bay when fitted.
Next plans are OEM Mats which I have already ordered, should arrive this week, then 2 new Yoko Parada tyres for the rear (possibly after xmas), new bushes and a JDM rear ARB. There is a slight knock at the front which I need to look at too. Am going to change the bushes firtst then go from there and chase it down/repair it. She is getting there now. Will try and machine polish it too soon.
Snaps of the Rocker:
New OEM gasket:
Thanks guys. I am loving it that's for sure. Great car to drive and very fast if driven hard.
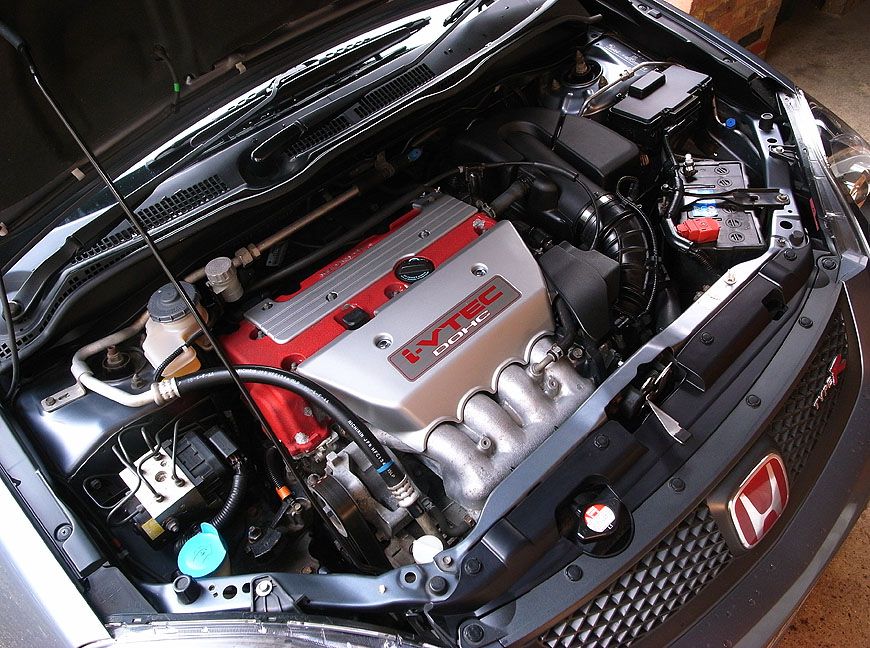
Little update, got some pics of the new cam cover.
Old:
New:
Also gave the roof and front a machine polish the weekend. It's starting to look excellent. Unfortunately it got dark and the weather was HORRIBLE today so will try for pics next weekend.
Little update, got some pics of the new cam cover.
Old:
New:
Also gave the roof and front a machine polish the weekend. It's starting to look excellent. Unfortunately it got dark and the weather was HORRIBLE today so will try for pics next weekend.
It messes with my OCD as well, it spoils the look of the bay if it's full of old bolts - sad I know!
Thanks Fellas.
Few more updates. Finally got around to taking some better photo's.
I got new mats a while back and have mainly been cleaning the car to within an inch of it's life. It's looking lovely now Machine polished it and waxed it this week. Few more things to come, I have ordered a full set of Yoko AD08's. I thought I may as well! Good tyres make a huge difference and transform the car. The Paradas are nice but a bit slippy in the wet, in fact very slippy. Also the non matching rears are messing with my OCD! :-|
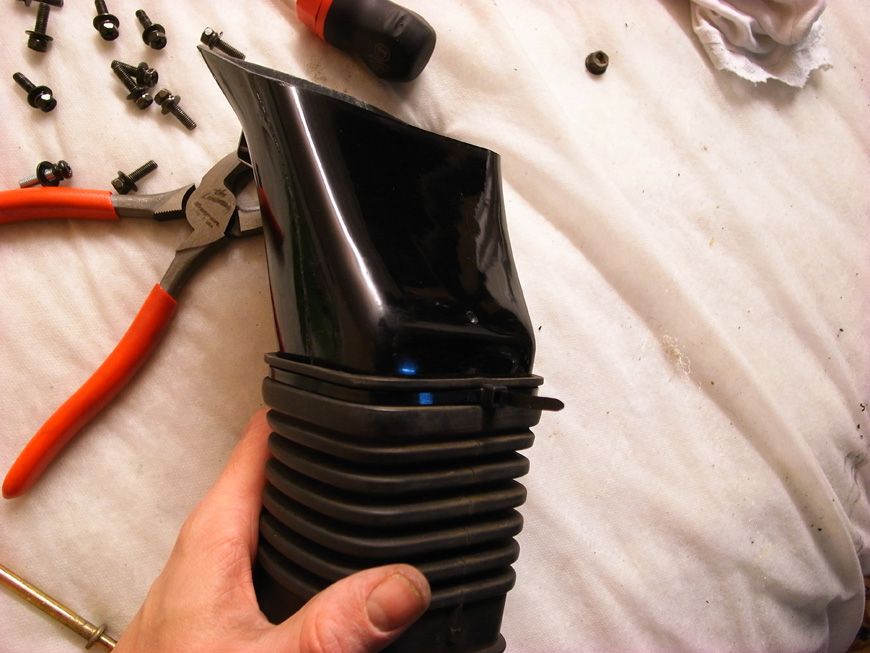
I also ordered some new oil, filter, magnetic sump plug and replacement intake pipe this week along with a few bolts to tidy/sort the bay a bit more. Will try and give it service if the bits arrive before I go back to work. Also need to sort the hesitation which I believe to be the TPS but haven't figured how to approach it yet (buy a new TB with one fitted or a replacement TPS alone and attempt DIY calibration, which I find somewhat daunting).
Here are the photo's anyway.
New mats:
Cleaned:
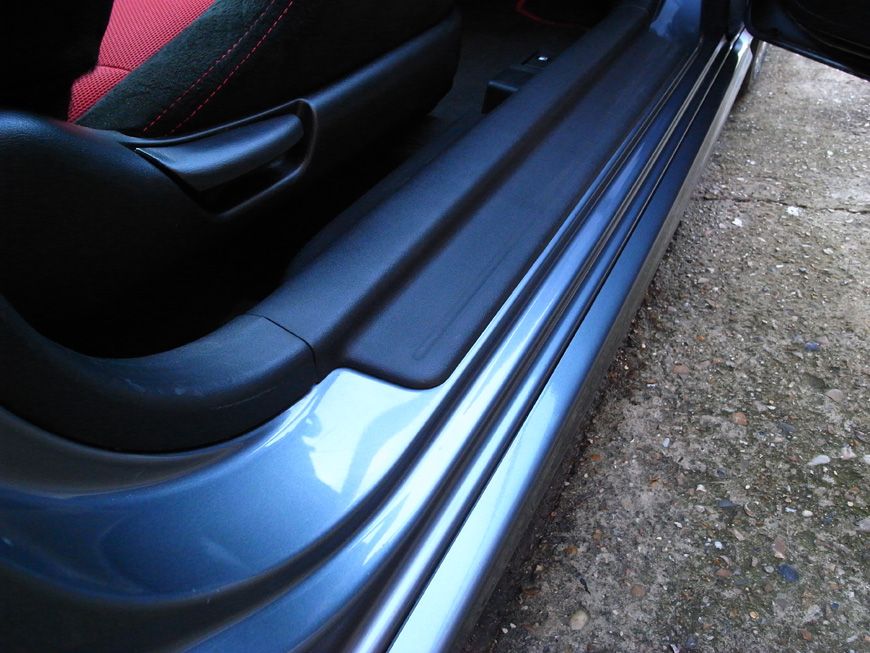
Clay barred then polish and waxed inside the door shuts:
Quick overall shot with the beast in the background (Rallye) - needs some love!
Bay cleaned up a bit:
Spent AGES clay barring the skirts and removing all the tar - what a b*stard of a job that was. Look so much better now though. Non matching rear tyre ruins this photo for me though!
So the car is gradually coming together and I am pleased so far.
List of bits i'd like:
Progress Rear ARB
Camber Bolts
Adjustable Rear Camber Arms
Bits I need:
New front light
New discs all round
TPS/New TB
That's all for now.
Thanks Fellas.
Few more updates. Finally got around to taking some better photo's.
I got new mats a while back and have mainly been cleaning the car to within an inch of it's life. It's looking lovely now
Machine polished it and waxed it this week. Few more things to come, I have ordered a full set of Yoko AD08's. I thought I may as well! Good tyres make a huge difference and transform the car. The Paradas are nice but a bit slippy in the wet, in fact very slippy. Also the non matching rears are messing with my OCD! :-| I also ordered some new oil, filter, magnetic sump plug and replacement intake pipe this week along with a few bolts to tidy/sort the bay a bit more. Will try and give it service if the bits arrive before I go back to work. Also need to sort the hesitation which I believe to be the TPS but haven't figured how to approach it yet (buy a new TB with one fitted or a replacement TPS alone and attempt DIY calibration, which I find somewhat daunting).
Here are the photo's anyway.
New mats:
Cleaned:
Clay barred then polish and waxed inside the door shuts:
Quick overall shot with the beast in the background (Rallye) - needs some love!
Bay cleaned up a bit:
Spent AGES clay barring the skirts and removing all the tar - what a b*stard of a job that was. Look so much better now though. Non matching rear tyre ruins this photo for me though!
So the car is gradually coming together and I am pleased so far.
List of bits i'd like:
Progress Rear ARB
Camber Bolts
Adjustable Rear Camber Arms
Bits I need:
New front light
New discs all round
TPS/New TB
That's all for now.
Edited by Track_Cit on Saturday 28th December 13:57
richtea78 said:
Did you not put tardis on the tar before claying?
No, simply becuase I did not have any! I did however use a small piece of soft cloth with GT85 sprayed on, and that works a treat with some gentle rubbing (ooo errr. Then rinse off then clay bar after to ensure it's properly clean.ClarkPB said:
I've heard of them yes 
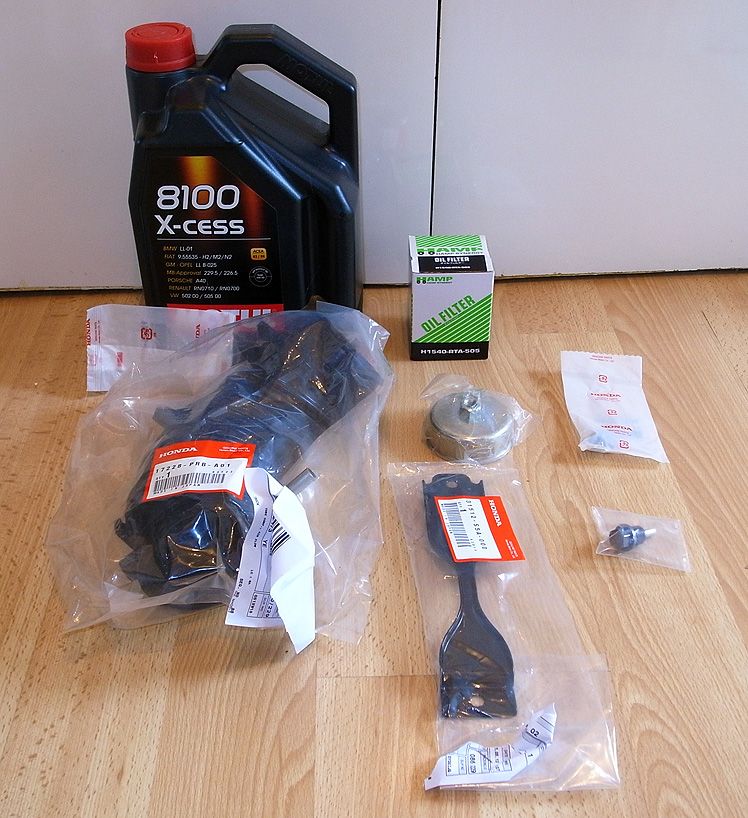
Cheers fellas, will bear in mind for next time.Bit of an update. Bought a few service bits for the car, and a few small parts to replace also. Wanted to change the oil, fit a new filter, fit a magnetic sump plug, and swap out my intake pipe as it was splitting (although not as bad as I thought) and fit a new OEM battery tie and bolts. I removed the old one previously and sanded it and painted it but wasn't happy with the finish.
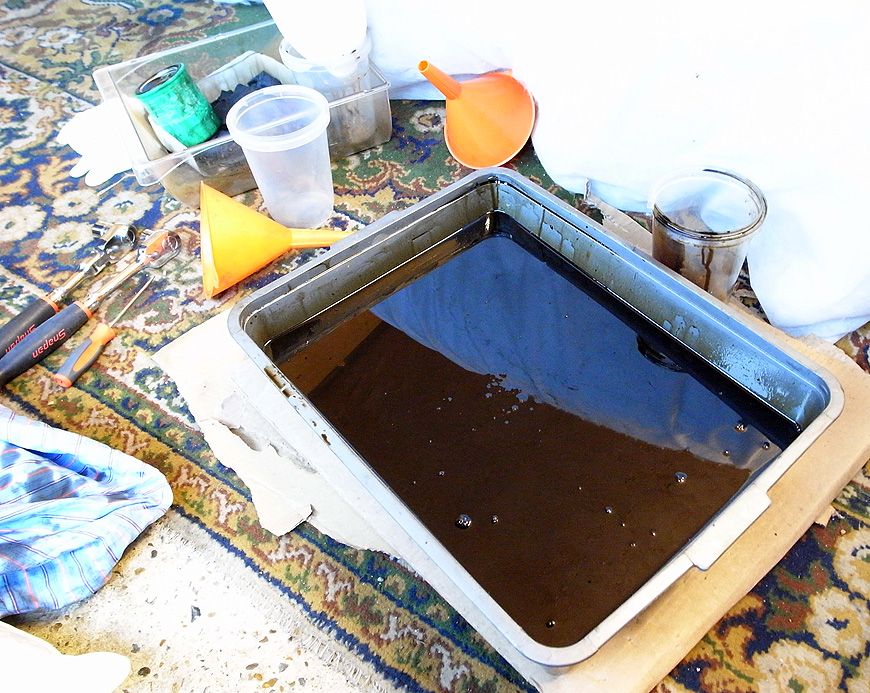
Had a go at this today. In between being talked to by all the neighbors (some old people crashed into the building I live in and nearly took the entire lot down but that's another story) and the rain, I managed to get it all done. Absolute SH*TTY day today, and it started to rain literally as soon as I had undone the sump plug!
Not too bad a job, although getting to the filter and taking it off without it pouring all over the CV and the sub frame was nigh on impossible, and this turned out to be an arse so had to degrease it all and clean it down afterwards. I had thought of a cunning method to cut an old container and scooch it in under the filter but the space was too tight so I just undid it and hoped for the best - oil everywhere haha...still, got it all cleaned up and the new one fitted no problem.
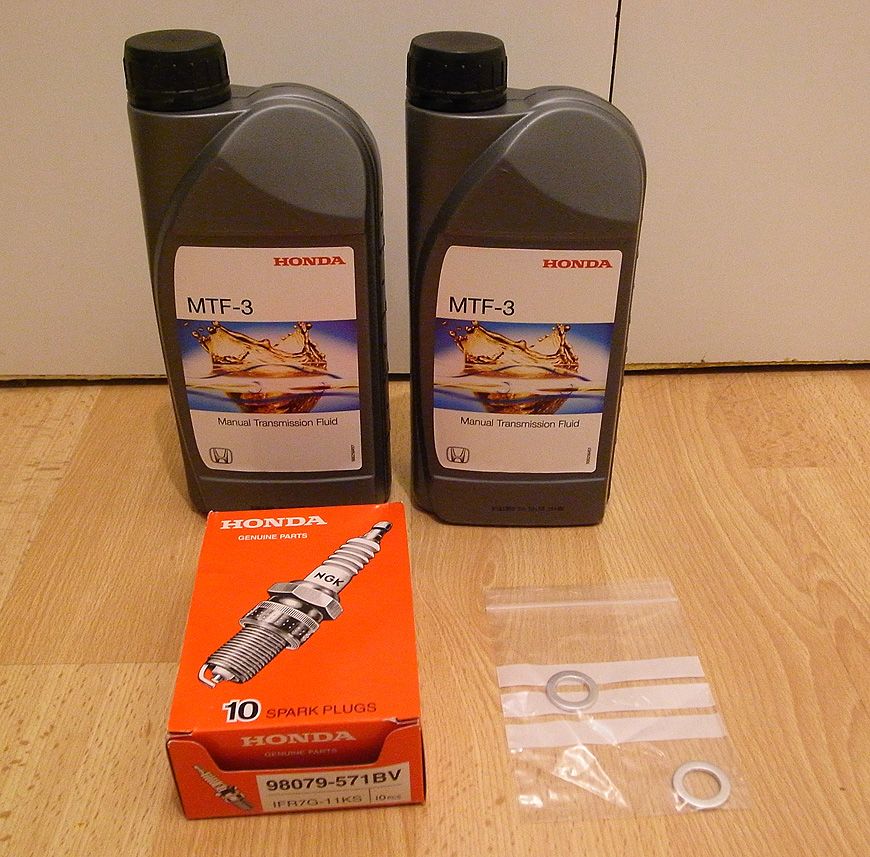
Also changed the battery tie down and intake pipe, however, the intake pipe wasnt' really that split but it would have gone eventually so I guess it needed to be changed. Gearbox oil should be quite fresh as the previous owner told me he changed it when the new clutch was fitted. Next month I will fit new OEM Honda Spark Plugs and also swap out the cabin pollen filters. Also my new Yokohama AD08 tyres should arrive end of the month so looking forward to getting those fitted and sticking to the road a bit better!
Here are the shots anyway from the days work:
Parts:
Oil defo needed a change - look at this gloopy muck!
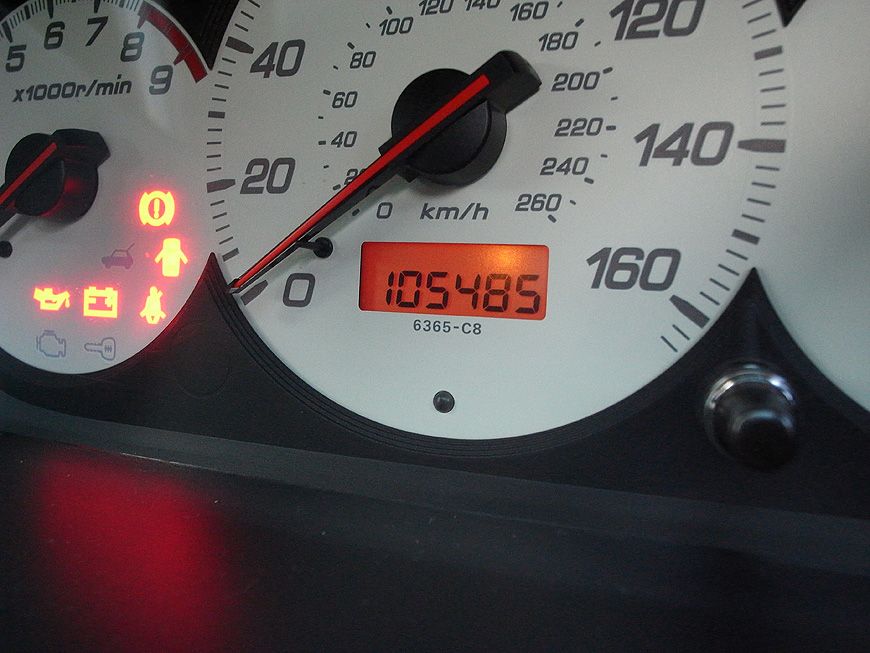
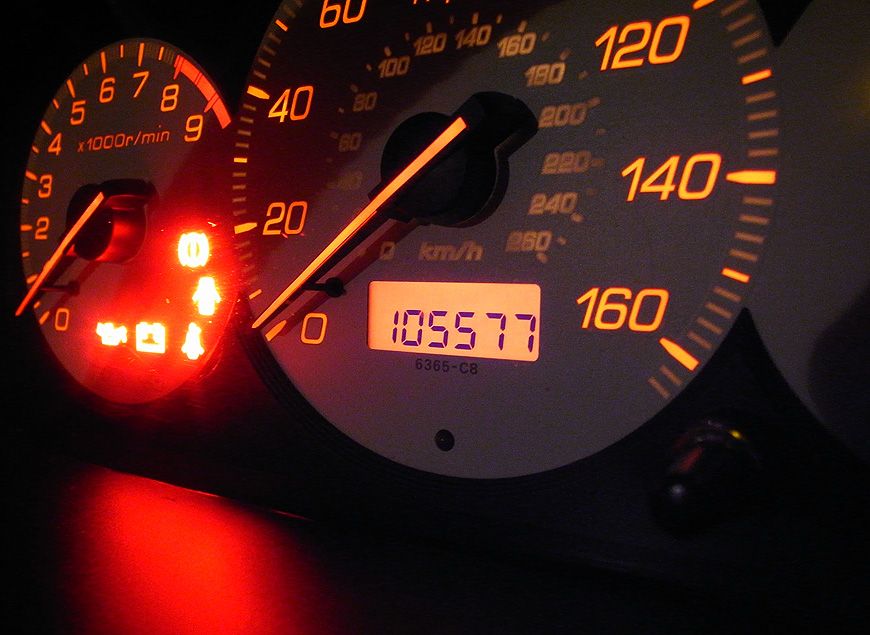
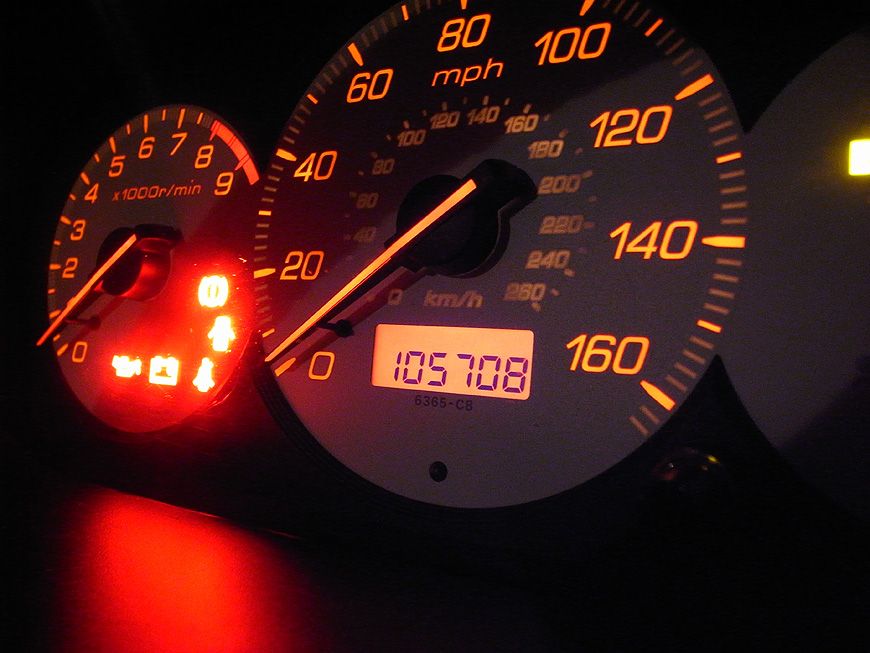
Mileage at this oil change - want to record this for whenever (if) I decide to sell so any prospective new owner can see that it's been well maintained:
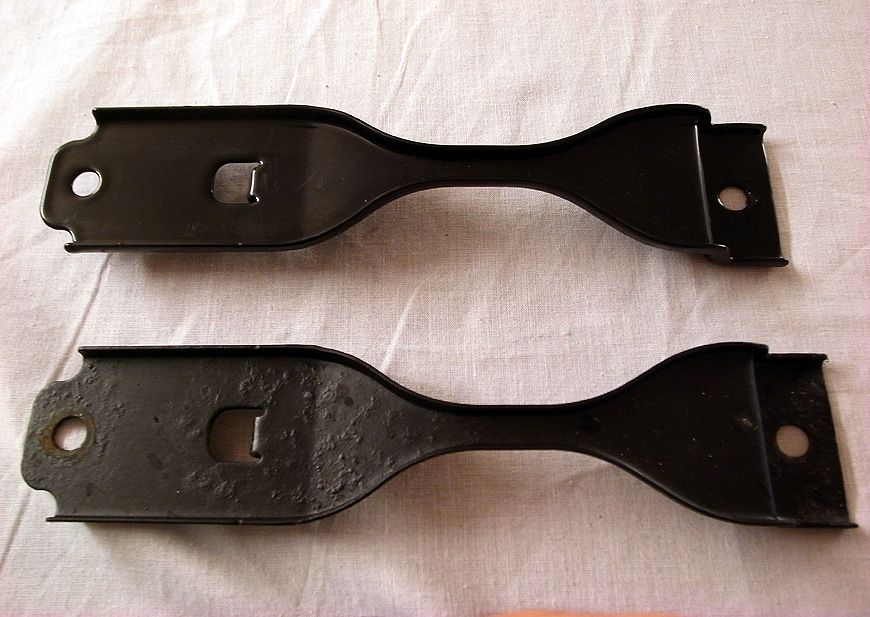
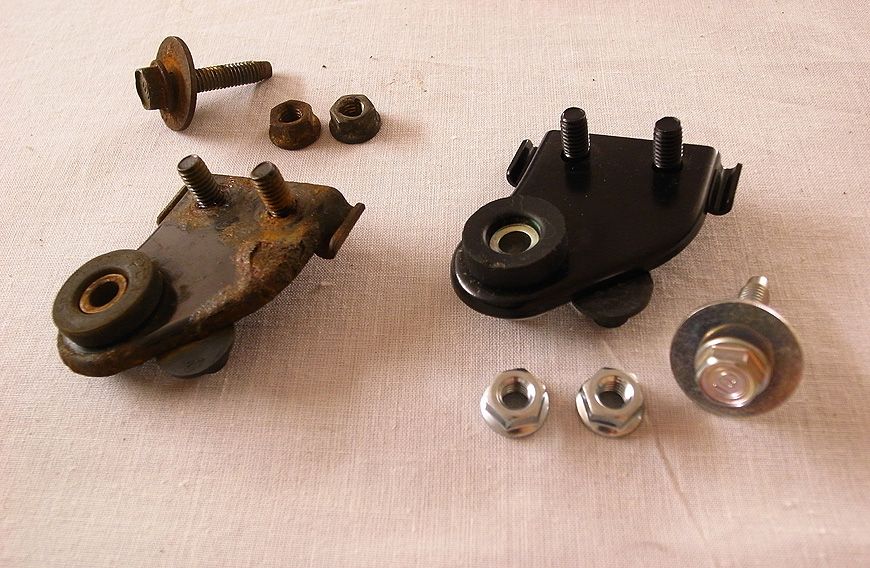
Old battery tie down plate:
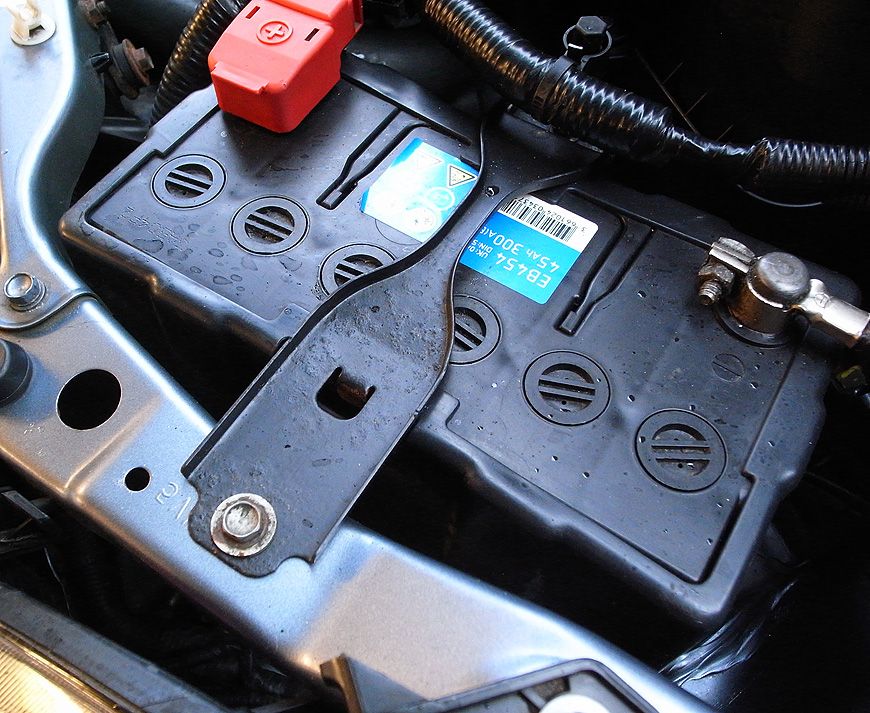
Old vrs new:

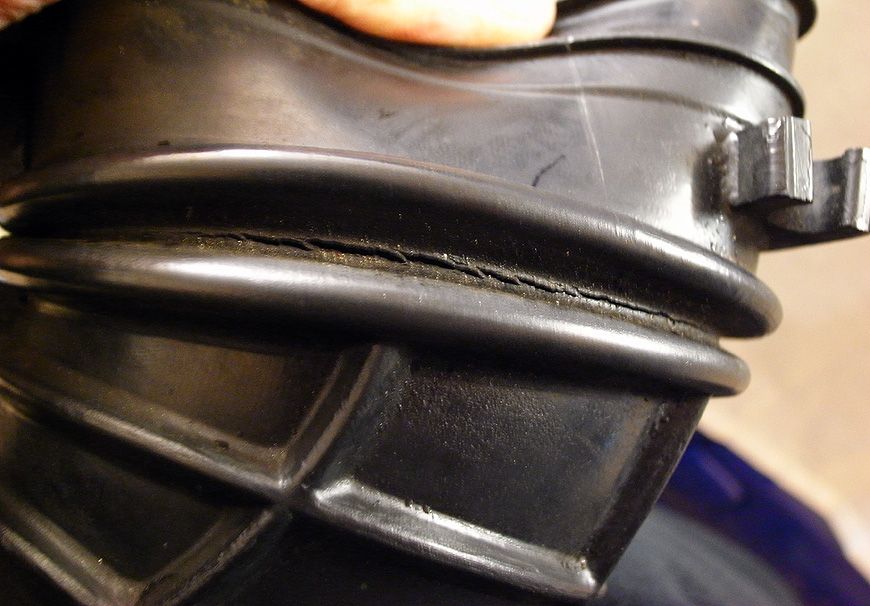
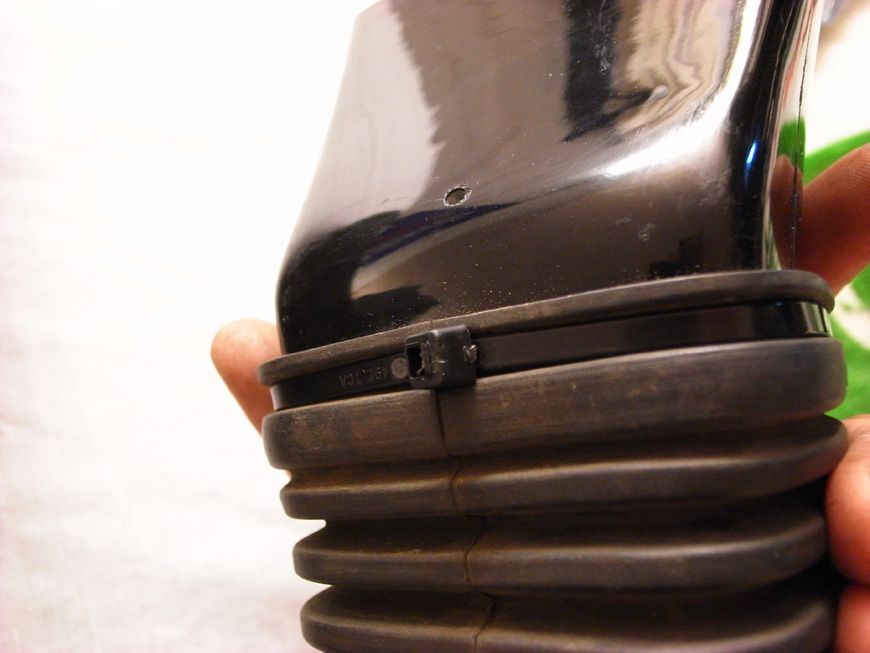
Old vrs new intake pipe:
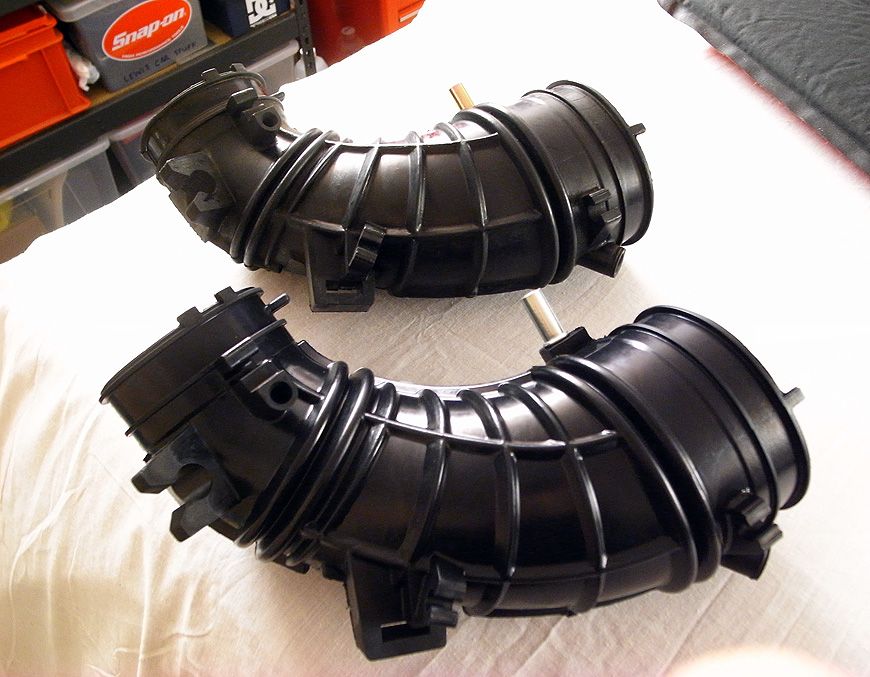
Split in the old pipe:
That's it for now. Will get some more photo's once the weather improves and the light is there (got dark again too early - I hate the winter!)
Lewis
A few more updates tonight. I have been carrying out a major service on it, and managed to do the oil at the weekend as you saw above. Also bought myself some OEM sparks plugs from Cox Motorsport Parts and Gearbox oil. Changed out the plugs tonight, and will do the Gearbox oil at the weekend. Also ordered a magnetic Gearbox plug from Tegiwa so hopefully that arrives tomorrow in time for Saturday.
Pics as follows:
Parts:
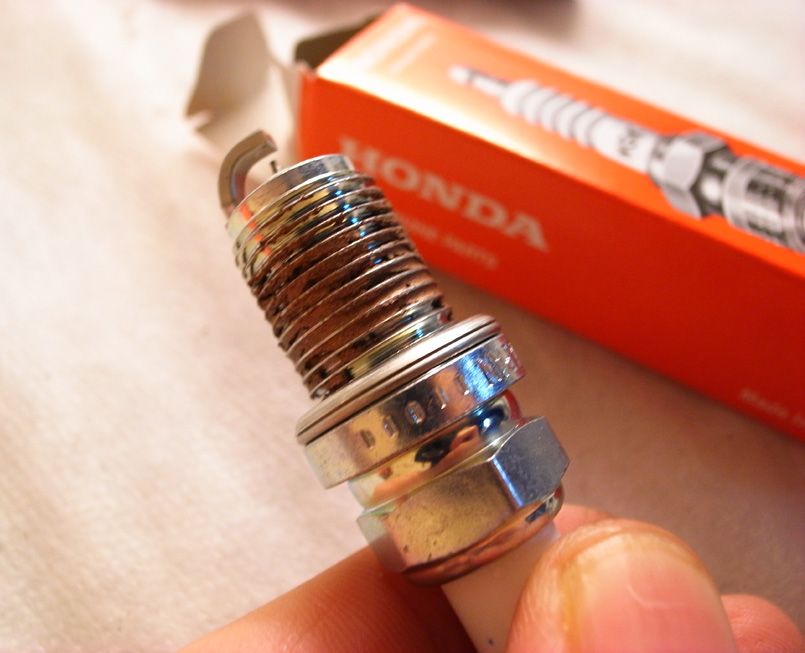
Close up of the Plug:

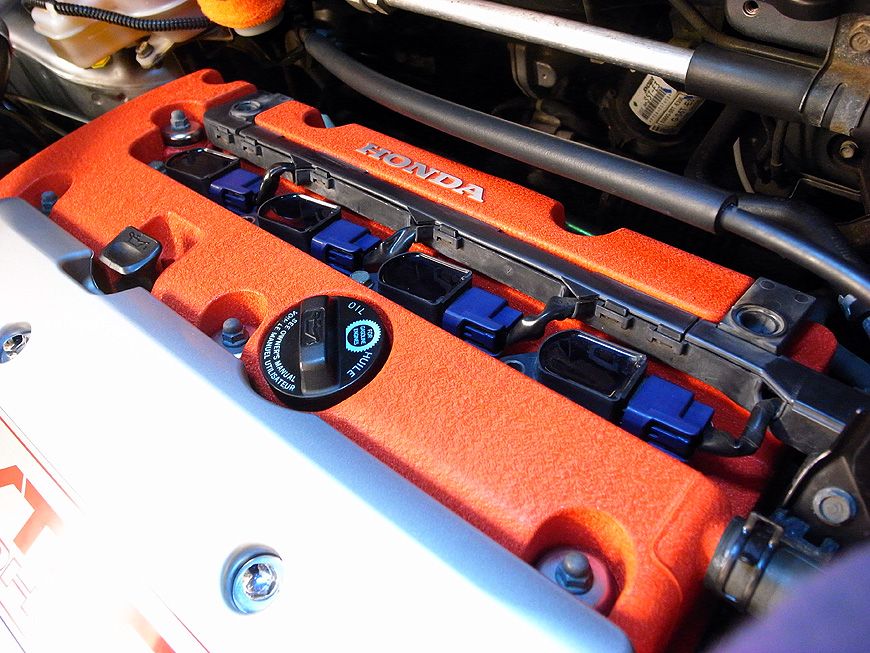
Getting started on removal of the old ones:
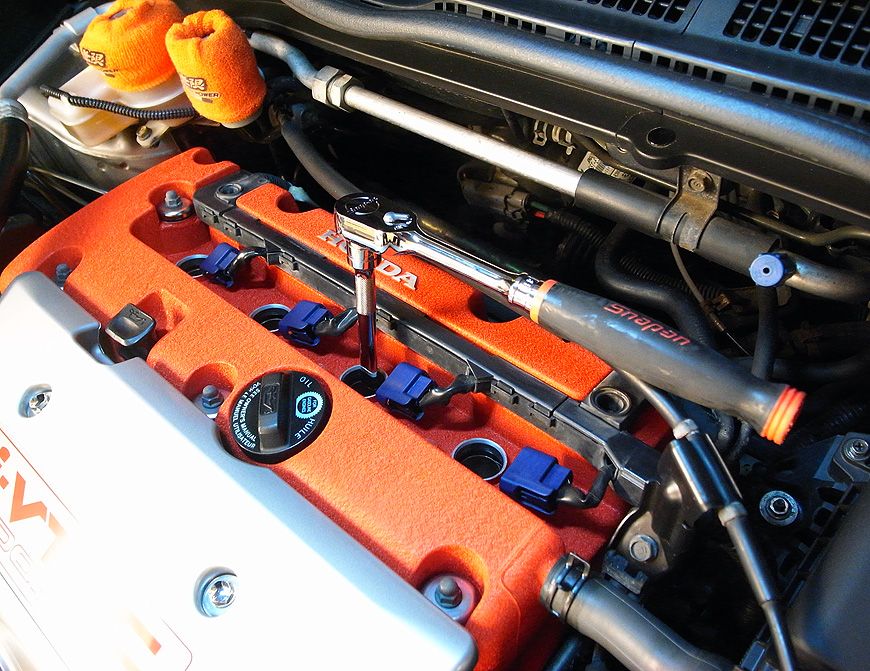
Mans gotta have the right tools for the job!
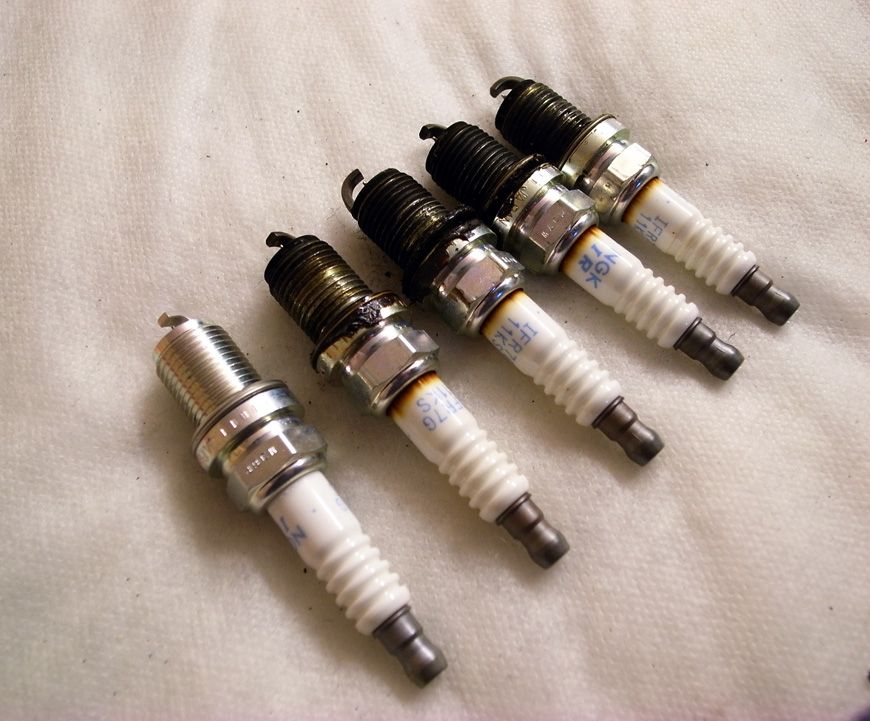
Old vs New - as you can see the old ones were haggard and definitely needed changing!
New one with some Loctite Copper Grease to be applied to the thread before fitment:
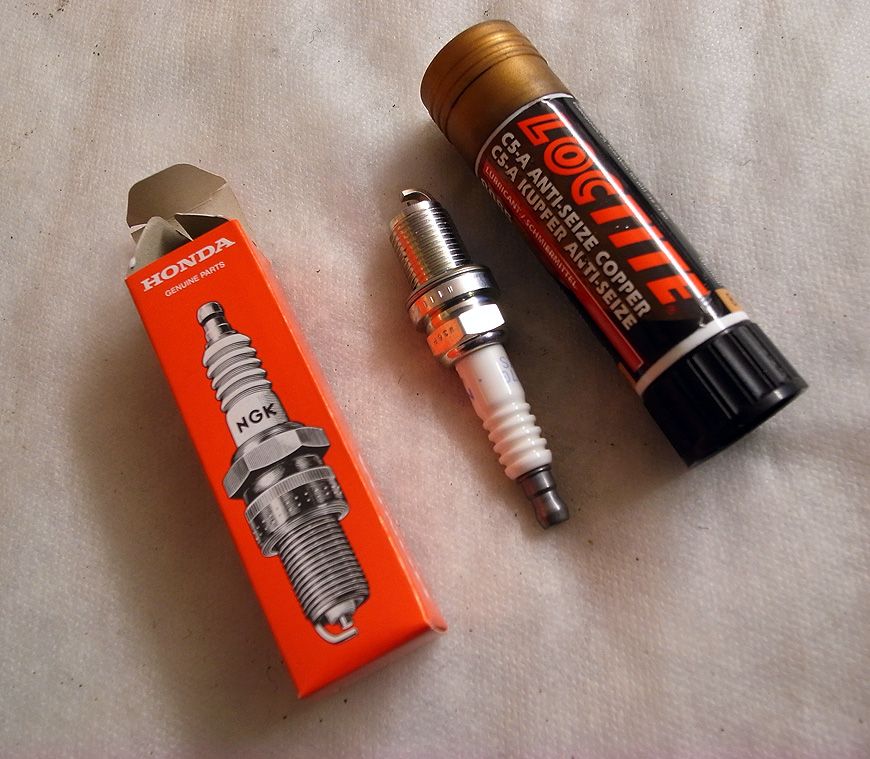
Copper grease applied and ready to be fitted. Hand tight first of all:
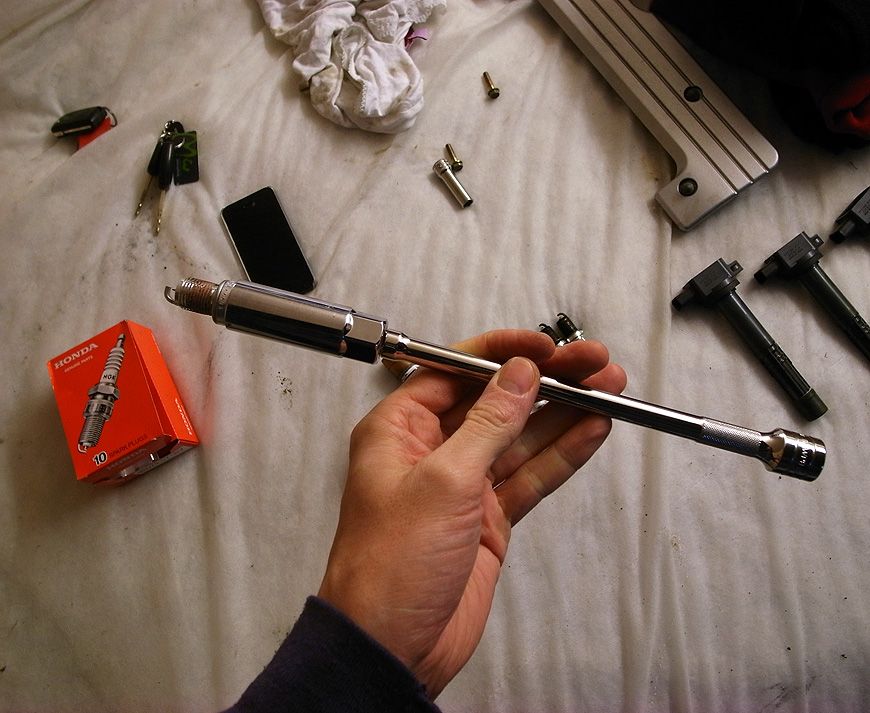
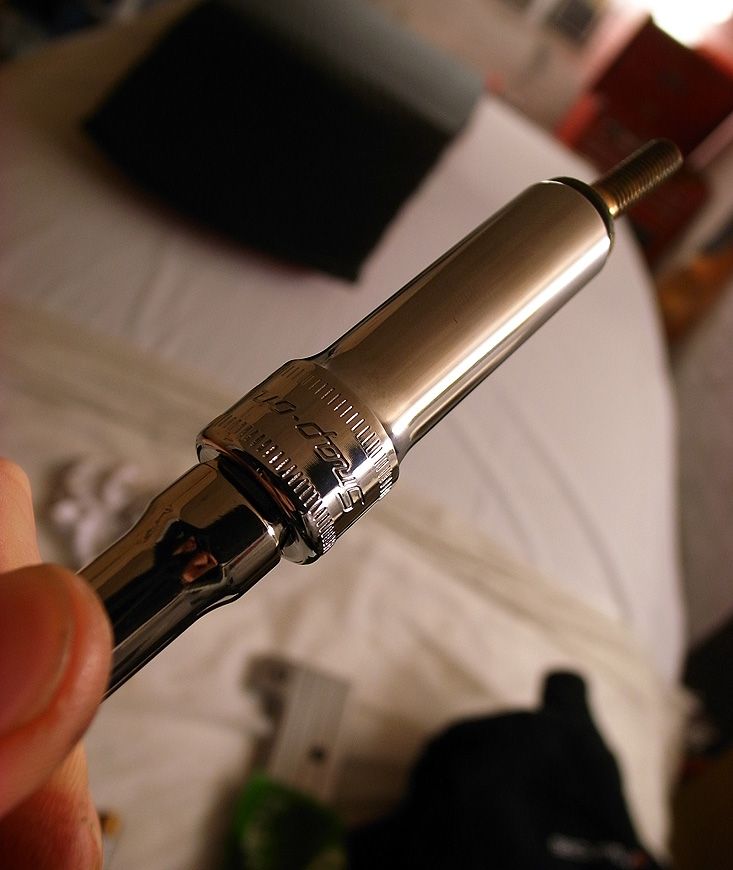
Halfords Spark Plug Socket and Snap On extension bar - essential for getting down the the depth of where the plug screws in. And no that is not a pair of the wifes dirty knickers in the background!:
Hand tight first. No big watches here, just an old man hand on a young mans body! :mrgreen:
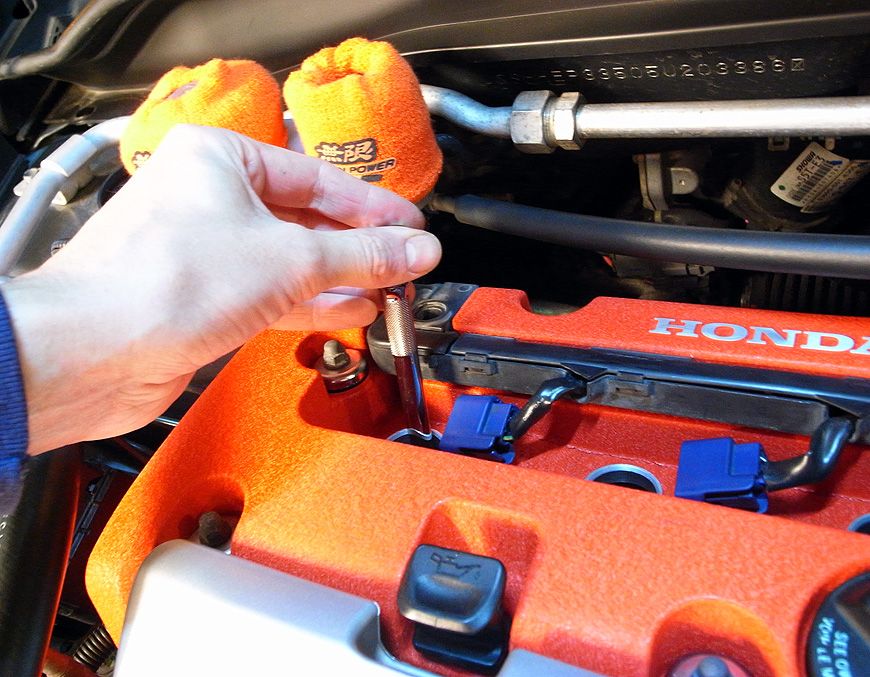
Once that was done I just nipped them up tight with the Rachet - job done. Then refitted the coil cover bolts.
When only the best will do:
Mileage at the this service interval:
Will get some OEM pollen filters finally, around the end of the month and fit them, that will be her service complete then.
Hopefully my Yokohama AD08's will arrive too - I am really looking forward to getting those!![/img]
Will get some OEM pollen filters finally, around the end of the month and fit them, that will be her service complete then.
Hopefully my Yokohama AD08's will arrive too - I am really looking forward to getting those!!
Starting to make some progress on it now, hope you like it.
Lewis
Pics as follows:
Parts:
Close up of the Plug:
Getting started on removal of the old ones:
Mans gotta have the right tools for the job!
Old vs New - as you can see the old ones were haggard and definitely needed changing!
New one with some Loctite Copper Grease to be applied to the thread before fitment:
Copper grease applied and ready to be fitted. Hand tight first of all:
Halfords Spark Plug Socket and Snap On extension bar - essential for getting down the the depth of where the plug screws in. And no that is not a pair of the wifes dirty knickers in the background!:
Hand tight first. No big watches here, just an old man hand on a young mans body! :mrgreen:
Once that was done I just nipped them up tight with the Rachet - job done. Then refitted the coil cover bolts.
When only the best will do:
Mileage at the this service interval:
Will get some OEM pollen filters finally, around the end of the month and fit them, that will be her service complete then.
Hopefully my Yokohama AD08's will arrive too - I am really looking forward to getting those!![/img]
Will get some OEM pollen filters finally, around the end of the month and fit them, that will be her service complete then.
Hopefully my Yokohama AD08's will arrive too - I am really looking forward to getting those!!
Starting to make some progress on it now, hope you like it.
Lewis
Thanks guys
Yes, it took me a while to find this one, and while it wasn't amazingly well cared for, it was hella better than all the other examples I looked at. I have put some money into it to be fair, but I like my cars and happen to be very particular, so when things aren't right with them it bugs me and I have to sort it.
Eventually I would like to get the wheels refurbed too. They are pretty good overall but I want them perfect. Also a few dings to sort, but as it's my daily I will leave those until last as the colour hides them well, and it's impossible to keep a daily driver mint due to all the idiots who have no consideration for anyone elses motor!
liner33 said:
One little question . Why Honda boxed spark plugs and then a pattern oil filter ?
No particular reason really. The HAMP ones are Honda approved and there's little cost difference. I guess I could've bought a Honda one but didn't see the point. The HAMP one's are proven to be as good as the Honda ones, if not better. Whereas with Spark plugs I wanted the exact item specified by Honda.Edited by Track_Cit on Monday 13th January 16:16
liner33 said:
It's impossible to boil clutch fluid , well unless the car is on fire
They have a pseudo purpose but are bling really
It's more for spills when topping up the fluid. My last Cam Cover had loads of marks on it from fluid, and after paying £70 to refurb the current one I didn't want the same thing happening again They have a pseudo purpose but are bling really
Forgot to update this last weekend. Changed the gearbox oil, almost there with the full service now. Will change pollen filters at the end of the month then i'll be done.
Pics:
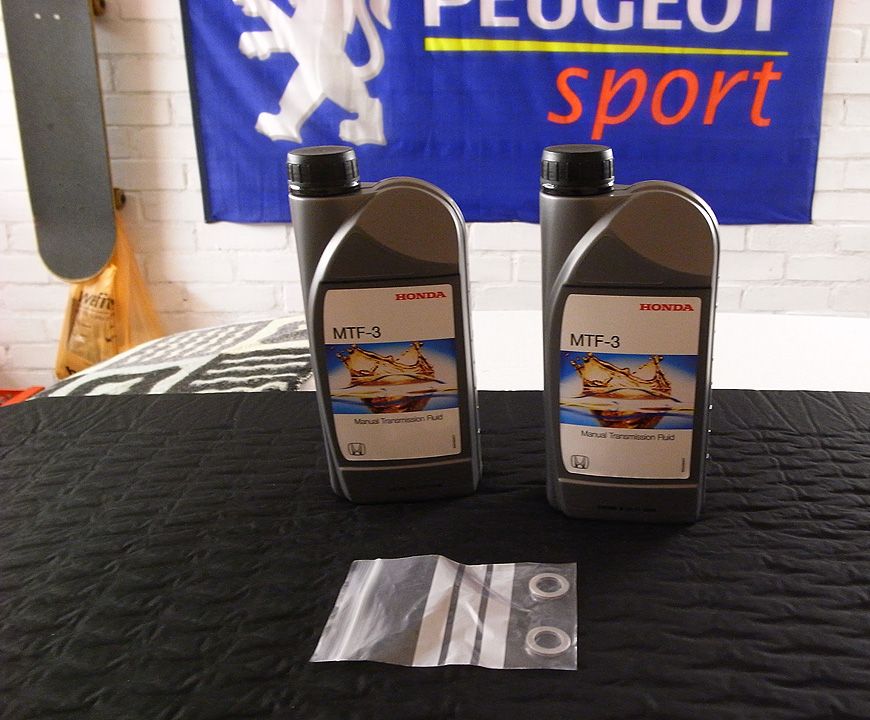
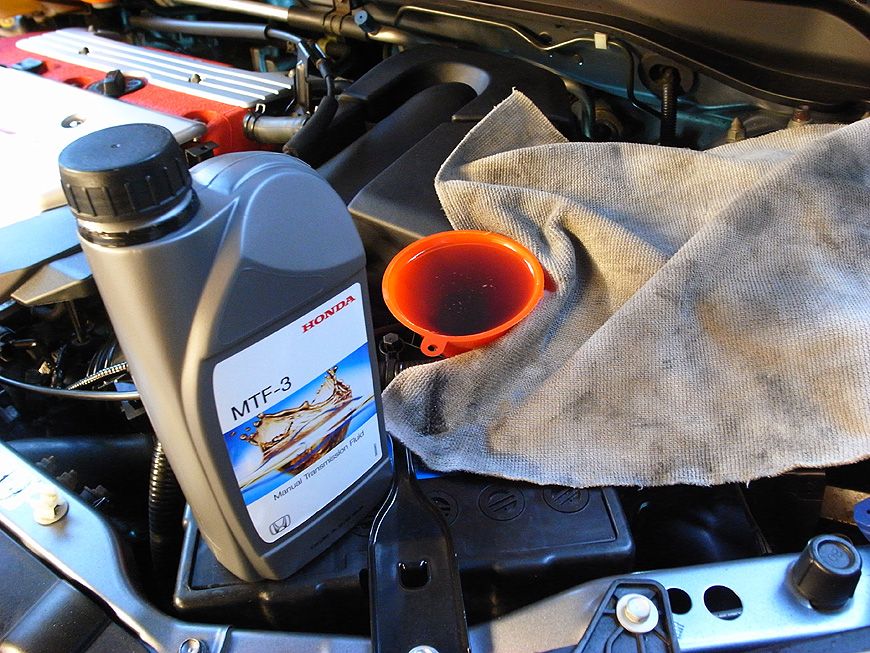
New oil and washers:
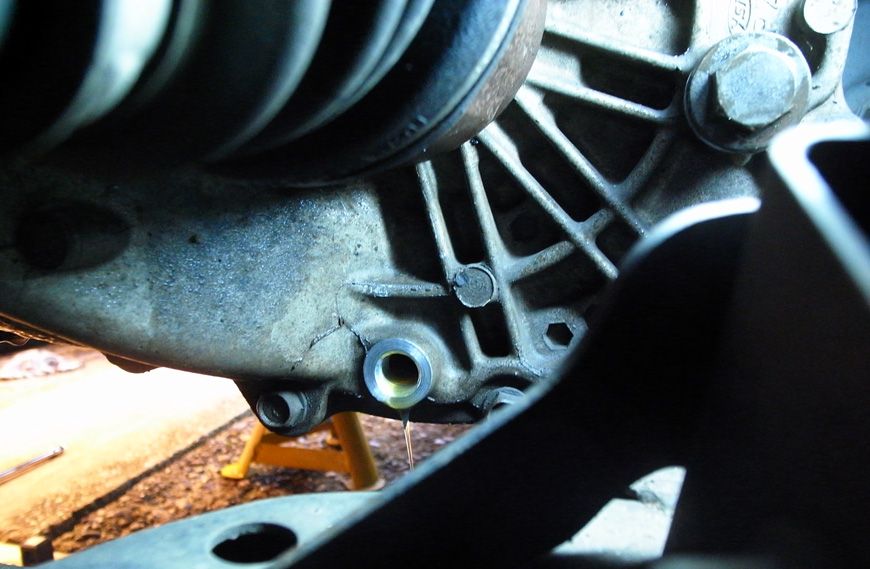
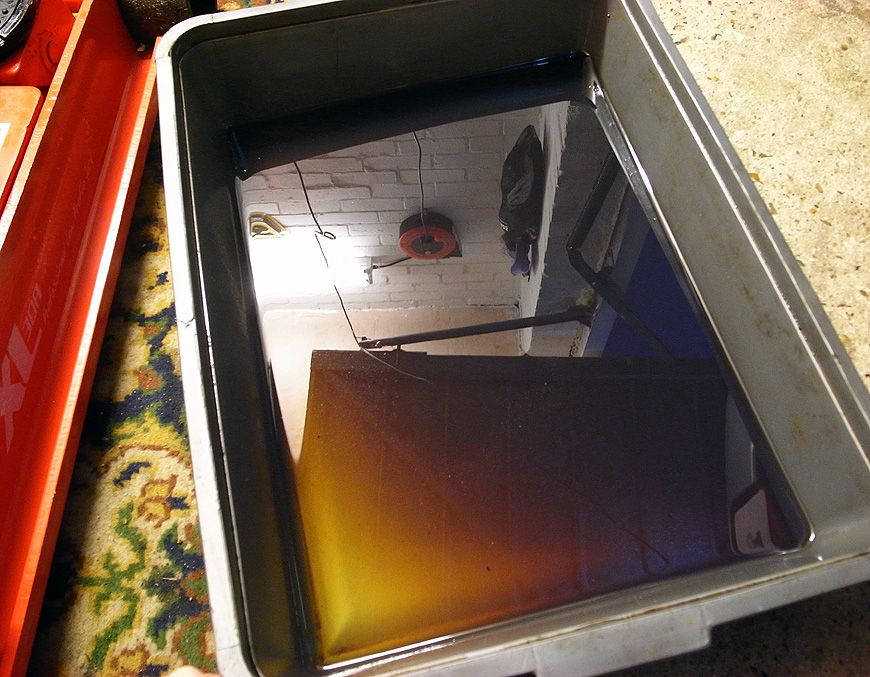
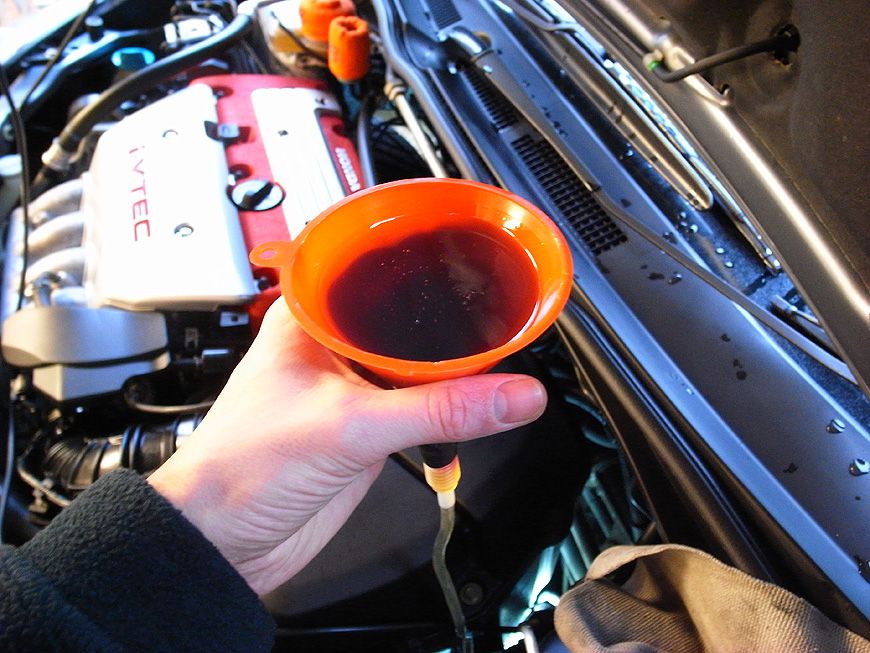
Emptying out the old oil. And no, that is not a crack in my gearbox casing it's just a molding mark!
Not too bad really. It was changed fairly recently when the clutch was changed, but wanted to be sure everything was spot on and Gearbox oil isn't particularly expensive:
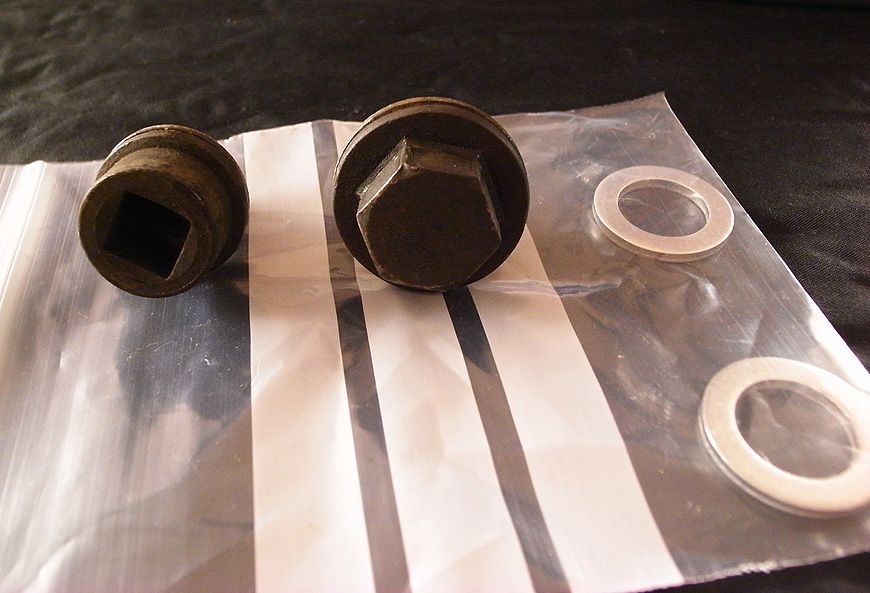
Old washers on the plugs removed, new ones in the bag. What Tegiwa didn't tell me is that the fill plug is a 20mm washer and the drain plug is a 14mm washer, so a useful tip to anyone changing out their oil!!
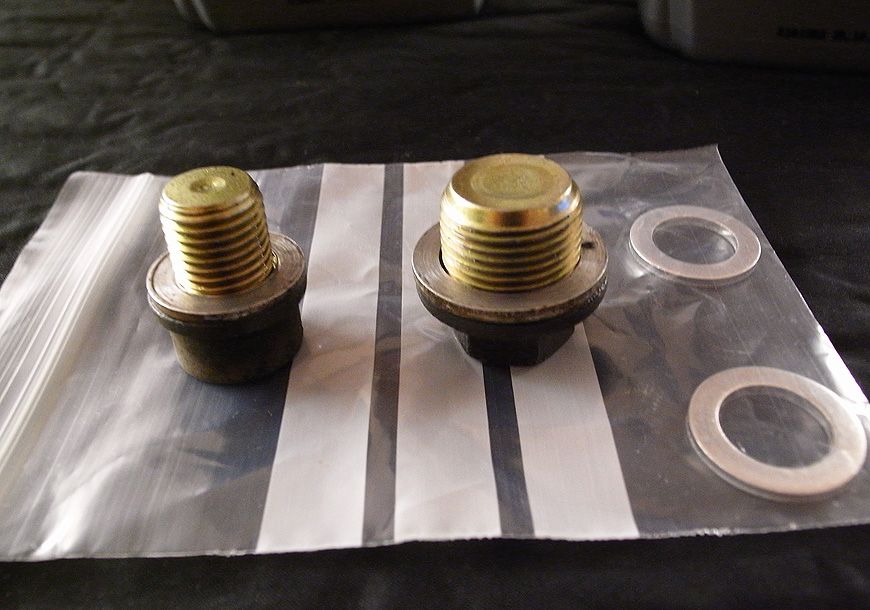
Fill plug on the right, drain plug on the left:
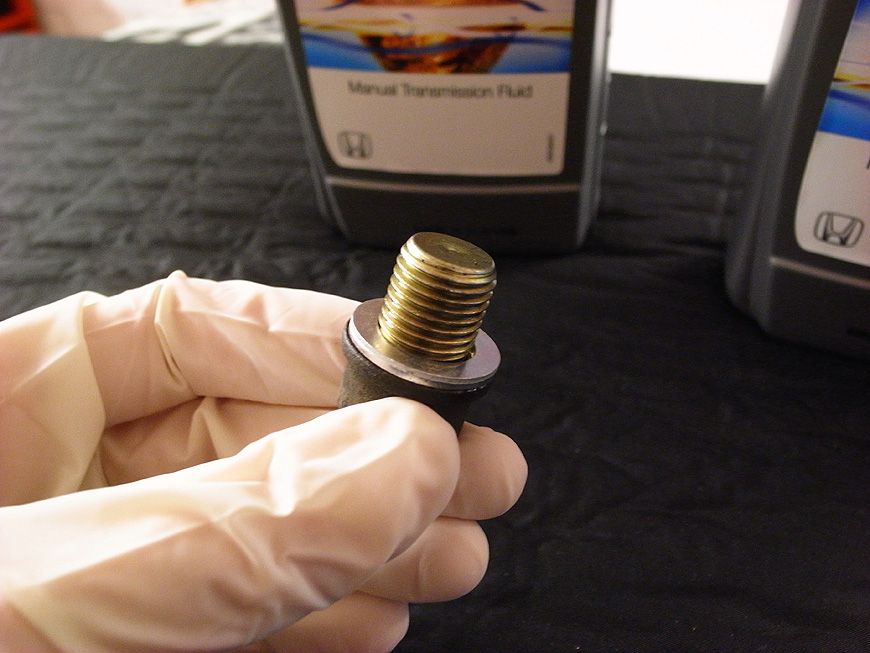
New washer in place. Popped the drain plug back in before filling with new oil:
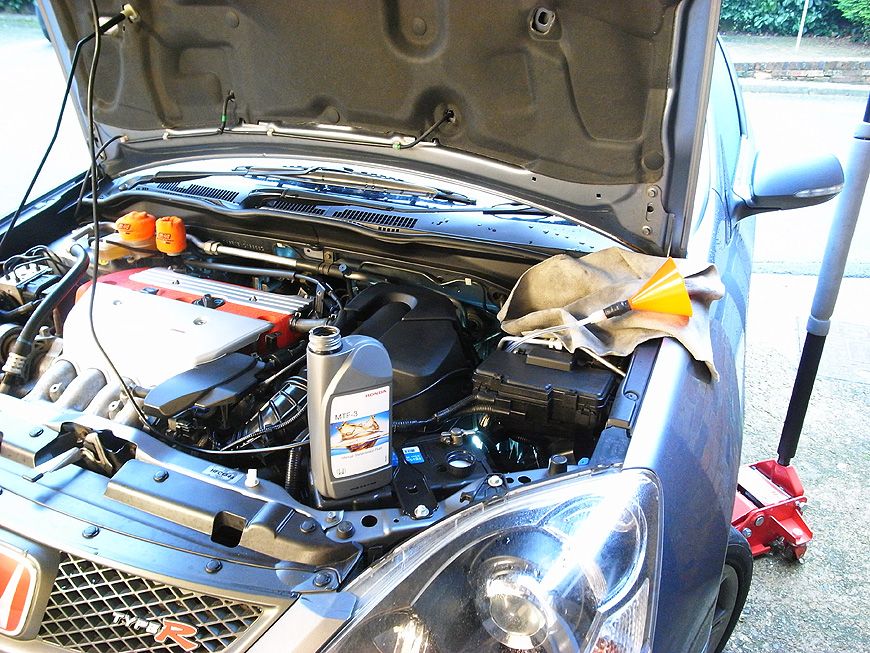
DIY device for pouring in the new gearbox oil:
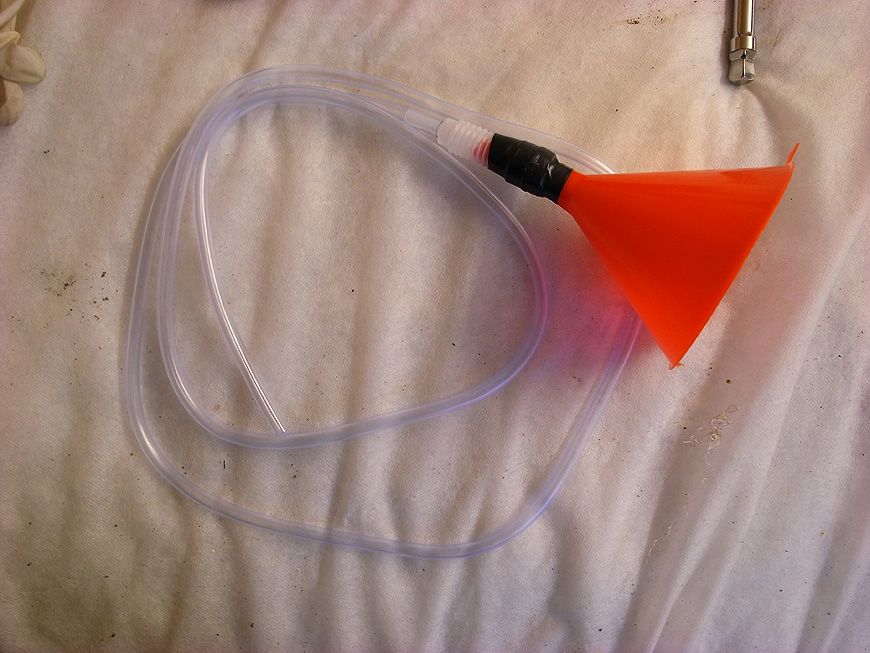
In action:
This took AGES as the oil flowed so slowly down the tube and into the transmission:
Going in:
Mileage at transmission oil change:
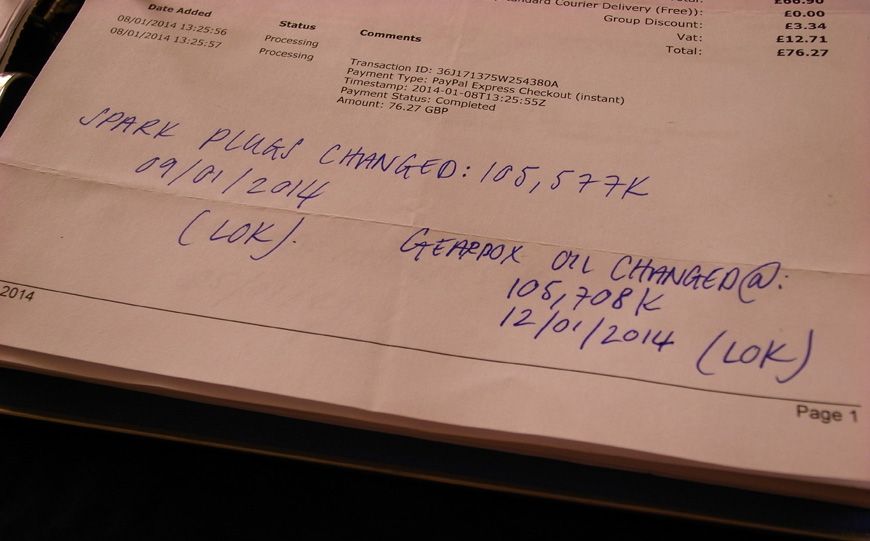
Paperwork updated for the folder:
That's all for now. Think my new Yoko's will arrive end of the month so they should be fitted soonish. Also pollen filters to be done as mentioned above. Also may get a new gearstick assembly as there is play in mine (the big white plastic ball that the shaft runs through), not a lot but it's something that I notice when driving and as changing gear is so pleasurable in this car I want it to be spot on. Will update as and when this lot gets sorted!
Lewis
Pics:
New oil and washers:
Emptying out the old oil. And no, that is not a crack in my gearbox casing it's just a molding mark!
Not too bad really. It was changed fairly recently when the clutch was changed, but wanted to be sure everything was spot on and Gearbox oil isn't particularly expensive:
Old washers on the plugs removed, new ones in the bag. What Tegiwa didn't tell me is that the fill plug is a 20mm washer and the drain plug is a 14mm washer, so a useful tip to anyone changing out their oil!!
Fill plug on the right, drain plug on the left:
New washer in place. Popped the drain plug back in before filling with new oil:
DIY device for pouring in the new gearbox oil:
In action:
This took AGES as the oil flowed so slowly down the tube and into the transmission:
Going in:
Mileage at transmission oil change:
Paperwork updated for the folder:
That's all for now. Think my new Yoko's will arrive end of the month so they should be fitted soonish. Also pollen filters to be done as mentioned above. Also may get a new gearstick assembly as there is play in mine (the big white plastic ball that the shaft runs through), not a lot but it's something that I notice when driving and as changing gear is so pleasurable in this car I want it to be spot on. Will update as and when this lot gets sorted!
Lewis
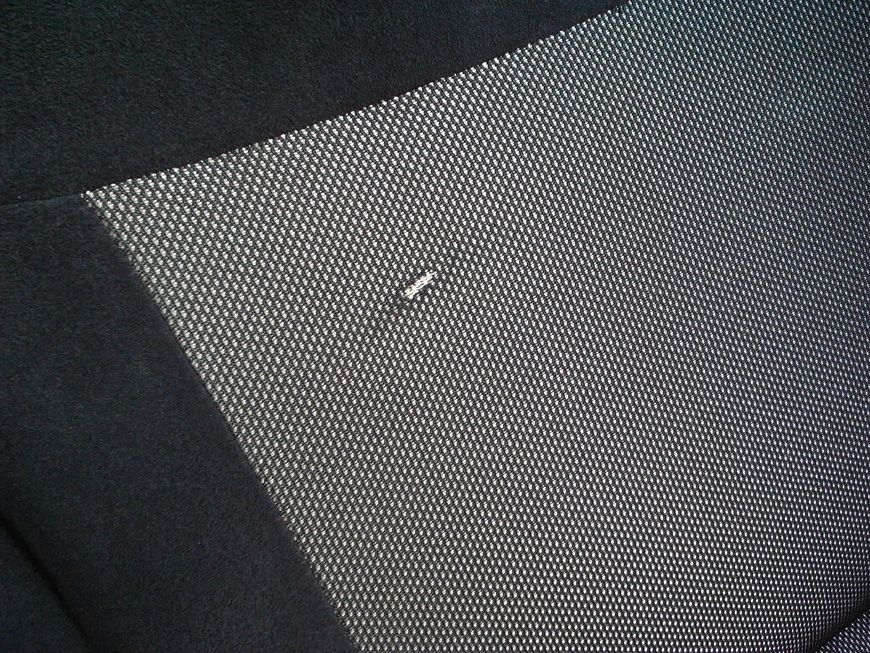
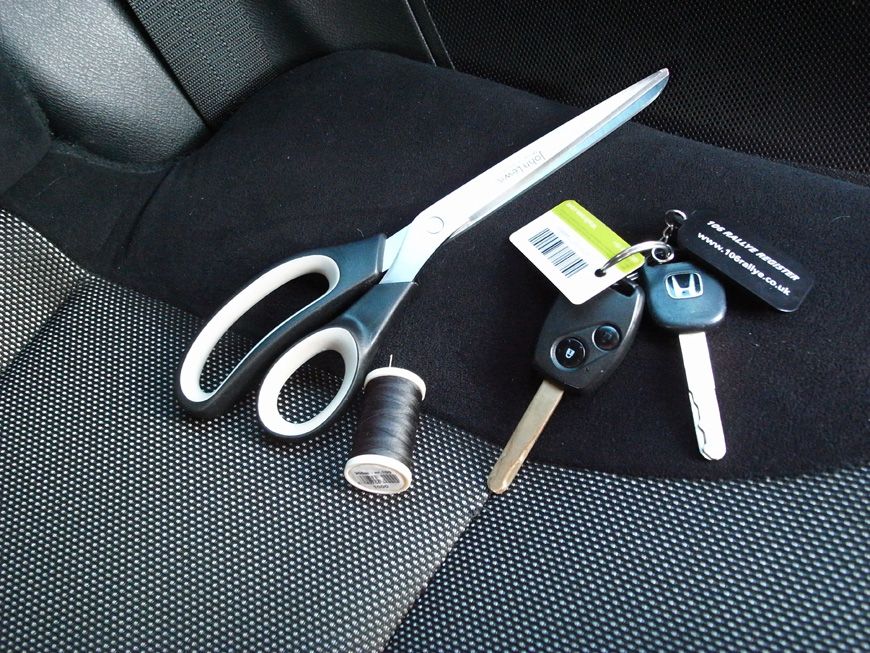
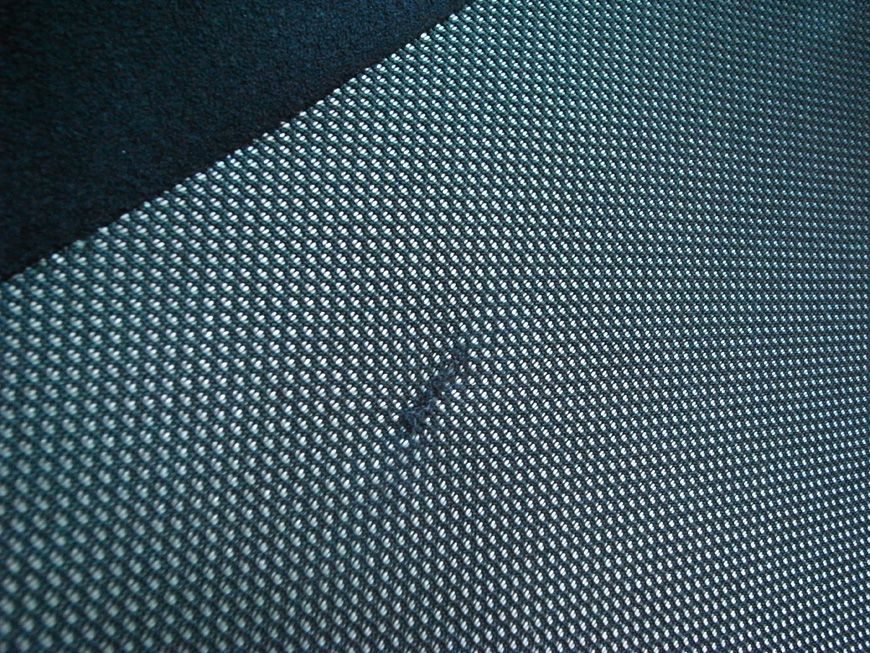
Few more updates today. I sorted a few small jobs that i'd been meaning to do for a while. I had a small tear in the rear seat which was bugging me, so I sewed it up. Doesn't look too bad now and it was cheaper than spending £50 on another bench!
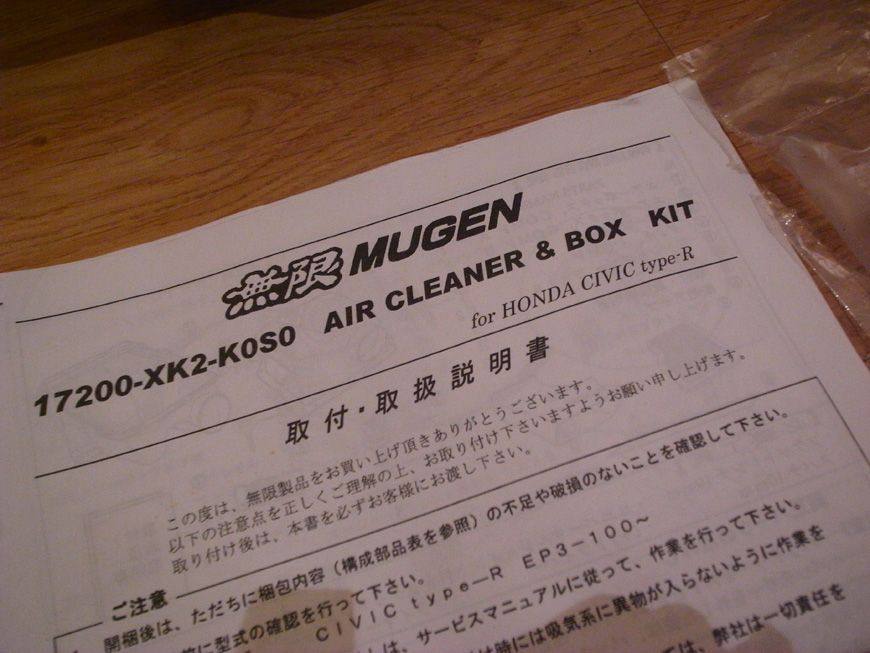
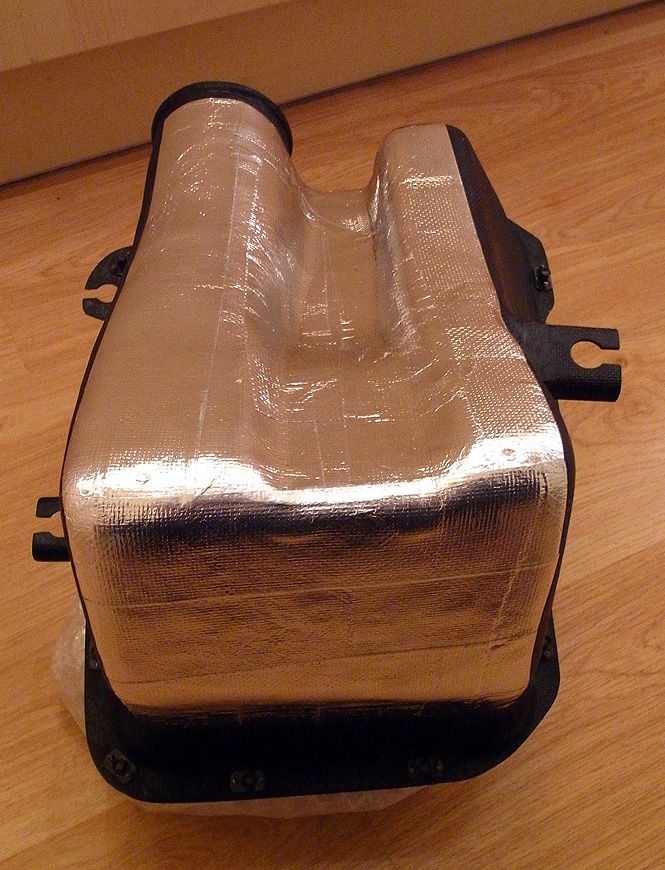
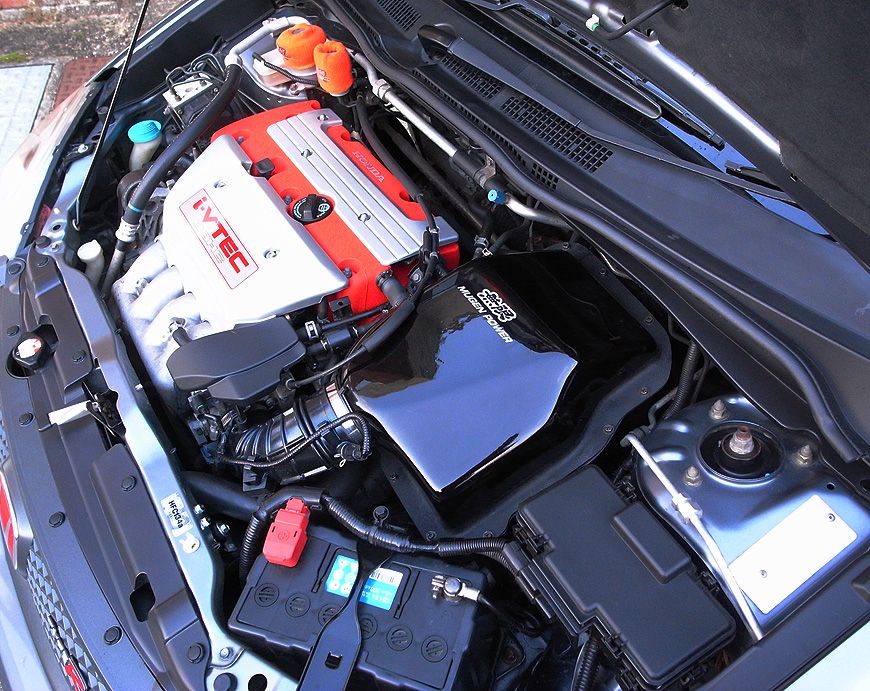
Also got a Mugen Airbox for a great price, and it's like new. So got that fitted. Feels a tiny bit different to the OEM box. Not sure if it's slightly less torquey (made up word), but it sounds great on VTEC and pulls well so I wll hold onto it for now. Just need a sticker for the top as the original one wasn't included in the kit. I also applied all the heat resistant foil tape to the underside and back. Did quite a neat job of it so pleased with that. I will take some photo's of it fitted in the bay and upload in a few days time.
And finally, got 4 new tyres, the new Yokohama AD08R's. Got them fitted last night and pretty pleased with them so far.
Pics as follows:
Seat tear:
Tools for the job!
All done:
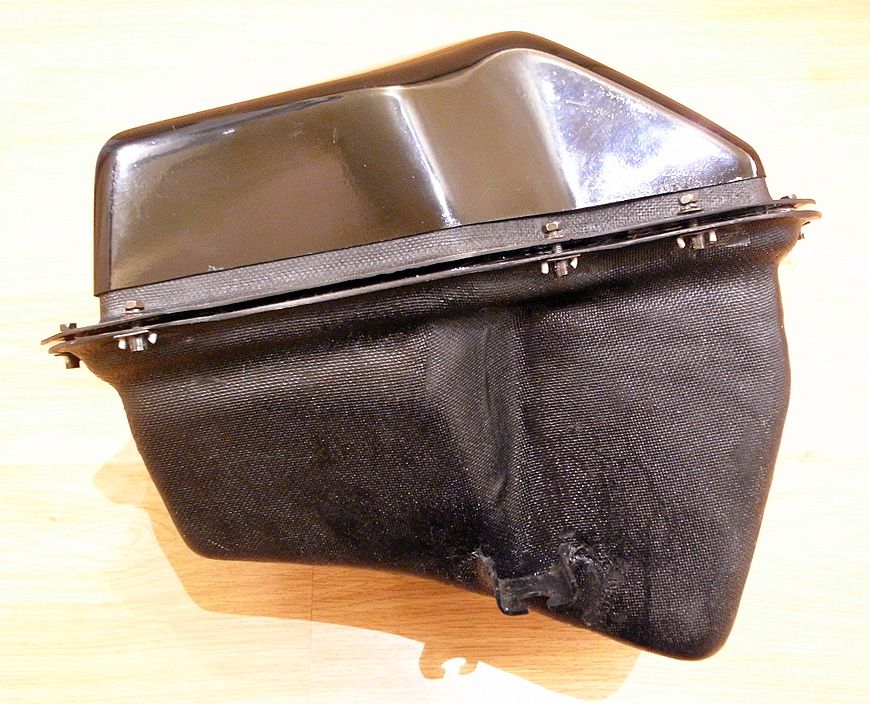
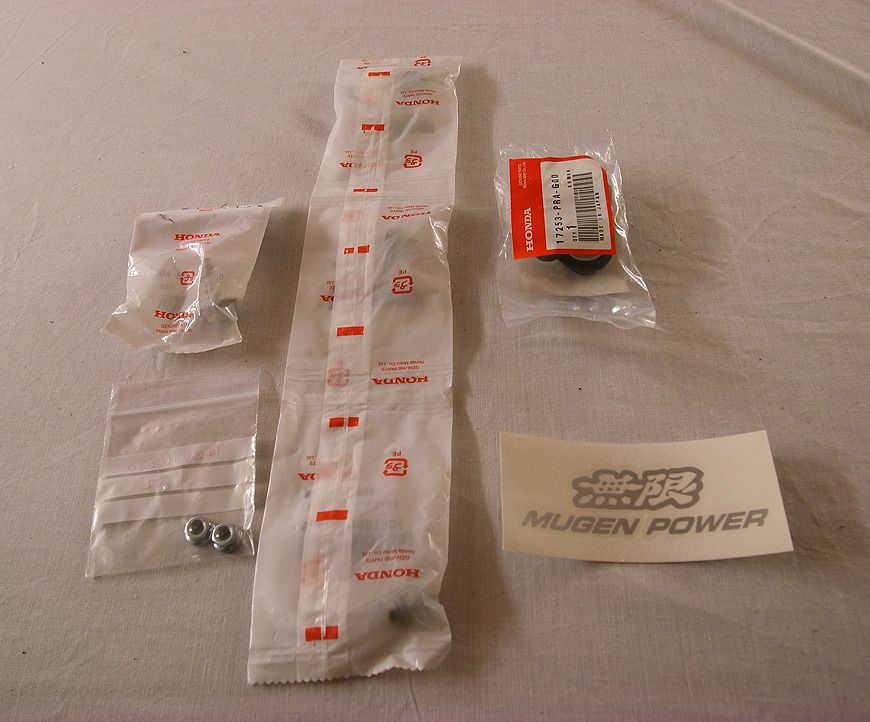
Mugen Airbox kit:
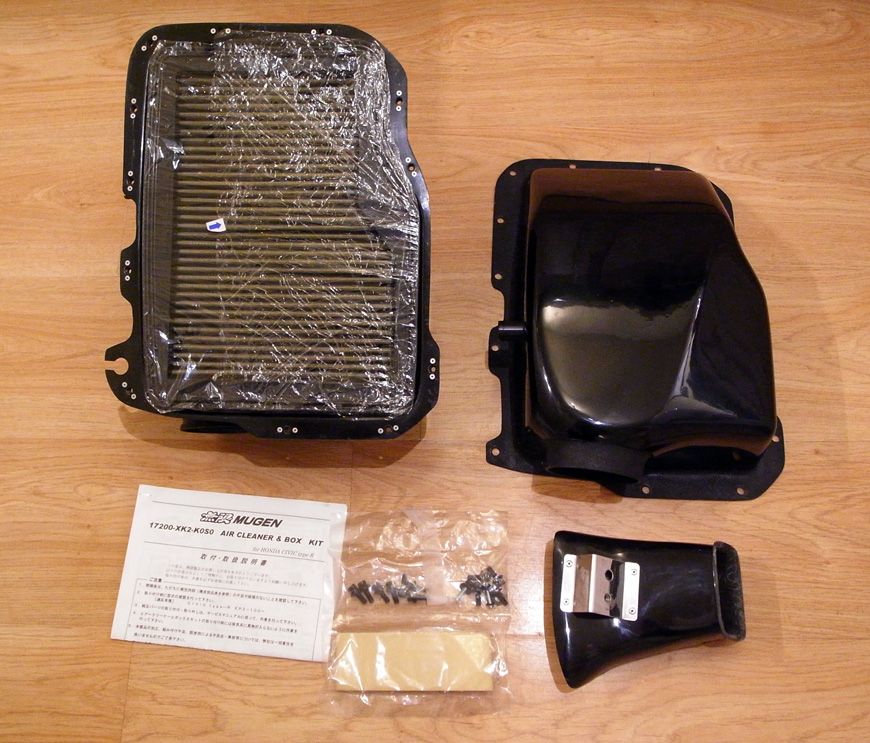
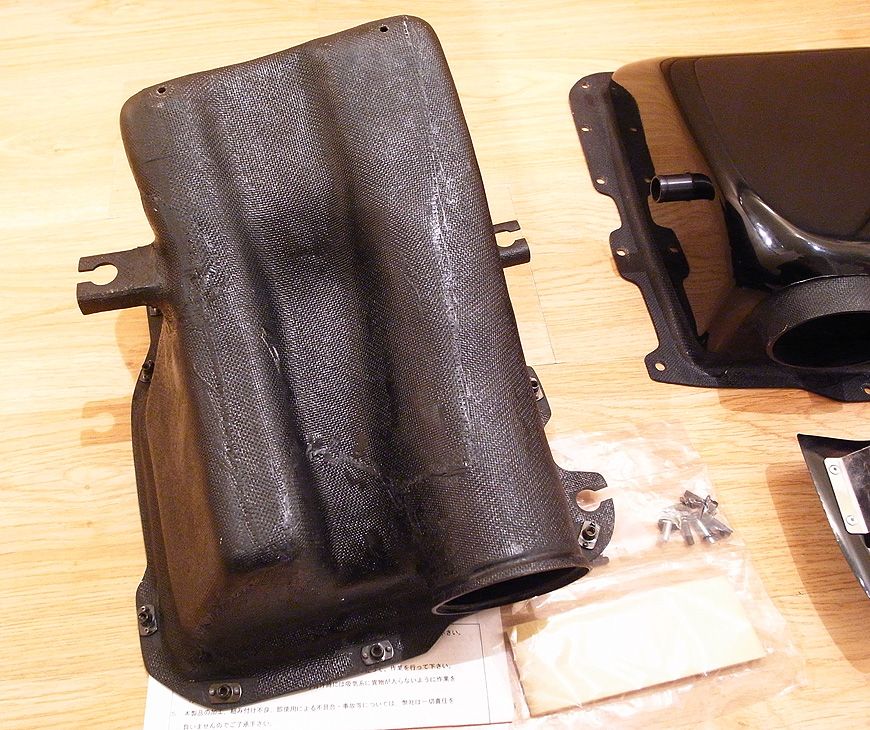
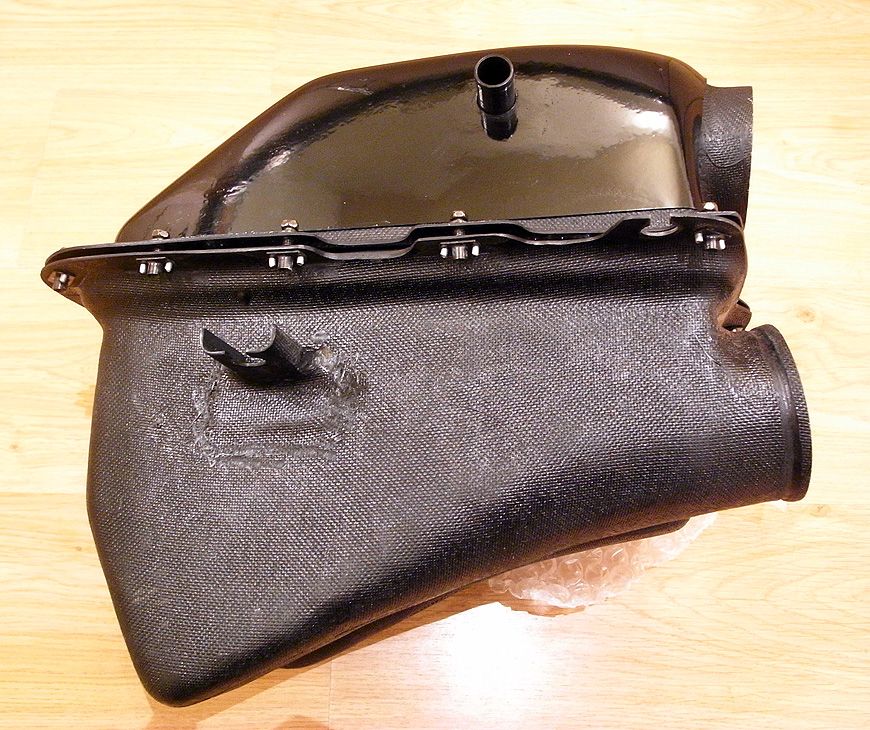
Foil tape applied:
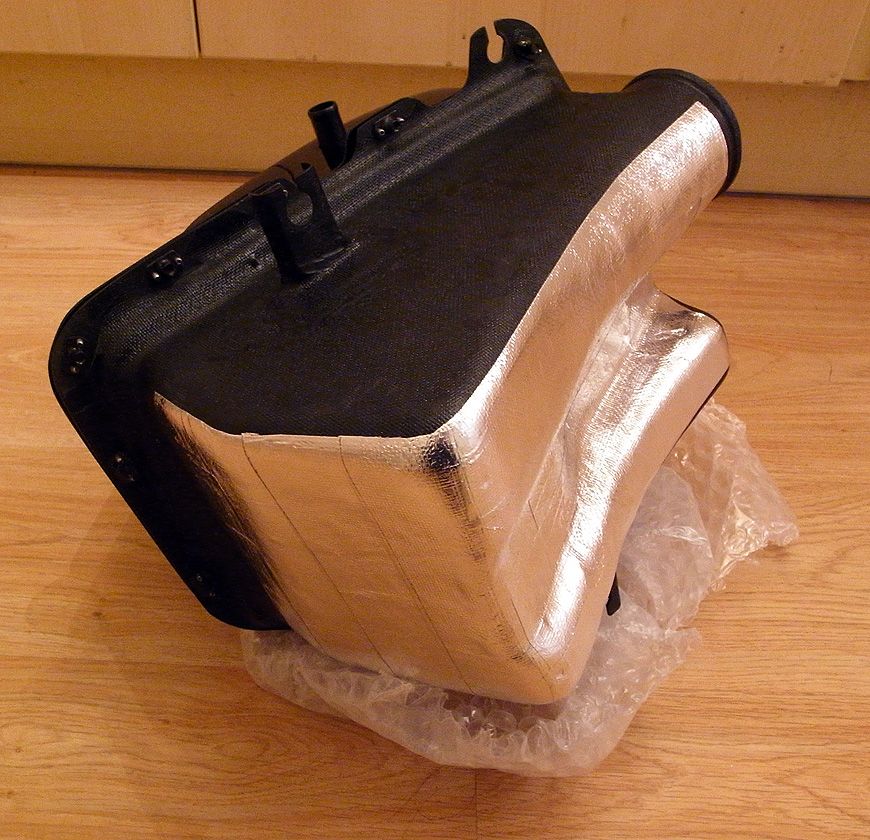
Only two pics of fitting it so far as it was getting dark. Fitted the scoop onto the lower intake hose and cable tied it on just to keep it super secure (it is already a very tight fit):
Trimmed nicely without any sharp edges left:
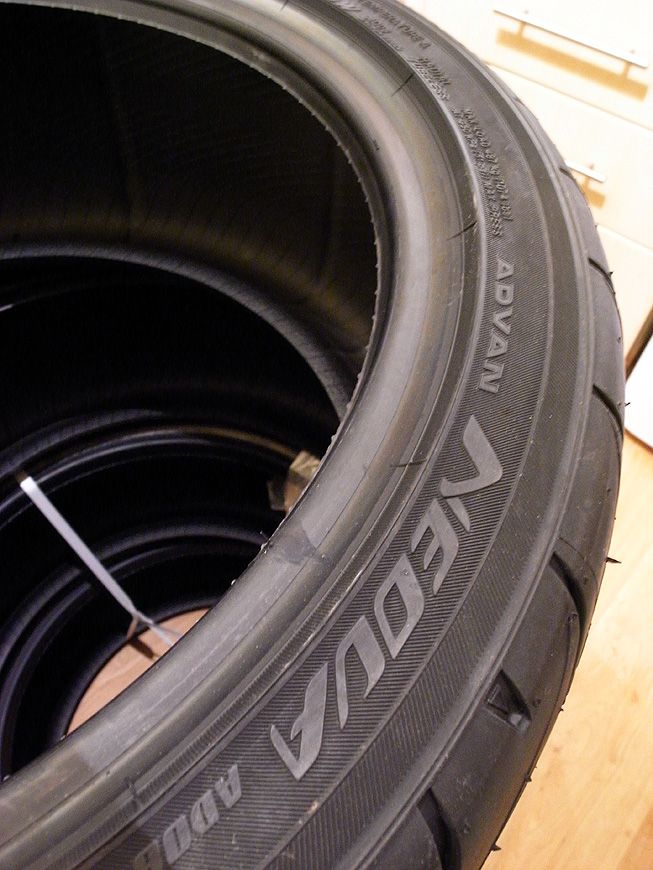
New Yokohama Tyres:
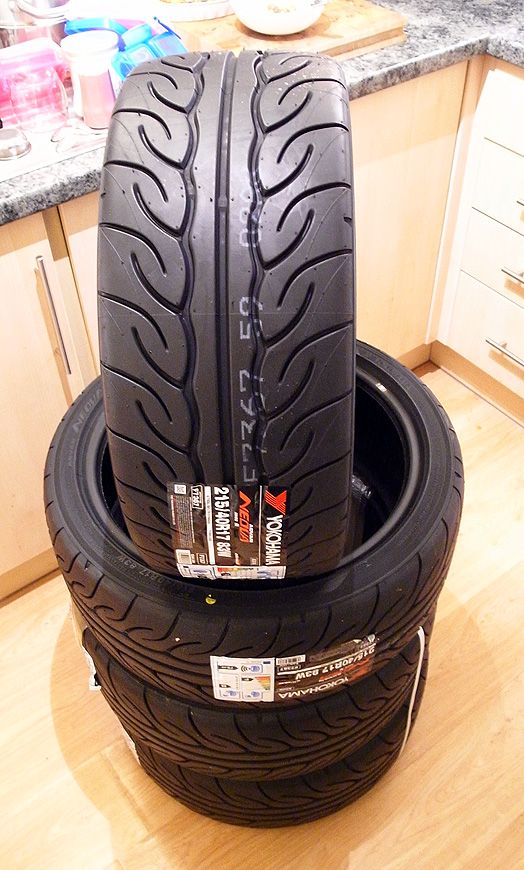
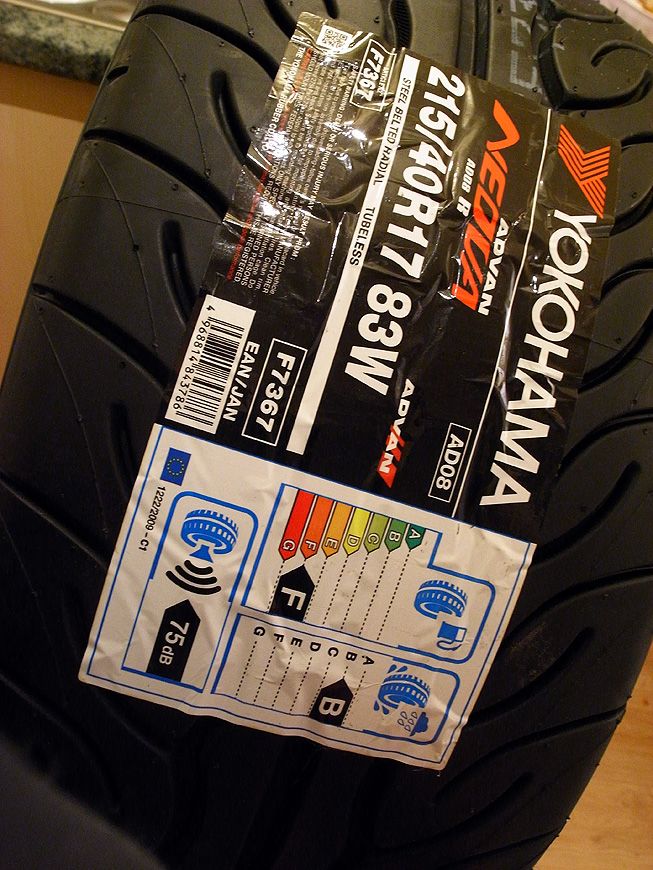
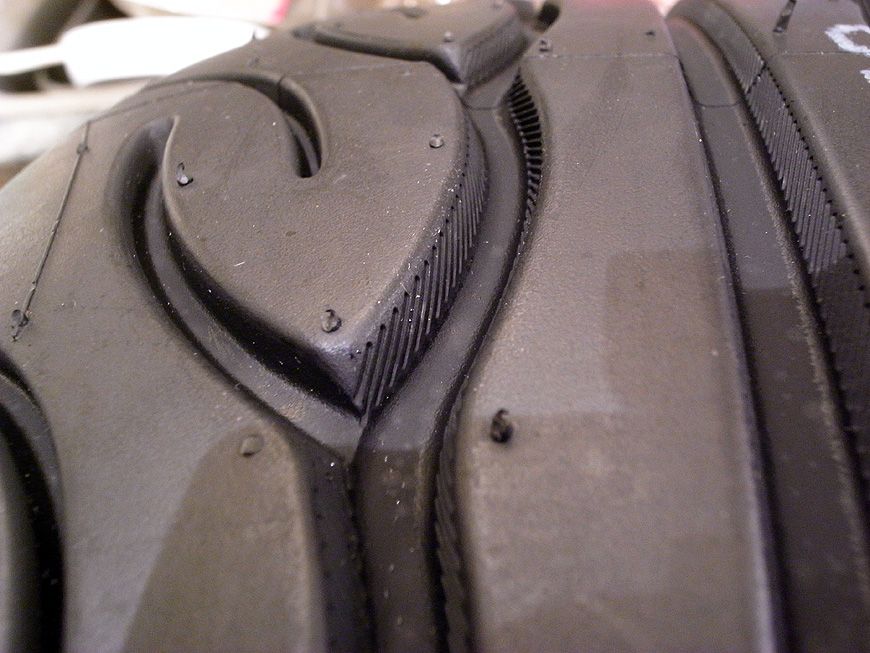
Detail:
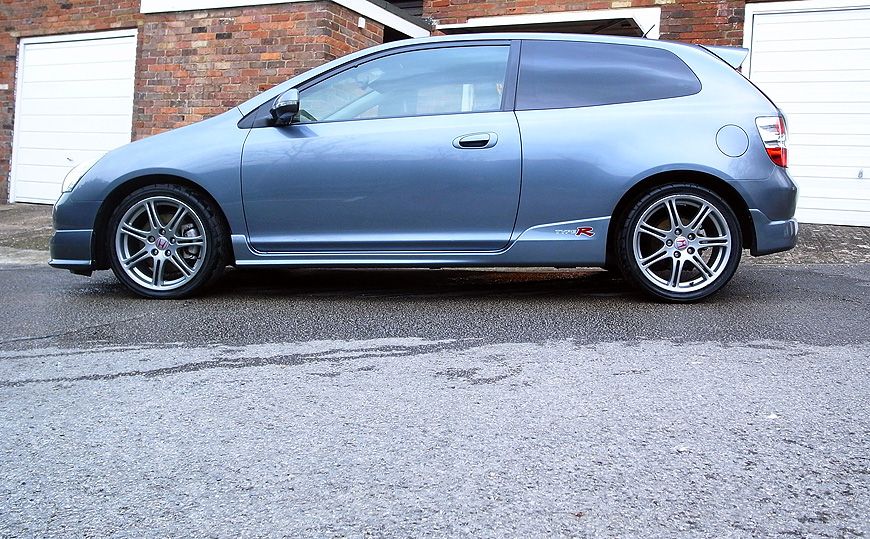
All fitted and car cleaned again!

Few comments on the tyres. Got them fitted last night and it was absolutely LASHING it down. I drove home very carefully! The roads had a lot of standing as well as flowing water on them. However, the tyres felt good and dispersed water quite effectively through the channels. I didn't go hooning through any water but at a sensible speed they were fine, and gripped well too.
Today I took the car for a jet wash to remove the excessive grime before I hand washed it at home. I gave it a right good spank to test the new tyres. Impressions are, bang for buck wise, they are pretty decent. They are a LOT more expensive than the Parada's I had previously, almost twice the price per corner. Turn in feels maybe a mite sharper with the AD08's, but I can't honestly say the difference is night and day. Perhaps they need to be worn in more first. They are however MUCH better in the wet, and really do stick well and just keep on gripping when cornering very hard, especially in the dry, and don't break away as easily as the Parada's. I took a roundabout very quickly today and it sweeps around quite a long corner and the tyres just stuck all the way through the turn and did not want to break away. Inspire a lot of confidence! They do need to be warm before this sort of driving though! Also no squeal which is good!
Aesthetically (I know this isn't important for most people!) I think I prefer the design of the Parada's, but I will get used to these new ones.
Considering the price hike over the Parada's, while I am impressed, I am not certain the additional cost was entirely worth (it in my individual case). They are an excellent tyre, but for day to day driving and hard driving in the dry, I think for the price I would go with Parada's again, and just live with their poo wet weather performance and slightly softer sidewall. That's not to say i'm not pleased with the AD08R's, they are very good and offer superb grip, I just think I was expecting them to feel slightly sharper on turn in like the Toyo R888's I have used in the past. I do need to sort the geometry and tracking on the car still, so this is probably more to do with it than the tyre itself. Otherwise they're excellent and i'm pleased with them! Mixed review but I hope you catch my drift!
Final thing I notice about the tyres, they actually improve the ride quality! The car feels a LOT less crashy over pot holes (roads are crap around here) and they are actually quiter too, and you get less road noise in the cabin. This I was impressed with. I would recommend them to anyone serious about performance, and anyone who is thinking of taking their car on track, but for normal day to day stuff perhaps you may want to consider something slightly cheaper.
I have spent a bit more than I should this month, so will be a while until I carry out another big update I think!
Also got a Mugen Airbox for a great price, and it's like new. So got that fitted. Feels a tiny bit different to the OEM box. Not sure if it's slightly less torquey (made up word), but it sounds great on VTEC and pulls well so I wll hold onto it for now. Just need a sticker for the top as the original one wasn't included in the kit. I also applied all the heat resistant foil tape to the underside and back. Did quite a neat job of it so pleased with that. I will take some photo's of it fitted in the bay and upload in a few days time.
And finally, got 4 new tyres, the new Yokohama AD08R's. Got them fitted last night and pretty pleased with them so far.
Pics as follows:
Seat tear:
Tools for the job!
All done:
Mugen Airbox kit:
Foil tape applied:
Only two pics of fitting it so far as it was getting dark. Fitted the scoop onto the lower intake hose and cable tied it on just to keep it super secure (it is already a very tight fit):
Trimmed nicely without any sharp edges left:
New Yokohama Tyres:
Detail:
All fitted and car cleaned again!
Few comments on the tyres. Got them fitted last night and it was absolutely LASHING it down. I drove home very carefully! The roads had a lot of standing as well as flowing water on them. However, the tyres felt good and dispersed water quite effectively through the channels. I didn't go hooning through any water but at a sensible speed they were fine, and gripped well too.
Today I took the car for a jet wash to remove the excessive grime before I hand washed it at home. I gave it a right good spank to test the new tyres. Impressions are, bang for buck wise, they are pretty decent. They are a LOT more expensive than the Parada's I had previously, almost twice the price per corner. Turn in feels maybe a mite sharper with the AD08's, but I can't honestly say the difference is night and day. Perhaps they need to be worn in more first. They are however MUCH better in the wet, and really do stick well and just keep on gripping when cornering very hard, especially in the dry, and don't break away as easily as the Parada's. I took a roundabout very quickly today and it sweeps around quite a long corner and the tyres just stuck all the way through the turn and did not want to break away. Inspire a lot of confidence! They do need to be warm before this sort of driving though! Also no squeal which is good!
Aesthetically (I know this isn't important for most people!) I think I prefer the design of the Parada's, but I will get used to these new ones.
Considering the price hike over the Parada's, while I am impressed, I am not certain the additional cost was entirely worth (it in my individual case). They are an excellent tyre, but for day to day driving and hard driving in the dry, I think for the price I would go with Parada's again, and just live with their poo wet weather performance and slightly softer sidewall. That's not to say i'm not pleased with the AD08R's, they are very good and offer superb grip, I just think I was expecting them to feel slightly sharper on turn in like the Toyo R888's I have used in the past. I do need to sort the geometry and tracking on the car still, so this is probably more to do with it than the tyre itself. Otherwise they're excellent and i'm pleased with them! Mixed review but I hope you catch my drift!
Final thing I notice about the tyres, they actually improve the ride quality! The car feels a LOT less crashy over pot holes (roads are crap around here) and they are actually quiter too, and you get less road noise in the cabin. This I was impressed with. I would recommend them to anyone serious about performance, and anyone who is thinking of taking their car on track, but for normal day to day stuff perhaps you may want to consider something slightly cheaper.
I have spent a bit more than I should this month, so will be a while until I carry out another big update I think!
melvster said:
Fantastic level of detail, must be on of the best kept EP3's in the country.
Thanks, I do try!I have scrubbed the new Yoko's in a bit now, and given them more of a thorough test. I confirm they are very very good!! Just keep on sticking on long sweeping turns and make the car very controllable/predictable. They get my recommendation. Much better than the Parada's ignore what I said above ^
Thanks guys. I like to document the work I do for enjoyment, but it does help with resale I must admit, and also shows you have cared for it properly rather than let it go to rack an ruin!
dragonheart said:
Lovely car and your attention to detail must be admired. But does the Mugen airbox not go against the whole project OEM thing?
I hear what you are saying, but Mugen fit these as standard to the Mugen editions of these cars, and it's a Honda approved item so it kinda fits the bill. My initial plan was to keep it 100% OEM, but the more I use the car the more I enjoy it so wanted to make very mild performance modifications that make sense and don't detract from the OEM look of the car. I plan to get an uprated rear Anti Roll Bar (and possibly front) to further enhance performance, but otherwise it will remain standard. The Mugen Airbox gives a nice note on vtec and hopefully improved airflow (difficult to measure unless on a rolling road).richtea78 said:
What is the purpose of the foil on the air box?
Heat reflection mainly. It comes with the airbox and should be applied to the bottom/sides if you can make it stretch that far. Reduced intake temps = better performance.DanielJames said:
Love threads like this I know the pain of waiting for MTF3 to flow through a tiny pipe!
Lol it's a painful process alright!! I know the pain of waiting for MTF3 to flow through a tiny pipe! A few more updates this weekend. Bought a few more bolts to replace some rusted ones in the bay (bonnet catch retaining bolts), as well as a new bracket and bolts to hold the airbox lower intake pipe in place.
I also managed to finally get a few pics of the Mugen Airbox! When I bought it there was no sticker, so I got one of the guys on the forum to make one for me (thanks) and put that on also. Looks complete now.
Pics as follows:
New parts:
Old rusty bonnet catch bolts:
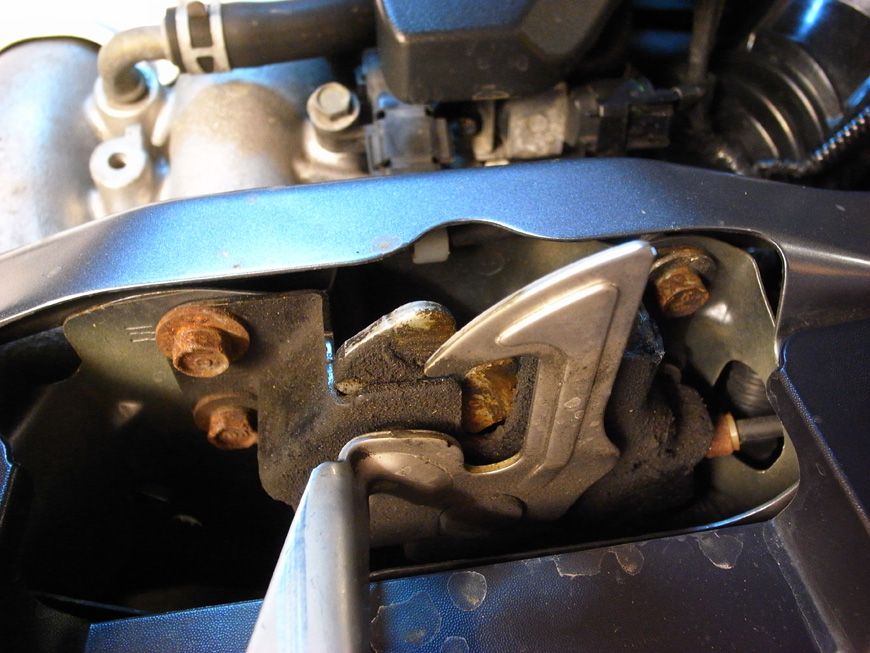
Replacements:
Had to dig out the mini 1/4'' ratchet to undo the lower one, it was tricky to access. I love good tools!
New ones fitted:
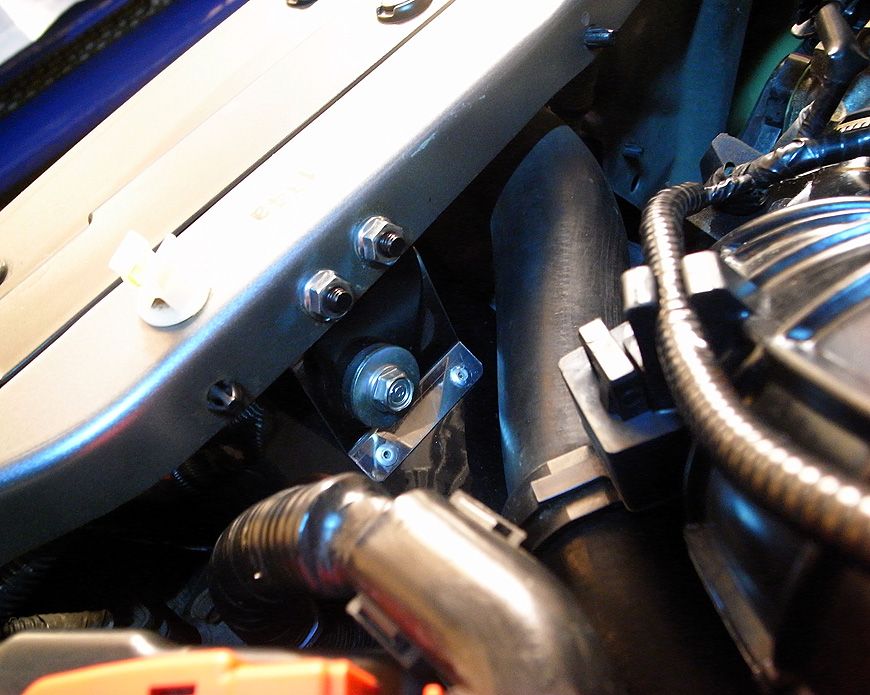
Old haggard intake hose retaining bracket (looks worse in the next photo on):
Old vrs new:
And fitted:
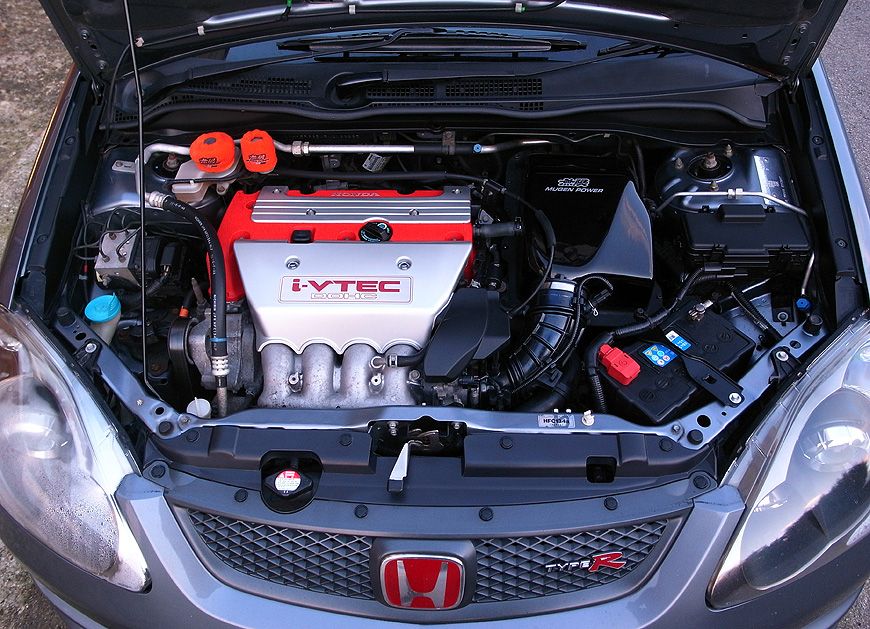
And finally some pics of the new Airbox in place:
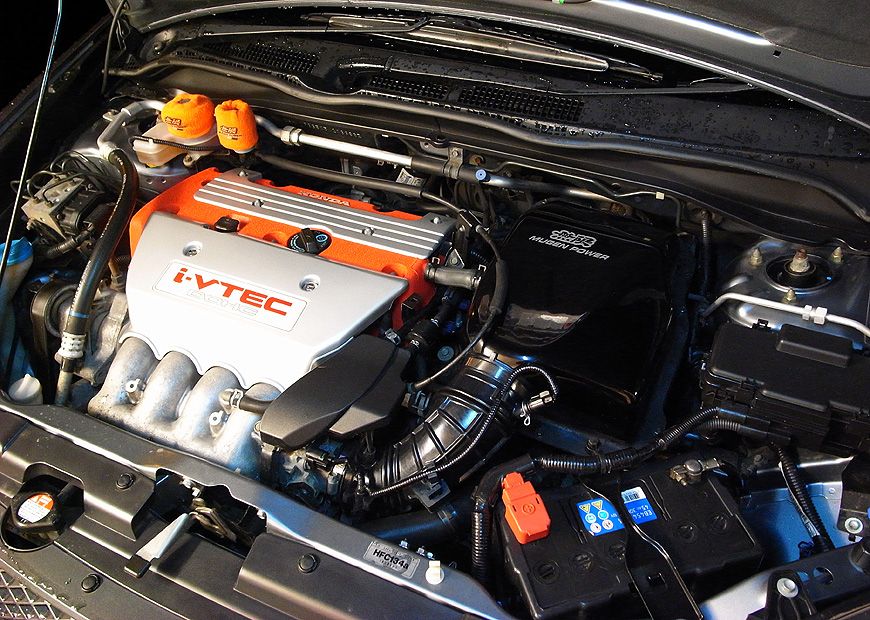
And some more the following day in daylight:
Really happy with the car now. Still a few more bits to do but slowly getting close to how I want it to look. I enjoy it every time I drive it. I look forward to driving it! The tyres have made a huge difference and are definitely a good investment.
Next jobs will be as follows:
1. New brake discs all round
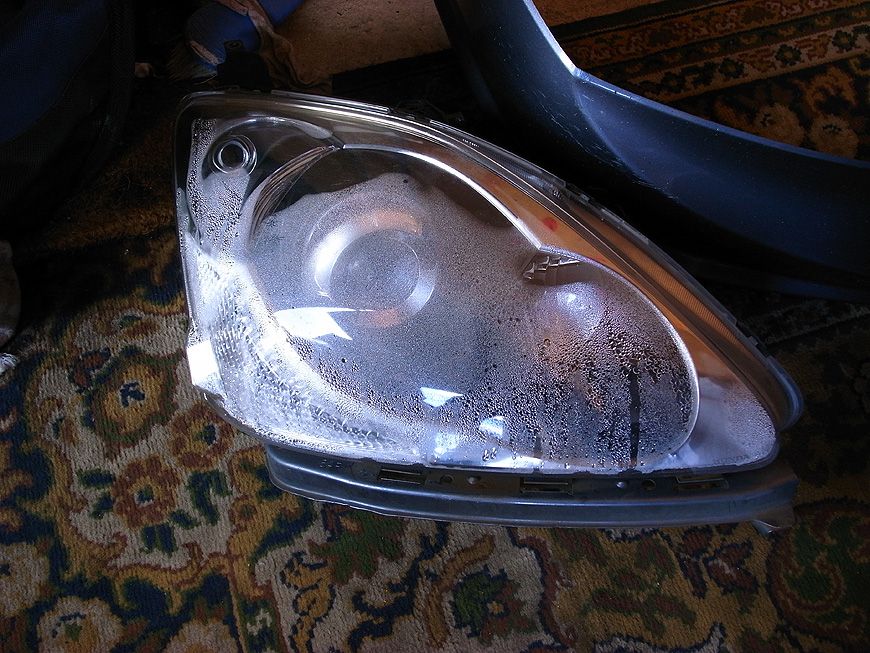
2. New front passenger headlight, as mine is misted up!
3. Progress/JDM uprated rear anti roll bar
4. Front camber bolts
5. Adjustable rear arms
6. Full Geometry set up - 4 wheel alignment (Fast Road Set Up)
7. Wheel refurb
8. Remove a few of the dings I have
9. New rear 'H' badge
10. Get valve clearances checked
Would also like some newer seats but not really an urgent requirement. I also fancy a private plate but that's another unnecessary extravagance! I am sure I will think of a few other things i'd like to sort, but that's the medium/long term list above.
Mark-t said:
Looking great
Who are you going to use for your FRSU?
Edit: valve clearances are to be checked/adjusted on a stone cold engine. If the garage doesn't know this, don't use them!
Thanks Who are you going to use for your FRSU?
Edit: valve clearances are to be checked/adjusted on a stone cold engine. If the garage doesn't know this, don't use them!
I am thinking of a place locally in Chesham called 'Blackboots/Wheels in motion''.
http://www.wheels-inmotion.co.uk/
They fitted my tyres and seem like a pretty good bunch. Use a torque wrench on the wheels which I have not seen in many of the places these days! Nice to see it done properly!
Re: Valve clearances, not sure yet. I was thinking of getting Stevie @ Grinspeed to sort my gearbox bearing when I get it done. It's a little noisy and will need changing eventually, and he is the man from what i've heard so may just get him to do the clearances too. Either that or Autotorque near Bicester. I know the guy who runs it and they have been working on Japanese cars for many years so should be pretty competent with it. I hate trusting my car to anyone if i'm honest and it always fills me with dread the thought of leaving it with anyone....silly I know, but you just cannot get the staff these days. The newly painted cam cover has to come off to check the valves and i envisage someone just not taking enough care with it and bashing it about during the removal process. I also put some gasket sealant on the four corners of the cam cover rubber gasket - a regular thing to do as you commonly get oil leaks there. However, I did a super tidy job of it so want to make sure when it's refitted this is carried out to a high standard again.
Edited by Track_Cit on Wednesday 12th February 13:43
kerryt5r said:
Track_Cit said:
I am thinking of a place locally in Chesham called 'Blackboots/Wheels in motion''.
http://www.wheels-inmotion.co.uk/
They fitted my tyres and seem like a pretty good bunch. Use a torque wrench on the wheels which I have not seen in many of the places these days! Nice to see it done properly!
I can vouch for wheels in motion, they did a track/FRSU on my T-5R a couple of years ago. They know what they are doing with the equipment that they have, give out some valuable advice and charge a reasonable price. I will be taking my CTR to them this year when the weather gets a bit better..http://www.wheels-inmotion.co.uk/
They fitted my tyres and seem like a pretty good bunch. Use a torque wrench on the wheels which I have not seen in many of the places these days! Nice to see it done properly!
They are the most local place to me you see.liner33 said:
Ditto best place in the country IMO
Wheels-in-motion or Grinspeed?Daston said:
Got to say OP that was a good read, nice to see someone care so much about their car. Really makes me wish I started taking such good notes when I service the MG lol.
I will certainly be taking things on board from this when I eventually get a mazda
Thanks pal I will certainly be taking things on board from this when I eventually get a mazda
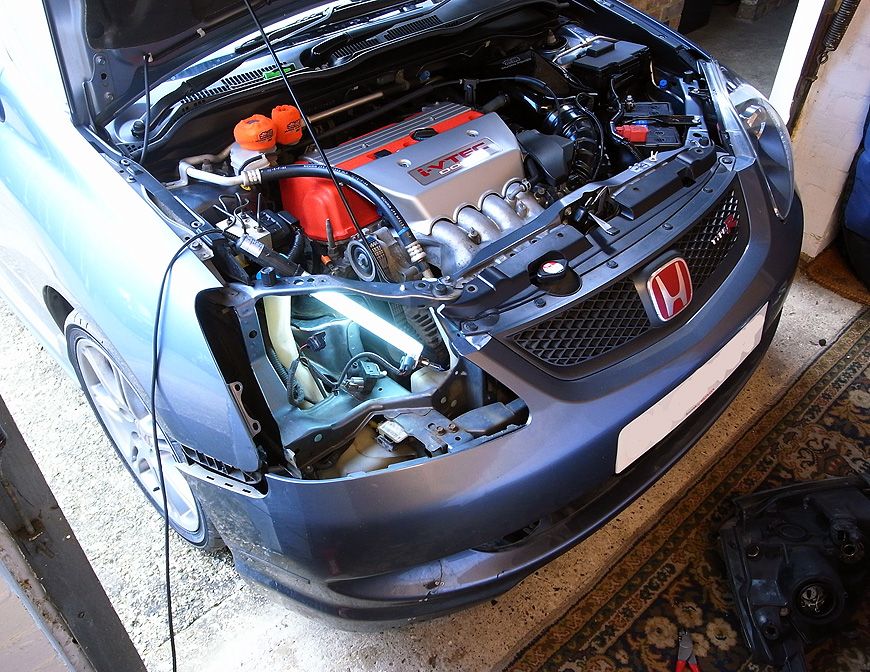
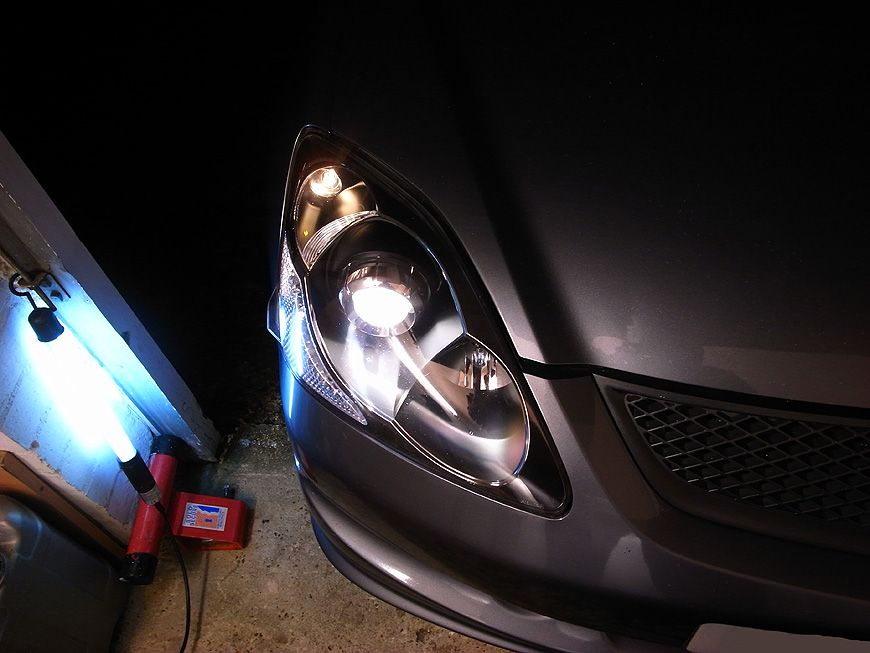
Few more updates this weekend. Tired tonight! Worked on the Civic for a good few hours then the Rallye too. I bought a used headlight two weeks ago for the Honda, as my drivers one was misted up really badly and it let the car down. Fitting it turned out to be an arse, as the bumper has to come off to access the bolts that hold it in place. I couldn't figure out how the bumper came off at first, as I was expecting some bolts on the wing as per my Saxo/106 bumpers. Ended up having to watch a youtube video halfway through to realise that there a few bolts around the base and the the whole thing just pulls off! It's kind of clipped into plastic brackets. Only had to prise the left side off then I was able to undo the bolts holding the light on/in. Eventually got it fitted up, but it was looking a bit tired and haggard, so I ended up using my rotary polisher to go over both lights using all three grades of polish. They look brand new now it's awesome. Really refreshed the front of the car so i'm pleased! I will get some better daylight photo's tomorrow, but here are some of the work in progress (albeit not many as I was quite in the zone when doing the work)!
Light out:
Bit of a snakes wedding behind the light - I was quite surprised how many lamps there are inside the light itself!
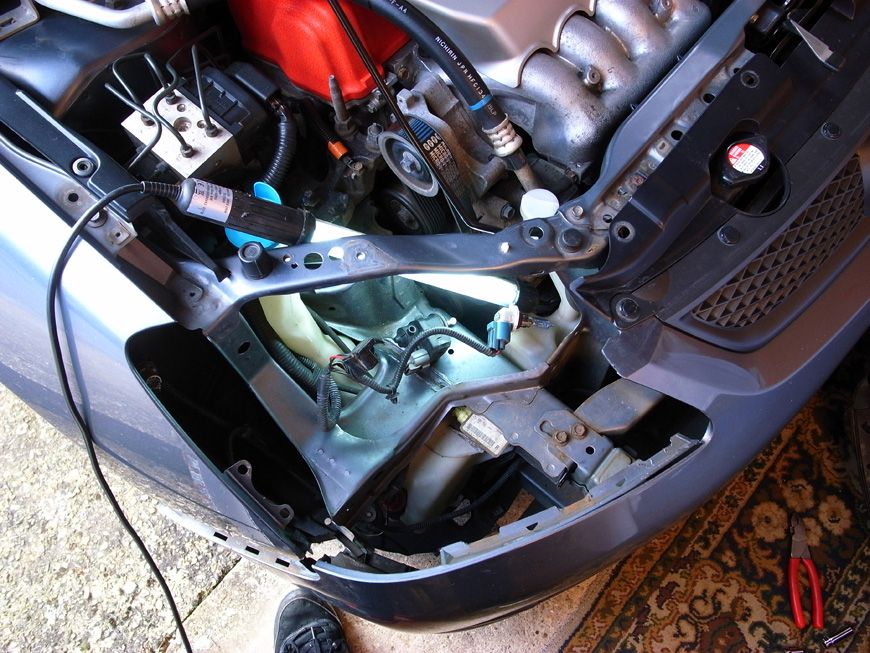
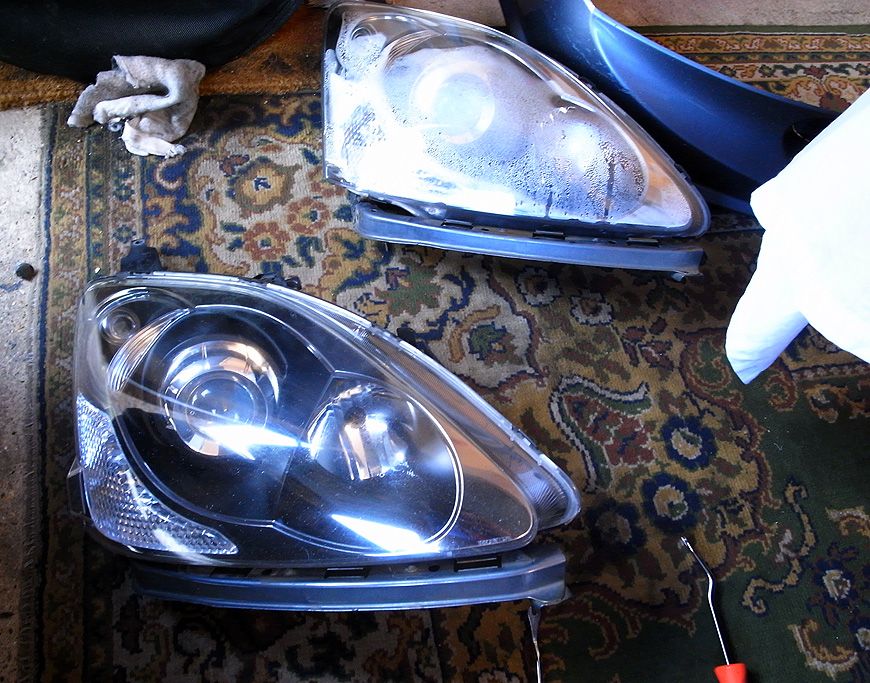
Old haggard light removed (halleluiah!)
New (second hand) light:
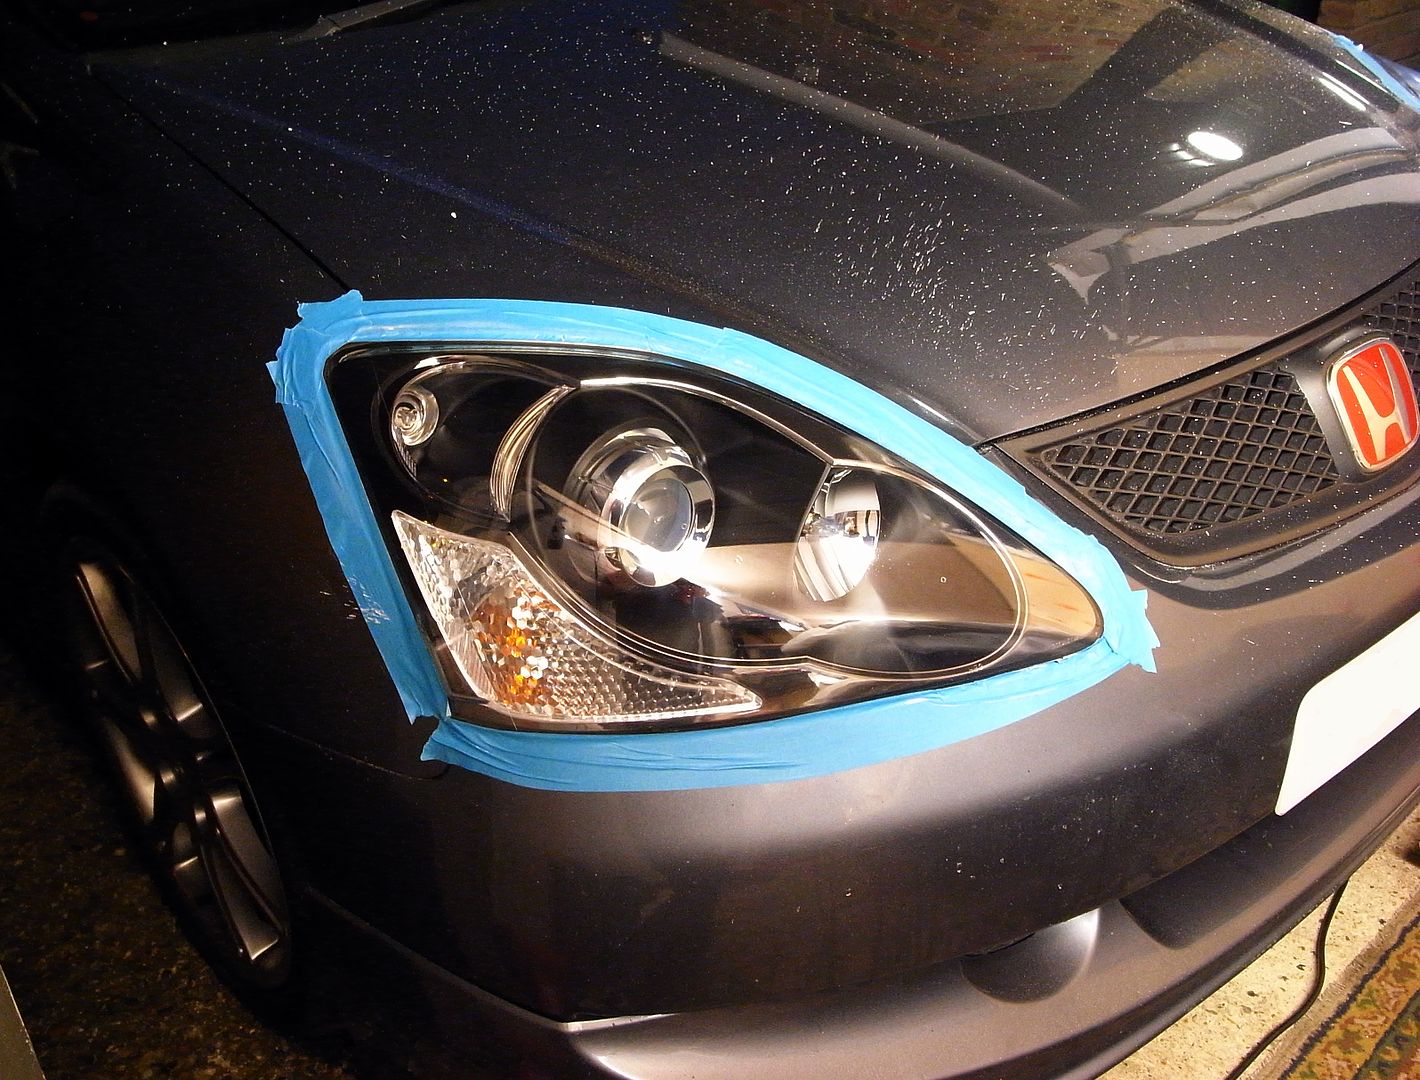
Masked off halfway through polishing:
And the other one, got polish everywhere though - schoolboy error but nevermind!
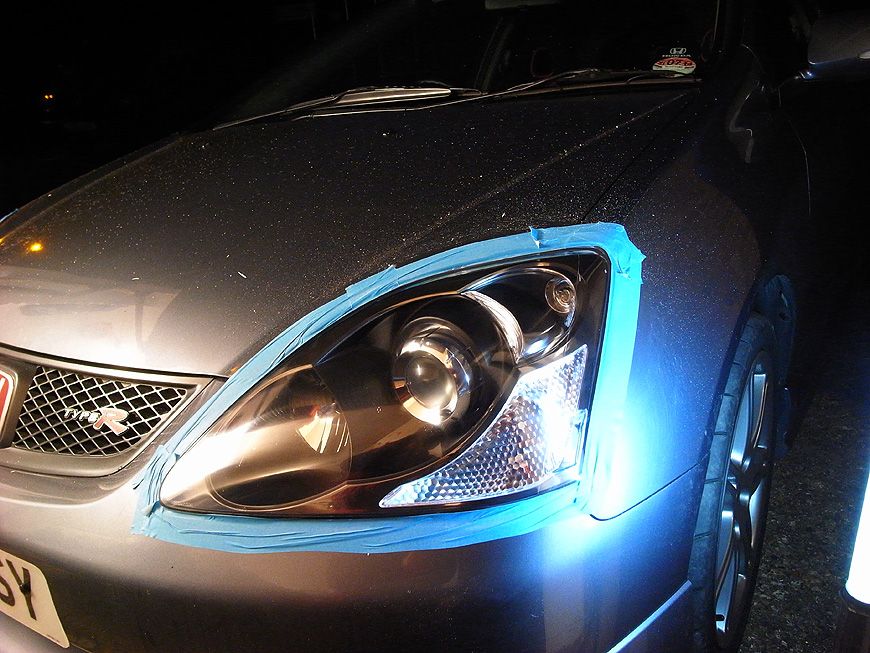
C'est complete - looking good!
Lewis
Gassing Station | Readers' Cars | Top of Page | What's New | My Stuff