Mk1 Moro Audi TT wanted a 225 so bought a 180!!!
Discussion


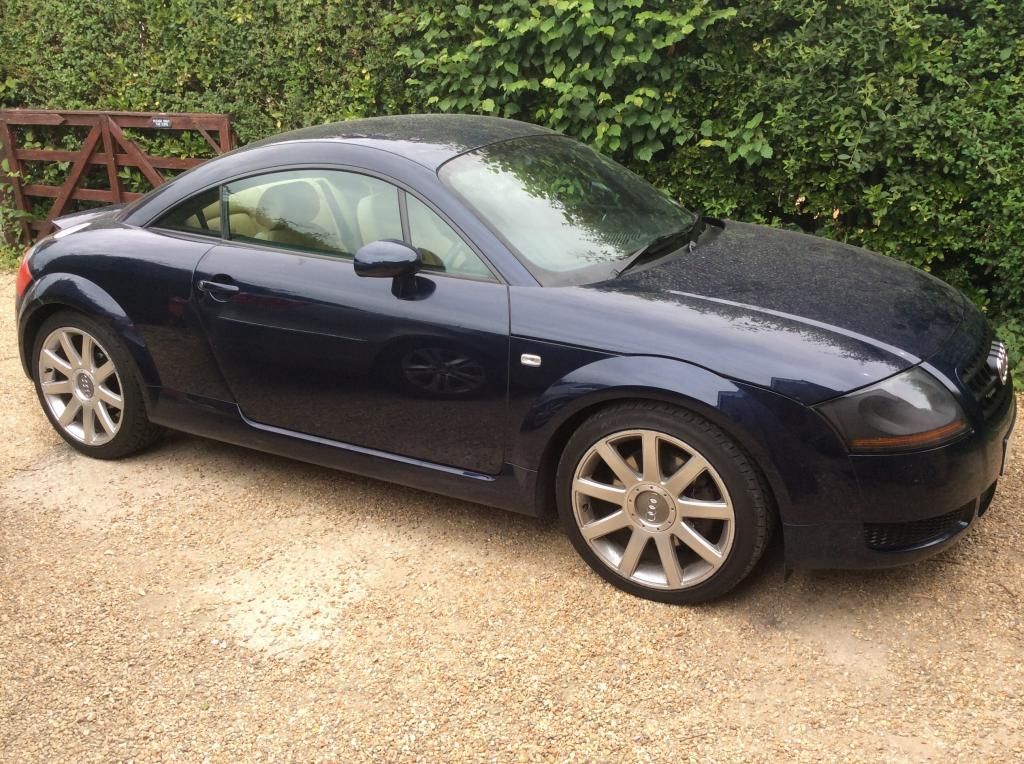
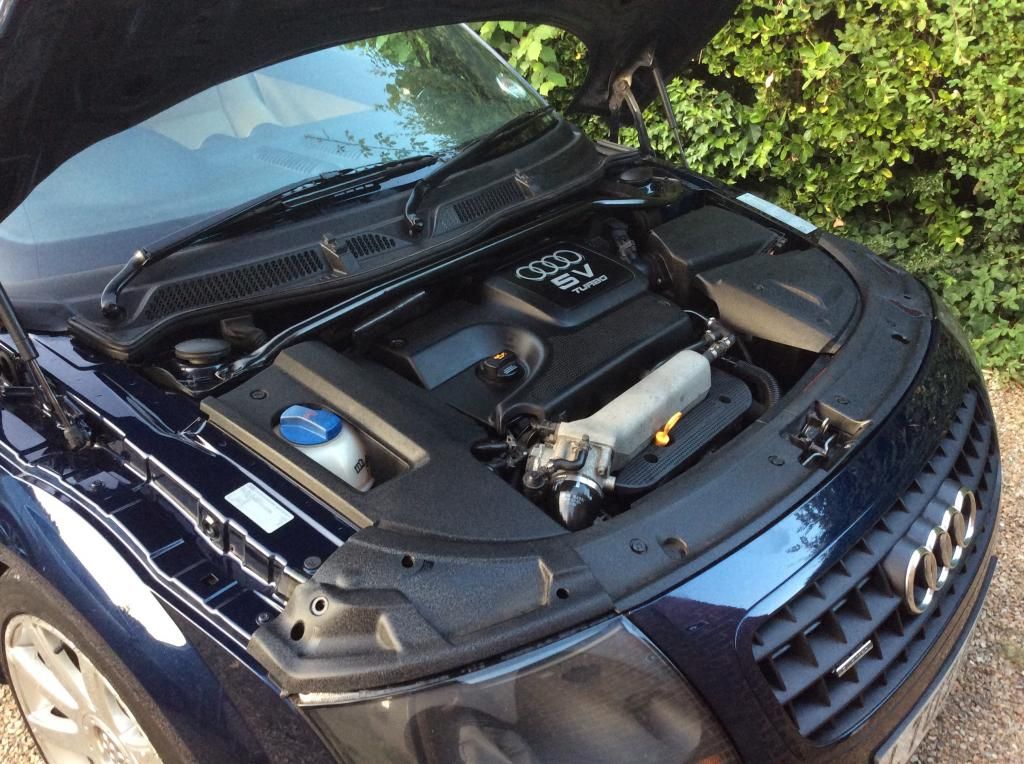
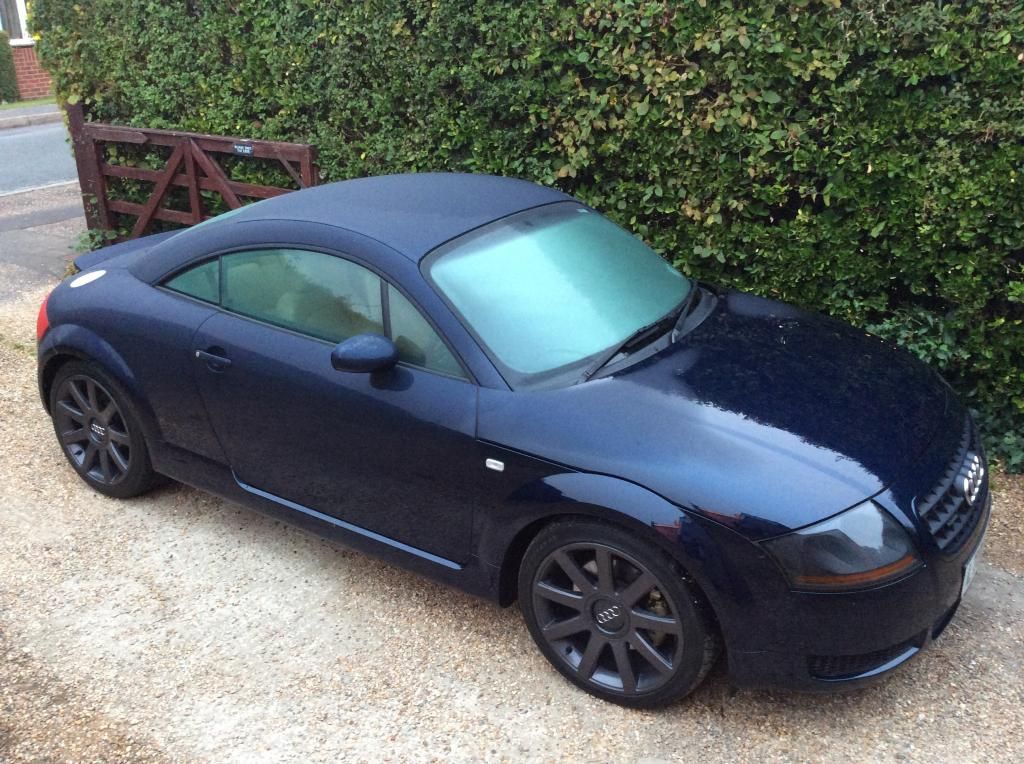
Thought I'd post a few pic up of my TT. The car has had 2 owners from new and a nice full main dealer history with just about everything done in the last 12 months, belts, water pump, dashpod, tyres, Haldex service. Just a shame neither of them bothered to clean it much.
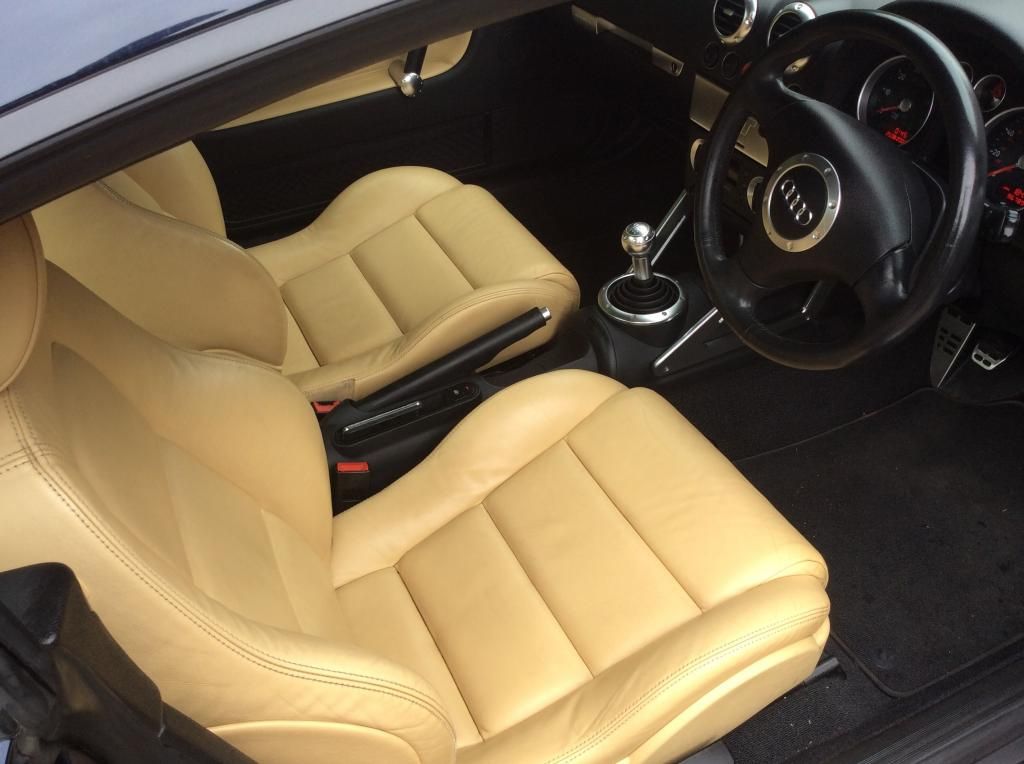
In the one week I've had it I've given it a degrease, wash and clayed the body and removed 10 years of dirt of the seats so the Aniceed leather is back to its original colour.
I really wanted a 225 and said the only car that would make me buy a 180 is a Moro blue with Aniceed interior which don't come up often, bugger me if one went on the night I started looking so a phone call was made and a deal agreed over the phone.
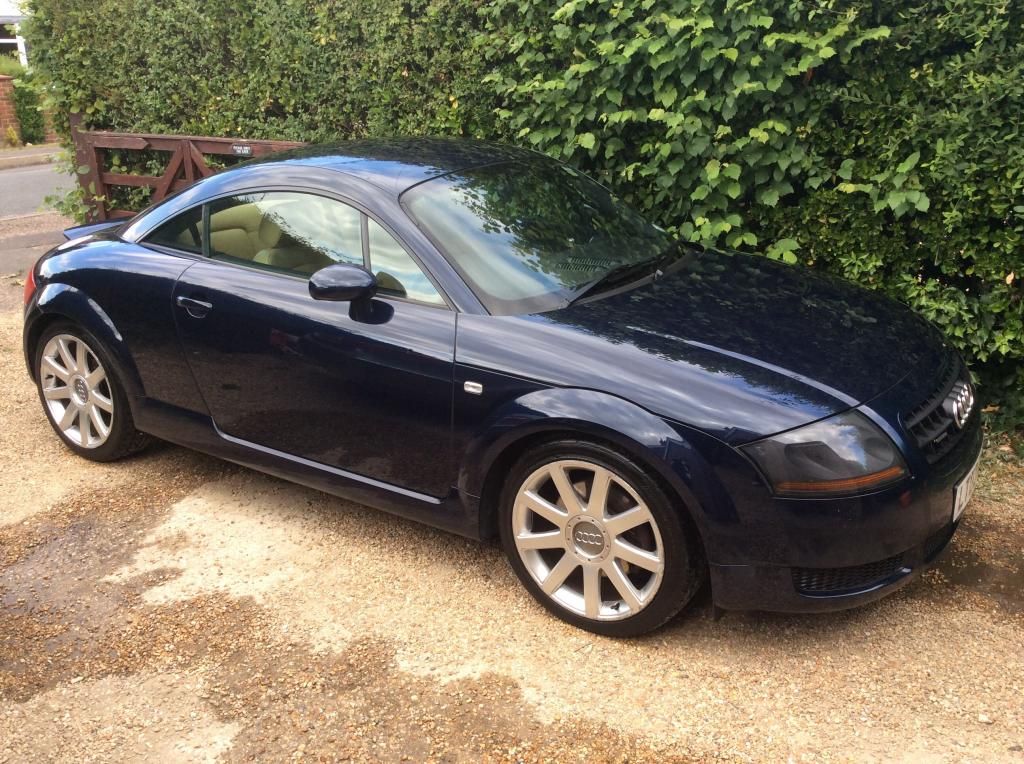
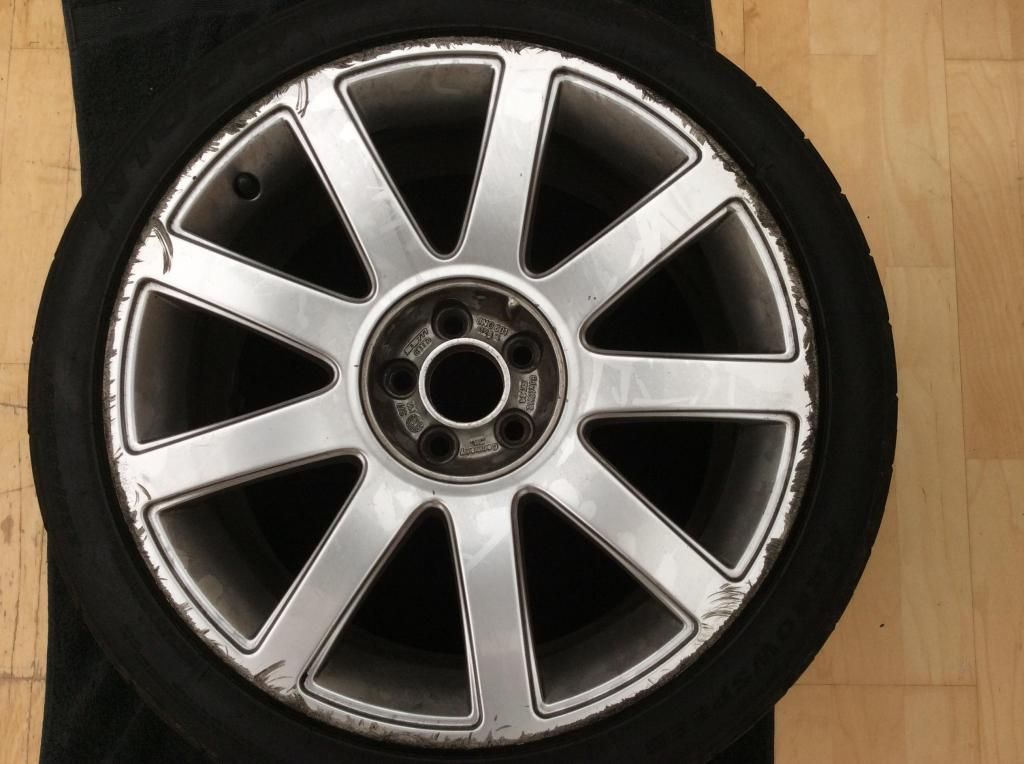
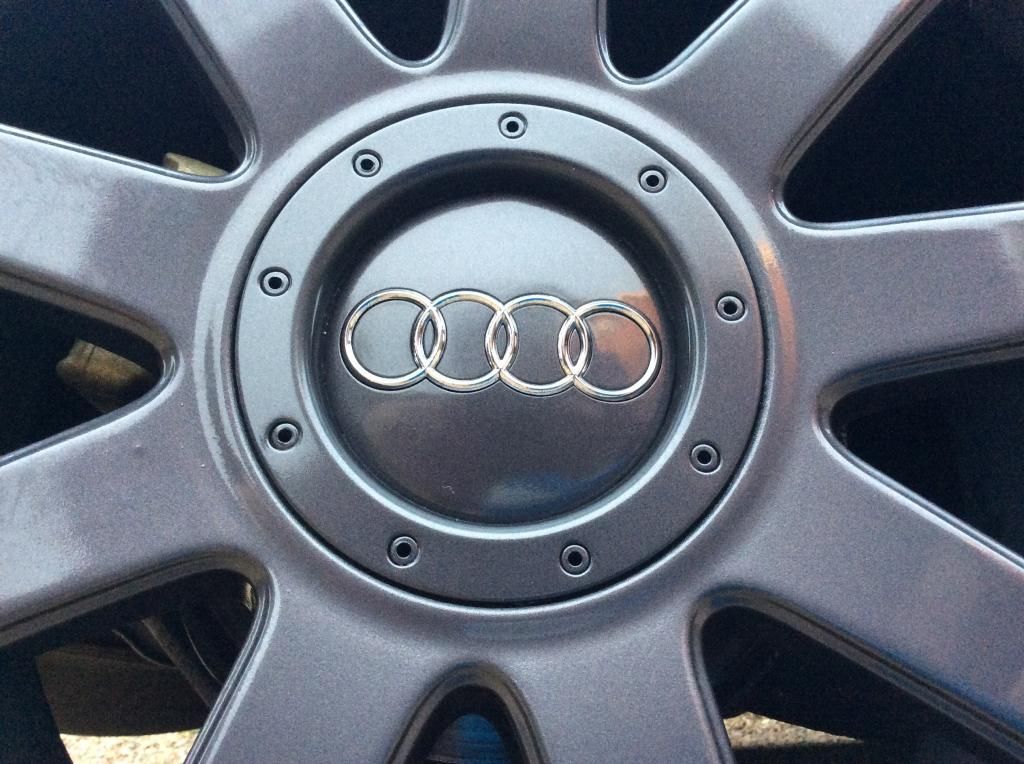
It goes really well and much better than I'd read from peoples posts about the 180, I'll remap it in the future but for now it's just fine and will be spending time cleaning all the dirt out of the awkward places, refurbing the wheels as Stevie Wonder must have been parking it.
After picking it up
After a wash and clay session
Interior was really grubby so I started with the Meguirs,
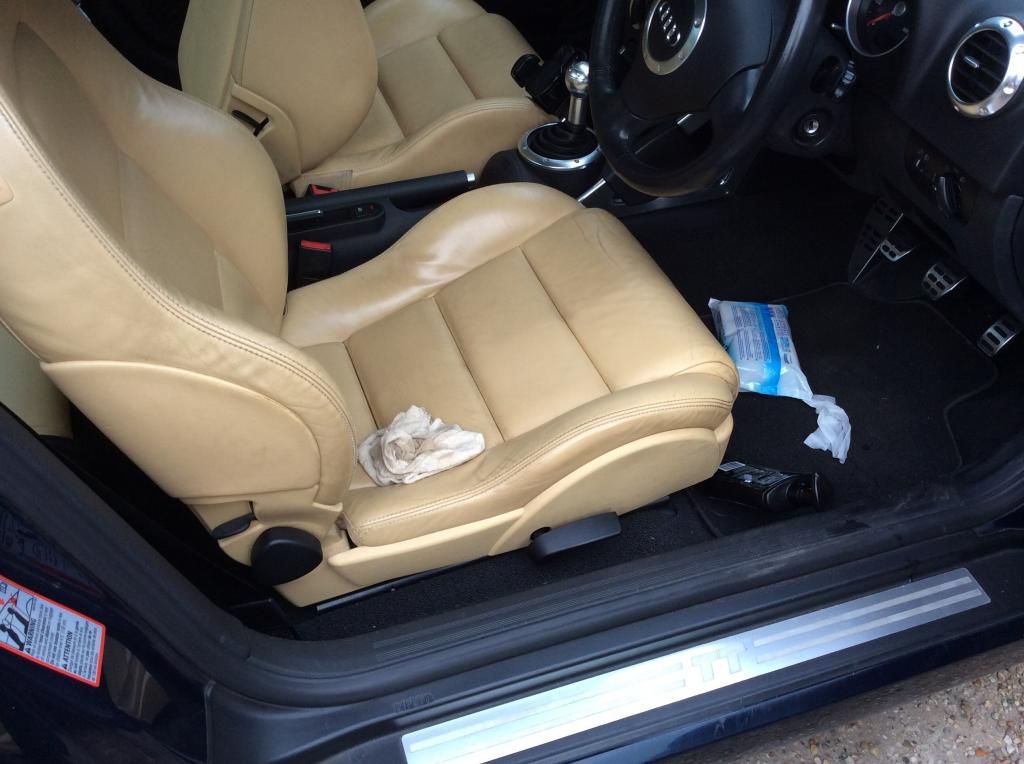
And back to its original colour

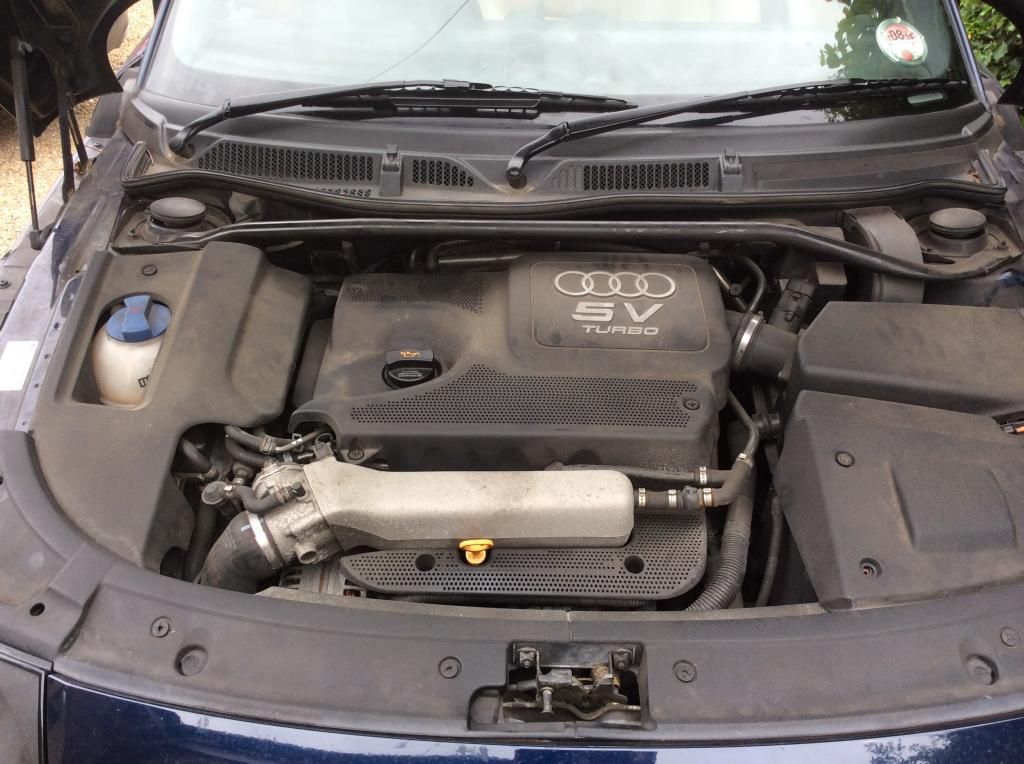
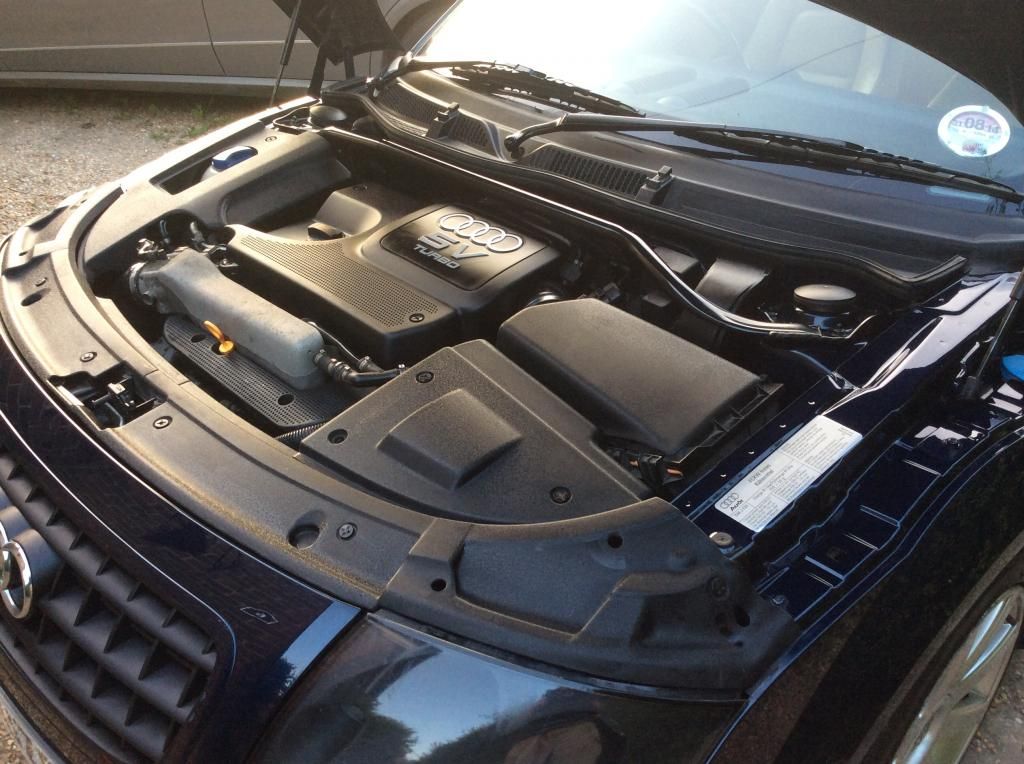
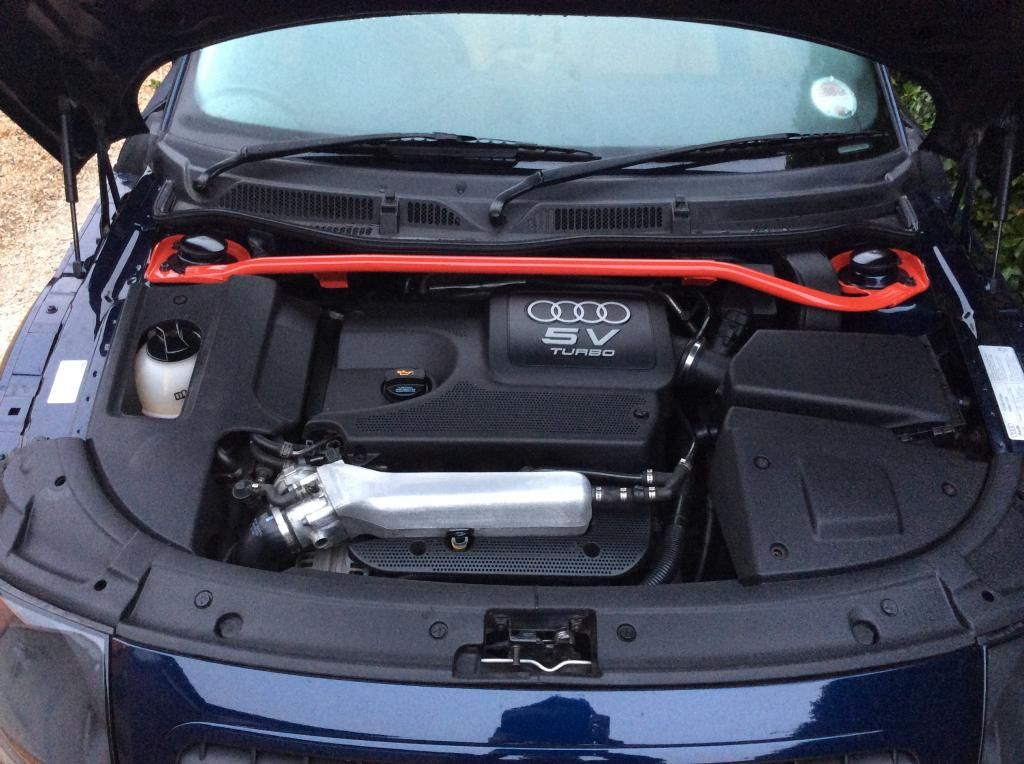
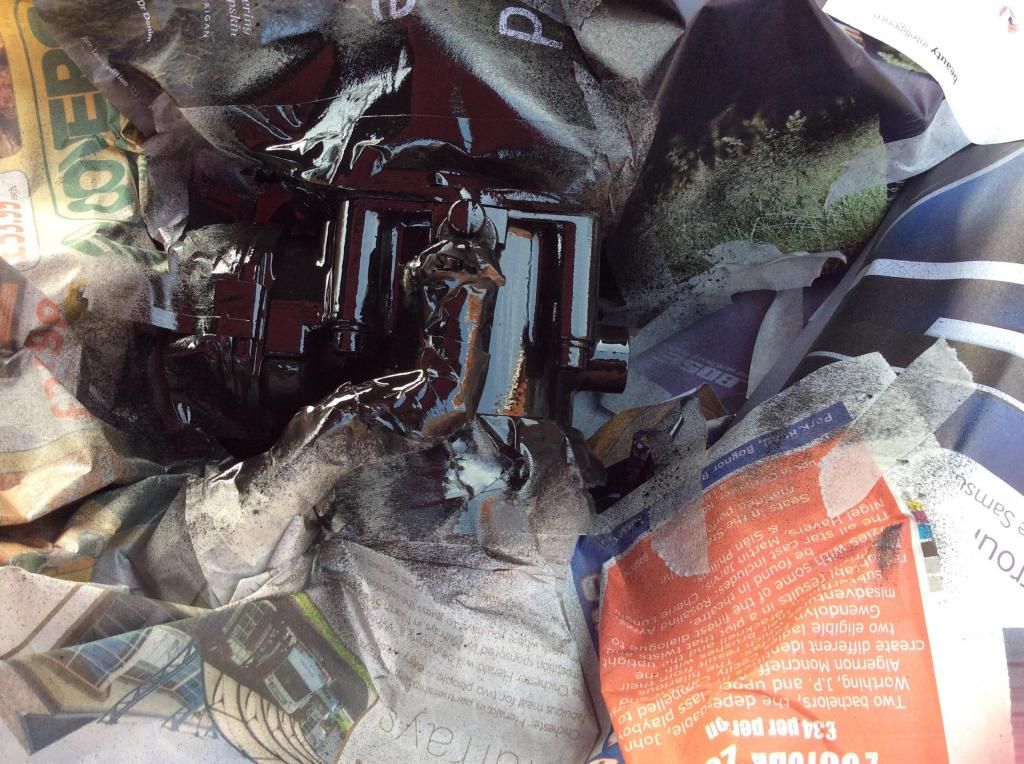
And the shocking engine bay that's going to take quite a bit longer to sort out
In the one week I've had it I've given it a degrease, wash and clayed the body and removed 10 years of dirt of the seats so the Aniceed leather is back to its original colour.
I really wanted a 225 and said the only car that would make me buy a 180 is a Moro blue with Aniceed interior which don't come up often, bugger me if one went on the night I started looking so a phone call was made and a deal agreed over the phone.
It goes really well and much better than I'd read from peoples posts about the 180, I'll remap it in the future but for now it's just fine and will be spending time cleaning all the dirt out of the awkward places, refurbing the wheels as Stevie Wonder must have been parking it.
After picking it up

After a wash and clay session


Interior was really grubby so I started with the Meguirs,

And back to its original colour


And the shocking engine bay that's going to take quite a bit longer to sort out


carinaman said:
I doubt I've ever had a car that looked that clean. It would turn my head.
Do these have those 'secondary air pumps' that draw clean air into the exhaust manifold to enable them to get through the EU emissions tests?
I've liked the V5 engine since I heard a Seat Toledo pull up outside a chip shop I was queueing in in the late 90s. Learning recently they had a secondary air pump spoilt the allure for me.
I couldn't tell you, it's the 4 cylinder 1.8t engine.Do these have those 'secondary air pumps' that draw clean air into the exhaust manifold to enable them to get through the EU emissions tests?
I've liked the V5 engine since I heard a Seat Toledo pull up outside a chip shop I was queueing in in the late 90s. Learning recently they had a secondary air pump spoilt the allure for me.
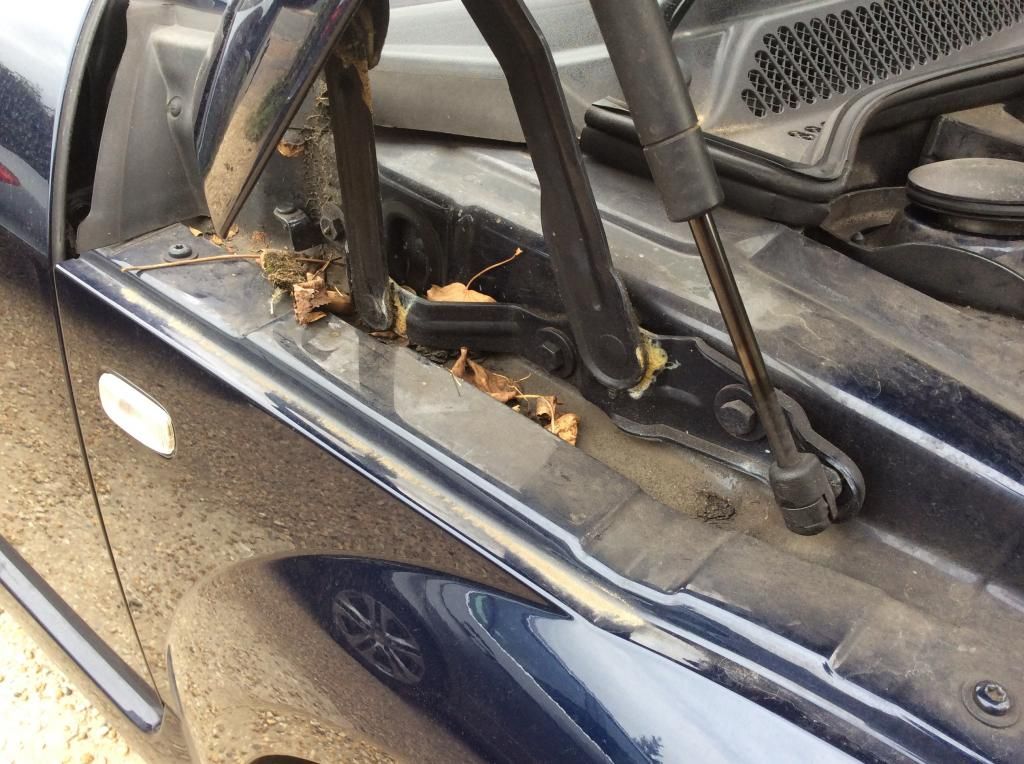
So today I cleaned the door shuts properly, started the engine bay by cleaning the drivers side wing area oh and temporarily removed the drivers side rear under tray as it was falling off and sounded like a pice of plastic being dragged over the floor.
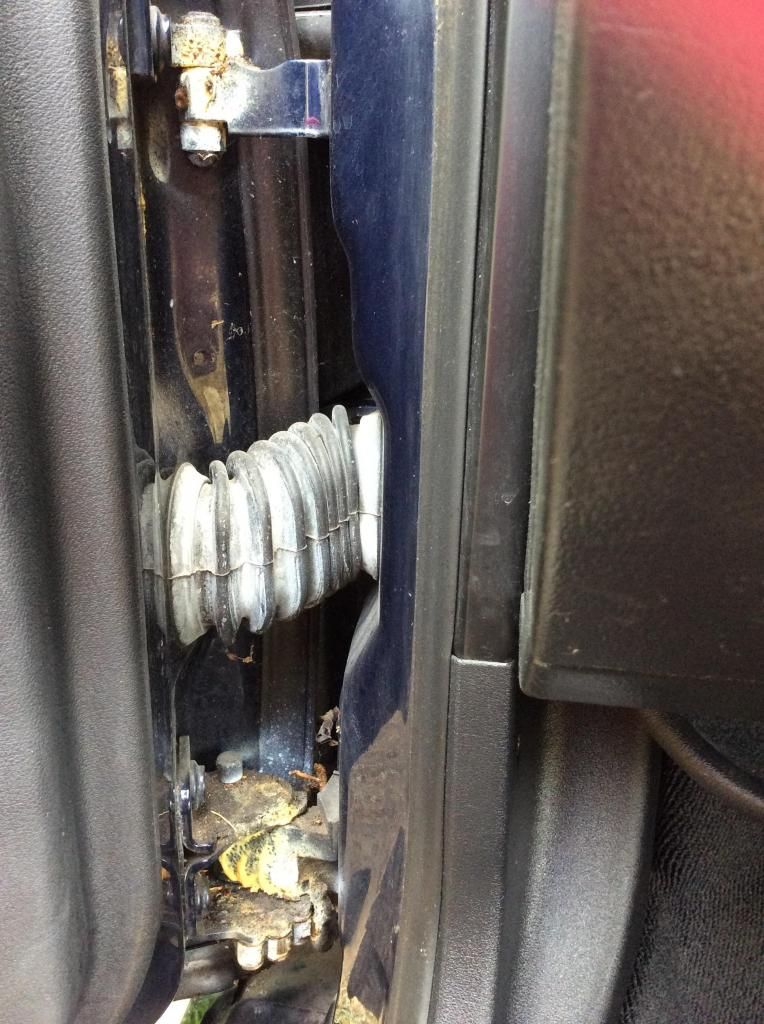
One nasty door shut
To this
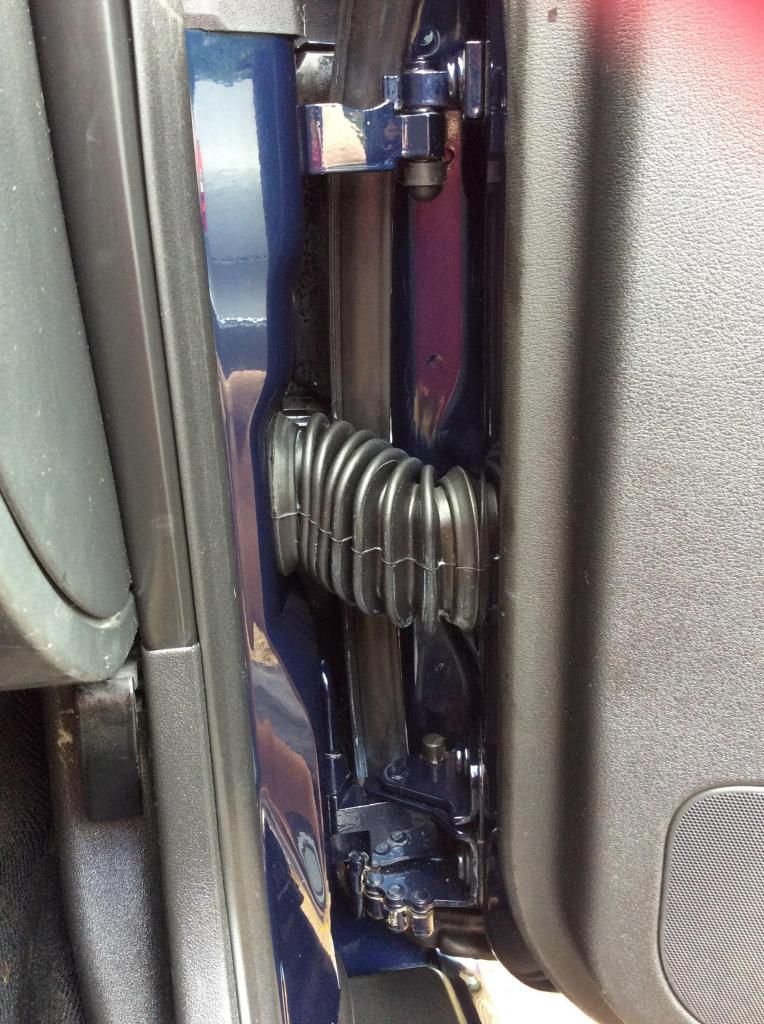
Important pokey stick for the hard to reach places
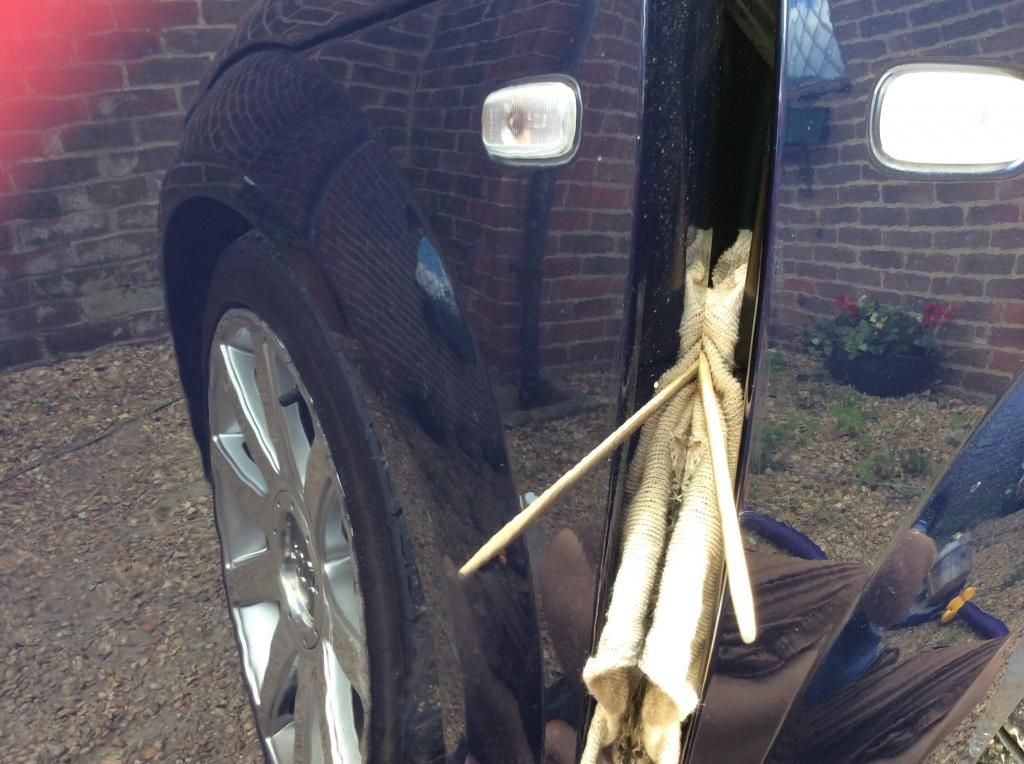
And had a go at the front wing area, from this
To this

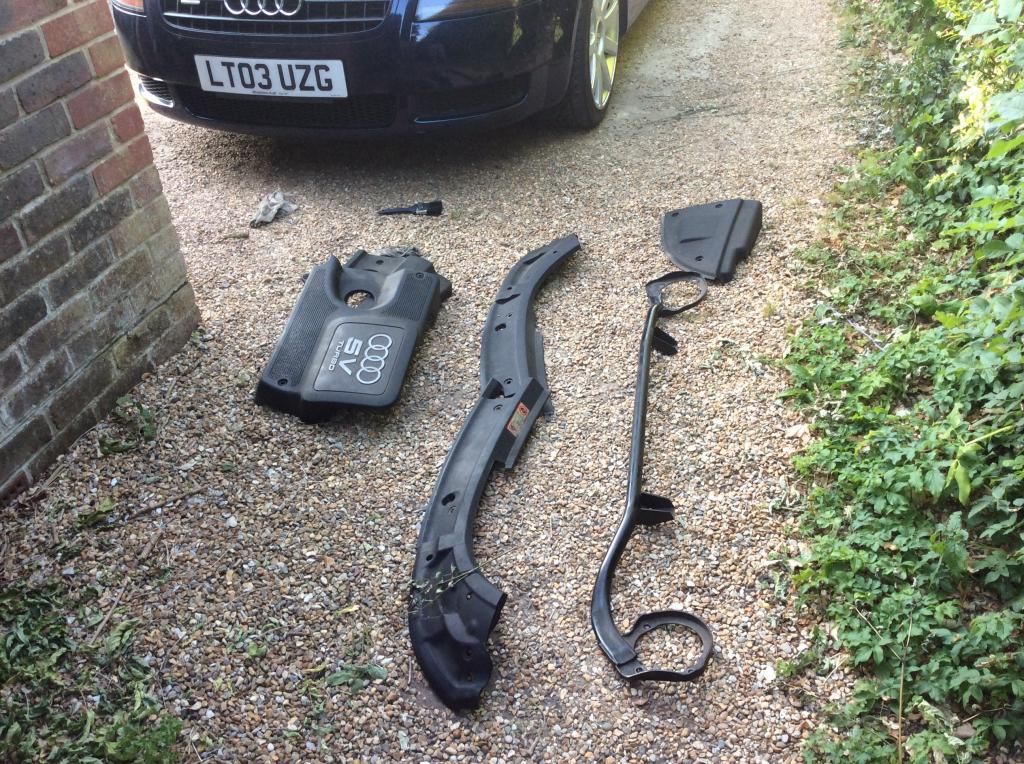
Also got the engine bay sorted too.
So apart from snapping my dipstick tube today, I removed the plastics and cleaned all the bits you can't see and the ones you can, more to do but I was pee'd off when I snapped the dipstick tube, though it best to quit while I'm ahead ish lol
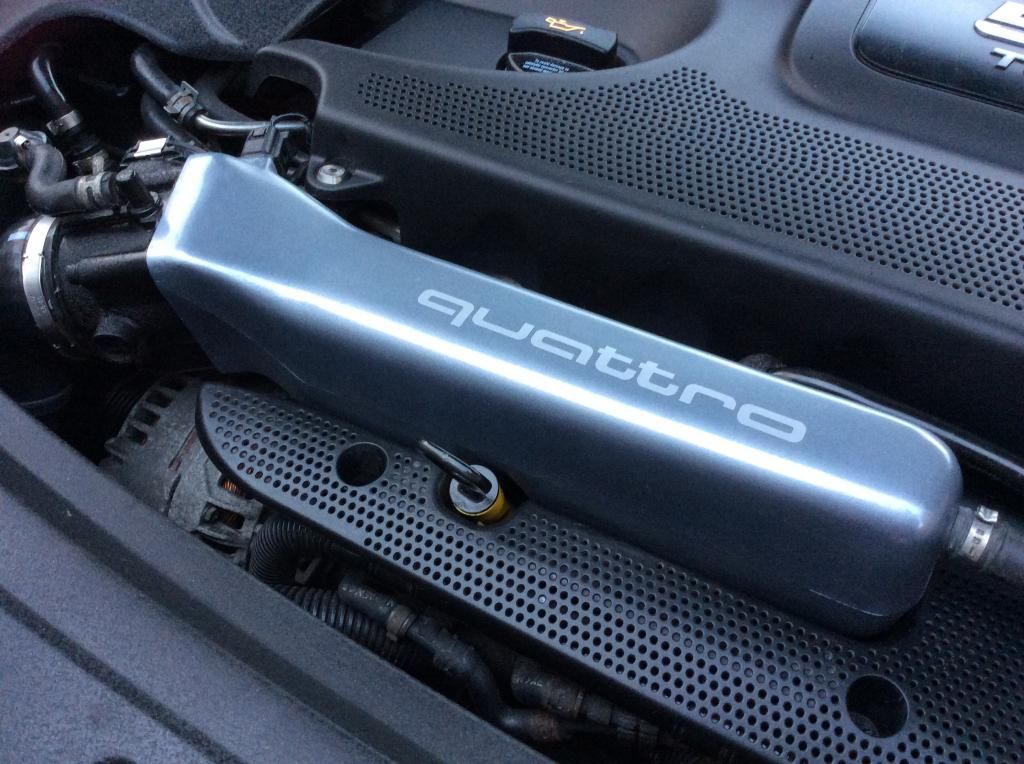
I'm leaving the air box as next I'll have that out for a Wak mod and I'll either polish or crackle finish the intake
A familiar sight
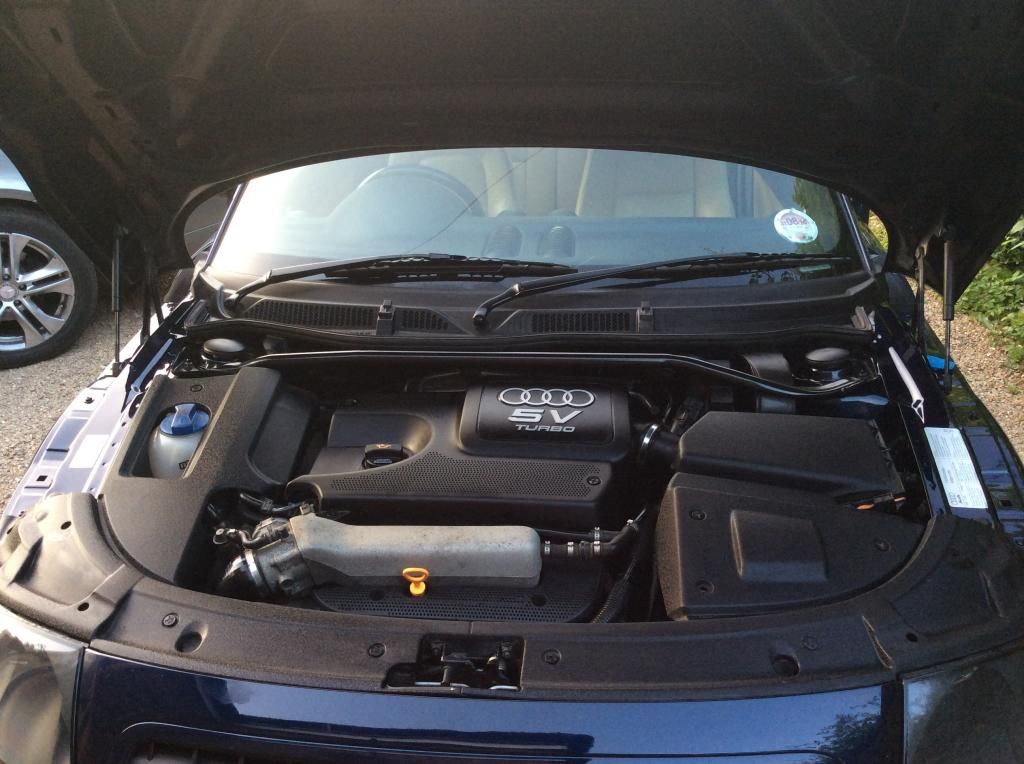
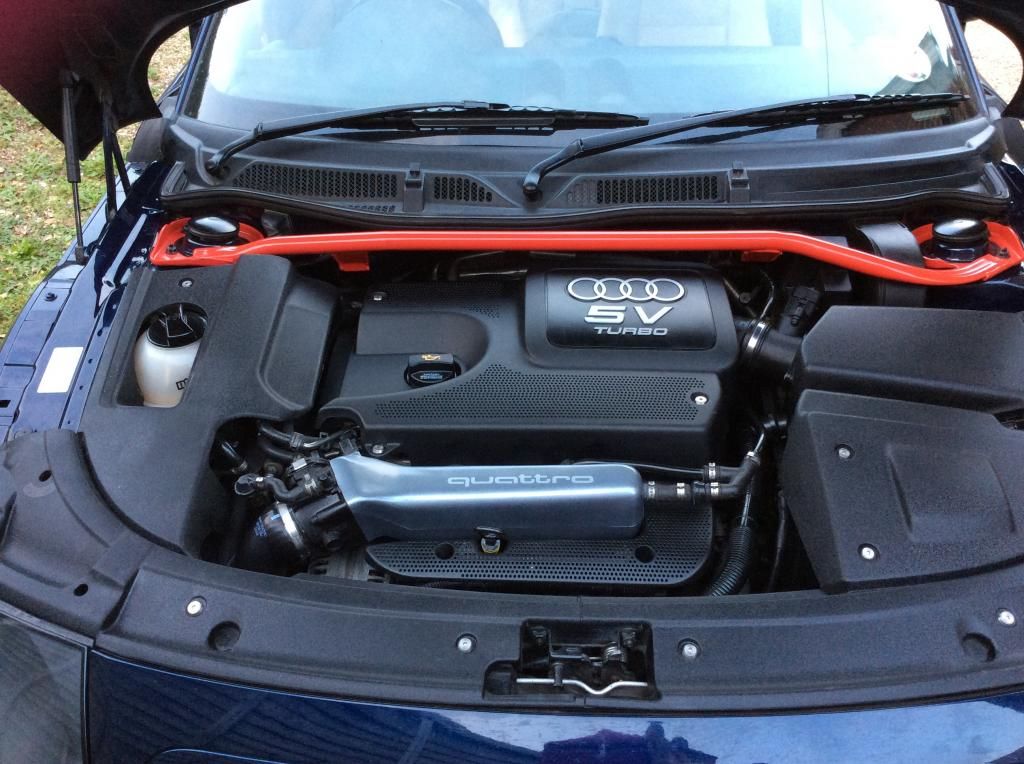
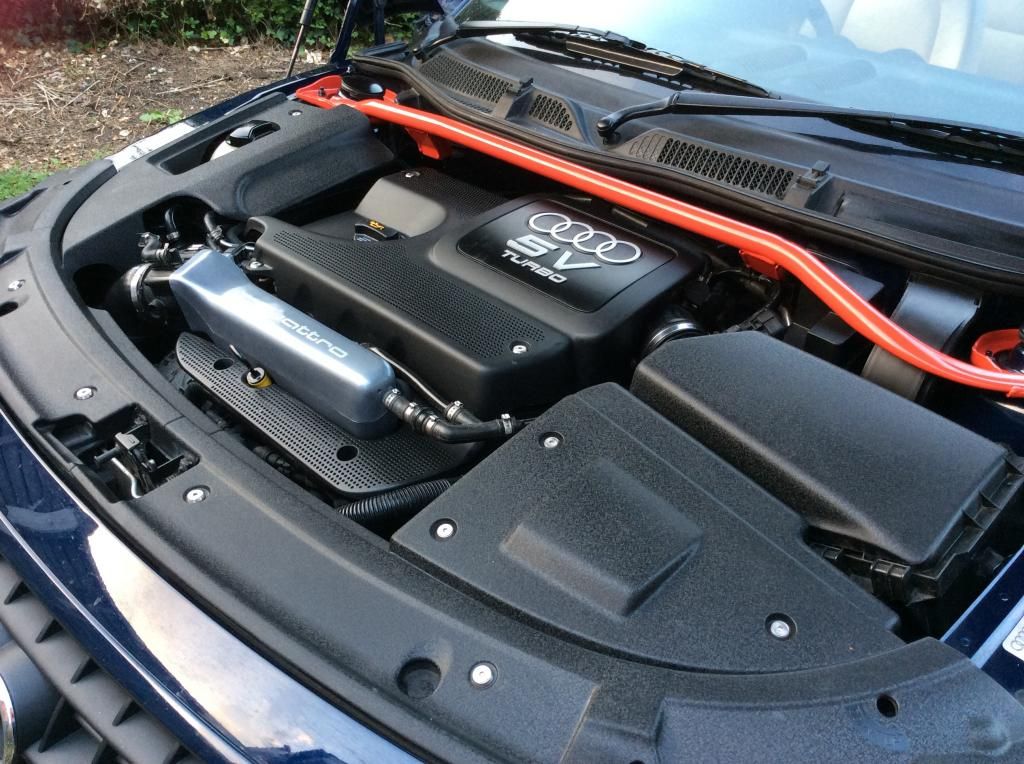
So all back together in a few hours we've gone from this
To this
Cheers
One nasty door shut

To this

Important pokey stick for the hard to reach places

And had a go at the front wing area, from this
To this

Also got the engine bay sorted too.
So apart from snapping my dipstick tube today, I removed the plastics and cleaned all the bits you can't see and the ones you can, more to do but I was pee'd off when I snapped the dipstick tube, though it best to quit while I'm ahead ish lol
I'm leaving the air box as next I'll have that out for a Wak mod and I'll either polish or crackle finish the intake
A familiar sight

So all back together in a few hours we've gone from this
To this


Cheers
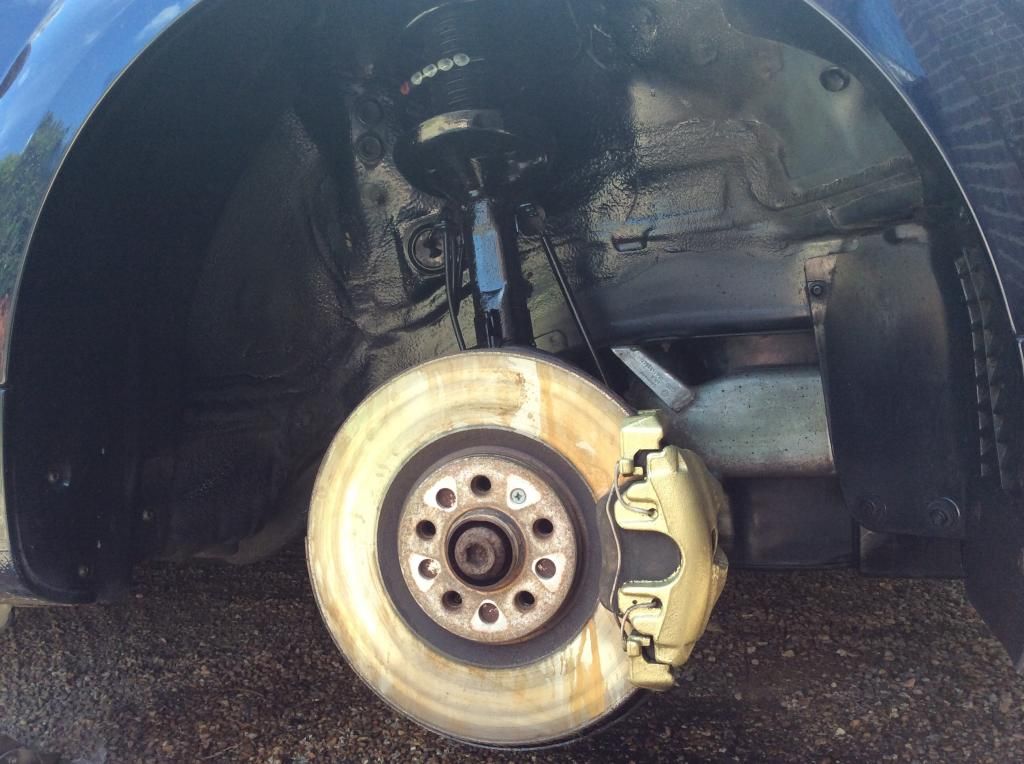
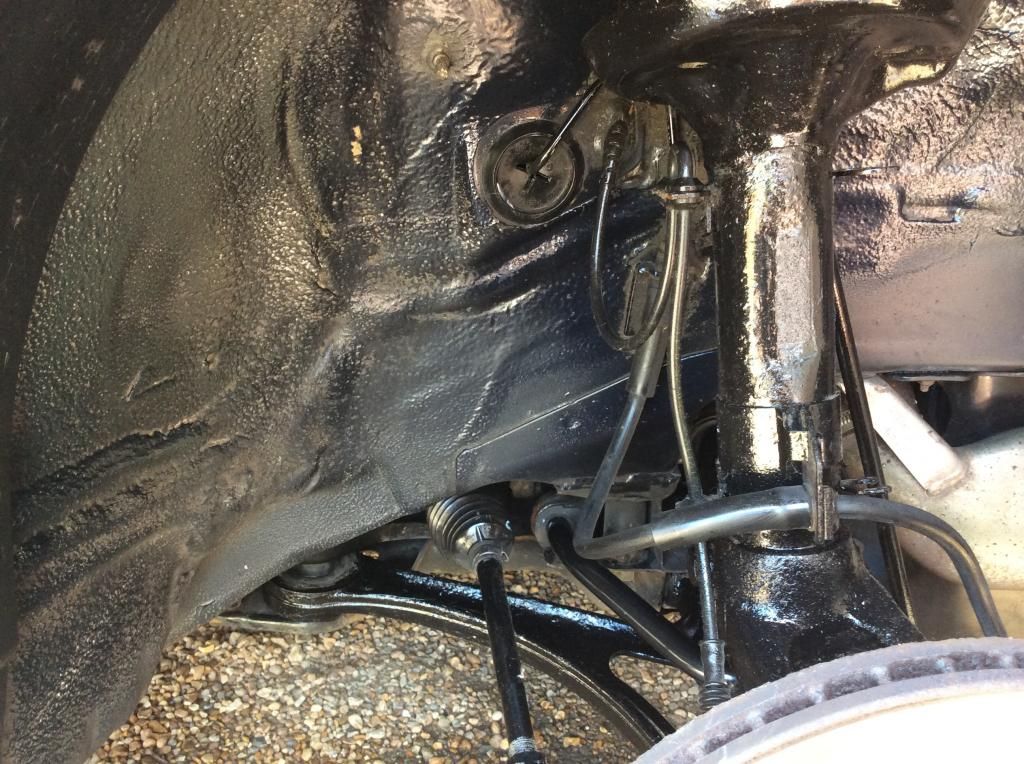
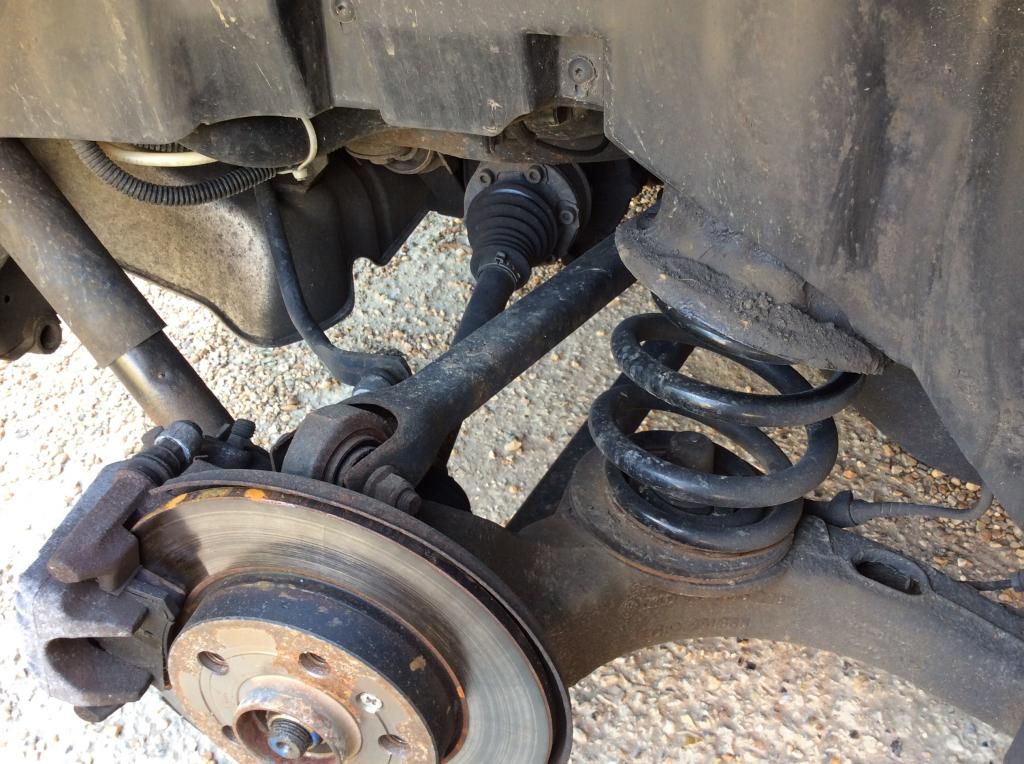
Thought I'd add an update. Had the front wheels off and given the arches a bit of a spruce up, nothing to ott and tried the gold on the calipers, don't like it so they are going red.
Pads look fine with plenty of meat on them but the discs will be changed as they look nasty.
A before
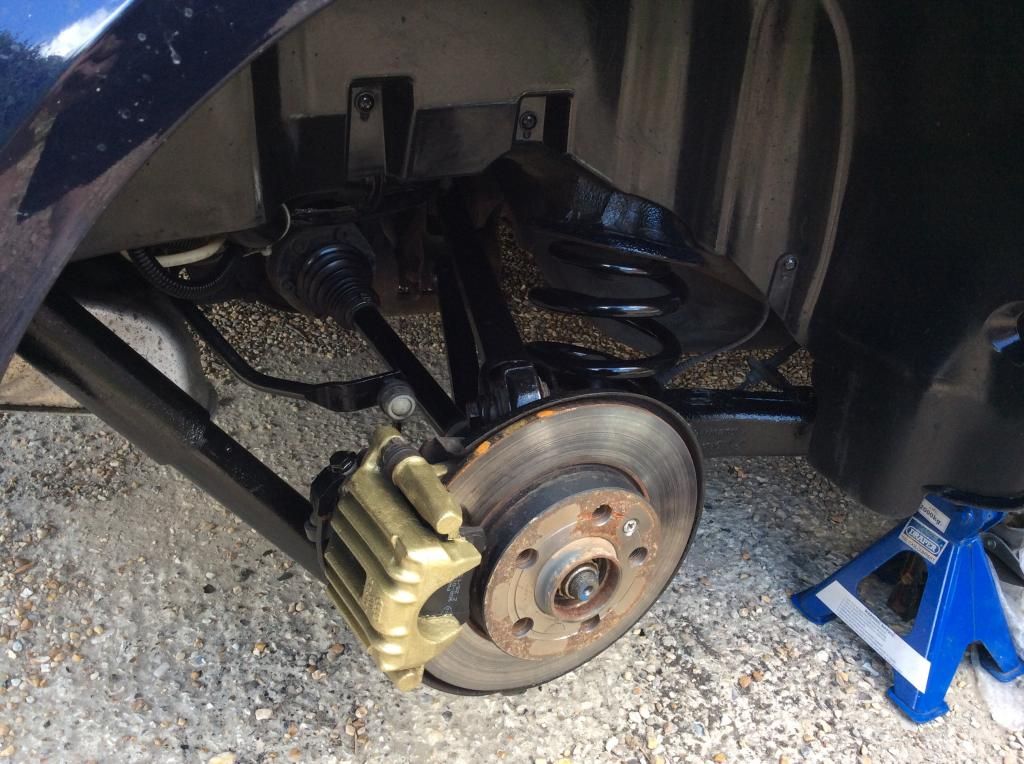
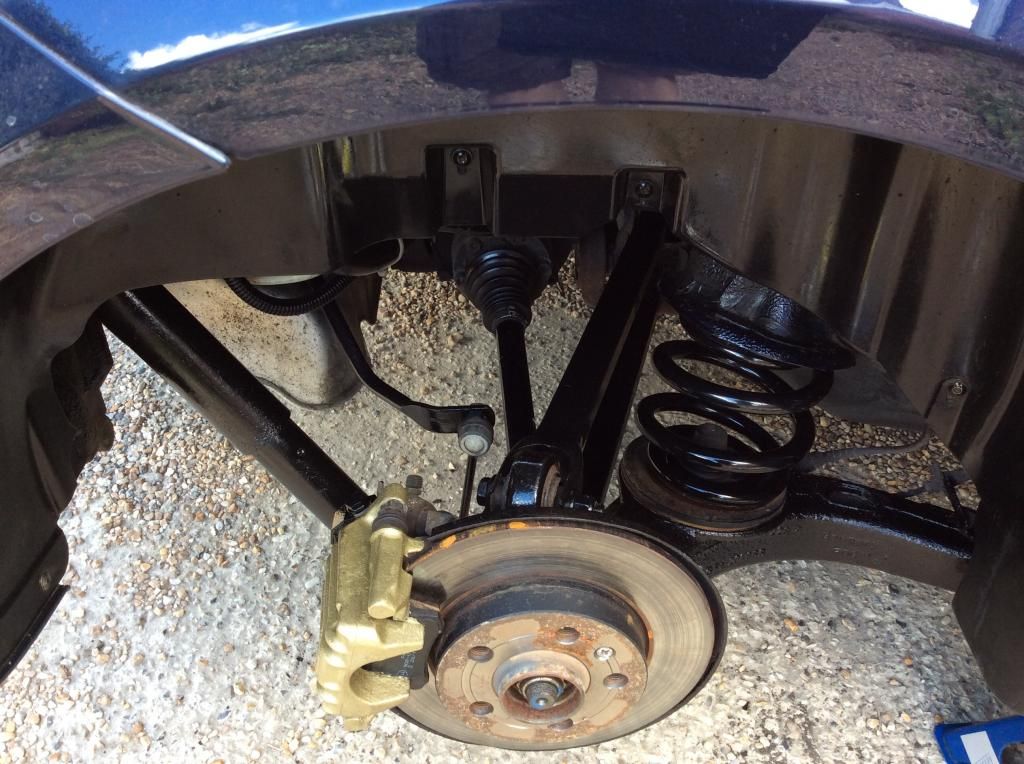
And an after
Got to sort the wheels out too.
Pads look fine with plenty of meat on them but the discs will be changed as they look nasty.
A before


And an after


Got to sort the wheels out too.
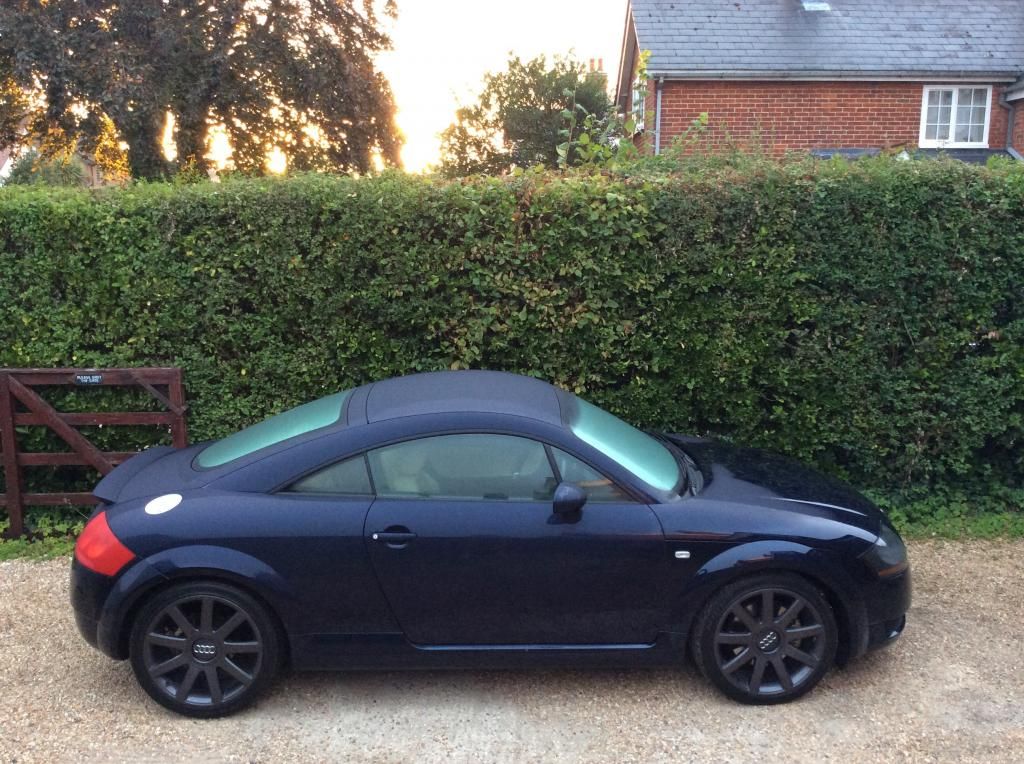
Finally got round to removing the rear badges though the rings will stay, also gave it a quick polish today, not going overboard yet as got a few stone chips to repair and three scuffs to sort out before I give it a full detail oh and not forgetting my nasty wheels too :mrgreen:
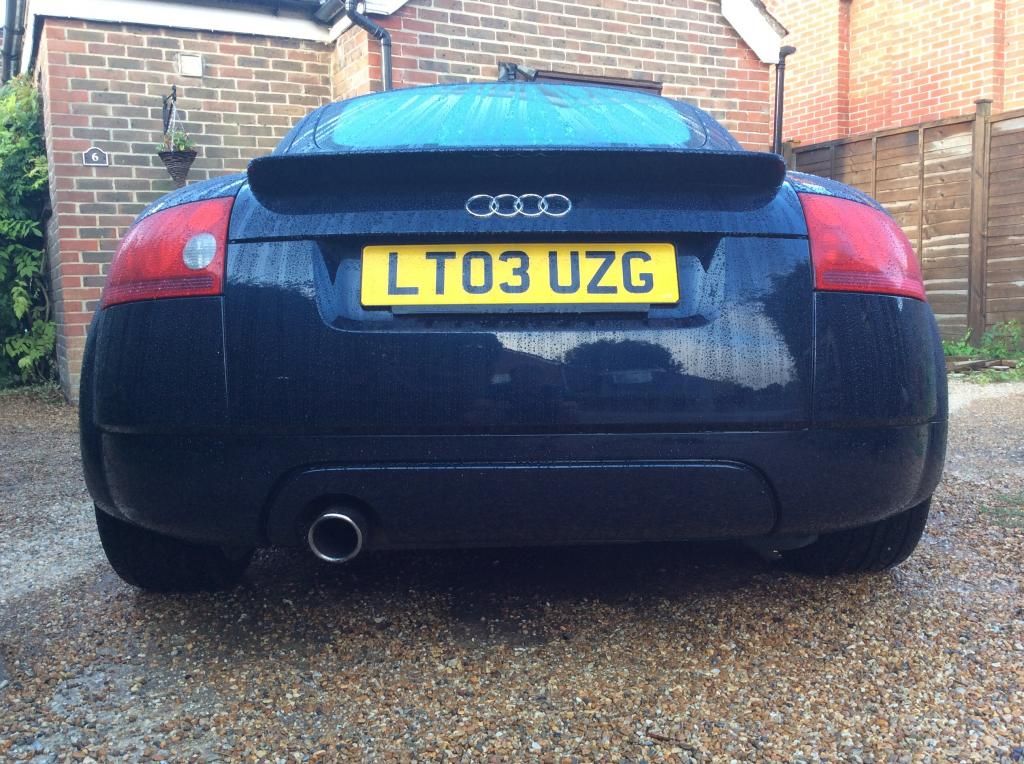
Much better.
Also got round to Waking my box
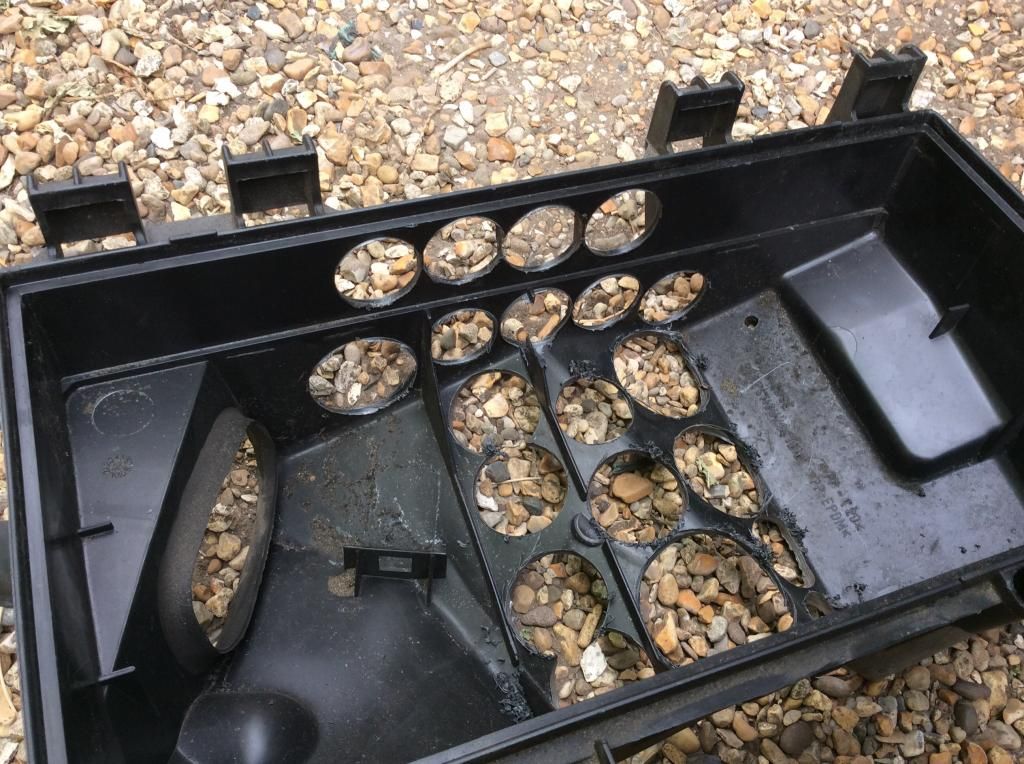

Much better.

Also got round to Waking my box

Got round to tidying up the rear arches, good tip, don't paint calipers with a 3"'brush, couldn't find a smaller one :mrgreen: seeing as they will go red soon I'll be rubbing them down and painting them properly, it was more so they matched the front for now.
Dirty like the rest of the car was
And now much better
Dirty like the rest of the car was

And now much better


Thanks for the comments, I've now bought a selection of VHT paint, wrinkle paint, ordered different sizes of high temp Quattro logos from the vinyl cutters so manifold, strut brace and calipers will be underway shortly.
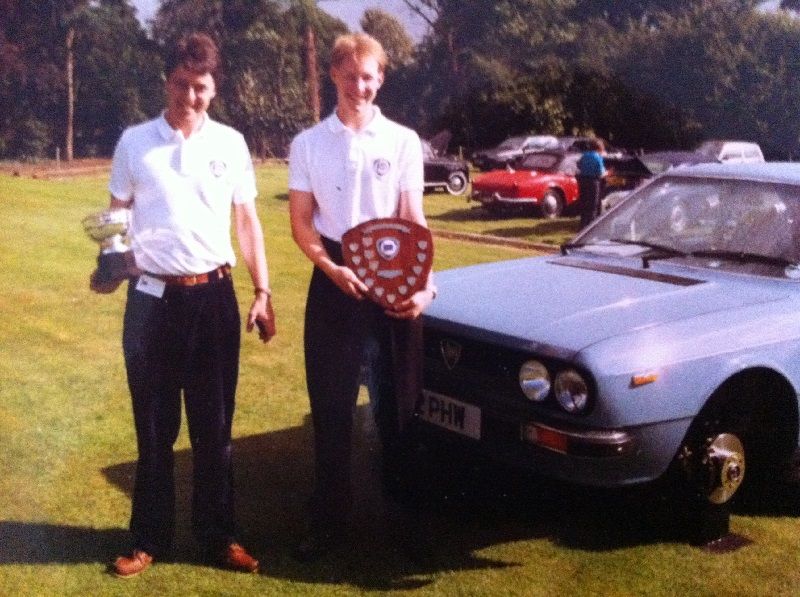
This is the car that started my obsession over 30 years ago, we've won many concours upto national level with it, never been restored / painted just had a lot of hours cleaning it.
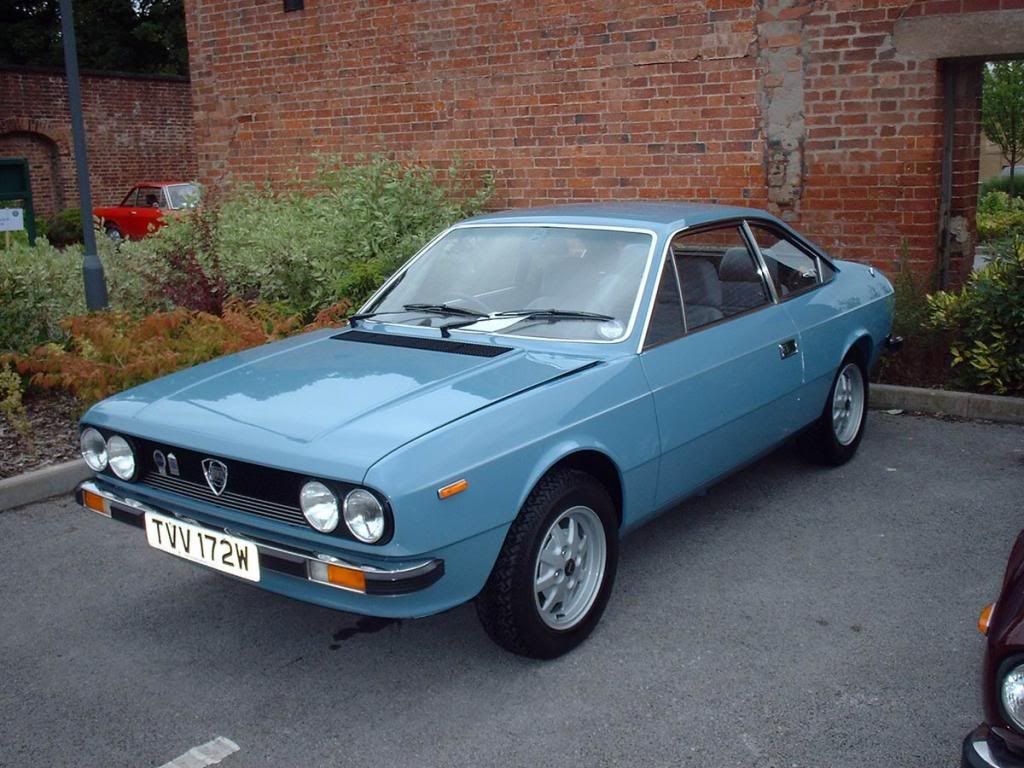
A much younger me on the right lol
This is the car that started my obsession over 30 years ago, we've won many concours upto national level with it, never been restored / painted just had a lot of hours cleaning it.

A much younger me on the right lol

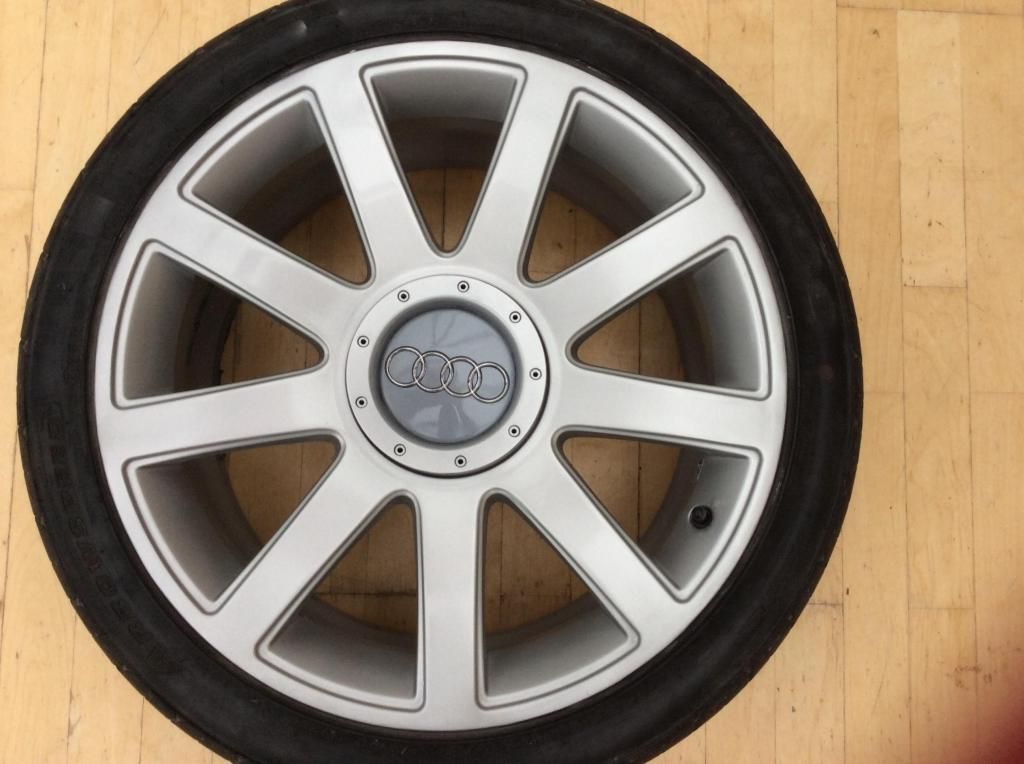
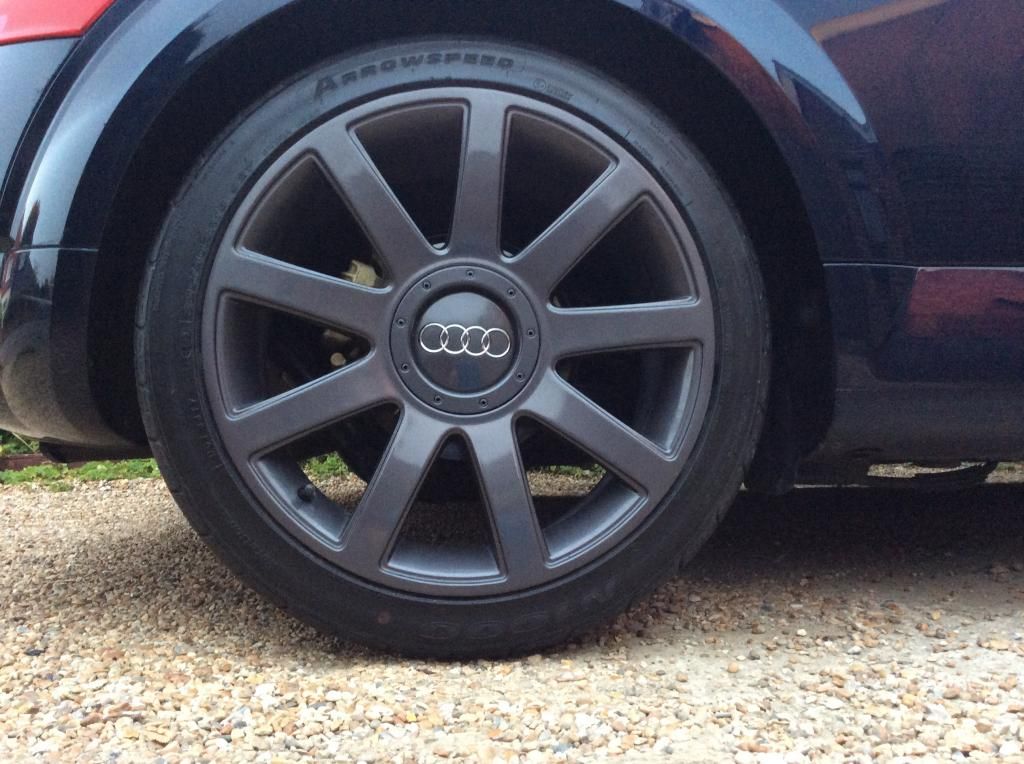
Since the last update I have now refurbed my wheels, tried them silver but just wasn't happy with the colour despite having used the same shade on previous wheels so seeing as I plan on some 19"'s I always wanted anthracite wheels and seeing Conlechi's car decided they suit Moro pretty well.
The wheels were painted with the tyres on and in my shed so with a little patience and a lot of preparation you can get a decent finish from a rattle can. Just meant my car sitting on its space saver for a week whilst it wasn't being driven.
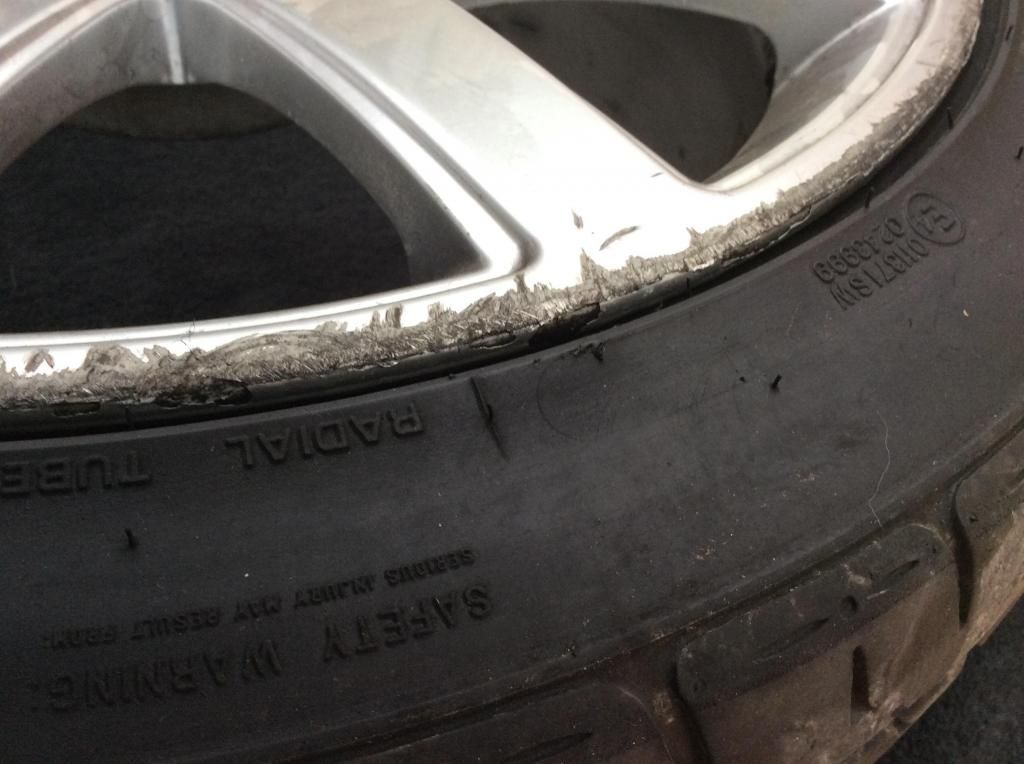
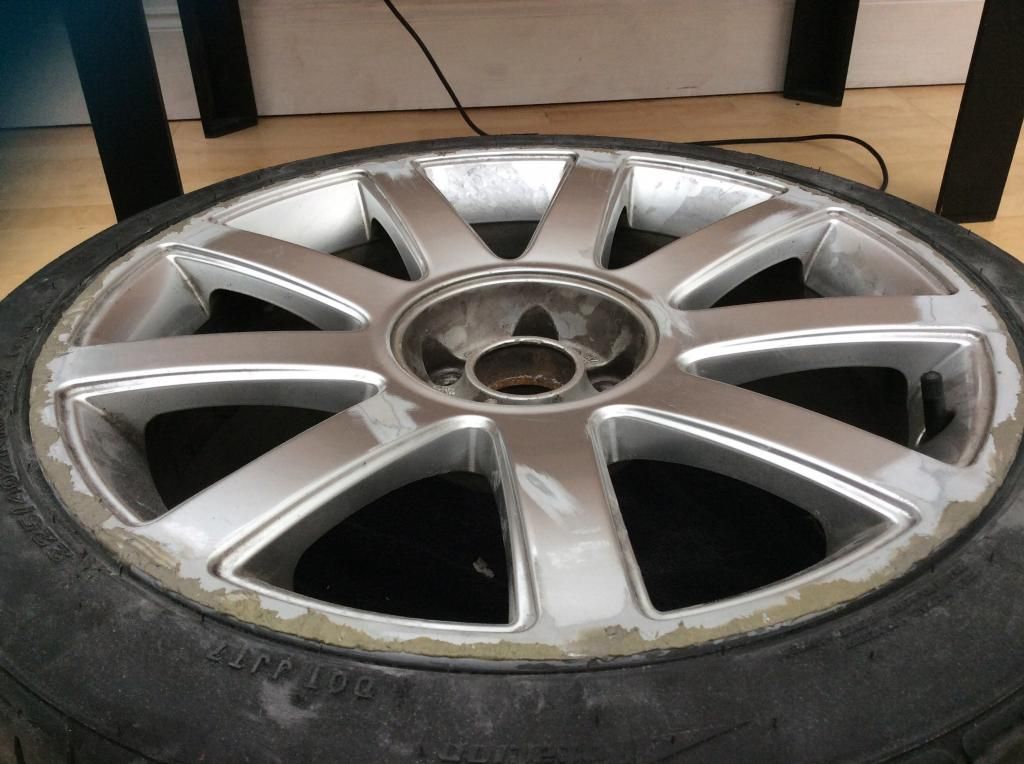
The wheels were all heavily curbed but the repair was the same for each wheel. Started rubbing down the lips with 120 grit wet and dry to remove the damaged areas also taking our any other burrs from scuffs, corrosion and curb marks on the rest of the wheel. I then bit by bit mixed metal filler and applied it to the whole outerlip reshaping and filling the gouges as i went round, once this had gone off again 120 grit paper was good enough to flat it back down. Once that was done I switched to 600 and 800 grit for the rest of the wheel to prep an even surface ready for primer.
Two coats of primer and I could go straight for the 1200 grit wet to sand down to a smooth surface finish, any remaining nicks were then filled and re-primed.
It always takes me a wheel to learn how best to paint it without overloading certain areas and increasing the risk of runs so it was a case of painting the inner radius of each spoke first followed by the both inner edges of each spoke, then the bottom surface followed by the face of each spoke, this seemed to give a nice even paint finish all the way round. Due to me painting them with rattle cans I always boil a kettle of water to almost boiling and stand the tin in their for a few minutes, it thins the paint and you get a much higher release pressure of the paint.
The lacquer followed the same process as above and all in all it took a can and a half of paint for each wheel and the large can of lacquer.
I used Ford Graphire grey from Halfords for the wheel colour and their large tin of lacquer.
Sanding off the burrs and removing the paint, first stage of rebuilding the lip after repairing with metal filler.
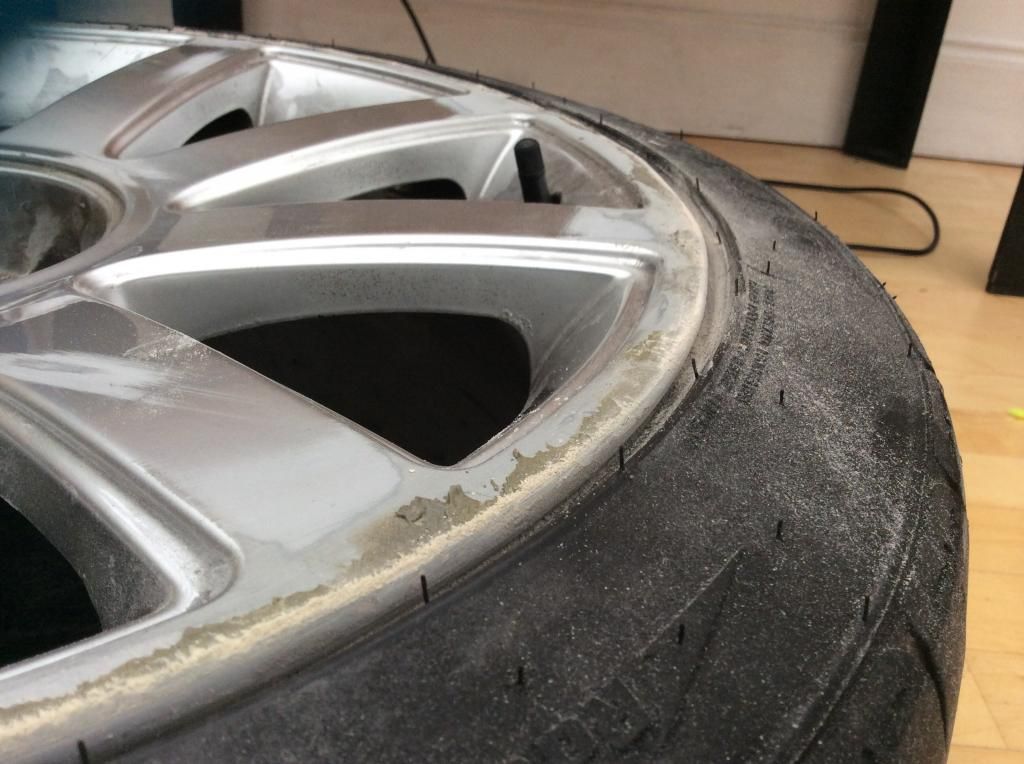
Wheel all flatted back ready for primer.
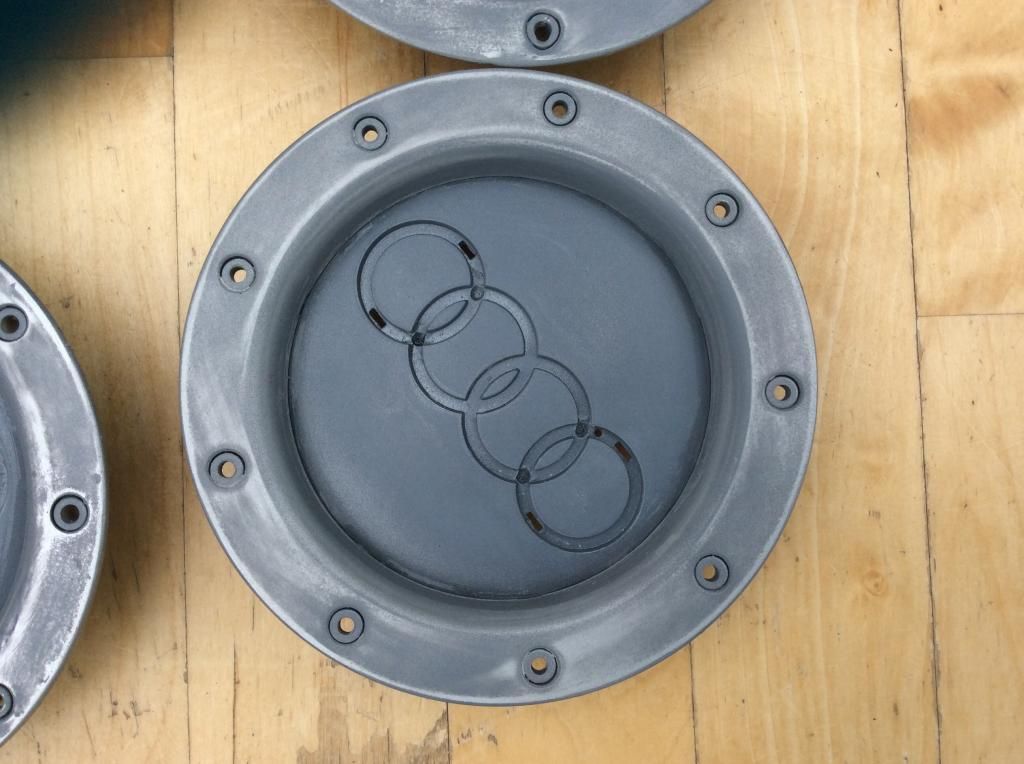
Not forgetting the centre caps.
Final paint and lacquer in silver but the colour just looked too grey on the car despite having used this colour before on a Mk2 Gti Golf.
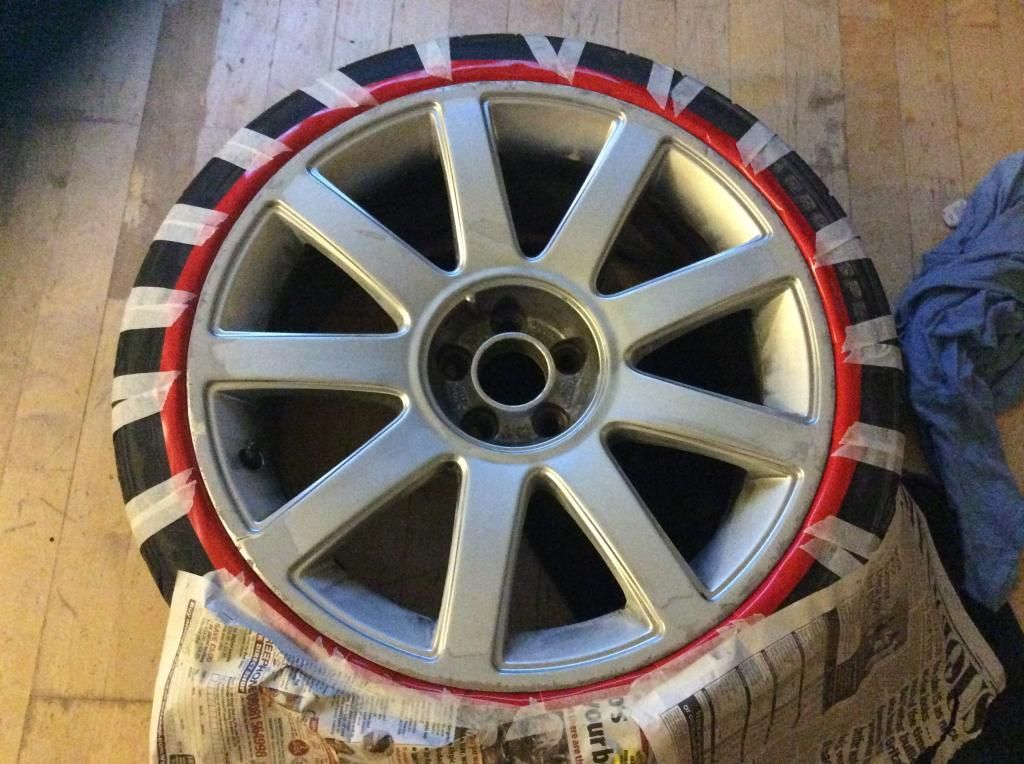
So flatted them back and changed to this,
Been doing a couple of bits in-between the wheels too,
Removed sanded painted in VHT then repainted as it was too orangery for me :mrgreen:
Now toolbox red and shiney
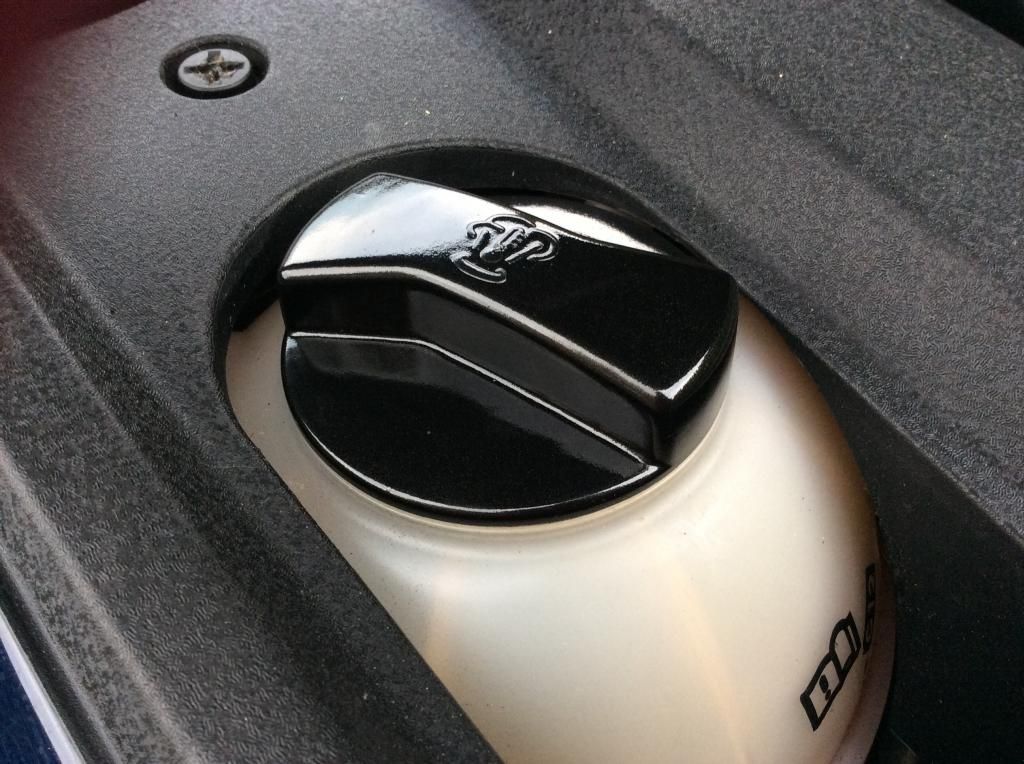
Didn't like the blue plastic so until I get the Porsche Oil and Water caps I decided to paint using Audi Phantom black the coolant cap, washer bottle cap and dipstick ( still got the tube to do but will us a VHT wrinkle for that part )
I have now received in the post some stuff to stick onto my calipers when they turn red and a nice engine bling bolt kit which will be going on shortly.
It also means I can now get cracking with my inlet manifold and a couple of other bits to be painted to keep on with the general tidy up. Spent some more time sanding down the metal so I can prep it smooth enough for painting, still got loads to do on that. :mrgreen:
The wheels were painted with the tyres on and in my shed so with a little patience and a lot of preparation you can get a decent finish from a rattle can. Just meant my car sitting on its space saver for a week whilst it wasn't being driven.
The wheels were all heavily curbed but the repair was the same for each wheel. Started rubbing down the lips with 120 grit wet and dry to remove the damaged areas also taking our any other burrs from scuffs, corrosion and curb marks on the rest of the wheel. I then bit by bit mixed metal filler and applied it to the whole outerlip reshaping and filling the gouges as i went round, once this had gone off again 120 grit paper was good enough to flat it back down. Once that was done I switched to 600 and 800 grit for the rest of the wheel to prep an even surface ready for primer.
Two coats of primer and I could go straight for the 1200 grit wet to sand down to a smooth surface finish, any remaining nicks were then filled and re-primed.
It always takes me a wheel to learn how best to paint it without overloading certain areas and increasing the risk of runs so it was a case of painting the inner radius of each spoke first followed by the both inner edges of each spoke, then the bottom surface followed by the face of each spoke, this seemed to give a nice even paint finish all the way round. Due to me painting them with rattle cans I always boil a kettle of water to almost boiling and stand the tin in their for a few minutes, it thins the paint and you get a much higher release pressure of the paint.
The lacquer followed the same process as above and all in all it took a can and a half of paint for each wheel and the large can of lacquer.
I used Ford Graphire grey from Halfords for the wheel colour and their large tin of lacquer.


Sanding off the burrs and removing the paint, first stage of rebuilding the lip after repairing with metal filler.


Wheel all flatted back ready for primer.

Not forgetting the centre caps.

Final paint and lacquer in silver but the colour just looked too grey on the car despite having used this colour before on a Mk2 Gti Golf.

So flatted them back and changed to this,


Been doing a couple of bits in-between the wheels too,
Removed sanded painted in VHT then repainted as it was too orangery for me :mrgreen:
Now toolbox red and shiney

Didn't like the blue plastic so until I get the Porsche Oil and Water caps I decided to paint using Audi Phantom black the coolant cap, washer bottle cap and dipstick ( still got the tube to do but will us a VHT wrinkle for that part )

I have now received in the post some stuff to stick onto my calipers when they turn red and a nice engine bling bolt kit which will be going on shortly.
It also means I can now get cracking with my inlet manifold and a couple of other bits to be painted to keep on with the general tidy up. Spent some more time sanding down the metal so I can prep it smooth enough for painting, still got loads to do on that. :mrgreen:

PowerslideSWE said:
Very nice job that. How ppl manage to curb wheels that bad, or at all for that matter is beyond me, driven cars for 20 years and have never scraped a wheel against a curb 
Darker wheels looked great btw.
Unlike silver that shows the brake dust they just go from glossy to matt now lolDarker wheels looked great btw.
Doing some more tidying under the bonnet tomorrow morning.
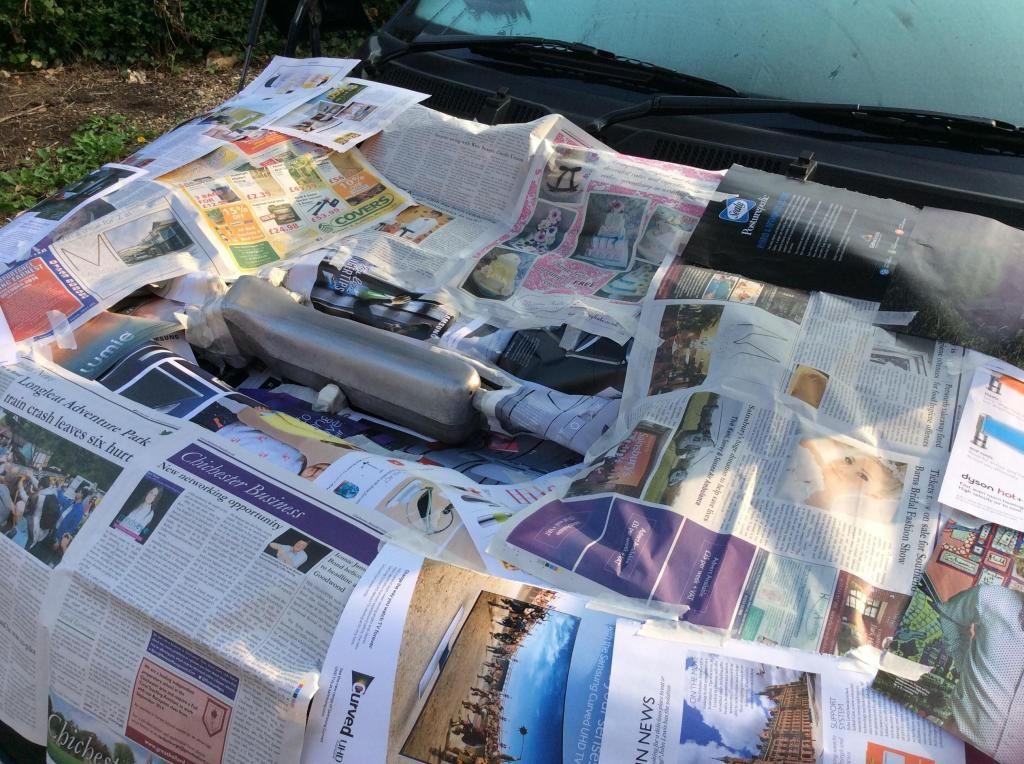
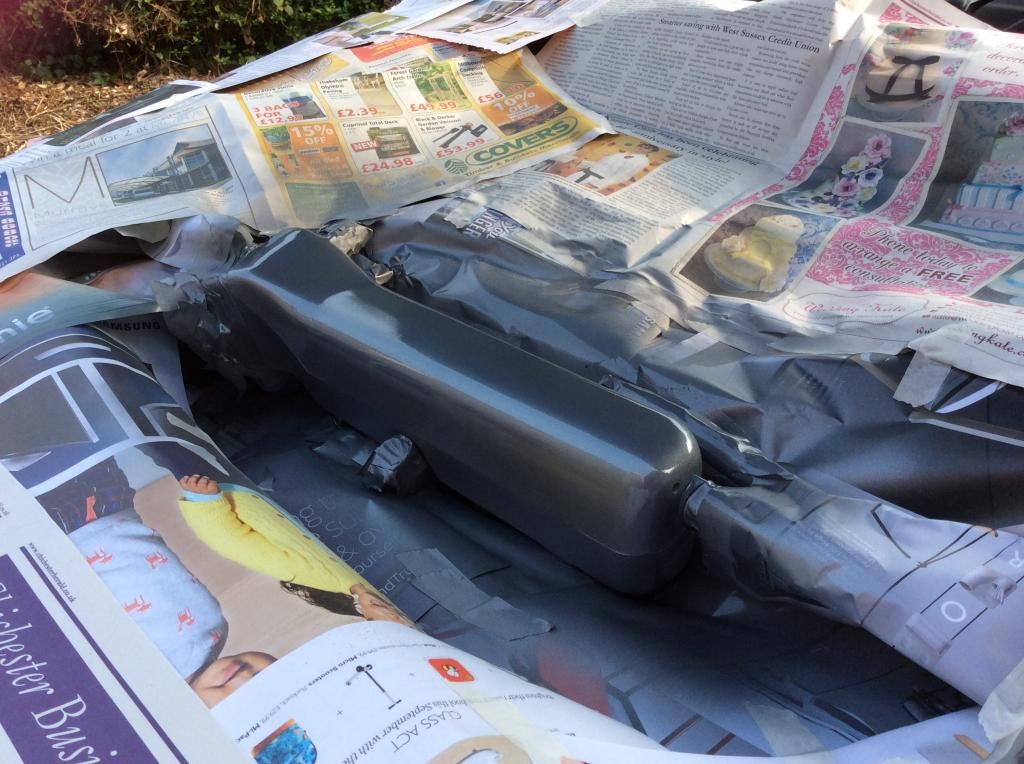
We'll I've finally finished my inlet manifold, throttle body and fitted the new engine bolt kit. I managed to do it all in situ without even removing a single pipe or clip with some clever masking. Here's how it all went from masking to primer, paint, lacquer and refit, even fitted a cheeky Quattro logo onto the inlet that I had made in high temp vinyl that came out just how I wanted.
I'd prepped the metal work beforehand but all in all it took me one hour and another 30mins to fit the bolt kit.
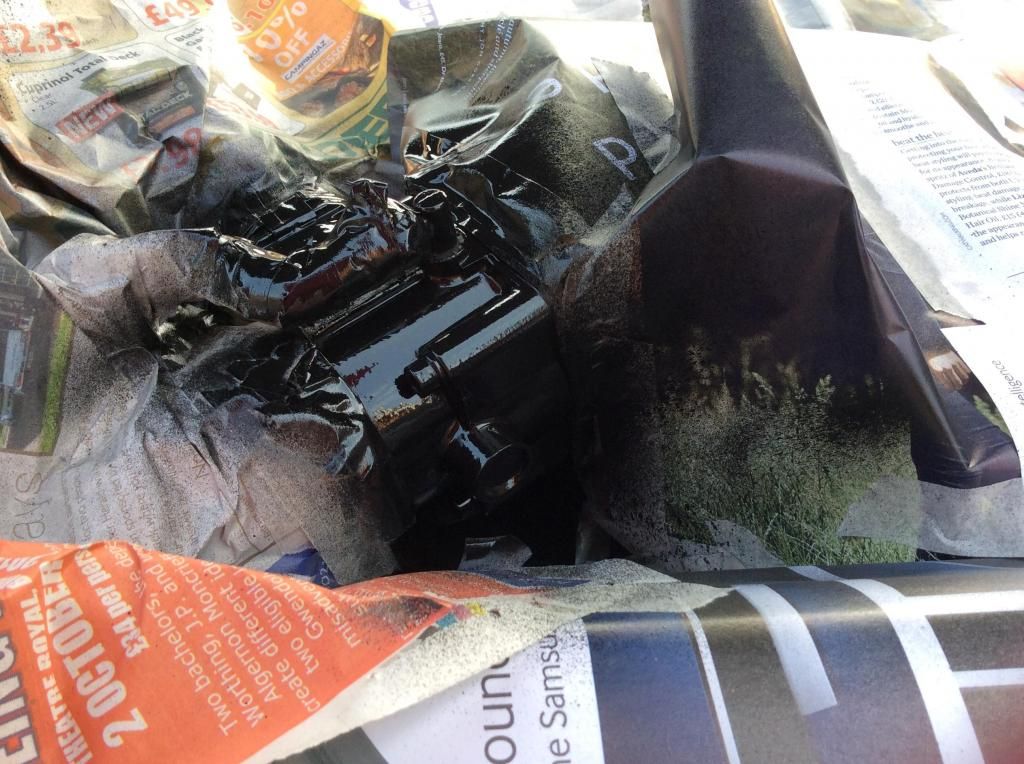
All masked up.
Primer went on really well and covered up the last of the tiny blemishes.

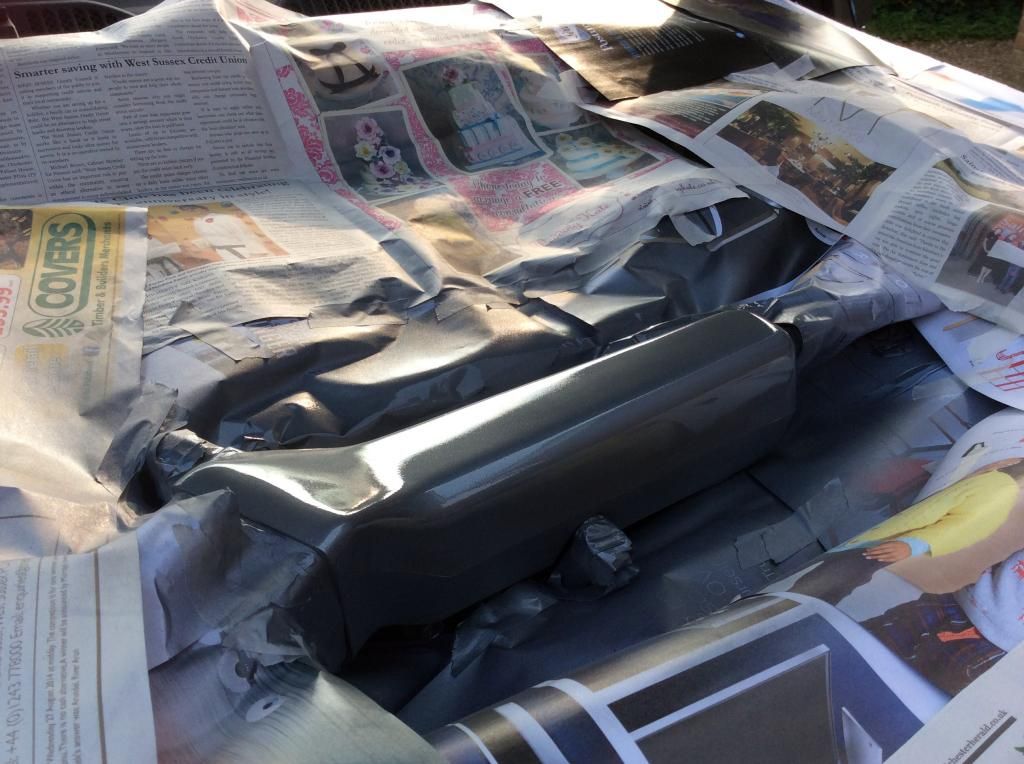
First lay down of the colour, used Audi Quartz for this.
All lacquered
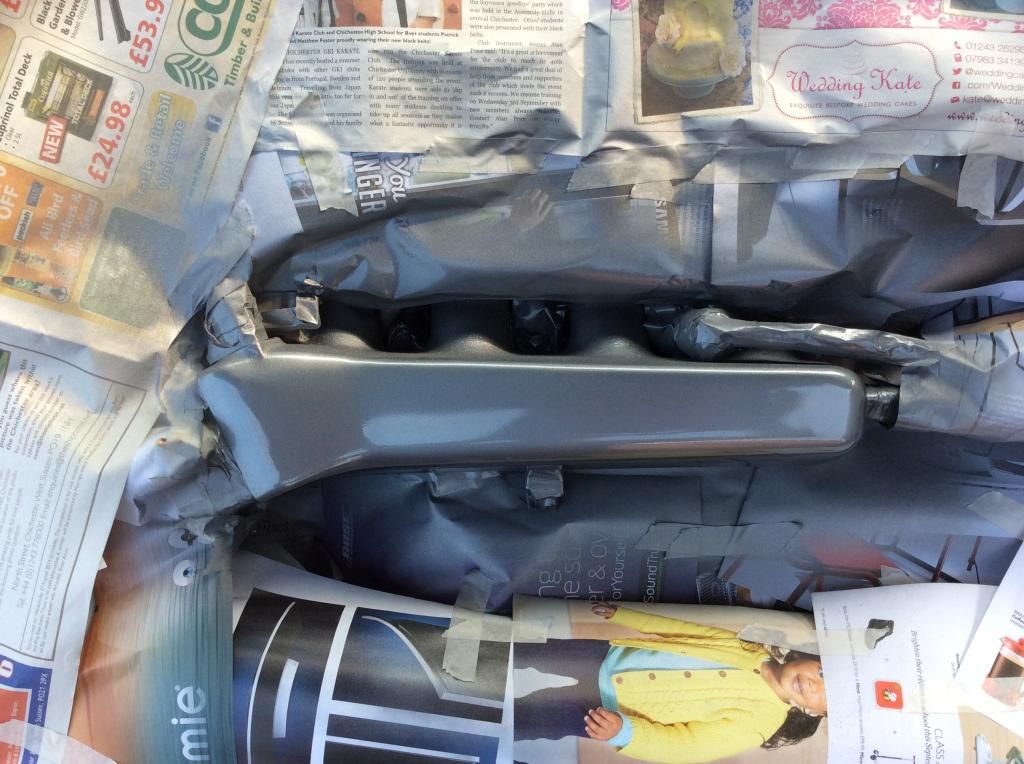
I didn't have much time in fact only one hour to do the whole lot from masking to finish so got on quickly with the throttle body.
Here it is all finished
I'd prepped the metal work beforehand but all in all it took me one hour and another 30mins to fit the bolt kit.
All masked up.

Primer went on really well and covered up the last of the tiny blemishes.

First lay down of the colour, used Audi Quartz for this.

All lacquered


I didn't have much time in fact only one hour to do the whole lot from masking to finish so got on quickly with the throttle body.


Here it is all finished


EricE said:
these threads always make me want to ask what exact products were used... but the truth is that i would not come anywhere near your result because it's all skill and hard work. my hat goes off to you.
To be fair it's really not that hard, just taking time in the prep and not rushing things. All done with stuff from halfords.
Gassing Station | Readers' Cars | Top of Page | What's New | My Stuff