Trabant 601 - The Beast from the East (of Germany)
Discussion


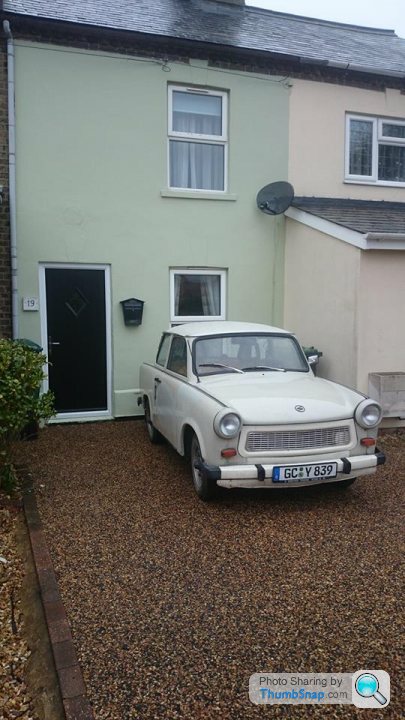
So here is the latest silly project, a late (1990) 2 stroke Trabant. Me and my friend Jon went halves for it and plan is to get it road legal then have some fun modifying it.
It was imported over as a film prop for the new 'Man From Uncle' film, but since filming stopped it's went up for sale and we got it
We have to get the Jag and TVR's sorted before we can properly start on it but that should only be a couple of weeks away now.
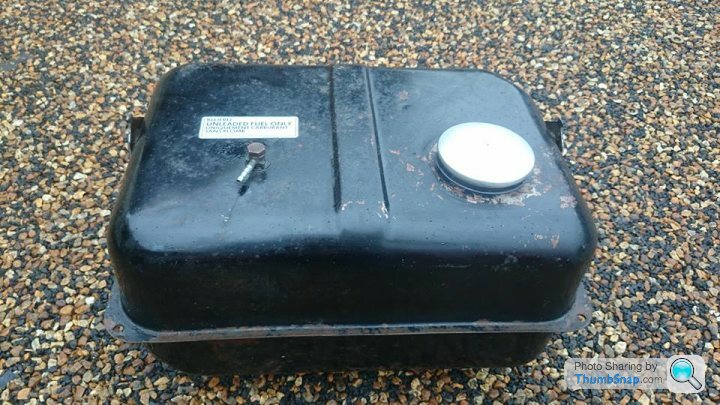
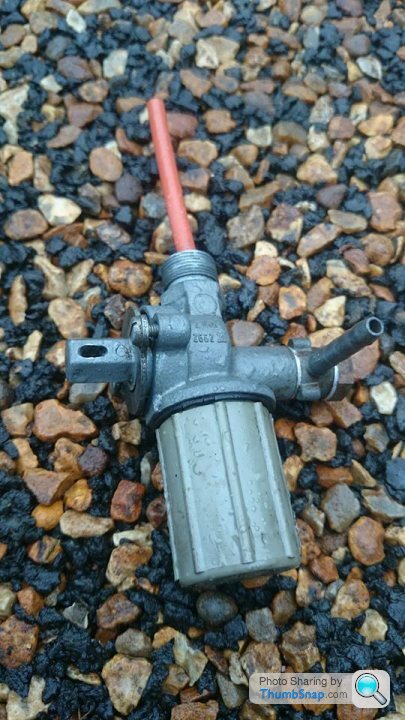
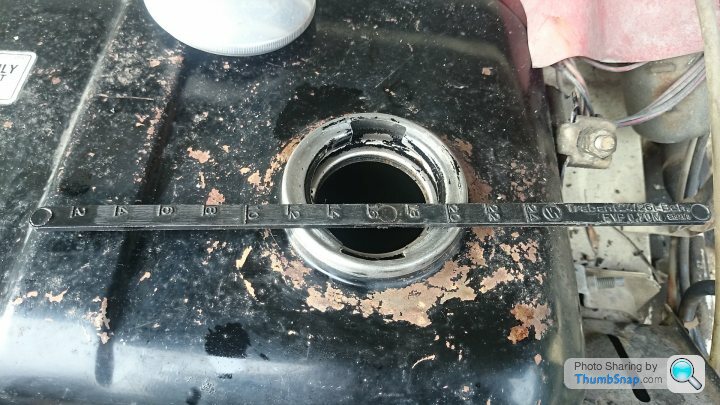
Today I made a quick start by getting it on the drive ready for work, it ran but poorly and wouldn't rev. I started by replacing the plugs with genuine 'Isolator' ones from Germany, and cleaned out the fuel tank of the old stale fuel, cleaned up the fuel tap and refilled with fresh 50:1 mix. It started up first try and ran lovely, albeit a little smokey
Awesome seat covers
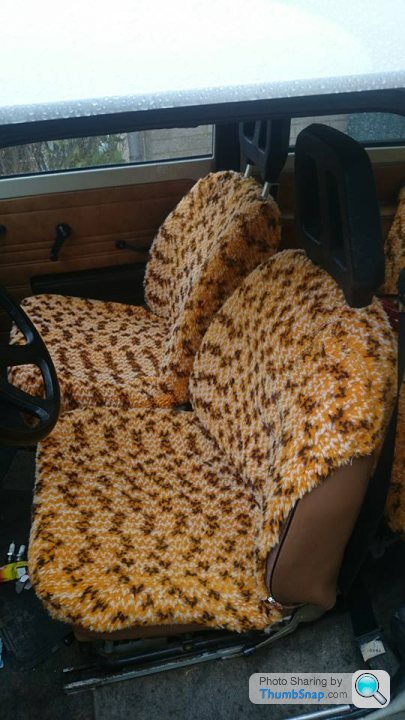
Height of luxury . . .
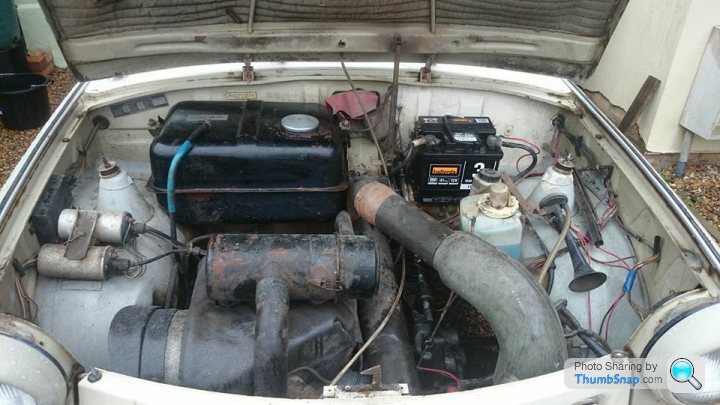
Clean tank
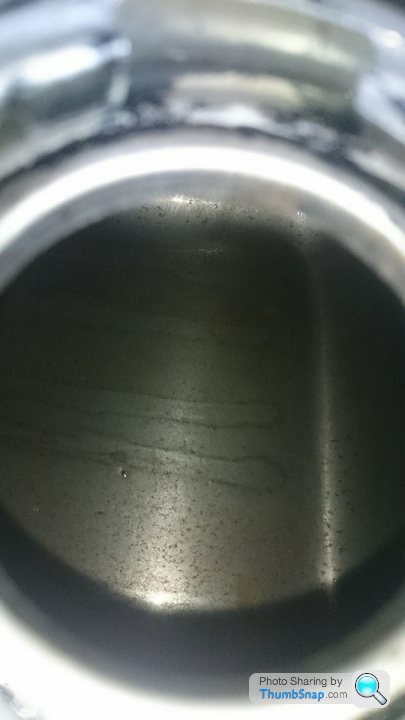
Nice and fresh inside too which is a bonus
It was imported over as a film prop for the new 'Man From Uncle' film, but since filming stopped it's went up for sale and we got it
We have to get the Jag and TVR's sorted before we can properly start on it but that should only be a couple of weeks away now.
Today I made a quick start by getting it on the drive ready for work, it ran but poorly and wouldn't rev. I started by replacing the plugs with genuine 'Isolator' ones from Germany, and cleaned out the fuel tank of the old stale fuel, cleaned up the fuel tap and refilled with fresh 50:1 mix. It started up first try and ran lovely, albeit a little smokey
Awesome seat covers
Height of luxury . . .
Clean tank
Nice and fresh inside too which is a bonus
Edited by AceOfHearts on Thursday 19th February 18:17
Edited by AceOfHearts on Thursday 19th February 18:18
Art0ir said:
LanceRS said:
I have to ask, what is the attraction? A lad a work bought one recently, so far he has not managed to get it on the road. After many conversations about it, he has still to convince me of any endearing qualities.
Having said all that, you are to be applauded for being brave and buying something a bit different.
Similar to a VW Beetle I imagine; retro fun, quirky looking, can disassemble and reassemble with a £15 tool kit.Having said all that, you are to be applauded for being brave and buying something a bit different.
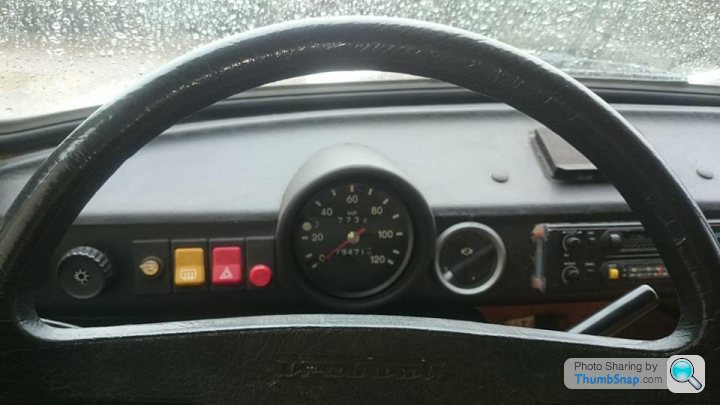
Though I would add a bit more info on the high tech East German features:
Fuel gauge (at least it is accurate) 3l in the tank at present
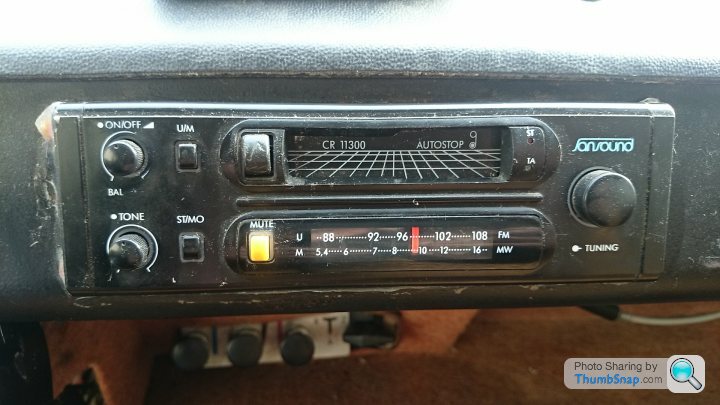
Top of the range sound system
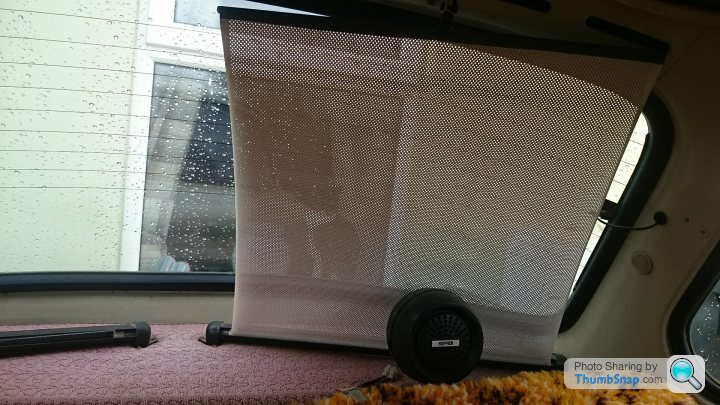
Rear blinds
Luxurious deep pile carpets

I also had a poke around some of the grotty parts today and it looks like we have about a days worth of welding to do. Also looks like we need to remove the right hand rear quarter duroplast panel to get access to one bit.
I might buy Jon and see if he will find the time to come down next week and do it.
Fuel gauge (at least it is accurate
) 3l in the tank at presentTop of the range sound system
Rear blinds
Luxurious deep pile carpets
I also had a poke around some of the grotty parts today and it looks like we have about a days worth of welding to do. Also looks like we need to remove the right hand rear quarter duroplast panel to get access to one bit.
I might buy Jon and see if he will find the time to come down next week and do it.
Edited by AceOfHearts on Friday 20th February 11:53
Edited by AceOfHearts on Friday 20th February 11:55
marky911 said:
Never trust a car that has coils that are beefier than its strut tops.
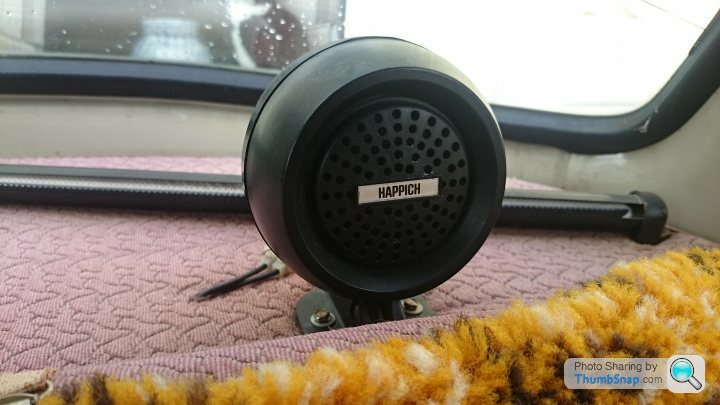
Everything about that car is hilarious. The seat covers and Happich speakers are great!
Off topic Ace, your driveway looks very flat and firm for gravel. How is it done? Hardcore whacked down then top gravel or is it the solid base, spray on glue then gravel type?
Just curious as we will be tackling ours over the next 12 months and due to budget I think it will have to be gravel for a few years. Not ideal for jacking up cars on though.
Cheers, surprisingly the radio and speakers actually work Ok!Everything about that car is hilarious. The seat covers and Happich speakers are great!
Off topic Ace, your driveway looks very flat and firm for gravel. How is it done? Hardcore whacked down then top gravel or is it the solid base, spray on glue then gravel type?
Just curious as we will be tackling ours over the next 12 months and due to budget I think it will have to be gravel for a few years. Not ideal for jacking up cars on though.
The drive is resin bound, I got it done as a trial by the company my dad works for as it is normally used by them in cycle lanes, but it has been standing up to the jacking the Jag up remarkably well! 8 months in now and no issues at all.
http://www.resin-bound-and-bonded-surfacing.ronacr...
The product is the Ecopath MT. The trial on ours is 8" of compacted type 1 with a 2" layer of the resin bound aggregate on top
Yes even this 1990 requires pre-mixing the fuel.
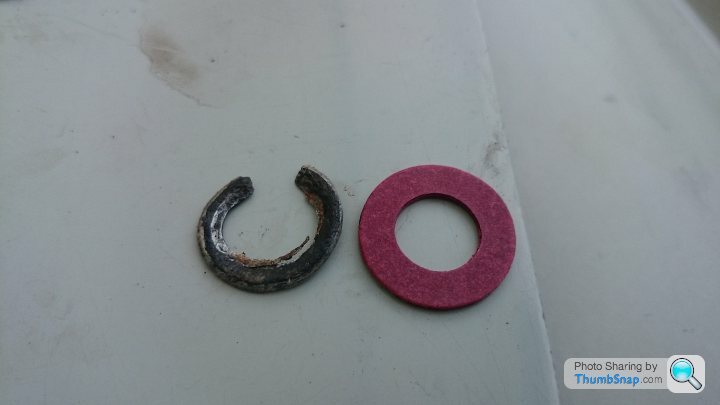
I had 15 minutes today to continue my quest of getting the trabi watertight. The water is coming in on the drivers side and I noticed some damage around the windscreen wipers on that side. It looks like at some point someone has munched the crush washer sealing around the shaft.
In the interests of minimal spending I found some fibre washers in my outbuilding and set to work!

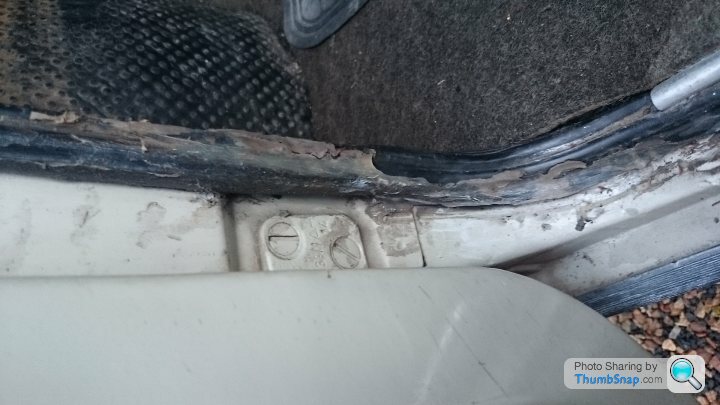
The door seals are also rock hard and seem a good culprit for water ingress. 7m of new seal ordered up to do both doors only £25 so hopefully that should turn up by the weekend.
Someone in the past has obviously had this problem and decided to have at it with the silicone sealant
I had 15 minutes today to continue my quest of getting the trabi watertight. The water is coming in on the drivers side and I noticed some damage around the windscreen wipers on that side. It looks like at some point someone has munched the crush washer sealing around the shaft.
In the interests of minimal spending I found some fibre washers in my outbuilding and set to work!
The door seals are also rock hard and seem a good culprit for water ingress. 7m of new seal ordered up to do both doors only £25 so hopefully that should turn up by the weekend.
Someone in the past has obviously had this problem and decided to have at it with the silicone sealant
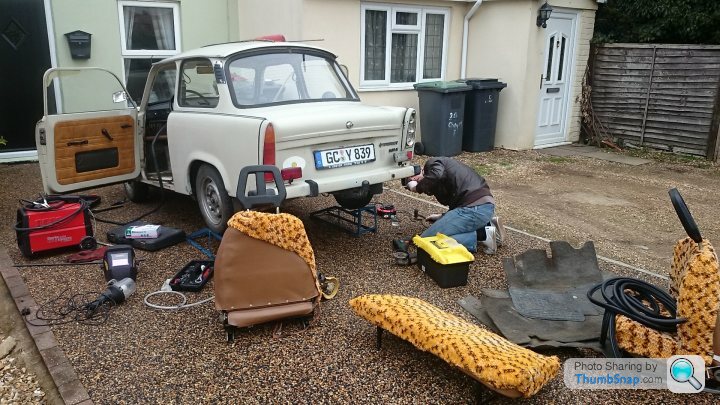
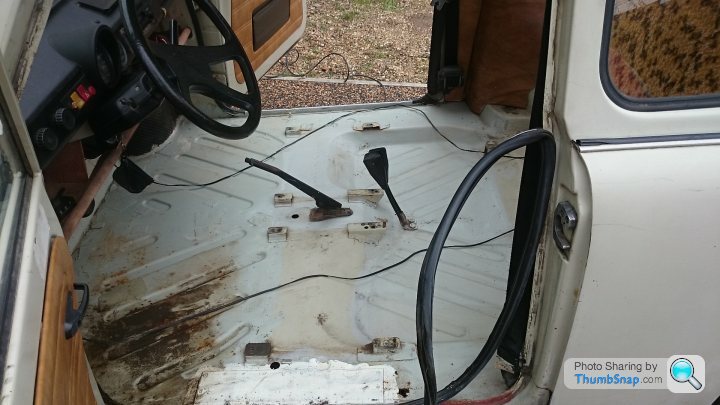
Made a start with Jon today. Stripped the interior out and cracked on with cutting out the rot. A little more than we expected so am ordering up 2 new sills from Germany. Floors were all good except for one patch which was riveted over. We cut this out but will replace when the new sills are here. Also fitted the new door seals so the car should at least be waterproof now!


The patch we managed to get in has now been ground back and painted, just needs a skim of filler once we have got everything else sorted
The patch we managed to get in has now been ground back and painted, just needs a skim of filler once we have got everything else sorted
Edited by AceOfHearts on Saturday 28th February 20:21
Well we made some good progress on the right hand side this afternoon. Got rid of a lot of the grot and removed the rotten sill. We were on a roll but unfortunately ran out of welding wire, but we are in a good place that i can crack on next week (am working all weekend unfortunately)


Old and new sill


Old and new sill

Cracked on with a bit more today now i have some wire. Finished welding the floor and got the new sill section in. Just need to finish welding the inside edge of the sill and get the arch patched up and then this side is done 
Finished floor patch and sill plug welds ground down and painted. Will probably not bother grinding down the floor welds as they will be under the carpet.7

Where we are at the end of the day

Old to new sill section joint ground back

And almost fully in! Another afternoon and this side should be complete

I might carry on tomorrow but i have a new steering column to put in the TVR so that will probably take priority
Just looked up Trabi Safari on google, looks great fun 
A small update but I have fitted Jons excellent handiwork to the Trabi. I think it is so awful that it suits the car


I also just t-cut a small section of the boot and i think surprisingly the paint will clean up ok.
Back to the welding . . .
A small update but I have fitted Jons excellent handiwork to the Trabi. I think it is so awful that it suits the car


I also just t-cut a small section of the boot and i think surprisingly the paint will clean up ok.
Back to the welding . . .
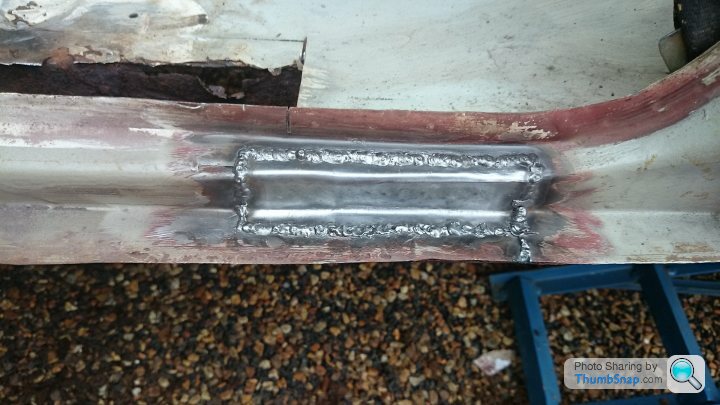
A lot more done today
We managed to get the arch repaired (which for our first ever think went quite well) and Jon did his special 'fix' for the cracked rear quarter panel
All that is left for that corner is finishing off the end of the sill and a small section of the boot floor at the rear of the arch. Then we can get the panel back on and start on the other side!


And some interesting videos to show that the steel frame with duroplast panels was actually quite a strong design. According to this months Practical Classics it actually outperformed the 1990 VW Polo in crash tests.
https://www.youtube.com/watch?v=oF4phDLfGF4
https://www.youtube.com/watch?v=8ceEh7R1KYA
https://www.youtube.com/watch?v=oF4phDLfGF4
https://www.youtube.com/watch?v=8ceEh7R1KYA


Well another morning spent on the Trabant
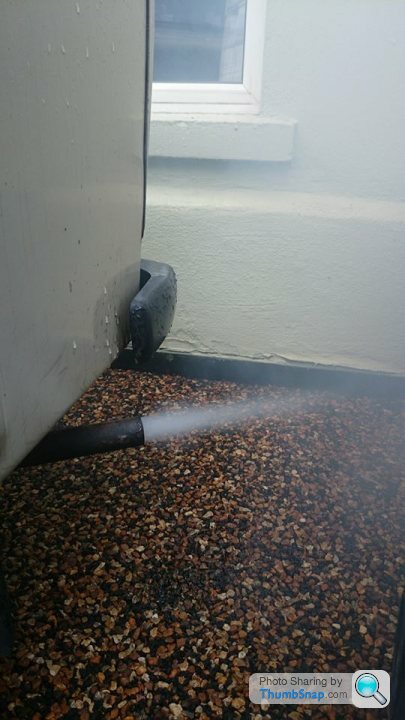
First off we got the fuel lines replaced so we can actually refill the tank now without it dribbling all over the drive (the HT leads will be seperated before we get it back up and running, i have only just noticed they are tied together!)

We then only had time to make a start stripping the left hand side to see what rust issues we were fighting against next. The cat obviusly came to help Jon remove the rear light

For anyone interested in what the Duroplast panels are like, to remove them they are held on with a mix of self tappers, rivets and a bead or what looks like decorators caulk. Here you can see the sealant type mix that has spilled out and the self tapper hole These are hidden by a piece of aluminium trim

After all the screws and rivets are removed we had to break the bead of sealant with a mix of screwdrivers and chisels. The duroplast is more flexible than fibreglass and is very strong.

Here is where the fun part began. The panel did not want to pull away easily but once the top was free this is what we could see in the gap

And the excellent expanding foam repair was revealed!

It looks like it has had a minor shunt in the past and the foam has been used to fill the gap between the duroplast panel and metal arch. It was really satisfying digging it all out

After all of the remaining foam was wire brushed off we could see the extent of the rust. Thankfully it is not quite as bad as the other side.


We ran out of time by this point (Jon had to get to work) so we re-hung the panel and it is now all ready to start repairing next time
First off we got the fuel lines replaced so we can actually refill the tank now without it dribbling all over the drive (the HT leads will be seperated before we get it back up and running, i have only just noticed they are tied together!)

We then only had time to make a start stripping the left hand side to see what rust issues we were fighting against next. The cat obviusly came to help Jon remove the rear light

For anyone interested in what the Duroplast panels are like, to remove them they are held on with a mix of self tappers, rivets and a bead or what looks like decorators caulk. Here you can see the sealant type mix that has spilled out and the self tapper hole
These are hidden by a piece of aluminium trim
After all the screws and rivets are removed we had to break the bead of sealant with a mix of screwdrivers and chisels. The duroplast is more flexible than fibreglass and is very strong.

Here is where the fun part began. The panel did not want to pull away easily but once the top was free this is what we could see in the gap

And the excellent expanding foam repair was revealed!

It looks like it has had a minor shunt in the past and the foam has been used to fill the gap between the duroplast panel and metal arch. It was really satisfying digging it all out

After all of the remaining foam was wire brushed off we could see the extent of the rust. Thankfully it is not quite as bad as the other side.


We ran out of time by this point (Jon had to get to work) so we re-hung the panel and it is now all ready to start repairing next time
Edited by AceOfHearts on Friday 19th June 23:12
Long time no update, but today we made a start on welding up the left had side. Unfortunately we found some previous owner bodge work of the upper sill so that has been written off and a new one has been ordered from Germany. To get free shipping we upped the order and got some suspension goodies too but more of that later
But we managed to remove all of the old sill, and repaired the wheel arch tub completely and made a few repairs to the floor. Next time we just need to fit the new main and upper sill pieces and then the welding is complete (so we can start on the fun stuff!)


Ghetto panel fabrication


And what was left over


Finally some more progress today. Got the new sill and upper fitted, started on the floors so will hopefully get all of the welding complete tomorrow
New sill in

Old upper cut out with previous repair

Jon mocking up the new panel

And welded in

Sill patch making

And random action shot

Another update tomorrow
New sill in

Old upper cut out with previous repair

Jon mocking up the new panel

And welded in

Sill patch making

And random action shot

Another update tomorrow
Gassing Station | Readers' Cars | Top of Page | What's New | My Stuff