Moto Guzzi Cali Cafe Racer Build thread
Discussion


I bought this bike as an unfinished project, its a 1989 Guzzi California 1000 with a LeMans Mk4 tank and lower frame rails and an aftermarket single seat unit. The Cali a Harley style cruiser but underneath the frame is the same as a LeMans, all it needed was the lower frame rails from a Lemans which then allows rearseats to be fitted. The Cali also has a pair of nice spoked wheels, with stainless spokes and allow rims. I thought it would make a good basis for a cafe racer.
This is how it looked when I went to see the bike at the sellers place.. I wasnt sure about the colour of the bodywork, but it was far too good to change.
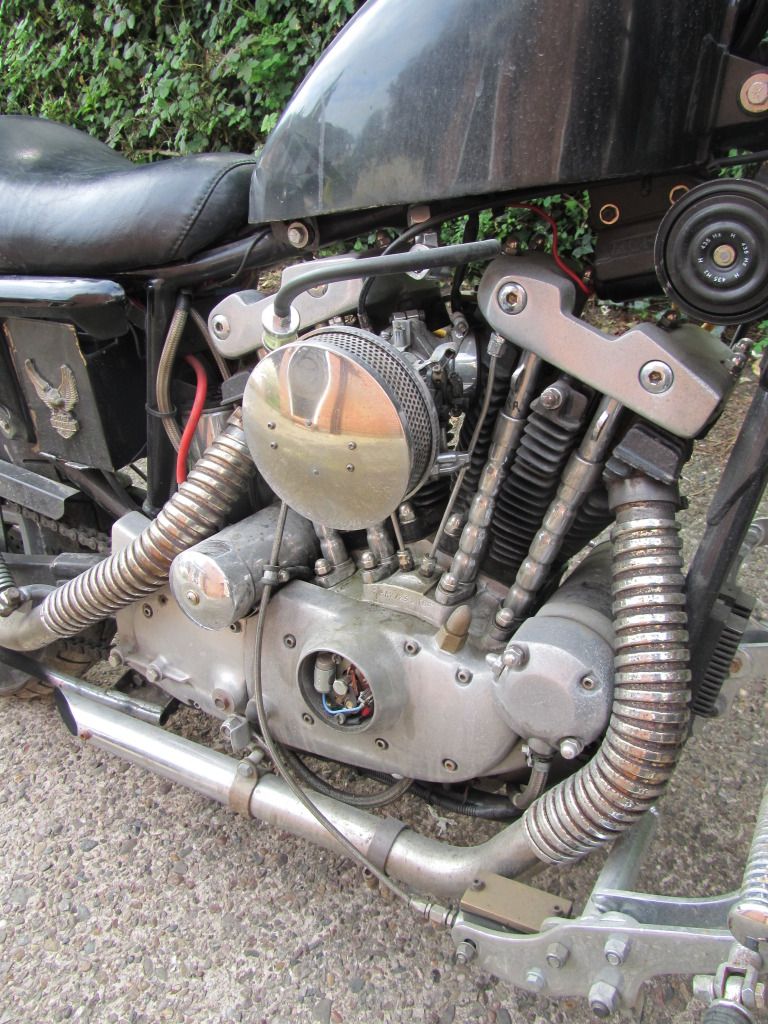
I was assured the bike was running ok before it was taken off the road, and it still had a long MOT despite being partially dismantled, along with lots of history and receipts. Once I got it home I checked everything I could, and apart from a worn timing chain adjuster I didnt find anything to worry about. A previous owner had decided to spray the engine, hubs, gearbox etc black.. I think on a dark night with his eyes closed, cos it looked awful.
The plan was to dismantle the bike, clean up the motor, new fasteners, polish the alloy, strip the black paint off, remove most of the brackets and taps that I wouldnt need and put it all back together with a few nice touches and a new wiring loom. Oh and delink the brakes too.. phew.. how hard can that be?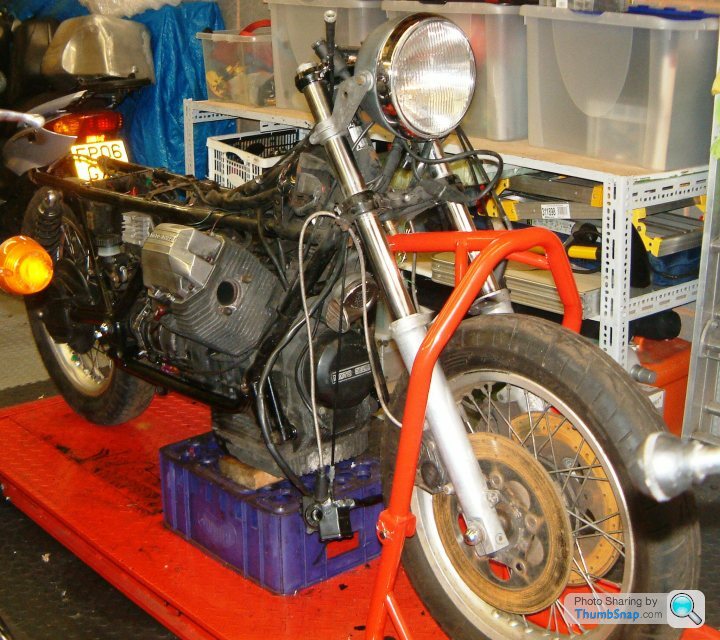
This is how it looked when I went to see the bike at the sellers place.. I wasnt sure about the colour of the bodywork, but it was far too good to change.
I was assured the bike was running ok before it was taken off the road, and it still had a long MOT despite being partially dismantled, along with lots of history and receipts. Once I got it home I checked everything I could, and apart from a worn timing chain adjuster I didnt find anything to worry about. A previous owner had decided to spray the engine, hubs, gearbox etc black.. I think on a dark night with his eyes closed, cos it looked awful.
The plan was to dismantle the bike, clean up the motor, new fasteners, polish the alloy, strip the black paint off, remove most of the brackets and taps that I wouldnt need and put it all back together with a few nice touches and a new wiring loom. Oh and delink the brakes too.. phew.. how hard can that be?
Edited by Merch131 on Friday 11th April 19:13
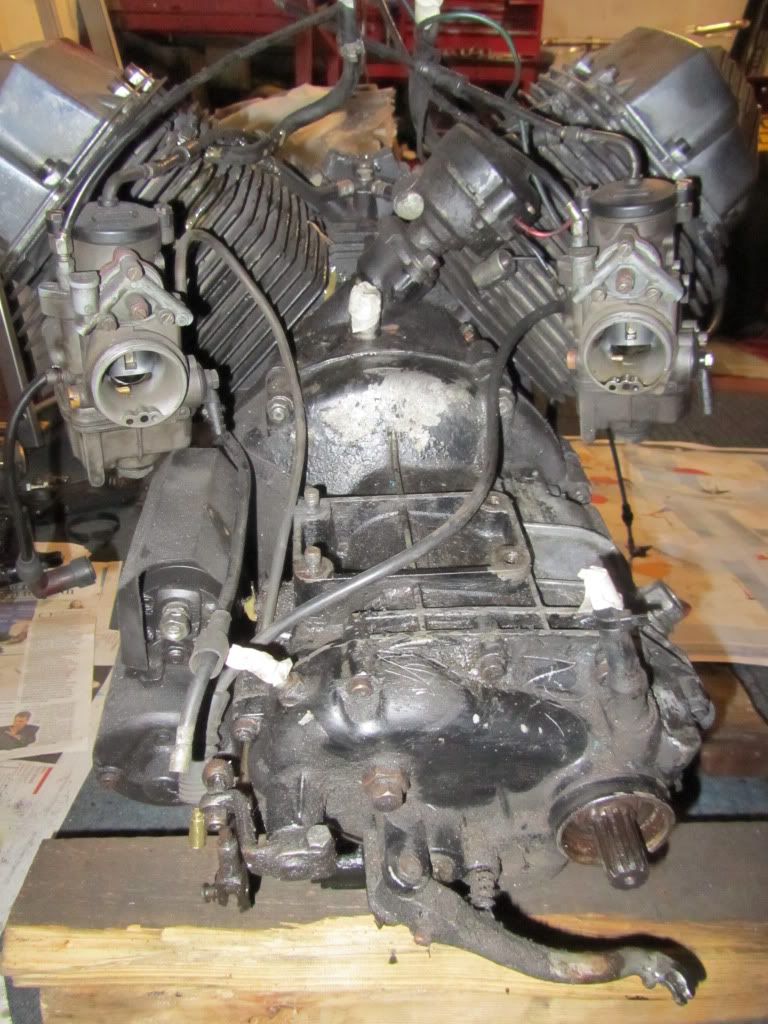
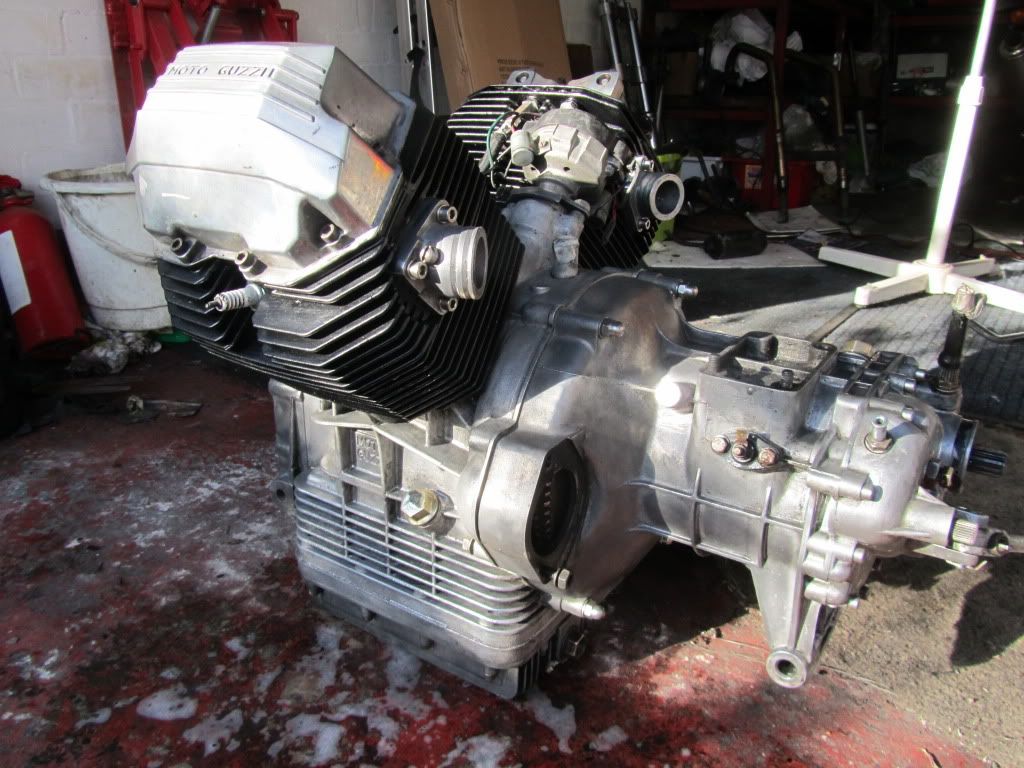
To begin, the motor/box is hung from the frame, which makes life much easier when it comes to removing them. You lift the frame off the motor, which is a relief as the motor is too heavy for me to lift. The Cali engine has a milder cam and smaller carbs than the equivalent Lemans, but that makes for a smoother easy going motor on the road, which is fine by me. If it proves to be too slow, theres always the option of fitting Lemans parts. Despite being made in '89 the motor still uses points ignition which was a surprise.
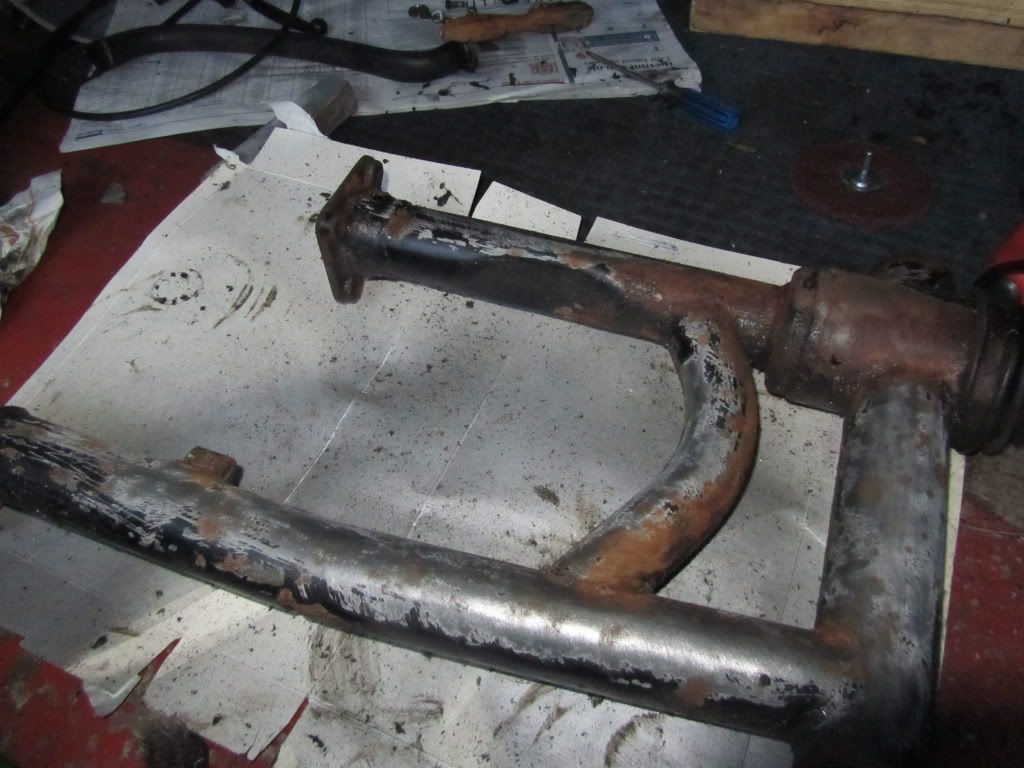
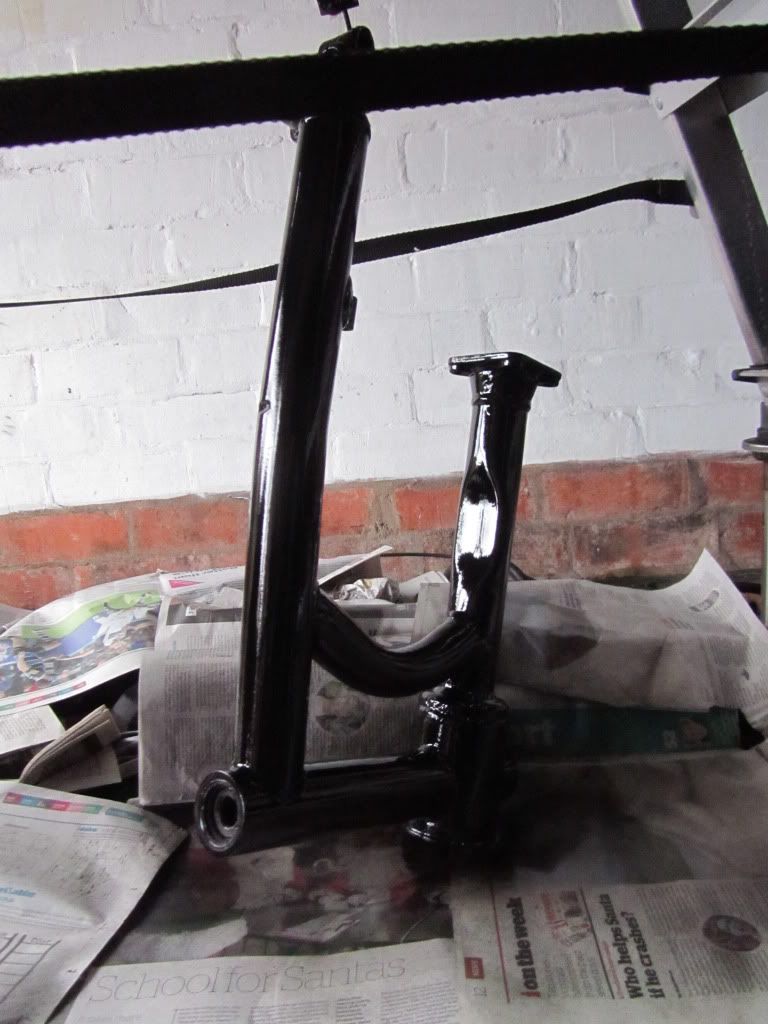
This bike is being built on a very small budget, so when I can do something myself, then I'll give it a go. Rather than paying £100+ to get the frame powdercoated, I stripped and painted the swingarm with smooth hammerite as a test. It turned out ok but cost £20 in paint so the frame was powder coated in the end for £80.
This bike is being built on a very small budget, so when I can do something myself, then I'll give it a go. Rather than paying £100+ to get the frame powdercoated, I stripped and painted the swingarm with smooth hammerite as a test. It turned out ok but cost £20 in paint so the frame was powder coated in the end for £80.
Edited by Merch131 on Monday 6th August 20:57
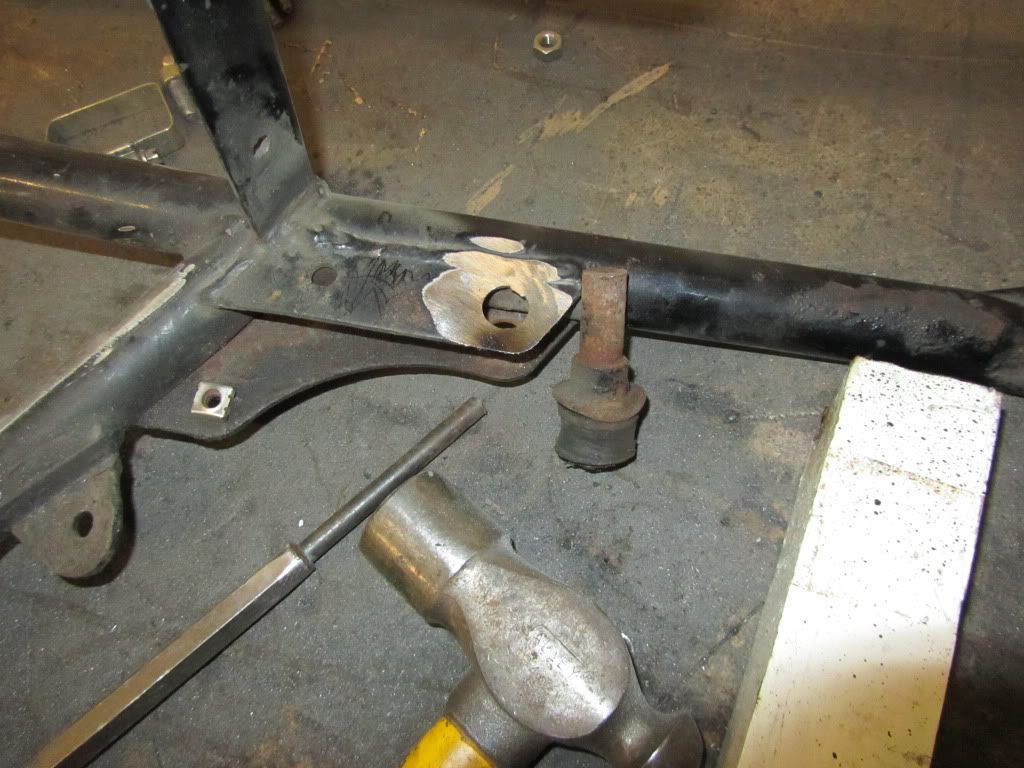
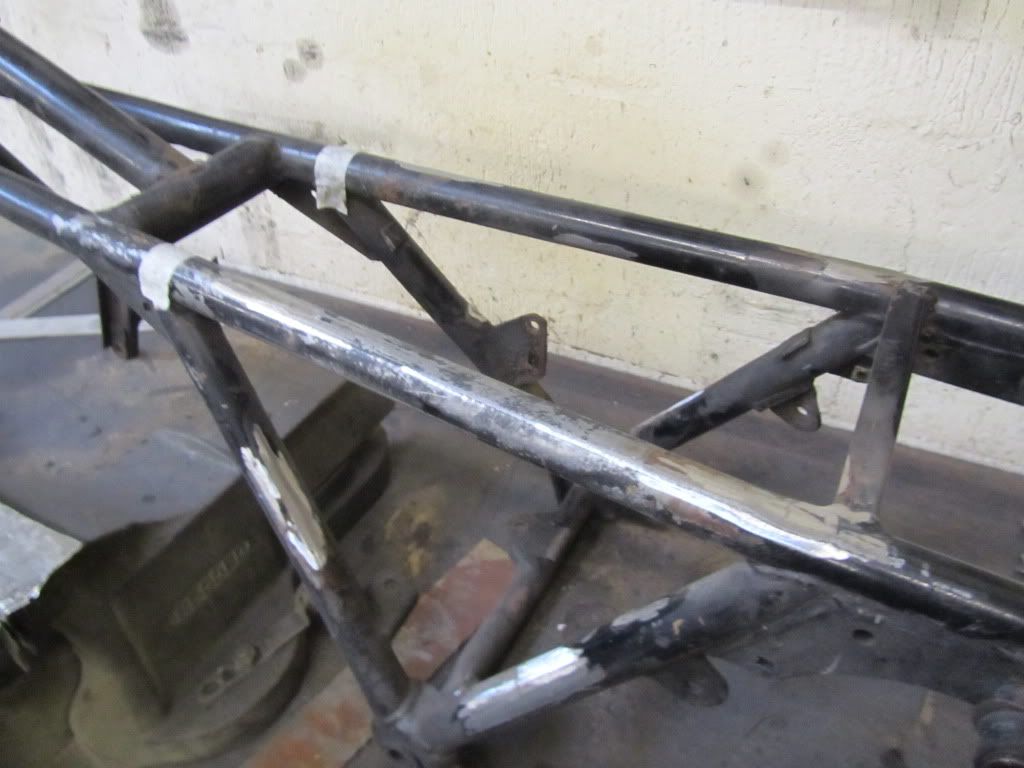
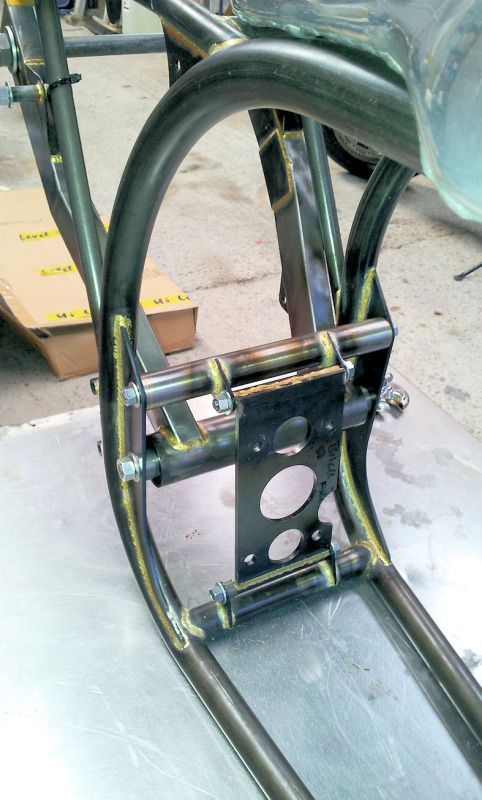
Before the frame could go off to the powder coater, I needed to sort out a few problems. First the top shock mounts were damaged and needed to be replaced.. easier said then done, as they are welded to the frame. Now, I'm not a very good mechanic, and I dont have a lathe or a Mig/tig welder..but I do have a few mates who do, so off I went with the frame in the back of the car to see my mate Saf who runs a custom shop.. He let me lose with the grinder and before to long the shock mounts were removed along with a few brackets and the rear part of the frame. I did go a bit too far on the frame, leaving a couple of flat spots which will be visable as itll not be having sidepanels. I'll have to come up with a cunning plan to hide that mistake..
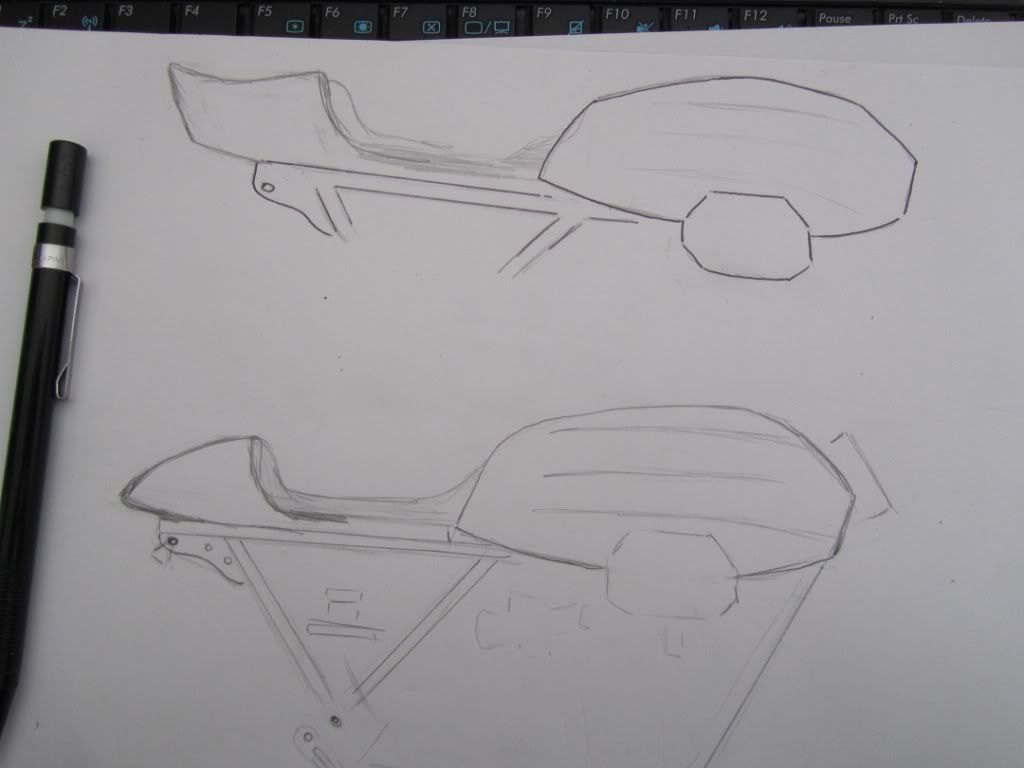
Next I had to go see my mate Jeff, to make me a new pair of shock mounts, I gave him this 'technical' drawing lol, and this is what he made..
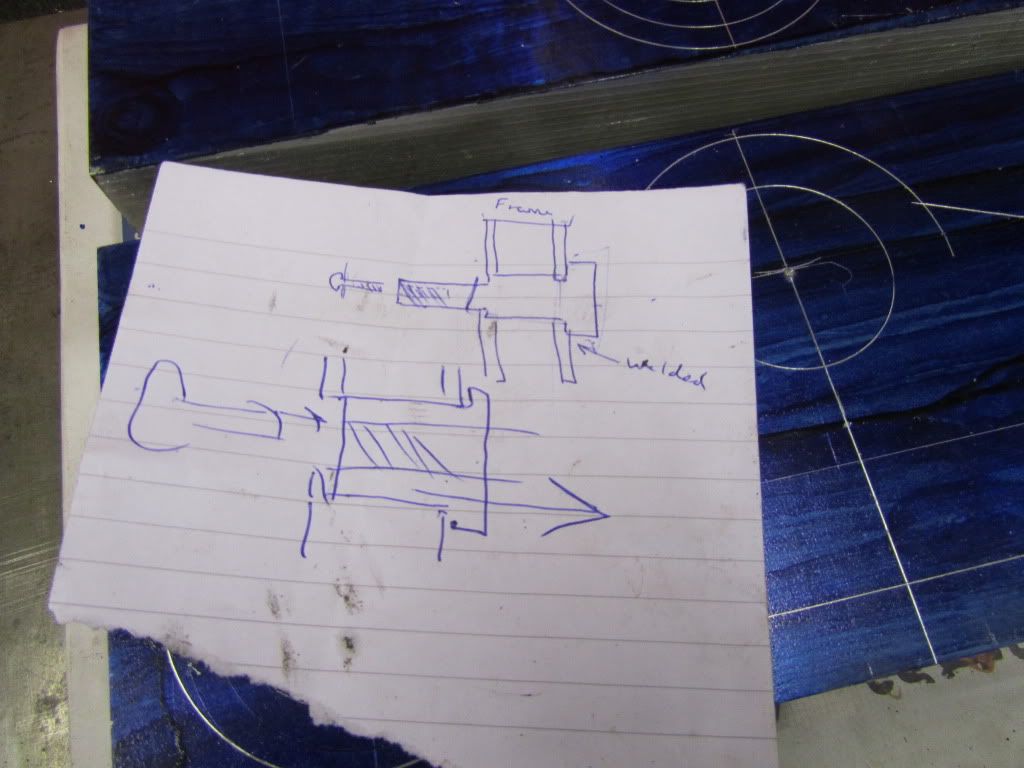
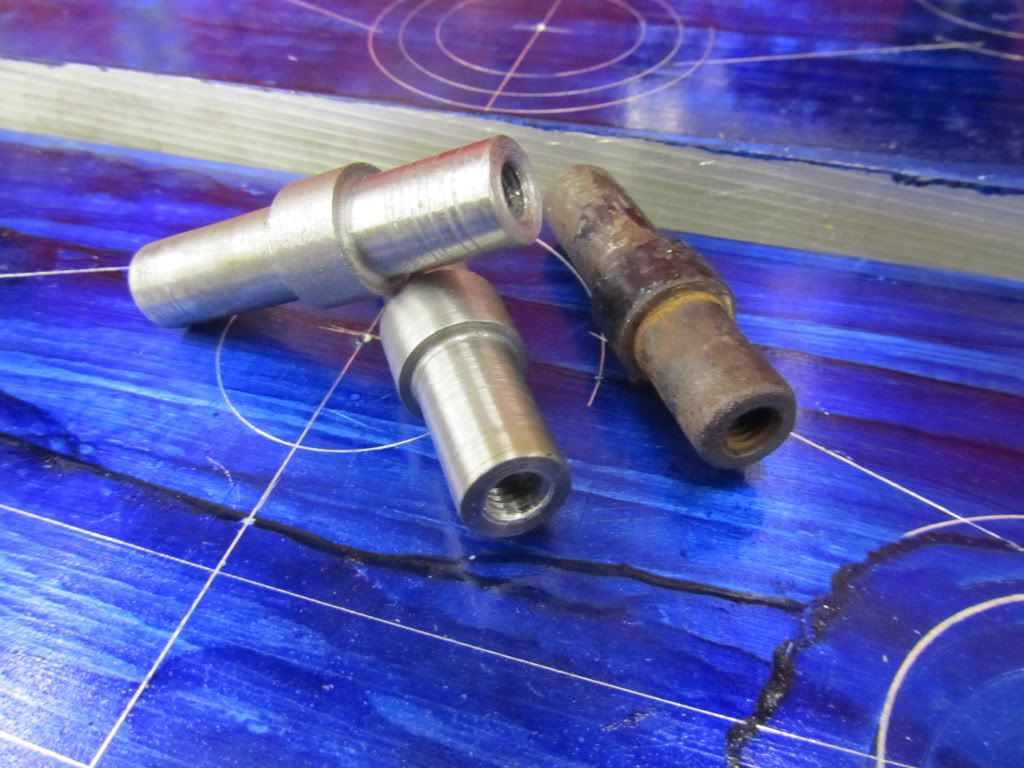
Next I had to go see my mate Jeff, to make me a new pair of shock mounts, I gave him this 'technical' drawing lol, and this is what he made..
Edited by Merch131 on Monday 6th August 18:16
The frame came back from the powder coaters, the finish was ok, but they'd made a couple of errors that caused me some trouble. First they hadnt bothered to protect the steering head when they blasted the frame, so I'll need new head bearings now, then they forgot to cover the chasis plate and some of the threads. The small threaded holes werent a problem, as I had a suitable tap to clean them up, but the big swingarm 'adjustment' thread is a M20 fine which is a pretty unusal size.
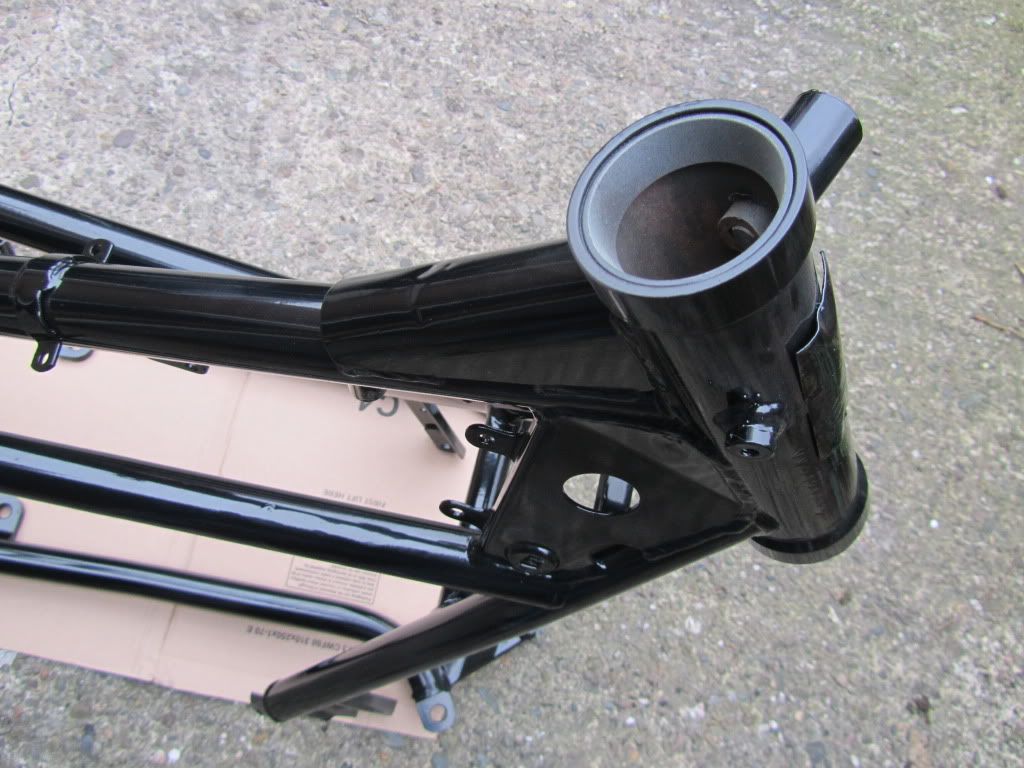
Fortunately, a local engineering shop I sometimes use had a M20 fine tap and let me use it for free..
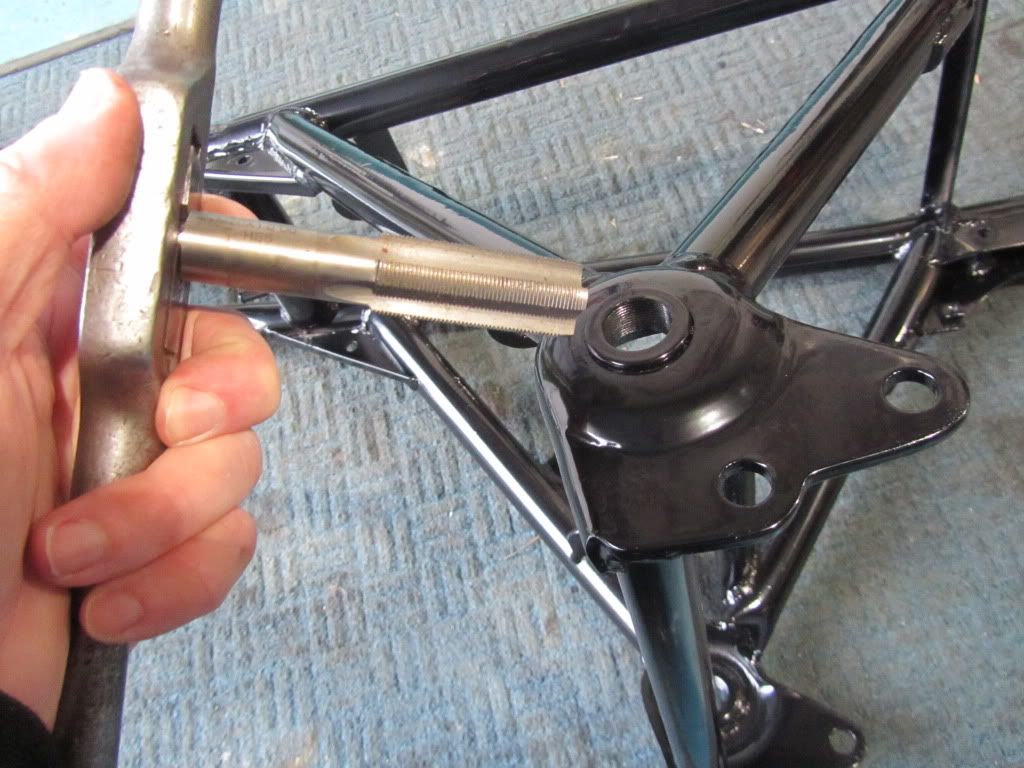
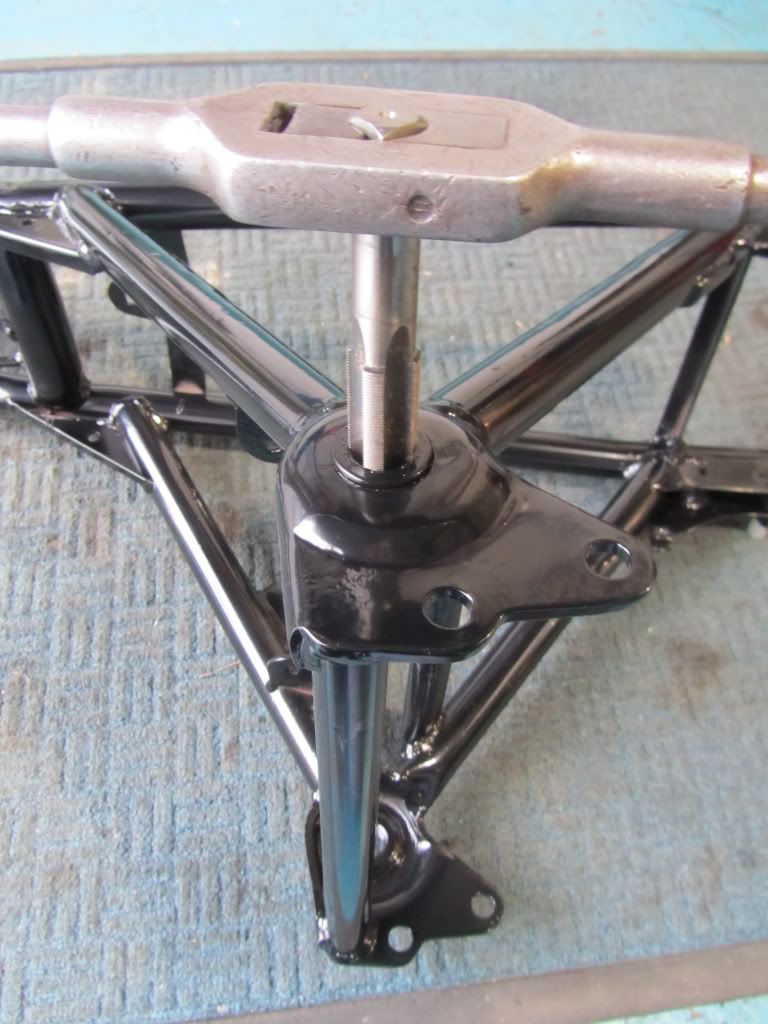
Fortunately, a local engineering shop I sometimes use had a M20 fine tap and let me use it for free..
Edited by Merch131 on Wednesday 19th June 09:17
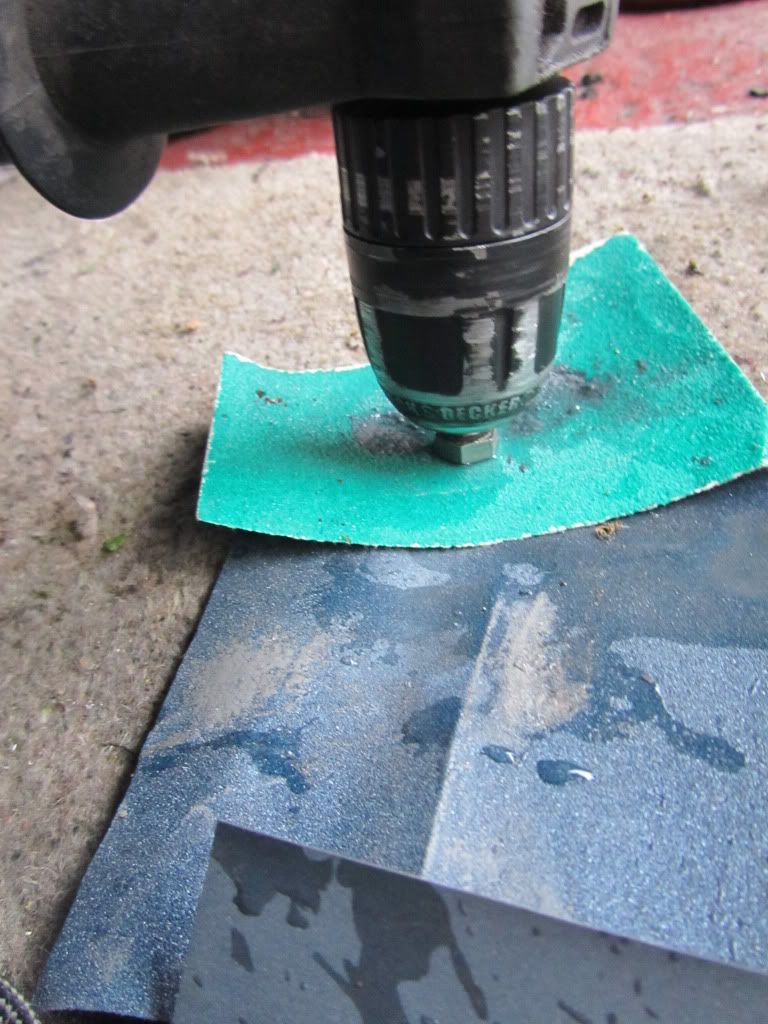
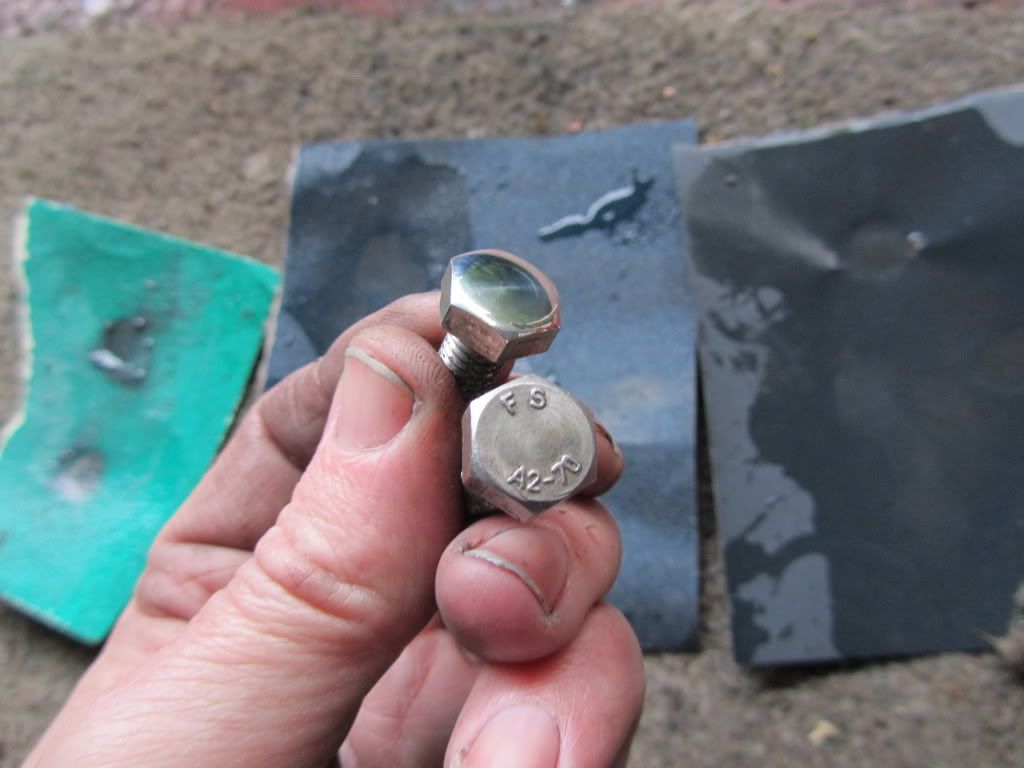
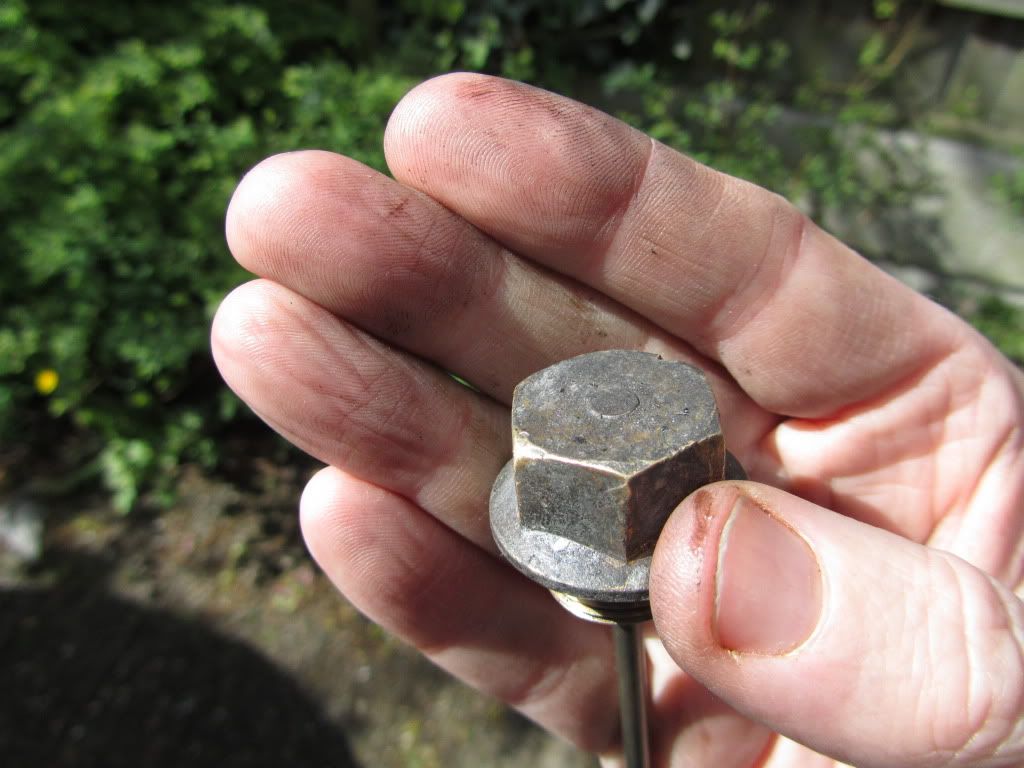
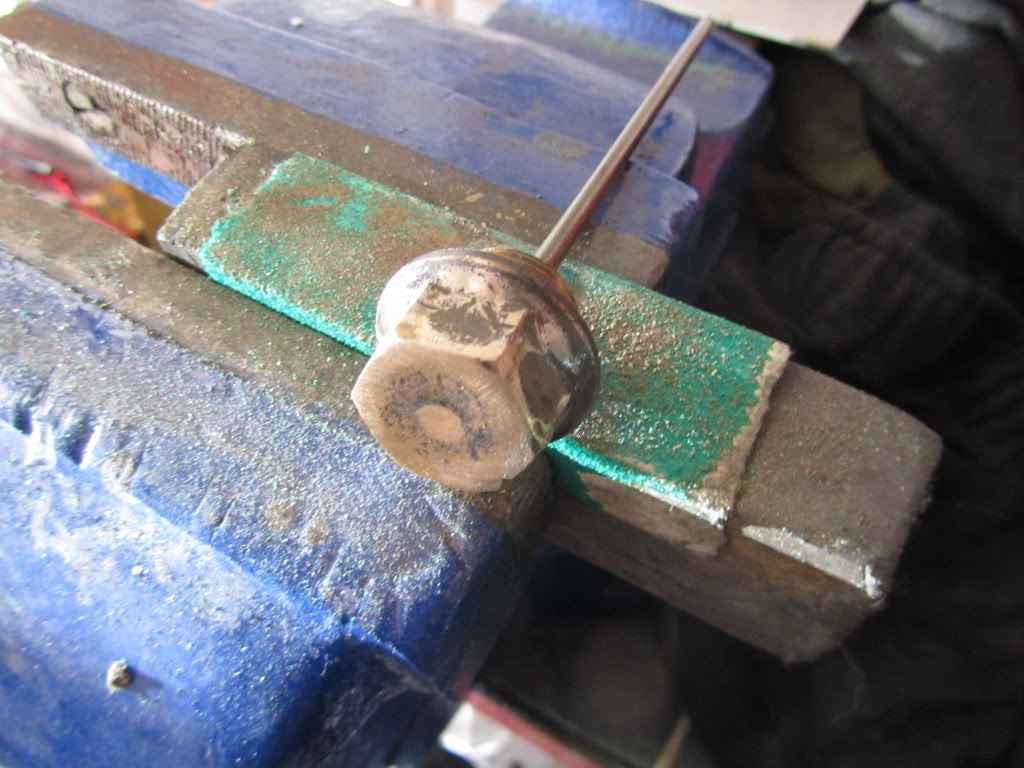
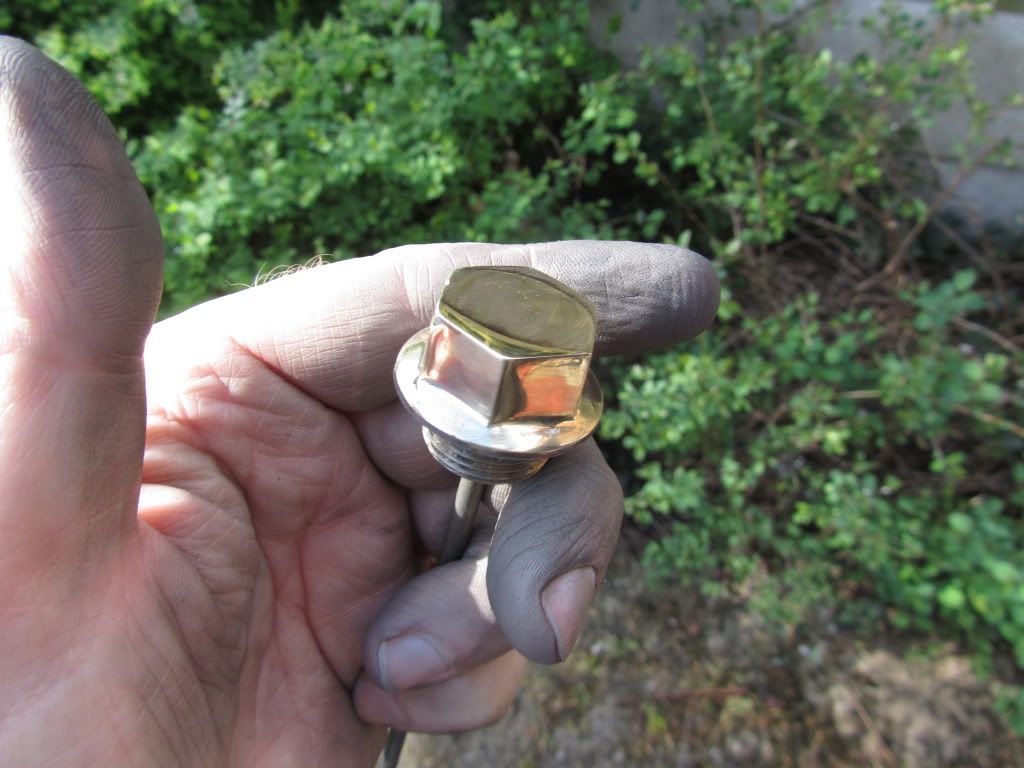
The motor/box took many many hours of work to get the old paint off (modern paint stripper is rubbish), polish the alloy and replace all the rusted nuts and bolts with stainless. I even polished the stainless fastners, just using my hand drill and some wet and dry, and the few brass pieces, such as the dip stick, took awhile but cost nothing..
Edited by Merch131 on Monday 6th August 19:39
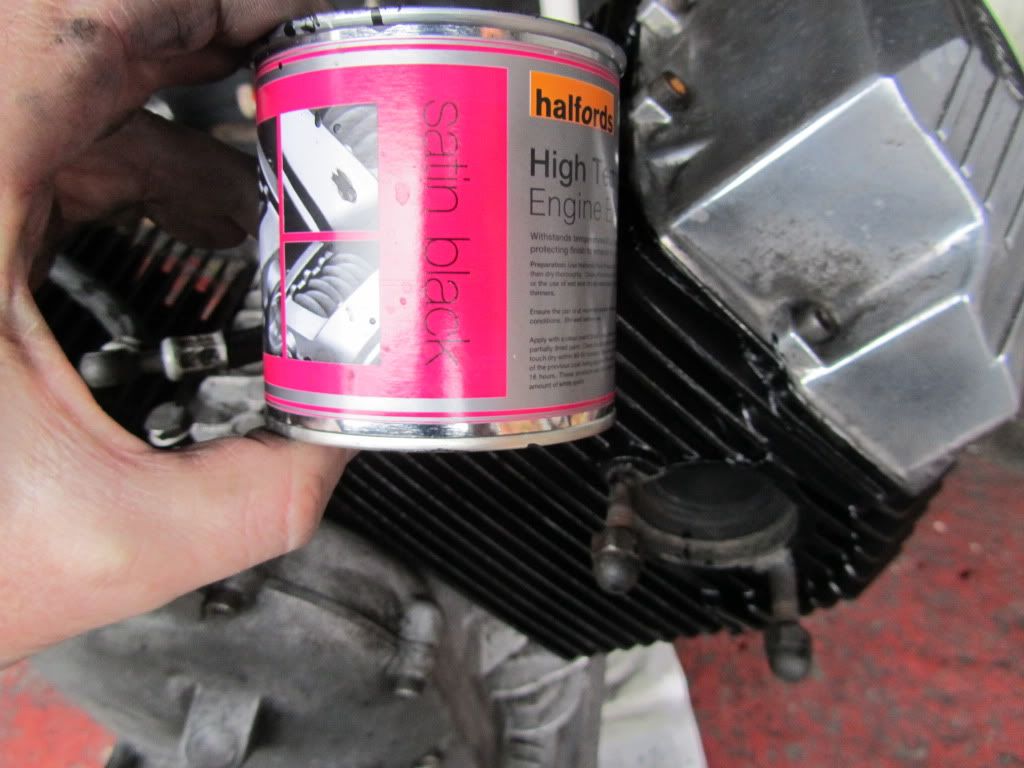
I painted the barrels with Halfords Satin black.. worked well and only cost £7 ..
With the frame back and the motor/box tidied up, it was time to drop the frame back onto motor, did it on my own and it went ok, just glad I didnt have to lift the motor into the frame..
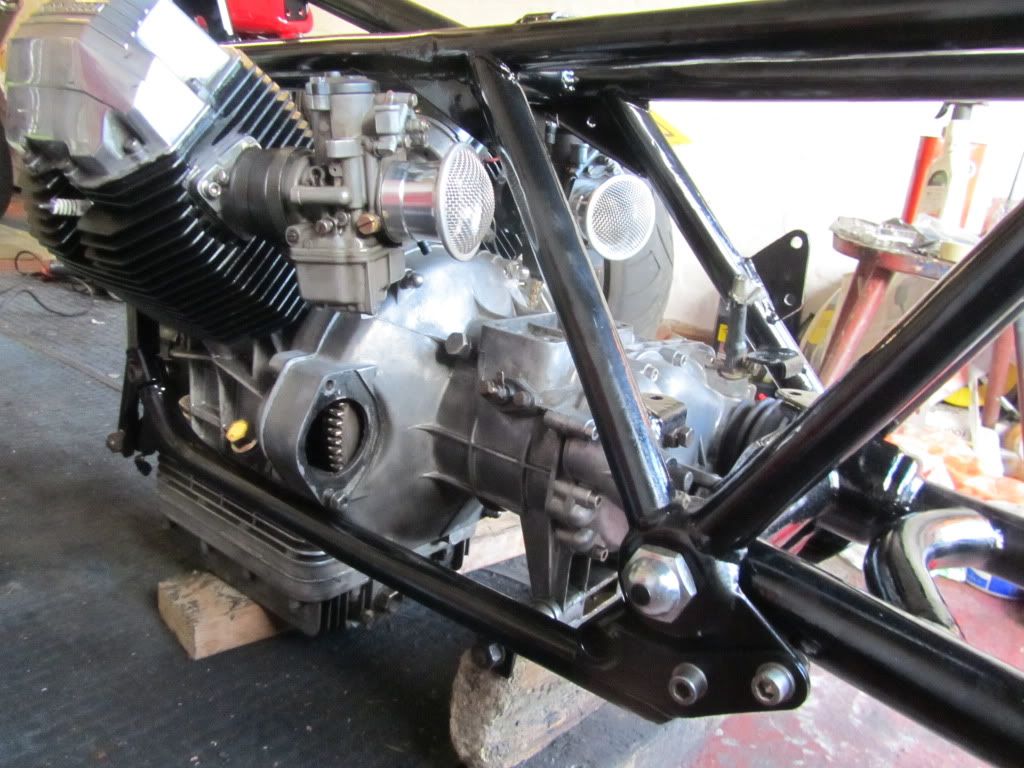
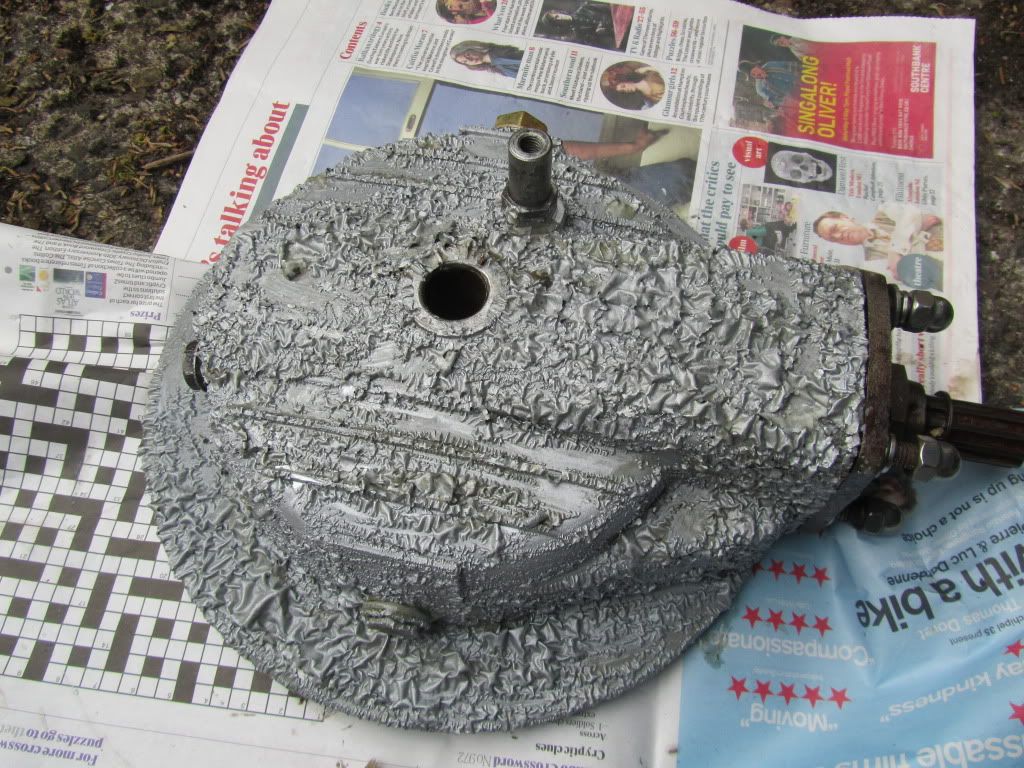
Now it was time to fit the swingarm and bevel box.. I had repainted the bevel box with smooth silver hammerite, which looks similar to alloy..
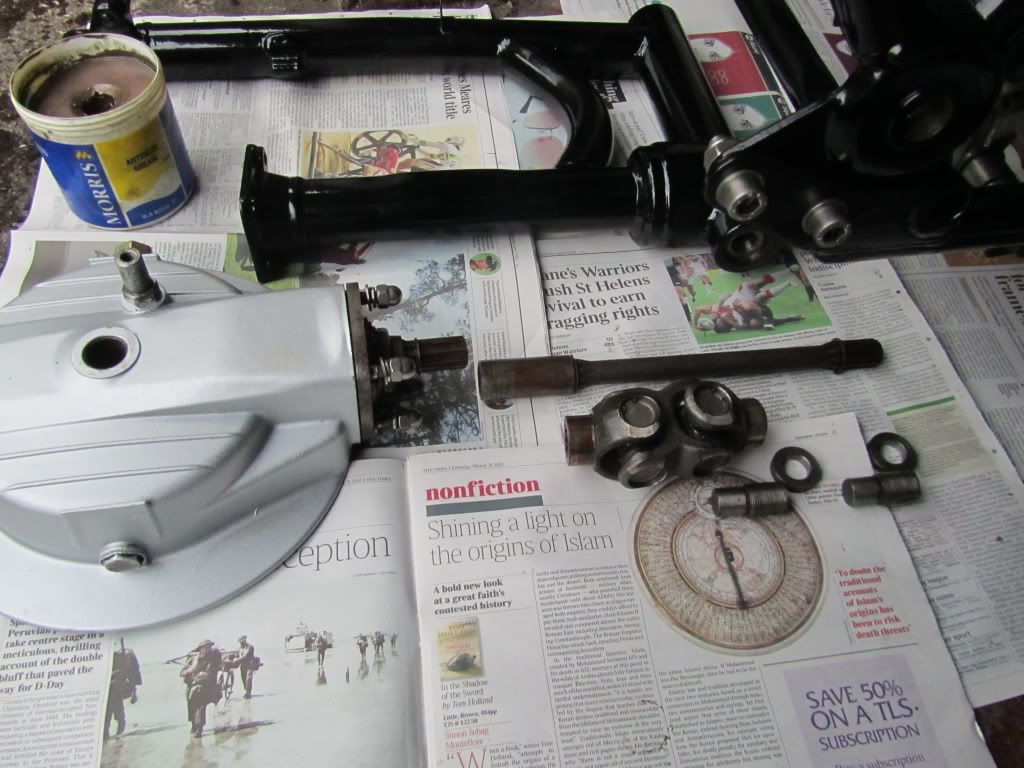
But since I decided to leave the motor/box unpainted, the silver bevel box looked out of place, so I stripped the hammerite off it and left it unpainted too.
With the frame back and the motor/box tidied up, it was time to drop the frame back onto motor, did it on my own and it went ok, just glad I didnt have to lift the motor into the frame..
Now it was time to fit the swingarm and bevel box.. I had repainted the bevel box with smooth silver hammerite, which looks similar to alloy..
But since I decided to leave the motor/box unpainted, the silver bevel box looked out of place, so I stripped the hammerite off it and left it unpainted too.
After all the long hours of cleaning and dealing with rusty parts, its now getting to the interesting part of the project, when I'm working with new shiny parts and it feels like your finally making progress..
This alloy battery tray sits on top of the gearbox came with the bike, but it didnt fit, so I marked out where it needed to be milled and took it over to my mate Jeff, with yet another 'Can you just.... ' While it was on the miller we made it a bit more 'cafe racer-ish' by drilling lots of holes in it
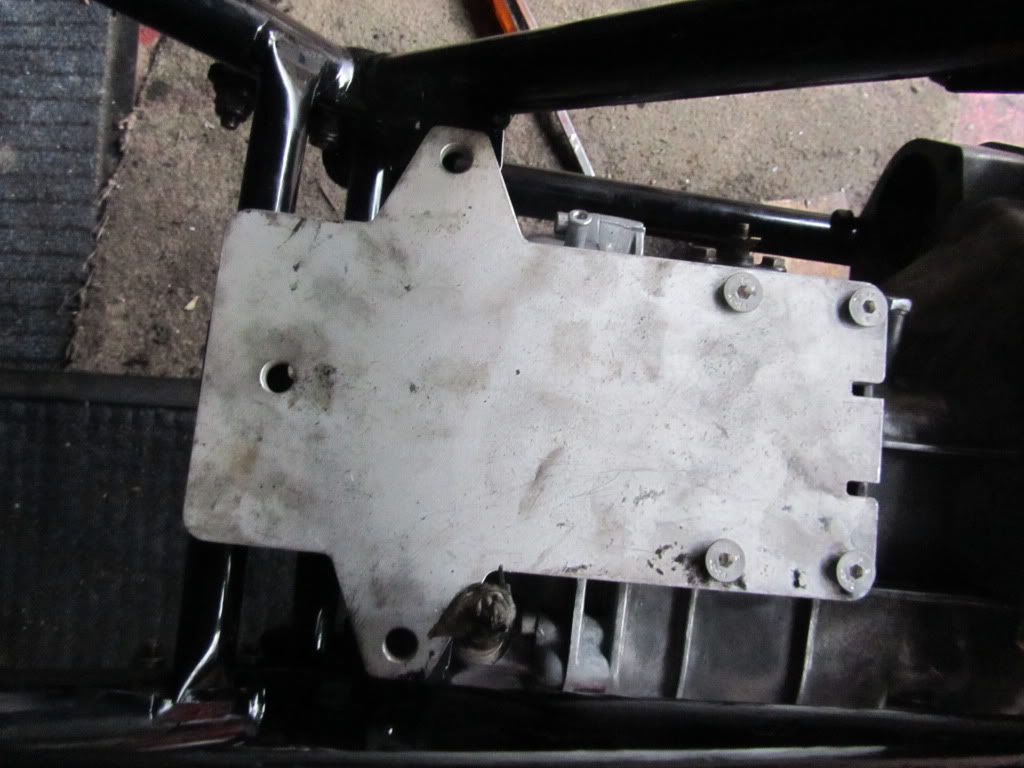
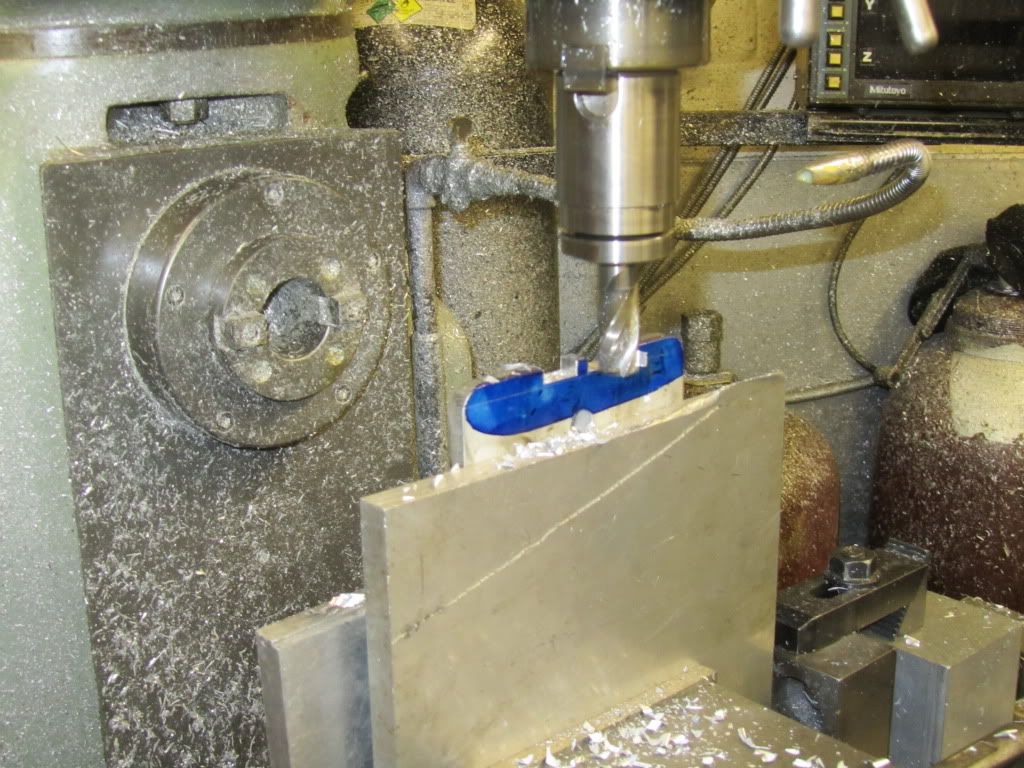
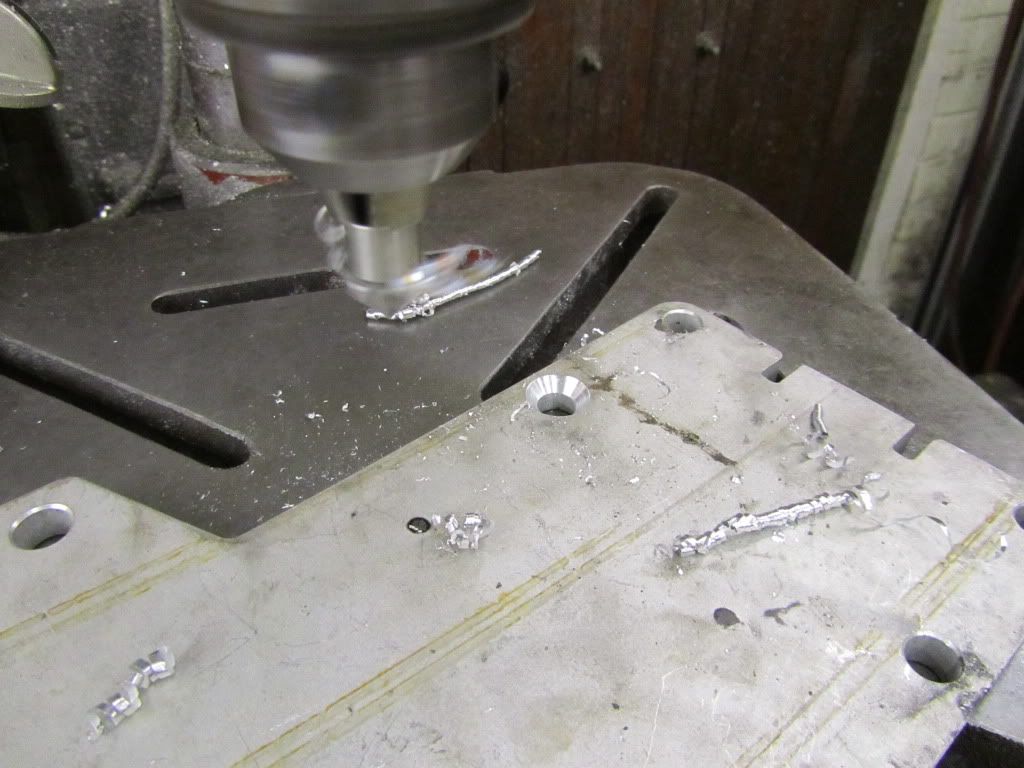
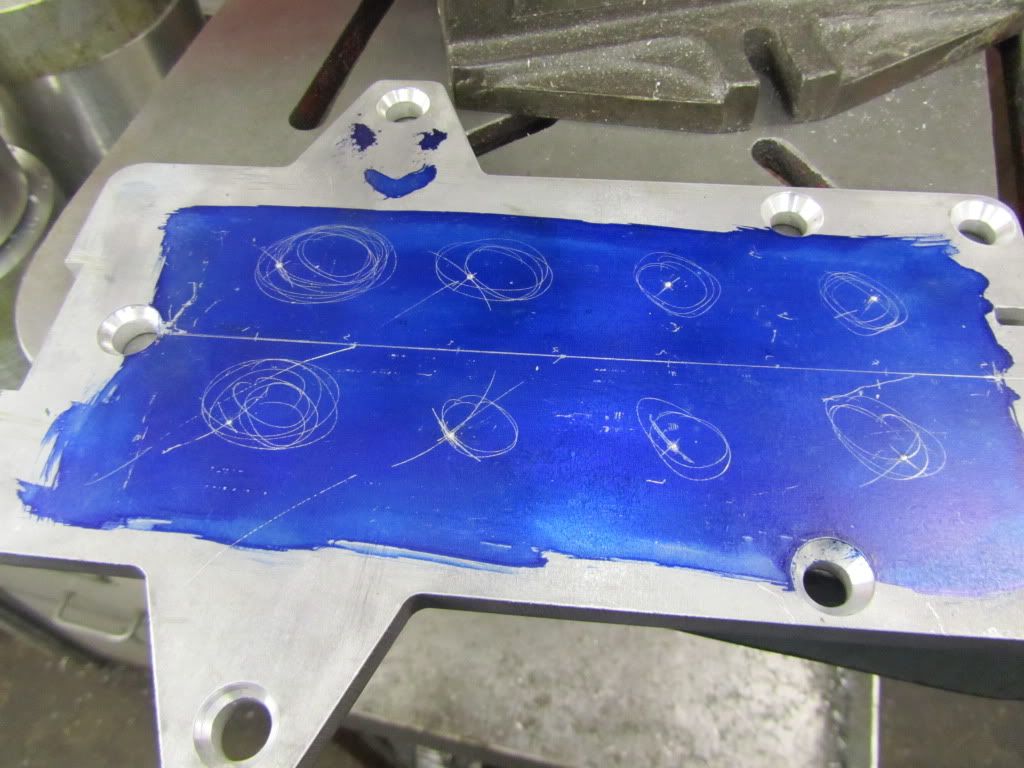
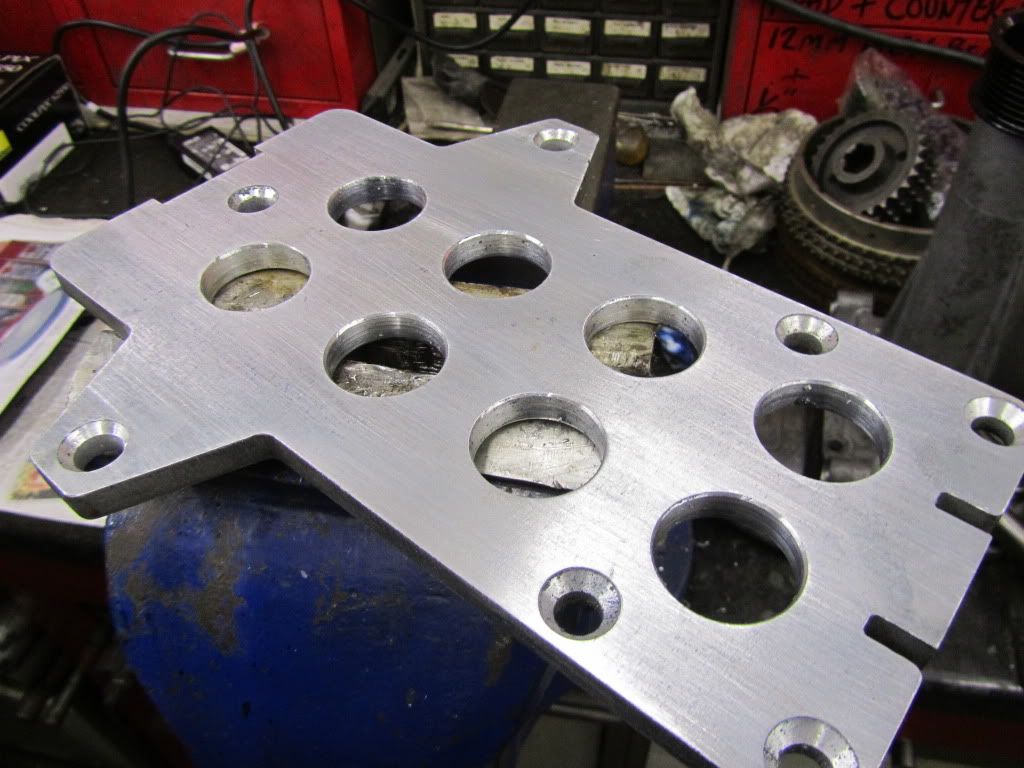
This alloy battery tray sits on top of the gearbox came with the bike, but it didnt fit, so I marked out where it needed to be milled and took it over to my mate Jeff, with yet another 'Can you just.... ' While it was on the miller we made it a bit more 'cafe racer-ish' by drilling lots of holes in it
Edited by Merch131 on Monday 6th August 19:40
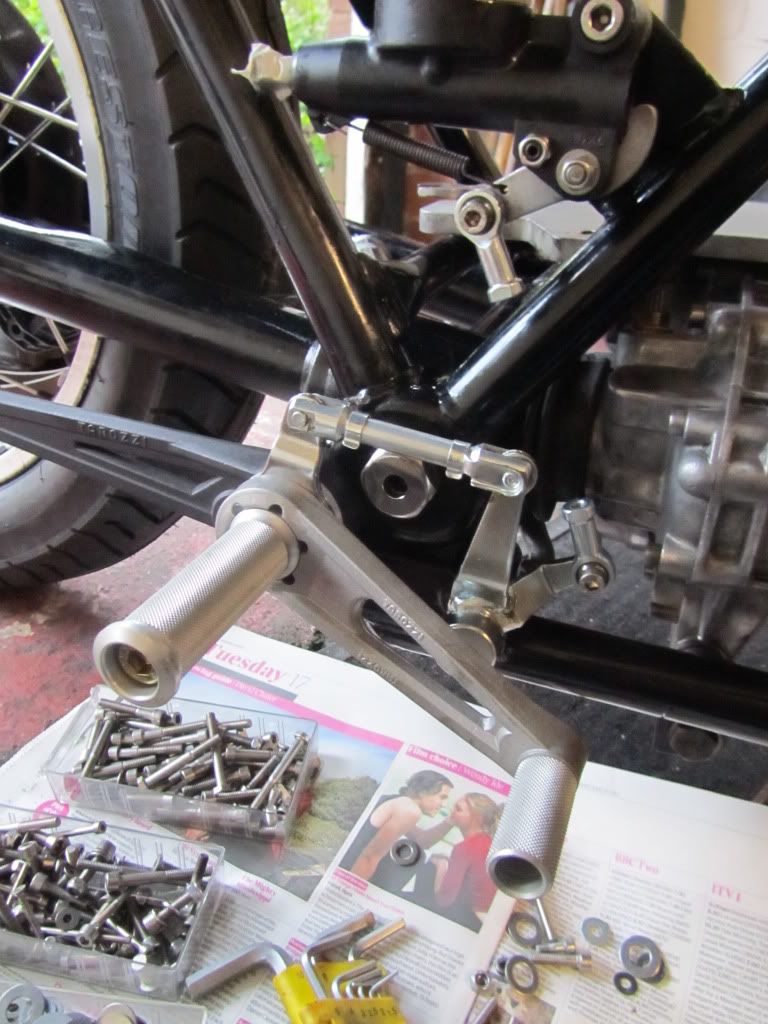
I had to spend some money now, for a set of Tarrozi rearsets. When I opened the box, there seemed to be a few parts missing, but hey ho, we'll see when I fit them.
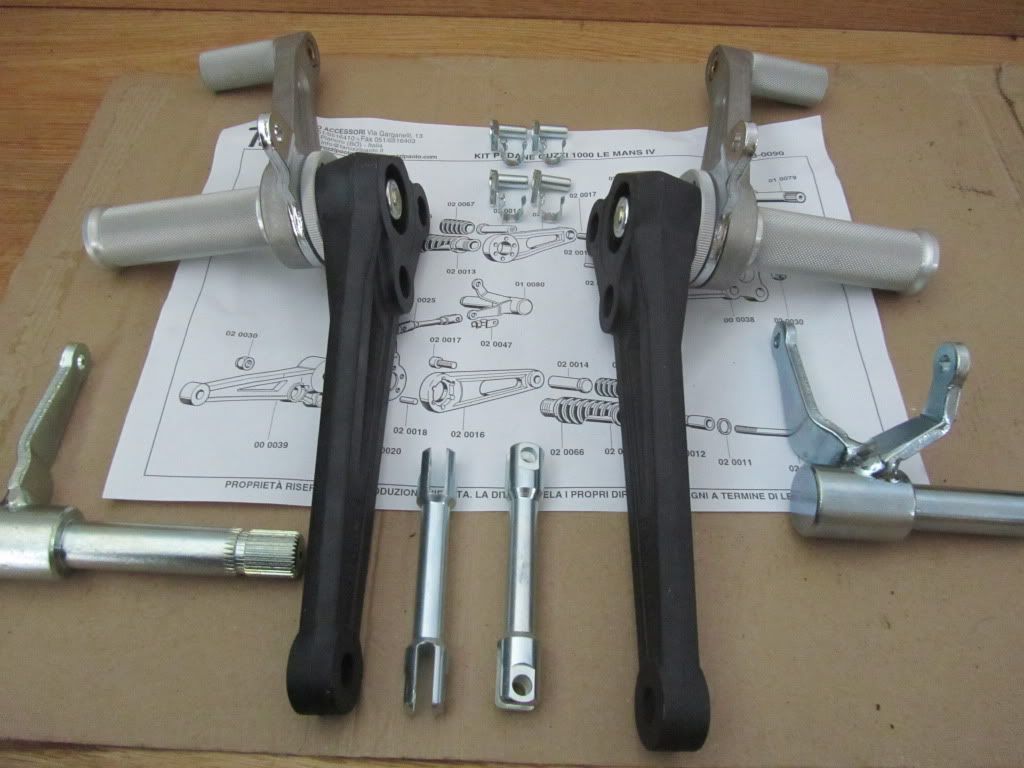
I was right, there were some linkage parts missing because the rearsets are made to fit a Lemans, which already has the parts that I needed. After a few phone calls I managed to find the key missing part from a breakers in France. Everything else I needed I could get from a bearing factors or make myself..
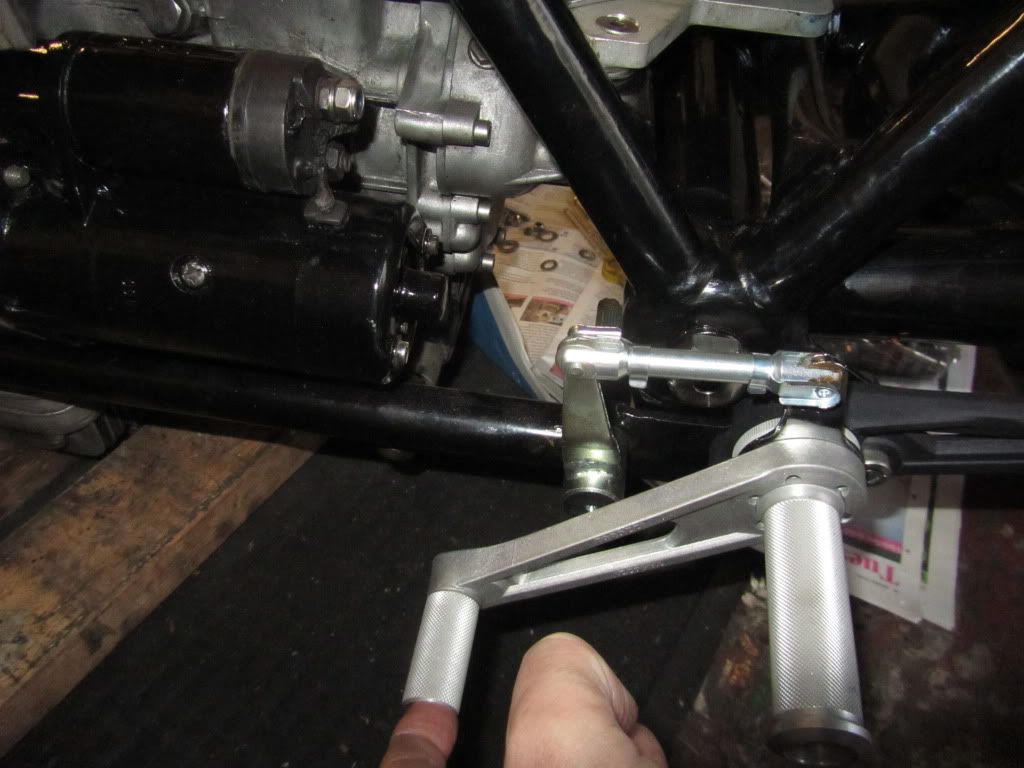
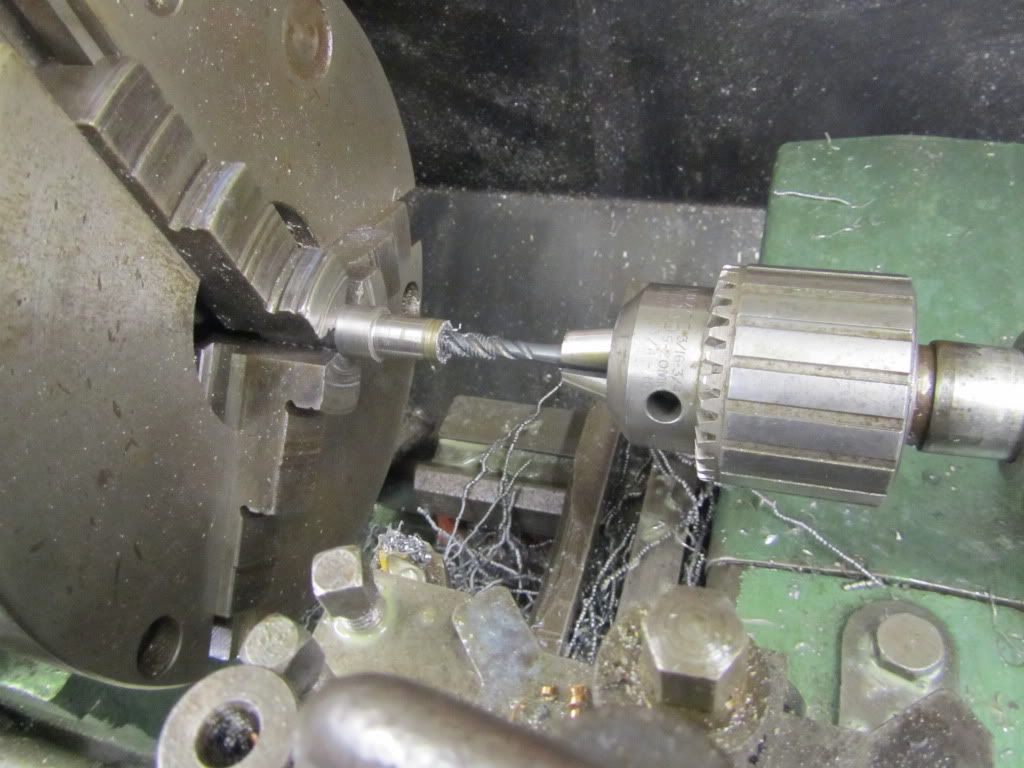
I needed to make a link rod for the rear brake, so I risked losing a finger or two and used my mates lathe to make it (I'm left handed so lathes are tricky for me to use)...
Cut a piece of stainless rod..
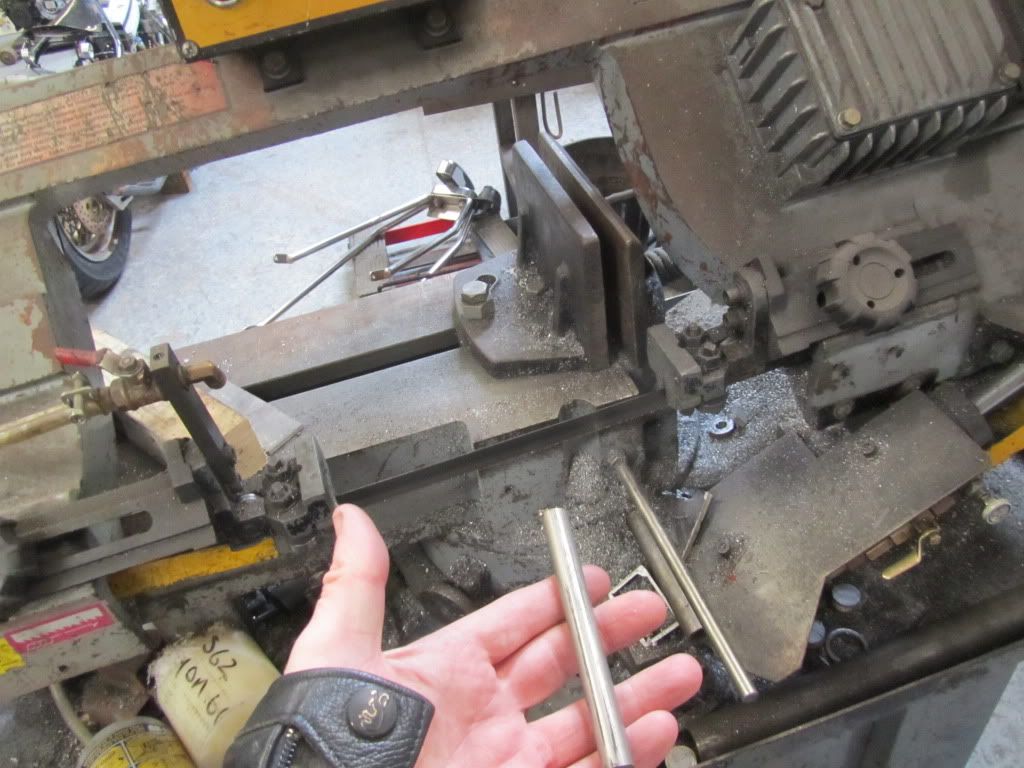
Machine it down to the correct size and reduce each end to take a thread..
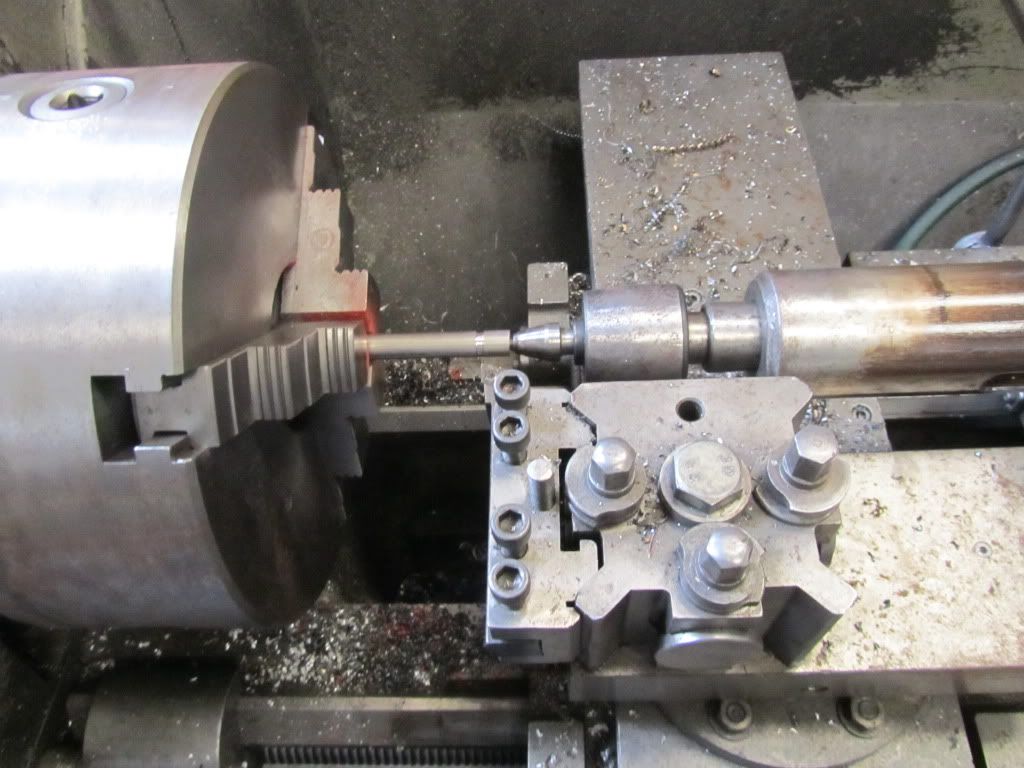
Find the right die to cut the right thread to fit the rose joint at each end..
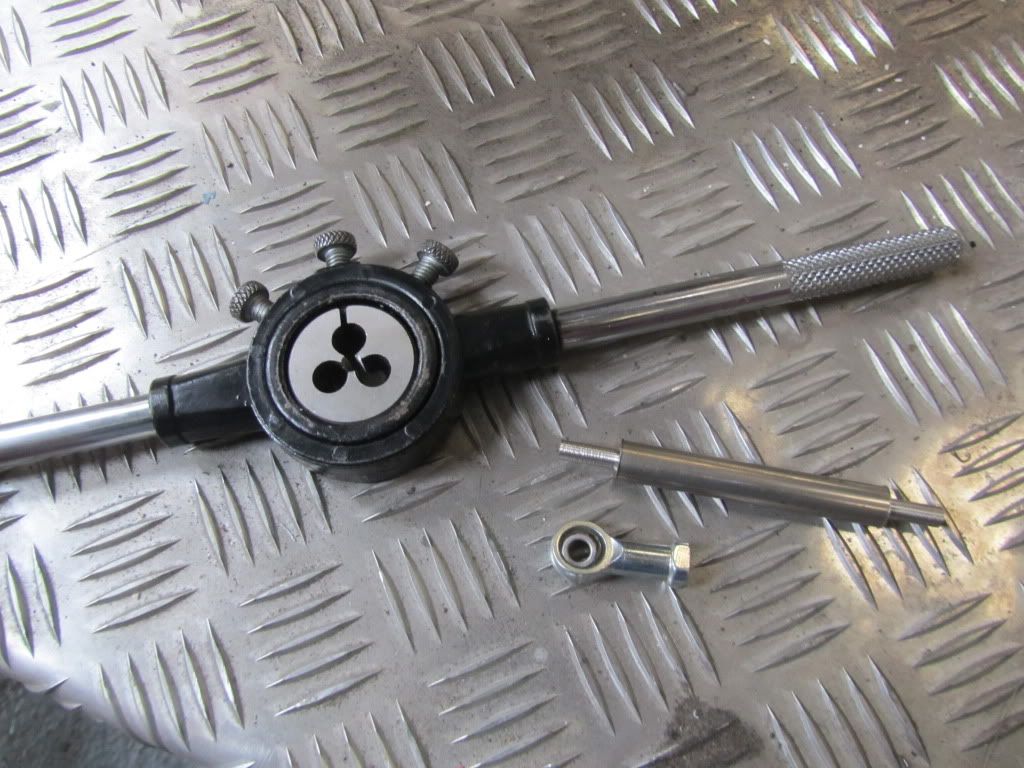
With the power turned OFF, I used the lathe to cut the thread by hand..
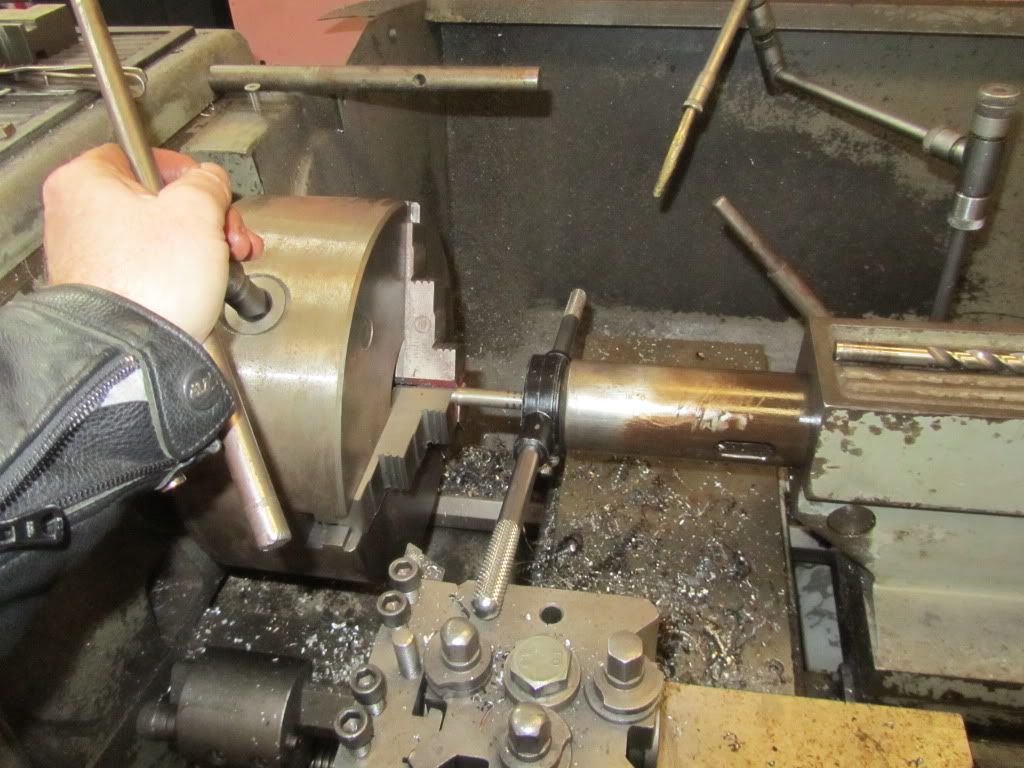
Almost done
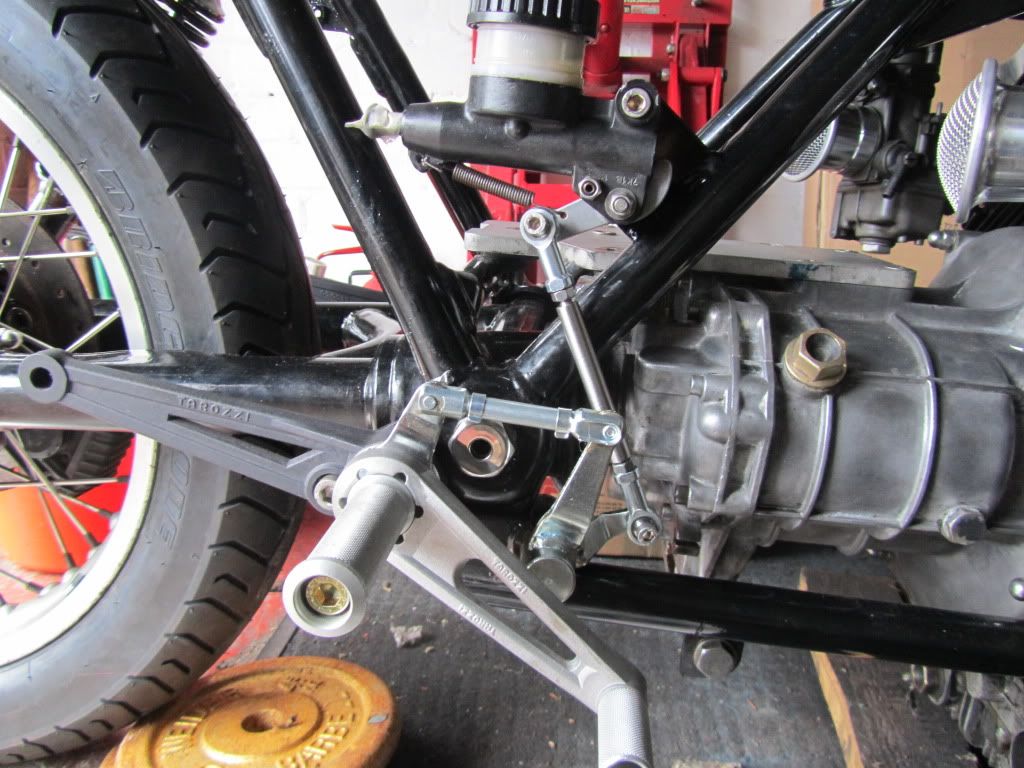
I was right, there were some linkage parts missing because the rearsets are made to fit a Lemans, which already has the parts that I needed. After a few phone calls I managed to find the key missing part from a breakers in France. Everything else I needed I could get from a bearing factors or make myself..
I needed to make a link rod for the rear brake, so I risked losing a finger or two and used my mates lathe to make it (I'm left handed so lathes are tricky for me to use)...
Cut a piece of stainless rod..
Machine it down to the correct size and reduce each end to take a thread..
Find the right die to cut the right thread to fit the rose joint at each end..
With the power turned OFF, I used the lathe to cut the thread by hand..
Almost done
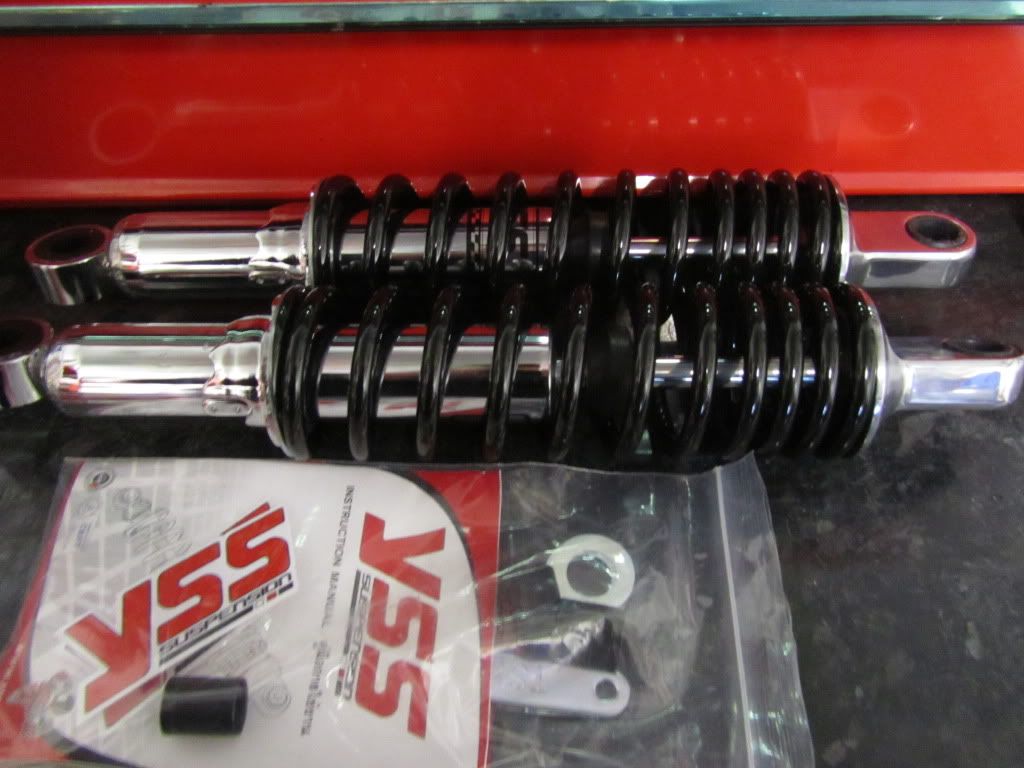
The rear Konis were knackered so I spent awhile looking at options.. Cheapest were Hagons, most expensive were Ohlins..even basic Ohlins are over a grand these days. I could get a set custom made by Maxton for around £500, but that was still far too expensive. In the end I went for a set of YSS shocks. Who? Yep thats what I said. They are made in Thailand, assembled to your spec in the UK, and I must say I'm impressed with the quality.. all for around £140.
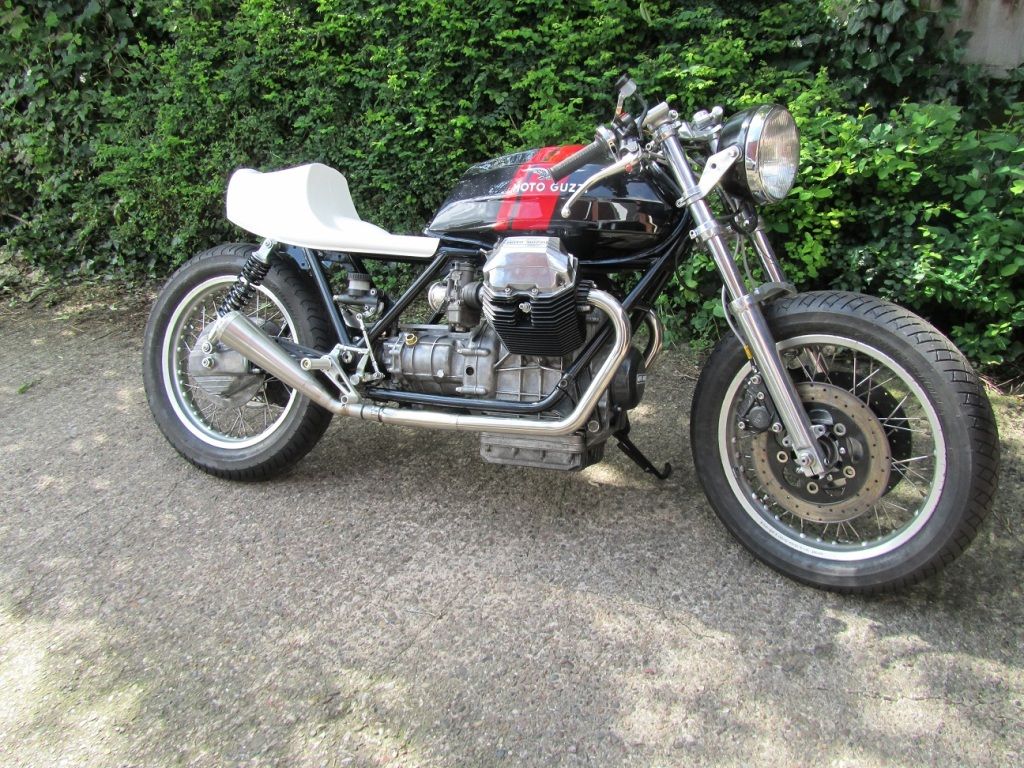
At this point I could finally wheel the bike outside and pop the tank and seat unit on losely and make Brum brum noises lol.. I tried to like the seat unit, but it just didnt look right, too curvey compared to the angular tank.
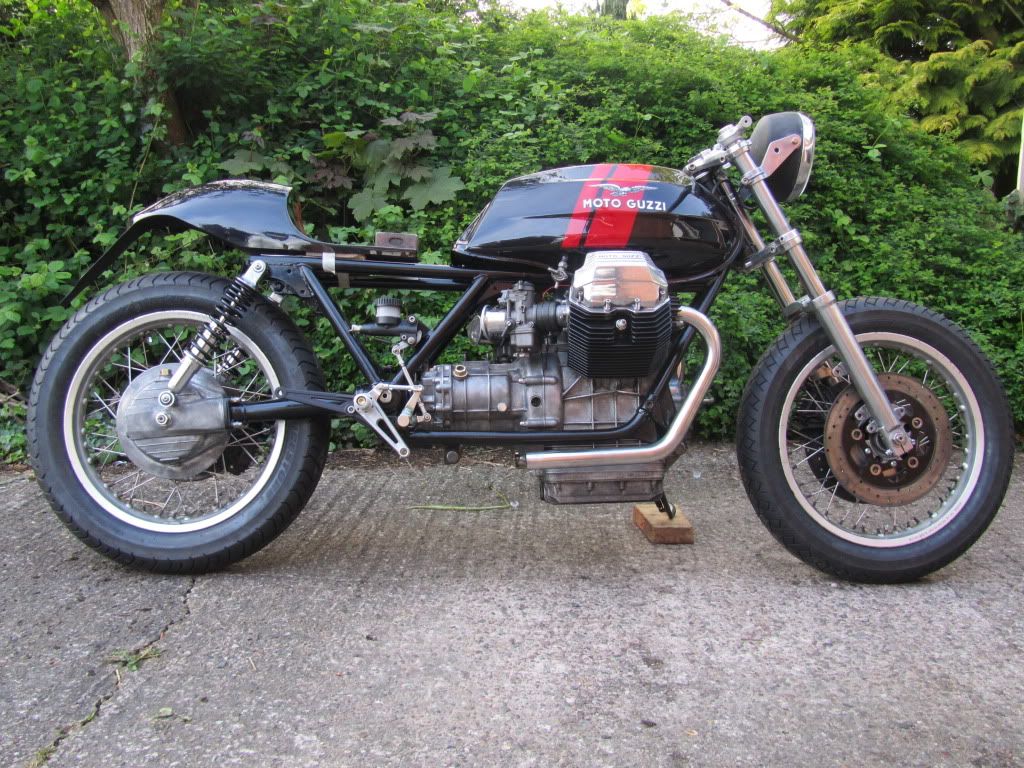
At this point I could finally wheel the bike outside and pop the tank and seat unit on losely and make Brum brum noises lol.. I tried to like the seat unit, but it just didnt look right, too curvey compared to the angular tank.
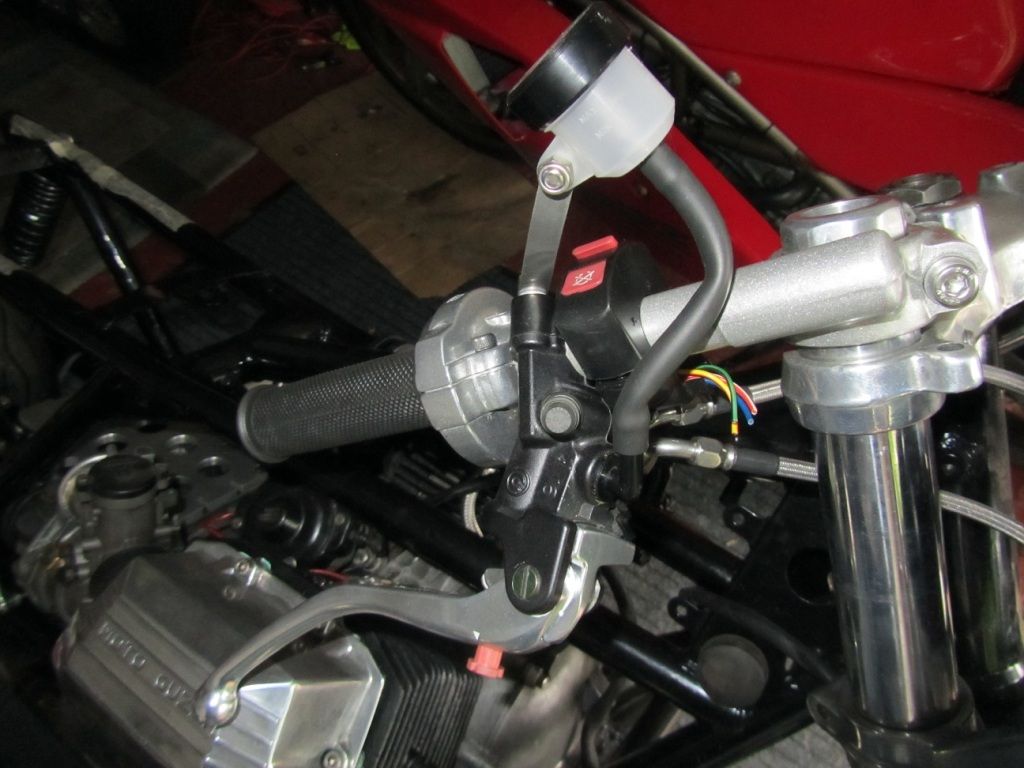
I sketched a few different seats to see how they may look, I wanted something slighlty angular to match the tank, with enough space beneath the seat hump to hold a lithium battery and a few of the electrical components. I went for a Rickman copy and ordered it from a place called Ragged Edge, there was a 3 or 4 week lead time, so in the meantime I took the bike around to my local bike shop to have its brake lines made up. I spent a few hours trying to repair the original throttle assembly, but in the end it didnt work out, so I had to spend some more money for a Tommeselli throttle. This meant I couldnt use the original switch gear, but luckily I was given a replacement from a CBR600. I also swapped an old exhaust for a front brake from 2008 R1, because it was felt that the original front master cylinder would be too small, since I'd delinked the brakes, the front m/c now had to work two and not one front caliper.
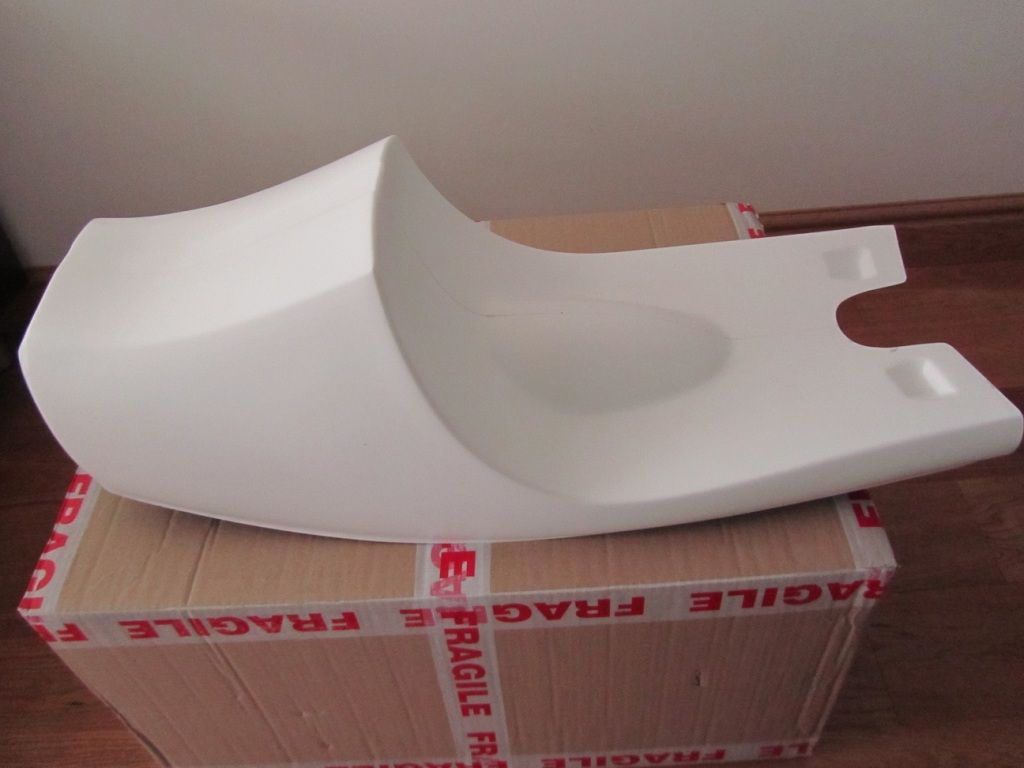
The seat arrived from Ragged Edge, excellent quality and only cost about £70, not sure what to do about the lump in the seat base, made to accommodate a mudguard I guess, which I dont need.
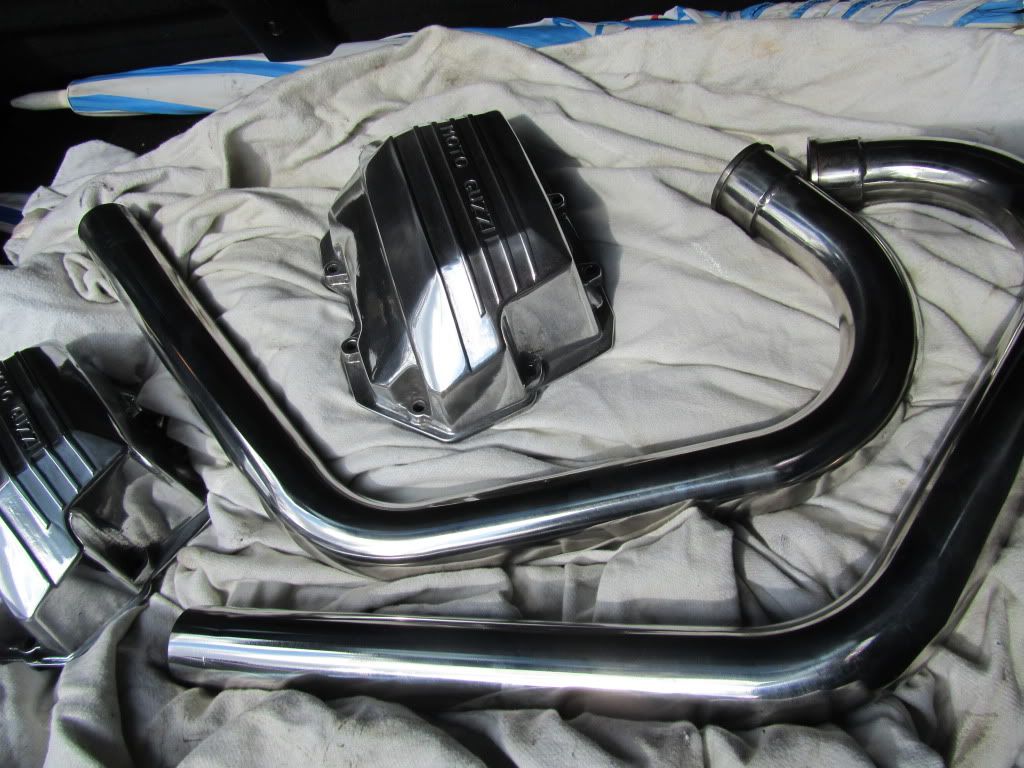
Another job is to make an exhaust system, I'm using the stainless headers and H section link pipe.. though it had a few cracks which needed to be welded (a common problem I'm told). I'd made a full system for my 'Harley' (not a Harley part on it lol) which worked ok, so I'm using the same raw materials for this one.
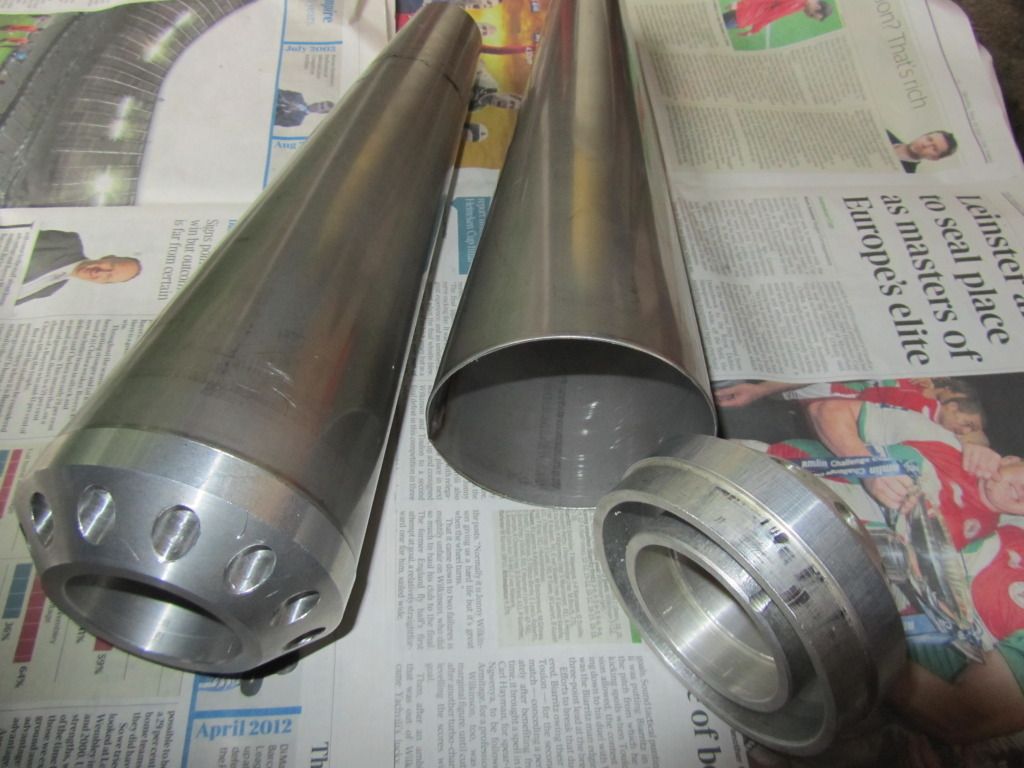
Starting off with a pair of stainless 'cones' I designed an end cap and went along to my long suffering mate Jeff, with the familair words.. Can you just make this... starting with the cone, a piece of billet and some perf tubing


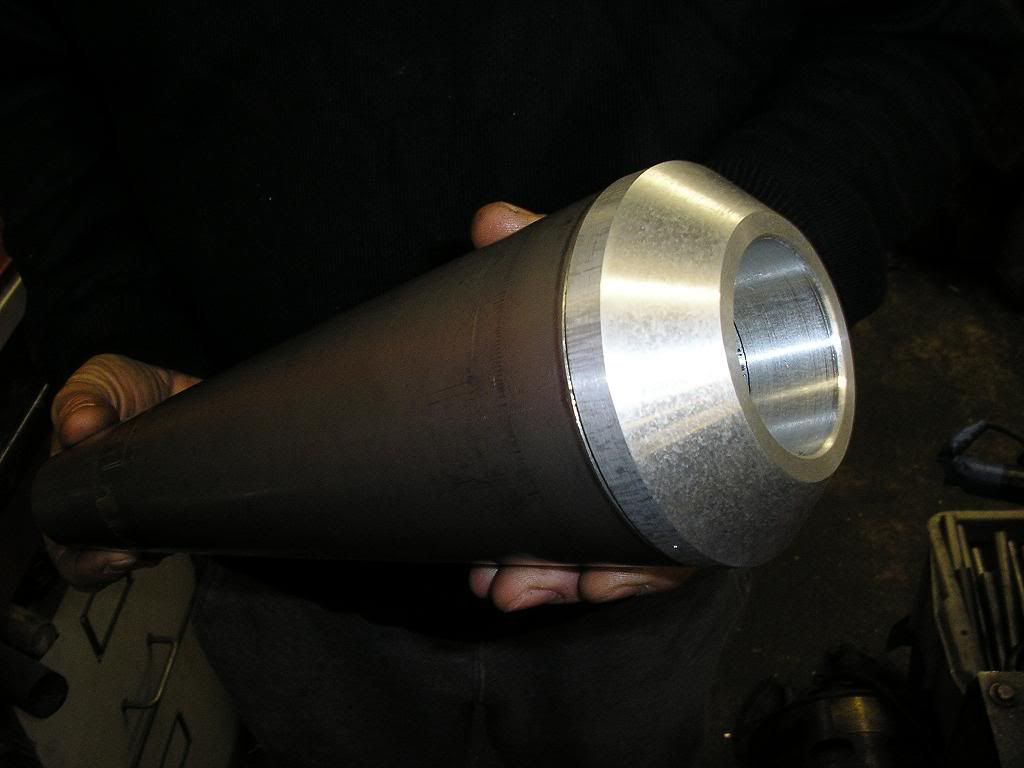
Another job is to make an exhaust system, I'm using the stainless headers and H section link pipe.. though it had a few cracks which needed to be welded (a common problem I'm told). I'd made a full system for my 'Harley' (not a Harley part on it lol) which worked ok, so I'm using the same raw materials for this one.
Starting off with a pair of stainless 'cones' I designed an end cap and went along to my long suffering mate Jeff, with the familair words.. Can you just make this... starting with the cone, a piece of billet and some perf tubing
The billet end caps turned out to be a bit heavy, so we got a bit creative and lightened them..
Next I took the cones and H pipe over to my mate Saf (whose an excellent welder) where he welded an angled piece to the cones which in turn fitted onto the H pipe.. I had no way of getting the bike to his workshop, so I'd taped everything up on the bike and hoped we got the right angle when it was welded up..
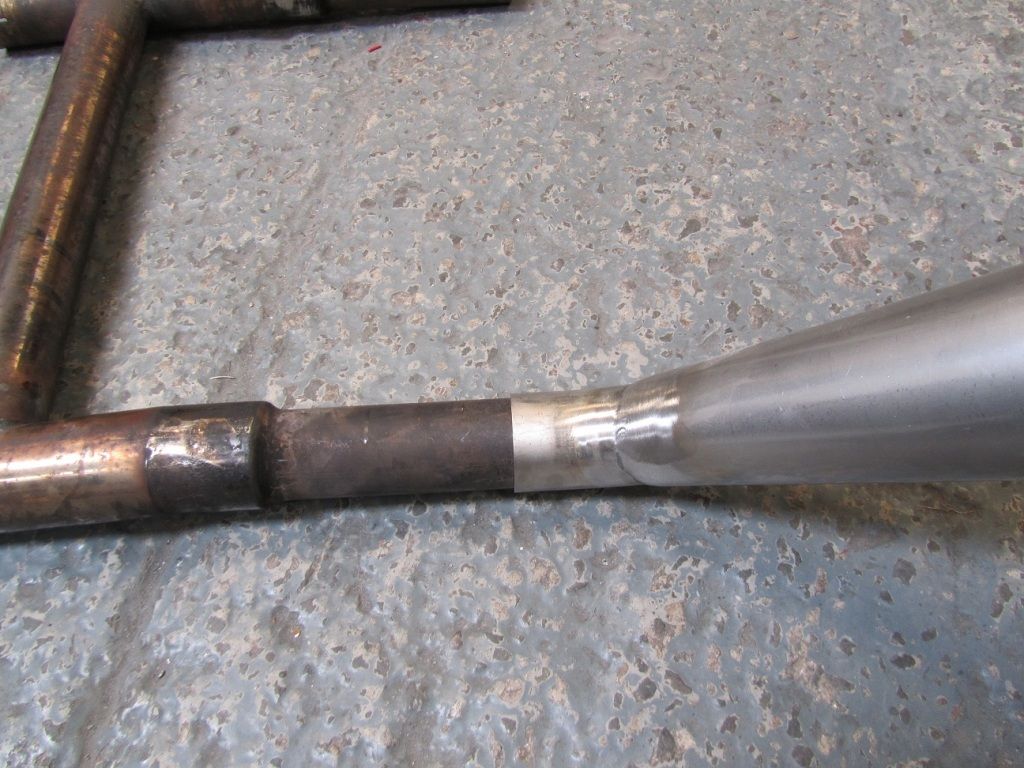
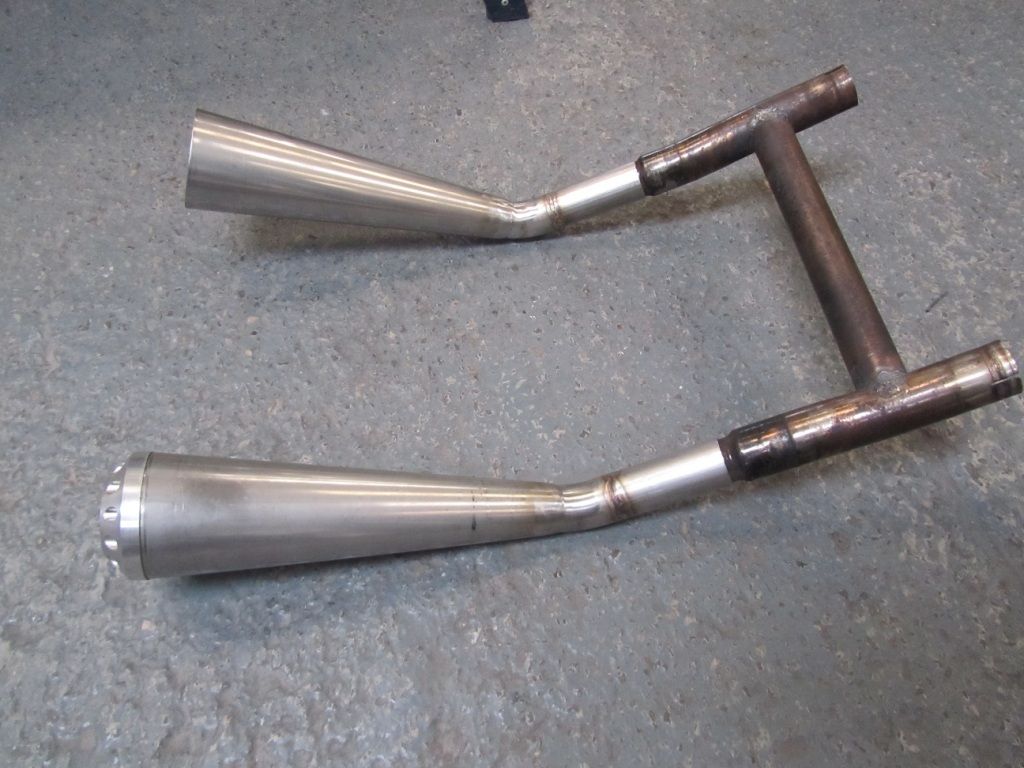
Next I took the cones and H pipe over to my mate Saf (whose an excellent welder) where he welded an angled piece to the cones which in turn fitted onto the H pipe.. I had no way of getting the bike to his workshop, so I'd taped everything up on the bike and hoped we got the right angle when it was welded up..
Coming up todate, the next job is to mount the seat unit and make a platform beneath to hold a battery in the seat hump, and also make a slim tray to sit beneath the seat which will hold all the electrical bits and bobs. I need help with the fabrication so just have to wait for awhile.
In the meantime I've got my next project line up for the winter.. dont laugh it was very cheap and it runs ..
Oh and yes my mate Jeff is handy with his ancient lathe at home, this is the sort of stuff he makes for himself..
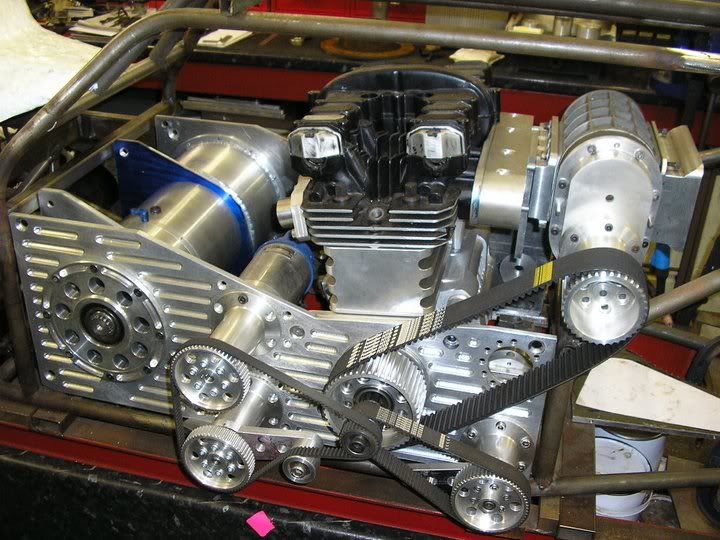
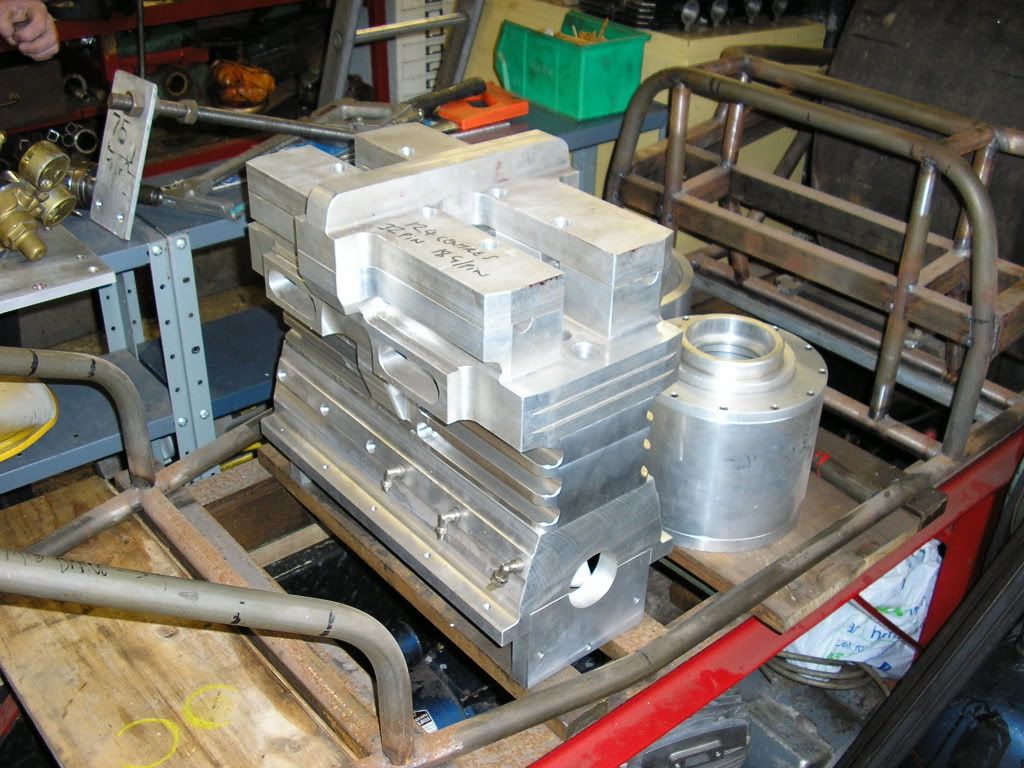
In the meantime I've got my next project line up for the winter.. dont laugh it was very cheap and it runs ..
Oh and yes my mate Jeff is handy with his ancient lathe at home, this is the sort of stuff he makes for himself..
 Cool as f
 k!!!!
k!!!!Benni said:
Hello OP,
good thread, fine project.
I guess you got your nick from building a bike with a Merch 131 cui twin ?
I dreamt about a Guzzi convert with a Harley engine mounted transversely.
Yes, well spotted, I had two a 120 CI drag bike with NOS and my road bike, which you can see here on the Dyno when I made a new exhaust last year.. good thread, fine project.
I guess you got your nick from building a bike with a Merch 131 cui twin ?
I dreamt about a Guzzi convert with a Harley engine mounted transversely.
http://youtu.be/hLHaPstpghQ
gareth_r said:
oes the '89 have proper forks, or are they like the '78, with piddly little sealed cartridge dampers that don't work all that well and wear out very quickly?
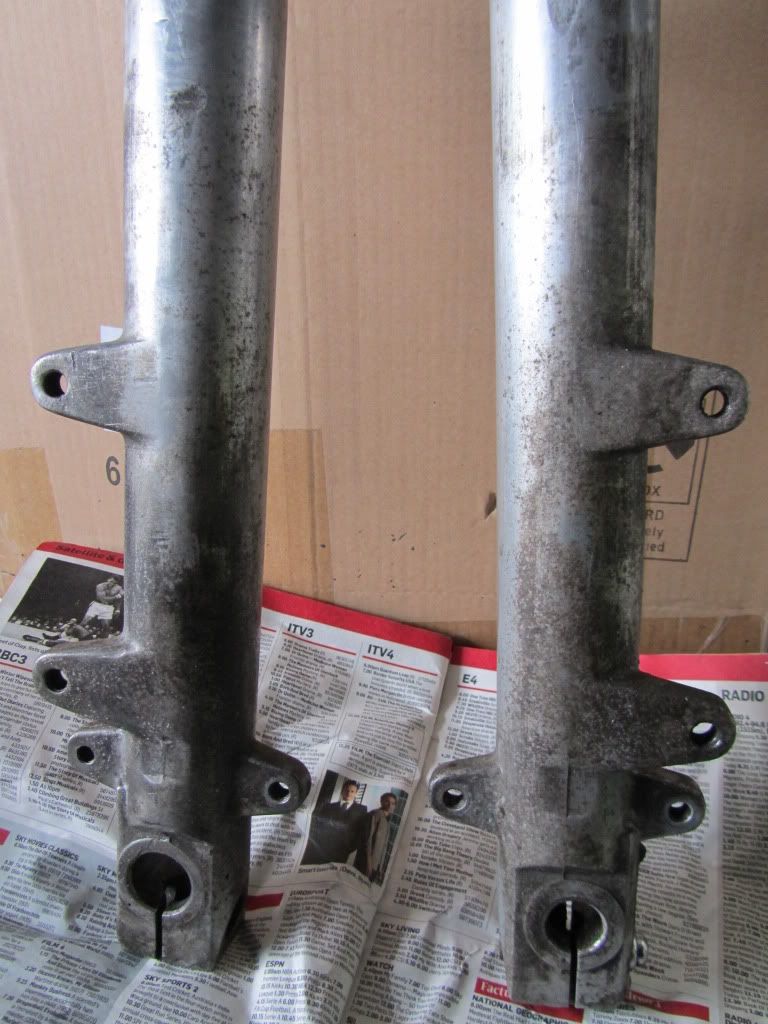
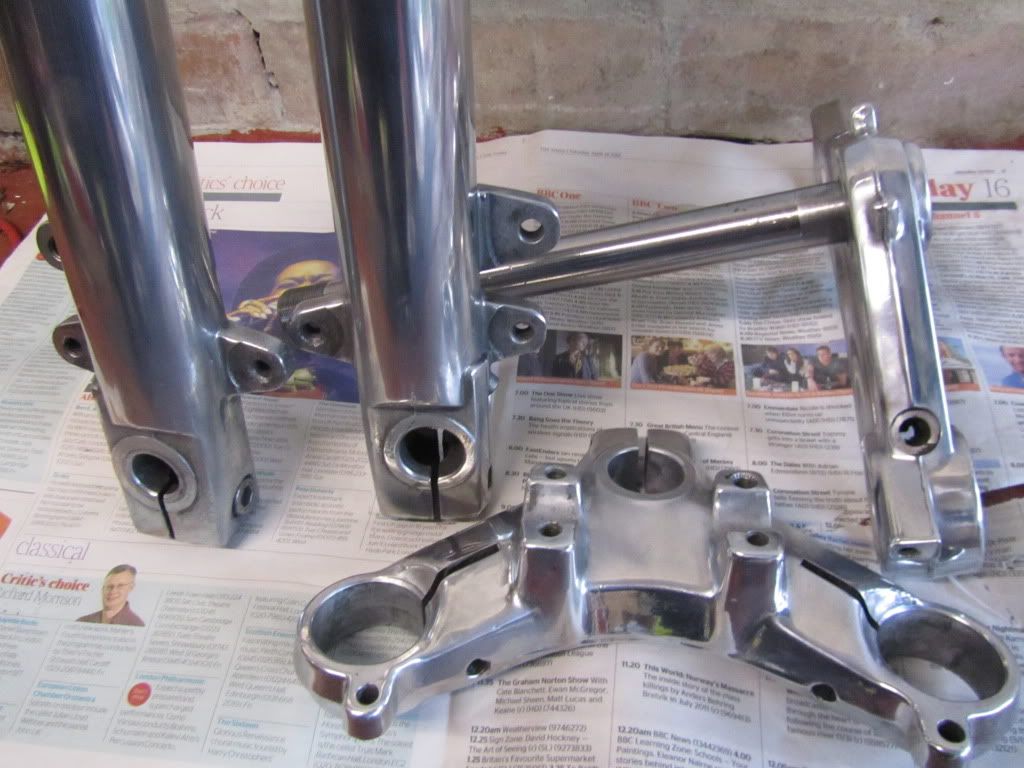
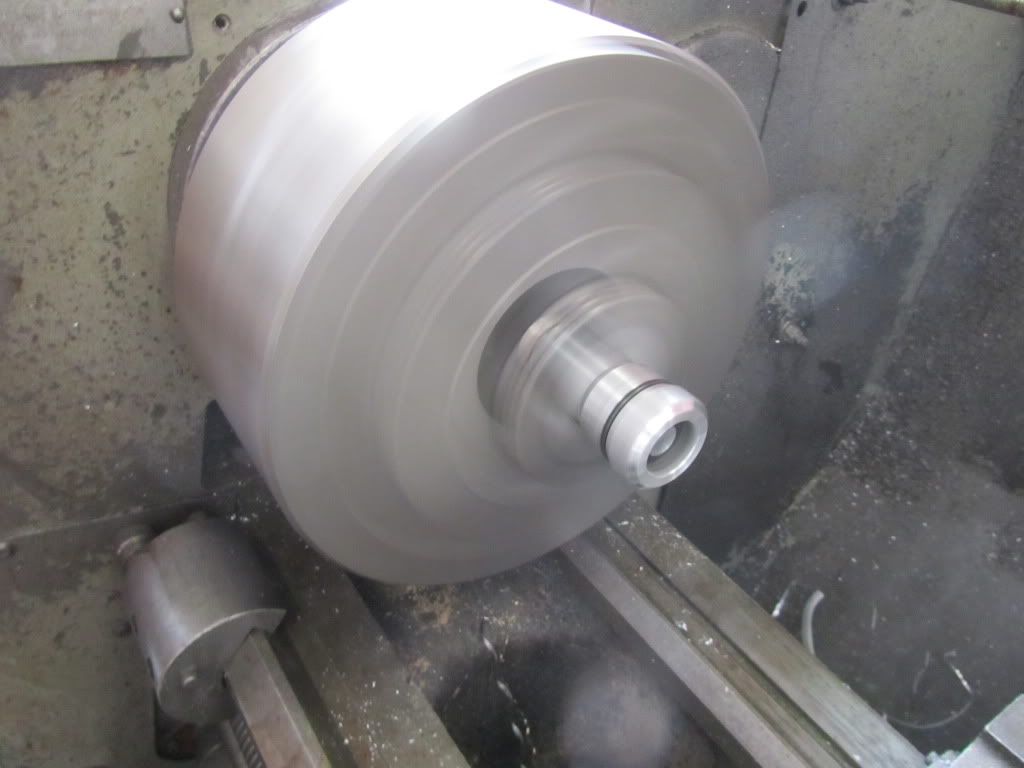
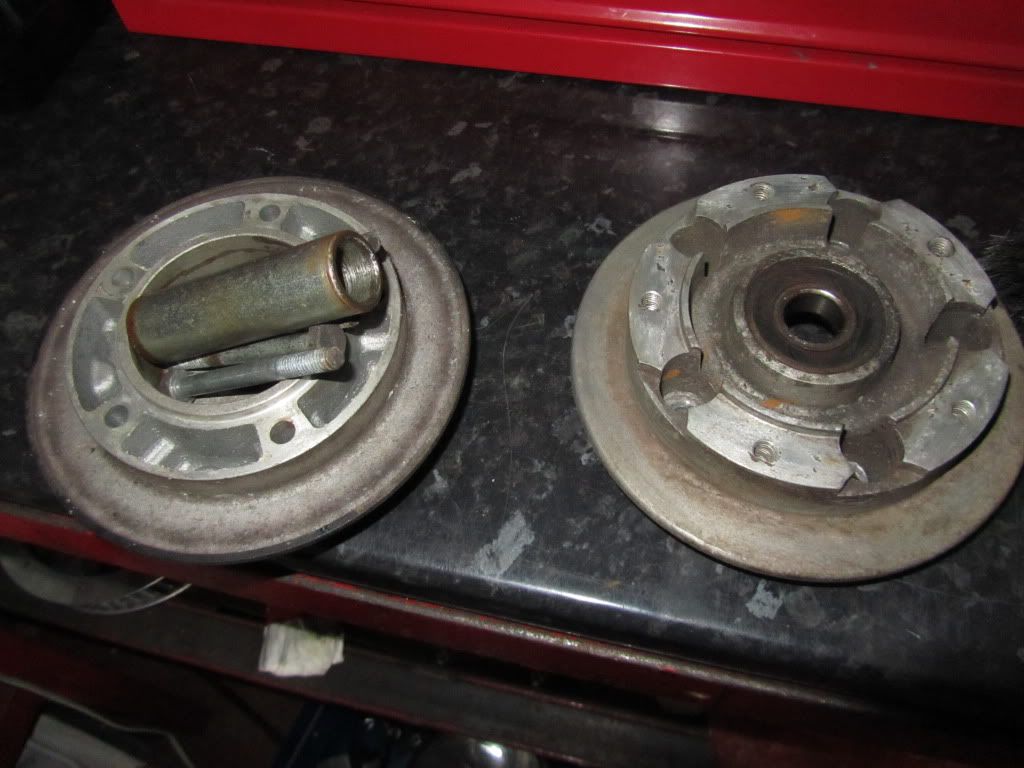
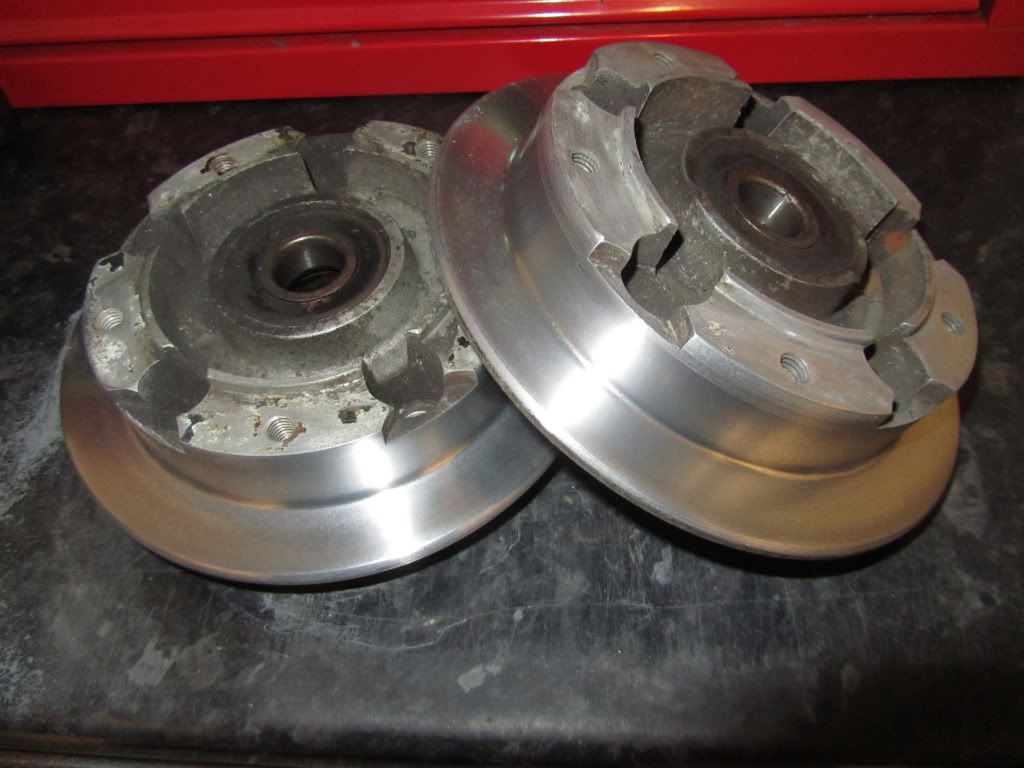
Even Guzzi sometimes move with the times, the early bikes had 38mm Marzocchis I think (?) while this bike has 40mm Biturbo forks. Actually I have skipped a lot of the more boring work on this bike, one of which was to clean up the fork tops. I didnt want to pay for new ones, so turned them down a bit on the lathe and polished them by hand, turned out ok, did the same with the disc carriers and polihsed a few other bits and bobs..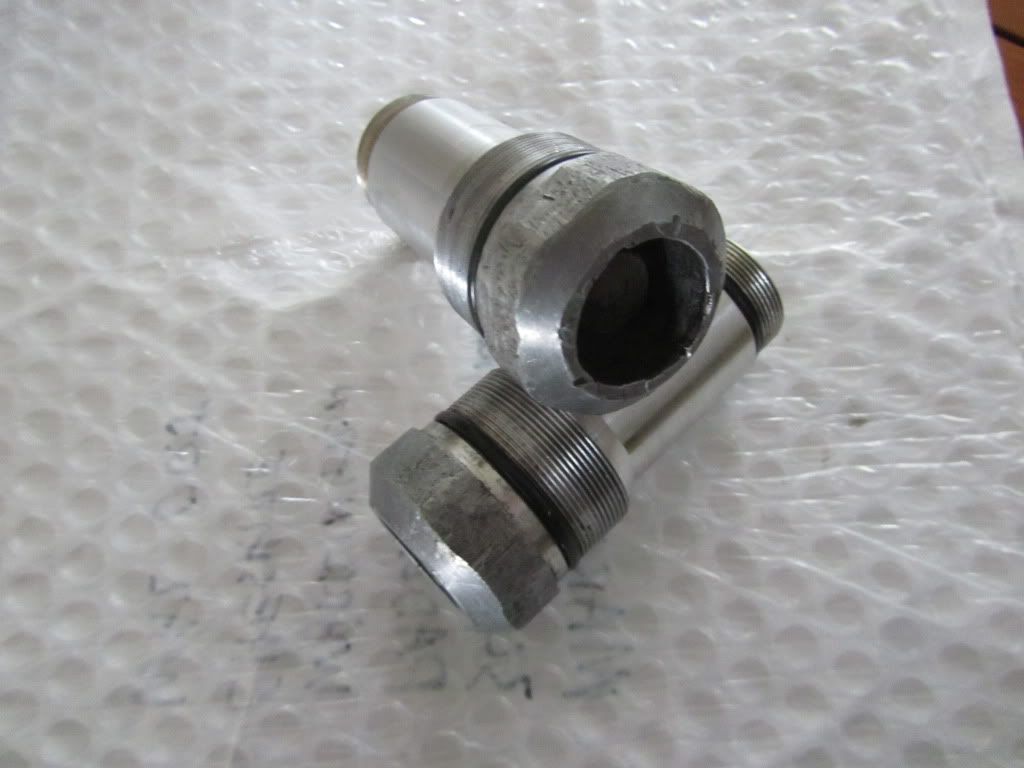


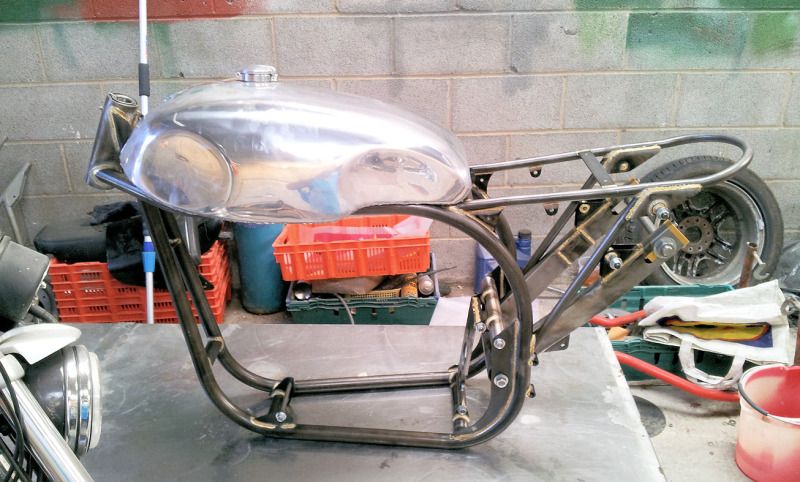
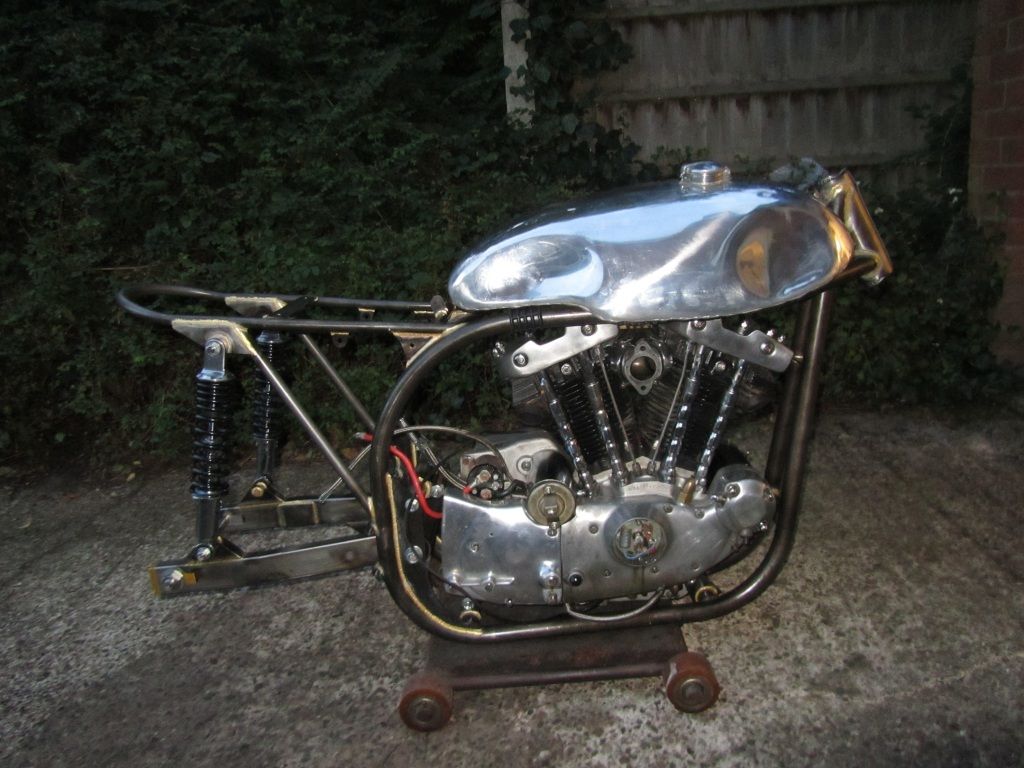
Time to see if the Ironhead engine will go in my new Manx replica frame..
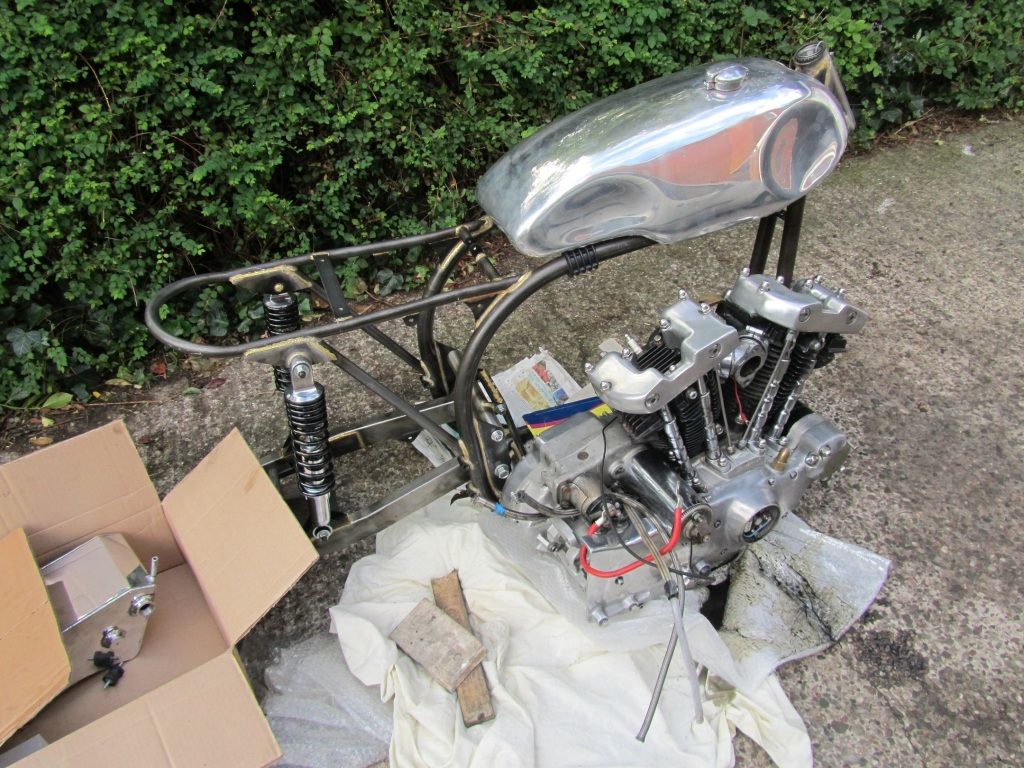
Needed an extra pair of hands, but went in without too much swearing..
The engine will be coming apart when the dry build is finished, for a few performance mods.. cams, carb, flowed heads and anything else I can afford ..
Needed an extra pair of hands, but went in without too much swearing..
The engine will be coming apart when the dry build is finished, for a few performance mods.. cams, carb, flowed heads and anything else I can afford ..
Edited by Merch131 on Wednesday 19th June 09:17
Gassing Station | Biker Banter | Top of Page | What's New | My Stuff