Chassis pawn (Picture heavy)
Discussion


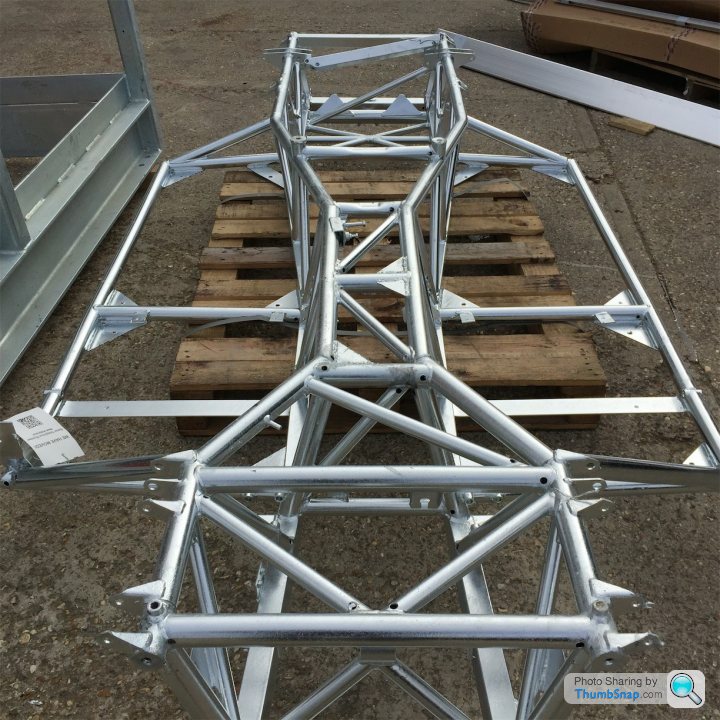
I decided to go for a belt and braces approach, so hot dip galvanising was on the cards.
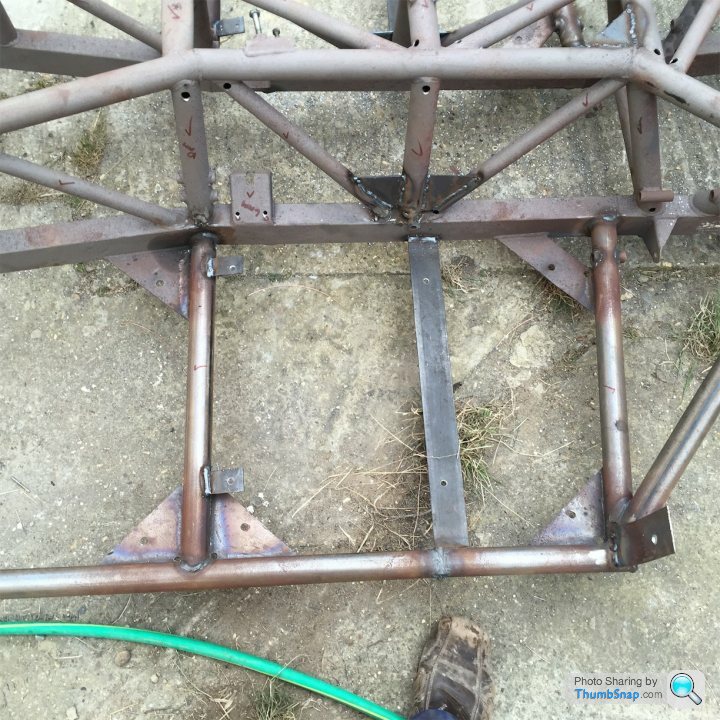
2 x 10mm holes were drilled in every tube.
whist i was on a roll, id never been comfortable with no seat support and bolting through GRP so added a bit of steel.
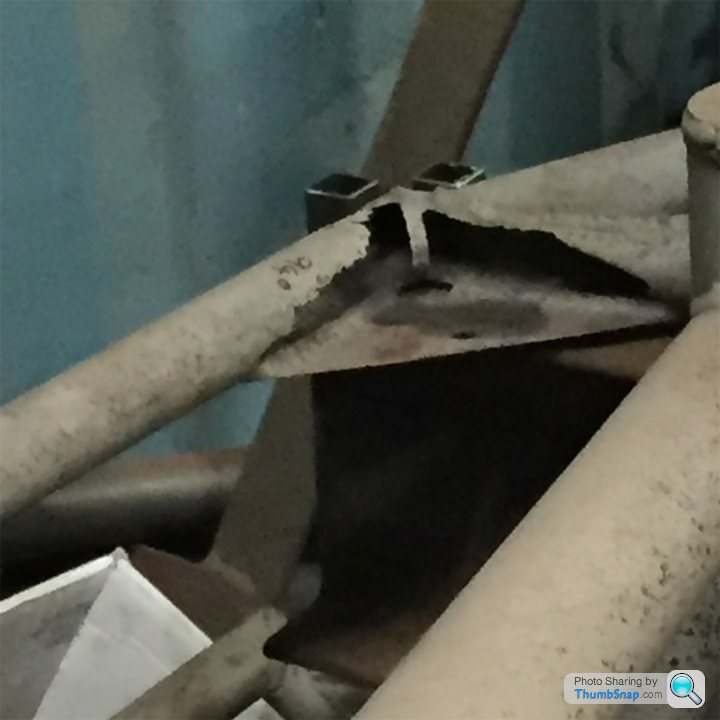
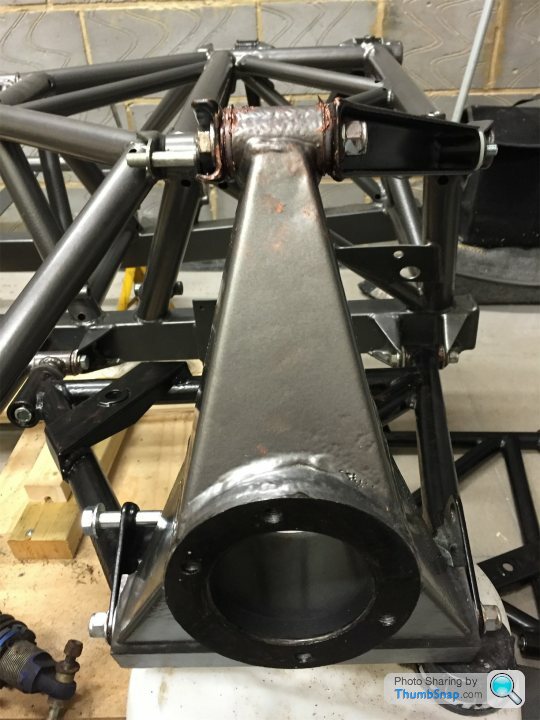
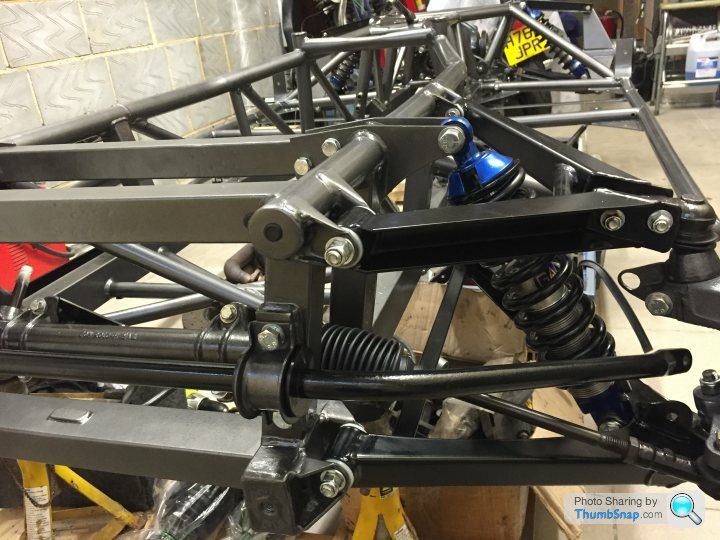
also thought some gussets would help around the diff area of the chassis, that was until my welder packed up.
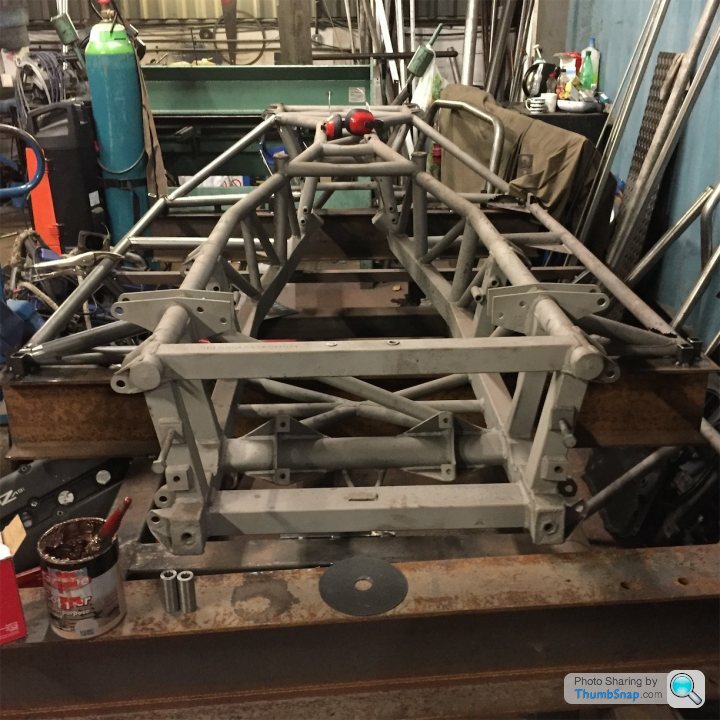
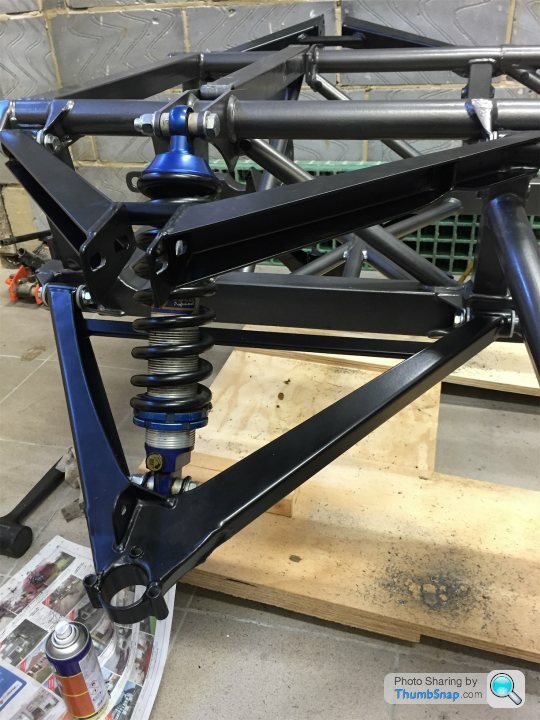
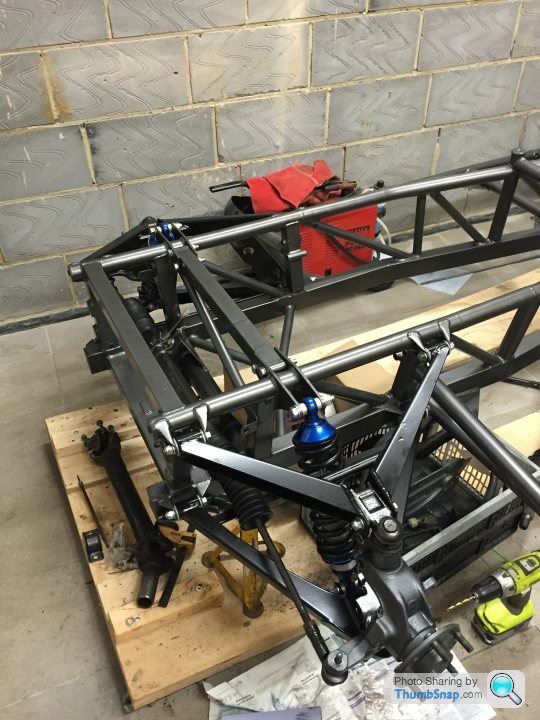
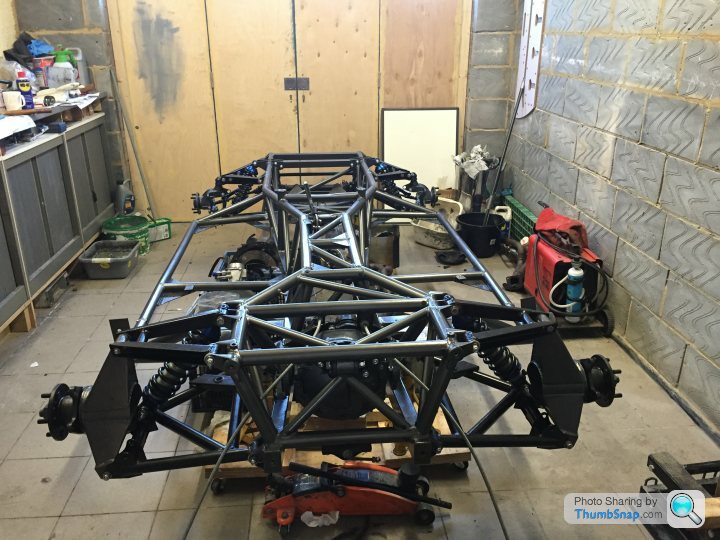
Then straight to the powder coaters for him to work his magic.
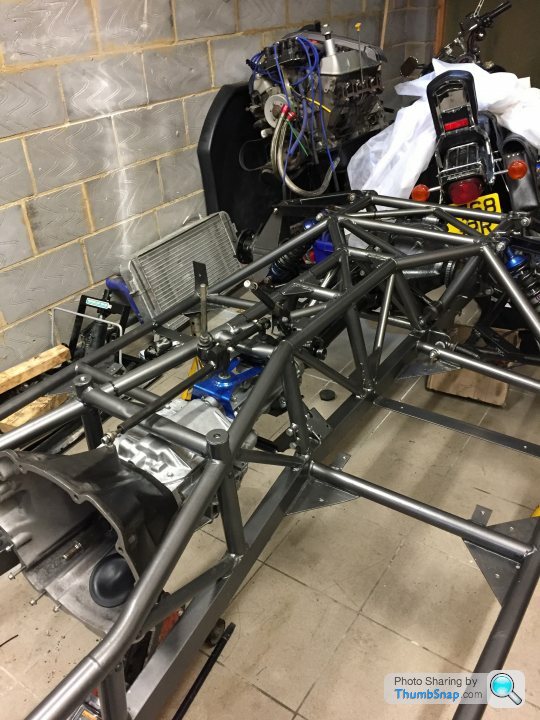
I chose gun metal grey and satin black
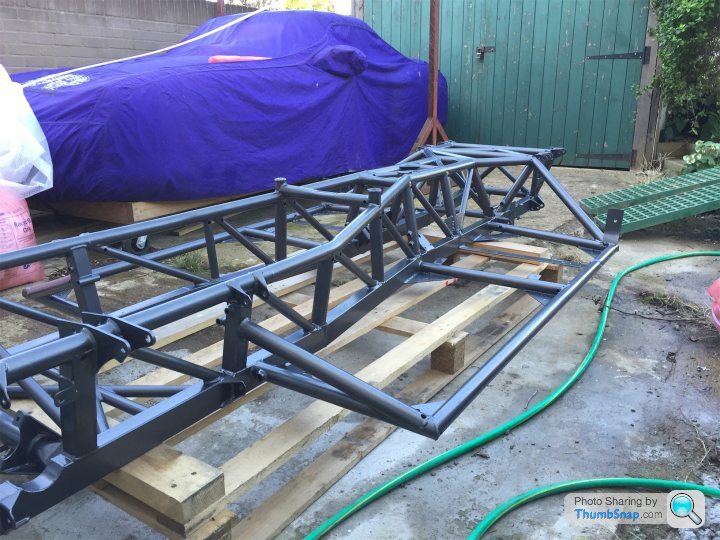
All the holes were capped using 9mm blanking grommets
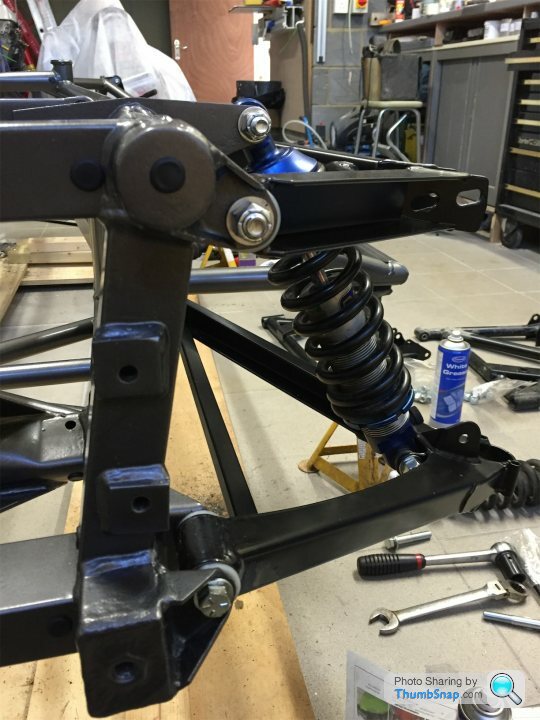
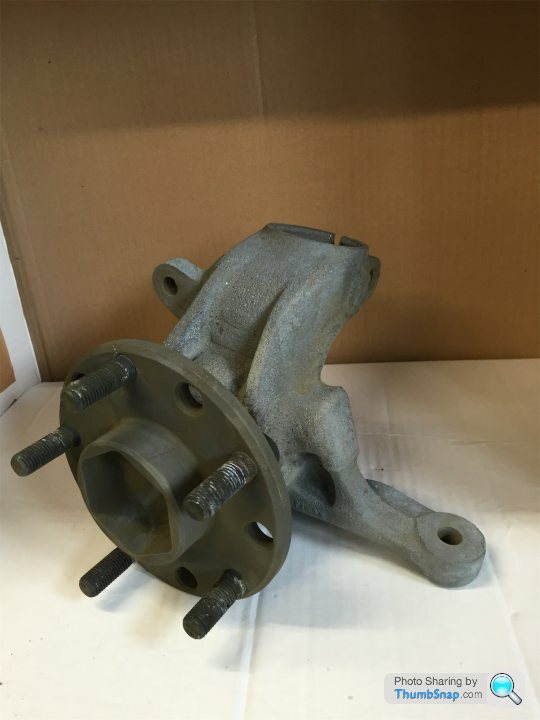
a bit of parts washing, acid etching the spraying.
and 85% phosphoric acid is a great de-rusting treatment.
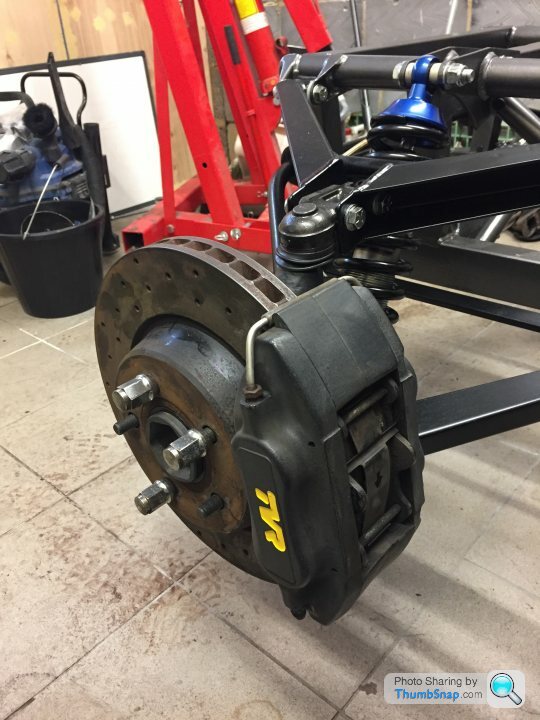
i used an air brush with brake calliper paint to do the small bits.


2 x 10mm holes were drilled in every tube.
whist i was on a roll, id never been comfortable with no seat support and bolting through GRP so added a bit of steel.
also thought some gussets would help around the diff area of the chassis, that was until my welder packed up.
Then straight to the powder coaters for him to work his magic.
I chose gun metal grey and satin black
All the holes were capped using 9mm blanking grommets
a bit of parts washing, acid etching the spraying.
and 85% phosphoric acid is a great de-rusting treatment.
i used an air brush with brake calliper paint to do the small bits.
Edited by Discopotatoes on Tuesday 2nd August 16:47
Edited by Discopotatoes on Wednesday 3rd August 17:52
Edited by Discopotatoes on Sunday 19th February 20:29
ProjectChimaera said:
Nice work, mines away at the blasters and powder coaters at the moment. Looking forward to getting it back and putting it all back together! I've got a small smart repair gun which I may have a go at the smaller parts with, was the airbrush a pain to clean with that paint?
standard thinners was finechris52 said:
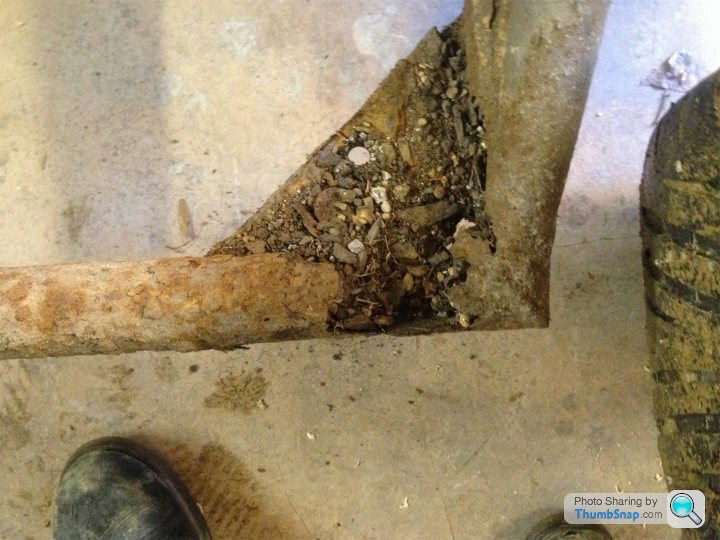
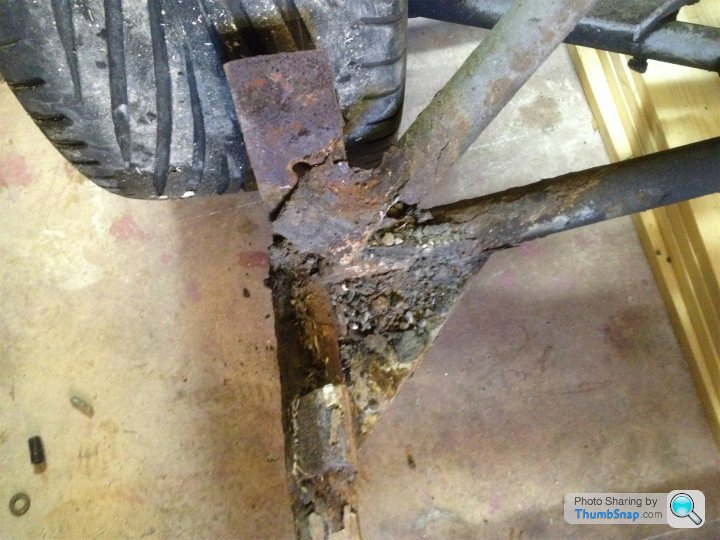
Now I am no structural engineer but all those 10mm holes in the chassis surely must affect the rigidity of it and create weak spots that may fracture as the chassis twists and flexes under hard acceleration and cornering which they do probably more than you would expect.
Not trying to be negative the chassis looks fabulous and will certainly not have any rust issues. But I personally would be cautious.
Hope I'm wrong
Chris
Fair point, i did my research beforehand and due to the holes being near the welds and being round they don't create stress risers, and a rust free chassis has to be stronger than the one i was putting stupid horse power through. but only time will tellNot trying to be negative the chassis looks fabulous and will certainly not have any rust issues. But I personally would be cautious.
Hope I'm wrong
Chris


ClassiChimi said:
Looks better than my old Balsa wood Planes 
Such a great finish on the chassis, are you going to wrap some heat resistant material around the top tubes where the manifolds sit very close?
Or will your chassis treatment take the heat ok?
It's a masterpiece
I am going to put something on the rails but not sure what yetSuch a great finish on the chassis, are you going to wrap some heat resistant material around the top tubes where the manifolds sit very close?
Or will your chassis treatment take the heat ok?
It's a masterpiece
Gassing Station | Chimaera | Top of Page | What's New | My Stuff