My carbon fiber project
Discussion


Always trying to come up with something new for my car, I have been busy teaching myself how to make carbon fiber parts. First up were the mirror covers. I tracked down the part numbers from Volvo and ordered several sets of unpainted units to play with. My strategy is always to use spare parts for my projects so I minimize my risk of damaging the originals, and also gives me the option to reverting to the original look if I so chose.
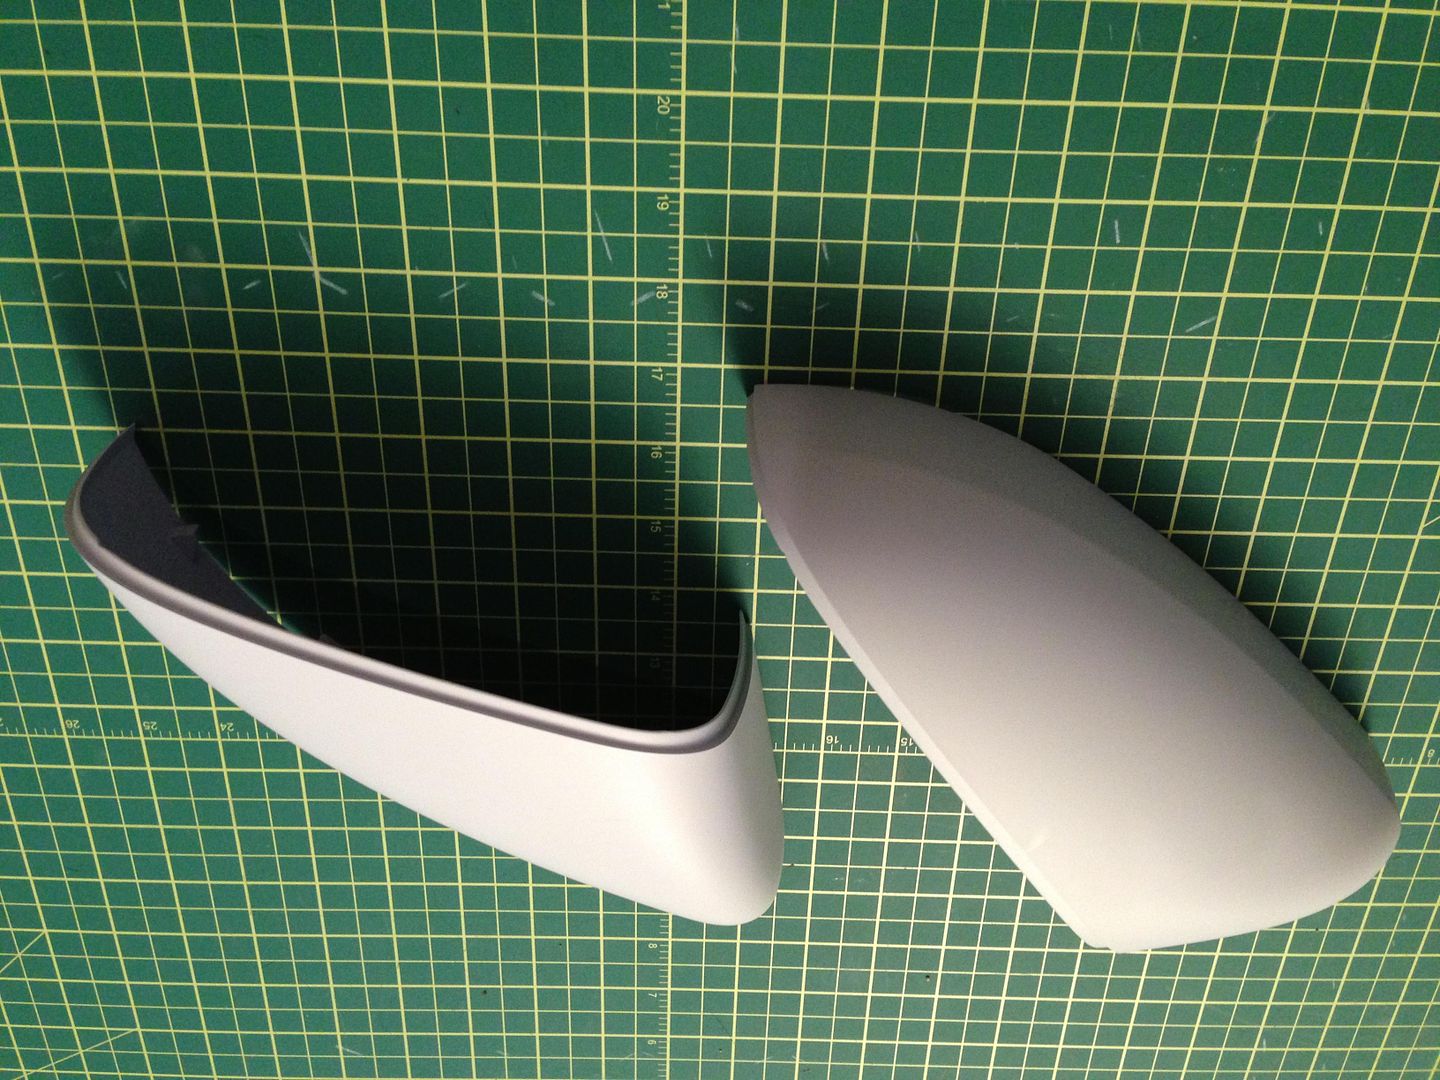
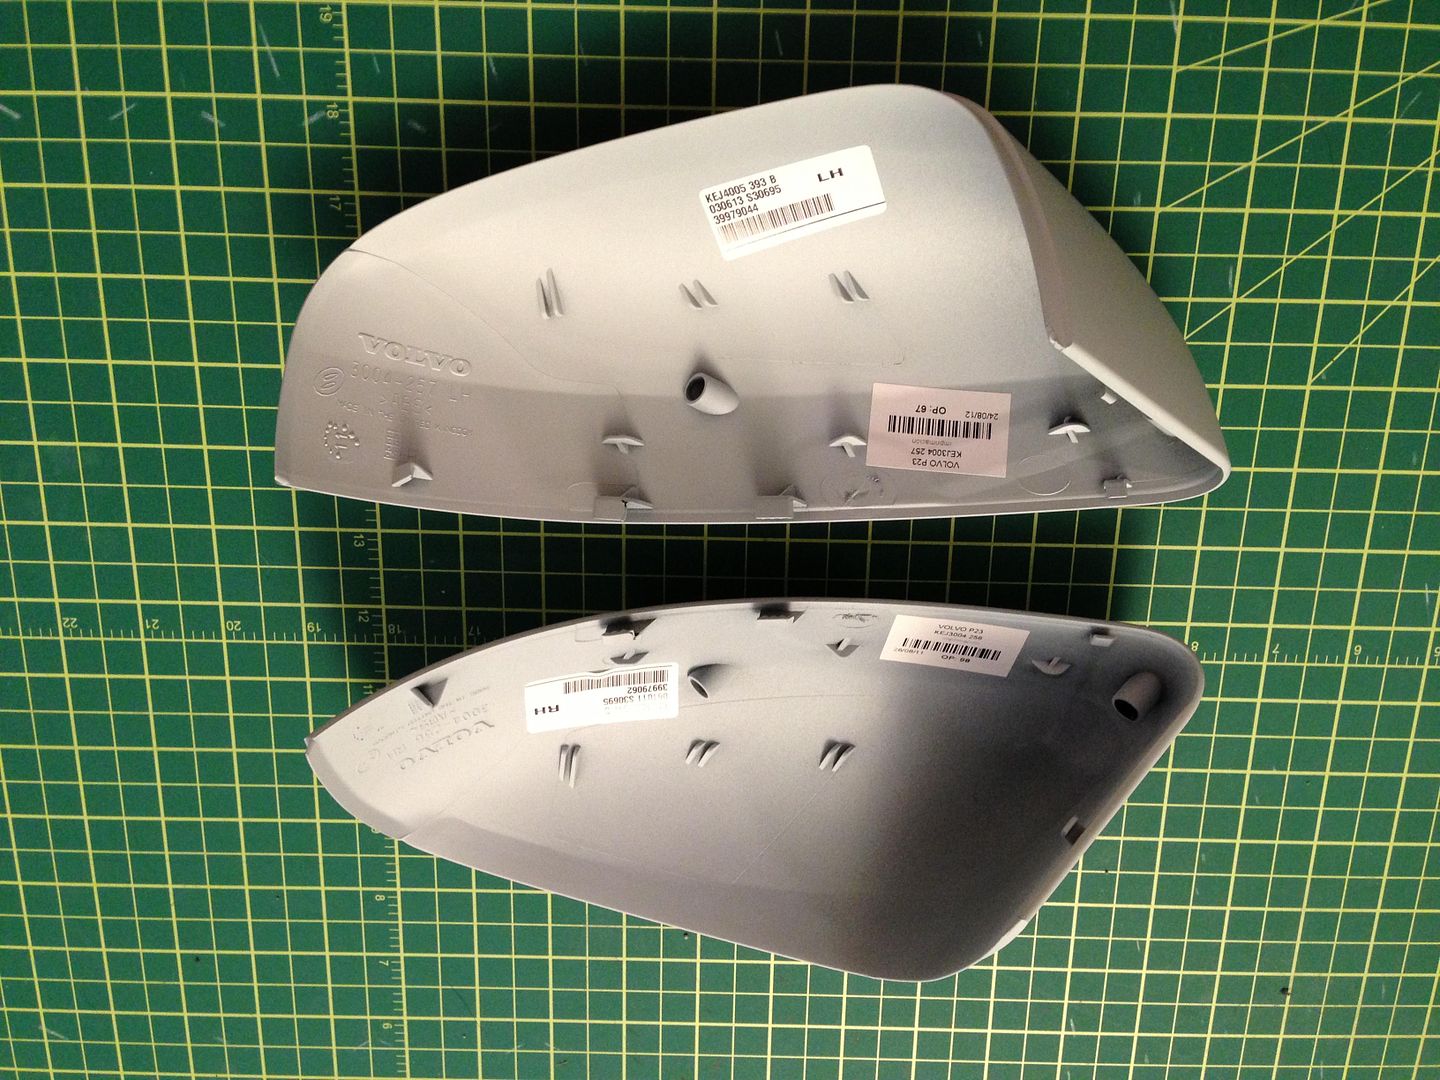
Here are the mirror covers from my trusty local Volvo dealer:
I wound up making two different sets in two different carbon weave patterns and styles and I had some failed attempts, that I wound up ripping off and re-doing. Carbon is a bit pricy, so these mistakes cost me a bit.
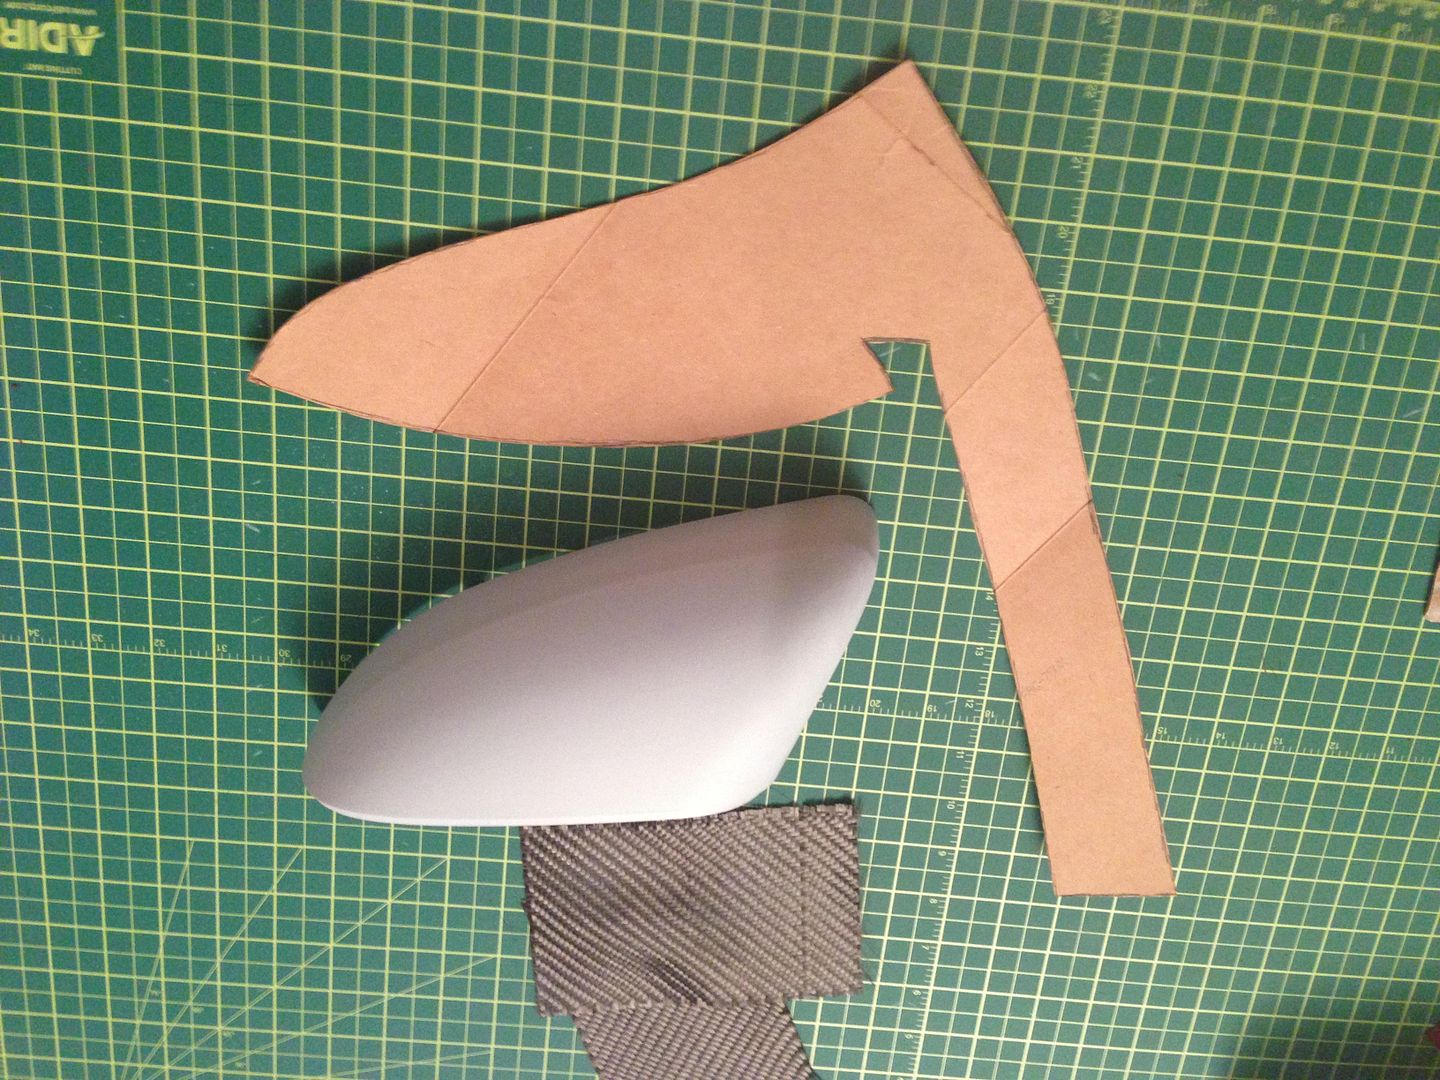
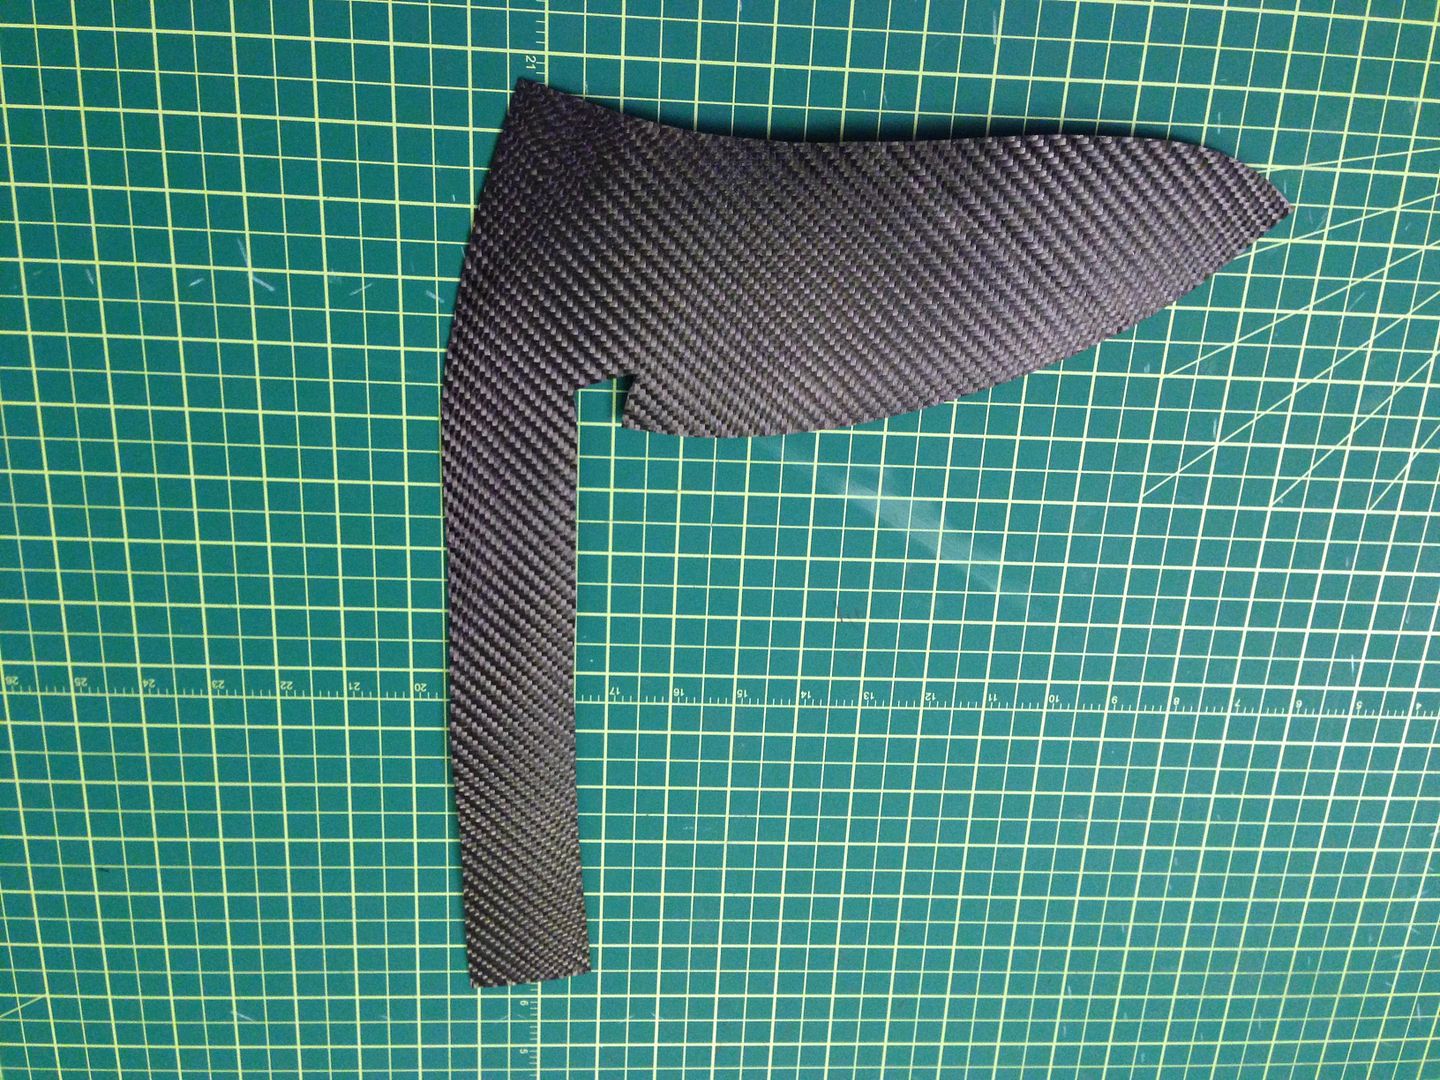
One of the approaches I did, involved making a template as seen on the following pictures:
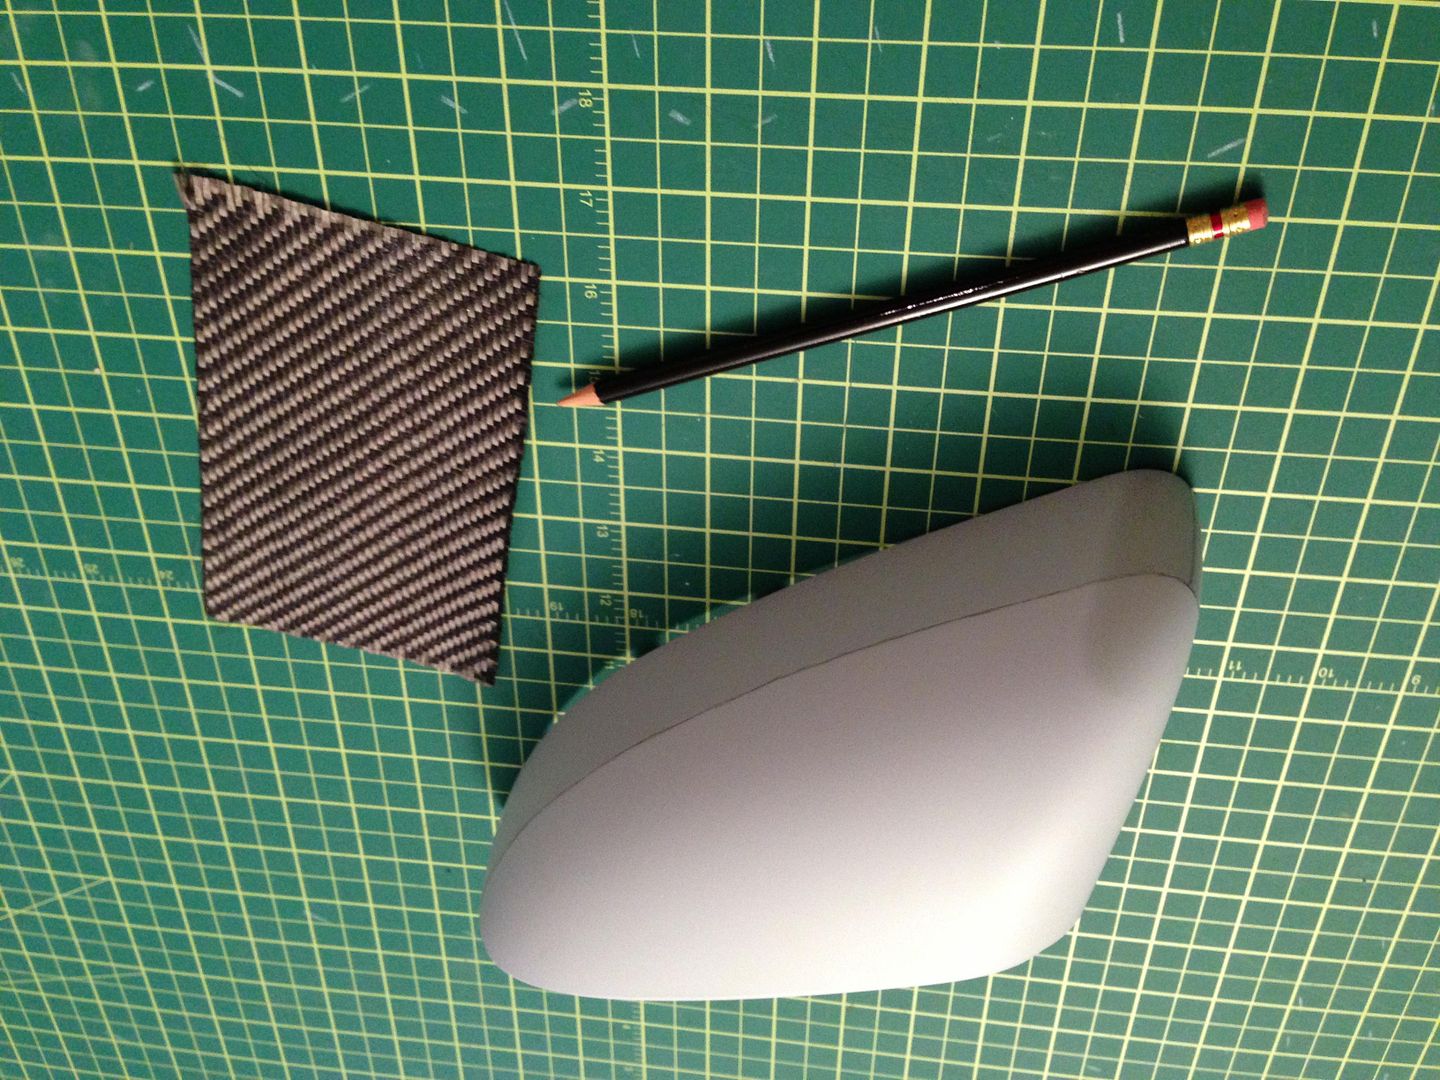
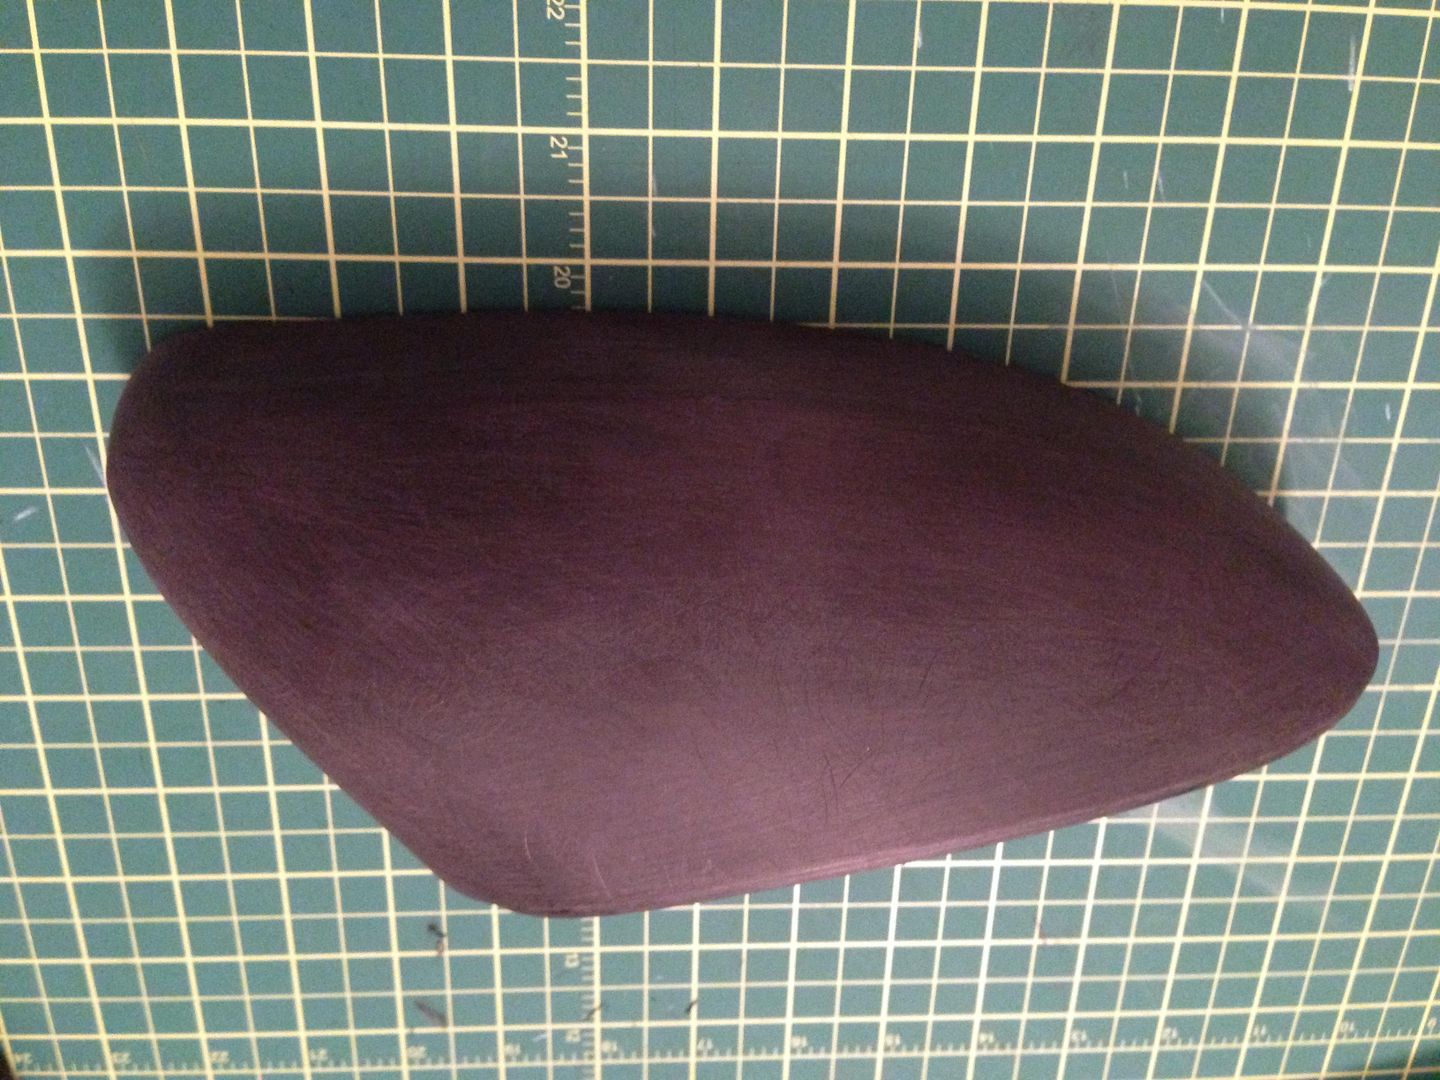
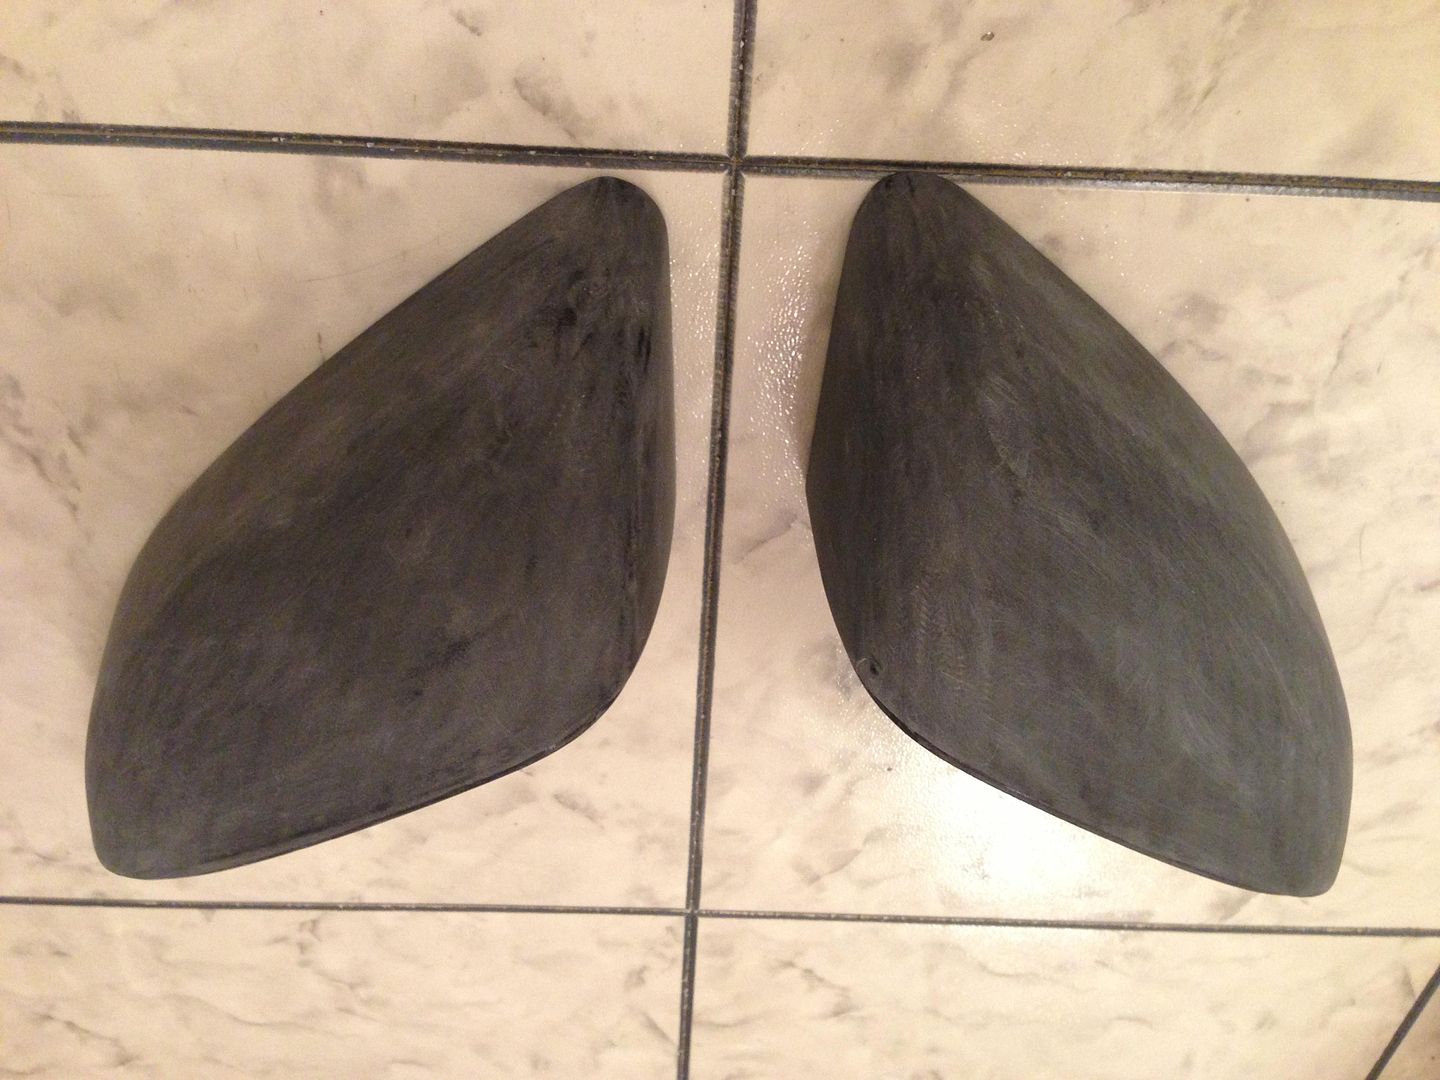
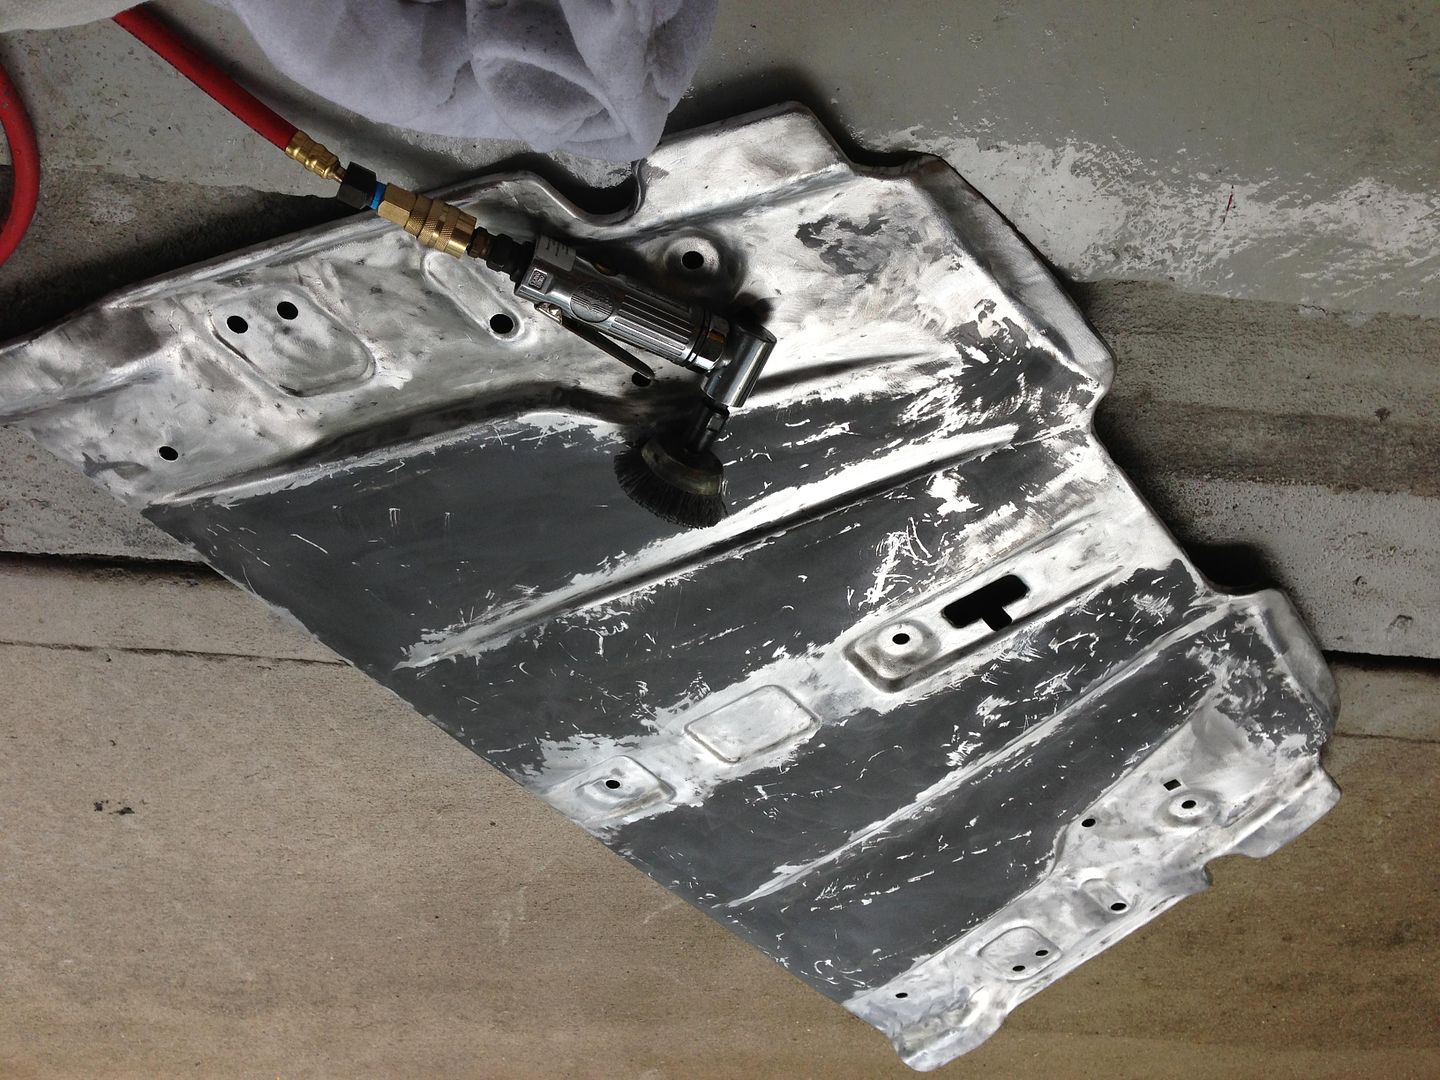
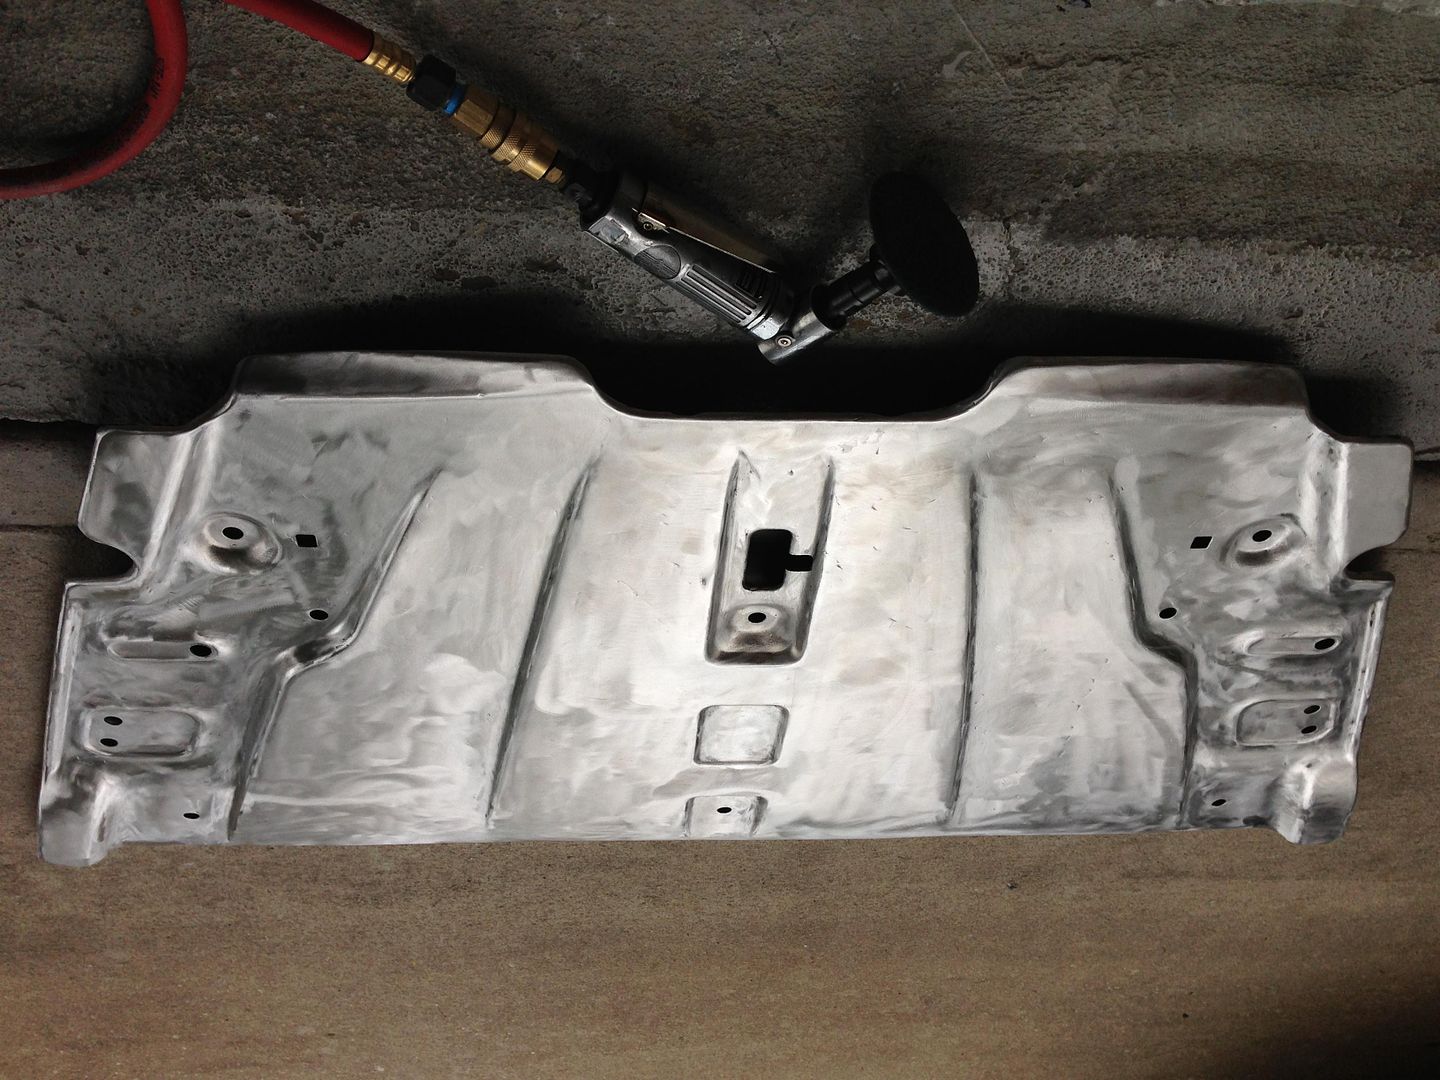
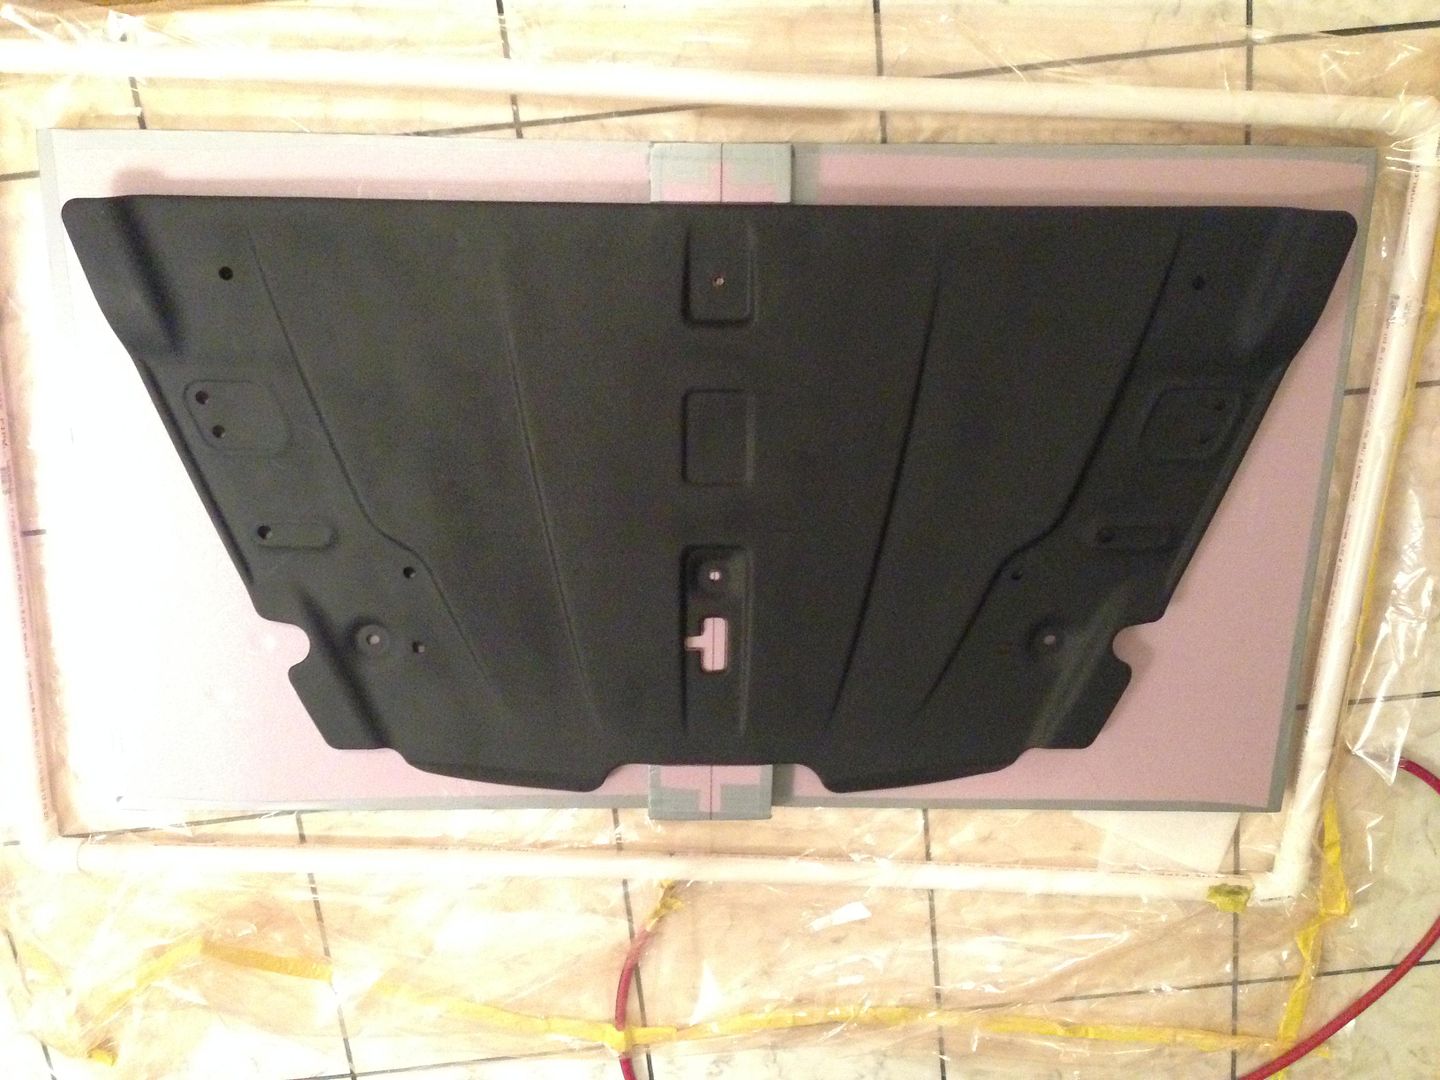
The mirror covers come prepared in gray primer, so I had to re-spray them in black fillable primer to prevent the gray from showing through the weave. I then had to key the surface to promote adhesion of the epoxy base coat.
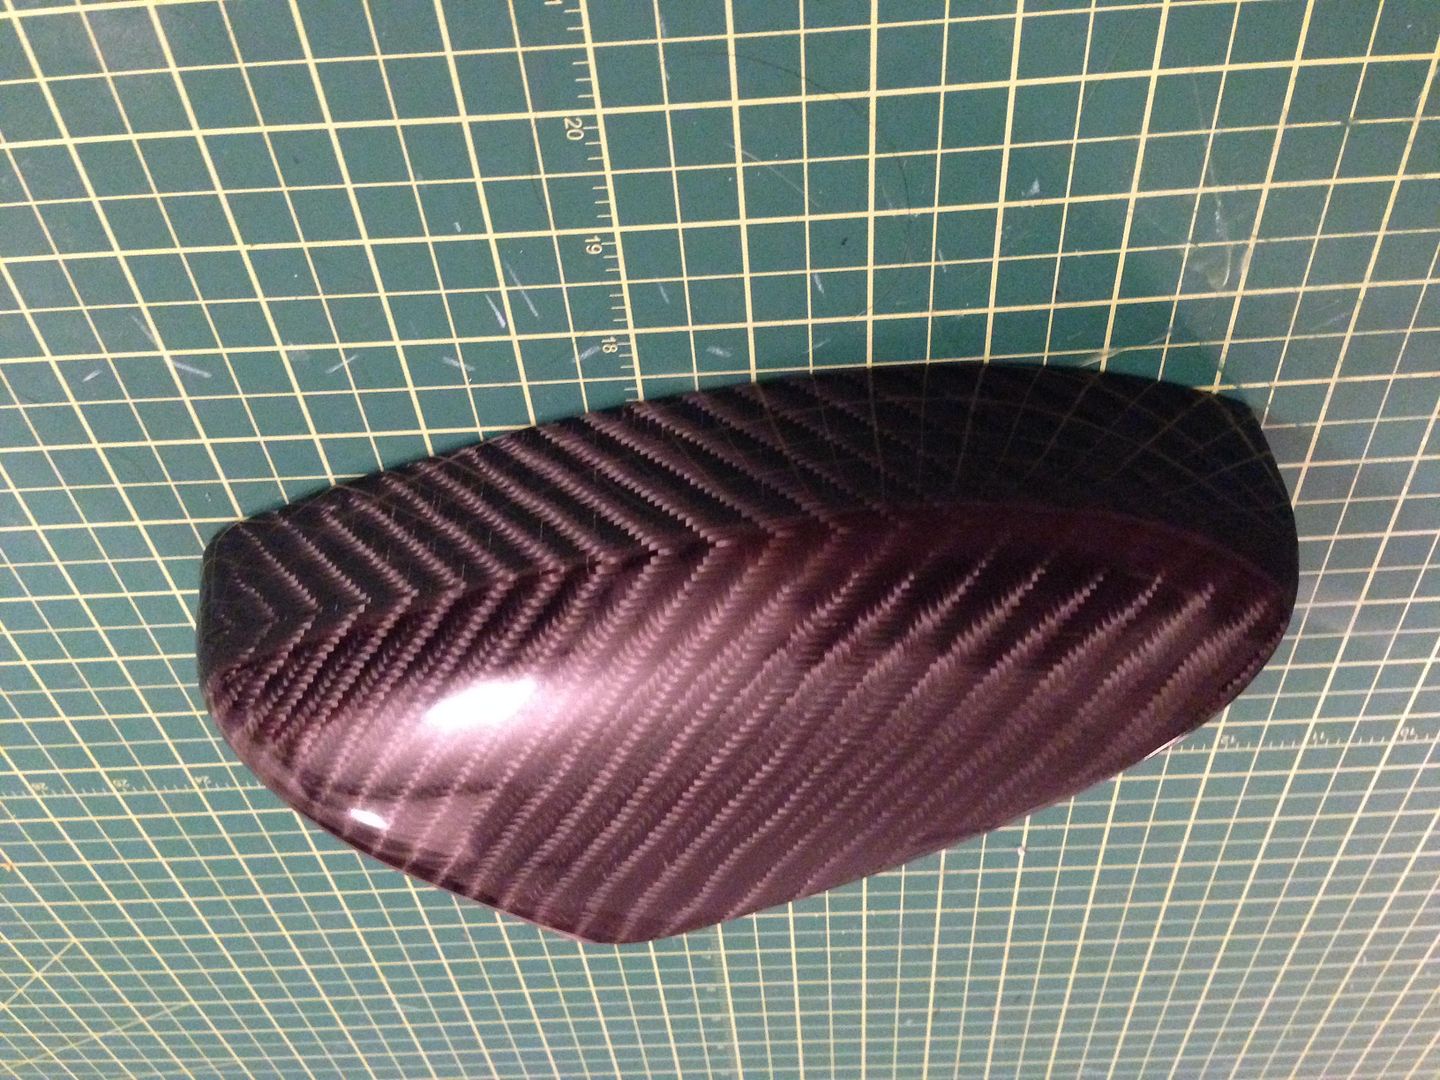
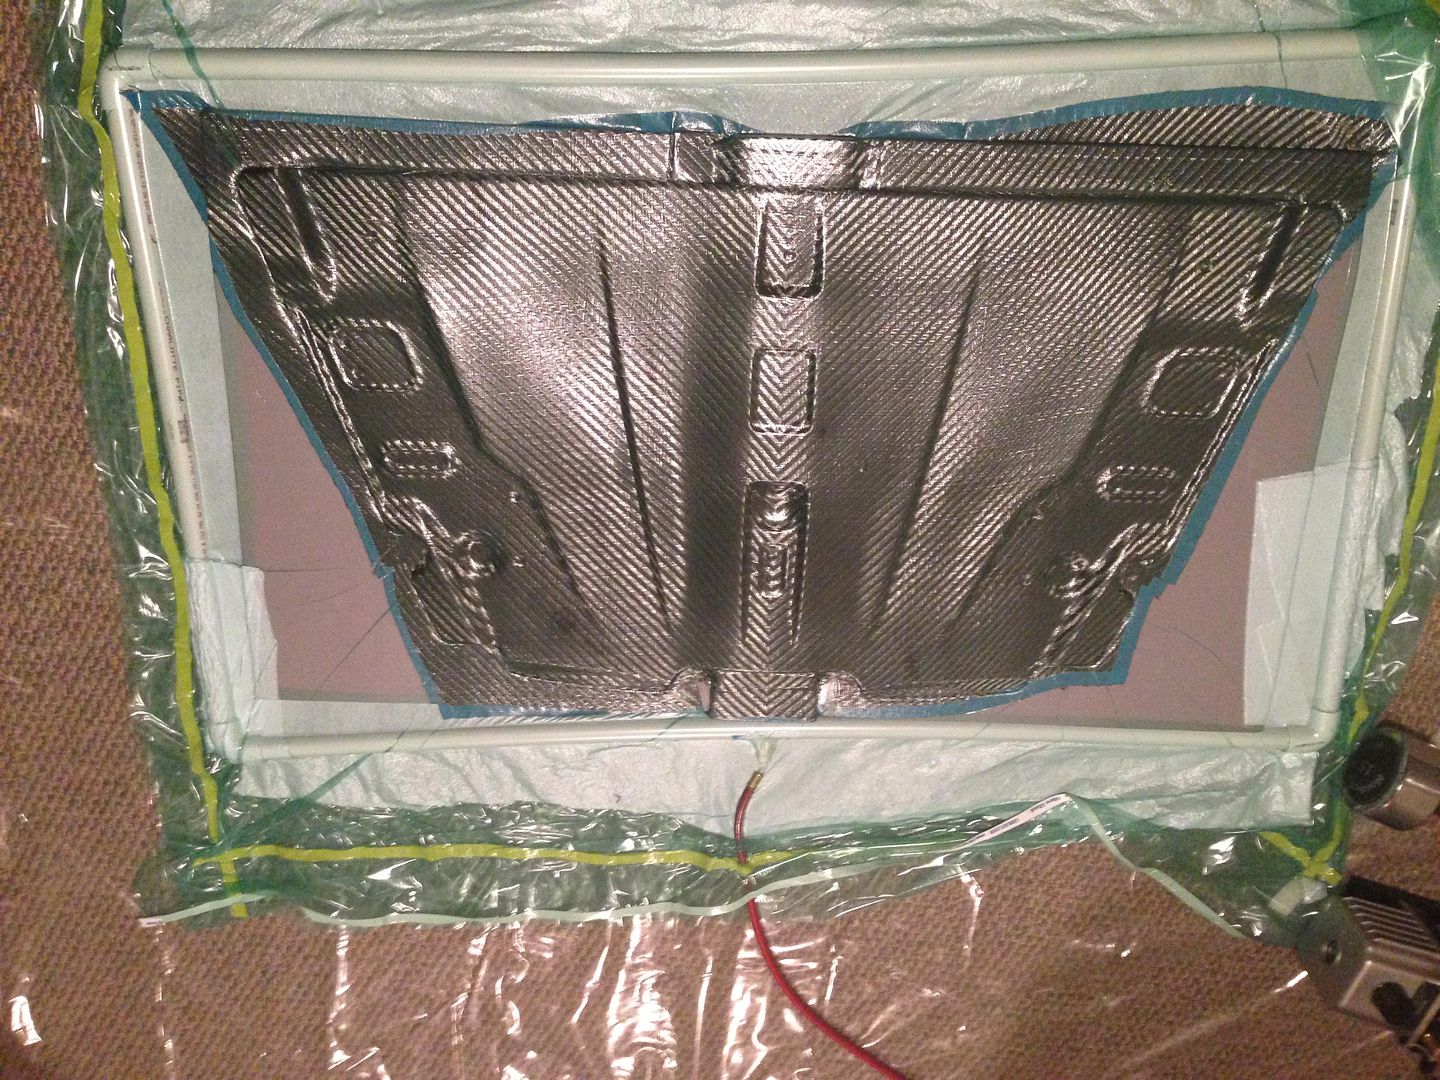
Here are the covers wrapped in carbon using the template. I decided to make this set with a 4x4 7.8oz 17pic aerospace twill which is a fairly exotic fabric compared to the standard plain weave or the 2x2 twill used in most cars. In fact, the 4x4 twill is used in many of the Pagani and Koniggsegg body panels.
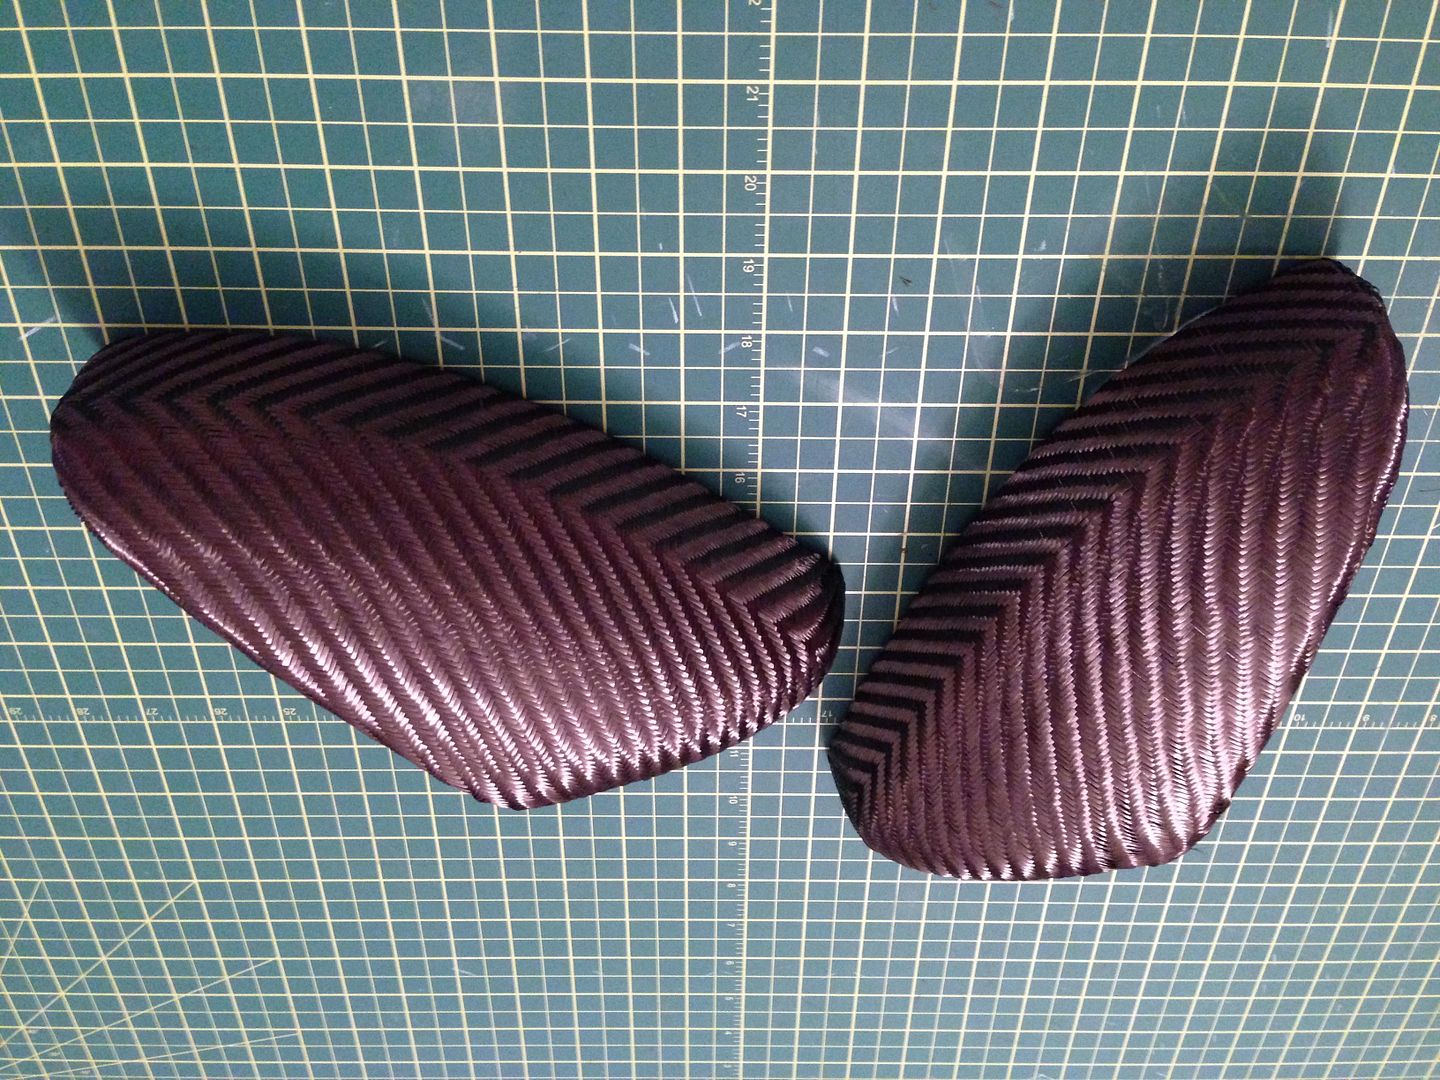
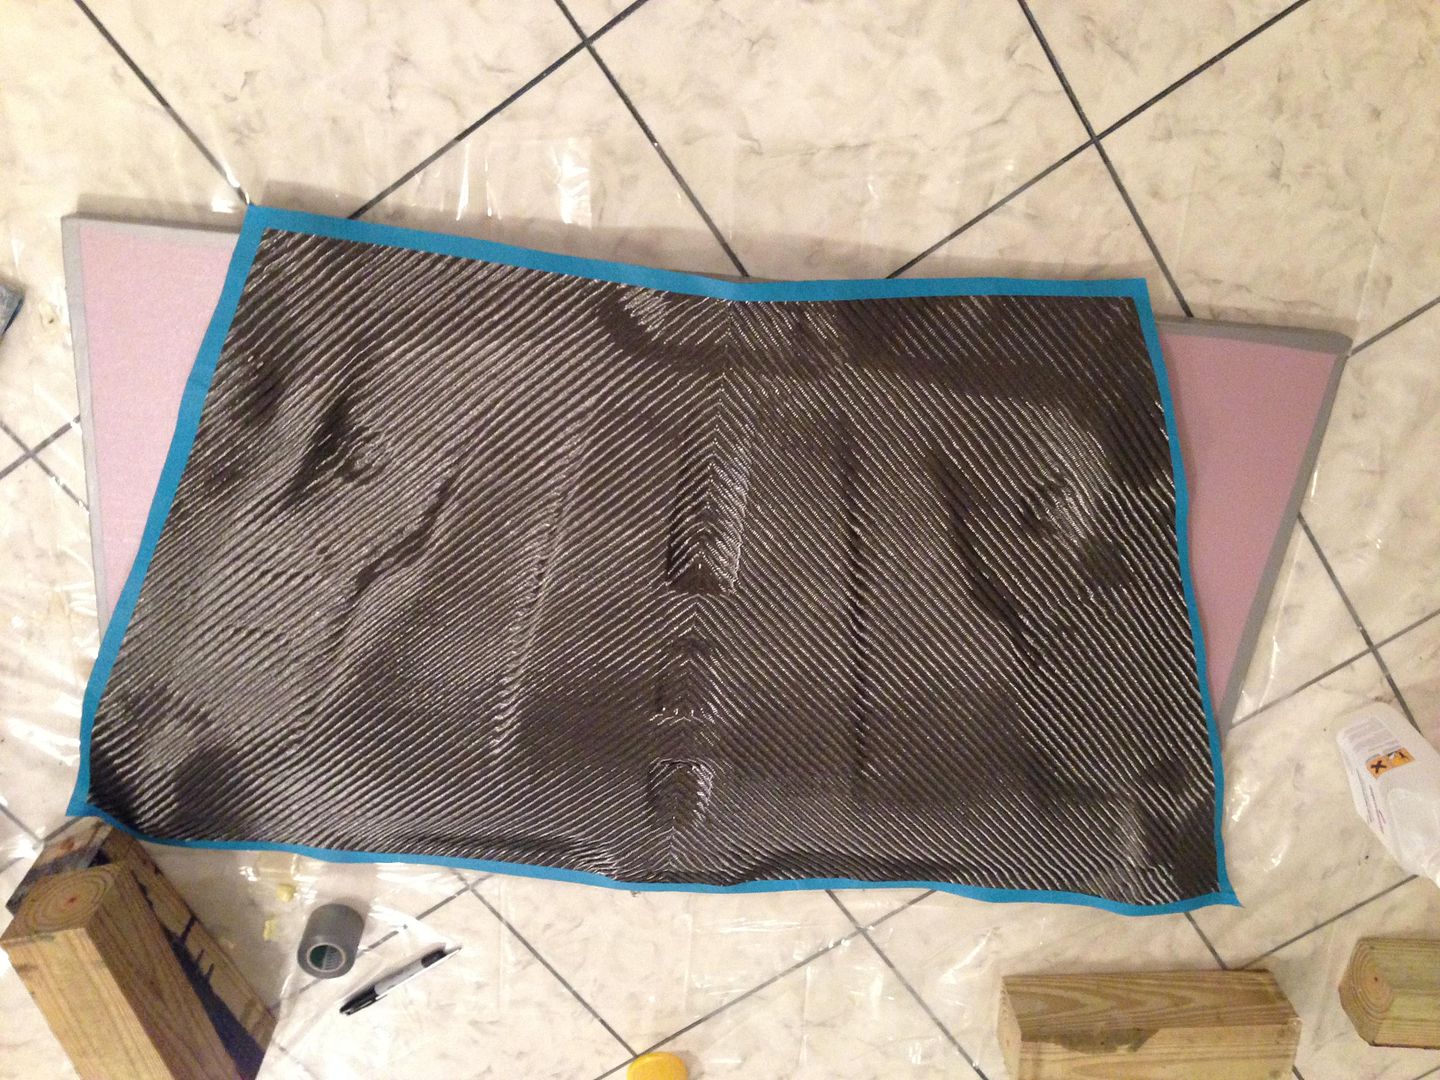
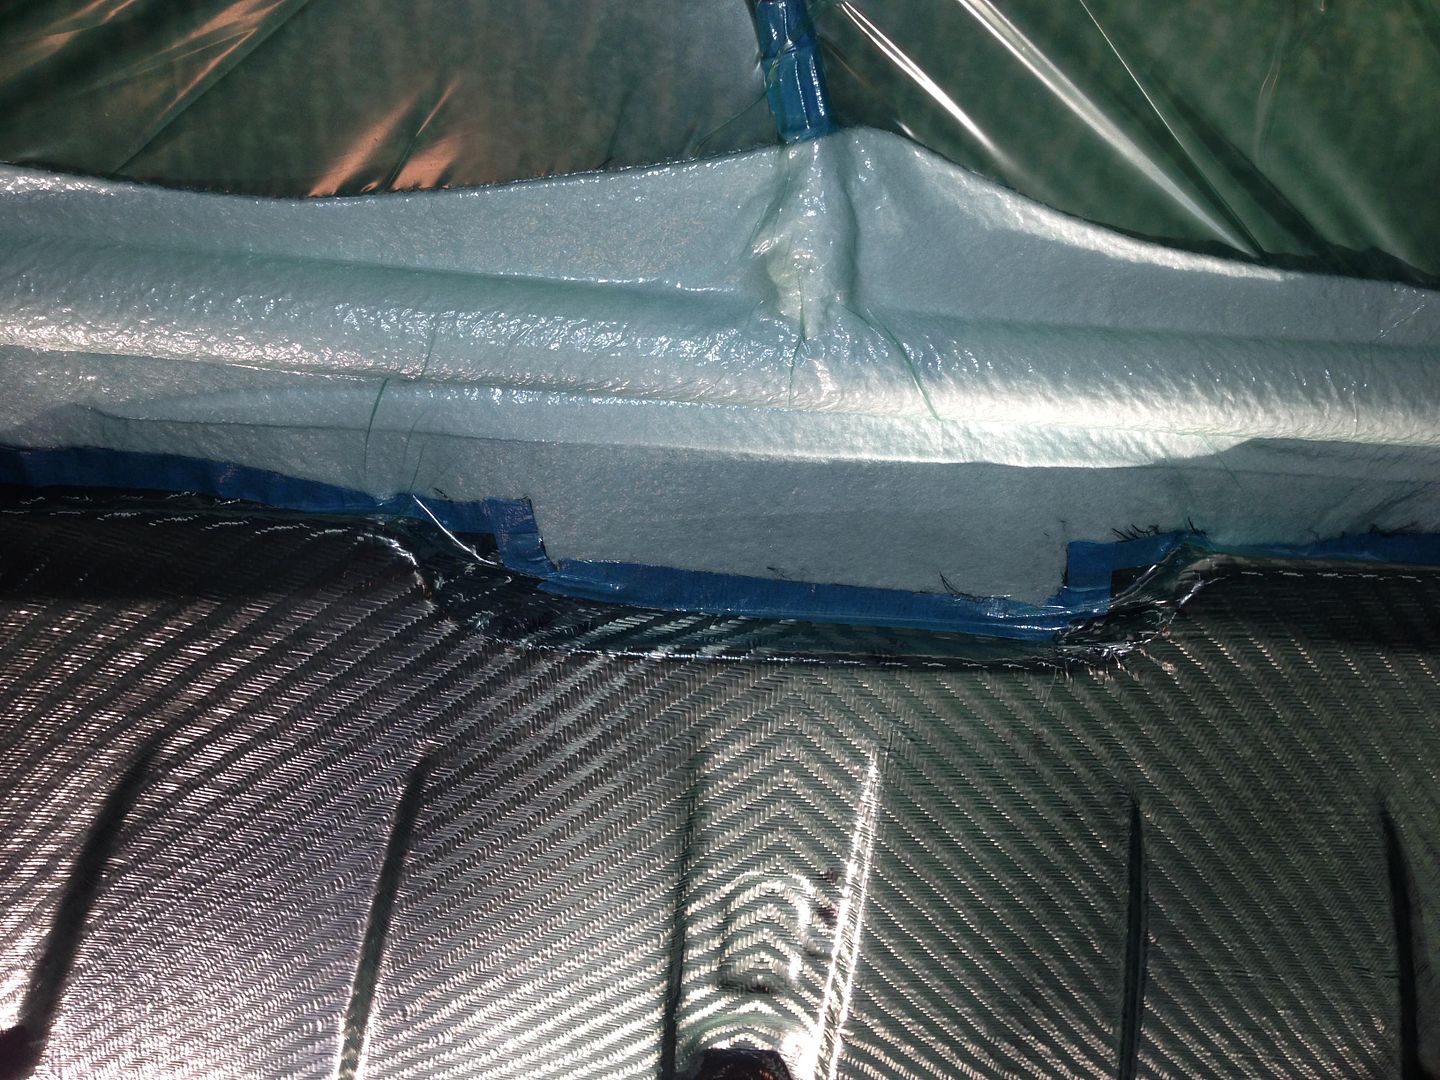
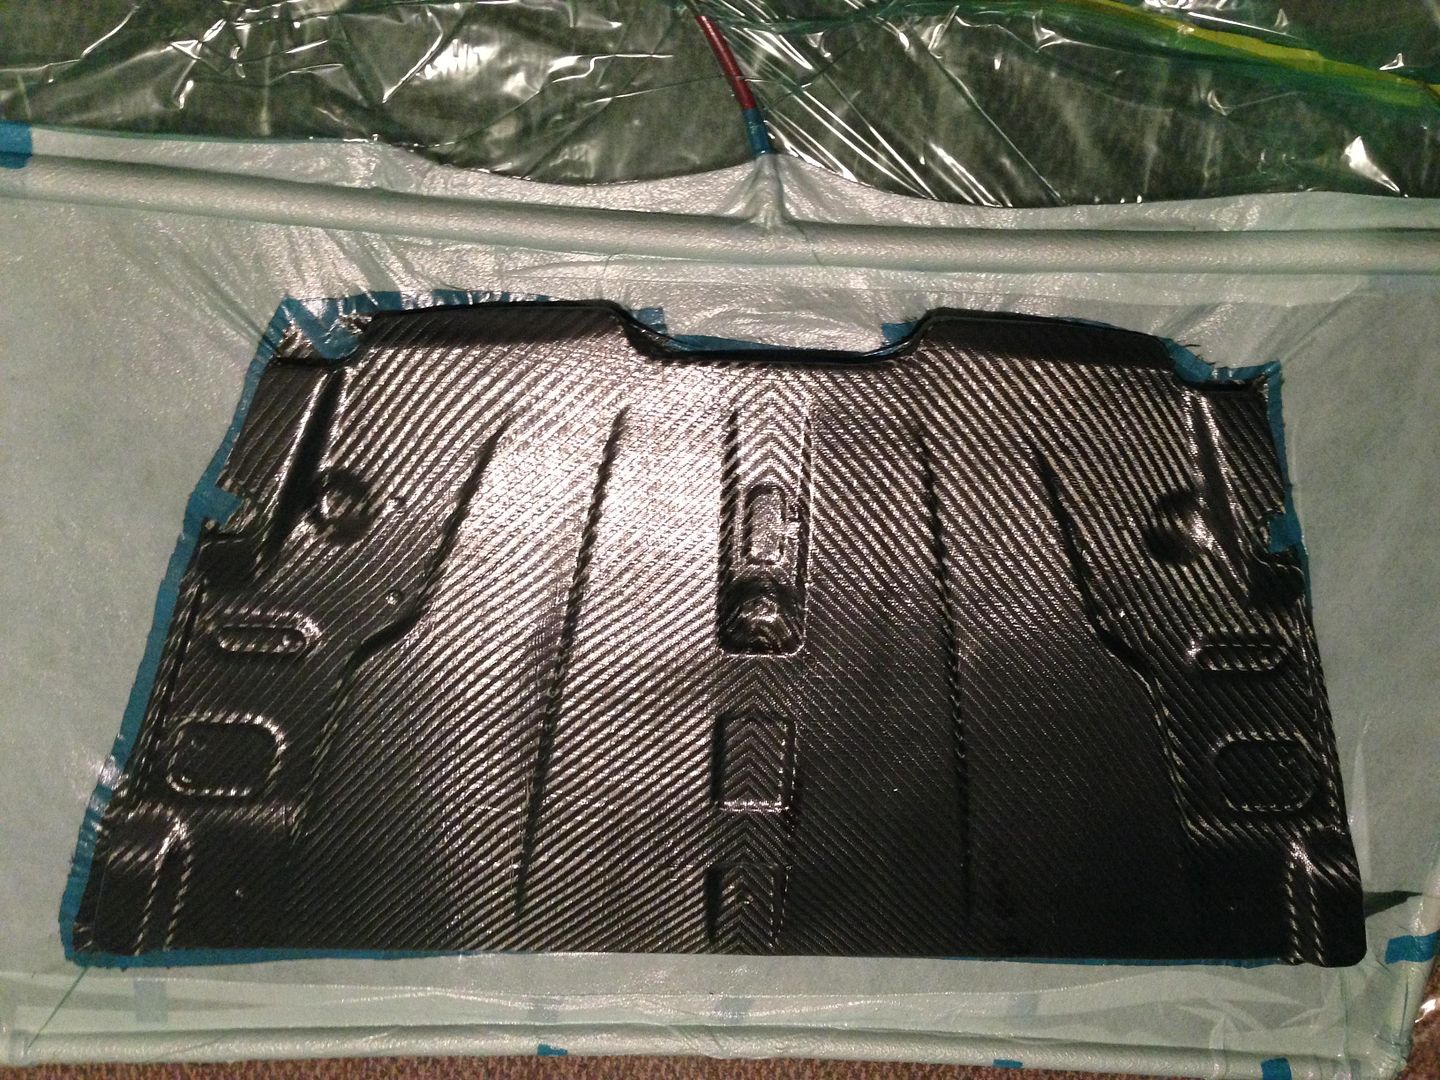
After the carbon is applied, the top layers of epoxy are laid down. This picture is from the other set. Notice the weave is going in a different direction that the previous set and it doesn't have the horizontal seam across the front.
After the epoxy has fully cured, I have to wet sand it down flat which makes it matte and ugly. You can barely tell that there's a carbon weave pattern here:
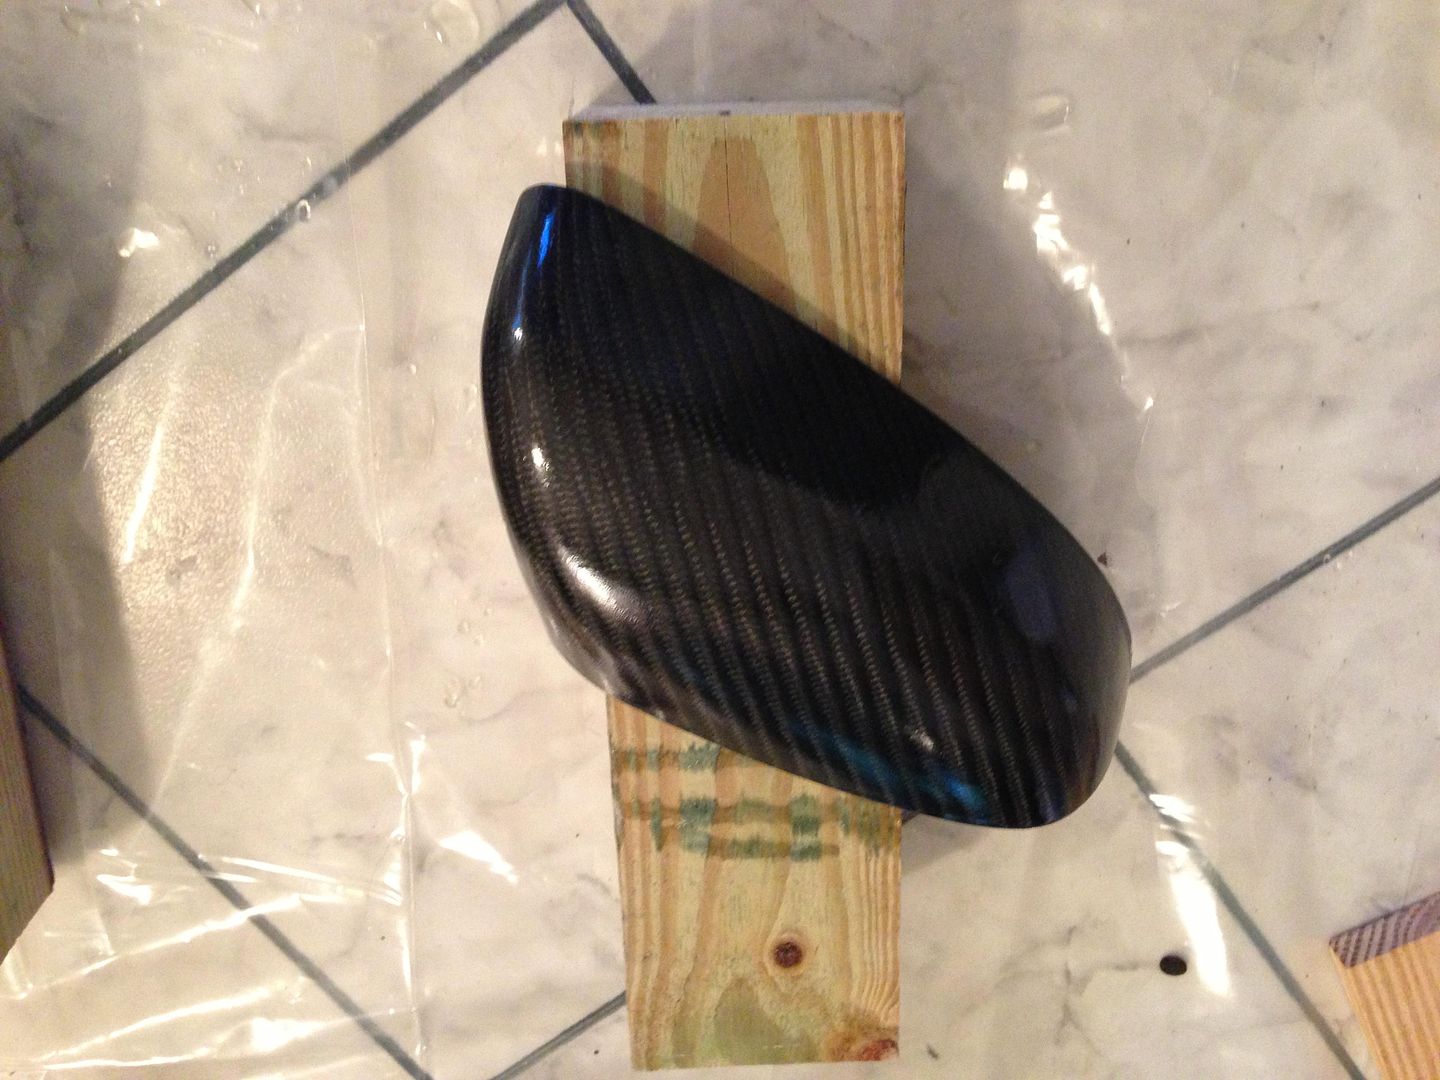
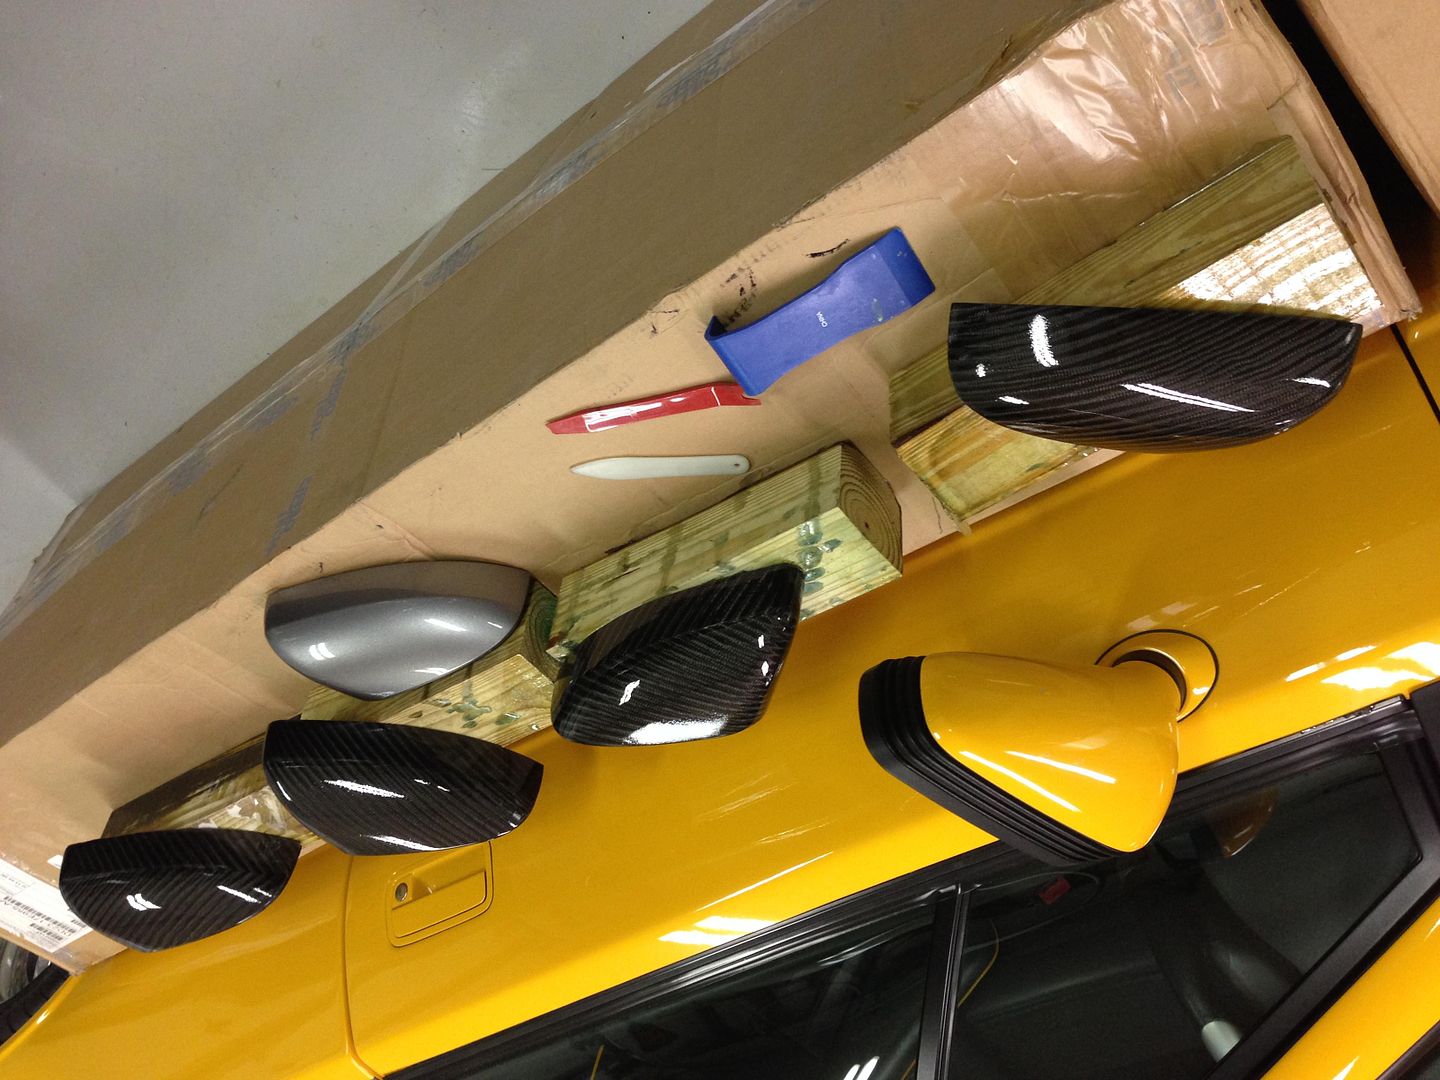
After sanding the epoxy flat progressively from 120 grit to 800 grit, the parts need a coat of 2-part automotive clear lacquer which has UV inhibitors to prevent the epoxy from yellowing after a few years in the sun. Here are the parts drying in my garage after the clear has been applied. Note that there is quite a bit of orange peel on the finish; I have never painted a car before so this was my first attempt.
I put the parts in my kitchen oven for 1/2 hour at 140°F to promote the curing of the clear coat. I then wet sanded the finish flat again, using 1000, 1200, 1500, and 2000 grit sandpaper which removed all the orange peel. Two grades of automotive polish using a pneumatic orbital polish followed, finishing with a couple of coats of auto wax. Here's the result:
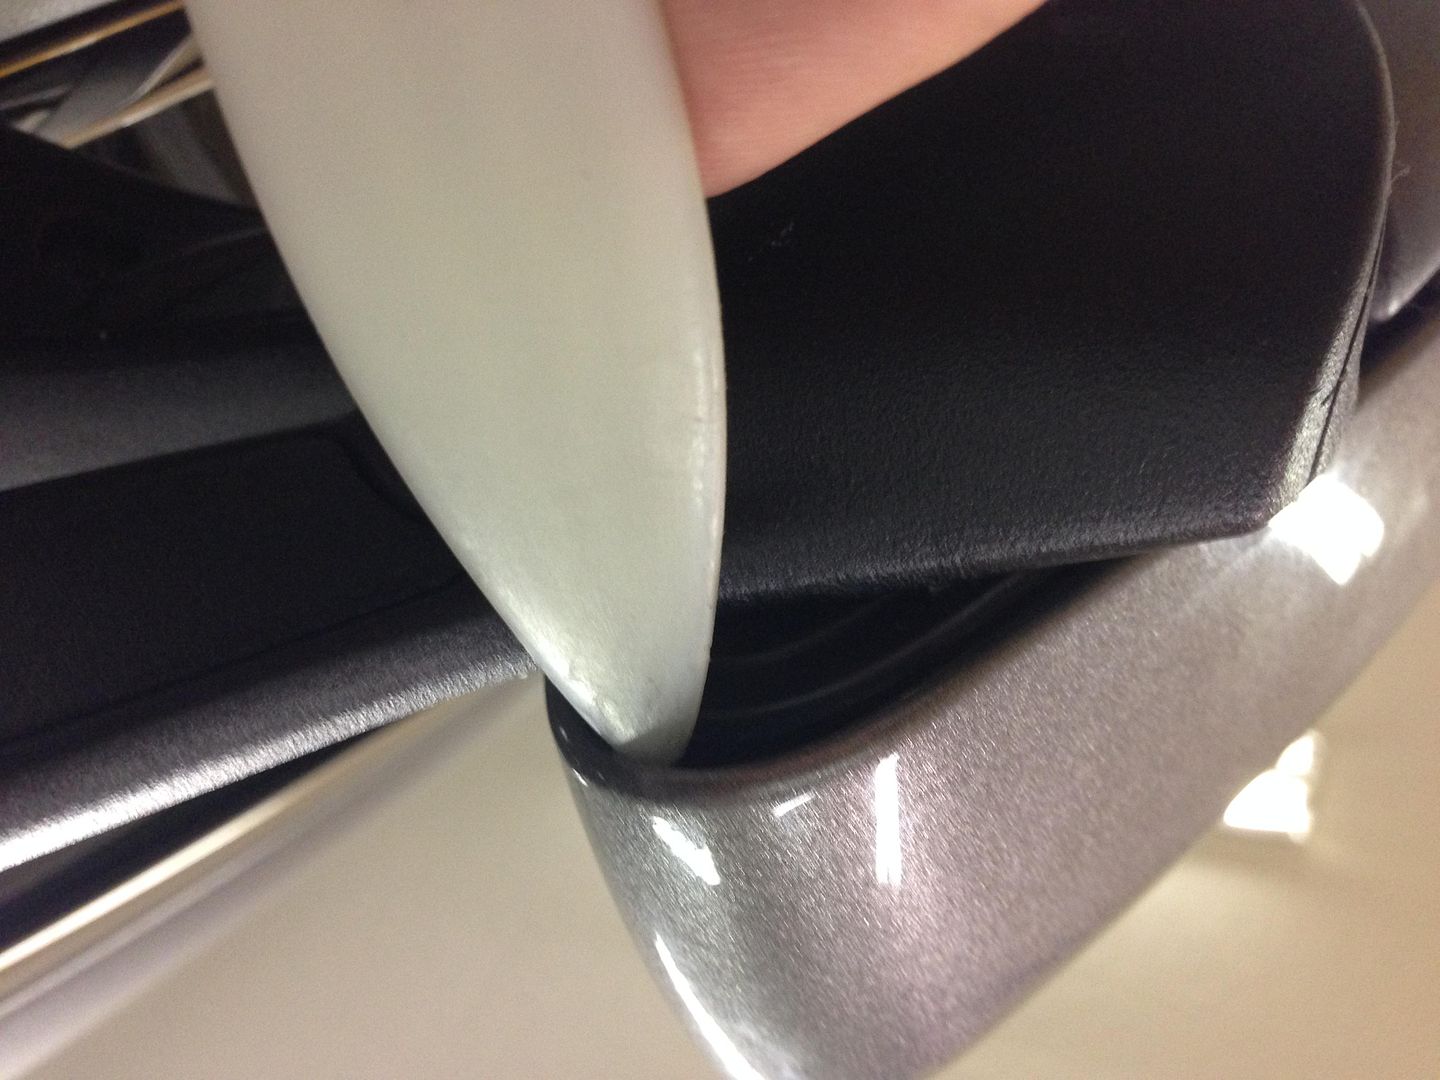
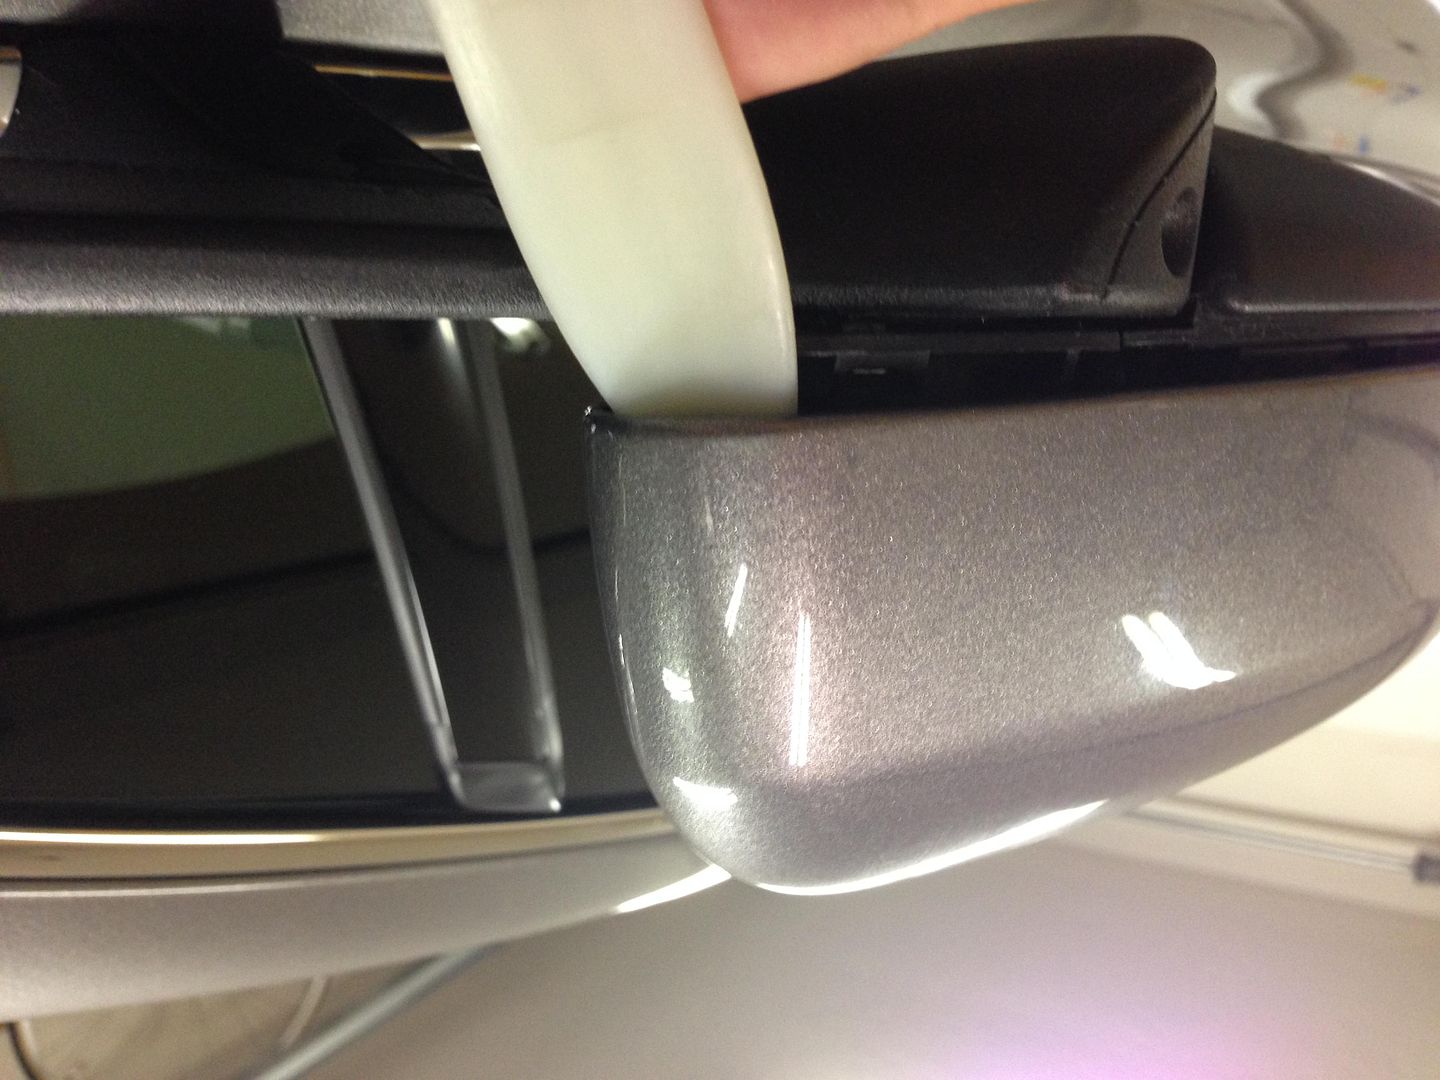
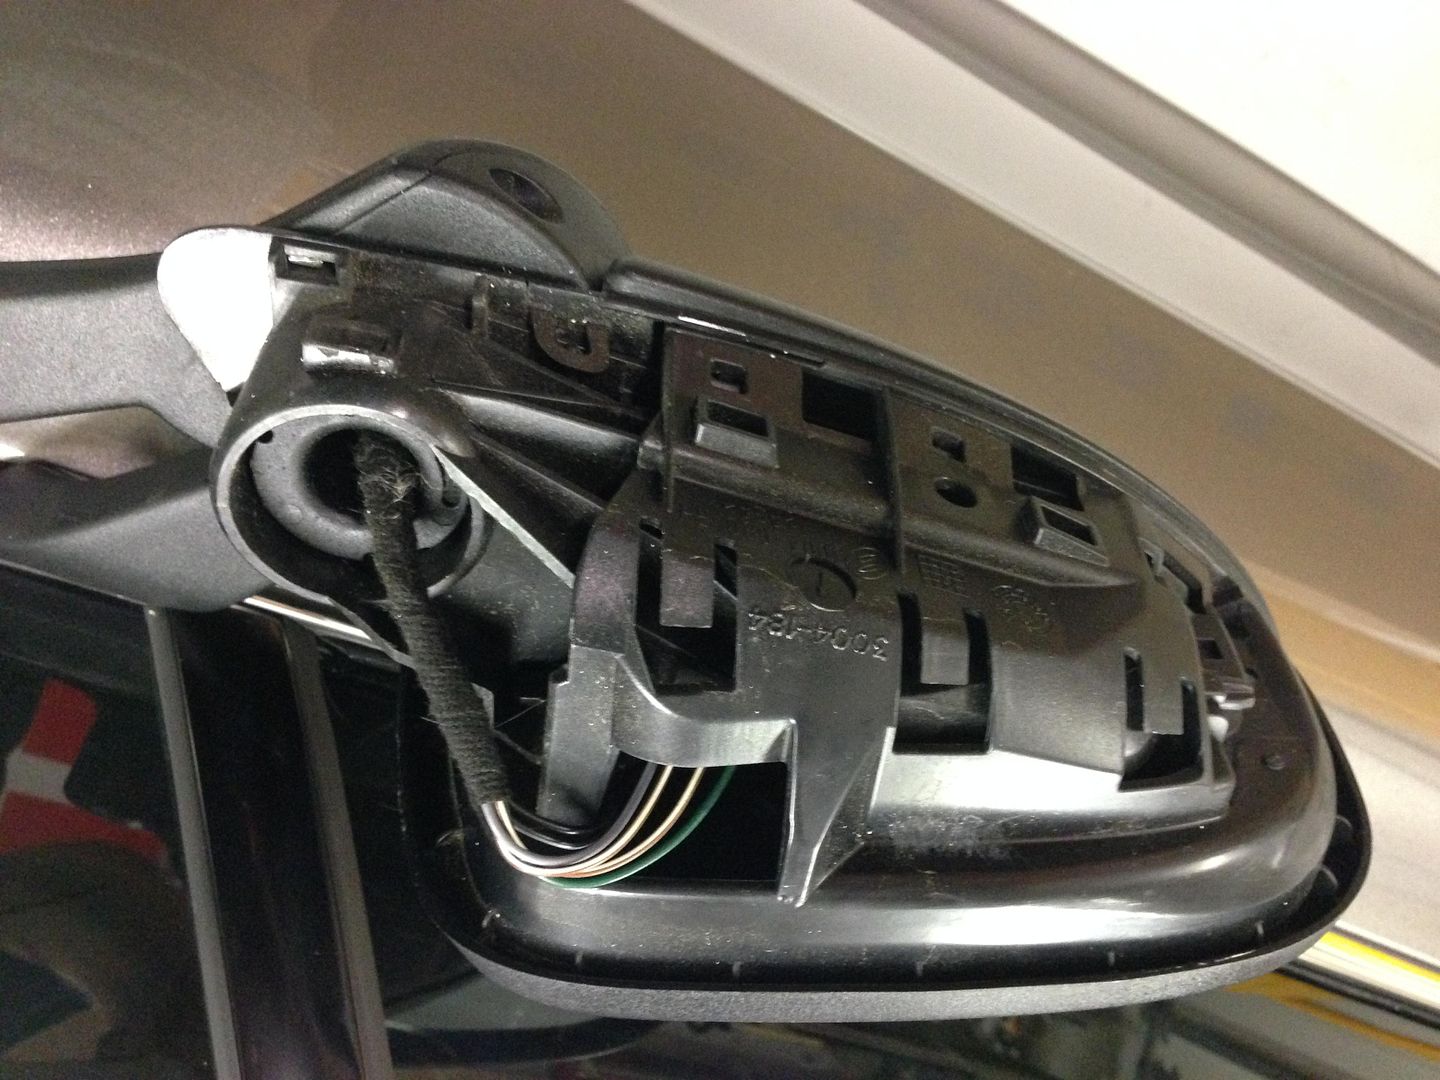
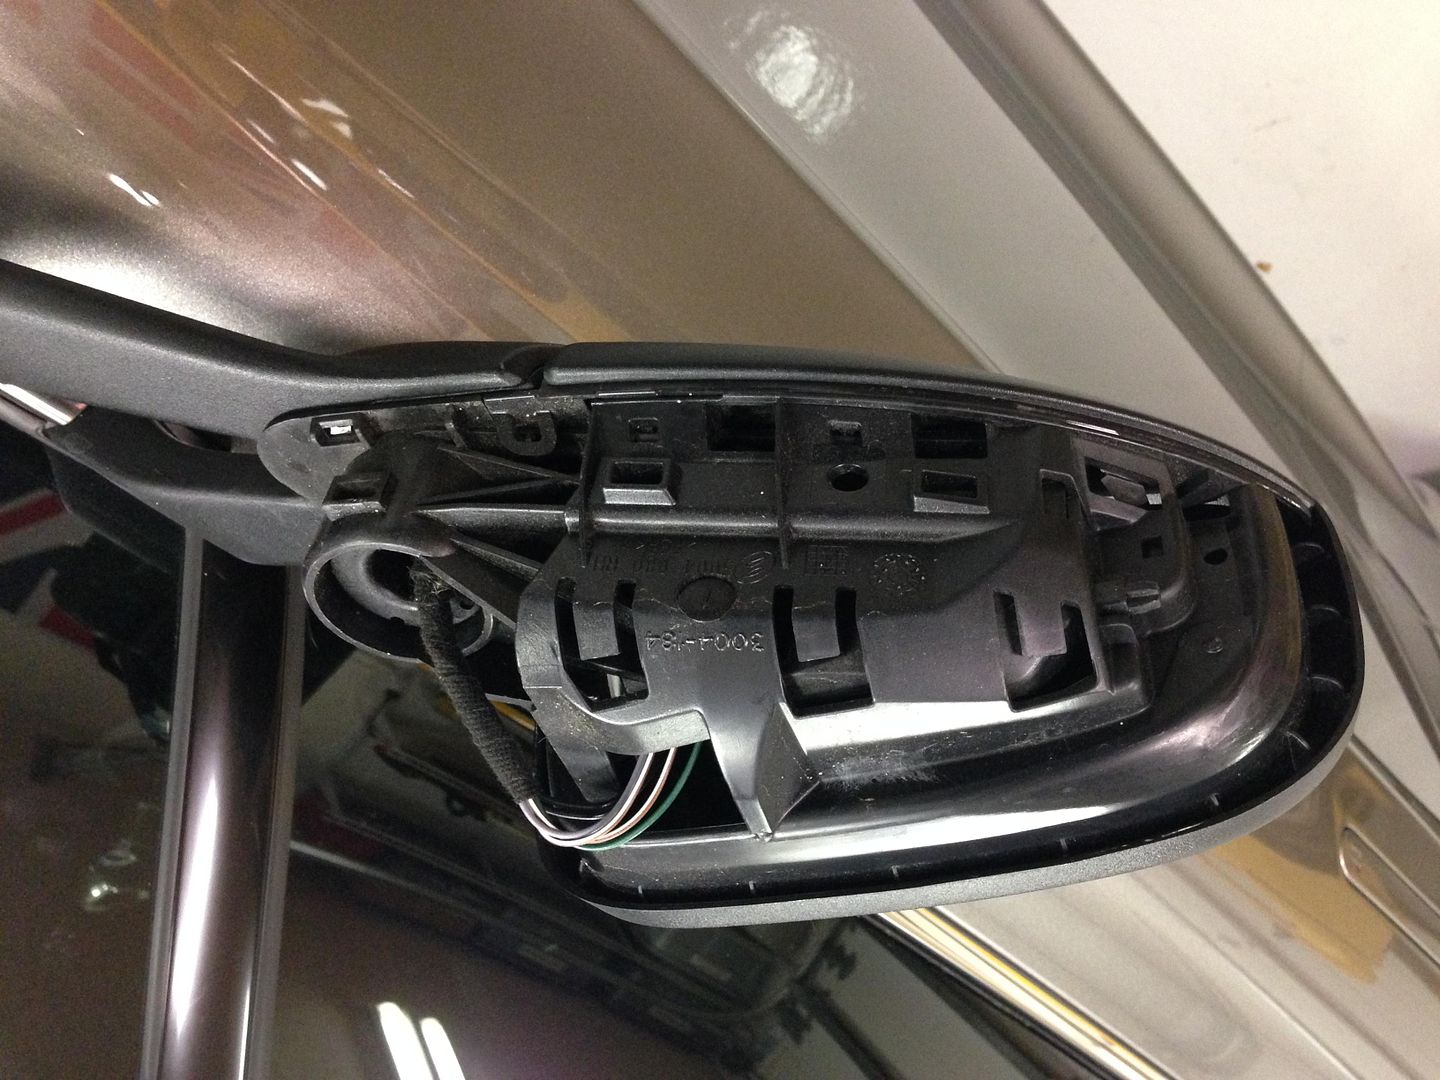
Removing the existing mirror covers can be tricky. If you're not careful, you could break down the small tabs that hold the mirror in place. I moved the mirror toward the car and then used an automotive trim tool to pry from the corner and worked my way around the front lower lip, lifting and pulling the mirror cover forward.
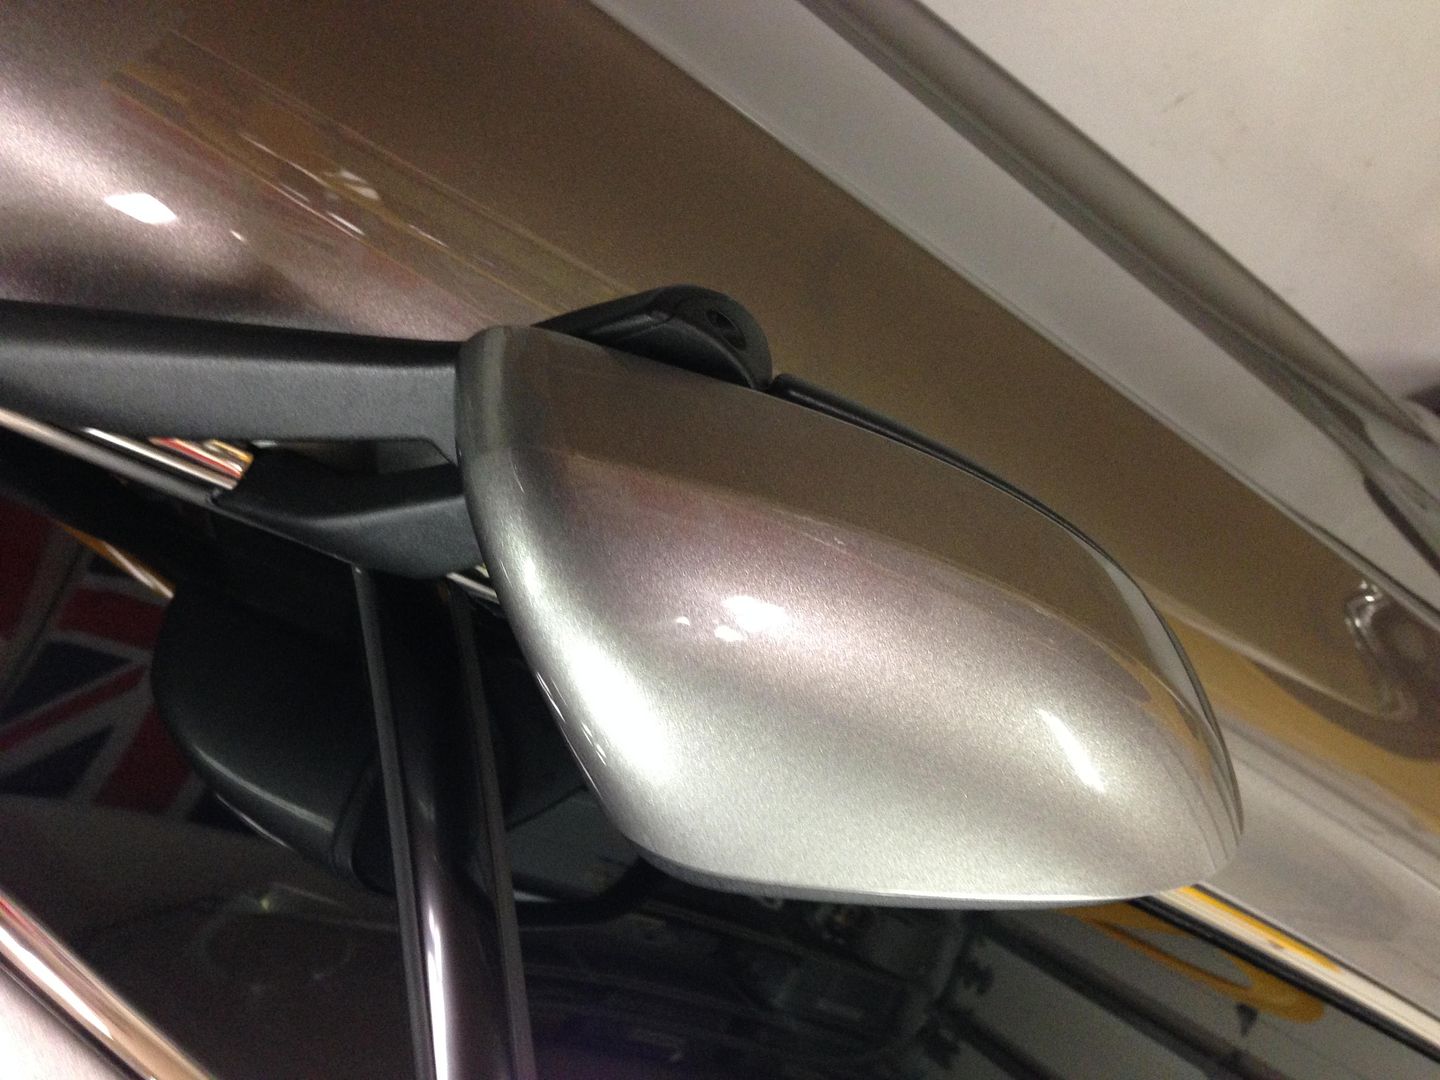
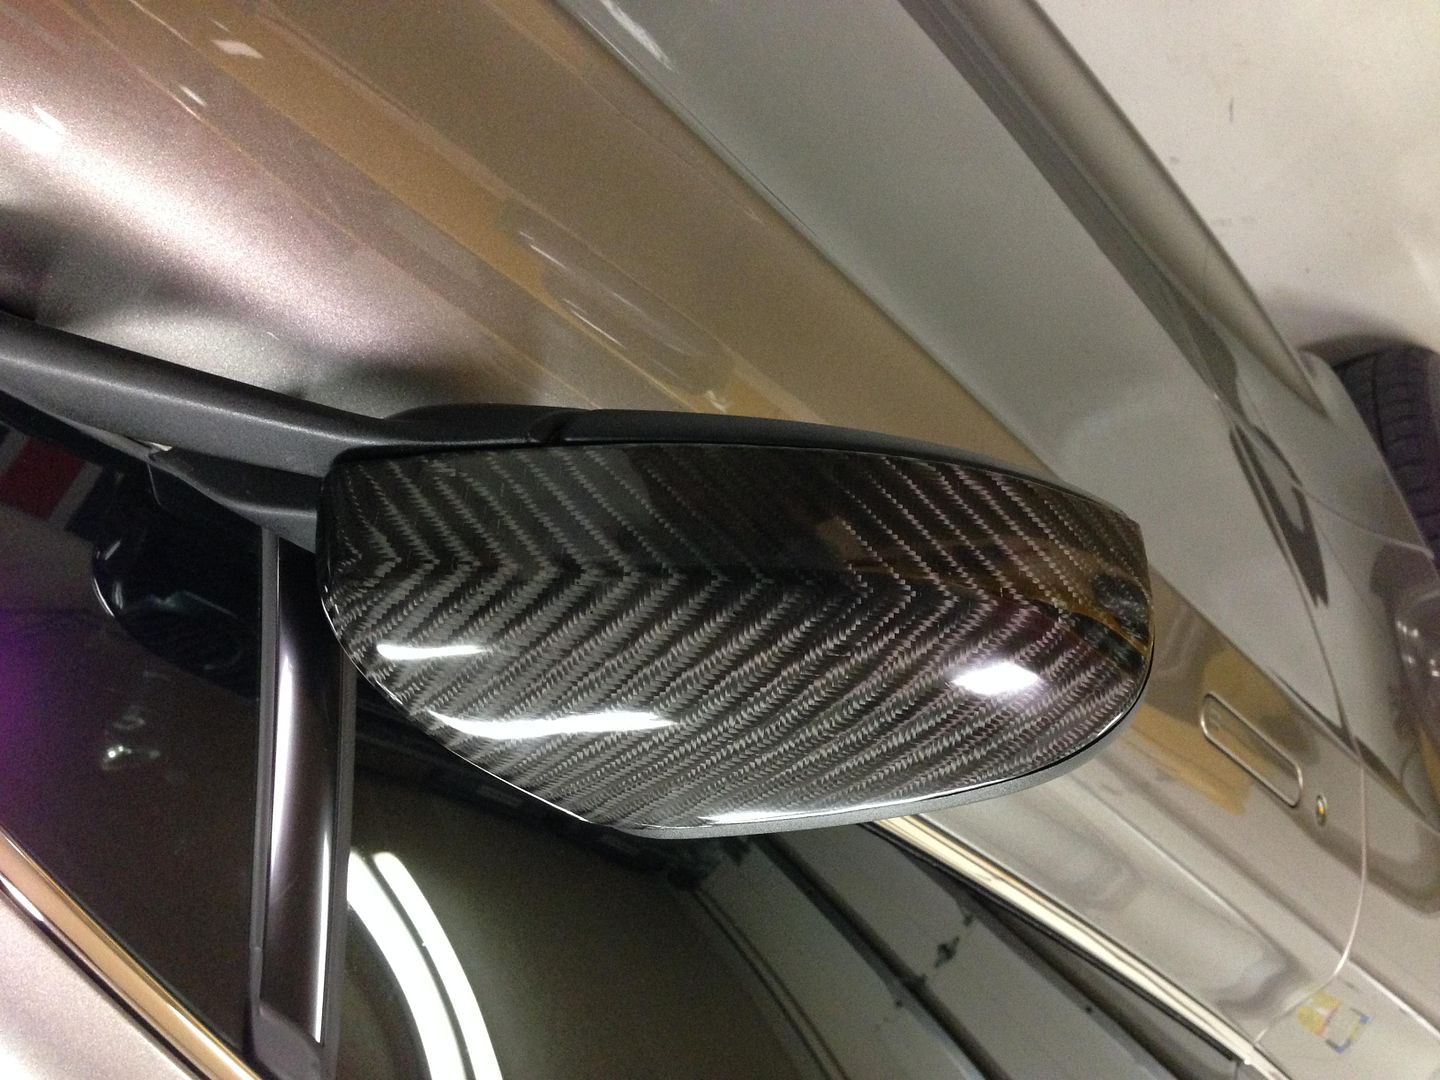
Here's the carbon cover placed on the car (it's not fully snapped in place yet):
Here are the mirror covers from my trusty local Volvo dealer:
I wound up making two different sets in two different carbon weave patterns and styles and I had some failed attempts, that I wound up ripping off and re-doing. Carbon is a bit pricy, so these mistakes cost me a bit.
One of the approaches I did, involved making a template as seen on the following pictures:
The mirror covers come prepared in gray primer, so I had to re-spray them in black fillable primer to prevent the gray from showing through the weave. I then had to key the surface to promote adhesion of the epoxy base coat.
Here are the covers wrapped in carbon using the template. I decided to make this set with a 4x4 7.8oz 17pic aerospace twill which is a fairly exotic fabric compared to the standard plain weave or the 2x2 twill used in most cars. In fact, the 4x4 twill is used in many of the Pagani and Koniggsegg body panels.
After the carbon is applied, the top layers of epoxy are laid down. This picture is from the other set. Notice the weave is going in a different direction that the previous set and it doesn't have the horizontal seam across the front.
After the epoxy has fully cured, I have to wet sand it down flat which makes it matte and ugly. You can barely tell that there's a carbon weave pattern here:
After sanding the epoxy flat progressively from 120 grit to 800 grit, the parts need a coat of 2-part automotive clear lacquer which has UV inhibitors to prevent the epoxy from yellowing after a few years in the sun. Here are the parts drying in my garage after the clear has been applied. Note that there is quite a bit of orange peel on the finish; I have never painted a car before so this was my first attempt.
I put the parts in my kitchen oven for 1/2 hour at 140°F to promote the curing of the clear coat. I then wet sanded the finish flat again, using 1000, 1200, 1500, and 2000 grit sandpaper which removed all the orange peel. Two grades of automotive polish using a pneumatic orbital polish followed, finishing with a couple of coats of auto wax. Here's the result:
Removing the existing mirror covers can be tricky. If you're not careful, you could break down the small tabs that hold the mirror in place. I moved the mirror toward the car and then used an automotive trim tool to pry from the corner and worked my way around the front lower lip, lifting and pulling the mirror cover forward.
Here's the carbon cover placed on the car (it's not fully snapped in place yet):
 t.
t.


 great skills
MichaelV8V said:
Another absolutely beautiful mod. Congratulations.
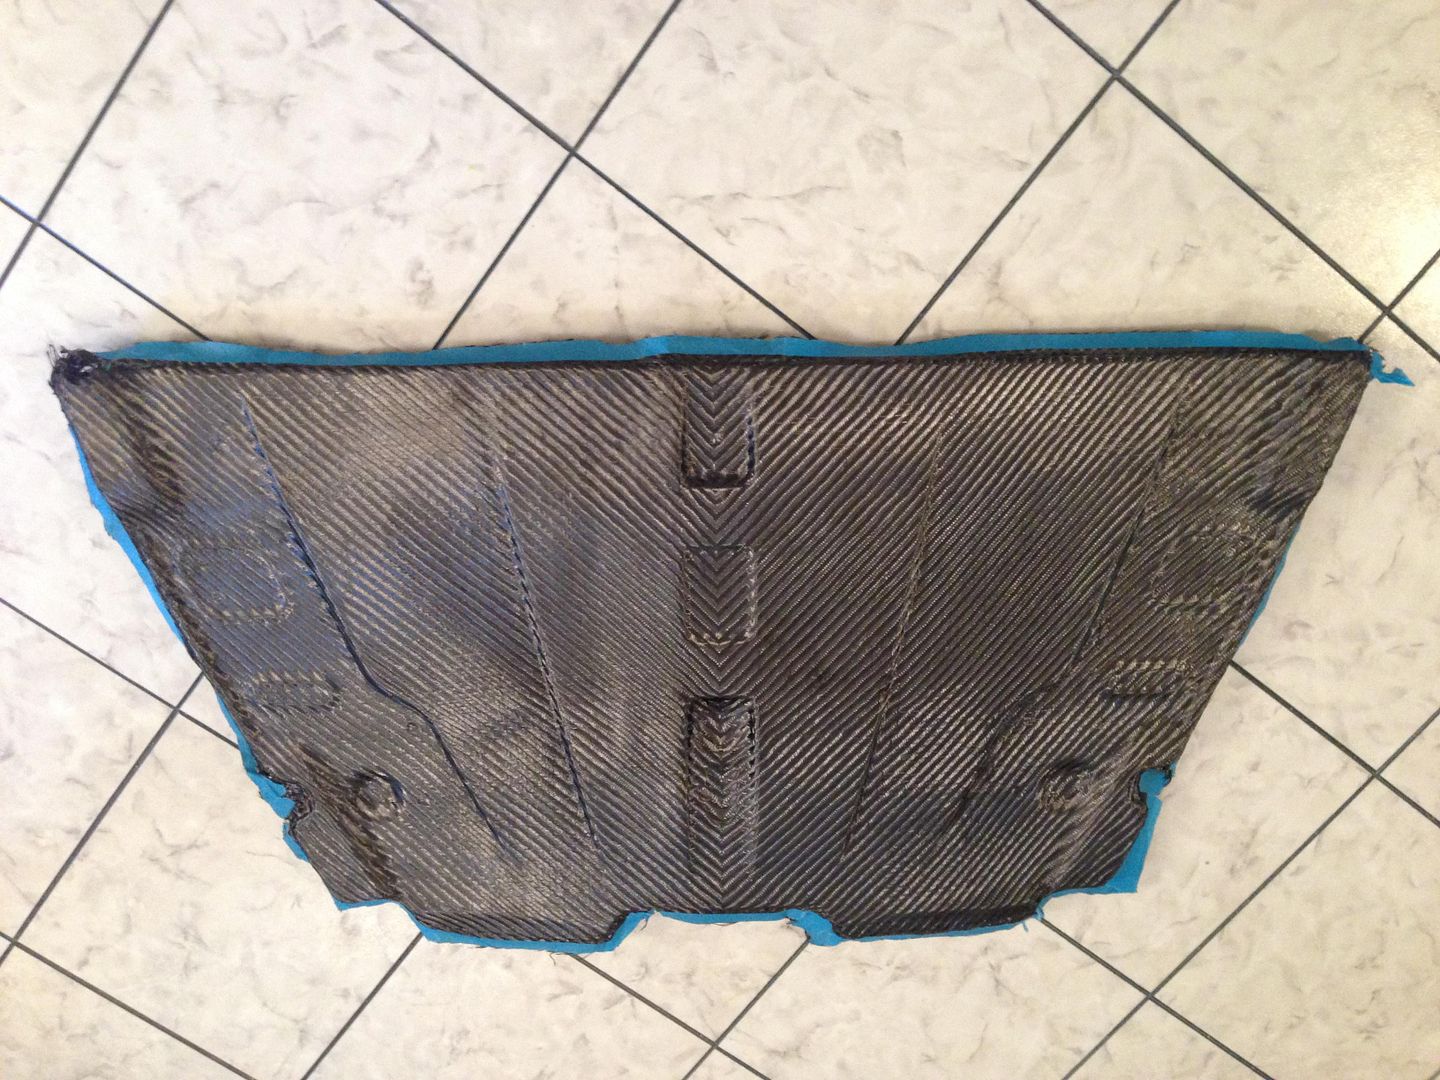
I'm particularly impressed that you've gone to the trouble of making the engine cover in two parts with the 'herringbone' perfectly aligned, that is exactly how Aston make their parts
Yes, that was difficult, but it's exactly the look I was going for. I will be sure to do my future front splitter with a seam down the center as well. BTW, Pagani and Koenigssegg do the same with their body panels. Of course they (and Aston) "cheat" and use pre-preg carbon fiber with a million dollar autoclave which makes the task much easier. I'm particularly impressed that you've gone to the trouble of making the engine cover in two parts with the 'herringbone' perfectly aligned, that is exactly how Aston make their parts
Gassing Station | Aston Martin | Top of Page | What's New | My Stuff