OZ Wheels Rebuild - Step by step
Discussion


Evening All,
Just finished refurbishing the OZ split rims and really very pleased with the result!
Before I began the process, I tried finding a guide of how to do the job, or even any tips on building split rims and I ended up watching a load of videos (mainly people rebuilding three piece BBS wheels) and in the end just did my usual and got on with it!
So, to try and encourage others to be more confident with taking this task on I thought I would post a step by step guide.
I didn't take any photos of the break down but I did this on my own and wasn't too much trouble. I soaked the nuts with Plus Gas (I love that product) and bearing in mind they haven't been undone for 28 years the product did the job! You need a special tool for the OZ original bolts which used to be impossible to find but Laser have come to the rescue http://www.lasertools.co.uk/product/6345
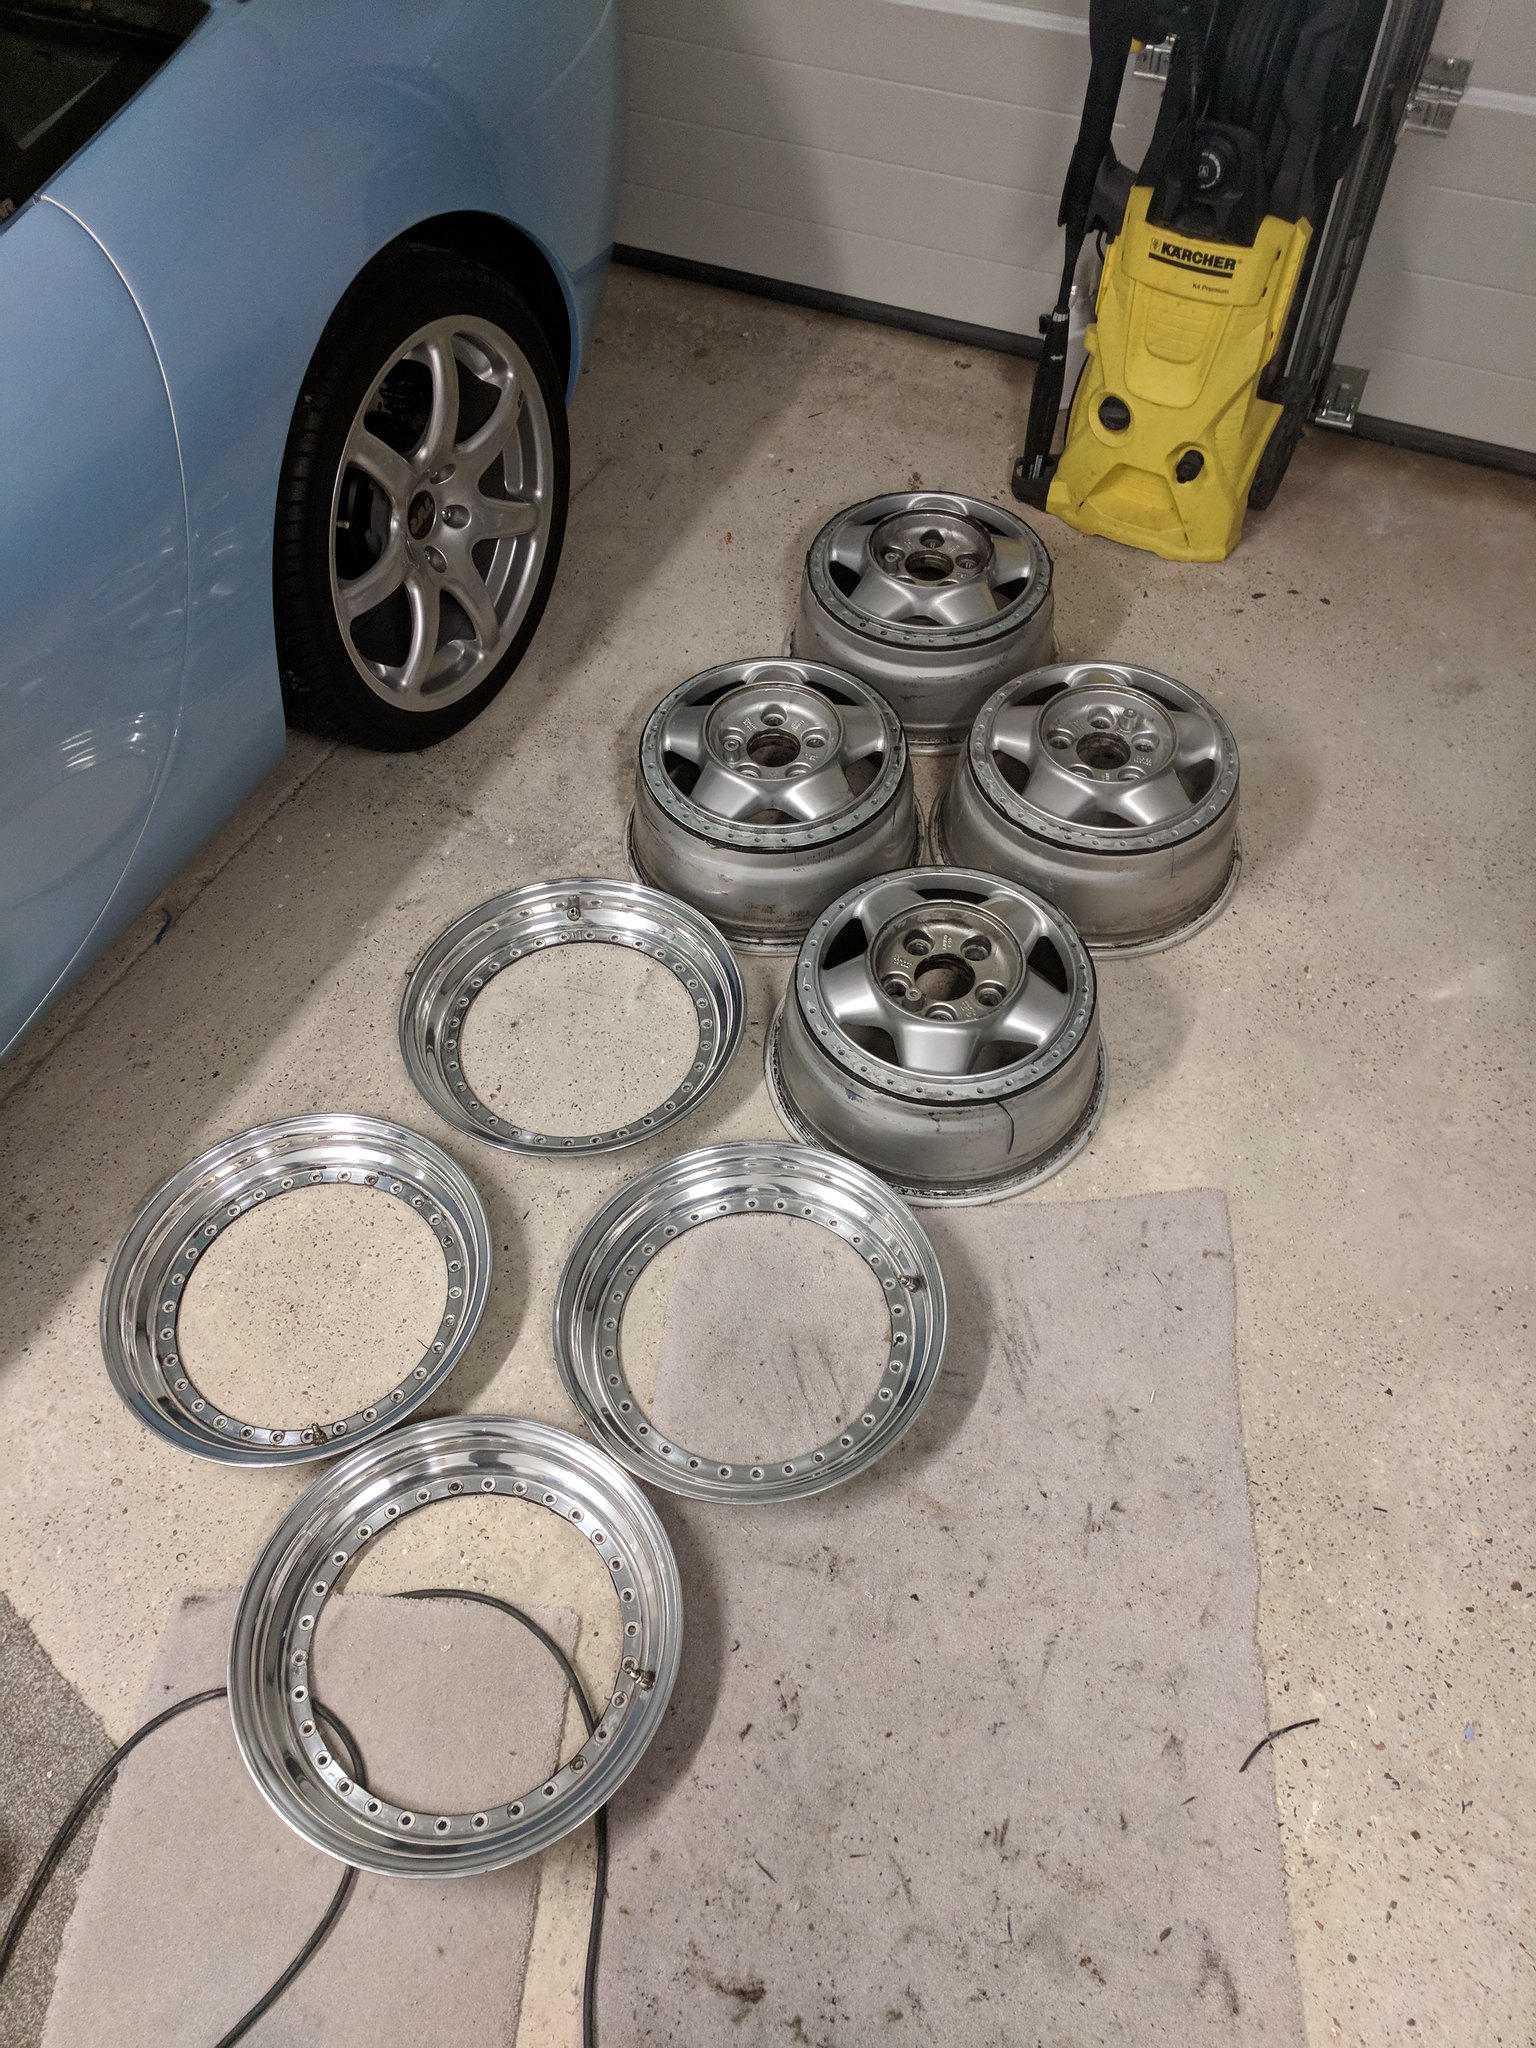
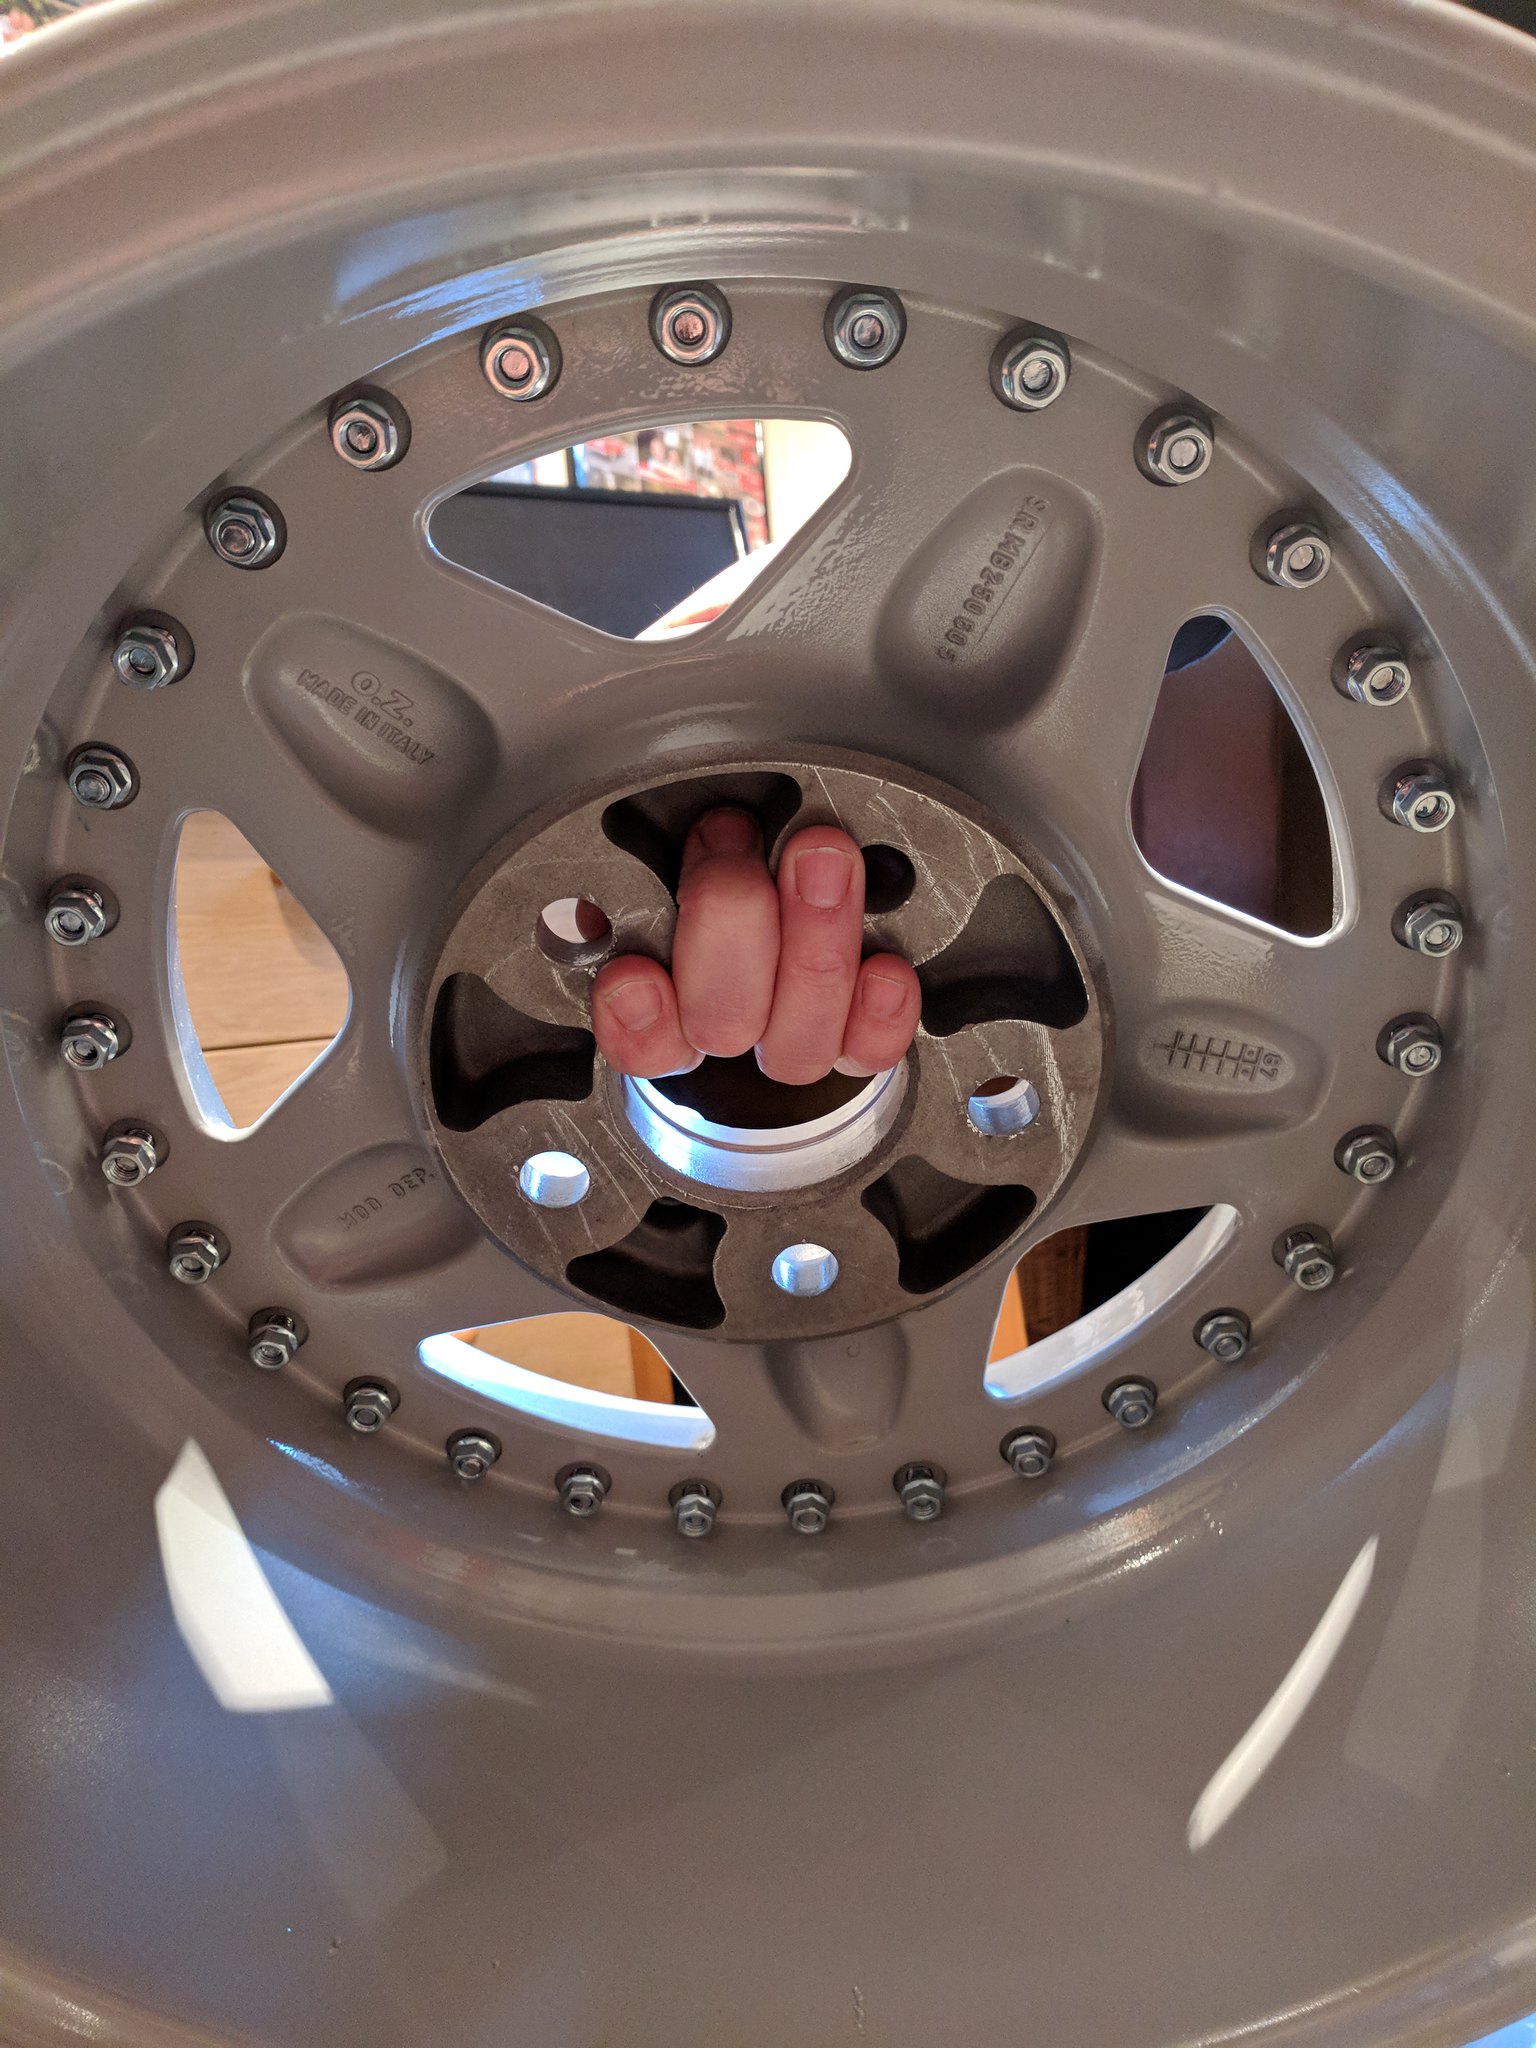
I used an air gun and the process was straight forward. So, here were the dishes and rims separate:
 IMG_20171211_200537 by Matthew Buck, on Flickr
I chose to replace the rims rather than polish as they were just too pitted/dented and I wanted a perfect finish. I bought new bolts and Nuts too. All of the hardware came from SRR Hardware www.srrhardware.com and I am very pleased with the product.
I had the main wheel section refurbished and I actually needed to have two of them repaired as i didn't realise they were buckled slightly!
So, the rebuild. I don't think its possible to do this on your own so i strongly recommend you have a helper... my Dad did a Great job!!
1) Gently scotched the newly painted face of the rim where the new dish will be placed to ensure it is totally flat.
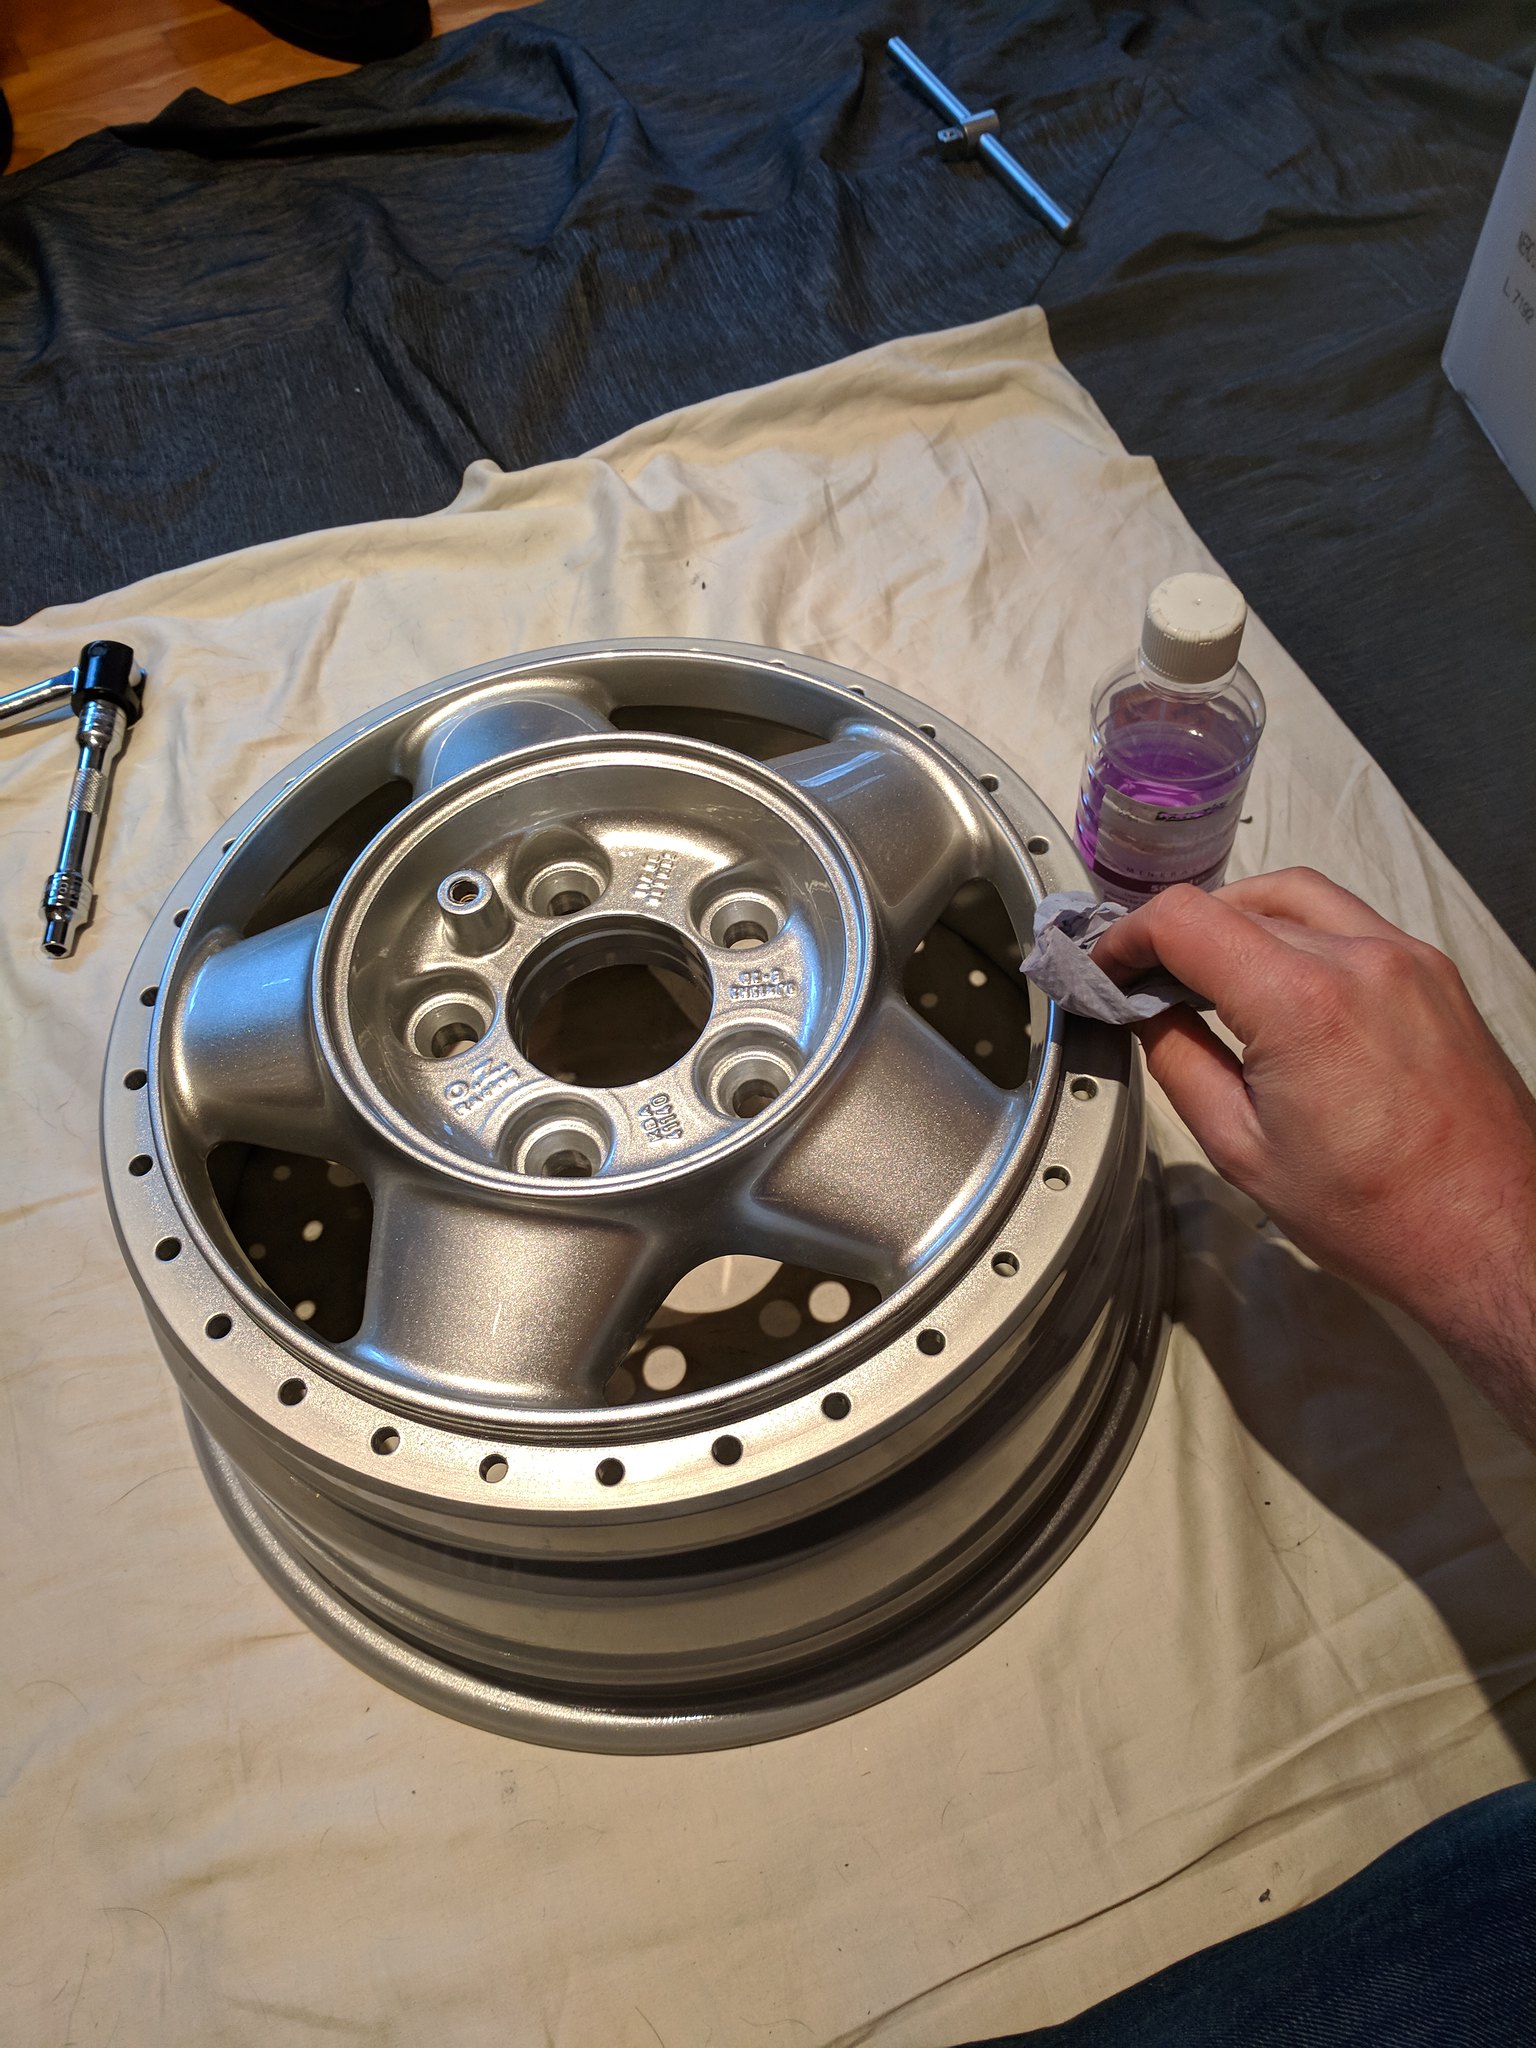
2) Cleaned the Dish face with methylated spirit
 IMG_20180203_145920 by Matthew Buck, on Flickr
3) Same to the rim side
 IMG_20180203_145823 by Matthew Buck, on Flickr
4) Put a small bead of silicone around the edge of the rim. i didn't cut the nozzle so the bead was small. I used the best quality 100% silicone sealant I could find in the shop, one which stated no shrinkage and adhesion to metals and paints:
 IMG_20180203_150309 by Matthew Buck, on Flickr
5) Lay the dish on the rim and wiggle a little to make sure its seated.
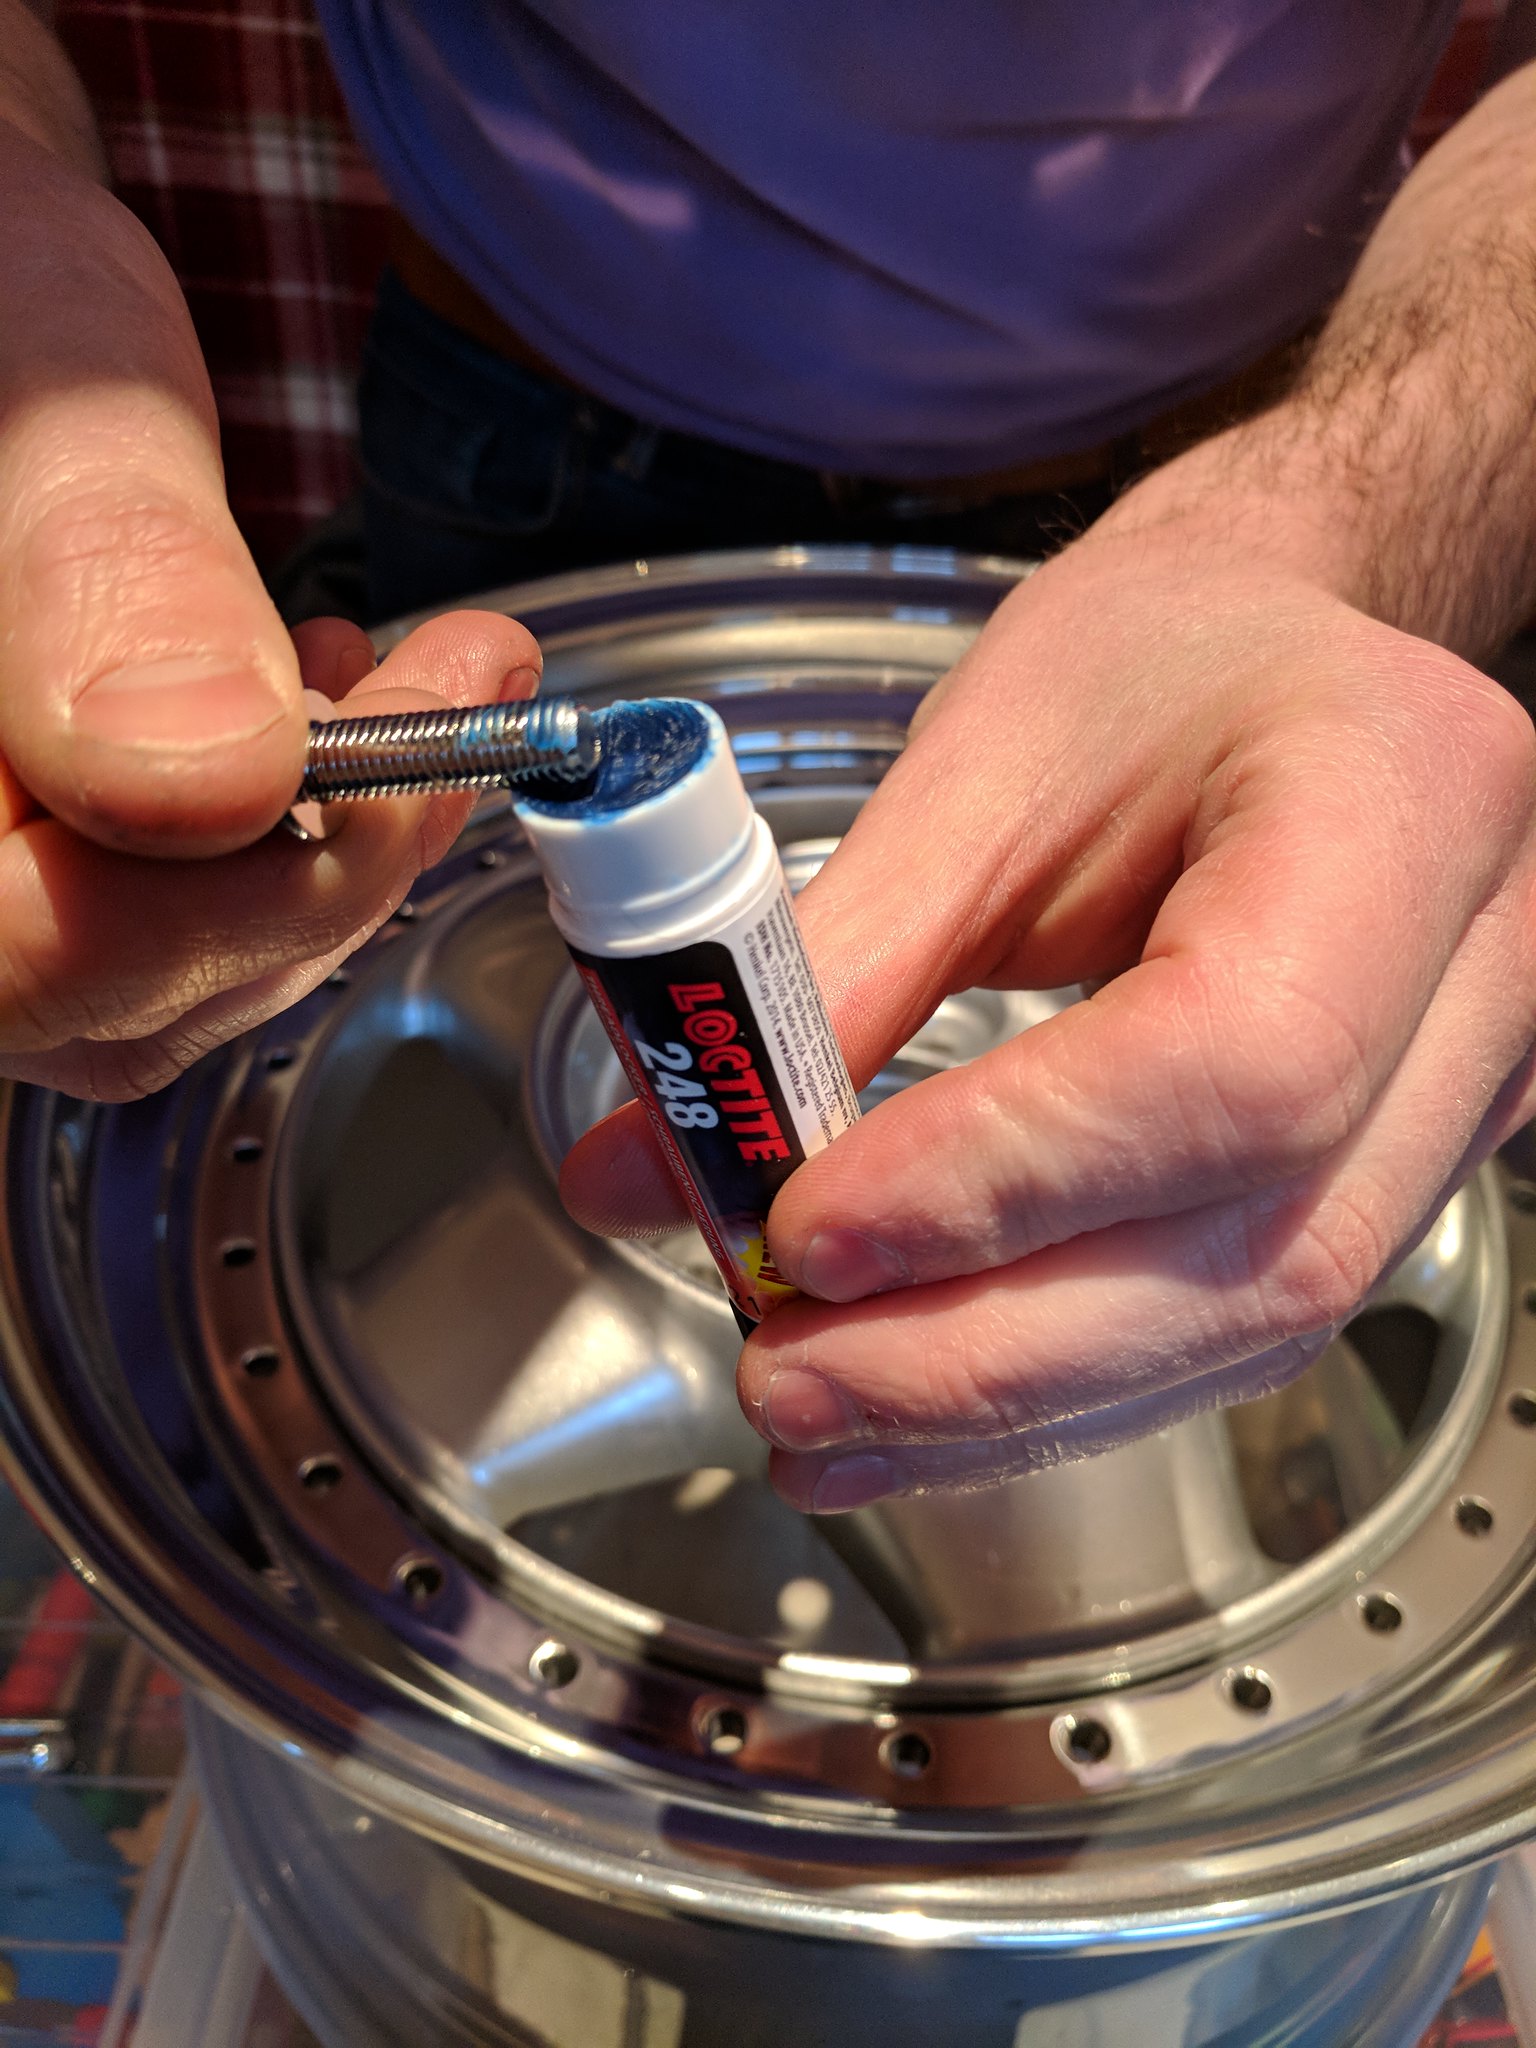
6) Applied blue thread lock to each of the bolts. This stick is ideal as the liquid would make a real mess!
 IMG_20180203_150751 by Matthew Buck, on Flickr
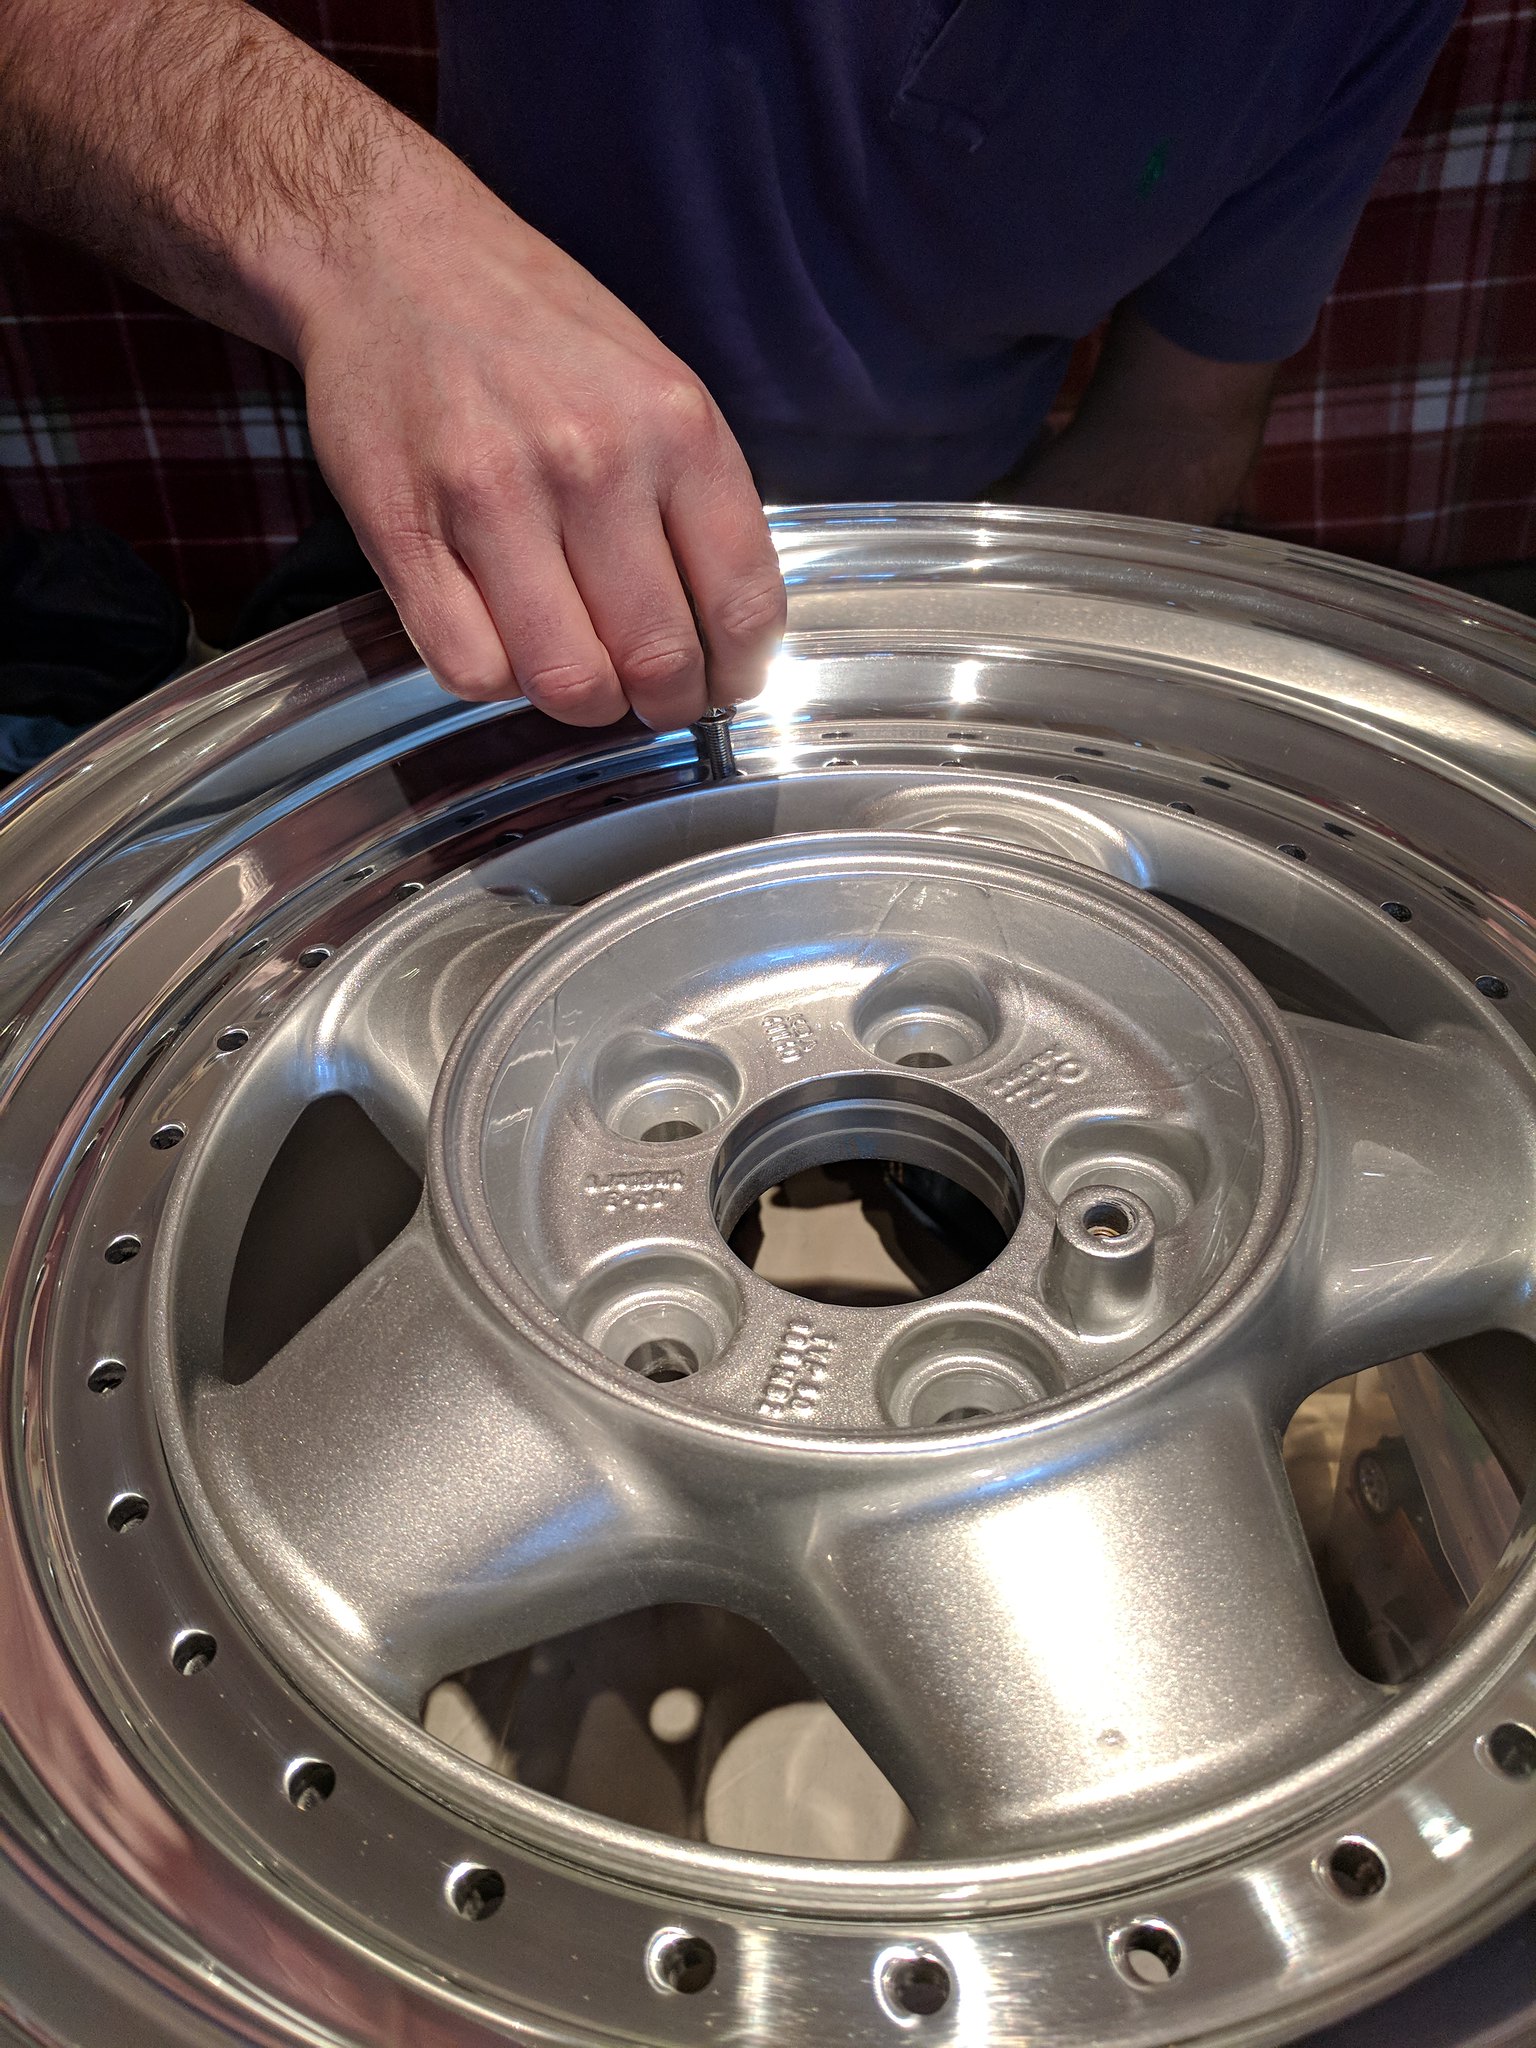
7) Drop all 30 bolts in
 IMG_20180203_150820 by Matthew Buck, on Flickr
8) Put the nuts on the bolts finger tight
 IMG_20180203_152003 by Matthew Buck, on Flickr
9) I rested the wheel on two boxes and whilst my Dad held the bolt still, i tightened them up as much as i could by hand (just socket and extension bar, no ratchet). I did this in a star pattern across the 30 bolts to help seat the rim.
10) Run your finger around the sealant that would have already pushed out between the two surfaces.
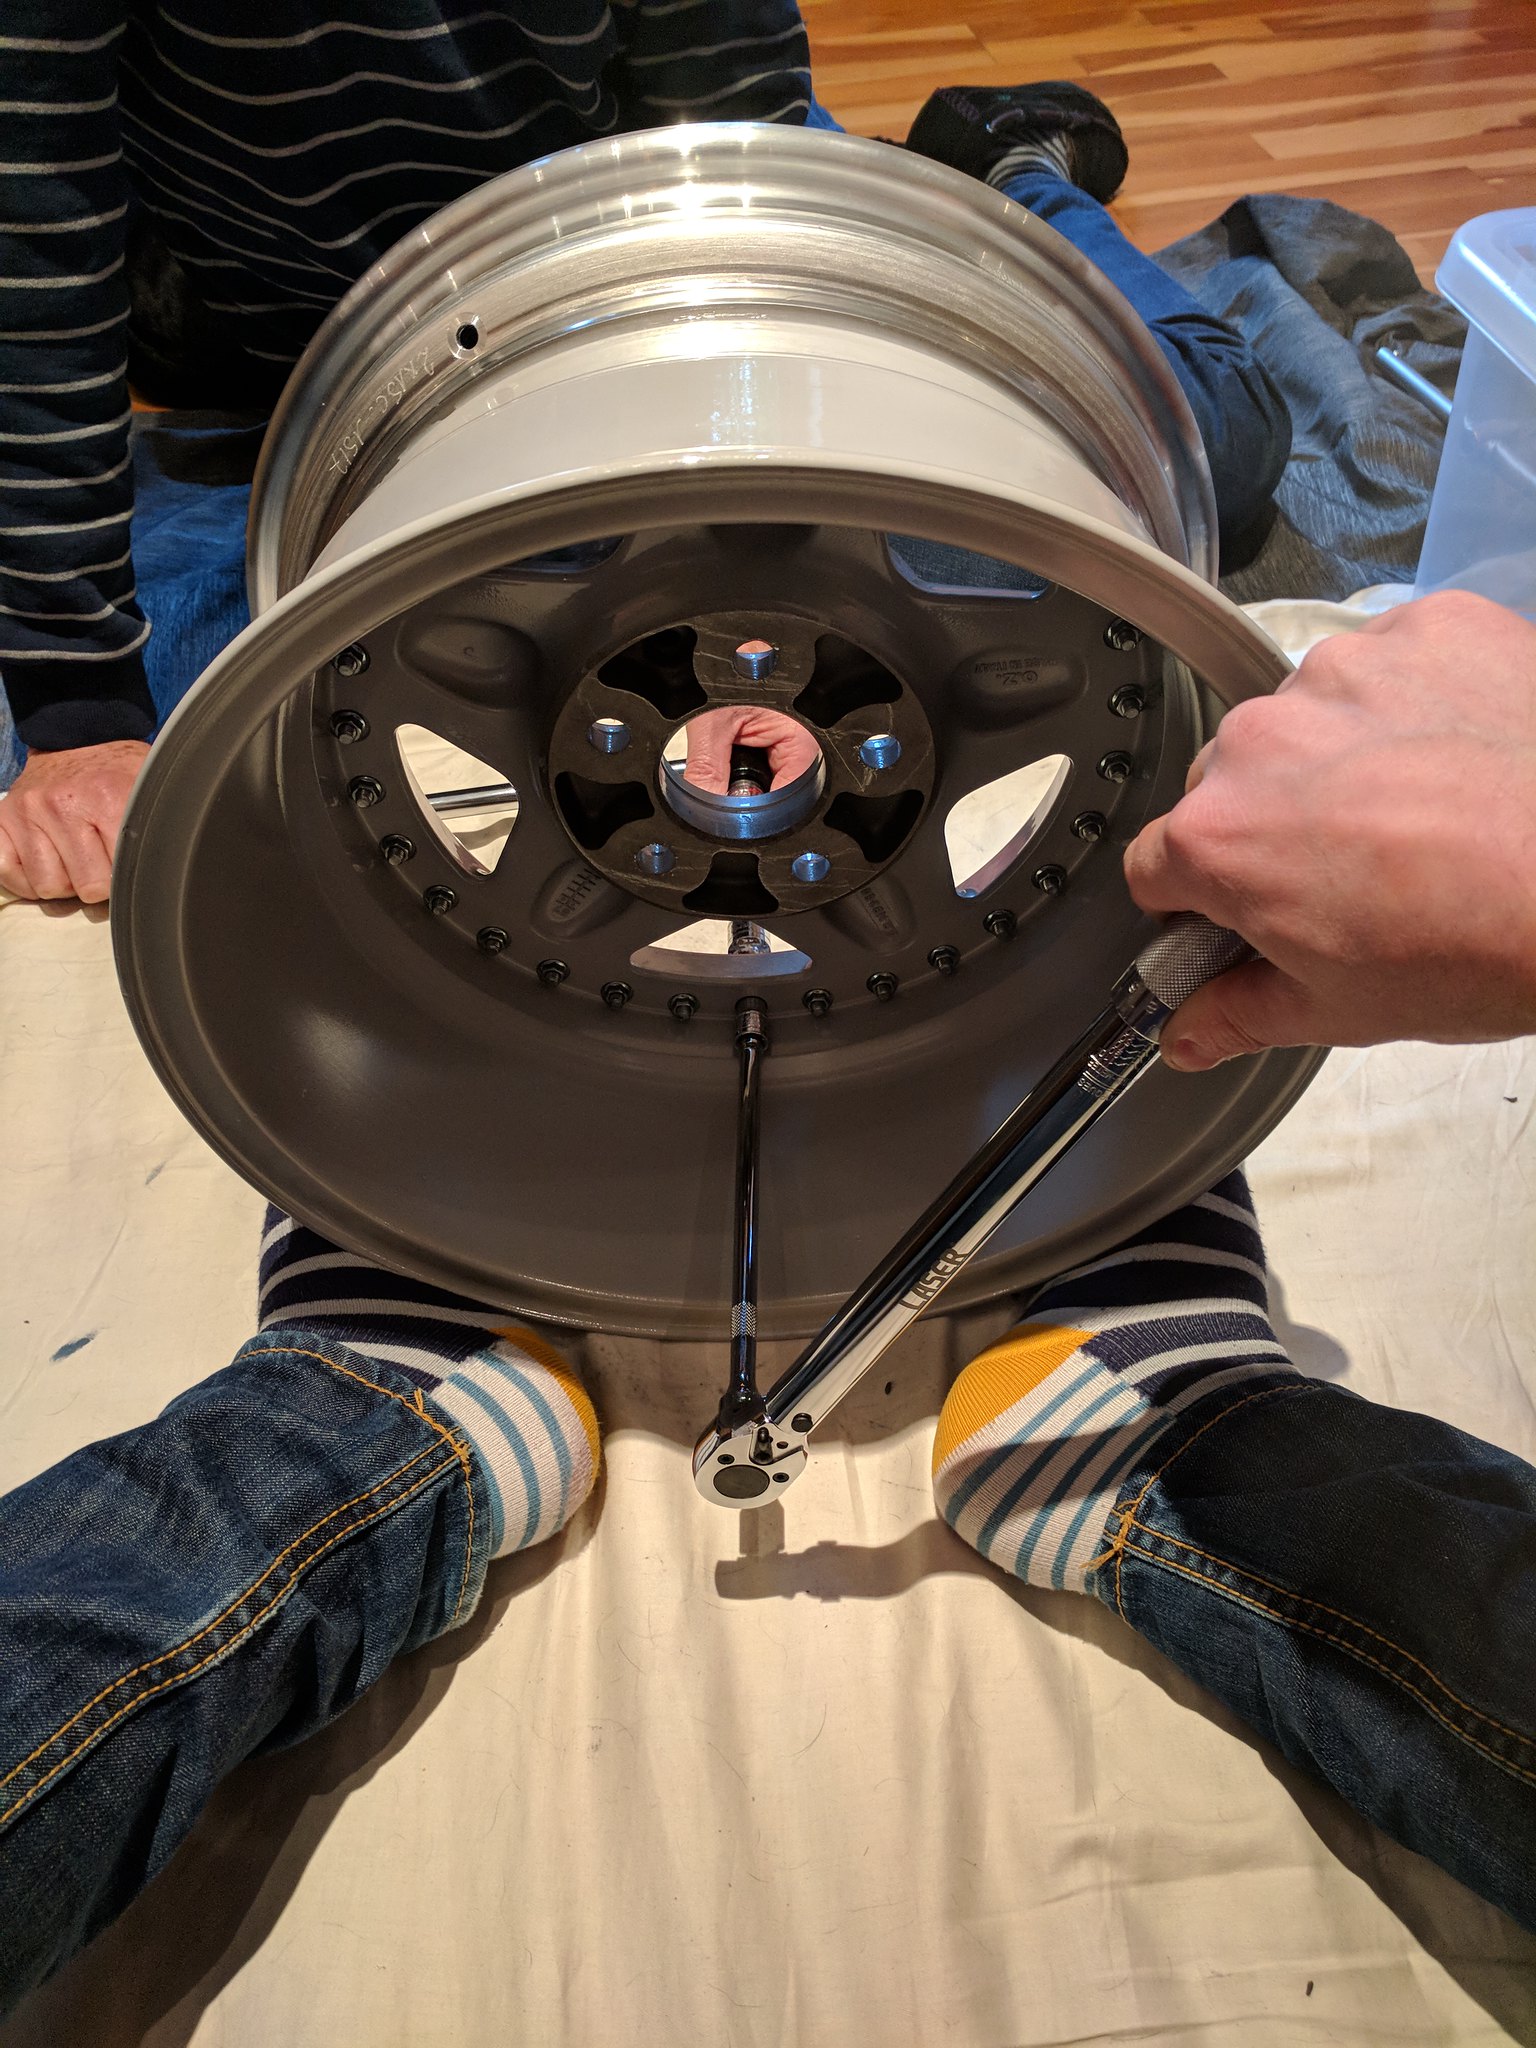
11) Torque up the nuts. I torqued to 20 llbs ft and again make sure you do this in a star pattern across the bolts! The best way we found was to put the wheel on its side, hold the bolt side still (only tighten from the nut side) and hold the wheel with your feet. Something like this:
 IMG_20180203_152952 by Matthew Buck, on Flickr
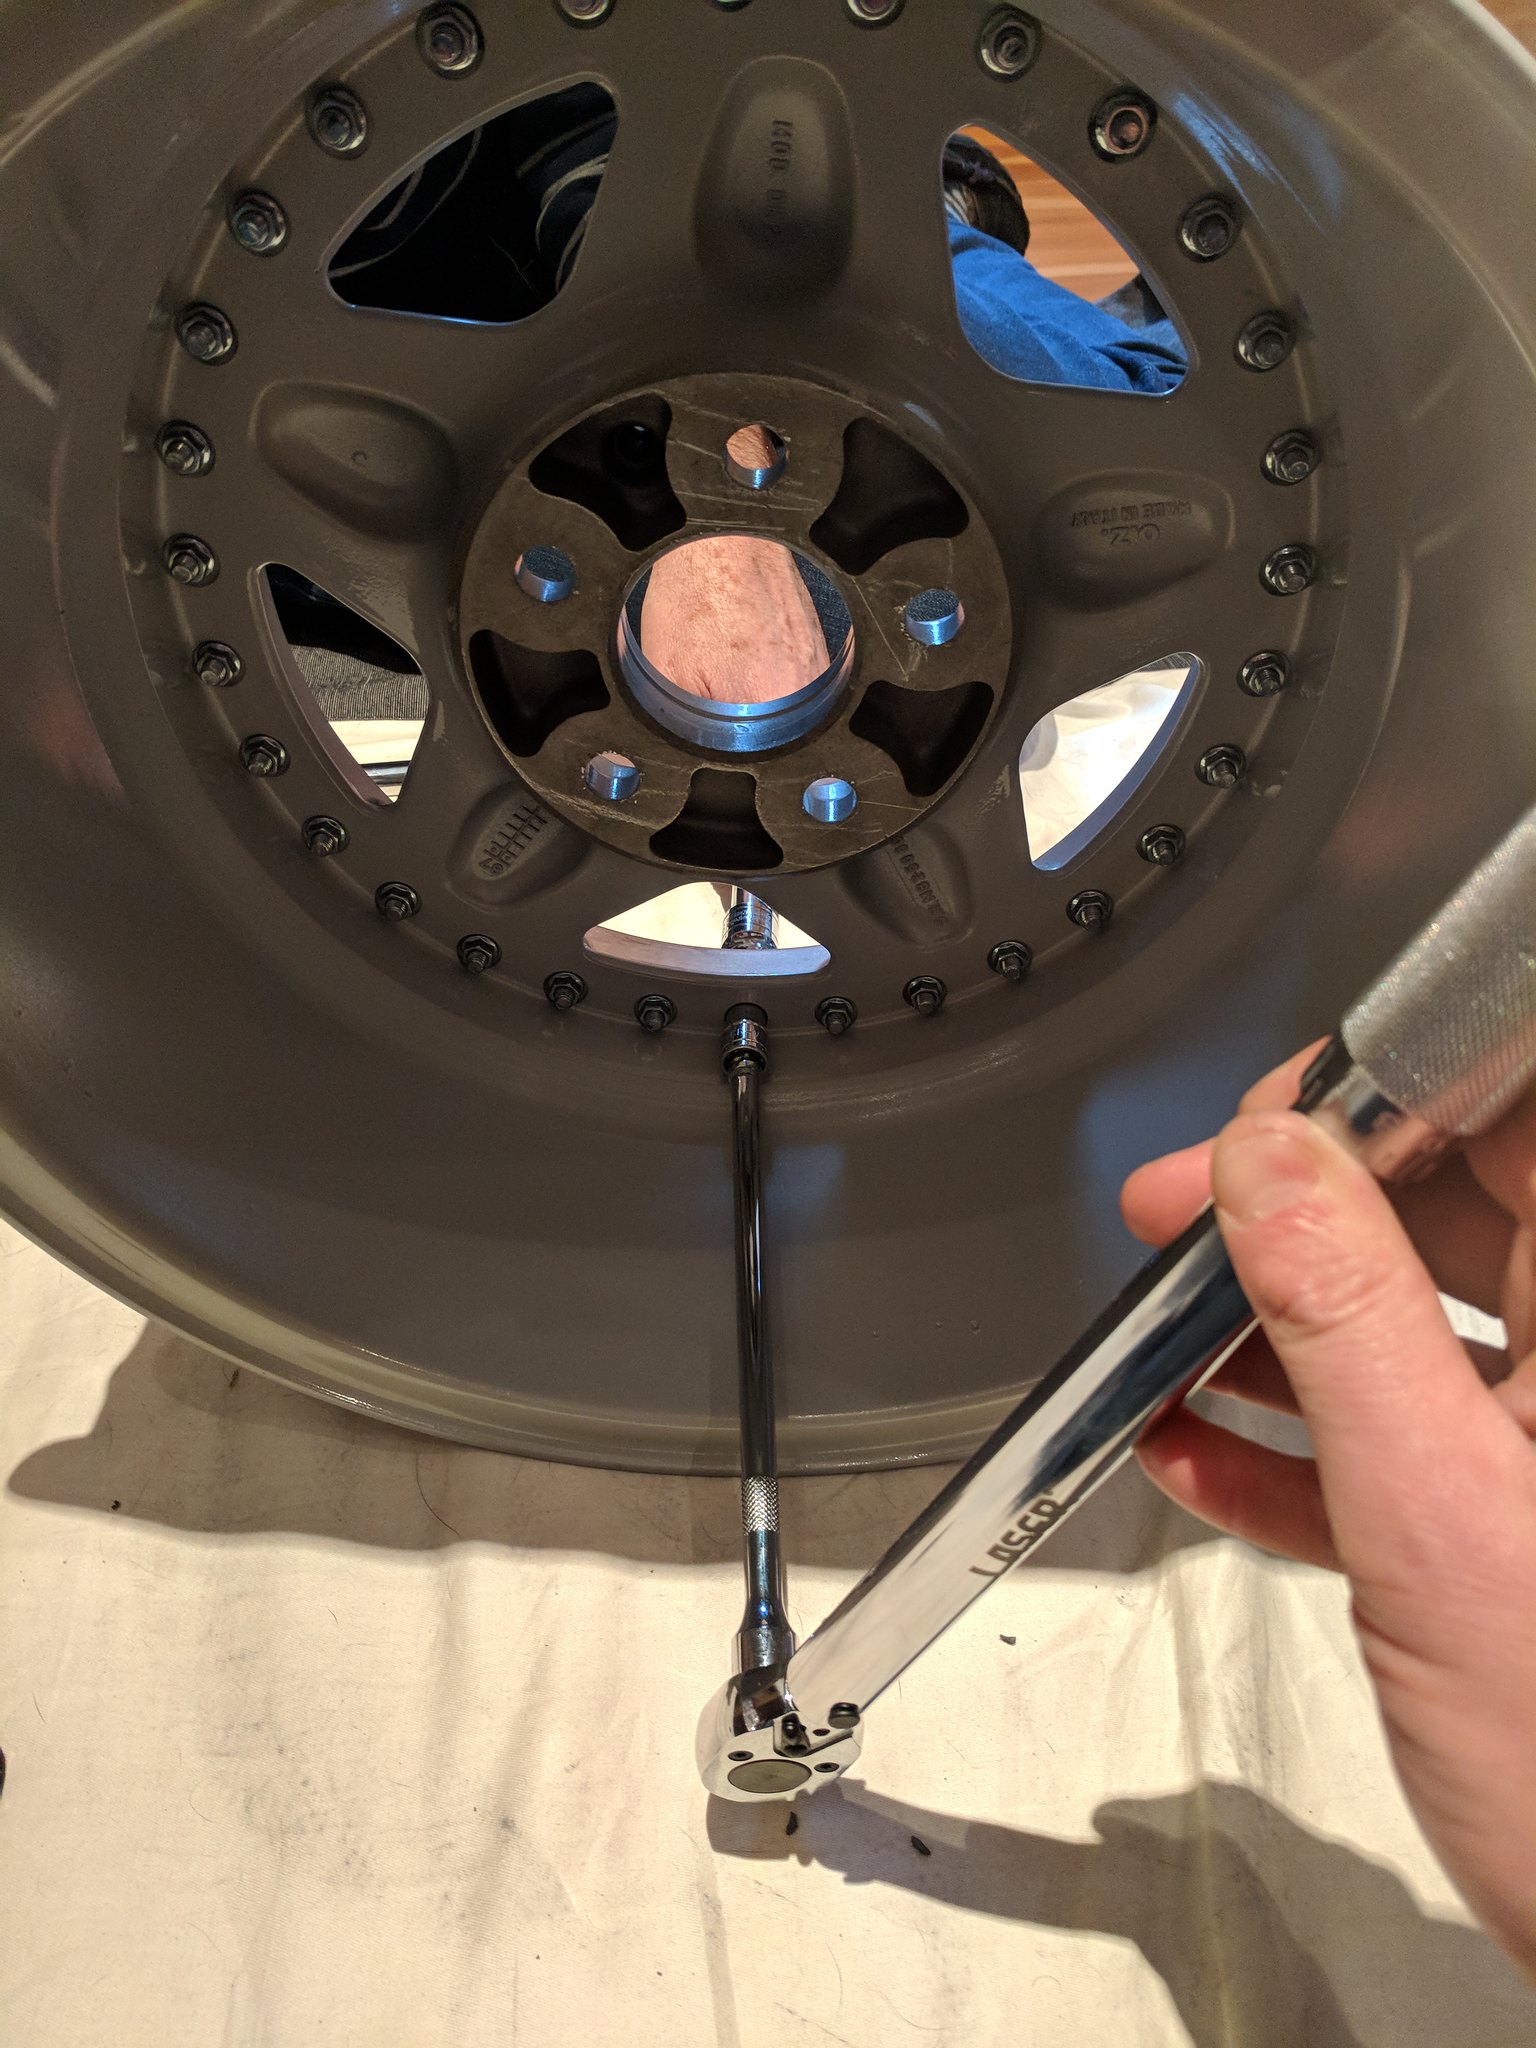
Note, 1/2 inch sockets are just too big and foul on the rim. I had to buy a 3/8 and it was perfect:
 IMG_20180203_152820 by Matthew Buck, on Flickr
TOP TIP (i didn't do this on the first one...) after you torque a nut, mark it with a permanent marker as if you do not you will have to check them all multiple times as you get lost doing a star pattern!
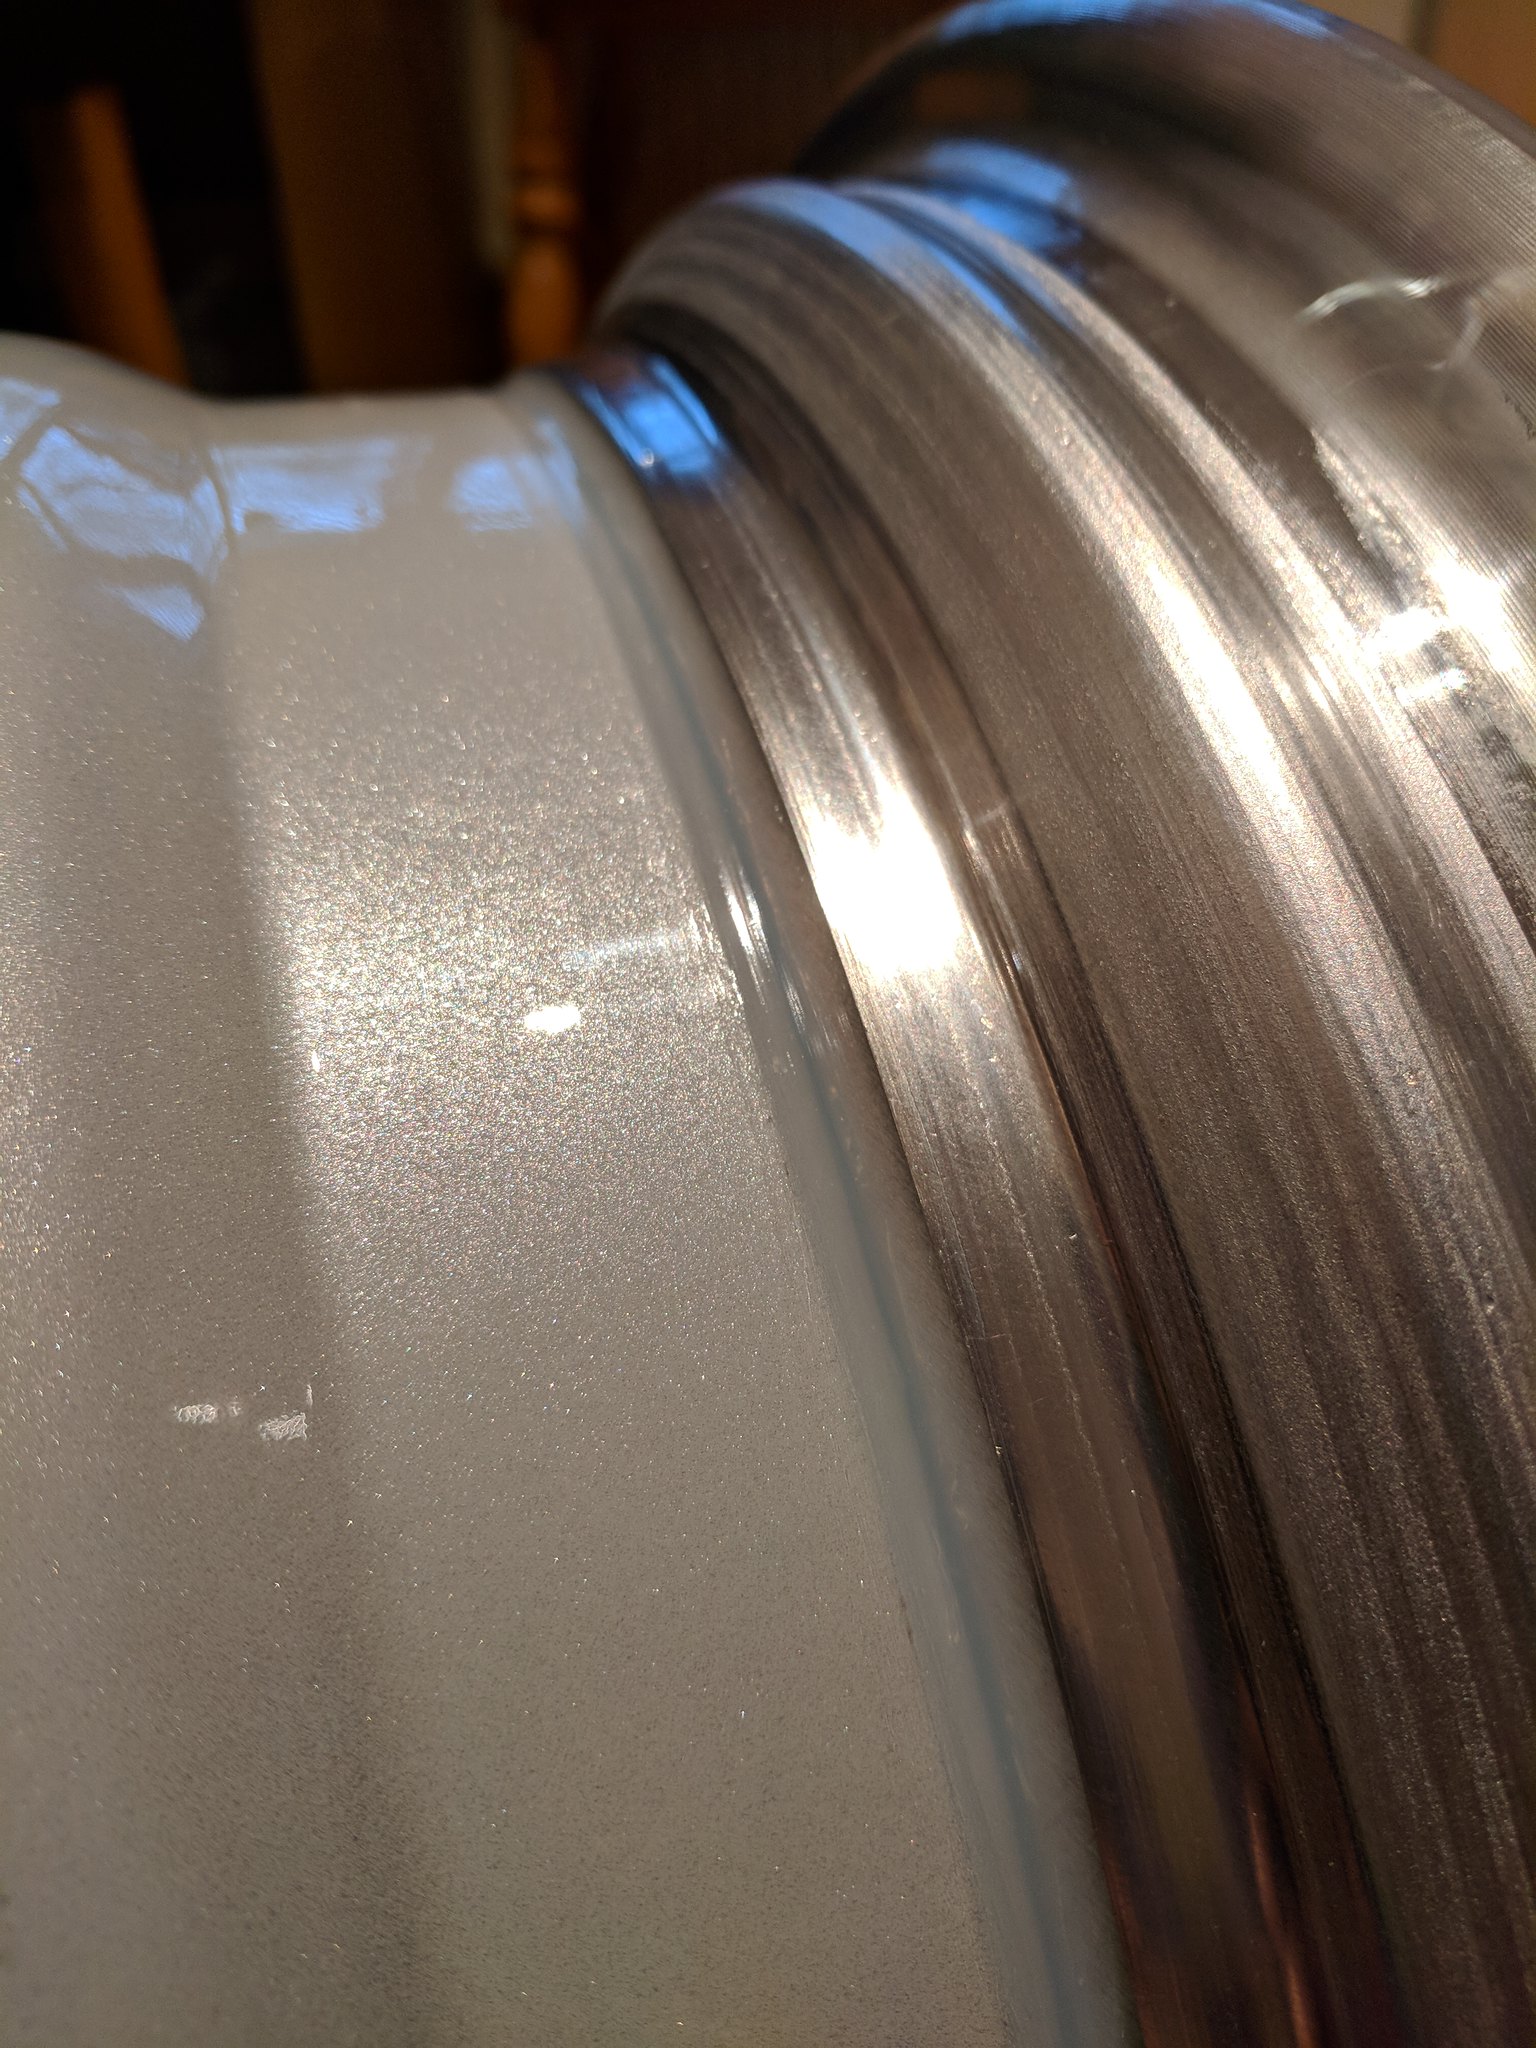
12) Run a bead of silicone around the whole wheel and then smooth this off with your finger
 IMG_20180203_154230 by Matthew Buck, on Flickr
13) Stand back and admire the results!!
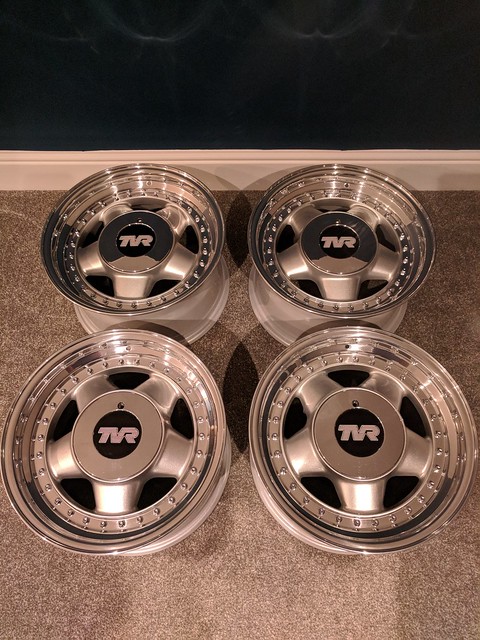 IMG_20180203_210920 by Matthew Buck, on Flickr
Hope that helps and encourages more people to rebuild their wheels
Matt
Just finished refurbishing the OZ split rims and really very pleased with the result!
Before I began the process, I tried finding a guide of how to do the job, or even any tips on building split rims and I ended up watching a load of videos (mainly people rebuilding three piece BBS wheels) and in the end just did my usual and got on with it!
So, to try and encourage others to be more confident with taking this task on I thought I would post a step by step guide.
I didn't take any photos of the break down but I did this on my own and wasn't too much trouble. I soaked the nuts with Plus Gas (I love that product) and bearing in mind they haven't been undone for 28 years the product did the job! You need a special tool for the OZ original bolts which used to be impossible to find but Laser have come to the rescue http://www.lasertools.co.uk/product/6345
I used an air gun and the process was straight forward. So, here were the dishes and rims separate:
IMG_20171211_200537 by Matthew Buck, on FlickrI chose to replace the rims rather than polish as they were just too pitted/dented and I wanted a perfect finish. I bought new bolts and Nuts too. All of the hardware came from SRR Hardware www.srrhardware.com and I am very pleased with the product.
I had the main wheel section refurbished and I actually needed to have two of them repaired as i didn't realise they were buckled slightly!
So, the rebuild. I don't think its possible to do this on your own so i strongly recommend you have a helper... my Dad did a Great job!!
1) Gently scotched the newly painted face of the rim where the new dish will be placed to ensure it is totally flat.
2) Cleaned the Dish face with methylated spirit
IMG_20180203_145920 by Matthew Buck, on Flickr3) Same to the rim side
IMG_20180203_145823 by Matthew Buck, on Flickr4) Put a small bead of silicone around the edge of the rim. i didn't cut the nozzle so the bead was small. I used the best quality 100% silicone sealant I could find in the shop, one which stated no shrinkage and adhesion to metals and paints:
IMG_20180203_150309 by Matthew Buck, on Flickr5) Lay the dish on the rim and wiggle a little to make sure its seated.
6) Applied blue thread lock to each of the bolts. This stick is ideal as the liquid would make a real mess!
IMG_20180203_150751 by Matthew Buck, on Flickr7) Drop all 30 bolts in
IMG_20180203_150820 by Matthew Buck, on Flickr8) Put the nuts on the bolts finger tight
IMG_20180203_152003 by Matthew Buck, on Flickr9) I rested the wheel on two boxes and whilst my Dad held the bolt still, i tightened them up as much as i could by hand (just socket and extension bar, no ratchet). I did this in a star pattern across the 30 bolts to help seat the rim.
10) Run your finger around the sealant that would have already pushed out between the two surfaces.
11) Torque up the nuts. I torqued to 20 llbs ft and again make sure you do this in a star pattern across the bolts! The best way we found was to put the wheel on its side, hold the bolt side still (only tighten from the nut side) and hold the wheel with your feet. Something like this:
IMG_20180203_152952 by Matthew Buck, on FlickrNote, 1/2 inch sockets are just too big and foul on the rim. I had to buy a 3/8 and it was perfect:
IMG_20180203_152820 by Matthew Buck, on FlickrTOP TIP (i didn't do this on the first one...) after you torque a nut, mark it with a permanent marker as if you do not you will have to check them all multiple times as you get lost doing a star pattern!
12) Run a bead of silicone around the whole wheel and then smooth this off with your finger
IMG_20180203_154230 by Matthew Buck, on Flickr13) Stand back and admire the results!!
IMG_20180203_210920 by Matthew Buck, on FlickrHope that helps and encourages more people to rebuild their wheels
Matt

Hi all, thanks for the comments 
The refurbishment of the wheels was done by a company that the body shop I use send them all to. The company is called wheel works http://www.wheelworksuk.co.uk/ I've had 4 sets of wheels done there and always been really pleased with the results.
All the hardware came from a company called SSR hardware. I bought the M7 24mm Bolts in chrome and new nuts too.
Can thoroughly recommend them 😁
All the hardware was from SSR hardware
https://www.srrhardware.com/products/bbs-30-bolt?v...
Thoroughly recommend the product
https://www.srrhardware.com/products/bbs-30-bolt?v...
Thoroughly recommend the product
rev-erend said:
At those prices - its looks better to have a new rim rather than refurb.
Do they give guidance on sealing the new rim or is it a rubber gasket ?
Indeed! That's a big reason why i chose to replace.Do they give guidance on sealing the new rim or is it a rubber gasket ?
There are different materials available (from other suppliers) and these are untreated aluminium. The other option is Radinox which are very tough and far more resistant to abuse. If i was using the car every day, and using in the salt then i would have them lacquered or gone radinox but the best possible bling is polished ali!
They were sealed with silicone out the factory.
Just had mine refurbished a few weeks ago. I had these fitted. They look the part.
https://www.ebay.co.uk/itm/4-BOLTS-IN-CHROME-SILVE...
https://www.ebay.co.uk/itm/4-BOLTS-IN-CHROME-SILVE...
hillclimbmanic said:
Sorry to revive an older thread, but can someone tell me the width, ET of the OZ split rims, as per factory? Are the the same, or are they staggered? Sorry for being a dunce...
Manic
I've heard of 8J, 8.5J and 9J.Manic
I have 15x8J on the front and 16x9J on the rear.
Just picked up a spare 16x9J wheel, "just in case" like! But, it makes tyre changes much easier too.
Gassing Station | Wedges | Top of Page | What's New | My Stuff