Chris' Mazda 323F V6
Discussion


My mid week day off meant another day working on the 323F. Today I was going to start the small jobs on the To-Do list, nothing ground breaking I'm afraid!
I managed to get some off cuts of lead which helped bulk out the battery terminals, I was also able to re-use the original nut and bolt. The first turn of the key and it purred into life, lovely job!
While the engine was running I investigated the exhaust blow

I made a feeble and messy attempt at pasting it up, but it just wasnt working. I show more of this in the YT video
While the engine was idling I was checking all hose connections and caps. Thats when I noticed the radiator cap on top of the engine was much looser than it should be. It could be turned with ease and there was up and down movement, certainly not sealing anything
Once it had cooled down I removed the cap to see what condition it was, and behold the problem

I gave the two tabs a pinch with some pliers and checked the fitment, as good as new!

Next up was the rocking driver's front seat


There's evidence of a previous repair, but that hasn't lasted (obviously).
Getting to this connecting rod for was pretty straight forward. I removed the screws and reclining mech from the side, followed by a 10mm and 12mm head bolt.

It's supposed to look like this

I spoke to my friend Scott who works at a local engineering company to see if he could help out. He said to give him a few days and he'll get a new plate and captive nut welded on, happy days!
Heading back to the exterior and it was time to replace the cracked bootlid garnish
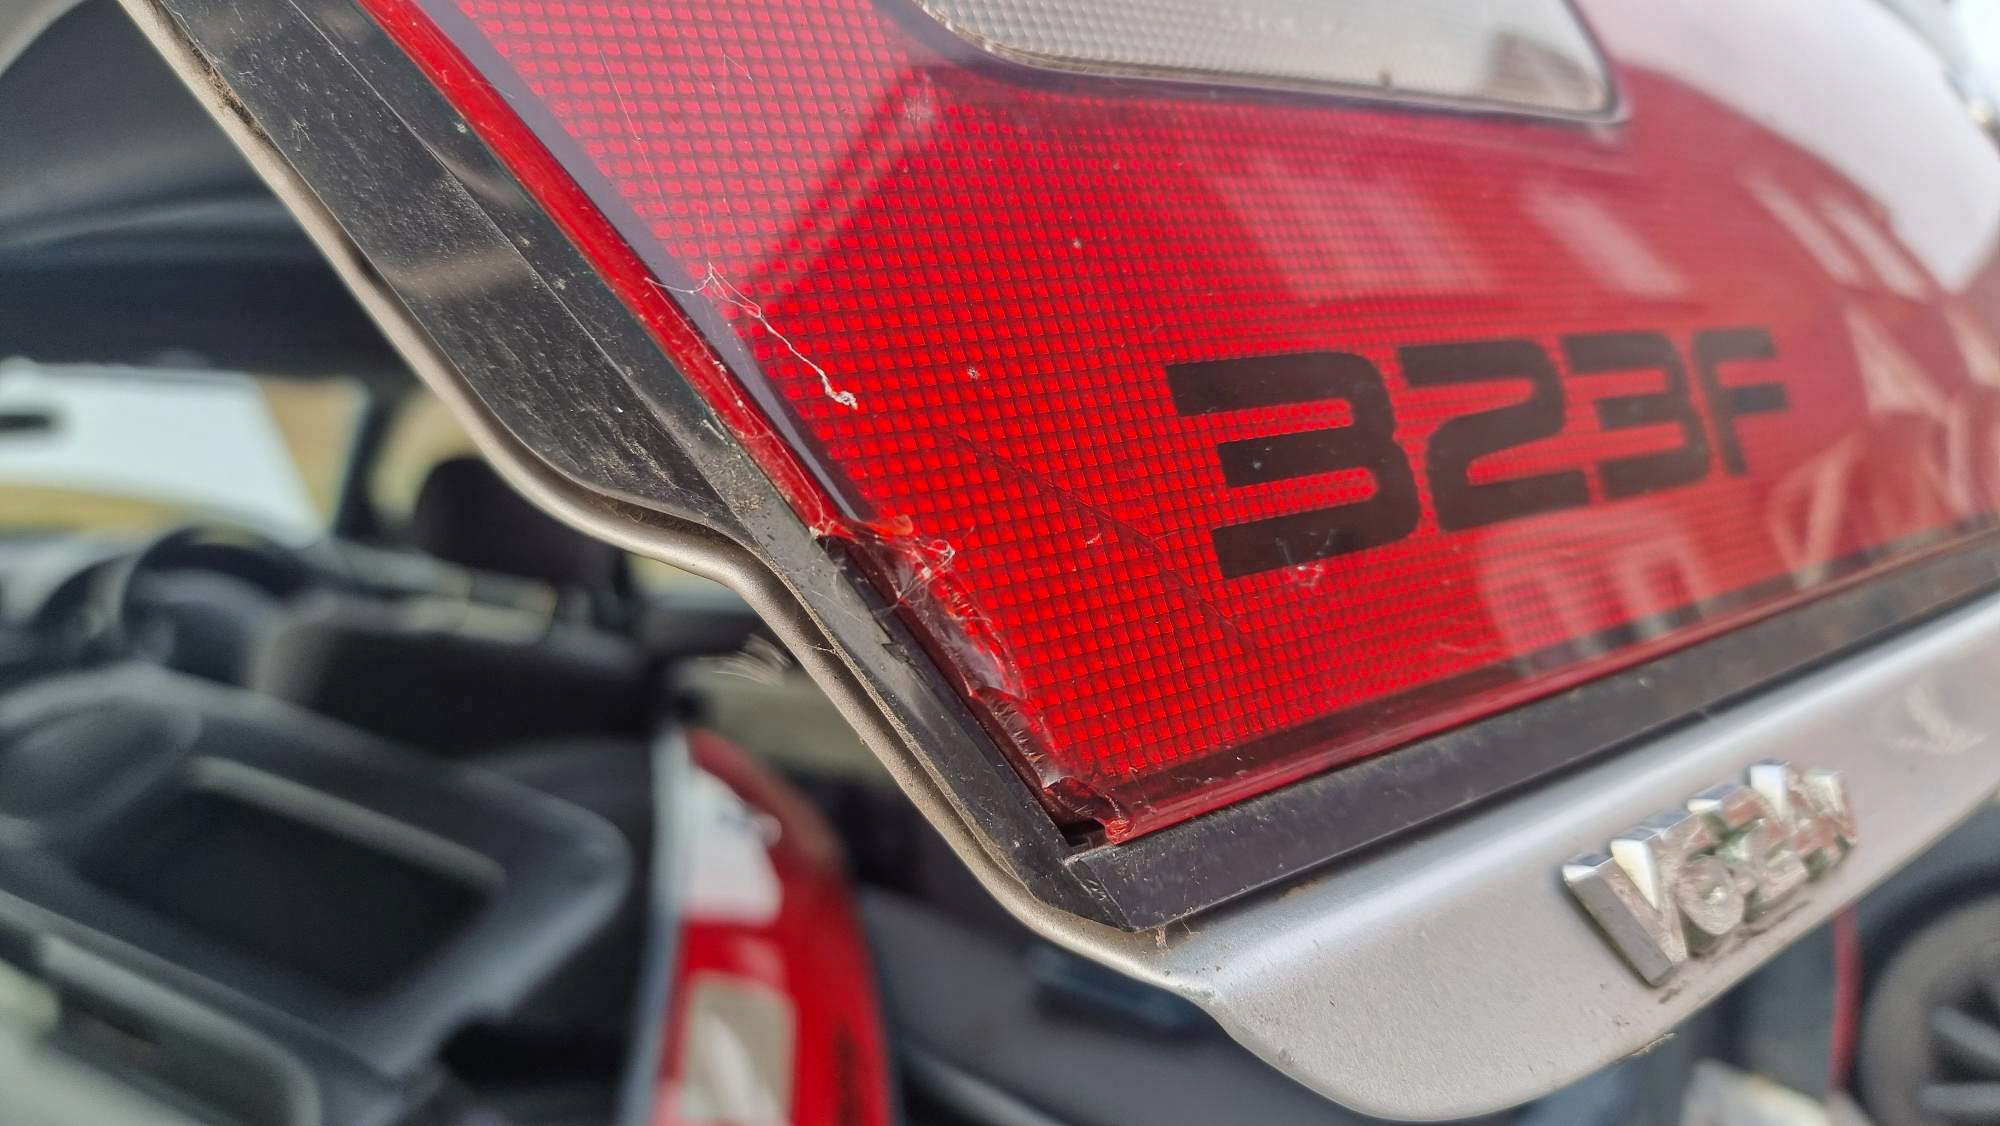
I go through the process of removing the panel in the video for any other 323F owners, but it's straight forward.

Here's the video
https://www.youtube.com/watch?v=c4wdrLVXknc
Sam, I gave you a mention in the video
I managed to get some off cuts of lead which helped bulk out the battery terminals, I was also able to re-use the original nut and bolt. The first turn of the key and it purred into life, lovely job!
While the engine was running I investigated the exhaust blow
I made a feeble and messy attempt at pasting it up, but it just wasnt working. I show more of this in the YT video
While the engine was idling I was checking all hose connections and caps. Thats when I noticed the radiator cap on top of the engine was much looser than it should be. It could be turned with ease and there was up and down movement, certainly not sealing anything
Once it had cooled down I removed the cap to see what condition it was, and behold the problem
I gave the two tabs a pinch with some pliers and checked the fitment, as good as new!
Next up was the rocking driver's front seat
There's evidence of a previous repair, but that hasn't lasted (obviously).
Getting to this connecting rod for was pretty straight forward. I removed the screws and reclining mech from the side, followed by a 10mm and 12mm head bolt.
It's supposed to look like this
I spoke to my friend Scott who works at a local engineering company to see if he could help out. He said to give him a few days and he'll get a new plate and captive nut welded on, happy days!
Heading back to the exterior and it was time to replace the cracked bootlid garnish
I go through the process of removing the panel in the video for any other 323F owners, but it's straight forward.
Here's the video
https://www.youtube.com/watch?v=c4wdrLVXknc
Sam, I gave you a mention in the video
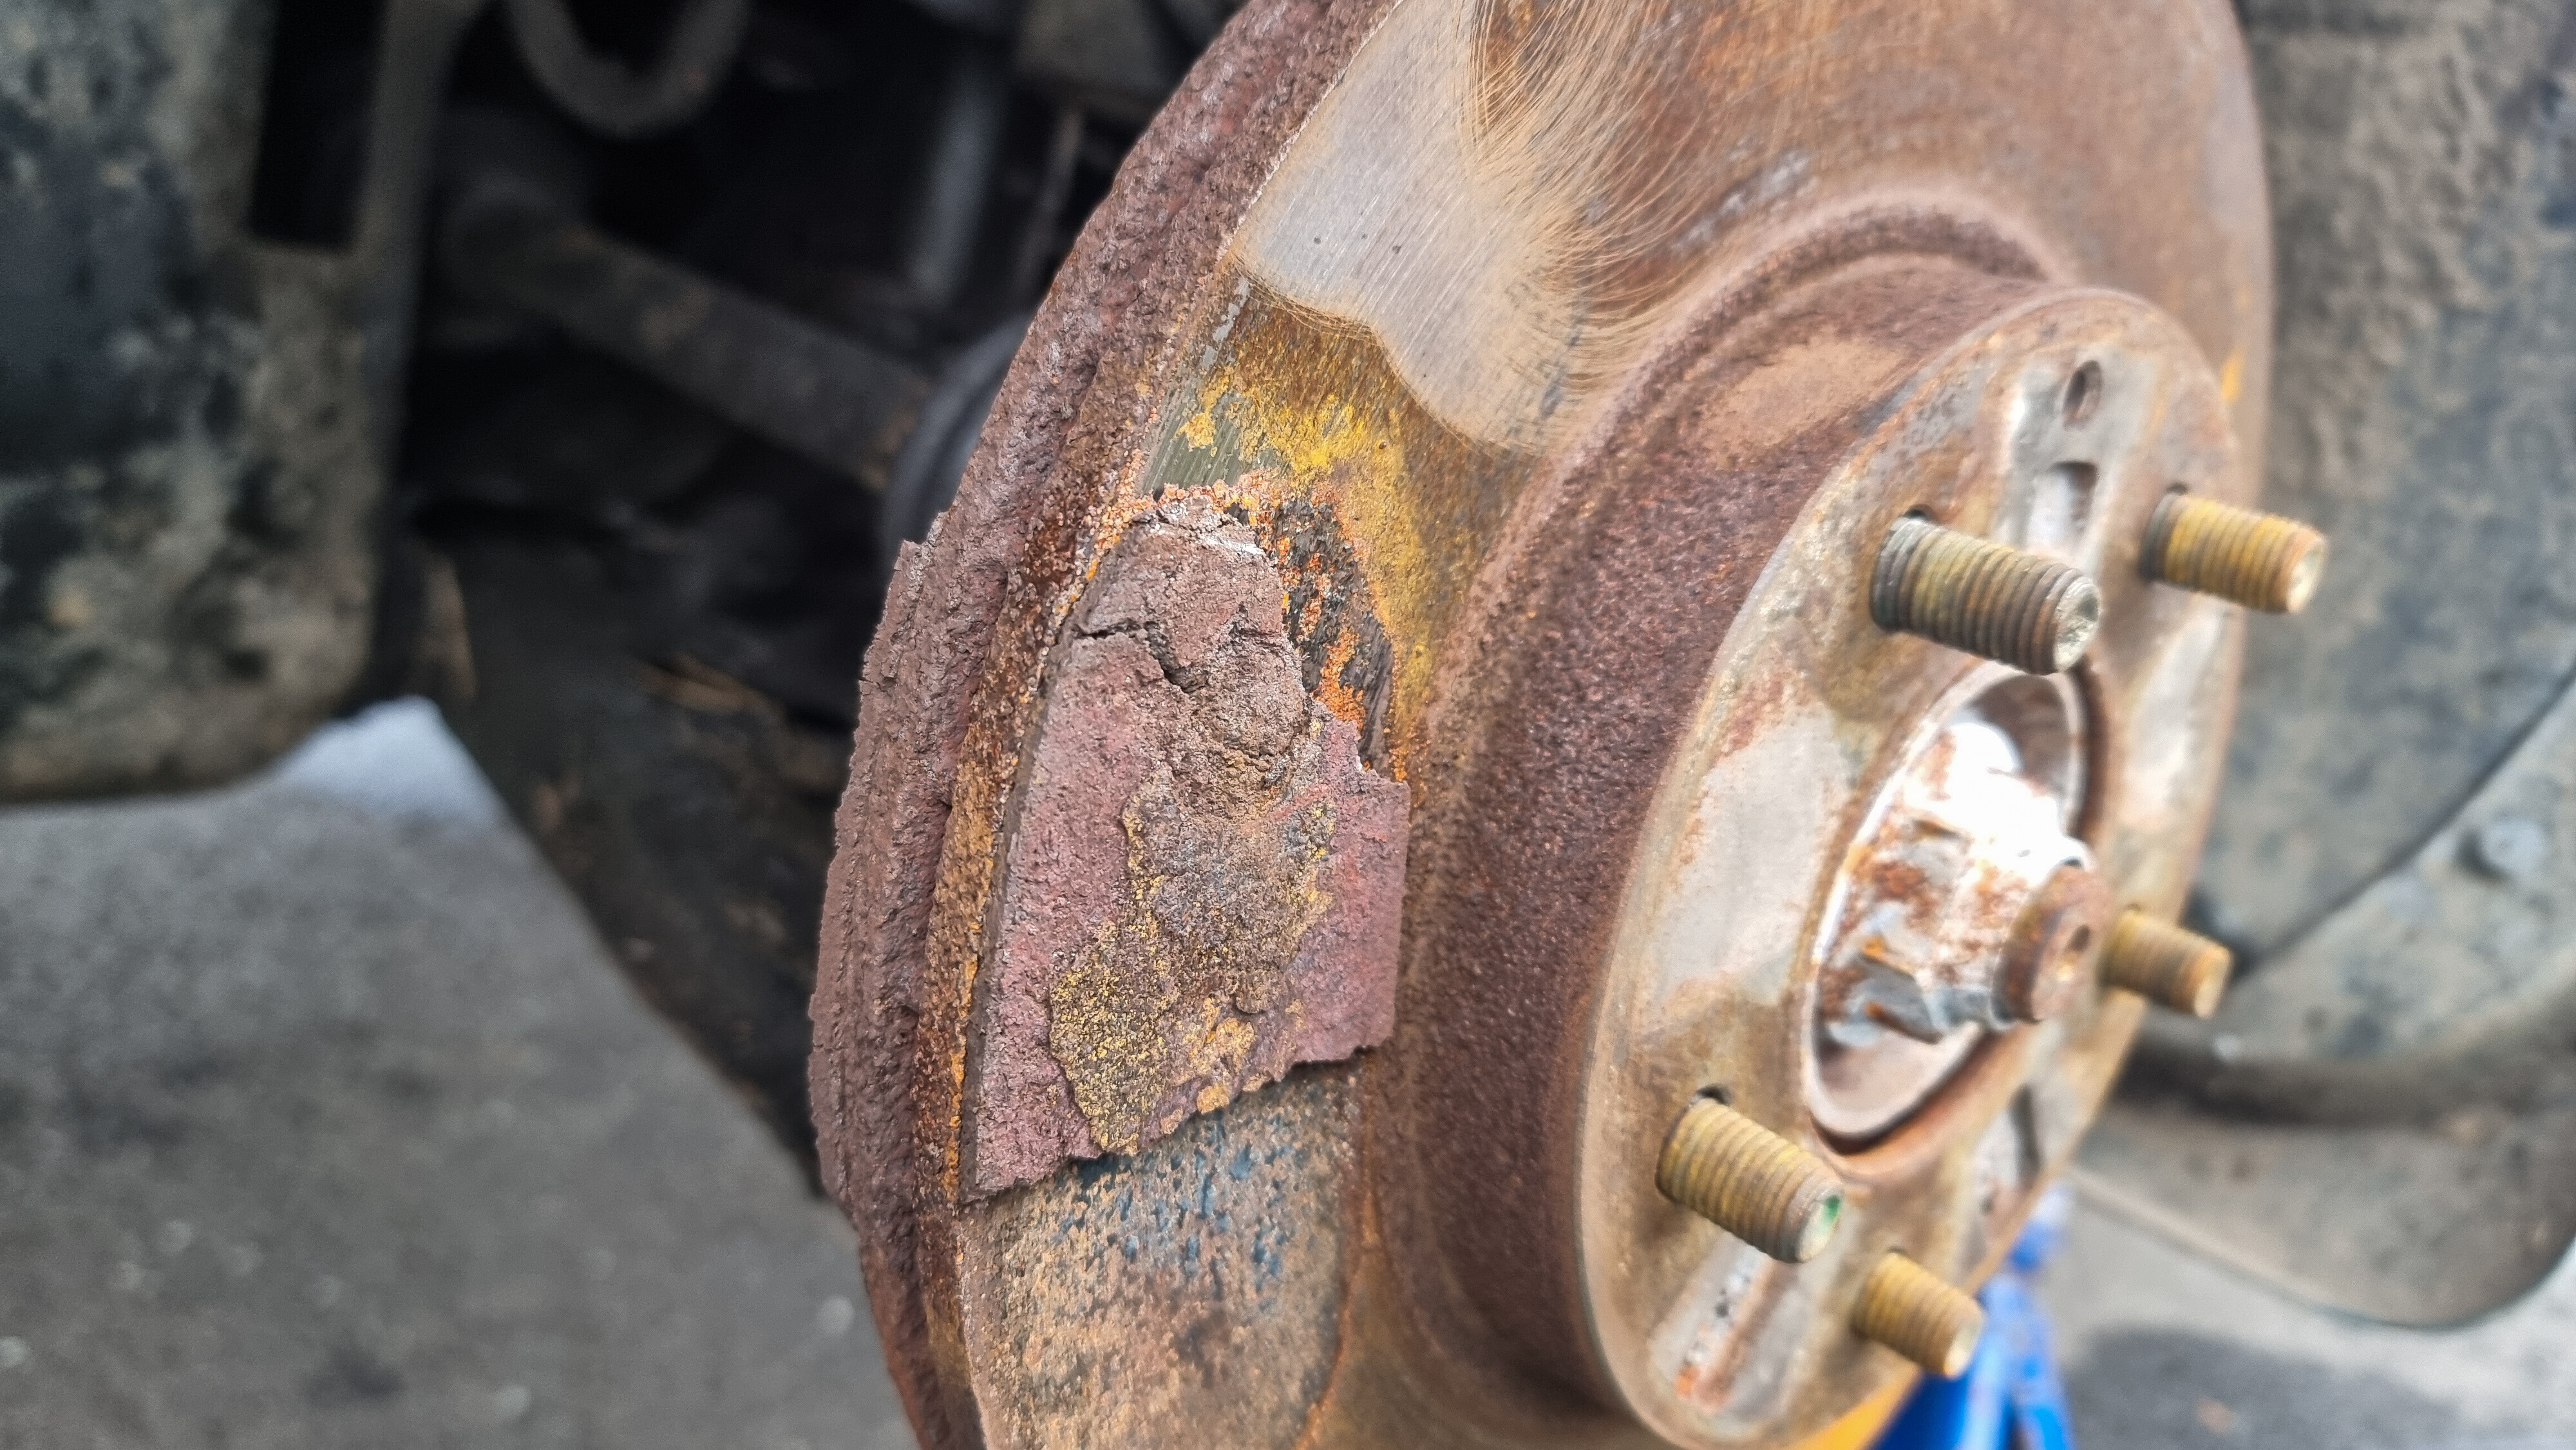
The next job on the list was to change the brakes. As you can see, they've seen better days

I went with ADL Blueprint discs and pads, nothing fancy just something reasonably decent to get this on the road.
Starting off with the driver side front, the slider pins and carrier bolts put up a big fight. This was just the beginning...

Moving around to the passenger front and upon removing the caliper, I could see the friction matieral had seperated itself from the backing plate of the pad, seizing itself to the brake disc.

The slider pins had zero grease which is no surprise. It's certainly been a long time since these brakes have received any attention
Next up were the rears. I struggled pushing/winding the rear pistons back, after a quick google search I had found a guide on the owners forum. On the back of the caliper is a 14mm bolt, revealing a splined bit which helps retract the piston with 4mm allen key. All went to plan so I started the driver side rear, thats when things got tricky.
After battling with this splined bit, I couldn't get the piston back far enough. The splined bit started to skip, this could be why

I had flashbacks of the same thing happening with the previous MX5s and remembered this can be cut down, which I did. That's until I tried again and it slipped, chewing it up again. The caliper went over the brake pads with some minor help from a rubber mallet, but with the splined bit backed off, the disc struggled to turn. I couldn't retract this piston any further and I was loosing hope with this splined bit.

So I had no choice but to order a replacement caliper, which luckily arrived the next day! It was a straight forward swap over, I can now finally bleed them.
Starting off at the passenger rear furtherest from the master cylinder I cracked off the bleed screw. Something didnt look and feel right with it, turns out it was no longer straight.

I was just about to head off to buy a replacement, until I realised I could just use the one on the old caliper. A quick clean up and it was good to go.
I had a one person bleed kit ready to use, but long story short it just wouldn't work. My friend Ross came over to help me to do it the traditional way, I'll get this redone at a later day because I'm not convinced ALL of the old fluid is out. The pedal feels good and nothing has leaked so far.
Next on the to-do list was to clean up the threads of the coilovers and pressure wash the wheel arches.


The coilover locking collars were loosened and the threads received a coat of copper grease, followed by some coilover socks fitted.

I set about removing the headlights and bumper to gain access to the fog lamp, ready to change the blown bulb.

It turns out the unit has had water ingress and the housing has suffered from corrosion. I cleaned it up, and tested the unit but it still doesn't work. I noticed a very small hole on the lens which is probably where the water is getting in. I may be able to get this one working again, but it's going to need replacing at some point so I may aswell save myself some time and leave it for now.

The S14A wheels received an EXTREMELY quick refurb, so quick you can still see the sanding lines...oops! The tyre of choice was Kumho HS52 205/50R16 which claim to have a A rating in wet weather performance.


It feels like a life time since this was on the ground, but in reality it's only been a couple of weeks. It's been a very challenging couple of days but progress has been great and there's only a few small jobs left to do before it's ready for an MOT.
https://www.youtube.com/watch?v=Qz1f3vdZ4B4
I went with ADL Blueprint discs and pads, nothing fancy just something reasonably decent to get this on the road.
Starting off with the driver side front, the slider pins and carrier bolts put up a big fight. This was just the beginning...
Moving around to the passenger front and upon removing the caliper, I could see the friction matieral had seperated itself from the backing plate of the pad, seizing itself to the brake disc.
The slider pins had zero grease which is no surprise. It's certainly been a long time since these brakes have received any attention
Next up were the rears. I struggled pushing/winding the rear pistons back, after a quick google search I had found a guide on the owners forum. On the back of the caliper is a 14mm bolt, revealing a splined bit which helps retract the piston with 4mm allen key. All went to plan so I started the driver side rear, thats when things got tricky.
After battling with this splined bit, I couldn't get the piston back far enough. The splined bit started to skip, this could be why
I had flashbacks of the same thing happening with the previous MX5s and remembered this can be cut down, which I did. That's until I tried again and it slipped, chewing it up again. The caliper went over the brake pads with some minor help from a rubber mallet, but with the splined bit backed off, the disc struggled to turn. I couldn't retract this piston any further and I was loosing hope with this splined bit.
So I had no choice but to order a replacement caliper, which luckily arrived the next day! It was a straight forward swap over, I can now finally bleed them.
Starting off at the passenger rear furtherest from the master cylinder I cracked off the bleed screw. Something didnt look and feel right with it, turns out it was no longer straight.
I was just about to head off to buy a replacement, until I realised I could just use the one on the old caliper. A quick clean up and it was good to go.
I had a one person bleed kit ready to use, but long story short it just wouldn't work. My friend Ross came over to help me to do it the traditional way, I'll get this redone at a later day because I'm not convinced ALL of the old fluid is out. The pedal feels good and nothing has leaked so far.
Next on the to-do list was to clean up the threads of the coilovers and pressure wash the wheel arches.
The coilover locking collars were loosened and the threads received a coat of copper grease, followed by some coilover socks fitted.
I set about removing the headlights and bumper to gain access to the fog lamp, ready to change the blown bulb.
It turns out the unit has had water ingress and the housing has suffered from corrosion. I cleaned it up, and tested the unit but it still doesn't work. I noticed a very small hole on the lens which is probably where the water is getting in. I may be able to get this one working again, but it's going to need replacing at some point so I may aswell save myself some time and leave it for now.
The S14A wheels received an EXTREMELY quick refurb, so quick you can still see the sanding lines...oops! The tyre of choice was Kumho HS52 205/50R16 which claim to have a A rating in wet weather performance.
It feels like a life time since this was on the ground, but in reality it's only been a couple of weeks. It's been a very challenging couple of days but progress has been great and there's only a few small jobs left to do before it's ready for an MOT.
https://www.youtube.com/watch?v=Qz1f3vdZ4B4
Unfortunately I didn't take any photos for the previous video ^^ except for this one.

I investigated the hunting further, my good friend Mikey kindly lent me his smoke leak tester. It turns out not a single wisp of smoke/vapour appeared, I guess thats a good thing though. The down side to that means it's not a simple fix and it could be something else.
My next thought was the air flow sensor/air mass sensor/mass air flow sensor (how ever you wish to call it). After cross referencing a part number I found on eBay, it looks like this part is also shared with the NA MX5 1.8 and can be had for £20-30 for a used version. This will certainly make it easier to source a replacement!
I let the car idle for around 45mins and the idle was fine, it didn't hunt once. Very strange.
It was time for the last minute checks prior to the MOT. I did a nut and bolt check on all of the suspension and brake componants (a thank you to Andy from the owners club for sending me photos of the Haynes Manual). The only thing I found was a bad ball joint pinch bolt, the nut wouldn't tighten at all. A quick trip to my work to buy a replacement and it's now golden.
It's now the morning of the MOT and nerves started to kick in. Ironically the 20 odd mile drive to the garage was my first test drive of the car. Luck was on my side and I didn't break down and nothing happened.

The test went well, they were impressed with the overall condition of the car. Although they weren't too happy towards the end about the copious amounts of waxoyl used to cover everything haha

The only things they picked up on was play in the steering rack bush and a minor oil leak which looks like the power steering? It was tricky to pin point because of the waxoyl (EVERYTHING is coated in it)
While it was up in the air I used this opportunity to grab some photos of the underside.

I noticed the front part of both subframe rails were severely dented, kind of looks like forklift damage? Unsure what's happened there to be honest


https://www.youtube.com/watch?v=Yi0pn7yhGoM
All in all, very happy with the result! Still lots to do
I investigated the hunting further, my good friend Mikey kindly lent me his smoke leak tester. It turns out not a single wisp of smoke/vapour appeared, I guess thats a good thing though. The down side to that means it's not a simple fix and it could be something else.
My next thought was the air flow sensor/air mass sensor/mass air flow sensor (how ever you wish to call it). After cross referencing a part number I found on eBay, it looks like this part is also shared with the NA MX5 1.8 and can be had for £20-30 for a used version. This will certainly make it easier to source a replacement!
I let the car idle for around 45mins and the idle was fine, it didn't hunt once. Very strange.
It was time for the last minute checks prior to the MOT. I did a nut and bolt check on all of the suspension and brake componants (a thank you to Andy from the owners club for sending me photos of the Haynes Manual). The only thing I found was a bad ball joint pinch bolt, the nut wouldn't tighten at all. A quick trip to my work to buy a replacement and it's now golden.
It's now the morning of the MOT and nerves started to kick in. Ironically the 20 odd mile drive to the garage was my first test drive of the car. Luck was on my side and I didn't break down and nothing happened.
The test went well, they were impressed with the overall condition of the car. Although they weren't too happy towards the end about the copious amounts of waxoyl used to cover everything haha
The only things they picked up on was play in the steering rack bush and a minor oil leak which looks like the power steering? It was tricky to pin point because of the waxoyl (EVERYTHING is coated in it)
While it was up in the air I used this opportunity to grab some photos of the underside.
I noticed the front part of both subframe rails were severely dented, kind of looks like forklift damage? Unsure what's happened there to be honest
https://www.youtube.com/watch?v=Yi0pn7yhGoM
All in all, very happy with the result! Still lots to do
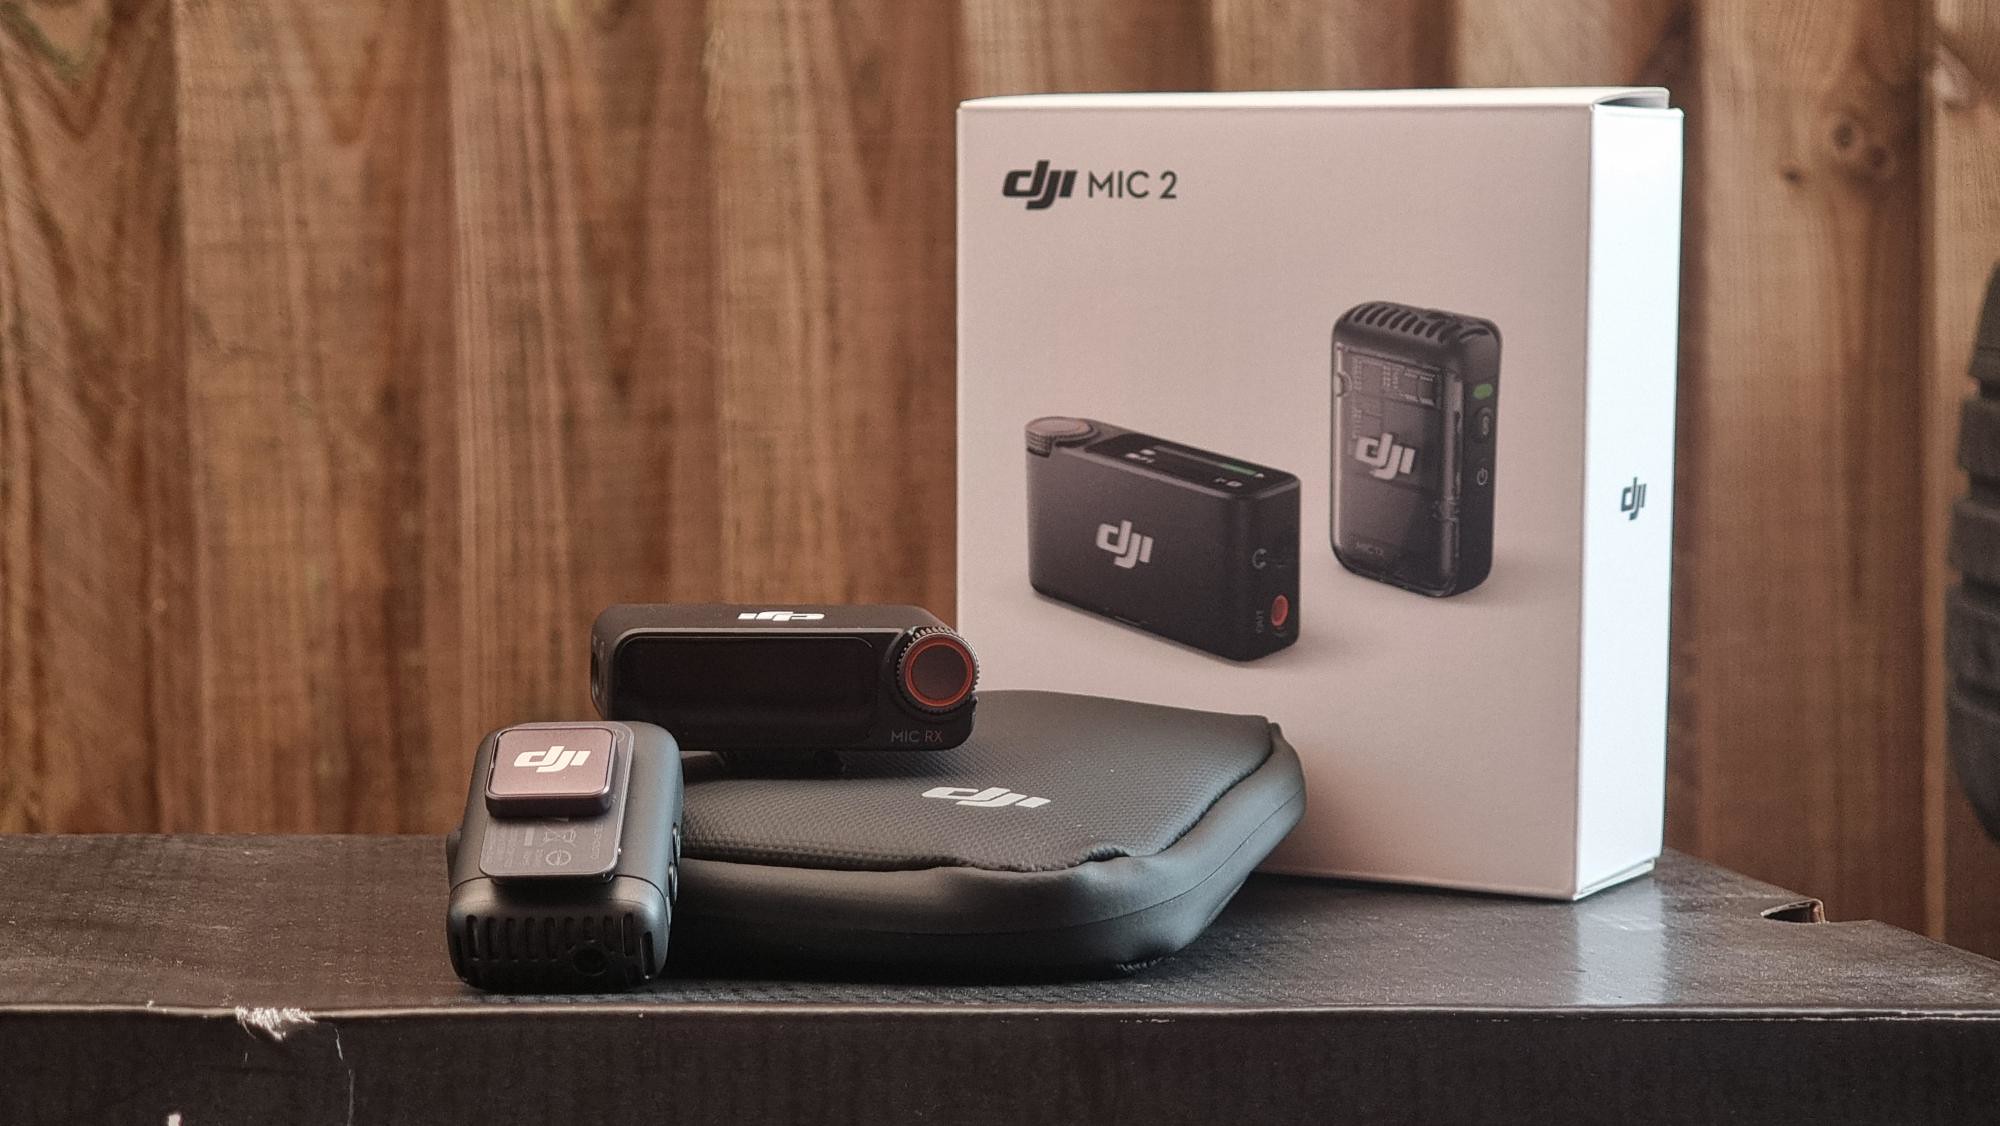
The previous couple of videos I've been experiencing some terrible audio, mainly due to strong winds. I felt it was time to start investing in my content creating, my first purchase was a new wireless microphone.
There's plenty of choice when it comes to audio upgrades but I wanted something that was easy to use but wasn't going to break the bank. DJI has entered the chat.
DJI are well known for their drones but I didn't know they also produce microphones, action cameras and more. They've recently released their 2nd wireless mic called the Mic 2 (inventive name, isn't it lol)
I watched more videos and reviews than I can remember but it ticked all of the boxes and I knew this was what I was looking for.
I apologise for the lack of photos for this update, the ones I do have are screenshots I'm afraid.
There were a few small electrical jobs that needed doing, starting off with the dash lights. I noticed only half of the speedo cluster illuminated at night. The top dash binnacle was removed, luckily I had this apart when I wired in the horn button. I also removed the climate controls to replace a blown bulb, but after inspecting it they're not your typical bulb so I'll have to revisit that at a later date.
Next up was the cigarette lighter socket. The illumination works but the socket itself doesn't. I checked the wiring with a multimeter and it was getting voltage.
I installed a universal unit from work and adapted the Mazda loom rather than re-making it. Luckily the female spade terminal was the same size, all I had to do was crimp a connector on for the earth terminal.
I also retained the illumination along with the light in the ash tray compartment.

The electric aerial on these models seem to fail, I knew sourcing a working replacement might be tricky so I opted for a manual version. Once installed I realised the connections were both DIN male, the only DIN female joiner I could find was on eBay but I didn't want to wait weeks for delivery from China.

The factory co-axial aerial lead wasn't a straight forward route straight down the drivers side, Mazda had to make it unnecessarily awkward. Instead they thought it was a great idea to go along the back of the boot and along the passenger side. From there it goes across in front of the passenger front seat and then along the centre console/dash where it plugs into a 1/2 metre aerial lead.
My hoarding paid off for once when I had a 4.5m lead tucked away in my spares. I decided to re-route it the same way. Doing this may seem excessive but I'm glad I did to be honest. When I lifted the carpet up I was greeted with a very soggy floor both front and rear footwells....doh!
This photo (screenshot) doesn't really show the extend of the water ingress, it was everywhere. I removed the A-Pillar trim to check the sunroof drain, but I've pulled it out of the connection behind the dash.

I removed the arch liner but I couldn't see anything obvious. More investigation is required, hopefully it's not too bad to sort.
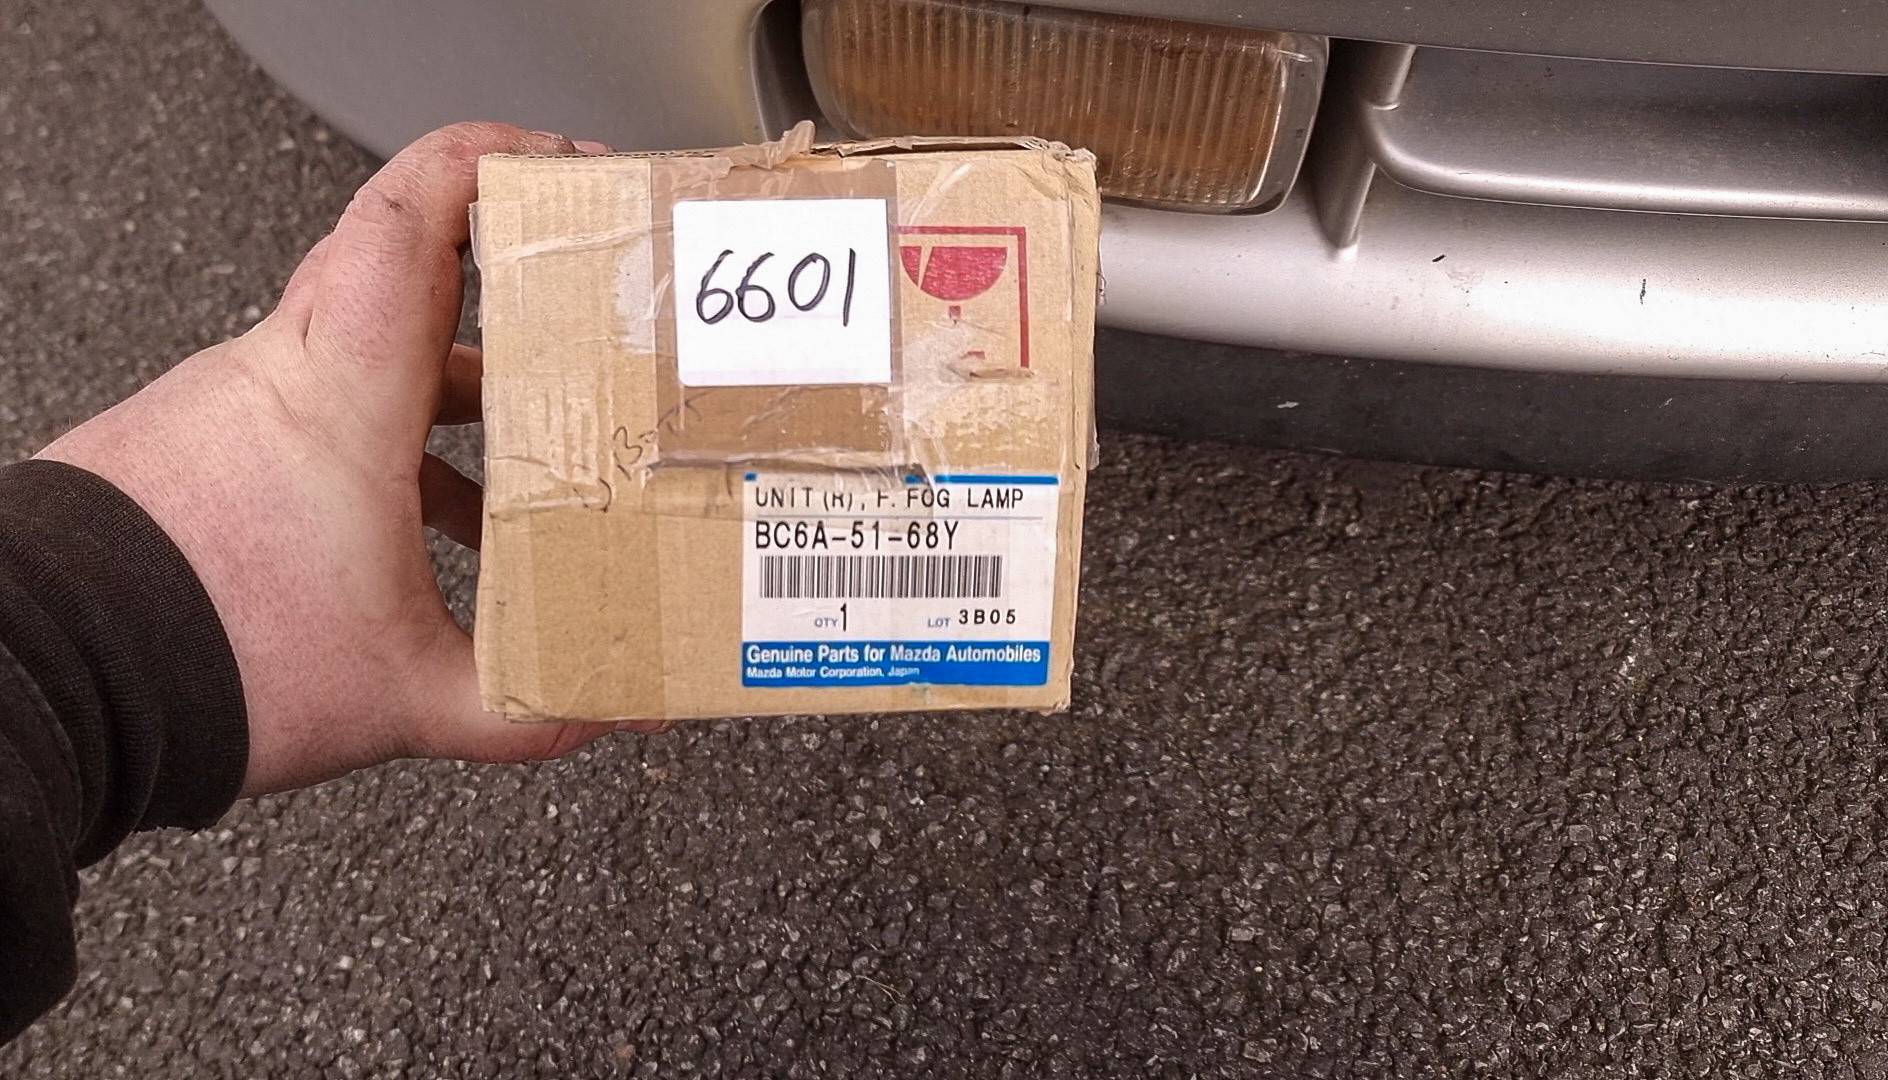
The last job for the day was to sort out the driver side front fog light. Although not an MOT failure, the tainted orange light unit didn't look great and spoiled the front of the car.
I was lucky enough to find a new in box genuine unit on eBay for not a huge amount of money. I think I paid £54 in total
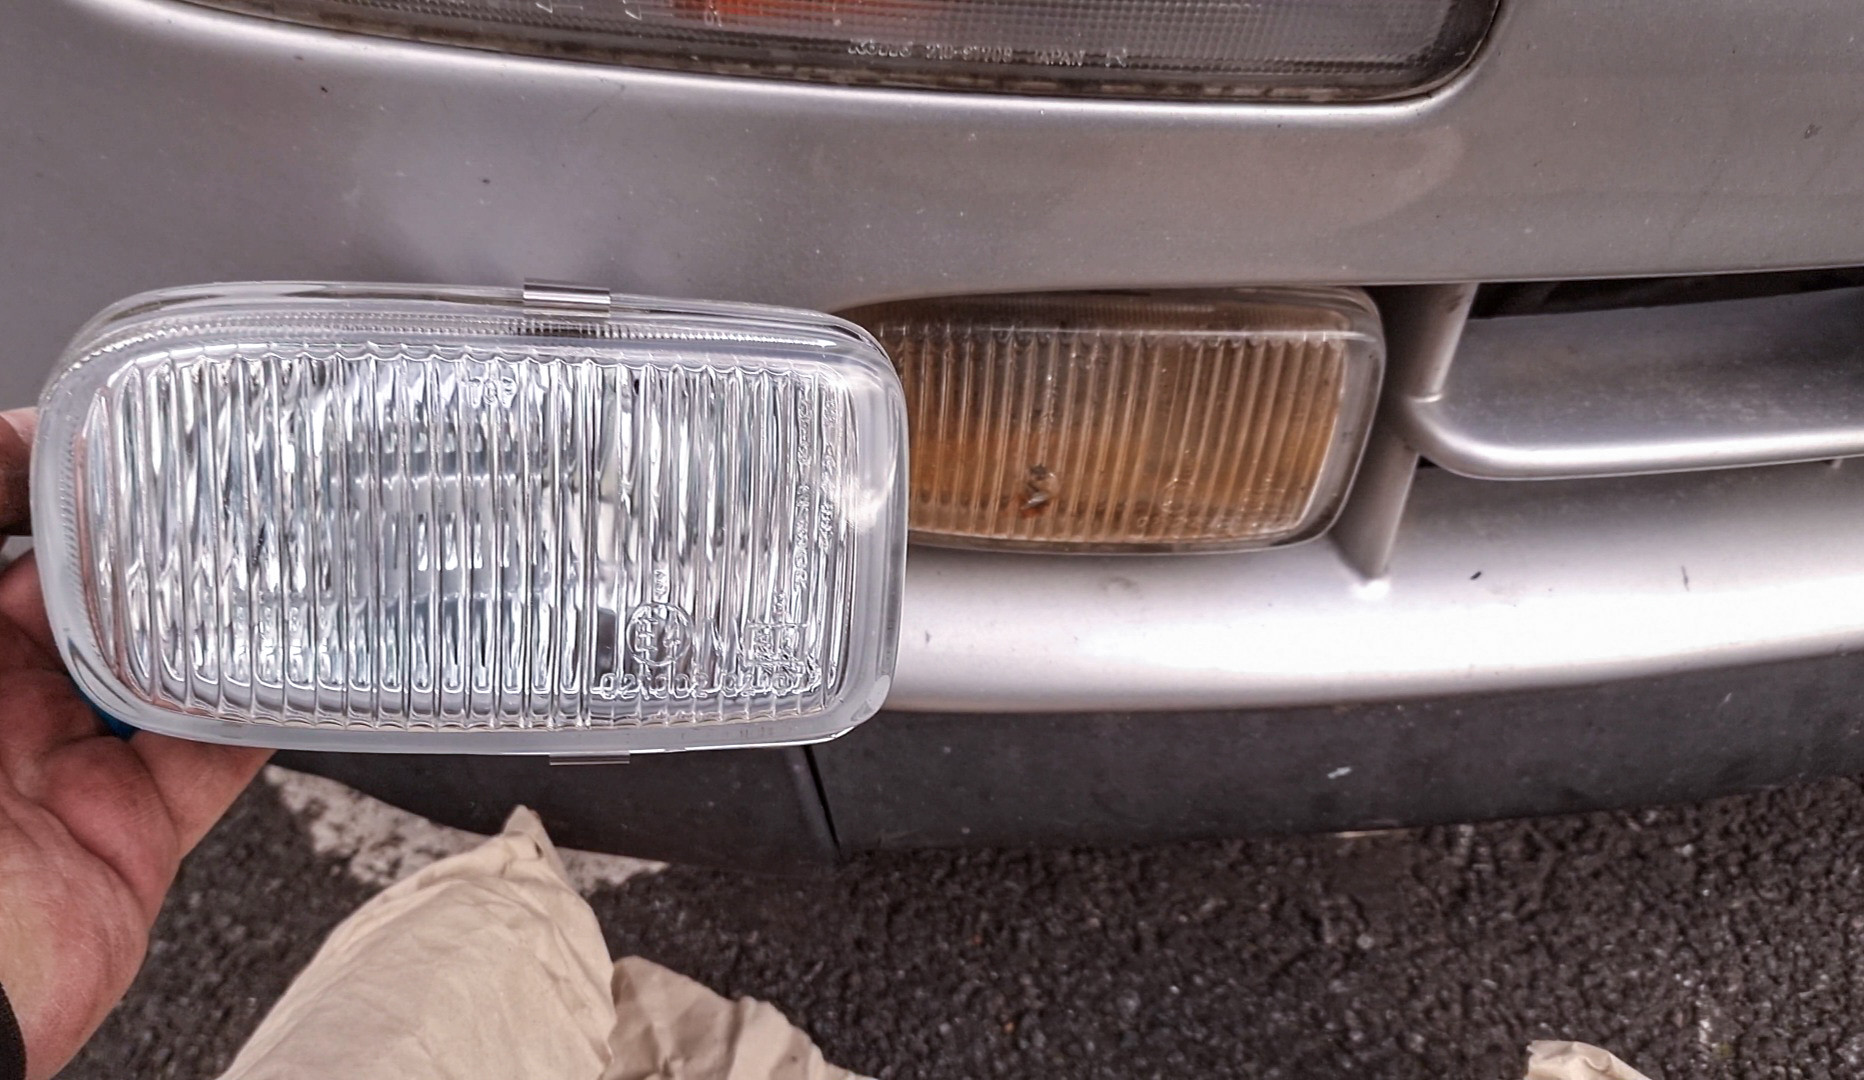
I did order a replacement loom, but it turns out it was incorrect. I swapped the brackets over, installed a new bulb and plugged everything back together to give it a test. Finally! A working fog light!
Nothing exciting, but all of these little jobs eventually add up
https://www.youtube.com/watch?v=u733CIaCZCY
There's plenty of choice when it comes to audio upgrades but I wanted something that was easy to use but wasn't going to break the bank. DJI has entered the chat.
DJI are well known for their drones but I didn't know they also produce microphones, action cameras and more. They've recently released their 2nd wireless mic called the Mic 2 (inventive name, isn't it lol)
I watched more videos and reviews than I can remember but it ticked all of the boxes and I knew this was what I was looking for.
I apologise for the lack of photos for this update, the ones I do have are screenshots I'm afraid.
There were a few small electrical jobs that needed doing, starting off with the dash lights. I noticed only half of the speedo cluster illuminated at night. The top dash binnacle was removed, luckily I had this apart when I wired in the horn button. I also removed the climate controls to replace a blown bulb, but after inspecting it they're not your typical bulb so I'll have to revisit that at a later date.
Next up was the cigarette lighter socket. The illumination works but the socket itself doesn't. I checked the wiring with a multimeter and it was getting voltage.
I installed a universal unit from work and adapted the Mazda loom rather than re-making it. Luckily the female spade terminal was the same size, all I had to do was crimp a connector on for the earth terminal.
I also retained the illumination along with the light in the ash tray compartment.
The electric aerial on these models seem to fail, I knew sourcing a working replacement might be tricky so I opted for a manual version. Once installed I realised the connections were both DIN male, the only DIN female joiner I could find was on eBay but I didn't want to wait weeks for delivery from China.
The factory co-axial aerial lead wasn't a straight forward route straight down the drivers side, Mazda had to make it unnecessarily awkward. Instead they thought it was a great idea to go along the back of the boot and along the passenger side. From there it goes across in front of the passenger front seat and then along the centre console/dash where it plugs into a 1/2 metre aerial lead.
My hoarding paid off for once when I had a 4.5m lead tucked away in my spares. I decided to re-route it the same way. Doing this may seem excessive but I'm glad I did to be honest. When I lifted the carpet up I was greeted with a very soggy floor both front and rear footwells....doh!
This photo (screenshot) doesn't really show the extend of the water ingress, it was everywhere. I removed the A-Pillar trim to check the sunroof drain, but I've pulled it out of the connection behind the dash.
I removed the arch liner but I couldn't see anything obvious. More investigation is required, hopefully it's not too bad to sort.
The last job for the day was to sort out the driver side front fog light. Although not an MOT failure, the tainted orange light unit didn't look great and spoiled the front of the car.
I was lucky enough to find a new in box genuine unit on eBay for not a huge amount of money. I think I paid £54 in total
I did order a replacement loom, but it turns out it was incorrect. I swapped the brackets over, installed a new bulb and plugged everything back together to give it a test. Finally! A working fog light!
Nothing exciting, but all of these little jobs eventually add up
https://www.youtube.com/watch?v=u733CIaCZCY
Just found this thread, loving your work so far! I don't think I ever realised these came with a V6. I once test drove an MX-3 with the V6 and they do sound lovely (diff engine I think as those are 1.8?).
I couldn't tell you last time I saw one of these in half decent condition so I'm really pleased someone is going to all this effort, that black one you posted looks mega and yours is already starting to look really cool.
Will give the YouTube videos a watch.
I couldn't tell you last time I saw one of these in half decent condition so I'm really pleased someone is going to all this effort, that black one you posted looks mega and yours is already starting to look really cool.
Will give the YouTube videos a watch.
Gassing Station | Readers' Cars | Top of Page | What's New | My Stuff