Airfix Albatros DVa 1:72
Discussion


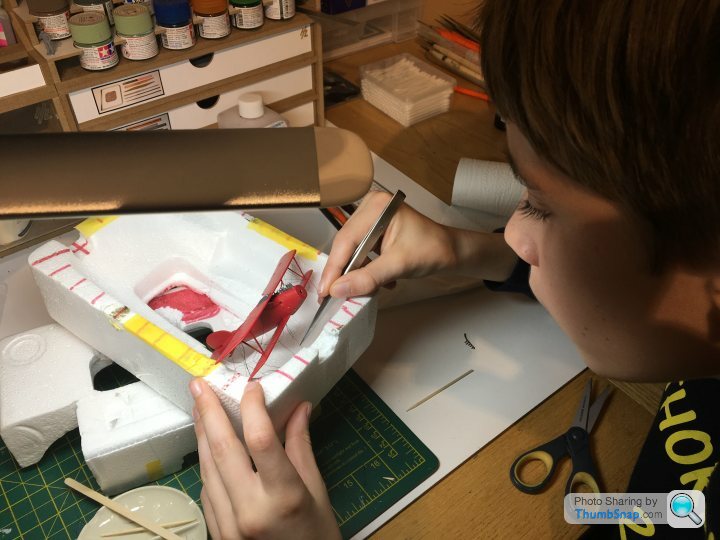
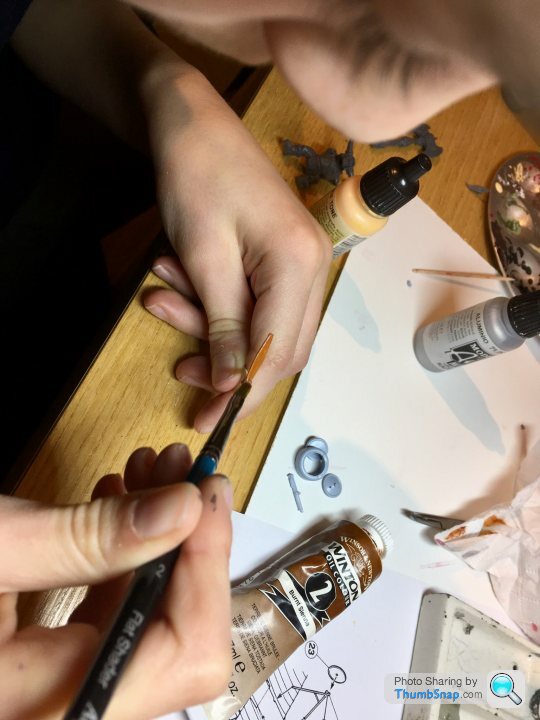
This is another model being built by the boy. He’s doing a WW1 project at school, so he’s building the old (1957) Airfix Albatros DVa. This was one picked up free from Airfix at Telford a couple of years ago, along with the Sopwith Pup.
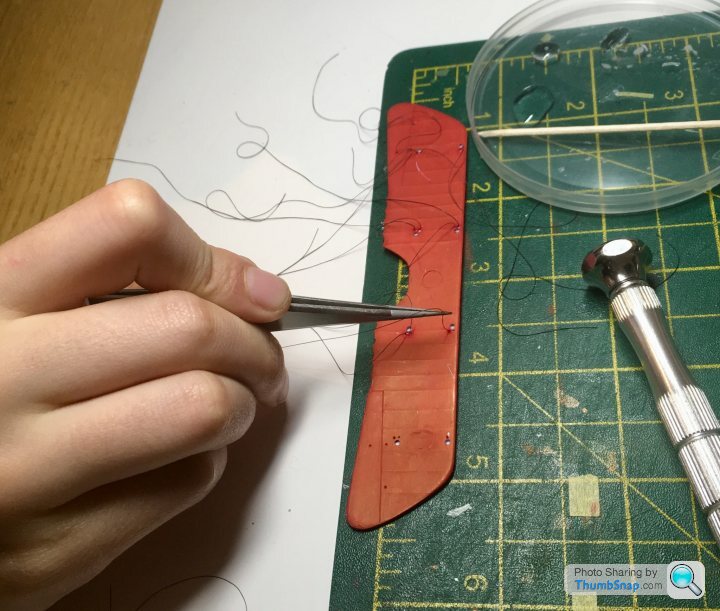
I figured if he can do rigging at 1:72 it would be a big step. It’s very intricate work for a 10 year old, but it’s looking good so far:
[url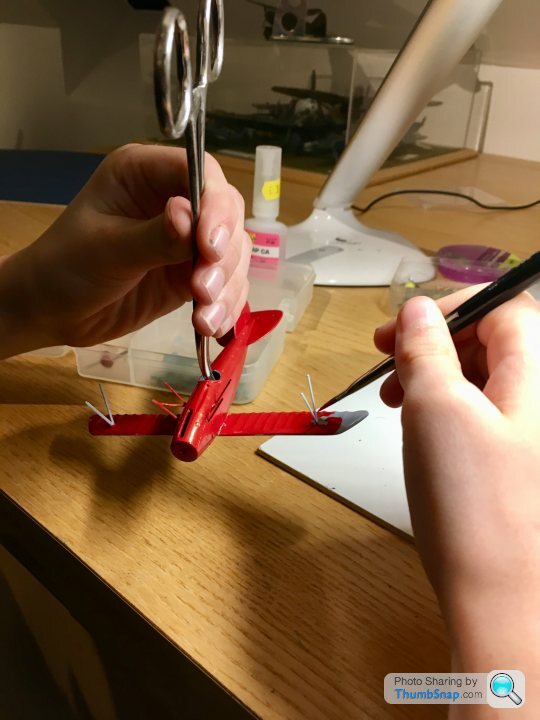 |https://thumbsnap.com/KrQVMbdR[/url]
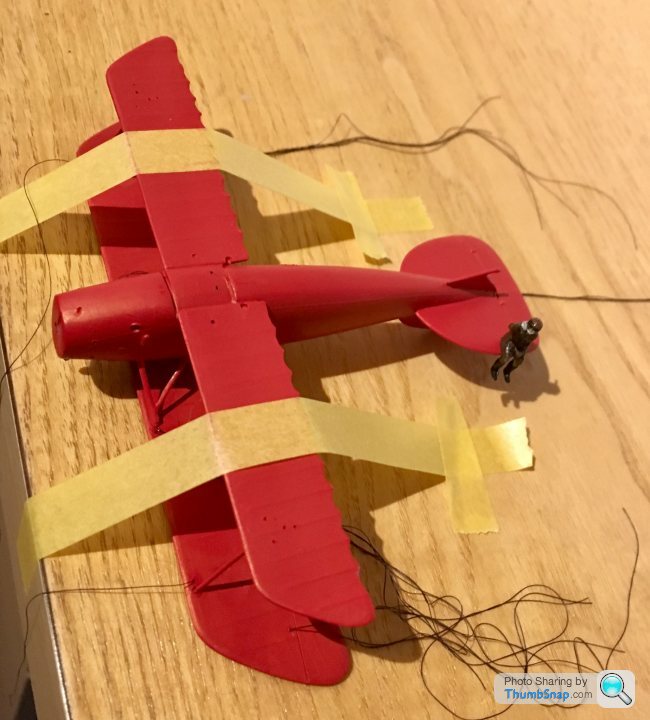
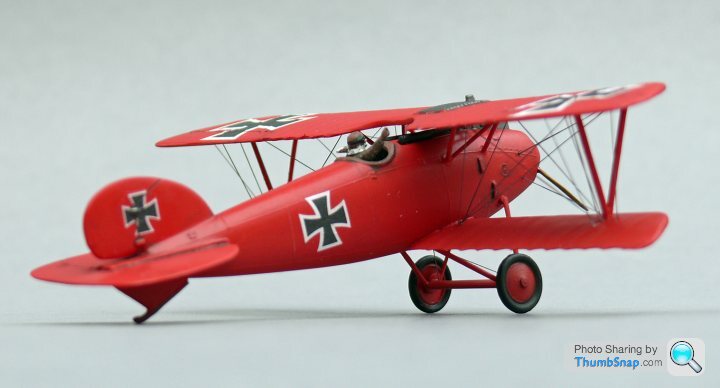
Got some decals on order, so hopefully it’ll be finished soon. Just need some decals for the Pup, and a grass base and that’ll make a nice display.
I figured if he can do rigging at 1:72 it would be a big step. It’s very intricate work for a 10 year old, but it’s looking good so far:
[url
|https://thumbsnap.com/KrQVMbdR[/url]Got some decals on order, so hopefully it’ll be finished soon. Just need some decals for the Pup, and a grass base and that’ll make a nice display.
He is doing this one awfully well doc, is it time to introduce him to Perfect Plastic Putty which wet sands to invisibility in no time?
No nasty chemical stinks either
Back to the Albatros, must have been early seventies when I built that kit, it seems to have lasted well
The young geezer is doing very nice work on the seams
And may I echo Eric's sentiments slightly
Rigging yeuch!
No nasty chemical stinks either
Back to the Albatros, must have been early seventies when I built that kit, it seems to have lasted well
The young geezer is doing very nice work on the seams
And may I echo Eric's sentiments slightly
Rigging yeuch!
perdu said:
He is doing this one awfully well doc, is it time to introduce him to Perfect Plastic Putty which wet sands to invisibility in no time?
No nasty chemical stinks either
Back to the Albatros, must have been early seventies when I built that kit, it seems to have lasted well
The young geezer is doing very nice work on the seams
And may I echo Eric's sentiments slightly
Rigging yeuch!
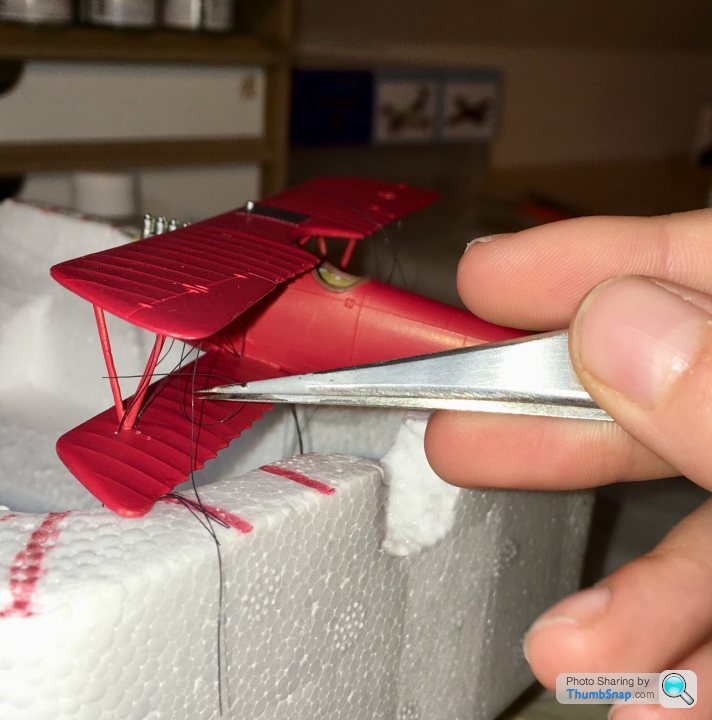
It's nearly done - just needs a wash and matt coat. No nasty chemical stinks either
Back to the Albatros, must have been early seventies when I built that kit, it seems to have lasted well
The young geezer is doing very nice work on the seams
And may I echo Eric's sentiments slightly
Rigging yeuch!
I had some plastic putty, but it seemed to set faster then I could apply it.
The Albatros is OK considering its age, but he's started cleaning up the Sopwith Pup parts, and they look really nice even by modern standards. It got good reviews when released in '73 and I can see why.

Brilliant work. Great to see new blood getting in to the hobby. Looking forward to getting my kids in to a bit of model making when they're bigger! (Few years yet, they're only 6 months and 2 1/2 years)
Rigging small stuff is strangely satisfying, I rigged my little aeroclub 1/144 Dragon Rapide, just for the challenge! I used 2lb fishing line which doesn't really stretch though.
Rigging small stuff is strangely satisfying, I rigged my little aeroclub 1/144 Dragon Rapide, just for the challenge! I used 2lb fishing line which doesn't really stretch though.
lufbramatt said:
Brilliant work. Great to see new blood getting in to the hobby. Looking forward to getting my kids in to a bit of model making when they're bigger! (Few years yet, they're only 6 months and 2 1/2 years)
Rigging small stuff is strangely satisfying, I rigged my little aeroclub 1/144 Dragon Rapide, just for the challenge! I used 2lb fishing line which doesn't really stretch though.
Looks nice, very small to try to rig that though, so great work. The Airfix Rapide (or was it Dominie?) looks a nice kit - much like the Pup. My LHS has one that I really should snap up.Rigging small stuff is strangely satisfying, I rigged my little aeroclub 1/144 Dragon Rapide, just for the challenge! I used 2lb fishing line which doesn't really stretch though.
This is the Airfix Gladiator I built a while ago (reviewed by me in Scale Aviation Modeller International magazine a couple of months ago - just in case you want any other biplanes reviewing
 )
)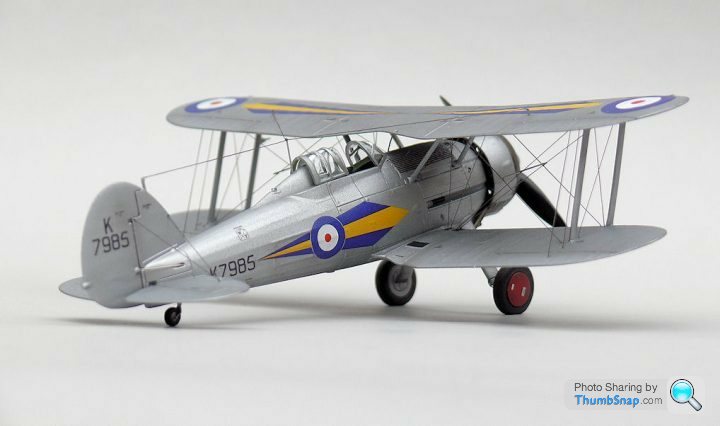
Simple rigging method was:
First, drill the rigging end points in the plastic.
Attach the most difficult to access wires before attaching the upper wing. I did this by applying a dot of cyano into the drilled holes, then dipping the end of the EzLine in cyano accelerator before dunkin it into the hole with some tweezers and leaving until set (a few seconds).
Attach top wing.
For the free ends, stretch the rigging and trim to give a small amount of tension.
Fill the holes as before, but this time paint the accelerator on the end of the line with a paintbrush, then dunk into the hole and wait a bit. You can't dunk the free end in accelerator because the wires are too short.
I simplified this further for the boy by getting him to drill through the lower wing, then poking the free ends through them, stretching slightly and cyanoing. Then trim, paint and cover with the decals. Less refined, but easier than the above.

The little 1/144 model has a wingspan of about 8cm and consists of about 6 moulded parts, a small sheet of etch and decals from the spares box.
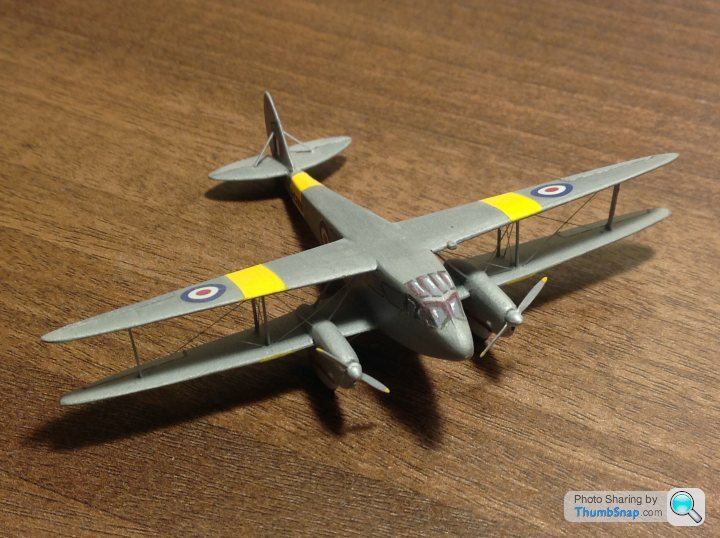
The Airfix Dragon Rapide was a rebox of the Heller kit- which I think has just been re-issed by Tasman with some new parts to make a skywriting 'plane. I had a look at one a while back, overall looked ok but with the potential for some very tricky to hide joints where the very square fuselage meets the full-span wings.
The Airfix Dragon Rapide was a rebox of the Heller kit- which I think has just been re-issed by Tasman with some new parts to make a skywriting 'plane. I had a look at one a while back, overall looked ok but with the potential for some very tricky to hide joints where the very square fuselage meets the full-span wings.
lufbramatt said:
The little 1/144 model has a wingspan of about 8cm and consists of about 6 moulded parts, a small sheet of etch and decals from the spares box.
The Airfix Dragon Rapide was a rebox of the Heller kit- which I think has just been re-issed by Tasman with some new parts to make a skywriting 'plane. I had a look at one a while back, overall looked ok but with the potential for some very tricky to hide joints where the very square fuselage meets the full-span wings.
I don't think I'd attempt a 1:144 biplane...The Airfix Dragon Rapide was a rebox of the Heller kit- which I think has just been re-issed by Tasman with some new parts to make a skywriting 'plane. I had a look at one a while back, overall looked ok but with the potential for some very tricky to hide joints where the very square fuselage meets the full-span wings.
You've now got me thinking about the Airfix Rapide. I think a trip to the LHS might be in order this lunchtime.
Gassing Station | Scale Models | Top of Page | What's New | My Stuff