Terry's tale. (S3 resto ++)
Discussion


Next....
In common with other S owners, my front indicators had issues.
One cracked, one fell out, as the wood screws, sorry fixings had corroded through !
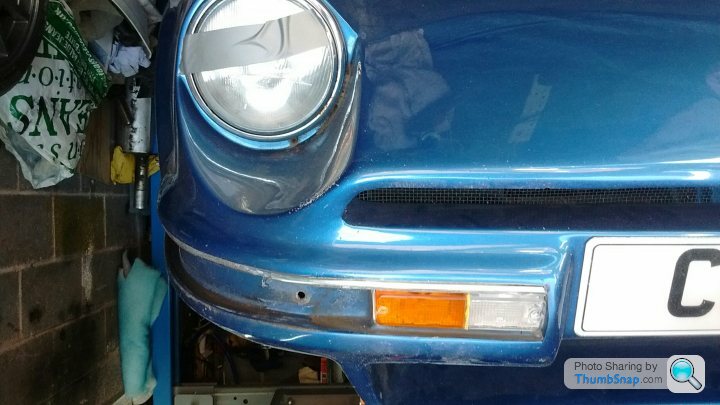
My lower valance area of the bonnet is pretty beat up, scratches, gouges etc, so being as I need to get the filler out, I might as well do something new with the indicators. Some time back I bought a pair of new old stock Fiat indicator/sidelight units, in the remote chance they might fit... Fettling reqd !!
So here is my today's efforts..
Bumper rubbers and chrome trim removed.
Chrome trim recess extended to over the indicator.
Trial fitted the new units. Infill reqd underneath, but I might use black trim strip.
Then new bumper rubbers of course, maybe in a new style....If I can find something I like... And fits !
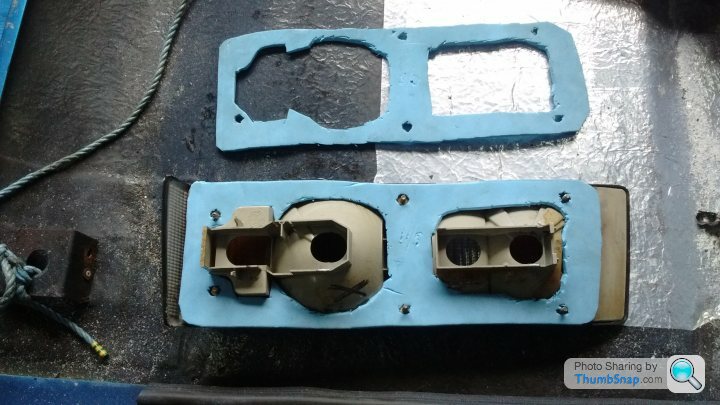
Tomorrow I need to create new back walls behind the indicator units, but fortunately I kept the GRP sheet that I cut out from cockpit back bulkhead, so I will cut that and glass it into place. That will give me the secure fixings for the units...
Yes they do have integral sidelights, but my intention is to connect those as DRLs.
T.

In common with other S owners, my front indicators had issues.
One cracked, one fell out, as the wood screws, sorry fixings had corroded through !
My lower valance area of the bonnet is pretty beat up, scratches, gouges etc, so being as I need to get the filler out, I might as well do something new with the indicators. Some time back I bought a pair of new old stock Fiat indicator/sidelight units, in the remote chance they might fit... Fettling reqd !!
So here is my today's efforts..
Bumper rubbers and chrome trim removed.
Chrome trim recess extended to over the indicator.
Trial fitted the new units. Infill reqd underneath, but I might use black trim strip.
Then new bumper rubbers of course, maybe in a new style....If I can find something I like... And fits !
Tomorrow I need to create new back walls behind the indicator units, but fortunately I kept the GRP sheet that I cut out from cockpit back bulkhead, so I will cut that and glass it into place. That will give me the secure fixings for the units...
Yes they do have integral sidelights, but my intention is to connect those as DRLs.
T.

 .?
.?Now getting on with more time consuming infill jobs !
I have bought some 2-part boat rubber bumper strip. Its about 1mm too wide in some areas of the bonnet recess but I think that's the car, not the strip. Its a bugger to bend and cut, but a hot air gun helps. Not yet final fitted, hence no photos.
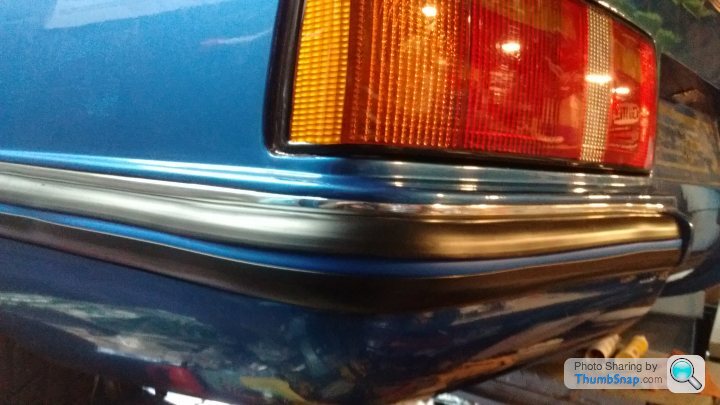
My rear light units were ugh, so sometime ago a bought & squirreled away a pair of new ones. Blimey, I've never seen so much body sealant between them and the body !! Obviously done to ensure a watertight seal (original Tvr?)
Once the body area had been cleaned of the goo, the new units were binding on the body, so careful filing and sanding was required to get them to be a snug fit. New soft neoprene gaskets made, followed by a bead of waterproof silicone seems to have done the job, and much neater...
Now I (dont) need to do some glue sniffing, to get the boot carpets refitted.
T.
I have bought some 2-part boat rubber bumper strip. Its about 1mm too wide in some areas of the bonnet recess but I think that's the car, not the strip. Its a bugger to bend and cut, but a hot air gun helps. Not yet final fitted, hence no photos.
My rear light units were ugh, so sometime ago a bought & squirreled away a pair of new ones. Blimey, I've never seen so much body sealant between them and the body !! Obviously done to ensure a watertight seal (original Tvr?)
Once the body area had been cleaned of the goo, the new units were binding on the body, so careful filing and sanding was required to get them to be a snug fit. New soft neoprene gaskets made, followed by a bead of waterproof silicone seems to have done the job, and much neater...
Now I (dont) need to do some glue sniffing, to get the boot carpets refitted.
T.
Chrome strips are readily available anything from 3mm to 30mm wide. 10mm seems about right in replacement for original. You can also get it in colours, black, red, blue, yellow etc.
Fleebay is the easy option. I find strips with grey or black sticky backing tape sticks better than the white tape. Warm it slightly in cold weather !
See eBay item.... 152999870457 for the boat fender rubber. Available in different widths, and different coloured inserts. Requires lots of patience (trimming etc) to get it to fit nicely... And a hot air gun !!!
T.
Blue 30 said:
Chrome strips are readily available anything from 3mm to 30mm wide. 10mm seems about right in replacement for original. You can also get it in colours, black, red, blue, yellow etc.
Fleebay is the easy option. I find strips with grey or black sticky backing tape sticks better than the white tape. Warm it slightly in cold weather !
See eBay item.... 152999870457 for the boat fender rubber. Available in different widths, and different coloured inserts. Requires lots of patience (trimming etc) to get it to fit nicely... And a hot air gun !!!
T.
Thank You for info Fleebay is the easy option. I find strips with grey or black sticky backing tape sticks better than the white tape. Warm it slightly in cold weather !
See eBay item.... 152999870457 for the boat fender rubber. Available in different widths, and different coloured inserts. Requires lots of patience (trimming etc) to get it to fit nicely... And a hot air gun !!!
T.
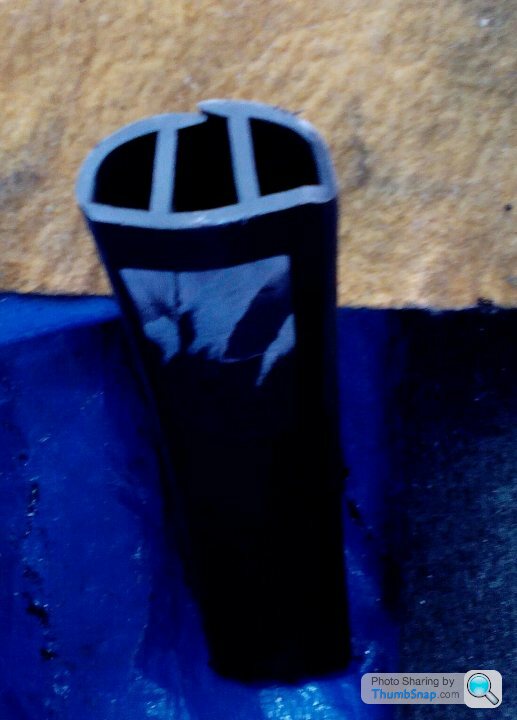
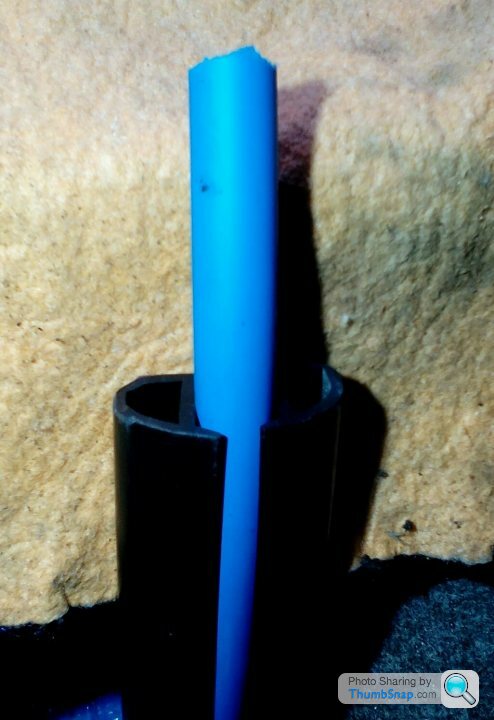
Here is an offcut of the bumper rubber (boat fender) strip.
Both without and with the insert.
But as I said previously, it is a bugger to work with, and a hot air gun is an essential (or hair dryer). Mine needed plenty of fine grinding of the back edges to ensure a snug fit into the body recess.
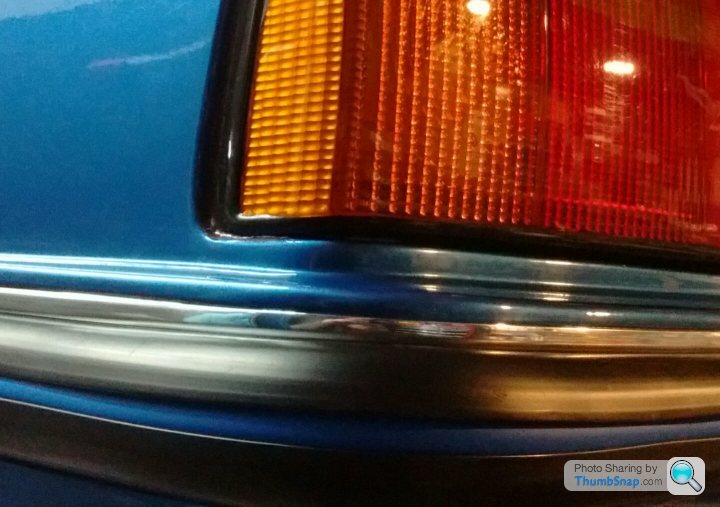
Now here's a mad thought... Replace the coloured insert tube with opaque tubing, and run some Led string lights inside it......... Mmmm maybe not !
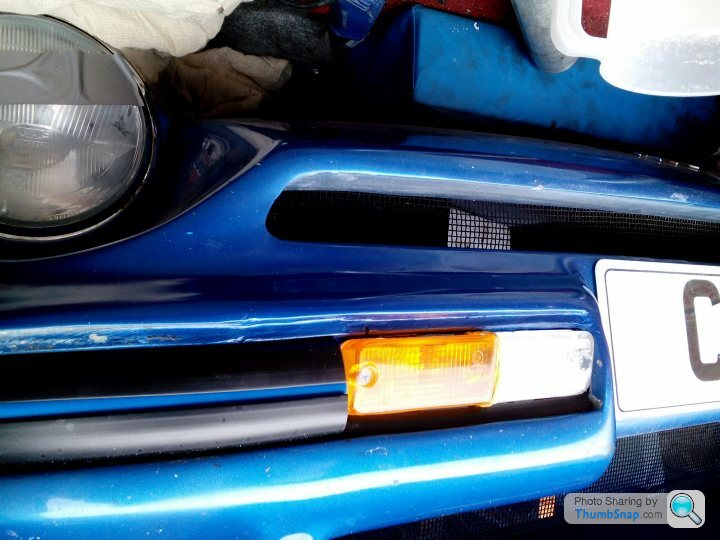
And here is the first fit at the front, note no chrome finisher fitted as yet.
Both without and with the insert.
But as I said previously, it is a bugger to work with, and a hot air gun is an essential (or hair dryer). Mine needed plenty of fine grinding of the back edges to ensure a snug fit into the body recess.
Now here's a mad thought... Replace the coloured insert tube with opaque tubing, and run some Led string lights inside it......... Mmmm maybe not !
And here is the first fit at the front, note no chrome finisher fitted as yet.
Edited by Blue 30 on Tuesday 1st October 14:48
Gassing Station | S Series | Top of Page | What's New | My Stuff