wiring for electric mirrors - Chimaera / Griffith style
Discussion


The Horse said:
............. should there be any ducting to the two vents in the centre console ? There's nothing there on mine.
Yes there should be. They should be connected to the inlets you will find to the upper outside edge of the passenger and driver's foot-wells. On mine one pipe was too short to reach the inlet so must have left the factory like that. Good old TVR build quality eh?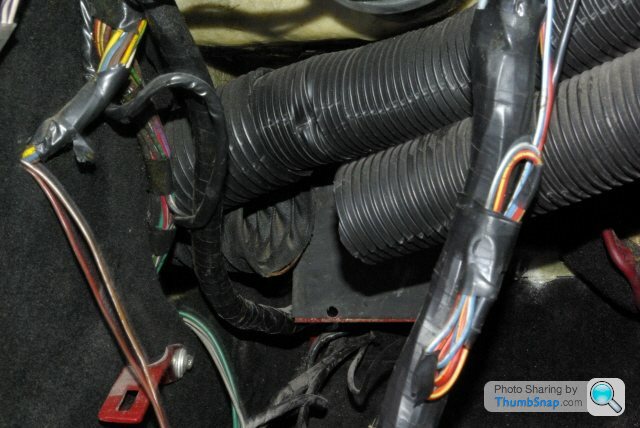
I replaced the crappy OE plastic ones with hoover pipes. These are very flexible and if you're lucky they will be a perfect sliding fit over the back of the "eyeball" vent.
Time for a bit of skipy-dipping

It's a pity you can't get to the mirror connector on one side. You may be able to reach up enough to unplug it though and you'll be able to pull the whole lot out with the old boss which will save you the blood, sweat and foul language involved in removing the door panel.
Note what GreenV8S says about removing the ashtray. I'd forgotten about that. There may be a screw behind it.
Edited by v8s4me on Friday 22 September 22:57
I removed the passenger door card from my S3c this morning.
It took me all of 5 minutes with no problems.
First I removed the four screws holding the speaker in place and detached the two wires.
Then there was a posidrive screw hidden under a press-on trim cap at the rear of the door card,
Next, reaching up through the speaker aperture, using a deep 7mm socket & 1/4 drive ratchet I removed the nut, spring washer and penny washer from the long stud inside the cavity that holds the door card to the door inner skin behind the front end of the door handle/armrest.
There should have been another nut a bit further back but this had been omitted from that particular stud.
Then I progressively eased out the trim clips that secure the front and bottom edges of the door card until the bottom was free. Then I lifted the whole door card up and free from the top of the door, eased out the hooked end of the door opening cable from the door latch to completely free the door card from the door.
No lacerations or swearing at all.
I have taken a couple of pics of the mirror connector plug ( the end that goes to the mirror ): there are 3 black wires,, a brown and a white. The numbers are mine, I couldn't see any moulded identify figures anywhere on either half connector.
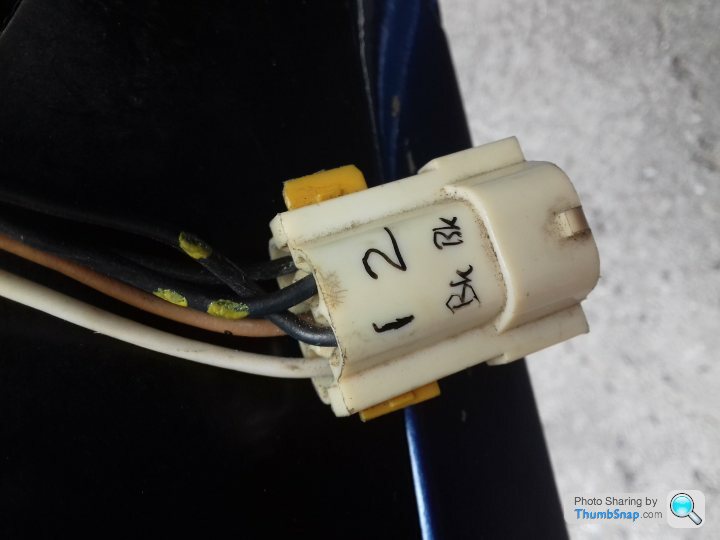
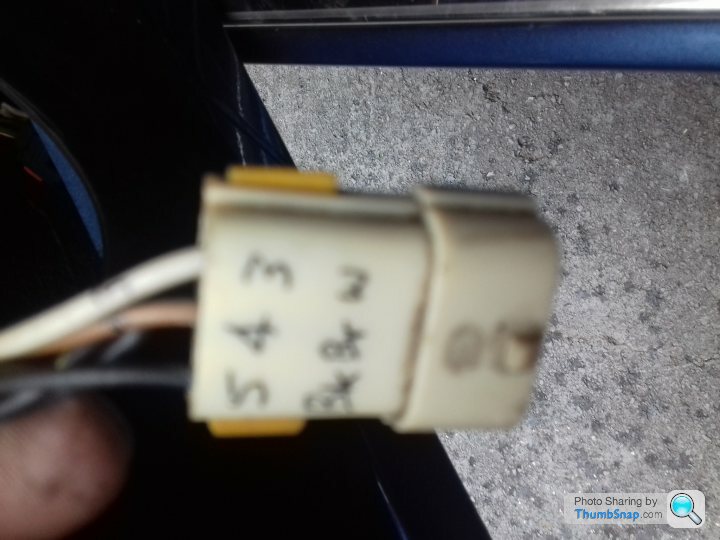
I have marked the connector and wires before dismantling it to allow removal through the bore of the mirror base prior to fitting Brian's modified base.
Unfortunately rain stopped play, so I will continue in the morning.
It took me all of 5 minutes with no problems.
First I removed the four screws holding the speaker in place and detached the two wires.
Then there was a posidrive screw hidden under a press-on trim cap at the rear of the door card,
Next, reaching up through the speaker aperture, using a deep 7mm socket & 1/4 drive ratchet I removed the nut, spring washer and penny washer from the long stud inside the cavity that holds the door card to the door inner skin behind the front end of the door handle/armrest.
There should have been another nut a bit further back but this had been omitted from that particular stud.
Then I progressively eased out the trim clips that secure the front and bottom edges of the door card until the bottom was free. Then I lifted the whole door card up and free from the top of the door, eased out the hooked end of the door opening cable from the door latch to completely free the door card from the door.
No lacerations or swearing at all.
I have taken a couple of pics of the mirror connector plug ( the end that goes to the mirror ): there are 3 black wires,, a brown and a white. The numbers are mine, I couldn't see any moulded identify figures anywhere on either half connector.
I have marked the connector and wires before dismantling it to allow removal through the bore of the mirror base prior to fitting Brian's modified base.
Unfortunately rain stopped play, so I will continue in the morning.
Have you got the connectors out of the plug casing okay Glen?
1 & 2 are the heating element, shouldn't be a problem if they get crossed.
On my Griff (same mirrors) the wires had already been cut and joined so I didn't bother with dis-assembling the multiplug.
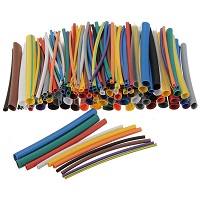
Top Tip: once you have the wires out short lengths of coloured heat shrink make a neat and permanent way to identify wires
1 & 2 are the heating element, shouldn't be a problem if they get crossed.
On my Griff (same mirrors) the wires had already been cut and joined so I didn't bother with dis-assembling the multiplug.
Top Tip: once you have the wires out short lengths of coloured heat shrink make a neat and permanent way to identify wires
phillpot said:
Have you got the connectors out of the plug casing okay Glen?
1 & 2 are the heating element, shouldn't be a problem if they get crossed.
On my Griff (same mirrors) the wires had already been cut and joined so I didn't bother with dis-assembling the multiplug.
Top Tip: once you have the wires out short lengths of coloured heat shrink can be used to identify wires.
Hi Mike, 1 & 2 are the heating element, shouldn't be a problem if they get crossed.
On my Griff (same mirrors) the wires had already been cut and joined so I didn't bother with dis-assembling the multiplug.
Top Tip: once you have the wires out short lengths of coloured heat shrink can be used to identify wires.
Thanks for the advice.
I'm afraid I bottled out of the mirror job today, I tried unscrewing the mirror from the existing boss, but it wasn't budging and I was scared of breaking the tripod casting. I have soaked it with penetrating fluid in readiness for a further attempt soon.
I didn't want to risk not having Percy serviceable for tomorrow.
My main objective was to sort out the door hinges which had somehow shaken loose on the Scotland Tour ( Can't imagine why!
 ) causing the passenger door to drop.
 This entailed stripping out the door glass, lifter assy, and the dummy quarterlight/ window track for access to the hinge bolts.
I have taken out the loose hinge mount bolts, cleaning off the copper grease and applying lOct Loctite to the threads before refitting and aligning the door. Sorted!
Re the mirror, I couldn't even find the hidden grub screw no matter which way I turned the mirror and lifted the plastic collar.

I shall have another go on a drier day.

Edited by glenrobbo on Saturday 23 September 19:20
glenrobbo said:
.........Re the mirror, I couldn't even find the hidden grub screw no matter which way I turned the mirror and lifted the plastic collar.
The only way you will get at the grub screw is either...Twist the mirror until the grub screw slips on the post screwed into the door.
Or
Twist the mirror until the post comes unscrewed from the door.
This is why the kit with the higher post is such a godsend.
Steve
Gassing Station | S Series | Top of Page | What's New | My Stuff