Discussion


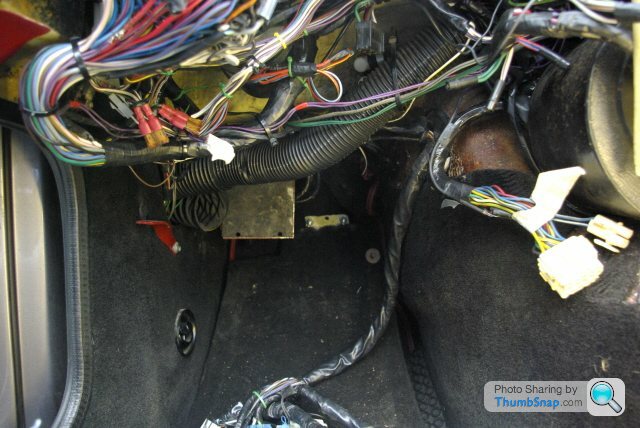
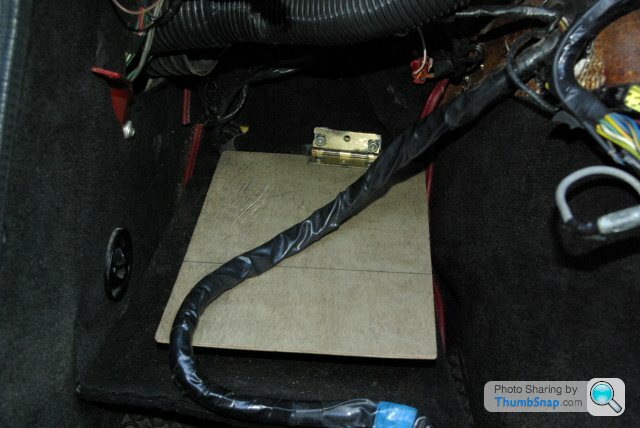
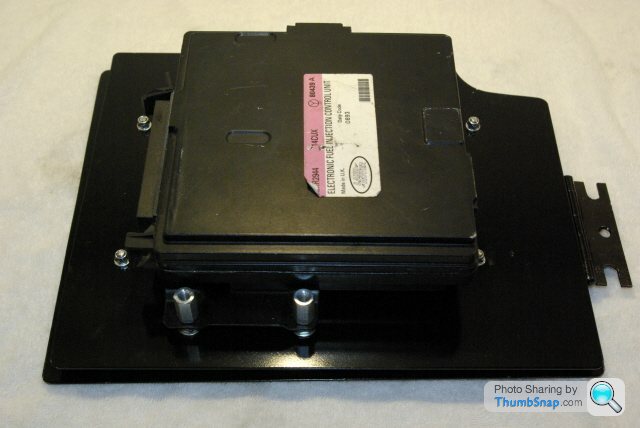
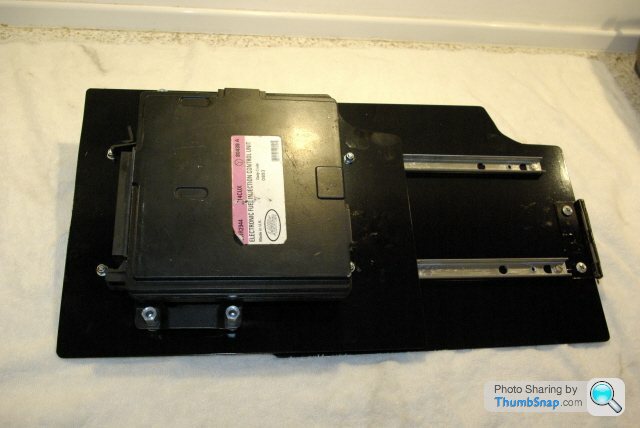
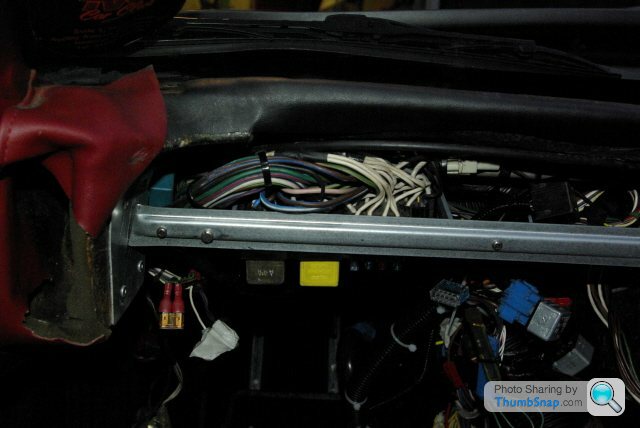
The dash project is progressing well. It’s looking a lot tidier already. I’ve unwrapped a lot of the crappy black tape, separated the wiring into smaller groups, re-routed some and tucked it all away in the various gaps with P-clips and zip-ties. Assuming the idea of putting the fuse box in the glove box works (Paul D managed to do this so it should be possible) it looks like there might be plenty of room now to mount the ECU on a base-board which will mean that the ECU and associated loom will not be supported by the carpet, (the way it should have been built in the first place!) The first photo shows all that is now left of the loose wiring. The second photo (metal bracket now removed) shows the first attempt at putting in a hinged base board to mount the ECU and its loom.
That’s as far as I’ve got for now.
That’s as far as I’ve got for now.
Hi Joe,
The white wire with purple trace is from one of your interior light door switches, you will probably have an earth wire loose also (Black)unless it is still attached to your switch.
Doing the same with my electrics at the moment but repositioning the fuse panel with 12way fuse strips.I plan to put them behind the wiper motor rodding on the inside bulkhead.Dont know if this is a good idea as its not very accessable but what the hell its better in my opinion than a messy rats nest!
Any Opinions greatly taken on board guys.
Many Thanks and its good to be back on the forum
Neil
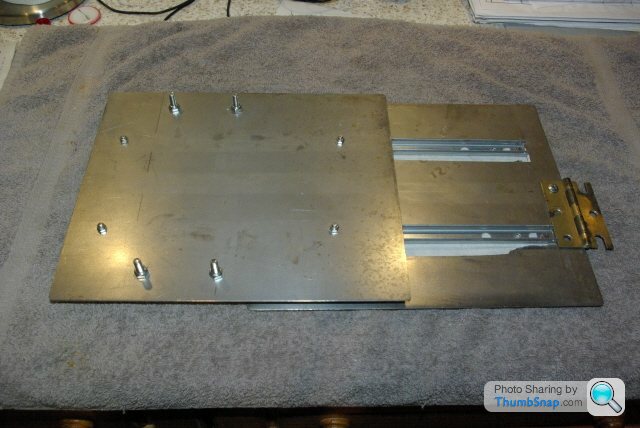
Thanks Neil, might explain why the interior light never worked. The idea of mounting the ECU on a sliding tray is progressing well, see photos.
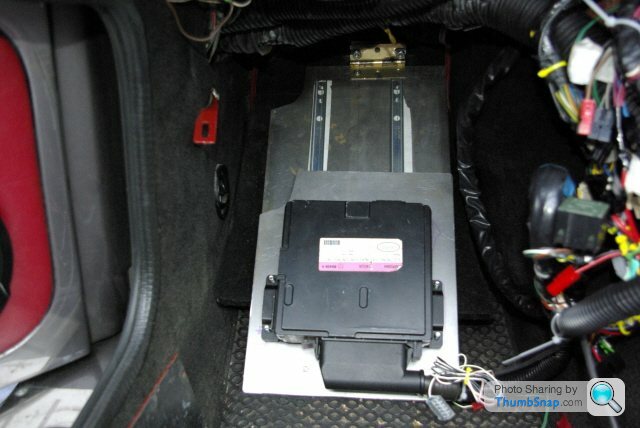
Still a bit of work to do to tidy up the wiring but I’ve got an idea for the fuse box and the relays. Watch this space.
This where I the sliders came from and they have a particularly good selection of nuts & bolts at very reasonable prices. If you have one near you, it's well worth a look.
http://www.clasohlson.co.uk/Product/CategoryDispla...
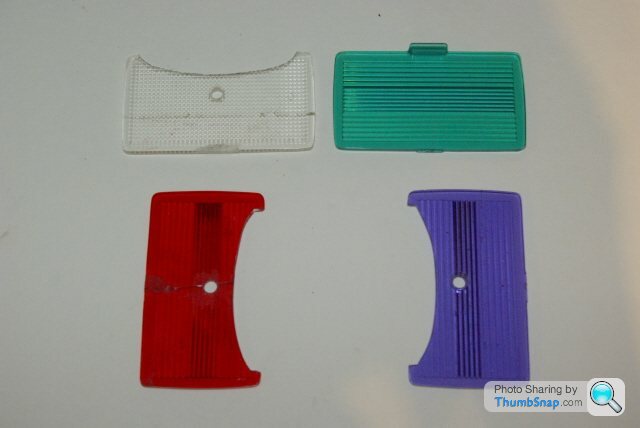
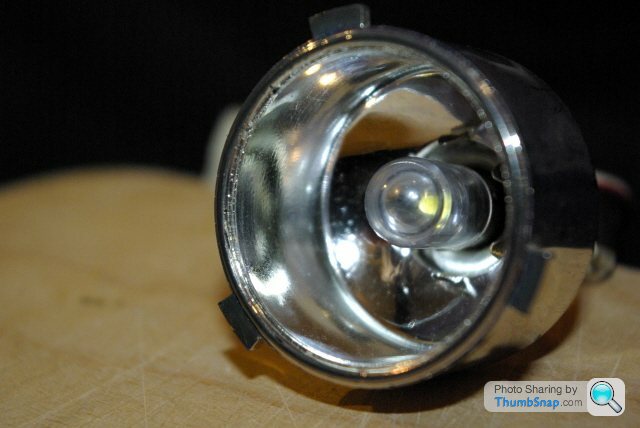
Some V8S owners will be familiar with the heater control moulding which moves from side to side when you slide the levers. In my case I also had holes instead of coloured indicators. I also wasn’t aware that these little “windows” should have been lit by fibre optics. Fixing the fibre optics was easy – fit a new bulb! But I’m still trying to find one with a decent wattage. The original is just 4w and the only other one I can find with the right fitting is 21w which might be a bit much for the plastic housing. Any thoughts?
Fixing the sloppy fit and the coloured glass took a lot of head scratching but in the end the solution was simple. The bits of plastic in the photos are flash gun diffusers bought for a couple of quid. Shaping them to fit the front of the heater control moulding and drilling a hole to fit the mounting stud on the back of the dash means they double up as spacers and coloured lenses for the “windows”. The green fibre optic still looks green through the blue filter and putting another green behind the red filter for the “up” indicator makes it look orange so we’ve got different colours for the four indicators. I thought I’d been quite clever here but after I’d finished I had another look at the fragments of plastic which fell out from behind the dash and it looks like the original fitting might have been similar. Although, my originals were bits of clear thin plastic with coloured insulating tape over them so even if it’s not a completely original idea after all I think my solution is much better.

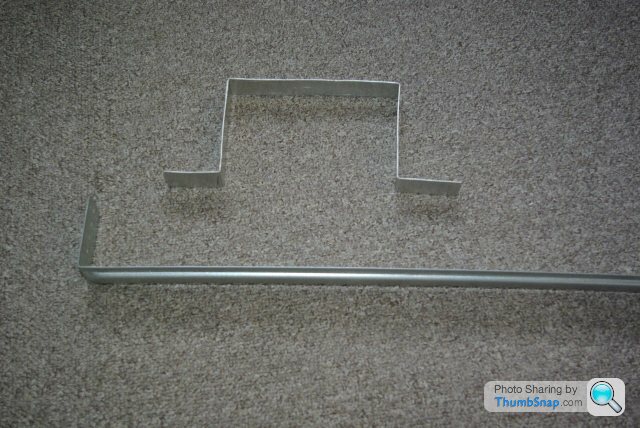
The fuse box mounting idea is coming along. More to follow if it works but here’s a clue for now.
Fixing the sloppy fit and the coloured glass took a lot of head scratching but in the end the solution was simple. The bits of plastic in the photos are flash gun diffusers bought for a couple of quid. Shaping them to fit the front of the heater control moulding and drilling a hole to fit the mounting stud on the back of the dash means they double up as spacers and coloured lenses for the “windows”. The green fibre optic still looks green through the blue filter and putting another green behind the red filter for the “up” indicator makes it look orange so we’ve got different colours for the four indicators. I thought I’d been quite clever here but after I’d finished I had another look at the fragments of plastic which fell out from behind the dash and it looks like the original fitting might have been similar. Although, my originals were bits of clear thin plastic with coloured insulating tape over them so even if it’s not a completely original idea after all I think my solution is much better.
The fuse box mounting idea is coming along. More to follow if it works but here’s a clue for now.
v8s4me said:
The original is just 4w and the only other one I can find with the right fitting is 21w which might be a bit much for the plastic housing. Any thoughts?
Got a piccie of the bulb ? Or details of the fitting, screw/bayonet etc.There could well be an LED replacement.......................
v8s4me said:
. The original is just 4w and the only other one I can find with the right fitting is 21w Any thoughts?
A resistor (don't ask me what value) in series ?A 24volt/21w bulb ( 24v used on a lot of commercial vehicles)?
Paint some of the glass bit black ?
Use standard headlamp bulbs (they're not very bright) ?

Edited by phillpot on Tuesday 7th December 21:47
LEDs are more efficient so there's no need to stick half an amp through to get the same light. Are you thinking of seperate LEDs per panel ? If so then 5 or 10mA may be enough. You'll need a resistor in series with each one. They drop about 0.7V so to set it to 10mA you need 11.3V/10mA which is about 1.2kohm. You'll probably need to experiment a bit to get it right.
v8s4me said:
Thnaks for the suggestion. There's an RS near me so I'll look into this. A 21w LED would be ideal as it would give the light without the heat. Is there such a thing with a 9mm cap? Many thanks. Joe
While you are going to RS http://uk.rs-online.com/web/4730222.html
Looks like a direct plug in replacement LED option.

Thanks for the info, I'll check them out and let you know what happens. Not sure how the quoted intensity figure equates to wattage though. RS also seem to do the cap-less instrument light bulbs in green with a 5W output. This is probably the answer to the dim or dimmer still lights if anyone is interested. I changed mine to clear 5W and painted them green (this was before I found the green ones at RS) and the difference is amazing.
Frustration!!!!! RS didn’t have the bulb in stock so that will mean another trip once they (hopefully) get it in. By the time I do another round trip the fuel will have cost almost as much as the so
 ing bulb. They insisted on me paying so even if they don’t come up with the thing I’ve still got to go back for the refund. Got it wrong about the green cap-less instrument bulbs. It wasn’t RS which do them, it is vehiclewiringproducts.co.uk - ref 501G.
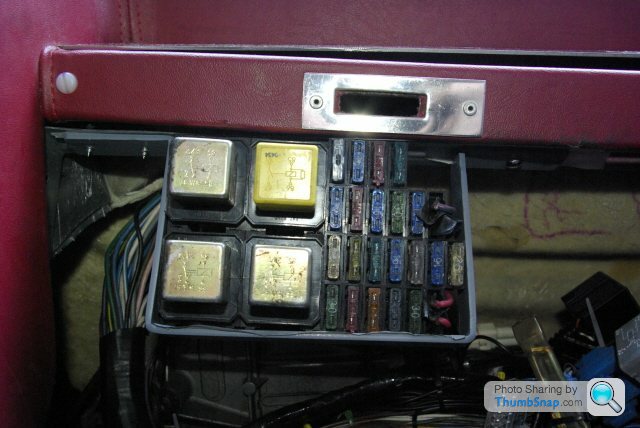
RS didn’t have the bulb in stock so that will mean another trip once they (hopefully) get it in. By the time I do another round trip the fuel will have cost almost as much as the soing bulb. They insisted on me paying so even if they don’t come up with the thing I’ve still got to go back for the refund. Got it wrong about the green cap-less instrument bulbs. It wasn’t RS which do them, it is vehiclewiringproducts.co.uk - ref 501G. The fuse box is now mounted in a bracket which holds it behind the dash and makes it accessible from the glove box with out taking up any space in the glove box itself. If pics not explanatory PM me for more.
Green instrument light bulbs or clear ones painted with green ink? Nothing much in it really, if anything the DIY ones are slightly brighter and a more subtle shade of green.
Green instrument light bulbs or clear ones painted with green ink? Nothing much in it really, if anything the DIY ones are slightly brighter and a more subtle shade of green.
Probably too late now but the fibre optic thingy with the bulb in is a range rover part, along with the fibre optic bits. Not sure if the little coloured bits on the dash are Range Rover or TVR special.
With regards to the bulb - the 21w bulbs I am sure would all be too big wouldn't they (I mean in size).
I will be discovering mine shortly anyway as my fibre optic bulb has packed up.
The original bulb lit my heater indicators without a problem - I'll be sticking with the 4 watt jobbie or whatever it is.
I’ve replaced the fresh air pipe to the center console with the hose off a hoover. It’s much more flexible so it can be tucked around the tight corners and kept out of the way. It’s is a bit smaller in diameter but conveniently it now fits inside the centre console vents and a bit of foam padding secures the other end inside the intake pipe. It’s 2°C in my garage so that’s enough for this evening!

Gassing Station | S Series | Top of Page | What's New | My Stuff