Repairing damaged fibreglass
Discussion


Hey guys,
I am picking up a rather sorry looking bonnet for beer money. Most of the damage is cracks and gelcoat that I can fix pretty easily.
However the main issue is one of the corners that wrap Round the scuttle has snapped off.
My initial thoughts is to make a fibreglass mould from my existing bonnet but I fear this will damage the paint?
Here are some pics I've been sent
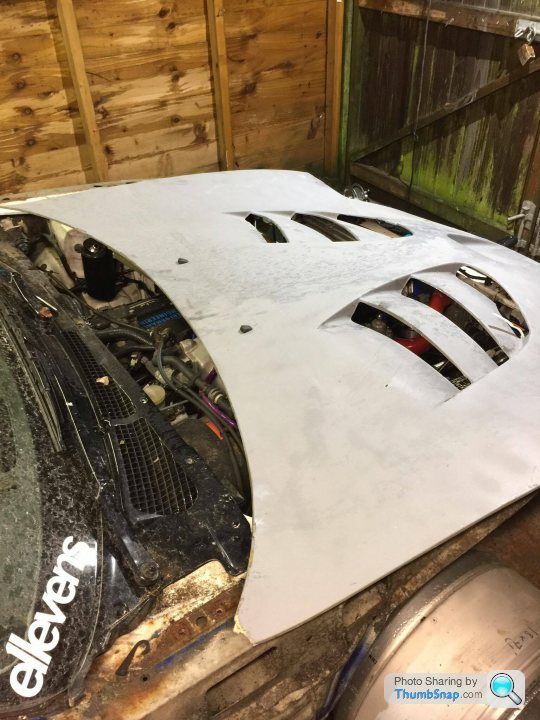


Any tips would be great
I am picking up a rather sorry looking bonnet for beer money. Most of the damage is cracks and gelcoat that I can fix pretty easily.
However the main issue is one of the corners that wrap Round the scuttle has snapped off.
My initial thoughts is to make a fibreglass mould from my existing bonnet but I fear this will damage the paint?
Here are some pics I've been sent
Any tips would be great
I've done this a couple of times on motorcycle mudguards and - so far! - haven't damaged the underlying paint.
Plenty of wax polish on the paint surface.
Thin plastic sheet on the painted surface to protect it - I used several layers of clingfilm. Make as smooth as possible & use sticky tape to pull it taut. You may get a few imperfections in the finished mould this way as it would be usual to coat the pattern with release agent & then apply gelcoat but I didn't want to apply sticky stuff directly to the paint surface!
Wax polish the plastic.
Brush on thin coat of activated resin & allow to go tacky - gives a smooth surface to the inside of the mould. You could always use gelcoat.
Apply another coat & allow to go tacky.
Couple of layers of grp tissue & allow to go tacky
Couple of layers of csm.
Allow to go off.
Remove from the pattern & peel off the plastic.
Don't be tempted to pile stuff on as the curing of the resin produces quite a lot of heat. Whether that would harm the paint I don't know but I'd rather not take the risk.
ETA if it's not too big a piece would making a mould with plasticine, modelling clay or similar work as I'm assuming it would be a one-off & a lot less faff?
Edited by paintman on Thursday 14th December 11:23
I like the idea of clay, the break looks to be the top corner so cant be more than 100mm. I take it its as simple as laying clingfilm over the panel, adding releasing agent to it and then wacking clay on?
I am pretty handy and making moulds for models using milliput and the like and we use petroleum jelly to stop it from sticking to the original part. I assume its similar for car parts.
I am pretty handy and making moulds for models using milliput and the like and we use petroleum jelly to stop it from sticking to the original part. I assume its similar for car parts.
 Will know more when I see it and compare it to my current one.
 Gassing Station | Bodywork & Detailing | Top of Page | What's New | My Stuff