MFH 1/12 BT52b
Discussion


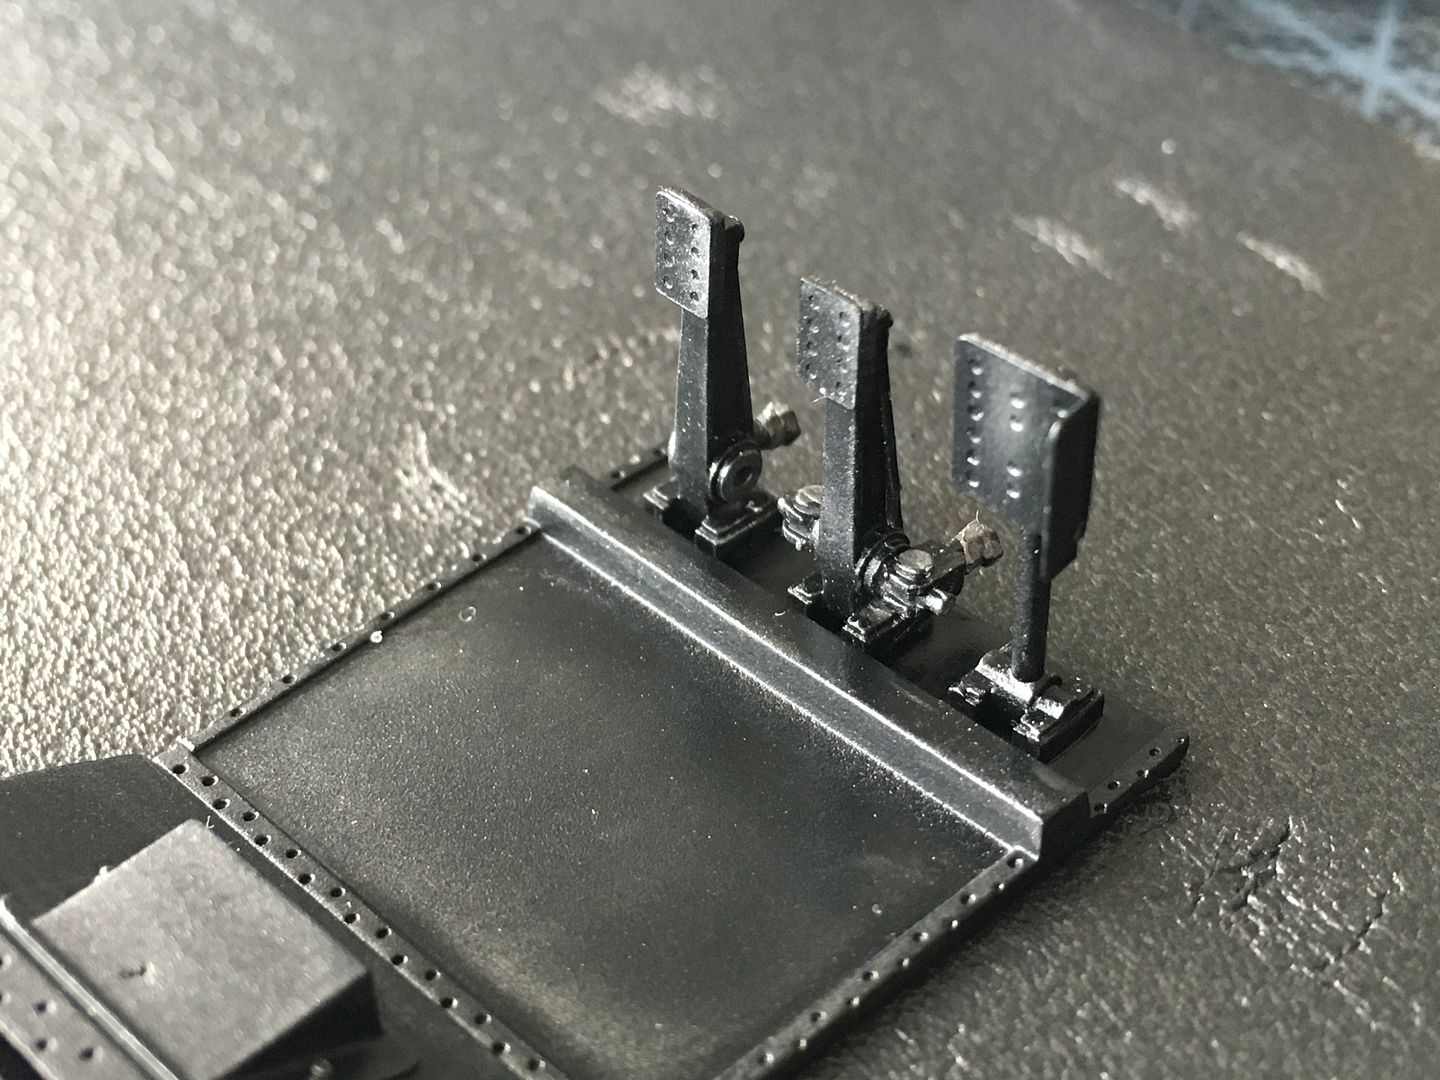
The pedals are all mounted onto a 'floor' sub-assembly. It is all semi-gloss black, so I will use a little 'weathering' to bring out some highlights - although again - once the top of the chassis is fixed on, none of this will be visible!
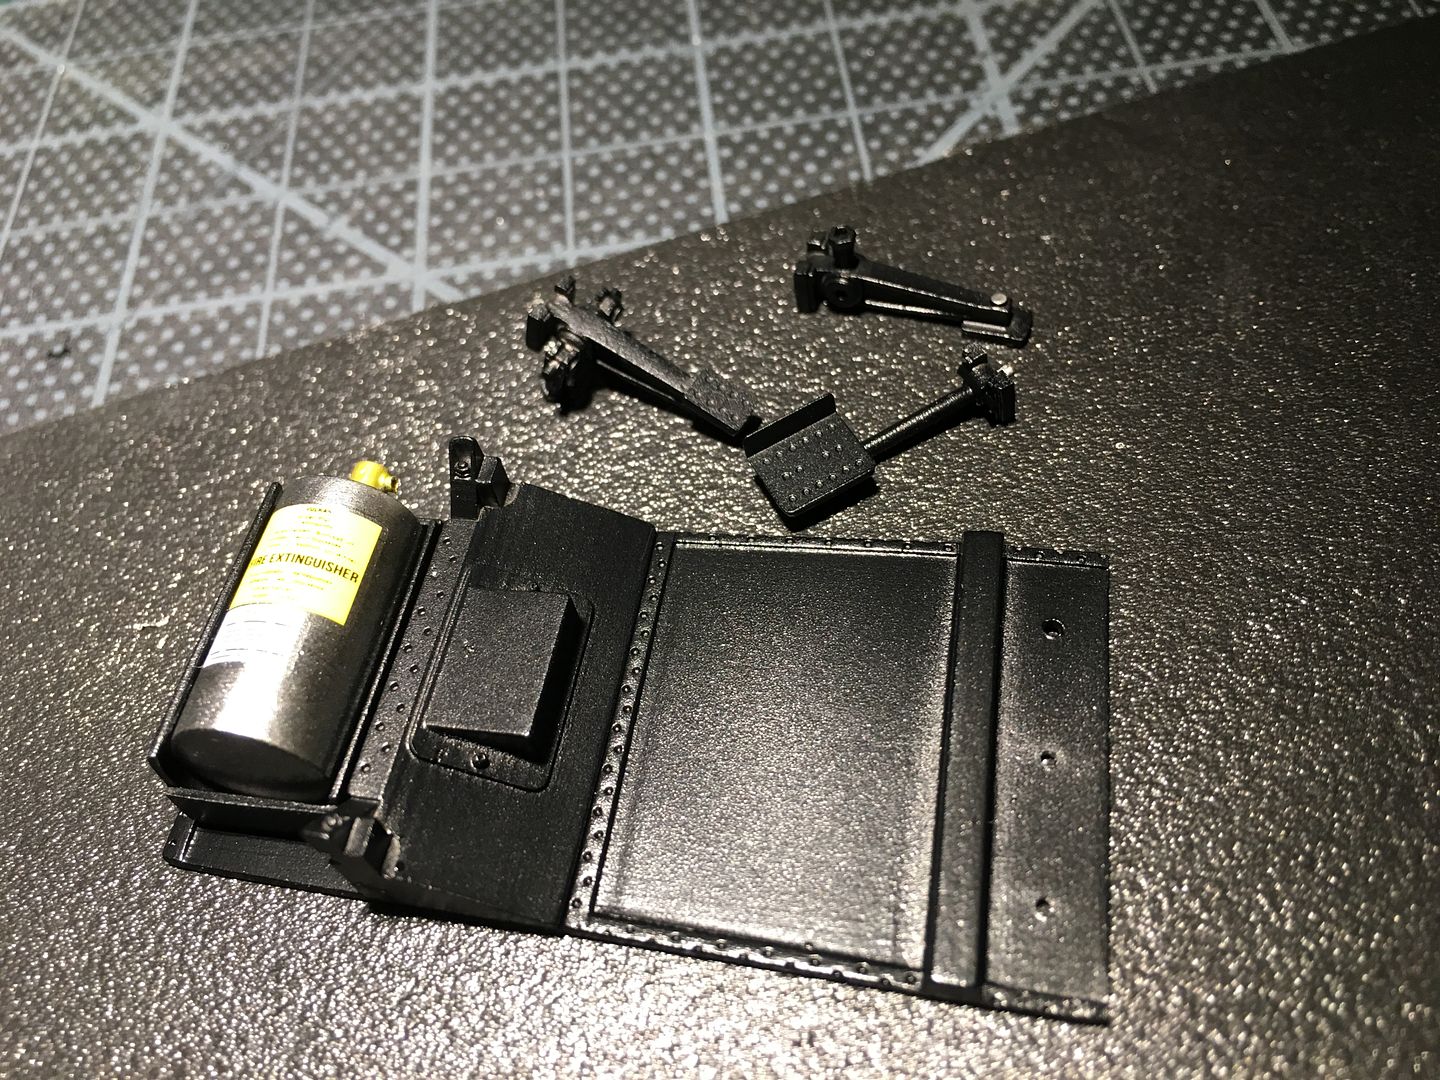
You can just see where I used some Tamiya weathering silver to bring out some edges and definition. Wanted it subtle as I am not really 'weathering' the car...
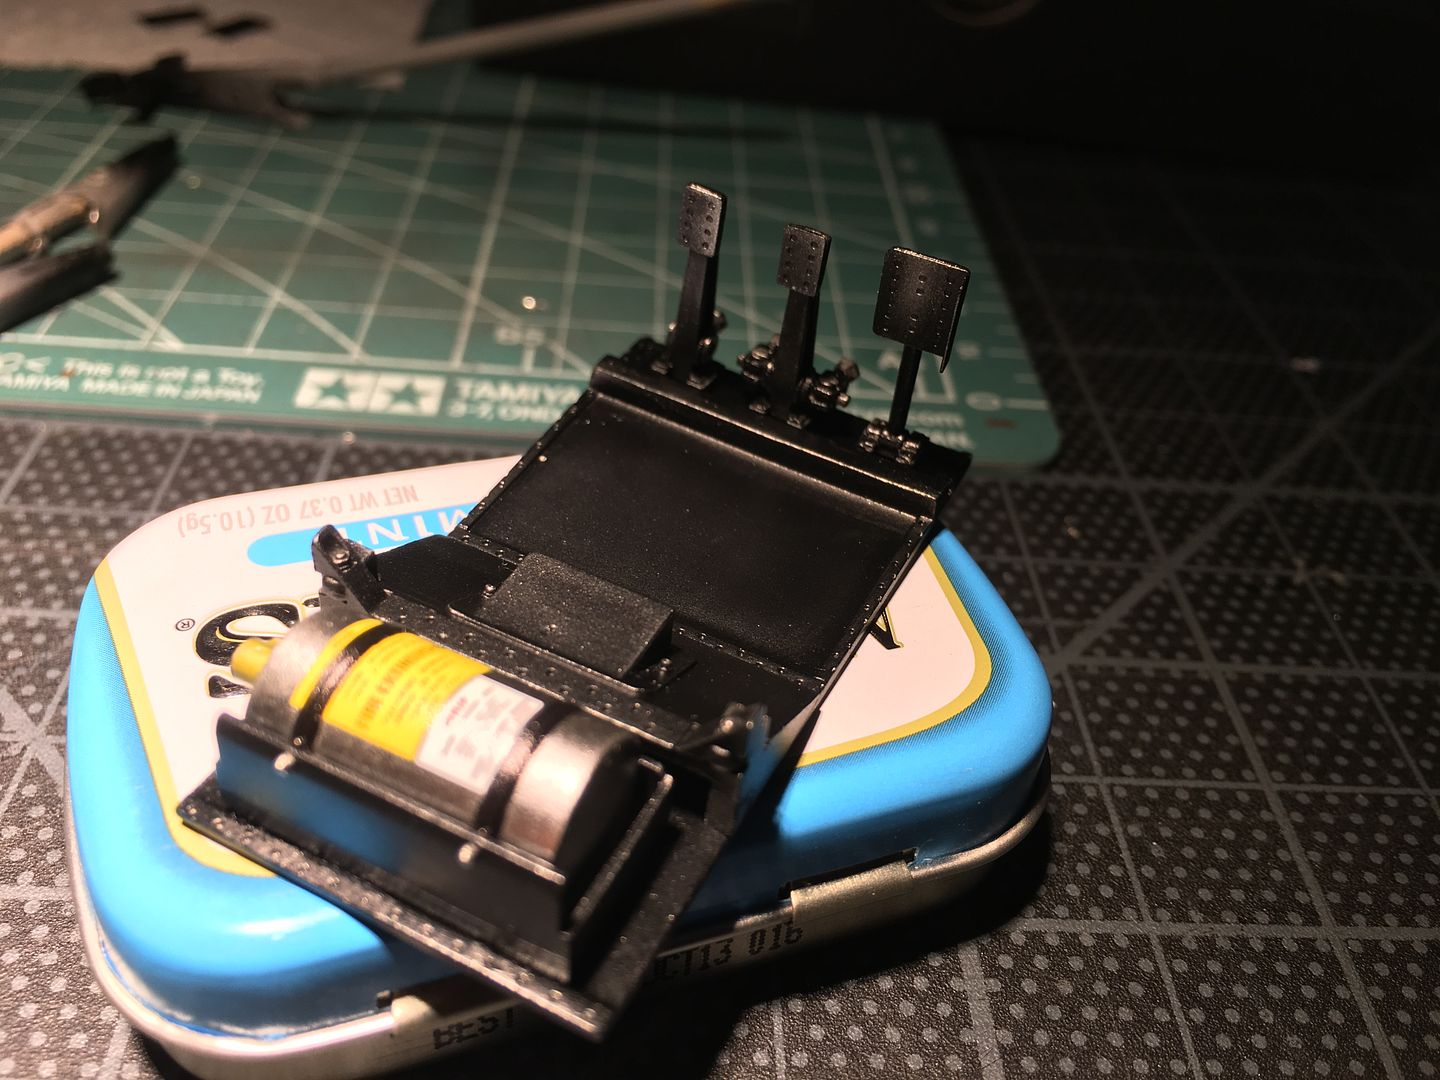
You can see the silver on the pedals.
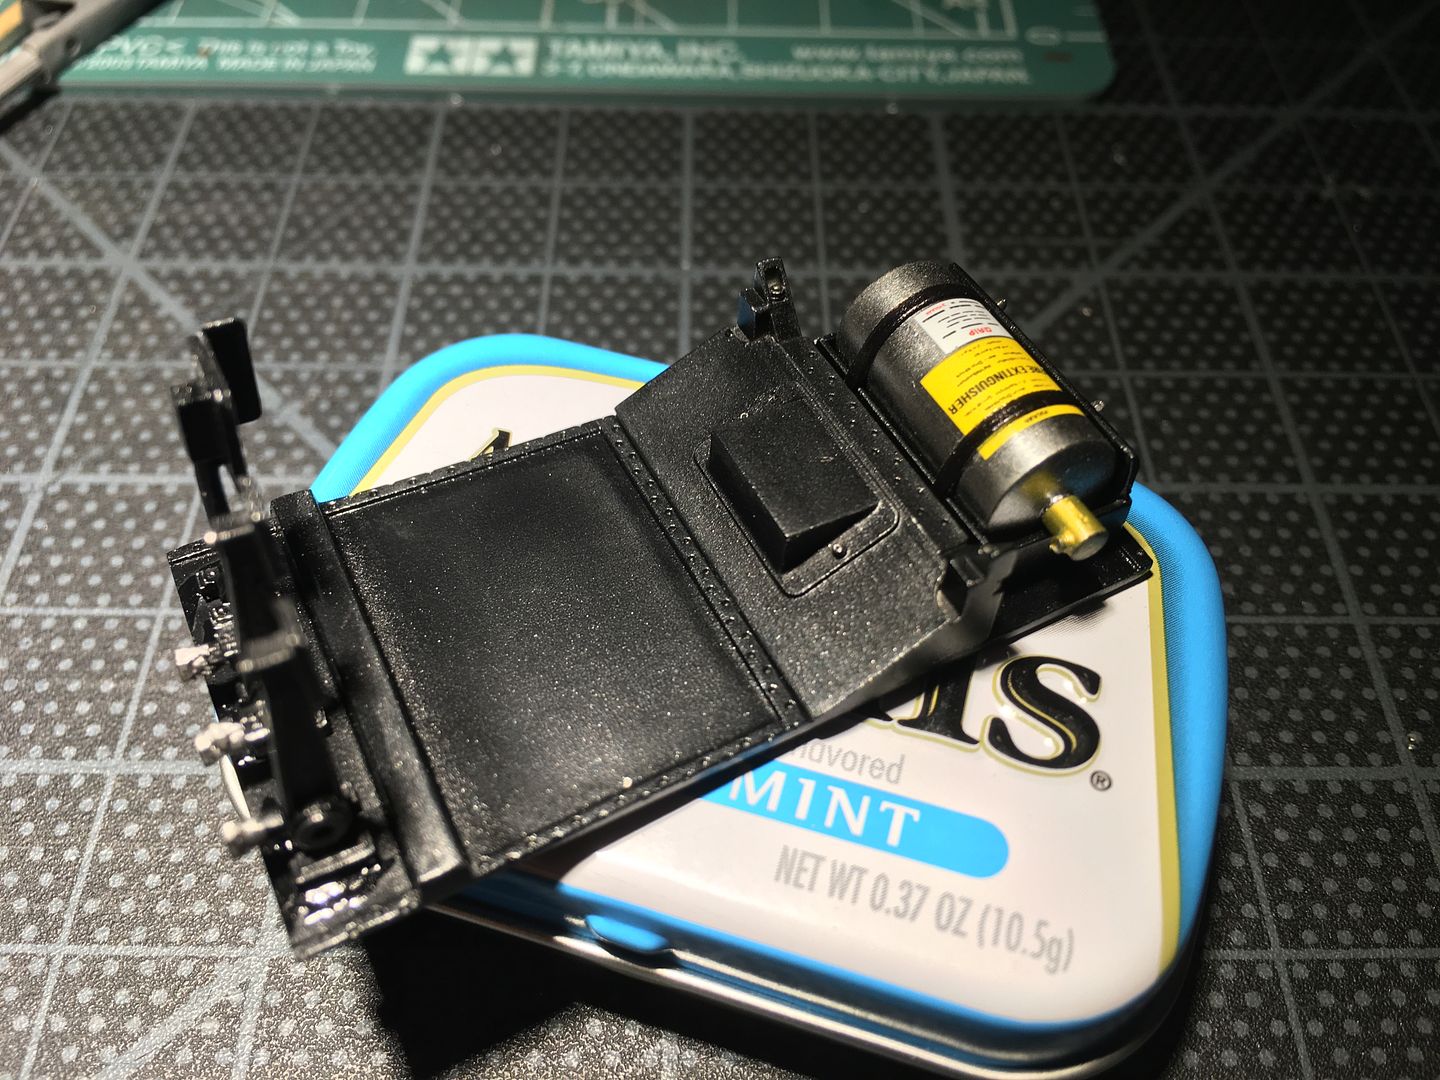
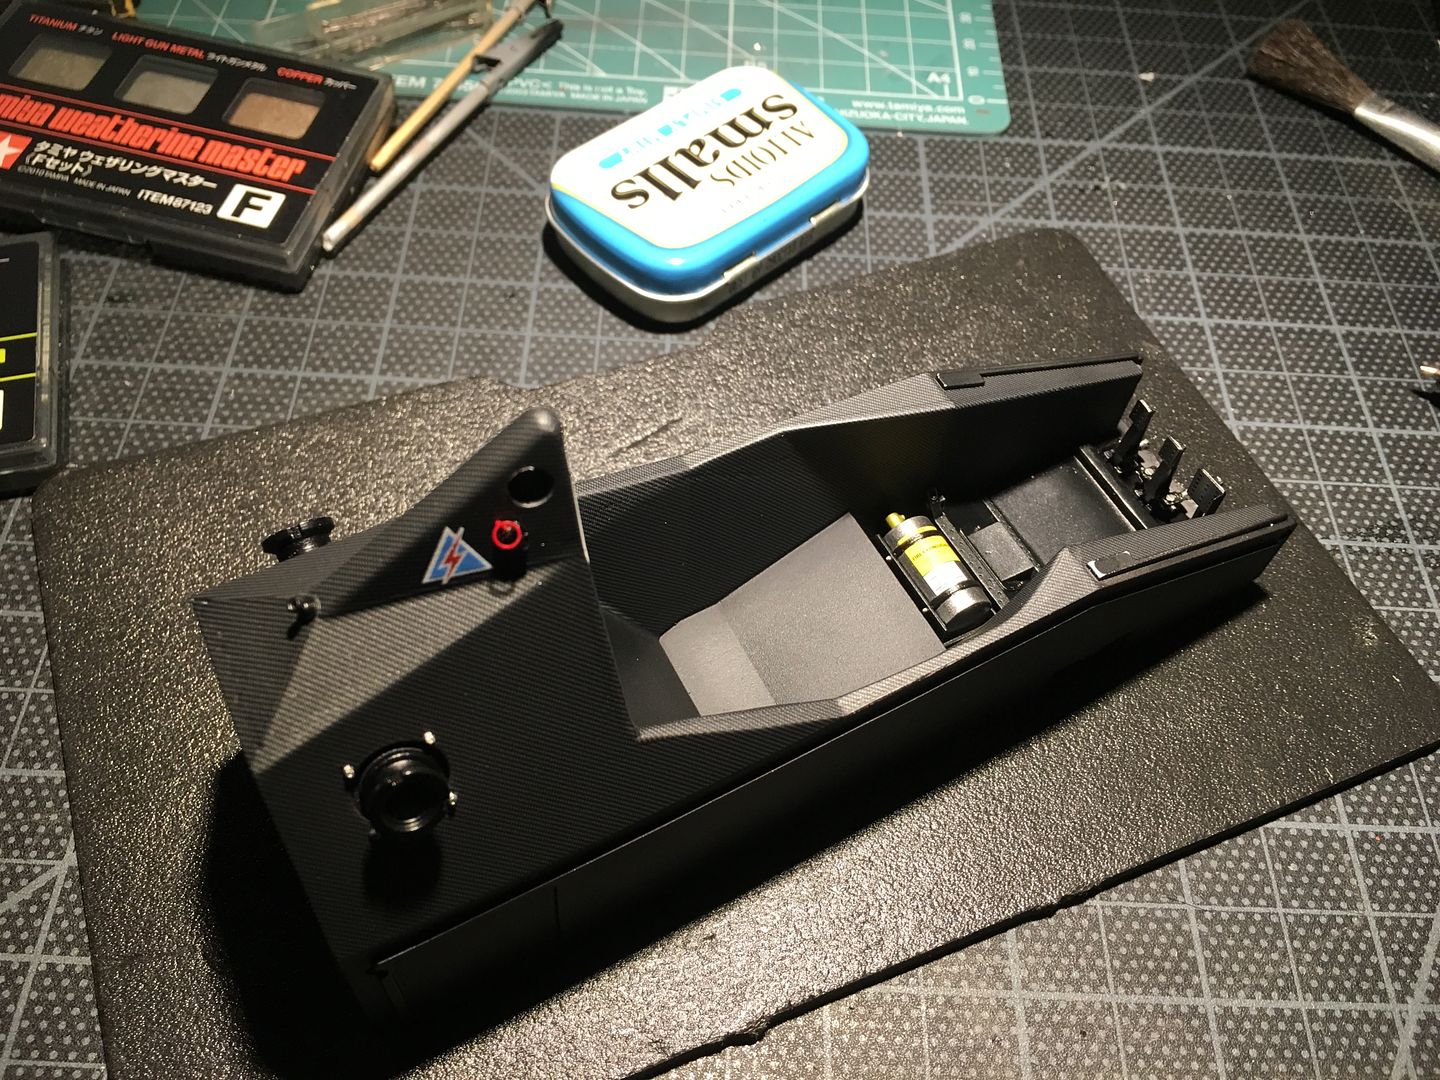
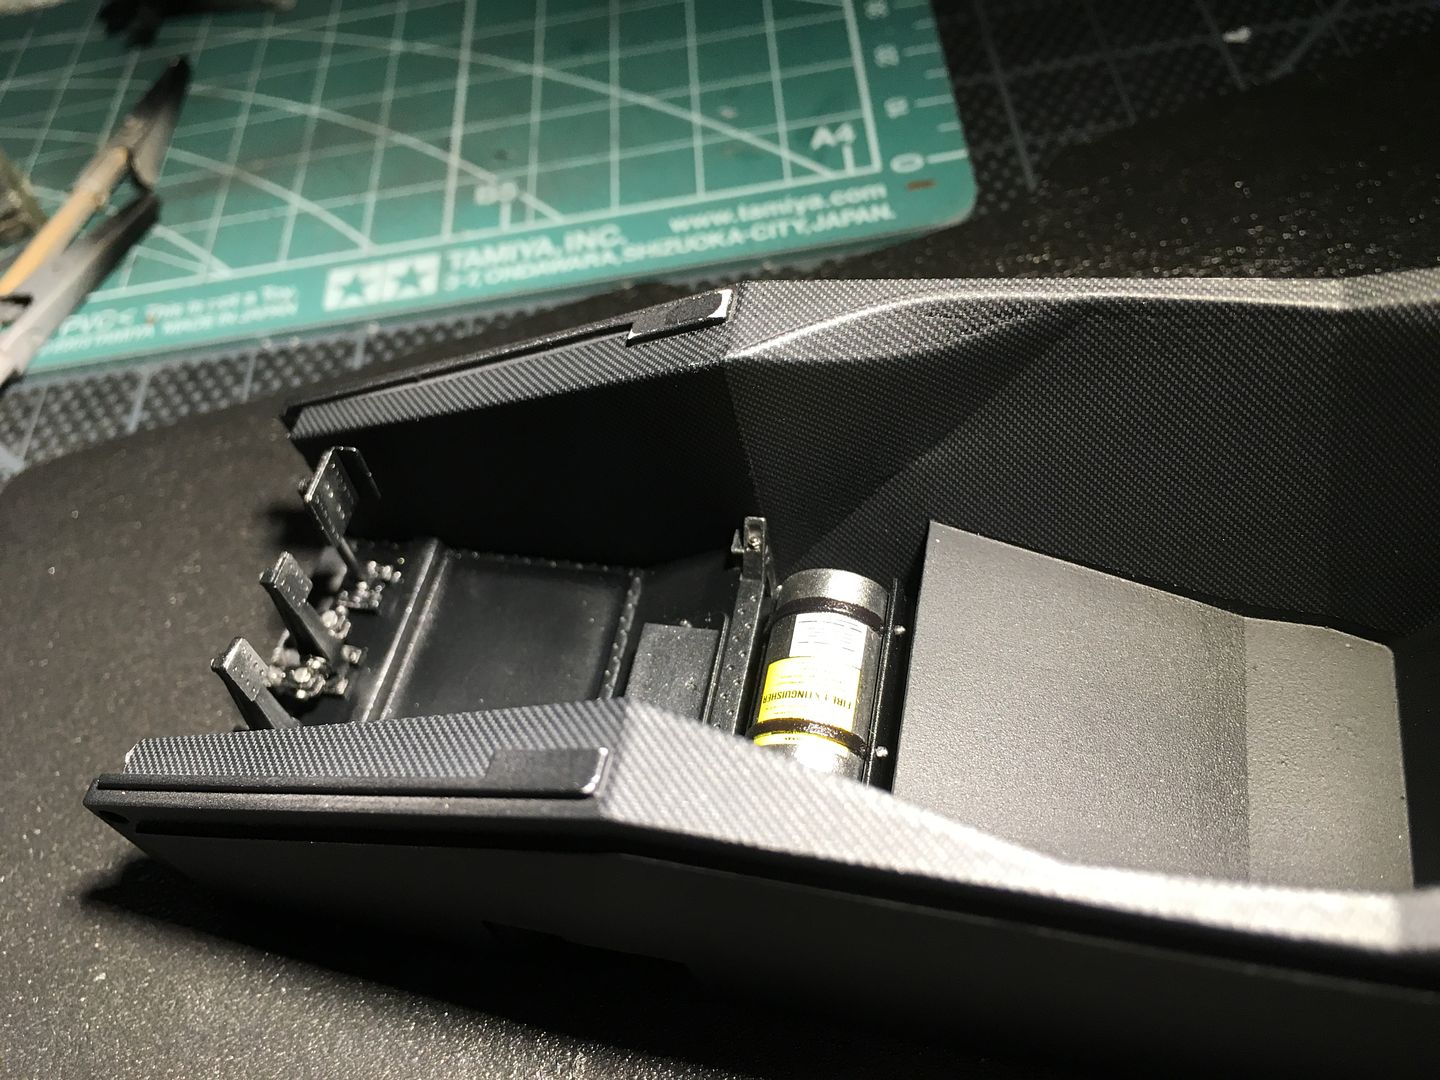
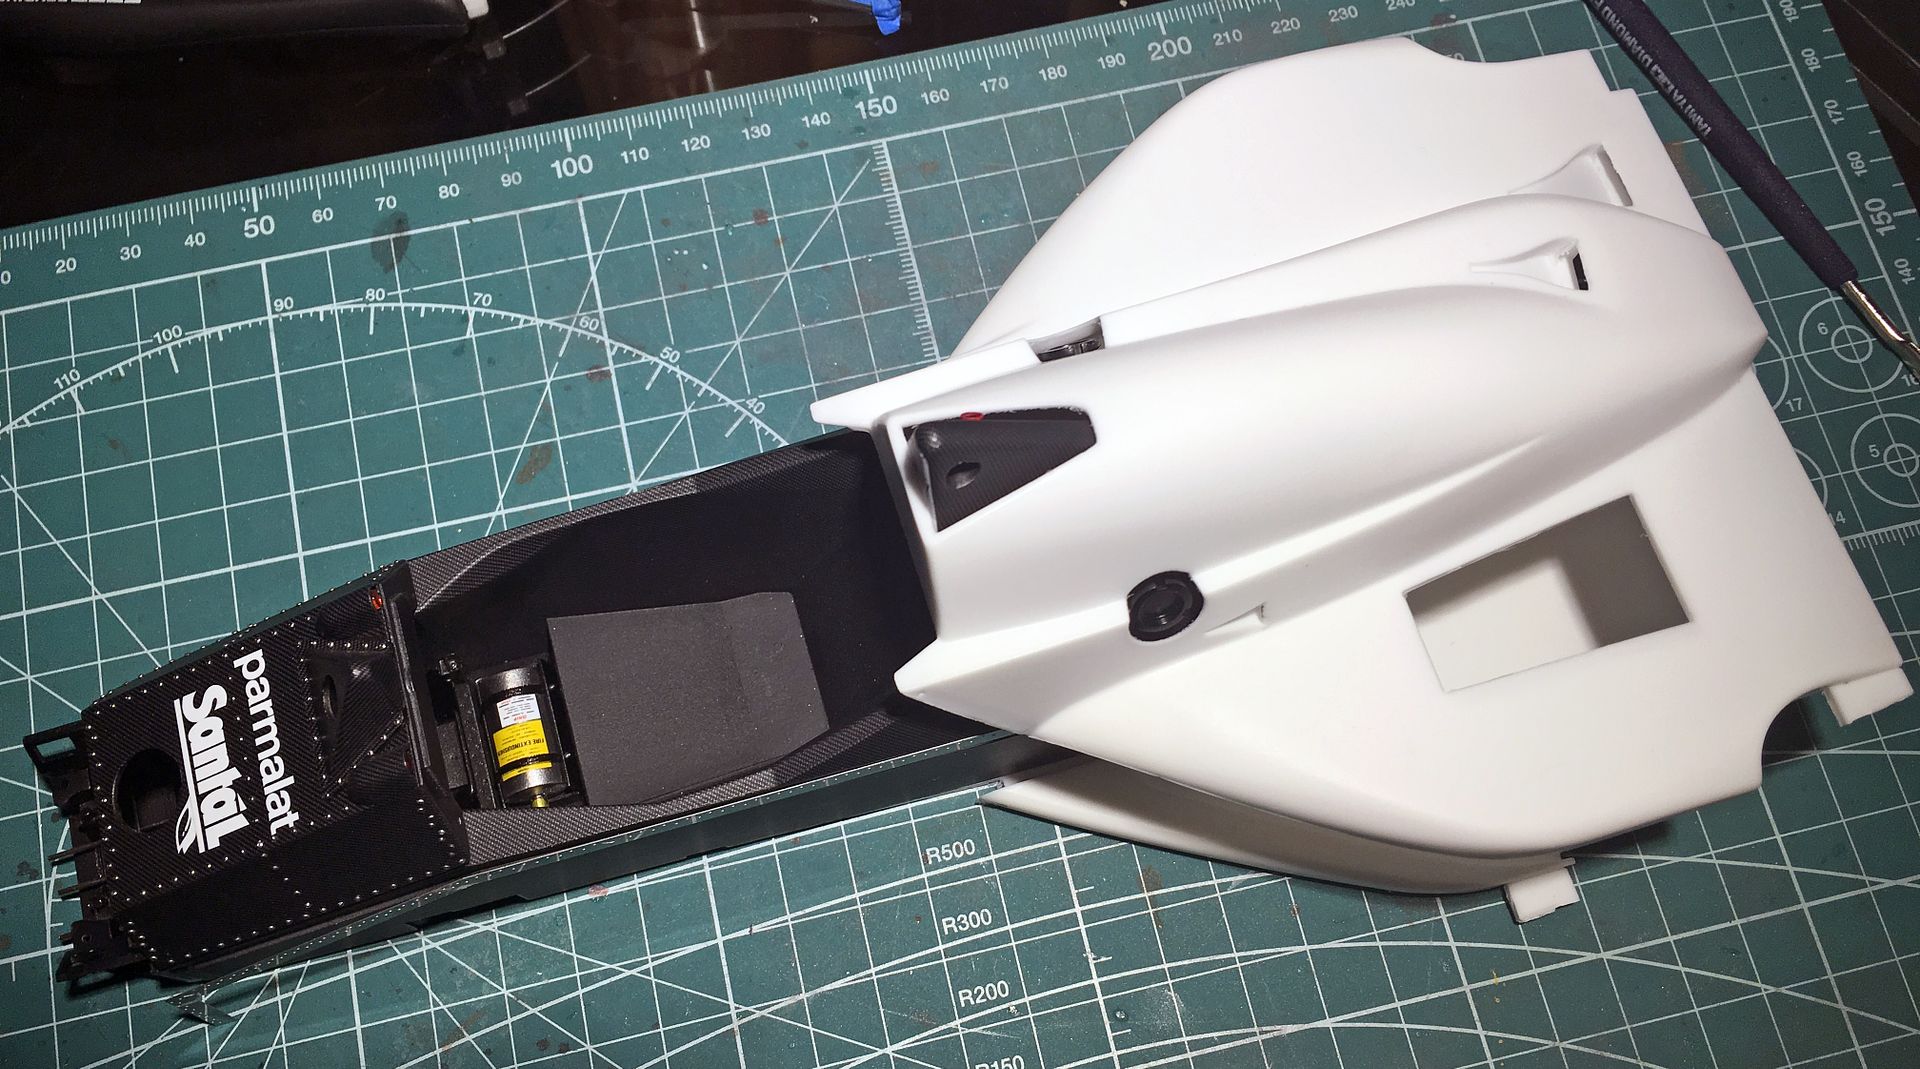
This then slips into the front of the chassis tub...

Subtle highlighting...
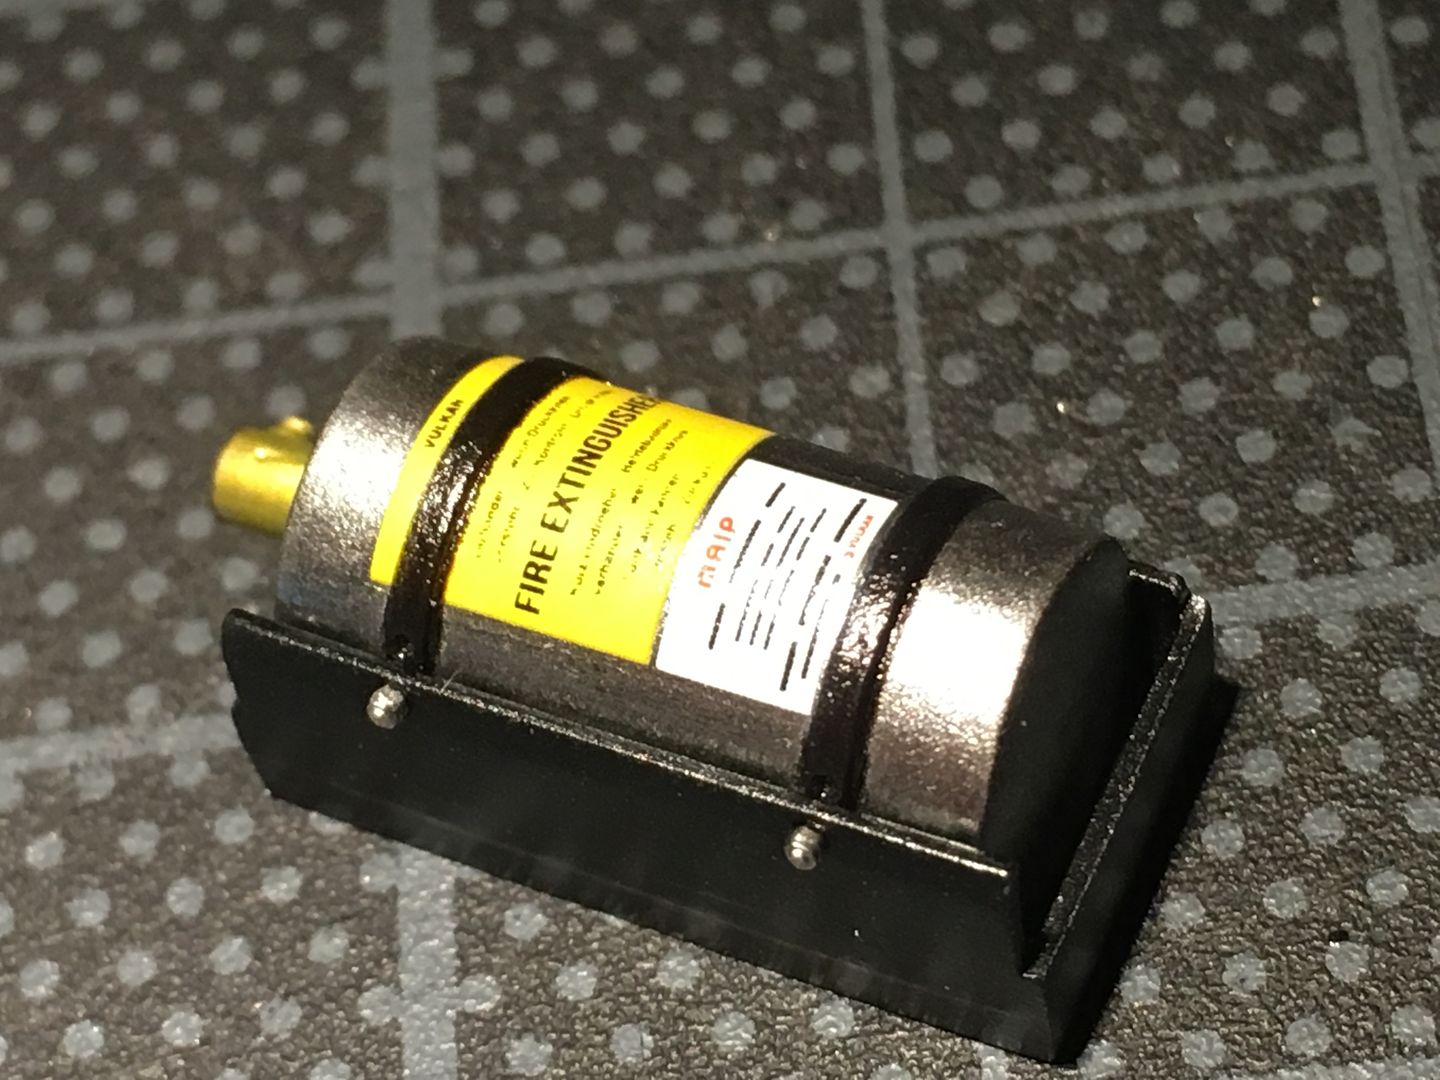
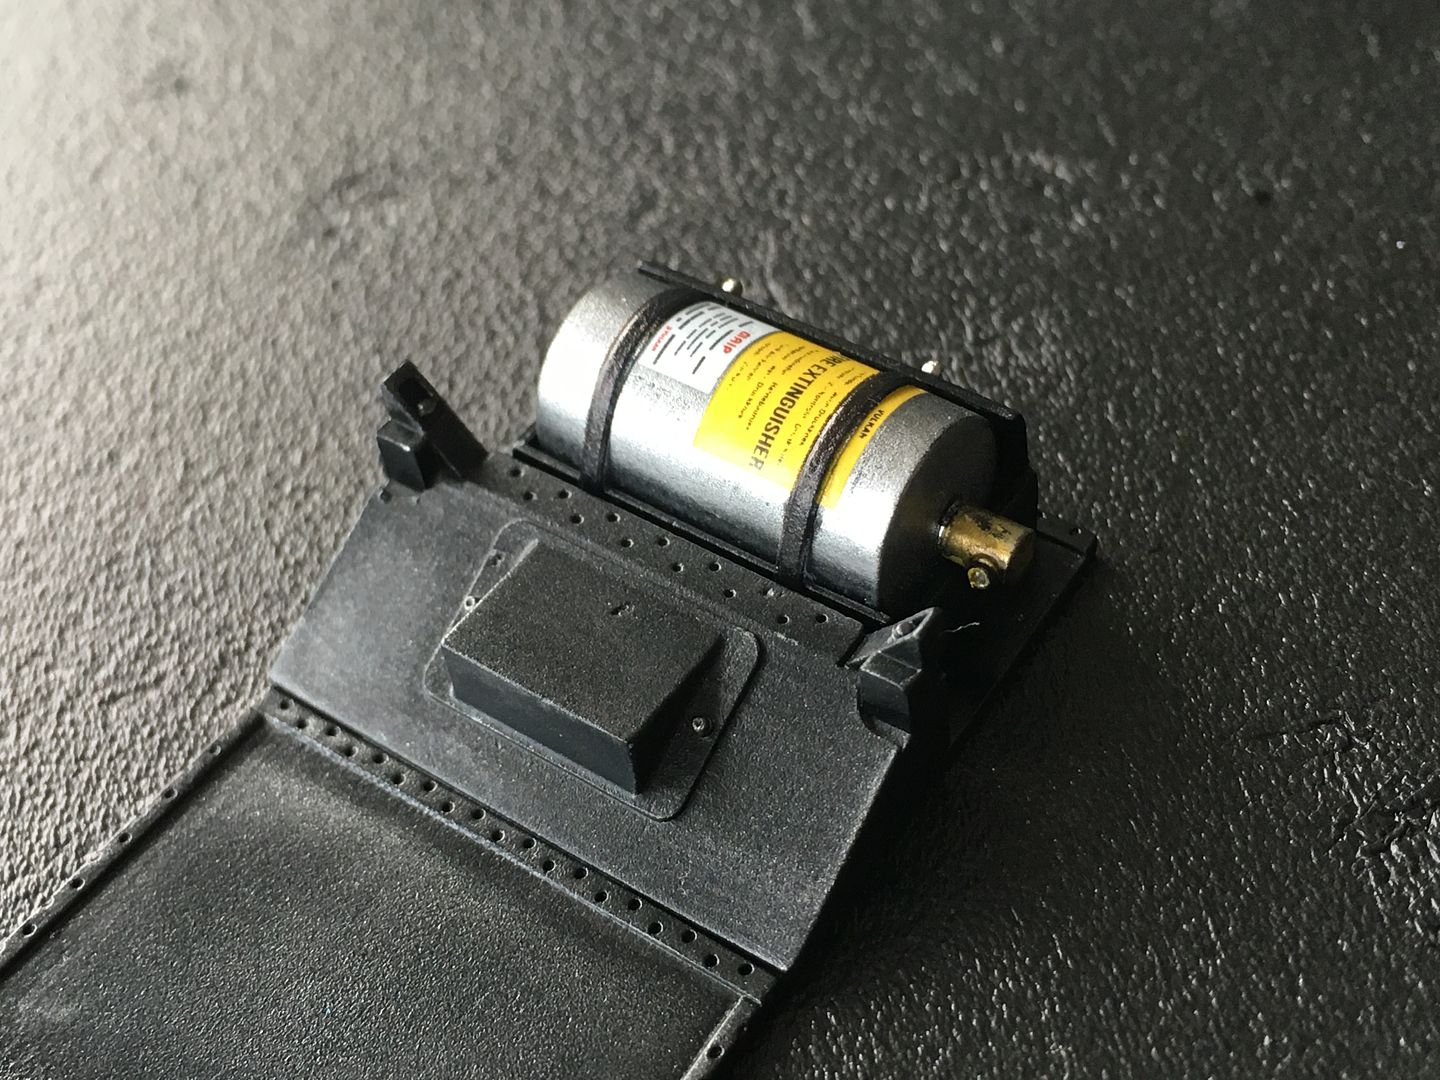
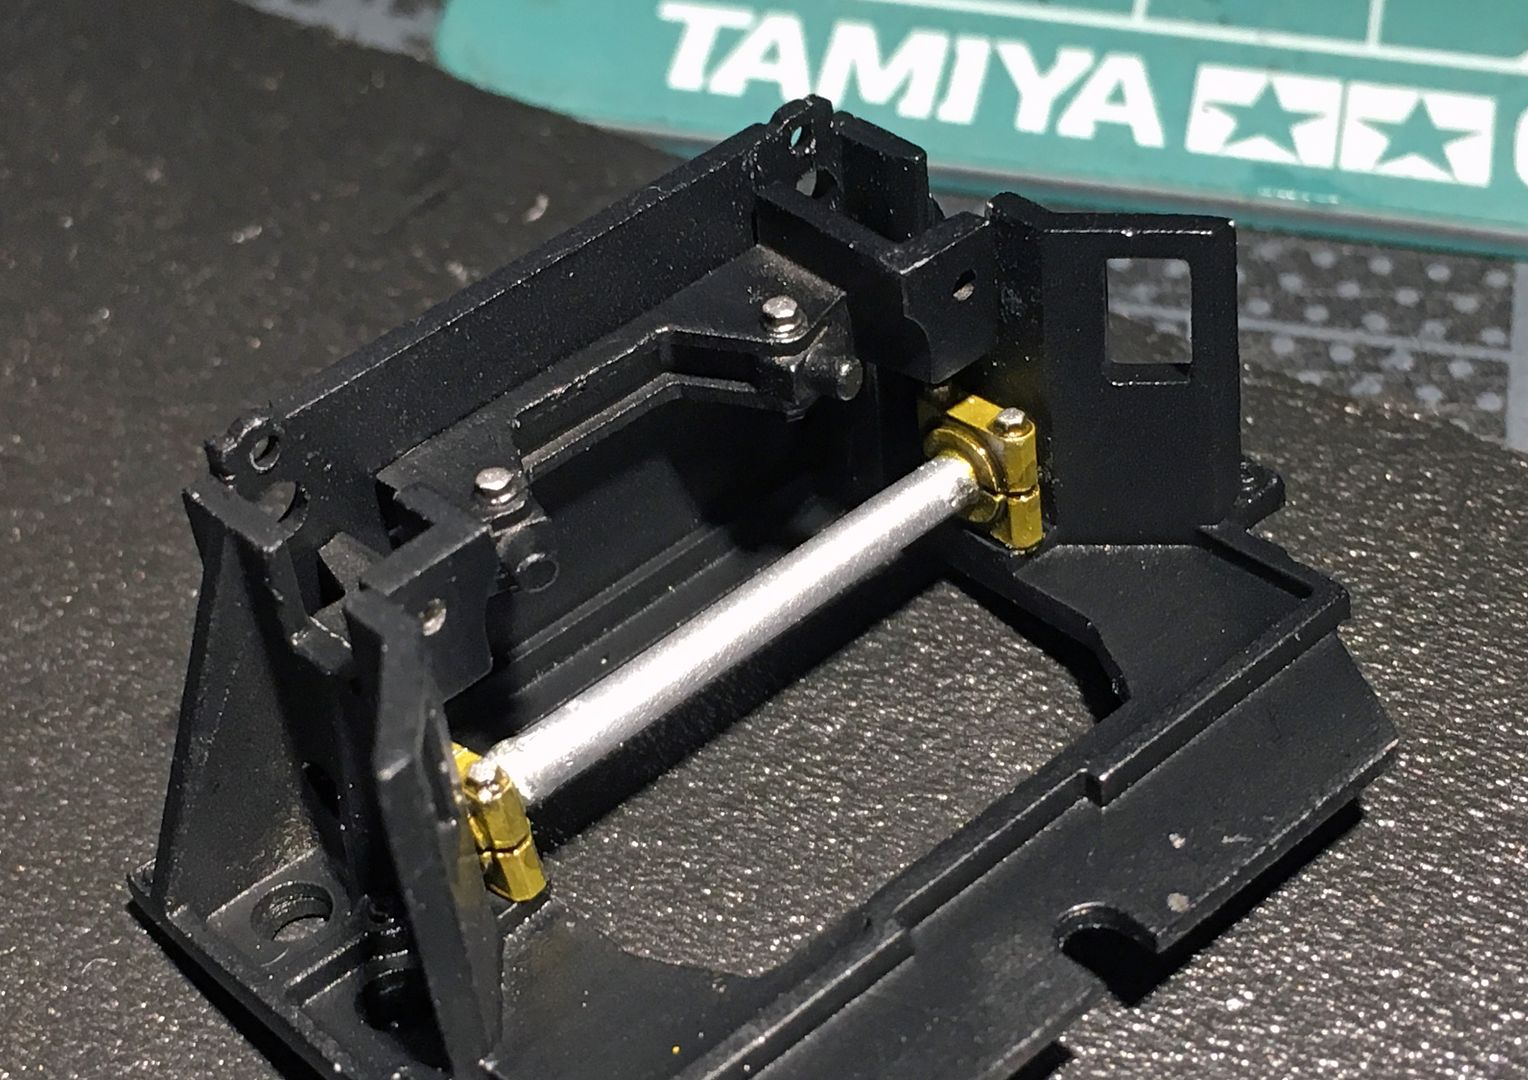
This picture below highlights the quality of these current MFH castings (it is one piece white metal) - that bolt-head detail is less than a mm in diameter...
If it was going to be at all visible, I might have swapped it for a 'detail' machined part - but actually, it is so crisp already that I am not sure it would even be needed...
You can just see where I used some Tamiya weathering silver to bring out some edges and definition. Wanted it subtle as I am not really 'weathering' the car...
You can see the silver on the pedals.
This then slips into the front of the chassis tub...
Subtle highlighting...
This picture below highlights the quality of these current MFH castings (it is one piece white metal) - that bolt-head detail is less than a mm in diameter...
If it was going to be at all visible, I might have swapped it for a 'detail' machined part - but actually, it is so crisp already that I am not sure it would even be needed...

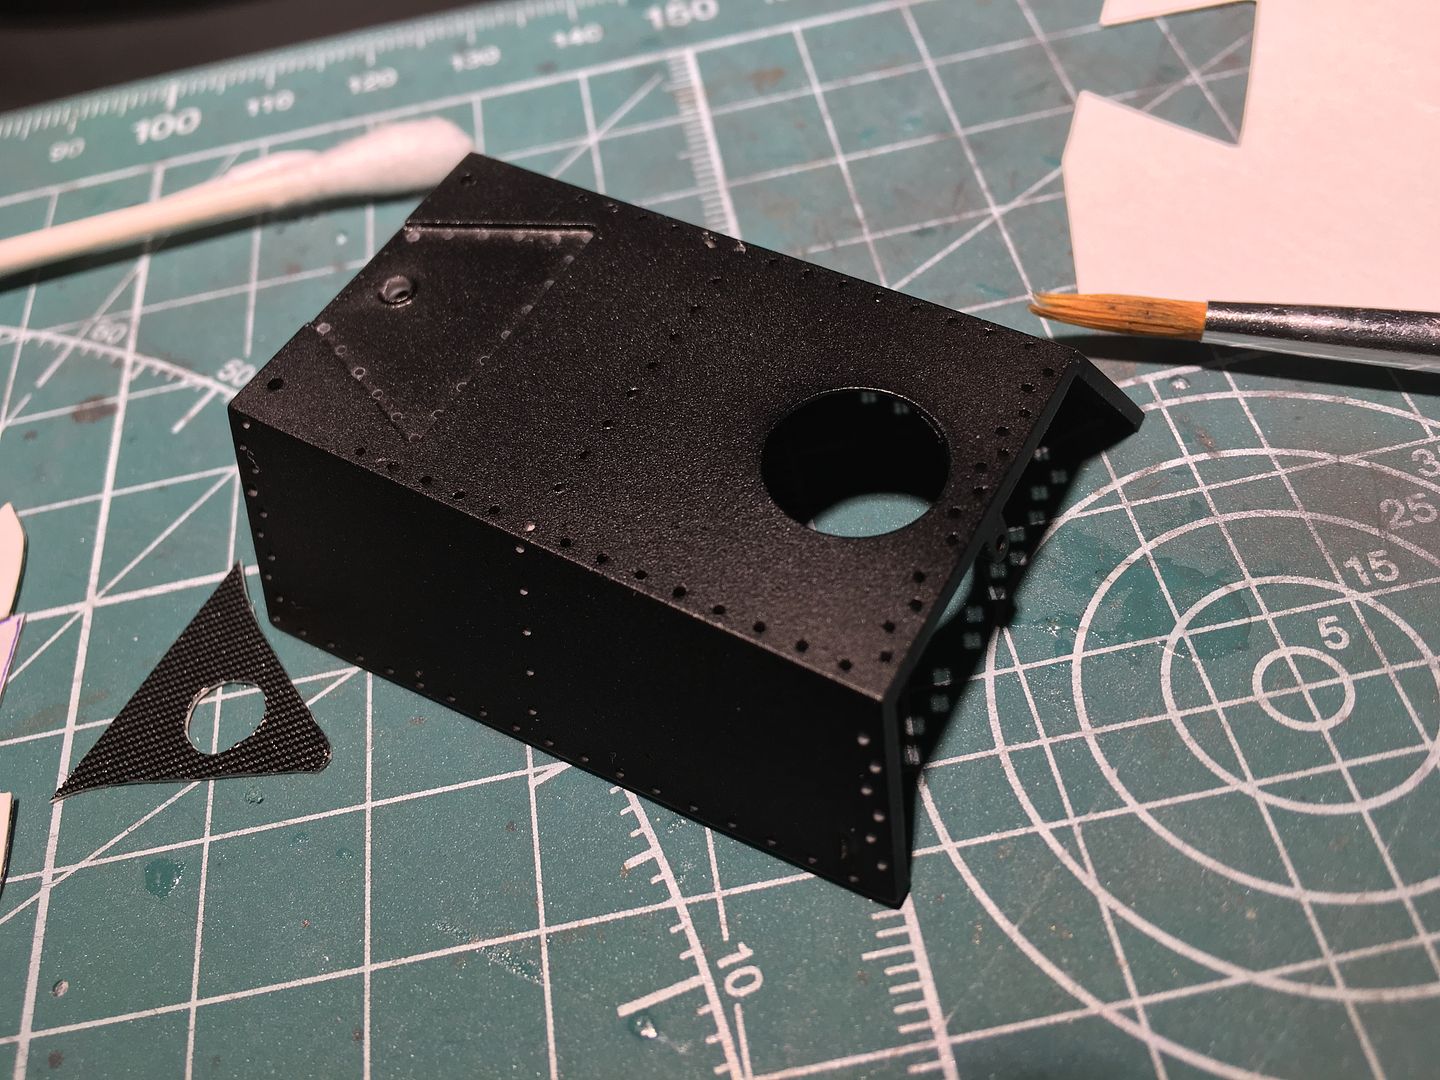
More chassis work - rivets!
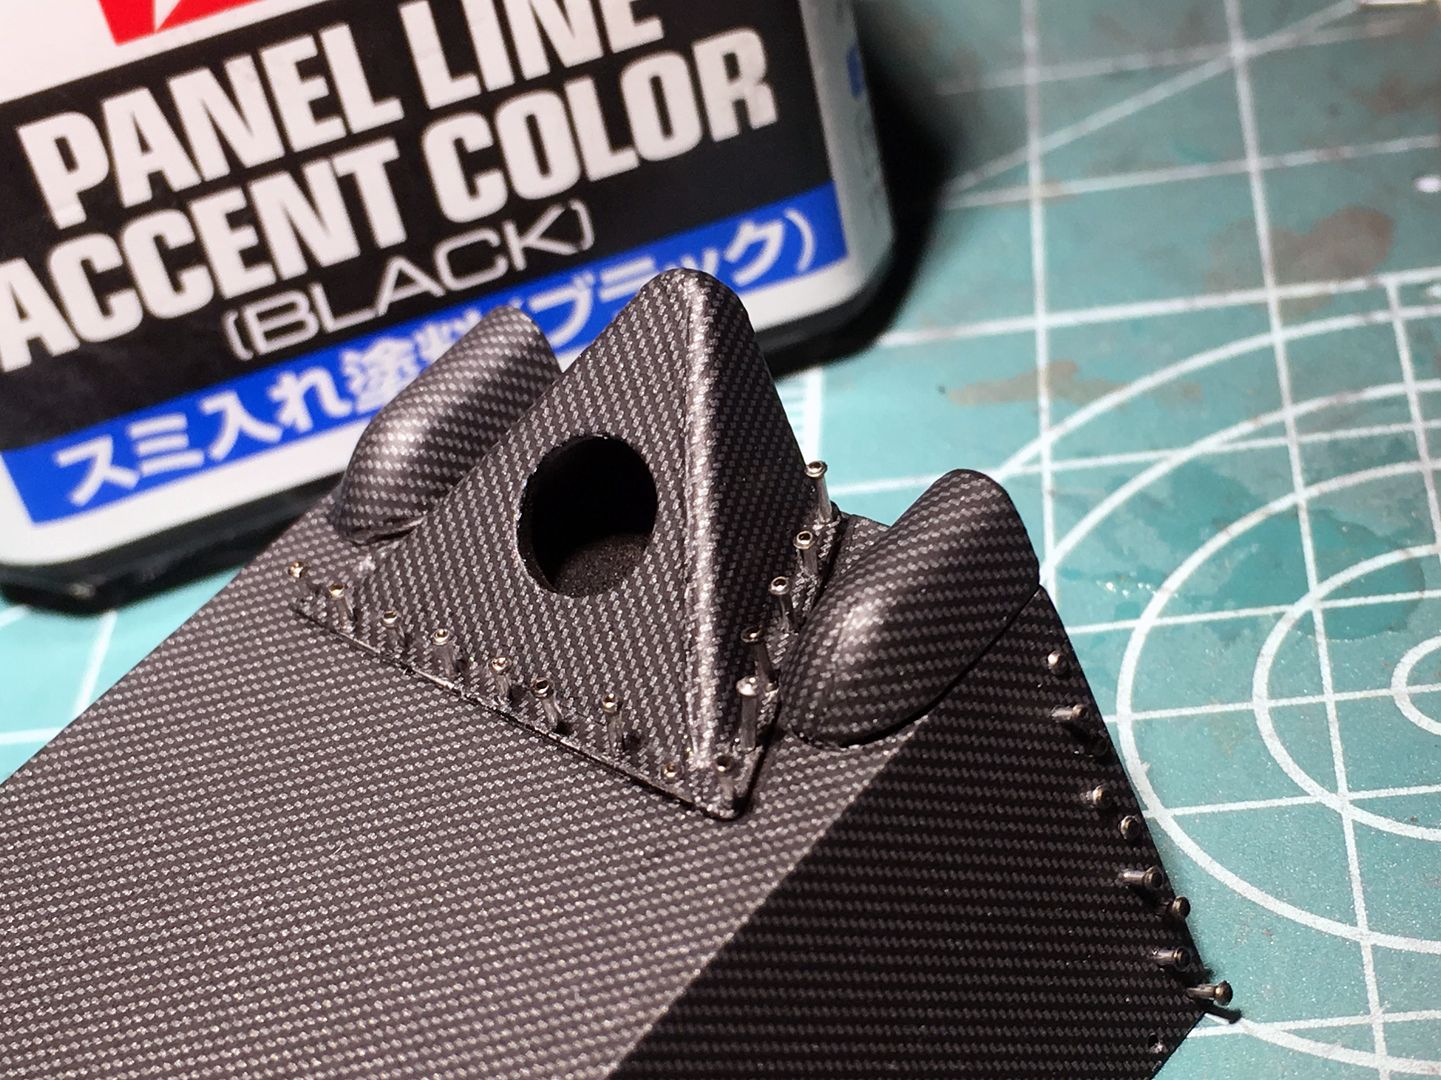
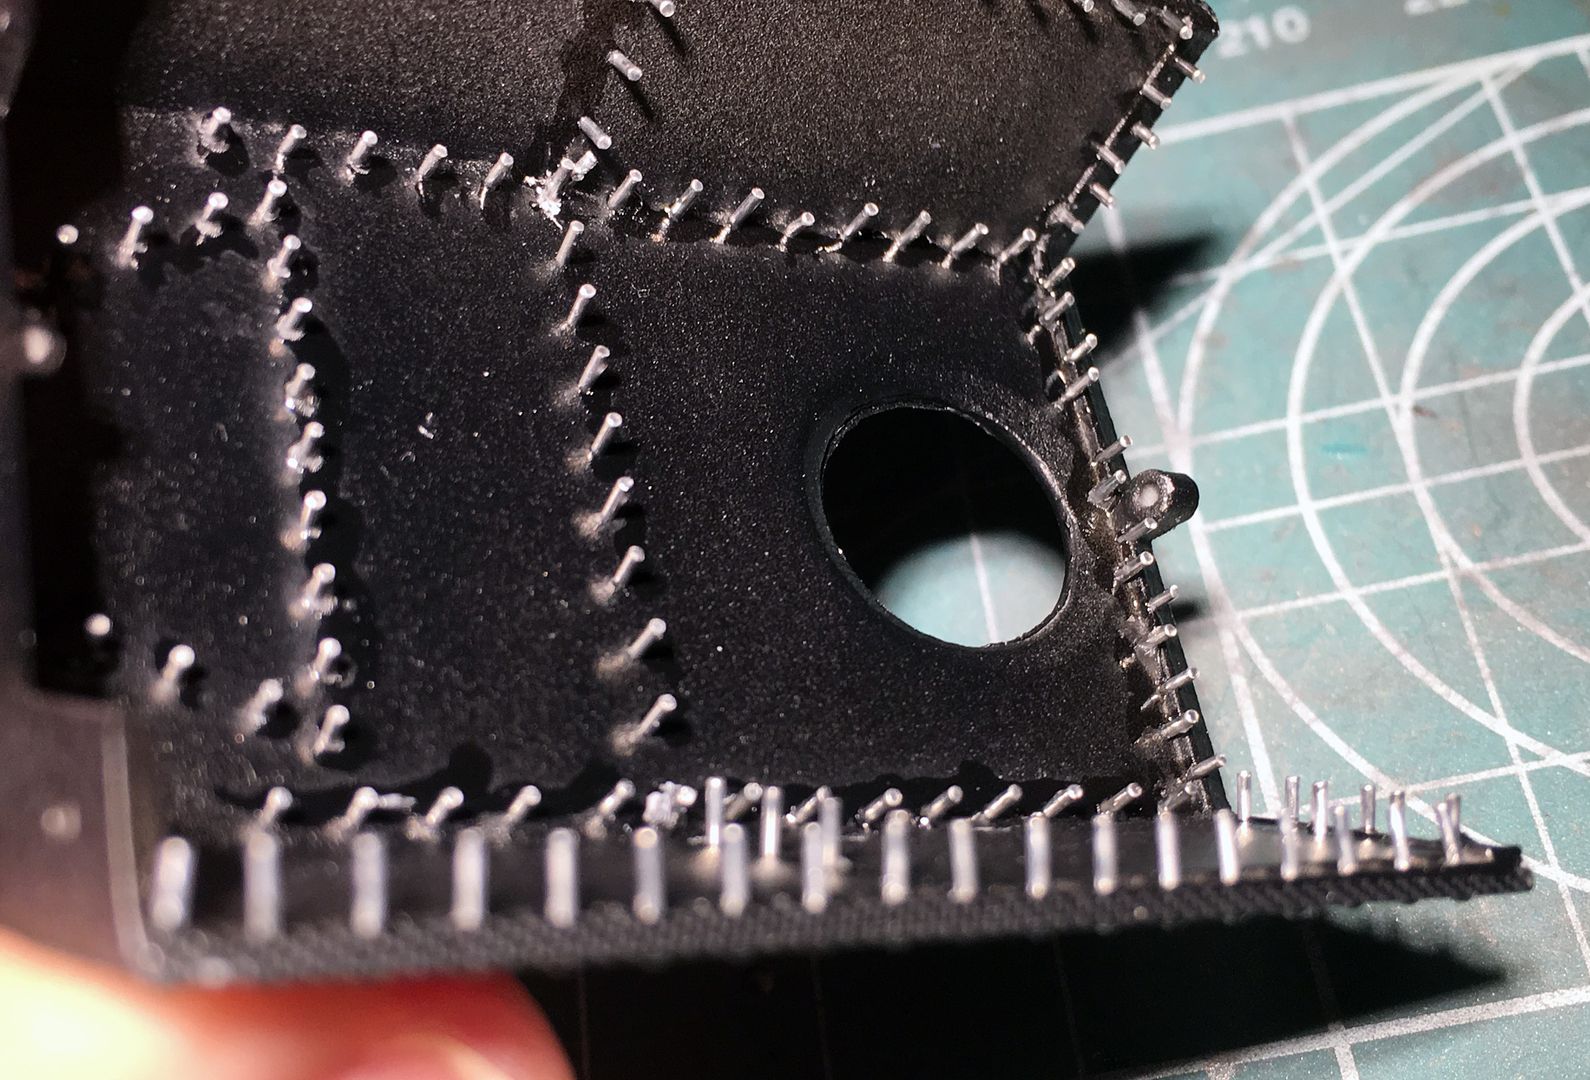
The kit comes with white metal cast rivets, which are fine - but I have used MFH 'machined' rivets I purchased separately (may not be machined, but not cast - so cleaner)
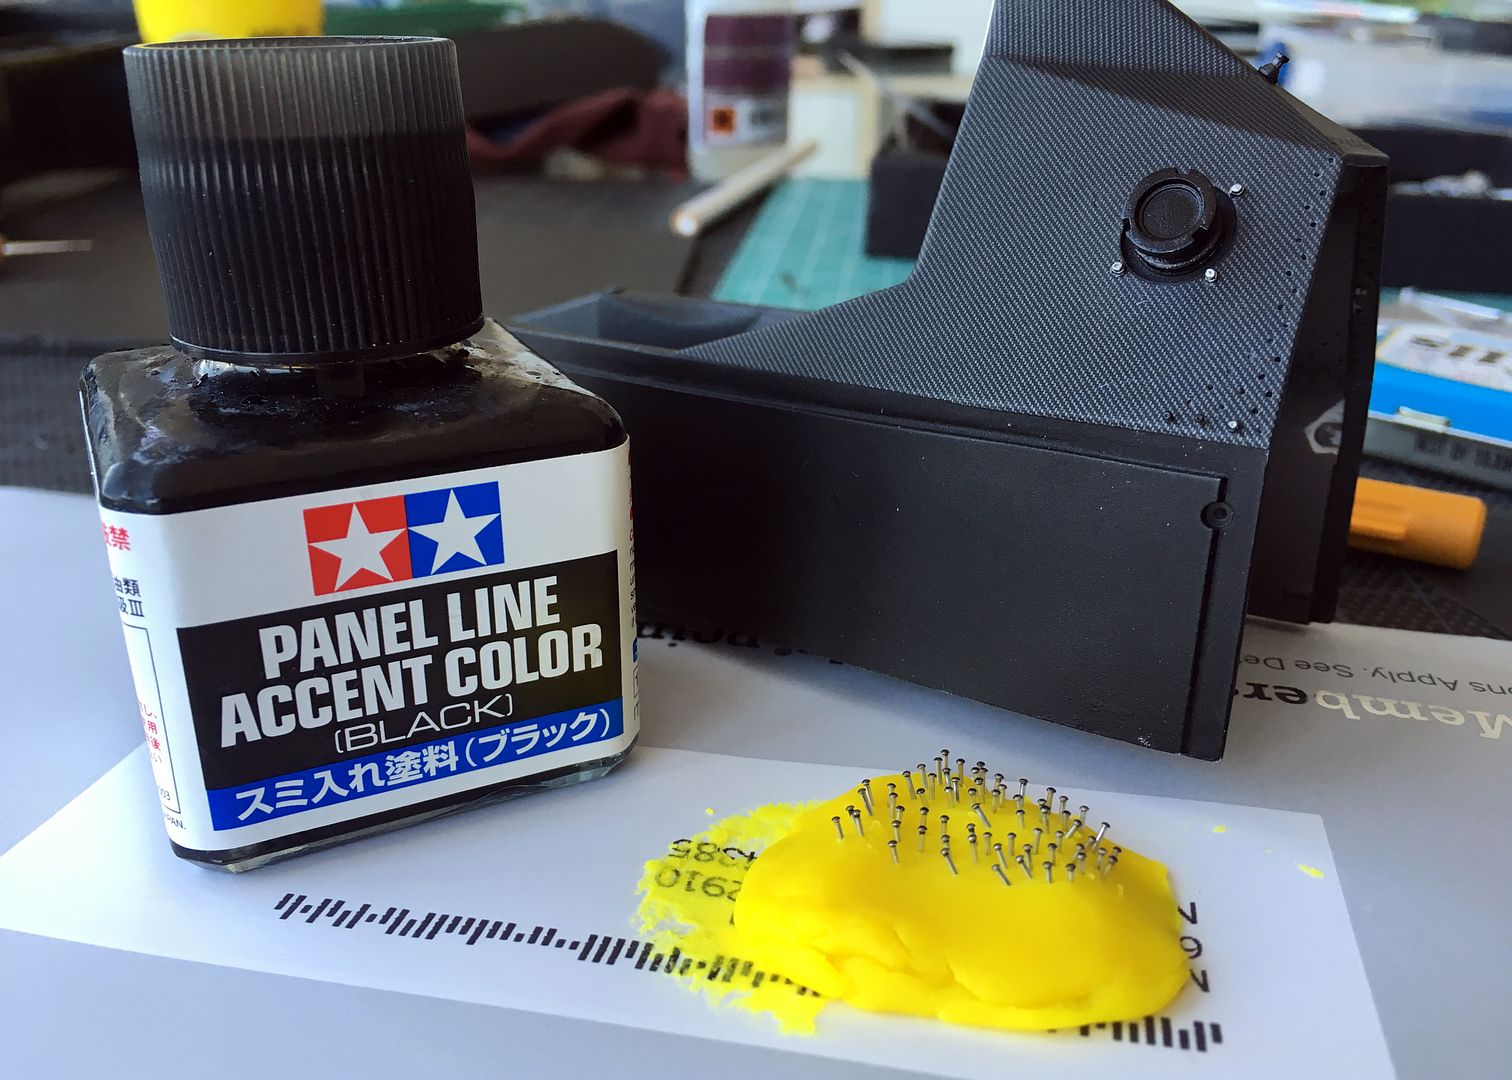
Photos of the real car shows these rivets to be black, with a few shiny ones. I have knocked back the polished rivets with the panel line stuff shown - I want some of the shine to still come through, so I didn't just paint the rivets. Also, the panel line stuff is very thin, so does not hide the detail of the rivets. No way I was going to paint these once fitted to the chassis.
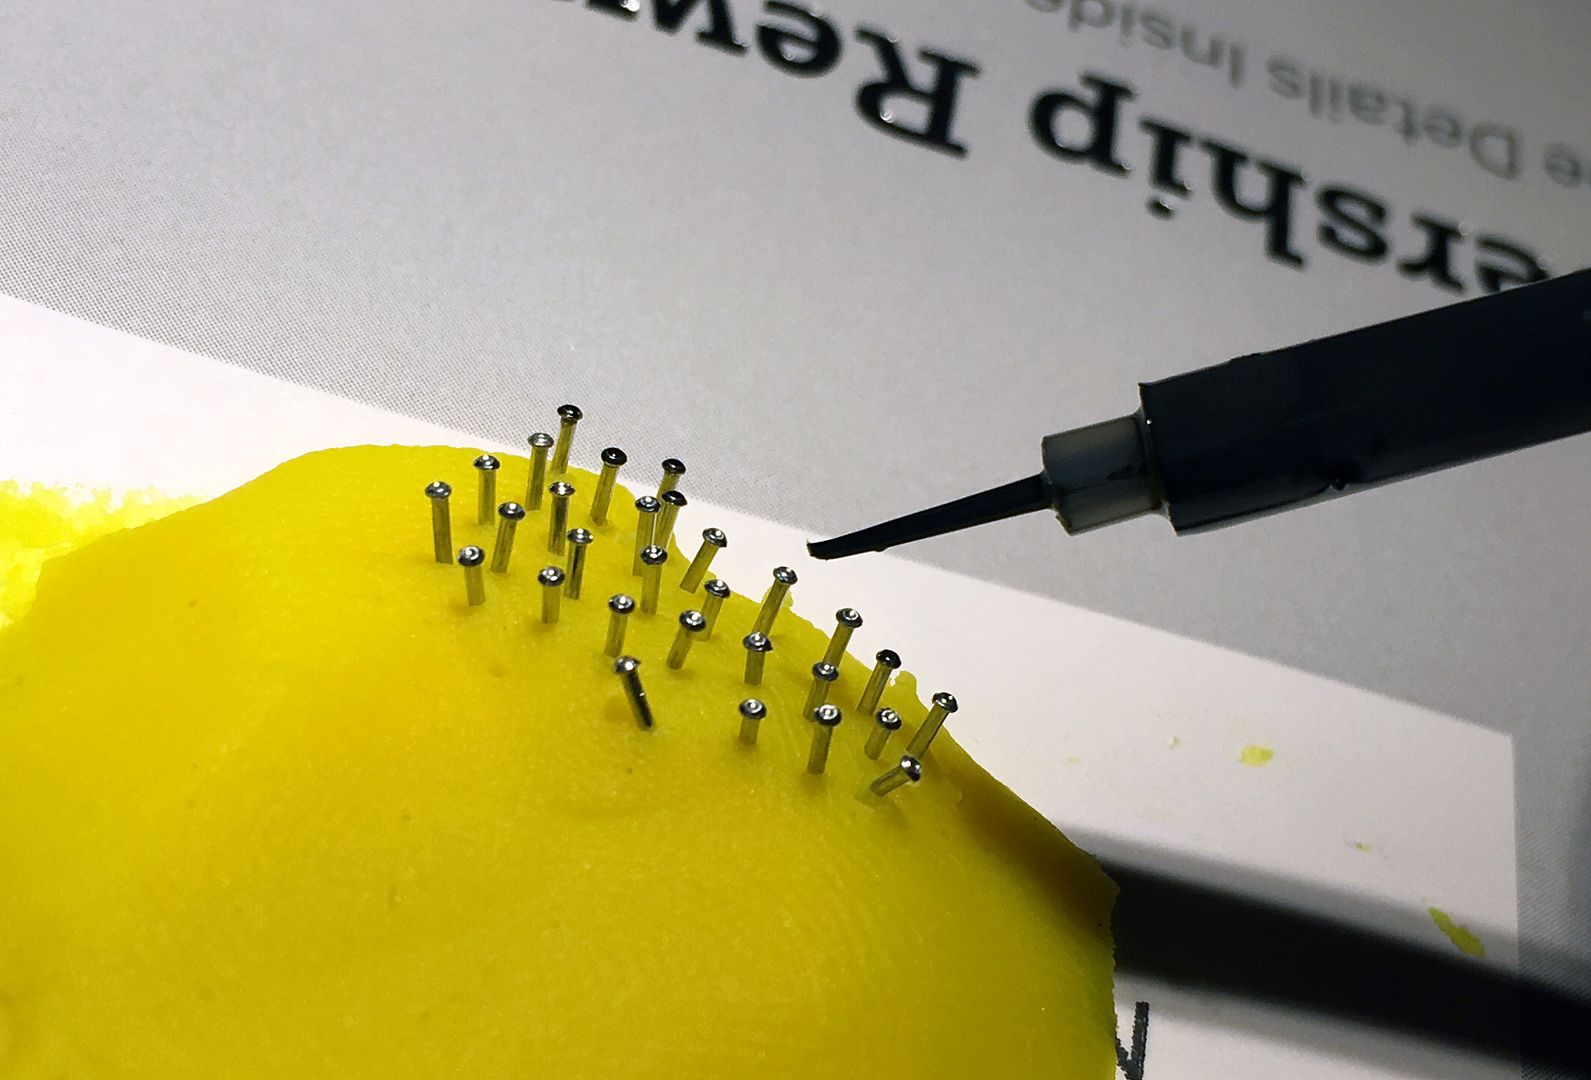
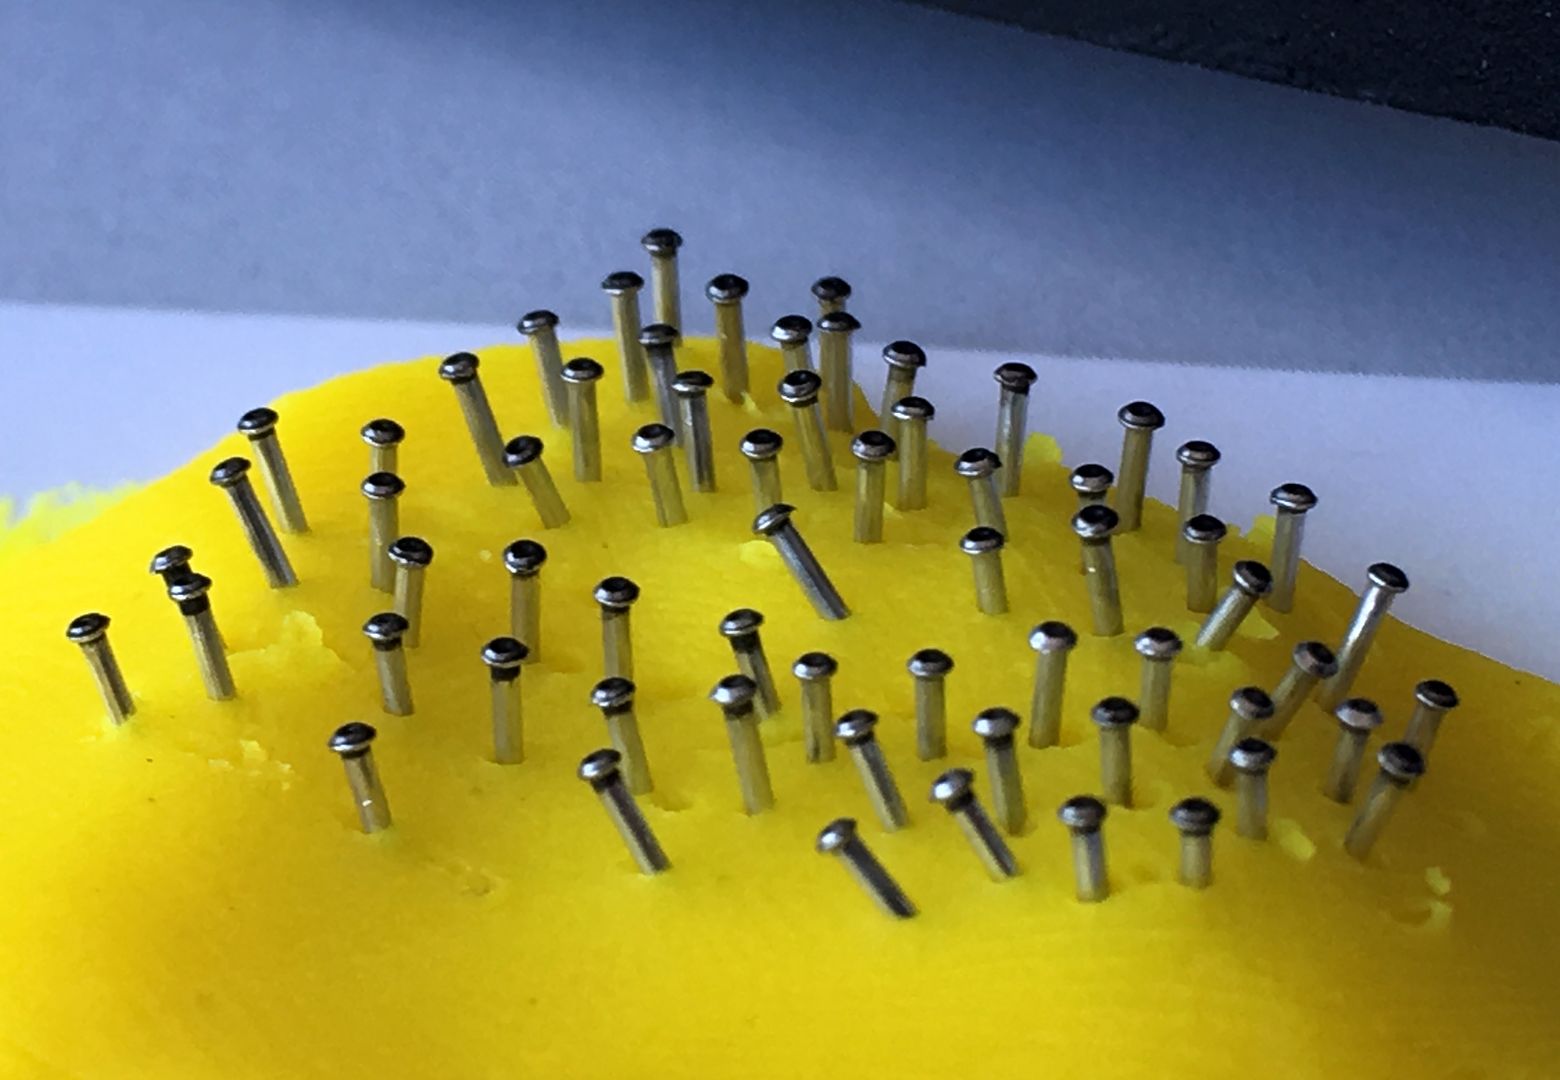
Actually quite quick once you get started. The rivets are soft enough to cut down with a knife once threaded through the resin chassis - they need to be trimmed as the rear bulkhead fits there...
Same treatment required on the front part of the tub - later.
The kit comes with white metal cast rivets, which are fine - but I have used MFH 'machined' rivets I purchased separately (may not be machined, but not cast - so cleaner)
Photos of the real car shows these rivets to be black, with a few shiny ones. I have knocked back the polished rivets with the panel line stuff shown - I want some of the shine to still come through, so I didn't just paint the rivets. Also, the panel line stuff is very thin, so does not hide the detail of the rivets. No way I was going to paint these once fitted to the chassis.
Actually quite quick once you get started. The rivets are soft enough to cut down with a knife once threaded through the resin chassis - they need to be trimmed as the rear bulkhead fits there...
Same treatment required on the front part of the tub - later.
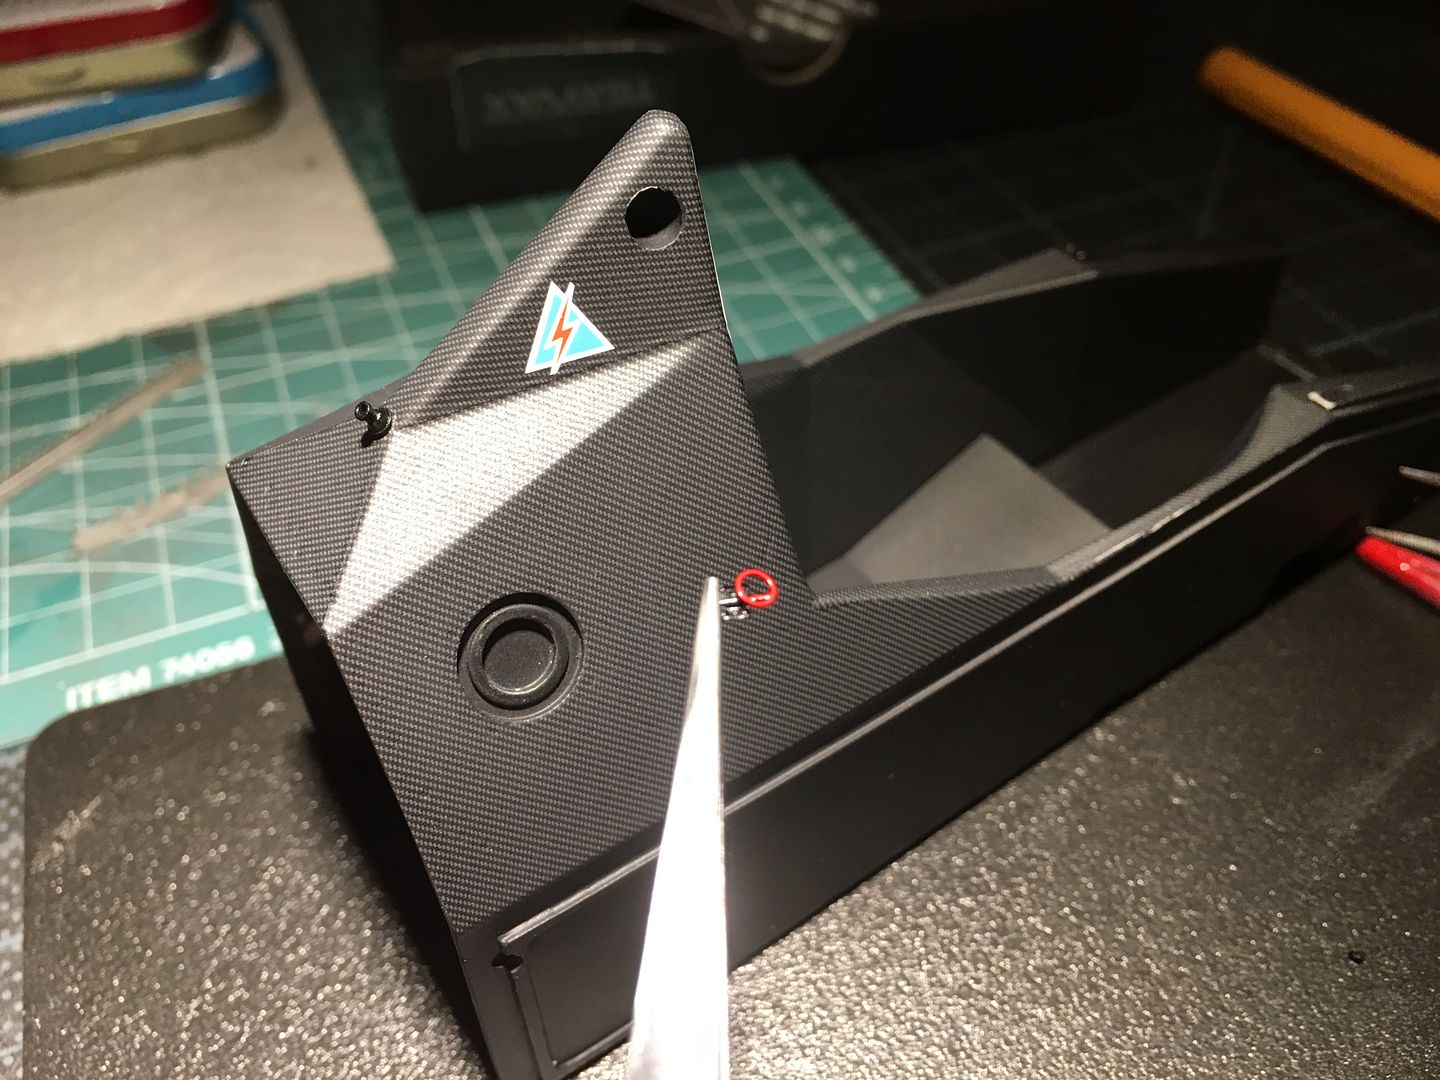
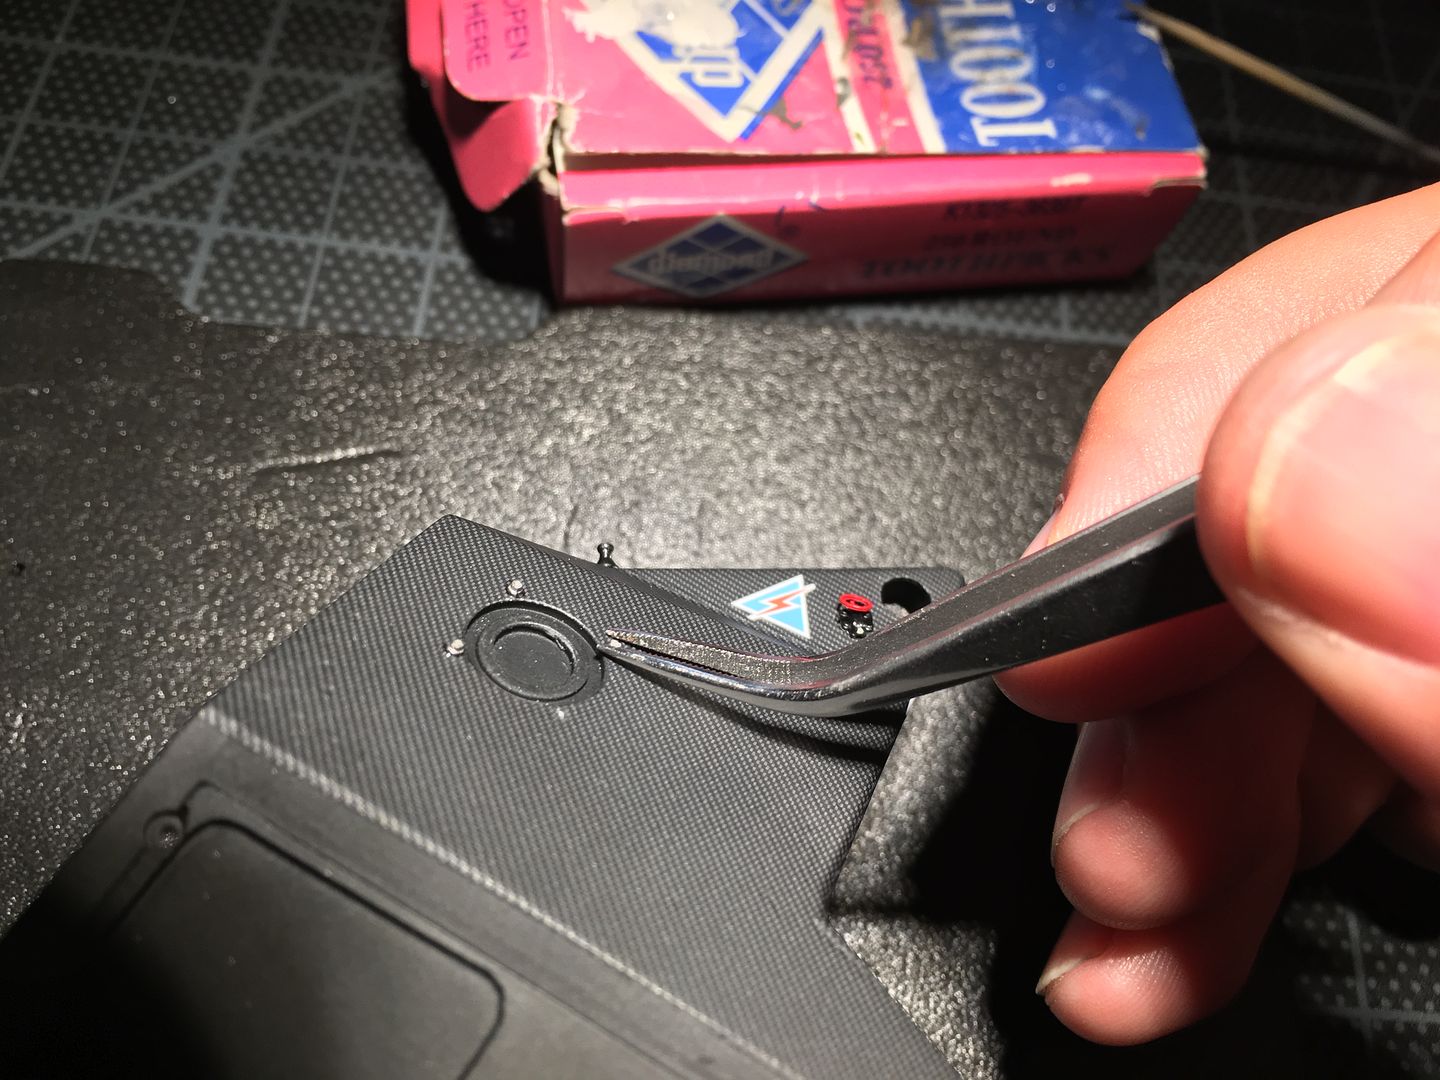
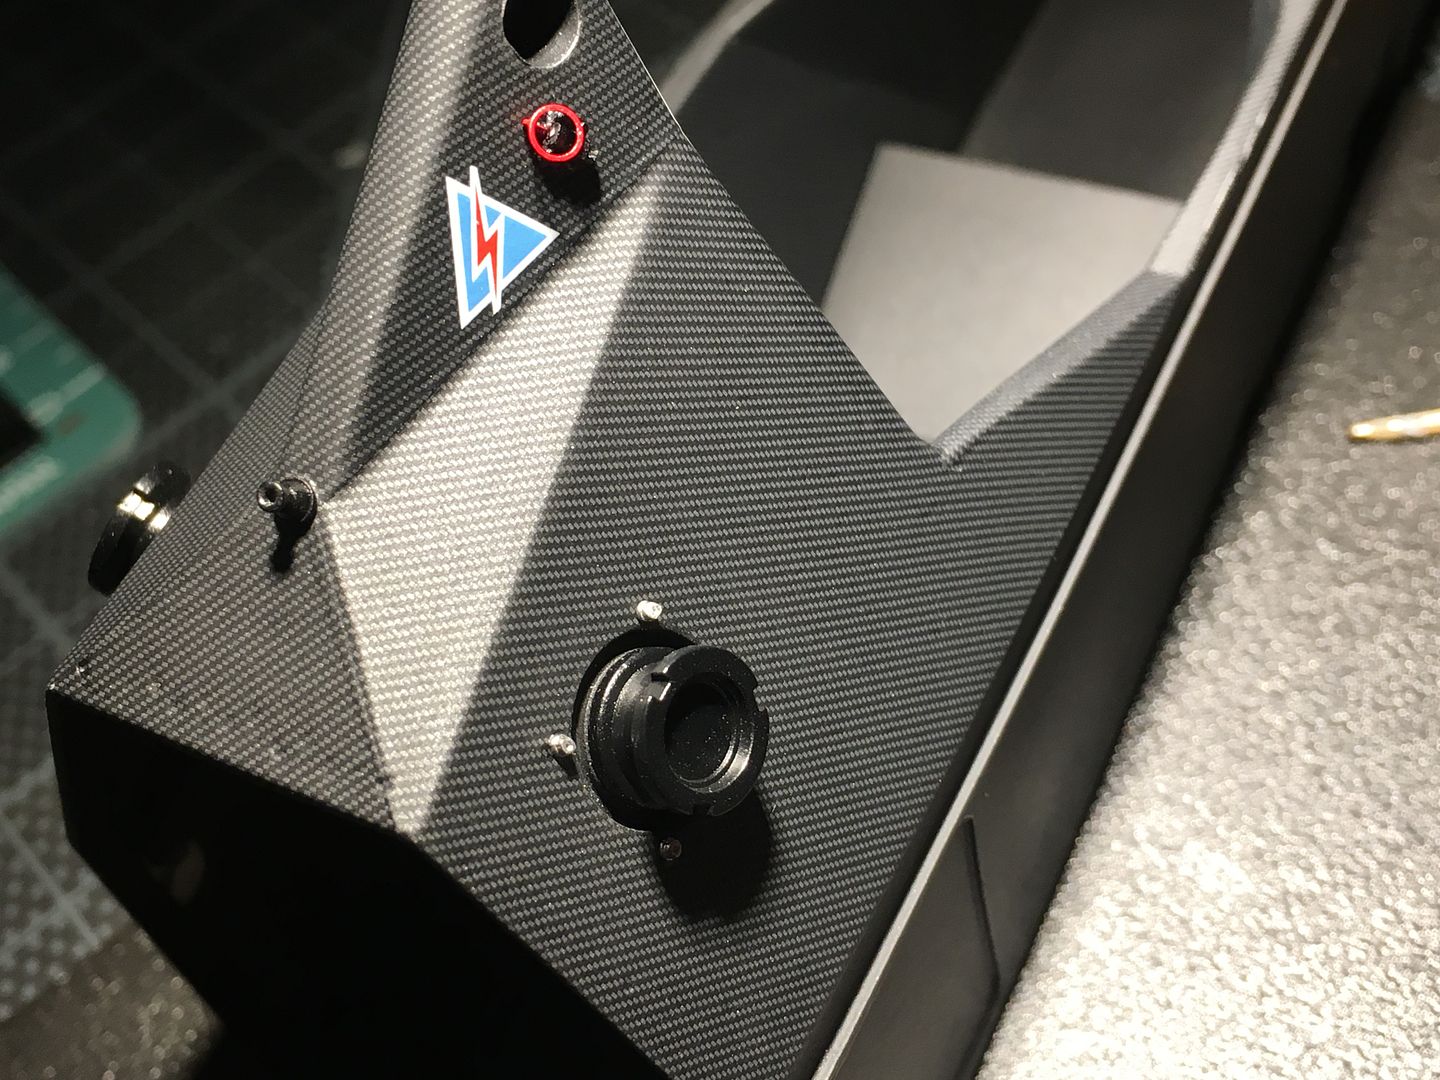
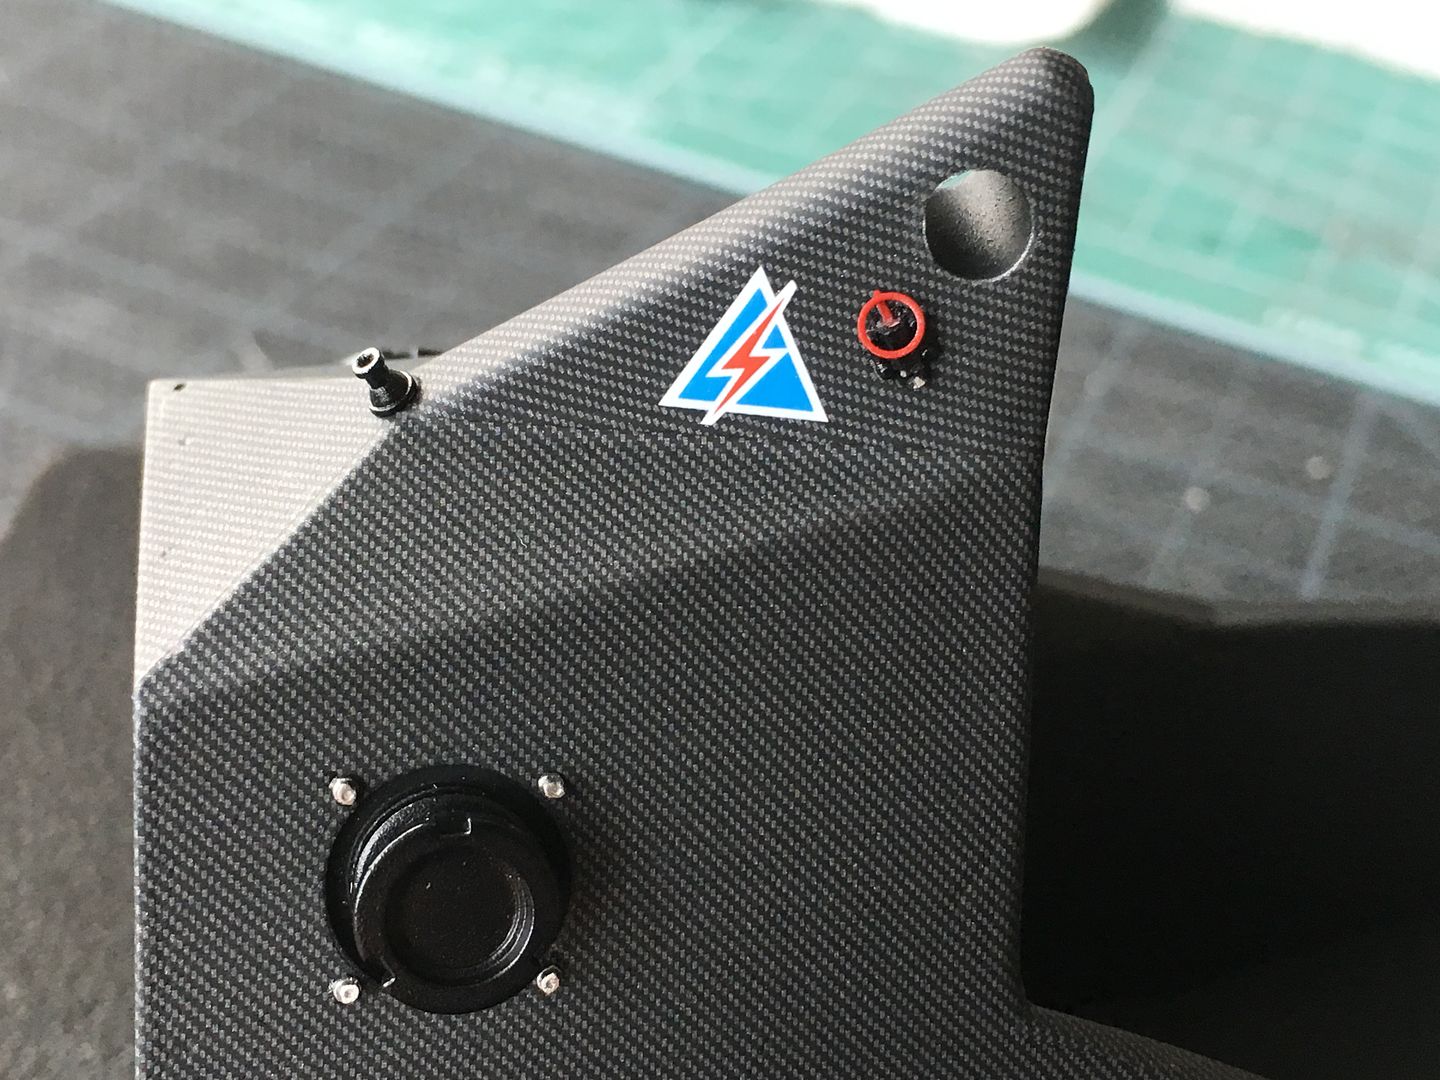
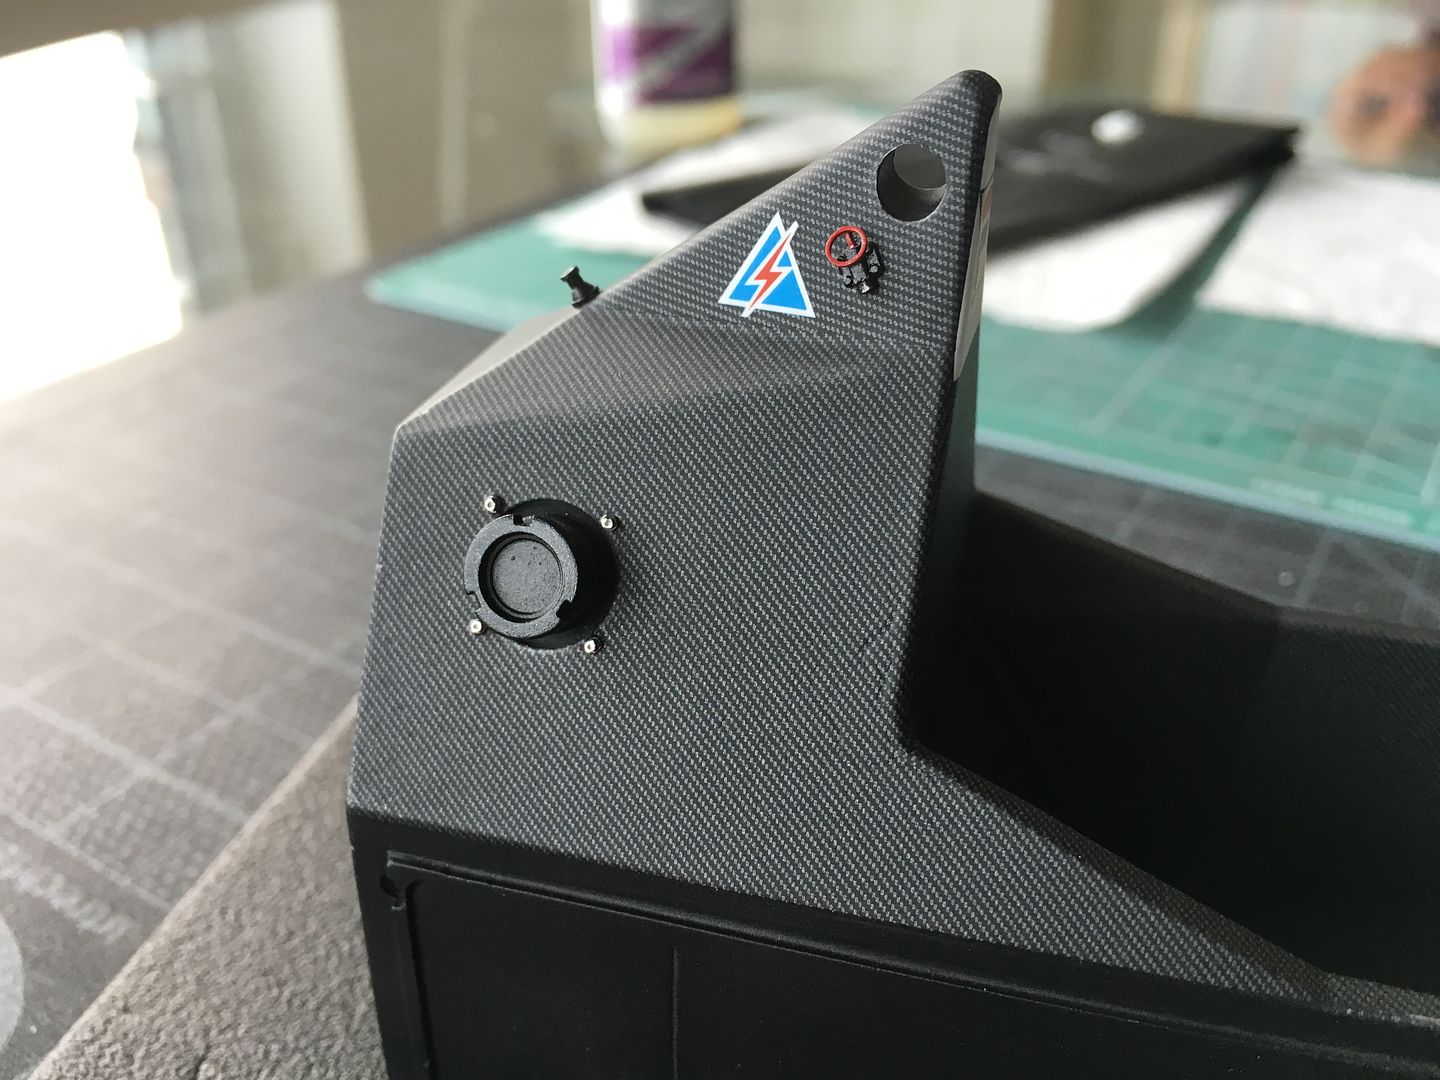
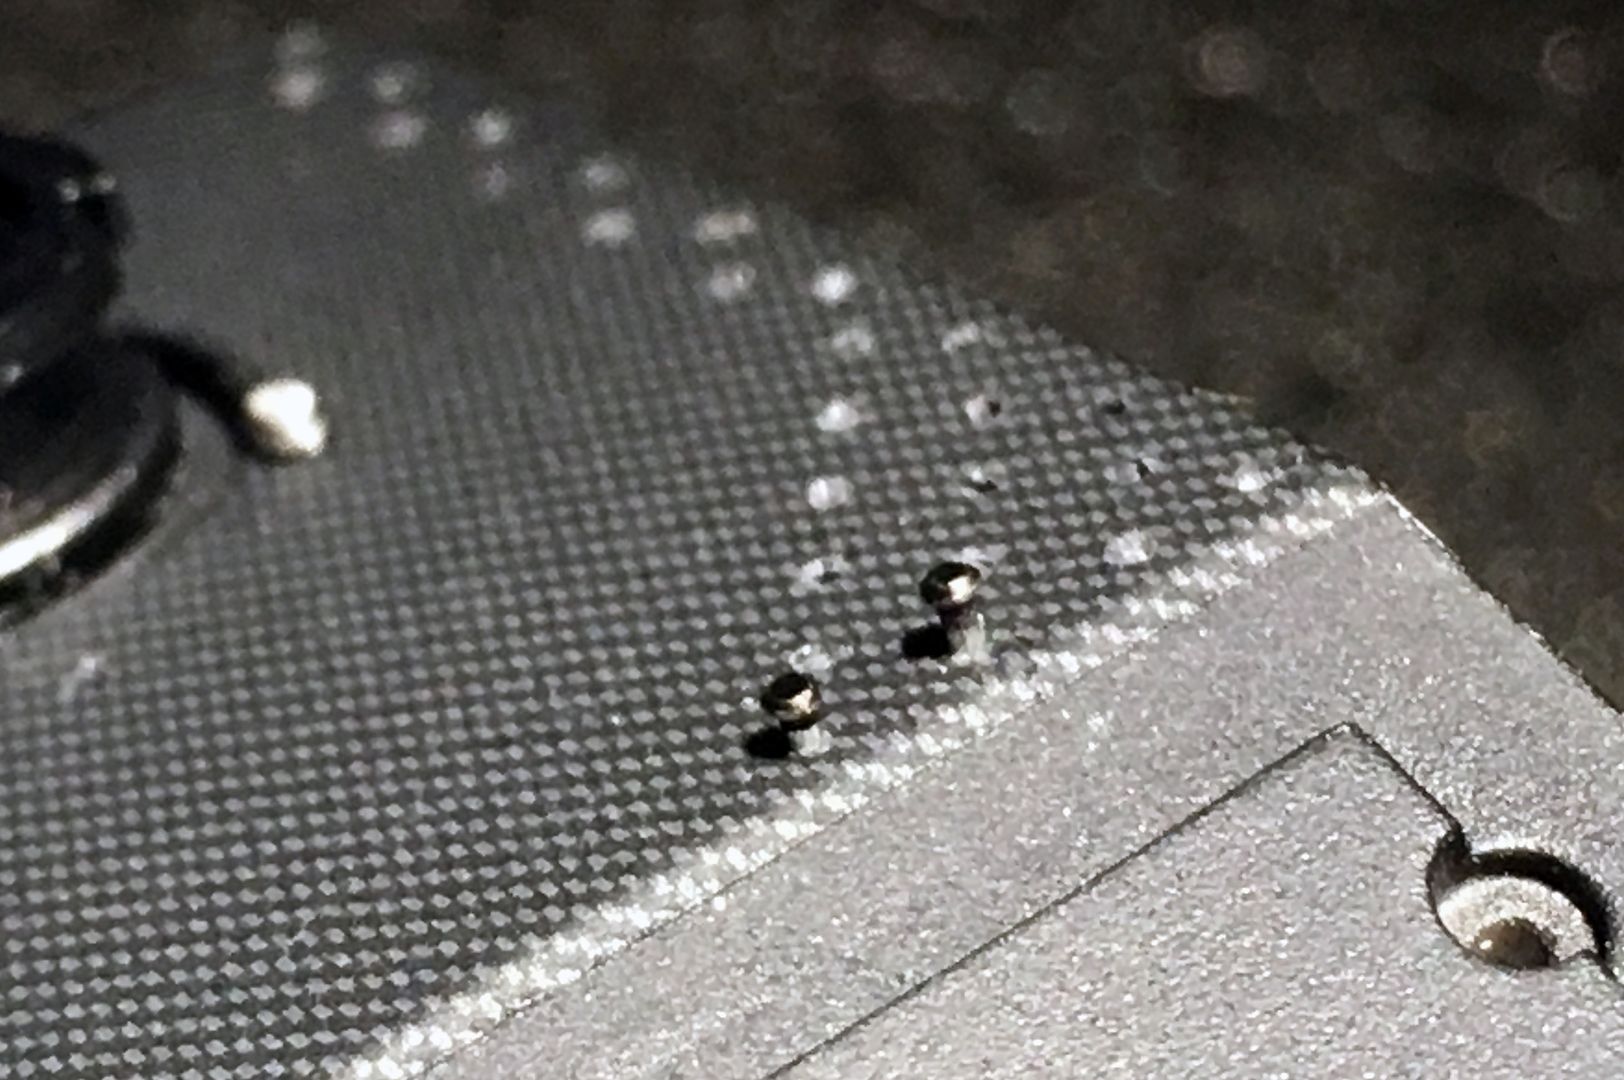
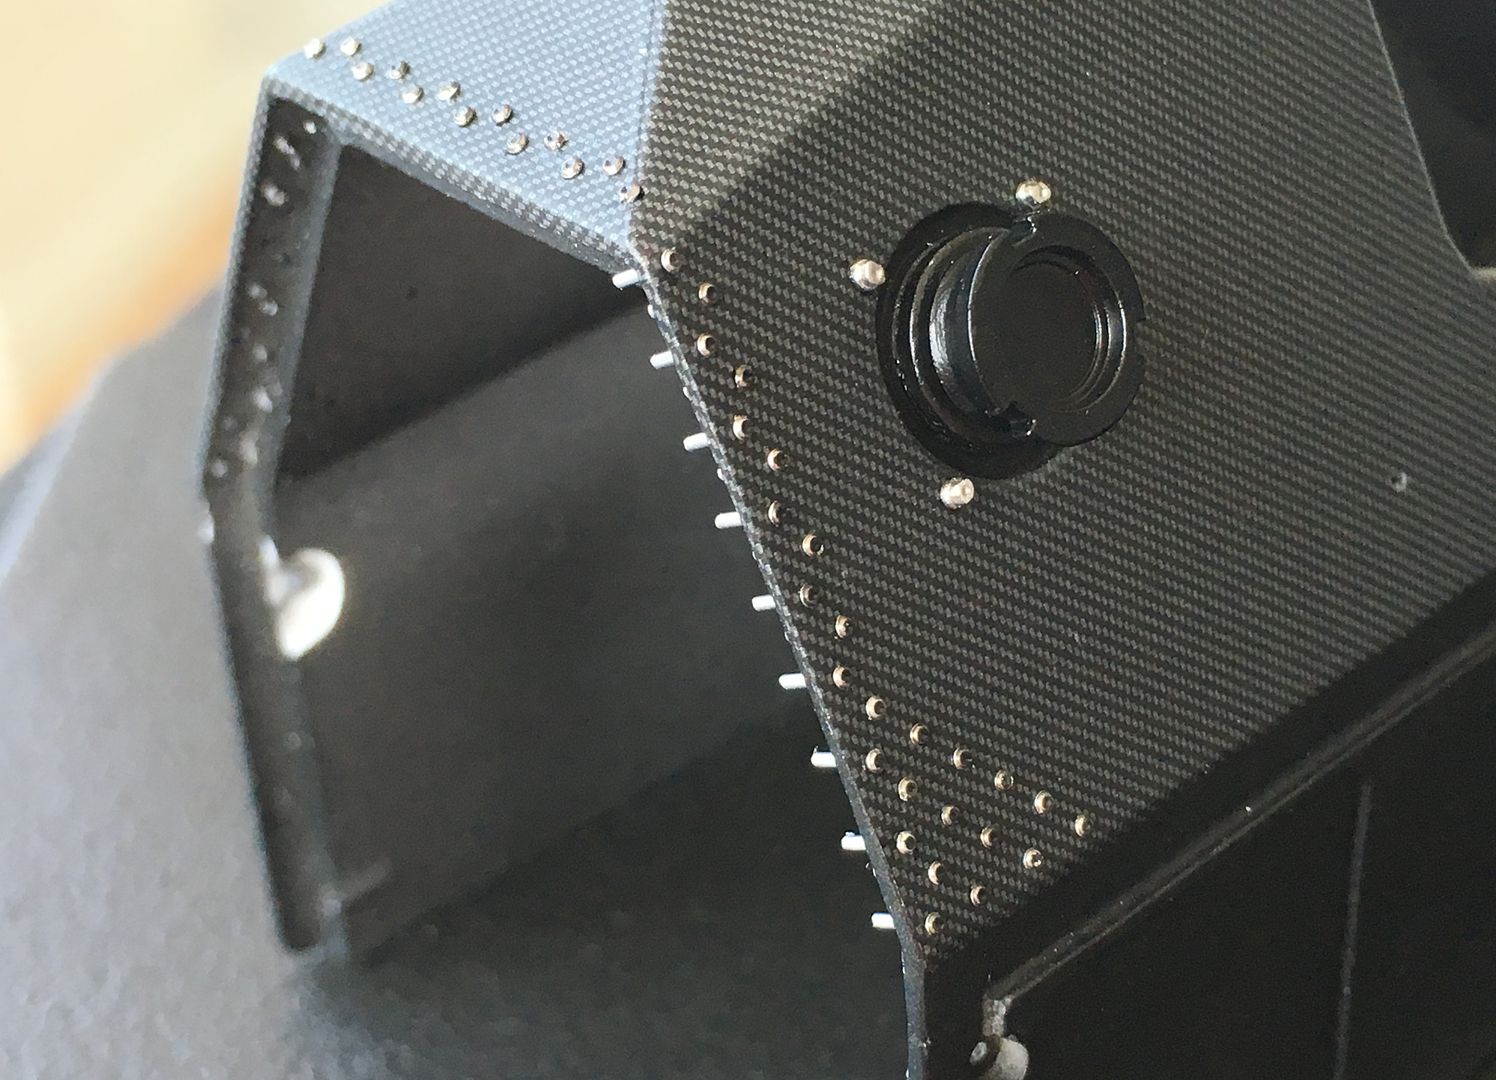
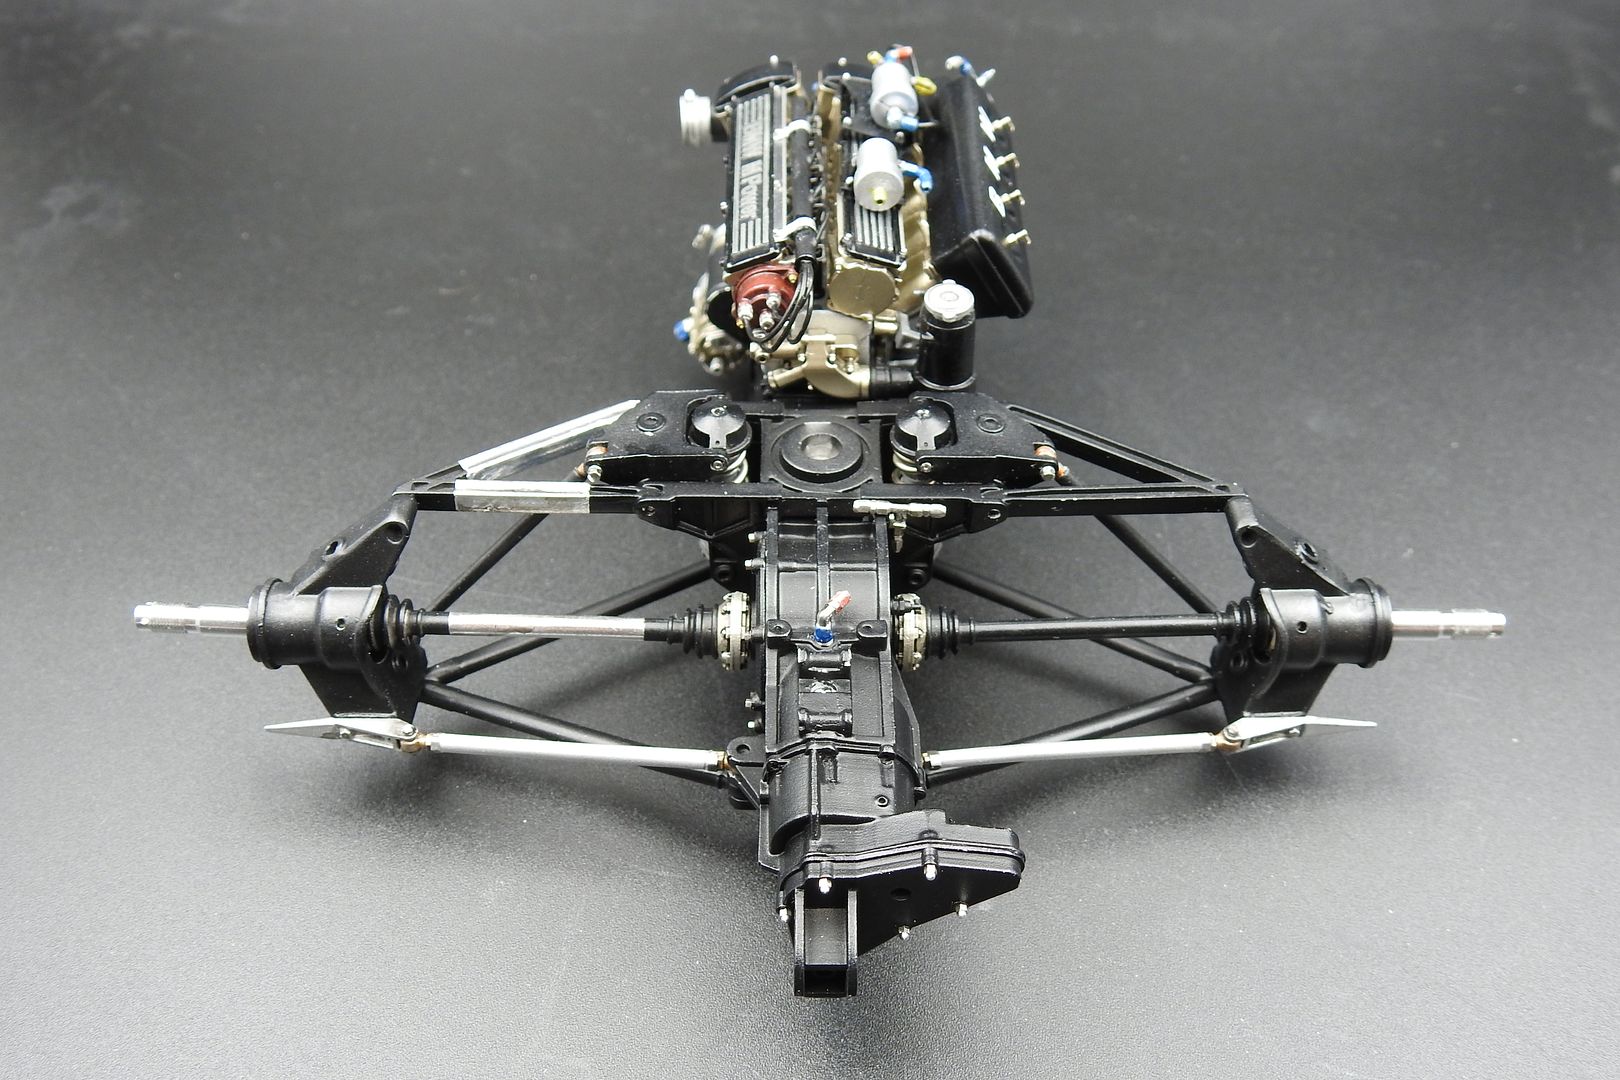
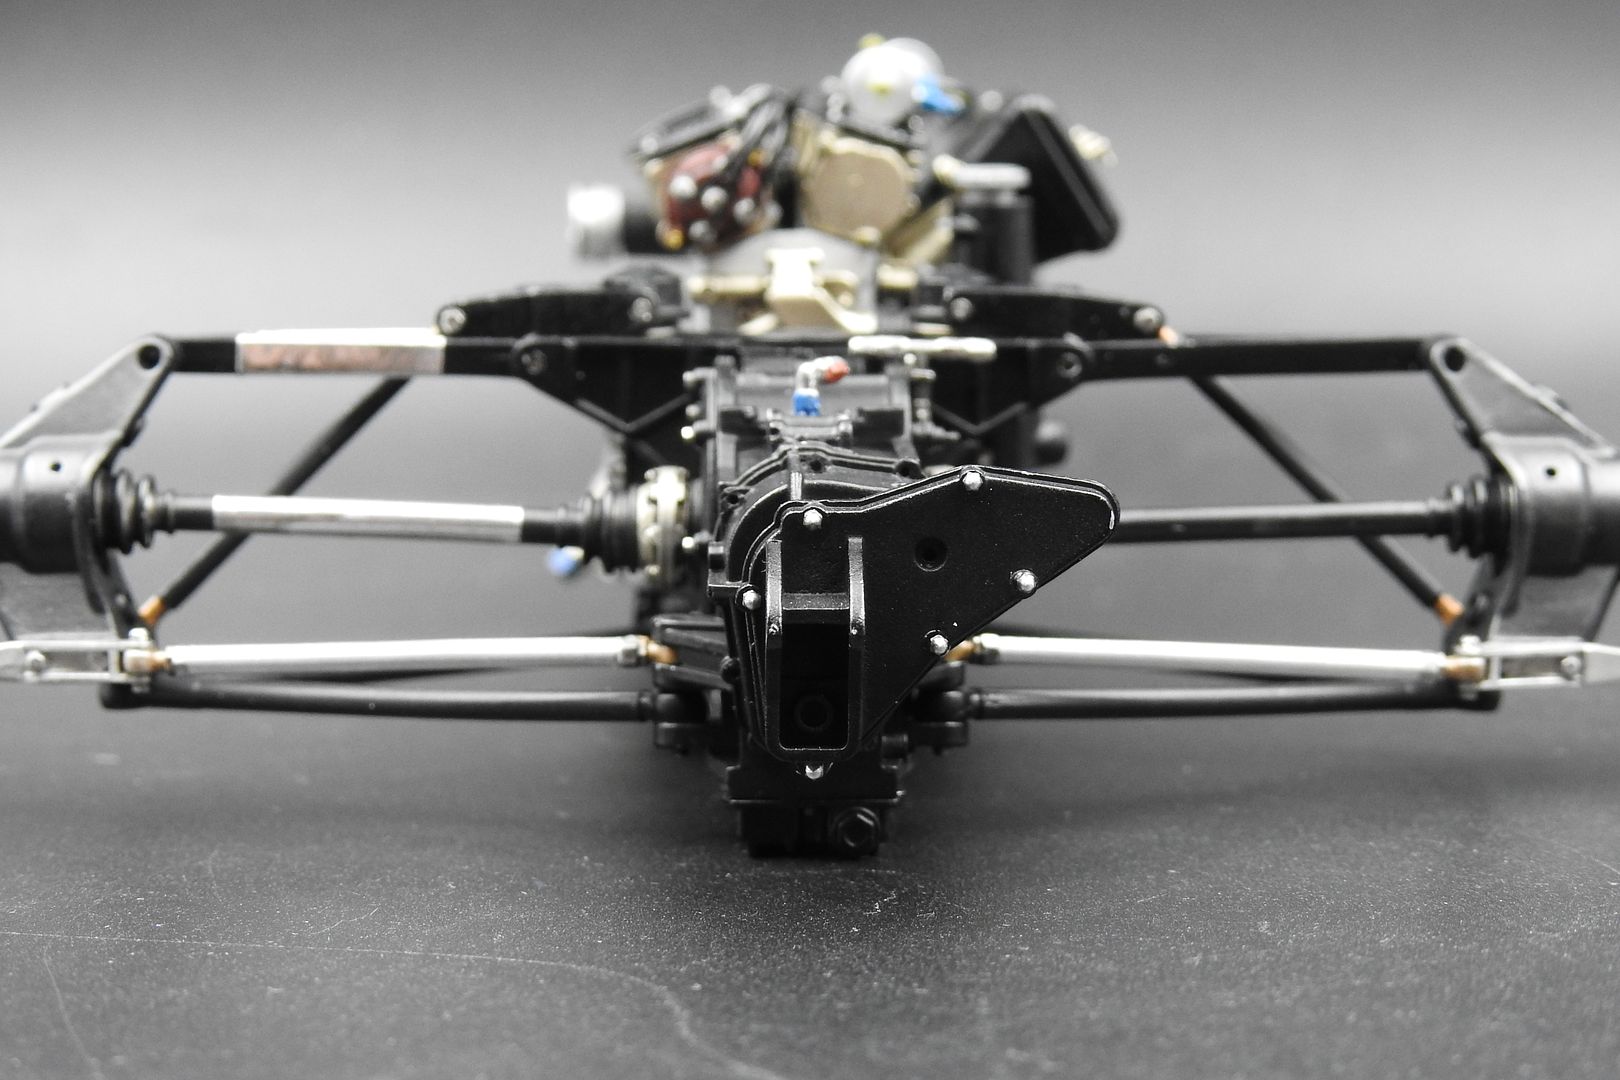
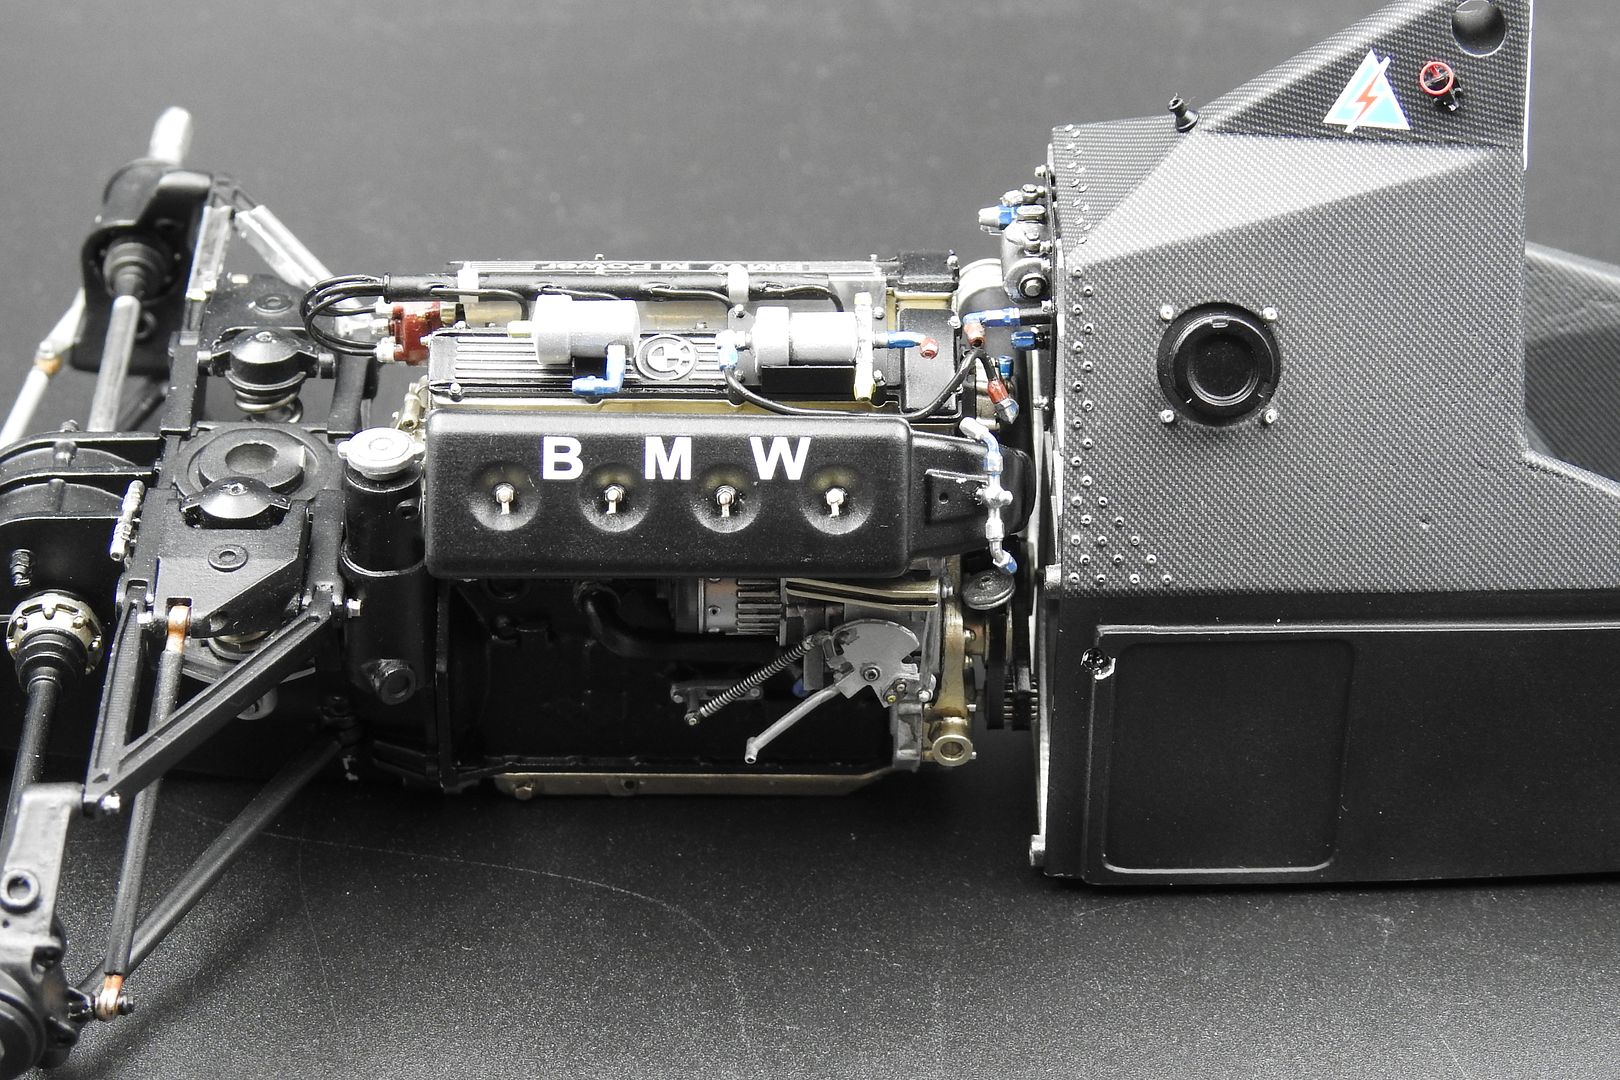
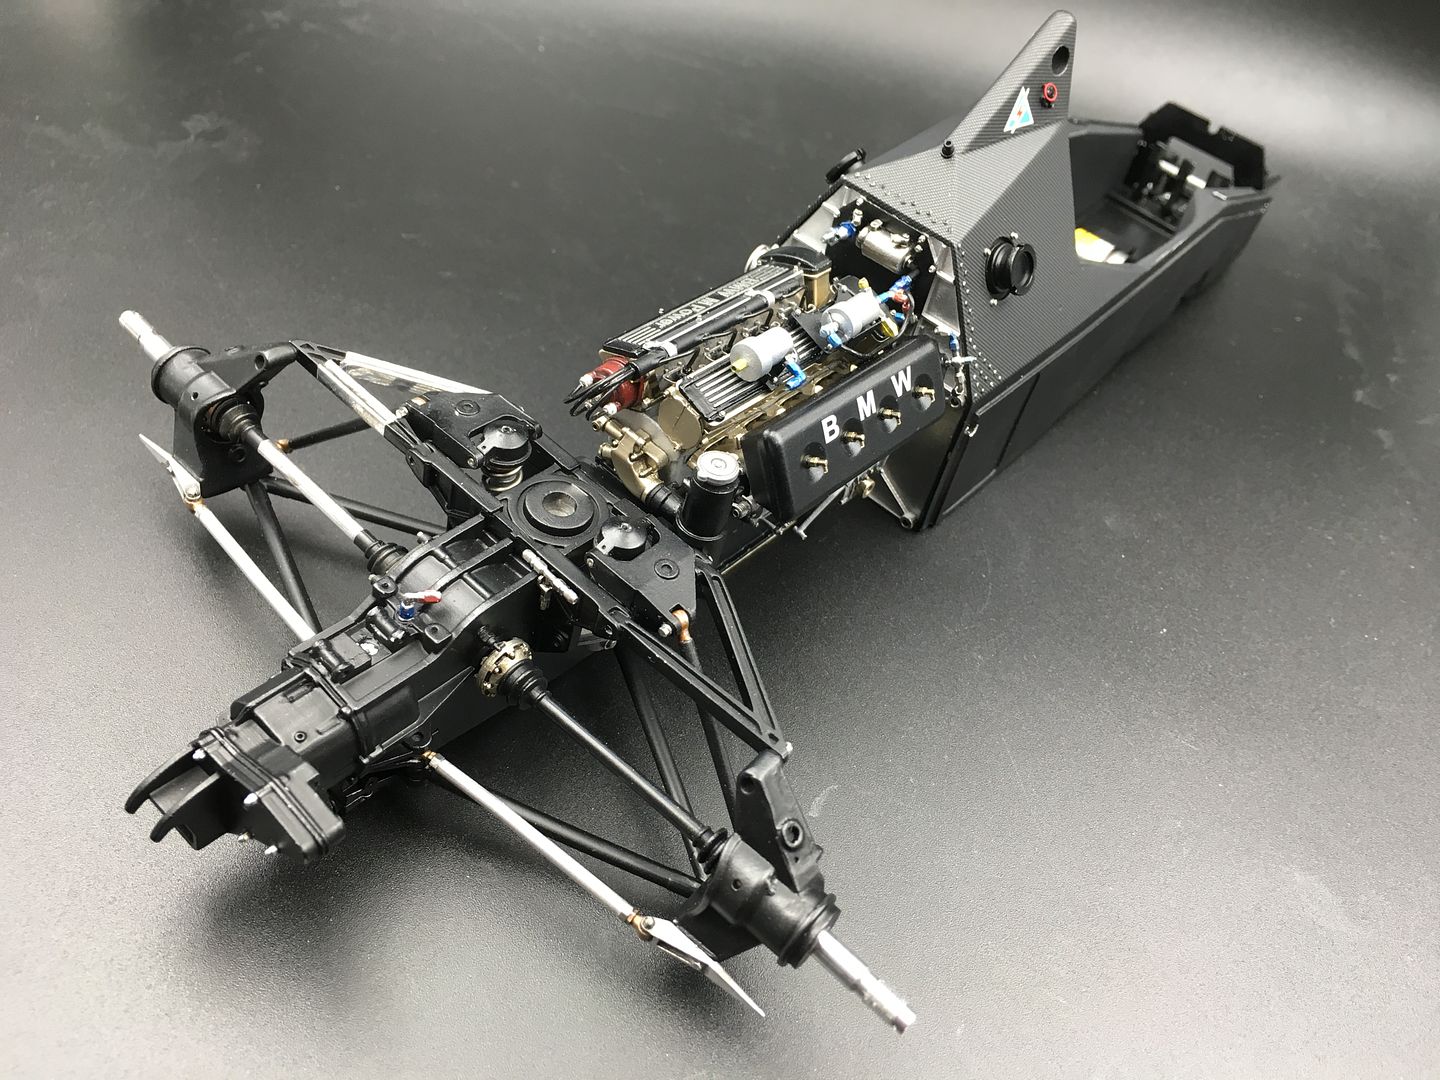
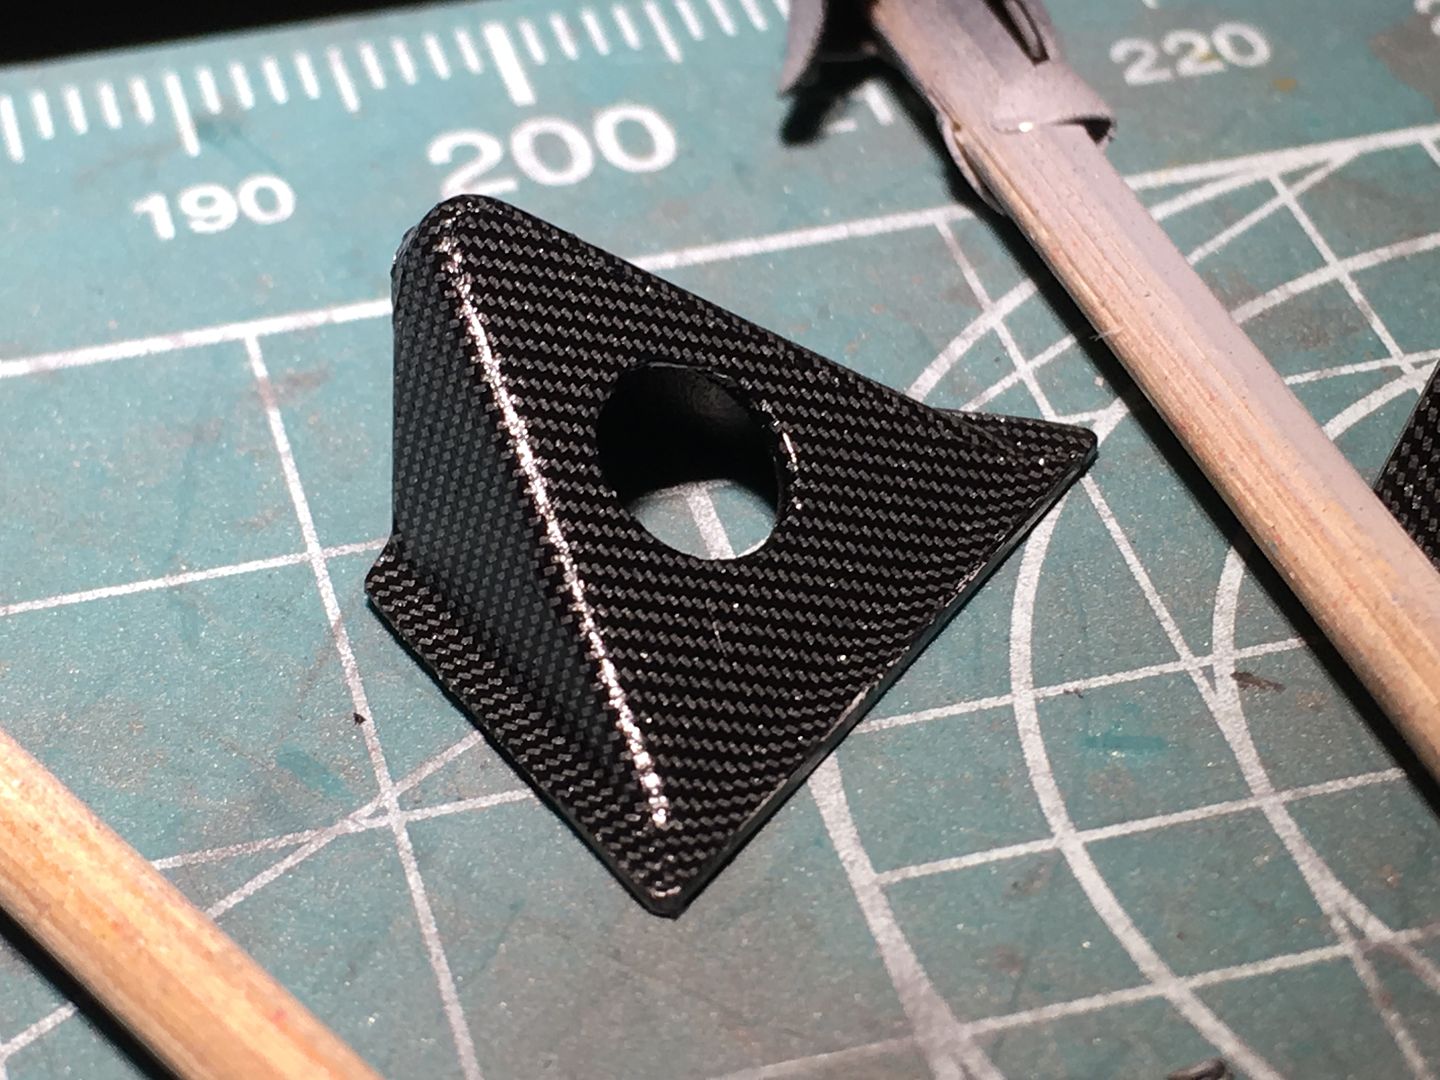
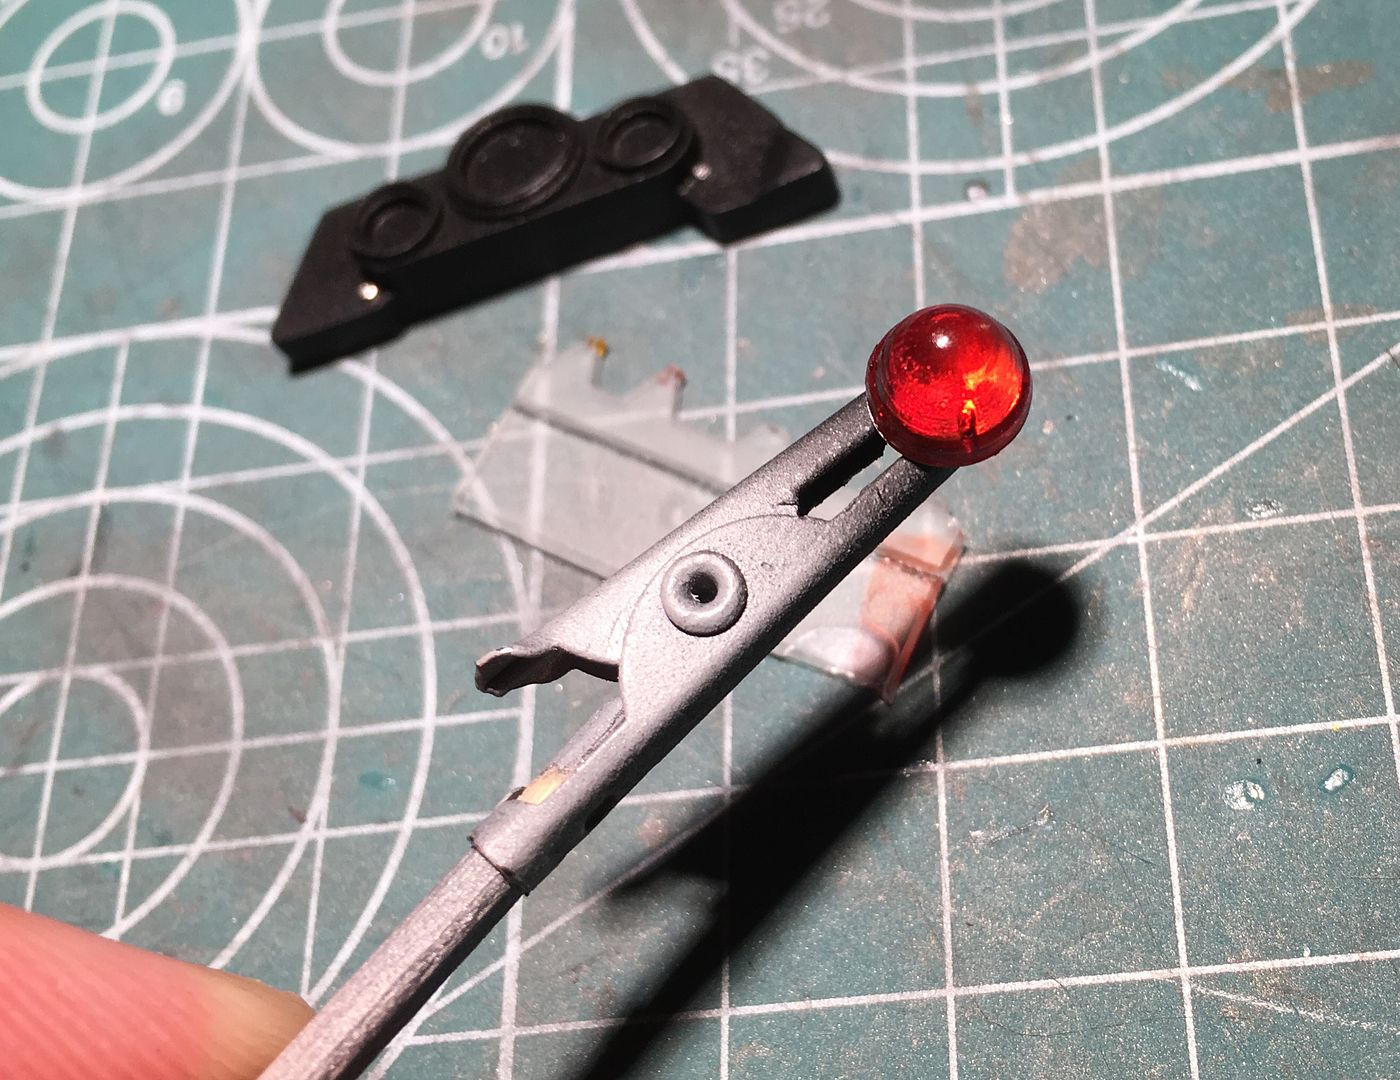
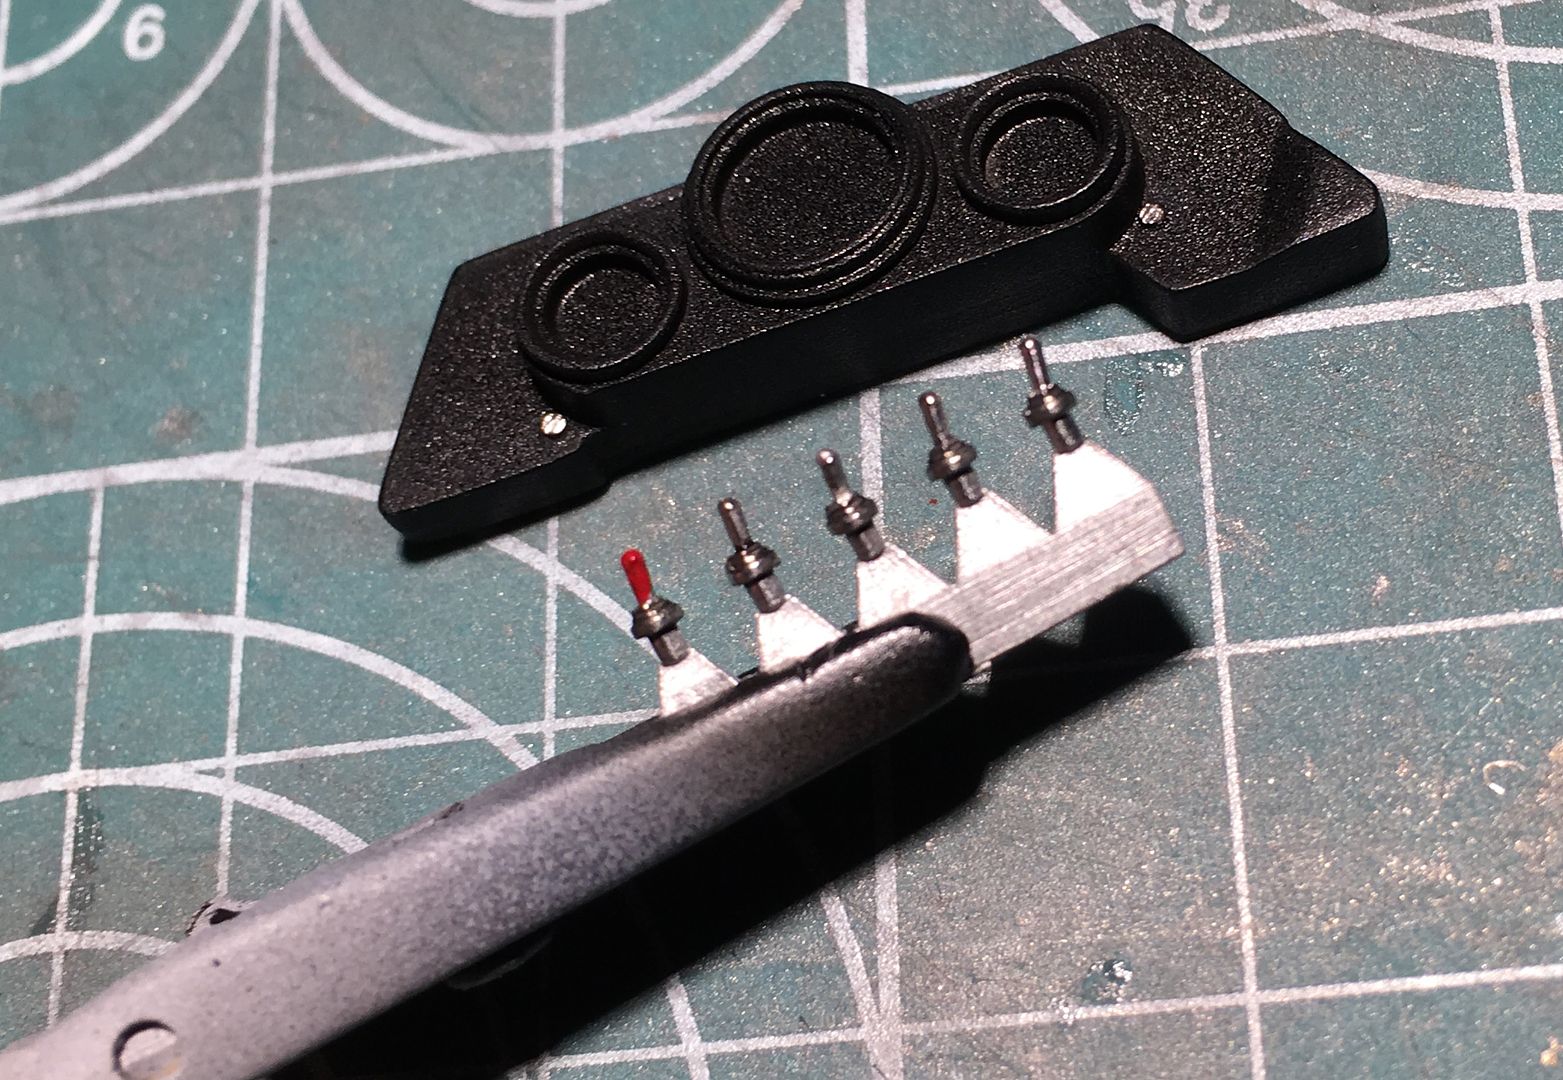
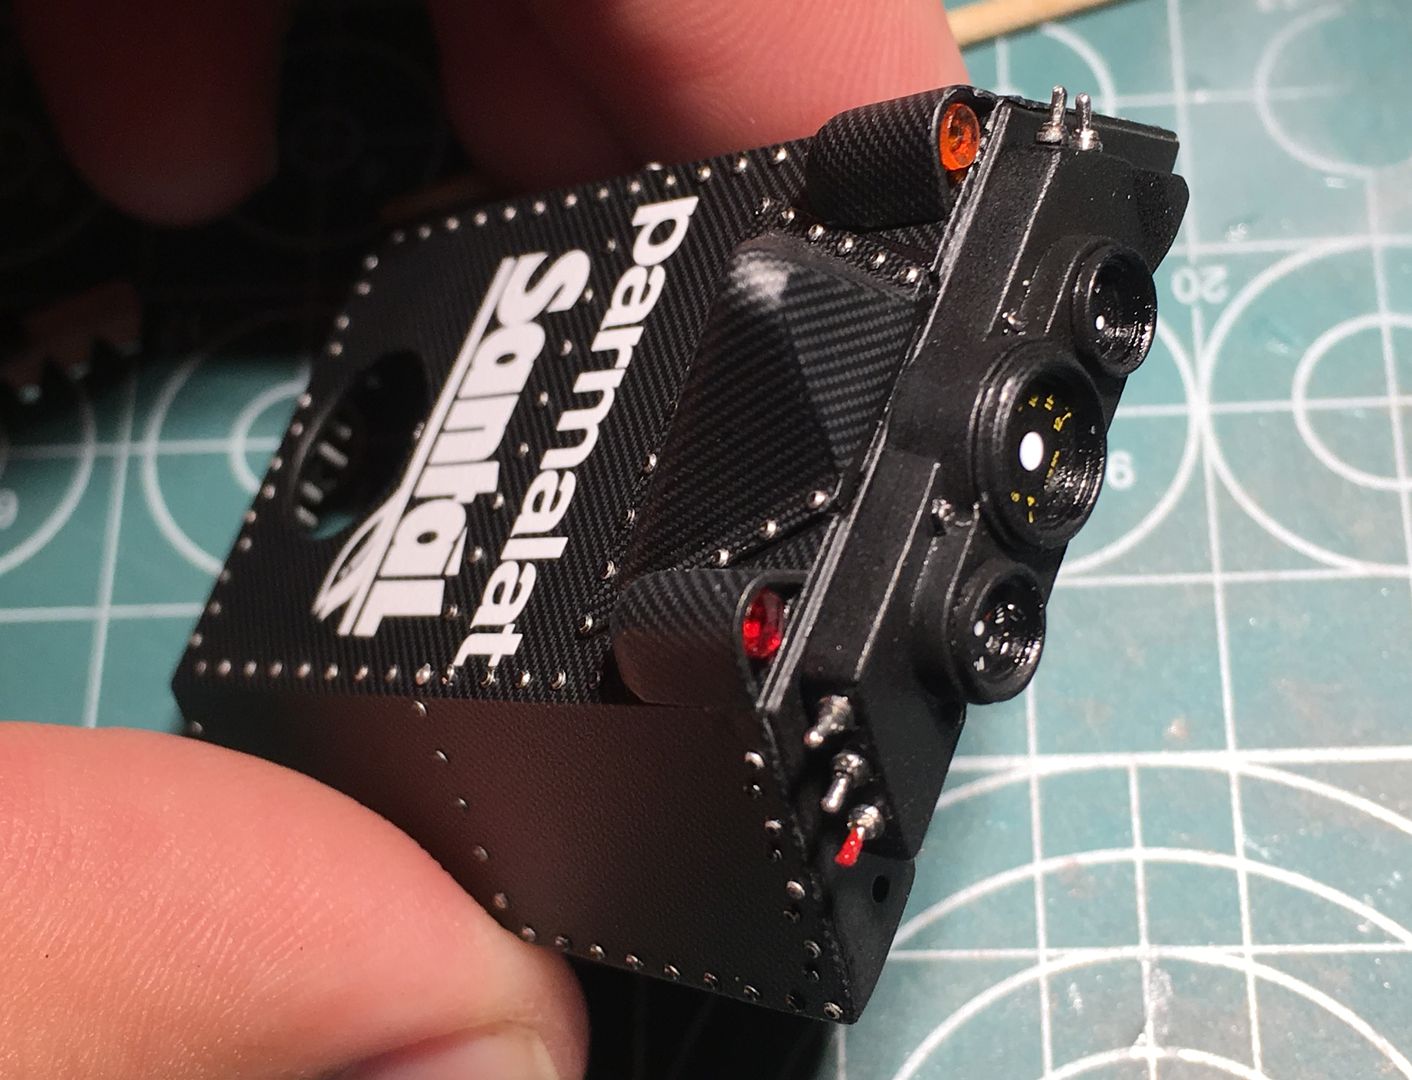
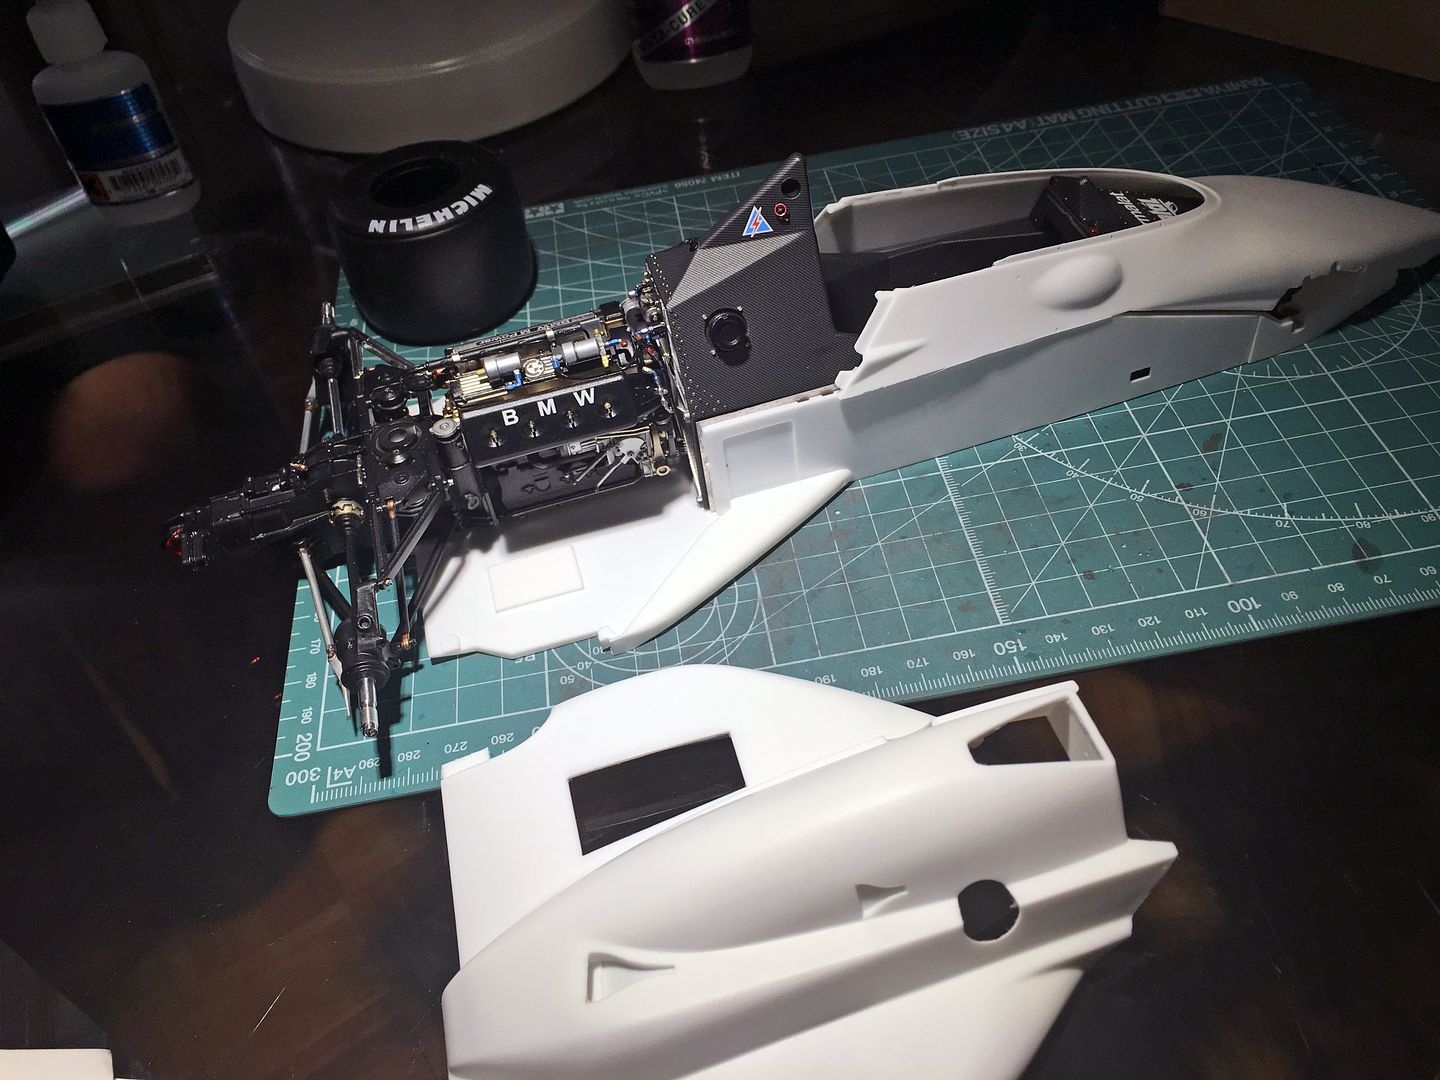
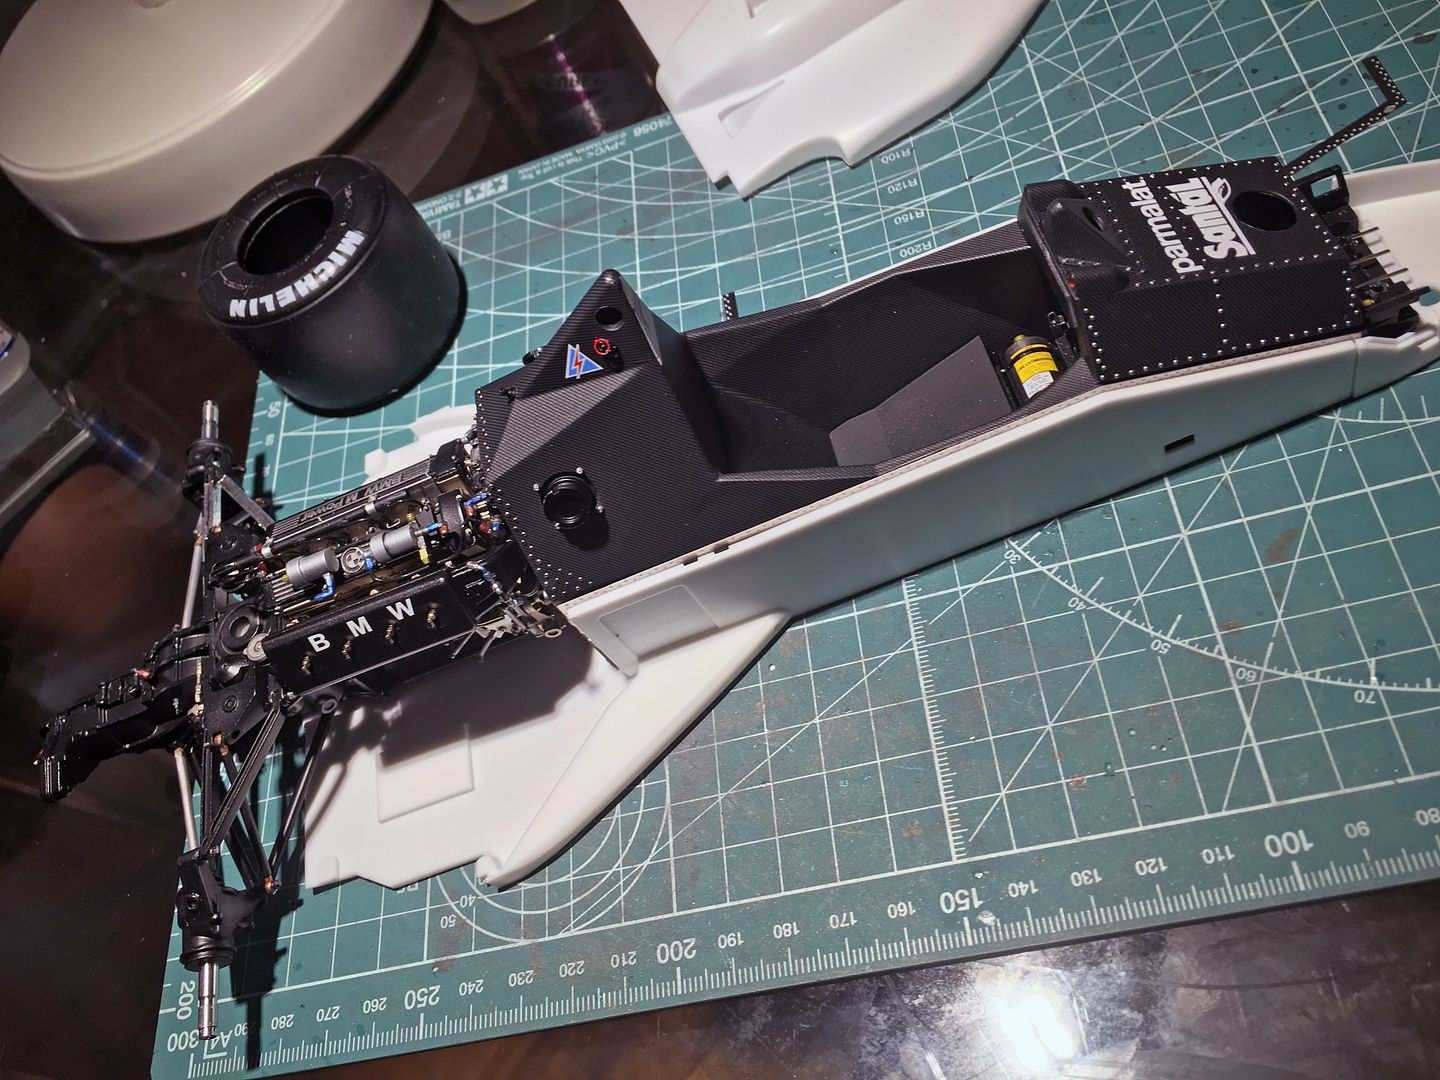
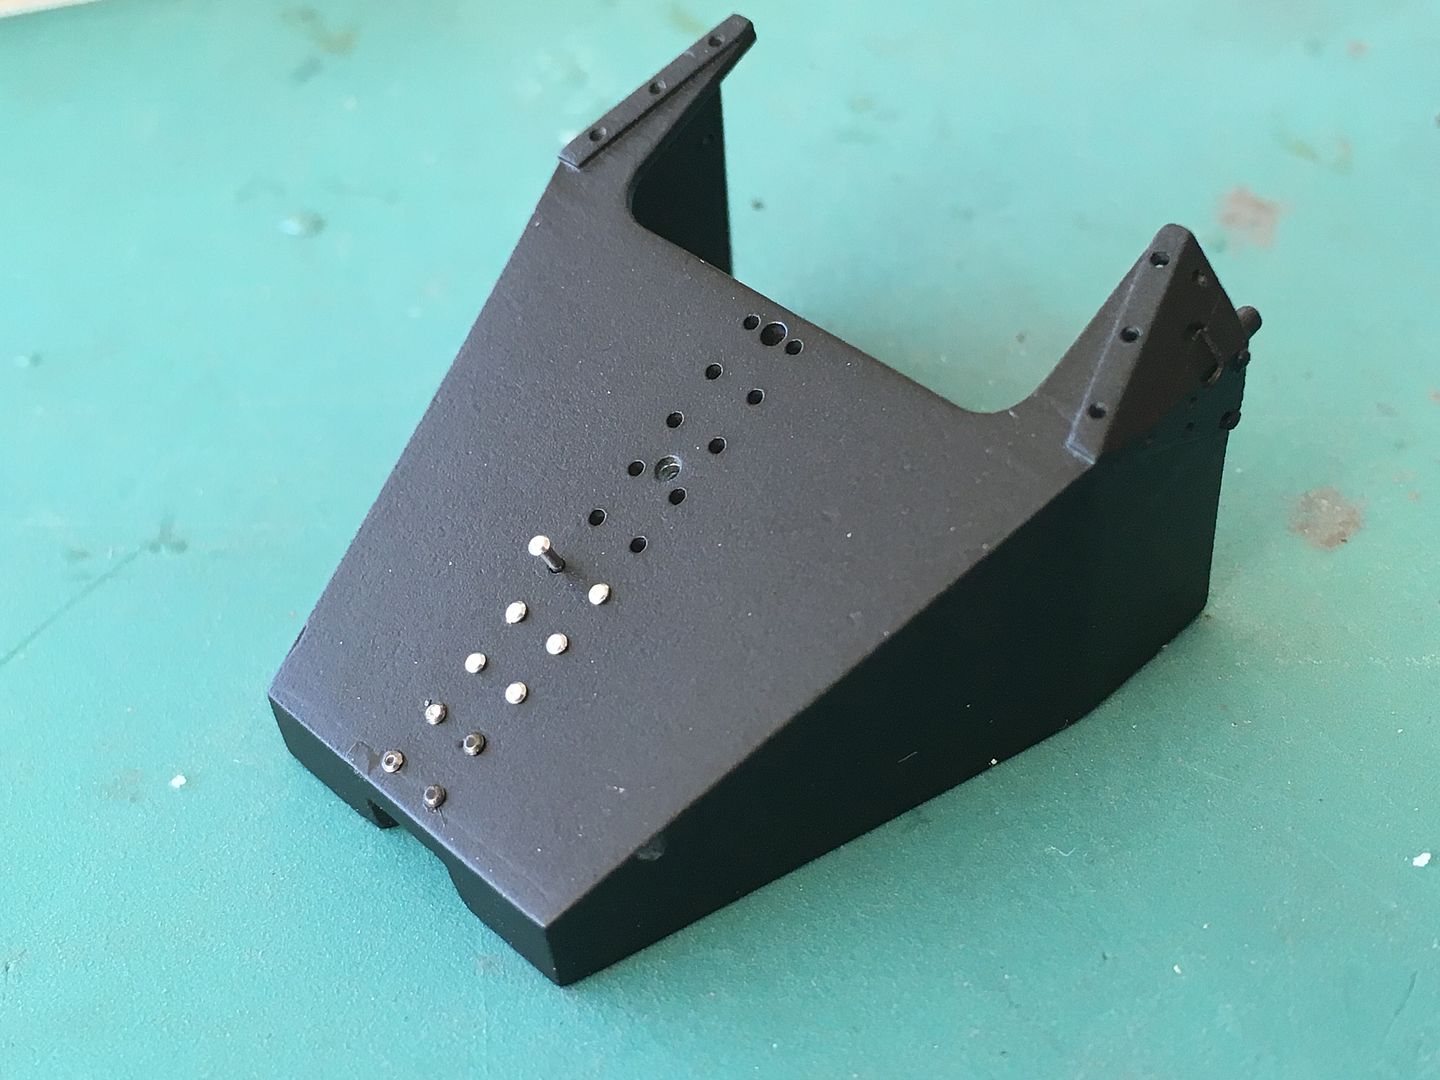
Adding bulkhead detail.
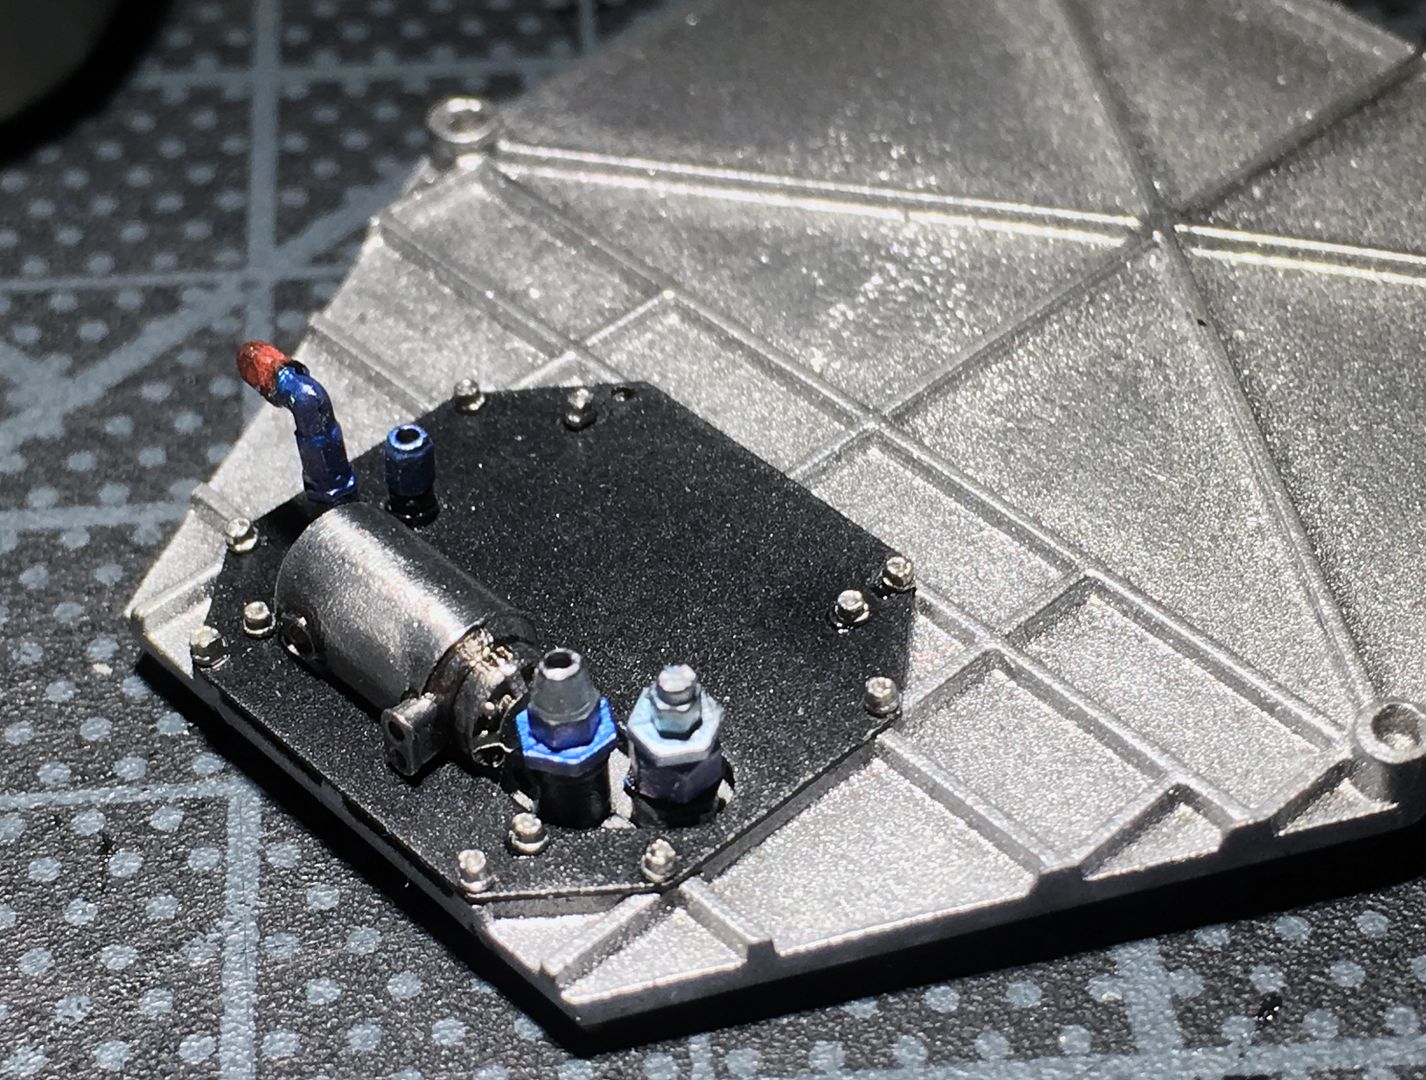
Those little bolts that fix the black panel to the bulkhead were the biggest paint so far!! SOOOO small and hard to hold as you try and puch them into the hole, without any glue showing! Lost one.
Lots of wiring and finishing to do still - but trying to get the construction part of the sub-assemblies sorted first, as I will only damage the wiring if I did that first!
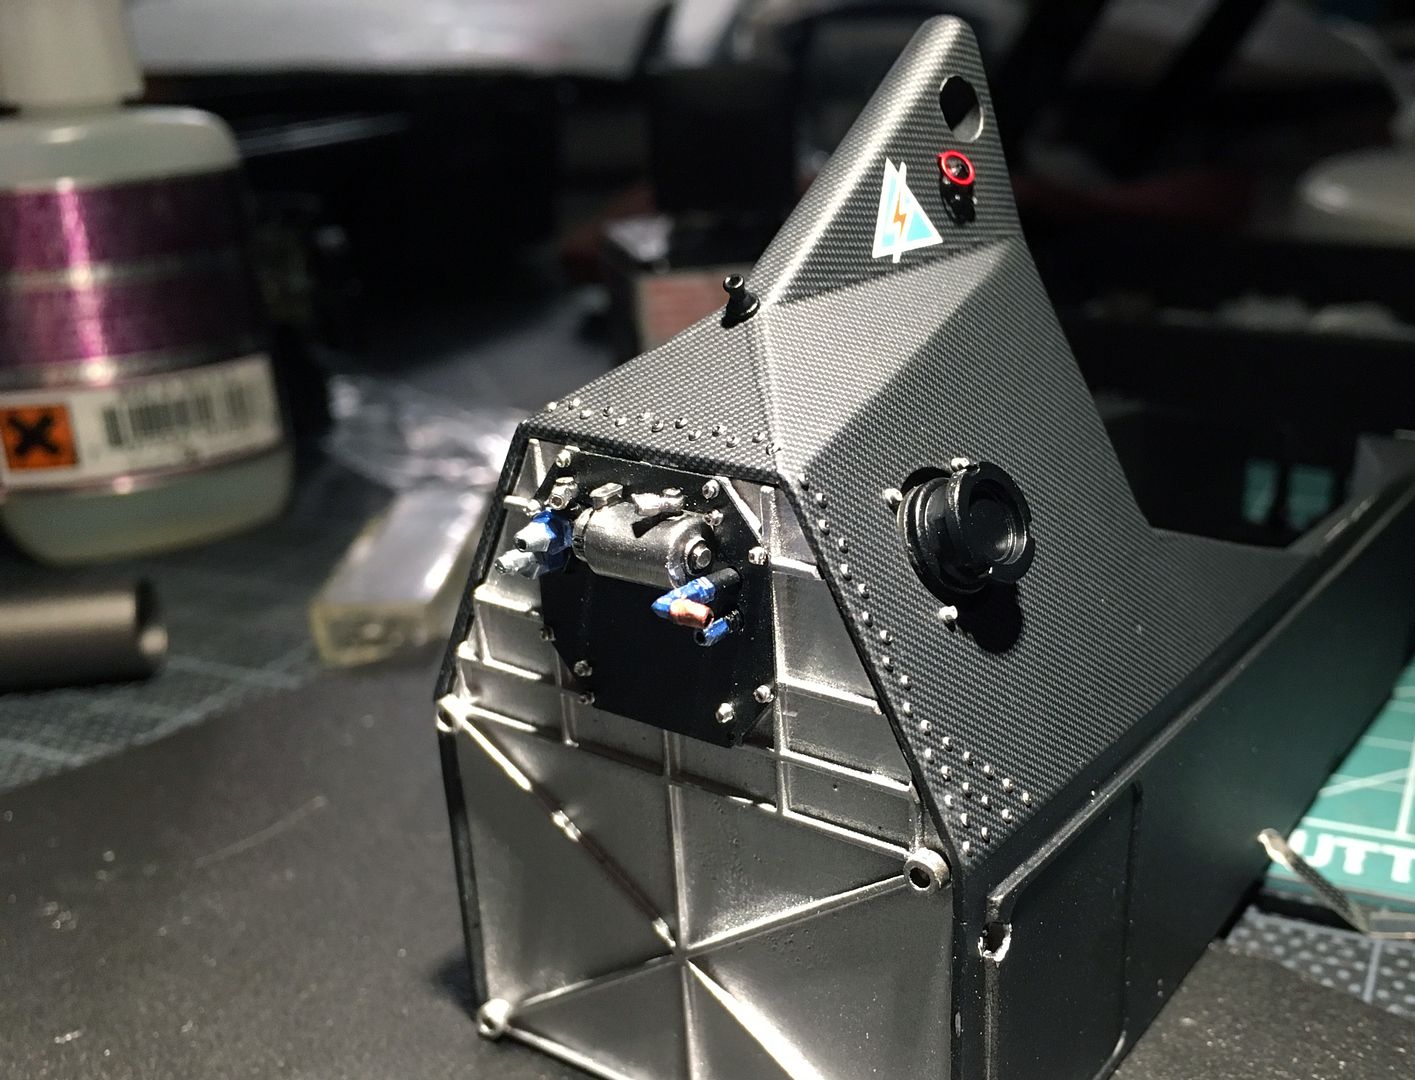

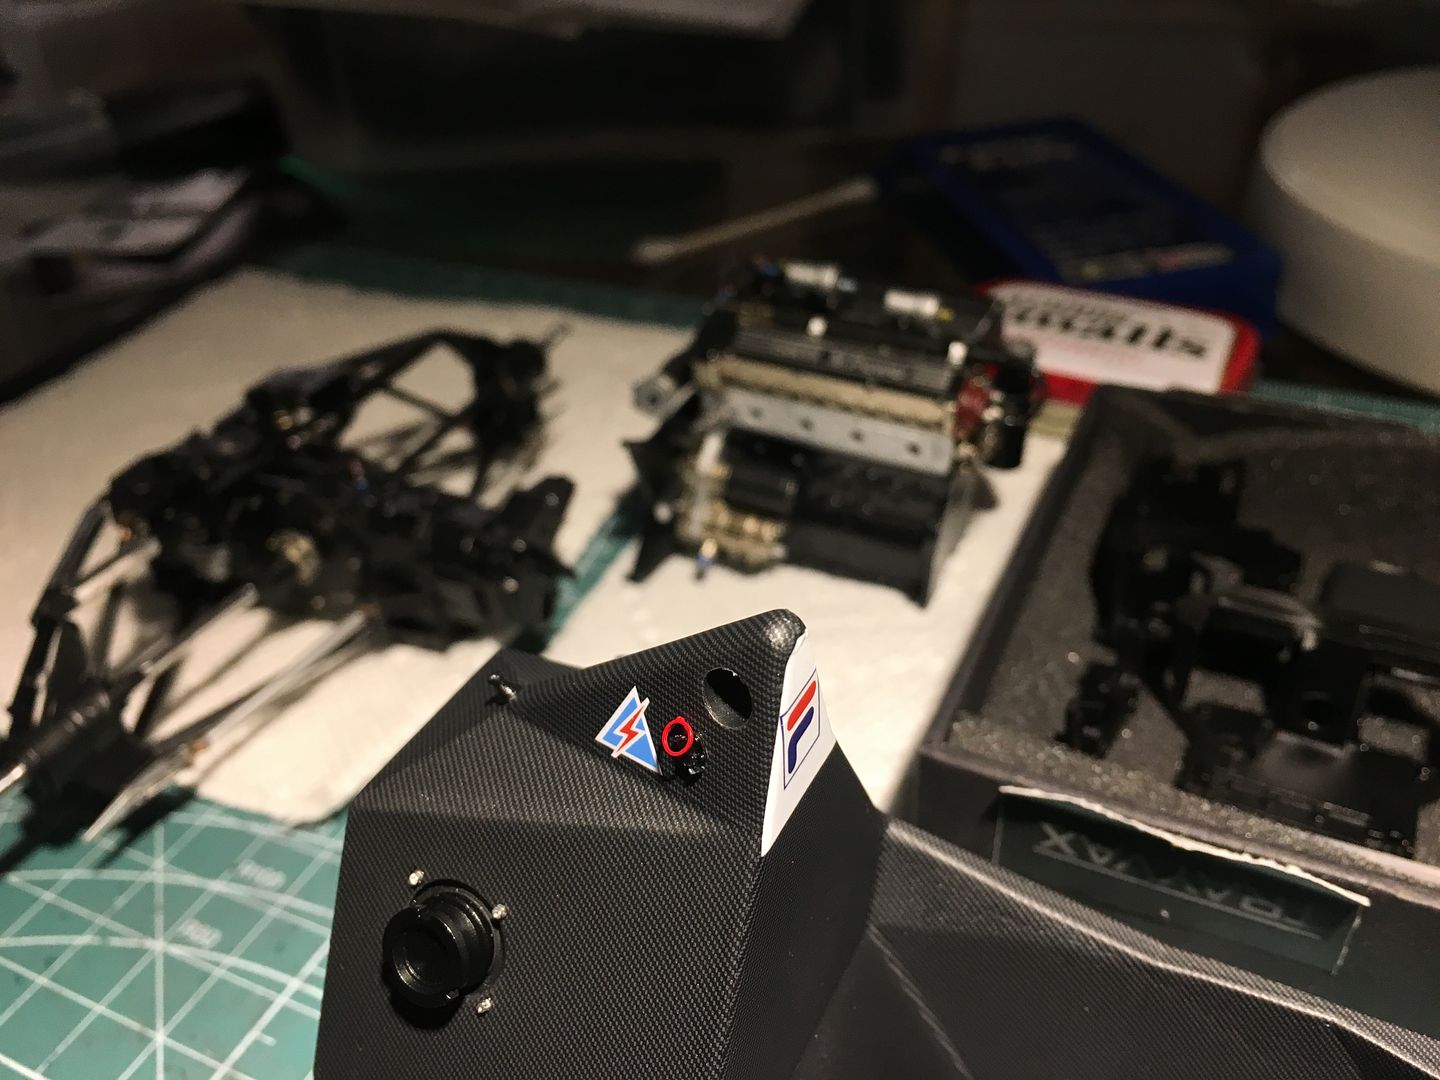
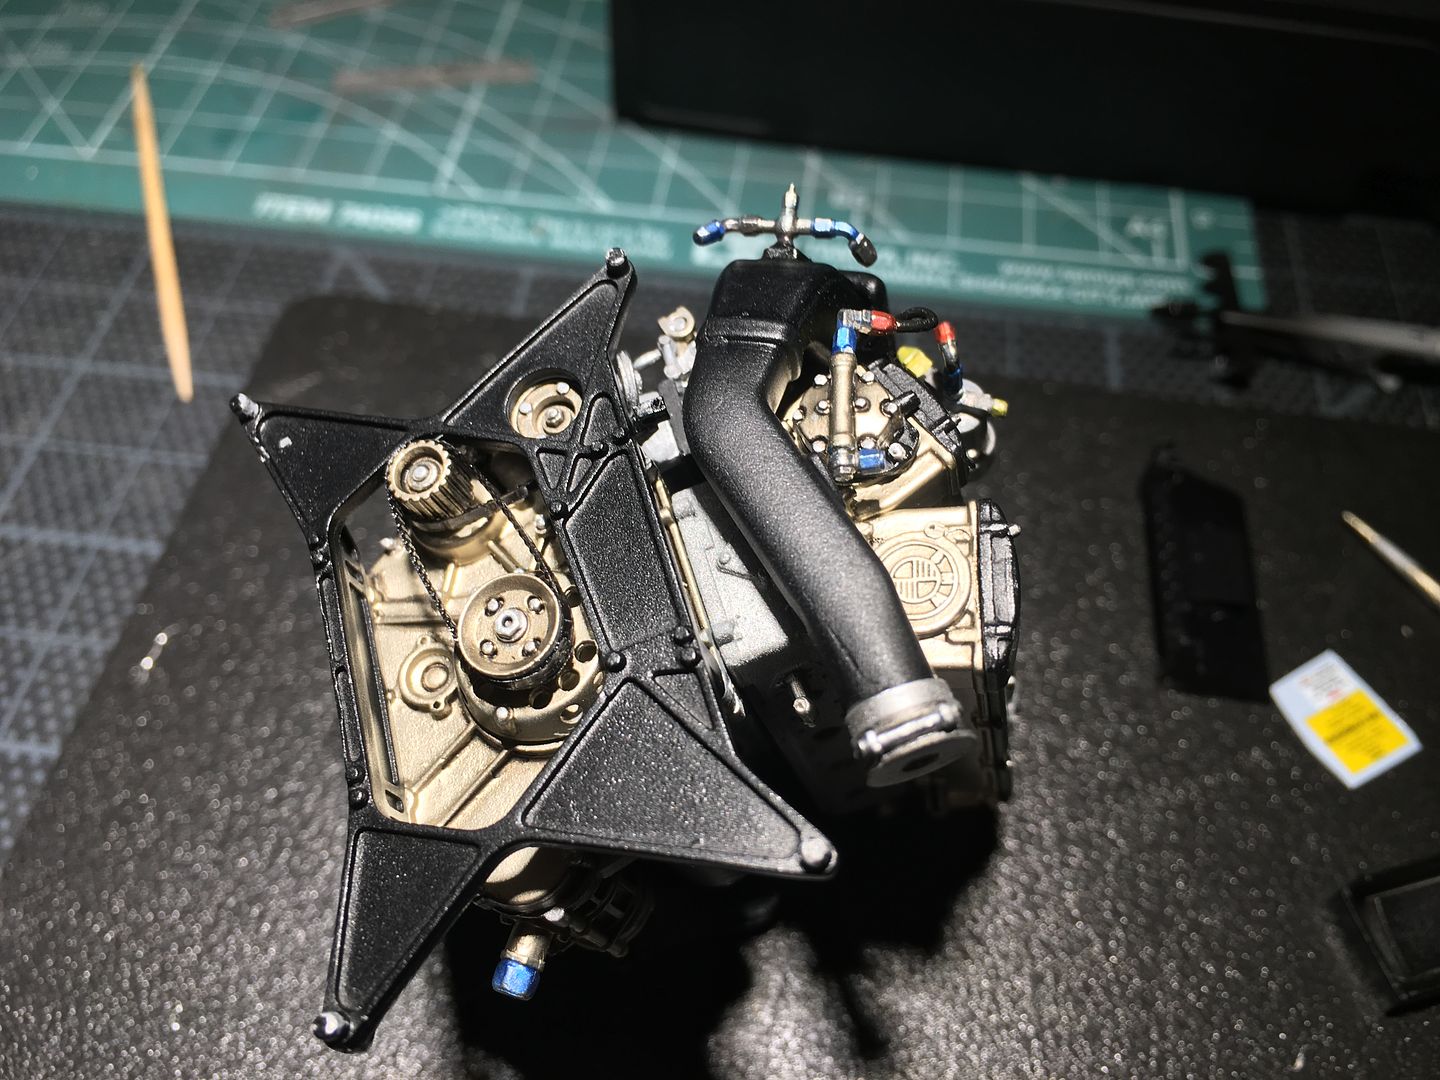
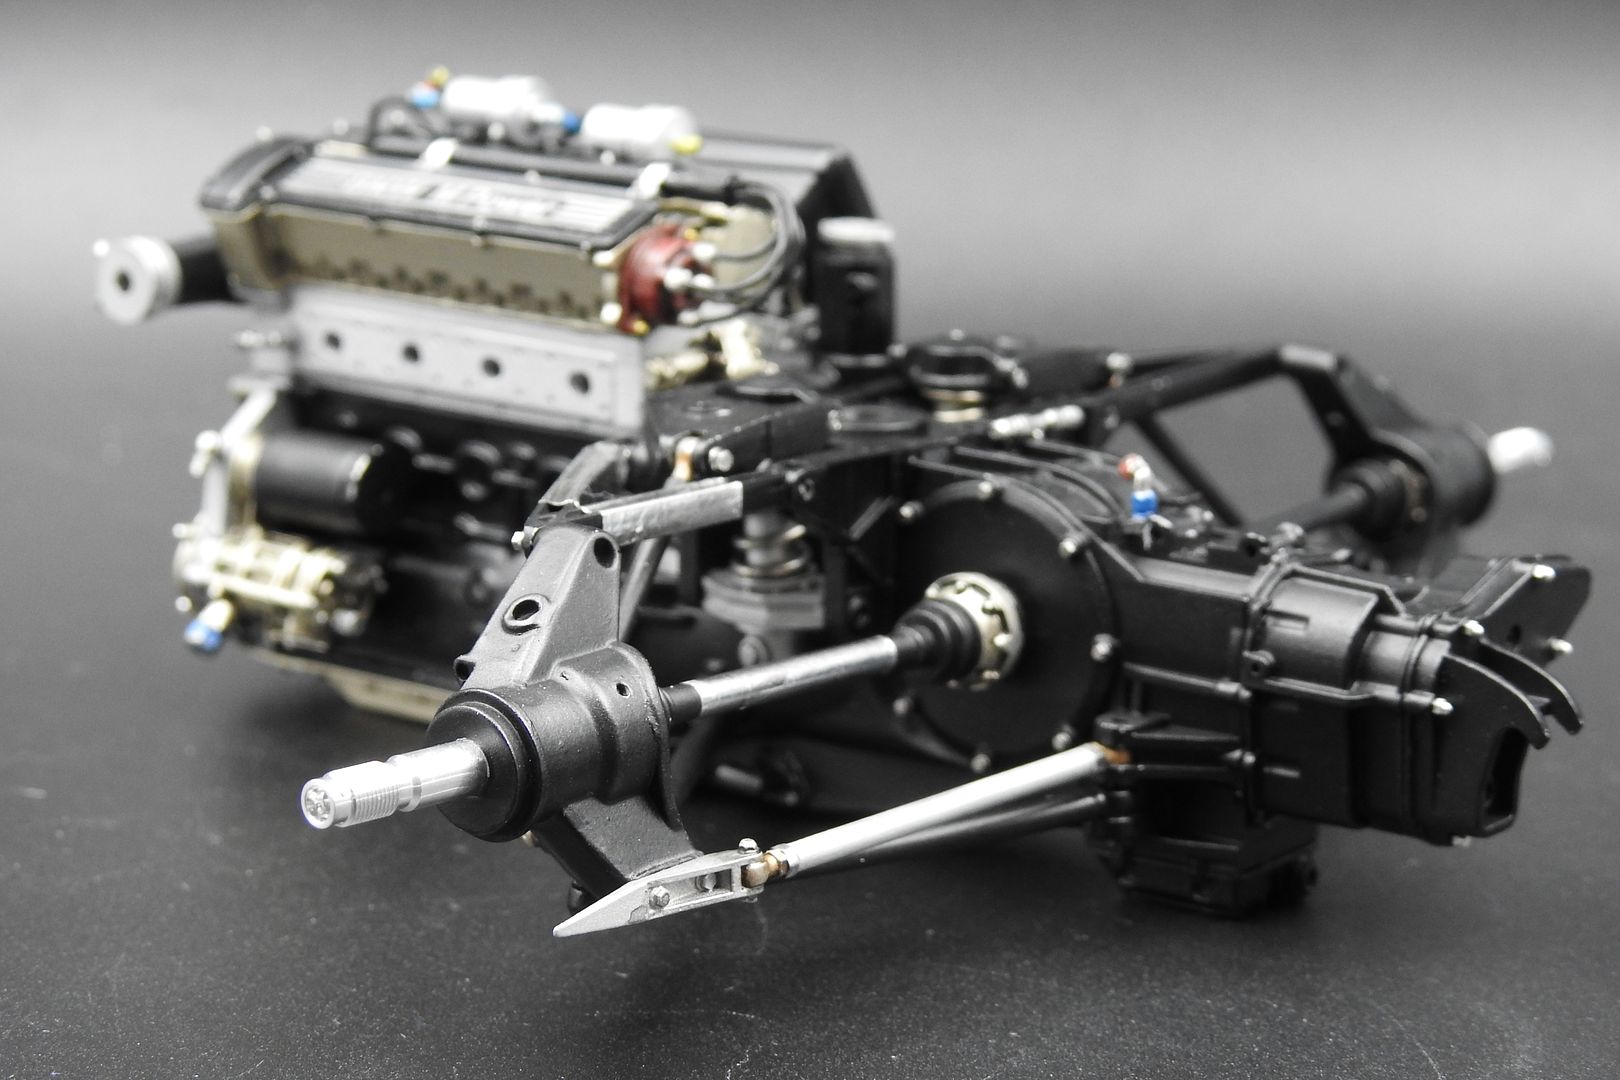
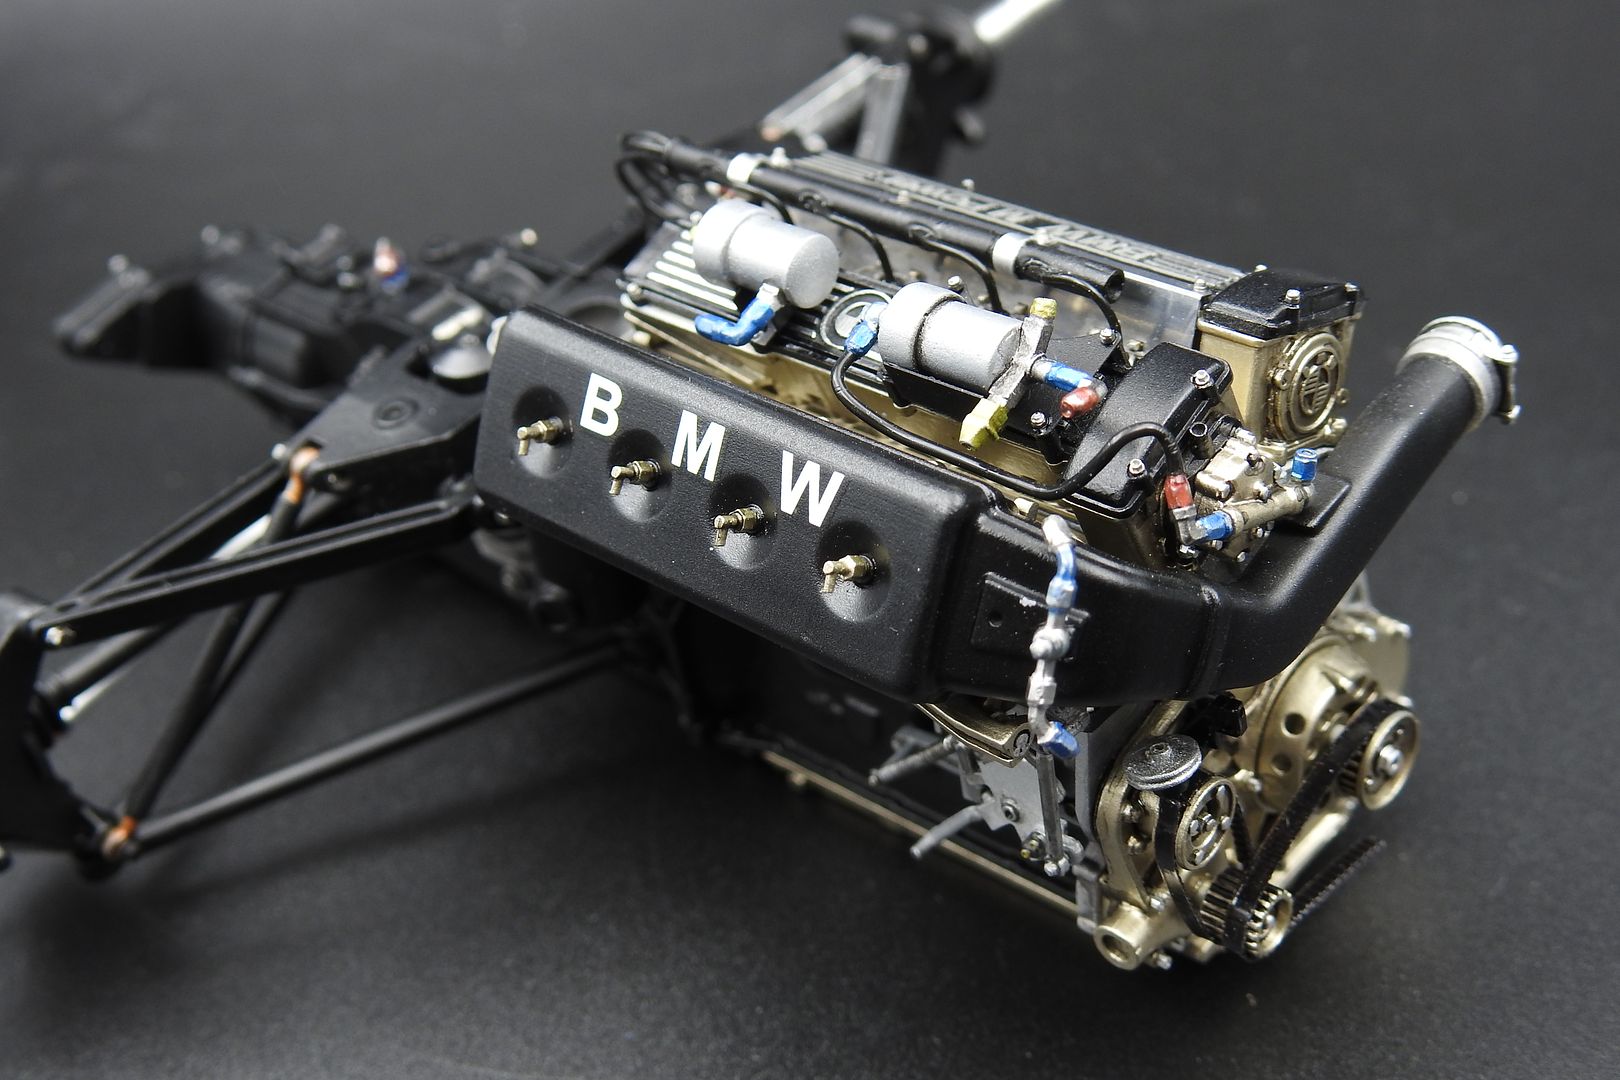
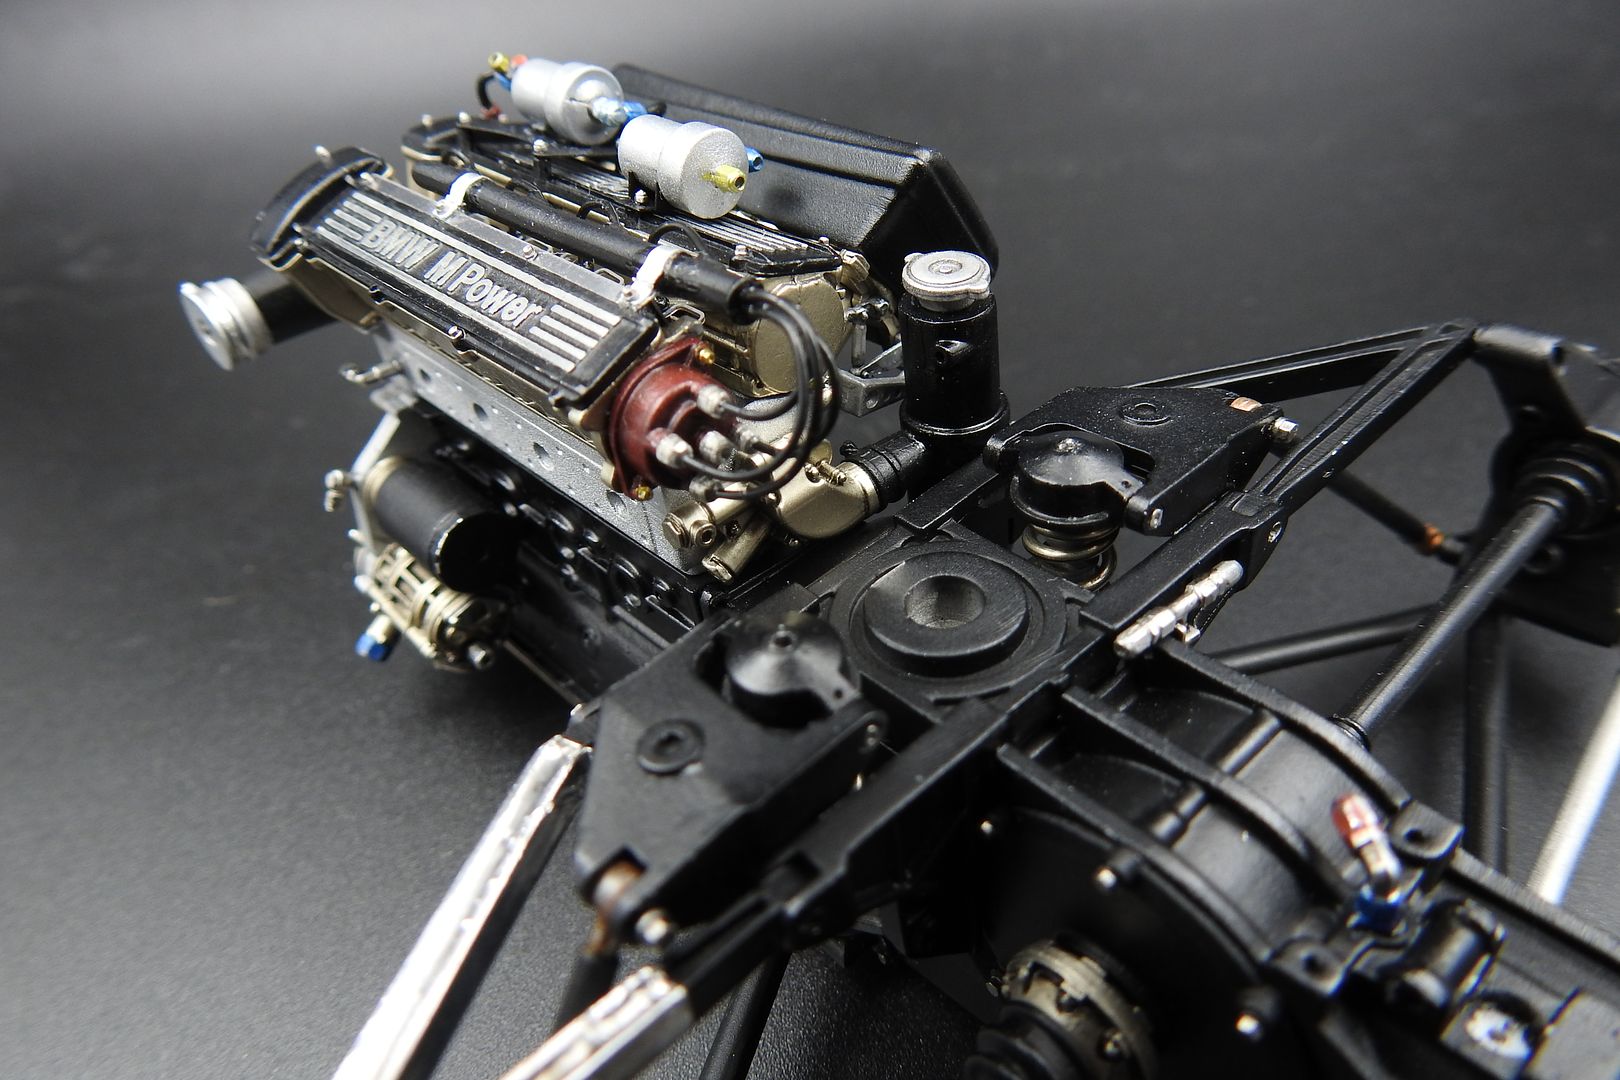
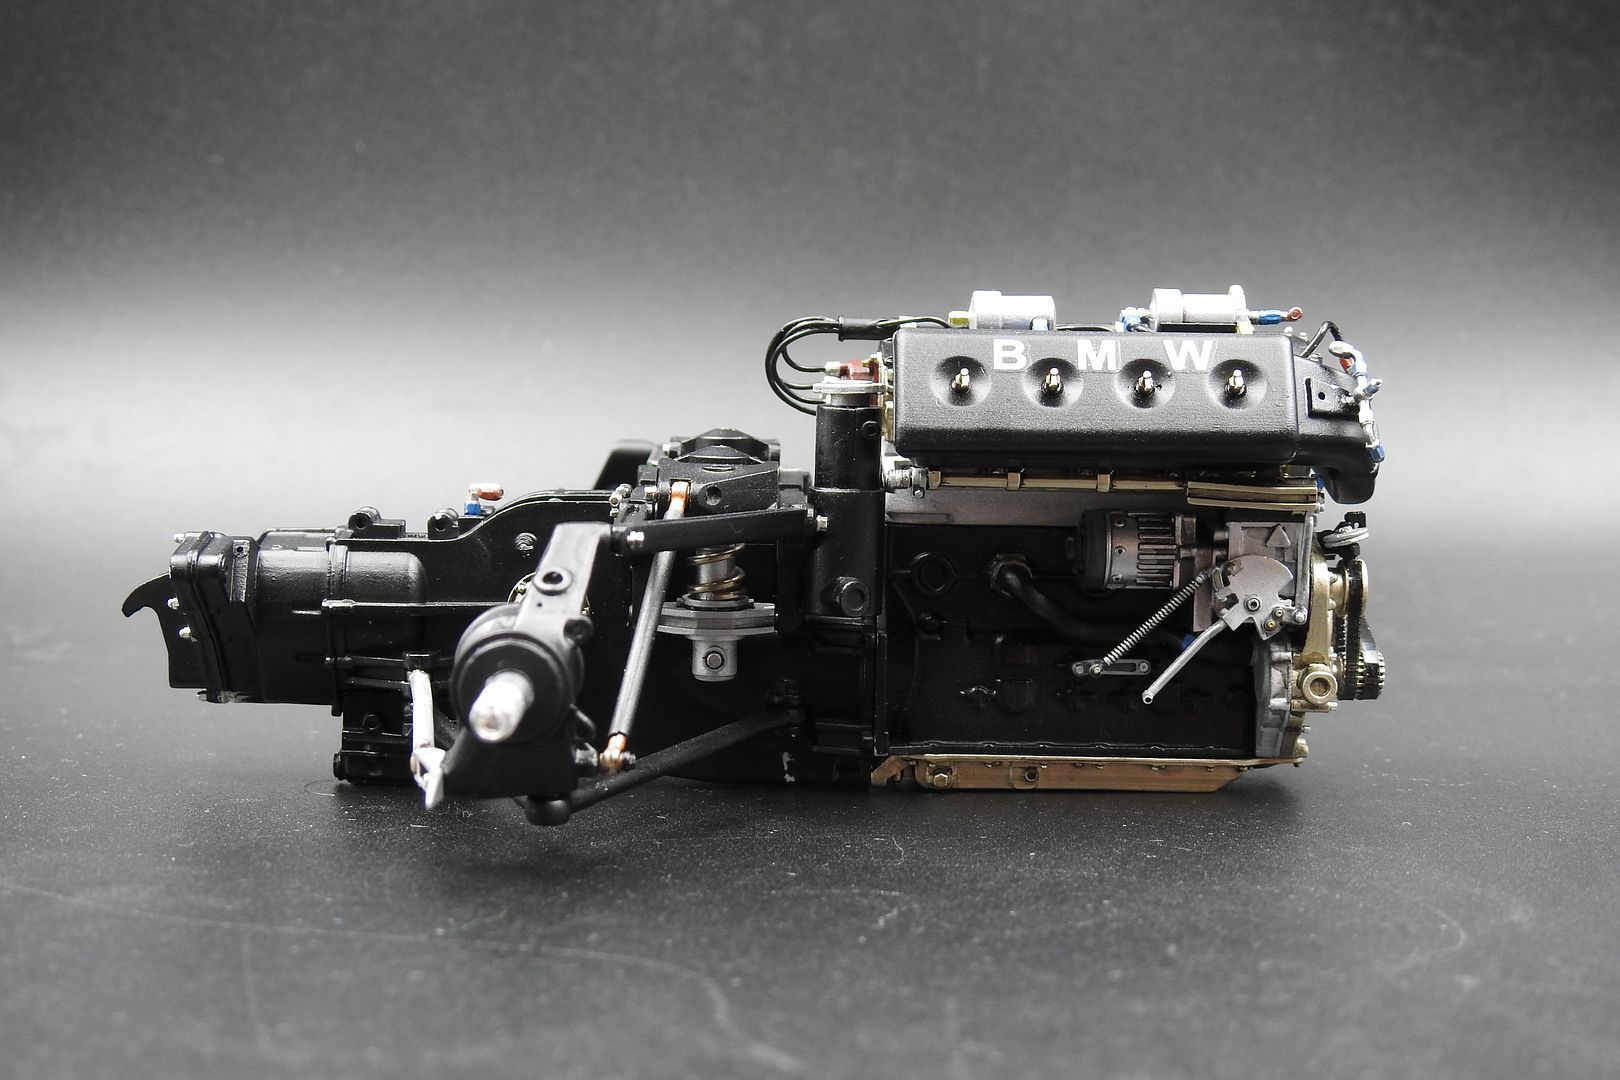
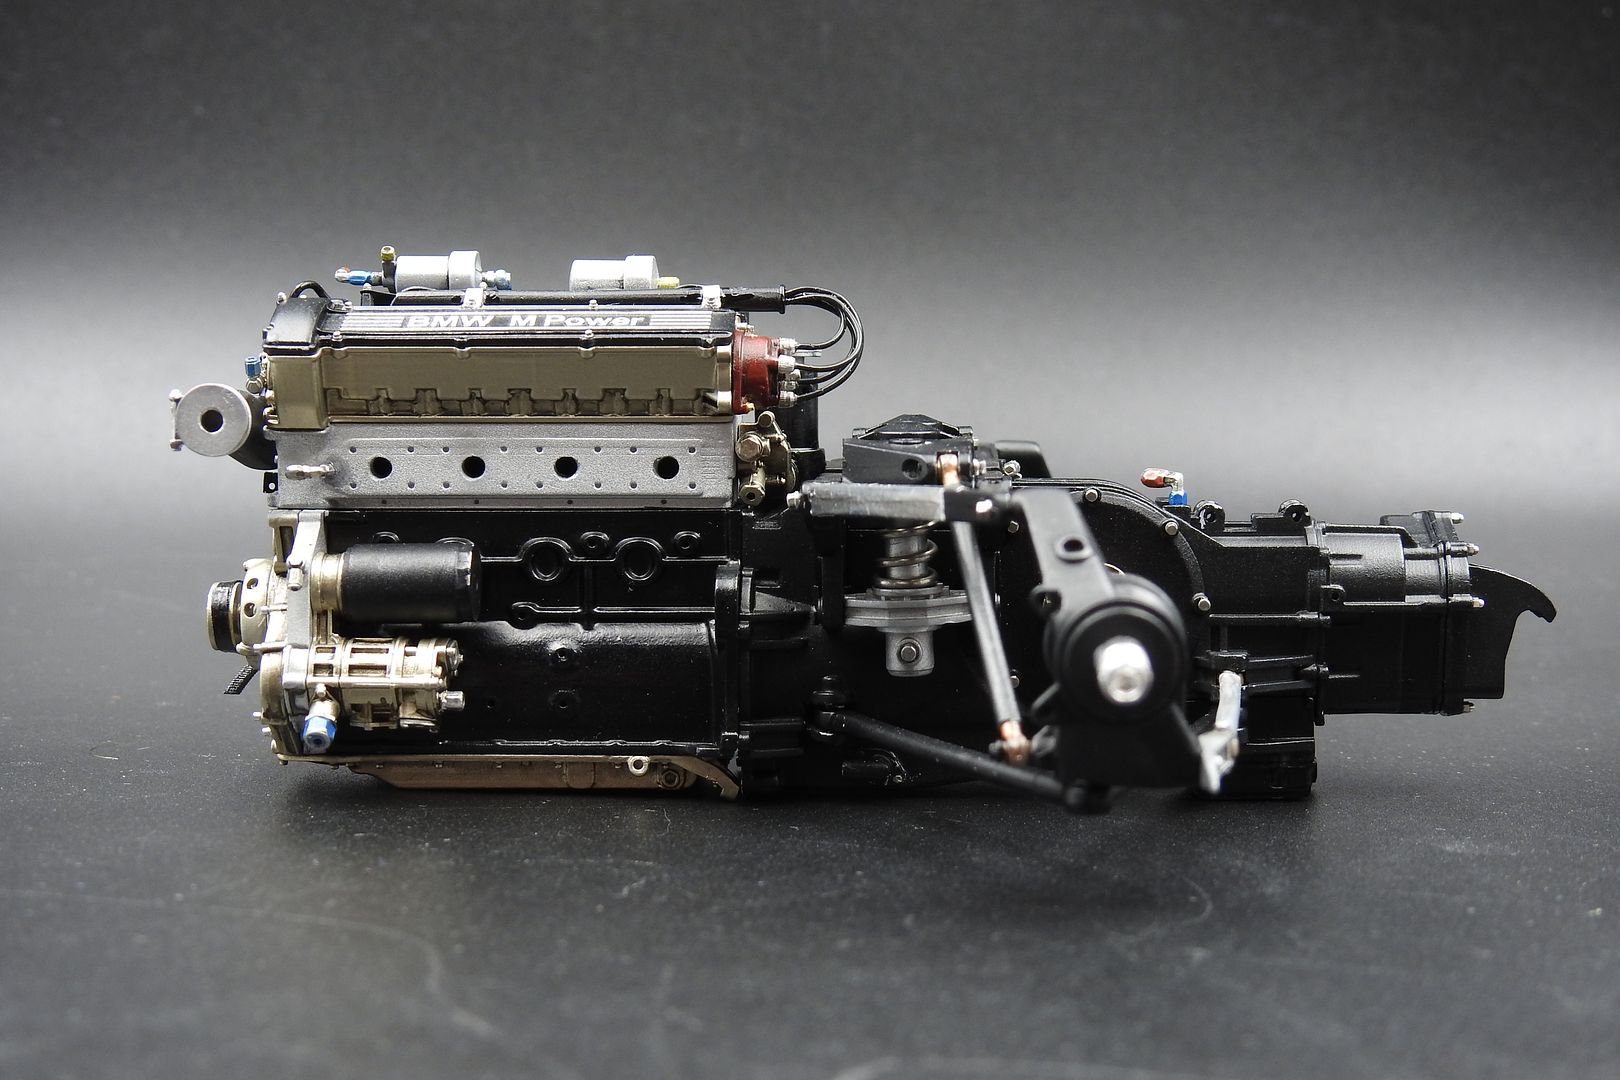
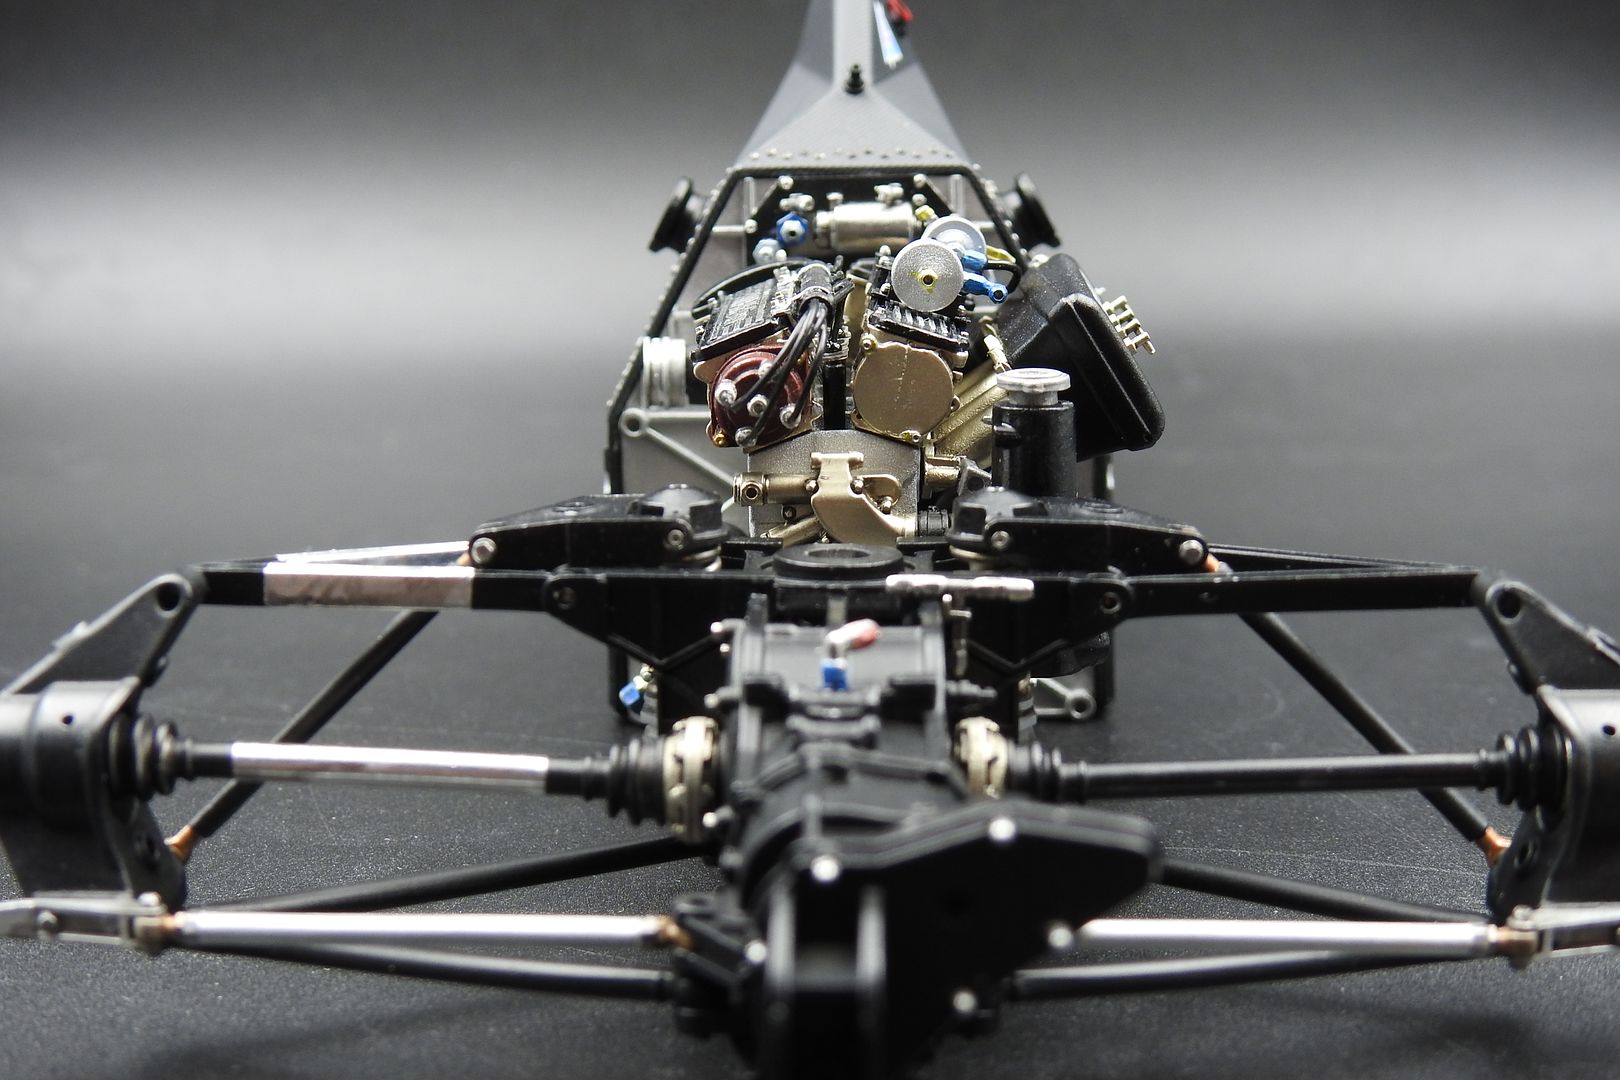
Of course had to add the engine to see how it all looks (just placed in position)
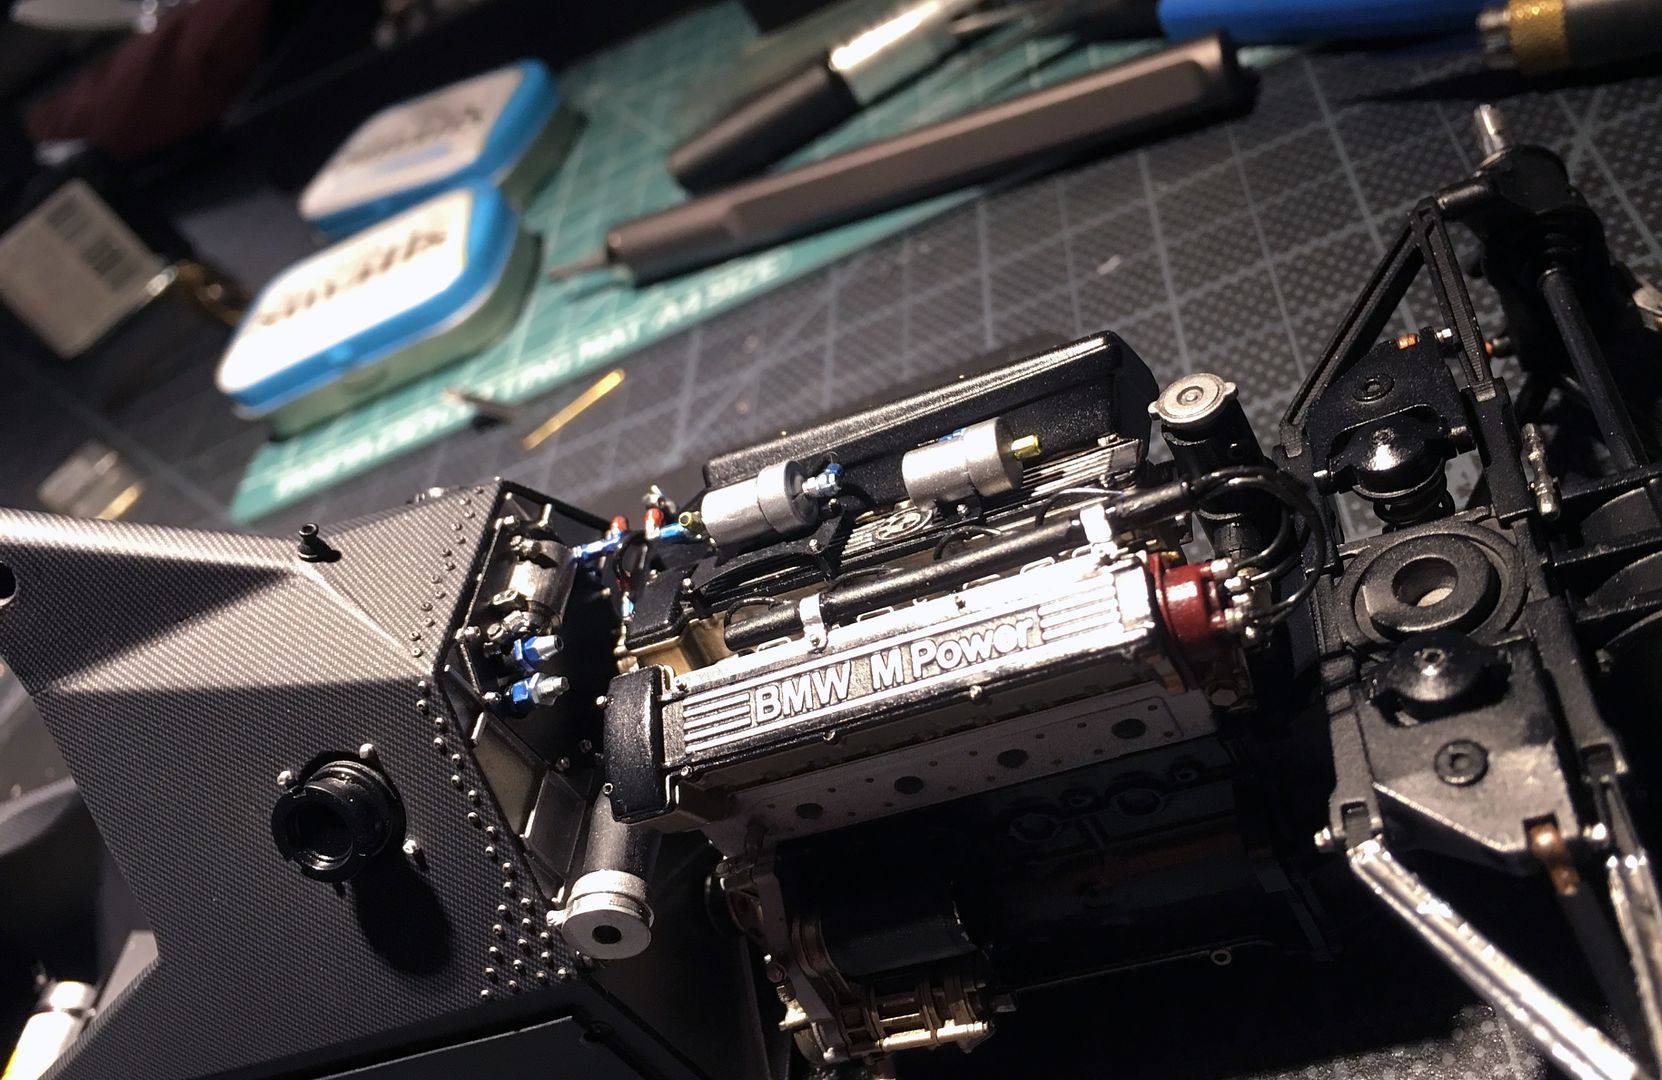
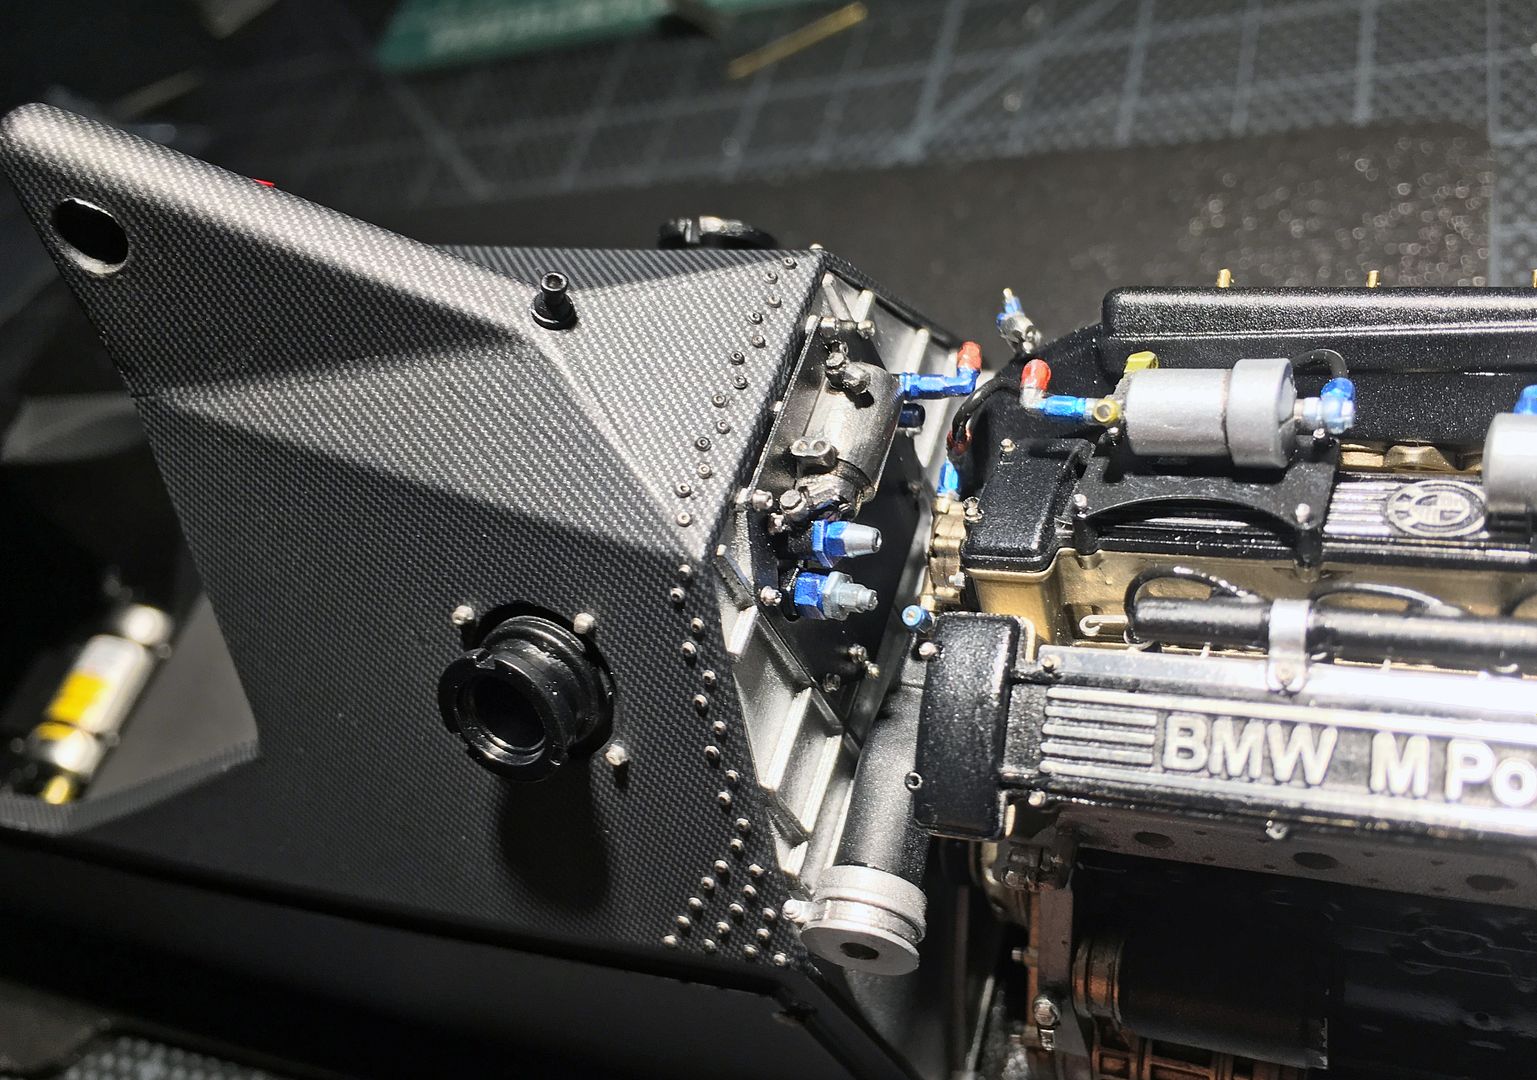
A few other basic chassis detail added.
Those little bolts that fix the black panel to the bulkhead were the biggest paint so far!! SOOOO small and hard to hold as you try and puch them into the hole, without any glue showing! Lost one.
Lots of wiring and finishing to do still - but trying to get the construction part of the sub-assemblies sorted first, as I will only damage the wiring if I did that first!
Of course had to add the engine to see how it all looks (just placed in position)
A few other basic chassis detail added.

Thank you sir - it is the kit that is stunning!
Right - back from more work travels. Really does get in the way - but enables me to buy MFH....so...
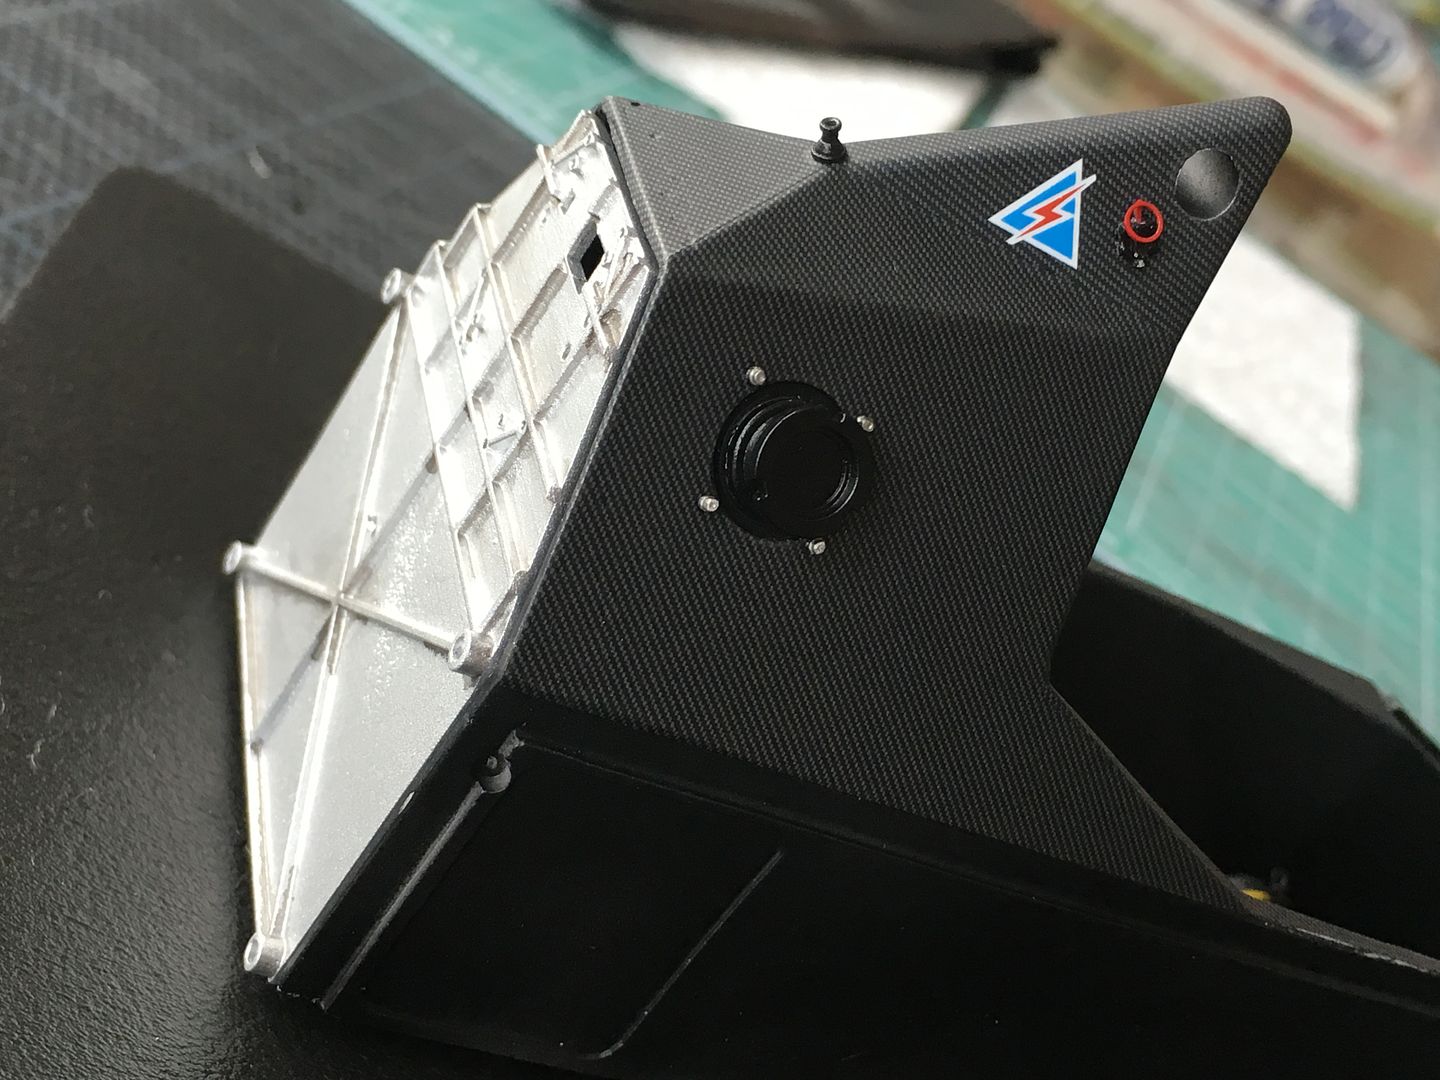
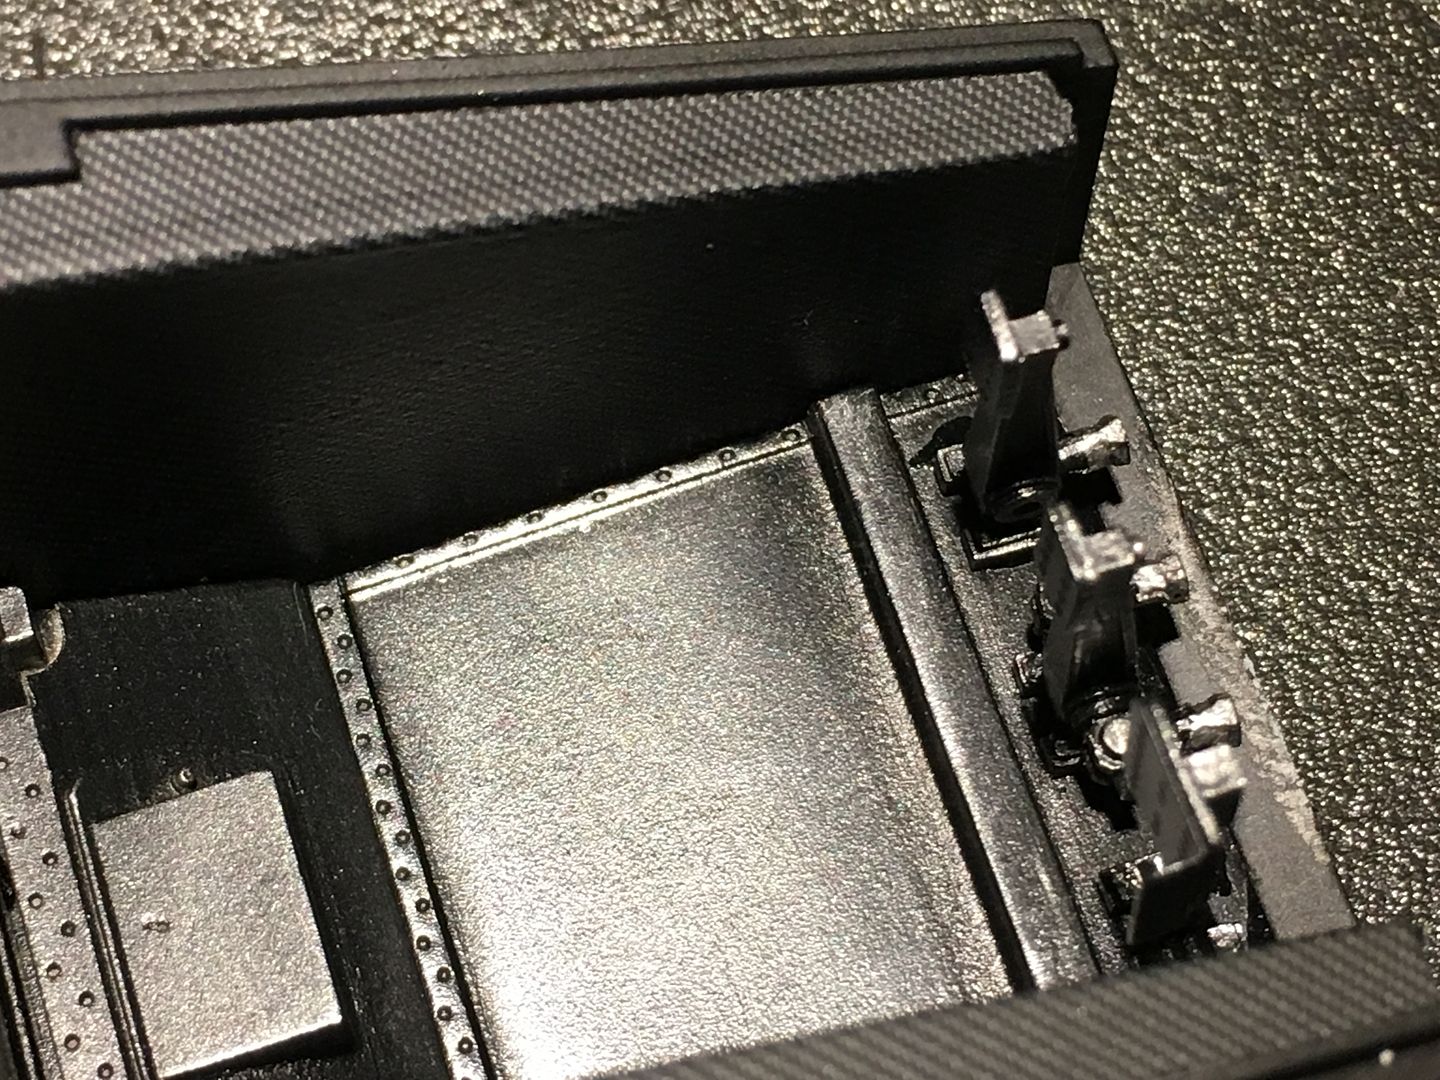
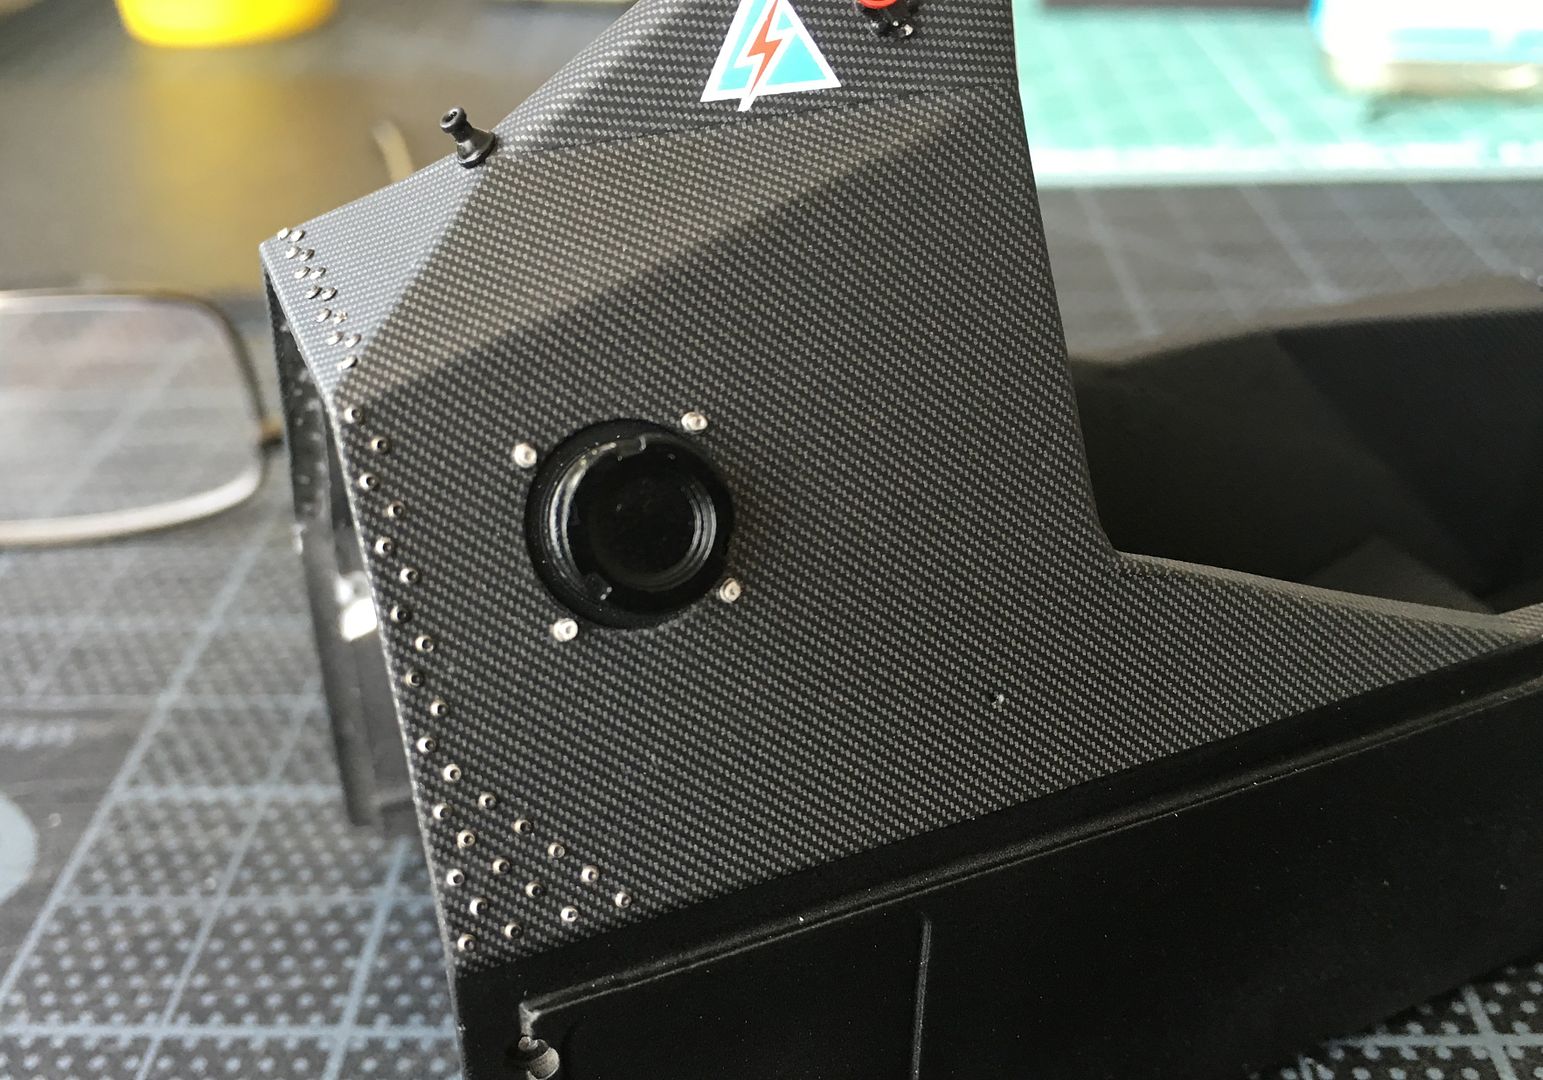
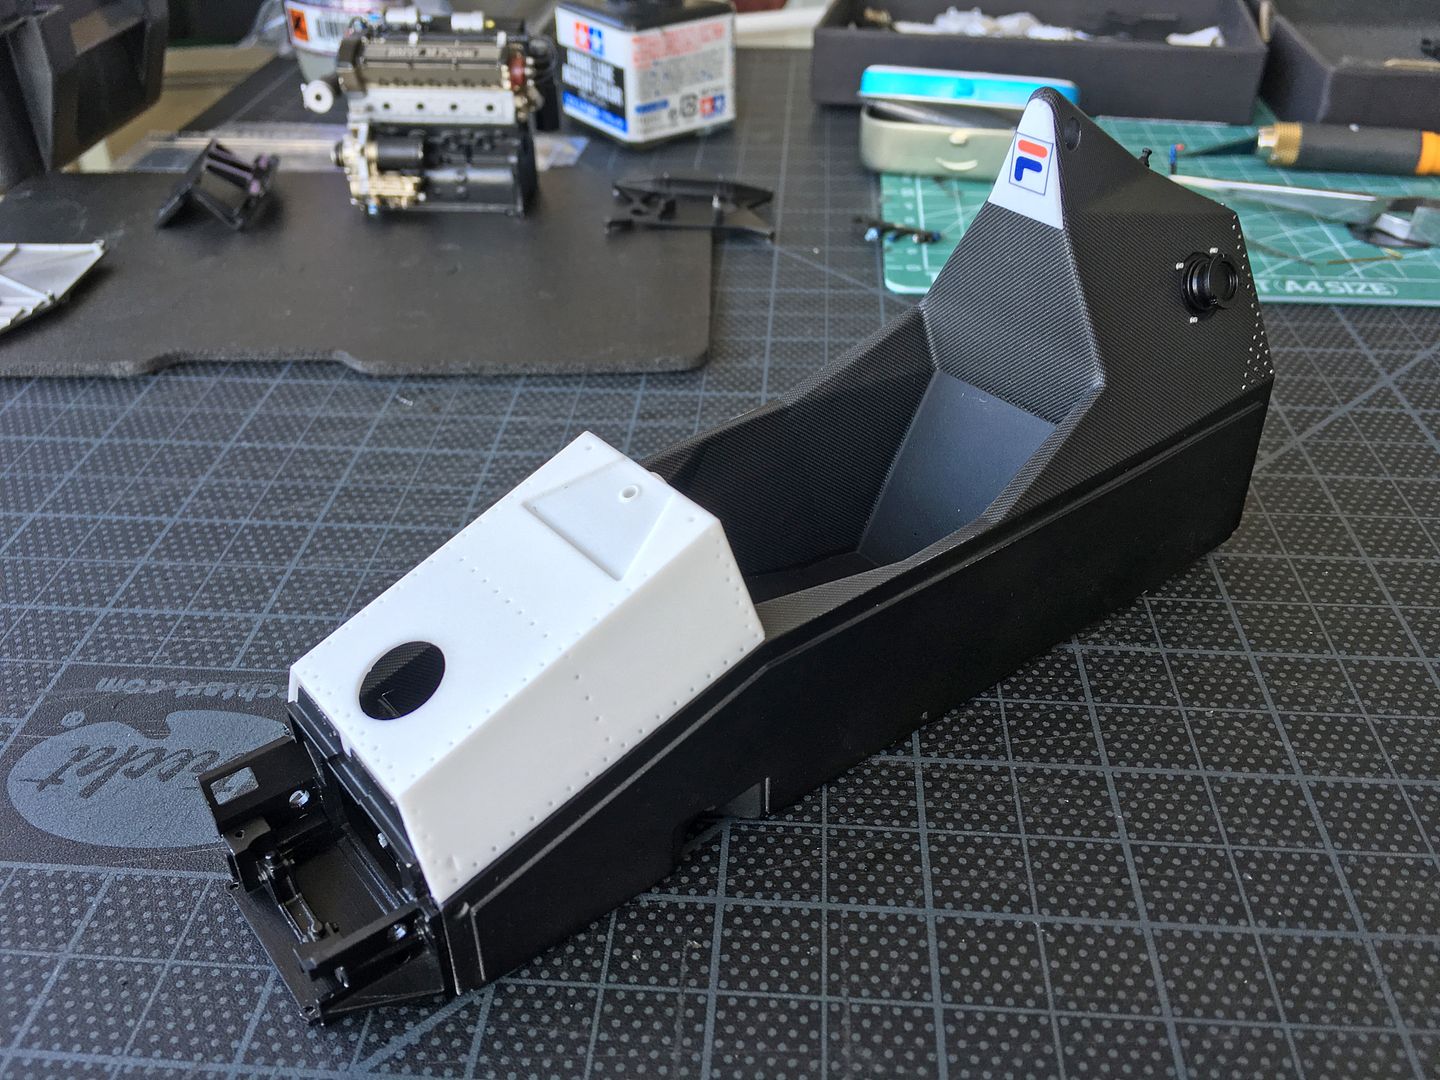
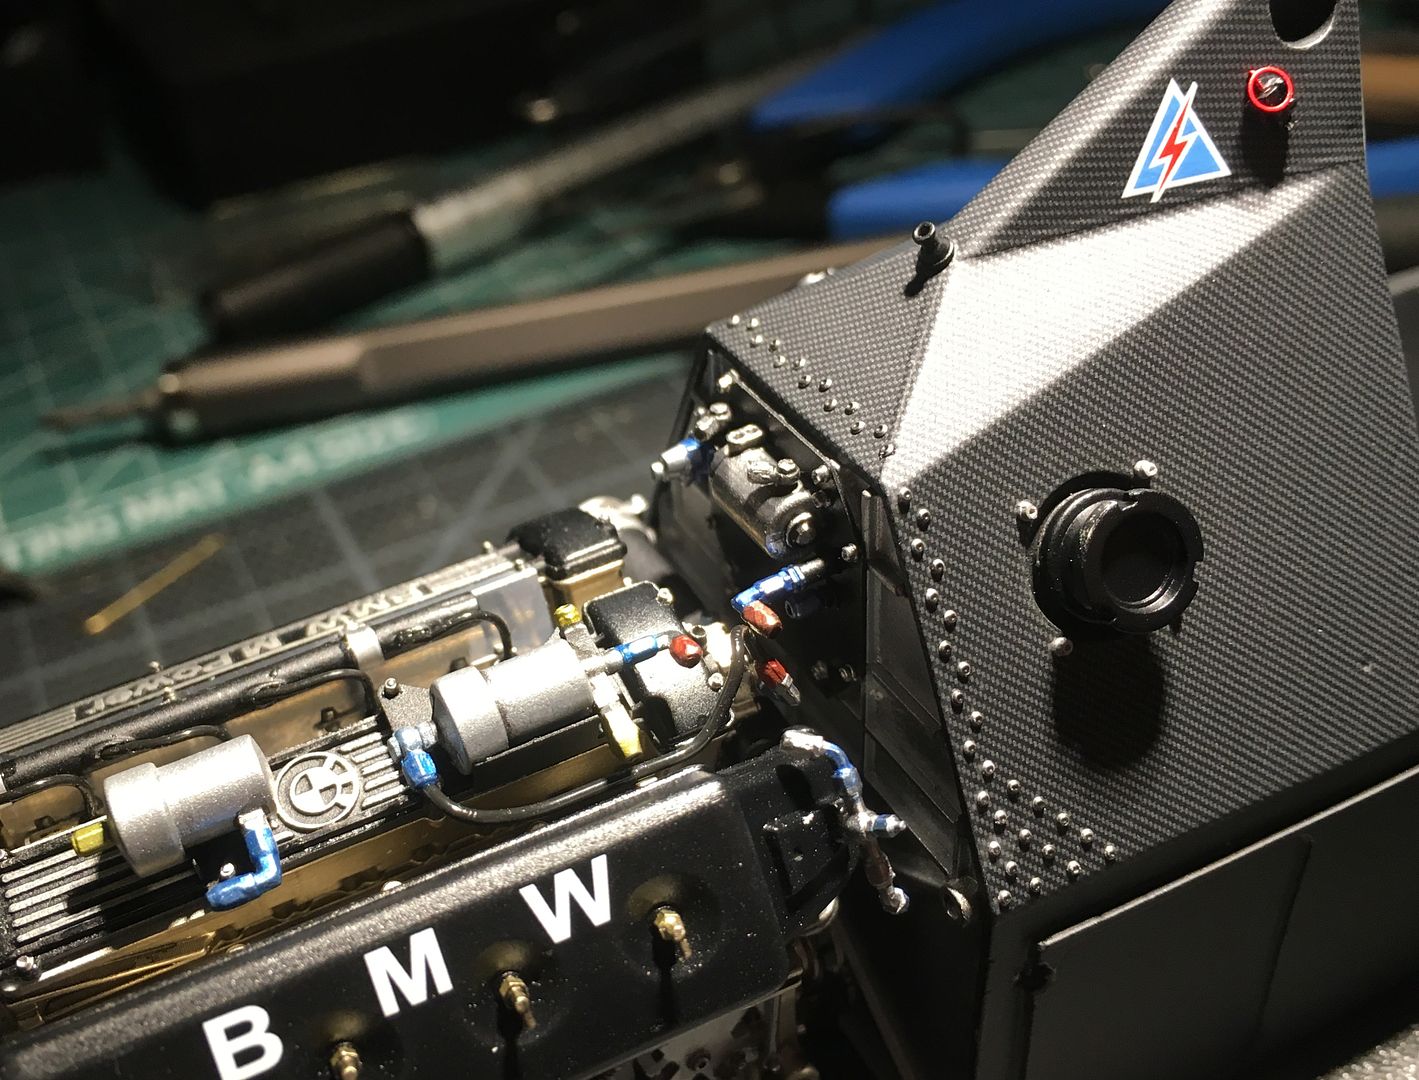
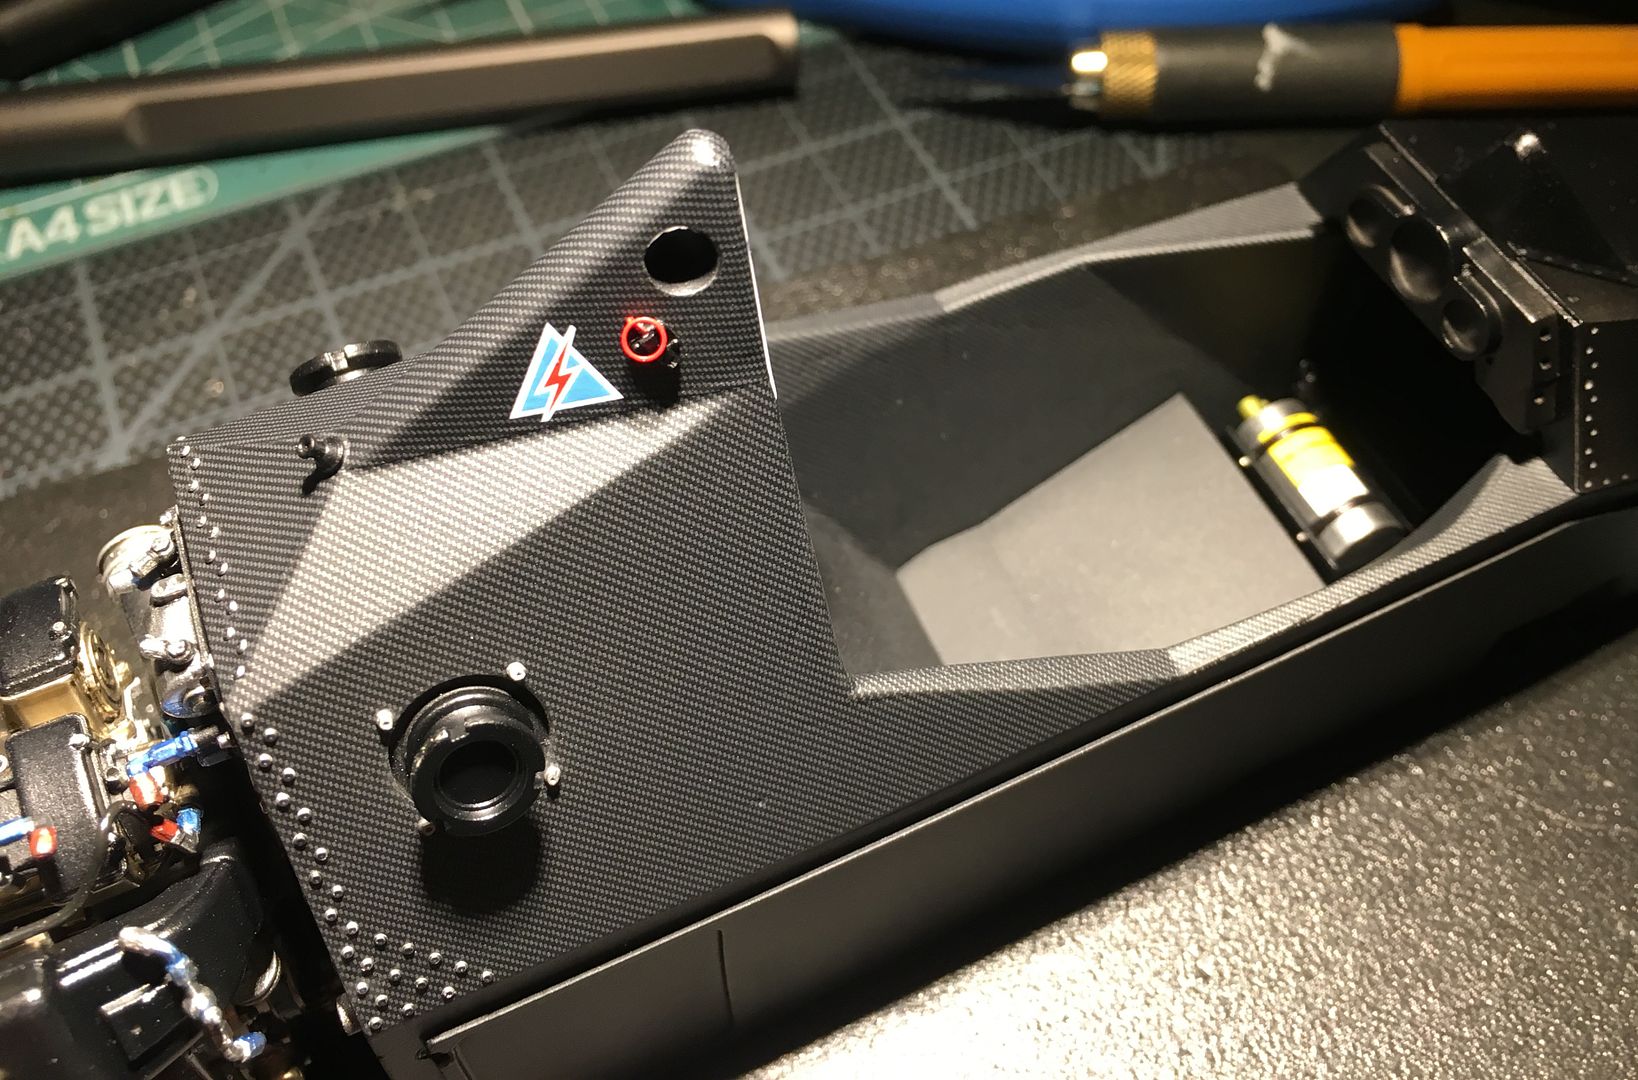
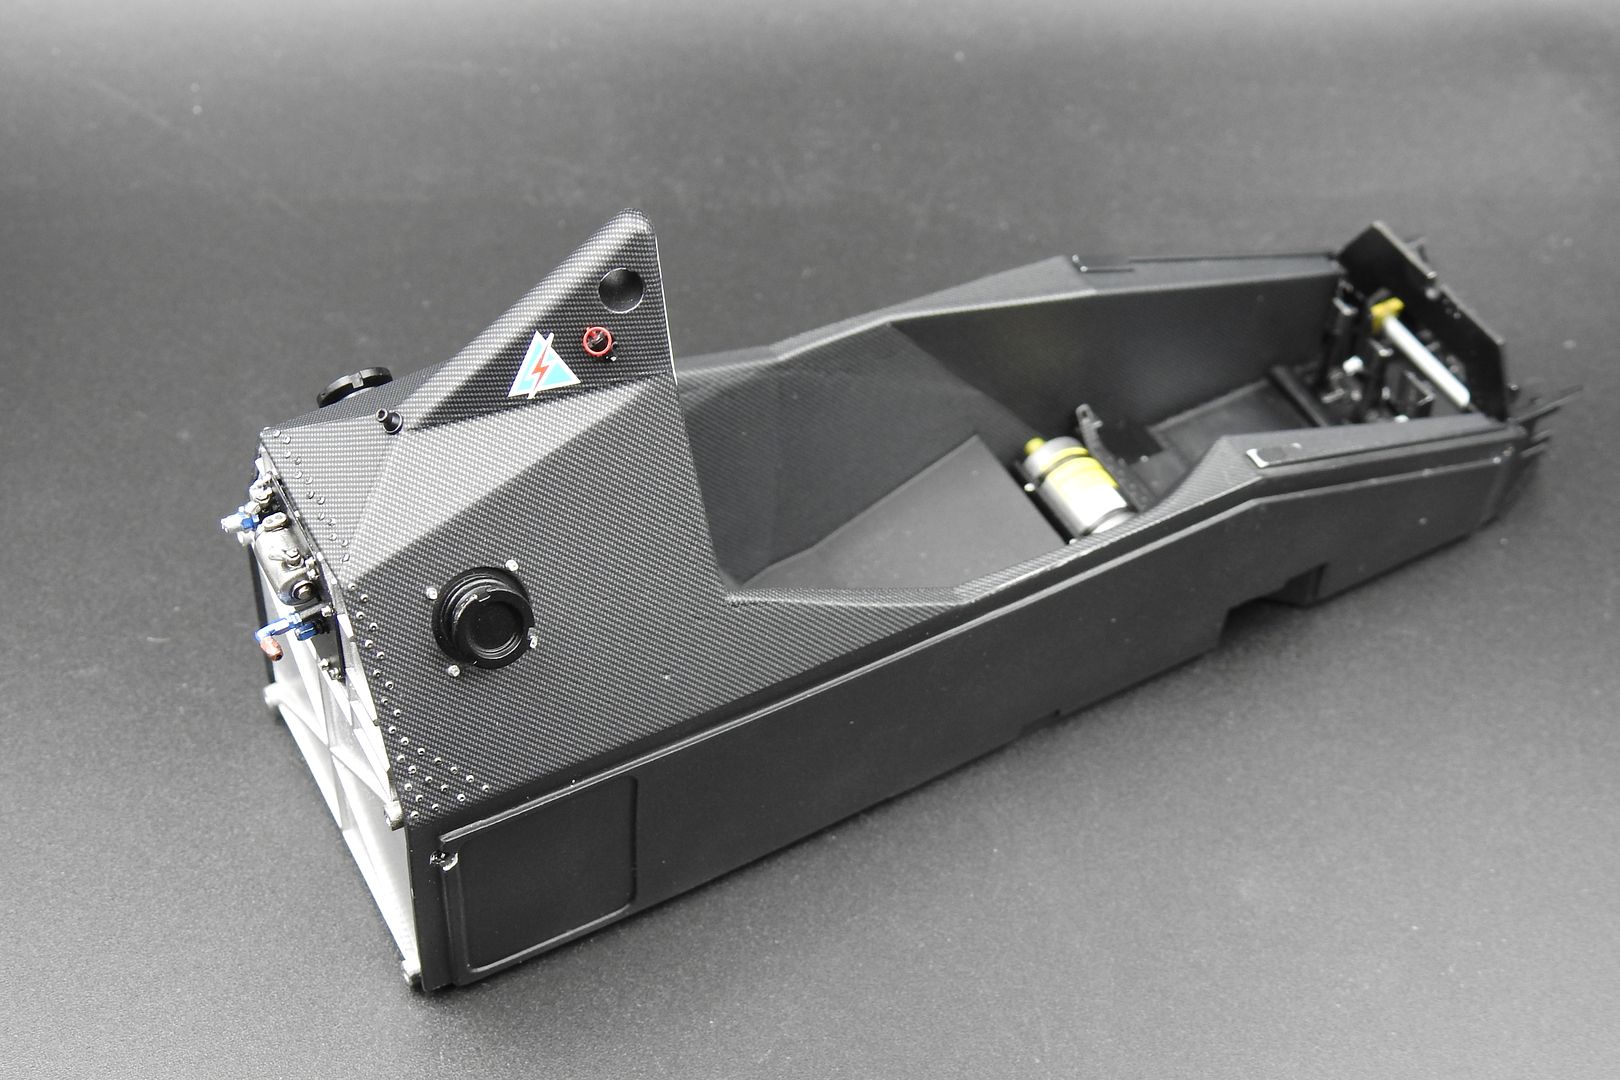
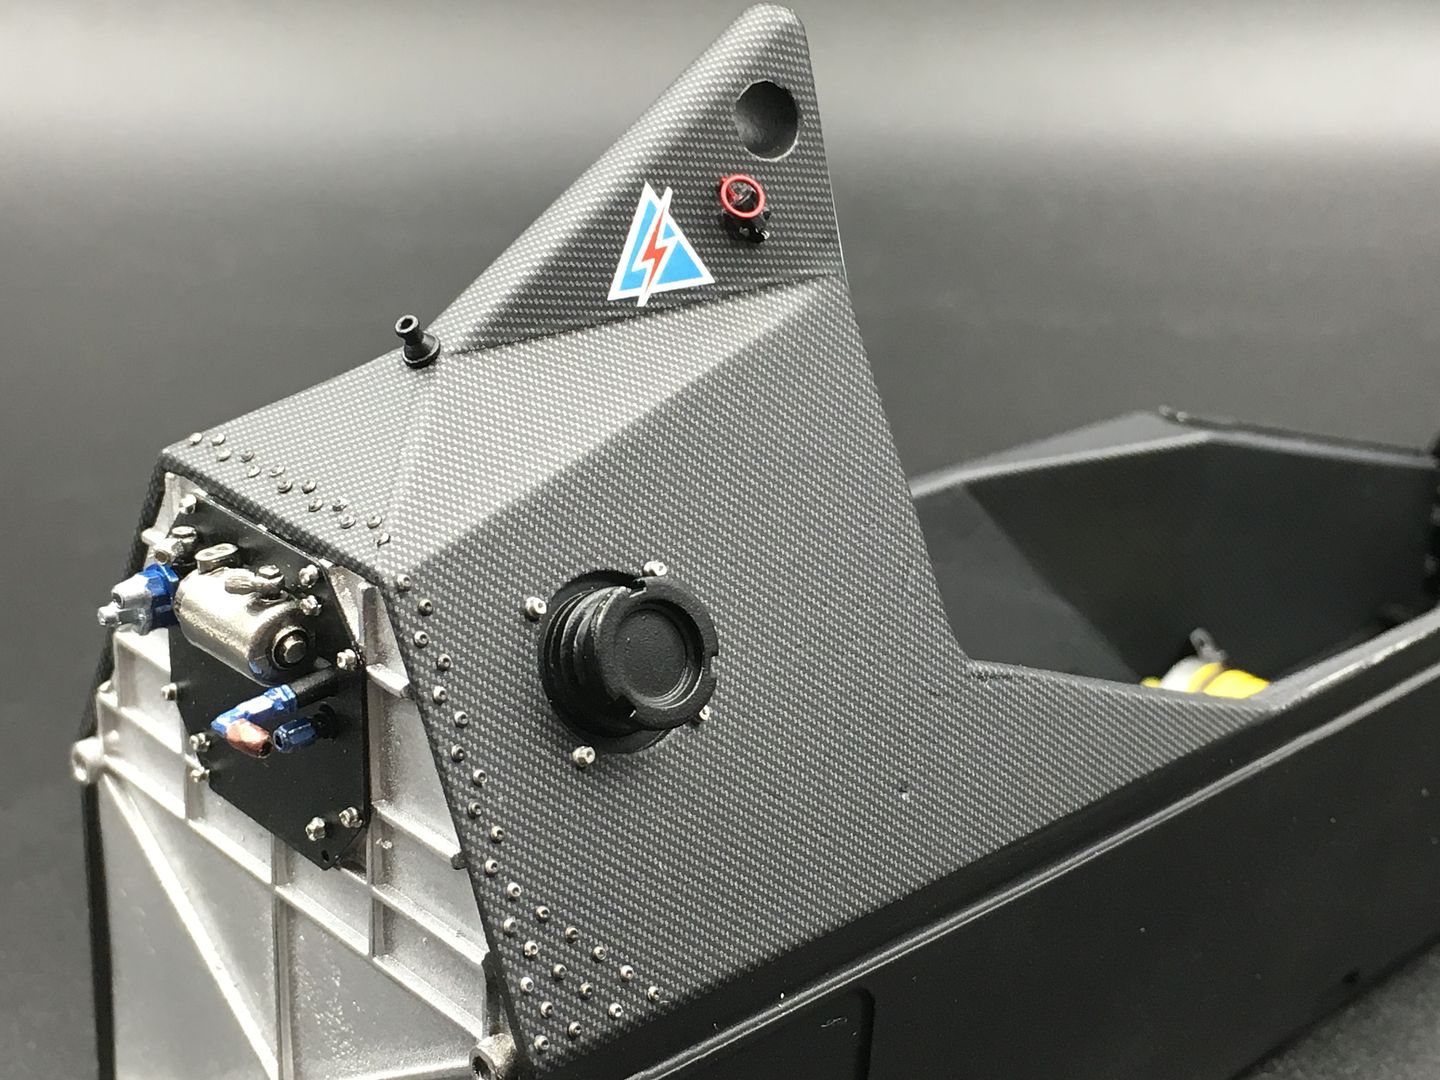
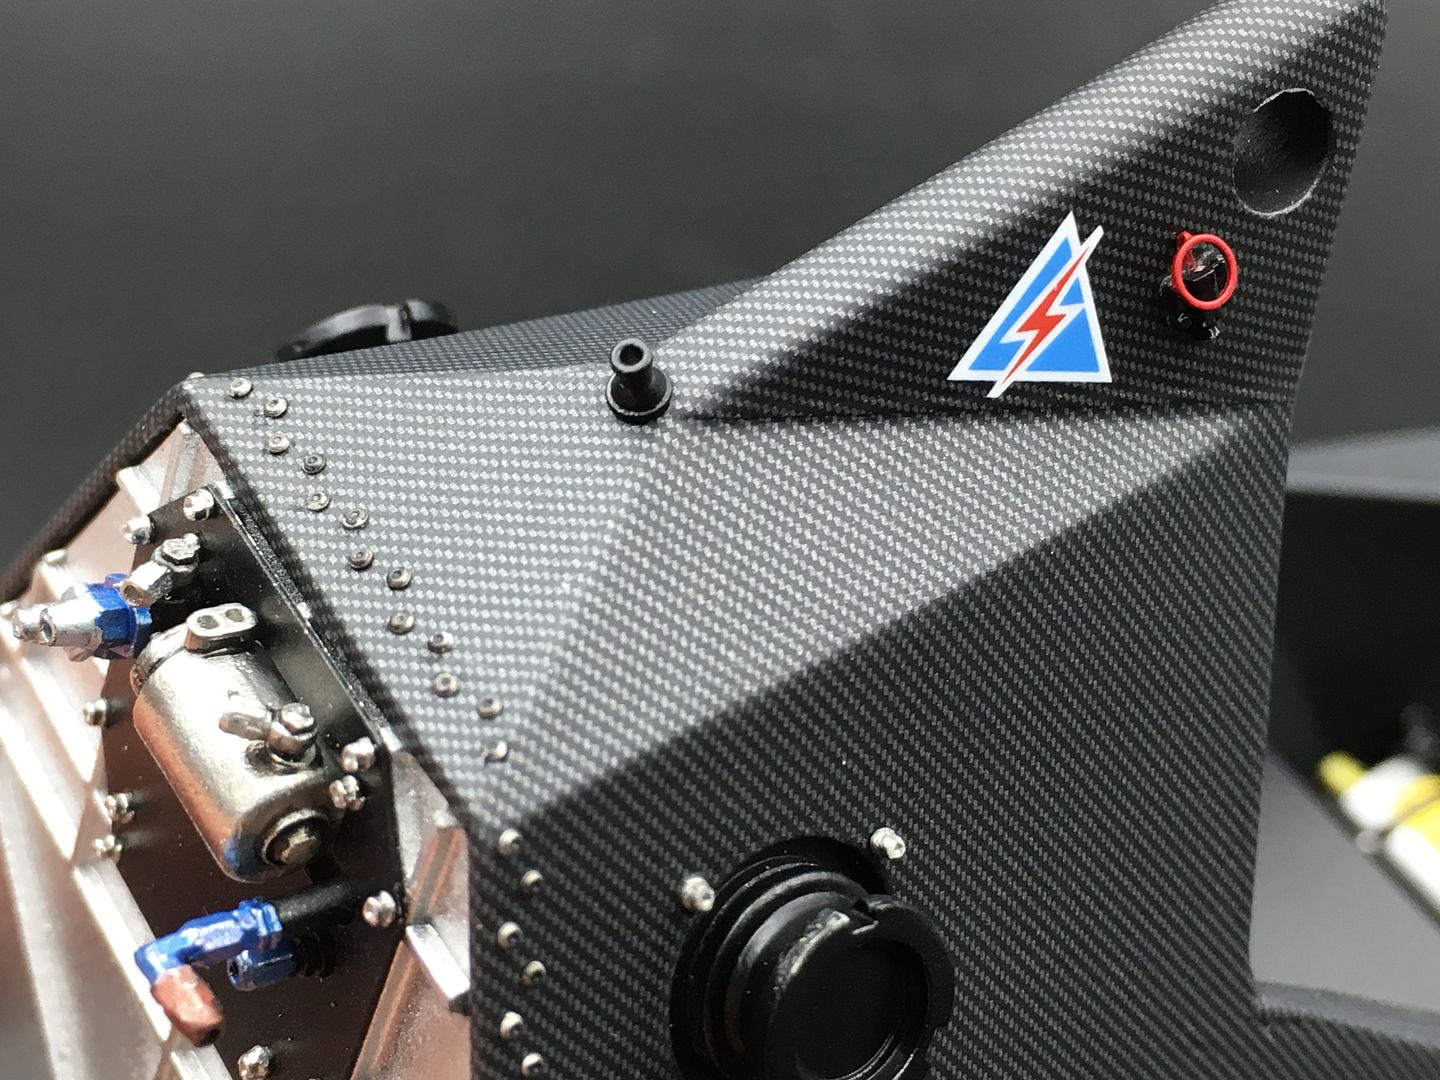
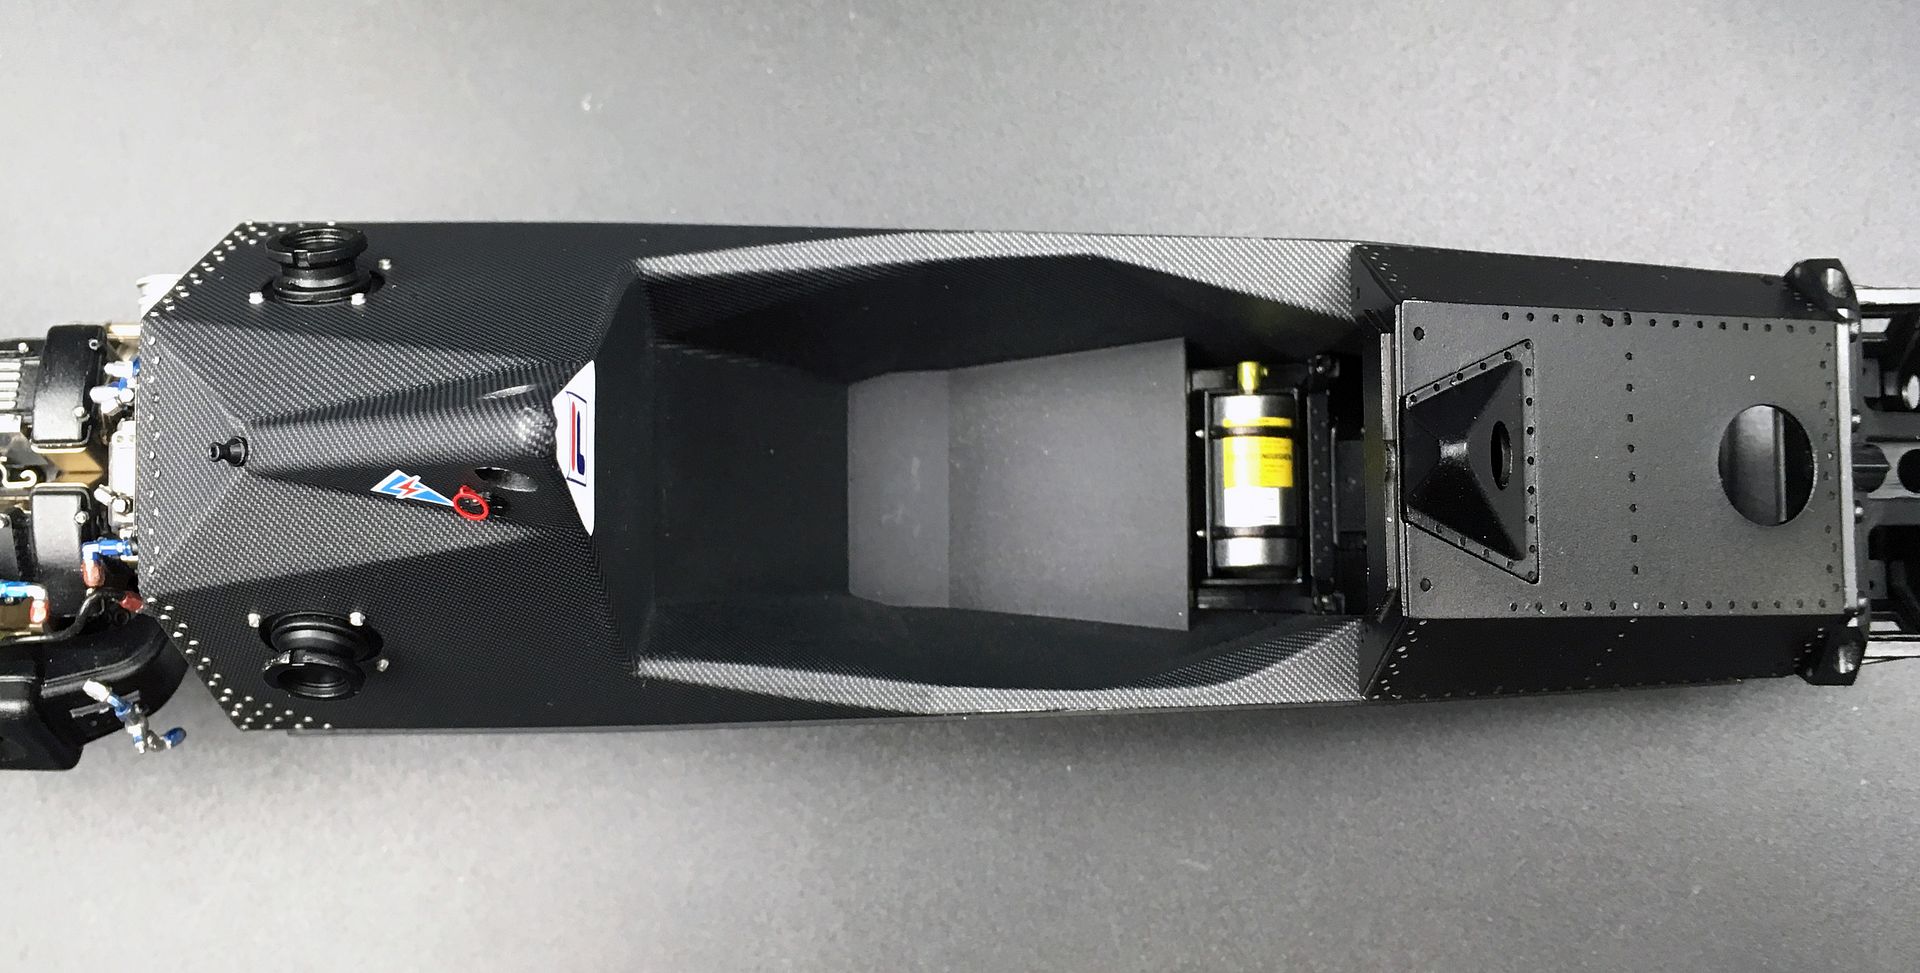
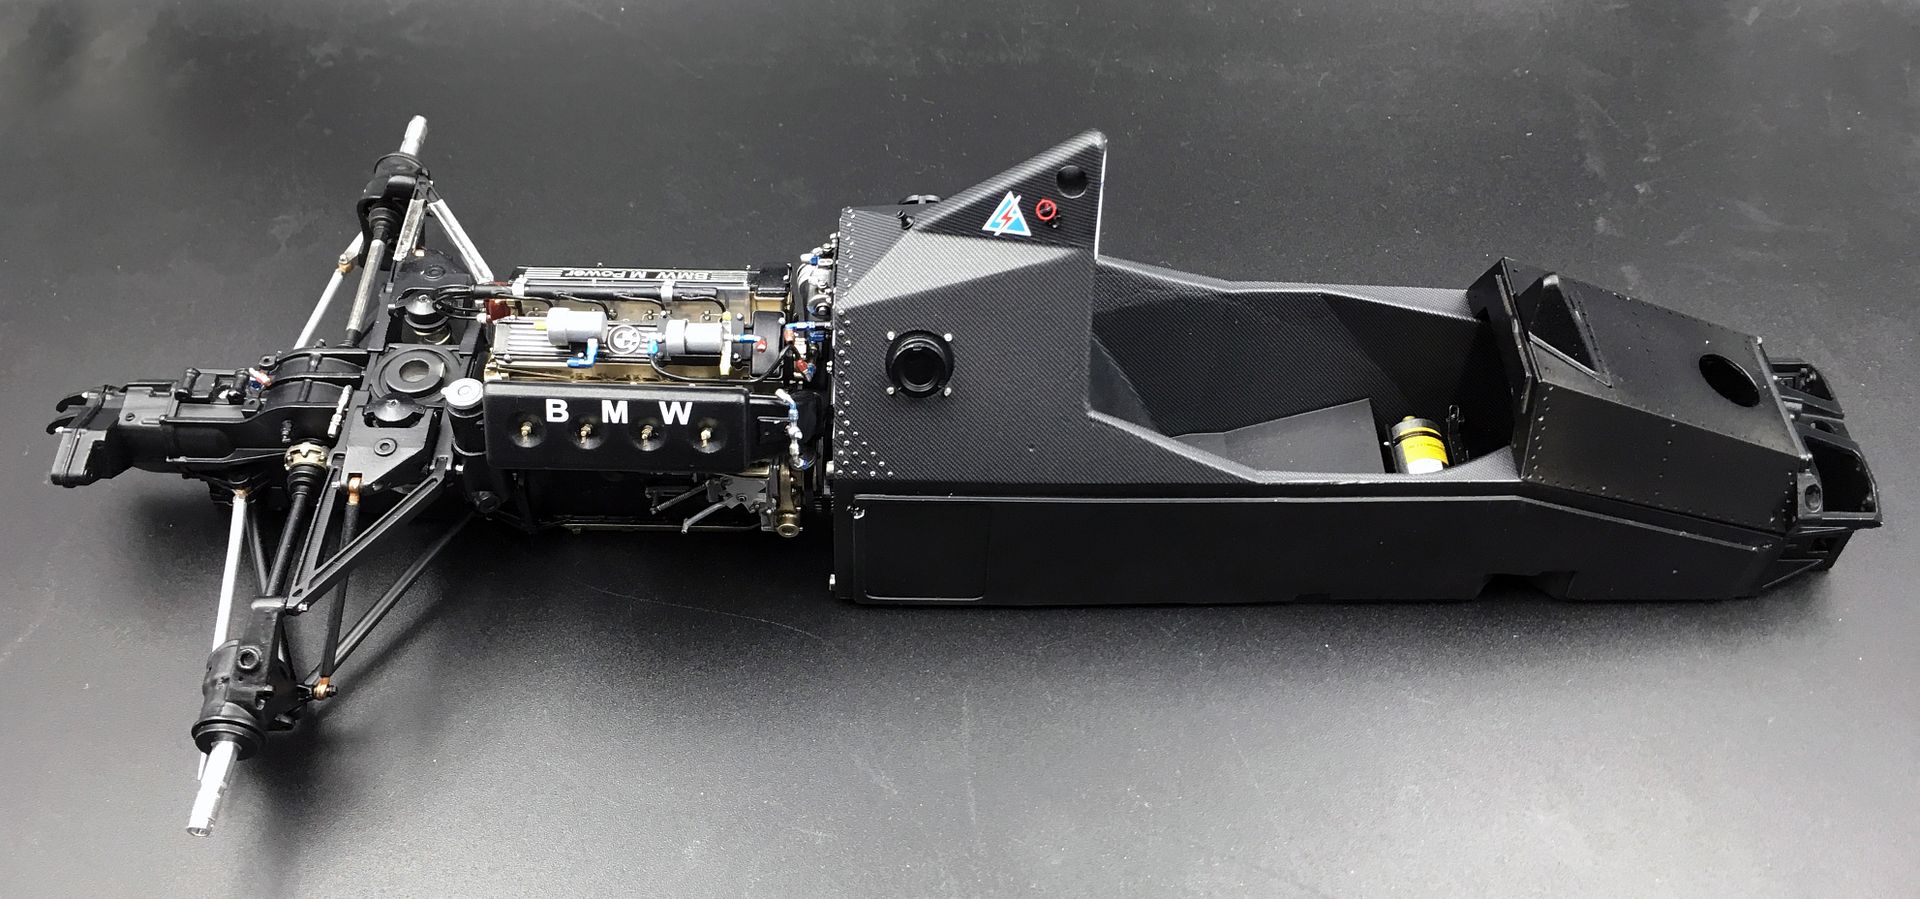
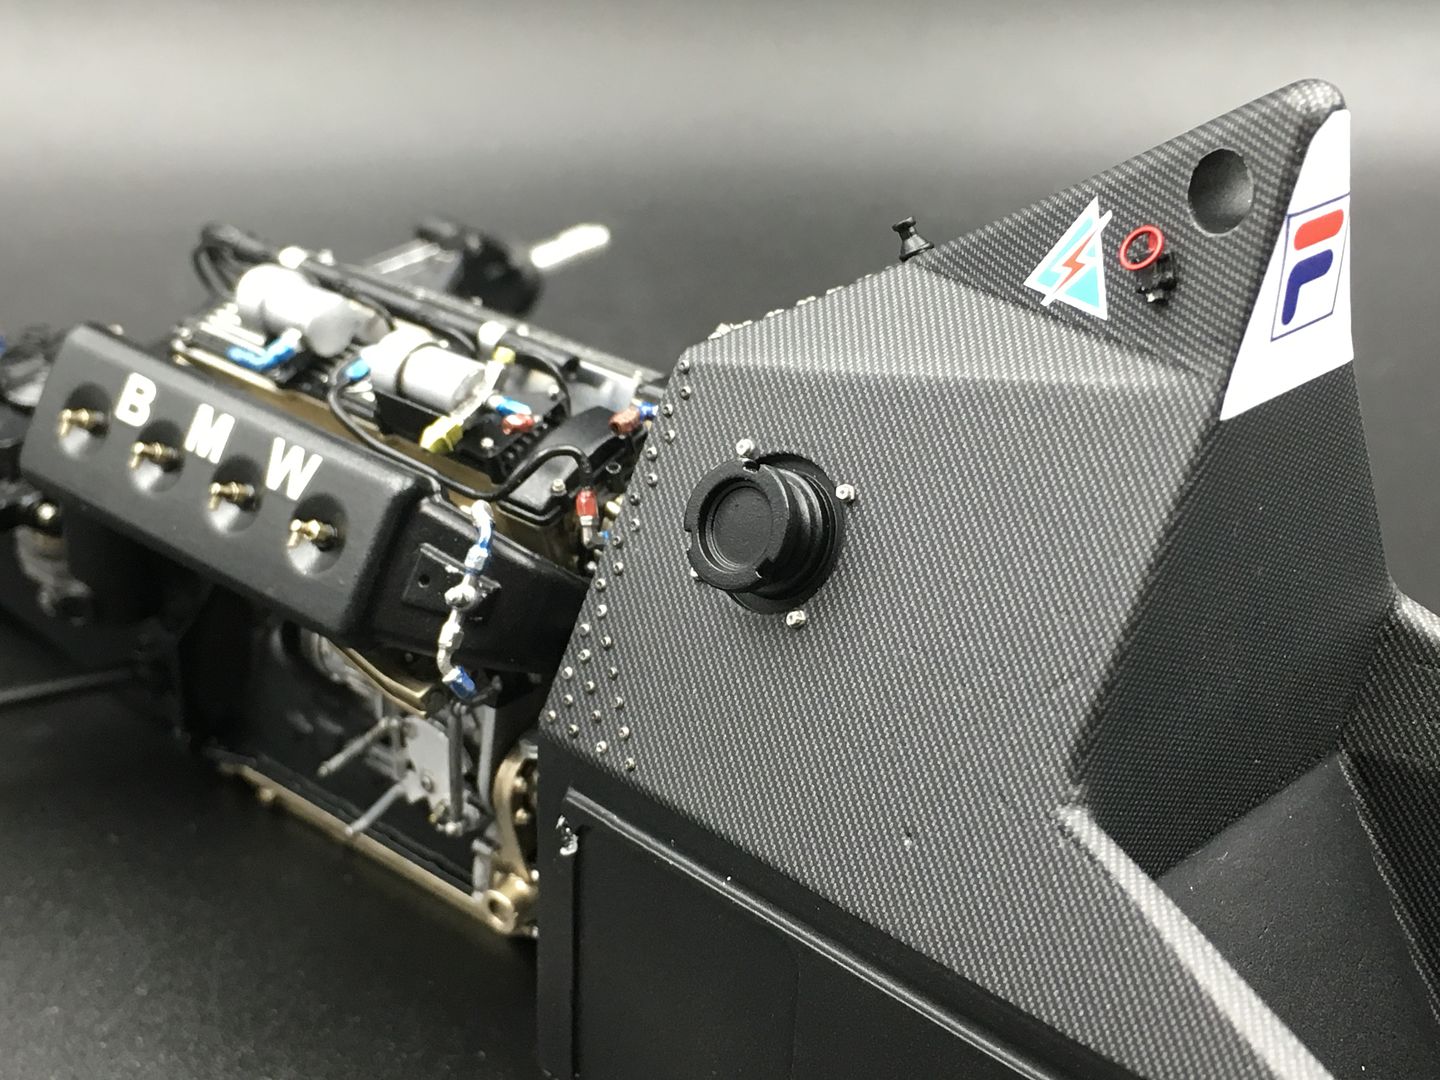
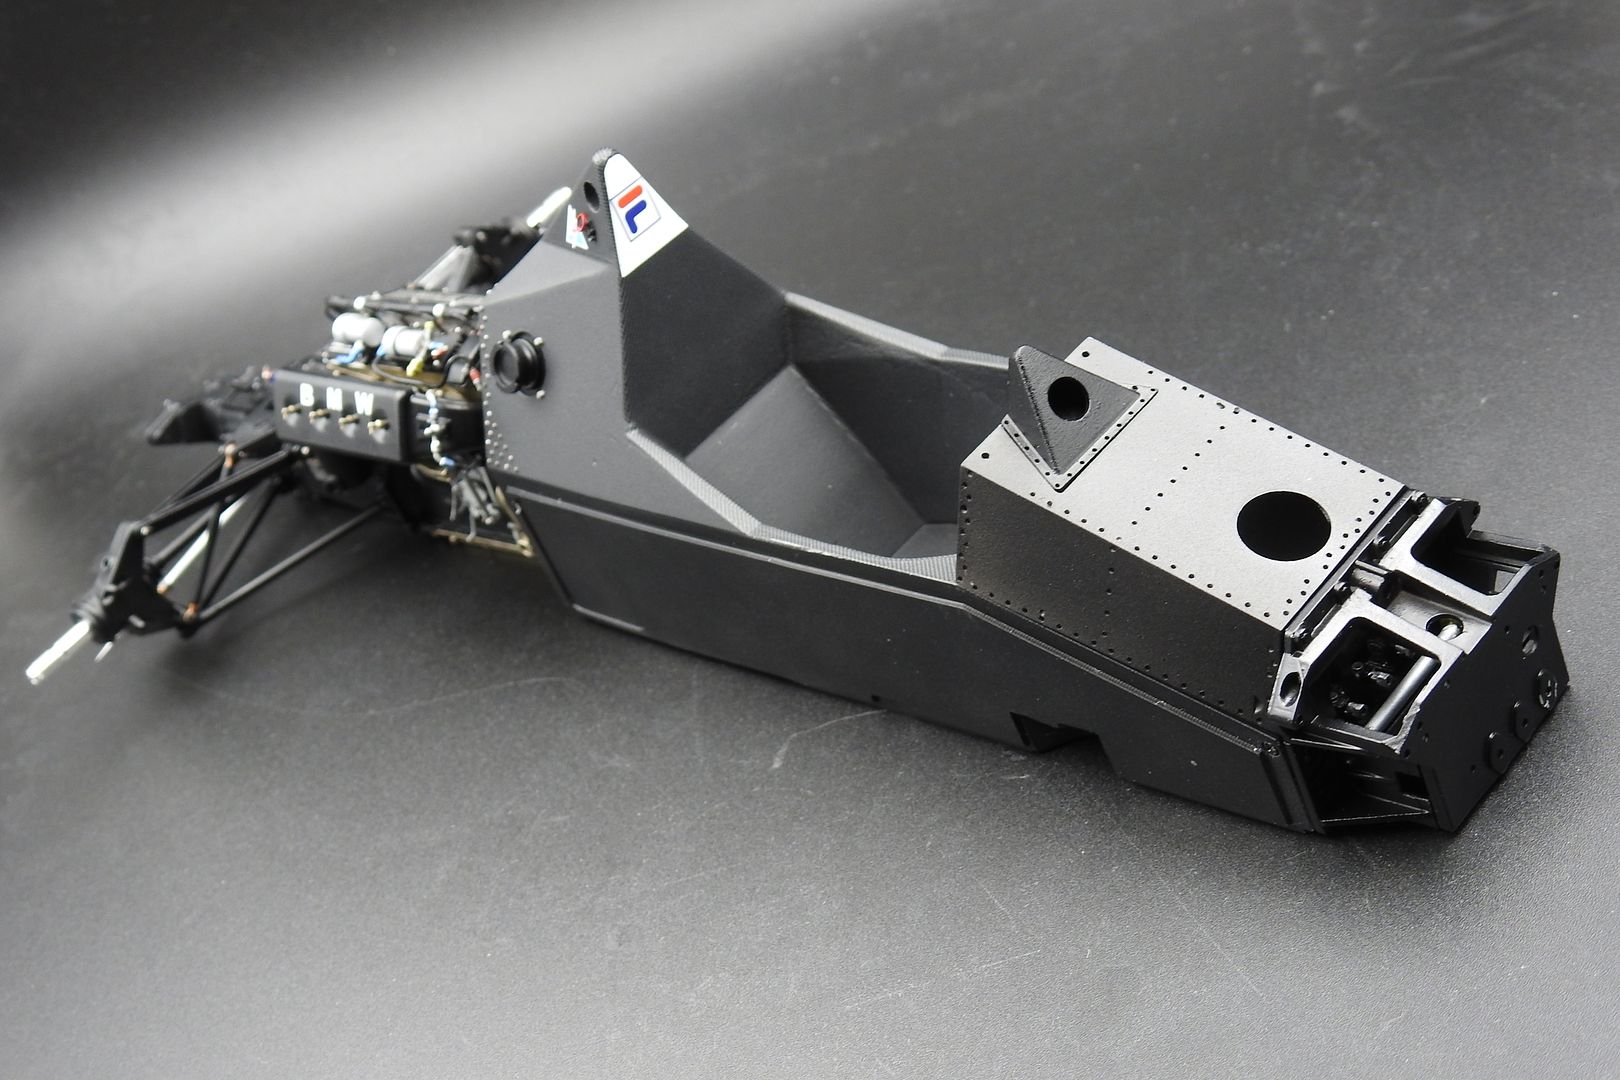
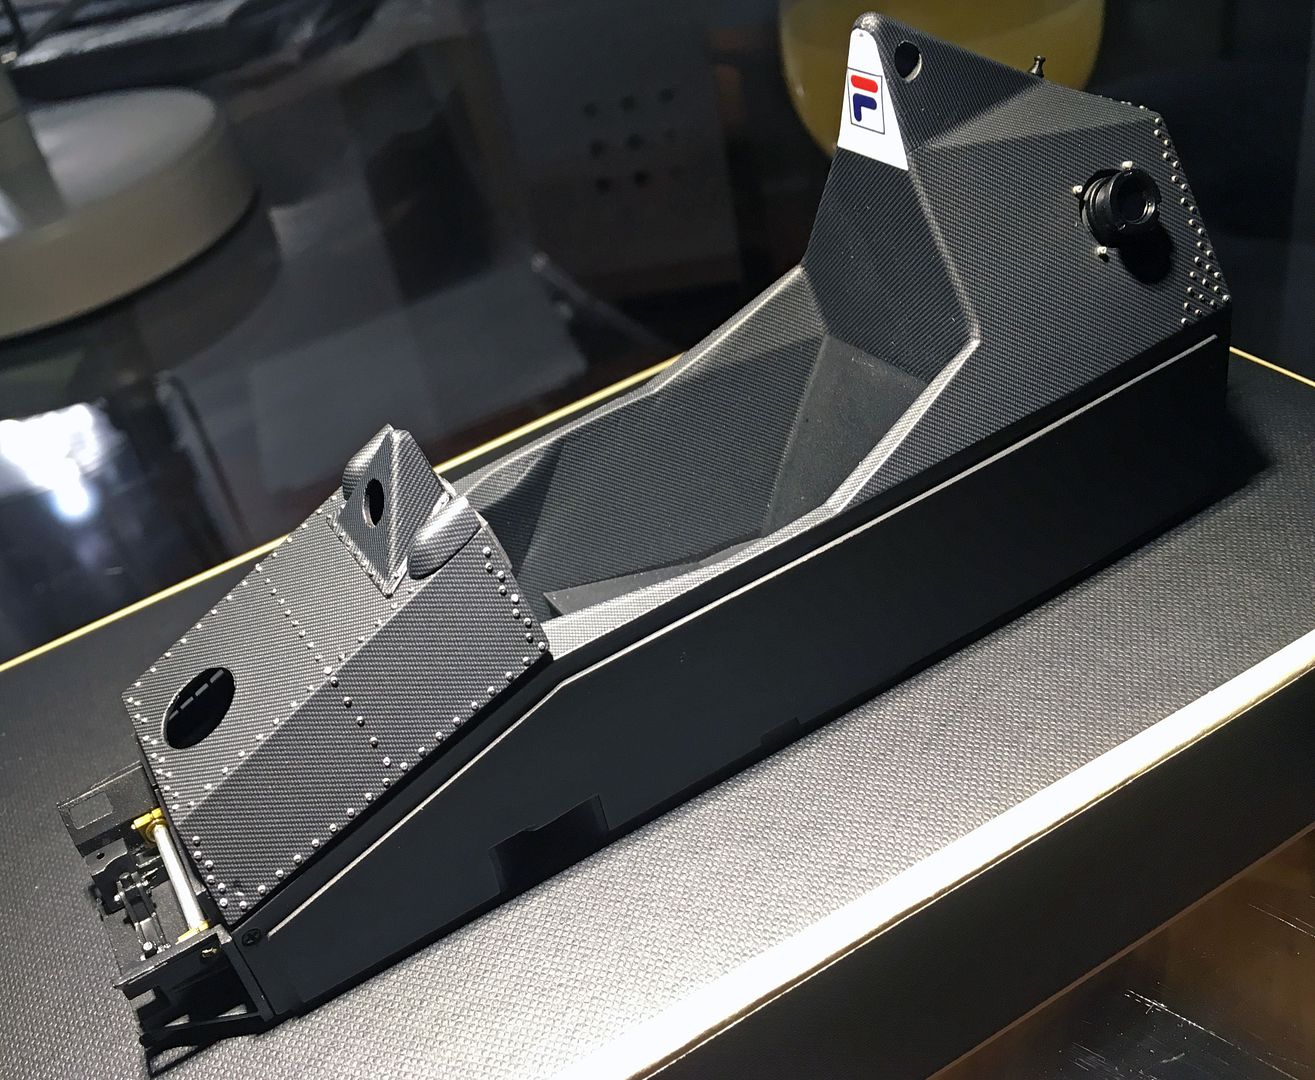
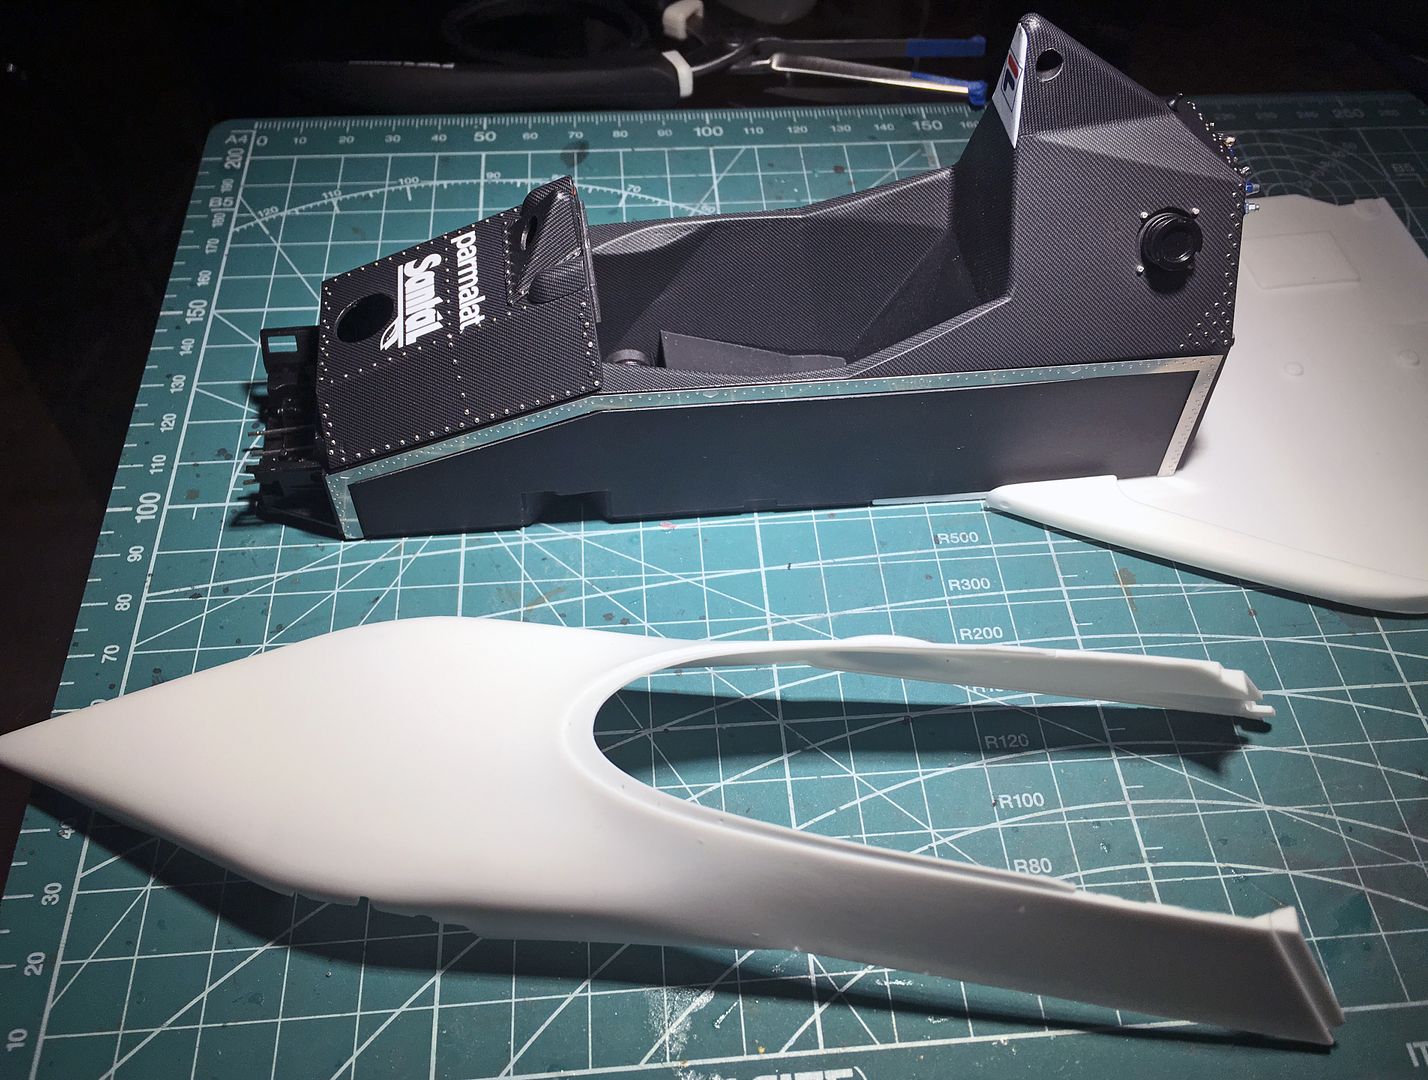
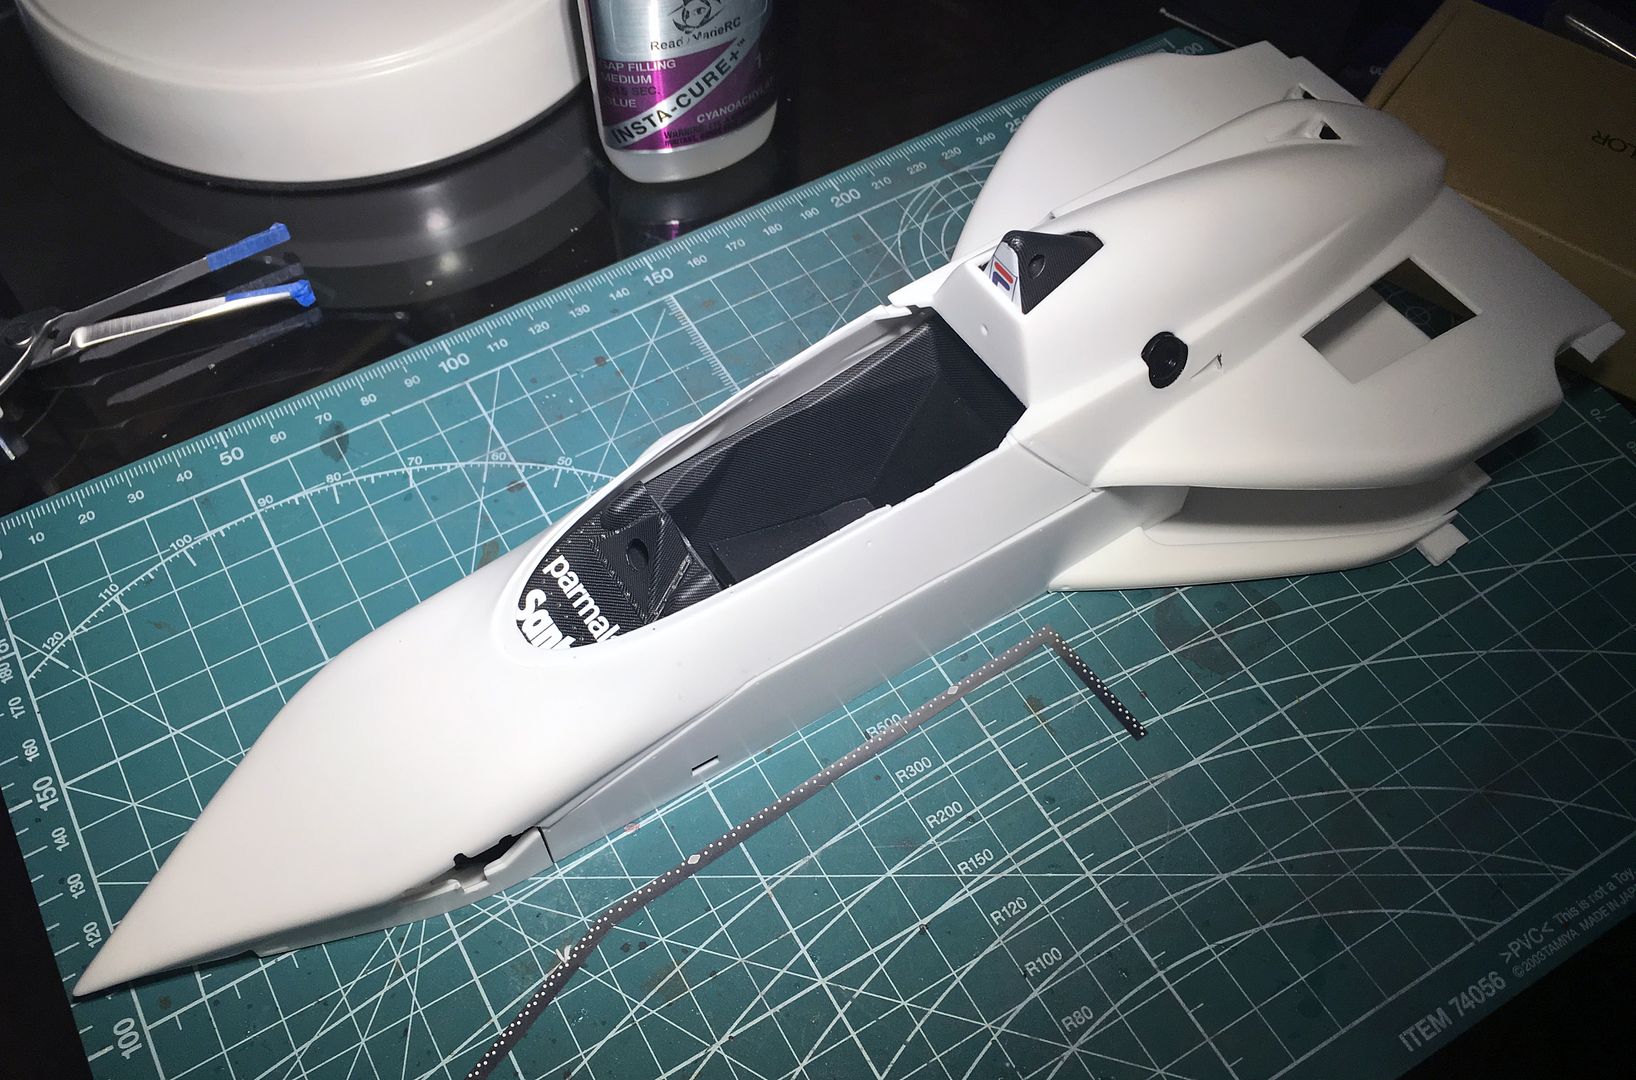
Started more chassis work - carbon decals on the top of the tub and dash area. Decals went on well - even on those curvy bits. Will add rivets tonight...
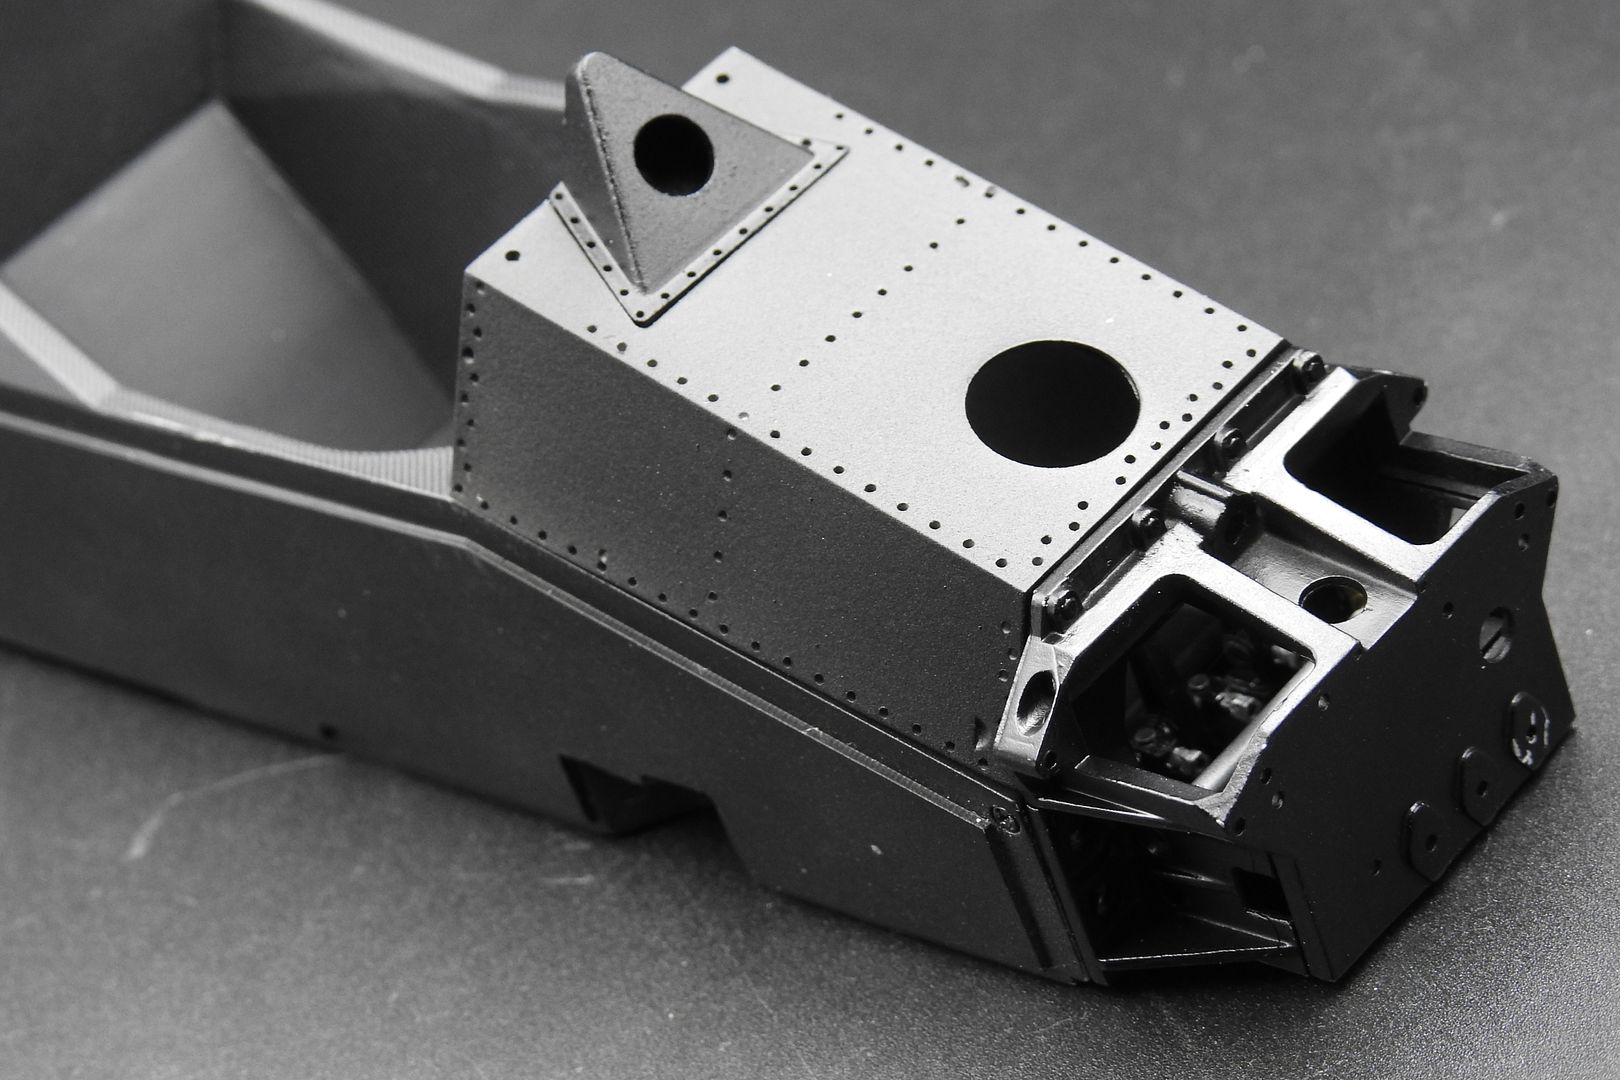
This is a resin part - I had already drilled the holes, now sprayed semi-gloss black - although it is covered by decal it means any tiny gaps will be less visible (and of course the underside needs painting anyway)
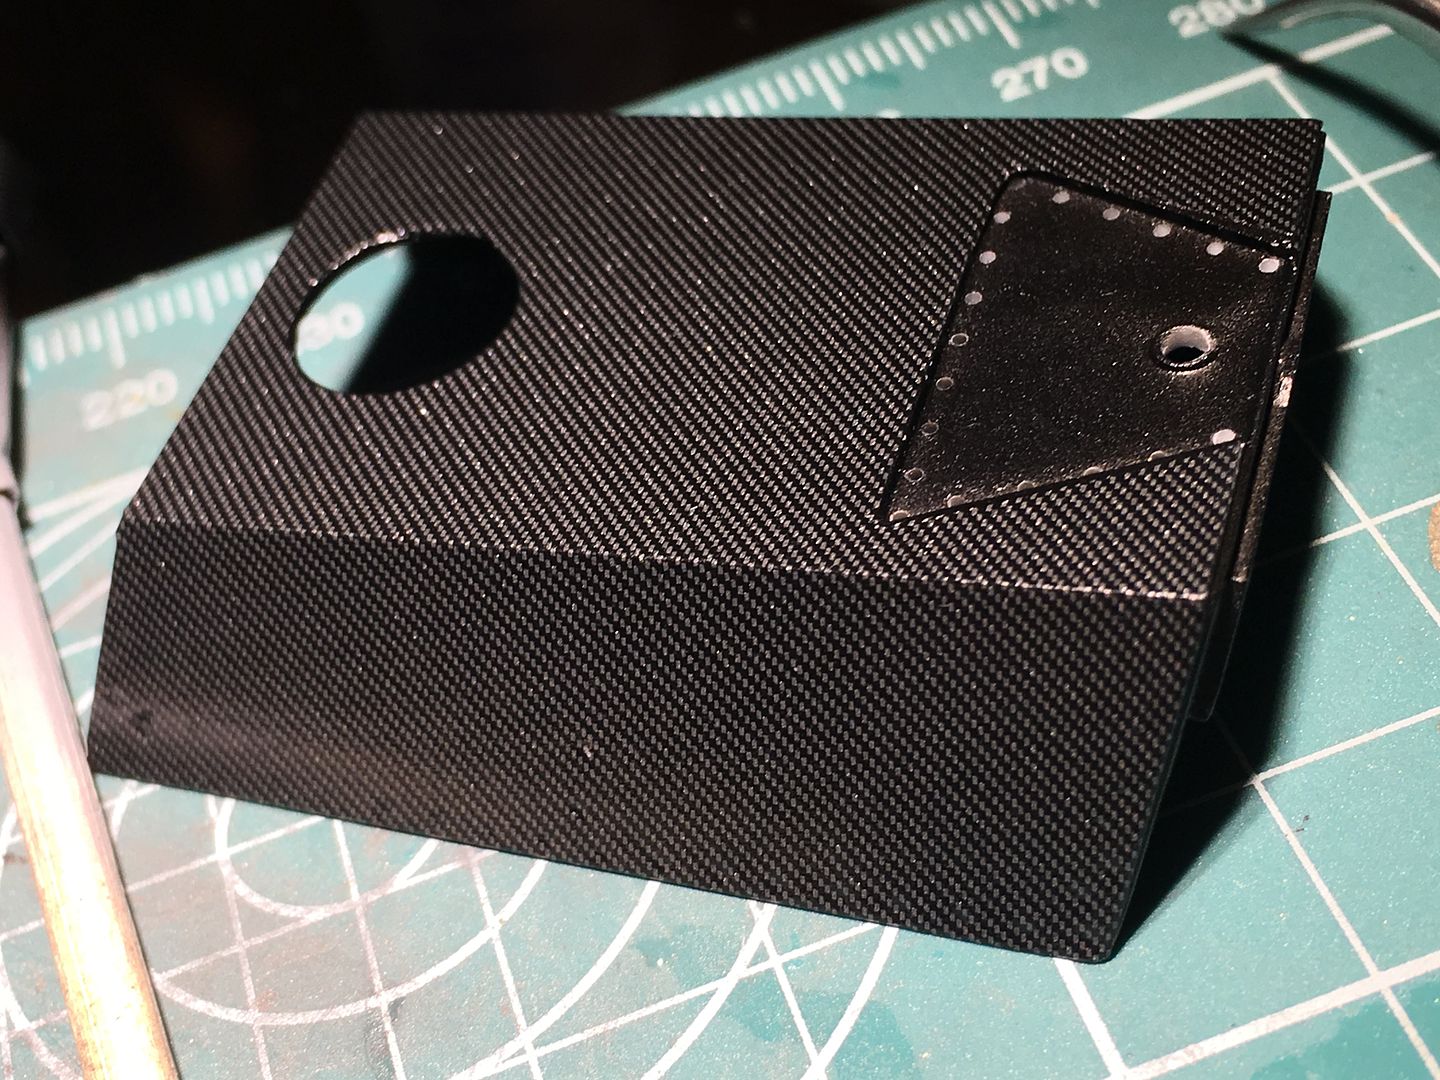
The rivets will make the separation between components look better - without the carbon just looks mis-matched!
Right - back from more work travels. Really does get in the way - but enables me to buy MFH....so...
Started more chassis work - carbon decals on the top of the tub and dash area. Decals went on well - even on those curvy bits. Will add rivets tonight...
This is a resin part - I had already drilled the holes, now sprayed semi-gloss black - although it is covered by decal it means any tiny gaps will be less visible (and of course the underside needs painting anyway)
The rivets will make the separation between components look better - without the carbon just looks mis-matched!
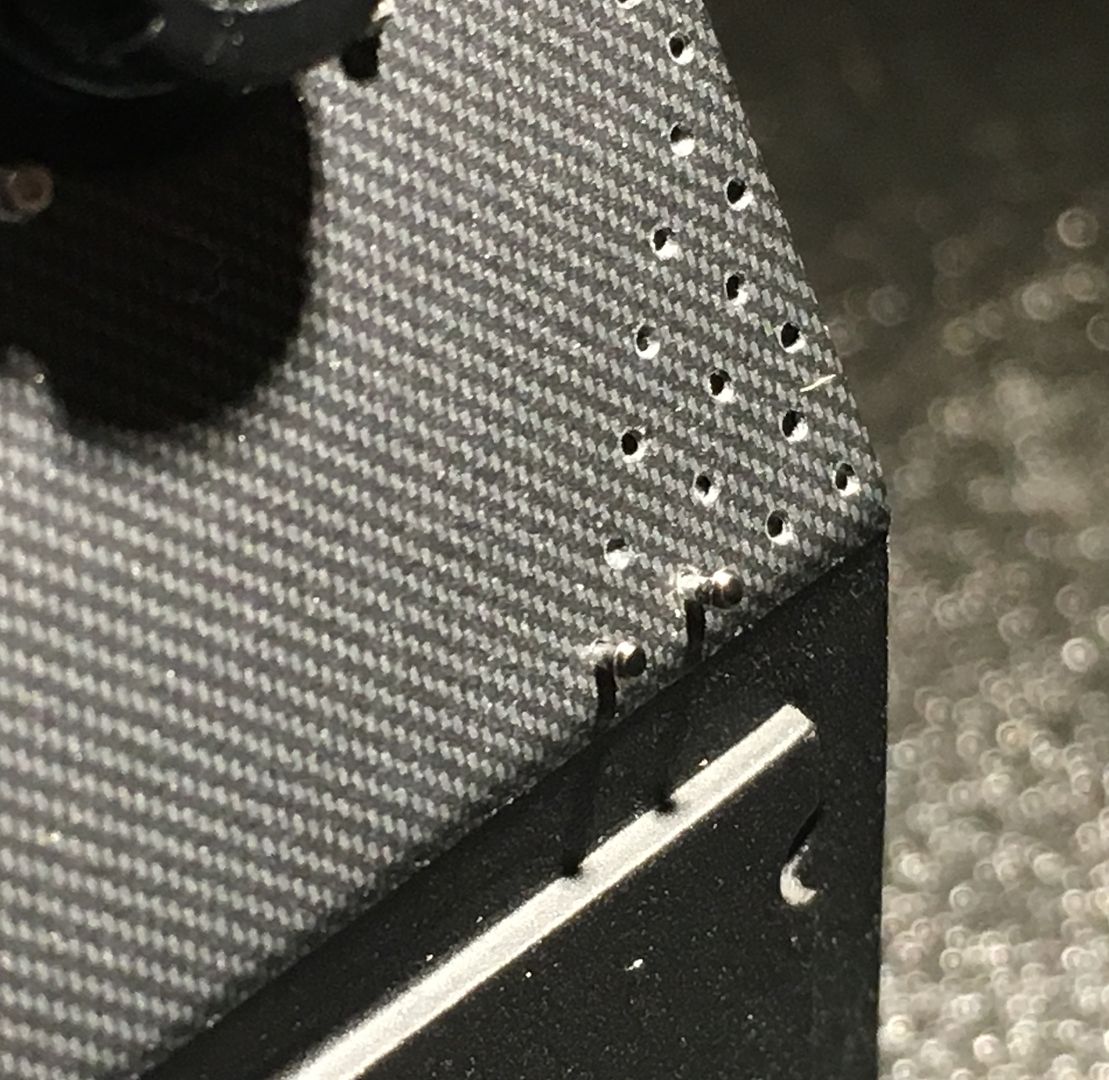
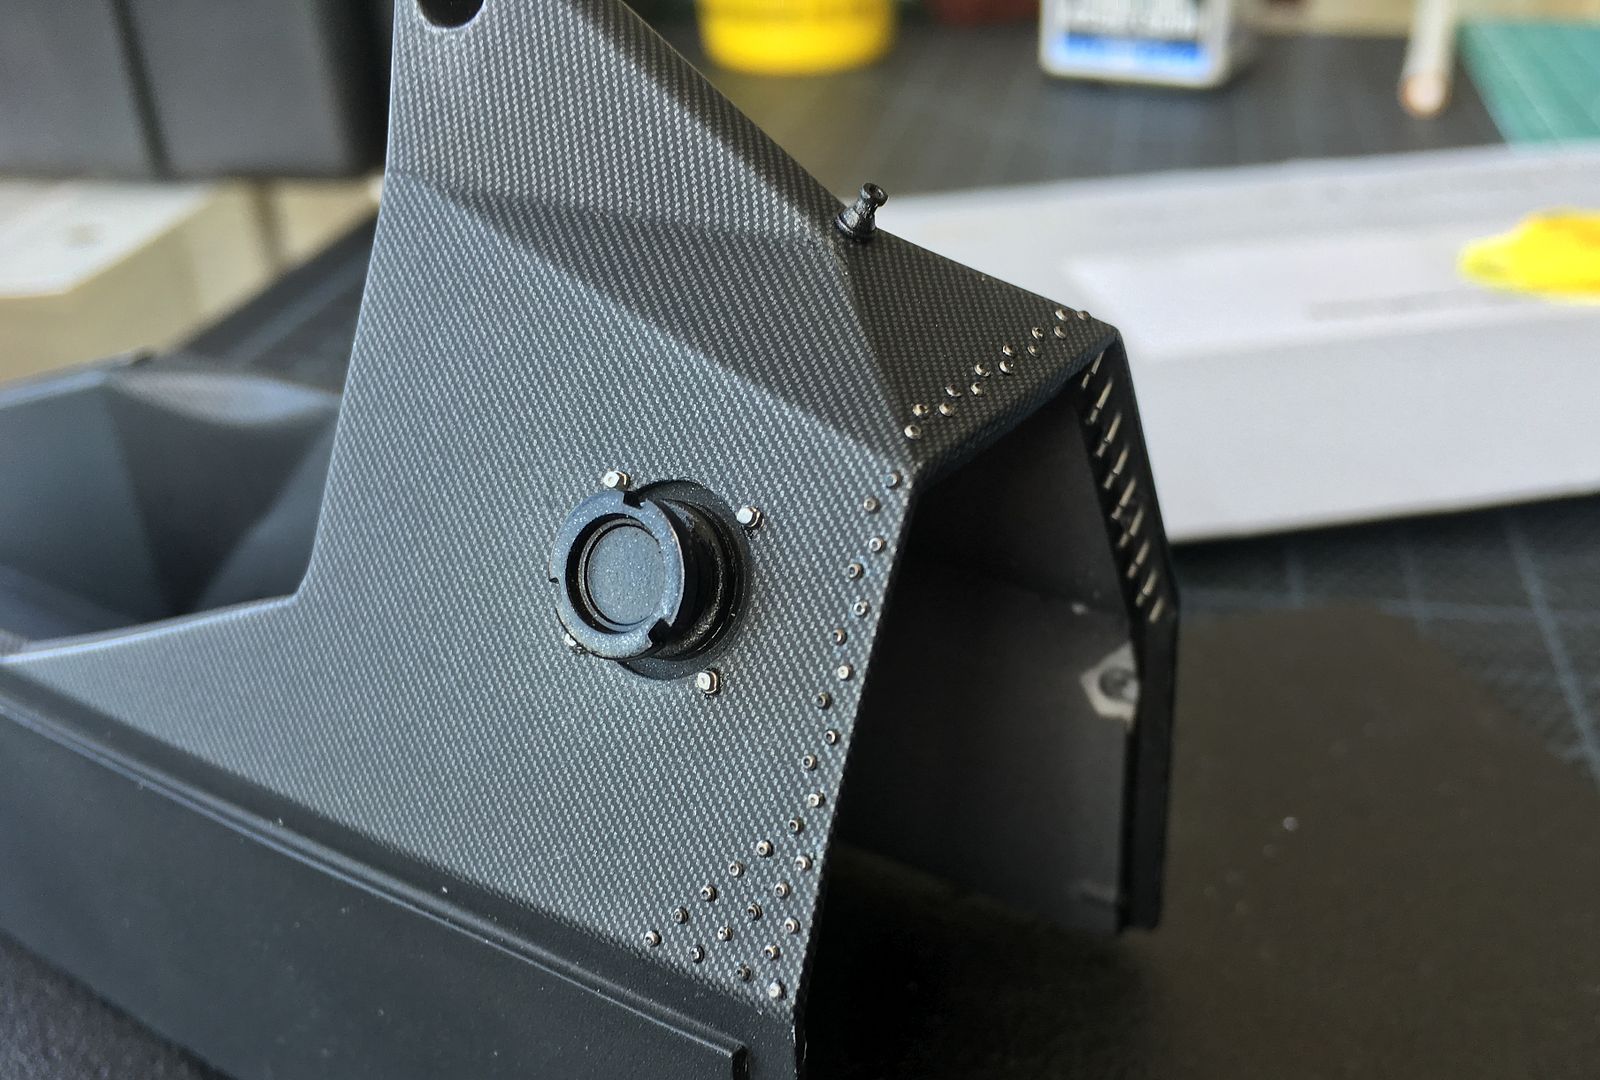
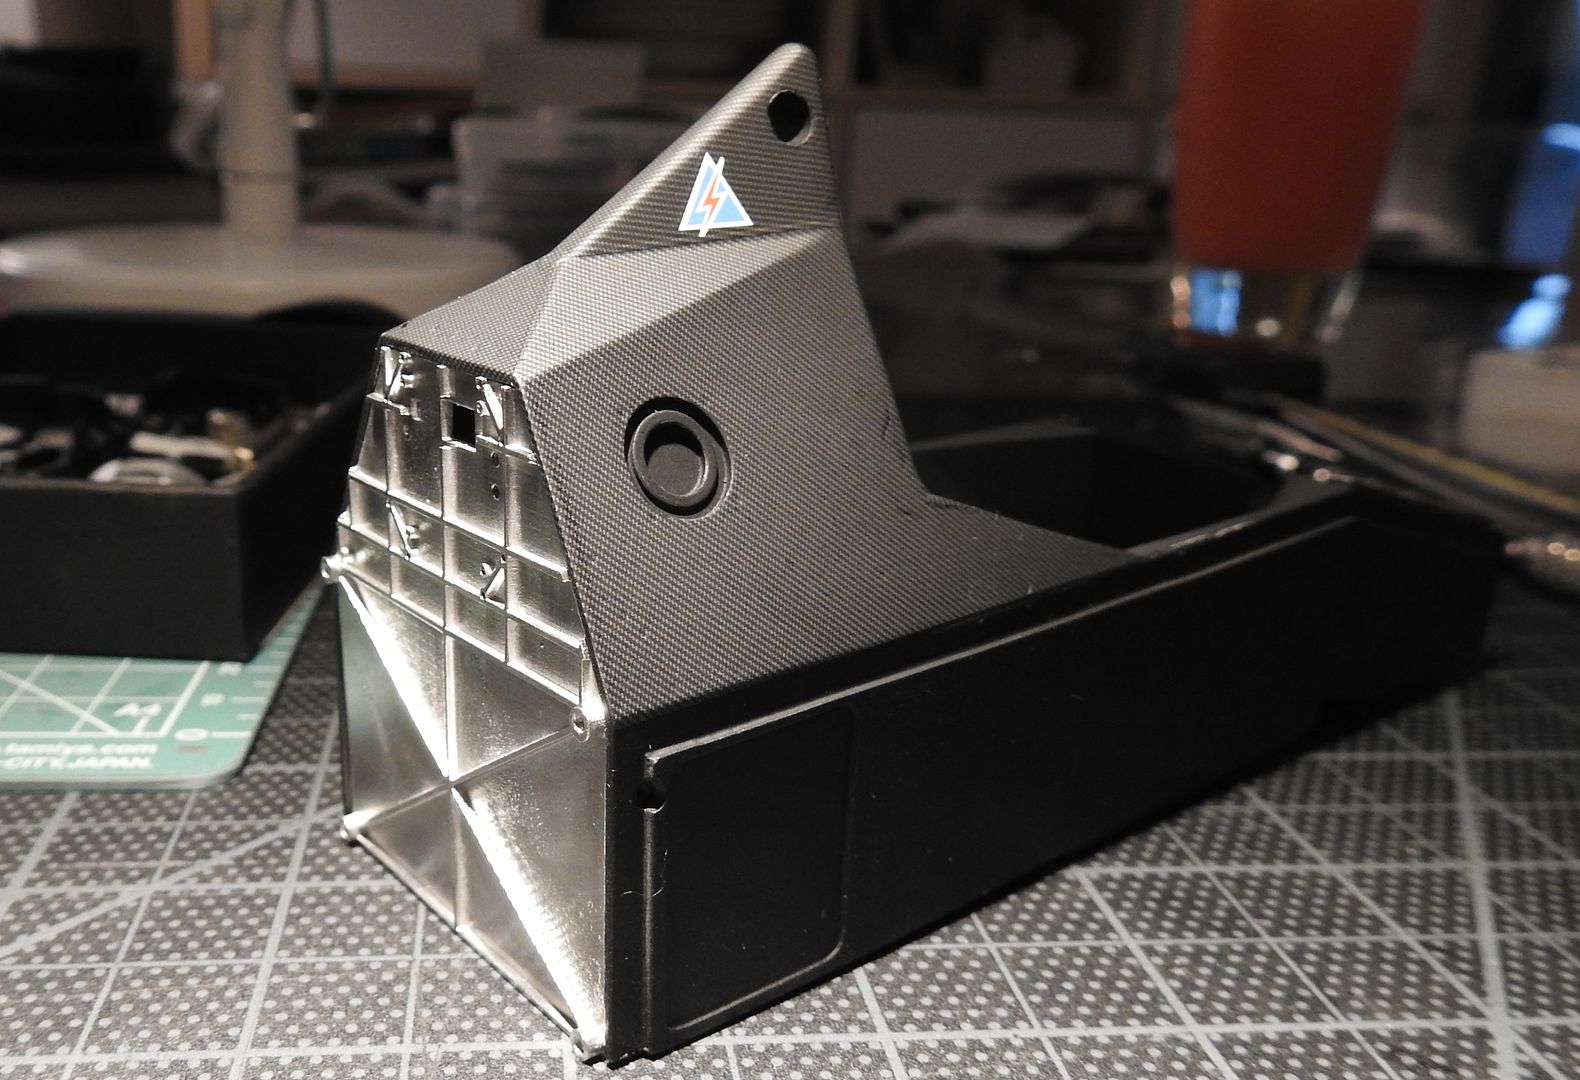
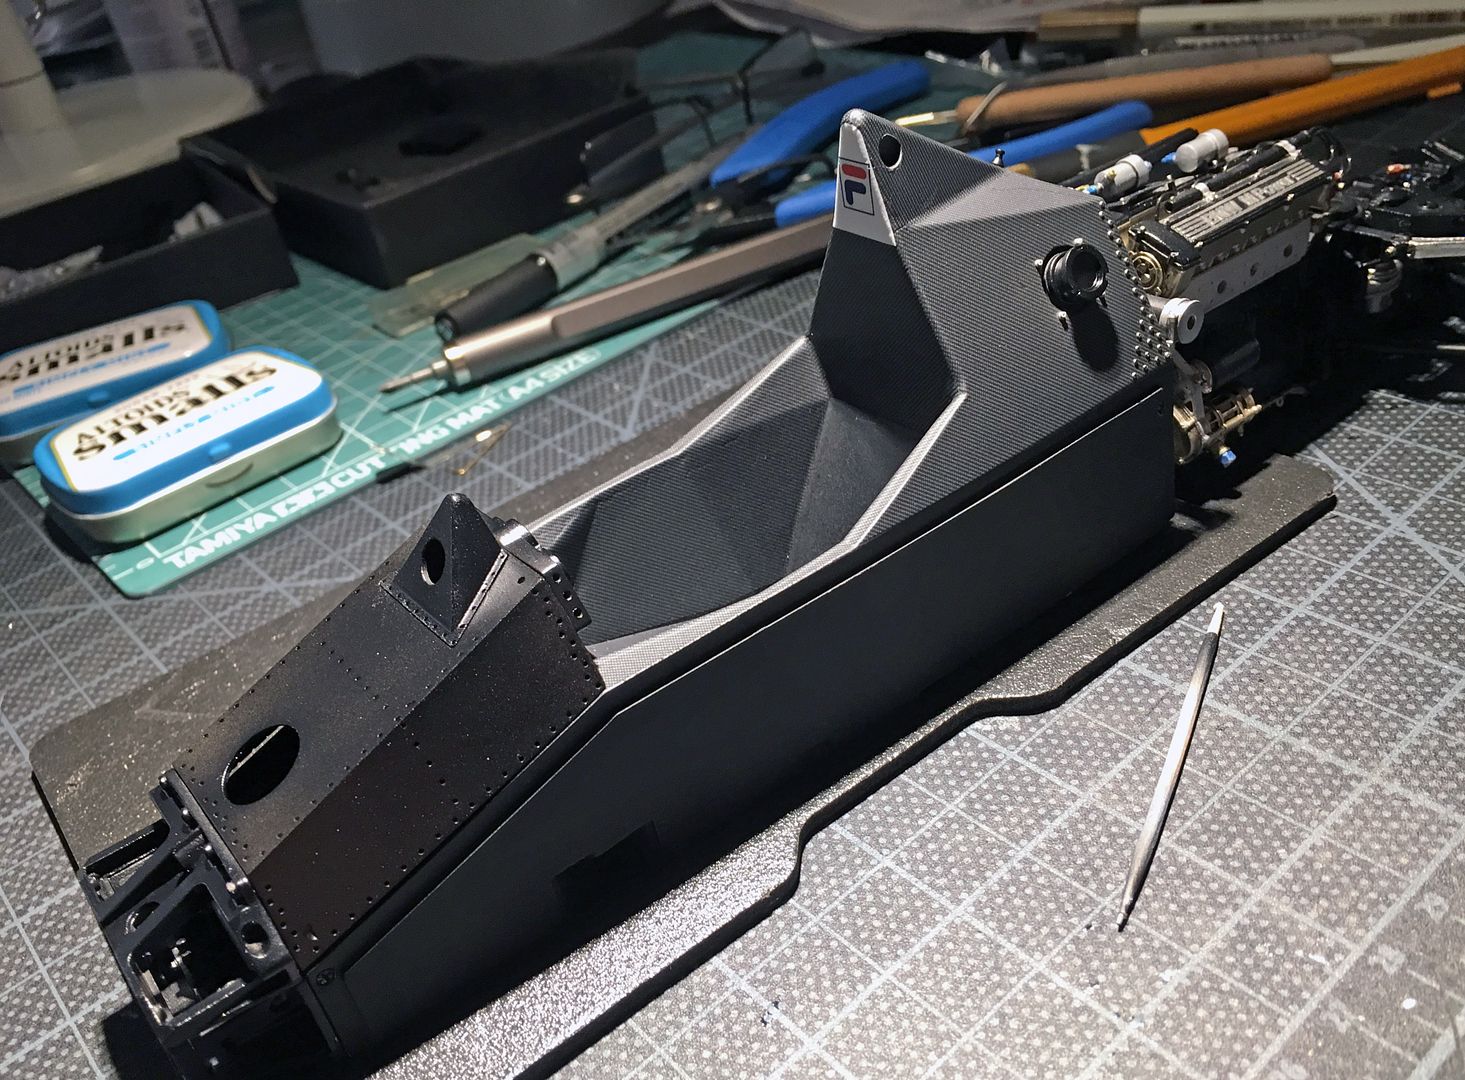
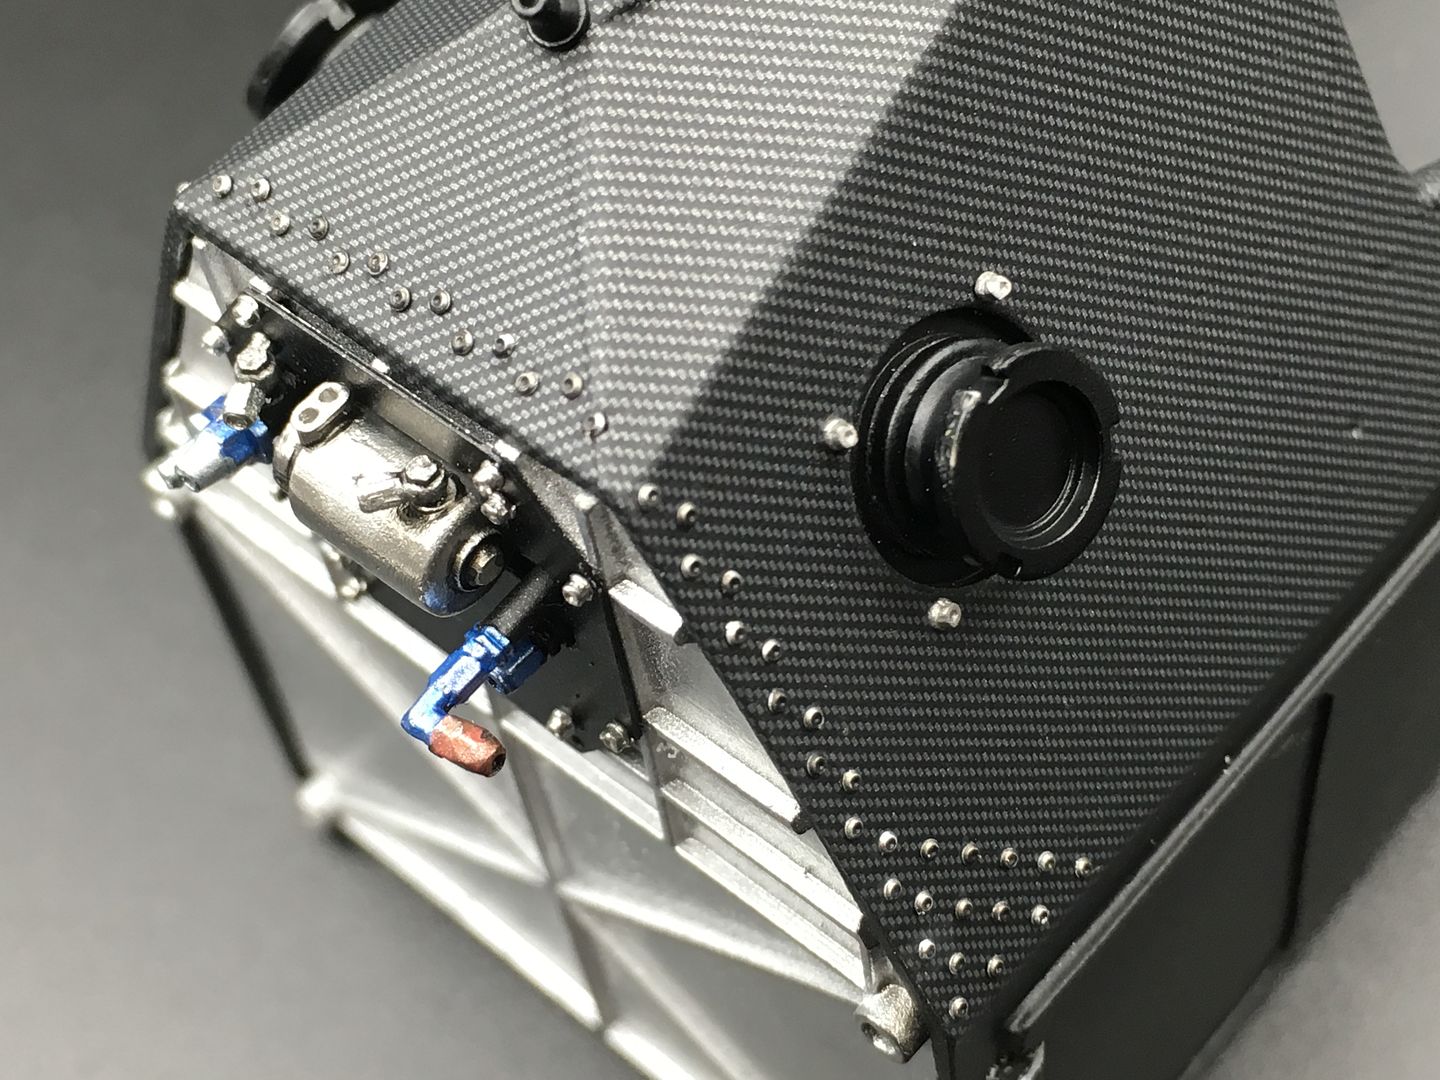
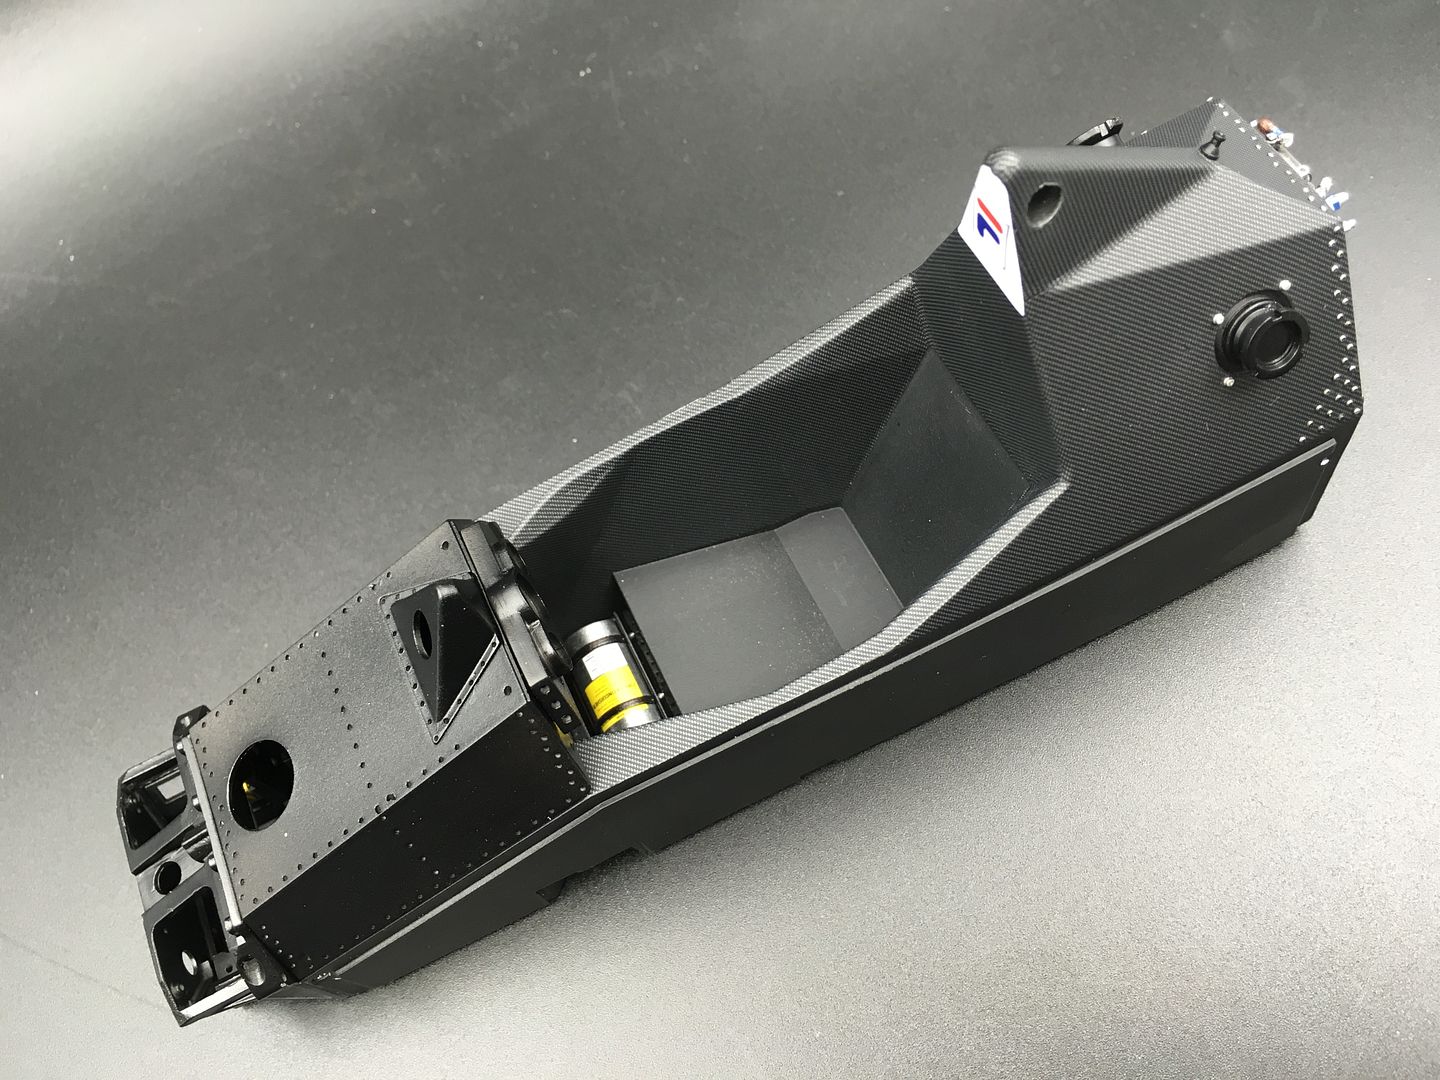
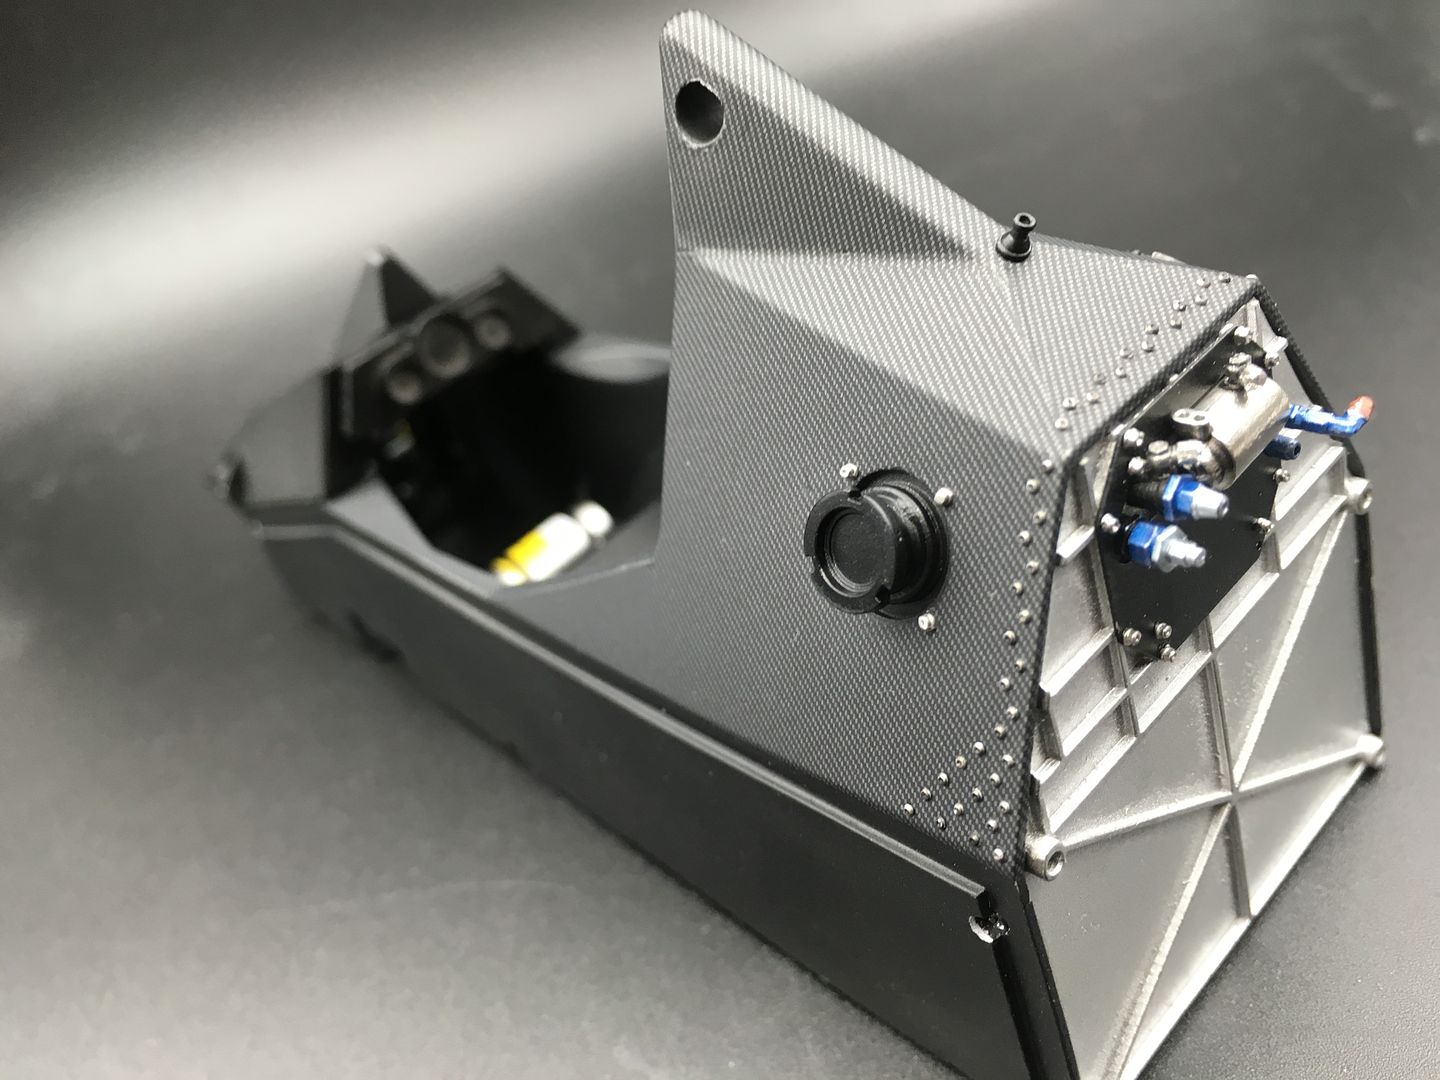
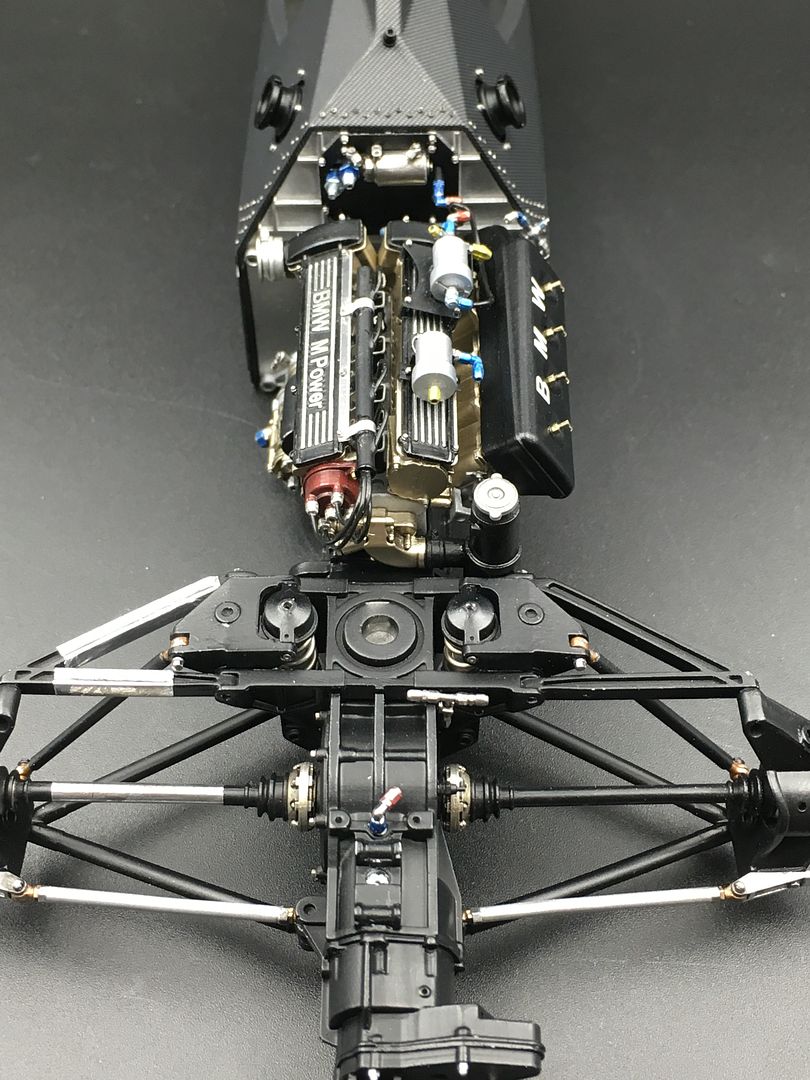
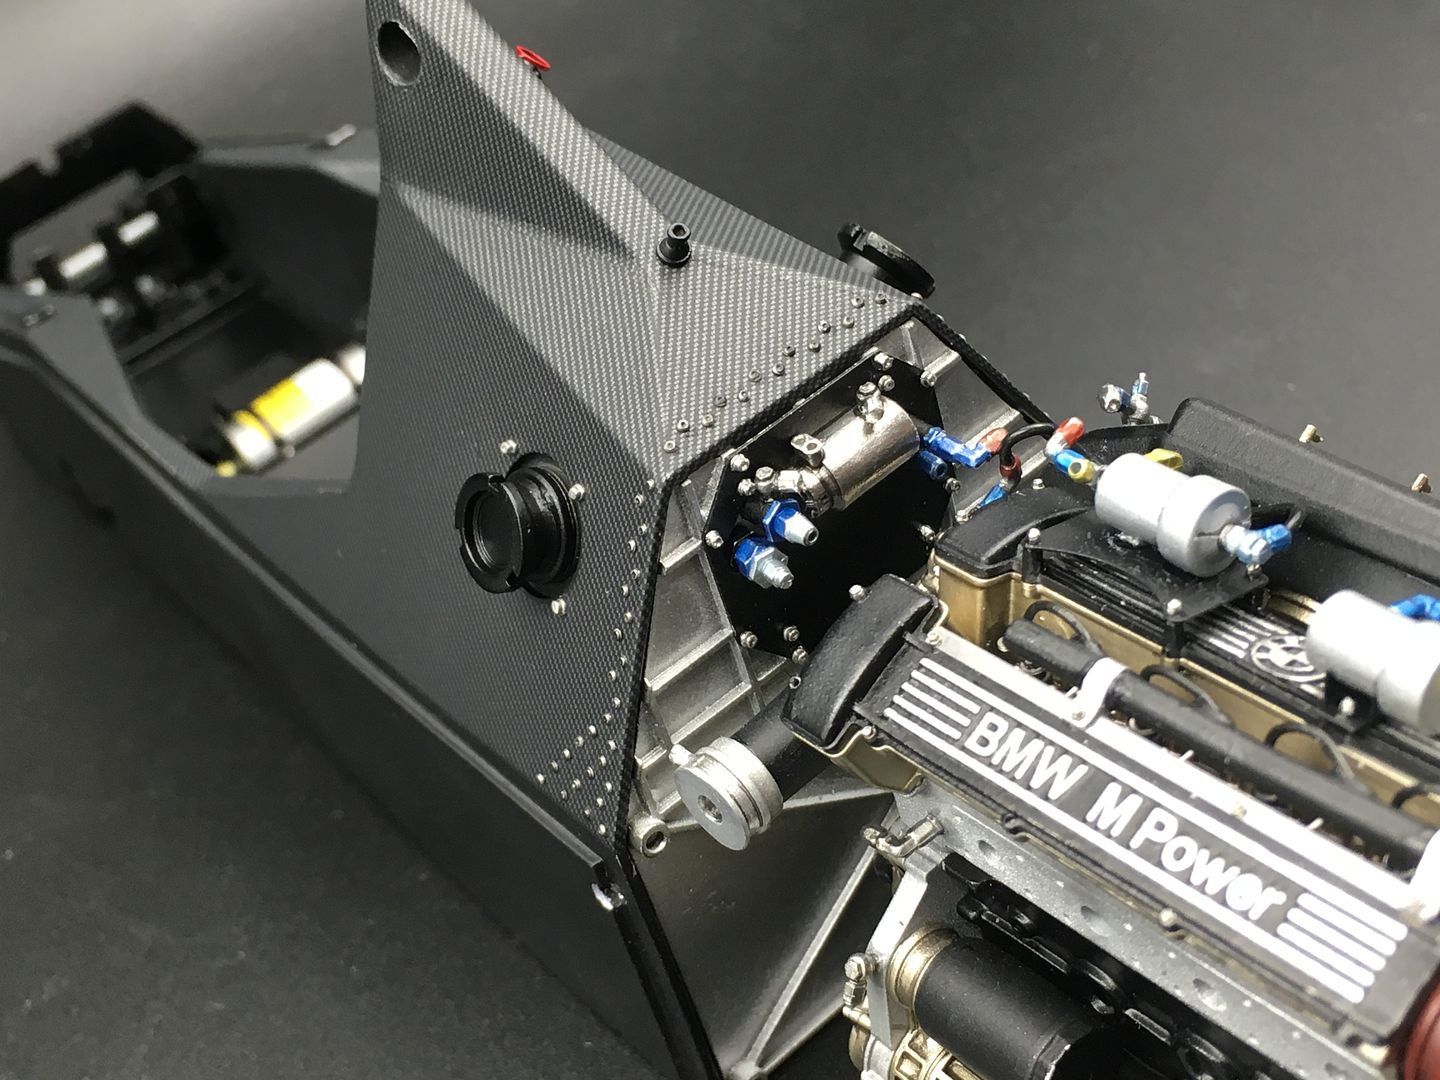
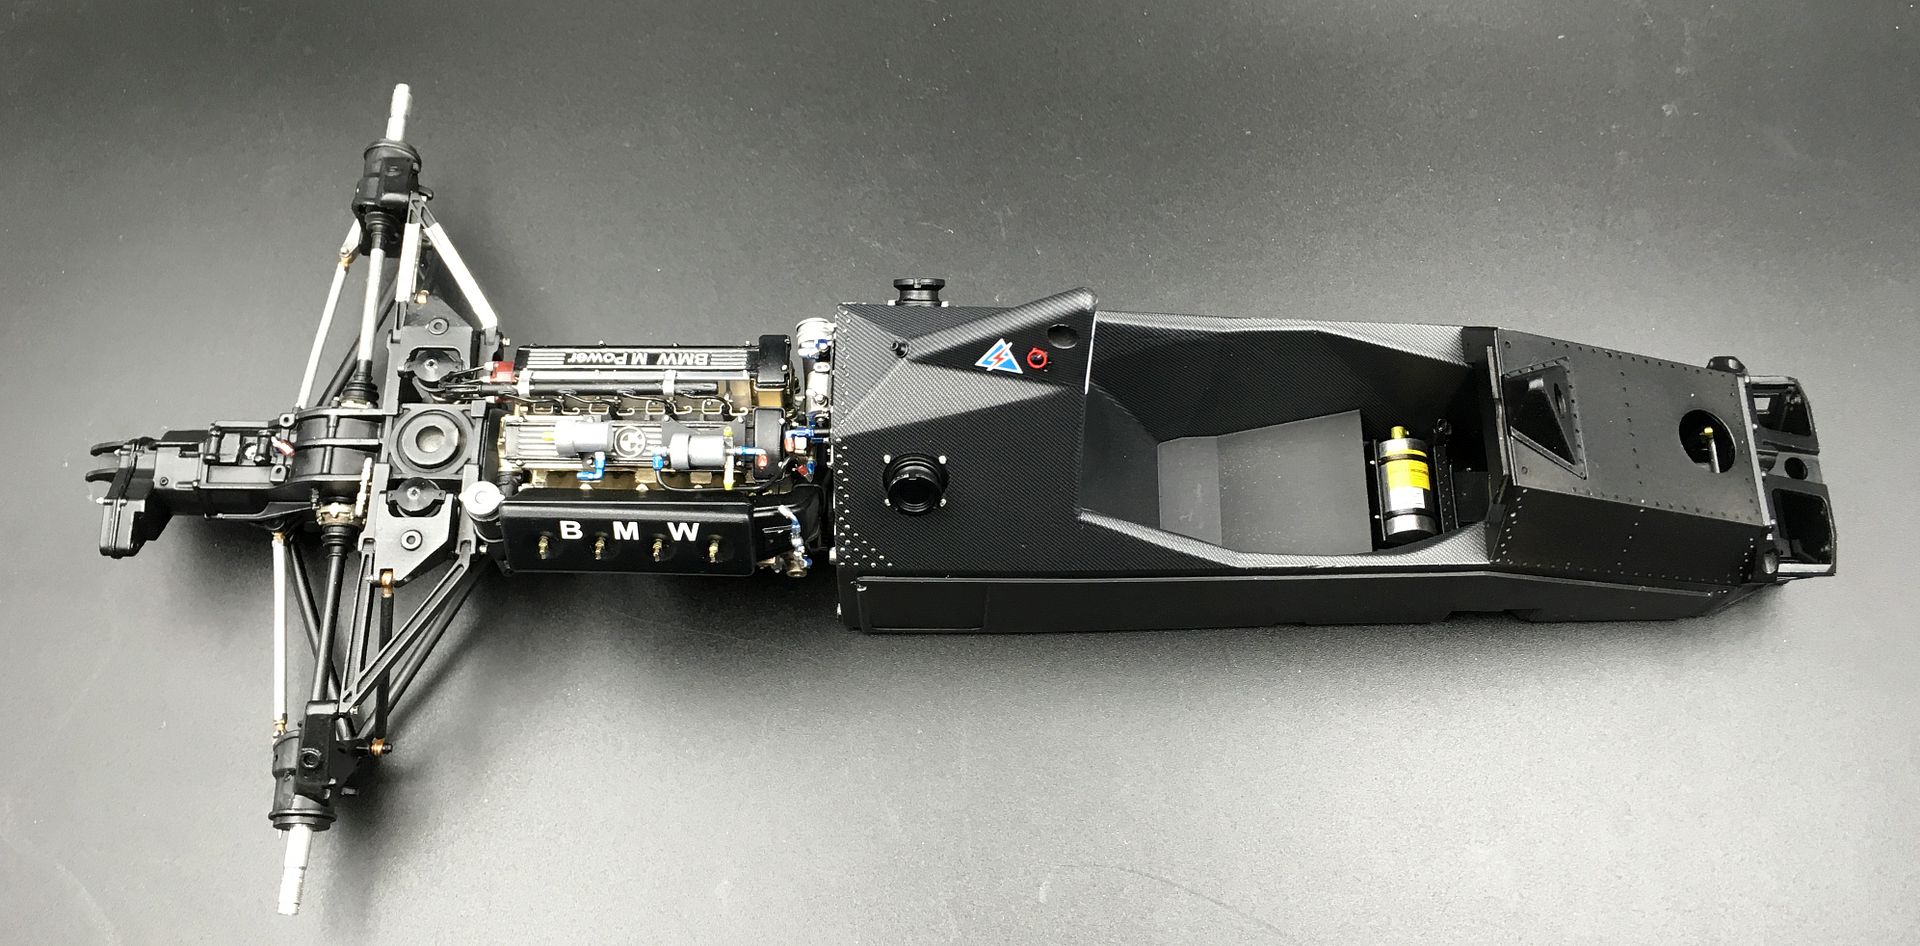
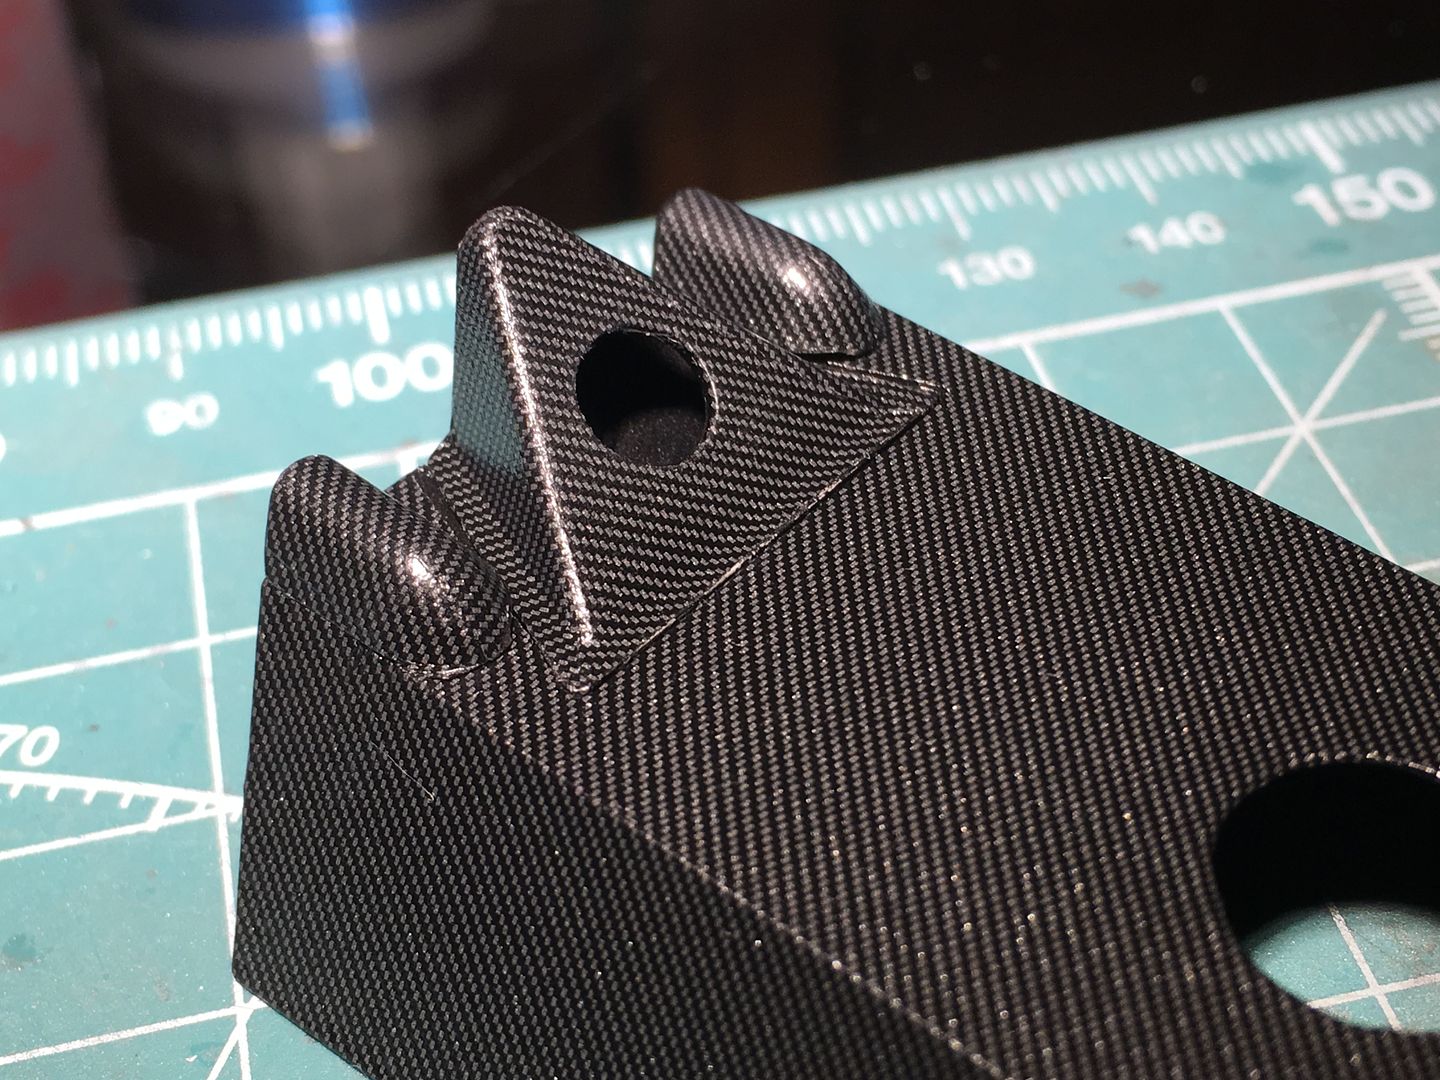
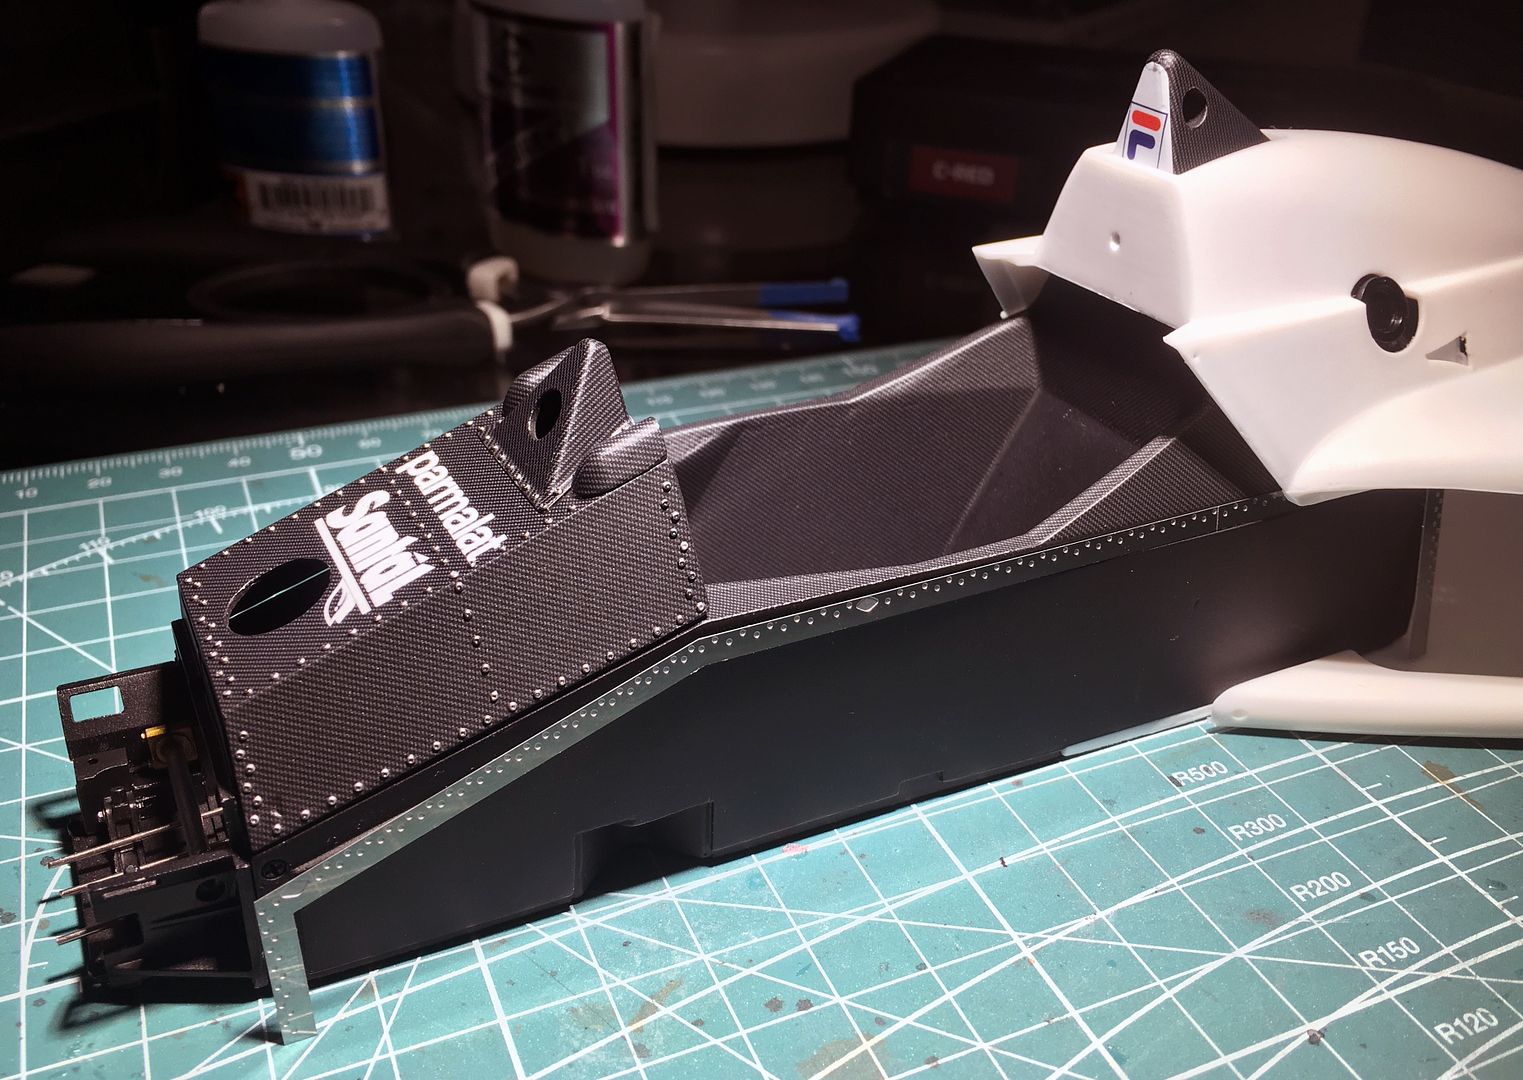
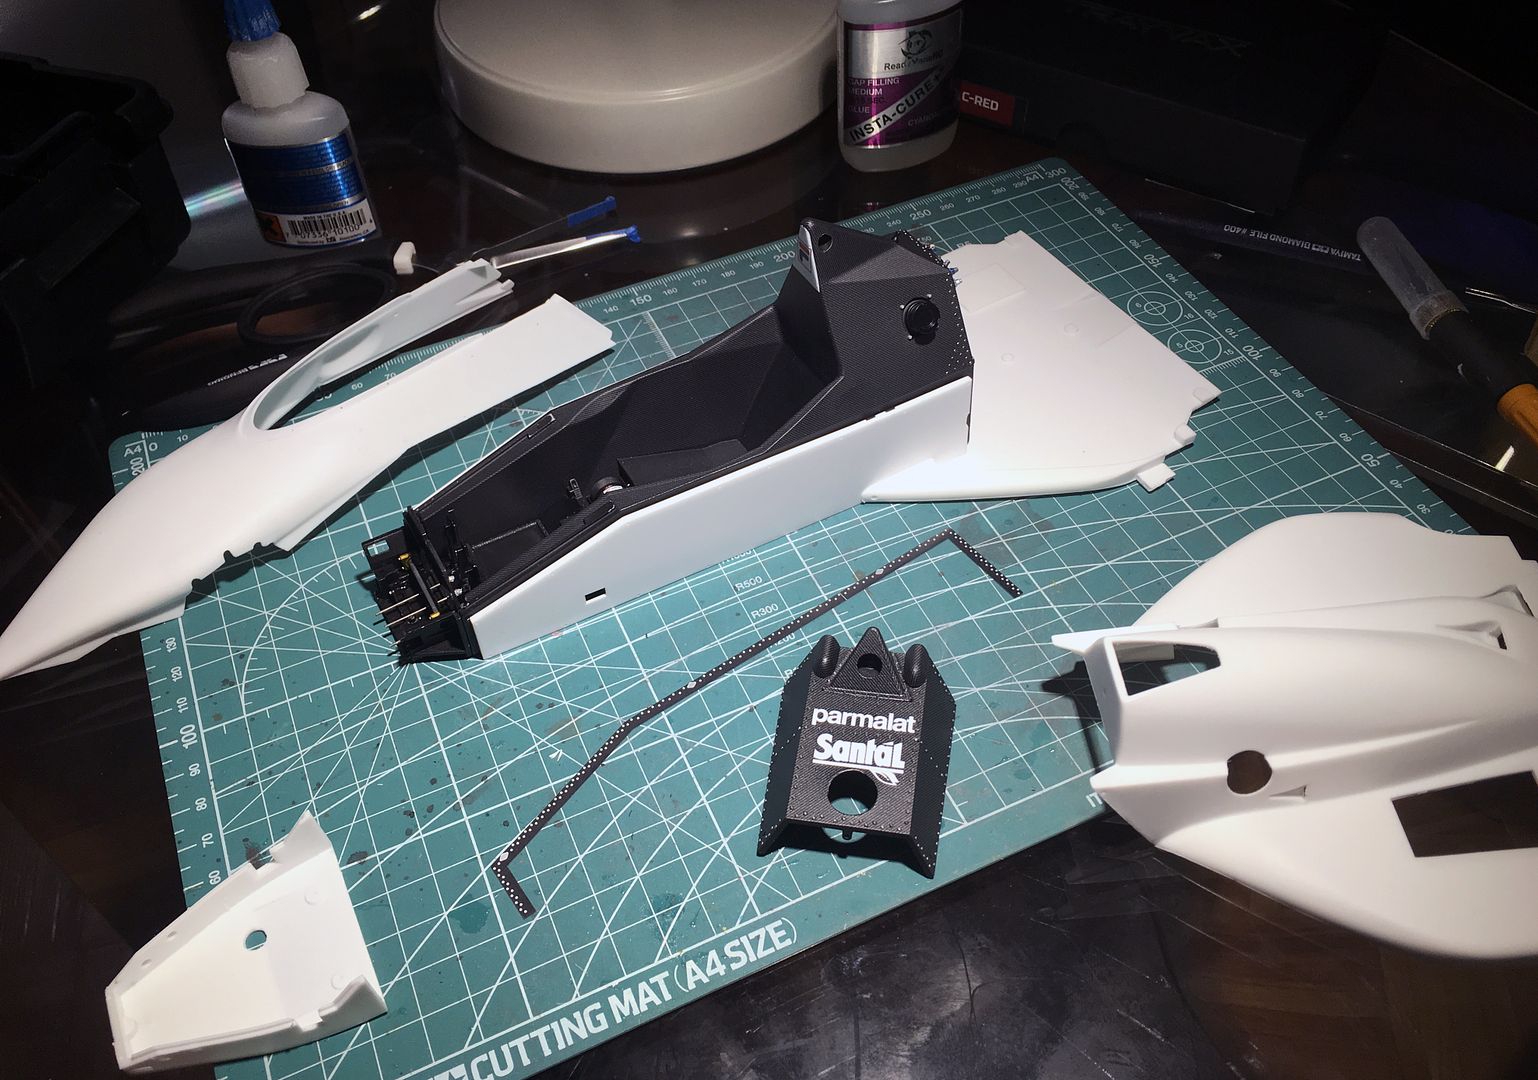
Right - more (many more!) rivets added!
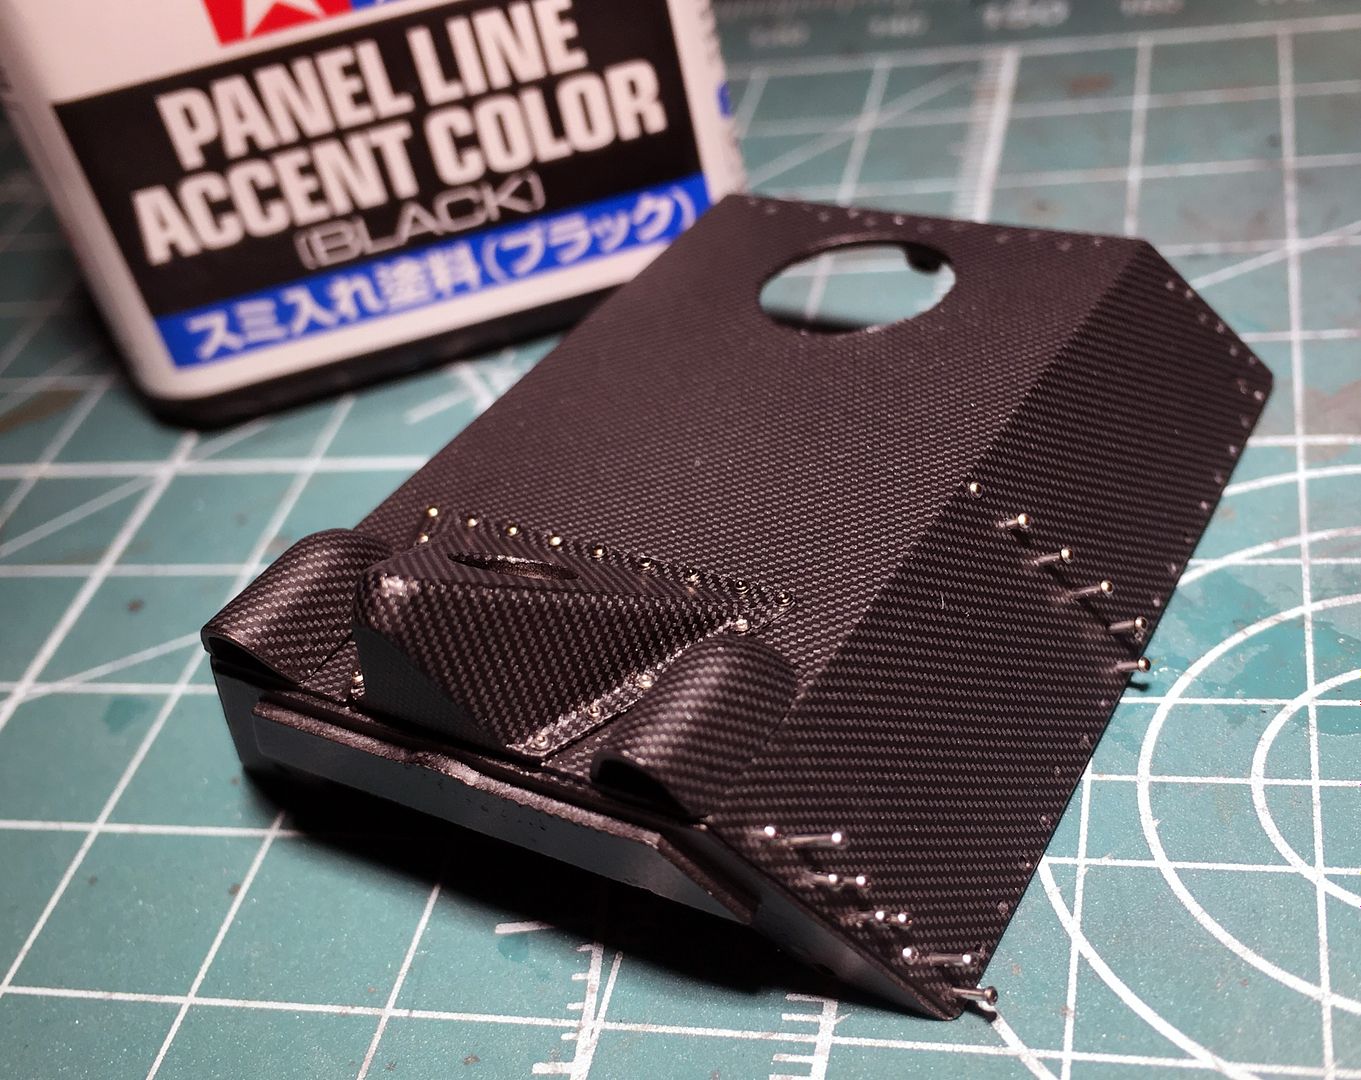
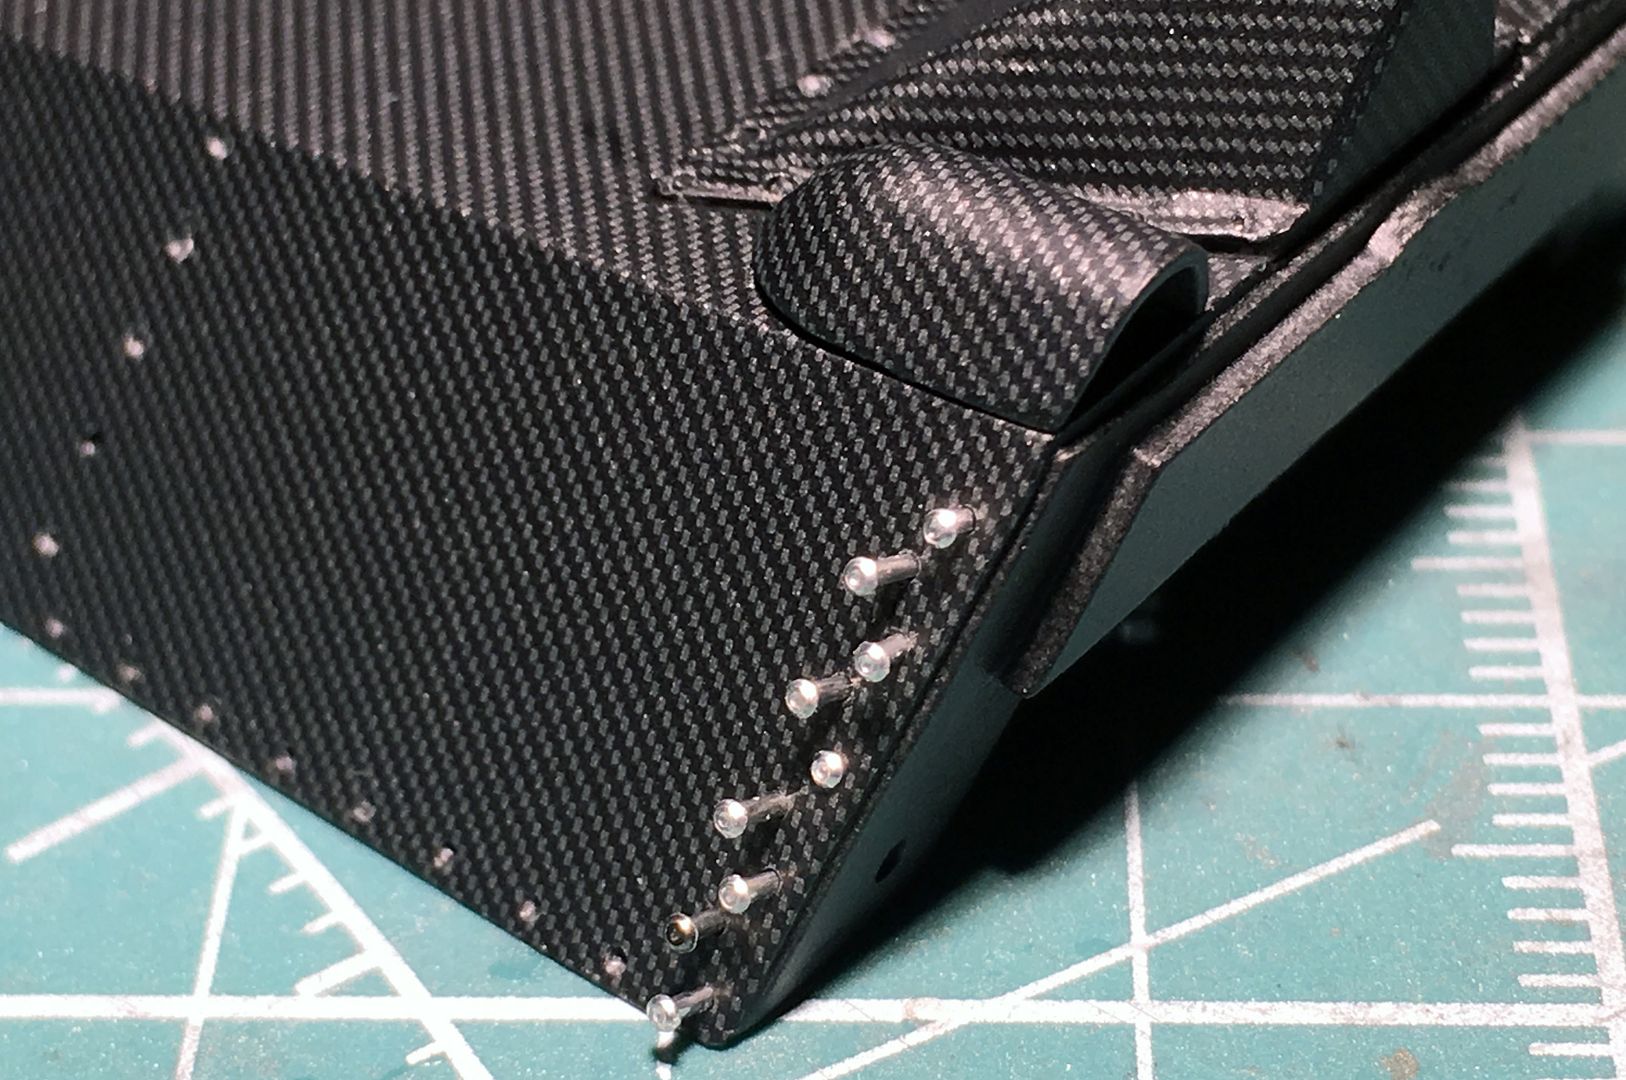
Same method as before - I have used panel line liquid to darken the rivets slightly, not worried if it rubs off randomly, as the 'real' car looks like that...
Lots of them!
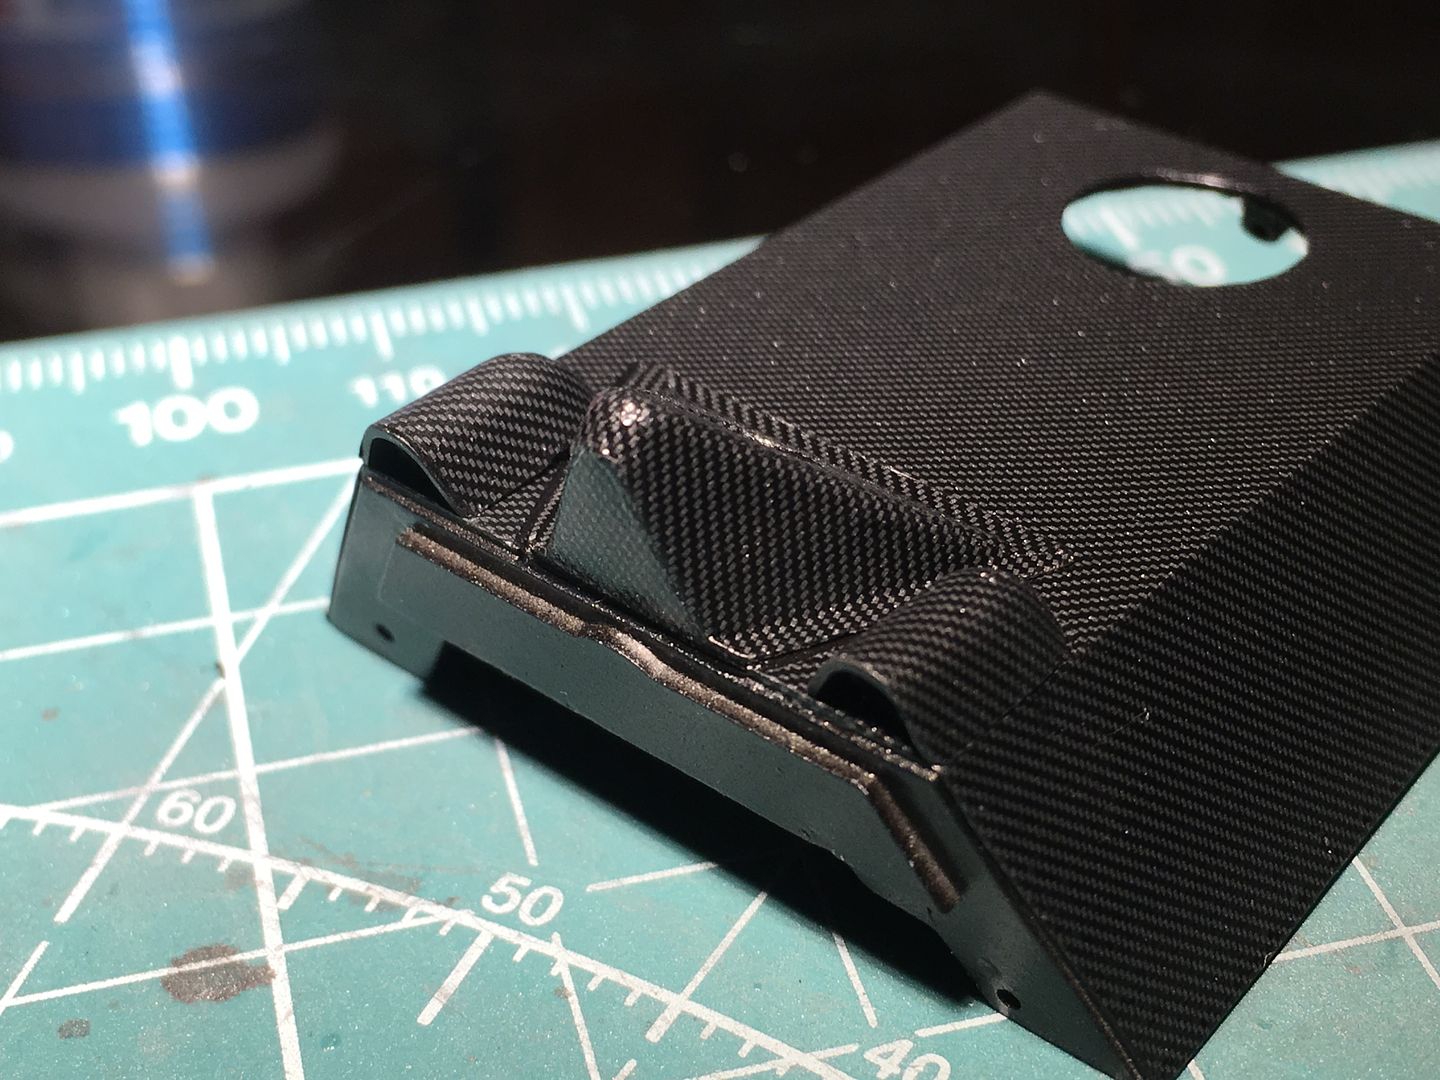
Sprayed with satin clear...
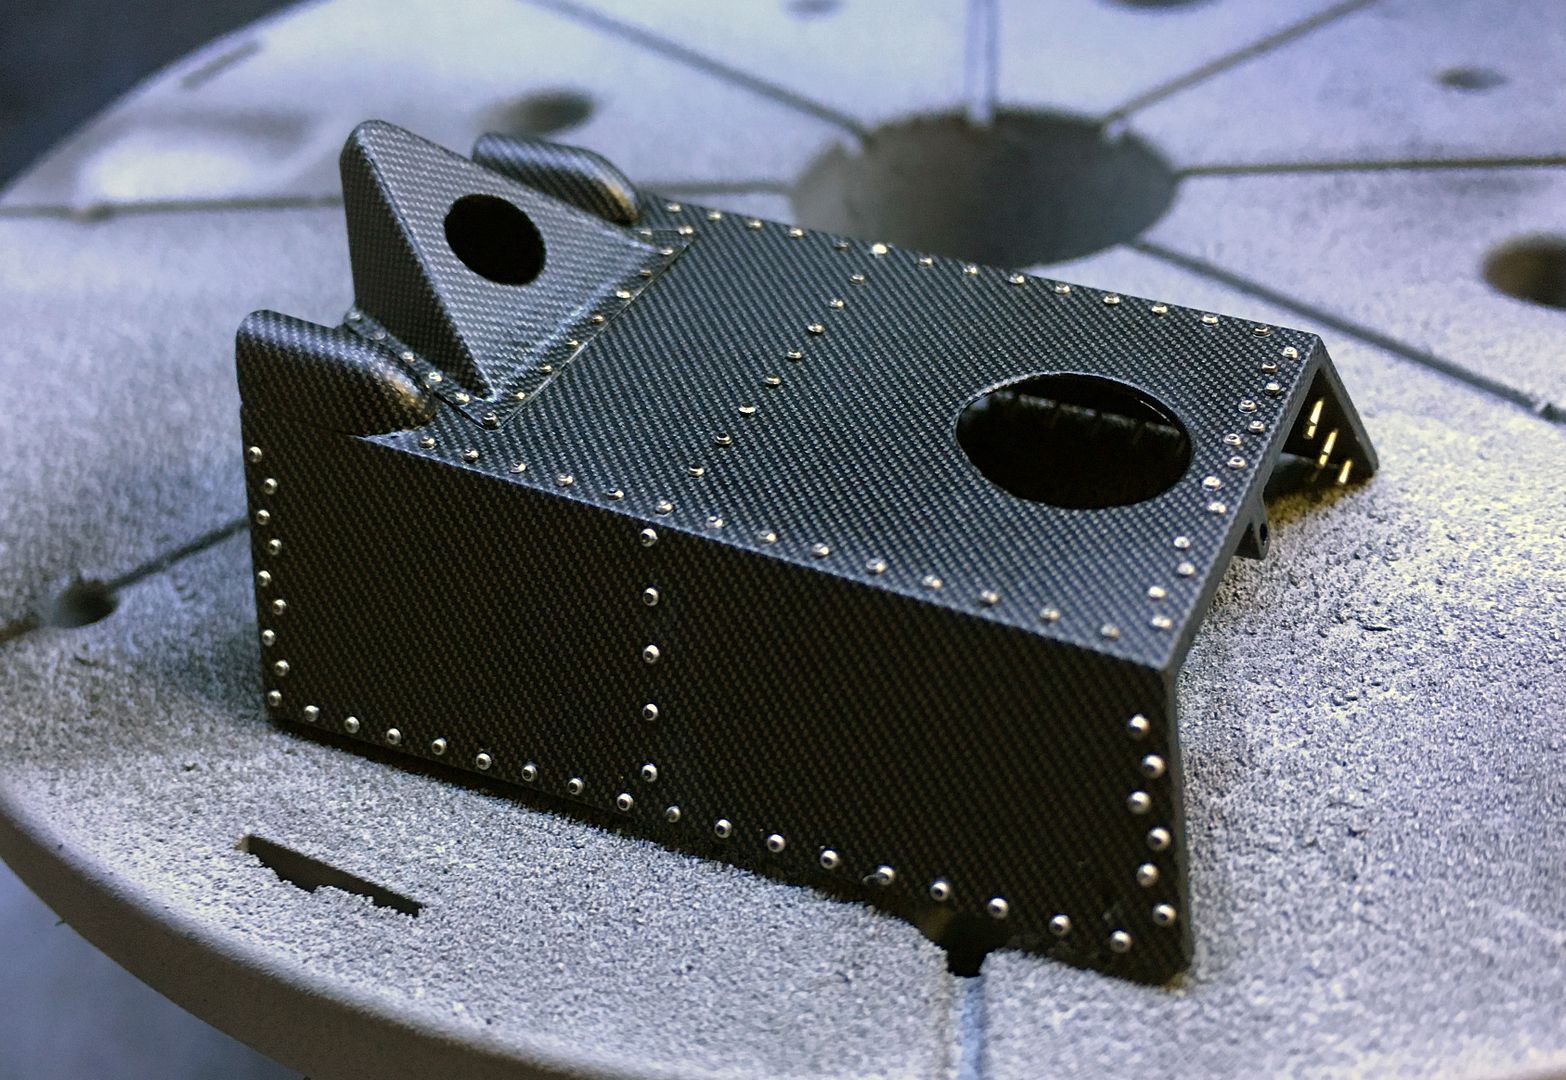
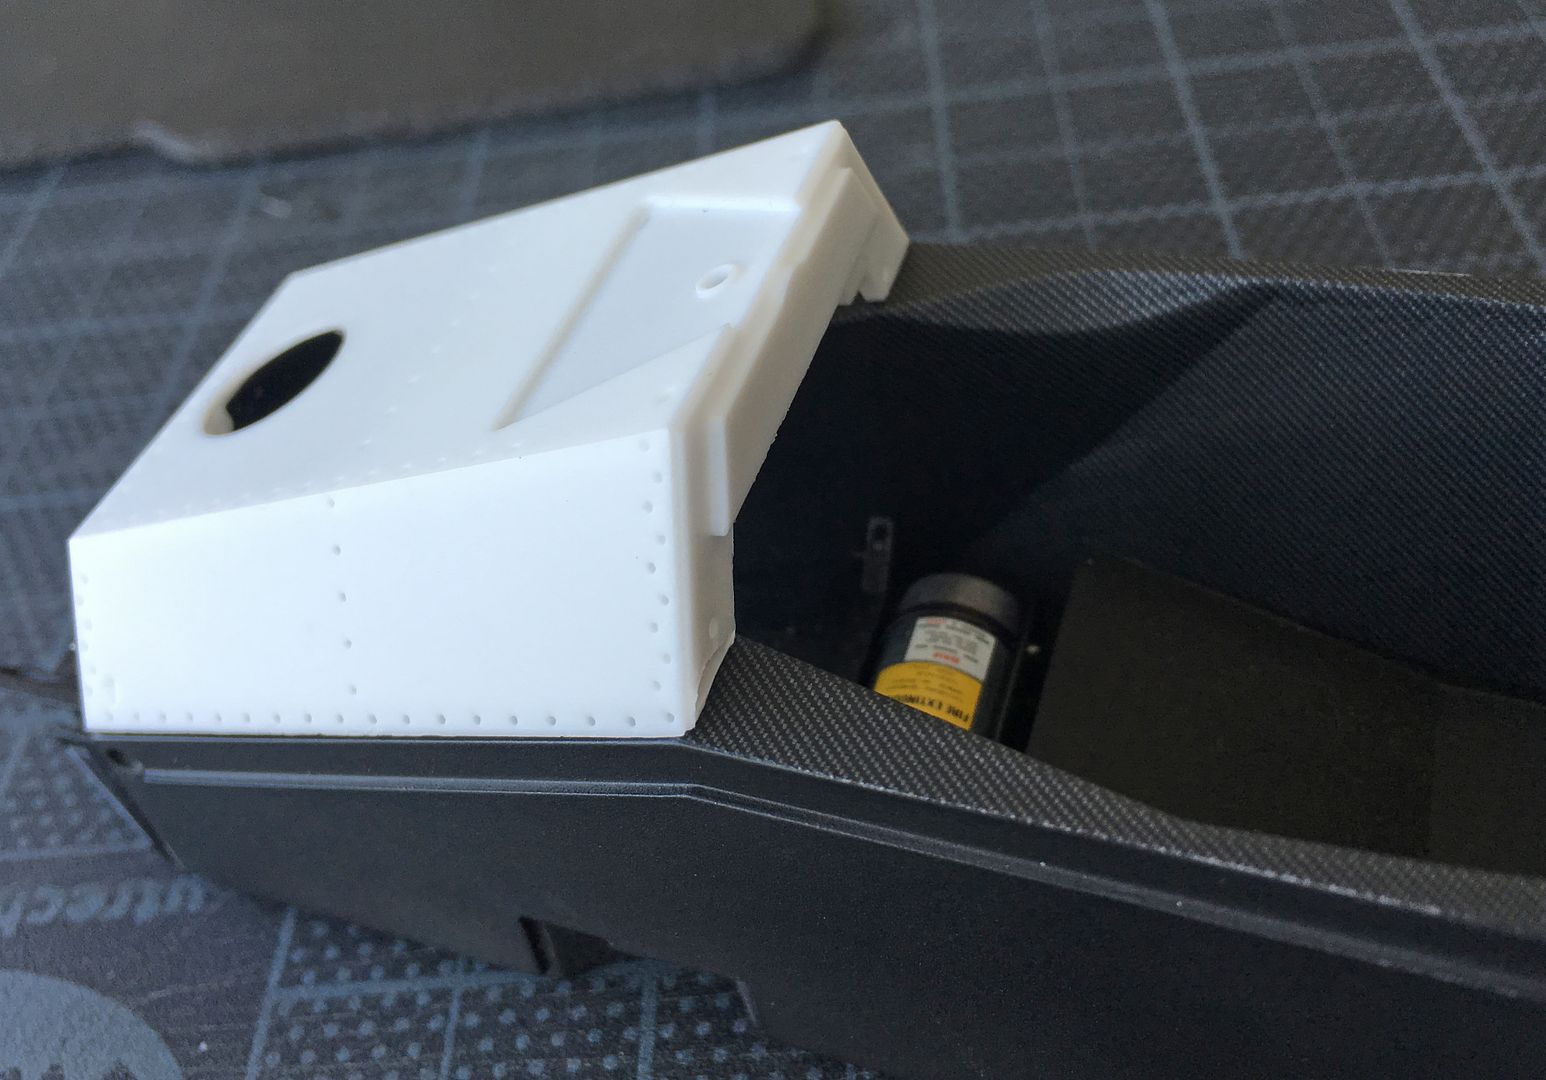
Have to trim all these - certainly at the edge so that the part fits on top of the chassis...

So it isn't sitting properly here:
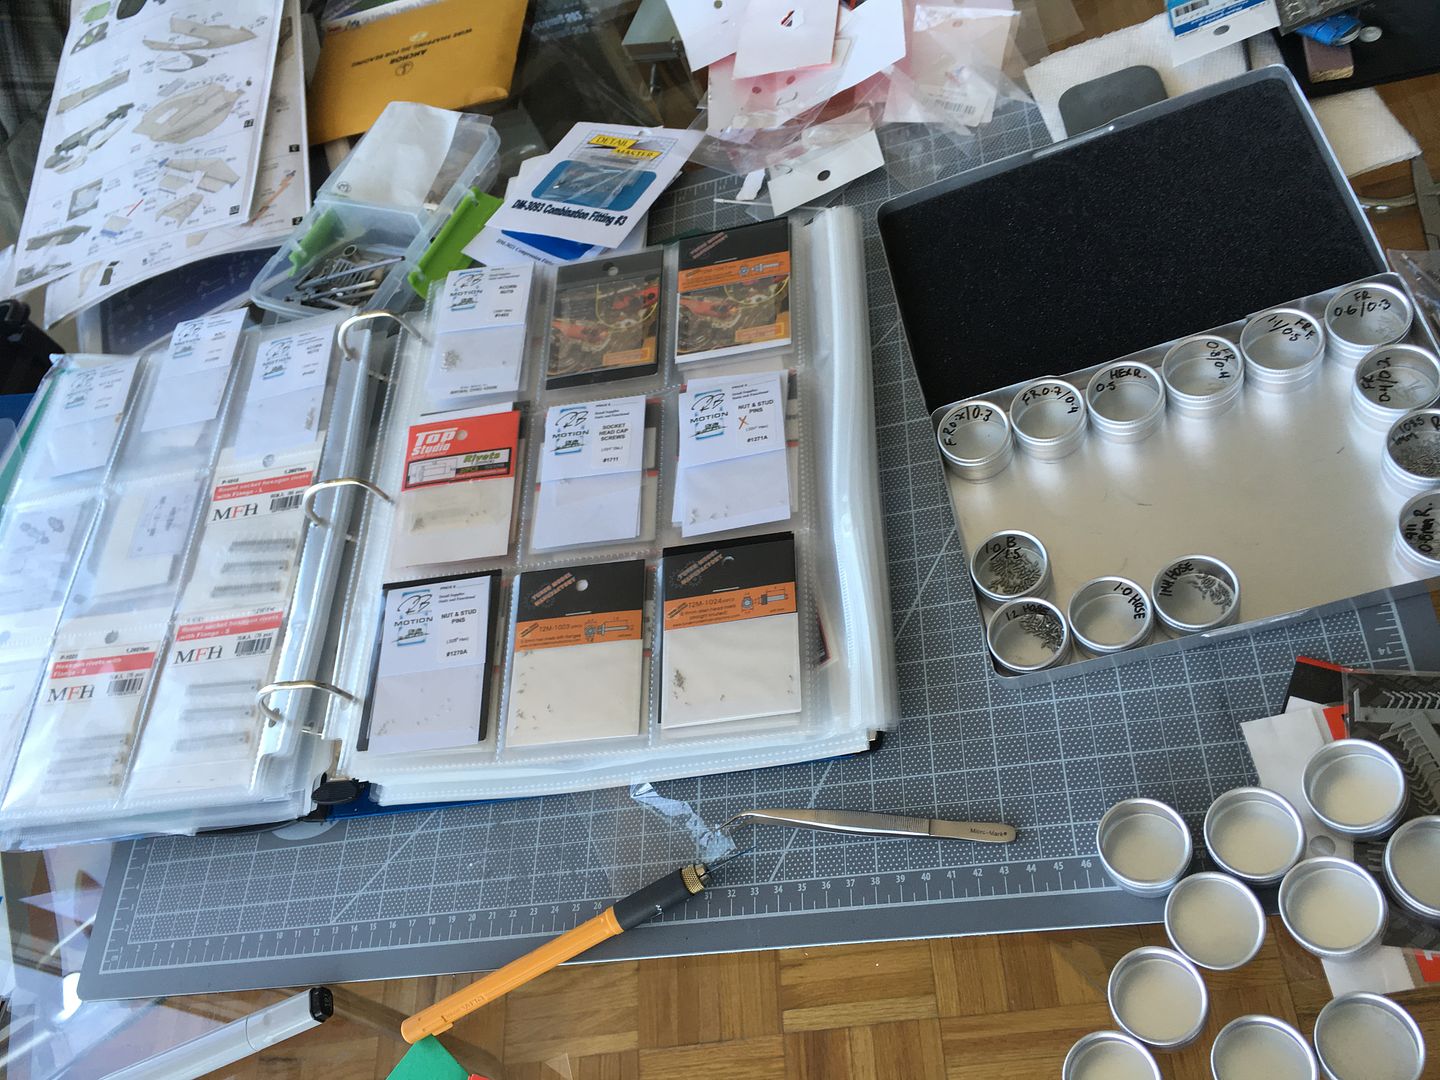
Also got a new toy - magnetic polisher, I've got far too many very small parts to clean that now I think it becomes worthwhile!
Same method as before - I have used panel line liquid to darken the rivets slightly, not worried if it rubs off randomly, as the 'real' car looks like that...
Lots of them!
Sprayed with satin clear...
Have to trim all these - certainly at the edge so that the part fits on top of the chassis...
So it isn't sitting properly here:
Also got a new toy - magnetic polisher, I've got far too many very small parts to clean that now I think it becomes worthwhile!

Detail stuff...seems a shame to spray these wheels, but have to...
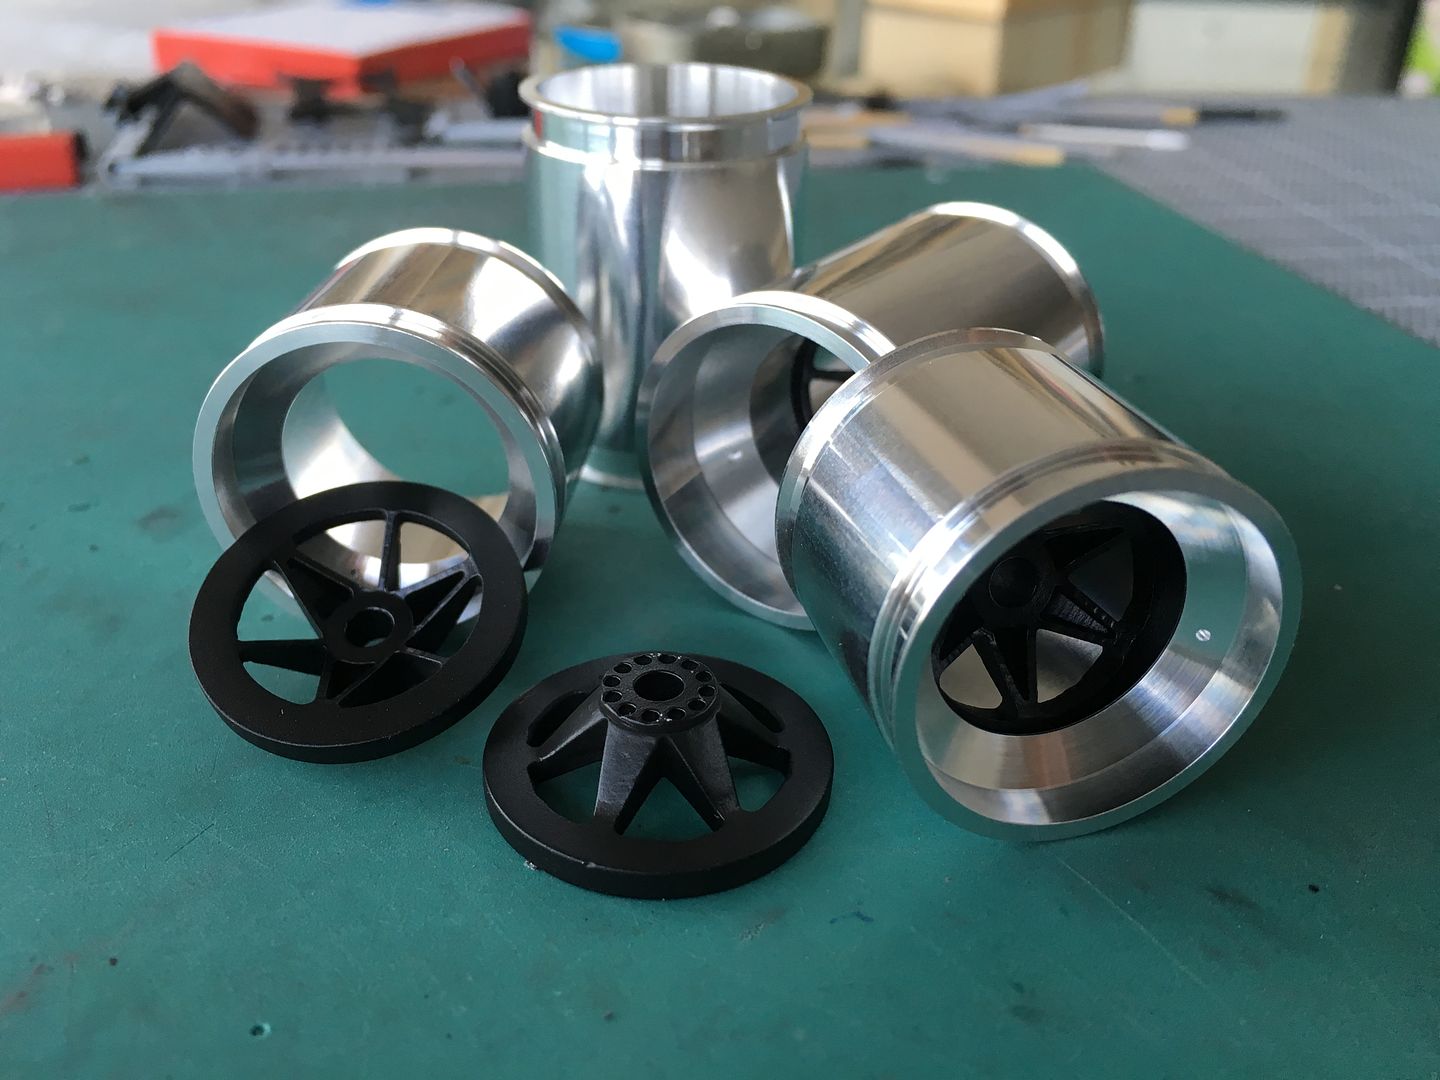
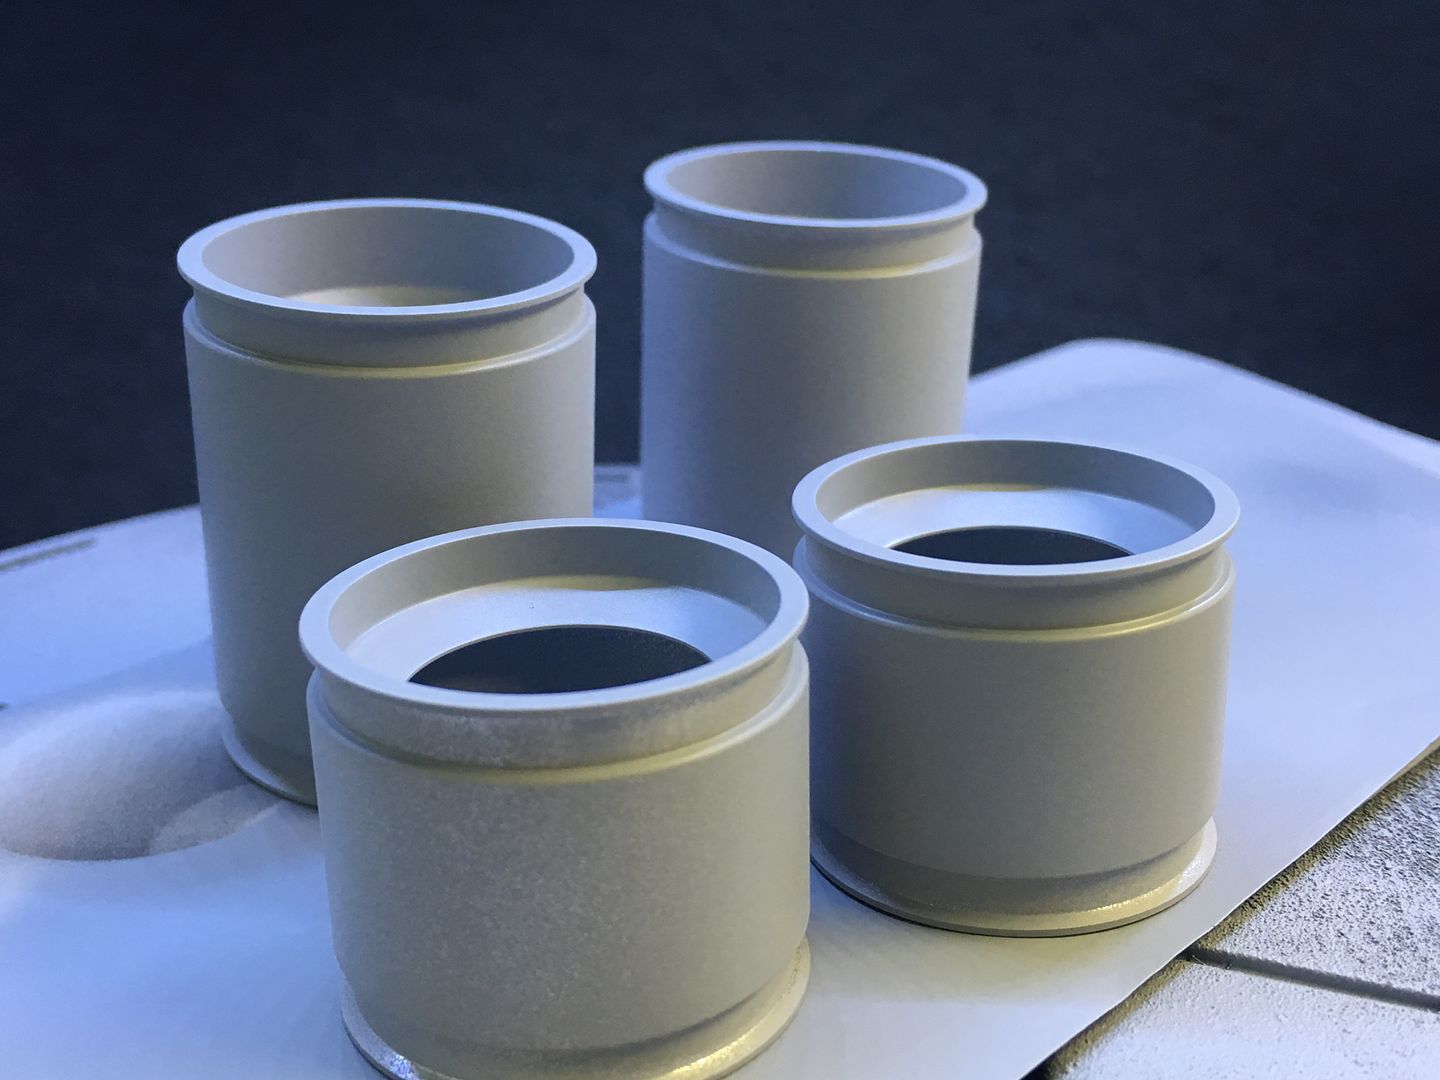
...but no choice!
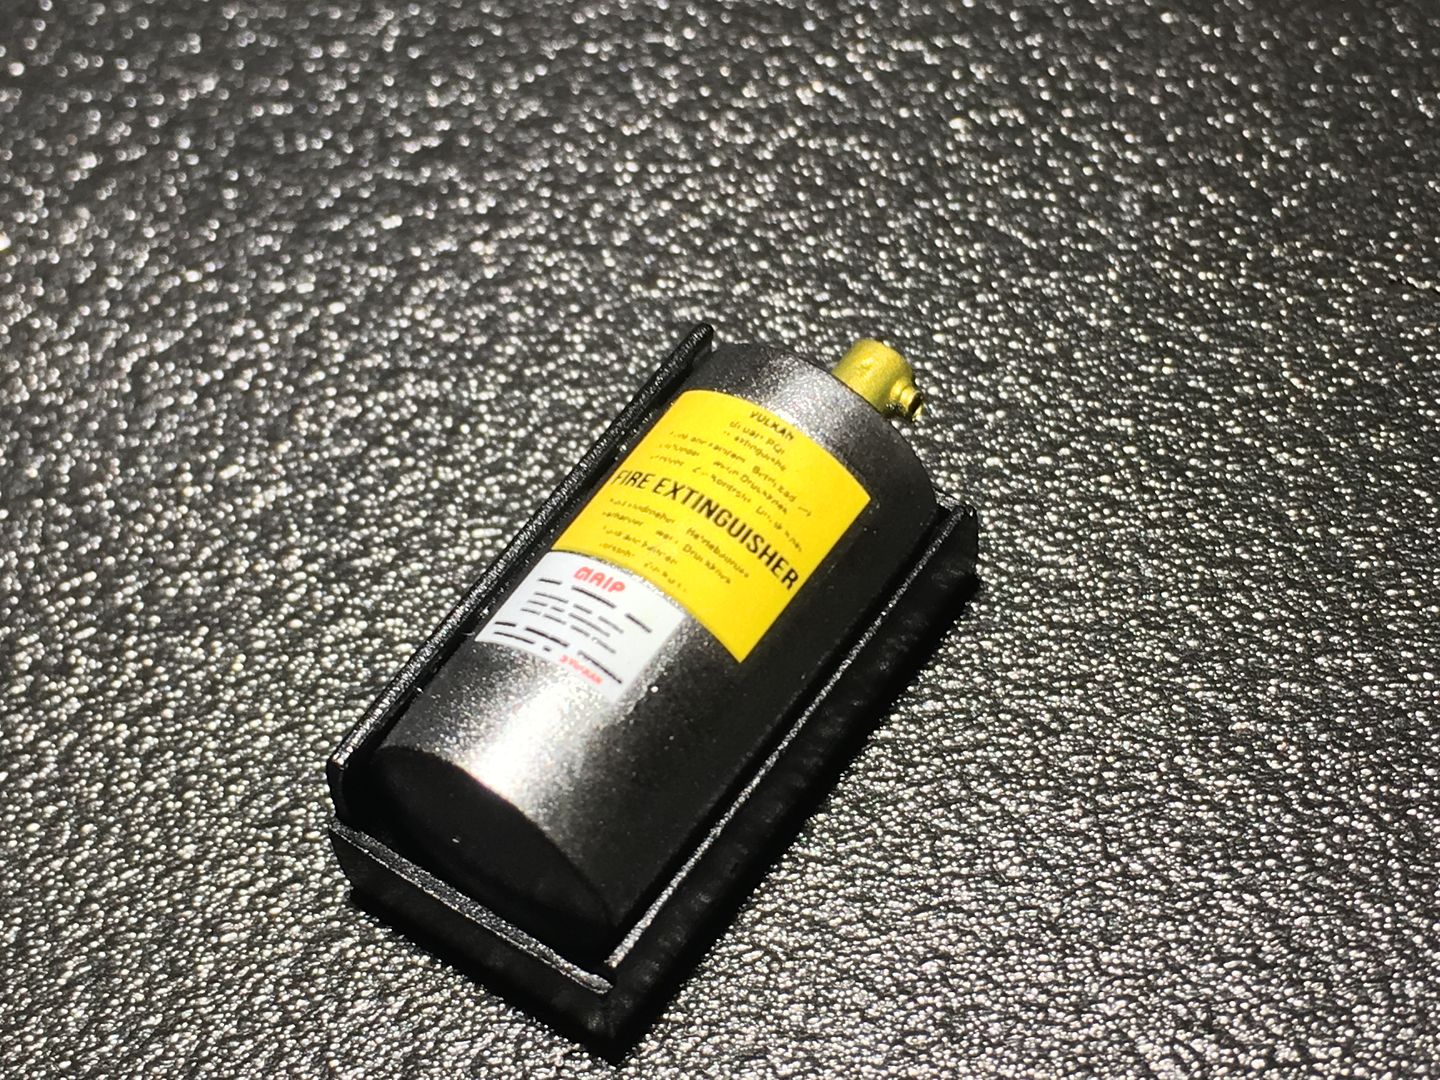
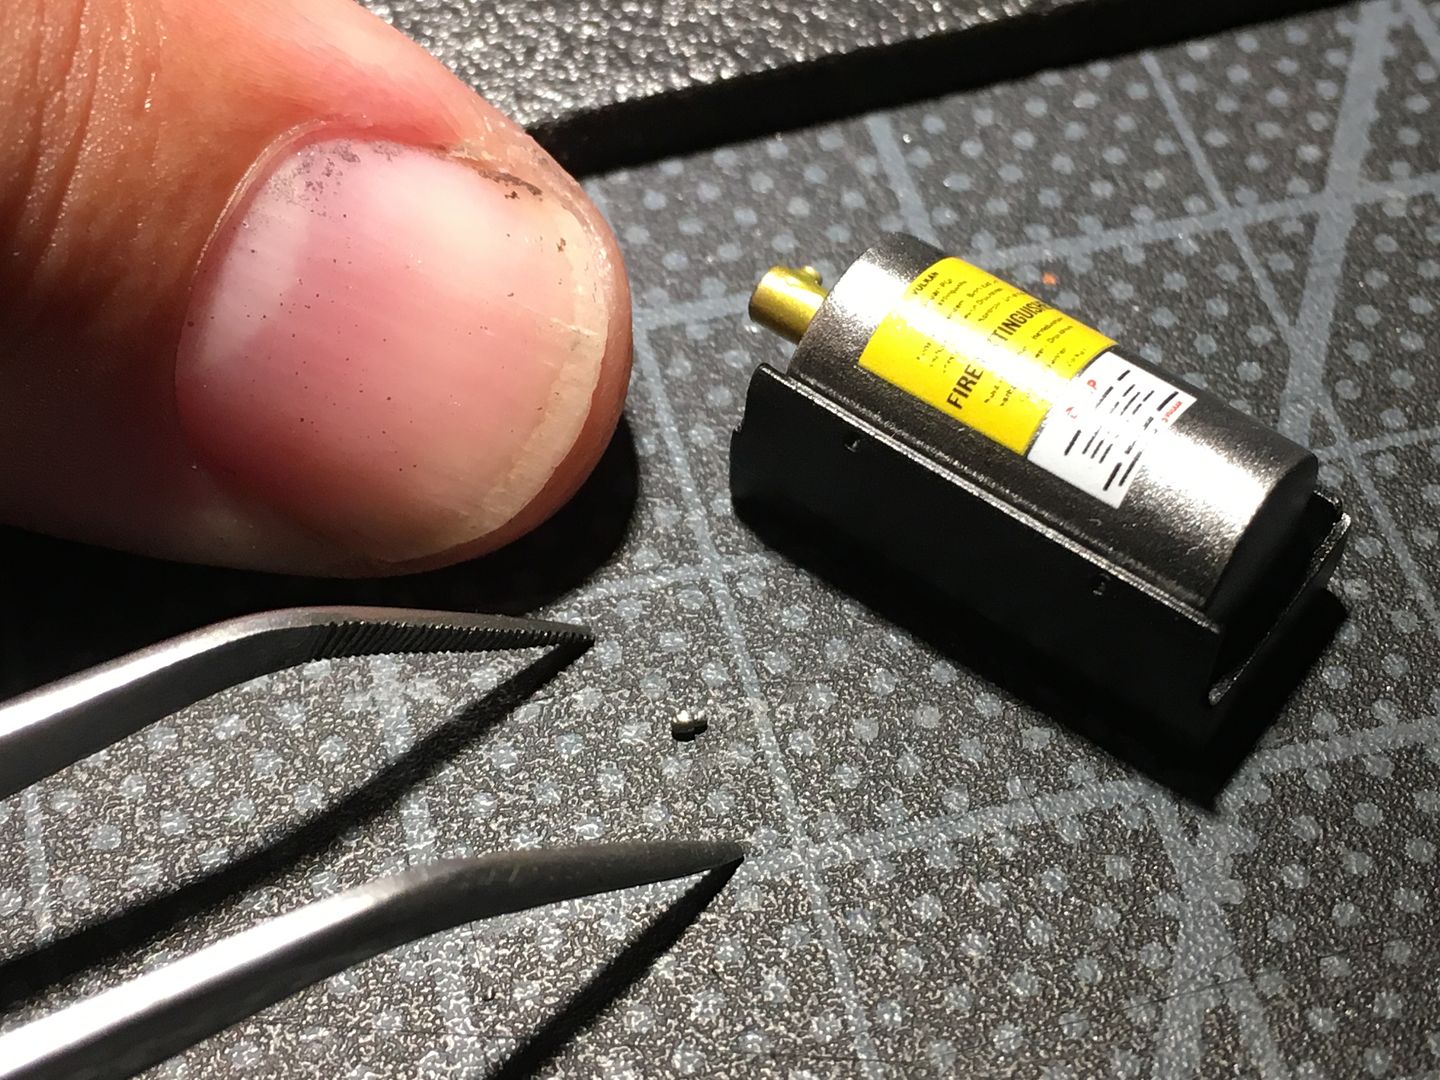
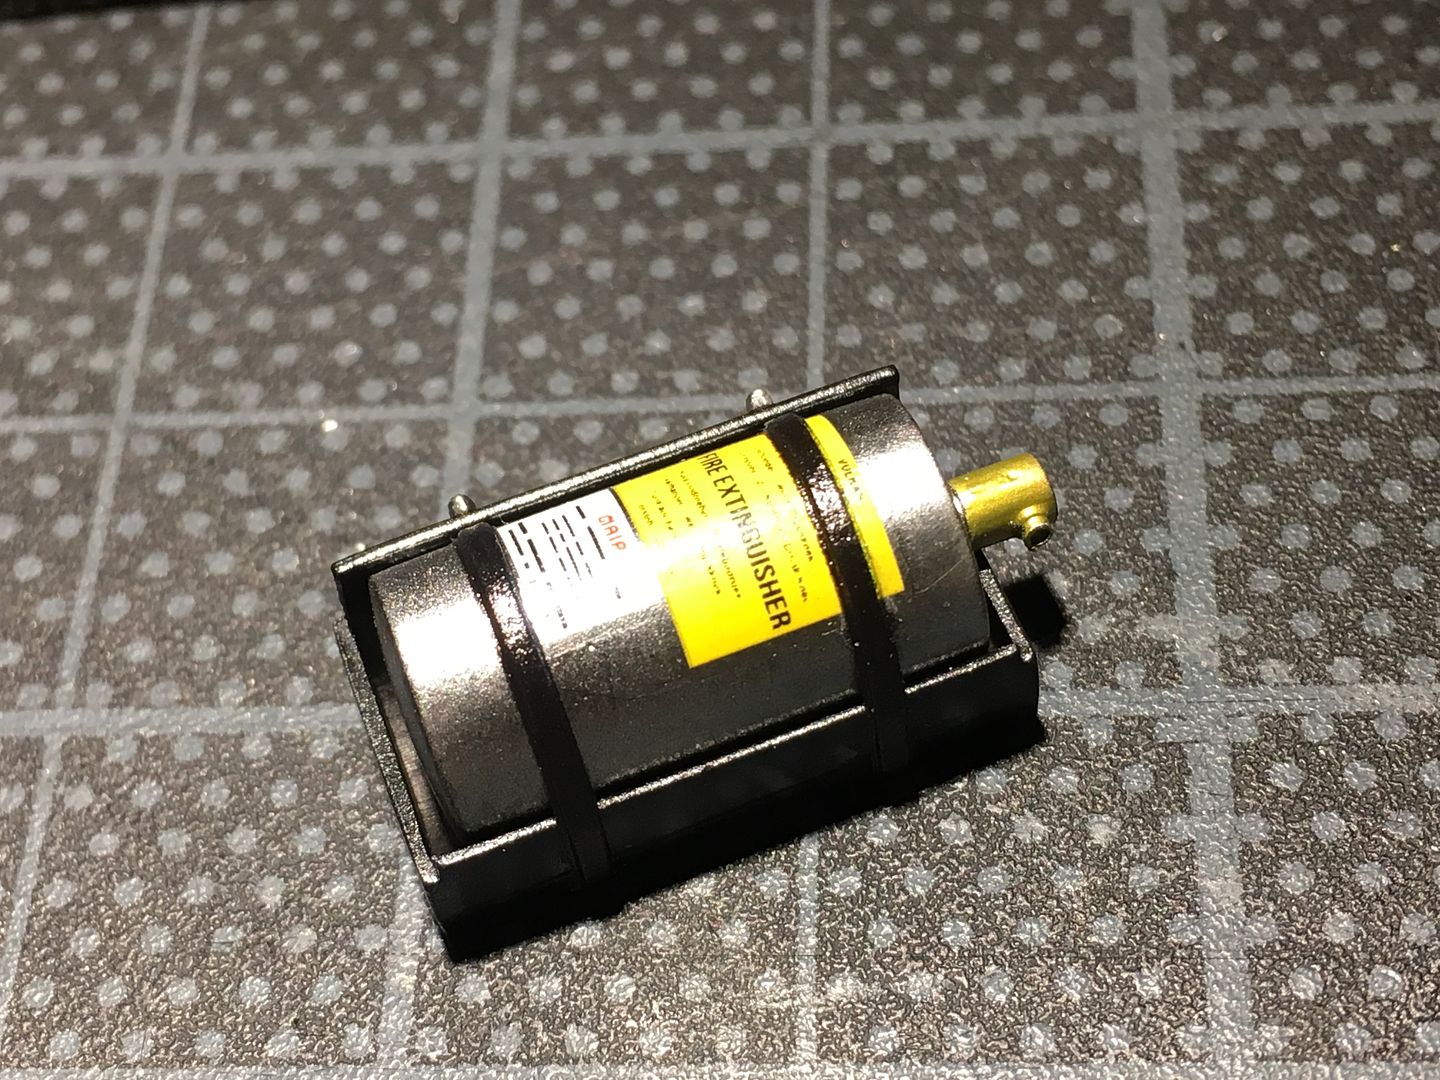
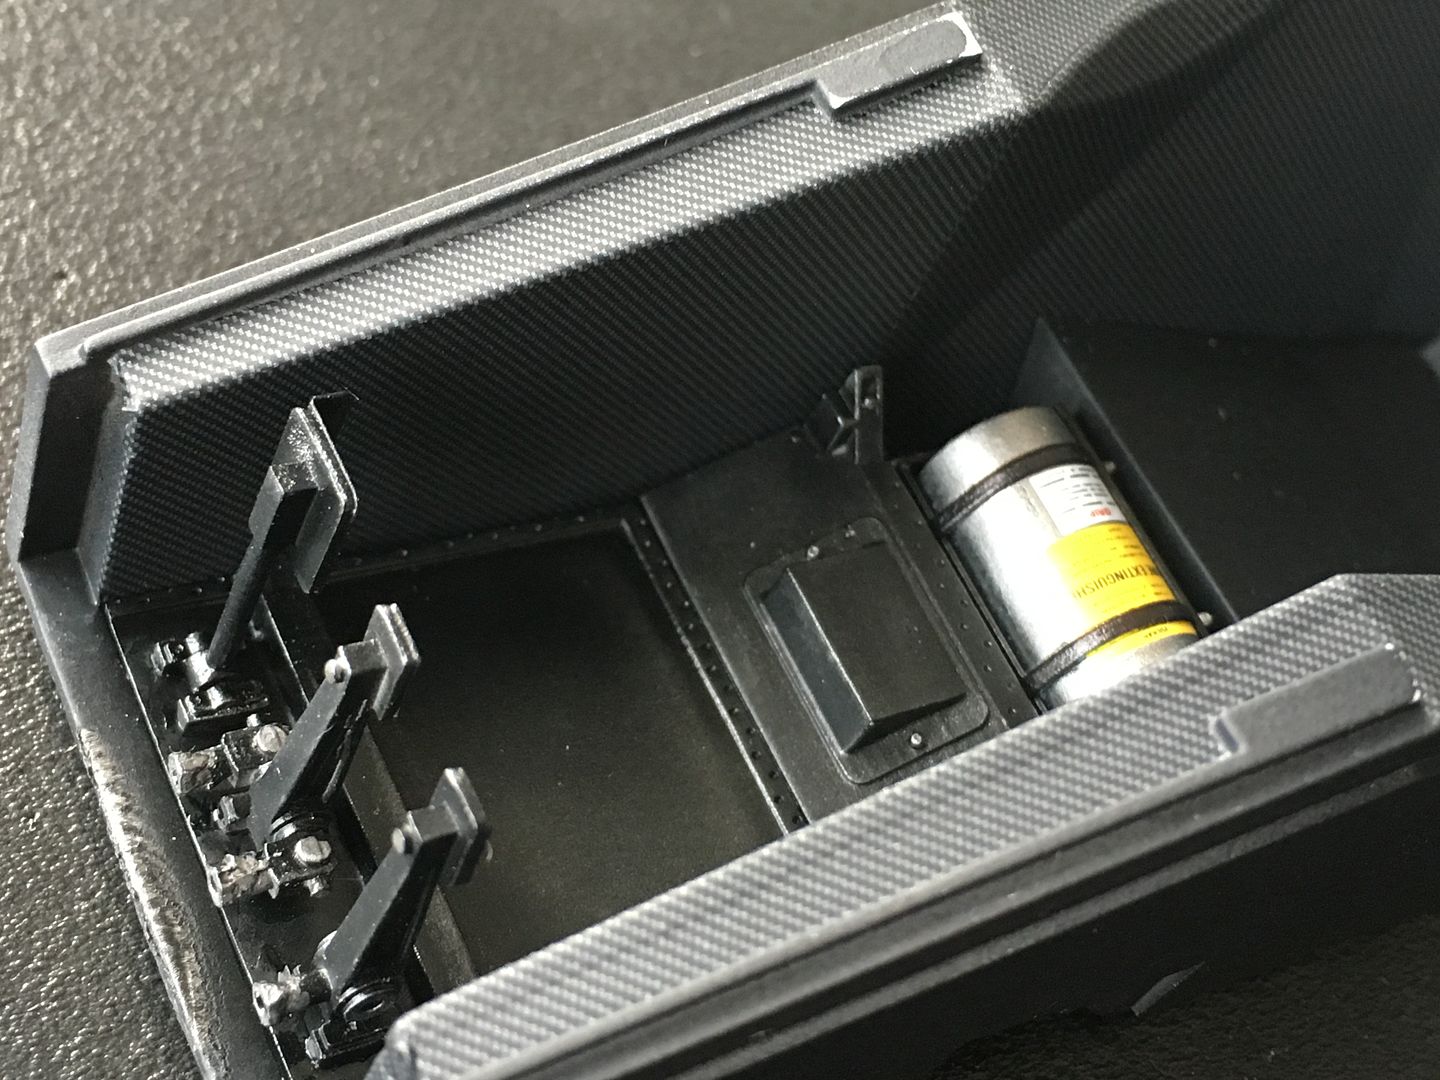
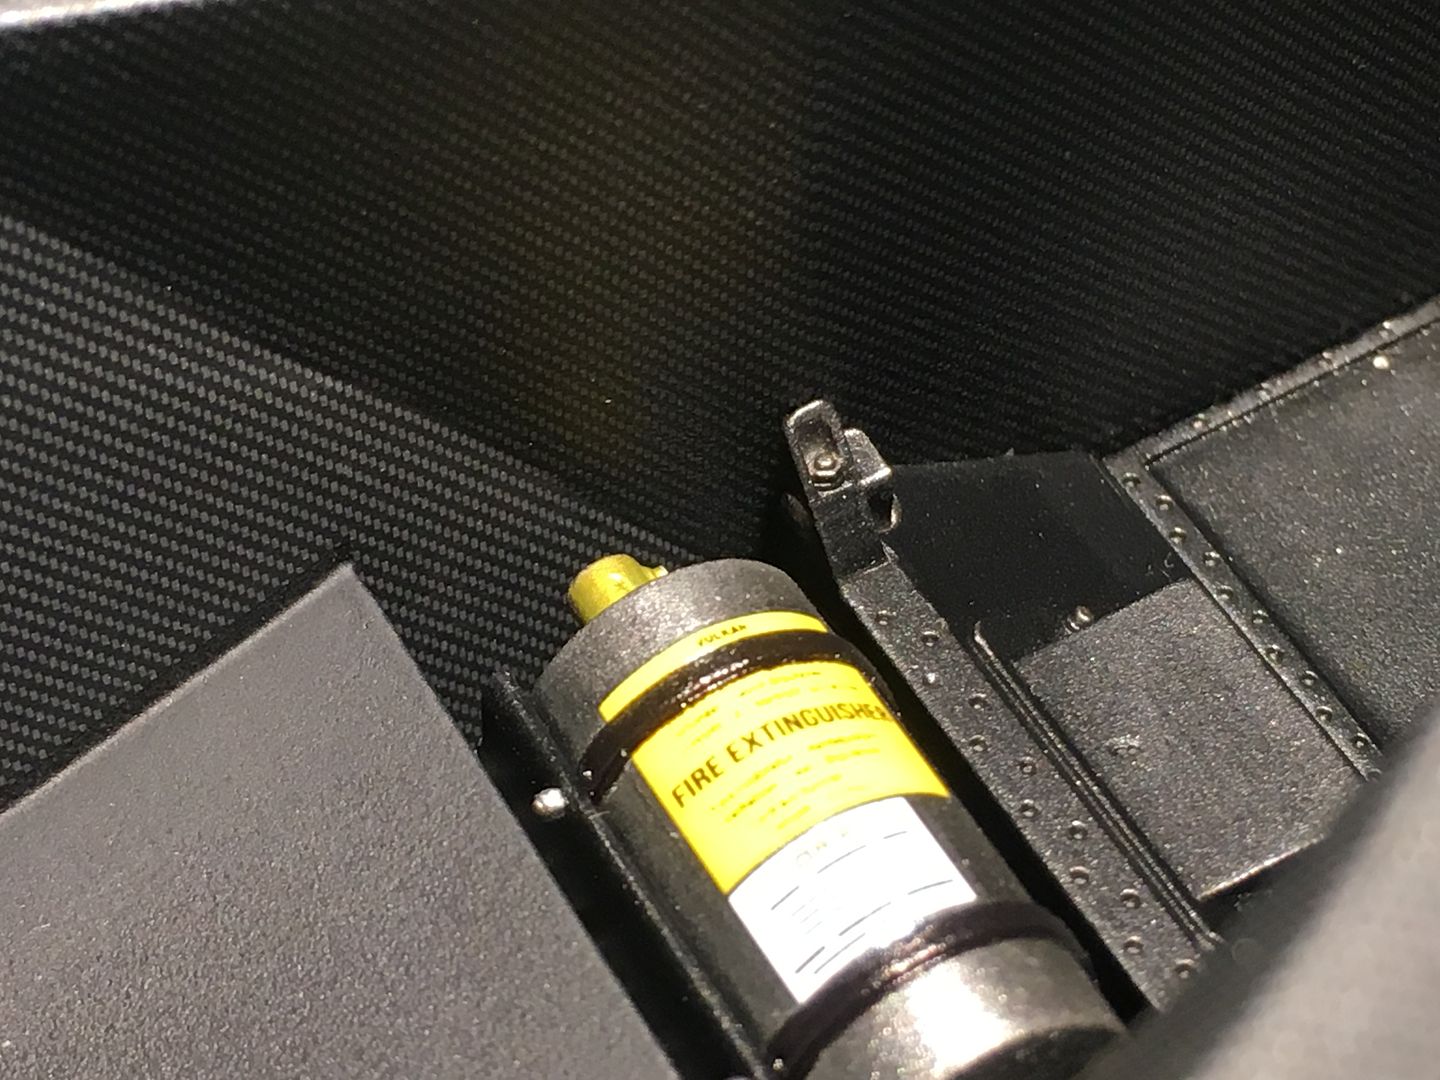
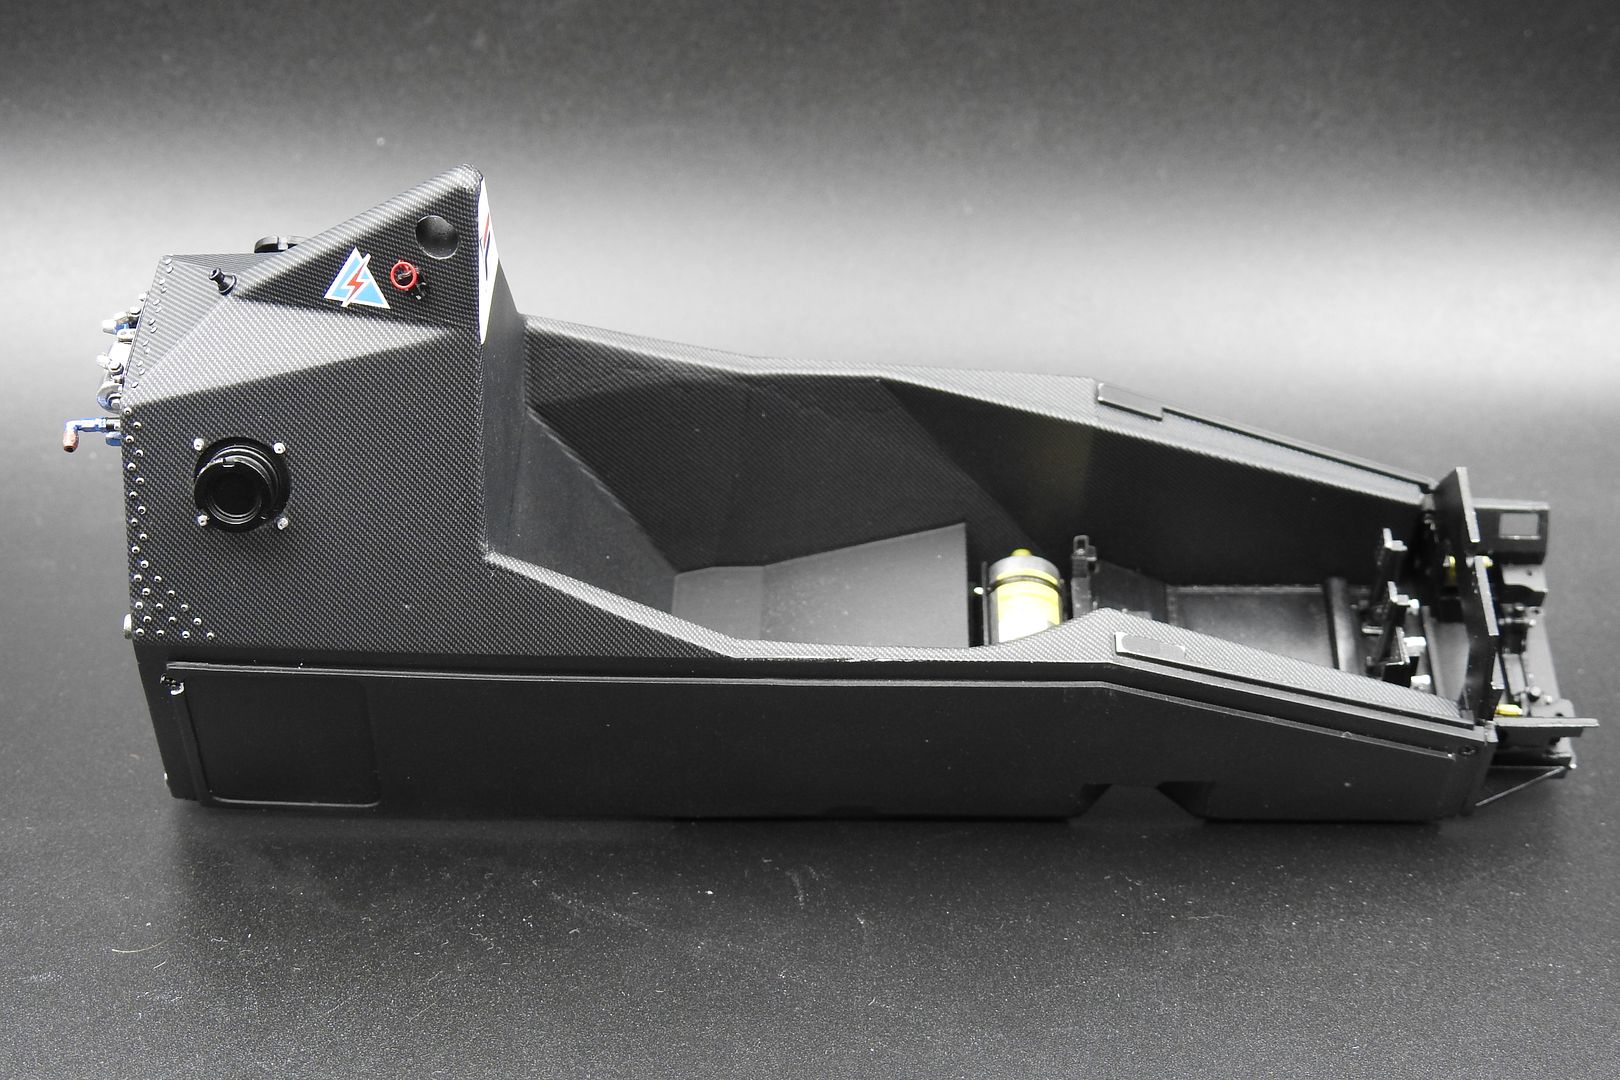
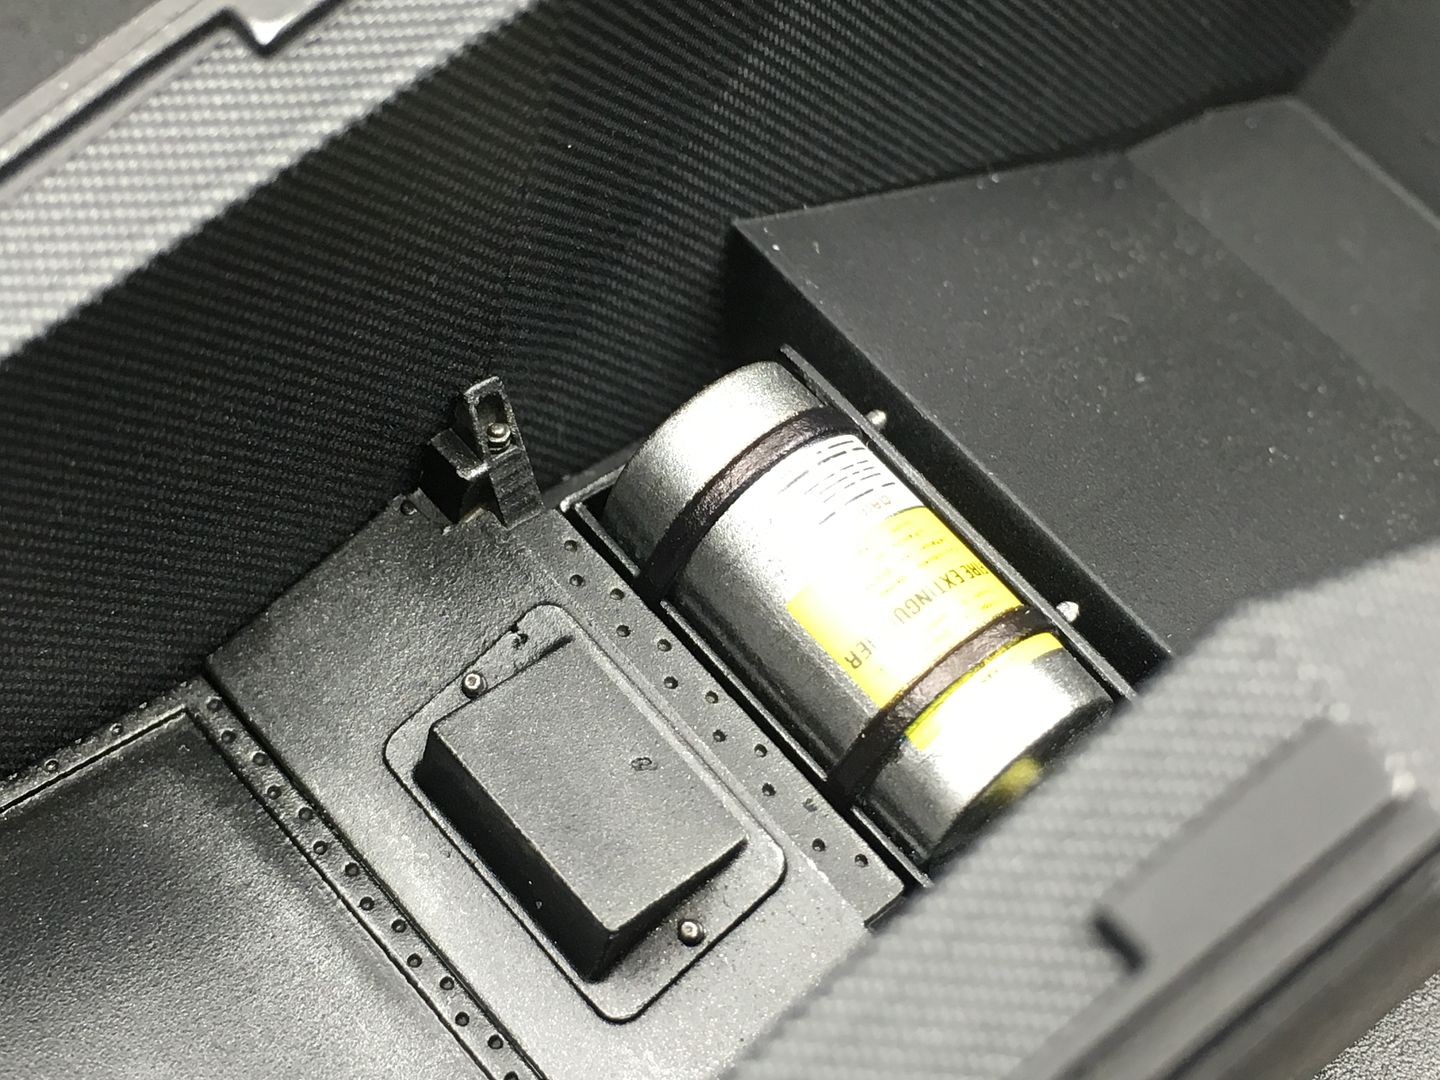
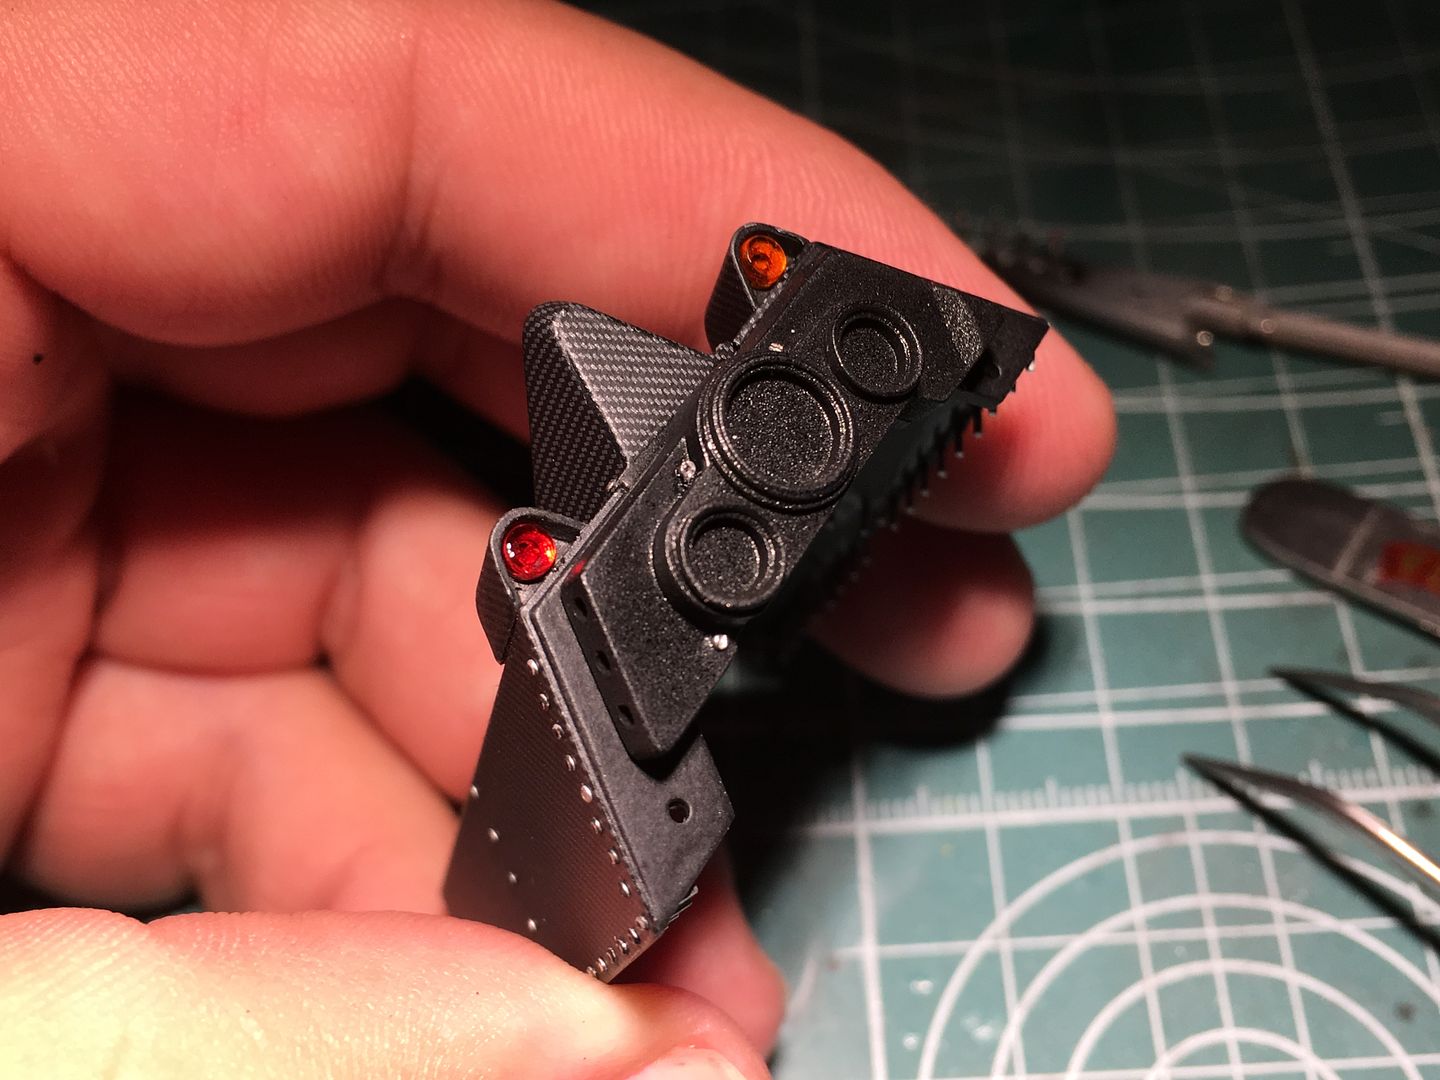
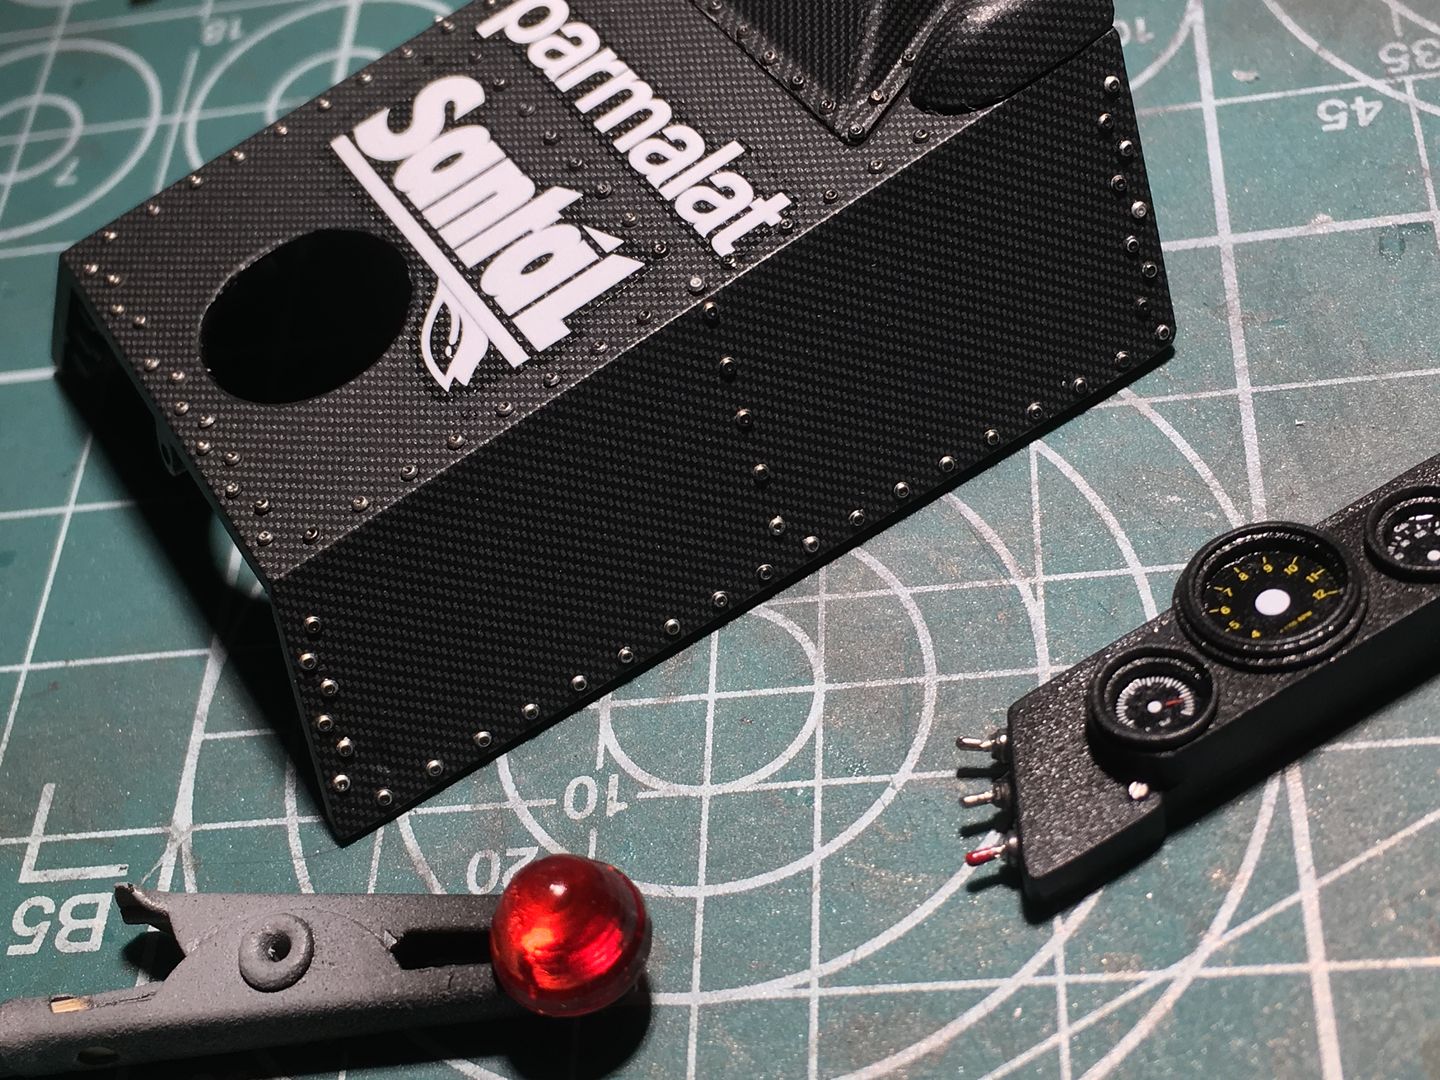
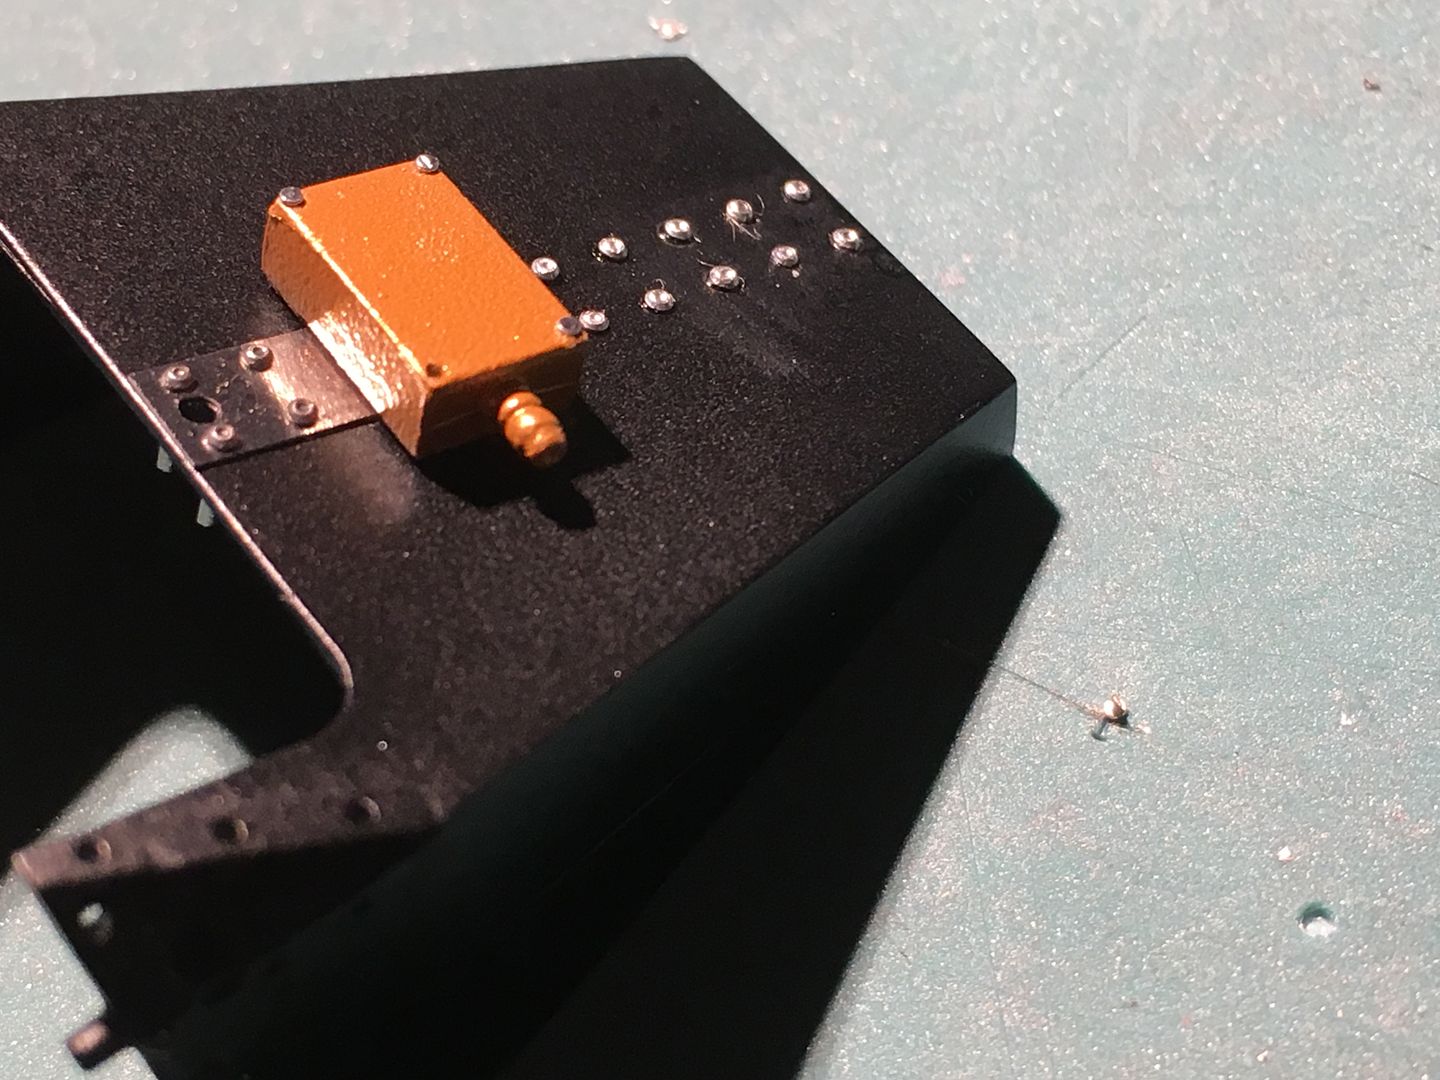
More riveting on the chassis nose...
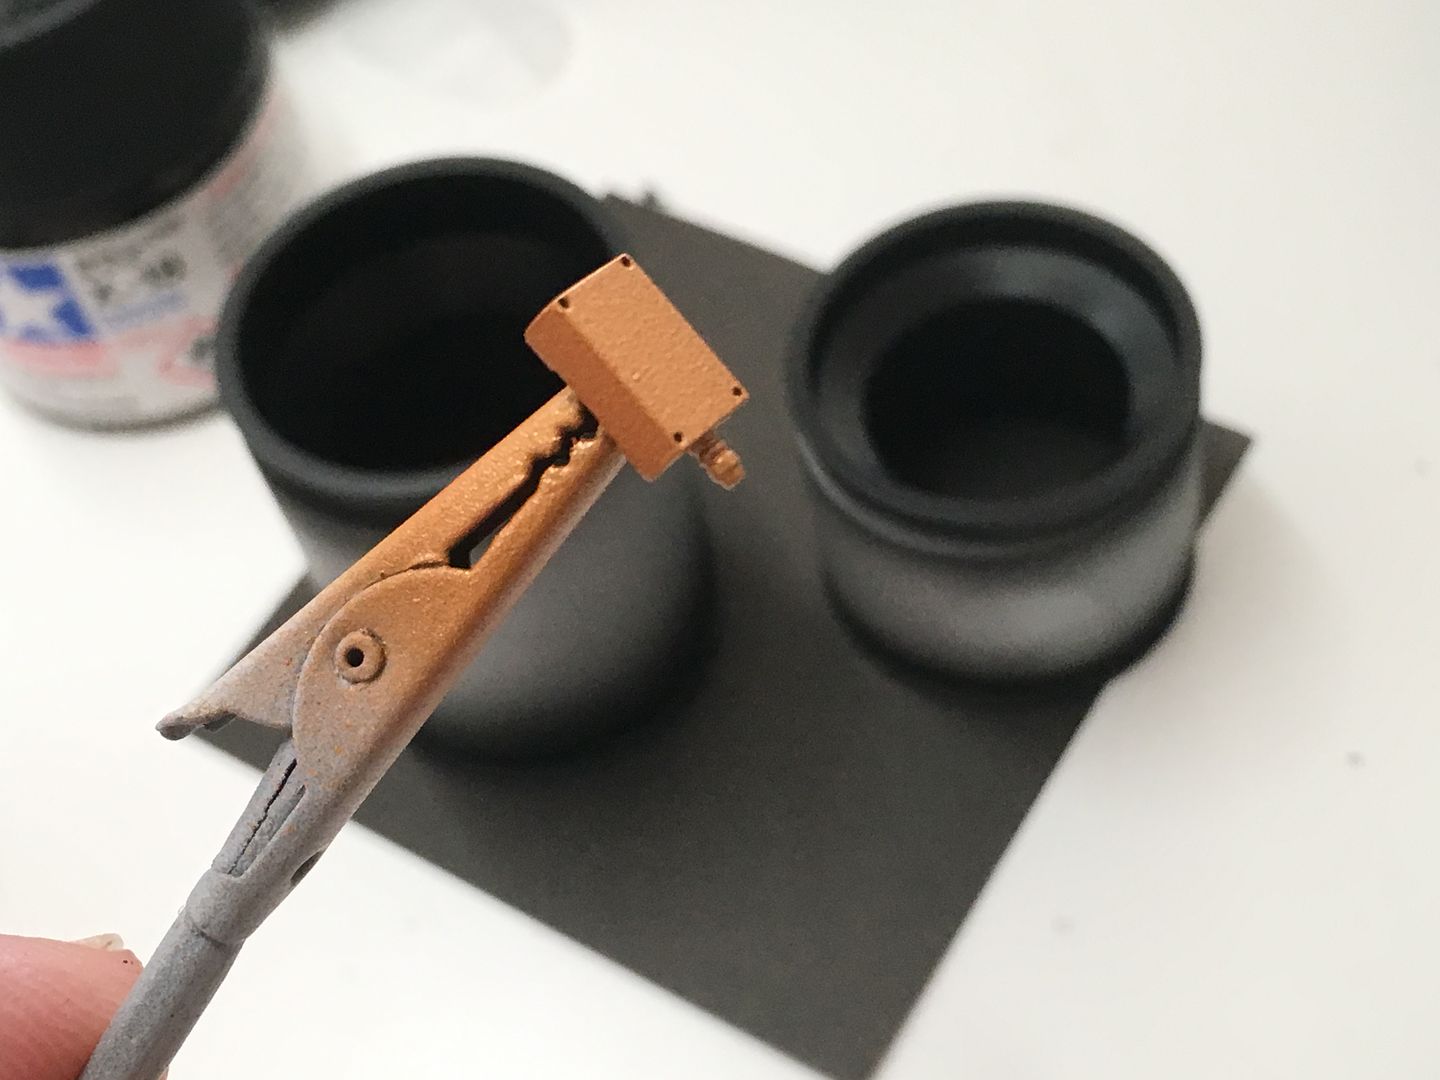
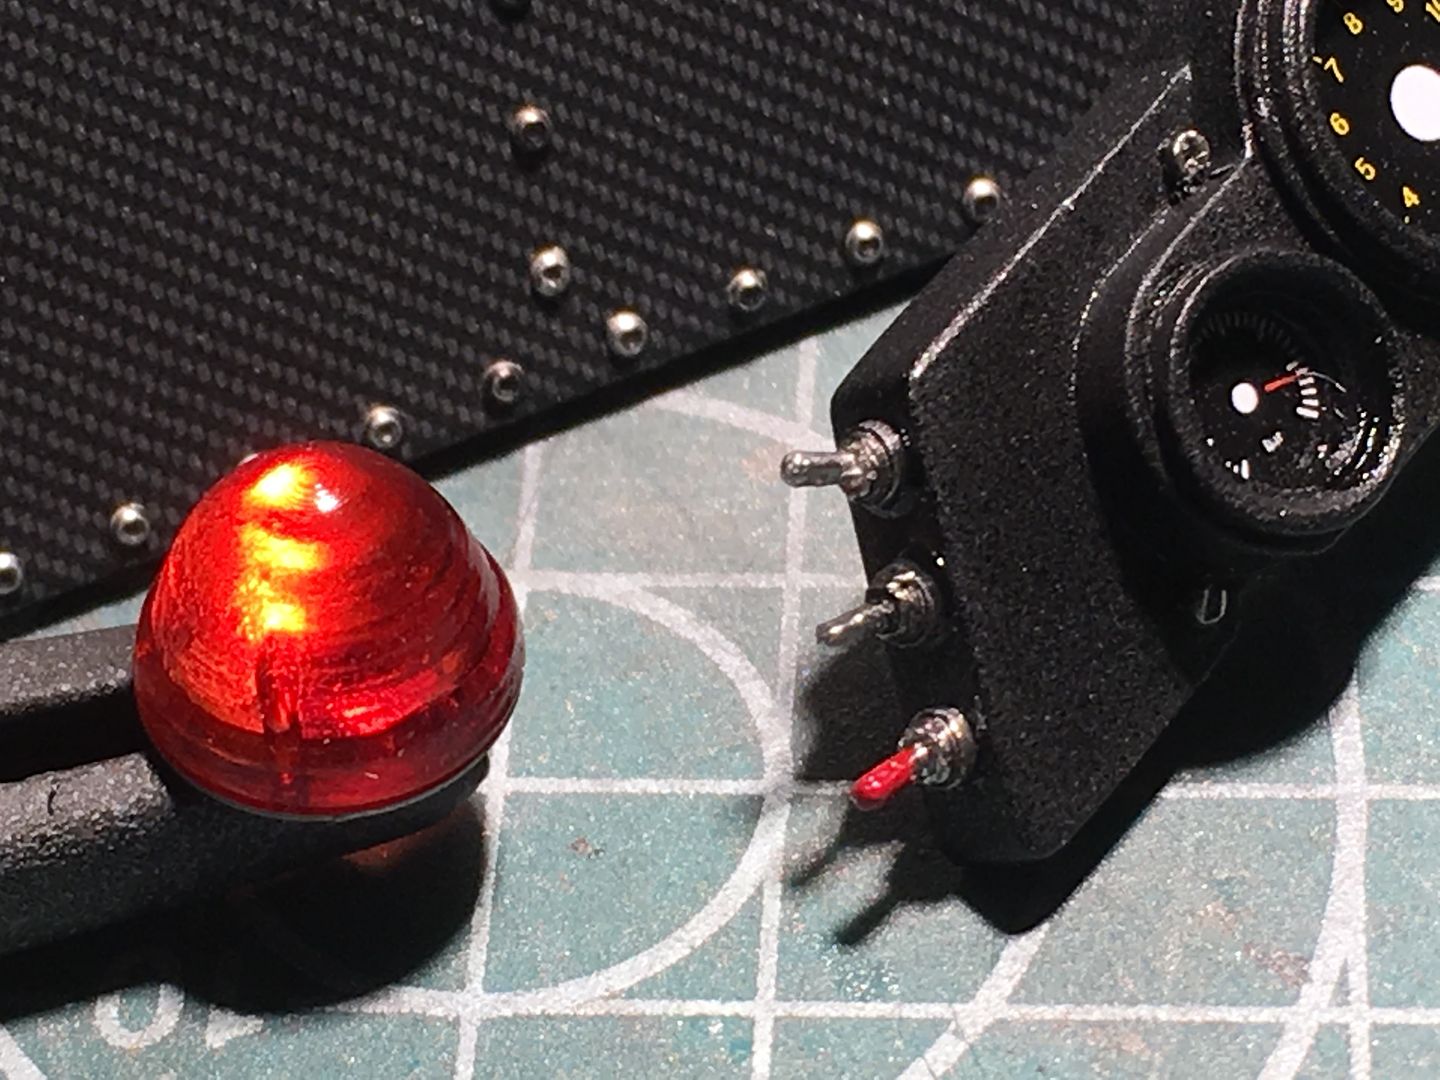
See that little shiny dot on the green mat, right of the box - that is a rivet for that orange box - absolute b*gger to actually handle!
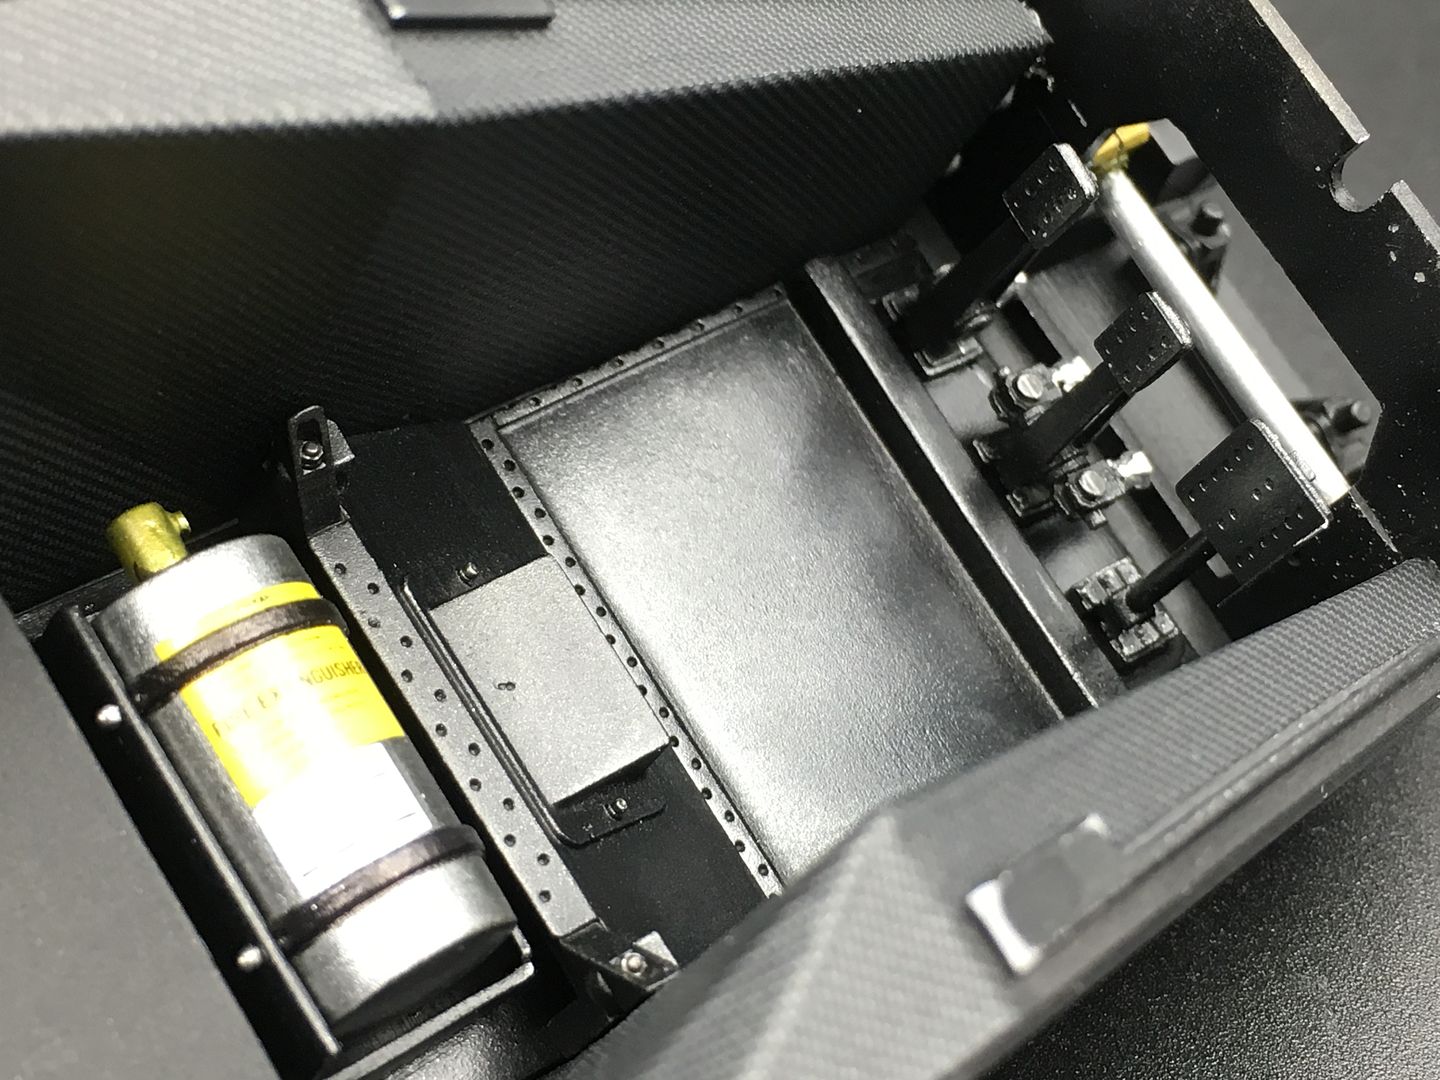
This little radiator on the gearbox is 'hollow' - so the light shines through the mesh and shows that there is nothing in...I added some folded black paper to block the light. You can't see it behind the mesh now it is dark...
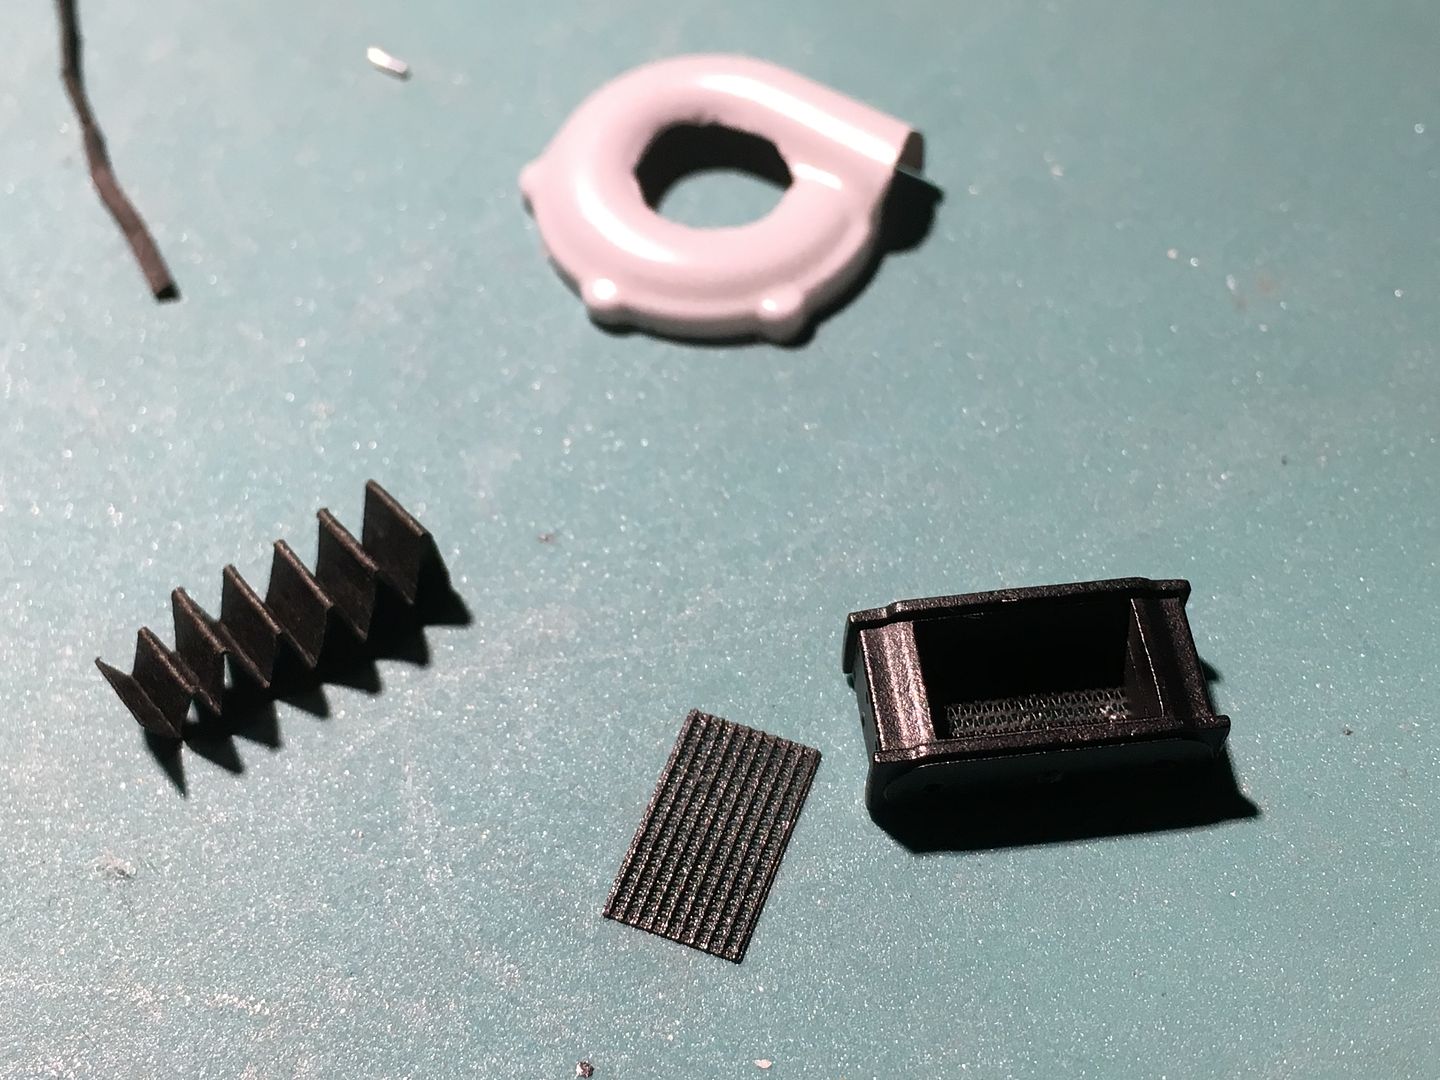
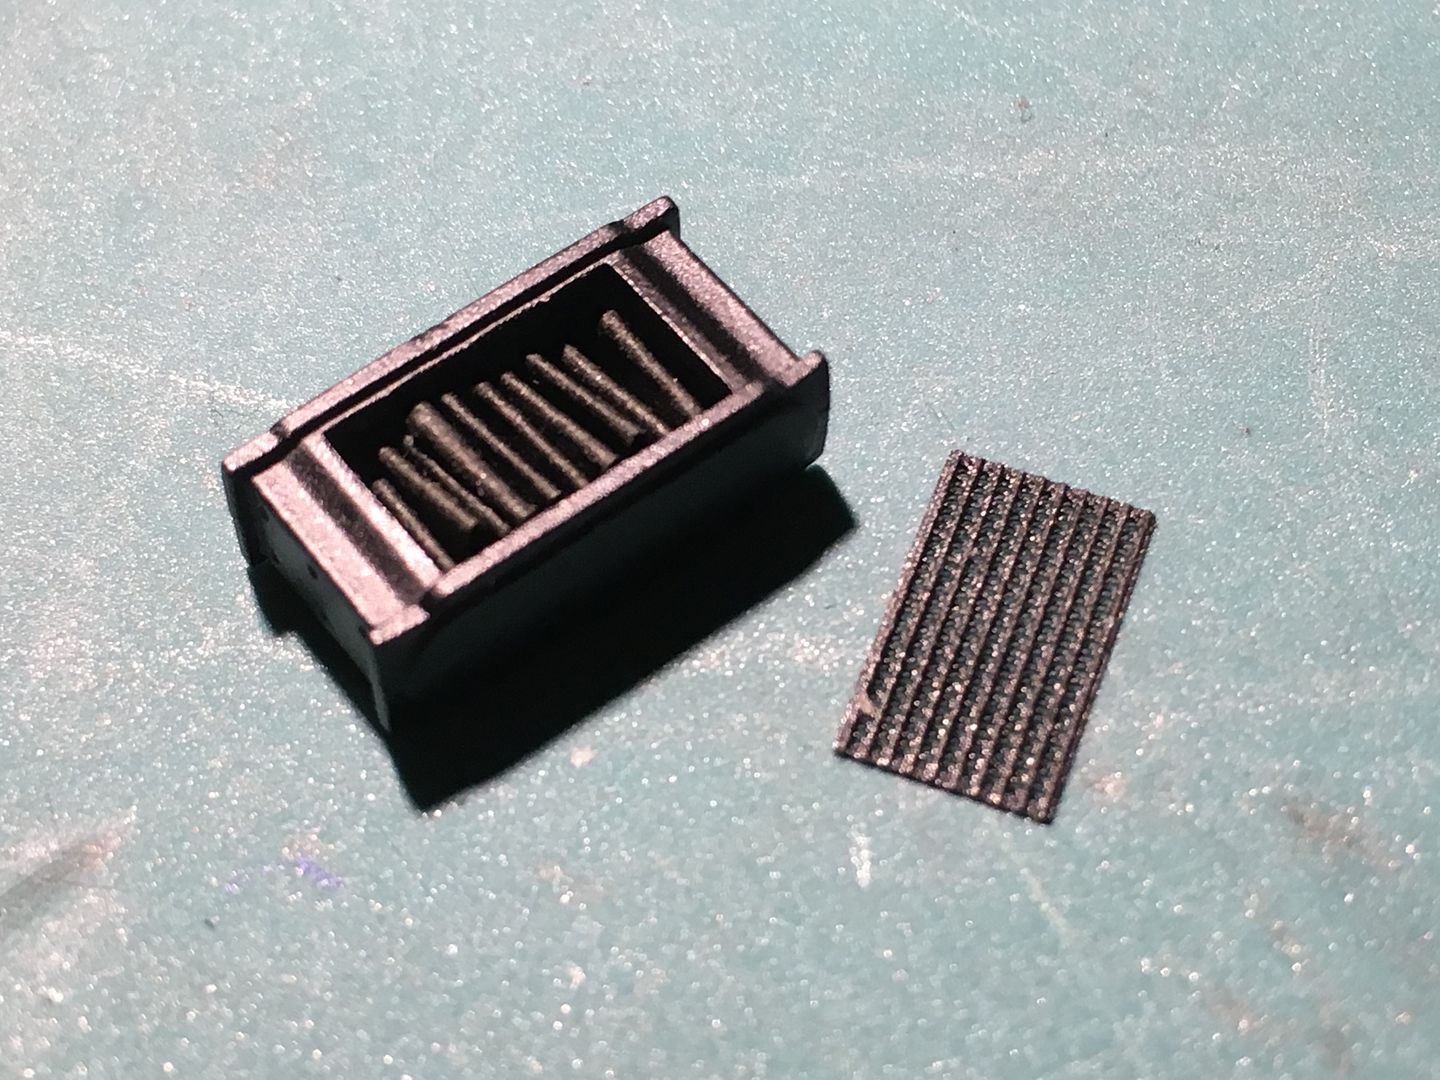
The snail shell behind the rad is to cover the turbo - it is a carbon heat shield that comes as a vacuum formed part in the MFH kit - a b*gger to cut out neatly and level. The kit says spray black, but pictures show the carbon , so I will try and add carbon decal to it...
Spent a lot of time 'sorting' detail bags (bolts etc) - still looking for the easiest solution!
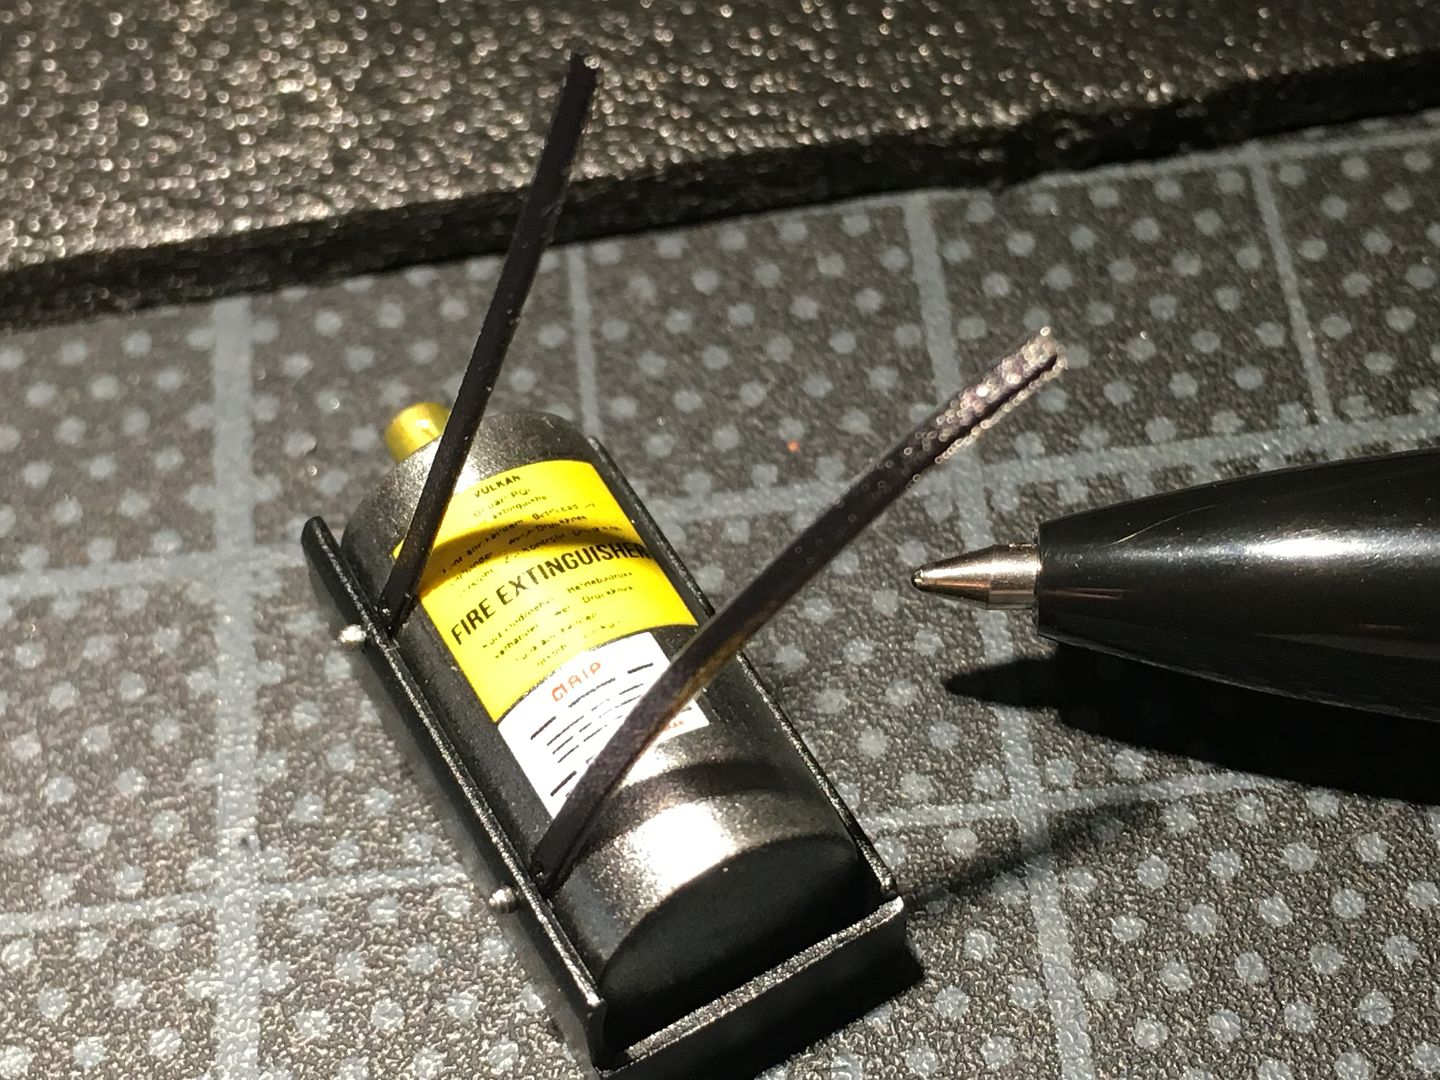
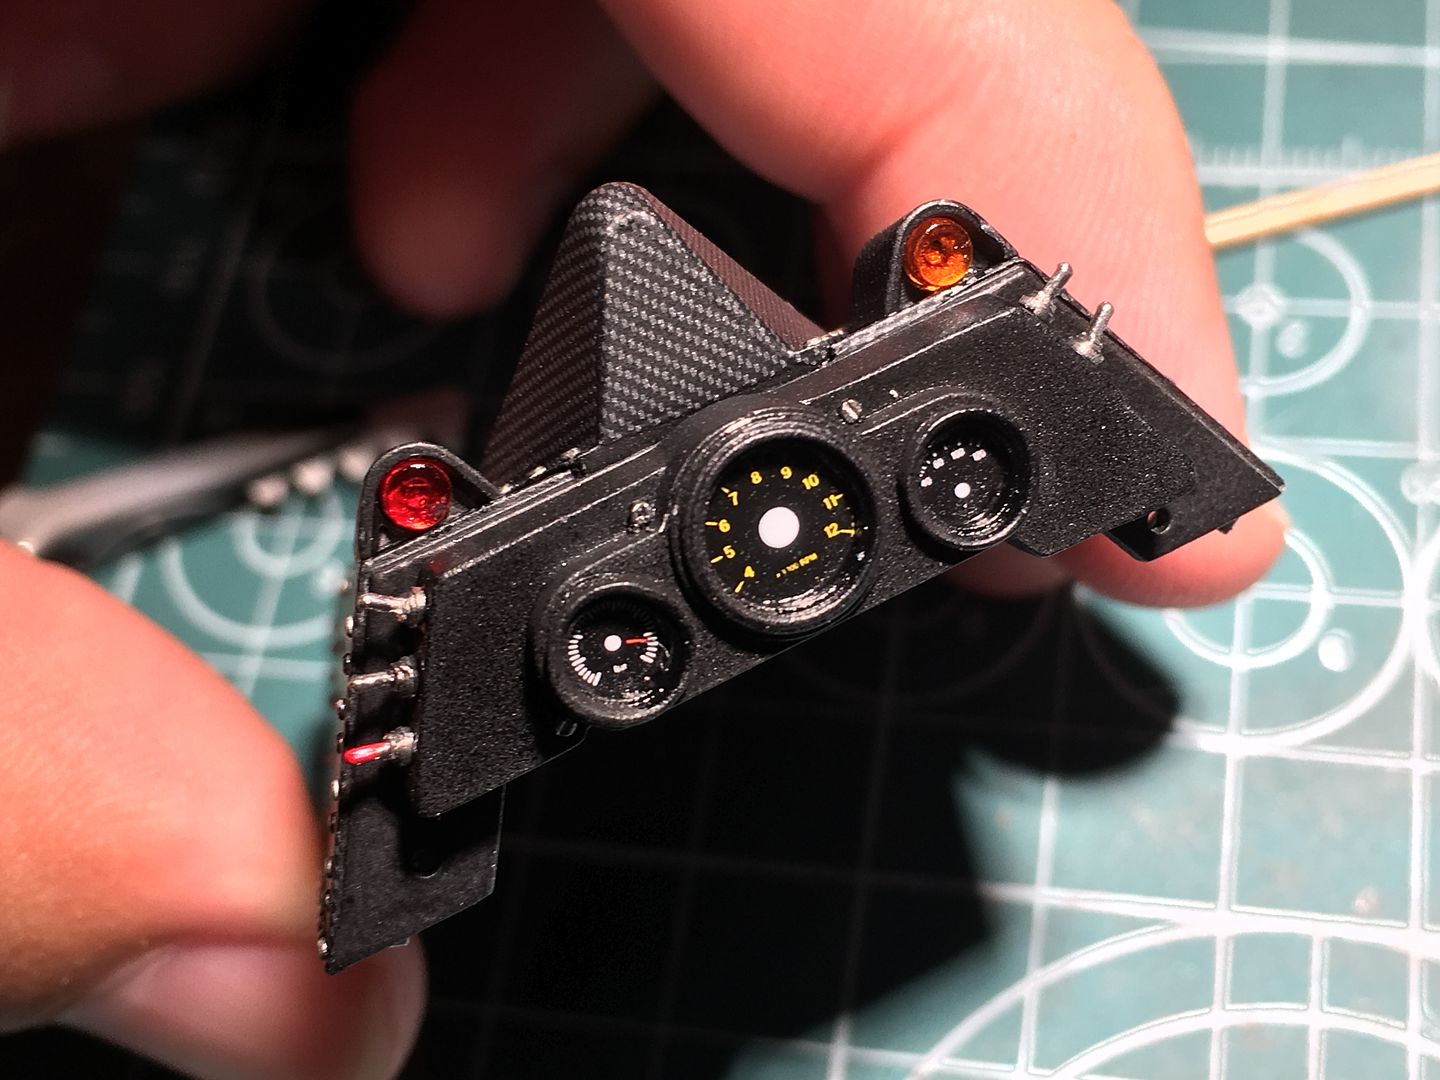
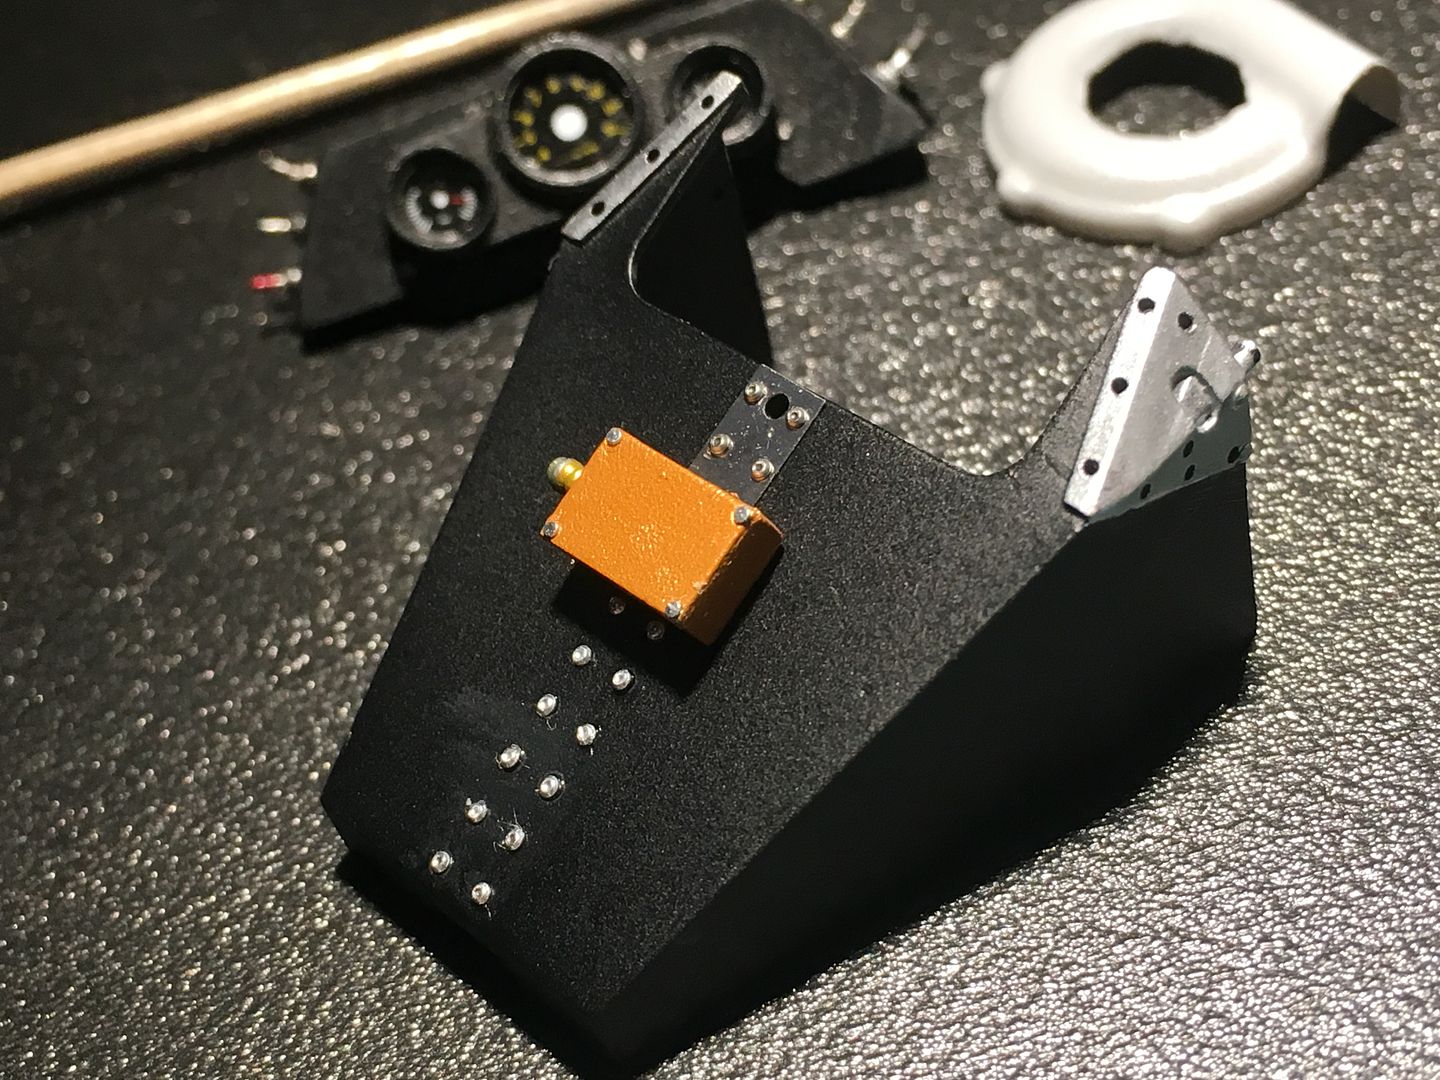
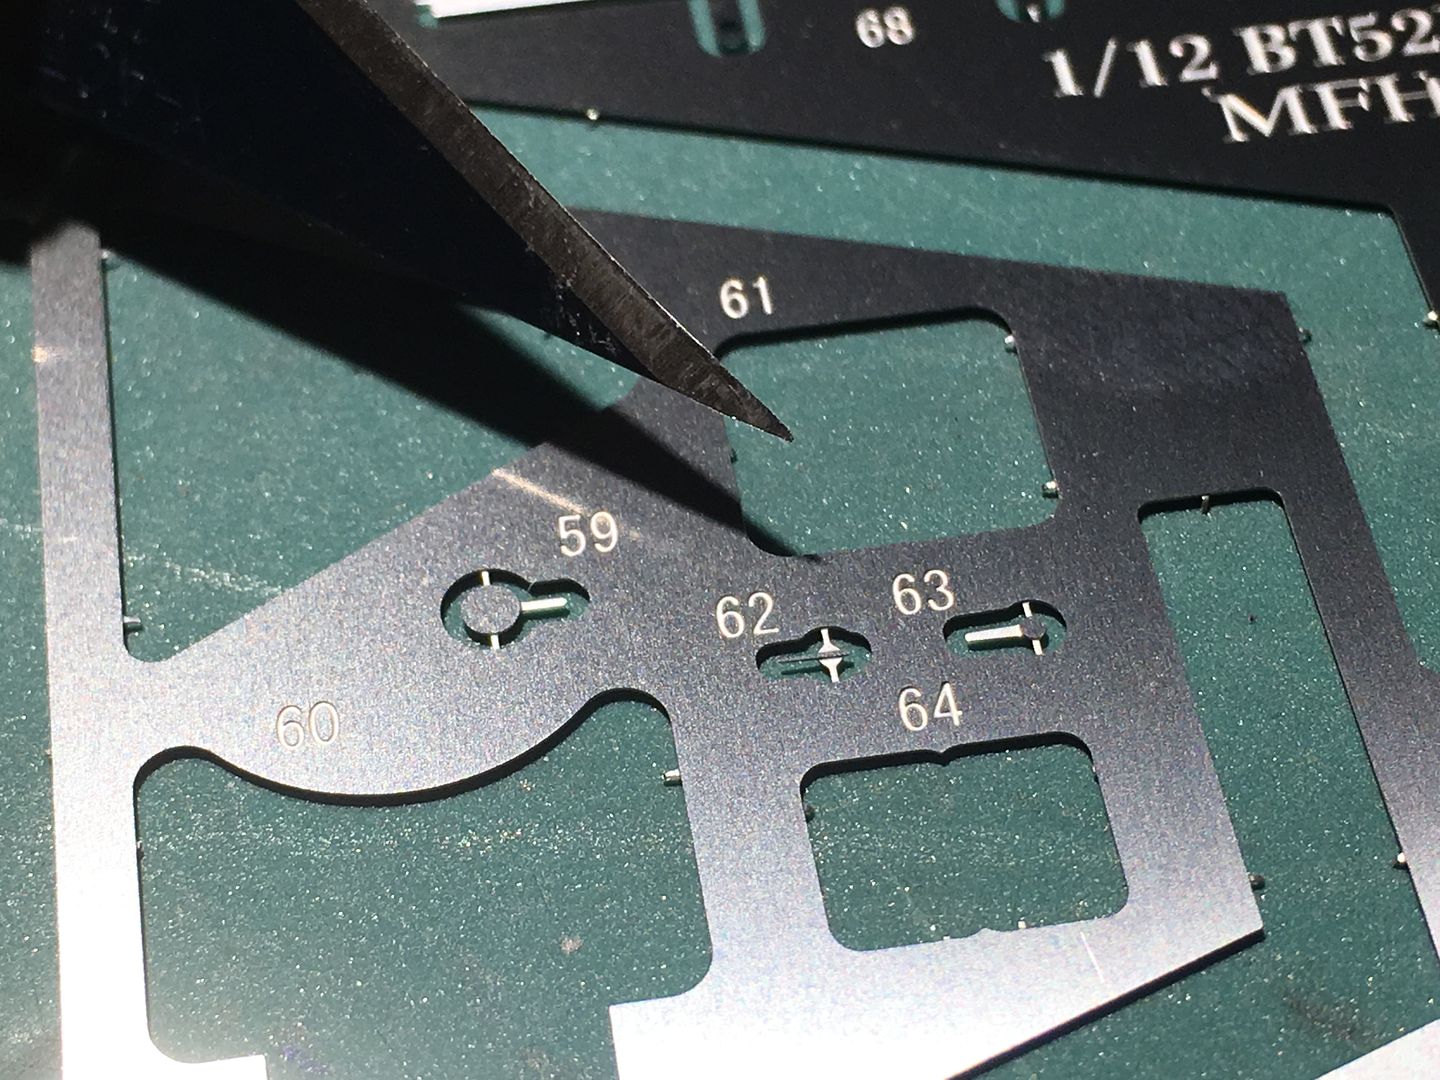
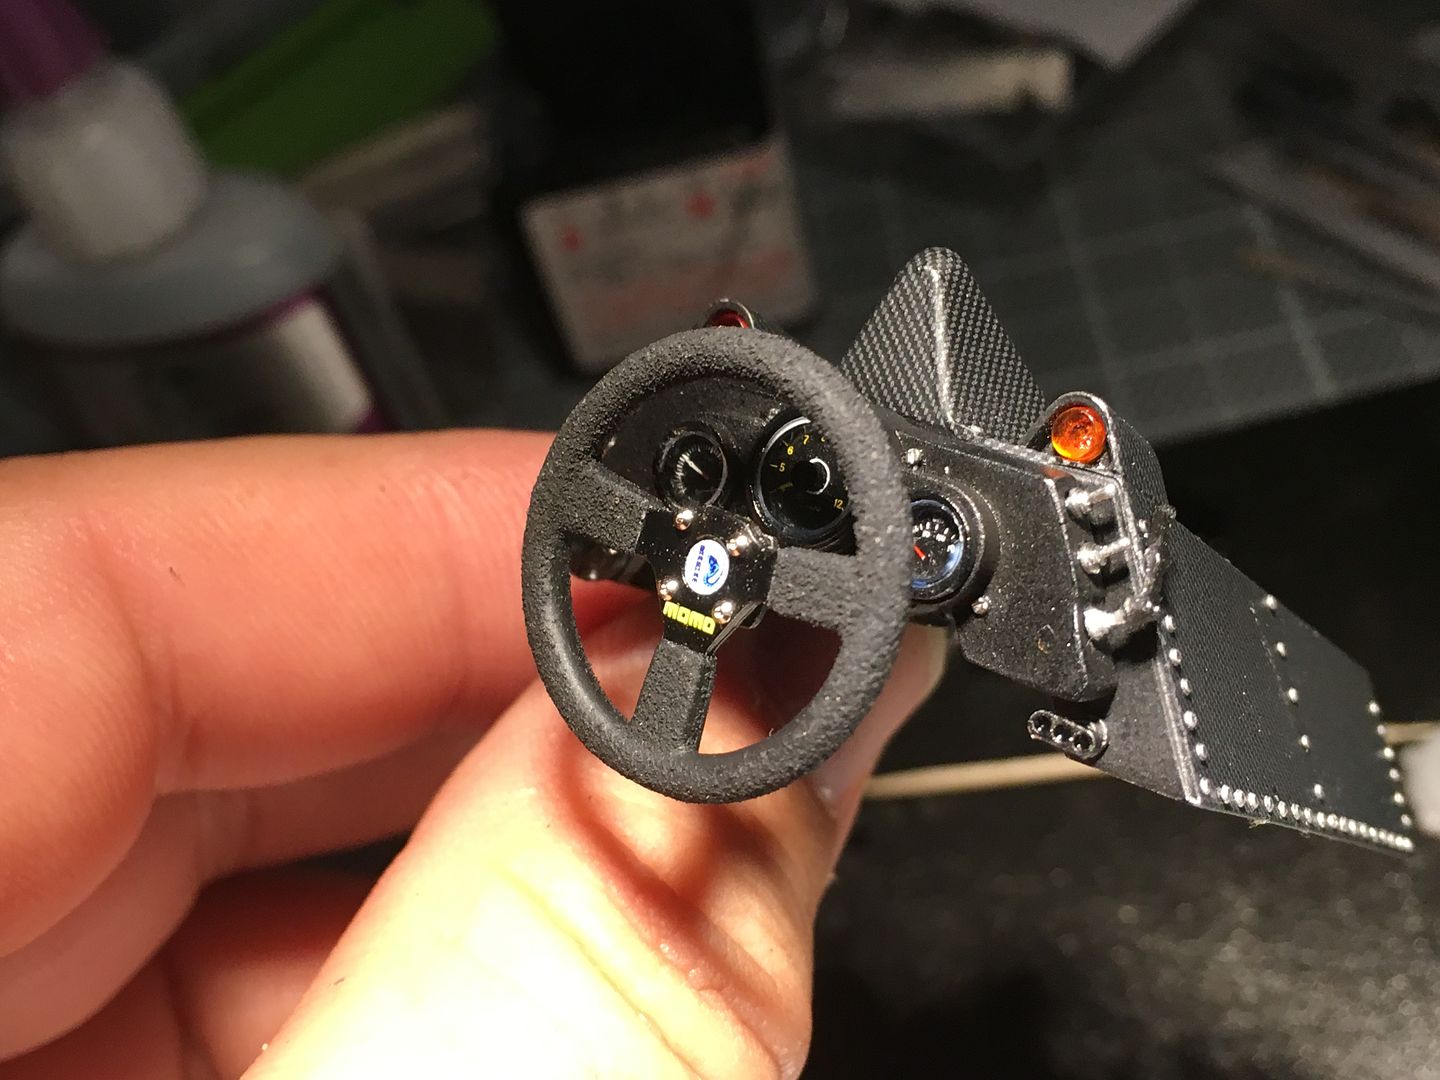
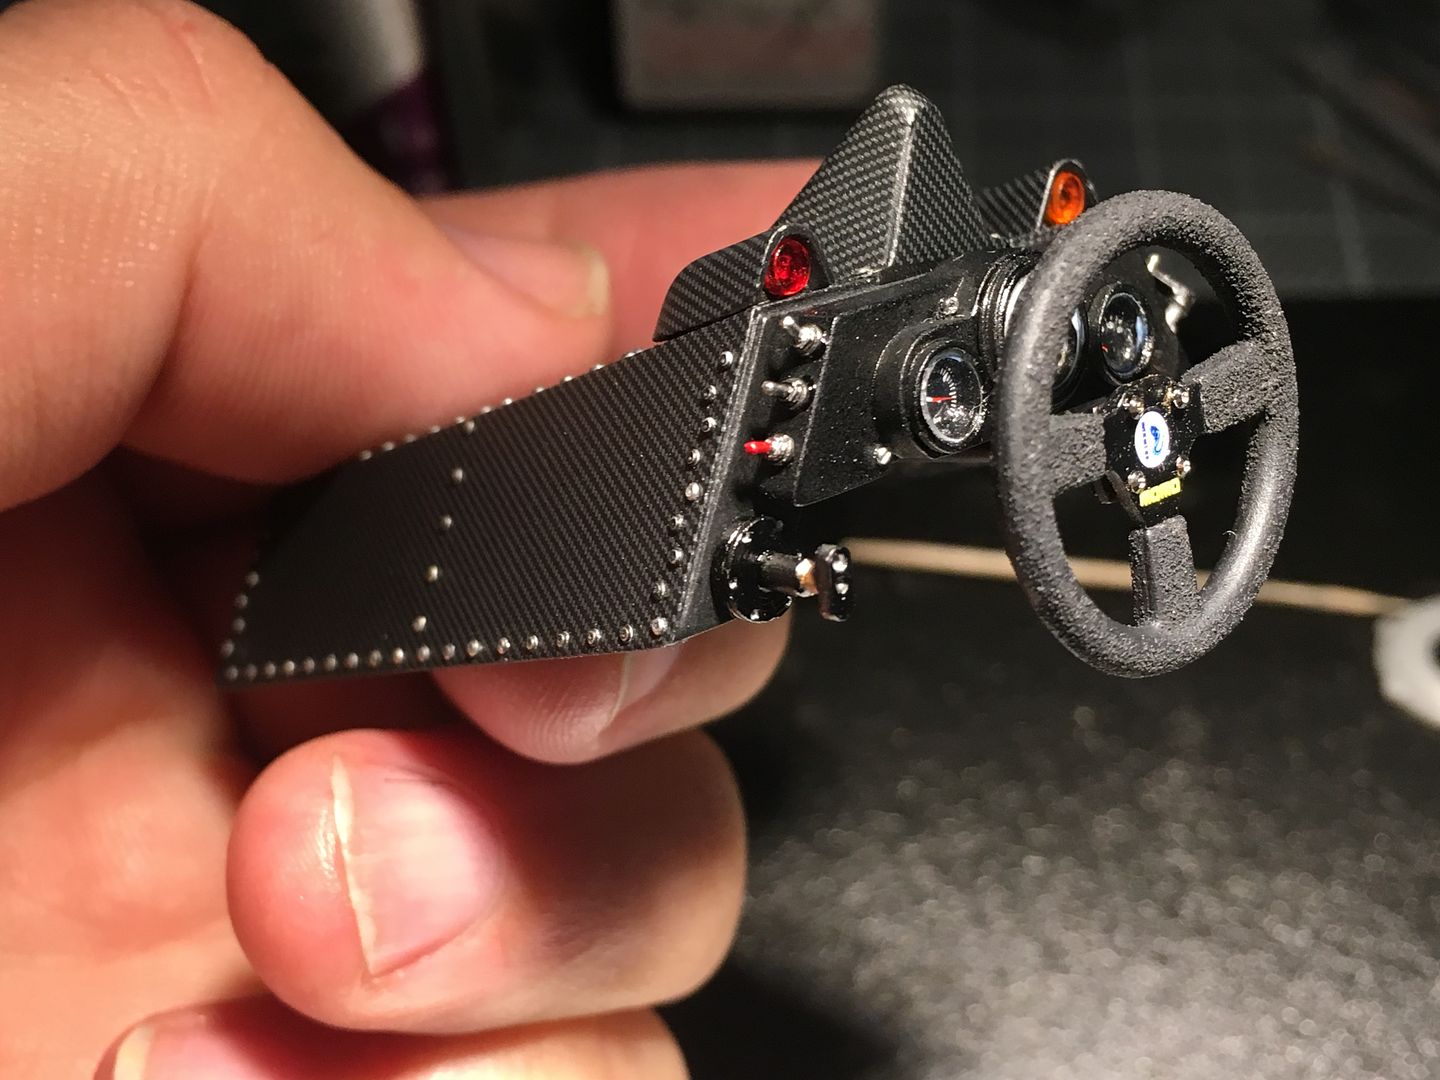
The smallest PE parts in the kit - needles from the dash!
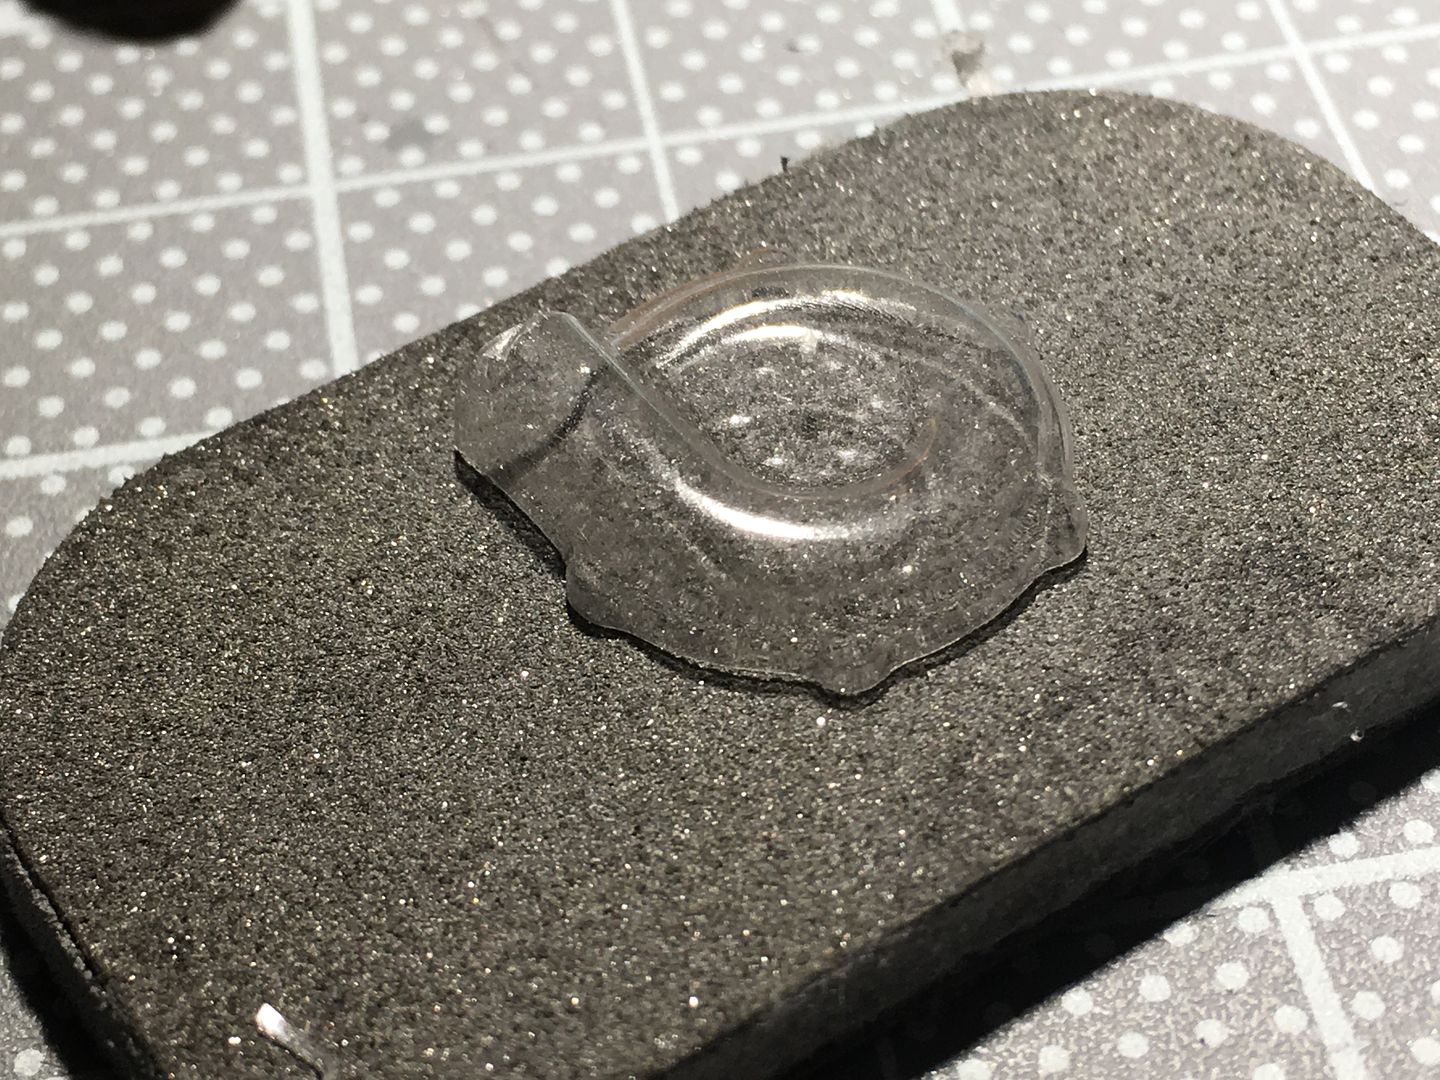
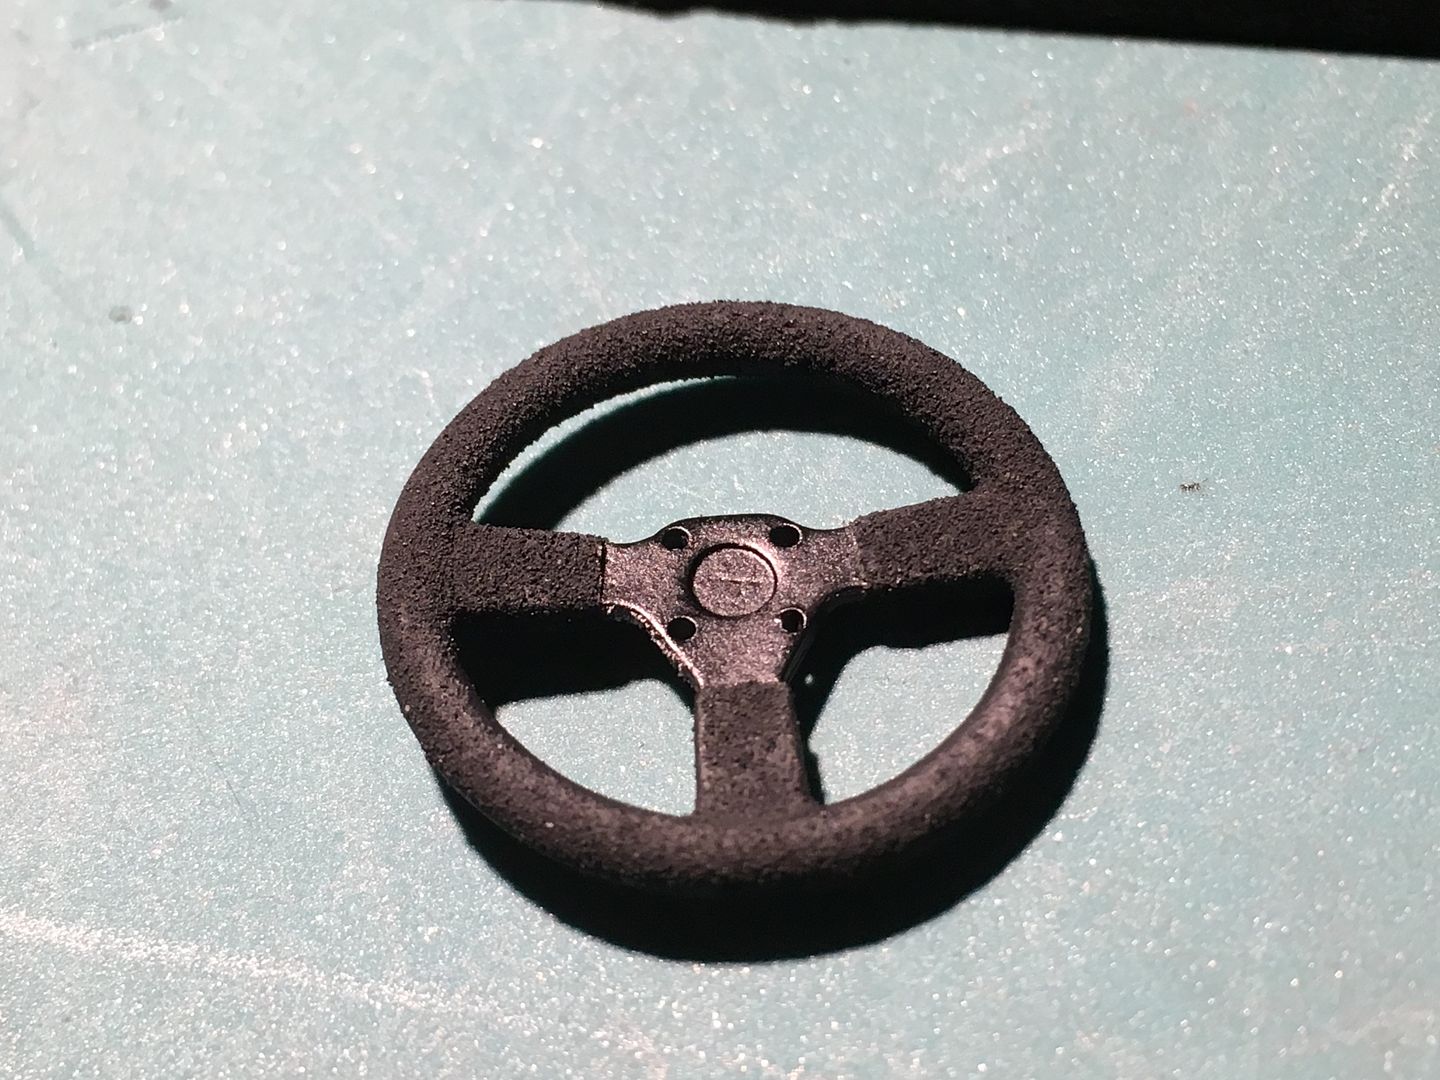
Steering wheel - I was just going to use Tamiya 'black rubber' to paint the rim, but succumbed to using a texture, as the contrast wasn't enough. I used flour, as I wanted as fine as possible - looks ok!
...but no choice!
More riveting on the chassis nose...
See that little shiny dot on the green mat, right of the box - that is a rivet for that orange box - absolute b*gger to actually handle!
This little radiator on the gearbox is 'hollow' - so the light shines through the mesh and shows that there is nothing in...I added some folded black paper to block the light. You can't see it behind the mesh now it is dark...
The snail shell behind the rad is to cover the turbo - it is a carbon heat shield that comes as a vacuum formed part in the MFH kit - a b*gger to cut out neatly and level. The kit says spray black, but pictures show the carbon , so I will try and add carbon decal to it...
Spent a lot of time 'sorting' detail bags (bolts etc) - still looking for the easiest solution!
The smallest PE parts in the kit - needles from the dash!
Steering wheel - I was just going to use Tamiya 'black rubber' to paint the rim, but succumbed to using a texture, as the contrast wasn't enough. I used flour, as I wanted as fine as possible - looks ok!


Gassing Station | Scale Models | Top of Page | What's New | My Stuff