Old diecast toys - Dinky etc.
Discussion


Yertis said:
OK I have some caustic soda, and another couple of questions for Red.
1. How much caustic soda should I use in say two pints of hot water?
2. About how long are we leaving the plastic bit in for?
3. Would you spruce up the clear plastic with Klear? (or the Humbrol version in my case)
Fill your container half way with boiling water and then sprinkle in a little caustic. It'll foam up and then die down, so do that a couple of times. Err on the side of not enough than too much every time. The less you put in, the longer it'll take to strip the paint, but the less likely it is to eat its way through your metal casting! Red is tricky colour anyway, so you will be left with some powdery residue, but a good scrub in clean water with an old tooth brush is the step straight after the caustic. I used to then give it a wire brush once it was dry as a final step before priming.1. How much caustic soda should I use in say two pints of hot water?
2. About how long are we leaving the plastic bit in for?
3. Would you spruce up the clear plastic with Klear? (or the Humbrol version in my case)
Once the mixture is cool/cold, you can leave the plastic bit in for as long as you want. It'll still have some 'oomph' left in it, but obviously if you dump the glazing into the hot water, you'll end up with a blob.
I used to polish the glazing with Autosol or similar to give it a final clean. I tended not to go as far as using Klear as you don't want to take away the visual effect of the glazing. It should be a bit chunky rather than finessed down with Klear, if you get my drift.
 etc"
etc"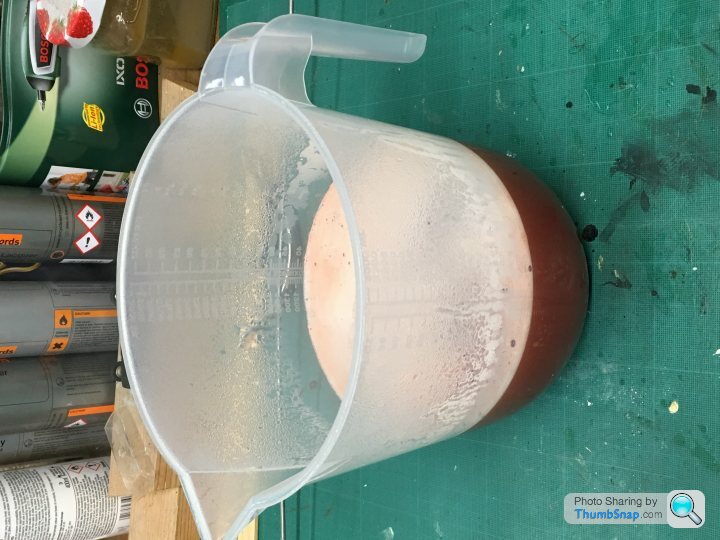


Back on rather too familiar territory with this bit.

In the past I had access to a fabulously smelly system called Chromatec which used lots of banned chemicals to make custom rub downs. But that's long gone, so a bit stumped at the moment on that.
Anyway, here's where we're up to:

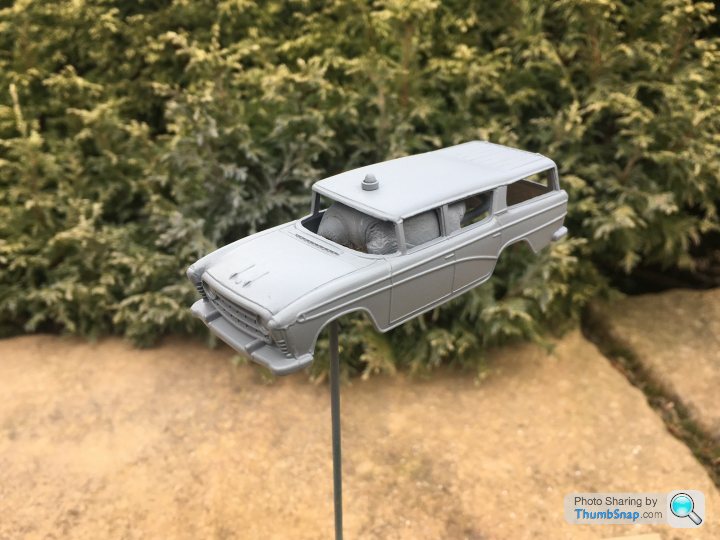
The first coat of primer revealed some nasty roughness on the roof, maybe because of my gung-ho approach to paint removal, so that's been sorted out so that it's nice and smooth.
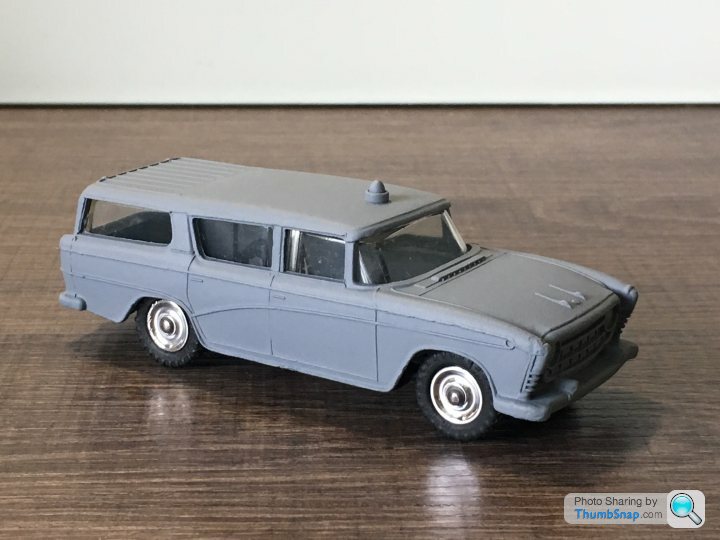
Getting some red on tomorrow.
In the past I had access to a fabulously smelly system called Chromatec which used lots of banned chemicals to make custom rub downs. But that's long gone, so a bit stumped at the moment on that.
Anyway, here's where we're up to:
The first coat of primer revealed some nasty roughness on the roof, maybe because of my gung-ho approach to paint removal, so that's been sorted out so that it's nice and smooth.
Getting some red on tomorrow.
Really been enjoying the articles and the pictures here. The strip down of the fire chief's car has thrown up a couple of points : once all the paint is off, you can see any casting defects and clean them off with Swiss files and so on (remember that these were mass produced toys) and now you can do the same with minor damage caused by childhood crashes, for example on bumper edges and around headlights.
I agree with the comments about replacement rivets - I have come across some "mint" toys which aren't - I always just used epoxy glue. I'm also not sure about striving for perfect paint. Yes, I use a primer and so on, and you can end up with a brilliant finish. Then I look sadly at some of the (genuine) mint models and see how the paint is a bit thin here and there and occasionally has run a bit on edges, so a bit like some restored cars they end up better than new. Mind you, with some old cars this is just as well and not difficult to achieve.
I'm currently making a Bedford breakdown crane out of a Commer crane and a Bedford truck. If anyone out there is familiar with these models, they will know what I mean - the bits are interchangeable and the early Commers had the same slots for a tipper mechanism as the Bedford, so I've always imagined that the intention was there from the start.
I'm also in a slight quandary about another notion - I have a very decrepit Commer fire engine and a ditto Bedford "S" type tractor unit by Corgi. It looks as if I could make something very like a "Green Goddess" with some surgery, Any thoughts?
CATD8H said:
We all seem to use a primer on our restorations nowadays but Dinky,Corgi etc.did not when they were new...Did they use a special paint?.
I believe they used an electrostatic process whereby the parts were hung on a steel gantry which was given a positive charge, and the paint was given a negative charge.Gassing Station | Scale Models | Top of Page | What's New | My Stuff