Paper Ship: SMS Emden (1910), 1:250
Discussion


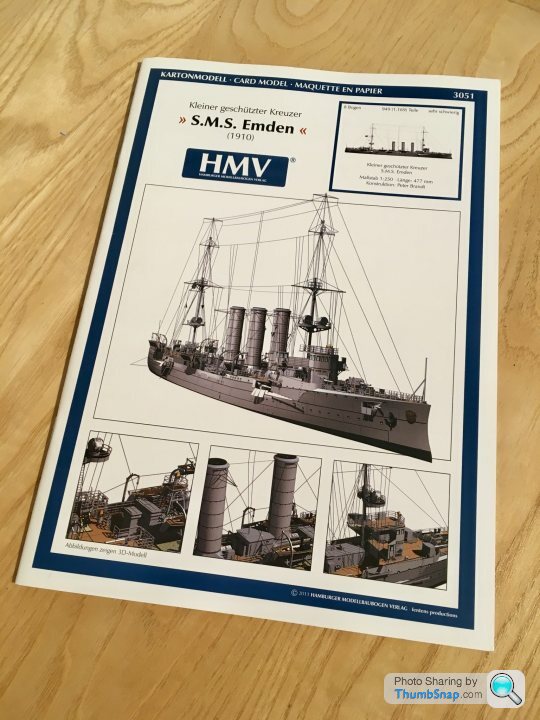
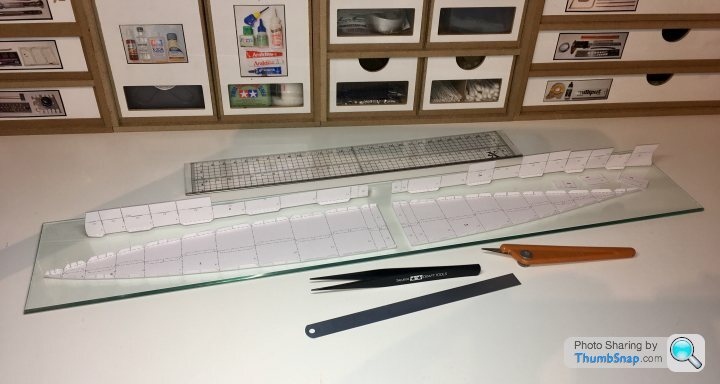
A quick trip to Hamburg this week saw me getting a new kit from the Maritime Museum. This one’s a bit bigger than my previous three, at 477 mm long. It’s also rated “Sehr Schwierig”, so in theory a bit more tricky to build too:
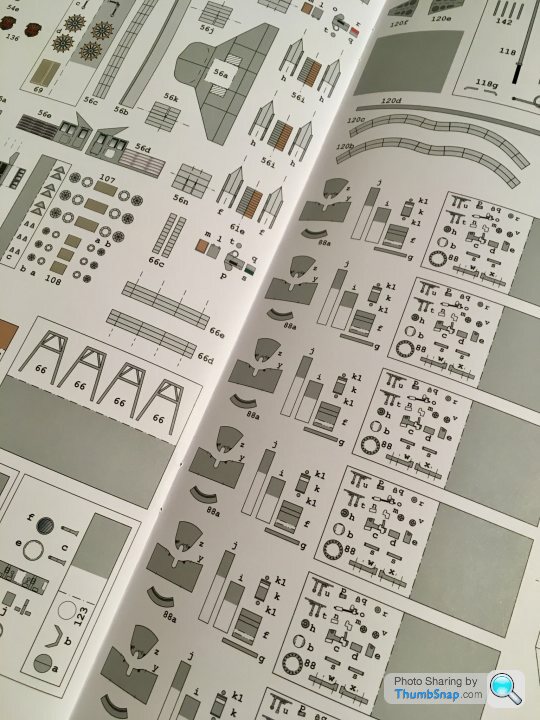
Also got the laser-cut set:
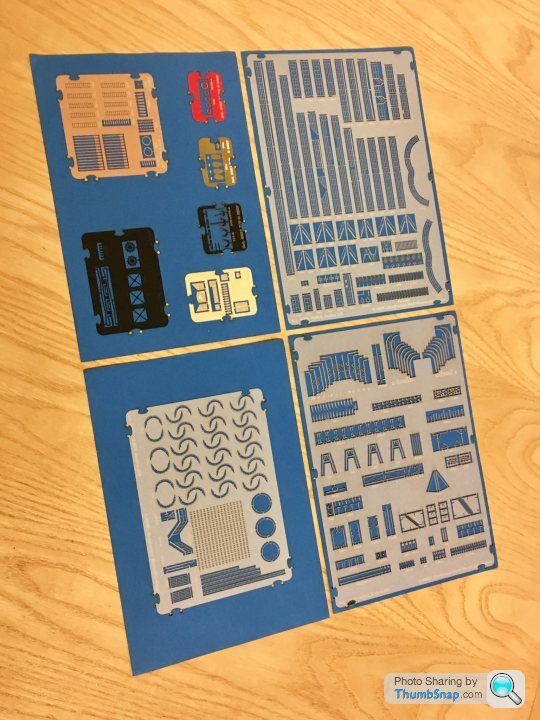
Also got the laser-cut set:
Edited by dr_gn on Thursday 12th April 10:22

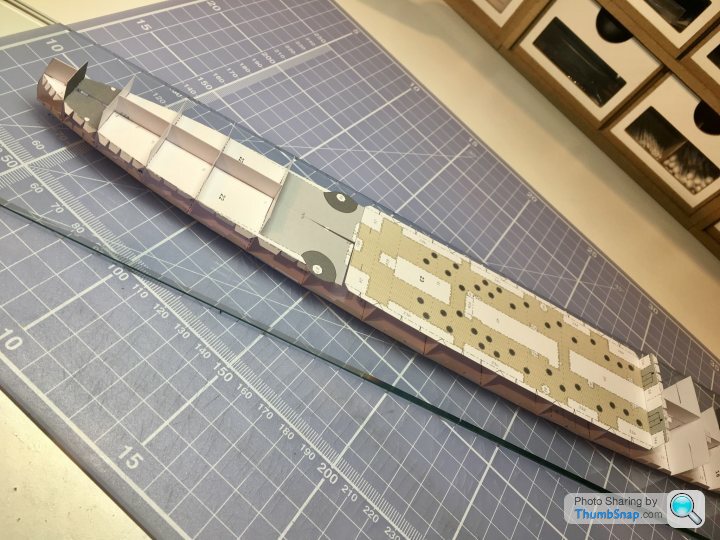
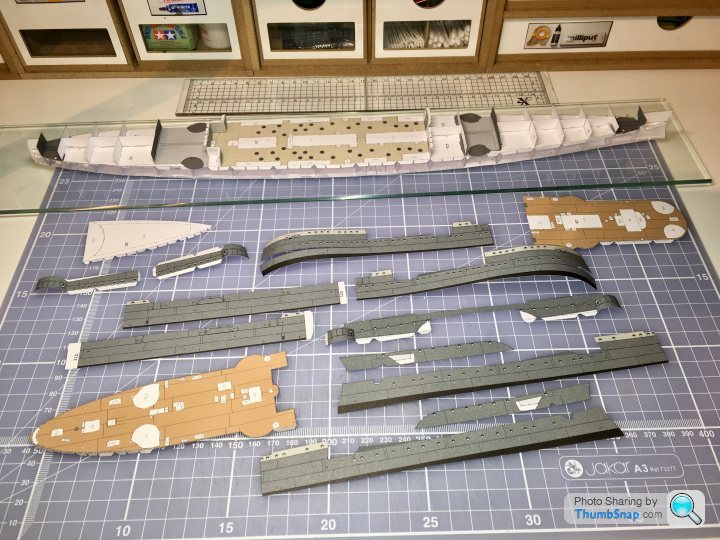
Made a start on the hull sub-structure tonight:
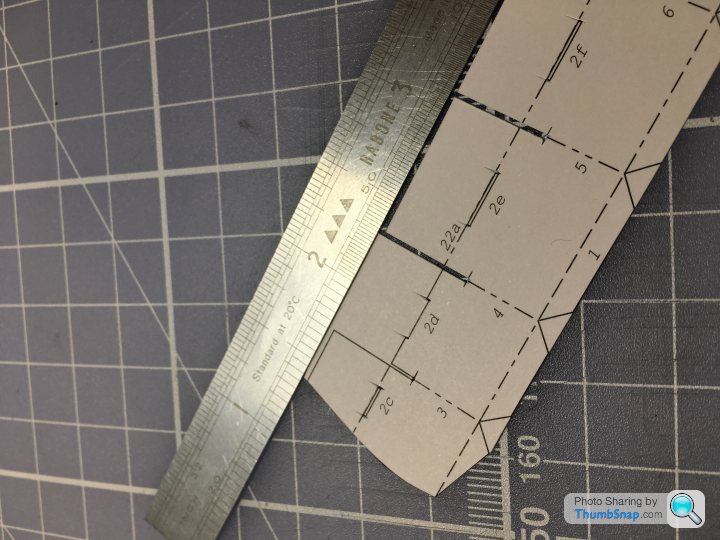
It’s made in two halves and assembled with overlapping joints:
Must admit, with previous builds I’ve been super accurate with this part of the structure, and taken hours to get things perfect, only to have to cut and shut the cladding panels to fit. With this one I’ve taken a less onerous approach and stuck it all together by eye. It’s a bit of a whopper compared with the others; this is current progress with the Corvette for scale:
shortar53 said:
Oh hell yeah Doc. This should be good.
I really enjoyed doing the Von Der Tann, cant wait to see how amazing your attempt at thus size turns out
I remember seeing that - looked very impressive complete. I'm hoping the hull will go together well on this one, after that, it's just cut, glue and repeat for a few months until it's done.I really enjoyed doing the Von Der Tann, cant wait to see how amazing your attempt at thus size turns out
Not looking forward to the cost of the case for this one!

robemcdonald said:
Do you start in the middle?
I would imagine that would help with the tolerance stack issue.
I didn't, but everything seems to fit where it should in terms of printed alignment, it's whether the alignment itself is right. For example, the rear deck is about 5 mm too long at the rear (according to the sub-structure), yet aligns at the front and at various points along the top edge. I'm hoping the hull sides align with the deck etc, rather than the sub-structure.I would imagine that would help with the tolerance stack issue.
There's also the issue of the hull sides spanning three levels, and the external bulkheads needing to mate to them. Any skew and it's cut-and-shut time. It might be fine.
allegerita said:
What kind of glue do you use? And even more interestestingly, how do you apply it?
I never tried any paper modelling. Well, I built a car once but that ended up in a disaster. I used hobby glue out of a tube.
I use Formula 560 canopy PVA applied with either a cocktail stick or with a small brush ( if diluted with water).I never tried any paper modelling. Well, I built a car once but that ended up in a disaster. I used hobby glue out of a tube.
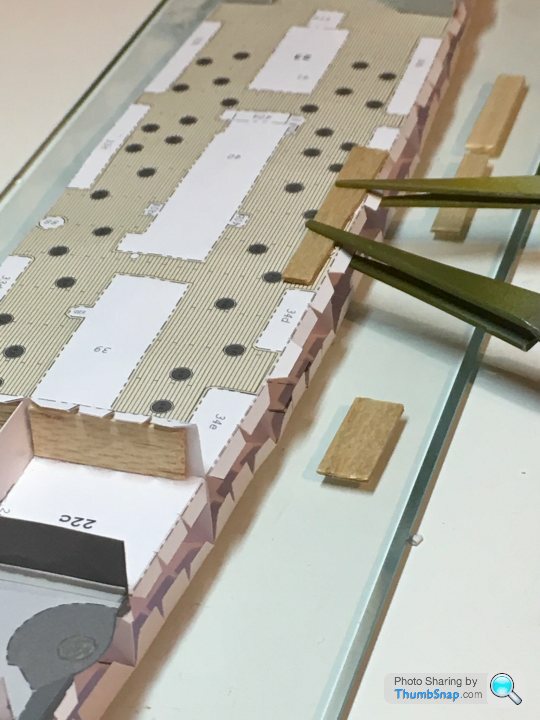
One disadvantage of using pva glue is that it can warp the larger, unsupported edges. I’ve straightened some of the more critical deck and bulkhead edges with balsa strip:
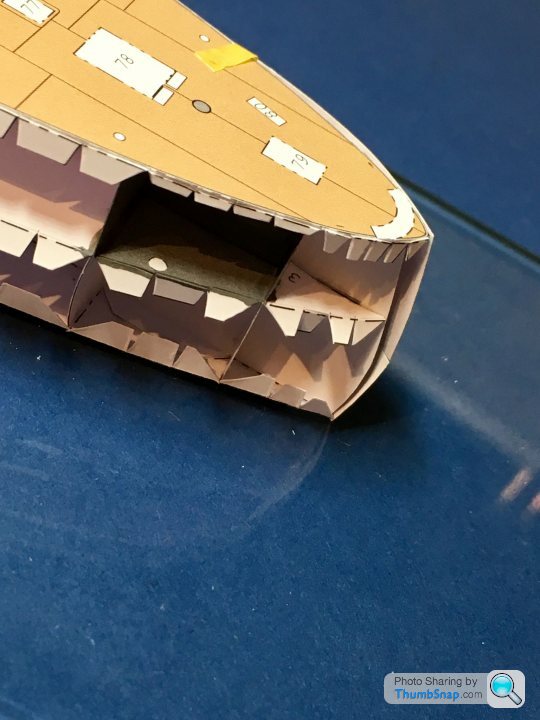
These anchor housings fit behind the hull sides. Good job I spotted them at this stage - they’re not mentioned in the instructions...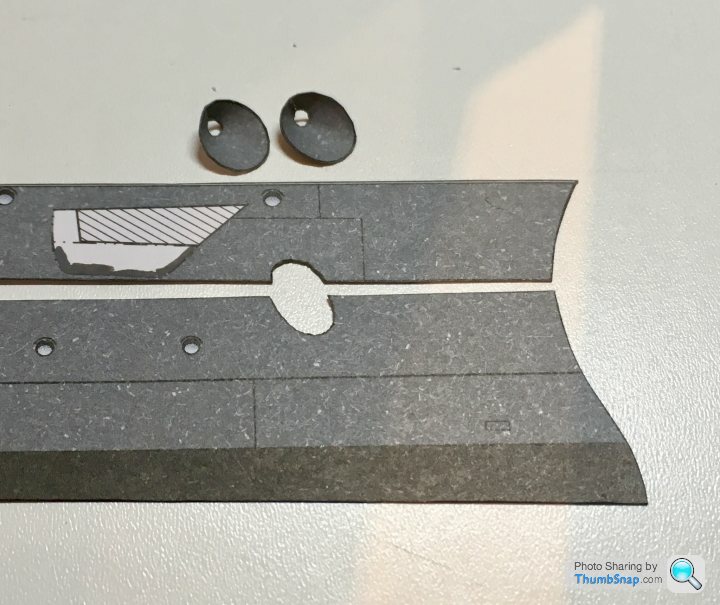
These anchor housings fit behind the hull sides. Good job I spotted them at this stage - they’re not mentioned in the instructions...
Gassing Station | Scale Models | Top of Page | What's New | My Stuff