Tamiya A6M2b Zero (1:72)
Discussion


Got this one a while ago to go with the Eduard Hellcat:
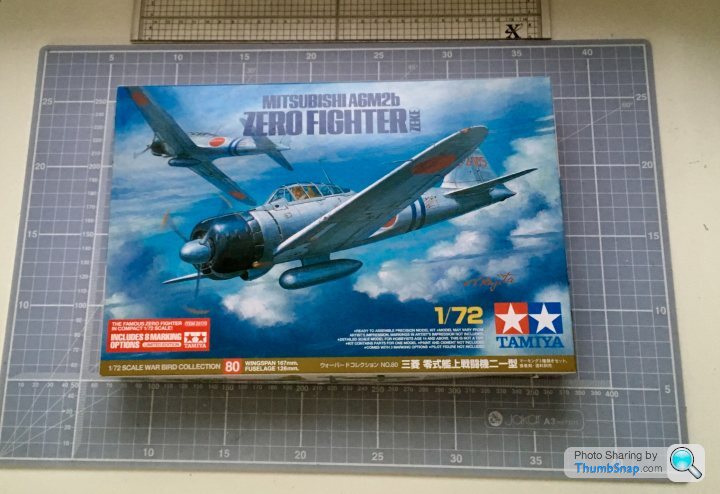
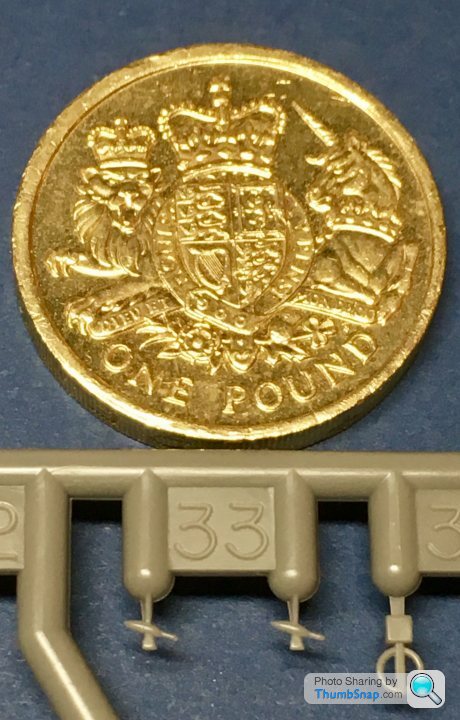
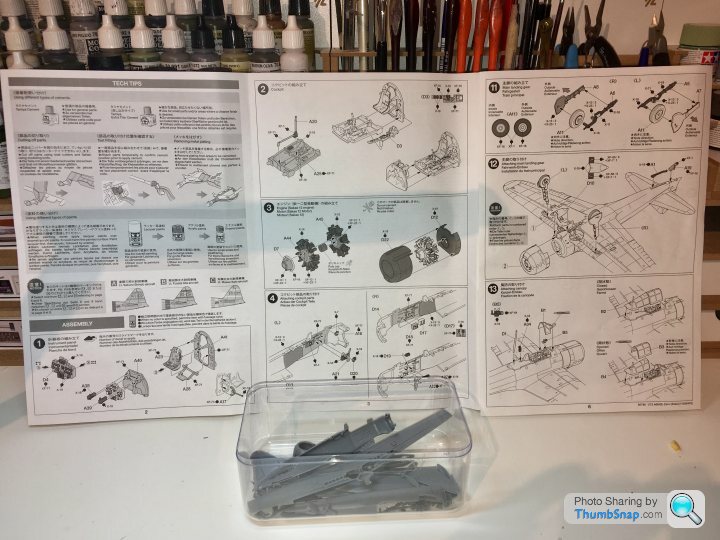
It’ll be OOB apart from the seat harness and possibly brake pipes. I think it’s the best 1:72 injection moulded kit I’ve ever seen in terms of part fidelity; some parts are remarkably small:
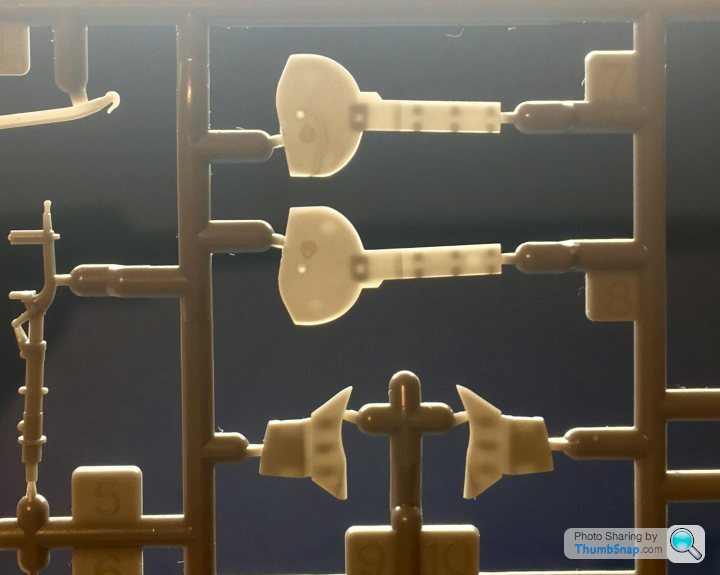
Others, like the u/c doors are so thin they are semi-transparent under a decent light:
So no thinning required there!
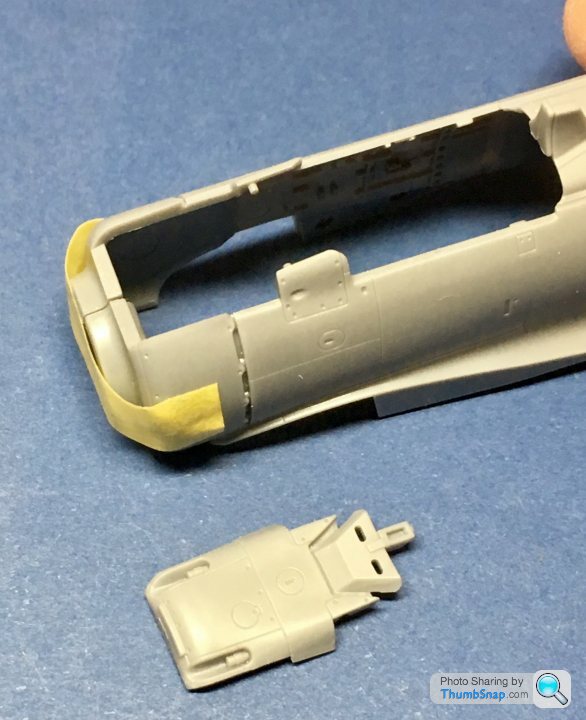
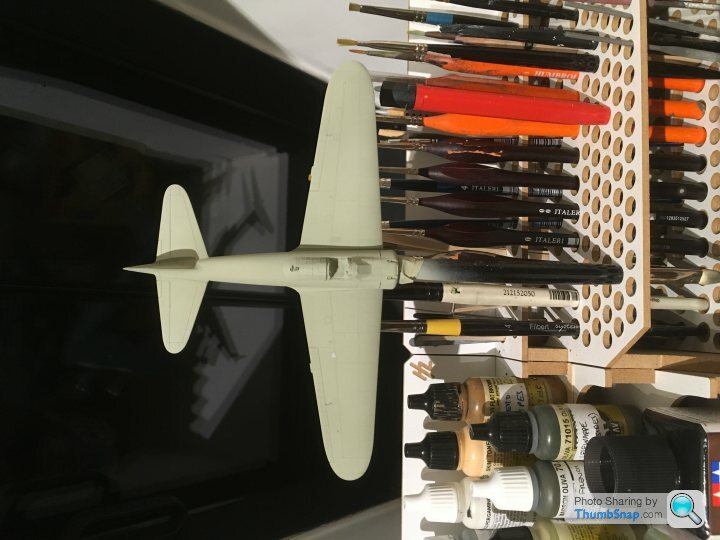
The fit of the parts is also pretty phenomenal. You wouldn’t think this:

Was a three part dry fit:
Panel lines and surface detail is beautiful - I hope it doesn’t get dulled by the various coats of paint...
Most of the way through cleaning up the parts now, I’m hoping this one will take days rather than months!
It’ll be OOB apart from the seat harness and possibly brake pipes. I think it’s the best 1:72 injection moulded kit I’ve ever seen in terms of part fidelity; some parts are remarkably small:
Others, like the u/c doors are so thin they are semi-transparent under a decent light:
So no thinning required there!
The fit of the parts is also pretty phenomenal. You wouldn’t think this:
Was a three part dry fit:
Panel lines and surface detail is beautiful - I hope it doesn’t get dulled by the various coats of paint...
Most of the way through cleaning up the parts now, I’m hoping this one will take days rather than months!

Great build so far. It looks like a very nice kit. Its been a while since I built a Tamiya kit.
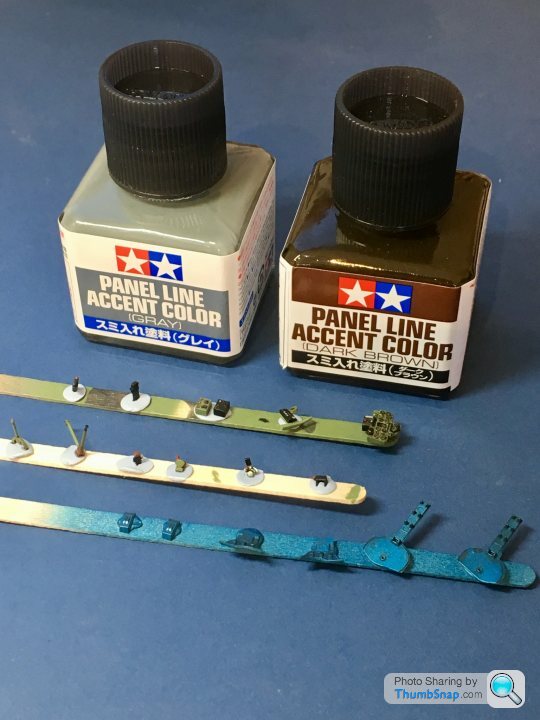
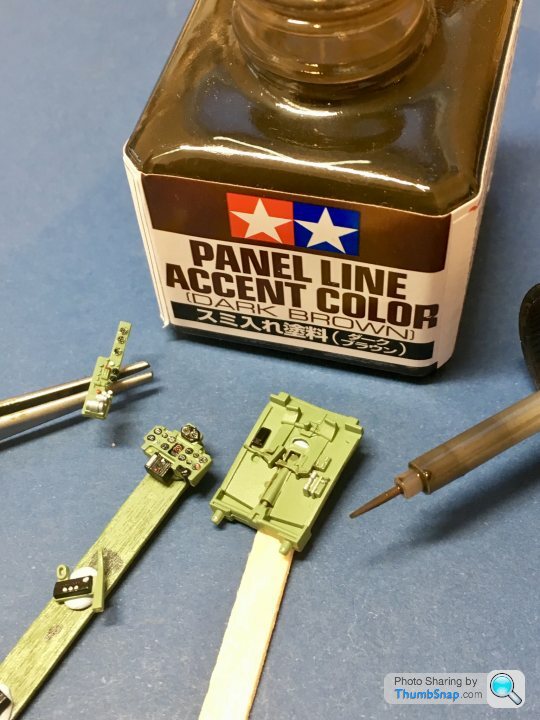
What clear coat did you use before the panel line?
I have struggled a bit with the Tamiya panel line washes reacting with the clear coat.
This has been so much of an issue that I have resorted to making my own washes with pastels and distilled water.
What clear coat did you use before the panel line?
I have struggled a bit with the Tamiya panel line washes reacting with the clear coat.
This has been so much of an issue that I have resorted to making my own washes with pastels and distilled water.
robemcdonald said:
Great build so far. It looks like a very nice kit. Its been a while since I built a Tamiya kit.
What clear coat did you use before the panel line?
I have struggled a bit with the Tamiya panel line washes reacting with the clear coat.
This has been so much of an issue that I have resorted to making my own washes with pastels and distilled water.
Just used Klear as usual, seems fine so far. What clear coat did you use before the panel line?
I have struggled a bit with the Tamiya panel line washes reacting with the clear coat.
This has been so much of an issue that I have resorted to making my own washes with pastels and distilled water.
Now I'm worried...
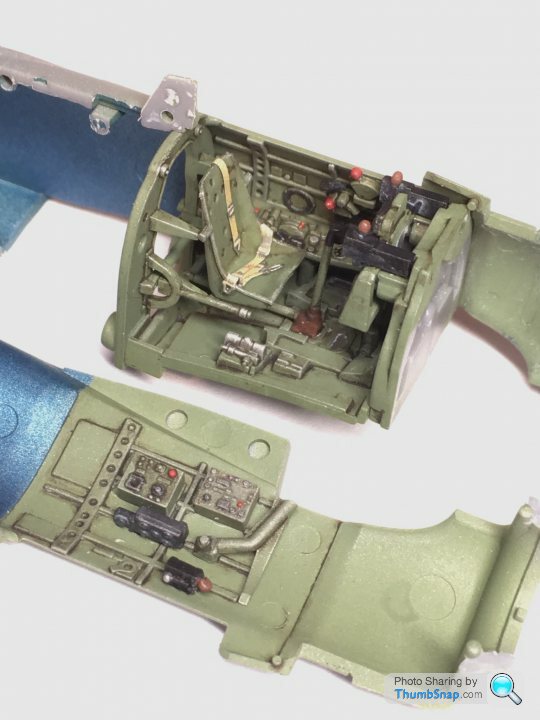
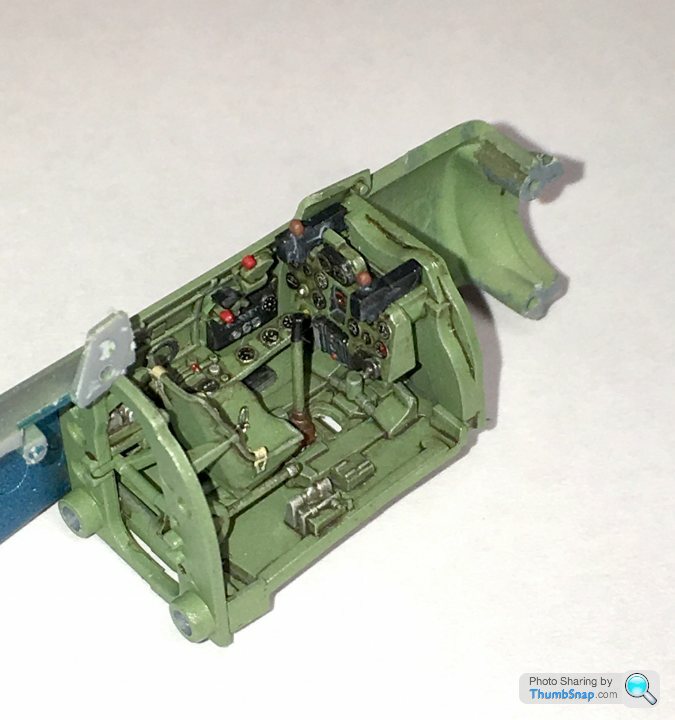
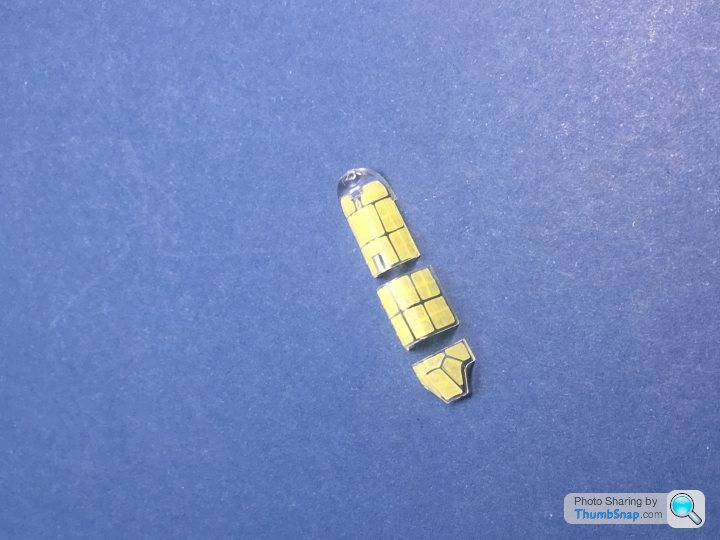
Finished the cockpit tonight - it’s by far the best standard 1:72 kit cockpit I’ve seen. Only additions were the lap belts and shoulder strap, and some dial face decals cut from spare instrument panel items. For some reason, seven of them are not included:
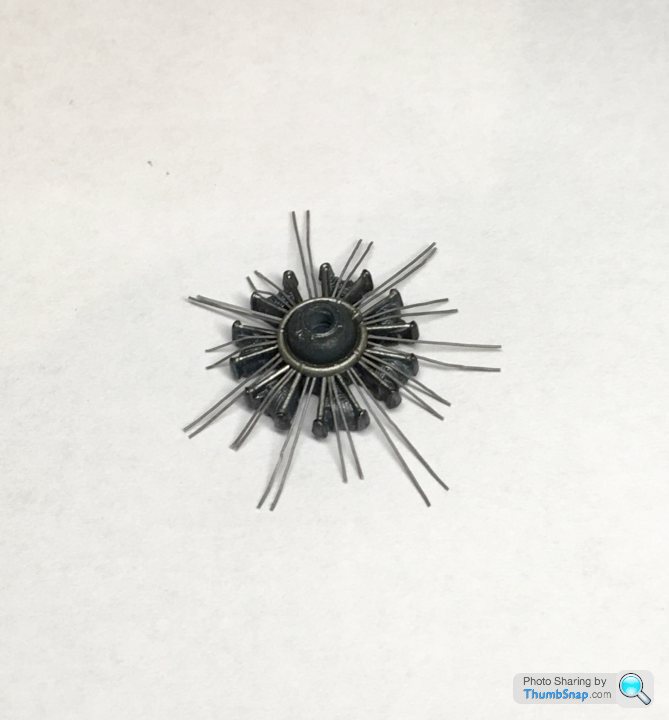
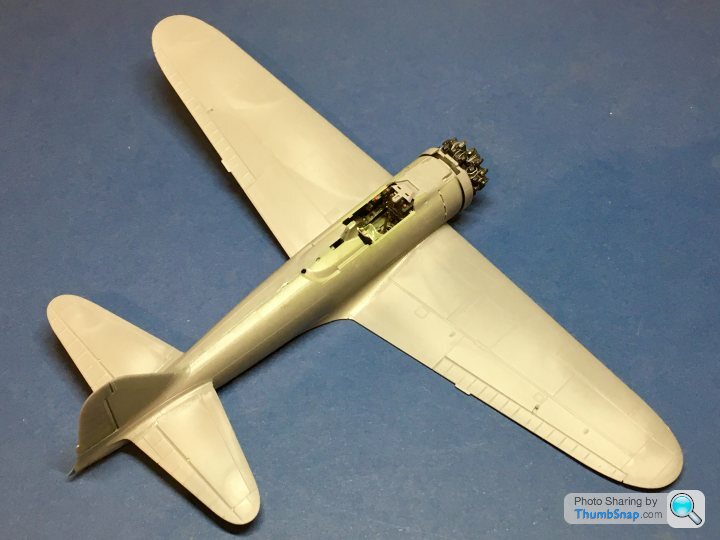
Adding some ignition wires to the engine:
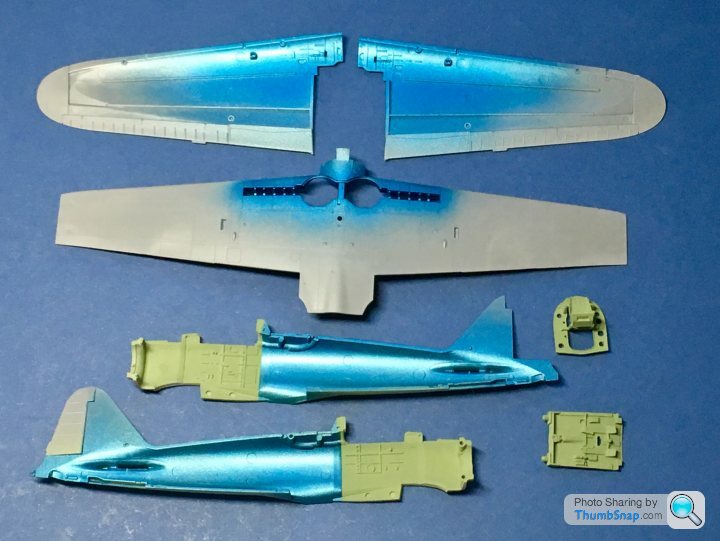
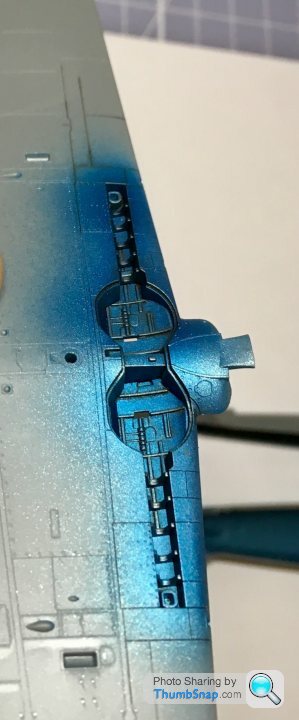
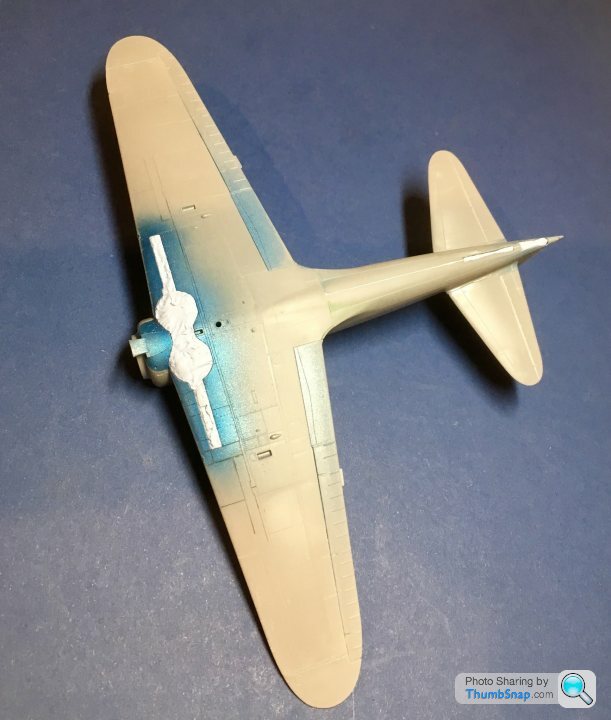
As I’d hoped, the metallic blue anti-corrosion paint looks fine when weathered and matted down:
Adding some ignition wires to the engine:
As I’d hoped, the metallic blue anti-corrosion paint looks fine when weathered and matted down:


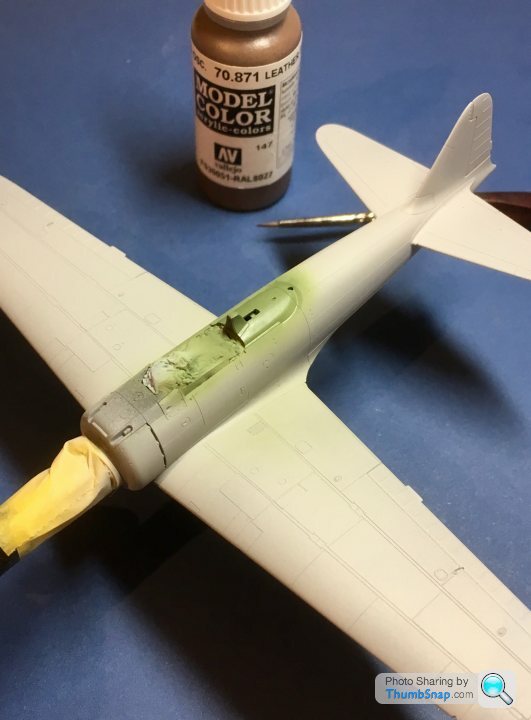
Thanks guys - bit more progress: Masked the wheel and arrester hook wells with Blu-Tack, and the cockpit with the same plus Tamiya tape. Then airbrushed a guide coat of decanted Tamiya fine surface primer. This didn’t reveal much to correct, so I sprayed the rear cockpit deck interior green, and hand painted the headrest in leather. Then brush painted a seal coat of Klear ready for weathering;
dr_gn said:
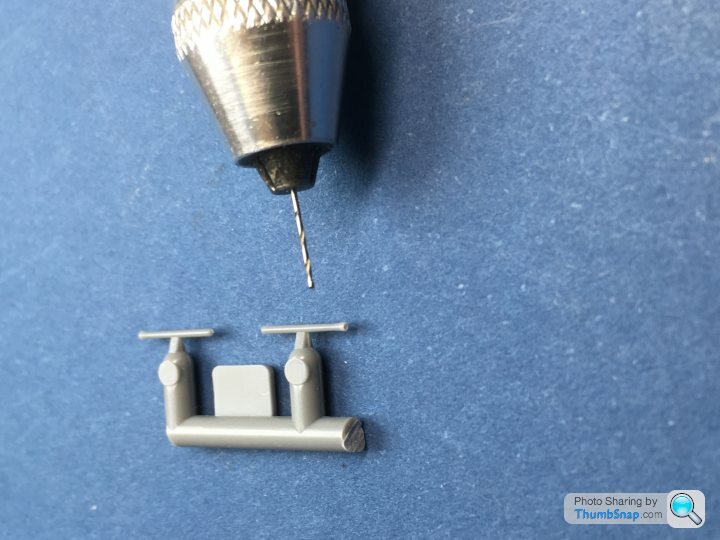
Also drilled out all four machine guns with a micro drill:
allegerita said:
I do this with a lighter heated needle. Less aggressive to the usually very small parts and you can go to much smaller diameters.
I'd be scared of distorting the end with a hot needle. I'd normally replace with brass tube and be done with it, but they are slightly flared so I just went with it. Gassing Station | Scale Models | Top of Page | What's New | My Stuff