Schumacher CAT XLS build
Discussion


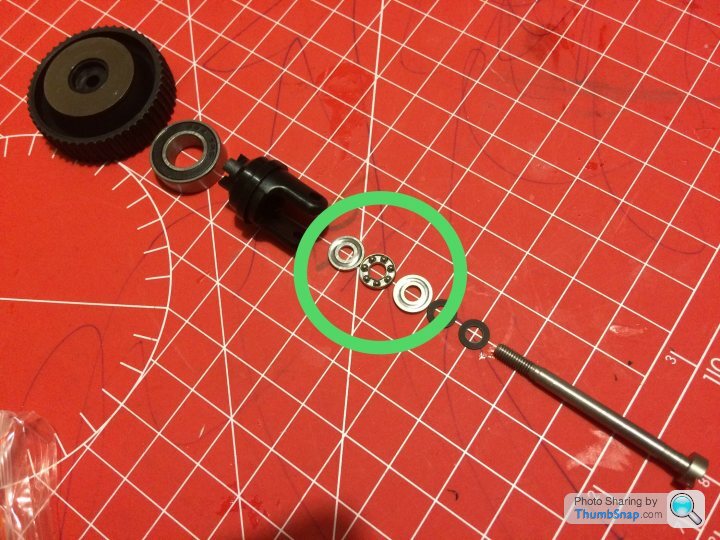
Got the rear gearbox together with the belts. UJ spiders are fun! On the first one you think there’s no way this will ever work but then suddenly it pops in and the rest were easy. Warming the parts defo helps. Driveshafts are made from a hard engineering plastic (probably glass fibre filled acetal) so are very stiff but the diff out drives are softer.
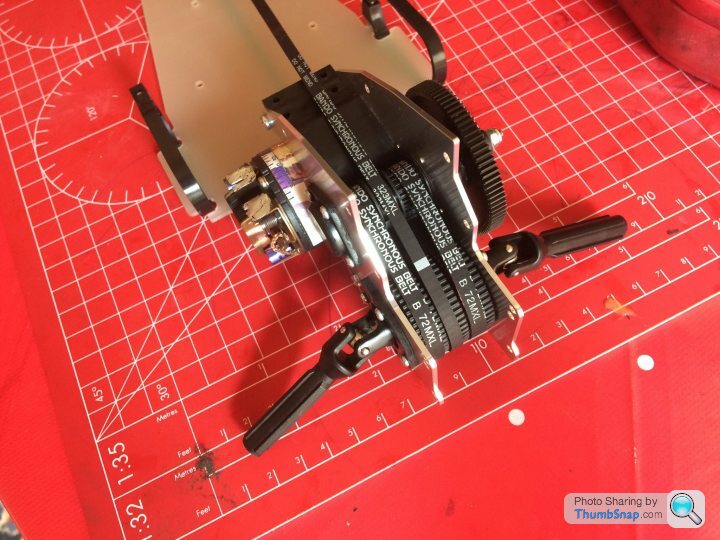
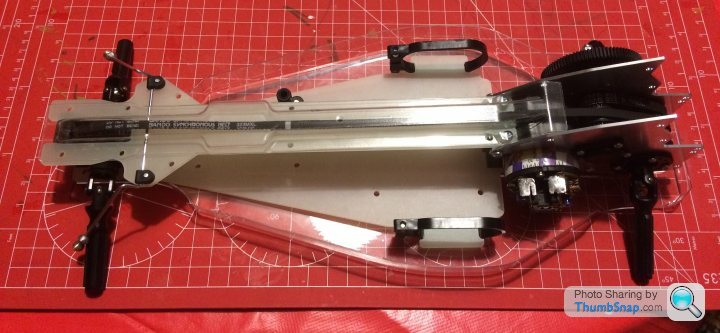
Going to build the top deck with the steering and roll bar before I cut the belt cover out. Want to order the wide track steering link though from Groomi before I do that so will build the front gearbox and diff next. Also realised to need to order a different servo saver as the kit one won’t fit my servo.
Going to build the top deck with the steering and roll bar before I cut the belt cover out. Want to order the wide track steering link though from Groomi before I do that so will build the front gearbox and diff next. Also realised to need to order a different servo saver as the kit one won’t fit my servo.
Edited by lufbramatt on Saturday 9th May 09:30
lufbramatt said:
Following with interest and thanks for the photo. Yes, that looks much better than the crappy plastic version they used to supply. Well done on getting the UV joints together. That’s the one bit where I passed the build onto my Dad who steamed them to soften up.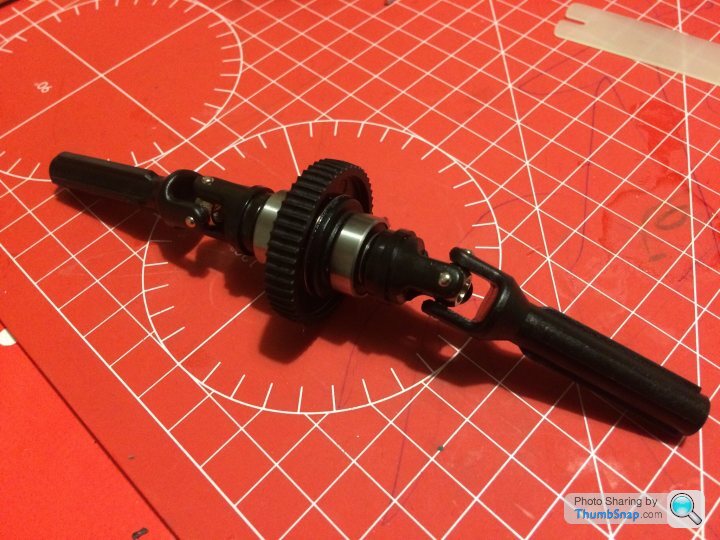


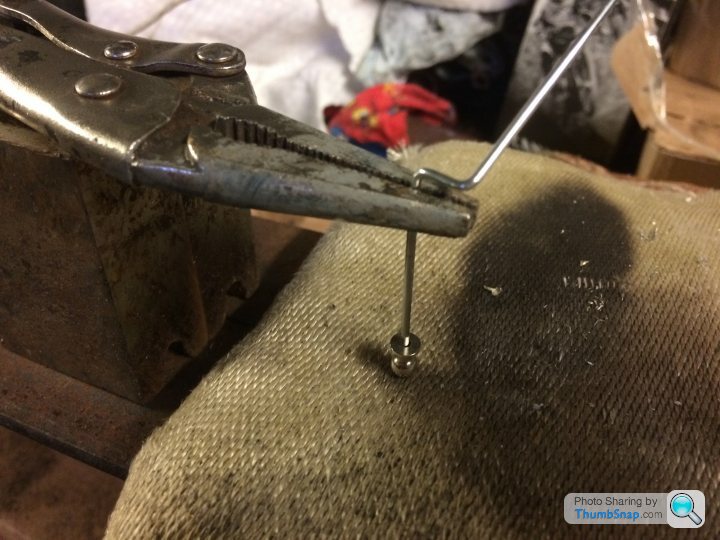
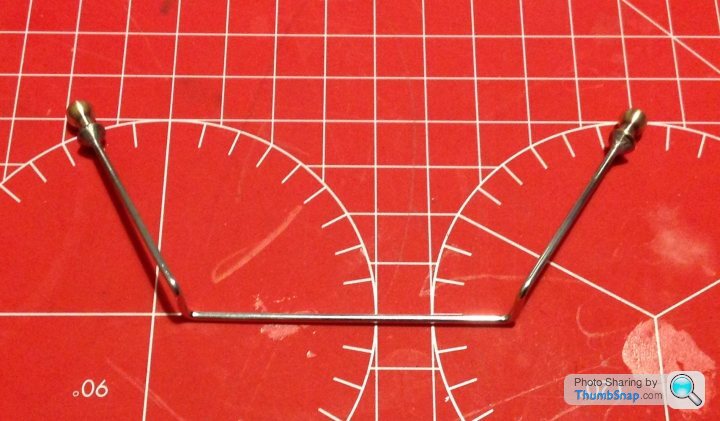
Soldered the ends on the anti roll bar, ended up using a full size blow torch, bit overkill but got the job done! Initially I couldn’t get the (modern) solder to flow into the gap but found some old leaded rosin cored stuff which worked well. Gave the balls a good tug (ooo err...) and they don’t seem to be going anywhere so jobs a goodun.
And assembled in place on the top deck;
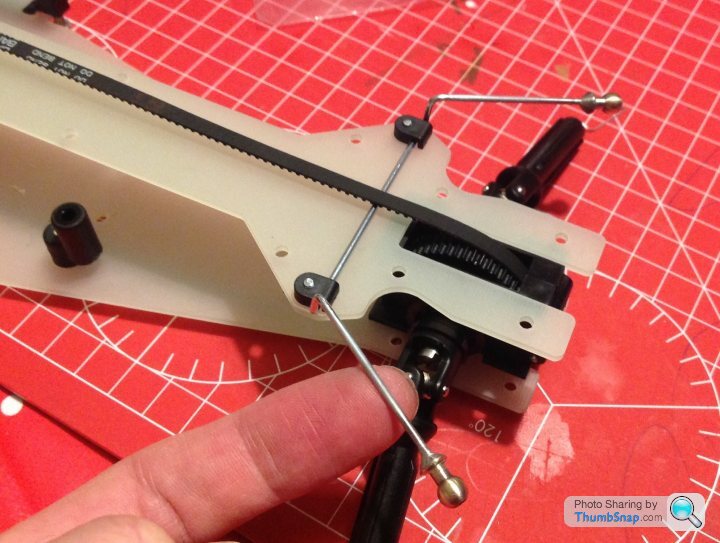
And assembled in place on the top deck;
72twink said:
When you go silly on the options you get all these spares ........

And I’m holding you wholly responsible that I’ve spent the evening screwing them together (plus a few extra parts) with one of Groomi’s screw packs!
Blimey yes, it really does look like that’s enough to build a second car right there!And I’m holding you wholly responsible that I’ve spent the evening screwing them together (plus a few extra parts) with one of Groomi’s screw packs!
Good work! I've already been eyeing up some upgrades. The rear alloy transmission spacer/motor housing looks like a good idea to help dissipate heat from the motor. Might get some carbon bits (because bling) and I'll probably make some adjustable upper arms once I can get back in the workshop at work as we have a milling machine. I already blew the £200 budget on the car itself!
uncleluck said:
Annoying isn’t it! I cut out my son’s neo scorcher body at the weekend and in my memory it was so much easier than it actually was!
I read the XLS under tray is thick too?
Best tool I ever bought for my RC bodies!I read the XLS under tray is thick too?
https://www.modelsport.co.uk/index.php?product_id=...
Makes it so easy to cut around the curved edge sections!
And only a couple of quid too!
nigelpugh7 said:
Best tool I ever bought for my RC bodies!
https://www.modelsport.co.uk/index.php?product_id=...
Makes it so easy to cut around the curved edge sections!
And only a couple of quid too!
Yep, rough out the cut with curved scissors and then smooth it out with a Dremel drum sander attachment.https://www.modelsport.co.uk/index.php?product_id=...
Makes it so easy to cut around the curved edge sections!
And only a couple of quid too!
Couldn't use mine last night as I've been working on this while the kids are asleep upstairs. But I need to get it out later today to make the slots in the belt guard for the ARB with a cutting disc. I've got some of those scissors and was using a sanding stick to clean up the corners, which worked fine. Just one of those jobs I'm not a fan of!
Love this thread!!!
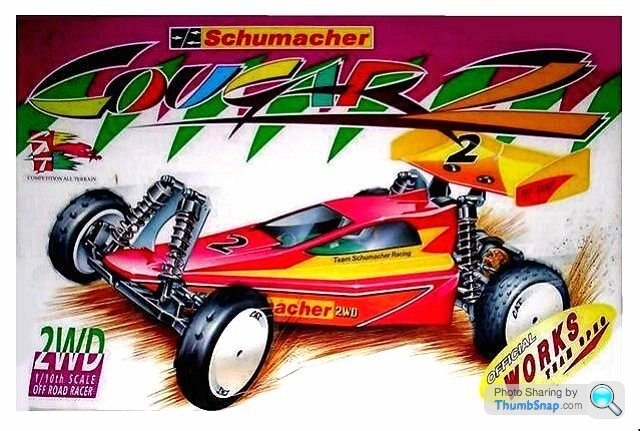
I had a Cougar 2 (which I still have) as my first proper, and only real competition car and raced it loads as an older child and or teenager, indoor and outdoor, at the local model club (Wexham Model Car Club, on the old Owens Cornings site by Kelloggs) carpet and tarmac, on foams, and I friggin loved it. Later on they became less common as everyone may age moved onto the Mardave V10 (sigh) and we put in a heat with the 12th scales for a while till the old boys got fed up with us driving into their carpet racers. It appear the outdoor track is currently being used for caravan storage.
Later as parts got hard to get I got a Mardave Cobra, but is was fairly rough in comparison and has major issues with the ball diff undoing itself because all the parts where made of cheese and there wasnt a dust cover for the thrust bearing (item highlighted above) got a Duratrax nitro st for 'backyard bashing' and then a V12 which I did a winter with just before uni, got a Hyper7 (awesome car) which I used at uni a bit but then basically stopped everything for years. Would love to race again, but have so much other things to do! Need to get the Hyper7 back out again though.
Daniel
I had a Cougar 2 (which I still have) as my first proper, and only real competition car and raced it loads as an older child and or teenager, indoor and outdoor, at the local model club (Wexham Model Car Club, on the old Owens Cornings site by Kelloggs) carpet and tarmac, on foams, and I friggin loved it. Later on they became less common as everyone may age moved onto the Mardave V10 (sigh) and we put in a heat with the 12th scales for a while till the old boys got fed up with us driving into their carpet racers. It appear the outdoor track is currently being used for caravan storage.
Later as parts got hard to get I got a Mardave Cobra, but is was fairly rough in comparison and has major issues with the ball diff undoing itself because all the parts where made of cheese and there wasnt a dust cover for the thrust bearing (item highlighted above) got a Duratrax nitro st for 'backyard bashing' and then a V12 which I did a winter with just before uni, got a Hyper7 (awesome car) which I used at uni a bit but then basically stopped everything for years. Would love to race again, but have so much other things to do! Need to get the Hyper7 back out again though.
72twink said:
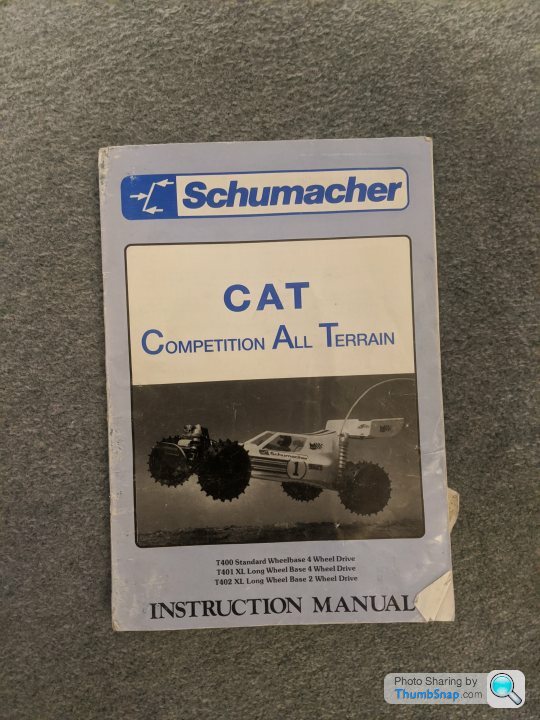
....Have you watched the clip on YouTube of Cecil explaining his design thinking when he built the original?
Well behind the curve, but have just found that, great watch. What a top (cat) bloke. https://www.youtube.com/watch?v=LrrfE0kOhew8.4L 154 said:
An original Triggers broom CAT. Hasn't turned a wheel under it's own power since probably 1991 but all still seems free and ready to go. Was due a new shell by the looks of it though.
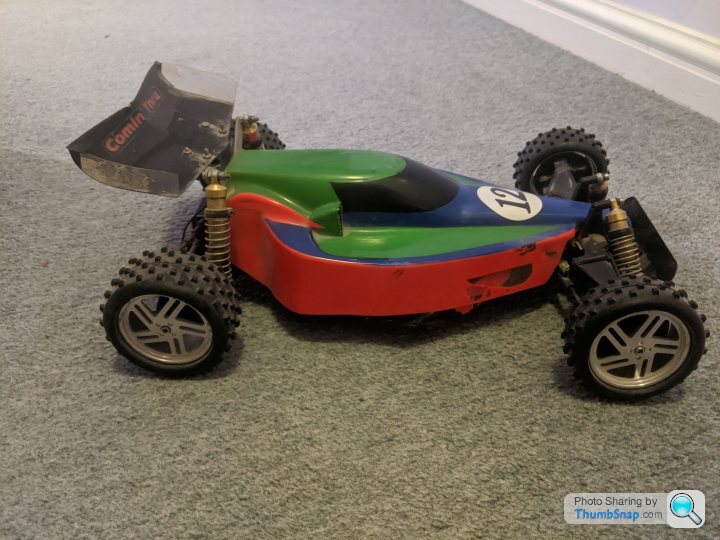
Ruddy love it, brings back so many memories, even down to the velco pulling the paint of the front edge of the shell!Daniel
Gassing Station | Scale Models | Top of Page | What's New | My Stuff