Toylander from scratch (metal chassis and body)
Discussion


Looks good Jon, definitely getting the hang of forming those. I might need to get some practice in for when I do the rear corner protection panels on mine.
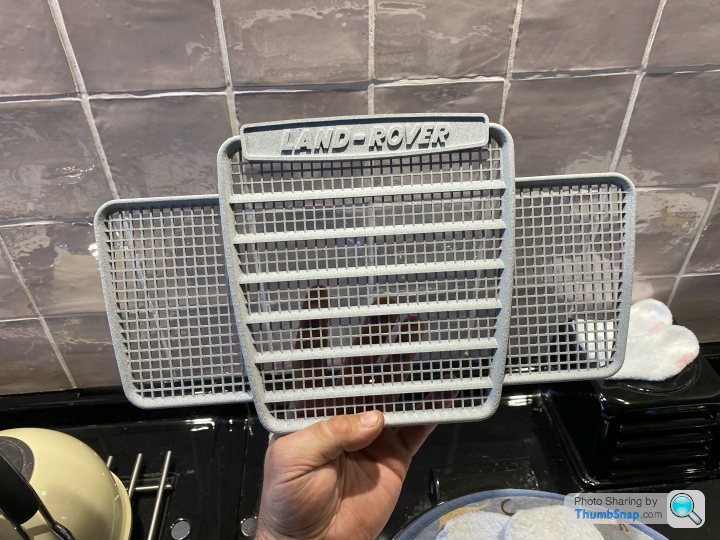
Great success with the printing of the grille, really pleased with the result.
Not much use for your series 2?
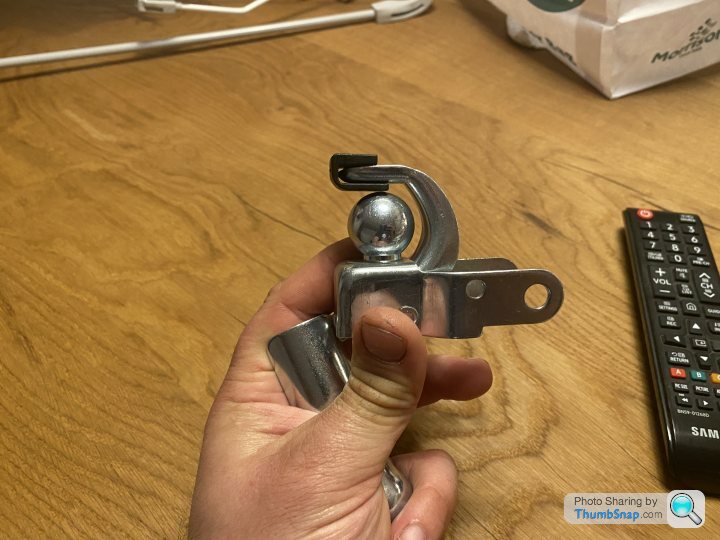
Also found a great little hitch on eBay if you were going to do a trailer eventually?
Great success with the printing of the grille, really pleased with the result.
Not much use for your series 2?
Also found a great little hitch on eBay if you were going to do a trailer eventually?
cobain said:
Looks good Jon, definitely getting the hang of forming those. I might need to get some practice in for when I do the rear corner protection panels on mine.
Great success with the printing of the grille, really pleased with the result.
Not much use for your series 2?
Also found a great little hitch on eBay if you were going to do a trailer eventually?
That grille is absolutely superb, well done!Great success with the printing of the grille, really pleased with the result.
Not much use for your series 2?
Also found a great little hitch on eBay if you were going to do a trailer eventually?
Where did you find the hitch please, do you have the link?
The grill looks great cobain, smashing work!
I have been really lazy the last couple of weeks and not done anything of note. I did get the machinist at work to nip a bit off the jaw coupling so they fit over the shaft along with the spider rubber. Before they were a touch tight.
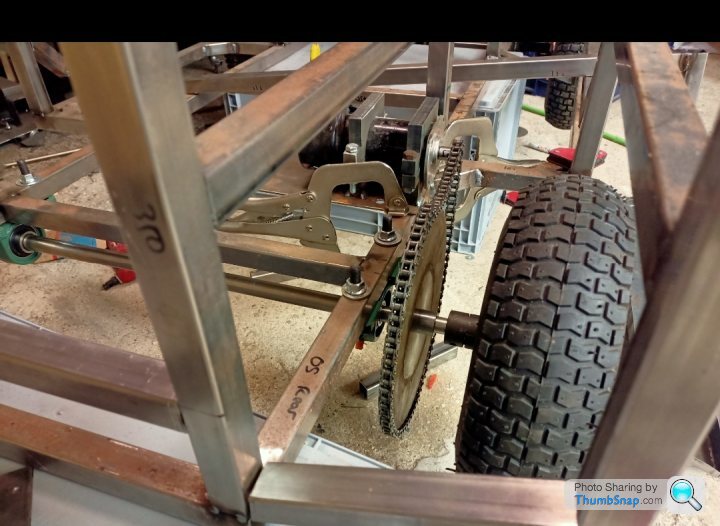
I also ordered my larger sprocket, machined up an axle adapter and welded it on.
Test fit;
Jaw coupling mechanism, you can just about make out the rubber spider piece;
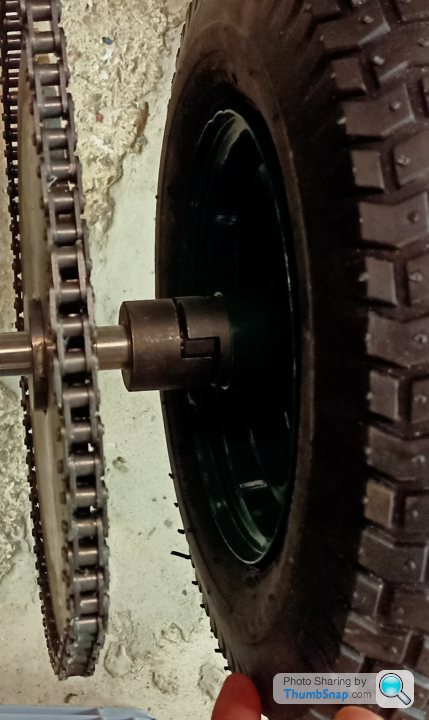

One side of the jaw coupling will be welded to the axle, the other side is pressed into the wheel rim and will be welded to that, although it is a very tight fit in there at the moment. I pressed it in.
With the correct placement of the jaw coupling on the axle, you'll push the wheel on, ensuring engagement into the spider gear and secure with a centre wheel nut. I'll need a little custom washer on the outside of the wheel to ensure the wheel remains central (although the jaw coupling will probably keep it pretty square).
I stripped out the wiring loom from the mobility scooter and labeled up a few things.
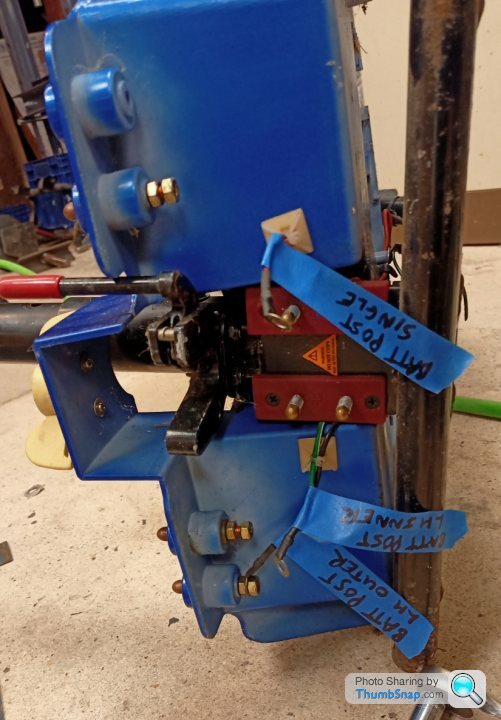
Electronics are not my forte, so I'll probably call on my brother for help with the next bit.
The original scooter had rocker lever that you pushed in one direction for forwards and the other way for reverse. There was also a seperate twist knob for controlling overall speed.
I would like to retain the twist knob for overall speed, depending on who is using it, but have a single accelerator peddle for the 'throttle' and a toggle switch for forward or reverse. How hard can it be? I'm sure they'll figure it out. Ha.
I have been really lazy the last couple of weeks and not done anything of note. I did get the machinist at work to nip a bit off the jaw coupling so they fit over the shaft along with the spider rubber. Before they were a touch tight.
I also ordered my larger sprocket, machined up an axle adapter and welded it on.
Test fit;
Jaw coupling mechanism, you can just about make out the rubber spider piece;
One side of the jaw coupling will be welded to the axle, the other side is pressed into the wheel rim and will be welded to that, although it is a very tight fit in there at the moment. I pressed it in.
With the correct placement of the jaw coupling on the axle, you'll push the wheel on, ensuring engagement into the spider gear and secure with a centre wheel nut. I'll need a little custom washer on the outside of the wheel to ensure the wheel remains central (although the jaw coupling will probably keep it pretty square).
I stripped out the wiring loom from the mobility scooter and labeled up a few things.
Electronics are not my forte, so I'll probably call on my brother for help with the next bit.
The original scooter had rocker lever that you pushed in one direction for forwards and the other way for reverse. There was also a seperate twist knob for controlling overall speed.
I would like to retain the twist knob for overall speed, depending on who is using it, but have a single accelerator peddle for the 'throttle' and a toggle switch for forward or reverse. How hard can it be? I'm sure they'll figure it out. Ha.
Hi Jon,
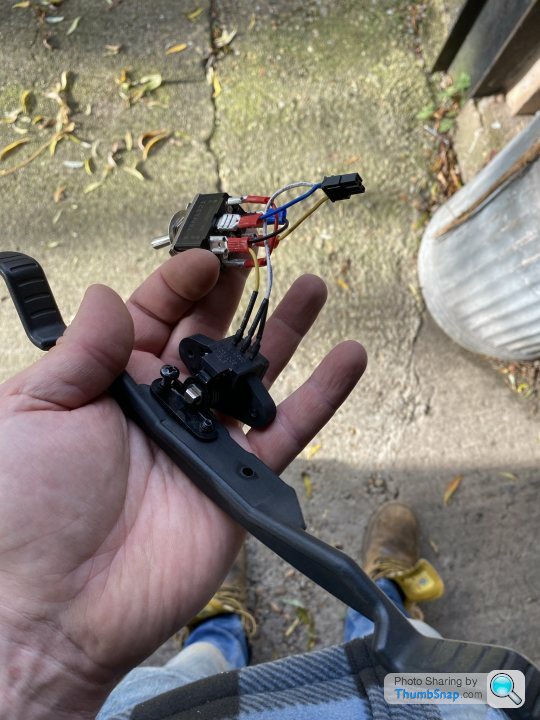
It's not too bad to do, you need a double pole double throw (DPDT) switch, something like:
https://www.ebay.co.uk/itm/283265171586
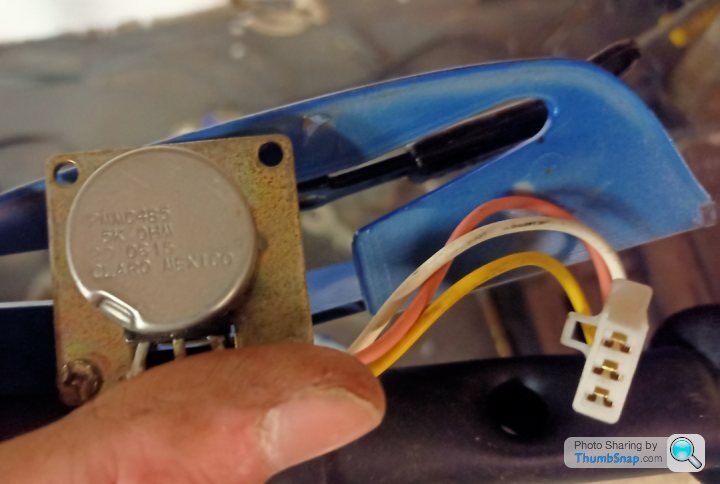
On the wig-wag (control lever) potentiometer you will have two ends of the resistor which measure 5k ohm resistance over them. You will also have a wiper which measures ~2.5k ohm relative to either of the other connections when in middle position, this is probably the middle pin. When you move it one way the resistance will go to 5k ohm and the other way it will go to zero. Measuring the wiper to the opposite pin will have the same but opposite action.
If this is how it works you leave the wiper wire alone and put the DPDT in as a crossover between the two other wires, I can do a bit of a diagram if needed.
This means the switch will now reverse the action of the wig wag, you can then mount so that one half is used as a pedal, will get some more pics of mine.
It's not too bad to do, you need a double pole double throw (DPDT) switch, something like:
https://www.ebay.co.uk/itm/283265171586
On the wig-wag (control lever) potentiometer you will have two ends of the resistor which measure 5k ohm resistance over them. You will also have a wiper which measures ~2.5k ohm relative to either of the other connections when in middle position, this is probably the middle pin. When you move it one way the resistance will go to 5k ohm and the other way it will go to zero. Measuring the wiper to the opposite pin will have the same but opposite action.
If this is how it works you leave the wiper wire alone and put the DPDT in as a crossover between the two other wires, I can do a bit of a diagram if needed.
This means the switch will now reverse the action of the wig wag, you can then mount so that one half is used as a pedal, will get some more pics of mine.
Jon_Bmw said:
More good work, well done. However there might be a few potential problems (although you may have thought of all this already!)1-That drive sprocket looks very close to the size of your wheels. Have you had it on the floor yet, added the weight of kids/passengers/batteries/final components, factored in the compression of the tyres and seen how much clearance you have under the sprocket?
2-Not sure what OD your rear axle is, and it's hard to guess the measurements having nothing to scale it to, but it looks like there's quite a lot of unsupported axle there, the bit between the axle bearing and the wheel. If it bends you are going to have trouble, and any flex at all might throw the chain off the sprocket.
3-Also, how are you going to adjust the chain tension? Will the motor move backwards and forwards at all, or are you going to employ some kind of chain tensioner as seen on car timing chains?
Cobain, many thanks as always and it'll probably make more sense when I'm looking at the wiring again. I will probably buy the switch and then get my brother over for a tactical beer or 5 in the garage. Ha.
HD;
Yes, it'll be ok.
20mm solid, I will suck it and see, although I think it will be fine, and it's not too hard to add another pillar bearing like previously eluded to, albeit for slightly different reasons.
As previously mentioned, the motor mount is oversized, allowing for adjustment in X and Y.
I'm sure more dramas will occur along the way! Part of the fun....I think
Nice Cobain, Have you got sheet metal rollers at your work? I'm still debating if I could create a folded return on a bonnet panel. The two leading edges in the front corners will probably make it a pipe dream.
Thanks Jenny, I think we will have to wait to see if its epic, more of a journey into the unknown!
Last night I cut the chain to length, welded the motor mount in and got it roughly in position. I haven't welded or cross drilled the sprocket to the axle just yet. I jury rigged up the motor, battery pack and controller etc. First pull and push of the wig wam got it spinning in both directions nicely! I've yet to do the switch mod, I don't want to get carried away with progress. Small milestone ticked off.
I also mounted the seat uprights and made sure there is just enough room for my size 10s in between the seat upright and bulkhead. We can't let the kids have all the fun...
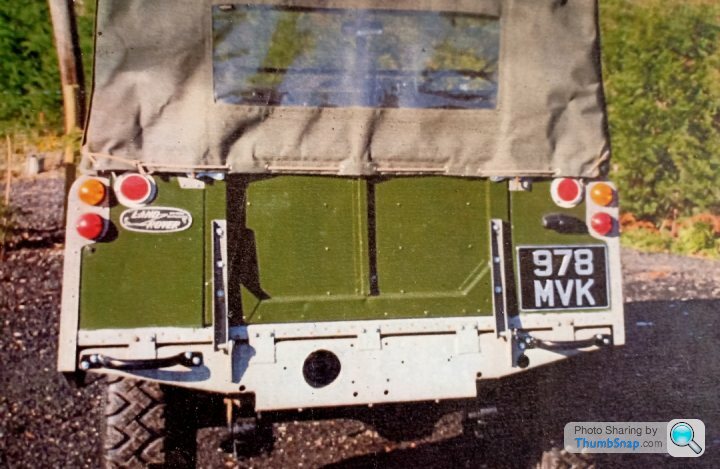
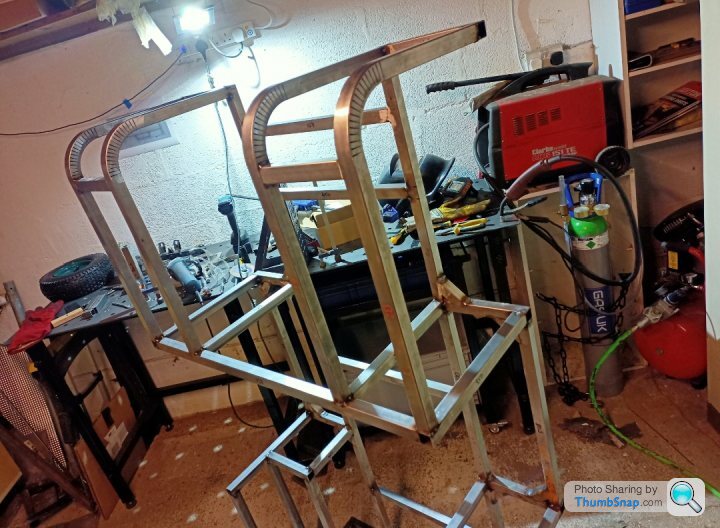
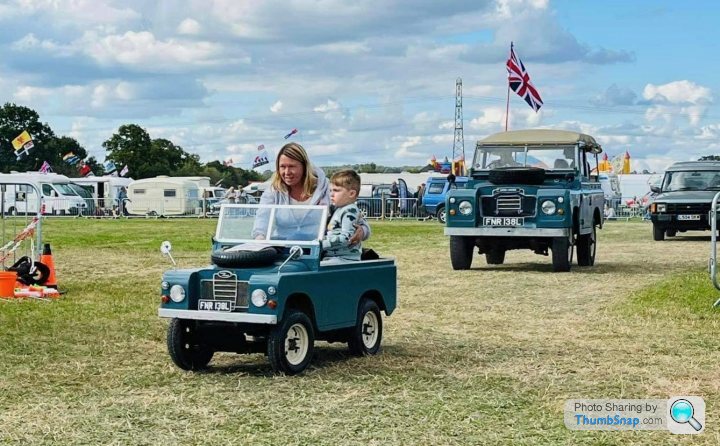
Aiming for this, whilst starting with nothing;
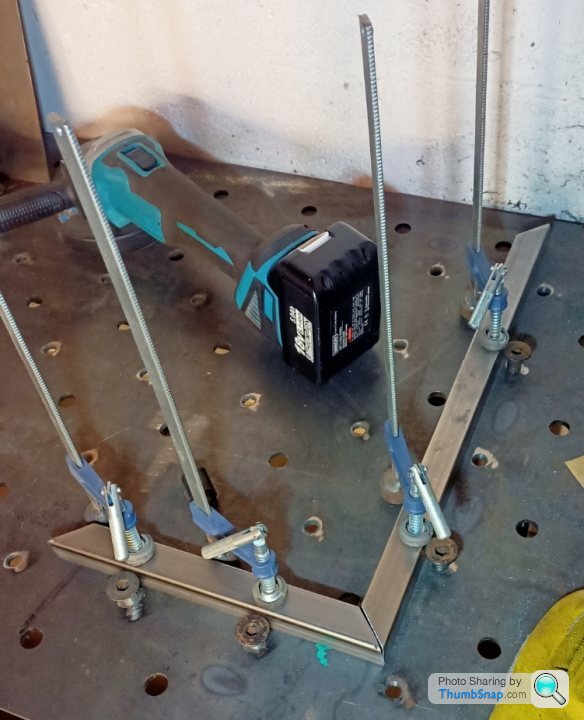
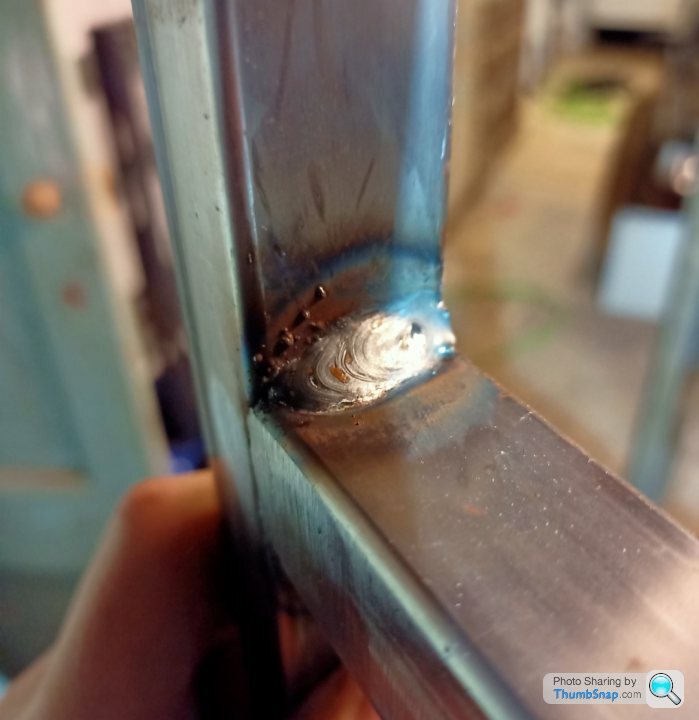
Cut some bad 45s using a 4.5" grinder and assemble.
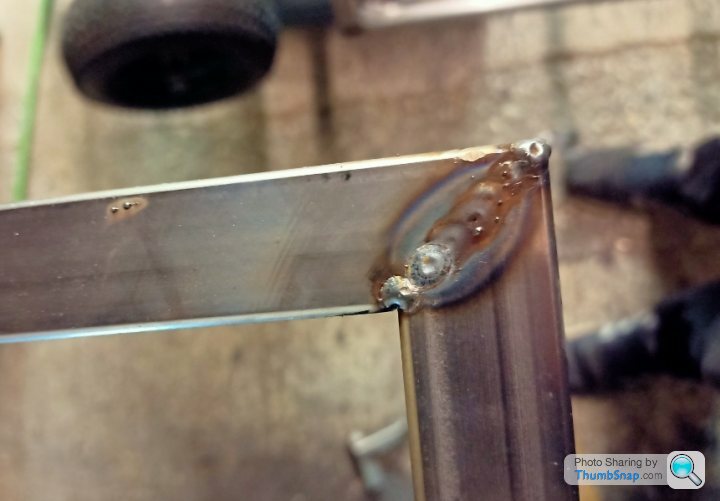
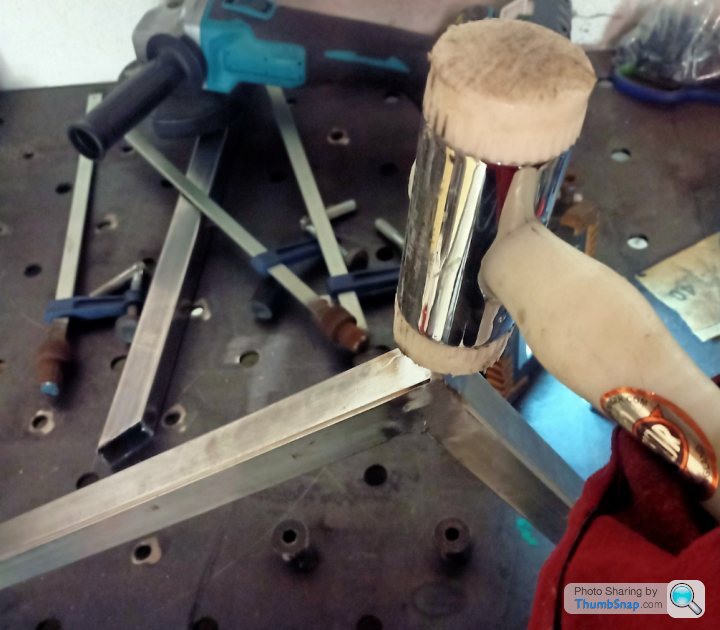
Make untidy weld, tidy;
Due to shrinkage and aforementioned bad 45s adjust angles;
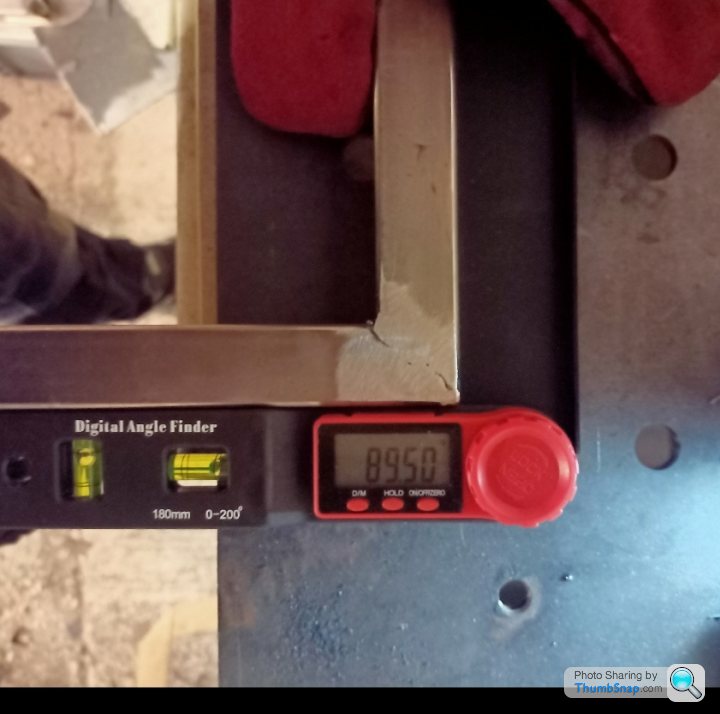
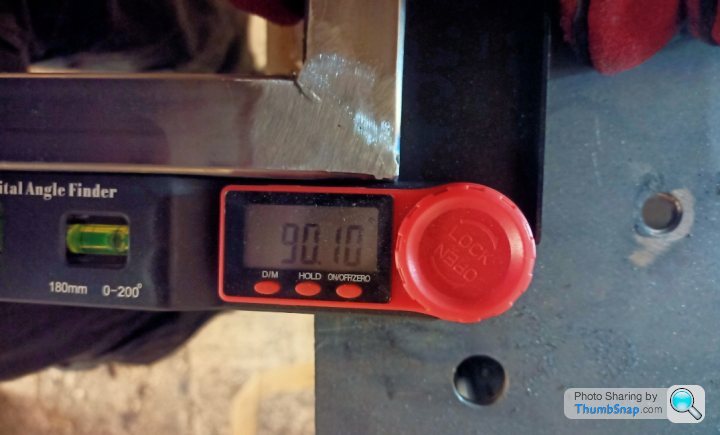
Ensure plastic £7 angle finder for upmost precision.
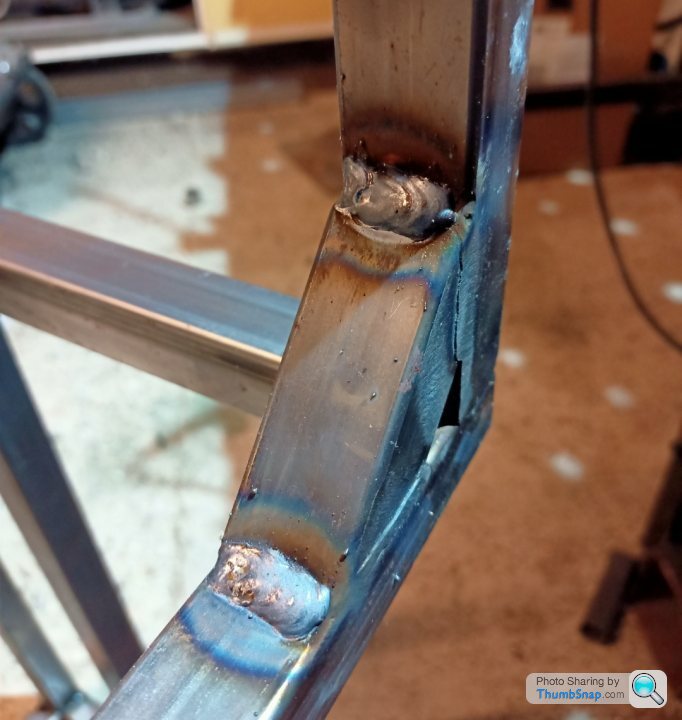
Made a box, surprisingly it still fits;

Make centre piece. Any normal person would have stuck some more box section in there, but is slightly too wide compared to the sides, and cutting to the chase I was low on box section.
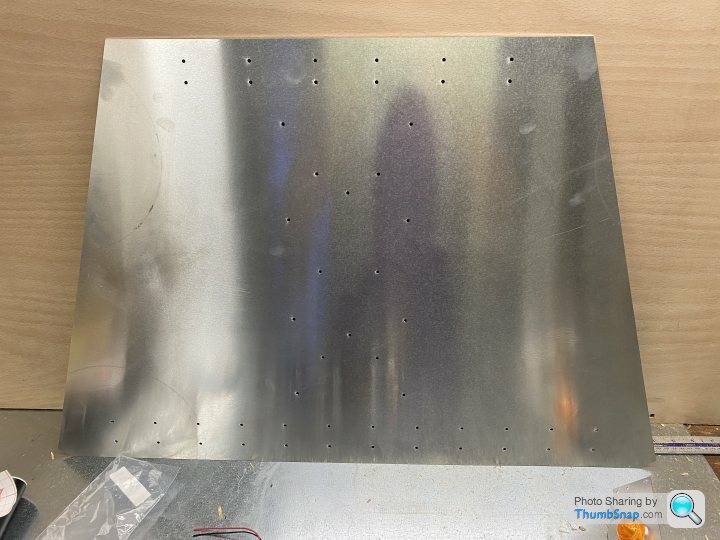
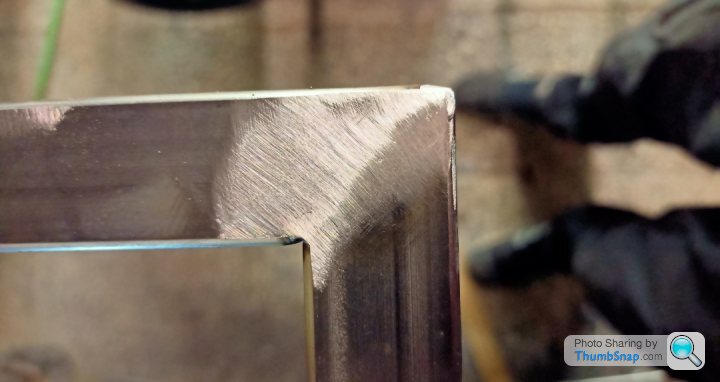
Alas, 45 minutes later, we go from flat sheet to something vaguely like the original;
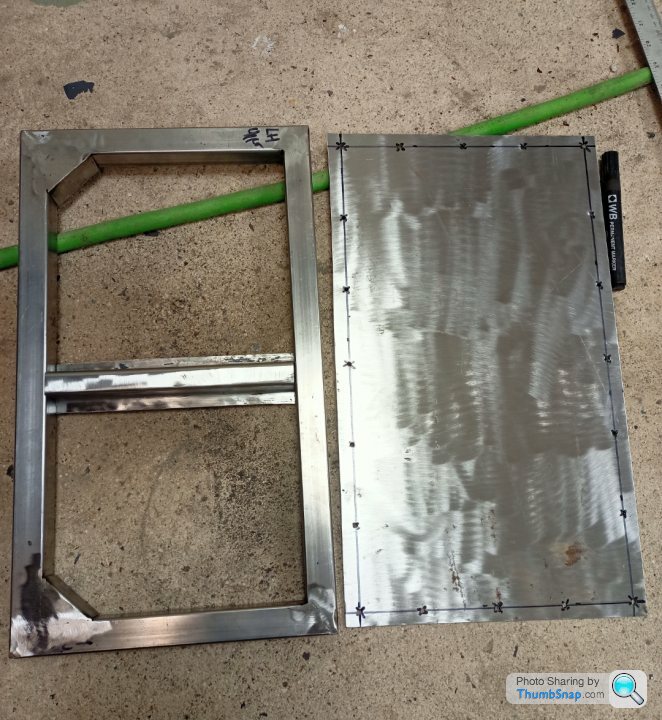
Also you can see triangular pieces in there and the panel has been cut slightly bigger than required and drilled (4mm) ready for some spot welds.
Plug Weld (badly);

I've done a thing!
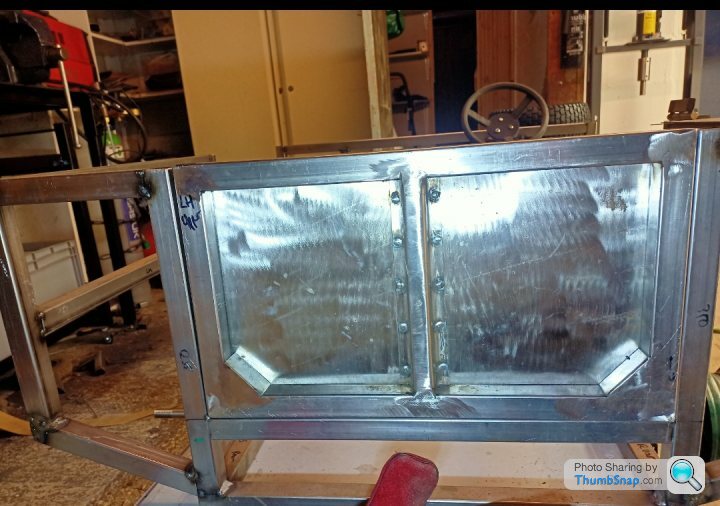
That was 5 hours work, although with the right tools and equipment (chop saw, box pan folder, skilled operator) it's probably 2.
Best get to bed really.
Cut some bad 45s using a 4.5" grinder and assemble.
Make untidy weld, tidy;
Due to shrinkage and aforementioned bad 45s adjust angles;
Ensure plastic £7 angle finder for upmost precision.
Made a box, surprisingly it still fits;
Make centre piece. Any normal person would have stuck some more box section in there, but is slightly too wide compared to the sides, and cutting to the chase I was low on box section.
Alas, 45 minutes later, we go from flat sheet to something vaguely like the original;
Also you can see triangular pieces in there and the panel has been cut slightly bigger than required and drilled (4mm) ready for some spot welds.
Plug Weld (badly);
I've done a thing!
That was 5 hours work, although with the right tools and equipment (chop saw, box pan folder, skilled operator) it's probably 2.
Best get to bed really.
I did a little bit more in the garage last night and a bit at the end of work today. I slotted the motor mount to get a bit more tension in the chain. Lovely.
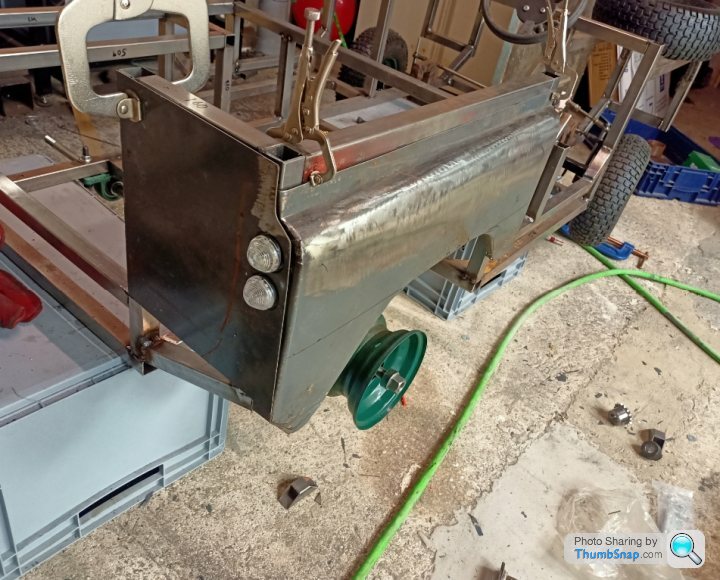
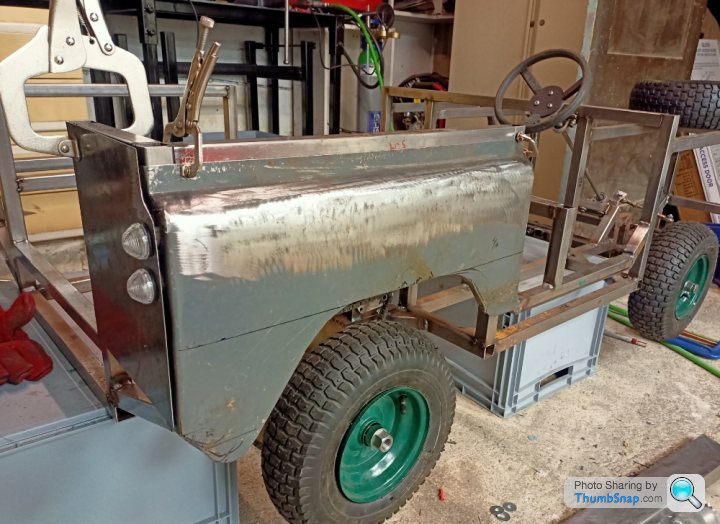
I trimmed the bottom end of the quarter panel where it joins the B pillar so it matches the door and I made a start on the rear light panels.
I had to notch the chassis upright to get the indicator and tail lamps in place. Drill + burr tool gets the job done on 1.2 box section quick.
In the photo none of the panels are clamped properly. As you'll notice the trimming doesn't match the quarter panel well and that's because there will be an aluminium cover plate that covers that whole area. Or at least, that is my excuse!
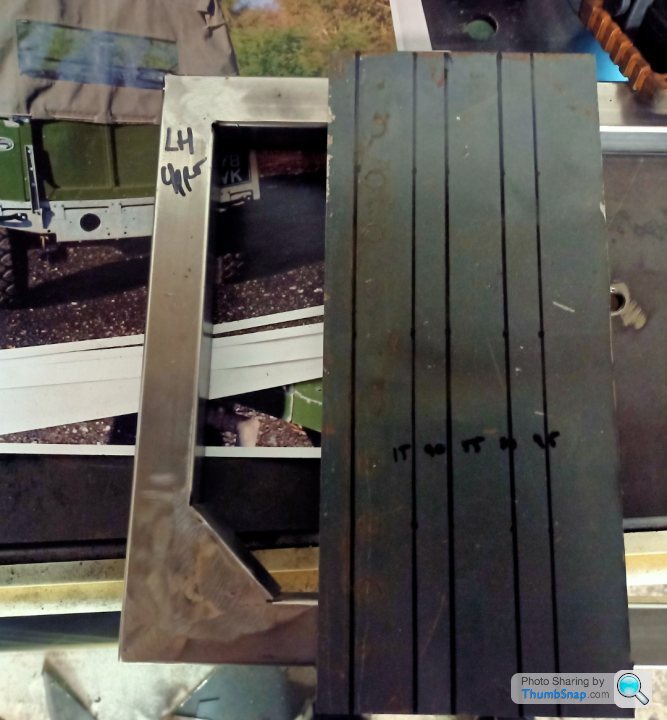
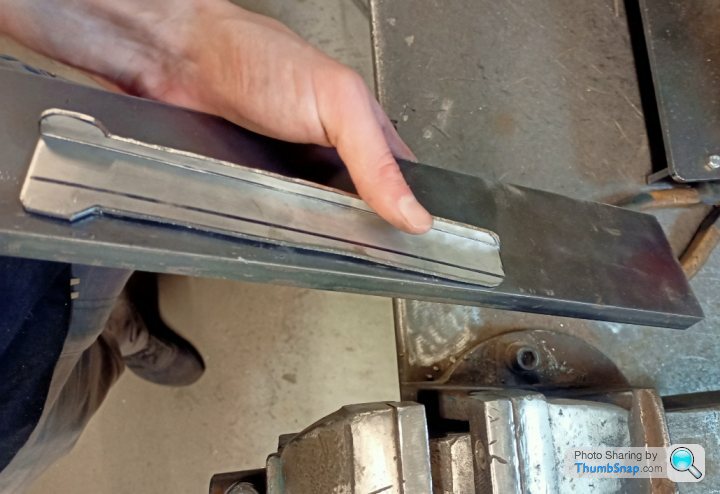
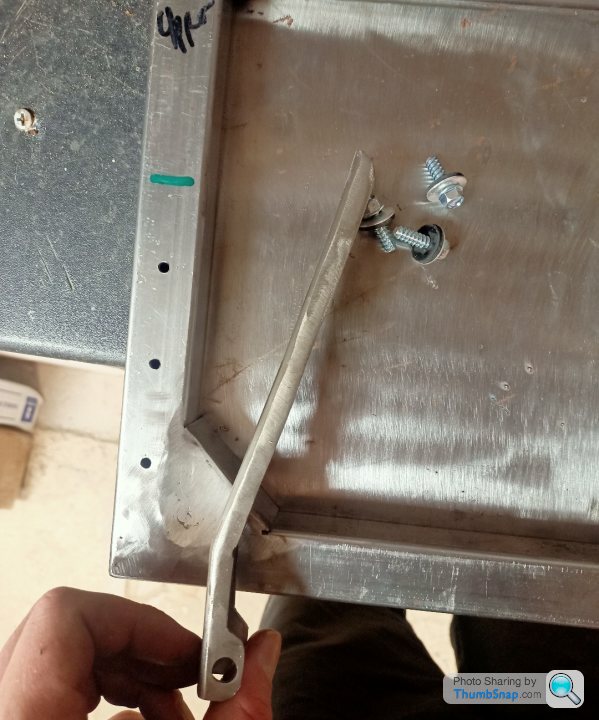
I thought a nice Friday afternoon job once I'd knocked off would be to quickly make up some rear hinges. I'd spotted a bit of 2mm stainless that would do the trick.
What we are trying to make;

Template, Bandsaw, linish, box pan fold, drill hole, weld 8mm pin in
This should be easy, I'm at work and have some clobber to use...oh no, it's not that easy.
As it's 2mm thick and stainless and the return edge was very small (6mm) it wouldn't have it on the folder. It kept slipping out and not folding across its whole length. With a decent press brake it would be fine but we don't have one. We do have a hammer and a vice though.
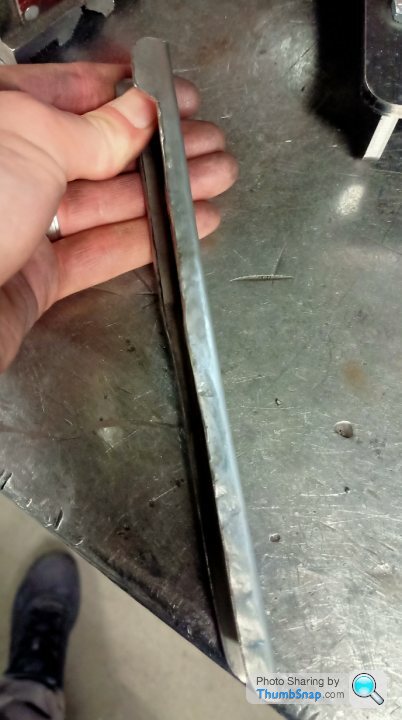
Piece of plate to beat the return on, vice to hold it all.
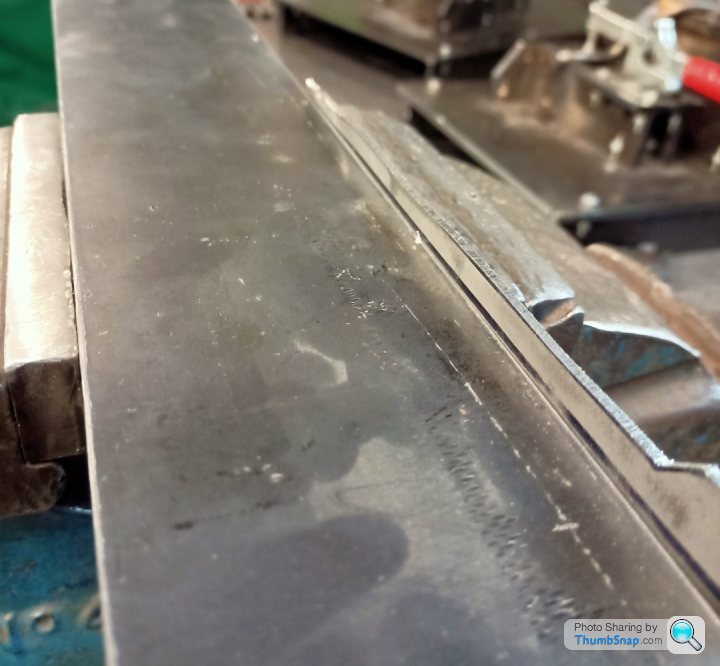
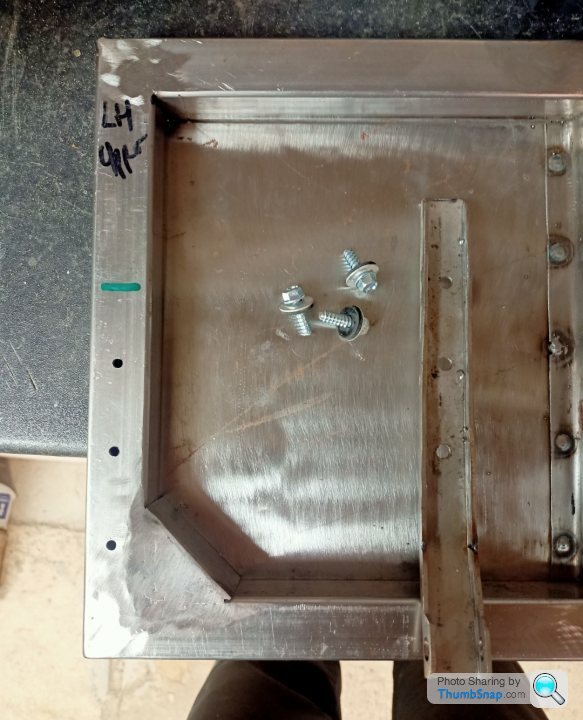
Quarter of the job done:
Stainless is pretty forgiving to butchery with a hammer but obviously it marks the face. You have to hit it quite hard as it's 2mm and in a very small area. Hammer marks are the order of the day;
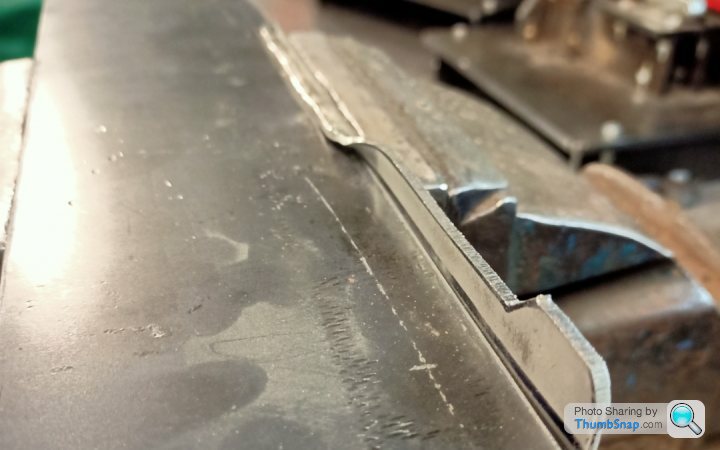
Take one grinder and you can see the 50/50 shot below:
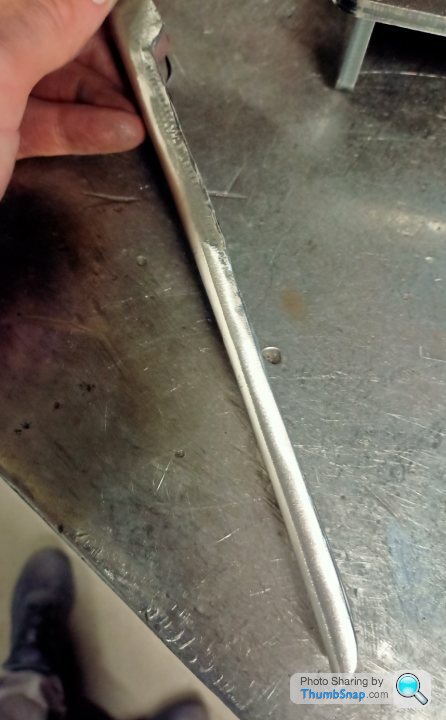
With very basic tools (vice, odd bits of metal, hammer, grinder) you can make quite a lot with metal without much skill. Just be more brutal than you think and it'll be alright! The beauty of 304 stainless on this part is that it won't need to be painted and will look right against the body coloured panels.
Jobs left, drill hole, insert 8mm bar, Tig weld.
I also need to put a little bend in it to get the pivot point away from the chassis so it opens properly. I'll nick a little cut in the return with a grinder, bend it on a v block and Tig weld the cut up. Simple!
I trimmed the bottom end of the quarter panel where it joins the B pillar so it matches the door and I made a start on the rear light panels.
I had to notch the chassis upright to get the indicator and tail lamps in place. Drill + burr tool gets the job done on 1.2 box section quick.
In the photo none of the panels are clamped properly. As you'll notice the trimming doesn't match the quarter panel well and that's because there will be an aluminium cover plate that covers that whole area. Or at least, that is my excuse!
I thought a nice Friday afternoon job once I'd knocked off would be to quickly make up some rear hinges. I'd spotted a bit of 2mm stainless that would do the trick.
What we are trying to make;
Template, Bandsaw, linish, box pan fold, drill hole, weld 8mm pin in
This should be easy, I'm at work and have some clobber to use...oh no, it's not that easy.
As it's 2mm thick and stainless and the return edge was very small (6mm) it wouldn't have it on the folder. It kept slipping out and not folding across its whole length. With a decent press brake it would be fine but we don't have one. We do have a hammer and a vice though.
Piece of plate to beat the return on, vice to hold it all.
Quarter of the job done:
Stainless is pretty forgiving to butchery with a hammer but obviously it marks the face. You have to hit it quite hard as it's 2mm and in a very small area. Hammer marks are the order of the day;
Take one grinder and you can see the 50/50 shot below:
With very basic tools (vice, odd bits of metal, hammer, grinder) you can make quite a lot with metal without much skill. Just be more brutal than you think and it'll be alright! The beauty of 304 stainless on this part is that it won't need to be painted and will look right against the body coloured panels.
Jobs left, drill hole, insert 8mm bar, Tig weld.
I also need to put a little bend in it to get the pivot point away from the chassis so it opens properly. I'll nick a little cut in the return with a grinder, bend it on a v block and Tig weld the cut up. Simple!
Jon_Bmw said:
Front wheel arch pieces tack welded on:
Look at the state of the workbench in the background. I must spend more time looking for the right tool than actually using it.
Welders look away now:
So many issues with my welding skills, but too little time to address them all. Obviously I photographed the best ones I did too! Any thoughts of a welding Instagram page might have to wait 10 years until I finally get it.
Next jobs:
- Chassis Bracing
- Front axle extending / Mounting
In the great words of you tuber diesel creek. "A grinder and paint makes me the welder I aint" lol. Your welding looks much better than mine.Look at the state of the workbench in the background. I must spend more time looking for the right tool than actually using it.
Welders look away now:
So many issues with my welding skills, but too little time to address them all. Obviously I photographed the best ones I did too! Any thoughts of a welding Instagram page might have to wait 10 years until I finally get it.
Next jobs:
- Chassis Bracing
- Front axle extending / Mounting
After another missed kids birthday, progress and motivation has been lacking!
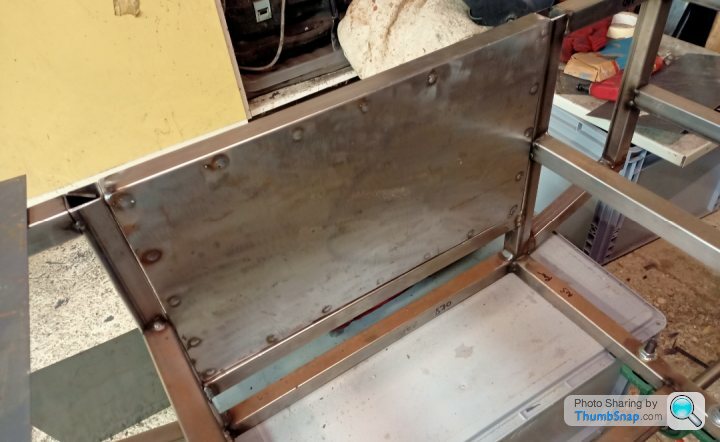
I decided to try and get the rear hatch mounted. I needed to finish off the U shaped brackets, make some hinge mounts and other stuff. Whim and a prayer job really.
Rear hatch brackets drilled for 8mm bar and Tek screws to give it a more authentic look. Obviously the Tek screws I had needed cutting down about 40mm. Why make like easy.
I needed a support piece for the chassis, then hand cut the chassis bracket out of 3mm MS. I welded two 8mm nuts together and drilled them out to 8.5mm, which is probably the most cheapskate way you will see of making a boss for the tailgate to hinge on. Cest la vie!
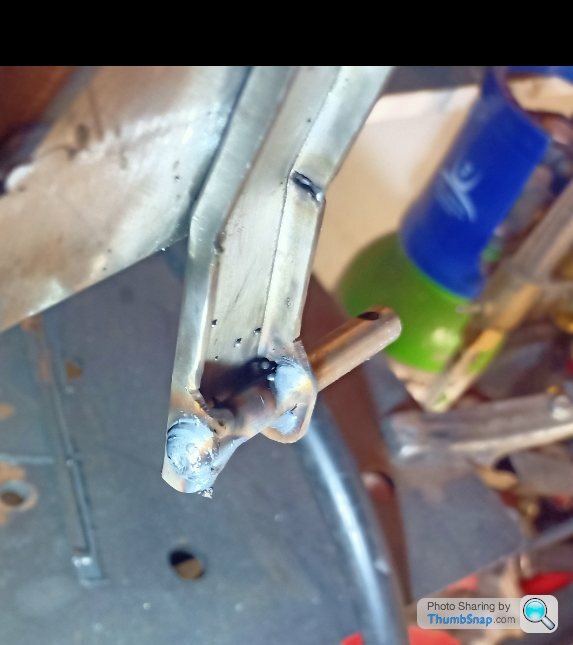
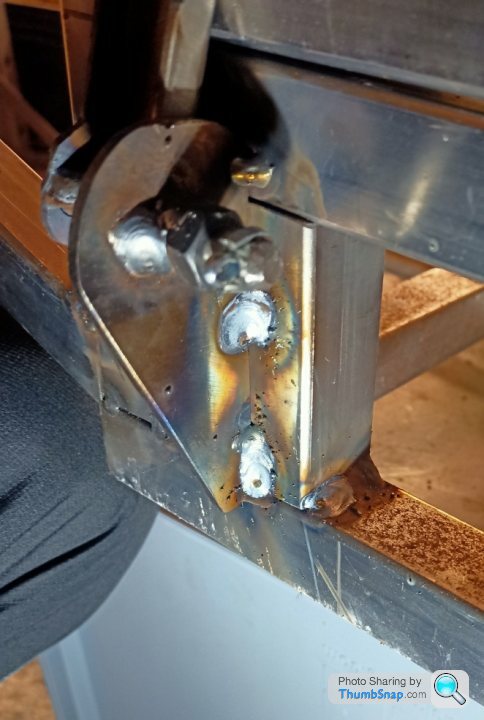
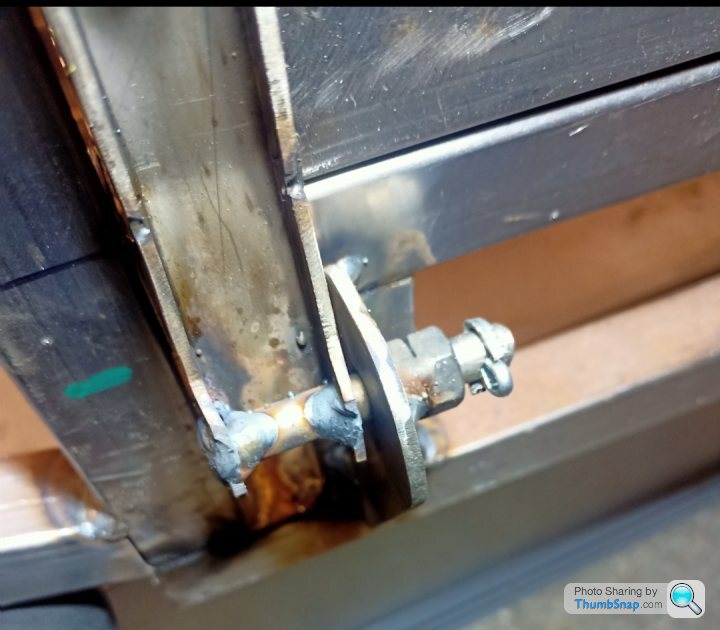
I think it's fairly obvious how it works and much like the original. The 8mm bar is welded to the tailgate hinge. It passes through my rough 8.5mm boss and is secured from falling out with the split pin. To fit or remove the tailgate, you open it up, remove split pins and slide out. Nice. I need to make some catches for the top but then that is done. What amazing progress.
Through more luck than judgement it will open all the way so that it's vertically down without hitting the floor. That should allow the kids to get in a lot easier when they are 17.
I decided to try and get the rear hatch mounted. I needed to finish off the U shaped brackets, make some hinge mounts and other stuff. Whim and a prayer job really.
Rear hatch brackets drilled for 8mm bar and Tek screws to give it a more authentic look. Obviously the Tek screws I had needed cutting down about 40mm. Why make like easy.
I needed a support piece for the chassis, then hand cut the chassis bracket out of 3mm MS. I welded two 8mm nuts together and drilled them out to 8.5mm, which is probably the most cheapskate way you will see of making a boss for the tailgate to hinge on. Cest la vie!
I think it's fairly obvious how it works and much like the original. The 8mm bar is welded to the tailgate hinge. It passes through my rough 8.5mm boss and is secured from falling out with the split pin. To fit or remove the tailgate, you open it up, remove split pins and slide out. Nice. I need to make some catches for the top but then that is done. What amazing progress.
Through more luck than judgement it will open all the way so that it's vertically down without hitting the floor. That should allow the kids to get in a lot easier when they are 17.
If I may hijack this excellent project thread briefly to ask about plywood Toylanders... has anyone used Paintman kits for their Toylander build?
I'm approaching the painting stage of mine, and wondered if anyone had any opinions about the kit they sell. Is it enough paint to do lots of coats? Do you wish you'd just bought all the bits individually instead? Thanks. Amazing work btw OP. I would never have the patience or ability for this!
I'm approaching the painting stage of mine, and wondered if anyone had any opinions about the kit they sell. Is it enough paint to do lots of coats? Do you wish you'd just bought all the bits individually instead? Thanks. Amazing work btw OP. I would never have the patience or ability for this!
Wow! Cant believe I have missed this thread!
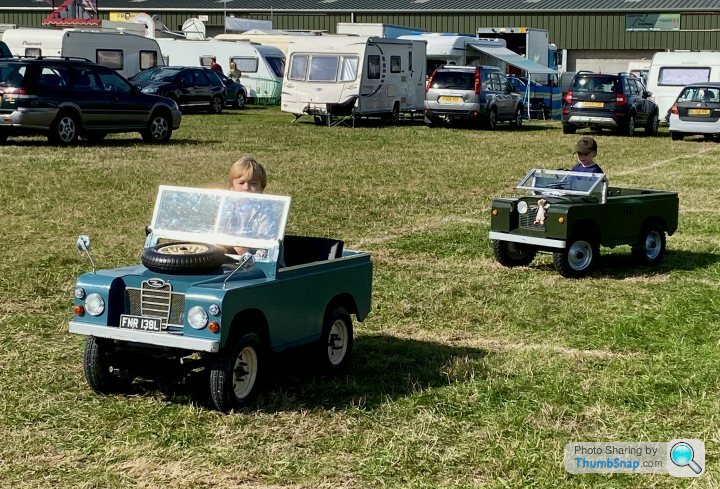
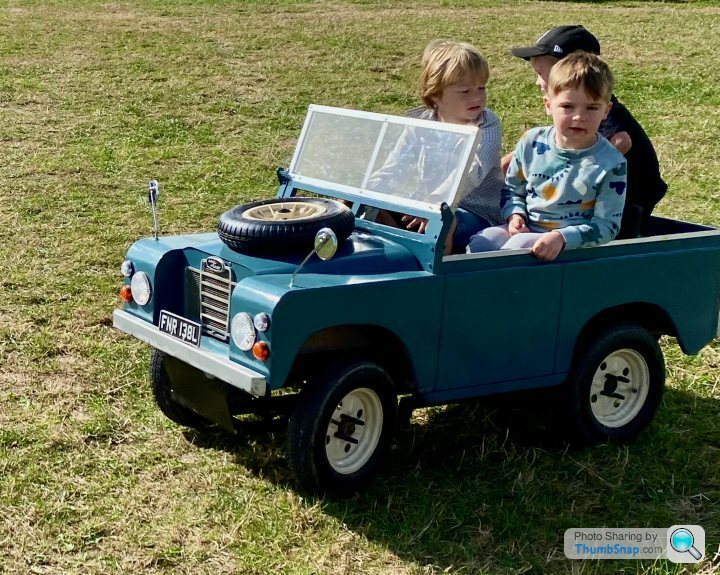
I bought a Toylander for my boys a few years ago and they still love it although it doesnt get as much use as it used to now they have an off road buggy to drive around. It means that I can not be so worried about any damage they cause to the Toylander when they're driving it!
I bought a Toylander for my boys a few years ago and they still love it although it doesnt get as much use as it used to now they have an off road buggy to drive around. It means that I can not be so worried about any damage they cause to the Toylander when they're driving it!
Edited by OFORBES on Monday 26th September 15:36
Gassing Station | Scale Models | Top of Page | What's New | My Stuff