Airfix 1:72 Vulcan B.2
Discussion


That's just the alamy copyright?! > https://images.app.goo.gl/ZpiSphjyhFCW14ZV9
dr_gn said:
MarkwG said:
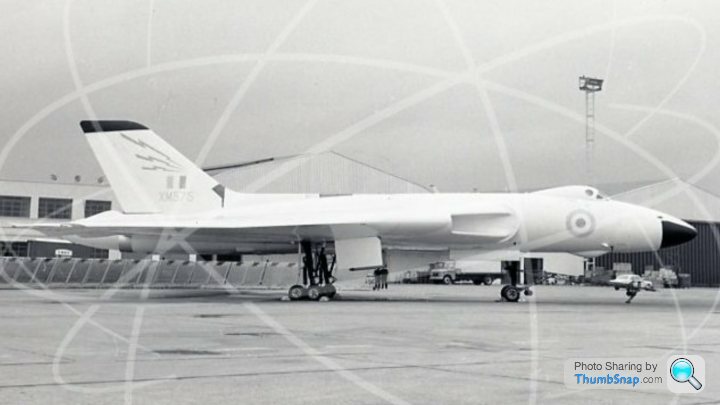
There's a photo on Alamy of XH558 showing it the other way up - can't link & post due copyright I suspect. Google Avro Vulcan XH558 tailplane close up
Can’t find any clear images of them other than in the “2” position, at least on the fin.spitfire-ian said:
dr_gn said:
MarkwG said:
There's a photo on Alamy of XH558 showing it the other way up - can't link & post due copyright I suspect. Google Avro Vulcan XH558 tailplane close up
Can’t find any clear images of them other than in the “2” position, at least on the fin.If you look at an image of the top of the fin, the markings are in the “2” orientation, with the bars horizontal, parallel to the top edge.
According to the official document here:
https://scottbouch.com/English-Electric-Lightning-...
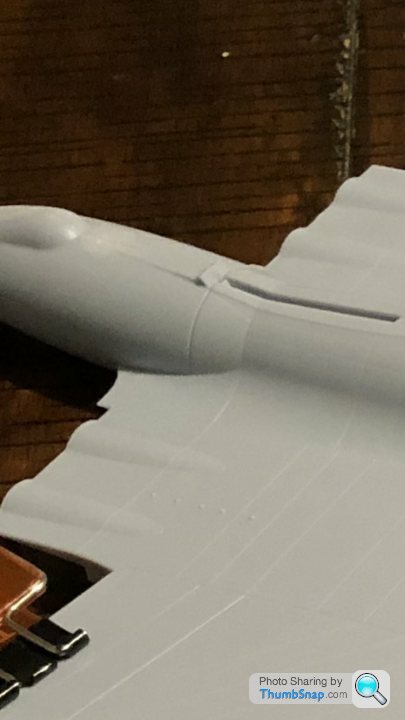
The “2” orientation is correct, and represents a hook on a bar. It probably doesn’t matter how they are orientated, it just shows what/where a hard point for lifting is, not how you’re supposed to lift whatever component it relates to.
https://scottbouch.com/English-Electric-Lightning-...
The “2” orientation is correct, and represents a hook on a bar. It probably doesn’t matter how they are orientated, it just shows what/where a hard point for lifting is, not how you’re supposed to lift whatever component it relates to.
dr_gn said:
According to the official document here:
https://scottbouch.com/English-Electric-Lightning-...
The “2” orientation is correct, and represents a hook on a bar. It probably doesn’t matter how they are orientated, it just shows what/where a hard point for lifting is, not how you’re supposed to lift whatever component it relates to.
You take out the blanking screw and fit whatever sling is designed for that component. Take the weight, then undo the last few bolts and then crane away whatever it is you're taking off.https://scottbouch.com/English-Electric-Lightning-...
The “2” orientation is correct, and represents a hook on a bar. It probably doesn’t matter how they are orientated, it just shows what/where a hard point for lifting is, not how you’re supposed to lift whatever component it relates to.
dr_gn said:
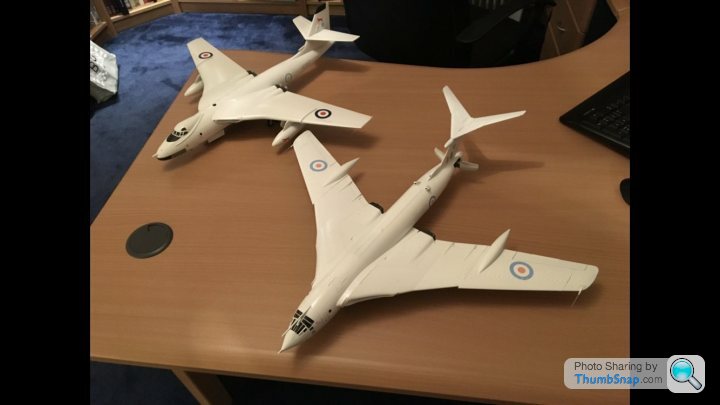
I’ve got some custom made cases for the F1 cars, paper ships and the larger aircraft, and the 1:72 aircraft are mostly in small cases I get from Amazon. They’re all dotted around my office:
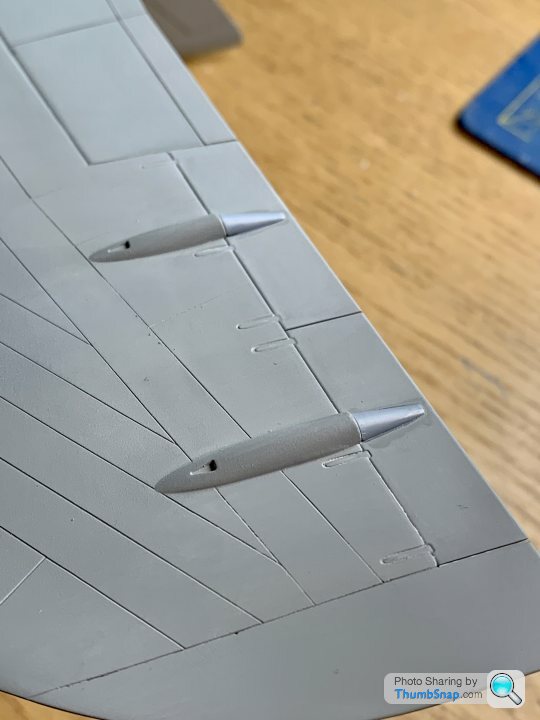
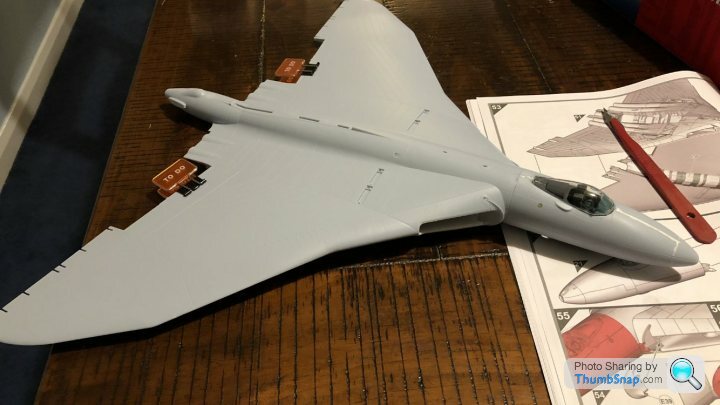
It’s nice to see some ‘old friends’ from your previous build threads there. How did I miss this one ?I want to get this thing off the bench asap so I can start on the Viggen. Added the outer control surface PFCU fairings:
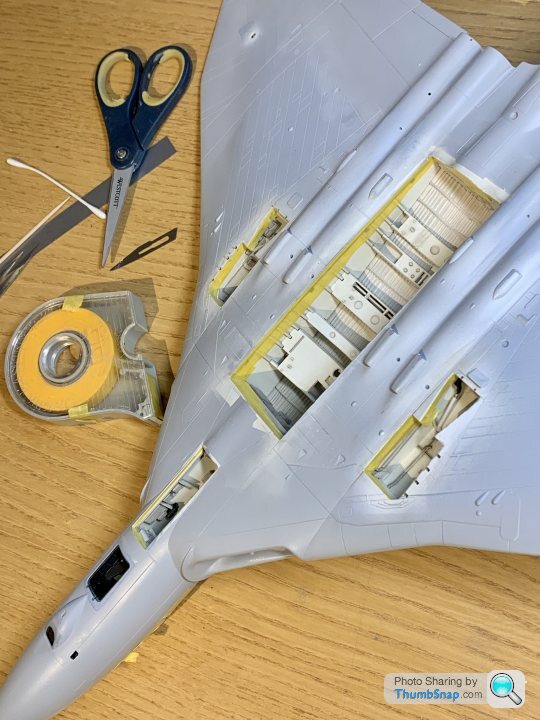
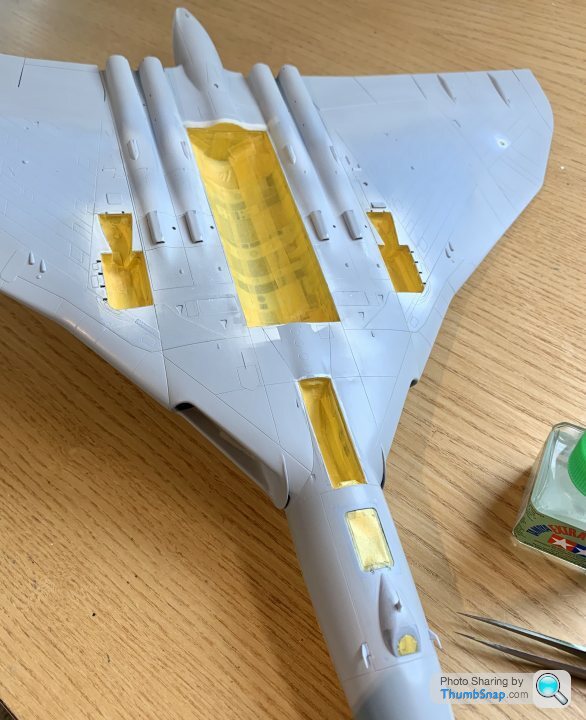
And began the task of masking the wheel wells, hatch and bomb bay:
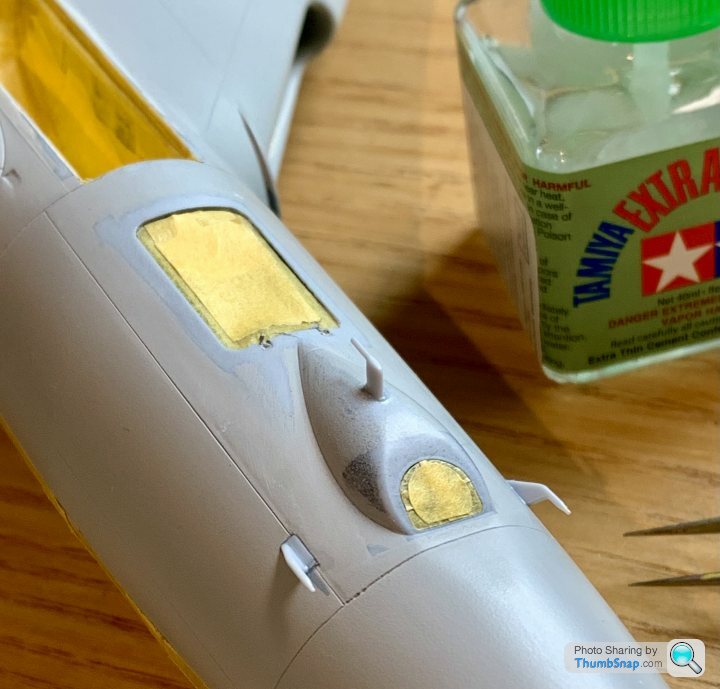
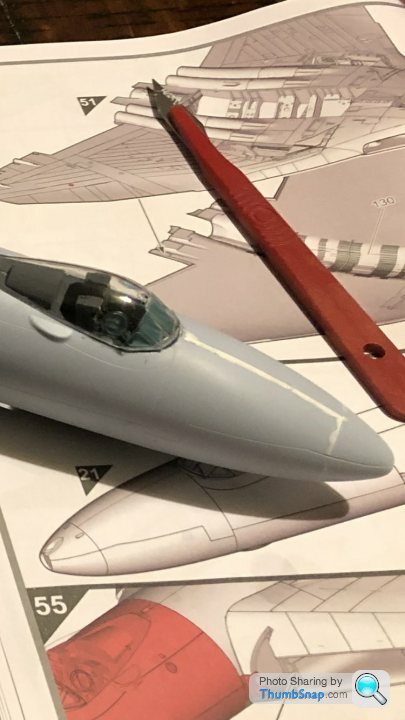
There has been a load of fettling, filling and re-fettling that I’ve not recorded since it’s a pretty dull task - every time the light catches it at another angle, more sink marks show themselves.
And began the task of masking the wheel wells, hatch and bomb bay:
There has been a load of fettling, filling and re-fettling that I’ve not recorded since it’s a pretty dull task - every time the light catches it at another angle, more sink marks show themselves.
Sometimes I just want to get a model done despite flaws inaccuracies etc. My 1/72 linx heli has no little fins on it's nose, my MAN 6x6 army lorry has no mirrors or steps. Your not building it for a museum and a hobby should be enjoyed. I do appreciate tho that you have standards you wish to achieve. The work you have done so far does look excellent tho!
Stick Legs said:
Just read the whole thread & admire your perseverance.
I’m building one right now & mine isn’t half as bad as this.
Hopefully the other 2 I have in the stash are from the same batch & are as good.
Skilful modelling.
Thanks, that’s good. Any chance you could post some pictures of your progress? I’m building one right now & mine isn’t half as bad as this.
Hopefully the other 2 I have in the stash are from the same batch & are as good.
Skilful modelling.
dr_gn said:
Thanks, that’s good. Any chance you could post some pictures of your progress?
I haven’t documented this build and am away from home right now, here is the only picture I have on my phone of it.As you can see the spine is filler free, the intake area needs some work where the nose section joins the intake & by the intake splitter but nothing horrible.
This is just ‘normal filler’ as opposed to spacing shimming & grinding.
Stick Legs said:
dr_gn said:
Thanks, that’s good. Any chance you could post some pictures of your progress?
I haven’t documented this build and am away from home right now, here is the only picture I have on my phone of it.As you can see the spine is filler free, the intake area needs some work where the nose section joins the intake & by the intake splitter but nothing horrible.
This is just ‘normal filler’ as opposed to spacing shimming & grinding.
Can you see any sink marks?
Thanks.

The thumbsnap image doesn’t zoom well.
Here are some screenshots of the zoomed original from my phone.
As you can see, some minor remedial work on the nose & eliminating the imaginary radome panel line.
No sink marks to bother me on top.
A couple on the wing fuselage joint at the rear underside which were an easy fill.
Thanks. The Victor and Valliant look excellent. Will make a nice trip.
I can see you had plenty of fun and games with the fit of the nose halves, and the nose-fuselage join is also similar to mine, but perhaps without the 1mm step side to side?
I can see sink marks all around the splitter insert too - which itself looks like as poor a fit as mine was. Also around the forward fuselage antenna - same as mine.
Anyway, good luck with it!
Gassing Station | Scale Models | Top of Page | What's New | My Stuff