Airfix 1:72 Vulcan B.2
Discussion


Thanks.
Looking at your splitters mine will need a lot of work to get that sharp. But the sink marks should disappear under putty.
I do invoke the fun/accuracy algorithm from time to time to see if pursuing accuracy will spoil the fun.
I know that’s not everyone’s approach but I model to relieve stress not cause it!
For reference the Victor is a far superior kit in fit & mould quality.
I don’t know what it is about the Vulcan shape that causes so many issues?
Probably it’s the fact that achieving the organic flowing curves results in thicker plastic in places.
Stick Legs said:
Thanks.
Looking at your splitters mine will need a lot of work to get that sharp. But the sink marks should disappear under putty.
I do invoke the fun/accuracy algorithm from time to time to see if pursuing accuracy will spoil the fun.
I know that’s not everyone’s approach but I model to relieve stress not cause it!
For reference the Victor is a far superior kit in fit & mould quality.
I don’t know what it is about the Vulcan shape that causes so many issues?
Probably it’s the fact that achieving the organic flowing curves results in thicker plastic in places.
The trouble with filling sink marks - especially on compound curves - is flatting them back without flatting right back to the original sink. I've just put a coat of white primer on the undersides, which has reveled a load of new marks. I'm out of motivation now, so will leave them (despite it being against my modelling rules!).Looking at your splitters mine will need a lot of work to get that sharp. But the sink marks should disappear under putty.
I do invoke the fun/accuracy algorithm from time to time to see if pursuing accuracy will spoil the fun.
I know that’s not everyone’s approach but I model to relieve stress not cause it!
For reference the Victor is a far superior kit in fit & mould quality.
I don’t know what it is about the Vulcan shape that causes so many issues?
Probably it’s the fact that achieving the organic flowing curves results in thicker plastic in places.
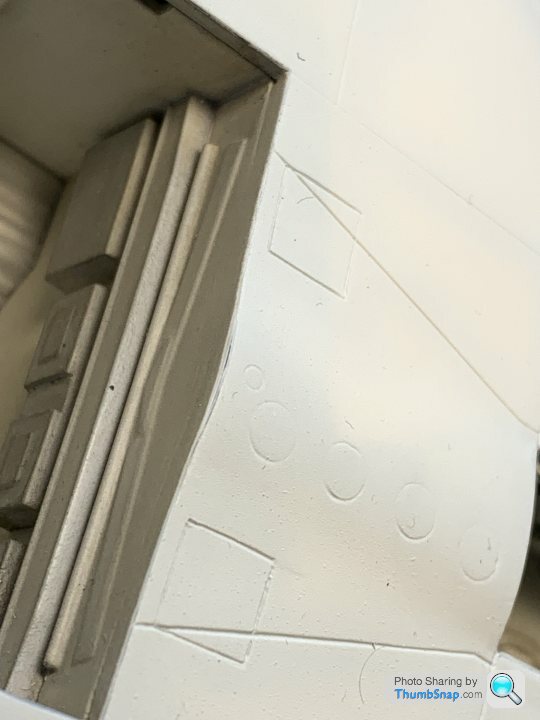
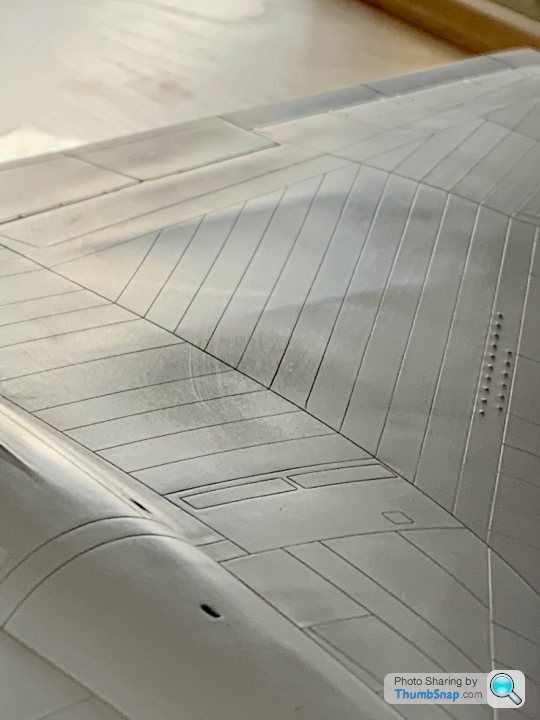
I think it's partly the size of the wing mouldings that cause the issues. If you hold them up to the light you can see how the plastic has flowed into the mould, and the correspponding sink marks. Then again the small outer elevons are also covered in sink marks, so it's probably also to do with injection pressure and cooling time. Whatever, it's probably the worst kit I've had in the last 15 years in terms of fit and part quality (plus the first canopy was scrap).
dr_gn said:
4321go said:
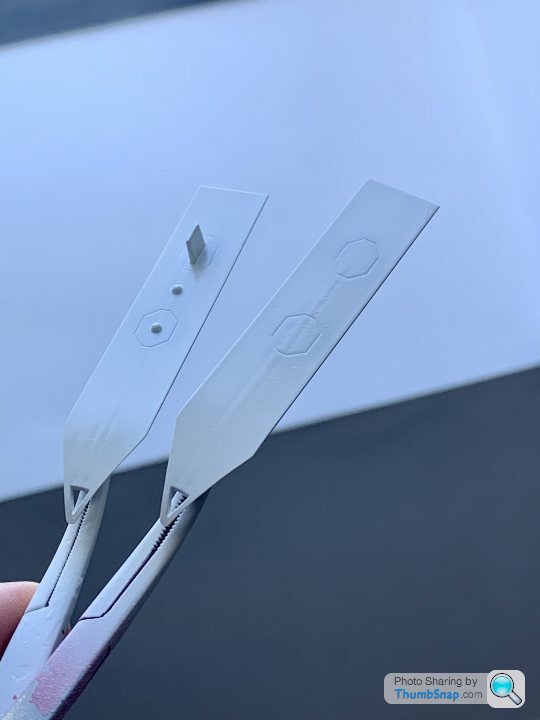
If you’ve applied them as “2”s, then you’ve put them on upside-down. They’re “hooks”, denoting a hoisting point.
Not according to my XH558 reference images - they resemble the number 2, same as the kit’s box art: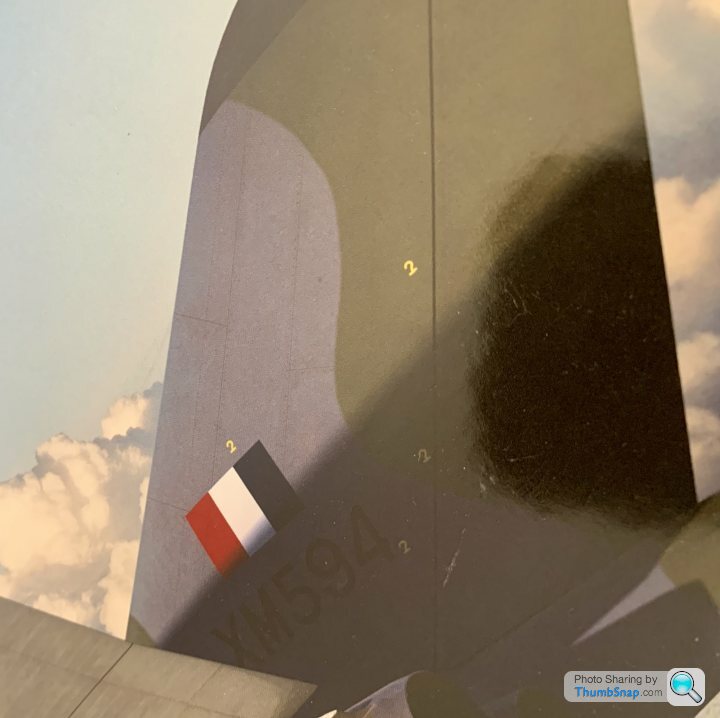

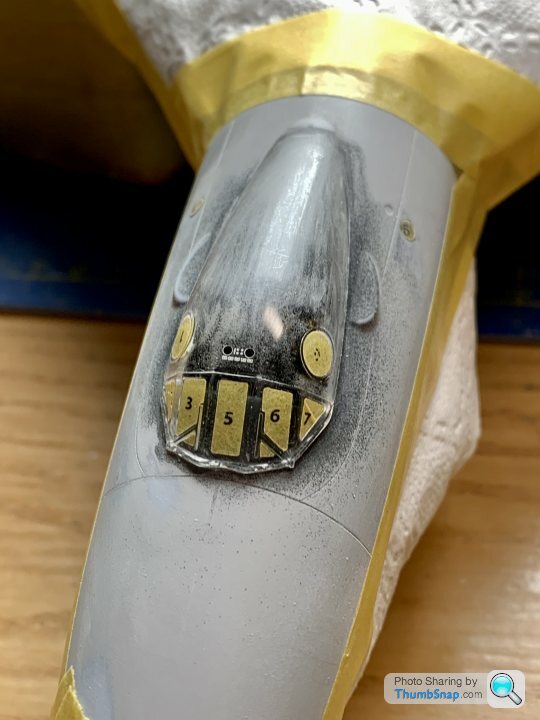
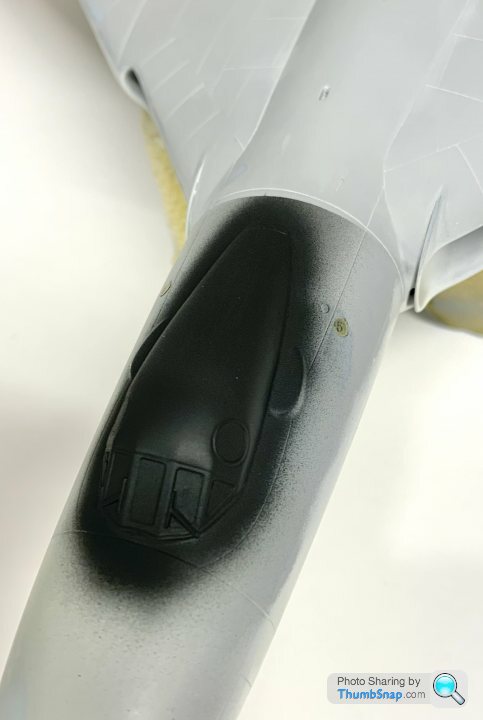
Initial pre-shading done with grey:

Then gradually overcoated with off-white:
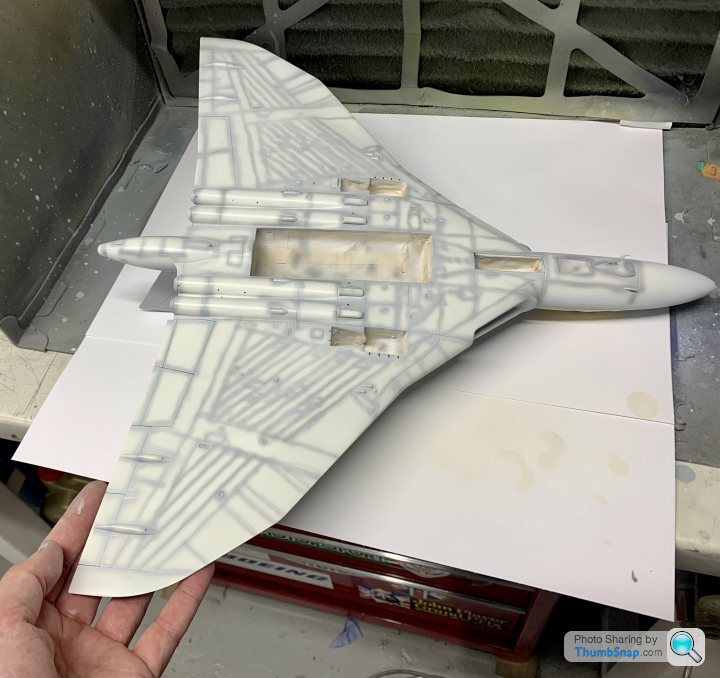
Until it’s barely visible - just something take the expanse of pure solid white away.
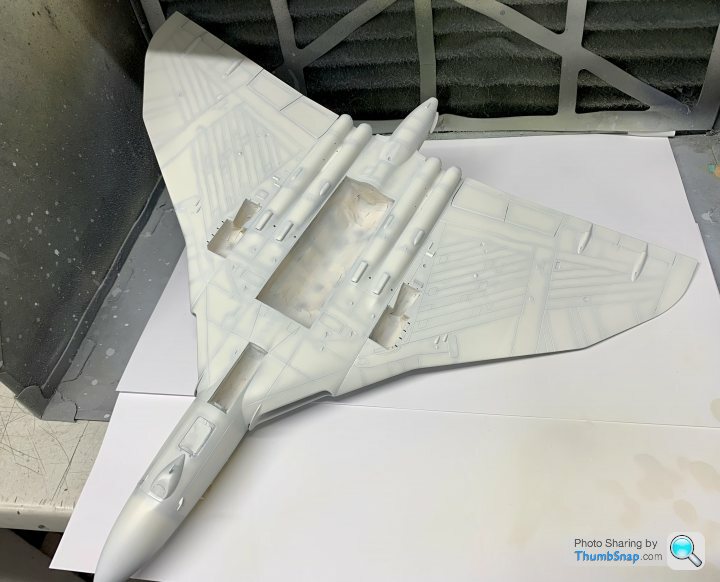
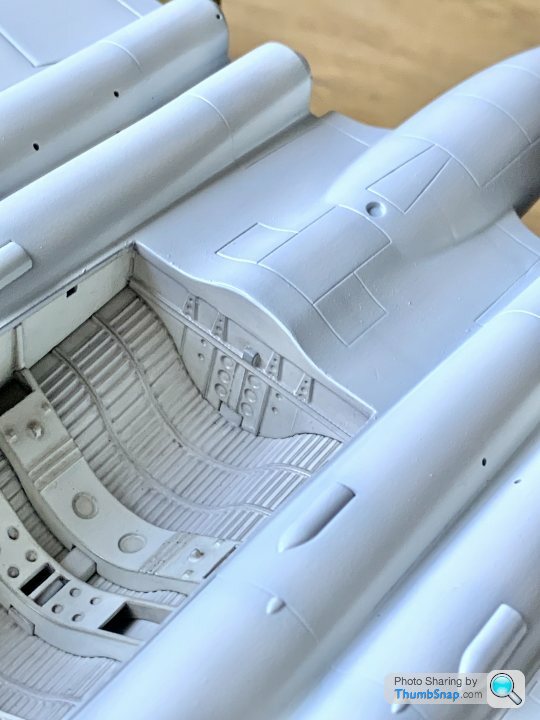
It then needs over coating with Klear to protect it for masking and upper surface camo. Ultimately it will get progressively darker with a panel line wash and various bits of weathering. I don’t want it to look filthy, but somewhat cleaner than the bomb bay and wheel wells.
Then gradually overcoated with off-white:
Until it’s barely visible - just something take the expanse of pure solid white away.
It then needs over coating with Klear to protect it for masking and upper surface camo. Ultimately it will get progressively darker with a panel line wash and various bits of weathering. I don’t want it to look filthy, but somewhat cleaner than the bomb bay and wheel wells.
Ayahuasca said:
Re the canopy: the kit is clear plastic, are you going to paint over it? Was the real thing painted Perspex, or solid? If solid, why is the kit clear plastic ?
It was in two parts on the real aircraft - windscreen and rear fairing which was jettisoned in the case of an ejection or for maintenance. I suppose the kit is like this so that there are no joins, and you just mask the windscreen parts. Having said that, the design is poor because the clear part locates against a solid plastic hump at the rear, the joint line needs filling, and it's also difficult to get a consistent radius around the base of the part. It would have been better if the part was the entire fairing and windscreen, which would have eliminated any filling.

Shamed into action by Taita, I did a bit today.
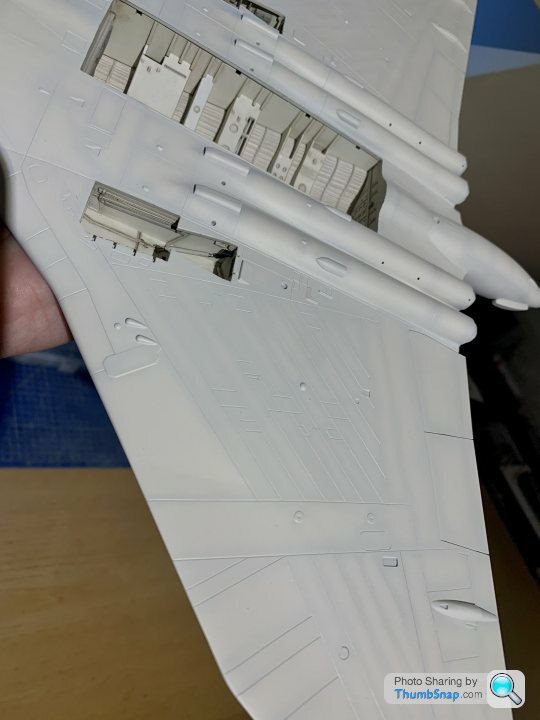
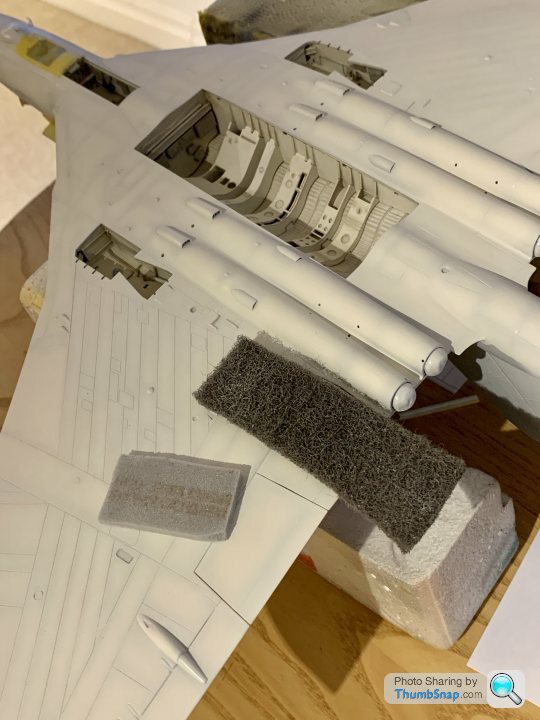
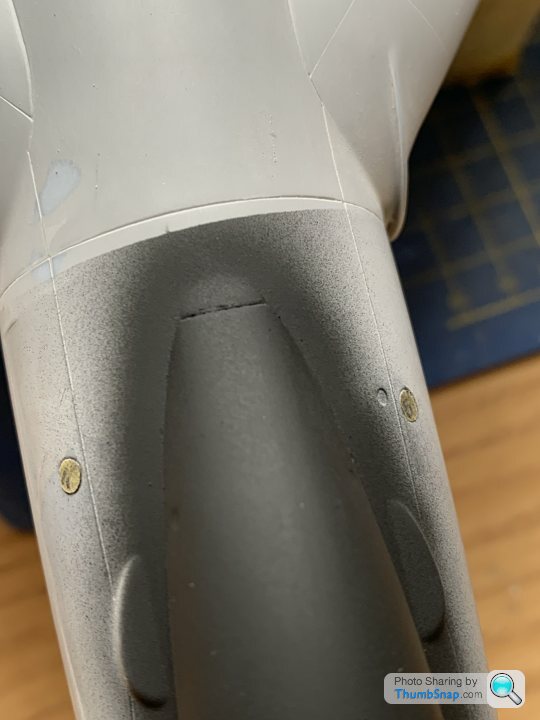
When I removed the masking for the bomb bay/wheel wells, there was a bit of a raggedness to the edges. After flatting them back a bit, I rubbed through the paint in some areas:
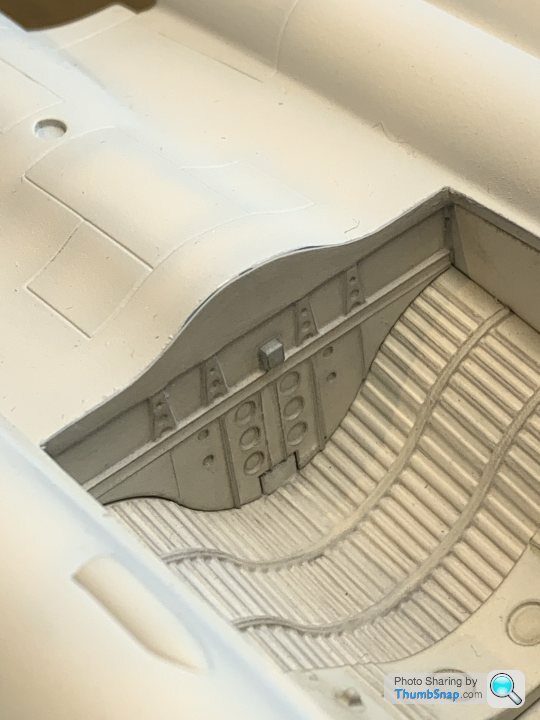
So did a bit of local masking and corrective airbrushing:
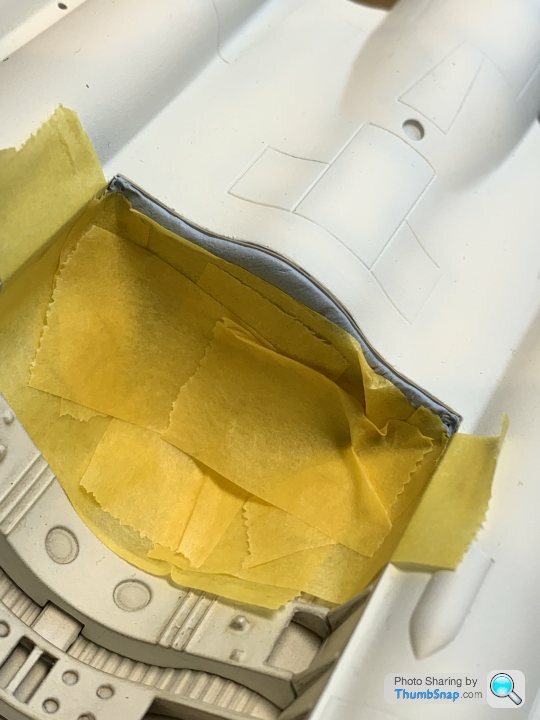
Than an overall few protective coats of Klear ready for upper camo masking:
When I removed the masking for the bomb bay/wheel wells, there was a bit of a raggedness to the edges. After flatting them back a bit, I rubbed through the paint in some areas:
So did a bit of local masking and corrective airbrushing:
Than an overall few protective coats of Klear ready for upper camo masking:
davidexige said:
Thanks for the update, I've enjoyed seeing your progress through both the ups and downs.
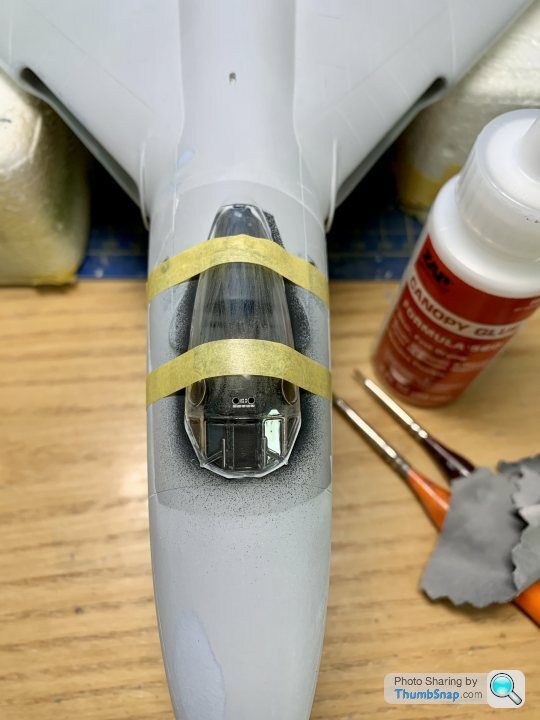
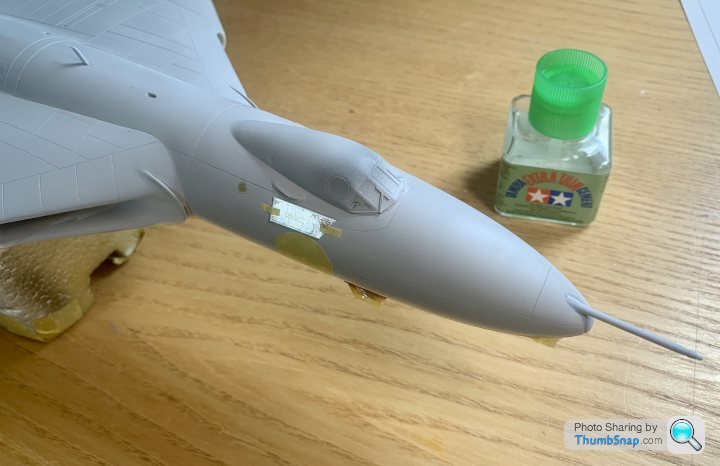
No problem. Here’s another down - primed and pre-shaded the antenna plates that fit between the engines. More horrible sink marks showed up:Edited by davidexige on Sunday 10th July 15:53
So more time to spend stripping, filling and re-painting.
Turns out that I applied too much Klear, and got some pooling and running. I’m obviously out of practice. In addition, as sometimes happens with fast drying acrylics, I also ended up with a surface finish in places like sandpaper. The hot weather doesn’t help with that. Luckily Tamiya abrasive pads came to the rescue and it all flatted back nicely. It’ll need another coat of Klear, but next time I’ll go a bit easier on it.
It’s actually a good learning experience - I now know I can flat and smooth Klear if necessary. It doesn’t seem to set particularly hard, so I assumed it would turn into a smeared mess, resulting in a cathartic smashing up of the model with a mallet. But…it lives another day at least.
It’s actually a good learning experience - I now know I can flat and smooth Klear if necessary. It doesn’t seem to set particularly hard, so I assumed it would turn into a smeared mess, resulting in a cathartic smashing up of the model with a mallet. But…it lives another day at least.
davidexige said:
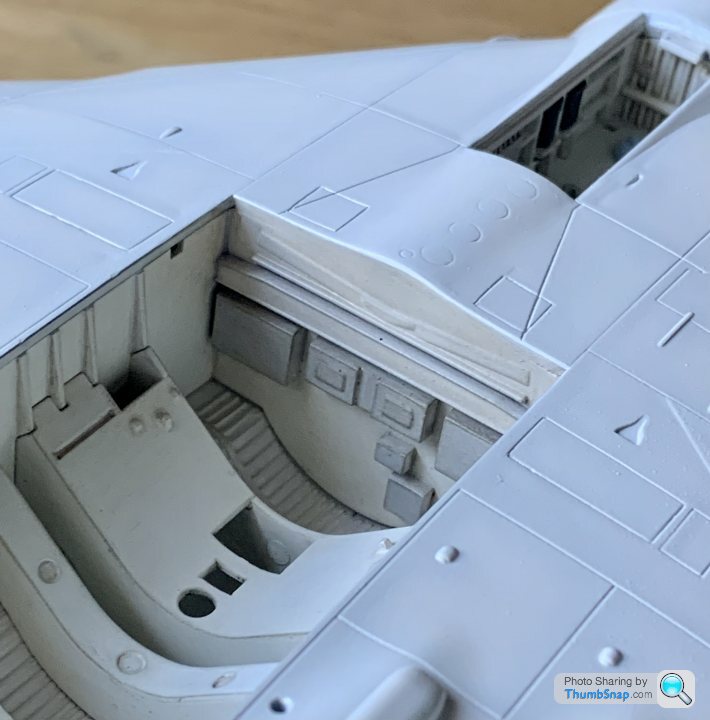
I was amazed at the start of this thread with the amount of detail you put into the cockpit section, looking at your latest update when the canopy is completed will you still be able to see any of it?
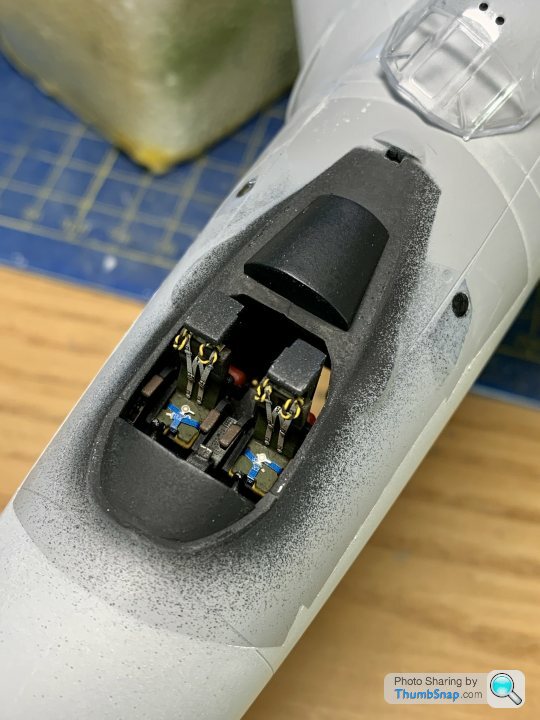
It wasn't really much added detail - just seat harnesses and ejection loops. Apart from the fronts of the rear-facing seats in the back, you can see all the cockpit detail if you look hard enough. The pilot's seat details are visible through the windscreens and portholes. The ladder, fire extinguishers and backs of the rear seats are visible through the hatch.Would be nice if some manufacturer made a series of 1:72 or 1:48 nose sections for aircraft like this, split down the middle so you can see everything. Bit like the WnW Lancaster. Would be fairly unique for a modern kit, and would make a nice display next to the complete aircraft.
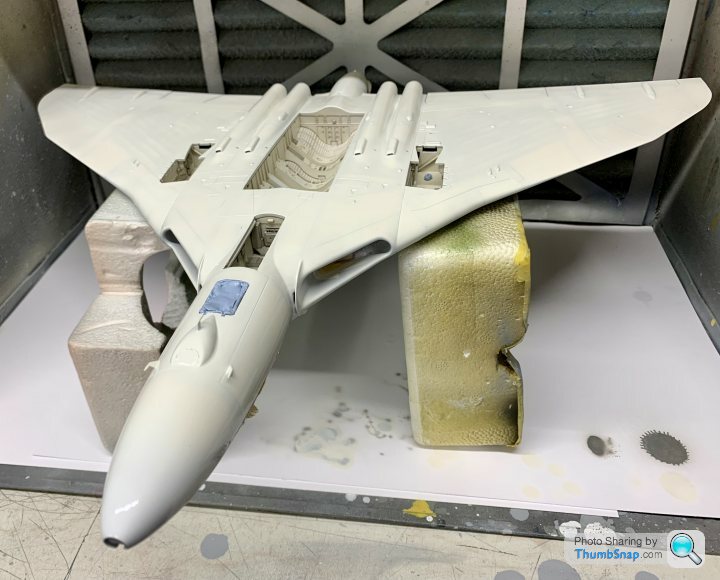
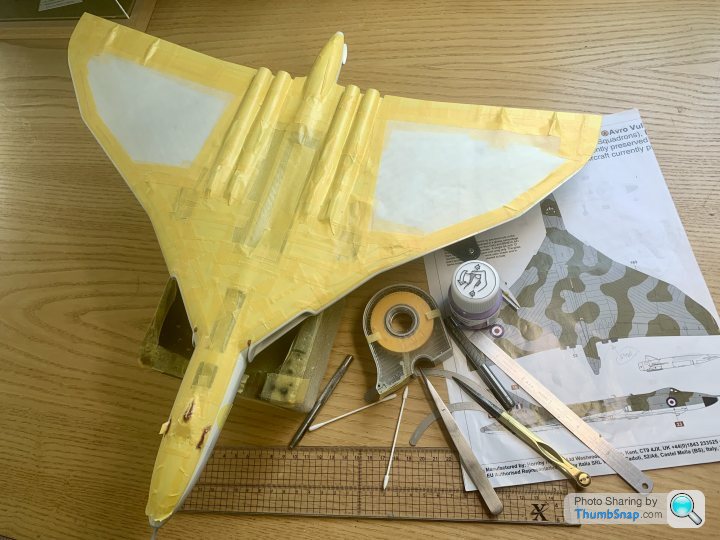
Reluctantly back on this P.O.S. - fed up with the sight of it cluttering up the bench.
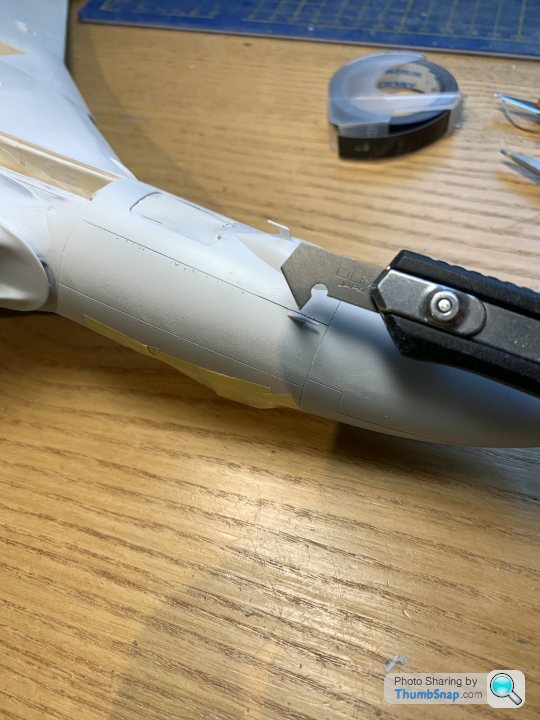
Masking. Huge area to do, with some fiddly bits for the wrap-around (difficult to judge the extent required for these highly radiussed leading edge roots), intakes and pitot tubes/antennae:
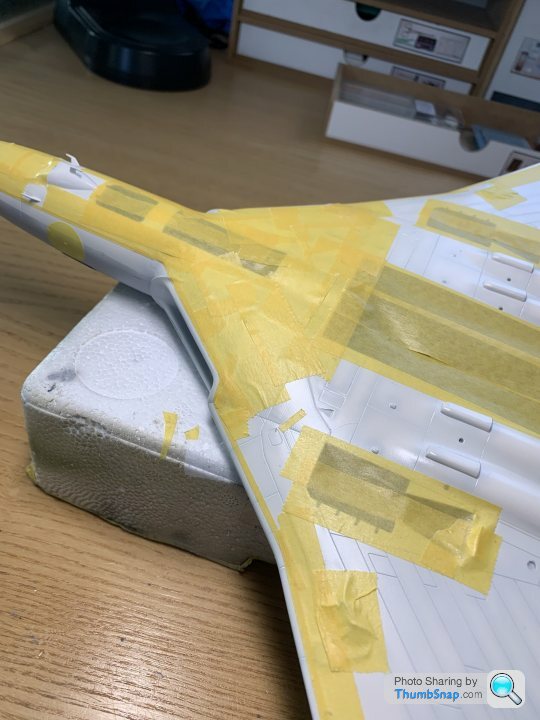

Added the fuselage antenna that gets painted grey , will add the green painted one later in the process. Also fitted the refuelling probe, which of course will need filling and flatting before it’s fit to paint:
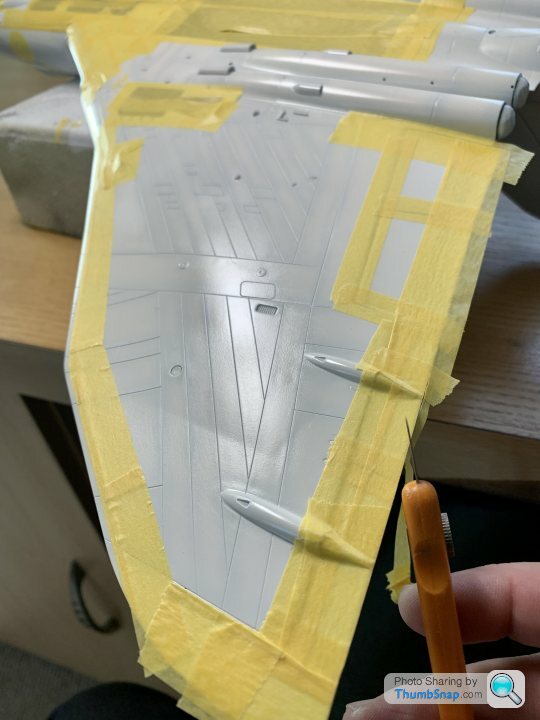
Used decal protection film to save tape on the large flat areas:
Every time the light catches it at a slightly different angle, different surface issues become apparent:
Masking. Huge area to do, with some fiddly bits for the wrap-around (difficult to judge the extent required for these highly radiussed leading edge roots), intakes and pitot tubes/antennae:
Added the fuselage antenna that gets painted grey , will add the green painted one later in the process. Also fitted the refuelling probe, which of course will need filling and flatting before it’s fit to paint:
Used decal protection film to save tape on the large flat areas:
Every time the light catches it at a slightly different angle, different surface issues become apparent:
Gassing Station | Scale Models | Top of Page | What's New | My Stuff