Tony's GT40 Build
Discussion


Having read through most of Hoonigans builld, I thought it best to share my build thread and experience to date on my GT40 build with my fellow PH'ers.
Bit of detail, project started life as a self build flat pack chassis kit, to which I've CAD designed (cardboard aided design - a nod to Binky) all the ally panels, most of which are attached with a ton of rivnuts and 5mm domed allen bolts.
The project started back in late 2016, so my idea is to drip feed as many progress pics, hints, tips etc as and when I can.
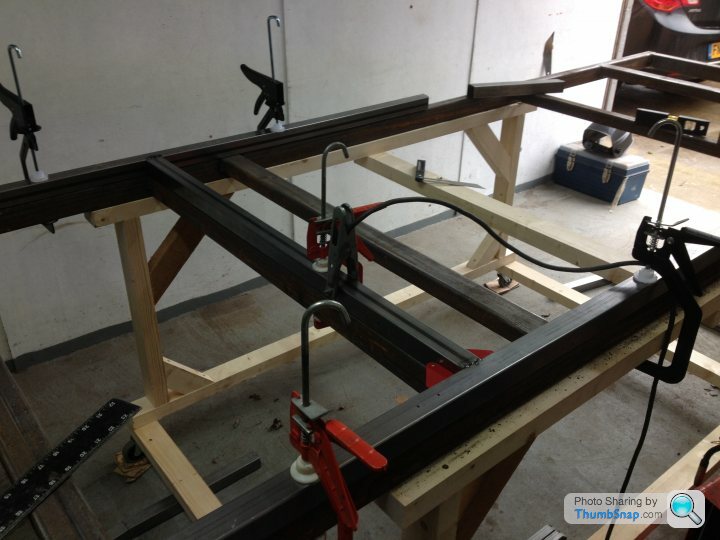
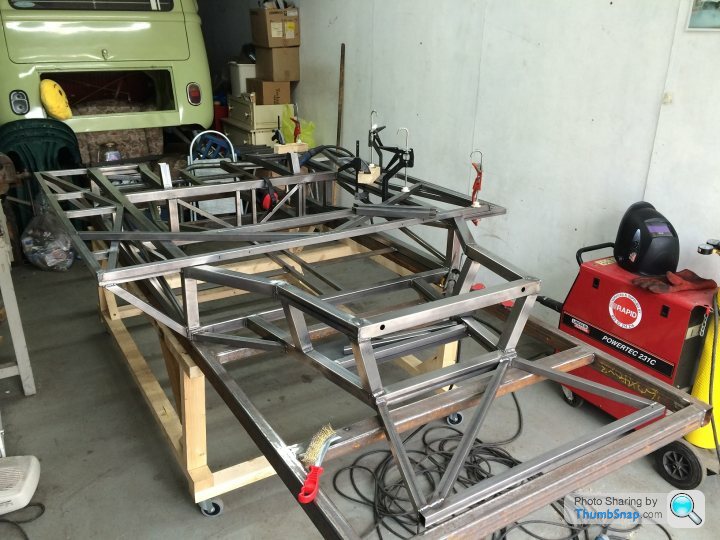
1st pic is the 1st day of construction. I'll keep you all posted!
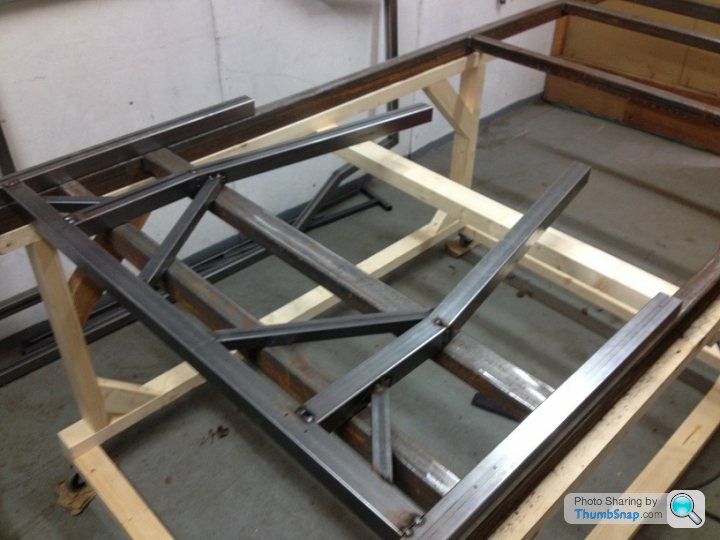
Not sure when this was taken, probably about the time I realised that I needed more welding practice!

Bit of detail, project started life as a self build flat pack chassis kit, to which I've CAD designed (cardboard aided design - a nod to Binky) all the ally panels, most of which are attached with a ton of rivnuts and 5mm domed allen bolts.
The project started back in late 2016, so my idea is to drip feed as many progress pics, hints, tips etc as and when I can.
1st pic is the 1st day of construction. I'll keep you all posted!
Not sure when this was taken, probably about the time I realised that I needed more welding practice!

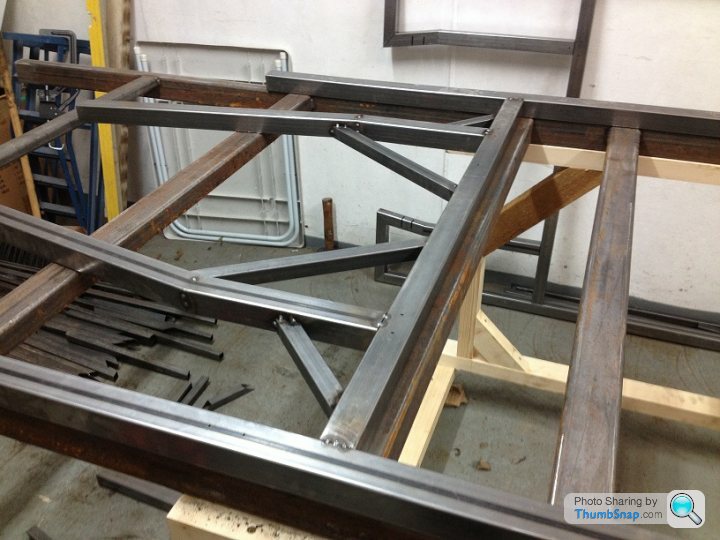


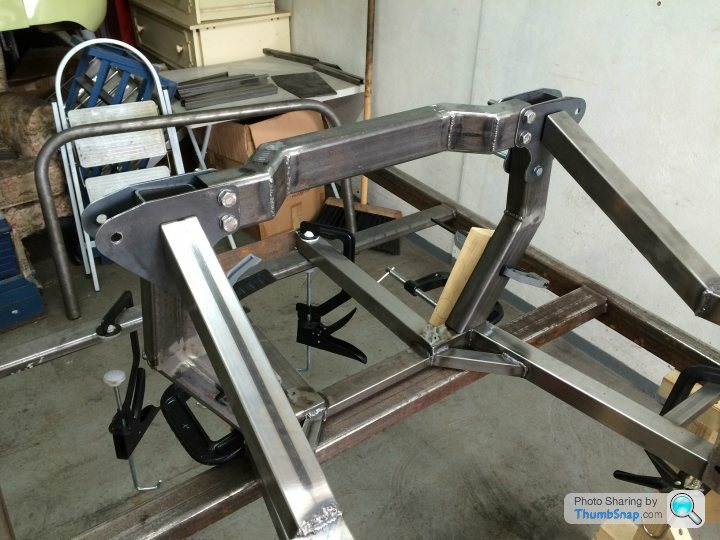


 k about when it's time to call in mates to help!
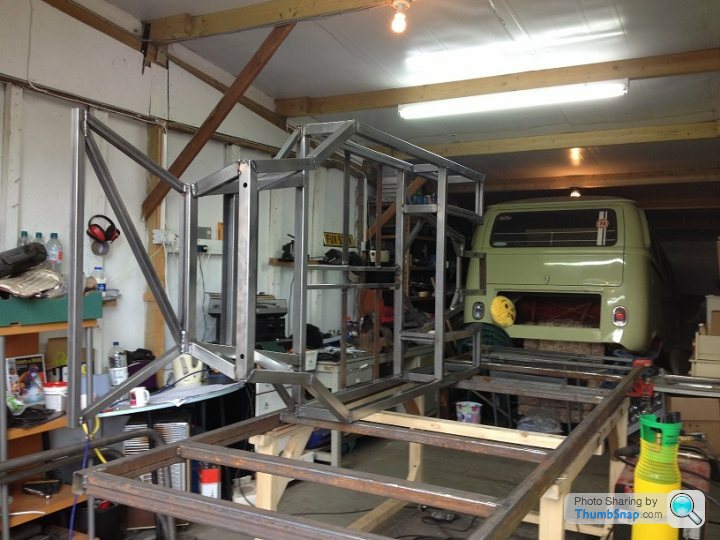
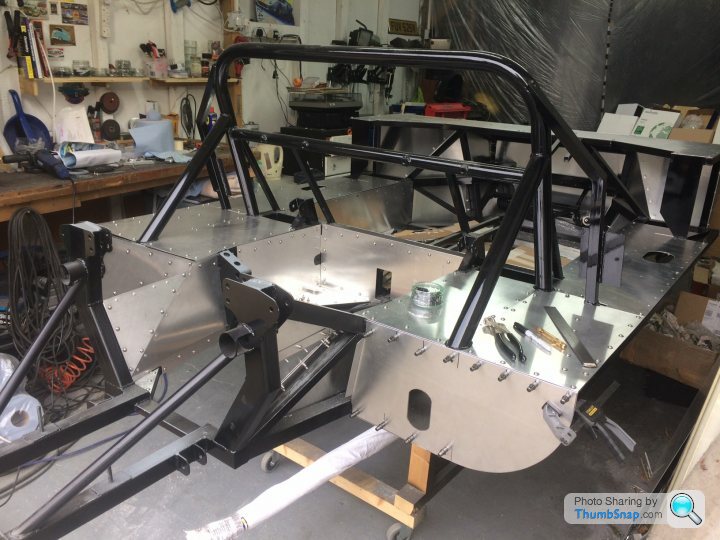
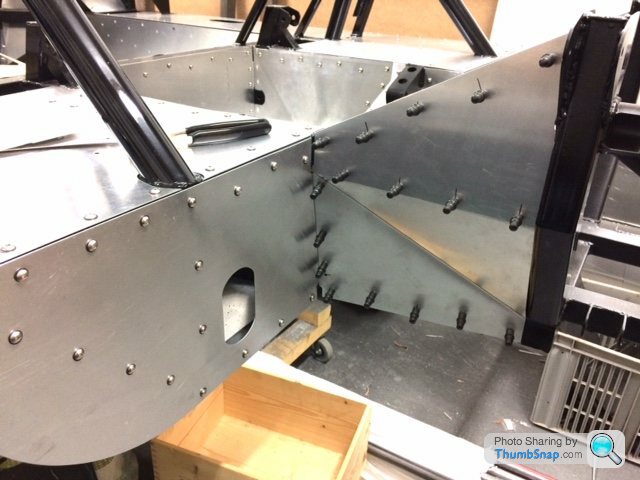
Yet more chassis pics, and the start of the panelling process
Each one made using cardboard templates, cut and filed, then either rivetted or fixed with rivnuts and 5mm allen bolts.
I've used a 2mm soft foam strip underneath each one (between the ally sheet and the chassis), and silent coat sound deadening.
Finished (mostly) chassis
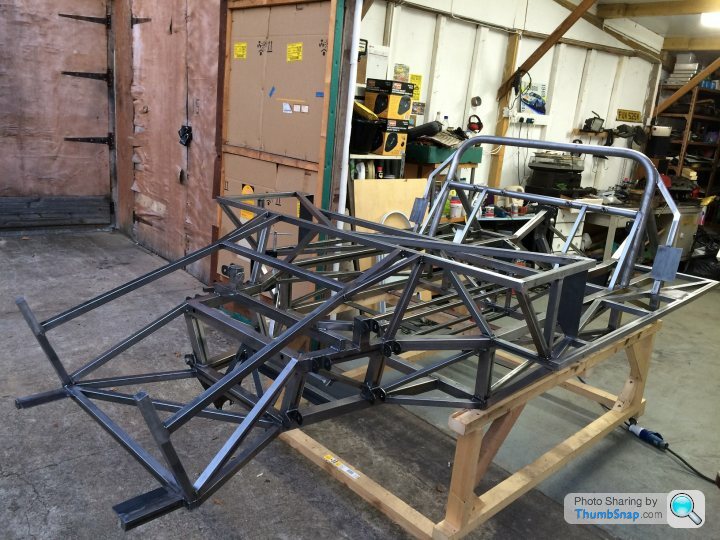
Found it far easier to prime and paint the chassis by hand, spraying was a bloody nightmare!
 [url]
[url]
Started rivvetting the large floor panel on by hand, but luckily a fella in the next door workshop had an air rivet gun. I bought one not long after...
 |https://thumbsnap.com/k6YdLQd8[/url]
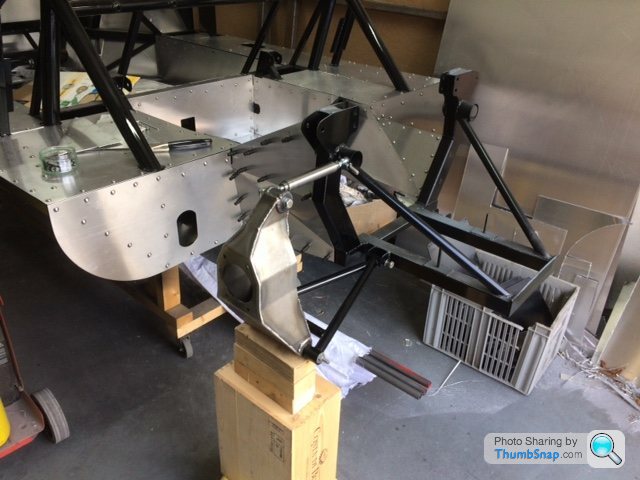
Rear engine bay detail

Rear hubs came as a kit, and with a bit of fannying around, didn't come out too bad

NSR hub just mocked up
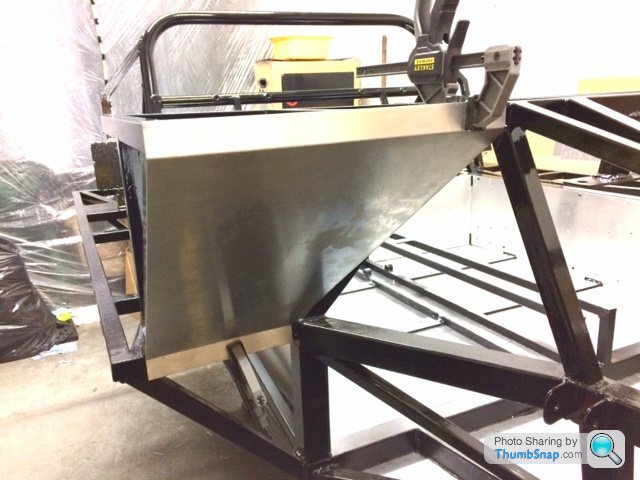
Going back a tad, this was the very 1st panel I fabbed, and happy to say, I've only scrapped one so far...
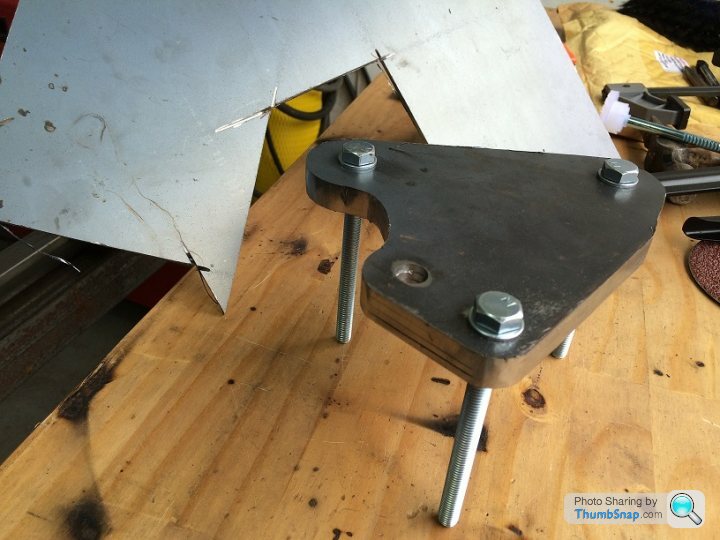
Rear shock mount brackets, cut and filed
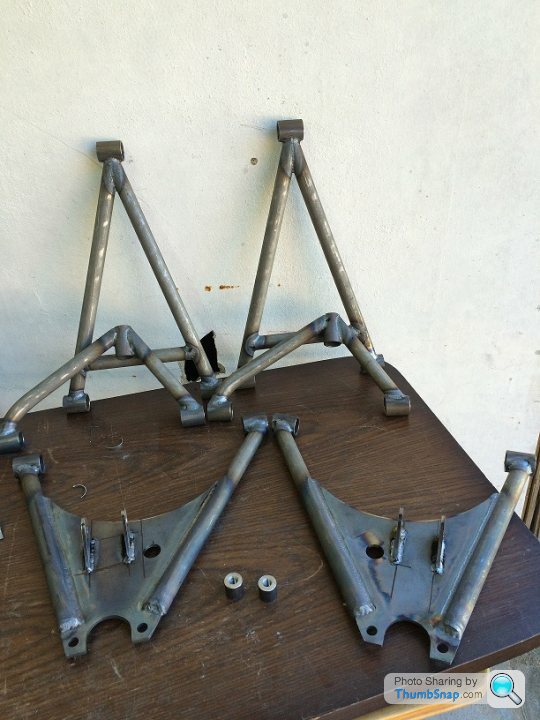
Wishbones made by a local hot rod builder (saving me some pennies)

Each one made using cardboard templates, cut and filed, then either rivetted or fixed with rivnuts and 5mm allen bolts.
I've used a 2mm soft foam strip underneath each one (between the ally sheet and the chassis), and silent coat sound deadening.
Finished (mostly) chassis
Found it far easier to prime and paint the chassis by hand, spraying was a bloody nightmare!
[url]Started rivvetting the large floor panel on by hand, but luckily a fella in the next door workshop had an air rivet gun. I bought one not long after...
|https://thumbsnap.com/k6YdLQd8[/url]Rear engine bay detail
Rear hubs came as a kit, and with a bit of fannying around, didn't come out too bad
NSR hub just mocked up
Going back a tad, this was the very 1st panel I fabbed, and happy to say, I've only scrapped one so far...
Rear shock mount brackets, cut and filed
Wishbones made by a local hot rod builder (saving me some pennies)
Nice job, very tidy. Looking forward to seeing how this turned out. I guessing you put plenty of lock-tight on the dome head panel bolts.
Also assume you have one of these rivet fan spacer tools:
https://www.ebay.co.uk/itm/AIRCRAFT-TOOLS-NEW-RIVE...
Super time saver when spacing riv-nut or rivet holes.
Also assume you have one of these rivet fan spacer tools:
https://www.ebay.co.uk/itm/AIRCRAFT-TOOLS-NEW-RIVE...
Super time saver when spacing riv-nut or rivet holes.
Edited by Smokin Donut on Friday 22 November 03:42
Edited by Smokin Donut on Saturday 23 November 02:43


Gassing Station | Readers' Cars | Top of Page | What's New | My Stuff