First House Renovation / Do-er upper
Discussion


So... a fair amount of progress being done this week, most evenings and throughout the weekend with a lot of help I've managed to:
Get the electrician in to First fix
Ordered UPVC windows for the house
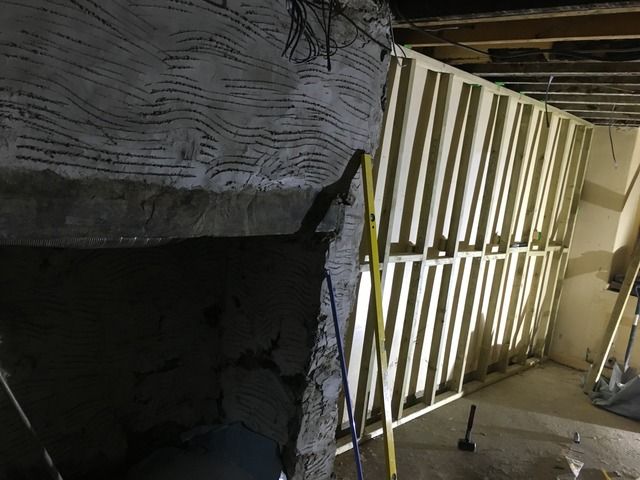
Finished the bottom of the fireplace and got it nice and level
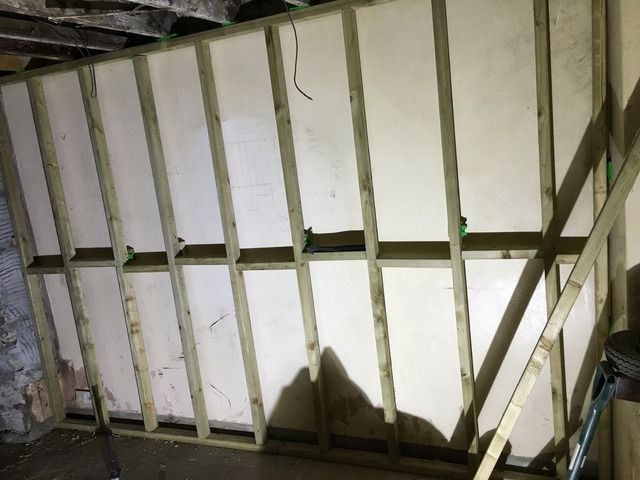
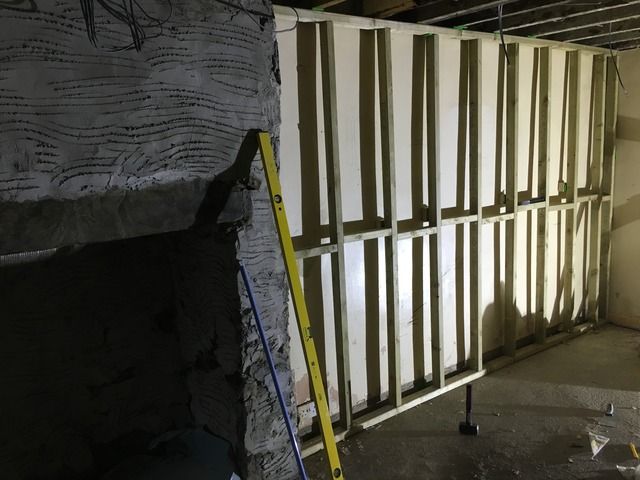
Started to plasterboard with the help of dad and a mate.
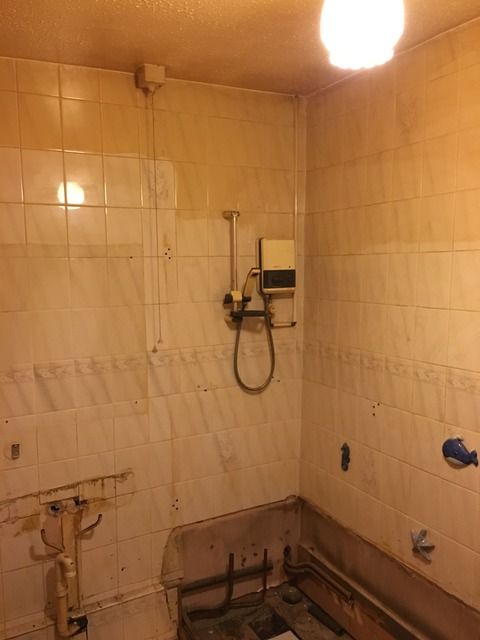
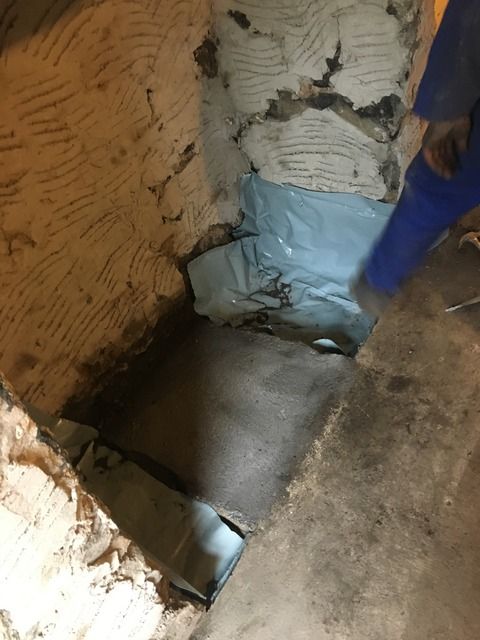
Fully stripped the kitchen and bathroom of all units/suite and plumbing
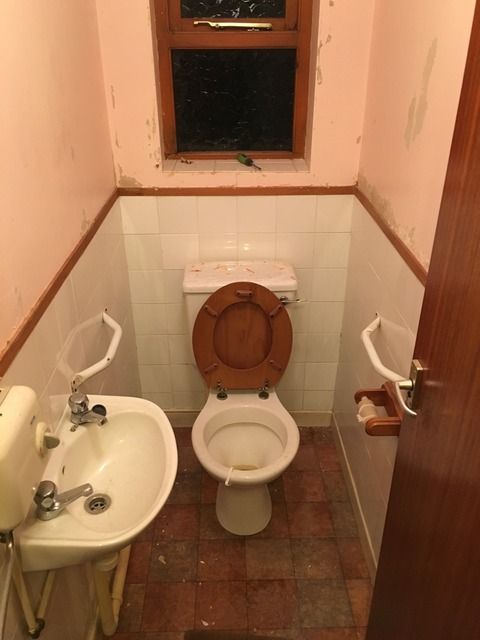
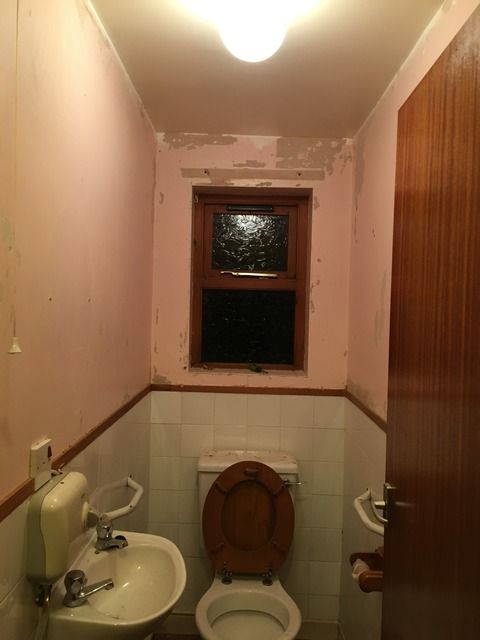
Stripped the downstairs Loo of wallpaper etc. ready to re-paint (Not bothering with a new suite here just a new toilet seat and new basin)
So Pictures....
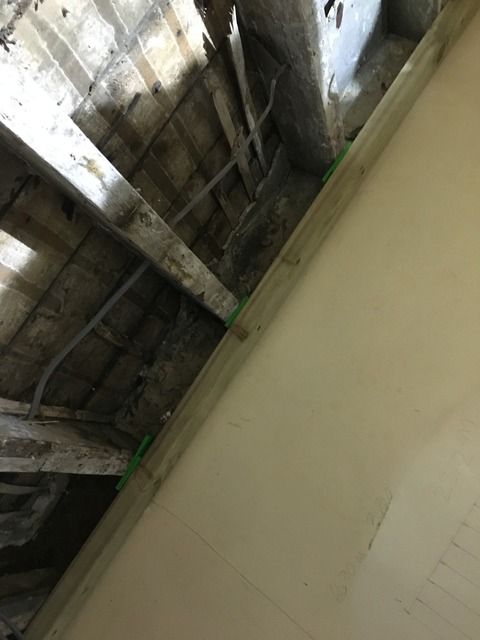
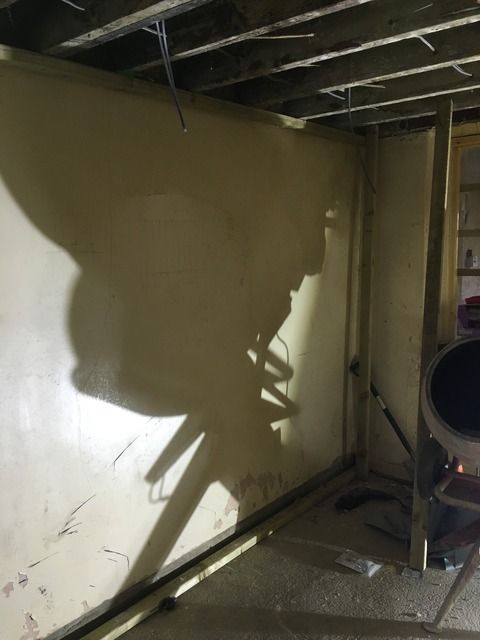
The stripdown:
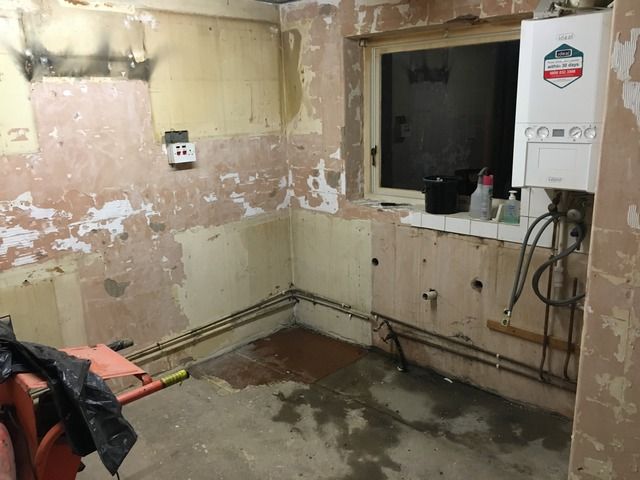


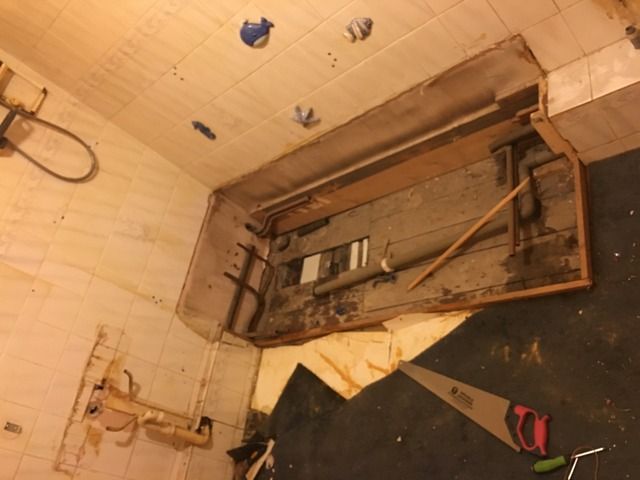
You can really see the colour of the walls due to the tobacco here!!!
The fireplace:
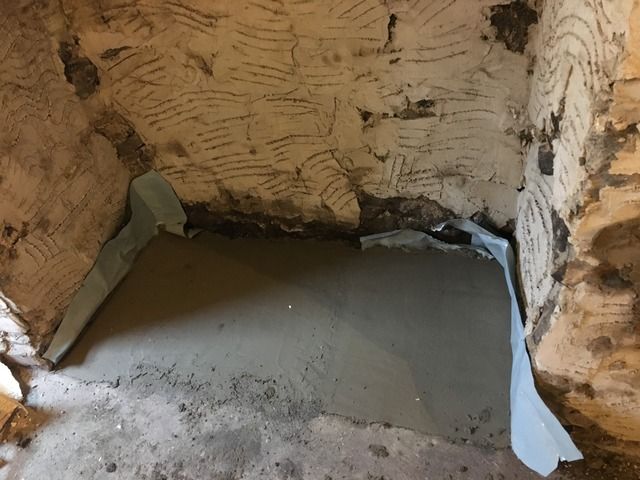
Started by emptying of rocks and bricks to only be left with the concrete centre (Which was sloping backwards to put membrane down and filled up with a mix of sharp sand, building sand and cement:
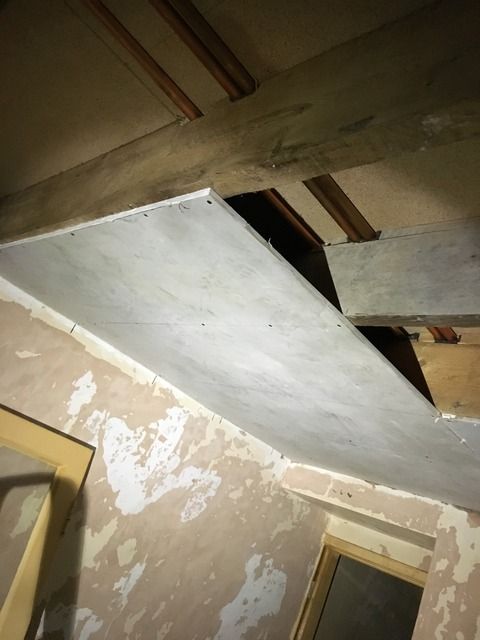
Started to plasterboard (took us 2 hours to cut and fit 2 sheets ha ha) none of us had tried it before. tried to get them as neat as possible, also used battens to close up the window from kitchen to living room (Other side will be done the same) :

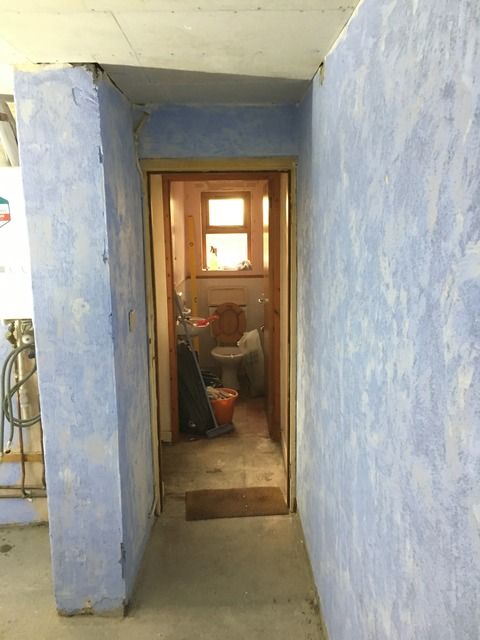
Downstairs Loo:
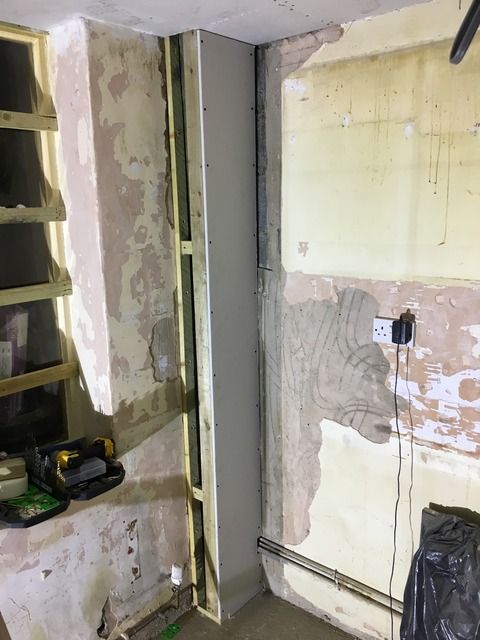
Also some bits ready for the plasterer to skim:
Comments welcome, Dion
Get the electrician in to First fix
Ordered UPVC windows for the house
Finished the bottom of the fireplace and got it nice and level
Started to plasterboard with the help of dad and a mate.
Fully stripped the kitchen and bathroom of all units/suite and plumbing
Stripped the downstairs Loo of wallpaper etc. ready to re-paint (Not bothering with a new suite here just a new toilet seat and new basin)
So Pictures....
The stripdown:


You can really see the colour of the walls due to the tobacco here!!!

The fireplace:
Started by emptying of rocks and bricks to only be left with the concrete centre (Which was sloping backwards to put membrane down and filled up with a mix of sharp sand, building sand and cement:


Started to plasterboard (took us 2 hours to cut and fit 2 sheets ha ha) none of us had tried it before. tried to get them as neat as possible, also used battens to close up the window from kitchen to living room (Other side will be done the same) :


Downstairs Loo:


Also some bits ready for the plasterer to skim:

Comments welcome, Dion
So a little update - off for half term next week so hoping to see a bit more progress during the week.
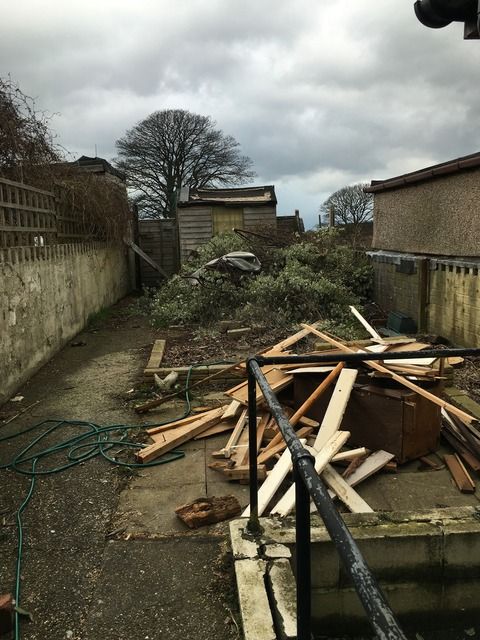
Whilst waiting for stuff to arrive etc. I've been trying to de-nail and cut old pieces of wood, treed and skirting etc into fire wood to try and get the pile of scrap wood in the garden a little smaller.. every little helps:
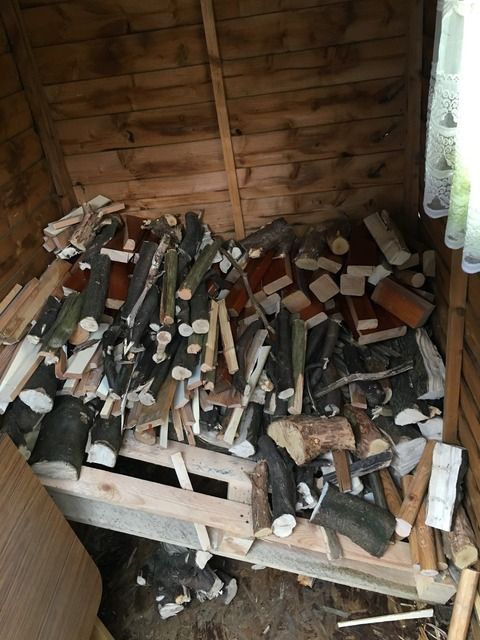
Inside the beaten up shed (New logstore coming soon!)
Also nearly finished the plaster-boarding in the kitchen.. time consuming and is a little hard to get 3 of us there at the same time during the evenings but getting there and getting easier as we're going along:
Looking for a small impact driver this afternoon - using a drill really doesn't work for the plaster-boarding and driving the screws etc. so a budget of less than £200 I'm looking at the screw-fix own branded Erbaur, Makita kit with drill or the dewalt. any suggestions please say!
Dion
Whilst waiting for stuff to arrive etc. I've been trying to de-nail and cut old pieces of wood, treed and skirting etc into fire wood to try and get the pile of scrap wood in the garden a little smaller.. every little helps:

Inside the beaten up shed (New logstore coming soon!)

Also nearly finished the plaster-boarding in the kitchen.. time consuming and is a little hard to get 3 of us there at the same time during the evenings but getting there and getting easier as we're going along:


Looking for a small impact driver this afternoon - using a drill really doesn't work for the plaster-boarding and driving the screws etc. so a budget of less than £200 I'm looking at the screw-fix own branded Erbaur, Makita kit with drill or the dewalt. any suggestions please say!
Dion
I wouldnt use an impact for plasterboard screws. If you are doing lots of it then get a dewalt automatic feed plasterboard driver
But impacts, I would go 18V makita. I bought one to build my studio last year and its the best 100 quid I have ever spent. They do a impact/driver duo pack which is good value
But impacts, I would go 18V makita. I bought one to build my studio last year and its the best 100 quid I have ever spent. They do a impact/driver duo pack which is good value
thebraketester said:
I wouldnt use an impact for plasterboard screws. If you are doing lots of it then get a dewalt automatic feed plasterboard driver
But impacts, I would go 18V makita. I bought one to build my studio last year and its the best 100 quid I have ever spent. They do a impact/driver duo pack which is good value
I didn't know such thing was available to be honest with you!But impacts, I would go 18V makita. I bought one to build my studio last year and its the best 100 quid I have ever spent. They do a impact/driver duo pack which is good value
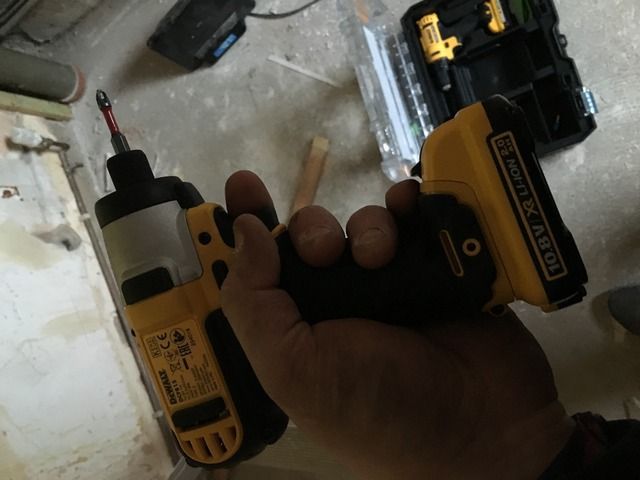
I borrowed an erbaur impact driver off a friend to do the kitchen last night and it made the work MUCH easier as it was less than half the weight of my snap on drill and I felt I had more control over the screw because of the torque settings rather than what happened with the drill (A few times) was i drove them in too far and they went through the plaster board.
Dion
Are you using a proper drywall screw bit?
http://www.screwfix.com/p/titan-drywall-bits-ph-2-...
That is pretty much essential if you are using a normal driver or impact, so you dont keep busting through the plaster.
https://www.amazon.co.uk/Collated-Drywall-Cordless...
Not cheap but if i were boarding an entire house I would buy one without doubt.
Edited by thebraketester on Friday 17th February 12:02
thebraketester said:
Are you using a proper drywall screw bit?
http://www.screwfix.com/p/titan-drywall-bits-ph-2-...
That is pretty much essential if you are using a normal driver or impact, so you dont keep busting through the plaster.
https://www.amazon.co.uk/Collated-Drywall-Cordless...
Not cheap but if i were boarding an entire house I would buy one without doubt.
a couple of those bits ordered - I had no idea such thing existed if I'm honest with you! I only have another three rooms to do so I feel it would be a waste to buy the £280 dewalt scre driver - by that time I'd probably be better off paying the plasterer to board as well! http://www.screwfix.com/p/titan-drywall-bits-ph-2-...
That is pretty much essential if you are using a normal driver or impact, so you dont keep busting through the plaster.
https://www.amazon.co.uk/Collated-Drywall-Cordless...
Not cheap but if i were boarding an entire house I would buy one without doubt.
Edited by thebraketester on Friday 17th February 12:02
Thanks for the links, very useful.
Dion
So - Half term is here! hoping to get a lot done this week..
Started off Saturday by building a stud wall in the living room for two reasons, 3" difference between the top right corner and the bottom left of the wall (Majorly on the piss!) and because the plaster had cracked I was having to hack it all back to the stonework and re-scratch and dry line the wall if I wanted to plaster it again... So-stud wall in 3X2 which cost £55 and plaster board (Other side of the fireplace being done during the week too)
Second reason - allows me to run my internet, satellite and leccy cables through it:
Packing out the top to get it perfectly level..
top and bottom perfectly level and ready to cut the vertical 3x2's:
Second, I built some boxing around the waste pipe in 3x2 and some 2x1 for some parts for clearance. Put some noggins in to make it solid and plaster-boarded the boxing in (we did finish it, but forgot to take a picture):

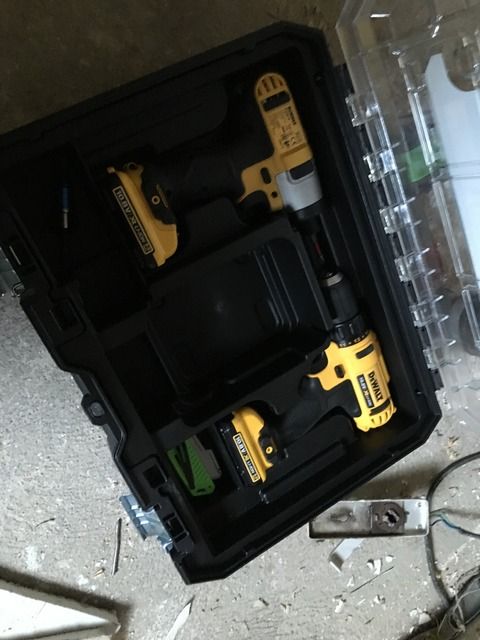
Also after looking at soooo many different impact driver and drill sets, I went out to buy an erbauer set from Screwfix and even the lads behind the counter told me not to buy them!! quality is not the best they said even though they do get replaced with no quibble. So Dewalt 10.8v drill and impact set, 2 batteries, charger and box £110 plus vat on offer in travis perkins. Bargain.
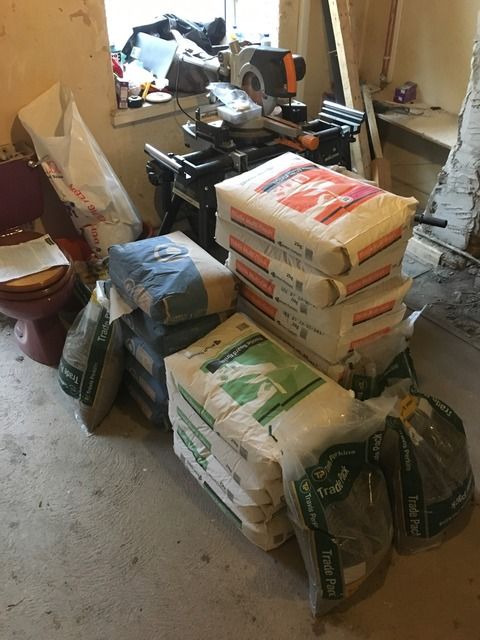
Also ordered:
Shower Bath
Screen
Toilet
Corner Basin
Extractor fan
LED Waterproof dome lamp
And got a chrome curved towel rail from screwfix - that should see the bathroom getting done in the next month or so hopefully.
Any comments welcome as always - Dion
Started off Saturday by building a stud wall in the living room for two reasons, 3" difference between the top right corner and the bottom left of the wall (Majorly on the piss!) and because the plaster had cracked I was having to hack it all back to the stonework and re-scratch and dry line the wall if I wanted to plaster it again... So-stud wall in 3X2 which cost £55 and plaster board (Other side of the fireplace being done during the week too)
Second reason - allows me to run my internet, satellite and leccy cables through it:
Packing out the top to get it perfectly level..

top and bottom perfectly level and ready to cut the vertical 3x2's:


Second, I built some boxing around the waste pipe in 3x2 and some 2x1 for some parts for clearance. Put some noggins in to make it solid and plaster-boarded the boxing in (we did finish it, but forgot to take a picture):


Also after looking at soooo many different impact driver and drill sets, I went out to buy an erbauer set from Screwfix and even the lads behind the counter told me not to buy them!! quality is not the best they said even though they do get replaced with no quibble. So Dewalt 10.8v drill and impact set, 2 batteries, charger and box £110 plus vat on offer in travis perkins. Bargain.


Also ordered:
Shower Bath
Screen
Toilet
Corner Basin
Extractor fan
LED Waterproof dome lamp
And got a chrome curved towel rail from screwfix - that should see the bathroom getting done in the next month or so hopefully.
Any comments welcome as always - Dion
I'm a bit confused looking at your stud wall as don't know the floor plan.
Looking at the chimney on the exterior pic, the fireplace appears to be on the party wall? So why was there a stud wall there in the first place rather than just plaster on Brick.
Also if it is the party wall, seems an ideal time to soundproof the new wall (add dense rockwool within the studwall and 2 lots of acoustic plasterboard,. Removing the old studs that have been left in to create a gap between the new wall and the stone).
Also Ebay/online is very good for new tool prices, you can often get £40+ off Screwfix prices.
Looking at the chimney on the exterior pic, the fireplace appears to be on the party wall? So why was there a stud wall there in the first place rather than just plaster on Brick.
Also if it is the party wall, seems an ideal time to soundproof the new wall (add dense rockwool within the studwall and 2 lots of acoustic plasterboard,. Removing the old studs that have been left in to create a gap between the new wall and the stone).
dionbee93 said:
Also after looking at soooo many different impact driver and drill sets, I went out to buy an erbauer set from Screwfix and even the lads behind the counter told me not to buy them!! quality is not the best they said even though they do get replaced with no quibble. So Dewalt 10.8v drill and impact set, 2 batteries, charger and box £110 plus vat on offer in travis perkins. Bargain.
My, and guess many peoples, general rule is that Makita is good quality, then Bosch blue/Dewalt are a step up. I would have gone for 18V though as more power and built in LED light comes in use too.Also Ebay/online is very good for new tool prices, you can often get £40+ off Screwfix prices.
Edited by hyphen on Tuesday 21st February 14:49
So... Half term been and gone -a lot of progress...
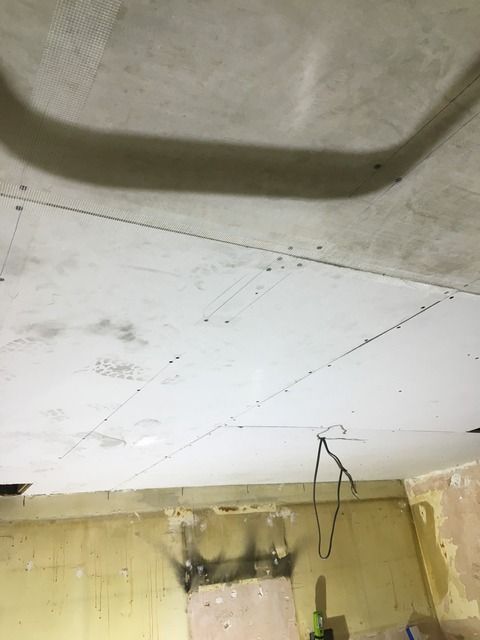
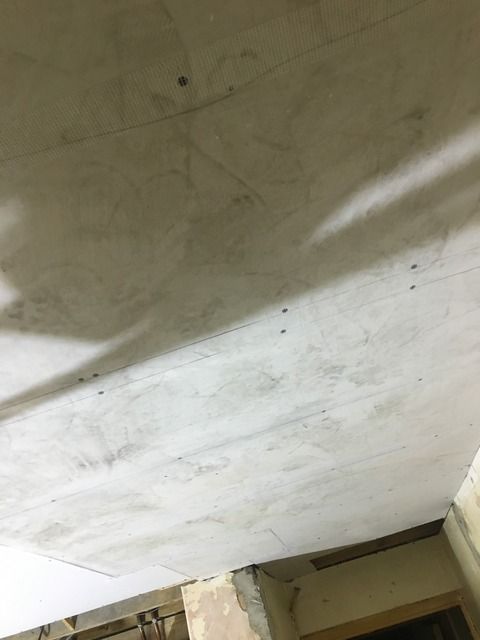
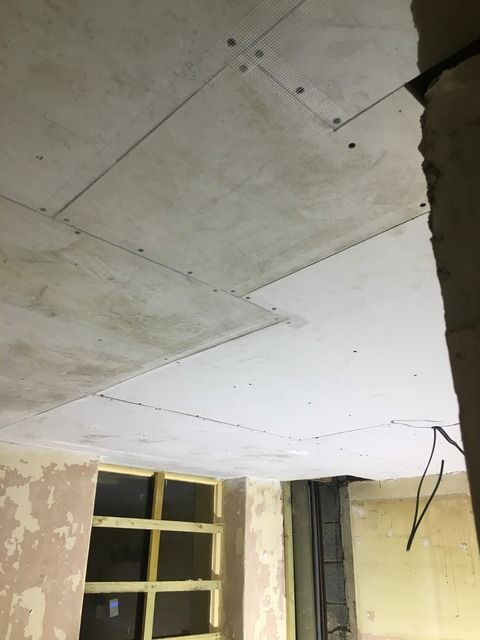
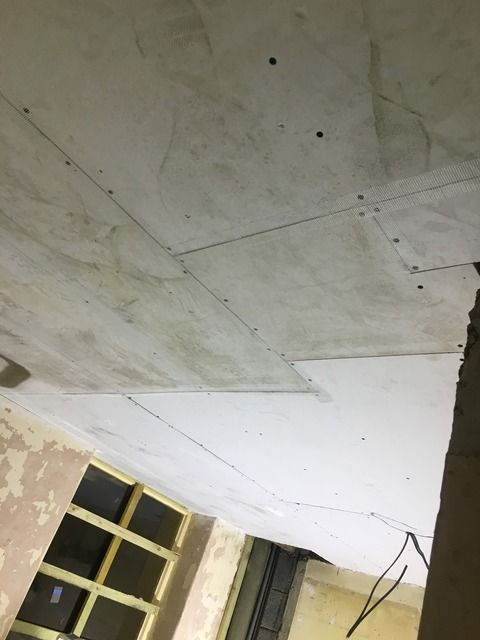
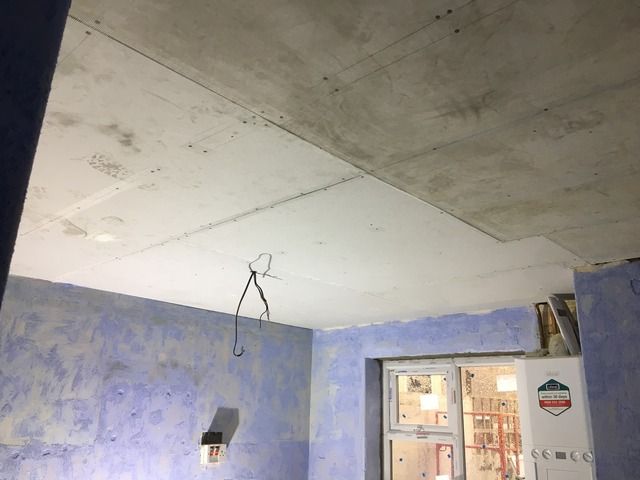
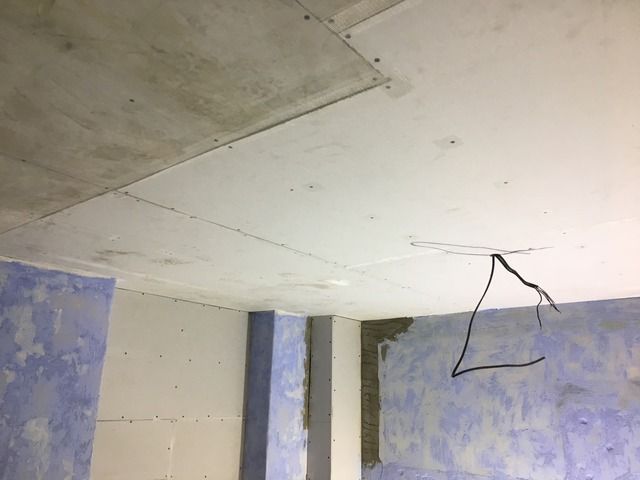
All the kitchen plaster-boarded, drywall taped and filled all the bits in.
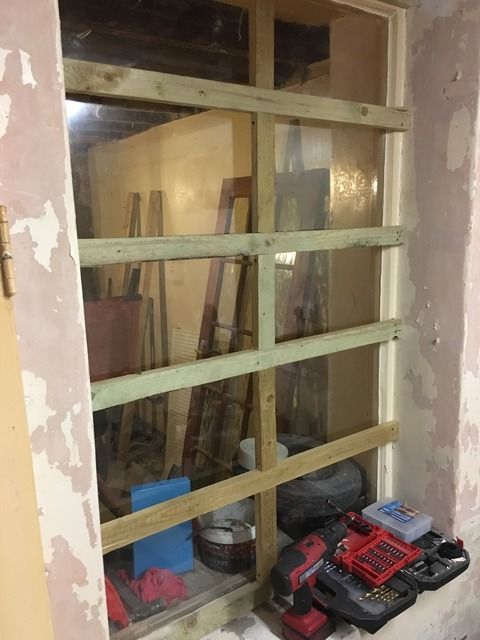
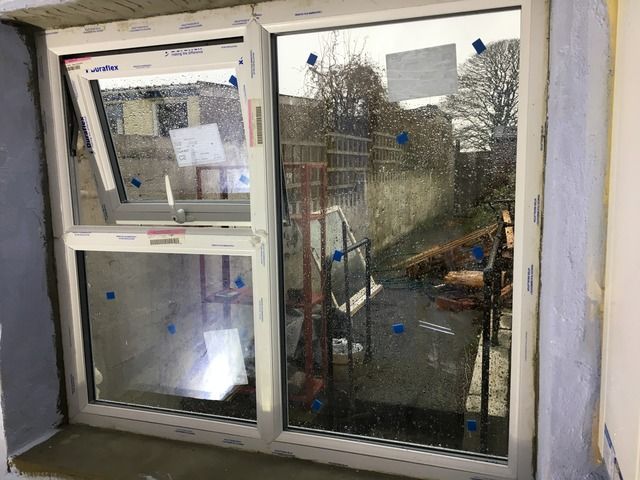
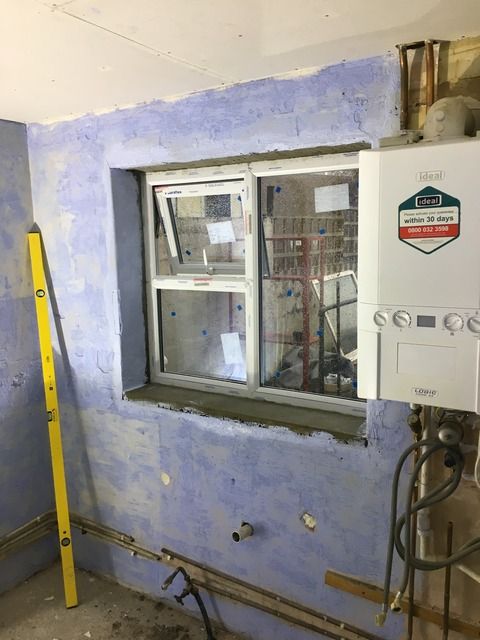
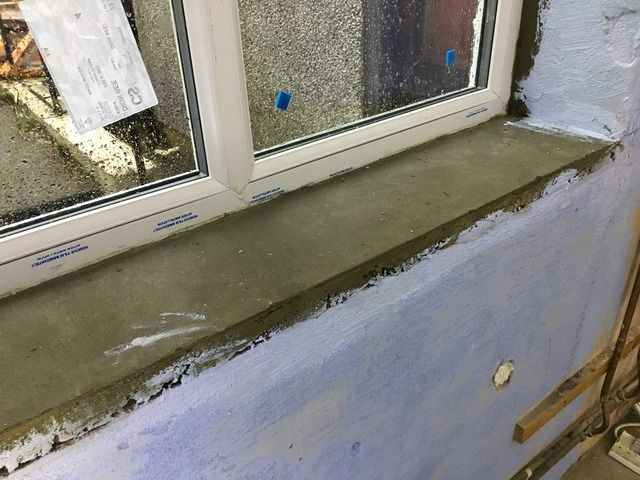
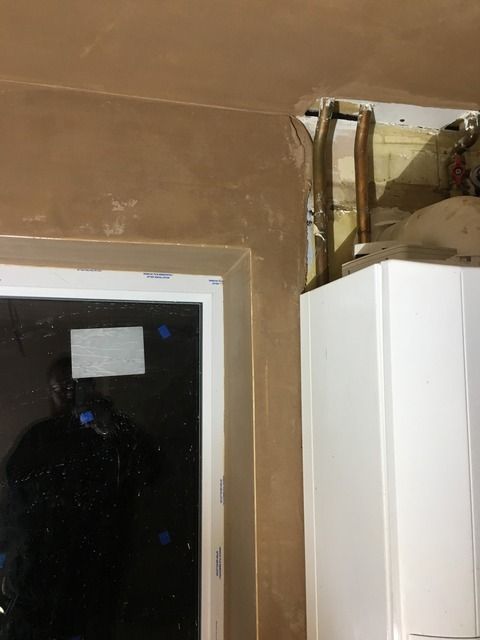
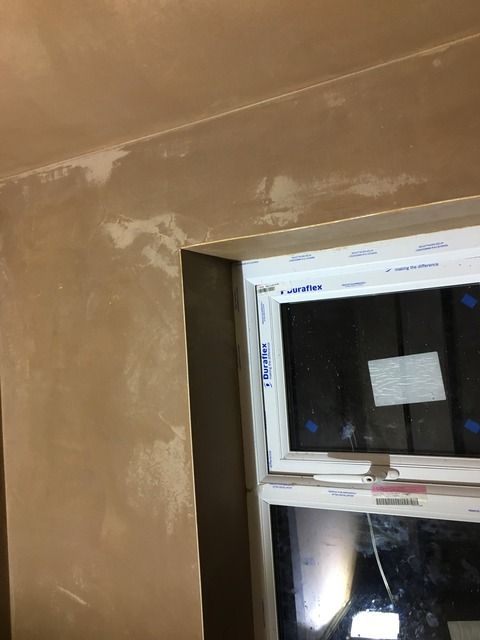
New window came and it was fitted that night with the help of a mate and an SDS drill:

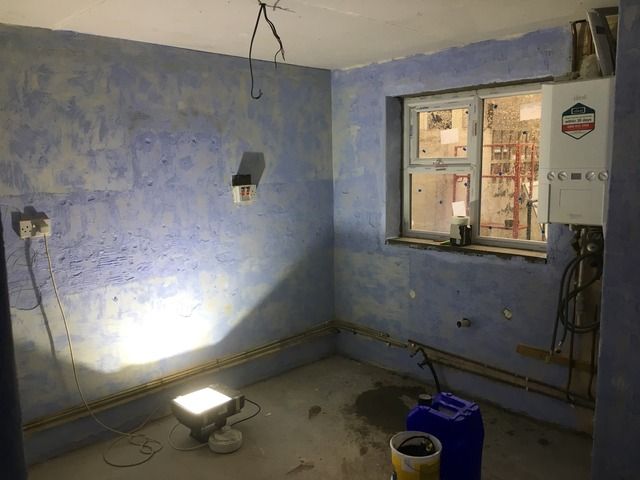
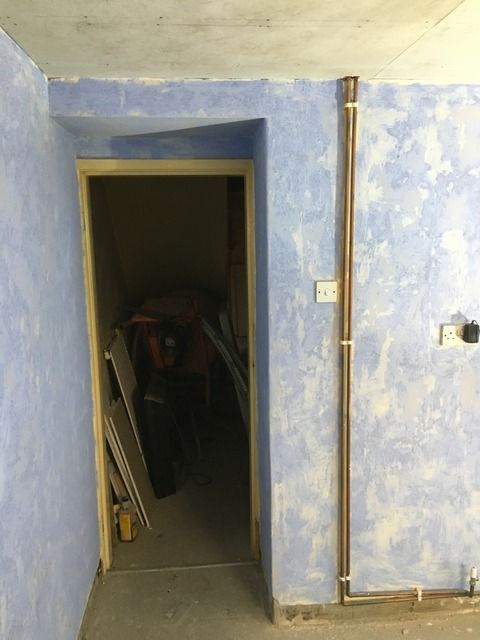
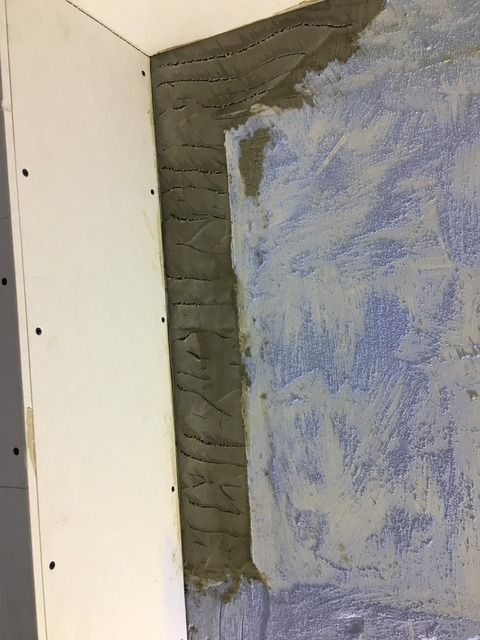
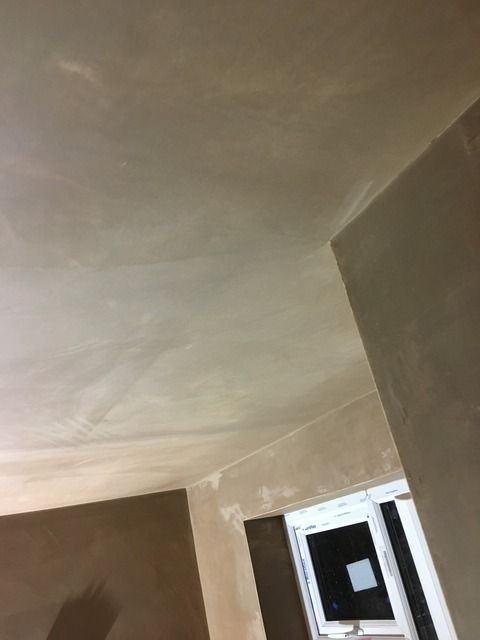
Blue gritted all the walls ready for the plasterer and bought some beading to square off the edges all perfectly.
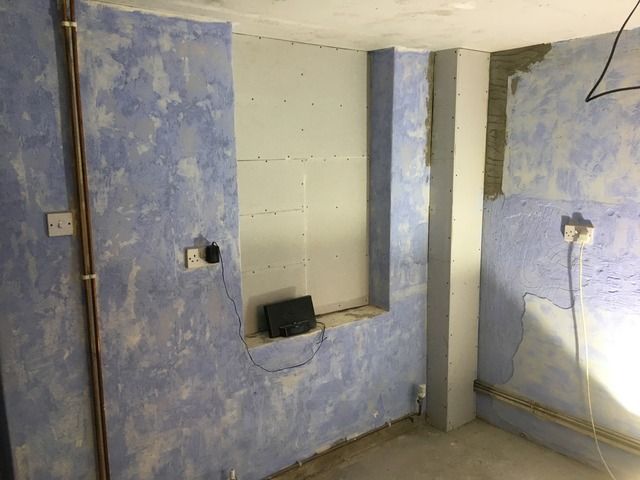
My friend also filled in (Sand/cement) all the big gaps around the window and filled in a new window sill to get it nice and square.
Another 3x2 wall built in the living room (opposite side to the fireplace) to match the other one. that room is now ready for plasterboarding and self levelling the floor but no pictures yet!
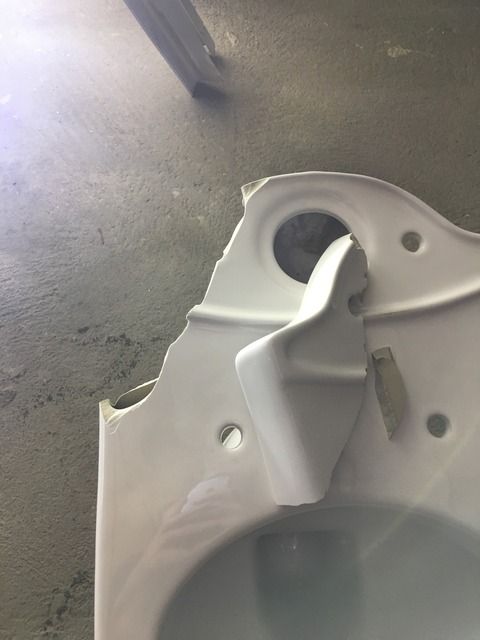
My new bathroom came - Toilet broken, got a new one, totally different pan. NEVER using Big bathroom shop again!!
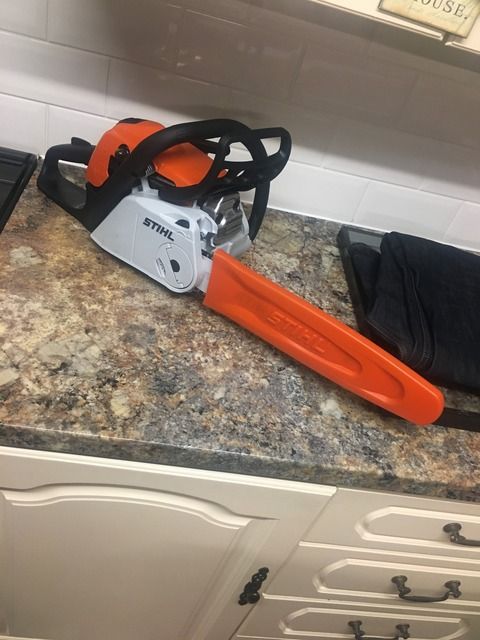
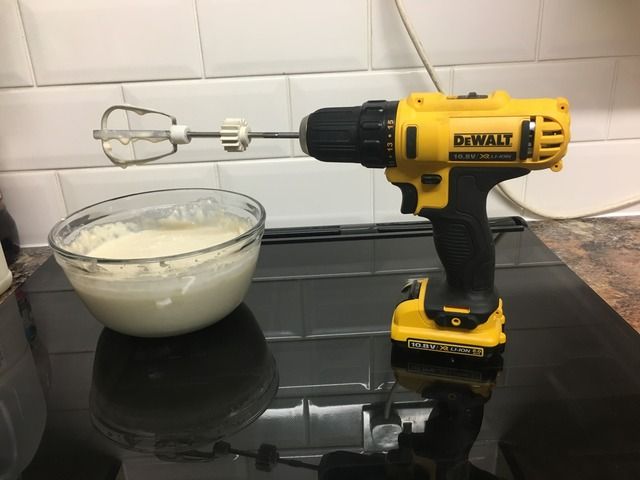
In other news... bought a new toy!
Takes us to today... Plasterer was coming at 8.00 this morning, text at 7.55 saying he wasn't coming until tomorrow - A little pissed off but could be worse I guess.
Dion.
All the kitchen plaster-boarded, drywall taped and filled all the bits in.
New window came and it was fitted that night with the help of a mate and an SDS drill:


Blue gritted all the walls ready for the plasterer and bought some beading to square off the edges all perfectly.


My friend also filled in (Sand/cement) all the big gaps around the window and filled in a new window sill to get it nice and square.


Another 3x2 wall built in the living room (opposite side to the fireplace) to match the other one. that room is now ready for plasterboarding and self levelling the floor but no pictures yet!
My new bathroom came - Toilet broken, got a new one, totally different pan. NEVER using Big bathroom shop again!!

In other news... bought a new toy!

Takes us to today... Plasterer was coming at 8.00 this morning, text at 7.55 saying he wasn't coming until tomorrow - A little pissed off but could be worse I guess.
Dion.
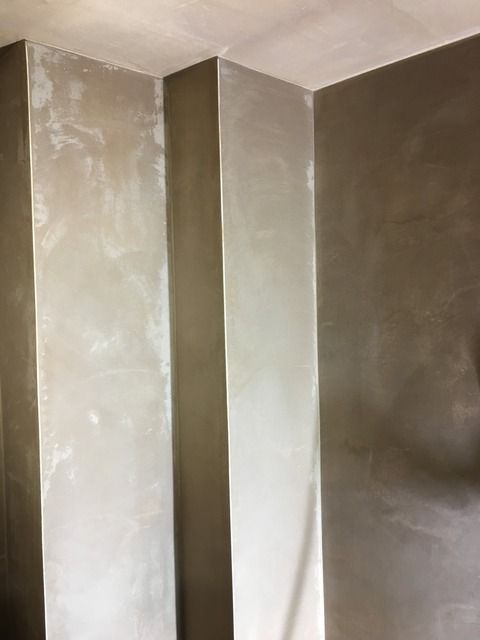
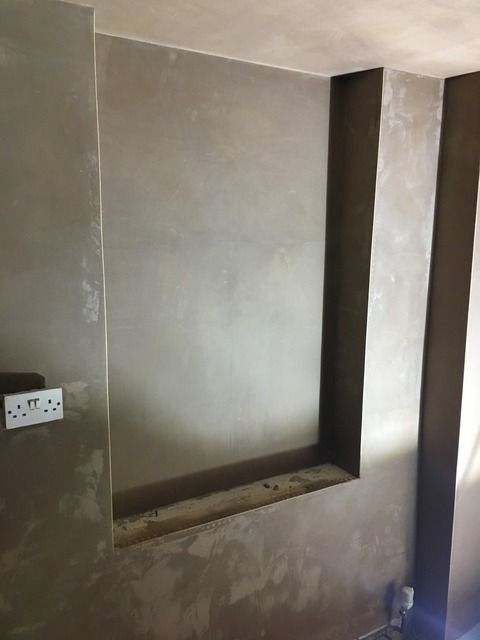
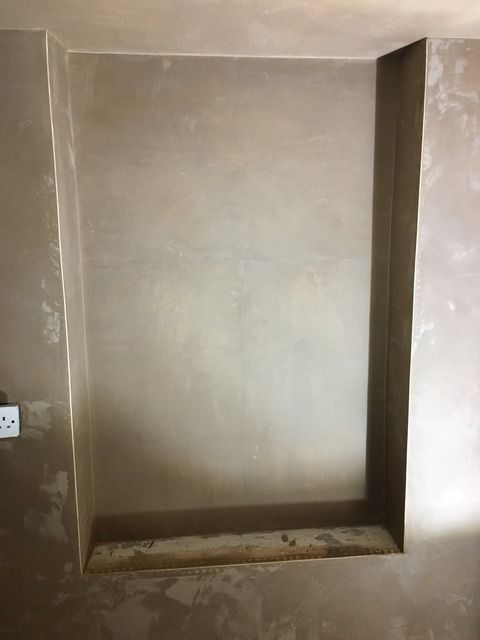
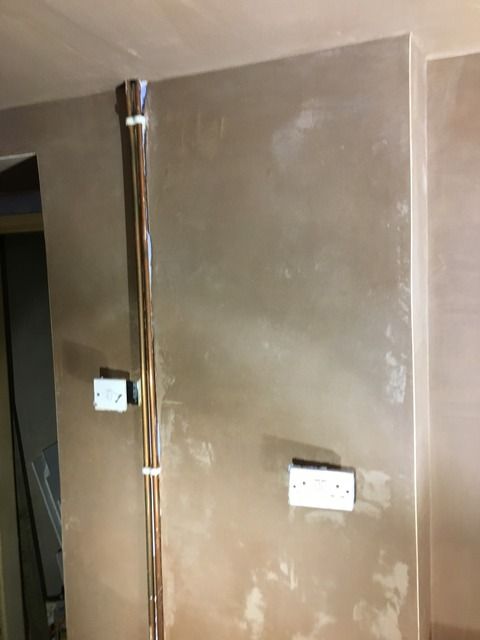
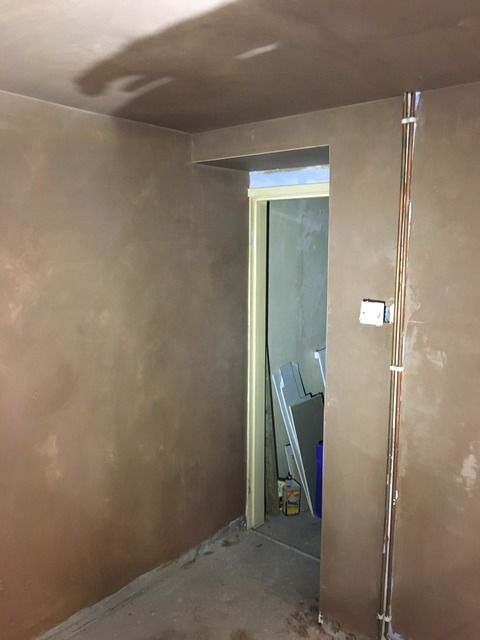
So plasterer has been and done the kitchen - must say I'm really pleased with it. I supplied the plaster and beads. and he charged £100 which i thought was very cheap, and to be honest was expecting a cr@p job at that price. But i was pleasantly surprised..
So - how long until I can mist coat?
Also - The drill in the Dewalt set i bought came in very handy on pancake day yesterday!
Dion.


So - how long until I can mist coat?
Also - The drill in the Dewalt set i bought came in very handy on pancake day yesterday!

Dion.
Don't put any paint anywhere near them walls until they are dry, and I mean colour changing dry. Don't be tempted to get cheap paint either, money you save isn't worth the cost in man hours of putting more coats on to cover.
When I put up stud walls I always run extra noggins along the bottom too. No more nails is ok but I'm old school and like to drive some galv nails in there to make sure it's held.
Good progress though, doing the same myself. I'm 3 months in so far.
When I put up stud walls I always run extra noggins along the bottom too. No more nails is ok but I'm old school and like to drive some galv nails in there to make sure it's held.
Good progress though, doing the same myself. I'm 3 months in so far.
Gassing Station | Homes, Gardens and DIY | Top of Page | What's New | My Stuff