Hymer Camp 55 - Light restoration project
Discussion


Spent the weekend doing a few more small jobs,
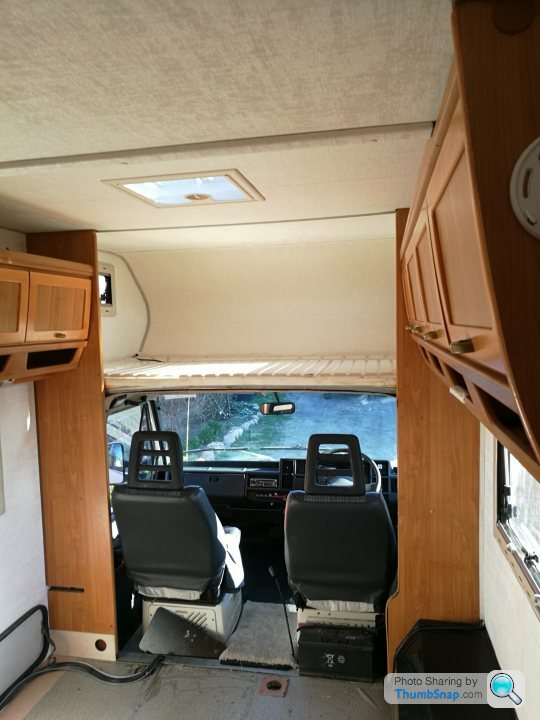
Finished the false floor in the cab area so no more achy accelerator leg,
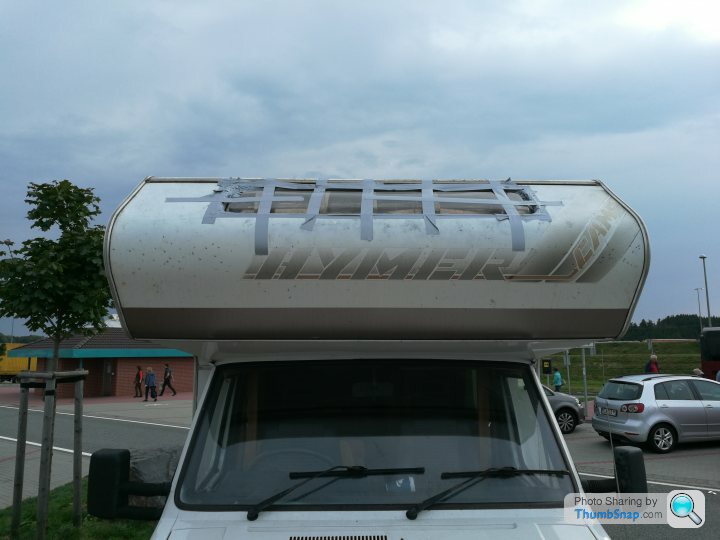
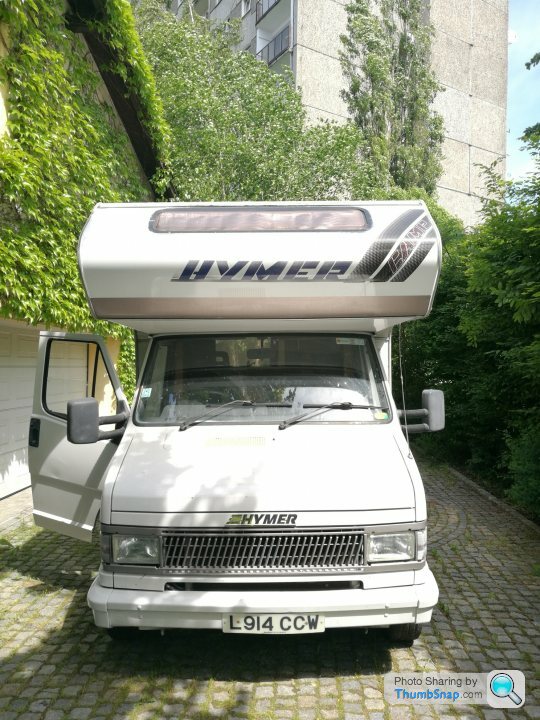
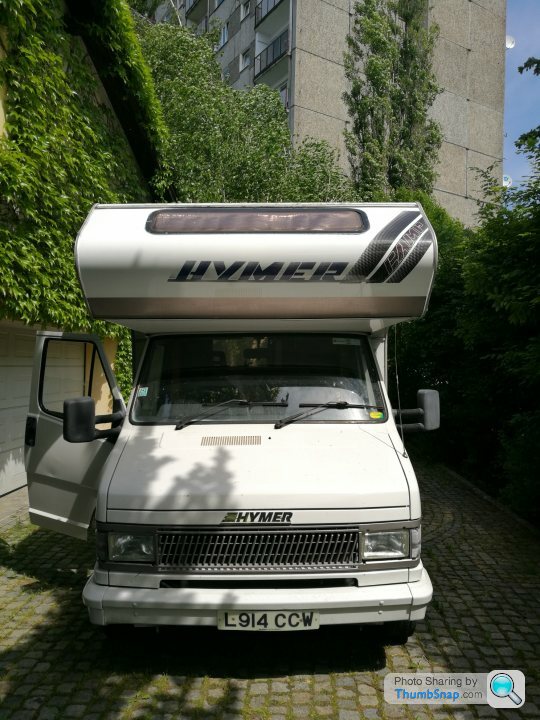
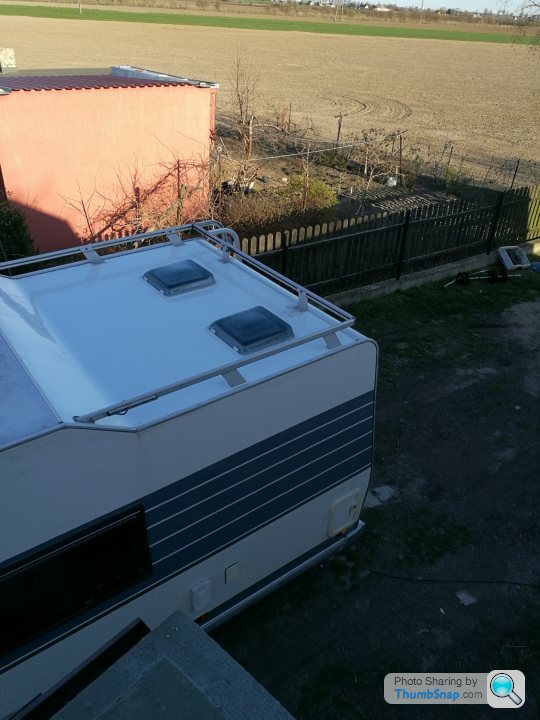
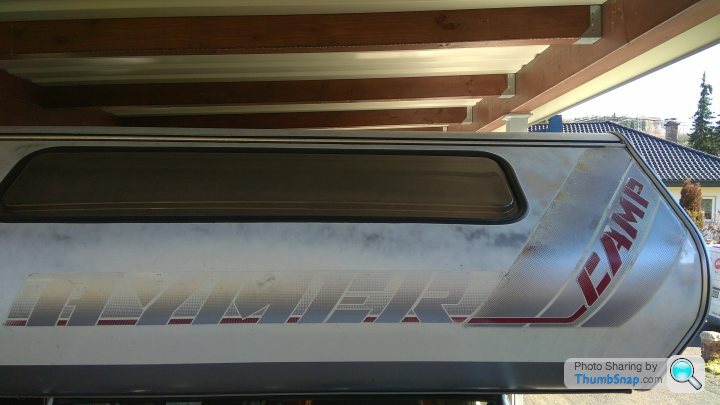
Decided to have a go at repainting the stripes on the habitation part with rustoleum and a foam roller....
What a PITA! Purchased some pin striping masking tape for the white parts and used conventional tape for everything else, Started with very light coats and spent the best part of a day with a tiny roller.
Finish isn't that bad to be fair, Will give it a light wet sand next weekend and then polish it up with a DA once the paint has 100% cured,
Pinstriping masking tape just didn't work with the bubbled finish so bled through in places which means I have to source some 15mm vinyl stripes for the white bits,
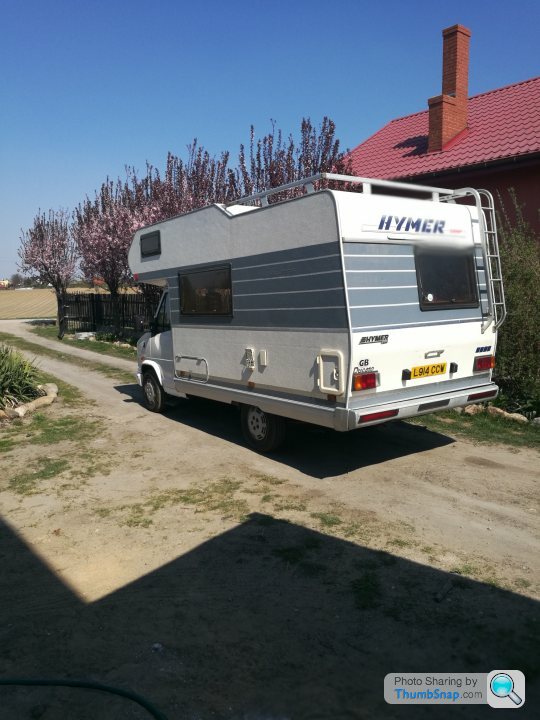
As I couldn't match the original Hymer colours I went for the same grey they use on the newer Hymer models.
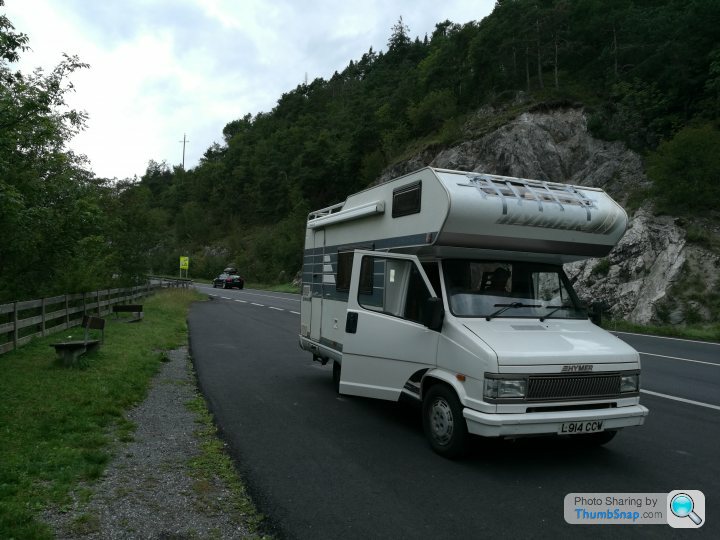
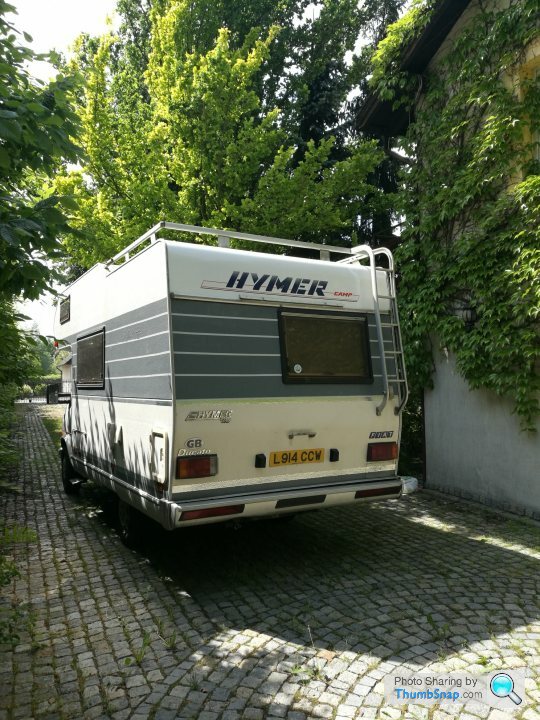
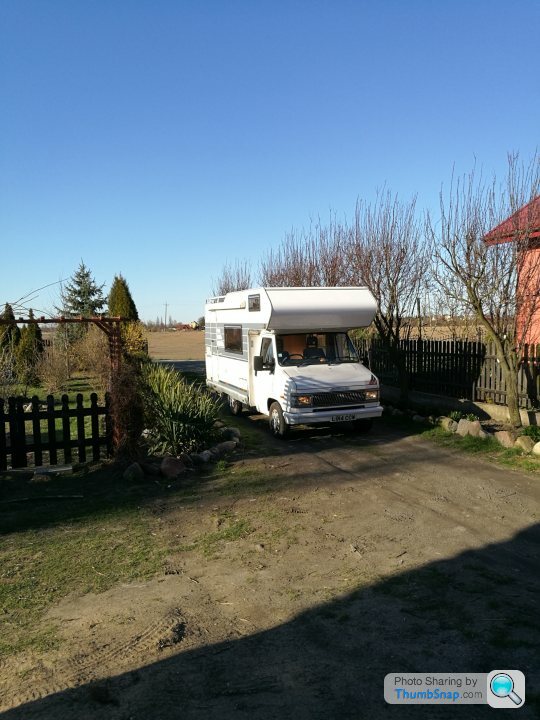
Anyway, Heres how it stands at present, Not perfect but with a bit more work will be
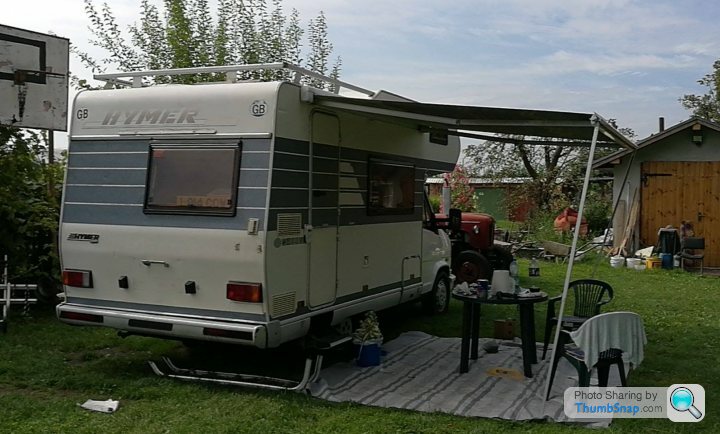
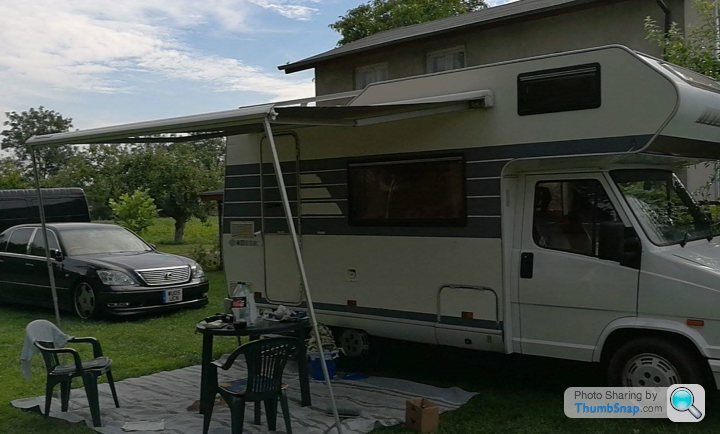
Trying to find some 15mm self adhesive white reflective tape for the thin stripes on the side as given its such a slow moving thing some extra visibility would be nice especially on Polish roads,
Will get it finished on Friday, 4 new tyres and then head to Sopot on Saturday for our first real trip away!
Engine and gearbox mounts are all done, CV boots replaced, Track rod ends also replaced (For a massive 150 quid) Mechanically only tyres and tracking need to be addressed.
Finished the false floor in the cab area so no more achy accelerator leg,
Decided to have a go at repainting the stripes on the habitation part with rustoleum and a foam roller....
What a PITA! Purchased some pin striping masking tape for the white parts and used conventional tape for everything else, Started with very light coats and spent the best part of a day with a tiny roller.
Finish isn't that bad to be fair, Will give it a light wet sand next weekend and then polish it up with a DA once the paint has 100% cured,
Pinstriping masking tape just didn't work with the bubbled finish so bled through in places which means I have to source some 15mm vinyl stripes for the white bits,
As I couldn't match the original Hymer colours I went for the same grey they use on the newer Hymer models.
Anyway, Heres how it stands at present, Not perfect but with a bit more work will be
Trying to find some 15mm self adhesive white reflective tape for the thin stripes on the side as given its such a slow moving thing some extra visibility would be nice especially on Polish roads,
Will get it finished on Friday, 4 new tyres and then head to Sopot on Saturday for our first real trip away!
Engine and gearbox mounts are all done, CV boots replaced, Track rod ends also replaced (For a massive 150 quid) Mechanically only tyres and tracking need to be addressed.
Finally managed to get away in the camper, Logically the first trip away in a very old italian engined motorhome should be somewhere that is at least 2000 kms from where you live just in case something goes wrong and also so that you can iron out any problems.
My wife speaks fluent Italian, Italy looked sunny so off we went
Prior to leaving the Alternator died so chucked it in with the local mechanic and 450 pln later (about 100 quid) it had been fully serviced, Tail light repaired along with the alternator. Win!
After looking at google maps, My wife chose a destination, Cursory check of tyres (New anyway) and other levels, A splash of diesel and we were on our way.
Passing Leipzig on the way down there was a huge bang and then an awful lot of wind, We pulled over and looked around the van (04.00 am by this time) and all seemed well until I noticed one hell of a breeze coming from the over cab bed. The main window had parted company with the rest of the van and although still there was in 3 pieces and we simply couldn't get it back in properly.
Luckilly as this van was passed to me from my father it still had all of his tools on board under one of the sofas, (By all i'm talking a roll of Duck brand duct tape and a rubber mallet)
At this point it was still dry although windy so liberally applied the masking tape until the window felt secure and reasonably air tight. (At this point i was considering turning round, grabbing the Lexus and carrying on)
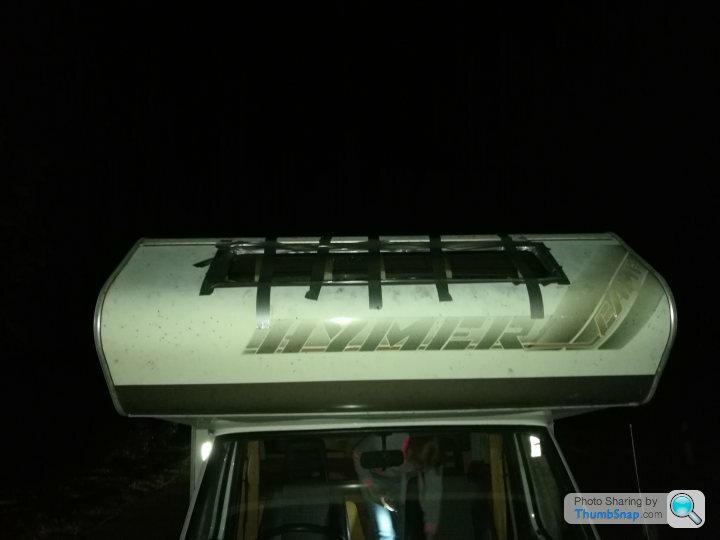
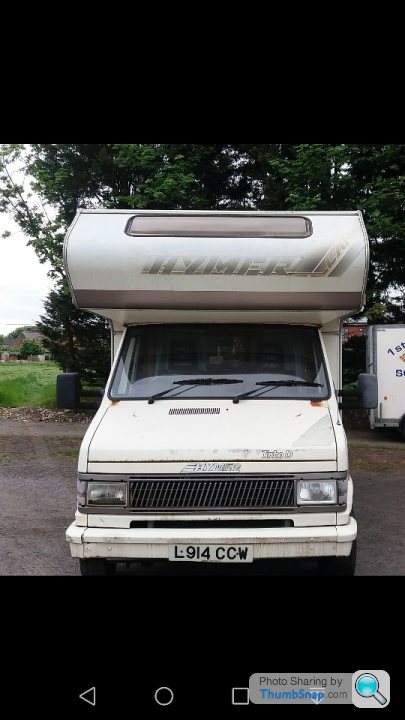
And a daylight shot of my 04.00am handy work
Hmm not great and the weather was starting to get worse, Only solution for the time being is more gaffa tape, surprising stuff in that it can hold a window in as tight as the original seal. Aesthetically i'm not a fan but it works.
Pressing on into Austria with no issues, Navi sent us through the centre of Munich which is an Umwelt Zone in quite a smokey old diesel. Still probably not much dirtier than the newer German stuff once the DPF has been removed
Not in Austria very long, Passed this place which made the inner 12 year old laugh https://de.wikipedia.org/wiki/w ktunnel
Then on down to the italian border,
One of the steepest hills I have ever seen, 5-6 kms of it in second gear (Descending) Cue soft brake pedal and lots of smoke,
Pulled over to wait for everything to cool down a bit.
Not many pictures from here as I was just determined to get to Gargano and drink some wine!
In torrential rain the gaffa tape started to leak so decided to stop at a local DIY shop and buy some silicone and a piece of perspex and another roll of gaffa tape (not duck brand so barely stuck)
My wife speaks fluent Italian, Italy looked sunny so off we went
Prior to leaving the Alternator died so chucked it in with the local mechanic and 450 pln later (about 100 quid) it had been fully serviced, Tail light repaired along with the alternator. Win!
After looking at google maps, My wife chose a destination, Cursory check of tyres (New anyway) and other levels, A splash of diesel and we were on our way.
Passing Leipzig on the way down there was a huge bang and then an awful lot of wind, We pulled over and looked around the van (04.00 am by this time) and all seemed well until I noticed one hell of a breeze coming from the over cab bed. The main window had parted company with the rest of the van and although still there was in 3 pieces and we simply couldn't get it back in properly.
Luckilly as this van was passed to me from my father it still had all of his tools on board under one of the sofas, (By all i'm talking a roll of Duck brand duct tape and a rubber mallet)
At this point it was still dry although windy so liberally applied the masking tape until the window felt secure and reasonably air tight. (At this point i was considering turning round, grabbing the Lexus and carrying on)
And a daylight shot of my 04.00am handy work
Hmm not great and the weather was starting to get worse, Only solution for the time being is more gaffa tape, surprising stuff in that it can hold a window in as tight as the original seal. Aesthetically i'm not a fan but it works.
Pressing on into Austria with no issues, Navi sent us through the centre of Munich which is an Umwelt Zone in quite a smokey old diesel. Still probably not much dirtier than the newer German stuff once the DPF has been removed
Not in Austria very long, Passed this place which made the inner 12 year old laugh https://de.wikipedia.org/wiki/w
 ktunnel
Then on down to the italian border,
One of the steepest hills I have ever seen, 5-6 kms of it in second gear (Descending) Cue soft brake pedal and lots of smoke,
Pulled over to wait for everything to cool down a bit.
Not many pictures from here as I was just determined to get to Gargano and drink some wine!
In torrential rain the gaffa tape started to leak so decided to stop at a local DIY shop and buy some silicone and a piece of perspex and another roll of gaffa tape (not duck brand so barely stuck)
Arrived at the camp site, Repaired the window and then cracked open some wine,
Upon waking the weather was terrible however the new repair didn't leak but the campsite was a sthole!
Imagine waking up in italy in the rain, Nowhere to get a coffee and just needing to go only to be greeted by this!
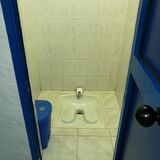
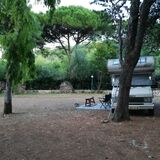
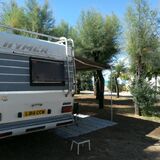
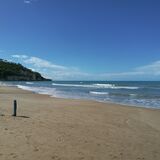
So we left and went to a different place, Near Peschichi, This one was much better, Parked right on the beach, Normal toilets, decent coffee however it was still torrential rain!
Weather finally came good and as my Aliexpress delivery of 15mm slightly reflective vinyl came through prior to leaving obviously before hitting the beach it had to be installed,
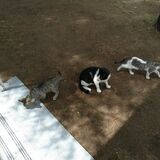
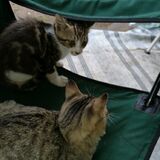
Local family of cats moved in
Beach and holiday for a week Managed to get 4/5 days of decent sun
And then back home ready for work
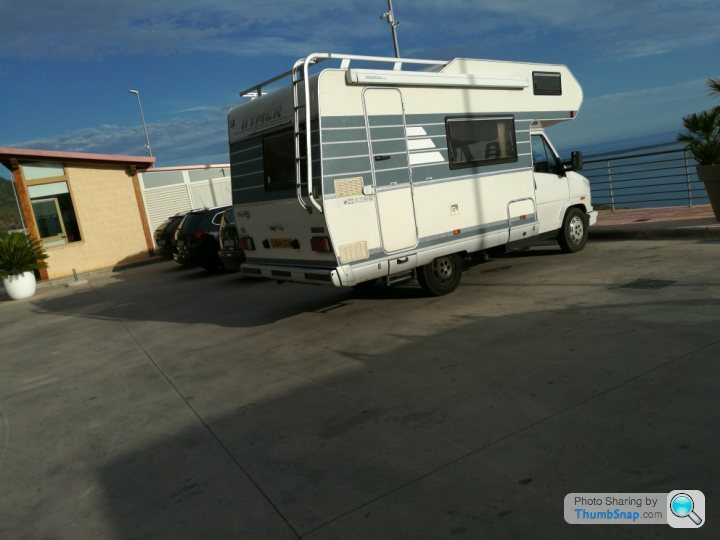
Italy as we were leaving,
27 hours later and the camper is parked back in its parking space at the inlaws, (Everything in between was a bit of a blur.

Observations from this trip,
Take your own bedding, Trying to find an Ikea in Italy is a nightmare. (We forgot ours)
Check your 12v batteries work (Leisure) Ares don't and are totally dead, They also trigger the battery charge warning so had to remove the fuse.
Take a roll or 10 of gaffa tape anywhere you go.
Check the weather before you leave
Anyway despite a few mishaps, A few forgotten important items we had a great time and the 24 year old Ducato base vehicle performed flawlessly both ways. Old agricultural simple french Turbo Diesel engines really are quite robust.
I was also surprised that we did overtake things and wasn't the slowest vehicle on the road. The 2.5td unit really pulls the weight of the camper quite well up long hills.
Upon waking the weather was terrible however the new repair didn't leak but the campsite was a s
thole!Imagine waking up in italy in the rain, Nowhere to get a coffee and just needing to go only to be greeted by this!
So we left and went to a different place, Near Peschichi, This one was much better, Parked right on the beach, Normal toilets, decent coffee however it was still torrential rain!
Weather finally came good and as my Aliexpress delivery of 15mm slightly reflective vinyl came through prior to leaving obviously before hitting the beach it had to be installed,
Local family of cats moved in
Beach and holiday for a week
Managed to get 4/5 days of decent sunAnd then back home ready for work
Italy as we were leaving,
27 hours later and the camper is parked back in its parking space at the inlaws, (Everything in between was a bit of a blur.
Observations from this trip,
Take your own bedding, Trying to find an Ikea in Italy is a nightmare. (We forgot ours)
Check your 12v batteries work (Leisure) Ares don't and are totally dead, They also trigger the battery charge warning so had to remove the fuse.
Take a roll or 10 of gaffa tape anywhere you go.
Check the weather before you leave
Anyway despite a few mishaps, A few forgotten important items we had a great time and the 24 year old Ducato base vehicle performed flawlessly both ways. Old agricultural simple french Turbo Diesel engines really are quite robust.
I was also surprised that we did overtake things and wasn't the slowest vehicle on the road. The 2.5td unit really pulls the weight of the camper quite well up long hills.
Thats the thing with gaffa tape, its amazing stuff, The more you use the better! Now we are home picked up a tube of sikaflex and some gorilla tape.
This friday I will bond some 1mm aluminium sheet over the window aperture (Well the whole front panel) as a more permanent fix, Cut to size cost less than a tenner and then paint with rustoleum and replace the decals. Wallboard seems reasonable enough so after a bit of insulation it can be made to look relatively OEM from the inside too.
Plenty of work to do on the van over the winter which includes new lino, New interior lighting and new batteries. Inside could do with a repaint too
Thanks for writing up your adventures.
Certainly sounds action-packed - perhaps not in the way it had originally been planned, but good that you could see the amusing side and plod on. Not had that many calamities myself but all part of the adventure and something you can look back upon and smile. If you can deal with that, anything is possible.
Wish you many more happy miles!
Update time!
Finally got round to having the front part around the window painting after installing the replacement window in a bit of a rush before winter came. (still needs a tidy up with a nice bead of caulk but thats a job for when I have an electric caulking gun)
Managed to have some new decals made up by scanning in a knockoff set I happened upon in the Polish small ads, (60 quid for the full set however the quality wasn't great) Scanned these in. had a graphic designer retrace them and then re printed in UV resistant ink.
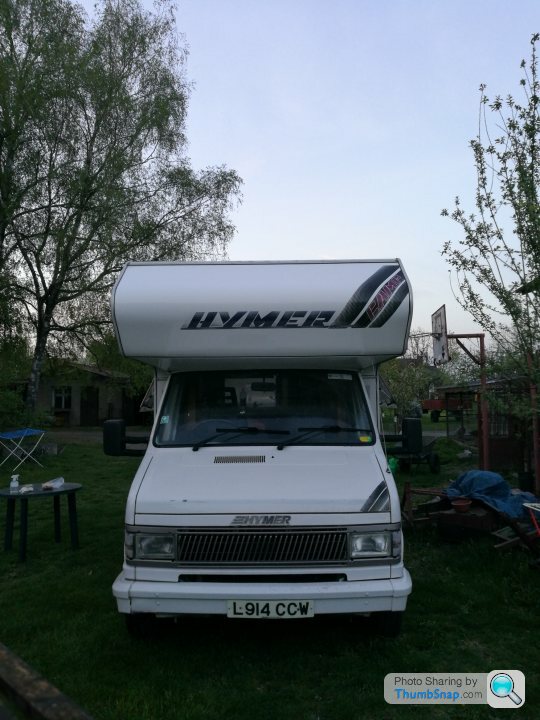
A Before shot.
And after
Managed to get the blown air heating working to some extent although it isn't that hot, Will have a closer look over summer.
New lino installed in the kitchen instead of the carpet which is nice.
Pretty much ready for the summer!
Finally got round to having the front part around the window painting after installing the replacement window in a bit of a rush before winter came. (still needs a tidy up with a nice bead of caulk but thats a job for when I have an electric caulking gun)
Managed to have some new decals made up by scanning in a knockoff set I happened upon in the Polish small ads, (60 quid for the full set however the quality wasn't great) Scanned these in. had a graphic designer retrace them and then re printed in UV resistant ink.
A Before shot.
And after
Managed to get the blown air heating working to some extent although it isn't that hot, Will have a closer look over summer.
New lino installed in the kitchen instead of the carpet which is nice.
Pretty much ready for the summer!
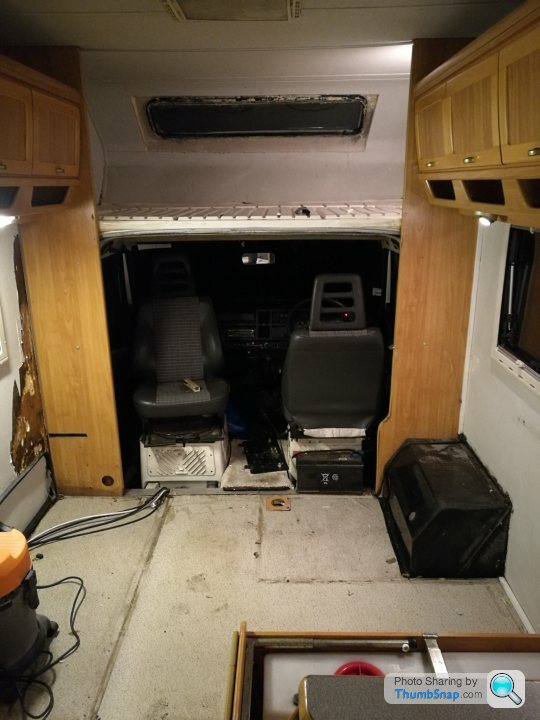
We moved house so sadly the van didn't get much use or attention over the winter however when doing a few little jobs in January I noticed a fair amount of damp starting come through.
On a van this age its pretty much imperative that these things are kept under check and repaired immediately otherwise things go downhill very quickly. Being a Hymer and having an Aluminium frame as opposed to wood means these things are usually saveable.
This was the sad evening in January when I realised what was wrong and set about stripping everything down.
A quick phonemail later on the Monday and we arranged to drop the van off with a guy 50kms away in a random Polish village which consisted of 3 houses and a huge metal hangar type shed. I was panicking slightly about just "dumping" the van with some unknown guy who apparently repaired motorhomes. My thoughts were its insured and whats the worst than can happen.
No mention of money was made, No negotiation over price as I had no idea what it would cost. I just told the guy to fix it and make it right. get rid of any damp and do what is necessary. (I stuck 2k in English money to one side but suspected I would have to add to this)
3 months later while I'm doing something totally unrelated my wife got a surprise call from the guy with our motorhome to say that it was all finished.
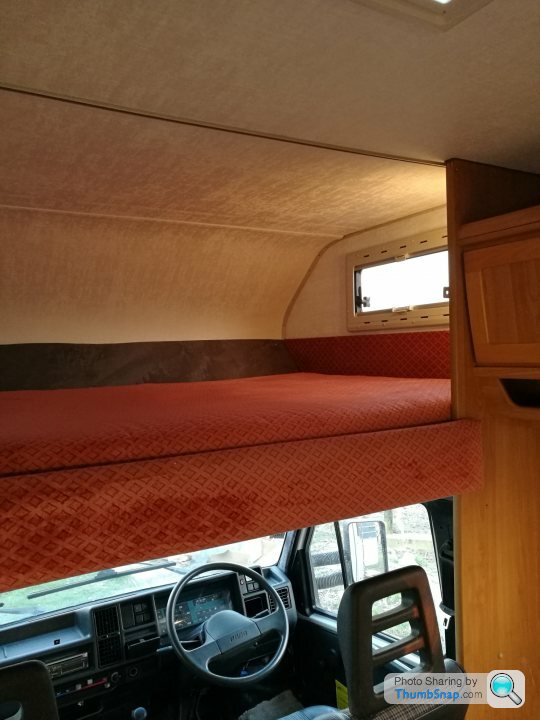
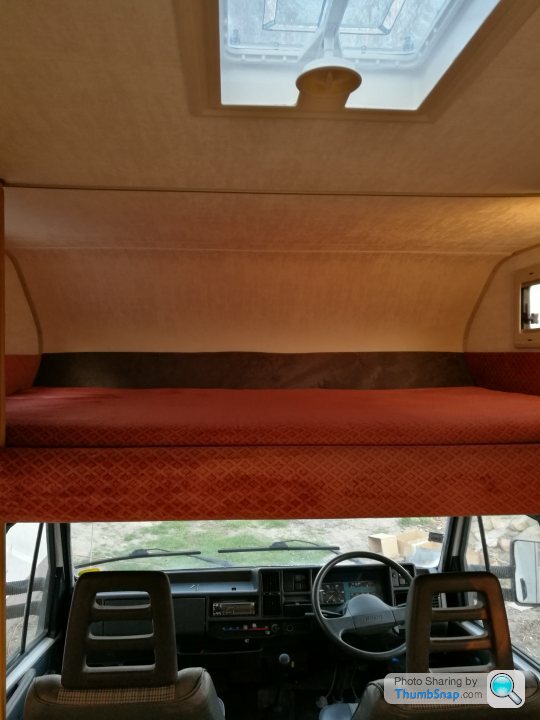
He has deleted the over cab window, resigned the whole panel with fibreglass, insulation and then wallboard from the inside. Reskinned the roof with fibreglass. Installed 3 skylights and wall boarded and wallpapered the whole interior. My heart sank slightly that he had got it done so quickly (I was expecting it back in June once I had finished a few more bits on the house) and was a little worried about how much this would all cost as its a huge amount of work.
1200 GBP was the answer. An absolute bargain in my opinion. Van has been saved and now looks better than ever.
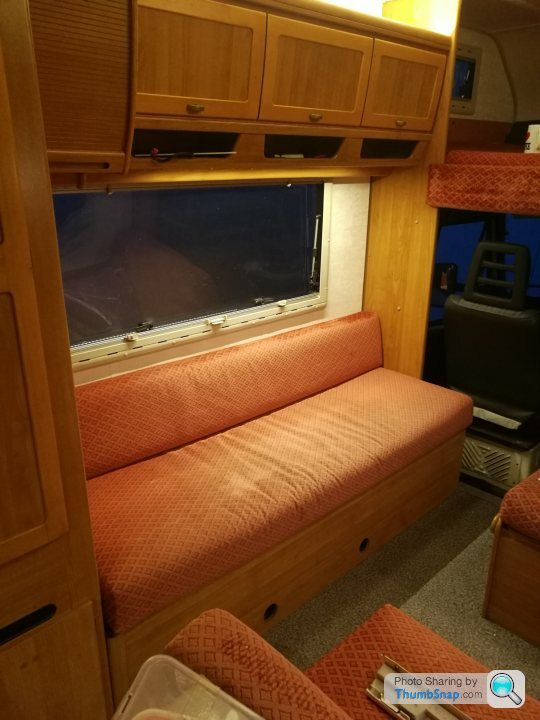
Whilst most of the furniture was out it seemed like a good idea to fit some fresh Lino in there as the 26 year old original was a bit disgusting.

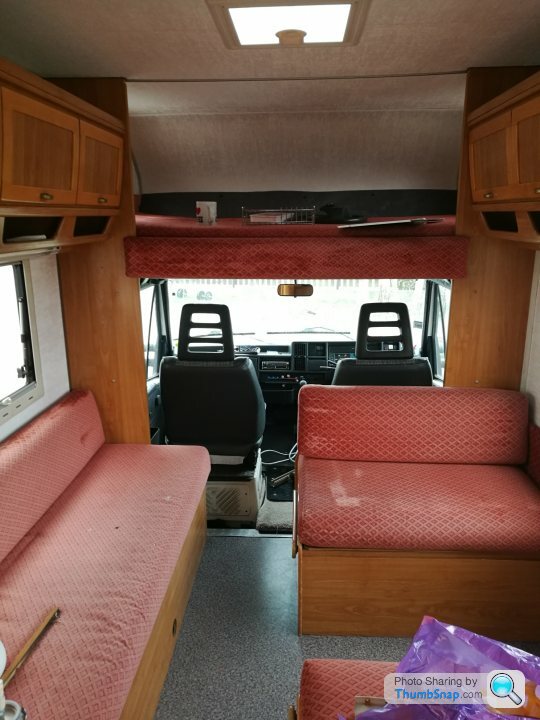
Furniture back in.
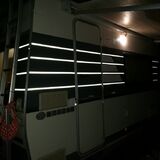
Old fluorescent tubes replaced with 12v LED strip in an Aluminium profile connected up to 2 remote controlled drivers.

Got quite a bit of stick on the Hymer groups for doing away with the original light fittings however I'm delighted with the amount of light the LEDs produce and it also means the batteries will last much longer.
Excess LED strip was stuck on top of the units hidden away to give an uplighting effect. (Nice and bright in there now)

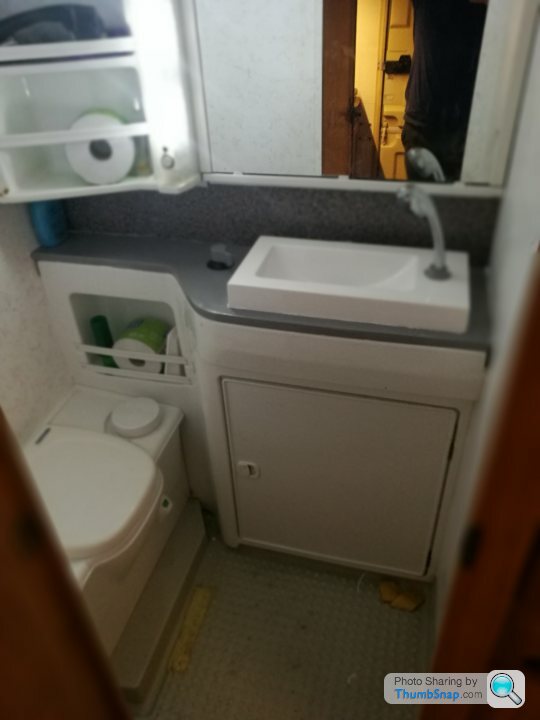
Next up was the bathroom. The original plastic sink was fked so decided to have a go at making my own solution.
Bit of softwood cut to size.
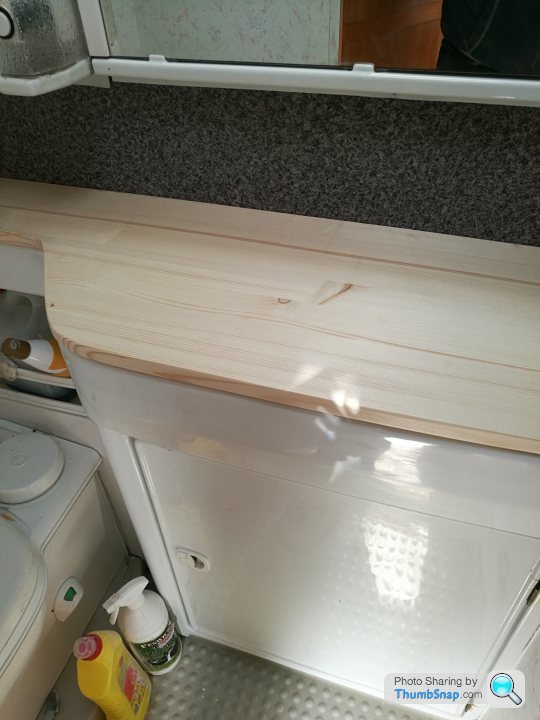
Rattle can it grey (Not perfect but looks fine) and install a small conglomerate surface mount basin. (30 quid from the local bathroom shop)
Oh and a finishing touch. Spent a lot of time last year getting the original stickers scanned in and then re-traced and printed as the faded originals looked a bit rubbish.
Had a few sets printed off
Next step is a bit of welding (cosmetic) and a bit of paint to the cab. Kon Tiki front bumper. Side steps, Install the Audi S line seats and try to find a Fiat Uno Turbo steering wheel.
Pretty pleased with the result so far. - Total spend is less than 1500 GBP.
On a van this age its pretty much imperative that these things are kept under check and repaired immediately otherwise things go downhill very quickly. Being a Hymer and having an Aluminium frame as opposed to wood means these things are usually saveable.
This was the sad evening in January when I realised what was wrong and set about stripping everything down.
A quick phonemail later on the Monday and we arranged to drop the van off with a guy 50kms away in a random Polish village which consisted of 3 houses and a huge metal hangar type shed. I was panicking slightly about just "dumping" the van with some unknown guy who apparently repaired motorhomes. My thoughts were its insured and whats the worst than can happen.
No mention of money was made, No negotiation over price as I had no idea what it would cost. I just told the guy to fix it and make it right. get rid of any damp and do what is necessary. (I stuck 2k in English money to one side but suspected I would have to add to this)
3 months later while I'm doing something totally unrelated my wife got a surprise call from the guy with our motorhome to say that it was all finished.
He has deleted the over cab window, resigned the whole panel with fibreglass, insulation and then wallboard from the inside. Reskinned the roof with fibreglass. Installed 3 skylights and wall boarded and wallpapered the whole interior. My heart sank slightly that he had got it done so quickly (I was expecting it back in June once I had finished a few more bits on the house) and was a little worried about how much this would all cost as its a huge amount of work.
1200 GBP was the answer. An absolute bargain in my opinion. Van has been saved and now looks better than ever.
Whilst most of the furniture was out it seemed like a good idea to fit some fresh Lino in there as the 26 year old original was a bit disgusting.
Furniture back in.
Old fluorescent tubes replaced with 12v LED strip in an Aluminium profile connected up to 2 remote controlled drivers.
Got quite a bit of stick on the Hymer groups for doing away with the original light fittings however I'm delighted with the amount of light the LEDs produce and it also means the batteries will last much longer.
Excess LED strip was stuck on top of the units hidden away to give an uplighting effect. (Nice and bright in there now)
Next up was the bathroom. The original plastic sink was f
ked so decided to have a go at making my own solution.Bit of softwood cut to size.
Rattle can it grey (Not perfect but looks fine) and install a small conglomerate surface mount basin. (30 quid from the local bathroom shop)
Oh and a finishing touch. Spent a lot of time last year getting the original stickers scanned in and then re-traced and printed as the faded originals looked a bit rubbish.
Had a few sets printed off
Next step is a bit of welding (cosmetic) and a bit of paint to the cab. Kon Tiki front bumper. Side steps, Install the Audi S line seats and try to find a Fiat Uno Turbo steering wheel.
Pretty pleased with the result so far. - Total spend is less than 1500 GBP.
Hey CDB1983,
after a long search to renew the decal on the alcove, I come across your blog post of the 23rd March 2018. I think that the decal looks really nice. I would like to replace our old decal with a new one, so I asked the company Hymer if they could help me, but they don't produce them anymore.
When I saw your resolution for the decal I was very happy that there is a good alternative. I would be glad if you can recommend me the company who reprinted the decal or maybe you could send me the file of the decal.
Thank you very much!
Greetings, hymeruwe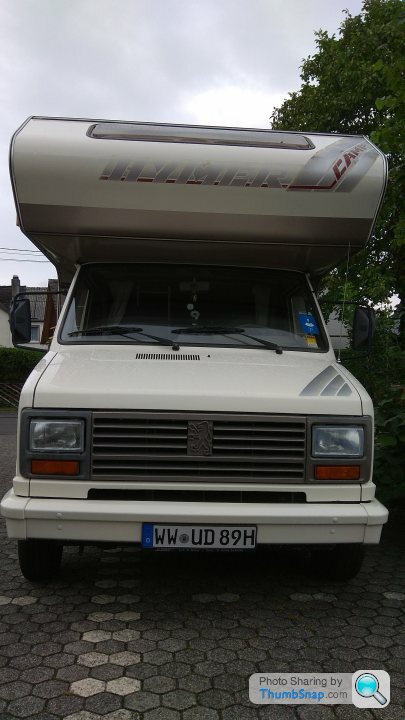
Gassing Station | Tents, Caravans & Motorhomes | Top of Page | What's New | My Stuff