Mev exocet build
Discussion


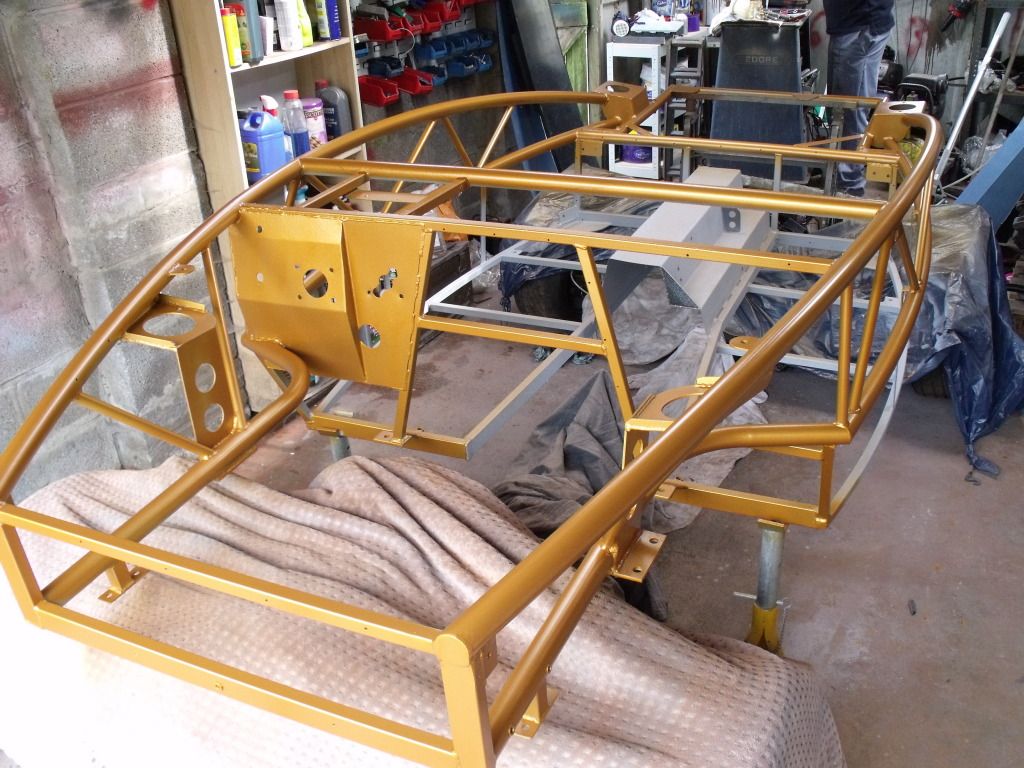
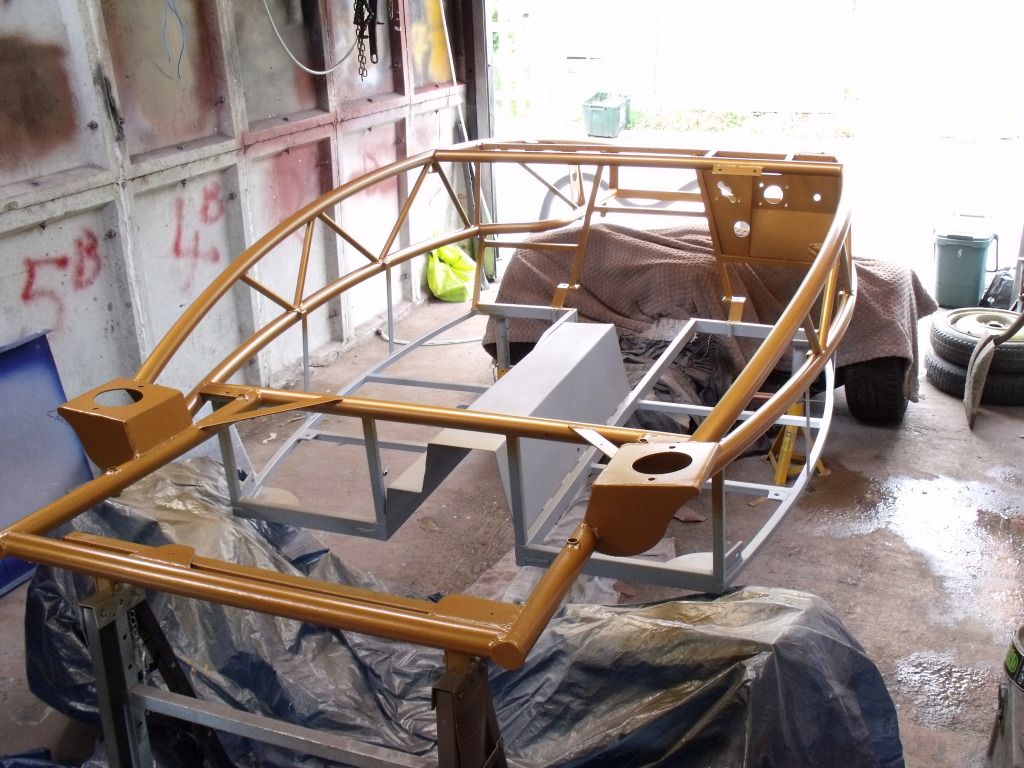

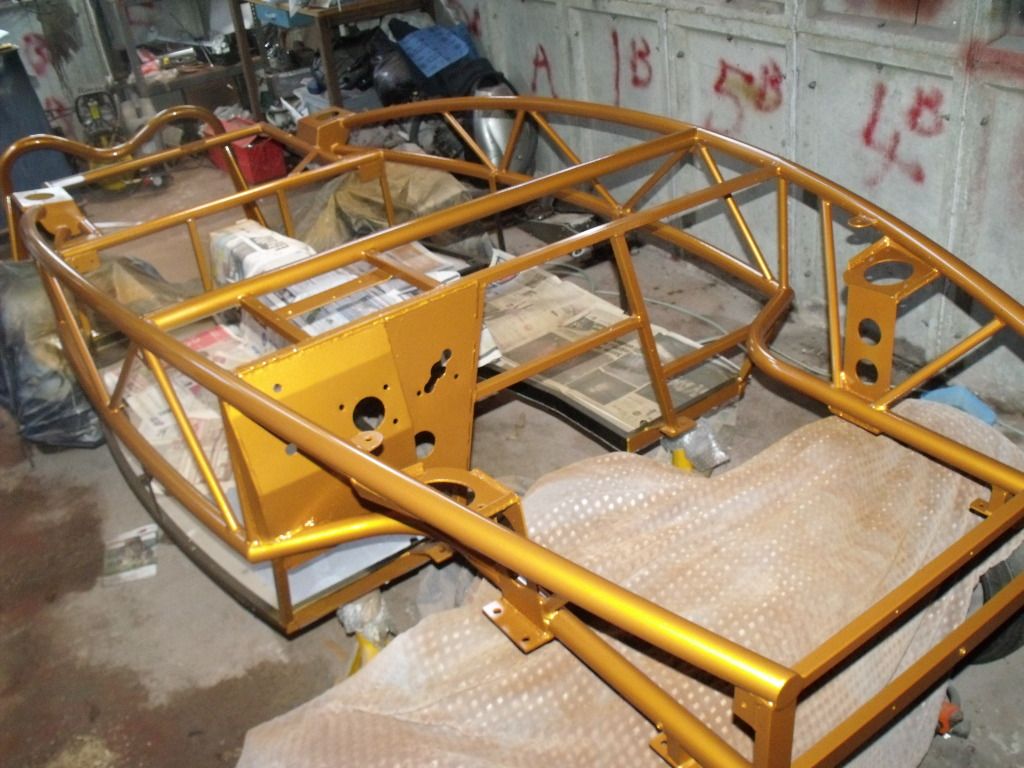
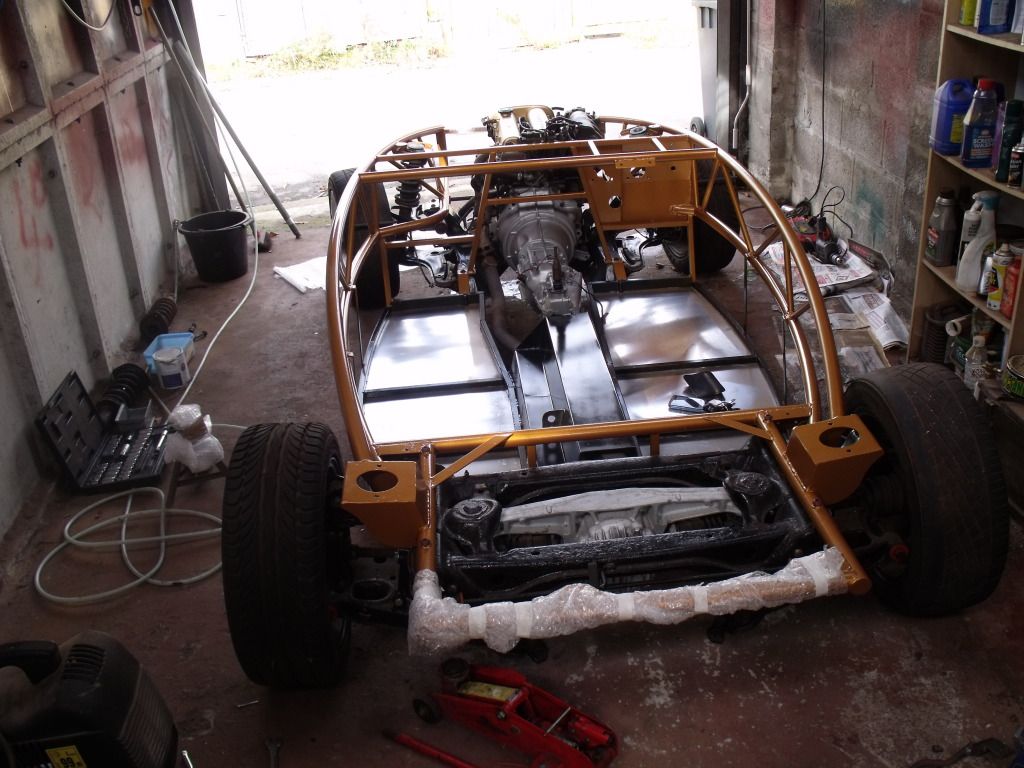
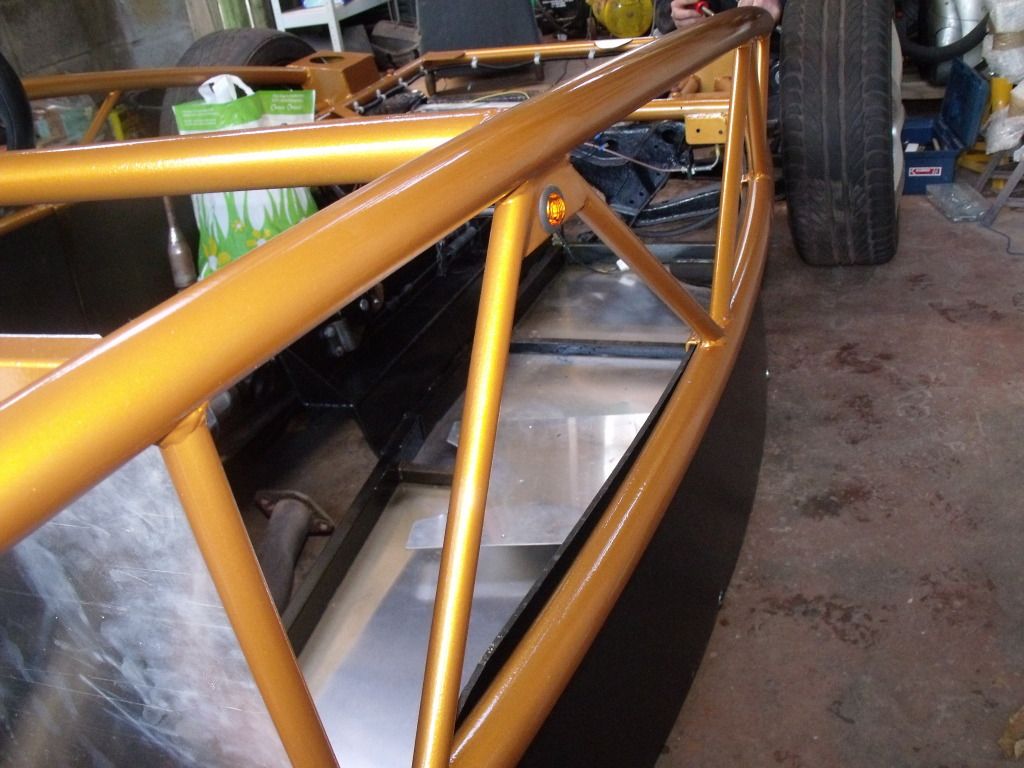
Been a while since the last update but since the last post flipped the frame upside down to paint the underside of the frame and also painted the floor bars in black. With it upside down decided to rivet the floor on ran a bead of silcone and dipped each rivet in waxoil to prevent it from rusting.
Got a few marks in the frame so will have to give it a final layer of colour them a couple of layers of lacquer then got to bolt everything back up which hopefully will only take a weekend.
Got a few marks in the frame so will have to give it a final layer of colour them a couple of layers of lacquer then got to bolt everything back up which hopefully will only take a weekend.
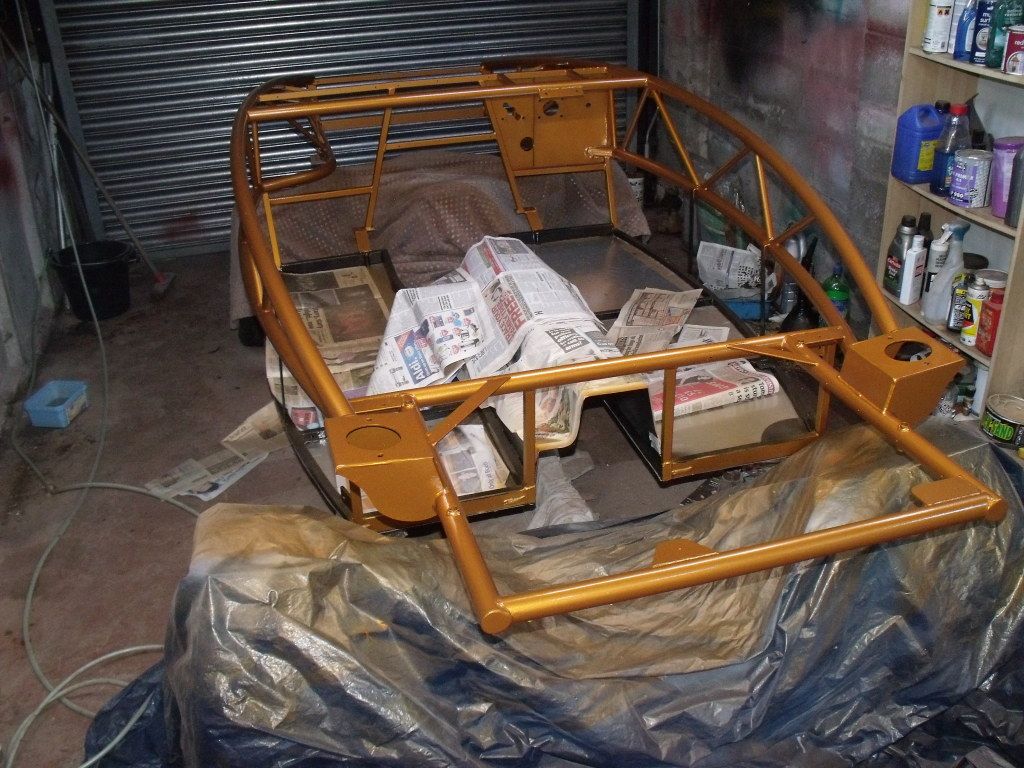

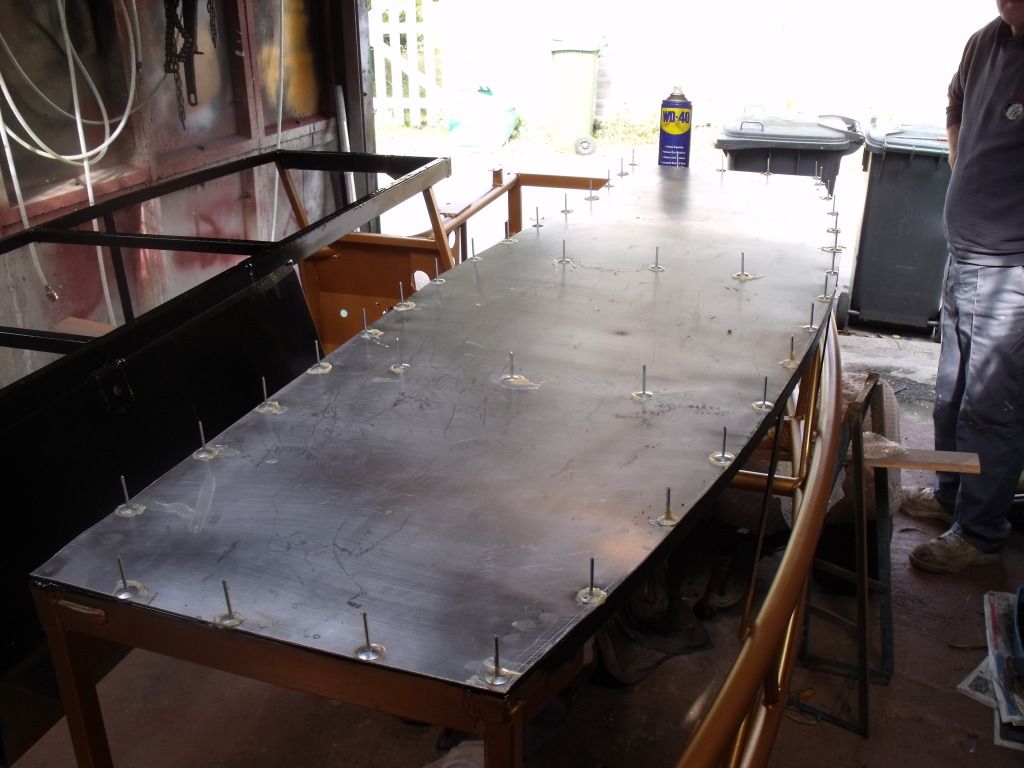
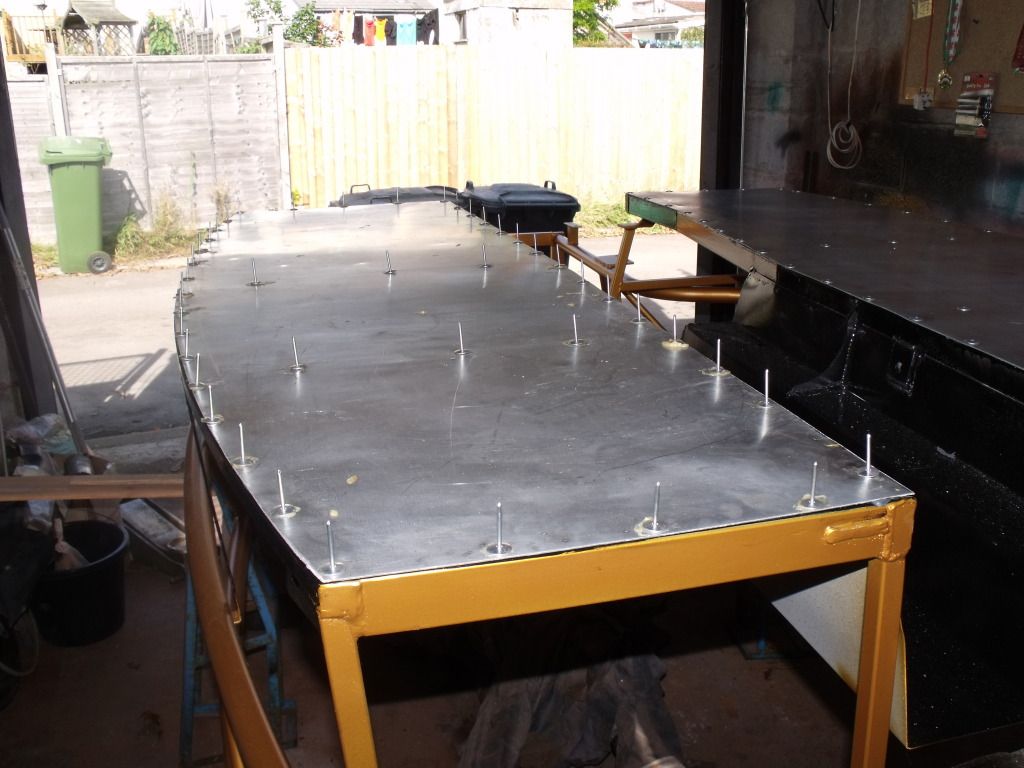
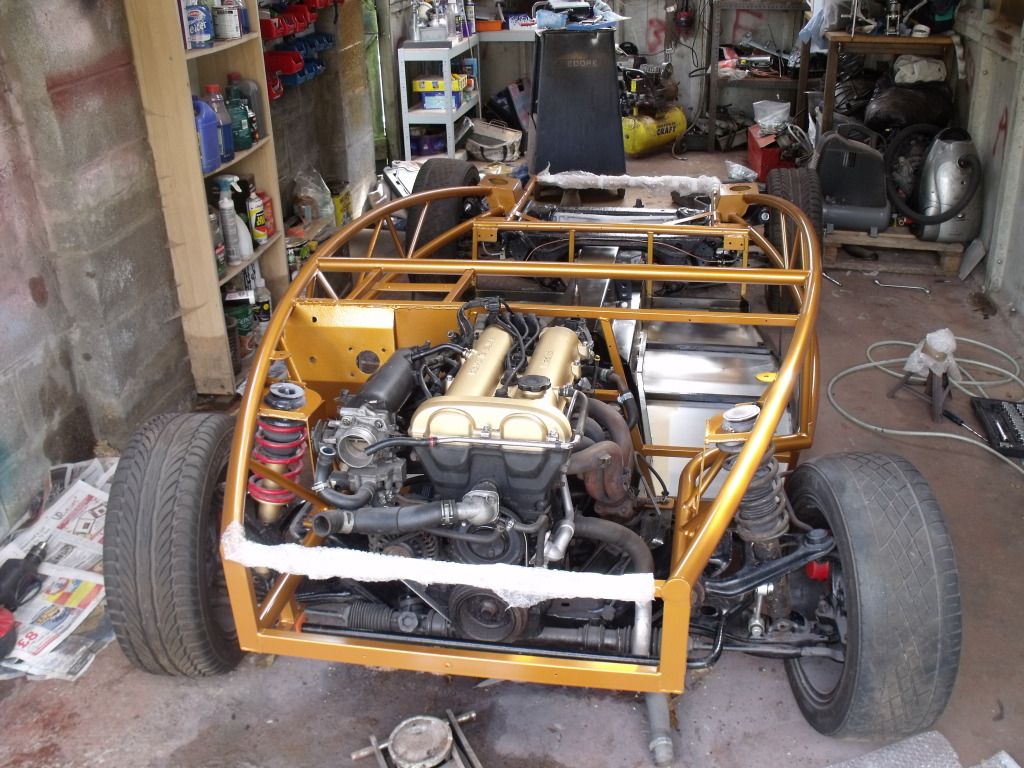
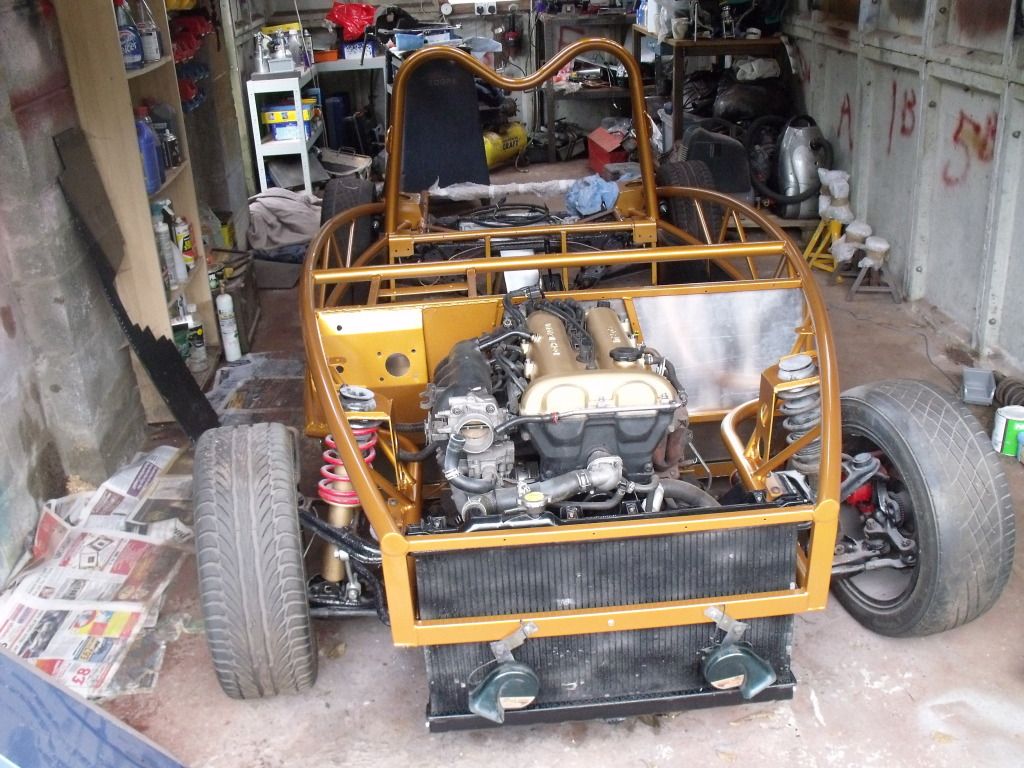
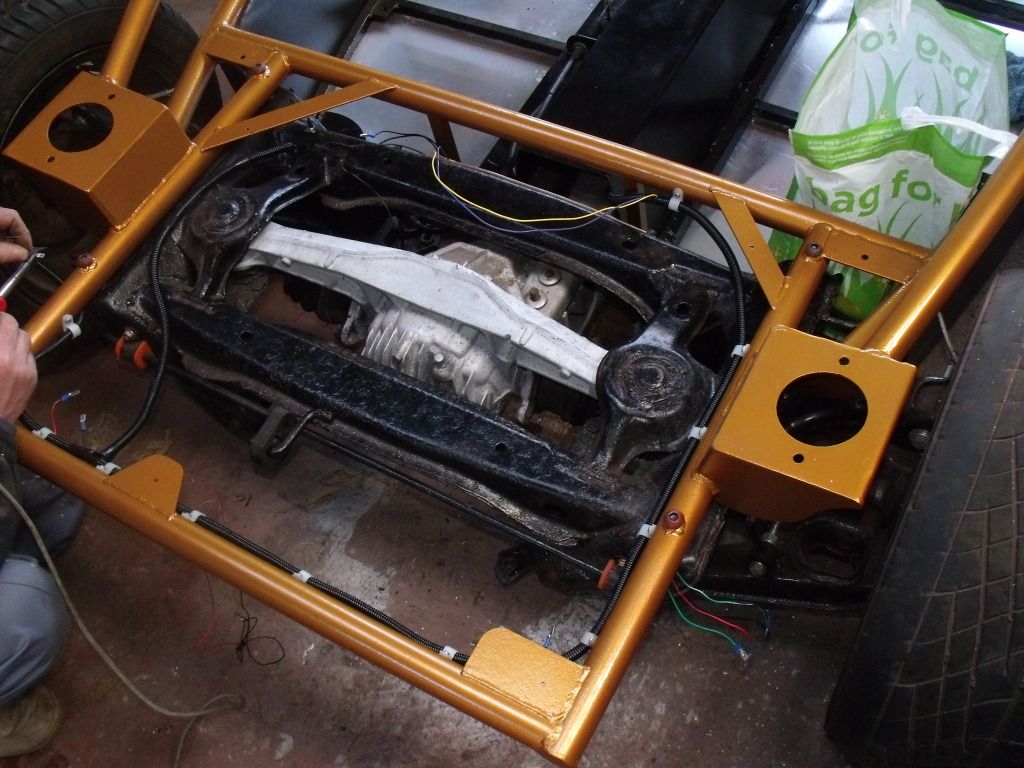
So with the holes drilled for the fuel and brake pipes 2 of my mates come over to lift the frame back onto the ppf didn't take to long got it all bolted down some pics
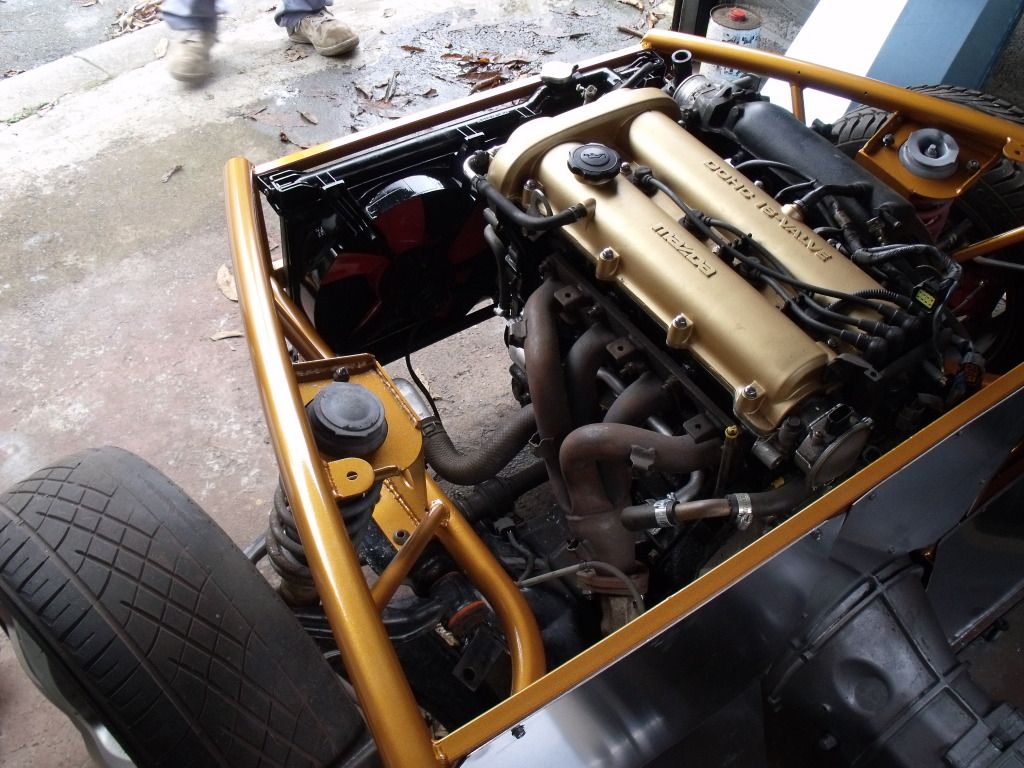
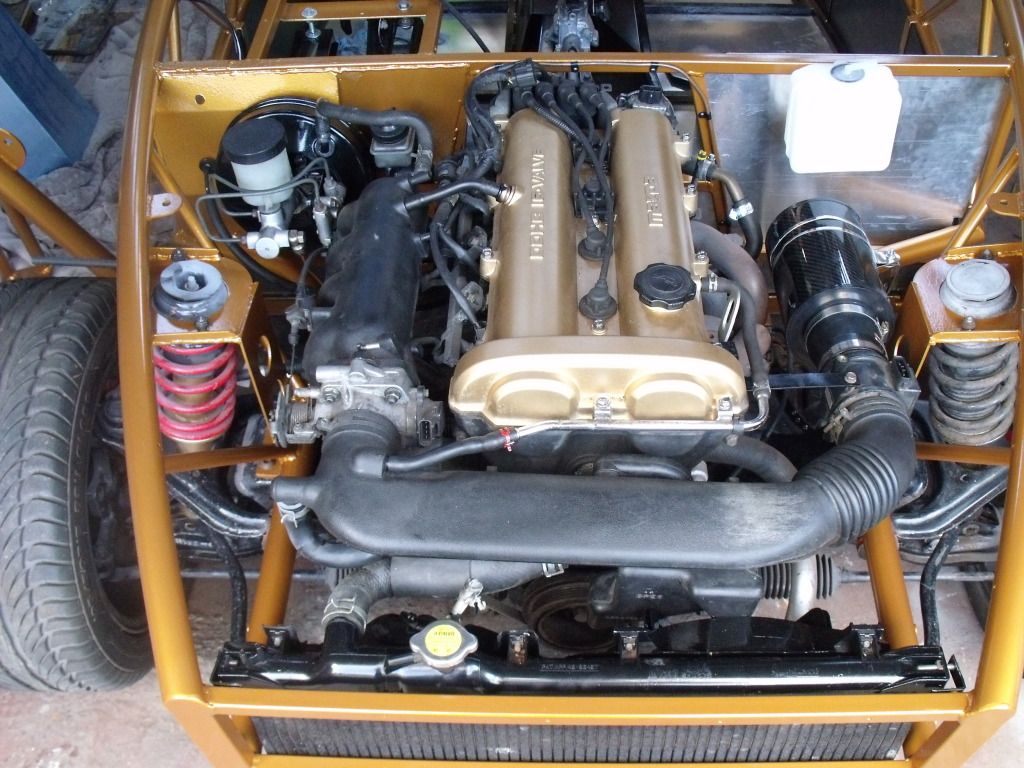
Finished just in time for the f1 so after the race fitted the rad, horn's side panels, and bulkhead panels
Hopefully with a good day next weekend will have it mostly finished keep you updated.
Finished just in time for the f1 so after the race fitted the rad, horn's side panels, and bulkhead panels
Hopefully with a good day next weekend will have it mostly finished keep you updated.
randlemarcus said:
I seem to recall you mentioning a luggage compartment earlier in the thread. How did that work out?
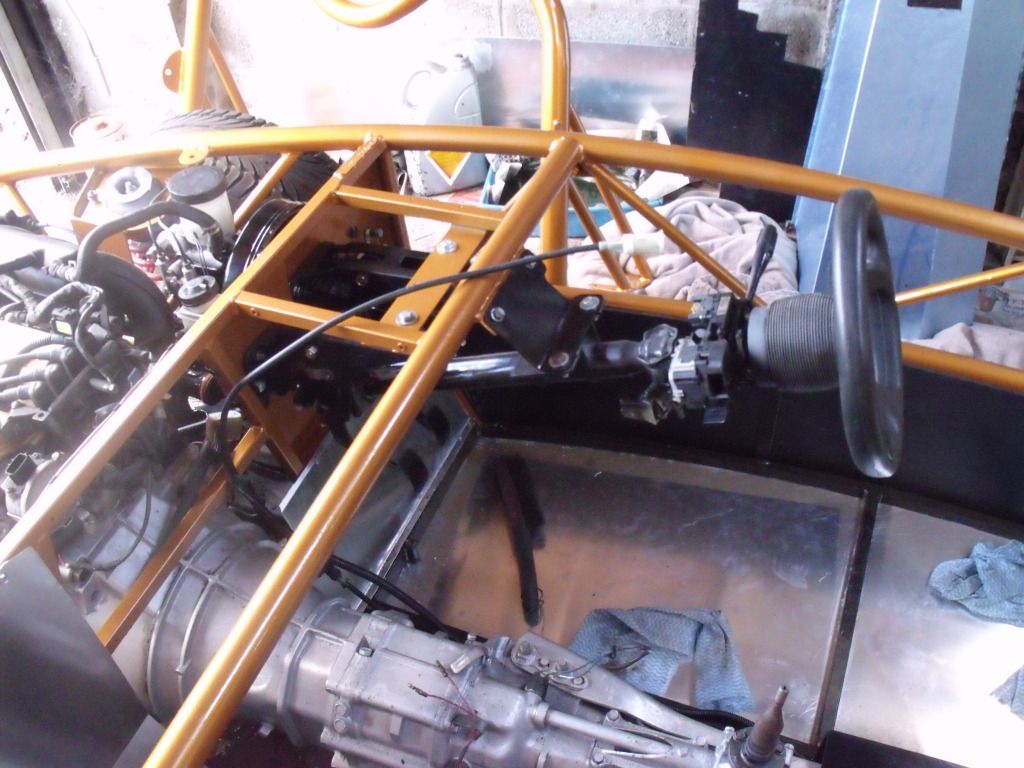
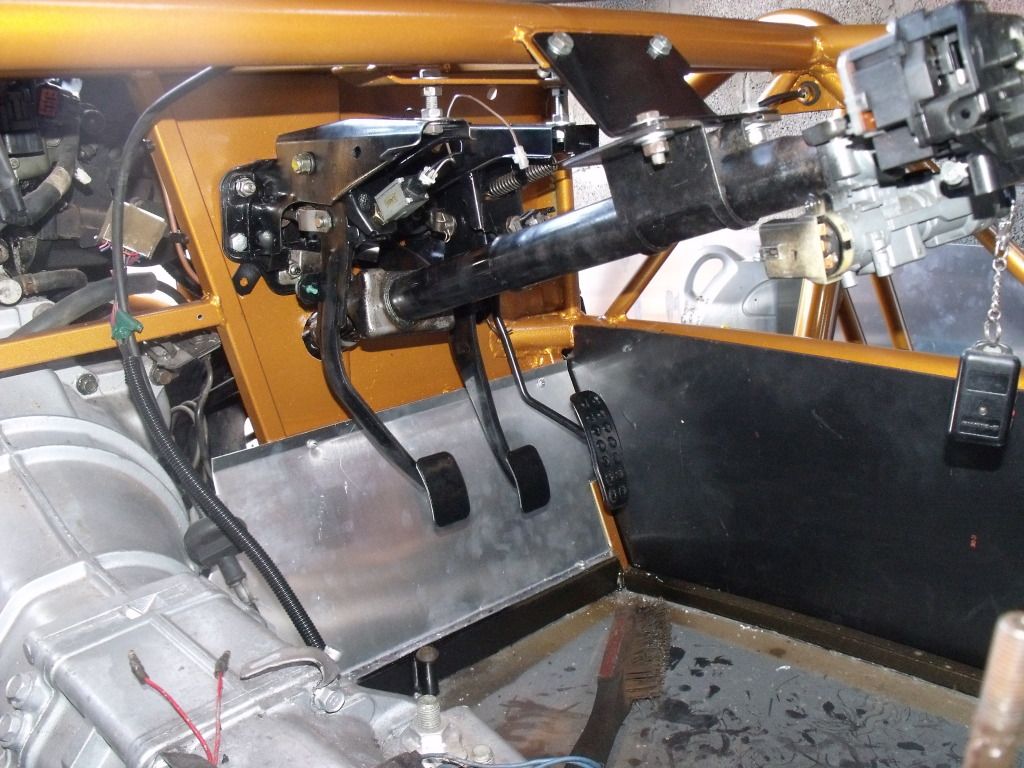
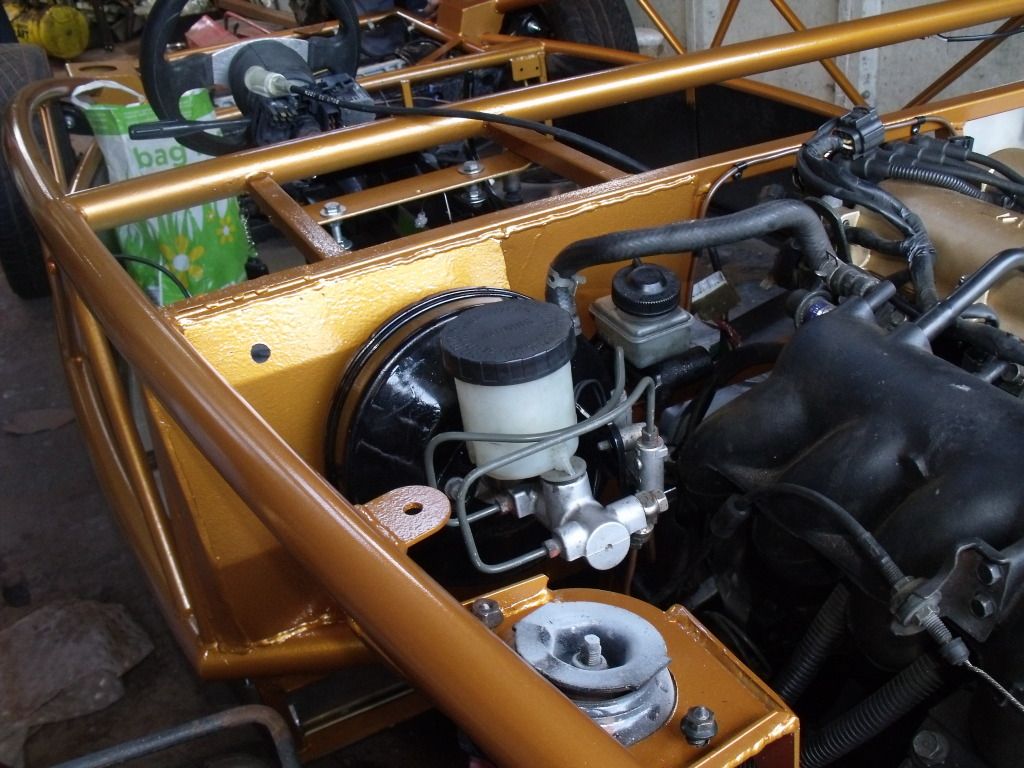
Will reveal that tomorrow.But another good day on it mounted the steering collum, brake servo/master cylinder, clutch master cylinder, pedals, air intake and filter, handbrake cabels, side repeaters and attached the rear wiring loom.
Pics
Steering collum and pedals
Brake servo/ master cylinder and air intake system
Rear loom and side repeaters
Same place on the other side.
Hopefully tomorrow will have the loom all in place, lights, and start on mounting the body work keep you updated.
MG CHRIS said:
It must be seen from the rear of the vehicle between 5 degrees and 60 degrees out from the side of the vehicle. It must also be seen between 5 degrees below and 15 degrees above horizontal assuming it is not higher than 750mm from the ground.
The 5 out and 5 down is the killer as the rear wing is in the way.
I hope yours is OK but we have seen all to many that fail.
The fix is to fit that same style lamp (Looks like the one we buy from CBS) into the rear lower lip of the front cycle wing. If you need to go this way let me know and I can suggest a way to modify the lamp so it takes up less room behind the cycle wing.
Steve
Edited by Steve_D on Sunday 14th October 10:39
Steve_D said:
MG CHRIS said:
It must be seen from the rear of the vehicle between 5 degrees and 60 degrees out from the side of the vehicle. It must also be seen between 5 degrees below and 15 degrees above horizontal assuming it is not higher than 750mm from the ground.
The 5 out and 5 down is the killer as the rear wing is in the way.
I hope yours is OK but we have seen all to many that fail.
The fix is to fit that same style lamp (Looks like the one we buy from CBS) into the rear lower lip of the front cycle wing. If you need to go this way let me know and I can suggest a way to modify the lamp so it takes up less room behind the cycle wing.
Steve
Edited by Steve_D on Sunday 14th October 10:39
Thanks for the offer for the cylce wing if i need to move it will let you know and yea the lights are from cbs.
Another day more progress.
So first job was to attach the rear lights with that done painted the boot floor and covered the edge in edging trim
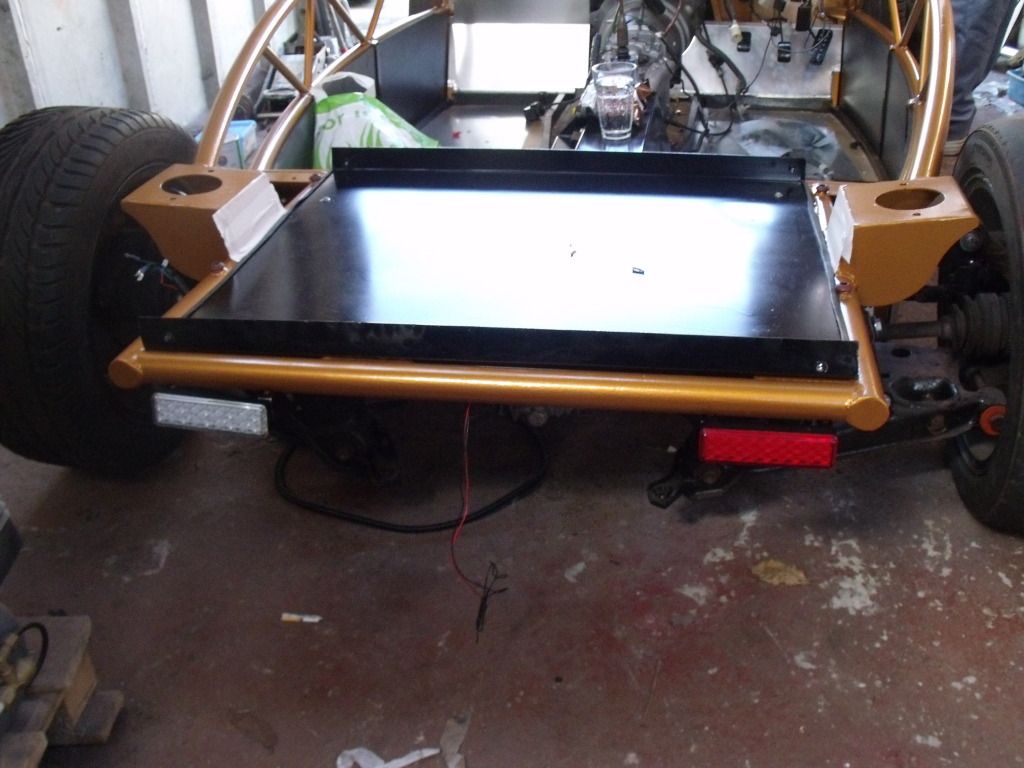
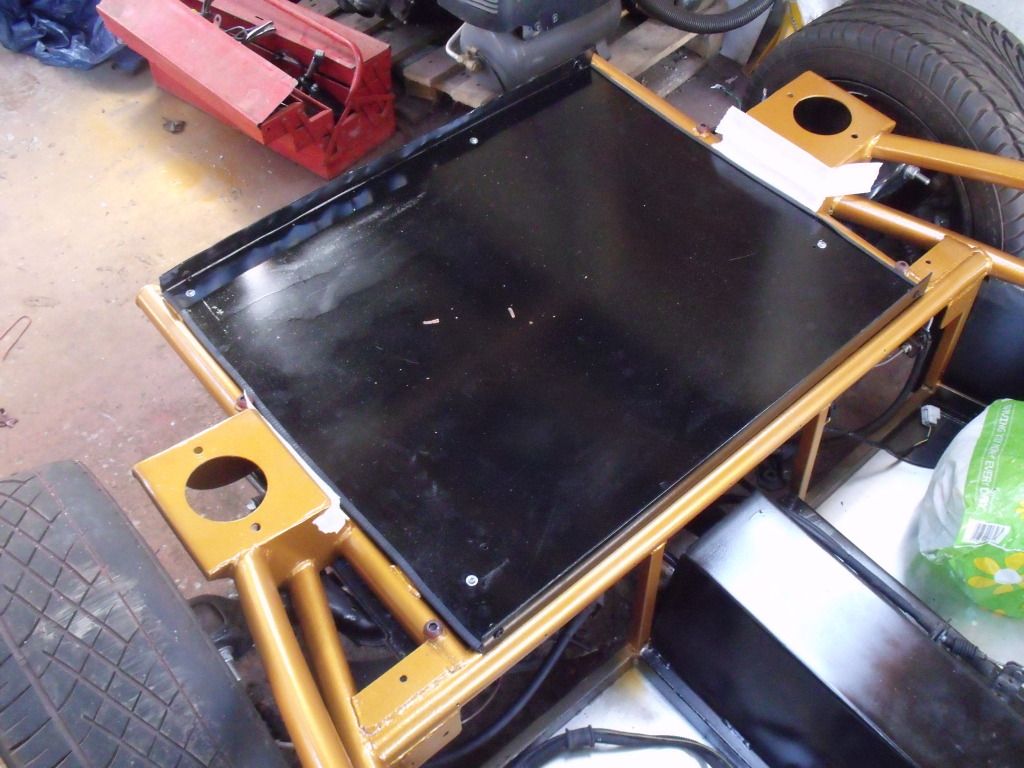
it also acts as a way to secure the boot cover to be bolted onto the floor using 4 rivnuts.
With that done mocked up a number plate (off my other kit car) put it in place and marked out the holes for the no plate lights, joined the the 2 sets of lights wiring together to join up to the exsiting loom and glued it to the back of the cover.
also trimed down the thickness of the boot cover and added edging stuff provided in the kit around the bottom

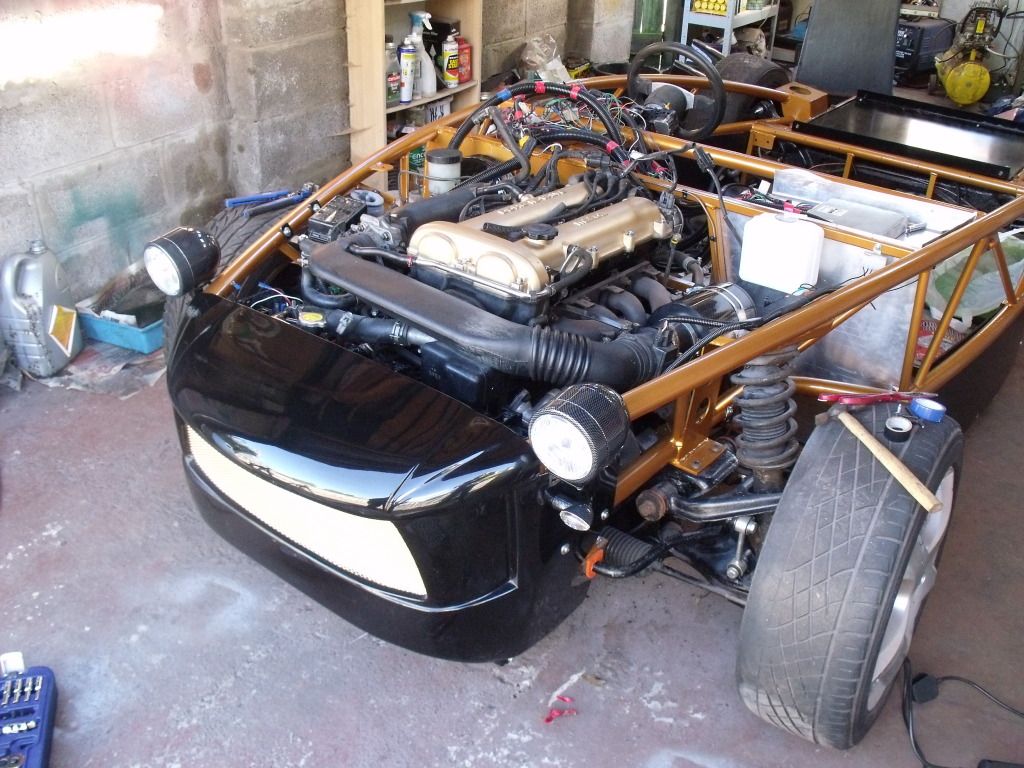
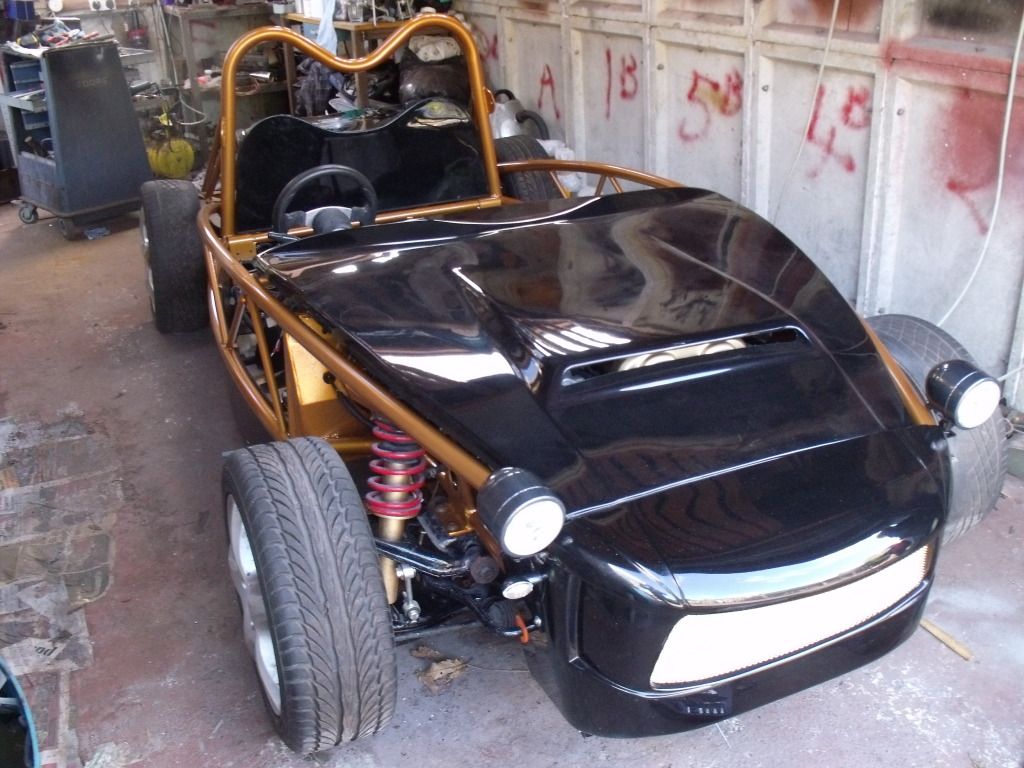
Mounted the front end, headlights, indicators, layed the loom in the right position and started connecting everything up
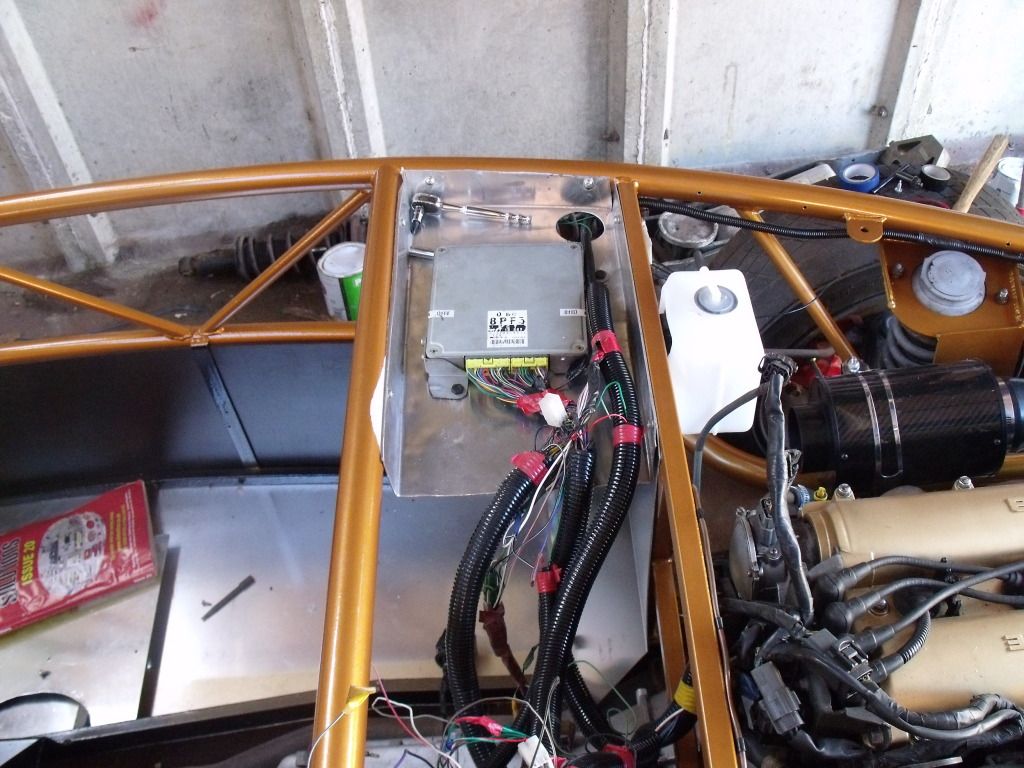
Decided to bin my fiberglass attempt at a dash tray and made one out of alluminium just need to get it welded up on the joins and bolted in the ecu
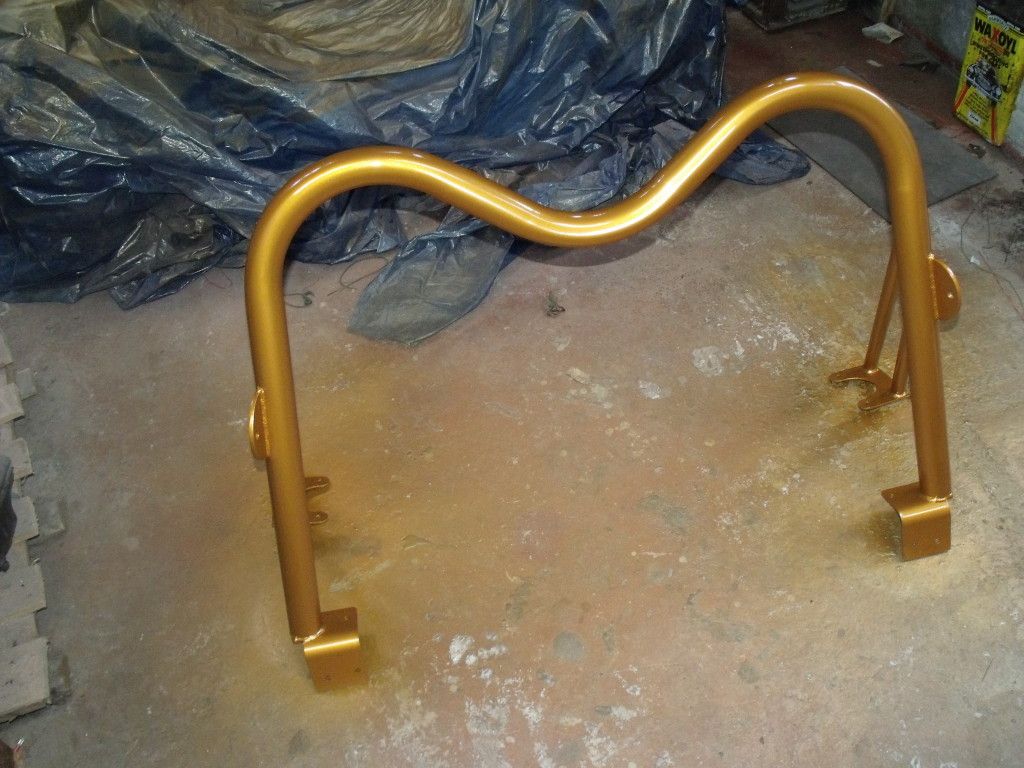
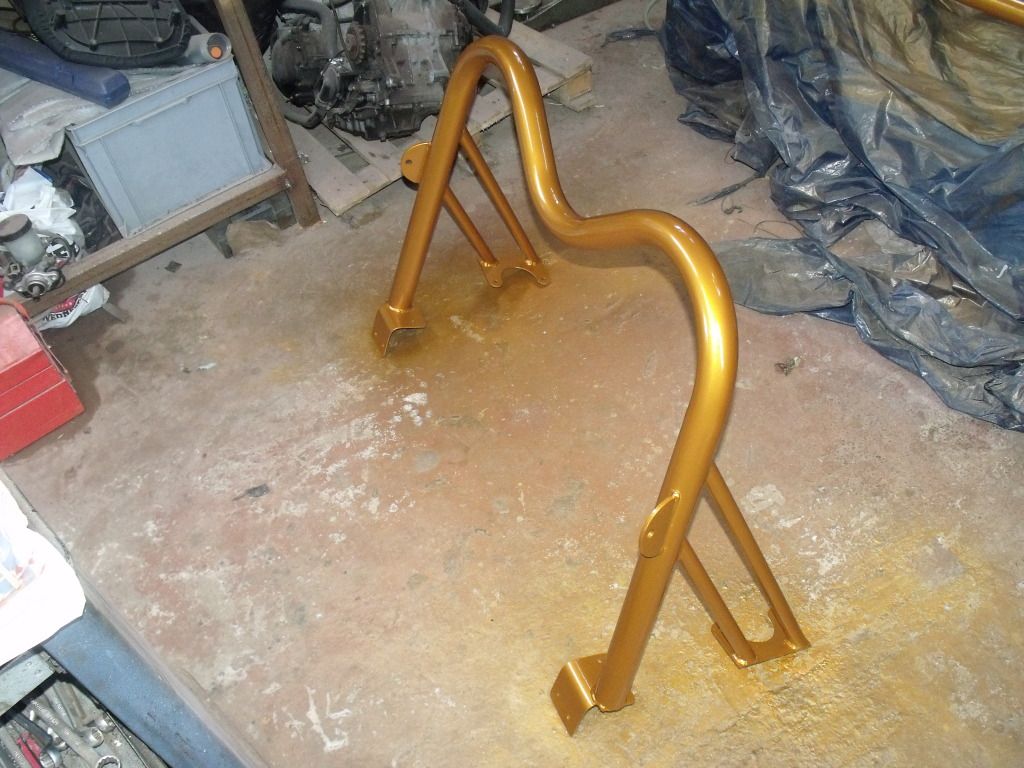
With getting bored with wiring put the boot cover in place and roll bar and placed the bonnet on looking like a exocet now
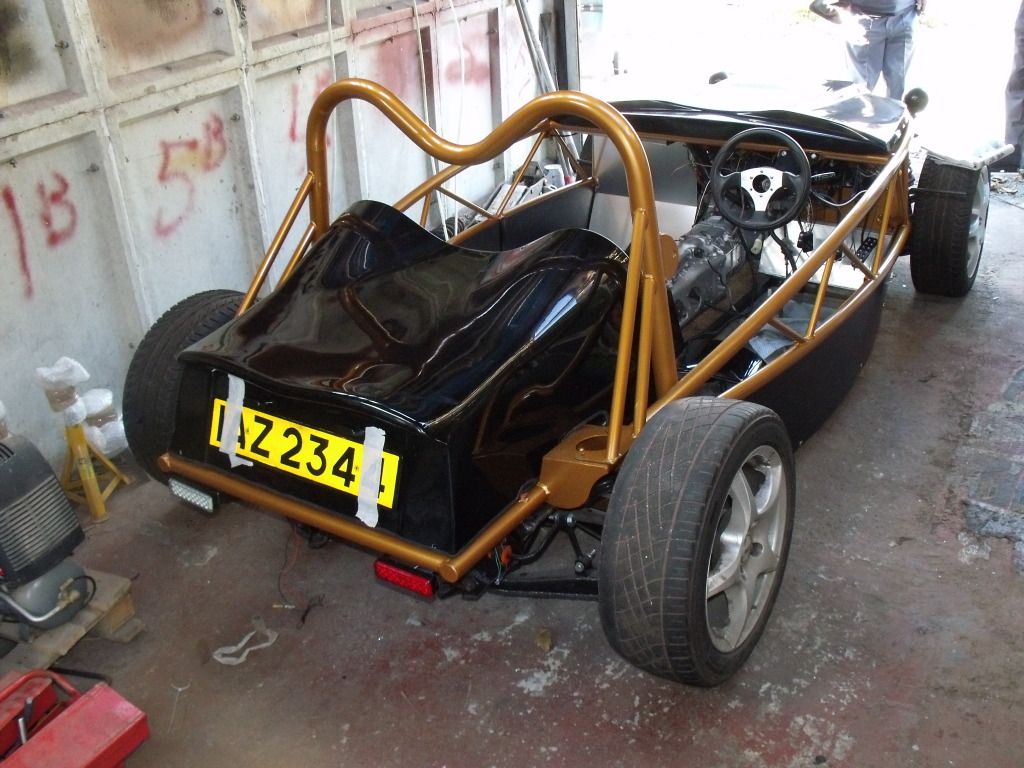
Not many jobs left hoping to go for a track day at llandow on the 20th november for a bit of a shake down and a bit of fun.
So first job was to attach the rear lights with that done painted the boot floor and covered the edge in edging trim
it also acts as a way to secure the boot cover to be bolted onto the floor using 4 rivnuts.
With that done mocked up a number plate (off my other kit car) put it in place and marked out the holes for the no plate lights, joined the the 2 sets of lights wiring together to join up to the exsiting loom and glued it to the back of the cover.
also trimed down the thickness of the boot cover and added edging stuff provided in the kit around the bottom
Mounted the front end, headlights, indicators, layed the loom in the right position and started connecting everything up
Decided to bin my fiberglass attempt at a dash tray and made one out of alluminium just need to get it welded up on the joins and bolted in the ecu
With getting bored with wiring put the boot cover in place and roll bar and placed the bonnet on looking like a exocet now
Not many jobs left hoping to go for a track day at llandow on the 20th november for a bit of a shake down and a bit of fun.
Gassing Station | Kit Cars | Top of Page | What's New | My Stuff