Not a build thread - 3623FM
Discussion


Although I hope it may be soon

First post from an inveterate lurker.
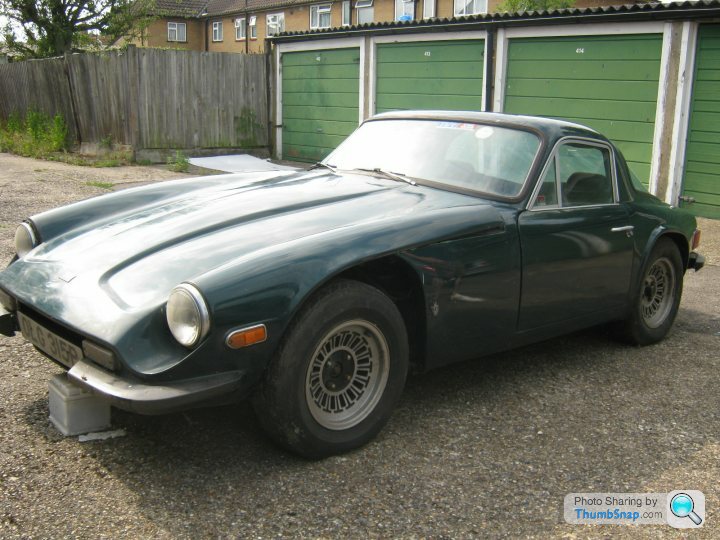
I've recently restarted work on my 1600M after a few years of it "maturing". To be honest I just thought too much about the obstacles and costs and got discouraged after making a reasonable start on it. I had the engine running and all of the electrics working. Engine could do with a rebuild but it's not desperate. Maybe 30 - 35 psi difference from best at 200ish to worst and very little blue smoke.
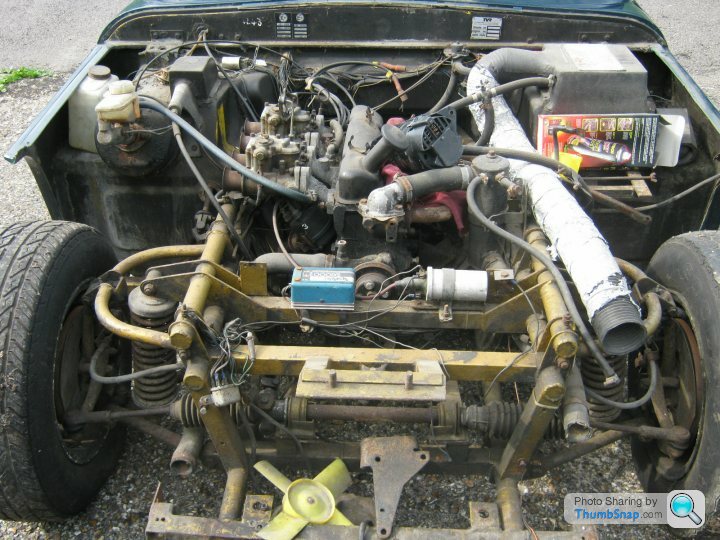
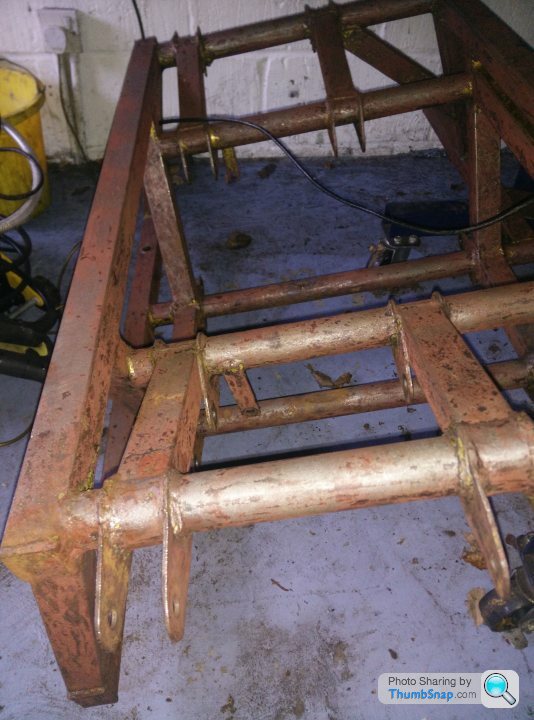
I can't do a "proper" body off as I simply don't have the space as I have a small single garage with steep upwards incline a few feet from the door. Fortunately the chassis is an original survivor that has had the body off before and was painted gold including wishbones etc. It had another coat of gold at some point after that. I stripped down the front end and bulkhead, except the engine which is still in situ (space again).
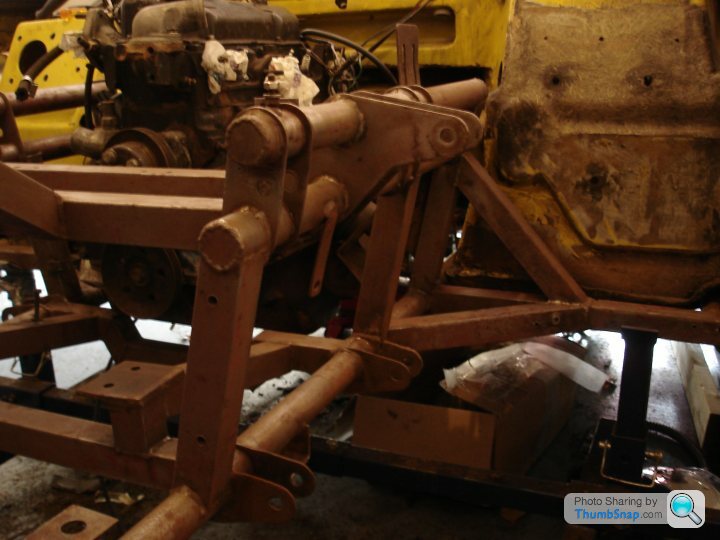
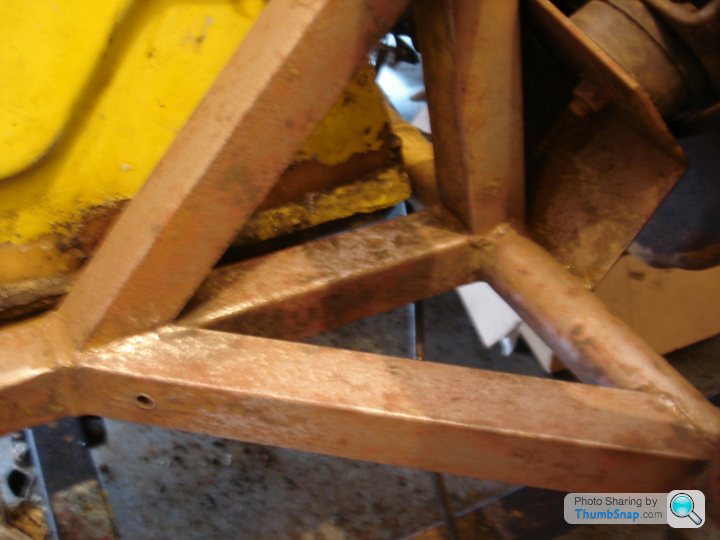
I couldn't bring myself to paint over the gold stuff so I've been getting back to metal with a heat gun, scrapers, wire brushes and some knuckle skin. I did the front section maybe 3 years ago. Probably 2 days to get the old paint off, then several goes over to degrease before a couple of coats of POR15. Then flatted/keyed up a bit with 400 wet and dry. Top coat of chassis black is still to go on. I've separated the body completely now and have done a first pass at the rear section of the chassis. I don't recommend this to anyone with a bad back!! Once I have the body fully perched on top of the chassis then I'll do the transmission tunnel and outriggers.
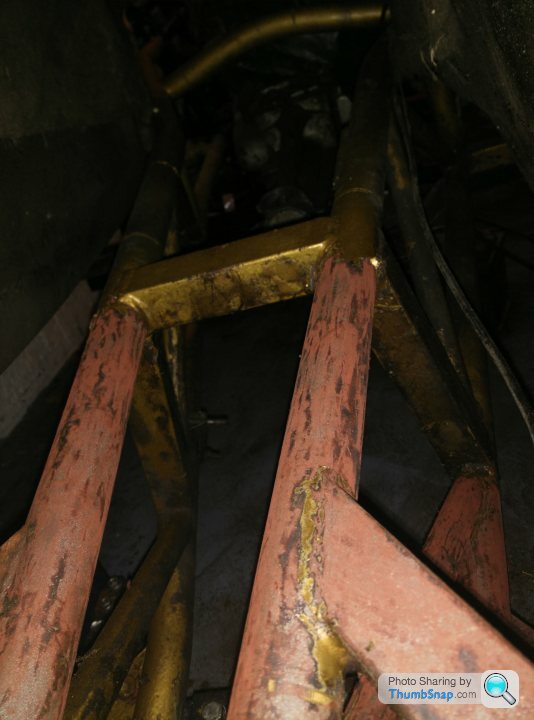
I found one very small hole (maybe 2mm) where the inside angle of the engine mount meets the chassis upright. Will get this addressed when the thing can move on it's own (no welder). I had to dig hard with a screwdriver to find this so I'm not overly concerned.
Anyway, some pictures

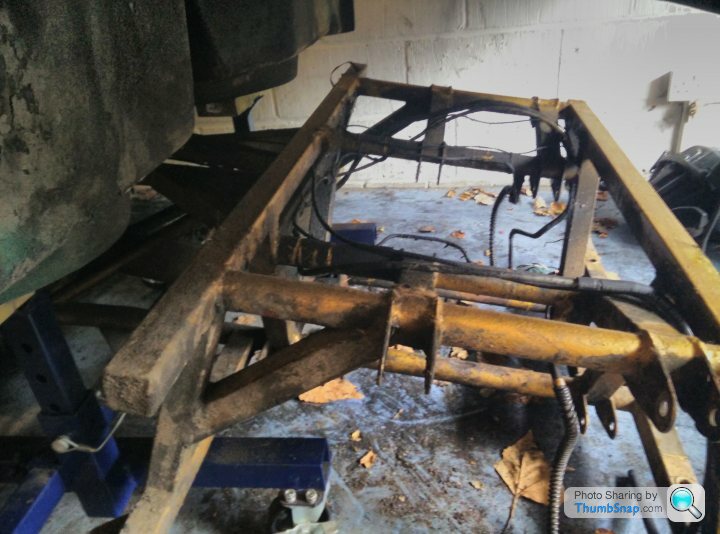
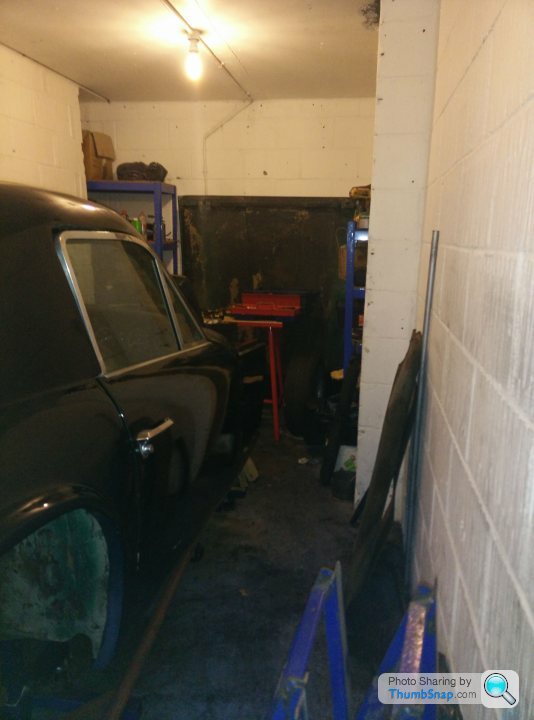
"Estate Agent" view of my garage/workshop - i.e. taken from the corner with the car pushed up to the opposite wall to make it look big 
Still, when you live in a 2 bed flat in London any garage of any description is a major result, let alone a bone dry one with power and light.
Don't you people go getting jealous now
Still, when you live in a 2 bed flat in London any garage of any description is a major result, let alone a bone dry one with power and light.
Don't you people go getting jealous now
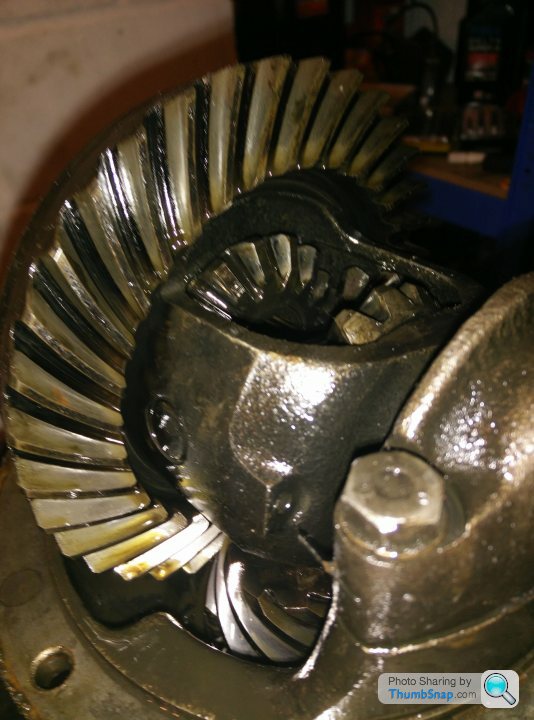
Diff inspection. You can see the wear pattern (kind of) in the old oil, It looks good and the backlash seems reasonable, though I haven't got access to a dial gauge just yet so could be utterly wrong.
The fibre thrust washer behind one of the sun gears looks like it's disappeared (quelle surprise) so it would definitely clonk on overrun. Still contemplating whether to attempt the rebuild myself. The bit that has me second guessing is the possibility of having to press on/remove the pinion head bearing multiple times. Not so bad if you have a 3T press handy, but could be an issue for me who'll be using bearing separators and pullers. I've seen people on YouTube ream out the old bearing slightly and use this as a test fit, which may be a possibility assuming the old bearing isn't badly worn, though v small differences in bearing manufacture could make this a waste of time. I'll be trawling the Triumph forums some more I think.
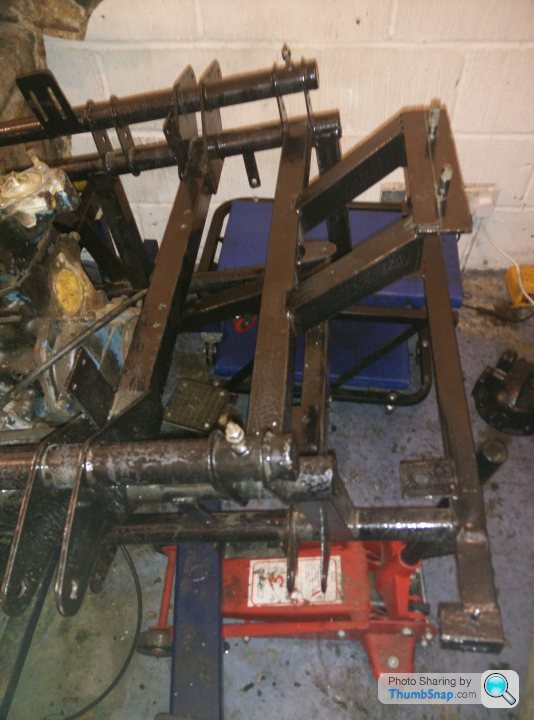
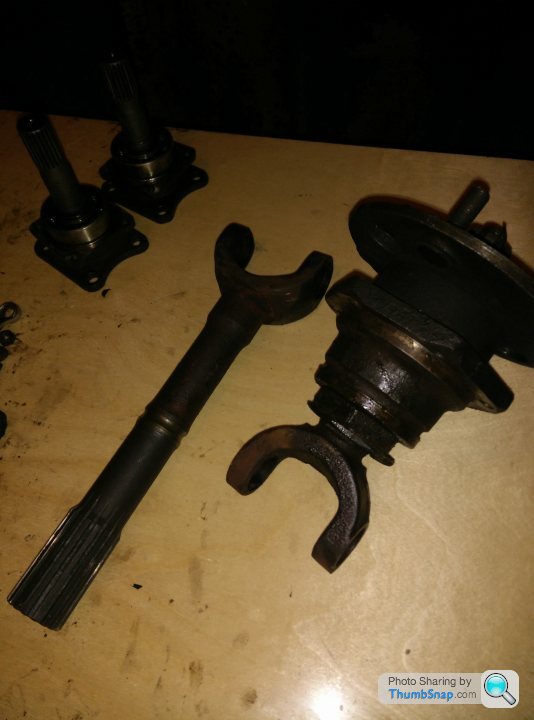
OS drive shaft and diff inner drive shafts.
Looks like I've been lucky with the rear hubs which have preload and run smoothly back and forward.
UJ from this side took over an hour of heating/cooling (heat gun) plus candle wax, penetrating oil etc before I could get the first bearing cup to move even a mm. Inner UJ looks good, but will probably replace the whole lot with GKN (who now own Hardy Spicer) heavy duty greasable jobs which can be had for <£20 inc VAT. These are primarily sold for Land Rovers so should just be able to cope with a 1600M
Cup size (27mm) and total width across yoke (74.6mm) matches my measurements of old ones so I don't see a problem. Unless someone knows different?
I hate fitting UJs and have had issues in the past on my old GT6 with anything other than top brands, Not taking any chances this time!
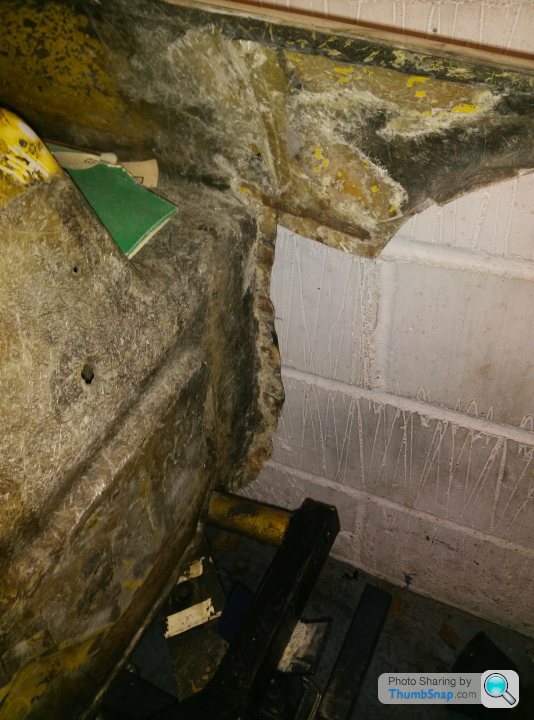
Shot of "interesting" accident damage repair.
Yes that is rust at the bottom of the wheel arch!.
It seems it's had a hot in the passenger side front wing at some point. You can see the repair matting going over to the front bulkhead. The only damage to the chassis I can see is that the front bar is kinked where the bonnet mounts are (will most likely replace this). It seems to have had a new bonnet very poorly fitted at that point (more on that to come).
What the repairer did was to create a kind of lattice of steel strips pop riveted together to build up the profile of the inner wing and wheel arch, then sandwiched it in between a couple of layers of matting. A heavy coating of body filler later, some sanding and job done
Later of course water got in and separated the matting and gave the body a case f the wobbles.
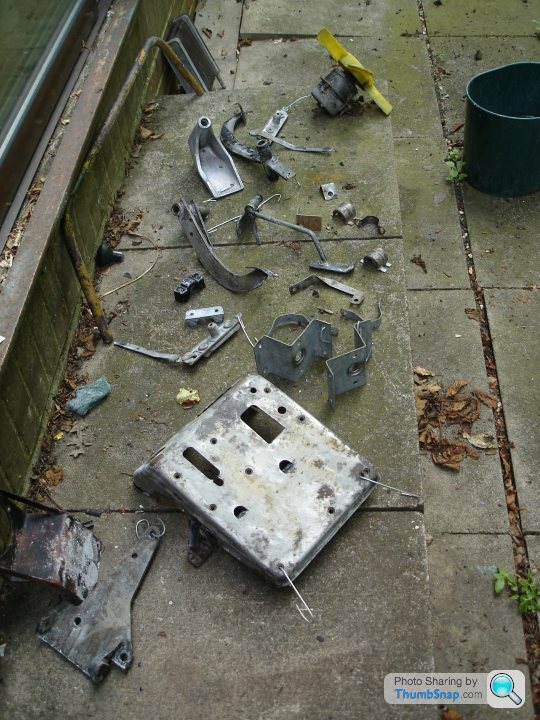
Have since chopped out the offending metalwork. I need to expose the full damage area but don't want to create any dust at the moment.
My best guess is that it had a fairly heavy hit above the chassis. You can see here where the upper part of the wing was creased inwards, There was some damage to the bulkhead/firewall too but it doesn't seem serious from\the passenger footwell.
It was obviously bad enough to kink the front chassis bar around both bonnet mount points and presumably the bonnet wasn't too happy.
The fit of the new bonnet is pretty appalling. Basically it's impossible to fit as is without putting a lot of stress into the bonnet. When I lined it up to get a reasonable fit against the wings and bulkhead, the bonnet mounts were a full inch rearwards of the mounting slots on the chassis.
So, I either
1. Remove, derust and refit the bonnet hinge assembly with suitable adjustments
2. Remove engine to be able to...
3. Remove, adjust and refit the stregthener bar (bonnet profile is very poor).
4. Repair gel cracks from stressed bonnet ( one is maybe a foot long but almost goes through, one is a whopping 4ft or so, shallow but right in the bonnet bulge crease, 2 other small ones around the headlights)
Or... get a new bonnet fitted.
Bit of a no brainer really but then again I have no brain
A bit of history..
13 previous owners. Indicated mileage is 17595 so barring a speedo change, best add a 1 to that number.
I bought it in 2012, from owner 13 who'd had it since 2004. There are a few receipts for brake parts dated around that time but I would guess it spend the next 8 years in his somewhat damp lockup.
Owner 12 bought it in 1989 and ran it until 1992. He's left a comment on regarchive.
Added by alanm of Merionethshire
i owned this from 1989 to 2005(ish) it was my day to day car until i got a company car in 1993. i went to the tvrcc event in it in blackpool in 1990. i loved it but when i sold it it needed a lot of work and i was not ready to commit the time or money resource required.
Posted at 9.32pm Tue July 16th 2013
His dates are a bit off as the sticker that's still in the windscreen is from the TVR extravaganza 1991 and the last tax disc/MOT expires 1992, but fair play to him. I was very surprised to find anything.
There's a page from an old copy of Autotrader from 1989 which has several MGB GTs and roadsters circled as well as what seems to be my car. It states
"TVR 1600M, 1976, champagne, very good condition inside and out, recent rebuild, brand new exhaust, ultrasonic alarm, taxed, MoT, £4000 ono"
It makes me giggle a bit (in an I would feel the same kind of way) )thinking of him going around with £4k burning a hole in his pocket looking at MGs and then getting into a TVR. "Can I test drive it?" SOLD.
Champagne for those of you not familiar with 70s colours, is Beige. The V5 still states the colour as brown so this fits, though I haven't found any sign of brown paint yet.
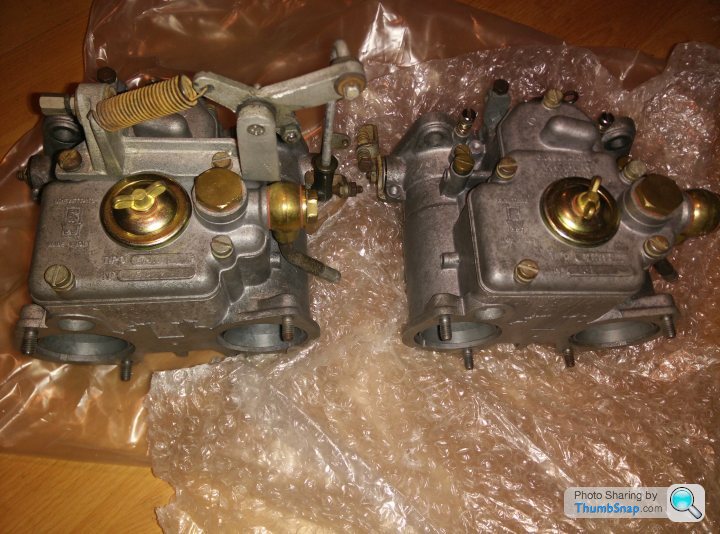
This leads me to think that owner 12, or "alanm" is the guy who crashed the thing. He is also the guy who fitted the twin webers, so I suppose this and the fact he loved the car offsets the karma?. There's an agreed value fro Footman James of £4950 and a fax from him notifying them of the addition if the twin webers. He seemed to think would "increase power by 20-25BHP", but I reckon his units are wrong - it should read "reduce fuel efficiency by 20-25MPG"
I wonder if he crashed it before or after the webers were fitted? Either way I suspect the repairs were not an insurance job.
There is no history from any of the 11 owners before 1989, but at an average of one new owner every 1.2 years that's not especially surprising.
So..
1976 - car leaves factory painted yellow (probably Inca but maybe Mimosa). Trim code is 28909 / 60 but nobody knows what it means!!
Unknown year - another engine fitted
Unknown year - car is painted beige
Unknown year - body comes off and chassis painted. Probable suspension work front and rear.
1989-1992 - Car crashed, weirdly/poorly repaired and painted metallic green.
1992 on - hibernation
13 previous owners. Indicated mileage is 17595 so barring a speedo change, best add a 1 to that number.
I bought it in 2012, from owner 13 who'd had it since 2004. There are a few receipts for brake parts dated around that time but I would guess it spend the next 8 years in his somewhat damp lockup.
Owner 12 bought it in 1989 and ran it until 1992. He's left a comment on regarchive.
Added by alanm of Merionethshire
i owned this from 1989 to 2005(ish) it was my day to day car until i got a company car in 1993. i went to the tvrcc event in it in blackpool in 1990. i loved it but when i sold it it needed a lot of work and i was not ready to commit the time or money resource required.
Posted at 9.32pm Tue July 16th 2013
His dates are a bit off as the sticker that's still in the windscreen is from the TVR extravaganza 1991 and the last tax disc/MOT expires 1992, but fair play to him. I was very surprised to find anything.
There's a page from an old copy of Autotrader from 1989 which has several MGB GTs and roadsters circled as well as what seems to be my car. It states
"TVR 1600M, 1976, champagne, very good condition inside and out, recent rebuild, brand new exhaust, ultrasonic alarm, taxed, MoT, £4000 ono"
It makes me giggle a bit (in an I would feel the same kind of way) )thinking of him going around with £4k burning a hole in his pocket looking at MGs and then getting into a TVR. "Can I test drive it?" SOLD.
Champagne for those of you not familiar with 70s colours, is Beige. The V5 still states the colour as brown so this fits, though I haven't found any sign of brown paint yet.
This leads me to think that owner 12, or "alanm" is the guy who crashed the thing. He is also the guy who fitted the twin webers, so I suppose this and the fact he loved the car offsets the karma?. There's an agreed value fro Footman James of £4950 and a fax from him notifying them of the addition if the twin webers. He seemed to think would "increase power by 20-25BHP", but I reckon his units are wrong - it should read "reduce fuel efficiency by 20-25MPG"
I wonder if he crashed it before or after the webers were fitted? Either way I suspect the repairs were not an insurance job.
There is no history from any of the 11 owners before 1989, but at an average of one new owner every 1.2 years that's not especially surprising.
So..
1976 - car leaves factory painted yellow (probably Inca but maybe Mimosa). Trim code is 28909 / 60 but nobody knows what it means!!
Unknown year - another engine fitted
Unknown year - car is painted beige
Unknown year - body comes off and chassis painted. Probable suspension work front and rear.
1989-1992 - Car crashed, weirdly/poorly repaired and painted metallic green.
1992 on - hibernation
Gassing Station | TVR Classics | Top of Page | What's New | My Stuff