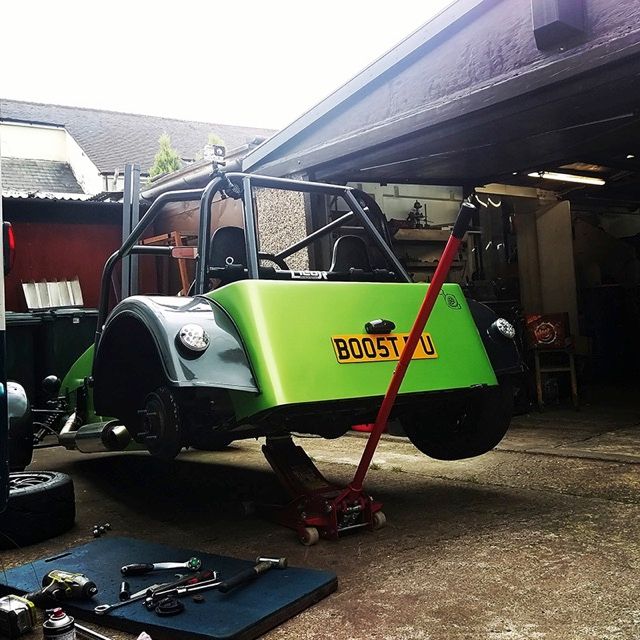
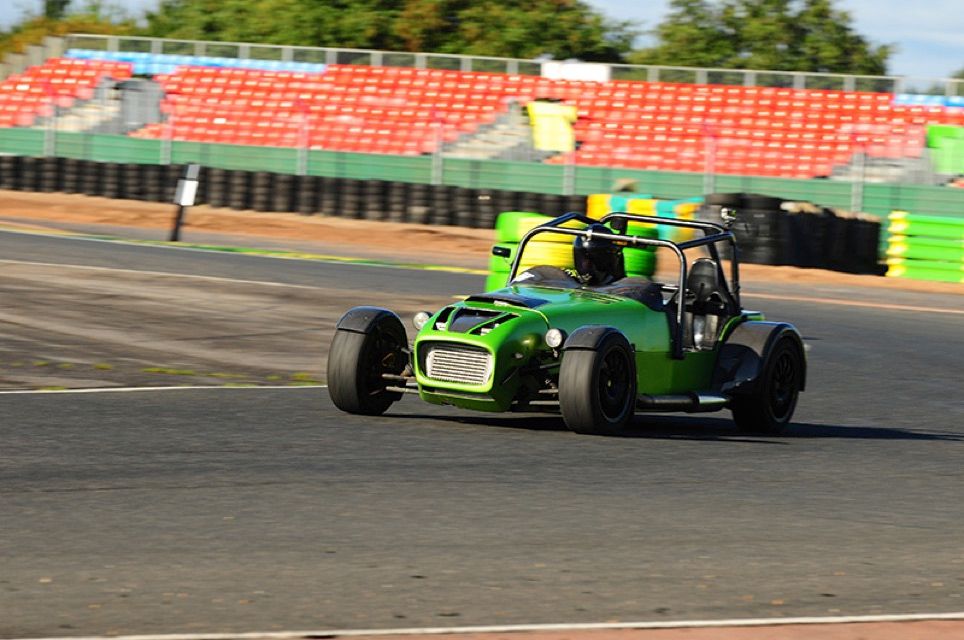
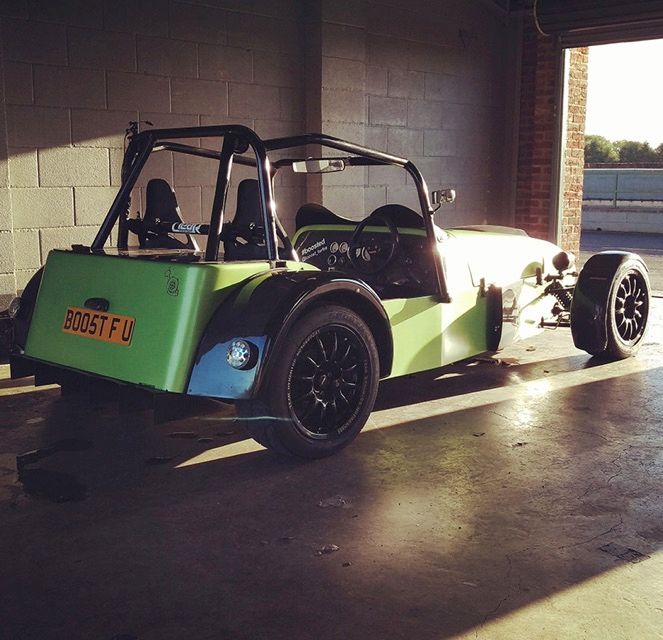
605bhp Per Ton 200SX Powered Kitcar
Discussion


DMN said:
Its not at the moment, but I will stick it up anyway. If it is you, its literally a second of footage.
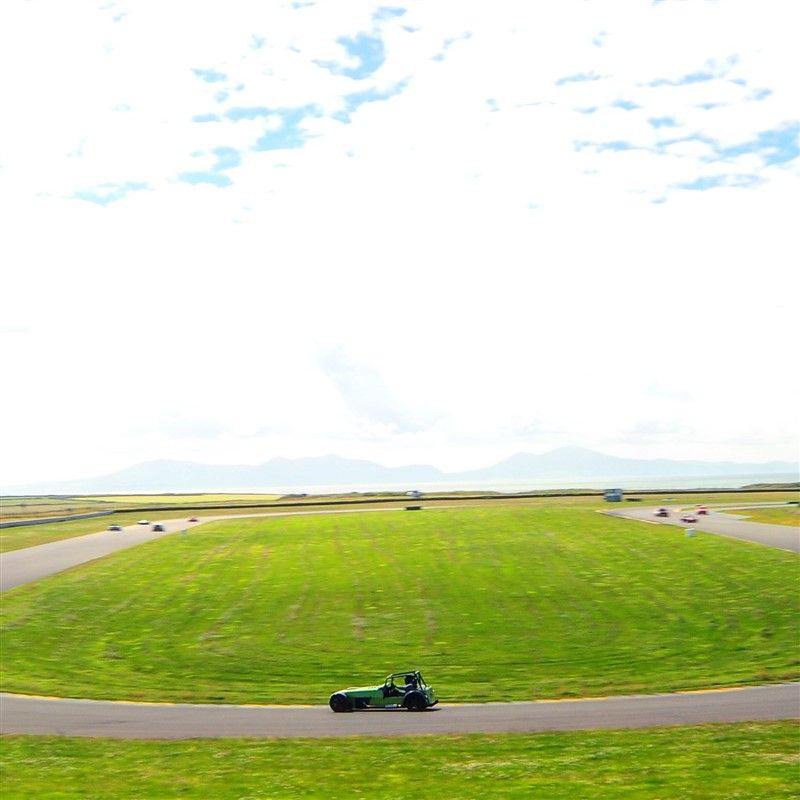
Its really not long, but at 40 seconds a green locost goes by:https://www.youtube.com/watch?v=VTwGqUYjOFQ&fe...
j4ckos mate said:
Please take thst 1.4s label off.
Honestly mate your goin to get in hot water if you go through a tunnel or the police see it
It'll be an arv job
I will; when I bought the box I wasn't told to remove anything. The 'ammo' that was in it was non-lethal rubber bullets so I assumed the outer markings would be OK. Thanks for the heads up!Honestly mate your goin to get in hot water if you go through a tunnel or the police see it
It'll be an arv job
DMN said:
Its really not long, but at 40 seconds a green locost goes by:
https://www.youtube.com/watch?v=VTwGqUYjOFQ&fe...
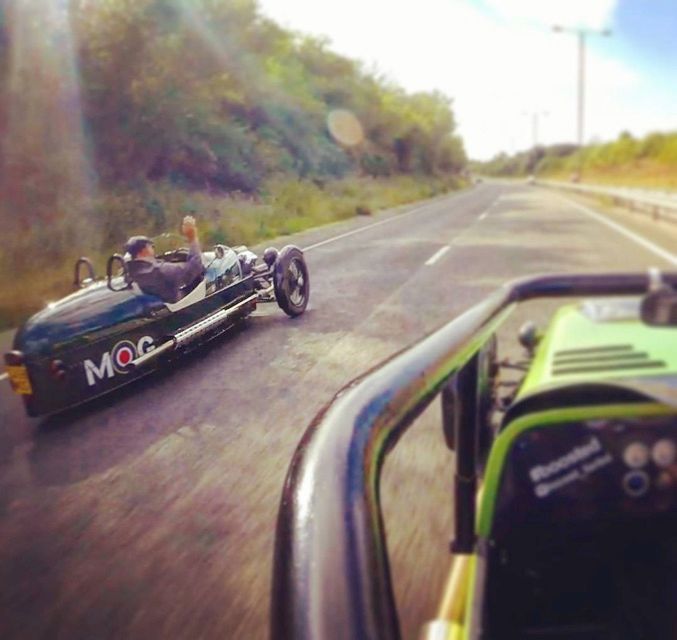
Ha, yes that's me! I always think it looks 'lardy' going round corners as I think it sits quite high. Thanks for posting the video. You've got a way better memory than I have for remember where stuff is.https://www.youtube.com/watch?v=VTwGqUYjOFQ&fe...
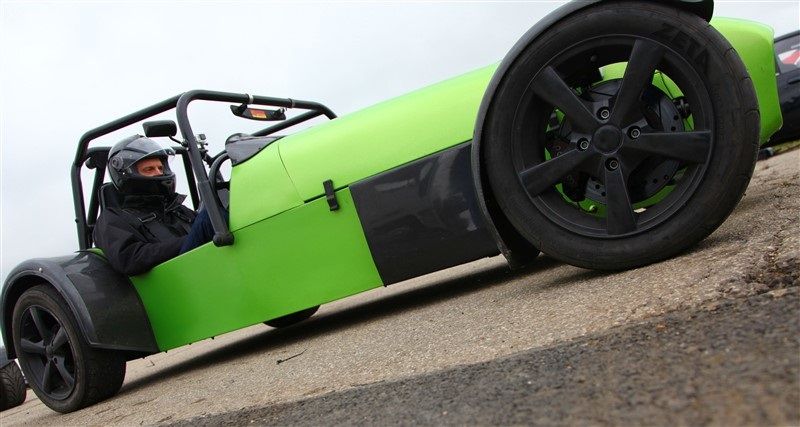
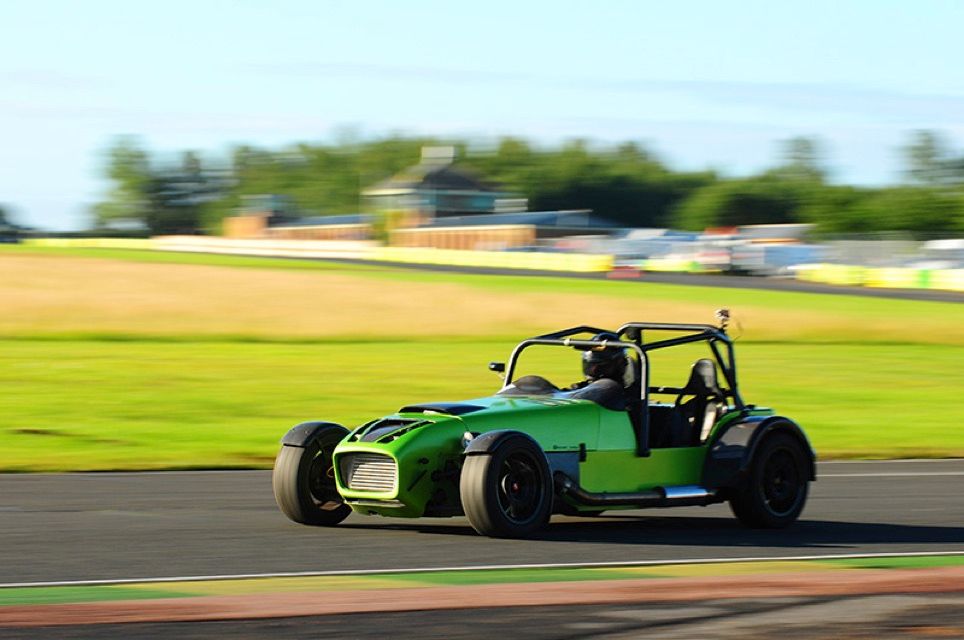
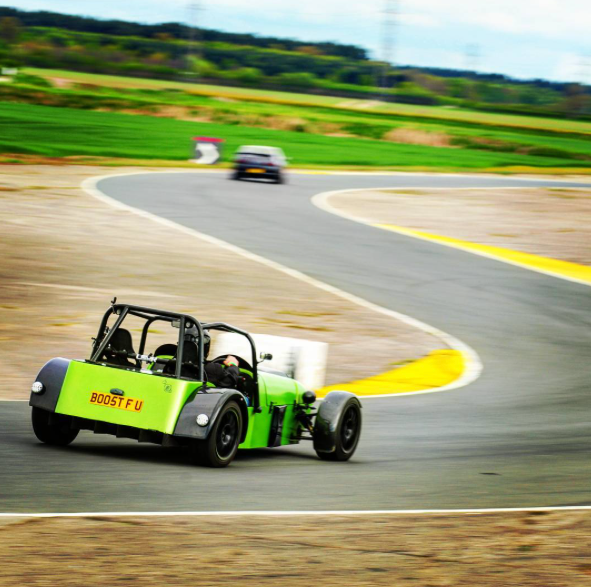
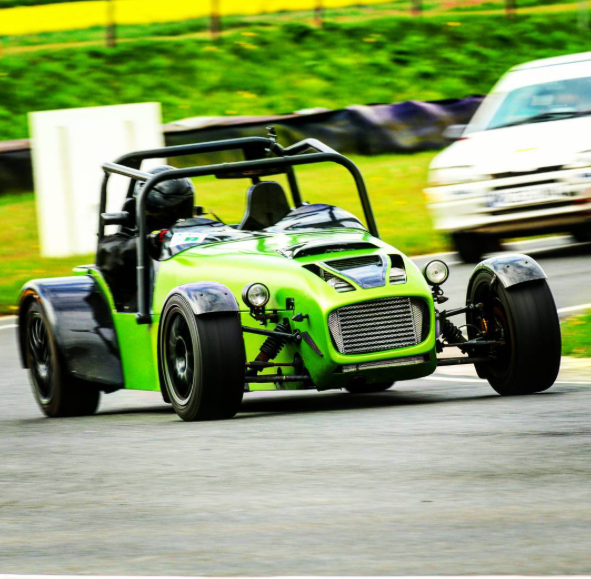
I went on my first trackday of the year and the car performed impeccably. The only fault the whole day was a boost hose popping off; for some reason the car is now pulling 1.5bar (rather than the 1.18bar target of the Gizzmo controller), I guess the hose clamp couldn't take it.
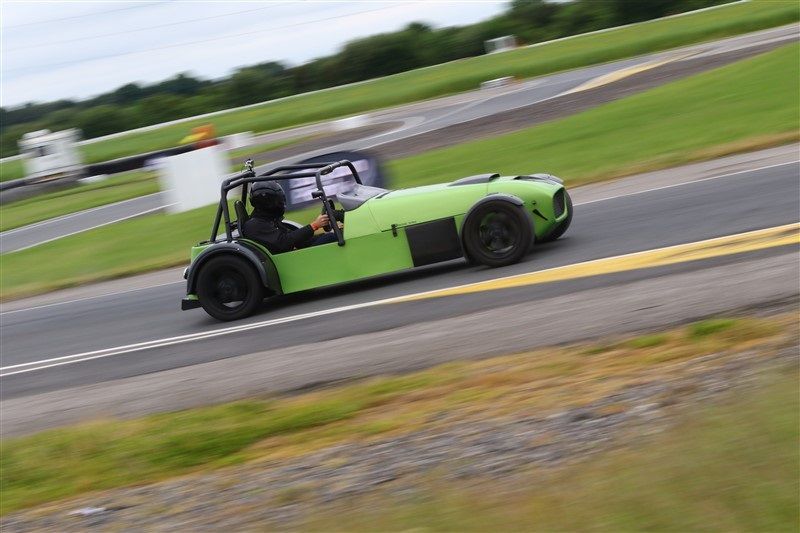
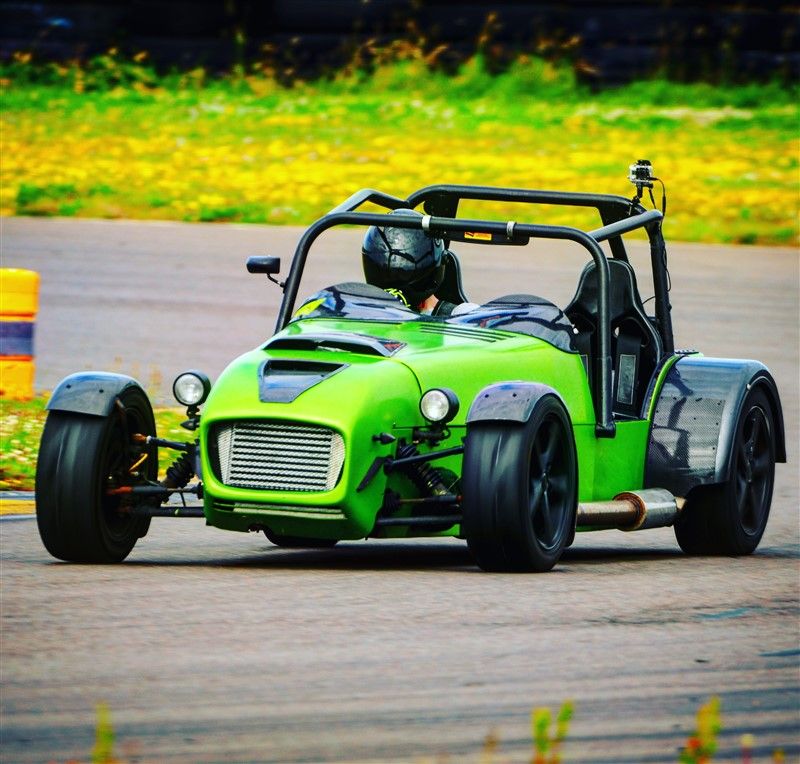
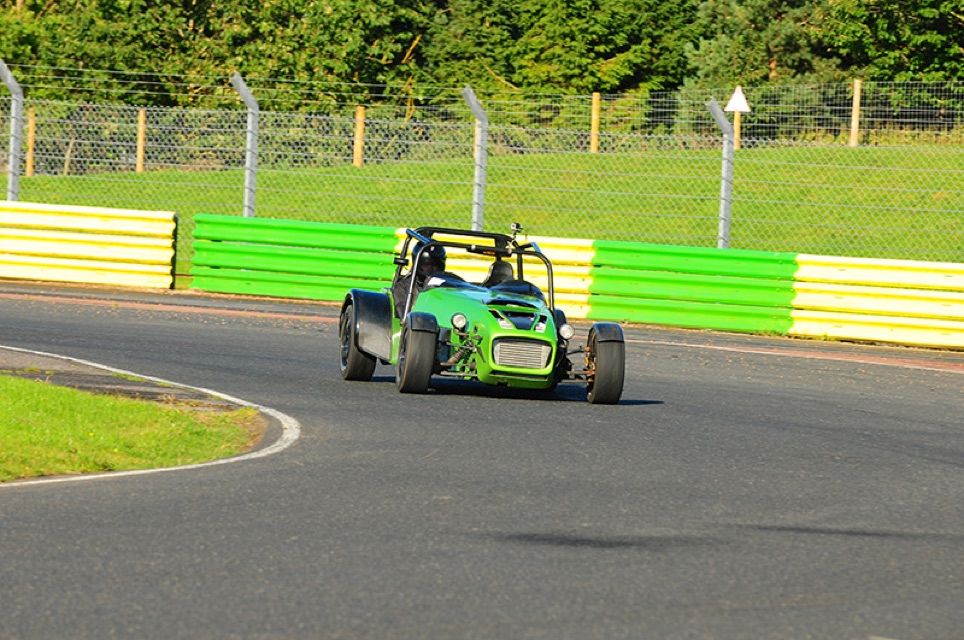
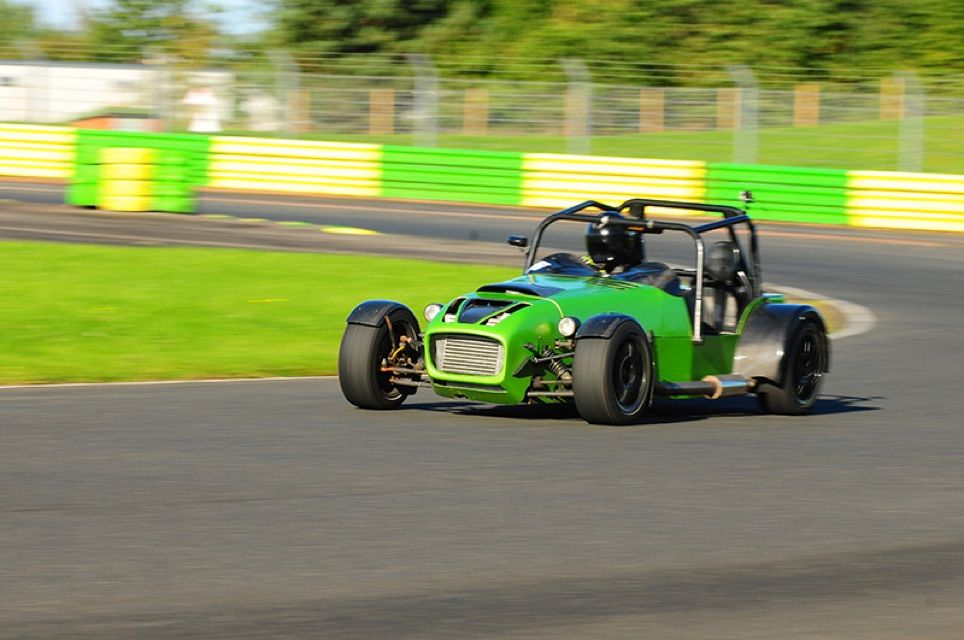
I can honestly say nothing came past me all day, the car was absolutely flying.
A few photos -
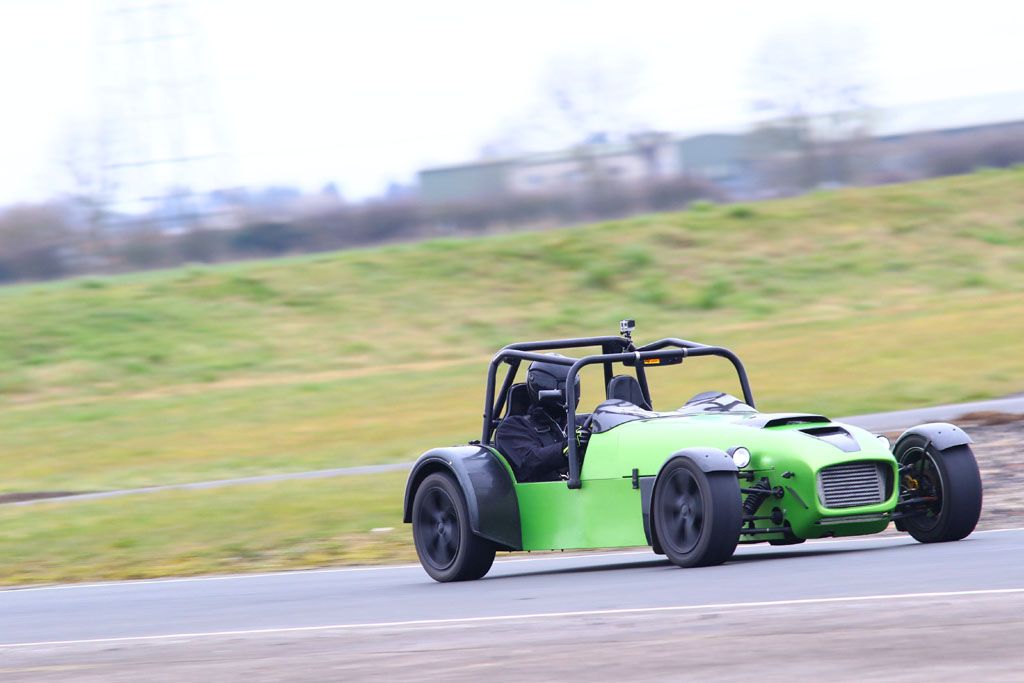
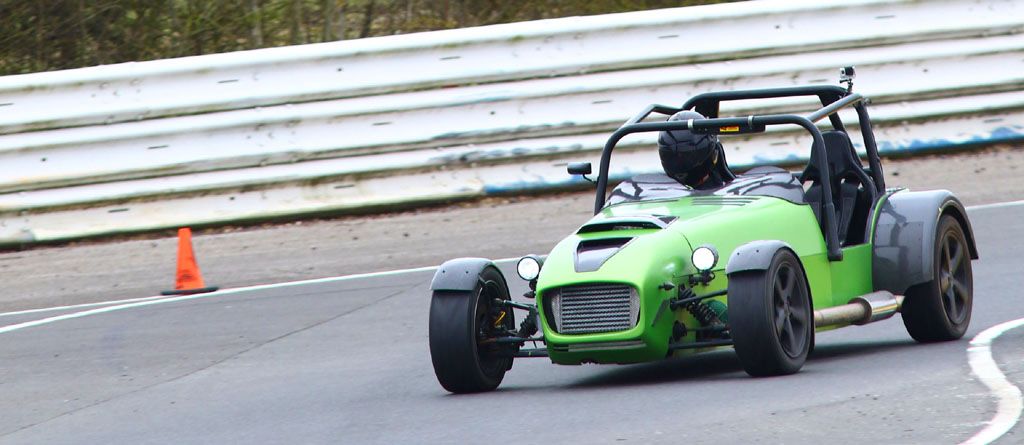

I love this picture of me leaving tyre marks as the car comes on boost in 3rd gear.
 955A7044 by frank hall, on Flickr
Some 'session' videos are on my Youtube Channel -
https://www.youtube.com/user/davebgsi/videos
The most interesting video from a spectator point of view is the compilation of slides, skills etc etc
However, no car is ever fast enough, right?
So it was time to fit the stage 3 bits:
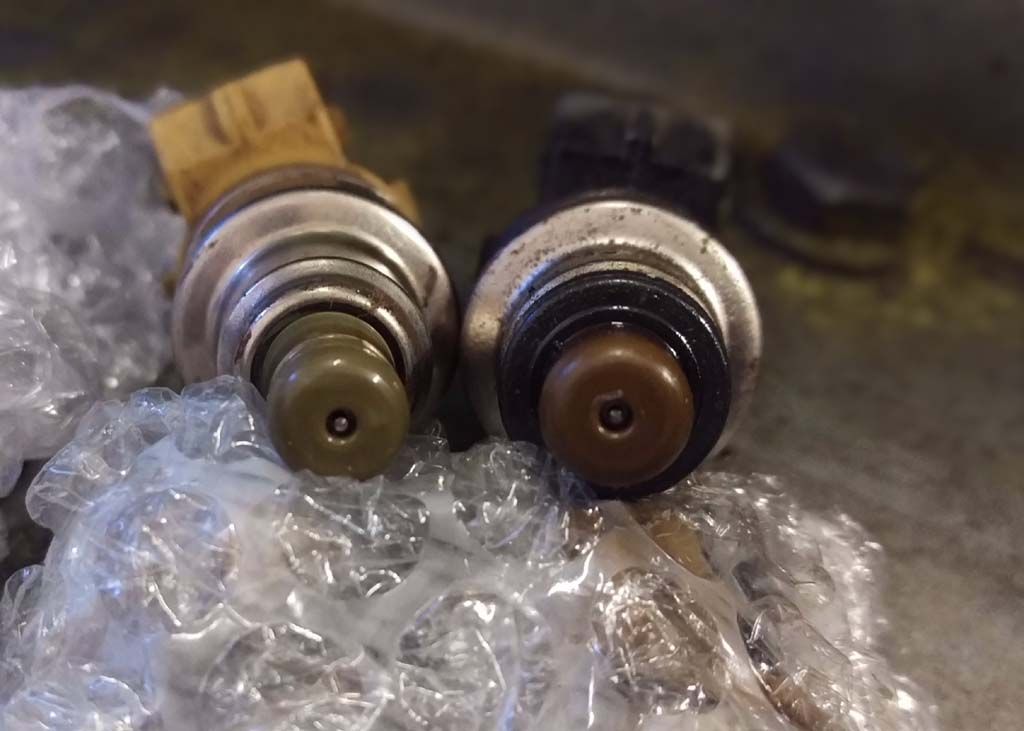
New injectors (left from an R33 skyline, right the original ca18det)
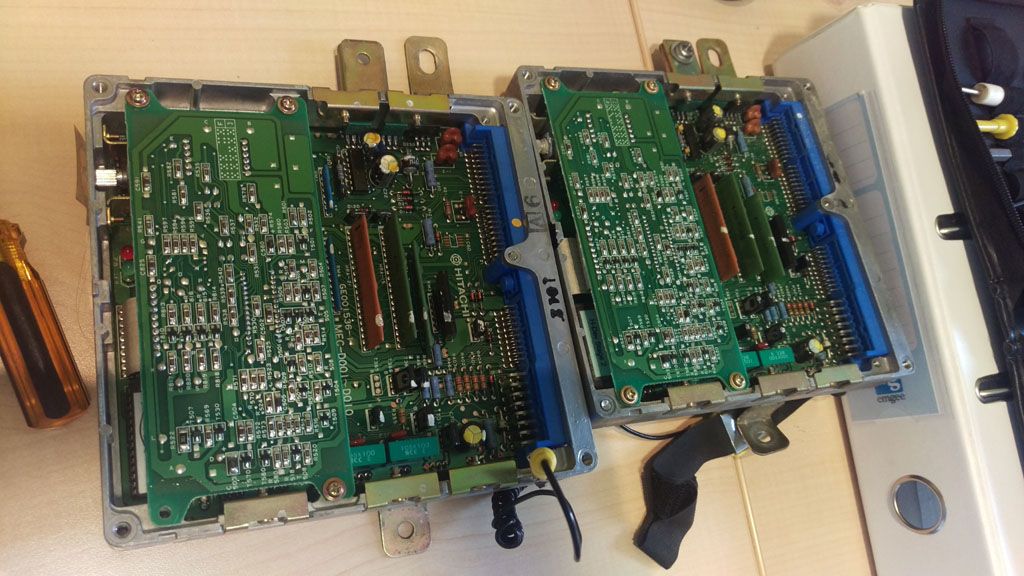
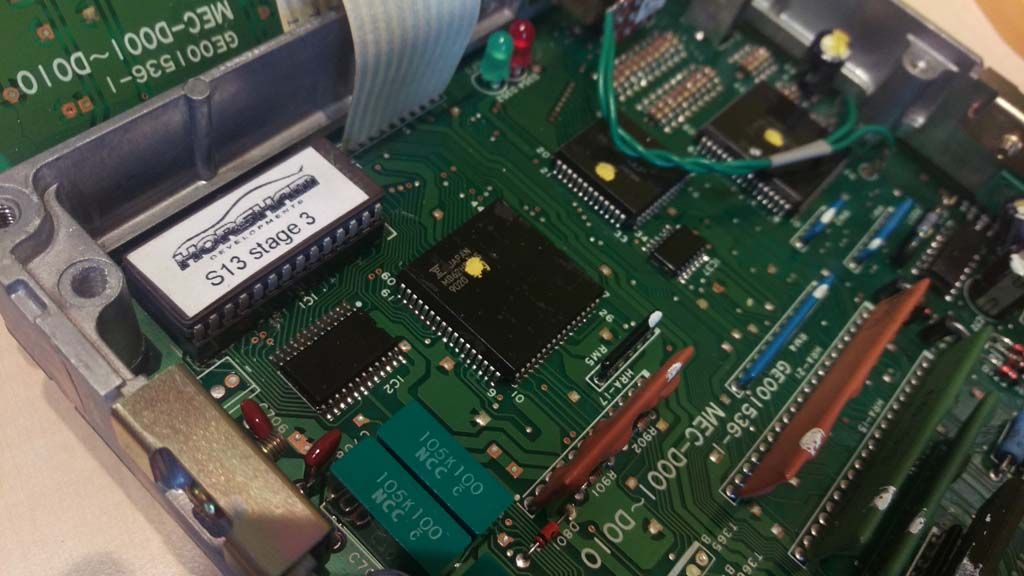
Swopping over the management chips from one ECU to the other:
Next on the list is to swop the AFM for a larger version from a Nissan 300zx. This should be completed this weekend and then we turn the key and off we go. The chip should command around 300bhp (flywheel) but I'm never confident with off the shelf stuff so I've booked in for a proper remap (ign and fuel tables) on May 9th where this is potential, assuming the engine can take it, to push past the 330bhp barrier.
I can honestly say nothing came past me all day, the car was absolutely flying.
A few photos -


I love this picture of me leaving tyre marks as the car comes on boost in 3rd gear.
955A7044 by frank hall, on FlickrSome 'session' videos are on my Youtube Channel -
https://www.youtube.com/user/davebgsi/videos
The most interesting video from a spectator point of view is the compilation of slides, skills etc etc
However, no car is ever fast enough, right?
So it was time to fit the stage 3 bits:
New injectors (left from an R33 skyline, right the original ca18det)

Swopping over the management chips from one ECU to the other:


Next on the list is to swop the AFM for a larger version from a Nissan 300zx. This should be completed this weekend and then we turn the key and off we go. The chip should command around 300bhp (flywheel) but I'm never confident with off the shelf stuff so I've booked in for a proper remap (ign and fuel tables) on May 9th where this is potential, assuming the engine can take it, to push past the 330bhp barrier.
Edited by dave2007bc on Friday 15th April 13:18
Edited by dave2007bc on Thursday 7th May 10:22
The image below shows the comparison between the standard ca18det afm and the z32 afm
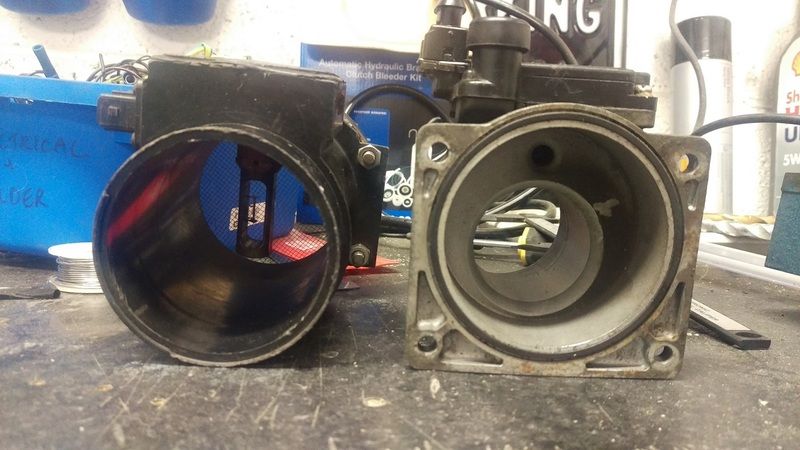
As you can see the z32 is significantly larger, allowing greater airflow into the turbo. The Z32 has an 80mm centre as opposed to the 45mm centre of the ca18det one!
After that, it was time to get the mapping done -
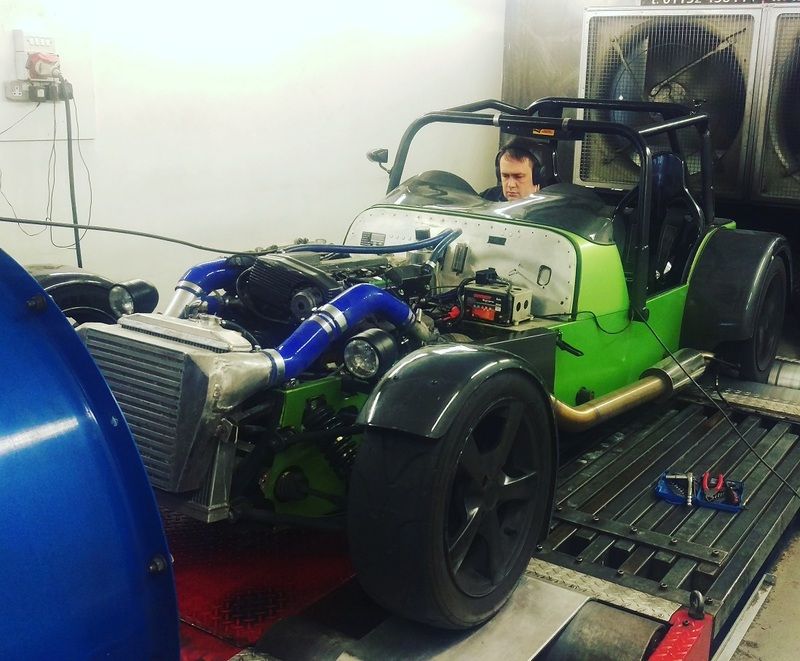
I chose to take the car to RS Tuning in Leeds; I've used them for years and Paul Murray (the mapper), really knows his stuff. He shows the same passion and interest whether he's working on a £100k rs6 with 650bhp (the car running when I turned up LOL) to a cheapy home-made kitcar.
Paul ran the car up with the stage 3 chip fitted and it made just 10bhp over the previous figures. I then set about removing the ECU so that Paul could install an emulator to carry out the live mapping. An hour later and we'd reached the magic 300bhp figure -
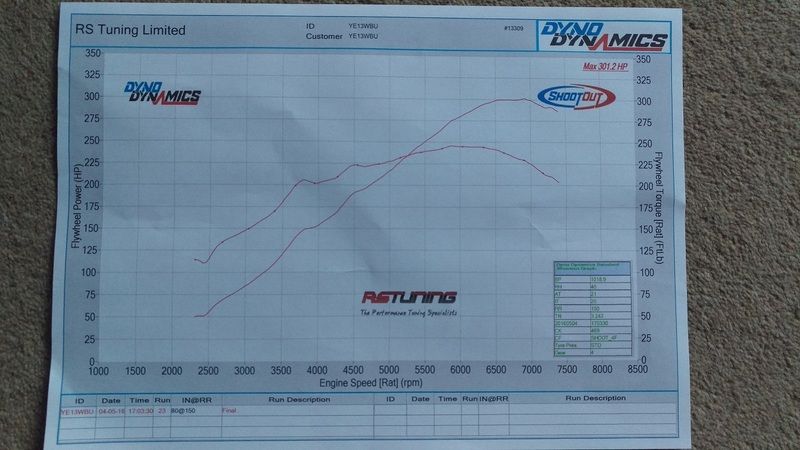
I asked how much additional boost I was running; None was the response! After a brief discussion it was agreed, due to my er, driving style, that it would be safer to retain the original boost setting and stick with the current power rather than trying to chase figures and risk stressing an engine of unknown age and specification.
As you can see from the graph above, peak power is between 6500-7000rpm so it drives almost like an N/A car - ideal in a 7-style motor.
On Sunday I made the most of the hot weather, and promptly broke down, 3 times!
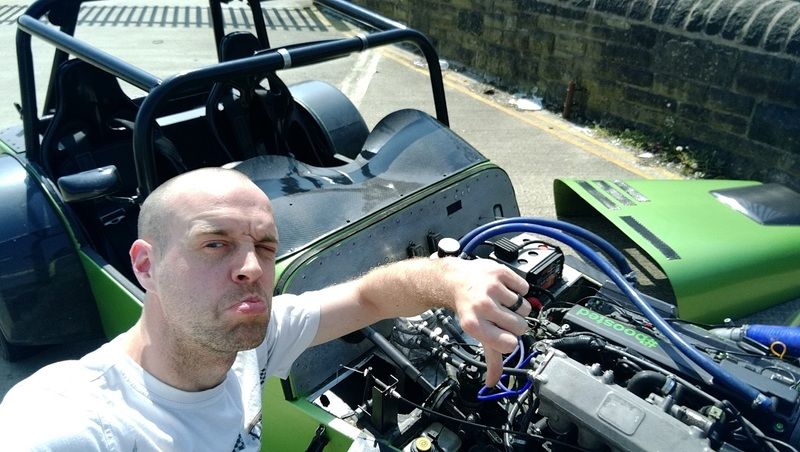
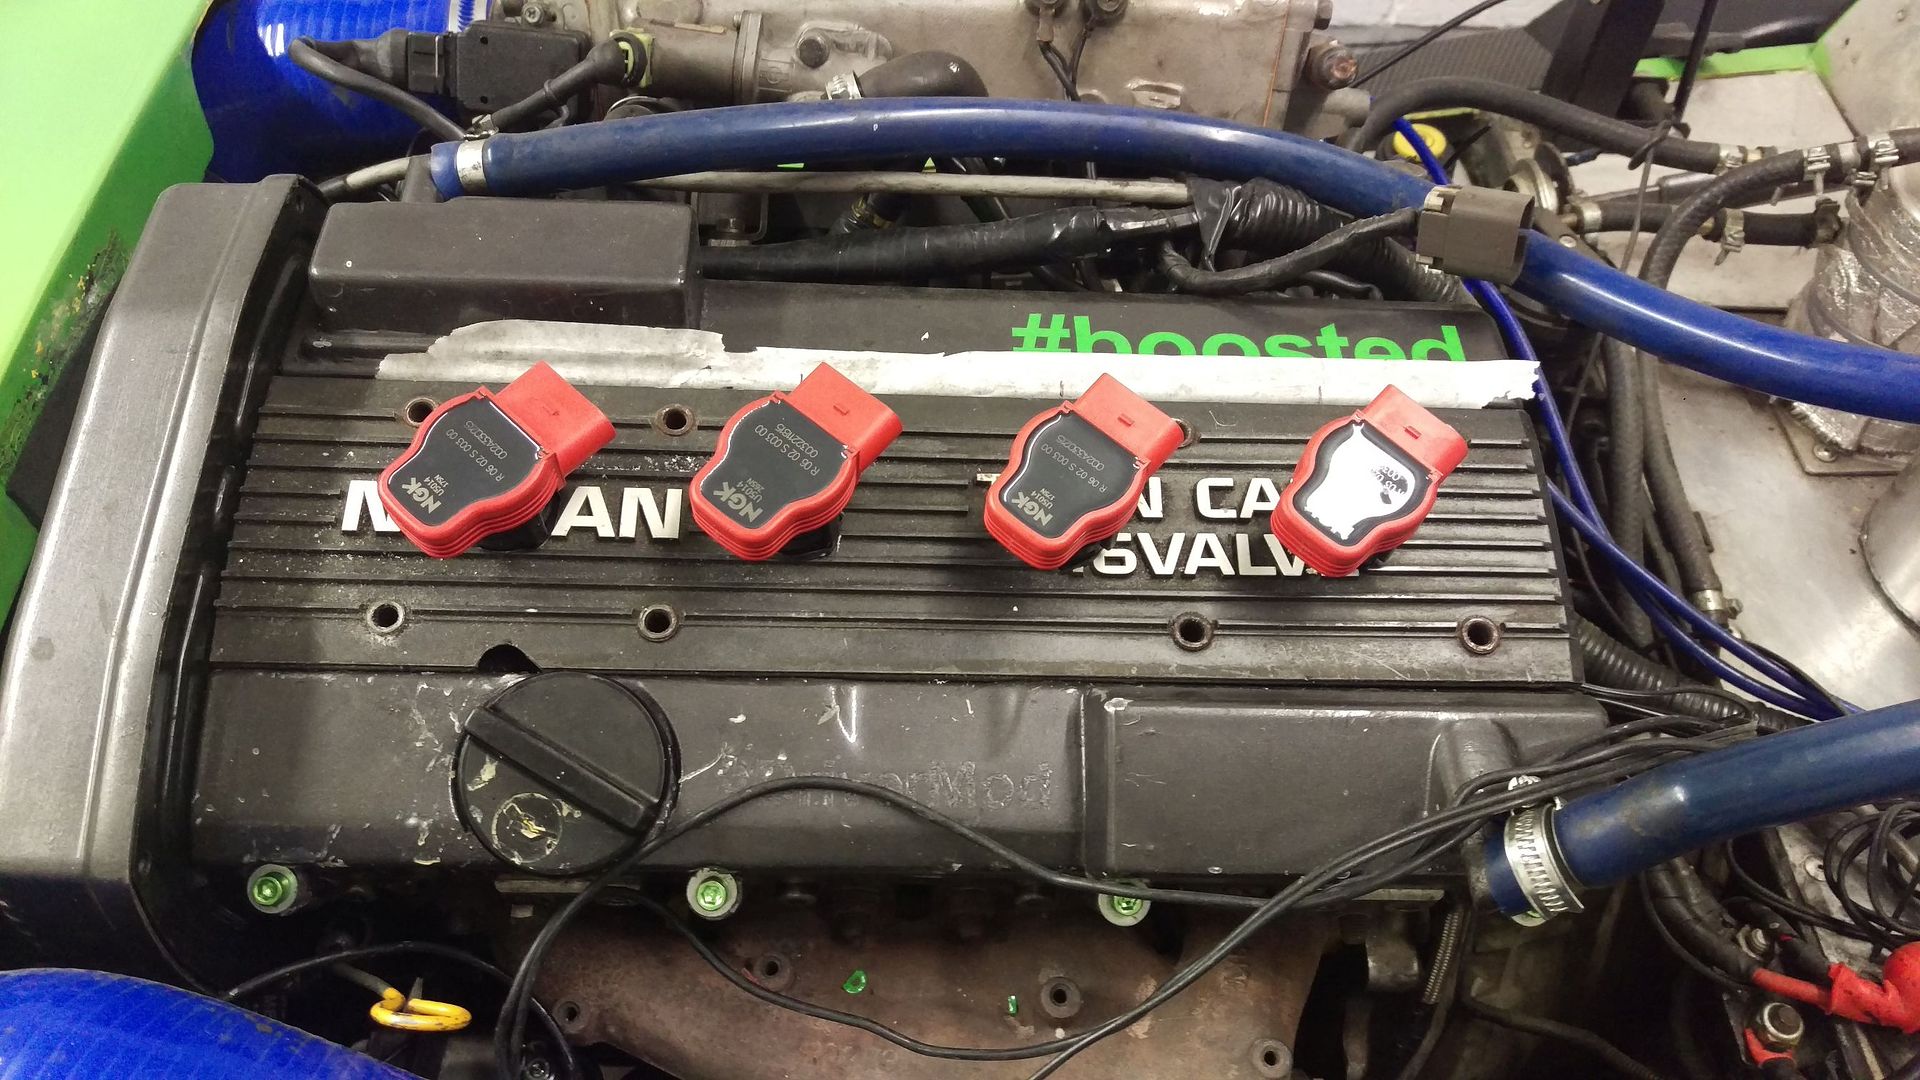
Unfortunately the number of cars around Huddersfield ringroad meant I was stuck in a lot of start-stop traffic which my 20+year old ignition coils didn't agree with. They kept over heating causing the car to cut out - time to upgrade this area of the car then!
I've ordered a VAG conversion harness and Audi r8 ignition coils - the coils (aside from being new) are longer meaning they don't have any heat transfer from the cylinder head, and are known to perform well on high-power/race car situations so they should be fine for my little go-kart.
I have a few videos during the re-mapping and run out (including over 20 people stopping when I was broken down to see if I needed water/tools etc!) - owning a kitcar really does help you make friends, ha.

As you can see the z32 is significantly larger, allowing greater airflow into the turbo. The Z32 has an 80mm centre as opposed to the 45mm centre of the ca18det one!
After that, it was time to get the mapping done -

I chose to take the car to RS Tuning in Leeds; I've used them for years and Paul Murray (the mapper), really knows his stuff. He shows the same passion and interest whether he's working on a £100k rs6 with 650bhp (the car running when I turned up LOL) to a cheapy home-made kitcar.
Paul ran the car up with the stage 3 chip fitted and it made just 10bhp over the previous figures. I then set about removing the ECU so that Paul could install an emulator to carry out the live mapping. An hour later and we'd reached the magic 300bhp figure -

I asked how much additional boost I was running; None was the response! After a brief discussion it was agreed, due to my er, driving style, that it would be safer to retain the original boost setting and stick with the current power rather than trying to chase figures and risk stressing an engine of unknown age and specification.
As you can see from the graph above, peak power is between 6500-7000rpm so it drives almost like an N/A car - ideal in a 7-style motor.
On Sunday I made the most of the hot weather, and promptly broke down, 3 times!

Unfortunately the number of cars around Huddersfield ringroad meant I was stuck in a lot of start-stop traffic which my 20+year old ignition coils didn't agree with. They kept over heating causing the car to cut out - time to upgrade this area of the car then!
I've ordered a VAG conversion harness and Audi r8 ignition coils - the coils (aside from being new) are longer meaning they don't have any heat transfer from the cylinder head, and are known to perform well on high-power/race car situations so they should be fine for my little go-kart.
I have a few videos during the re-mapping and run out (including over 20 people stopping when I was broken down to see if I needed water/tools etc!) - owning a kitcar really does help you make friends, ha.
Back again!
So, although I'd upgraded the car to my target of 300bhp I'd also gained a new fault - the coils were overheating causing huge misfires and eventually leaving me stranded in the middle of road junctions.
On with the upgrades then!
First up, fix the ropey looking accelerator cable that, at some point, was sure to leave me crying at the side of the road somewhere (more than normal no doubt!)
Old One
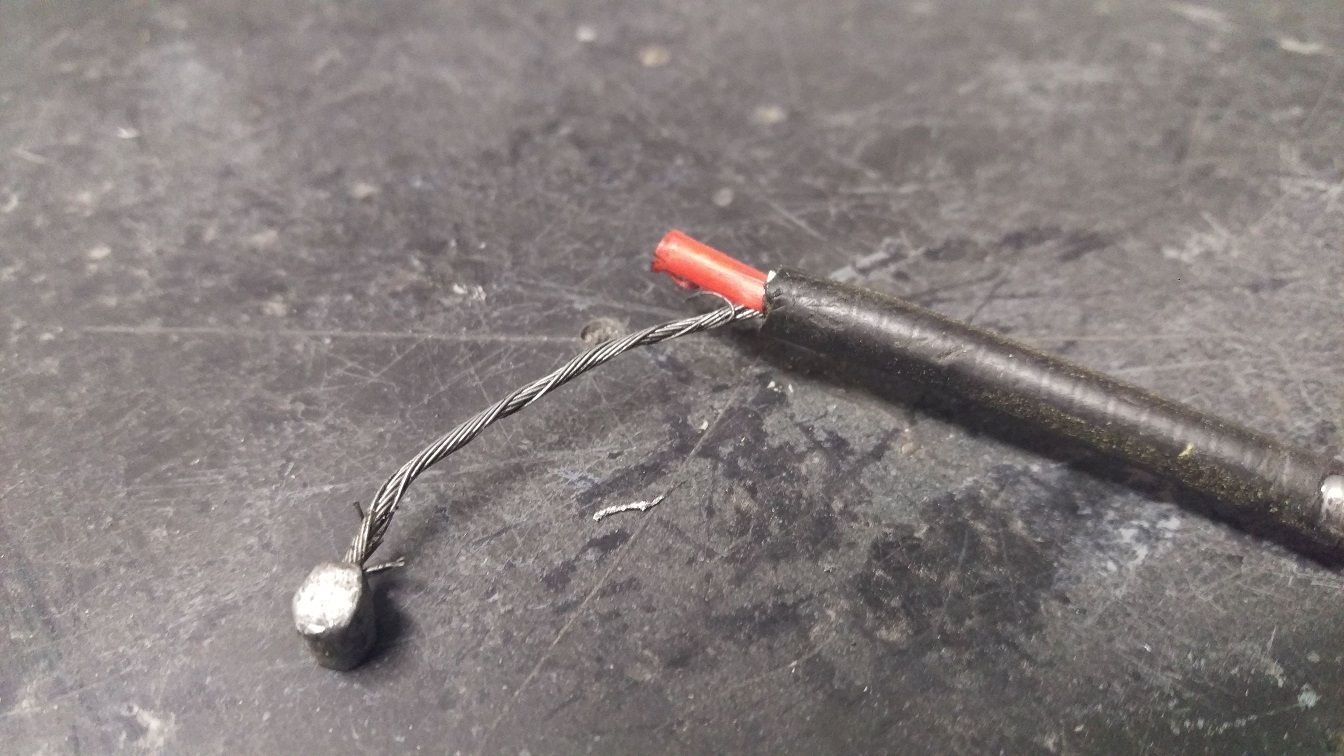
New One
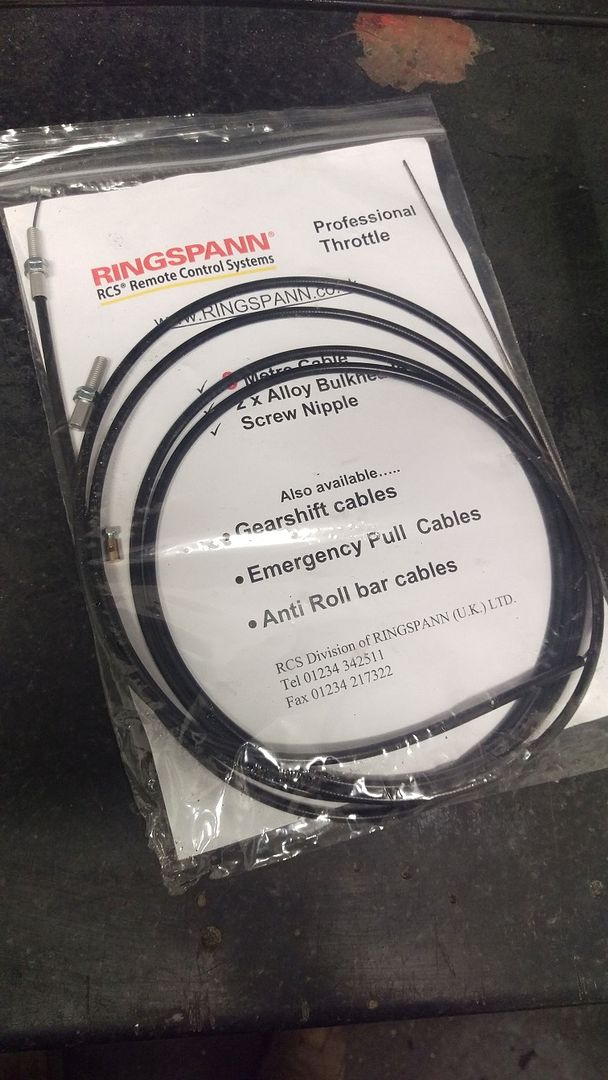
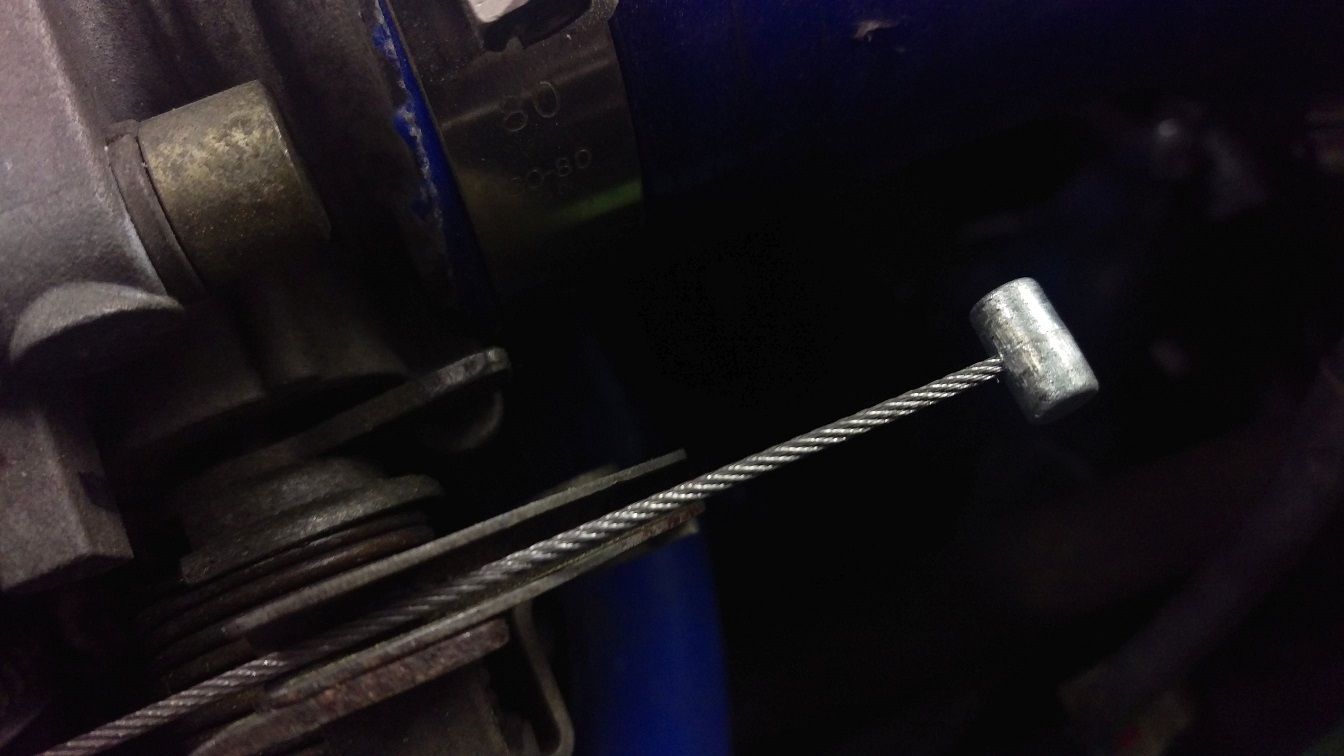

Ahh that's better, now I'll sleep easier.
Proper upgrade time;
CA18DET engines are, at their youngest, 19 years old. Spare parts are abit thin on the ground and any spare parts you can find are normally knackered. You can still get CA18DET coils at the dealer but they are verrry expensive and will offer no real performance benefit.
There are various options in terms of upgrading CA18dET ignition coils; VAG, LS1 or aftermarket Bosch to name a few. As I'm no auto-electrician, I went with option one - VAG coils; R8 coils to be precise
There is a chap on the Driftworks/SXOC/CA18 FB groups that offers an aftermarket plug-and-play loom for the CA engine, for use with R8 coils, the quality is second to none.
Here it is alongside the R8 coils;
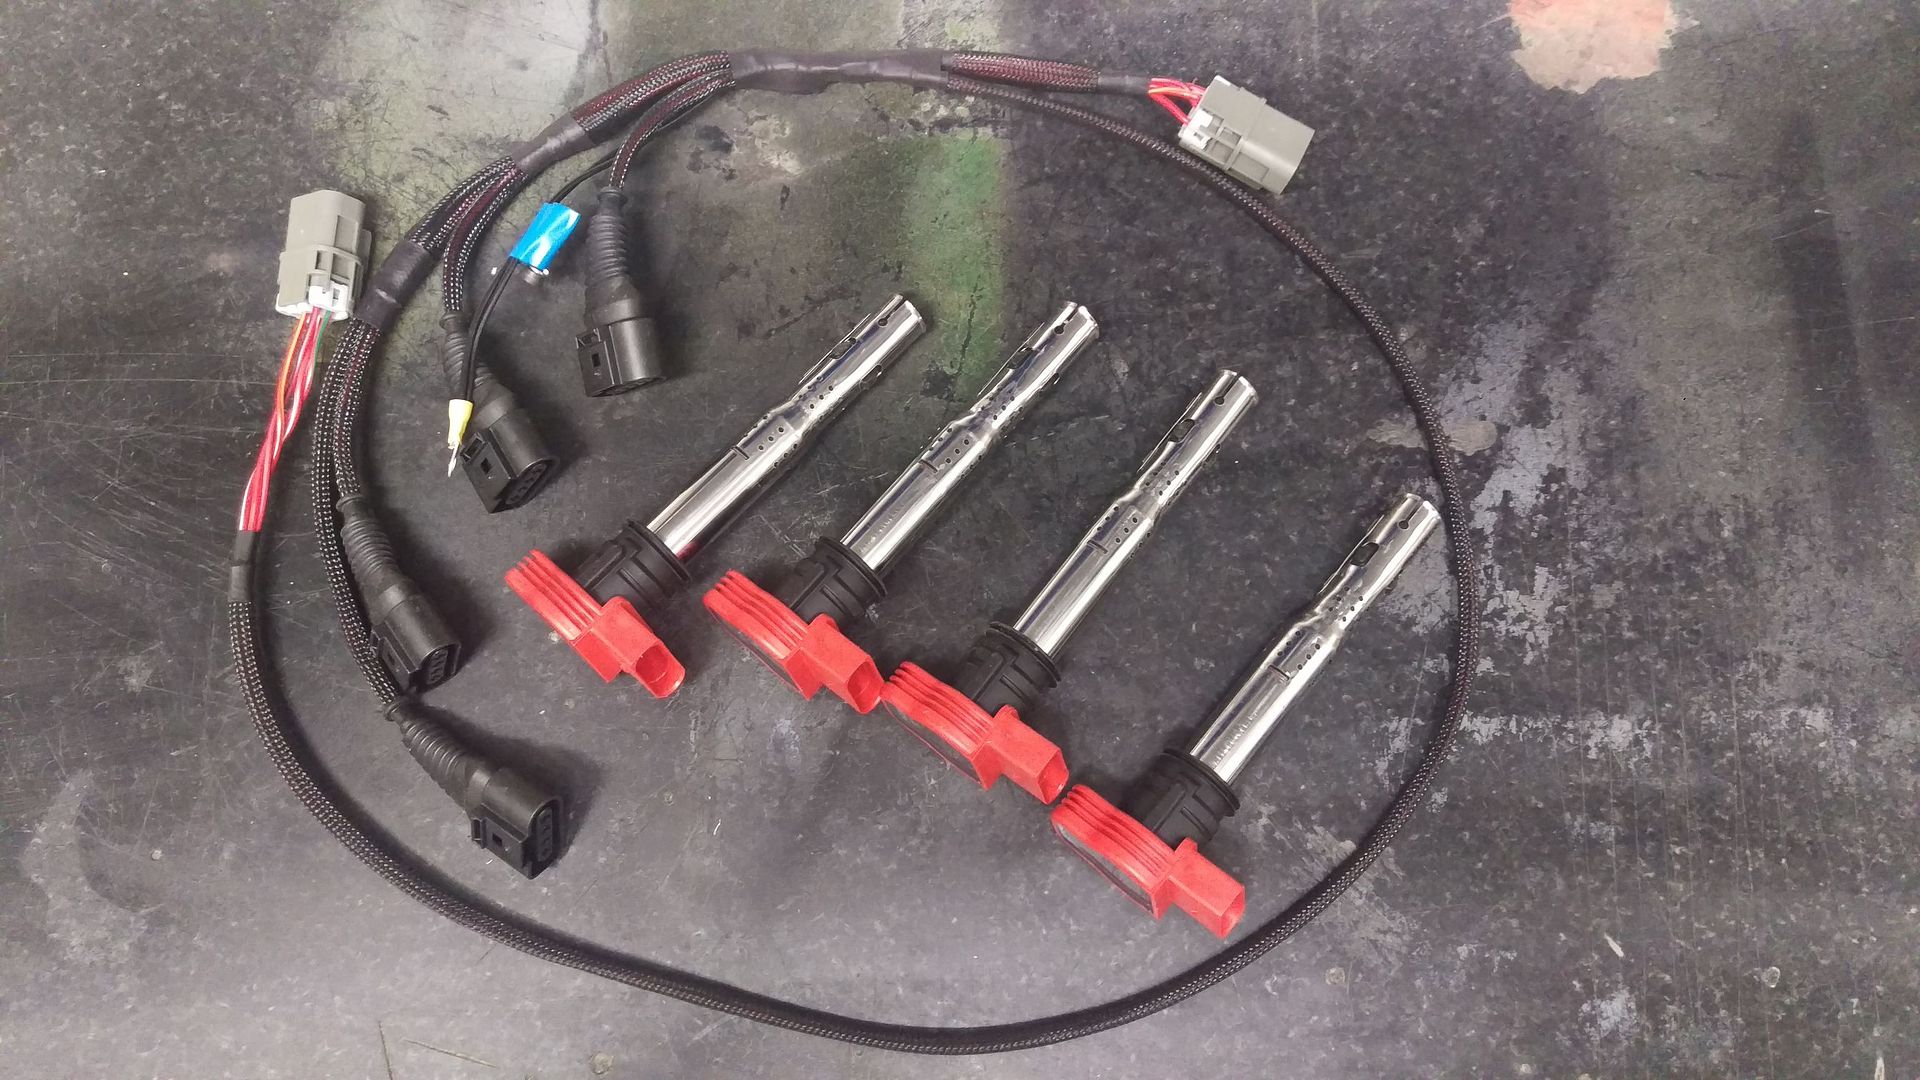
The R8 coils themselves also oooze quality; although in this instance I've gone for aftermarket NGK ones as they apparently last longer then the R8 Bosch ones (Time will tell I guess?)
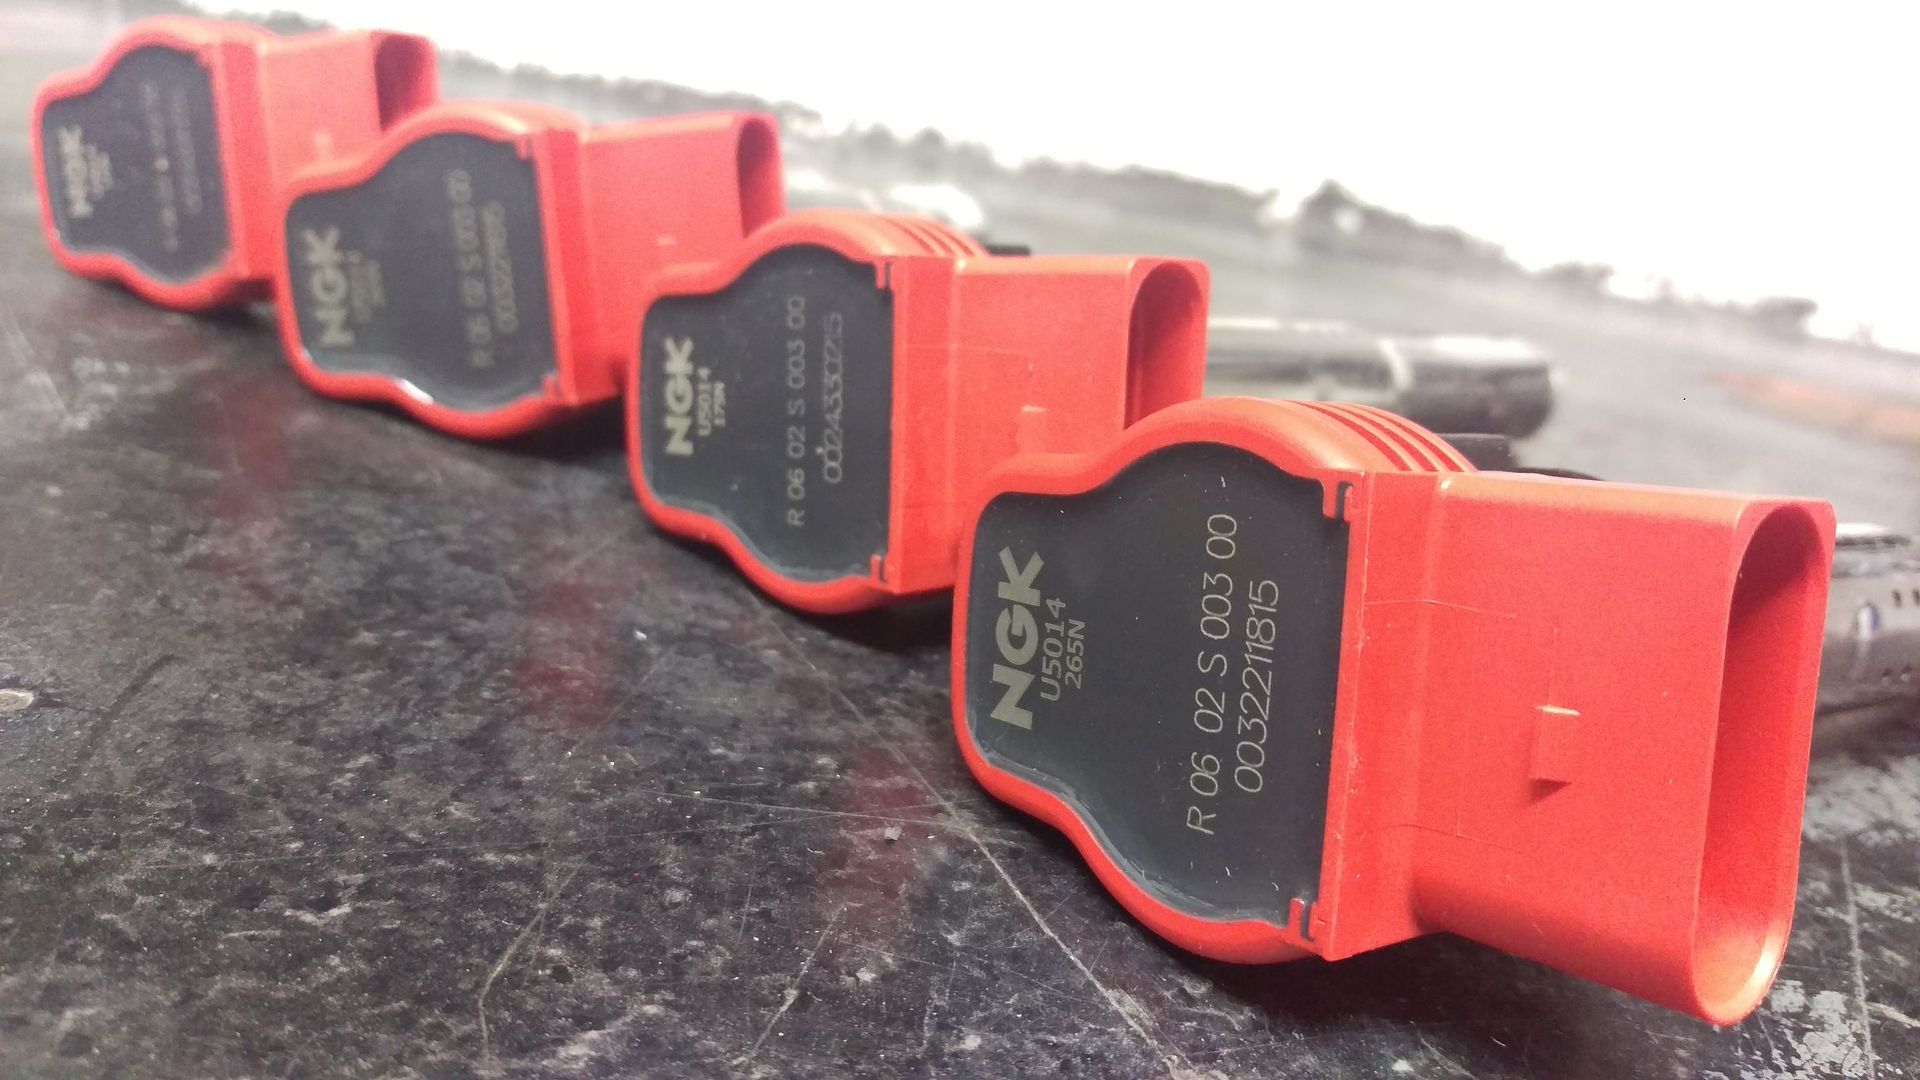
The R8 coils were from OpieOils and cost just £105 delivered.
Here you can see the R8 coil against the original CA18 coils -
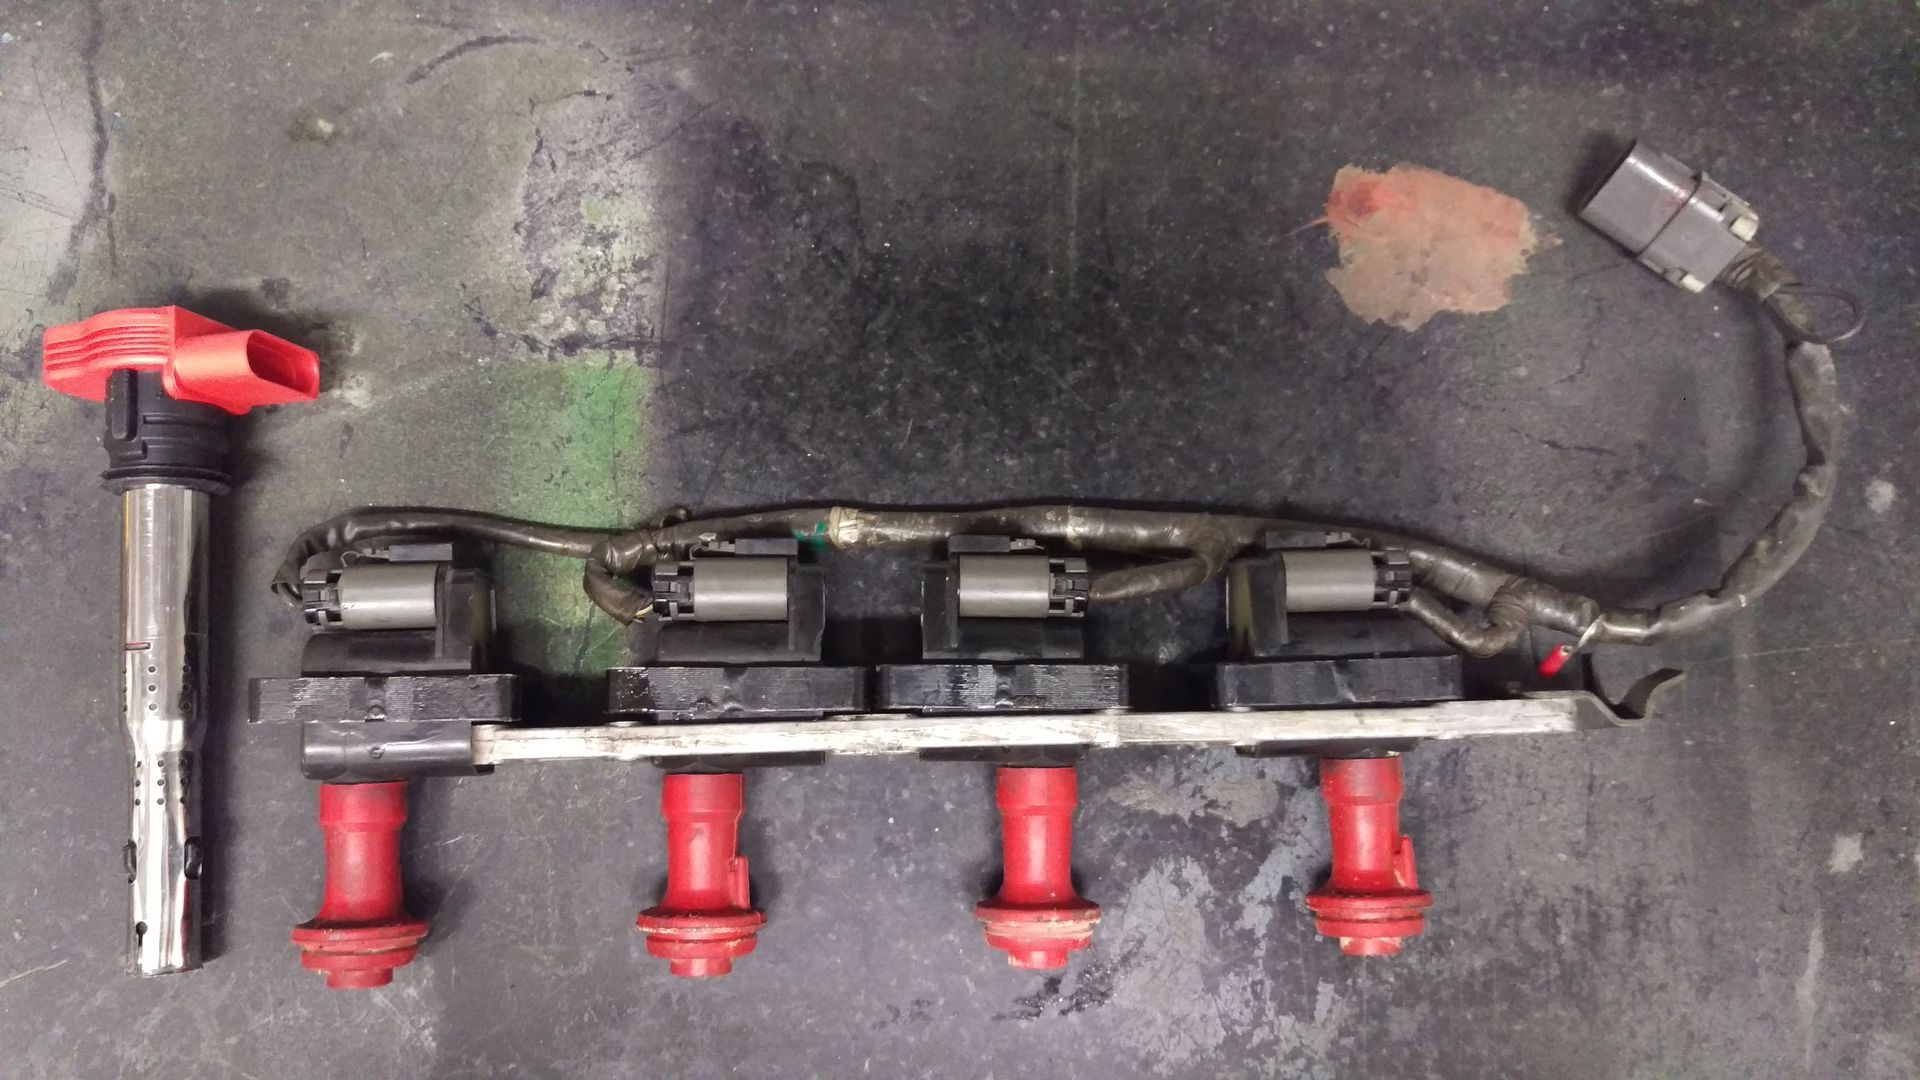
You can see that the CA18 coils bolt to a metal rail on the CA cylinder head, the heat from the head rises up and heats up the coil; eventually this causes a misfire as the coil breaksdown. The R8 coil is twice as high and aside from where it sits onto the plug has no direct contact with the head. This alternate design, coupled with the 'newness' and quality of the R8 coils should hopefully fix any previous problems I had in this regard.
Onto the fitting -
Before (yes, messy, needs a clean - built to be used not to be polished etc)
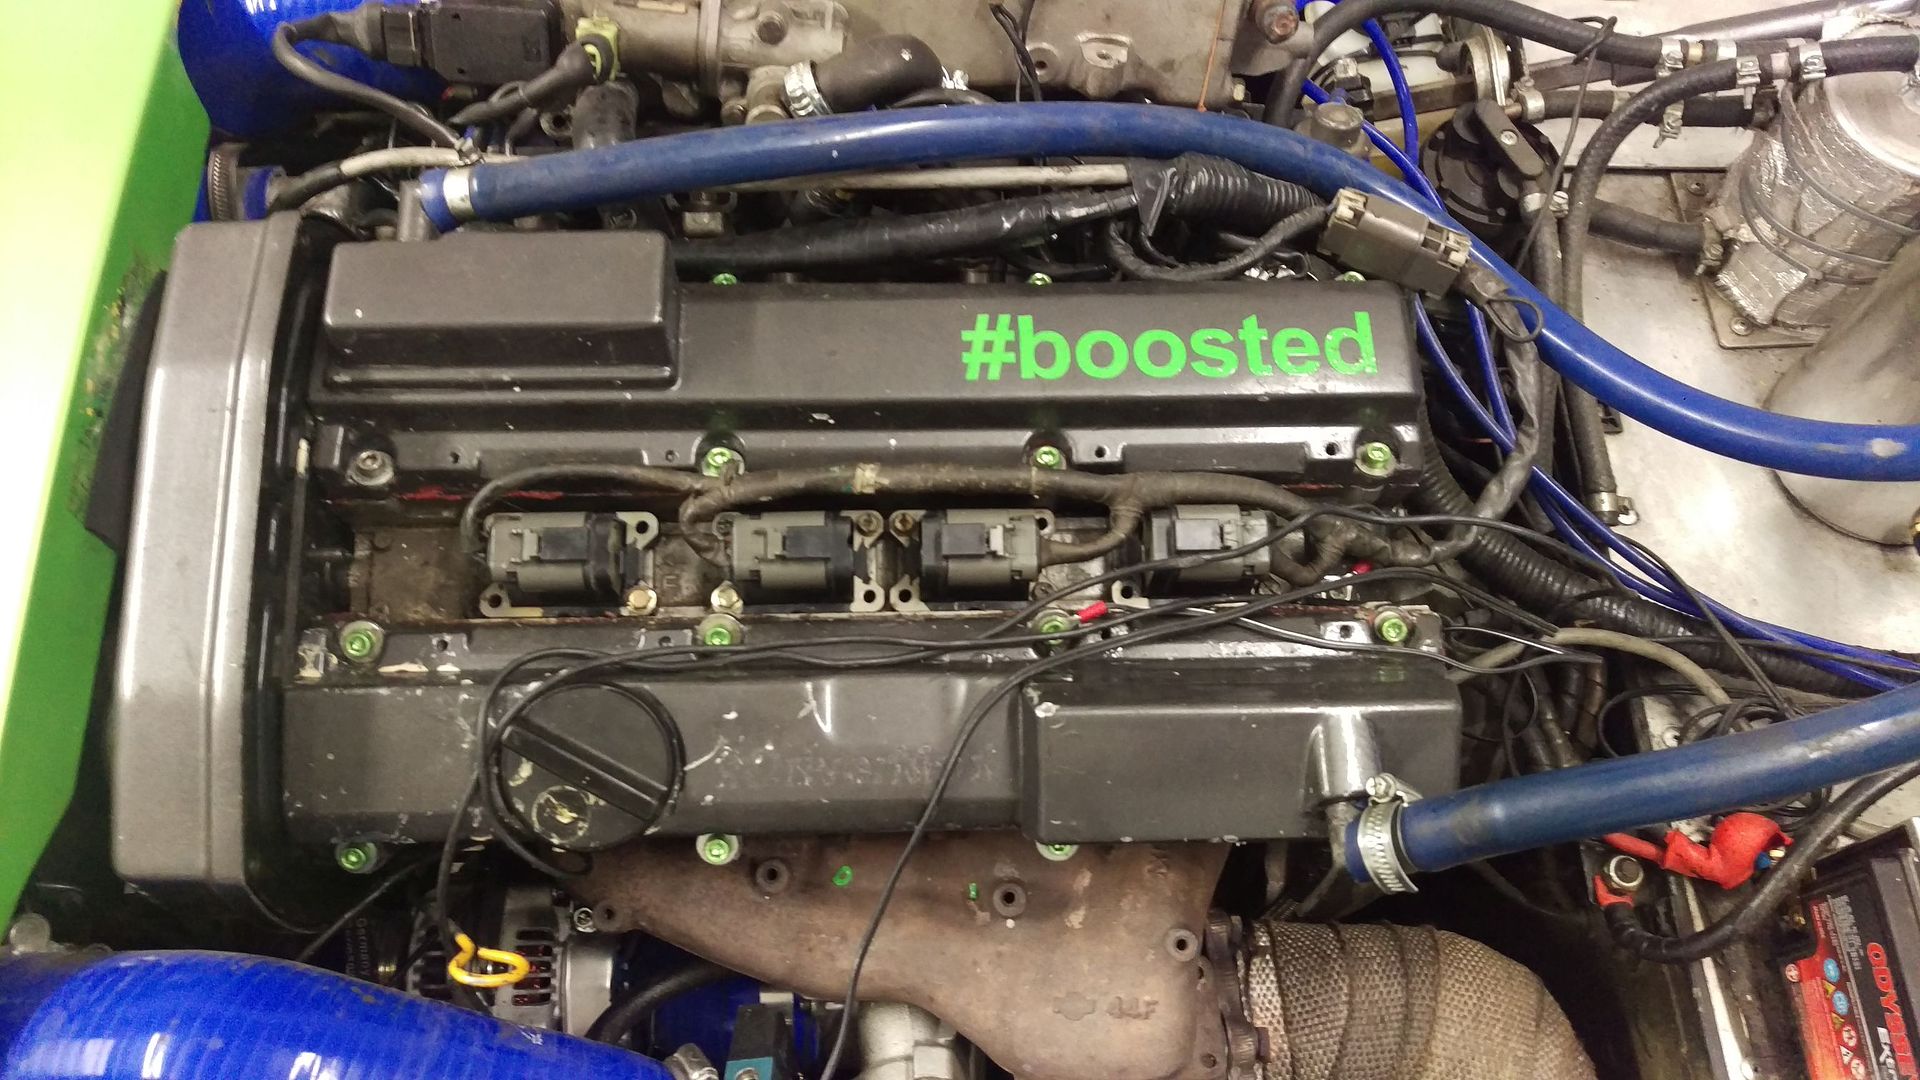
During
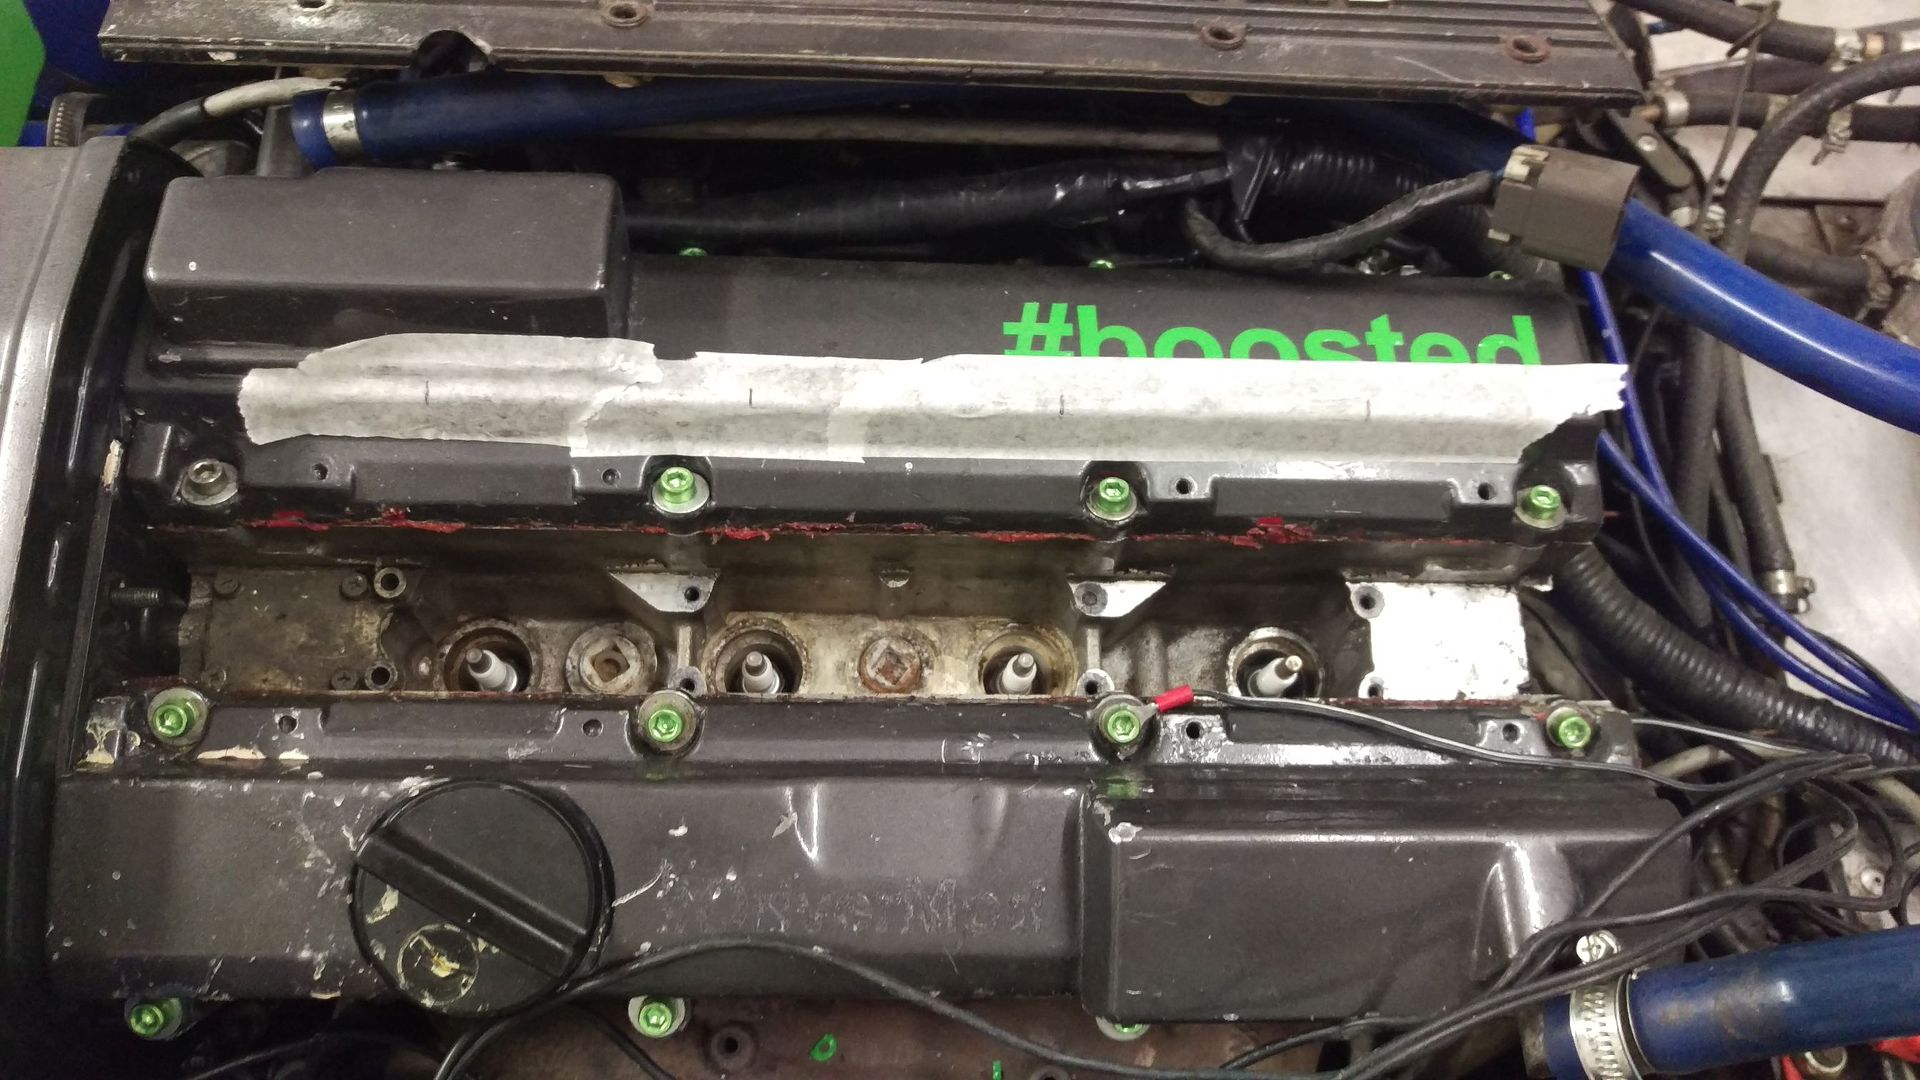
Rather than have the coils floating about, I drilled the original spark-plug cover and used that as a mounting template
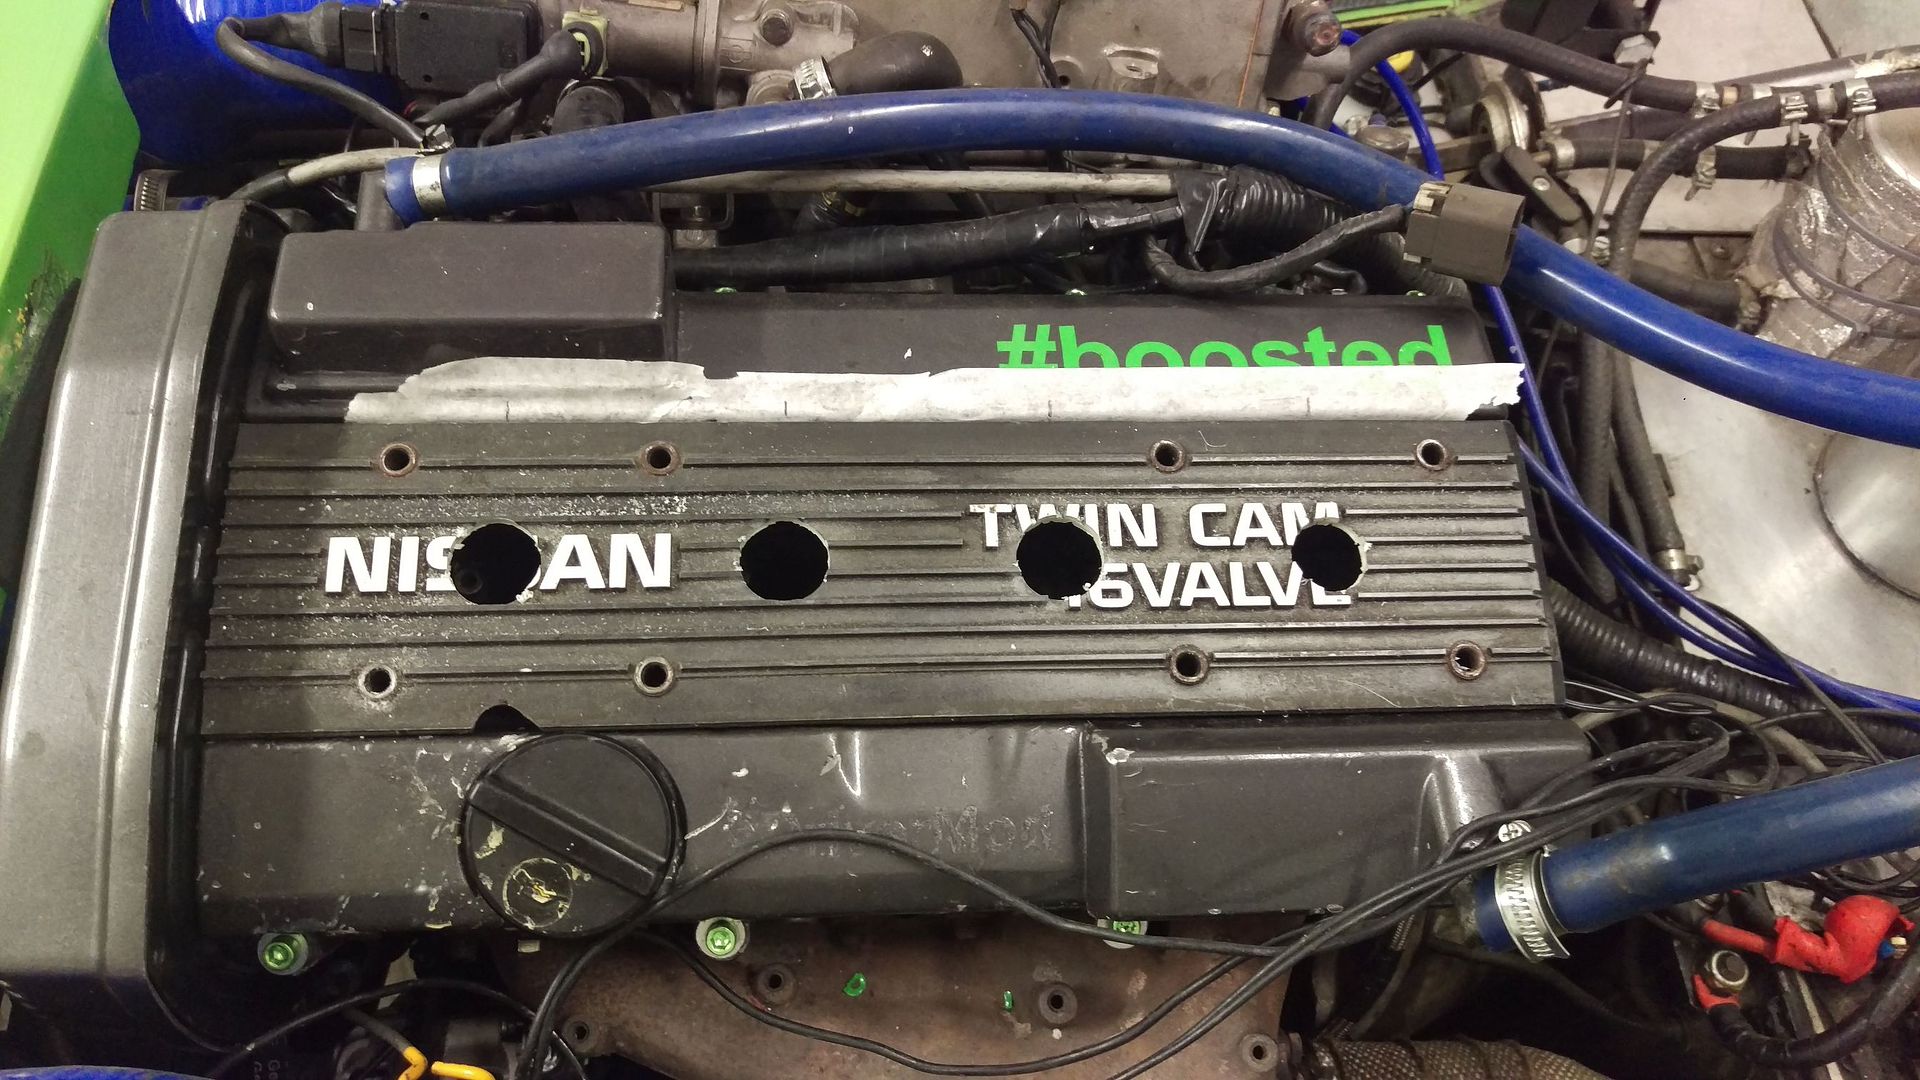
Coils In
And Finished

Simply plug and play, turn the key solution.
I can't say they've improved anything as when I rolled the car out on to the drive yesterday the heavens opened
There's a video here of me testing the car before the coil started playing up, post 300 bhp remap -
https://youtu.be/KQWUmTuBuJk
So, although I'd upgraded the car to my target of 300bhp I'd also gained a new fault - the coils were overheating causing huge misfires and eventually leaving me stranded in the middle of road junctions.
On with the upgrades then!
First up, fix the ropey looking accelerator cable that, at some point, was sure to leave me crying at the side of the road somewhere (more than normal no doubt!)
Old One

New One


Ahh that's better, now I'll sleep easier.
Proper upgrade time;
CA18DET engines are, at their youngest, 19 years old. Spare parts are abit thin on the ground and any spare parts you can find are normally knackered. You can still get CA18DET coils at the dealer but they are verrry expensive and will offer no real performance benefit.
There are various options in terms of upgrading CA18dET ignition coils; VAG, LS1 or aftermarket Bosch to name a few. As I'm no auto-electrician, I went with option one - VAG coils; R8 coils to be precise
There is a chap on the Driftworks/SXOC/CA18 FB groups that offers an aftermarket plug-and-play loom for the CA engine, for use with R8 coils, the quality is second to none.
Here it is alongside the R8 coils;

The R8 coils themselves also oooze quality; although in this instance I've gone for aftermarket NGK ones as they apparently last longer then the R8 Bosch ones (Time will tell I guess?)

The R8 coils were from OpieOils and cost just £105 delivered.
Here you can see the R8 coil against the original CA18 coils -

You can see that the CA18 coils bolt to a metal rail on the CA cylinder head, the heat from the head rises up and heats up the coil; eventually this causes a misfire as the coil breaksdown. The R8 coil is twice as high and aside from where it sits onto the plug has no direct contact with the head. This alternate design, coupled with the 'newness' and quality of the R8 coils should hopefully fix any previous problems I had in this regard.
Onto the fitting -
Before (yes, messy, needs a clean - built to be used not to be polished etc)

During

Rather than have the coils floating about, I drilled the original spark-plug cover and used that as a mounting template

Coils In

And Finished

Simply plug and play, turn the key solution.
I can't say they've improved anything as when I rolled the car out on to the drive yesterday the heavens opened
There's a video here of me testing the car before the coil started playing up, post 300 bhp remap -
https://youtu.be/KQWUmTuBuJk
Edited by dave2007bc on Monday 23 May 13:55
me again
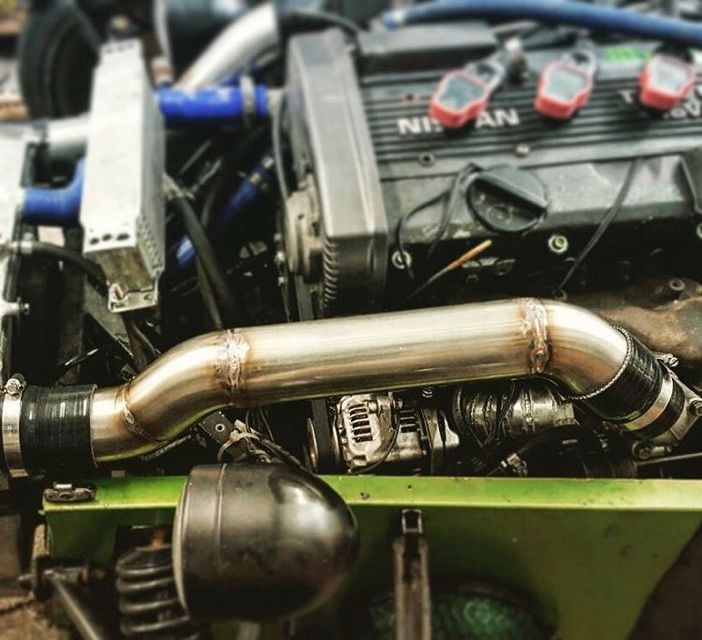
So following the 300bhp mapping and upgrading of the coils I had a bit of maintenance to do. With the new z32 afm, the air filter wouldn't sit where it did before so I went to Slide Motorsport to have custom hard-pipe fabricated.
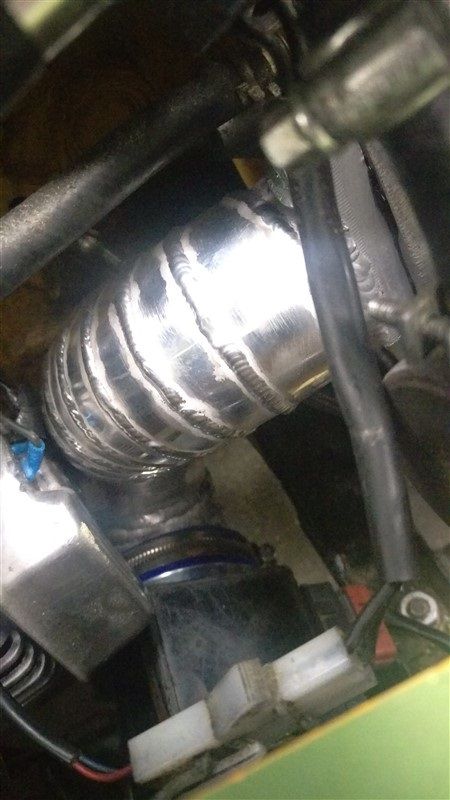
This took something like 4 hours and is made up of over 25 individual 'slices' to get the angle correct. The pipe size goes from 3" to 2" over the course of the bend.
It worked perfectly and gives an entirely different turbo-stall sound now that the pipe isn't compressing under boost.
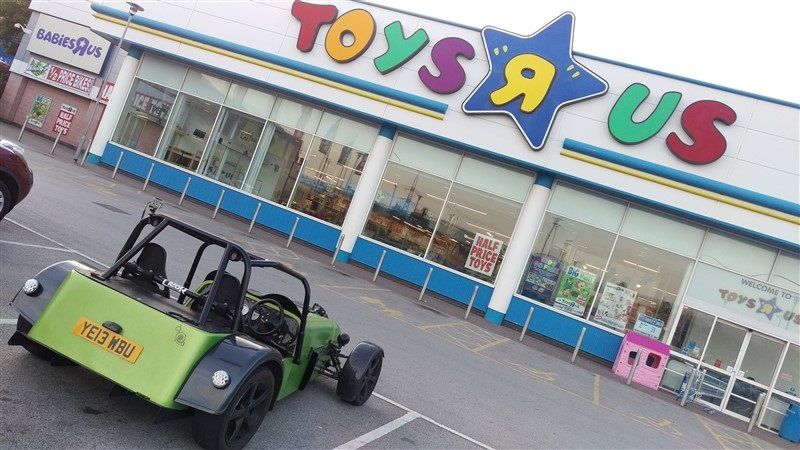
I went shopping -
and then booked my second trackday of the year at Blyton again.


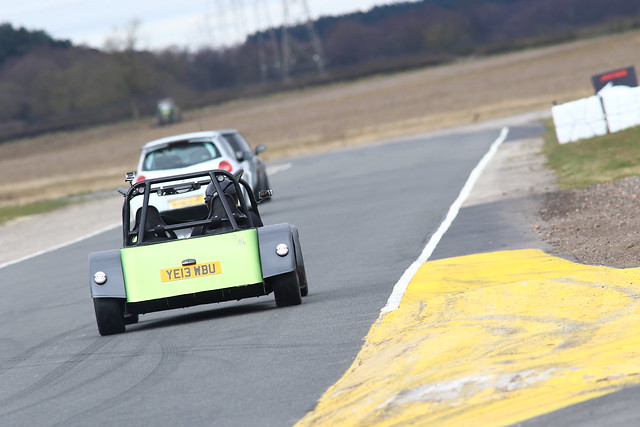
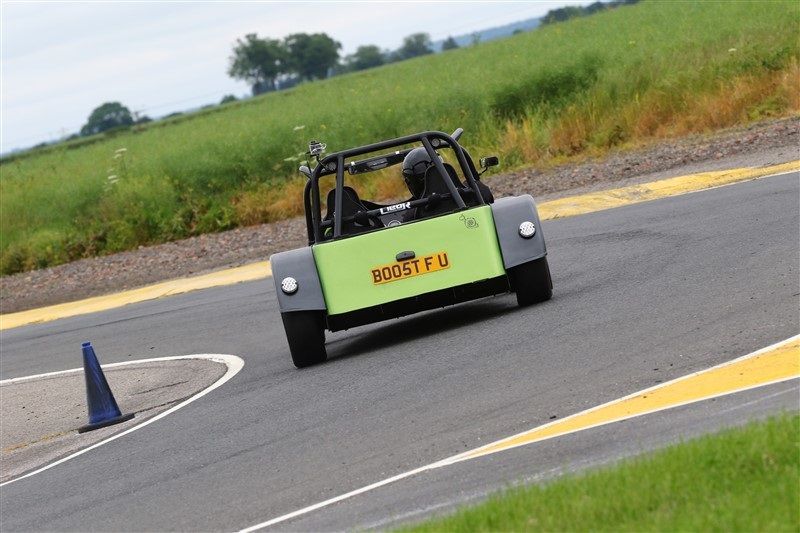
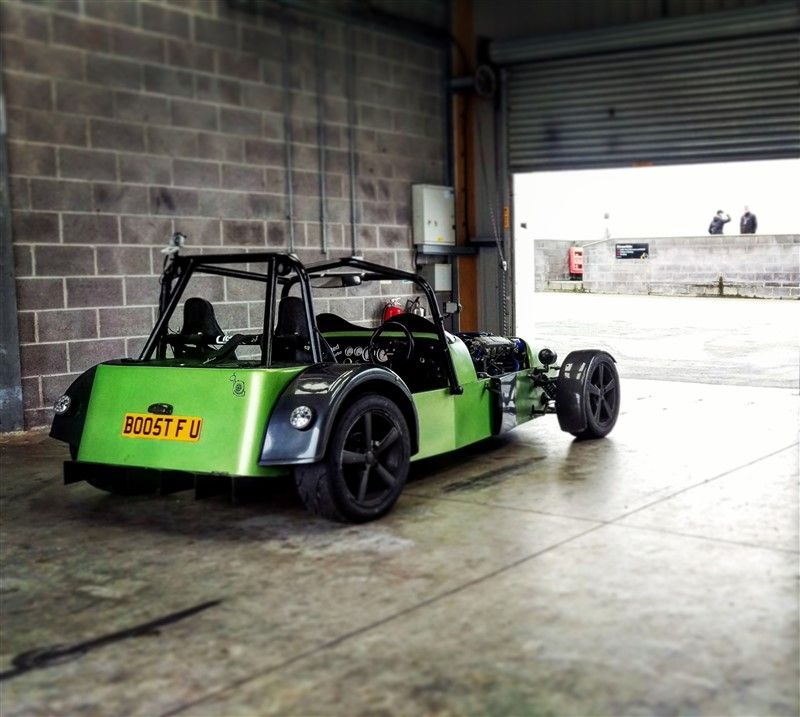
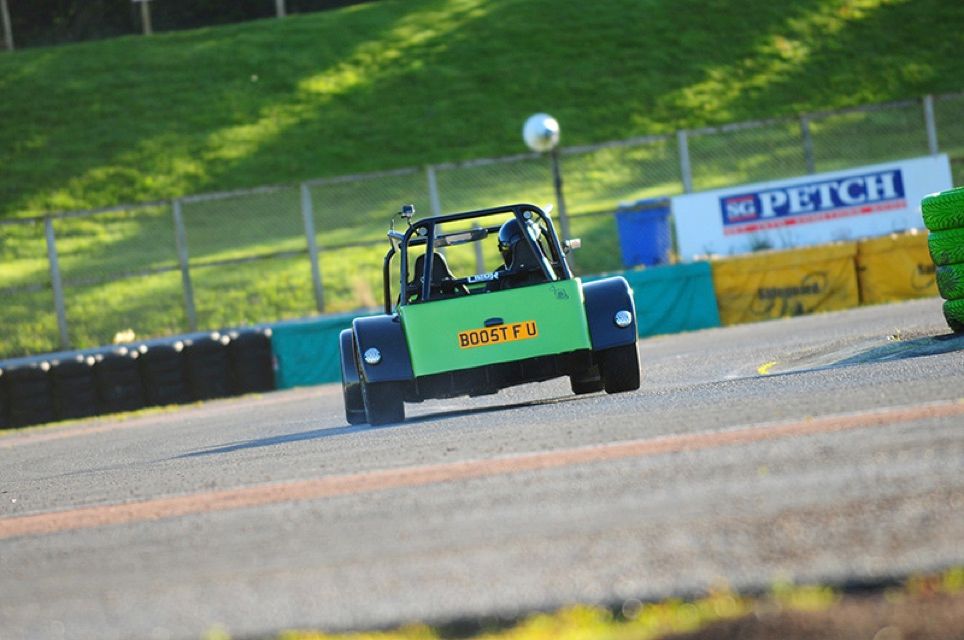
I also bought a cheeky private numberplate
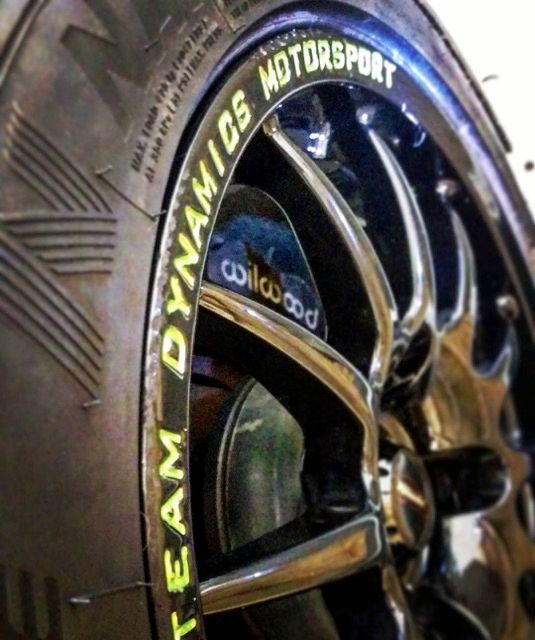
With the more hp came less traction, so my hand went in my pocket and I bought some new Nankang AR-1 semi-slick tyres. This is a photo of them side by side with my previous ones -
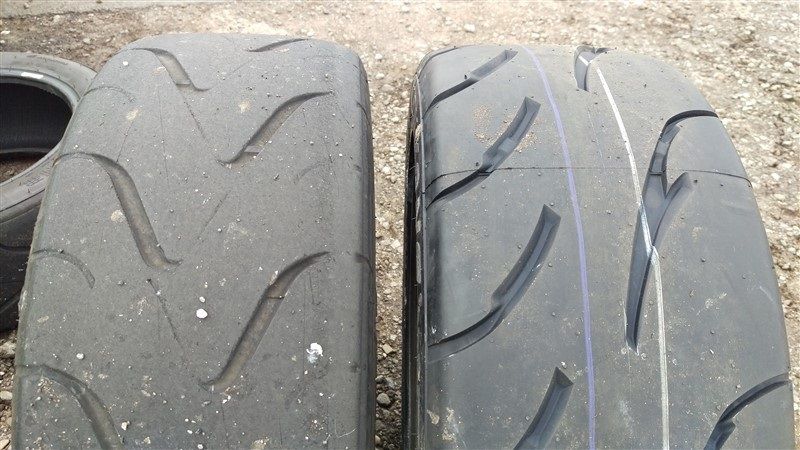
The difference is huge. They are so sticky.
Videos from the trackday -
Me getting absolutely destroyed by a 300bhp, 400kg kitcar
https://www.youtube.com/watch?v=q6v15SmR2PM
Me vs a 400bhp Turbo Reliant Kitten
https://www.youtube.com/watch?v=FP9lUY_Wg4c
Overtake Compilation
https://www.youtube.com/watch?v=-_F0_1h3vqg
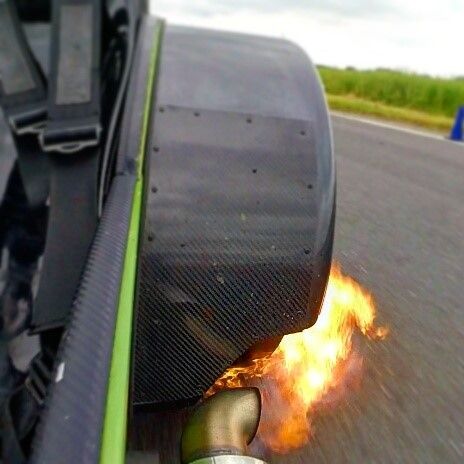
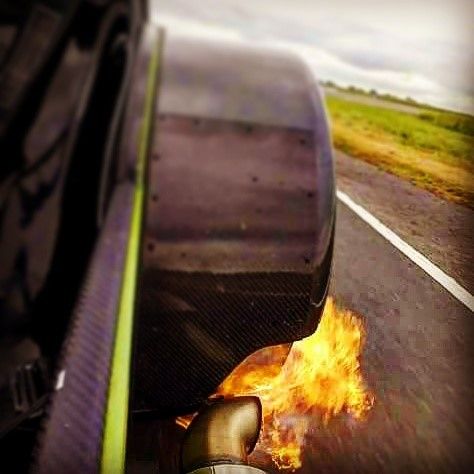
Oh, the mapper put a bit of 'pop and bang' into my map, which produces stunning flames. I really like flames.
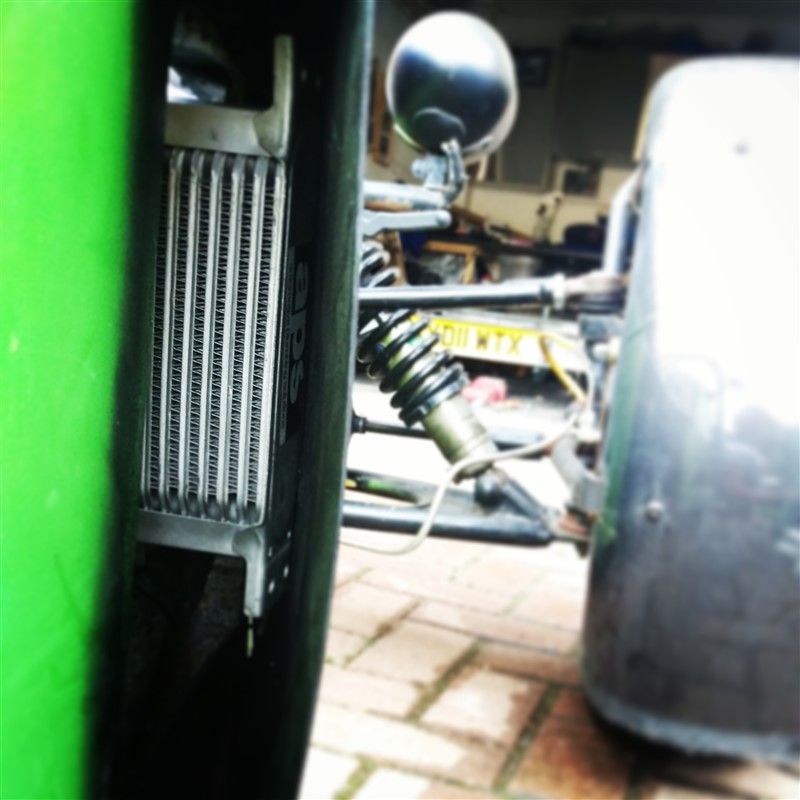
The temperatures of the car at the track did still keep creeping up, so I installed a 'post-turbo' water cooler in the side panel -
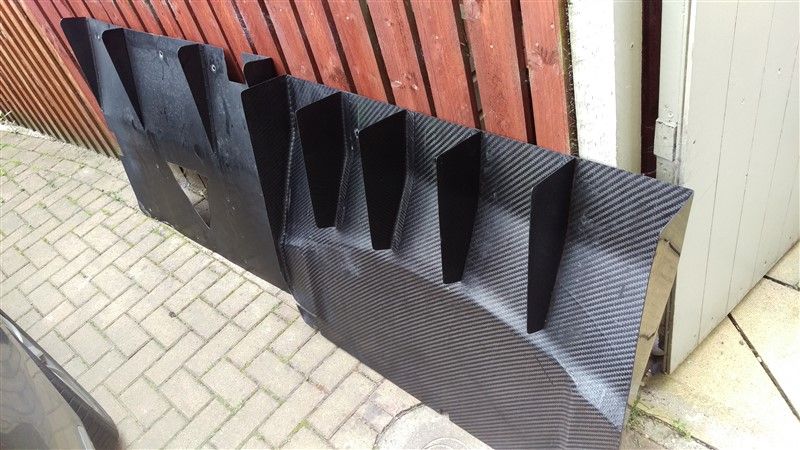
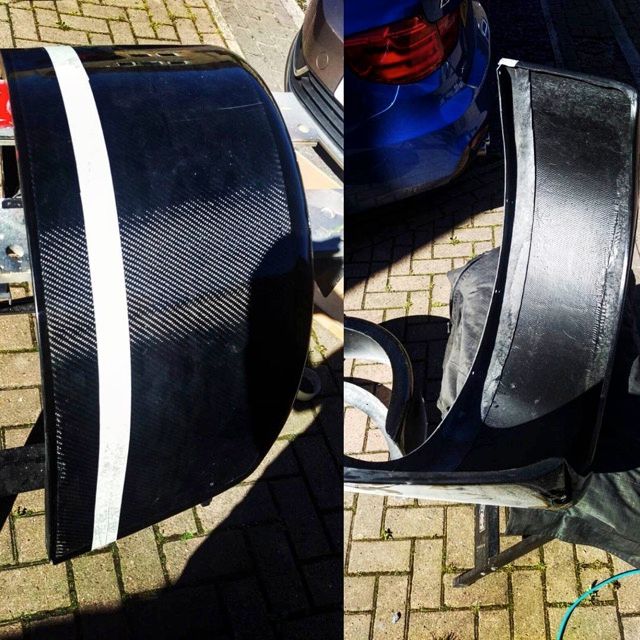
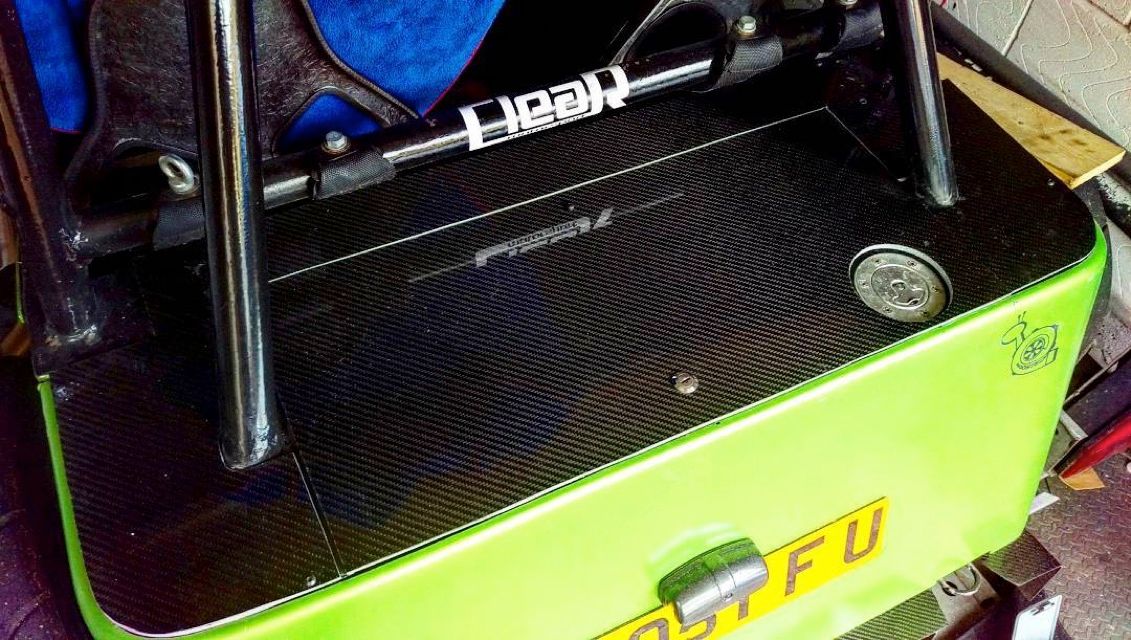
I also swapped out my aluminium rear diffuser for a carbon fibre one, saving me nearly 3kg.
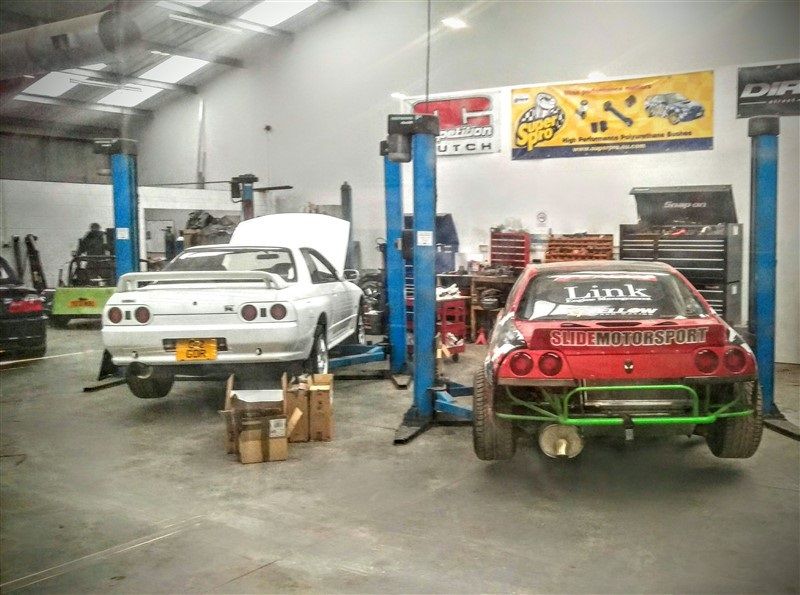
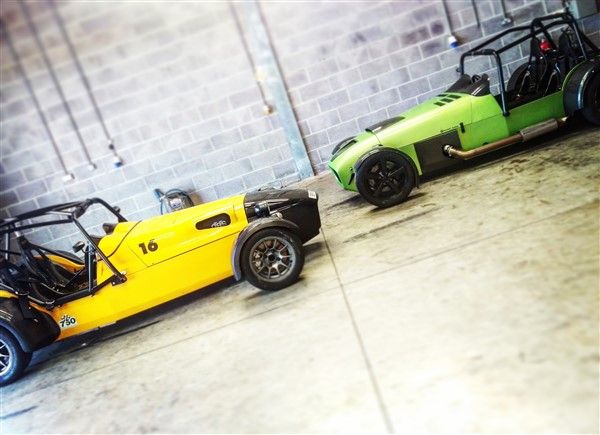
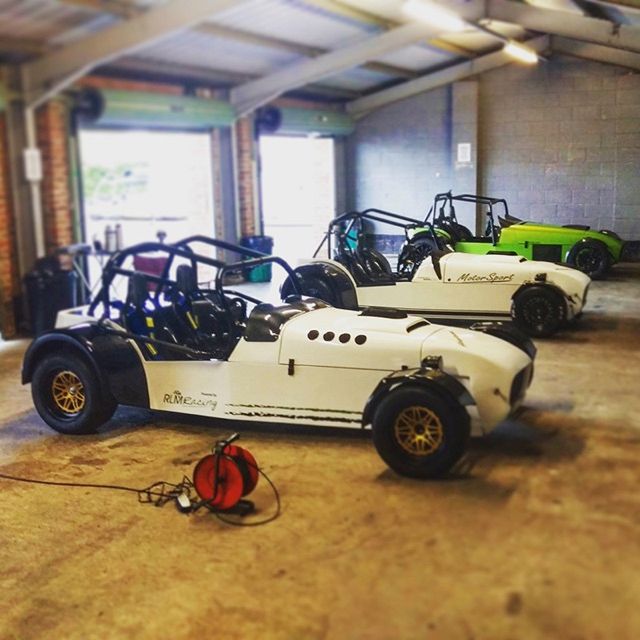
Last month I booked on at Anglesey and shared a garage with a car-friend
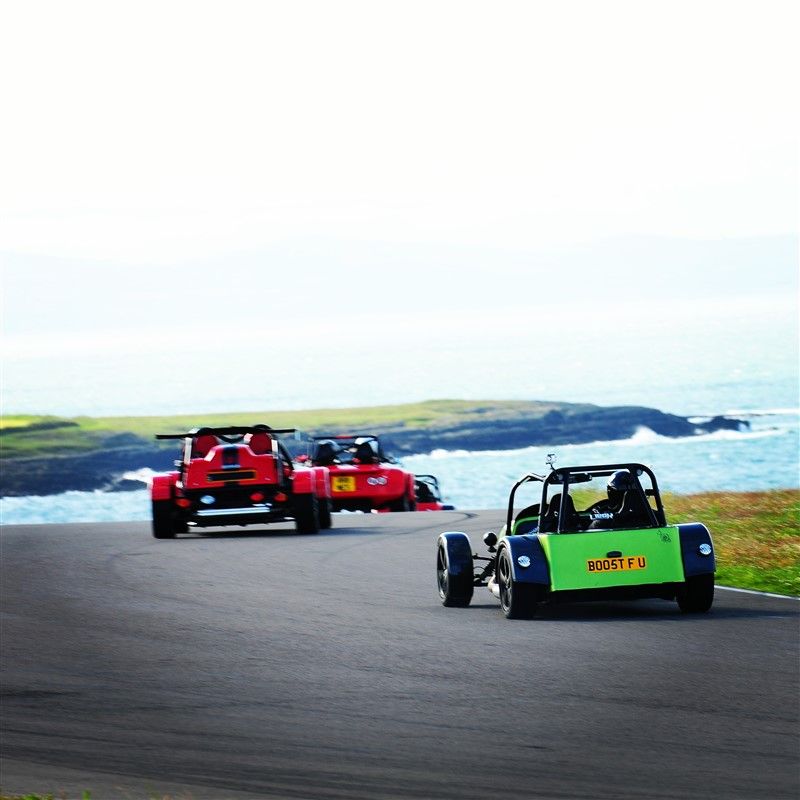
Some videos -
Me vs Cayman S
Compilation of Sliding
The videos and day at Anglesey highlighted something. I have major, major traction issues. That's going to be pretty obvious given the power and weight but there's something a miss somewhere. The next job is to do some checks on the chassis, with the possibility of altering the axle mounts. Swapping the Capri LSD for a "proper one", and altering the spring-poundage to something that is more suitable.
There's always things to do, but I wouldn't have it any other way
Oh, in other news I killed a bird with the car
So following the 300bhp mapping and upgrading of the coils I had a bit of maintenance to do. With the new z32 afm, the air filter wouldn't sit where it did before so I went to Slide Motorsport to have custom hard-pipe fabricated.


This took something like 4 hours and is made up of over 25 individual 'slices' to get the angle correct. The pipe size goes from 3" to 2" over the course of the bend.
It worked perfectly and gives an entirely different turbo-stall sound now that the pipe isn't compressing under boost.
I went shopping -

and then booked my second trackday of the year at Blyton again.


I also bought a cheeky private numberplate

With the more hp came less traction, so my hand went in my pocket and I bought some new Nankang AR-1 semi-slick tyres. This is a photo of them side by side with my previous ones -


The difference is huge. They are so sticky.
Videos from the trackday -
Me getting absolutely destroyed by a 300bhp, 400kg kitcar
https://www.youtube.com/watch?v=q6v15SmR2PM
Me vs a 400bhp Turbo Reliant Kitten
https://www.youtube.com/watch?v=FP9lUY_Wg4c
Overtake Compilation
https://www.youtube.com/watch?v=-_F0_1h3vqg
Oh, the mapper put a bit of 'pop and bang' into my map, which produces stunning flames. I really like flames.


The temperatures of the car at the track did still keep creeping up, so I installed a 'post-turbo' water cooler in the side panel -

I also swapped out my aluminium rear diffuser for a carbon fibre one, saving me nearly 3kg.


Last month I booked on at Anglesey and shared a garage with a car-friend


Some videos -
Me vs Cayman S
Compilation of Sliding
The videos and day at Anglesey highlighted something. I have major, major traction issues. That's going to be pretty obvious given the power and weight but there's something a miss somewhere. The next job is to do some checks on the chassis, with the possibility of altering the axle mounts. Swapping the Capri LSD for a "proper one", and altering the spring-poundage to something that is more suitable.
There's always things to do, but I wouldn't have it any other way
Oh, in other news I killed a bird with the car
Edited by dave2007bc on Thursday 7th May 10:28
Long overdue update - most updates are now on instagram (locost_turbo) if any of you are on there.
Videos on my YouTube channel as always...
Anyway...
I had a YouTube feature by a chap called MonkyLondon; loads of fun. You may enjoy it, you may not. A few photos and a link to his feature below -


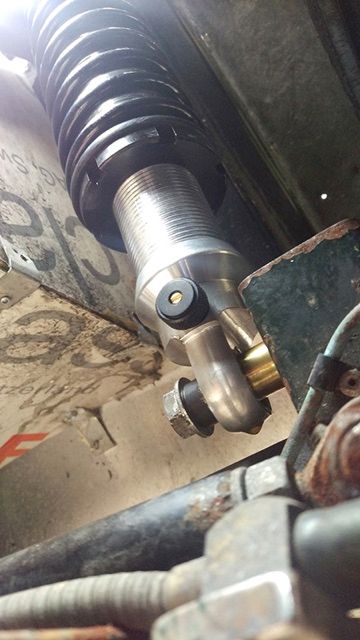
i had some new rear shocks fitted by Procomp to try and improve traction - Custom valved Protect..
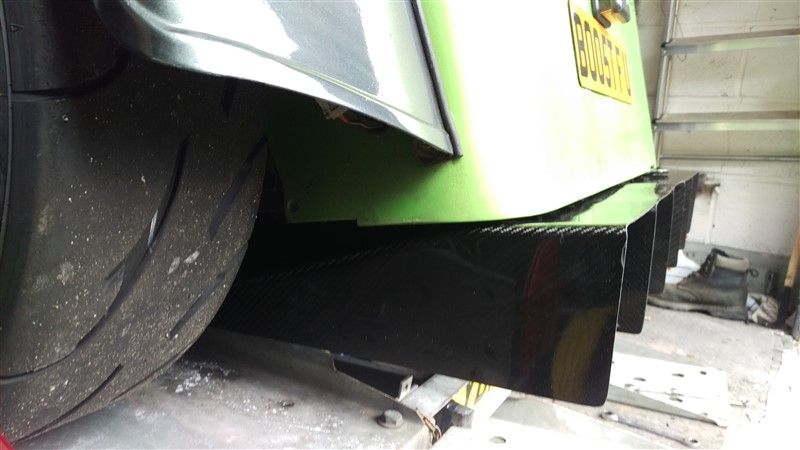
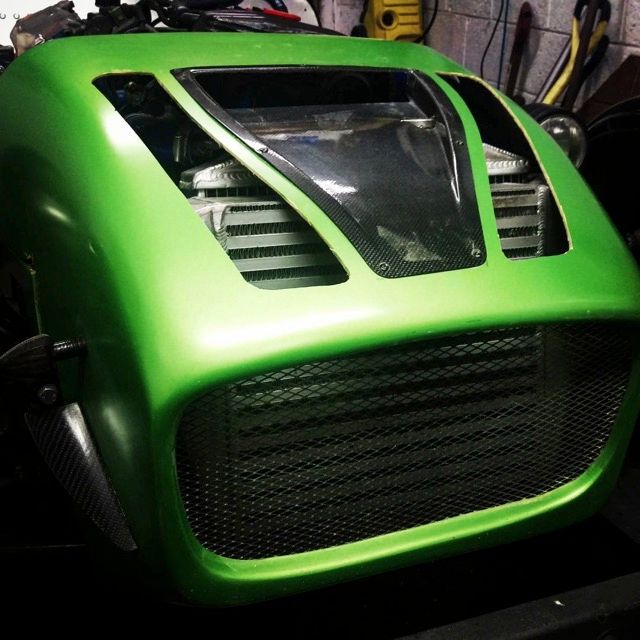
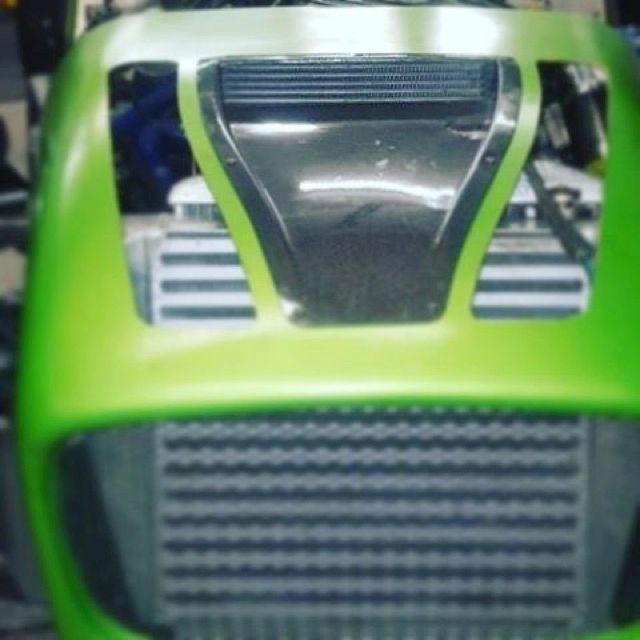
I cut up the front end bit to get more air in!
Bought some new wheels..
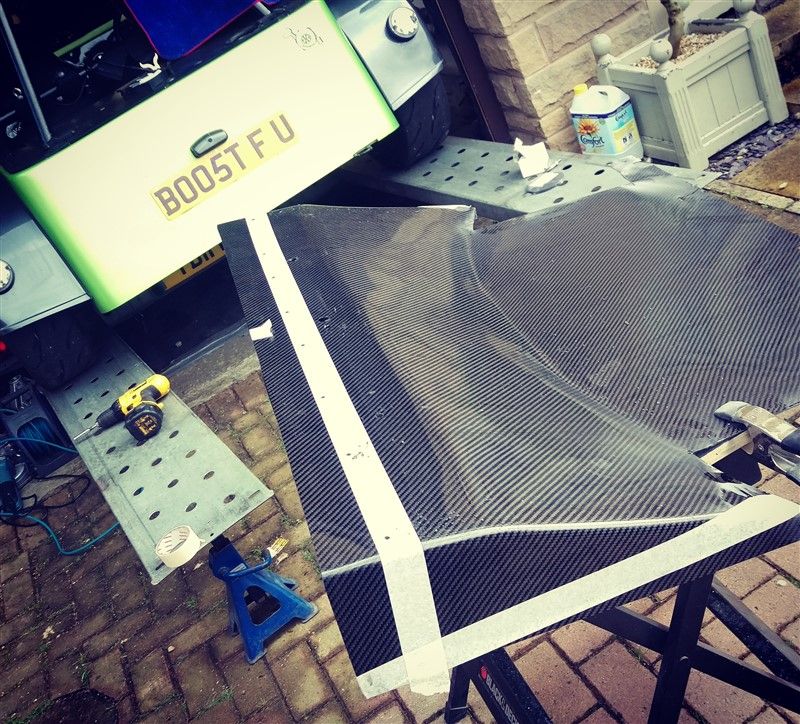
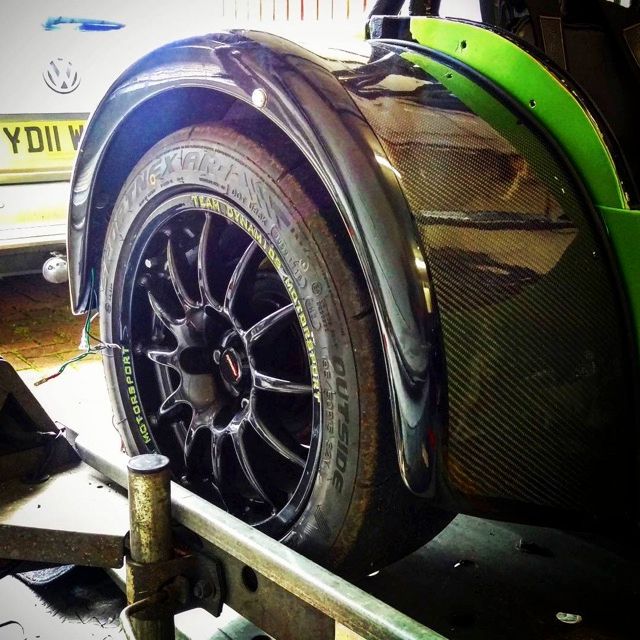
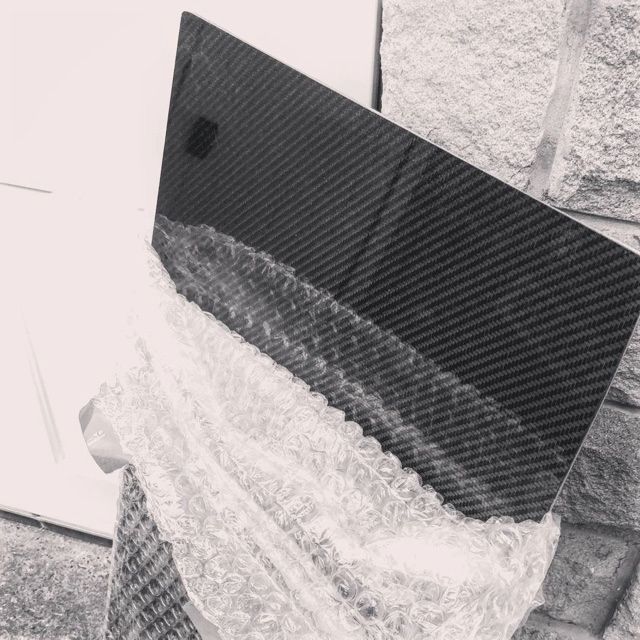
Bought and modified some carbon fibre rear arches
I did a trackday at Croft, managed 8 laps before I broke it I did however manage to get past a GT3rs which I was fairly happy about!
Made a carbon fibre bootlid
Ruined some tyres -

Did plenty of miles on the road...

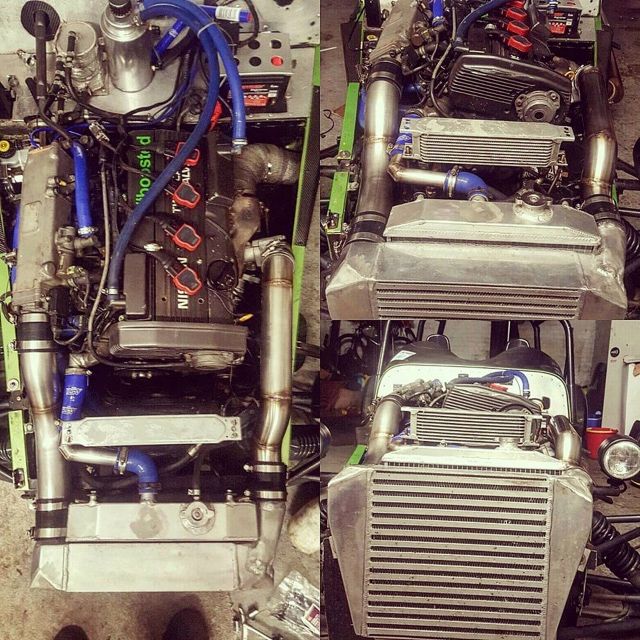
...and finally some proper mods. Boost pipes replaced with all stainless ones to reduce hose clips and therefore the risk of leaks. Coolant hoses replaced and improved. Oil cooler moved somewhere more practical too.
Videos on my YouTube channel as always...
Anyway...
I had a YouTube feature by a chap called MonkyLondon; loads of fun. You may enjoy it, you may not. A few photos and a link to his feature below -


i had some new rear shocks fitted by Procomp to try and improve traction - Custom valved Protect..


I cut up the front end bit to get more air in!


Bought some new wheels..

Bought and modified some carbon fibre rear arches


I did a trackday at Croft, managed 8 laps before I broke it
I did however manage to get past a GT3rs which I was fairly happy about!


Made a carbon fibre bootlid


Ruined some tyres -

Did plenty of miles on the road...


...and finally some proper mods. Boost pipes replaced with all stainless ones to reduce hose clips and therefore the risk of leaks. Coolant hoses replaced and improved. Oil cooler moved somewhere more practical too.


Edited by dave2007bc on Thursday 7th May 10:29
Sorry, only just seen this reply 6 months later. Rate the AR1s a lot, can't comment on how they compare with the others you mentioned but they are really really sticky. They do need lots of heat in them to really be effective, but that doesn't take long in my car tbh.
All sat tight ready for the bi-annual update? OK then
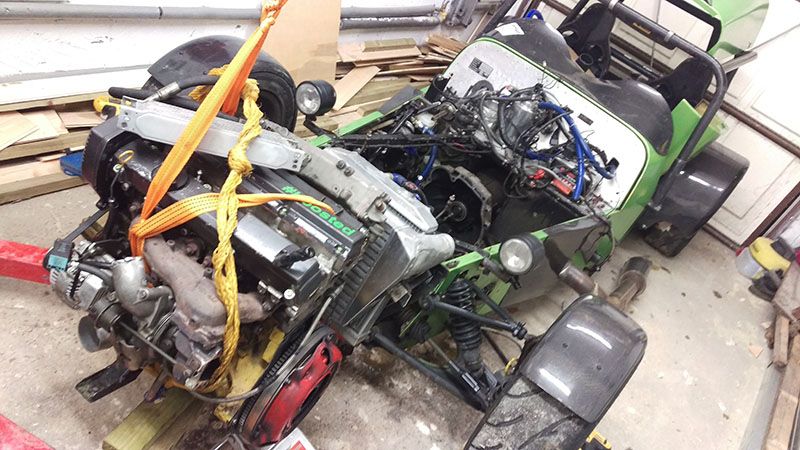
After the last trackway I decided it would be a good idea to change the clutch and flywheel. The flywheel was replaced for a 5kg, down 8kg from the factory 13kg one!! Great weight saving and great improvement on acceleration.
I also replaced the clutch at the same time.
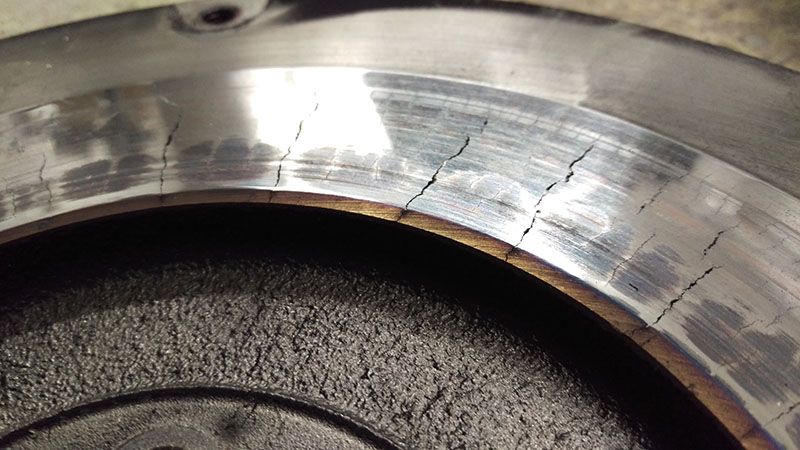
It's a good job I decided to take it out...this could have been very nasty indeed.
I then broke the clutch in, the only way I know how
I did a trackway at Blyton to get the year started
Managed a 1.11 around Blyton, more than happy with that.
Made a car friend and went to the East-coast
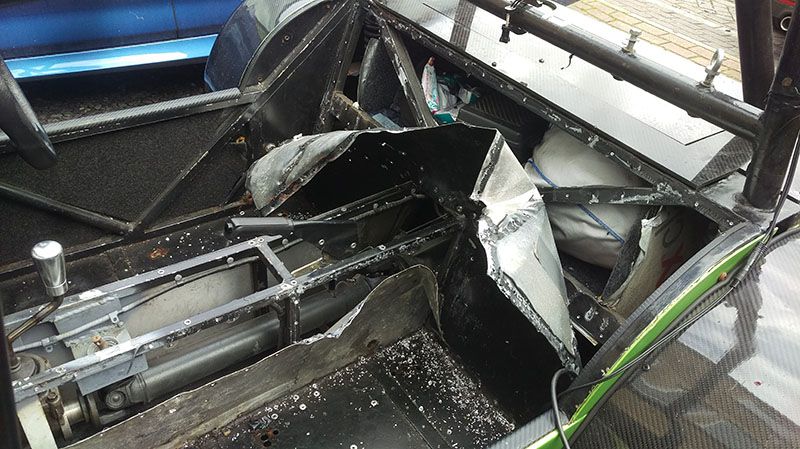
Time for some improvements; I'm all about the carbon fibre this season -
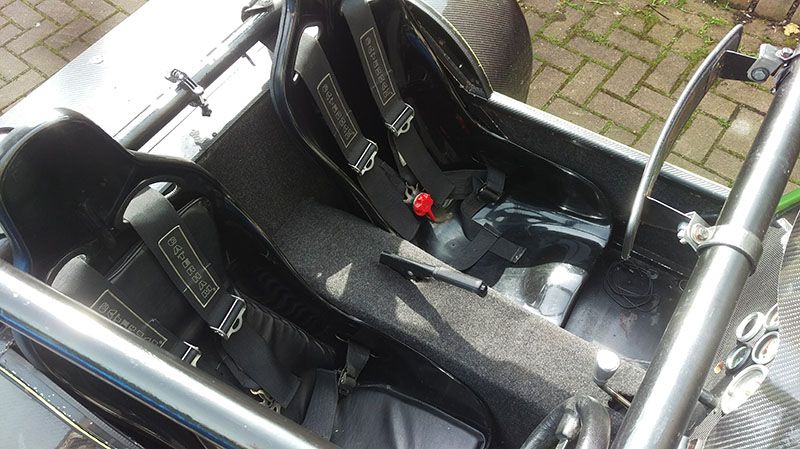
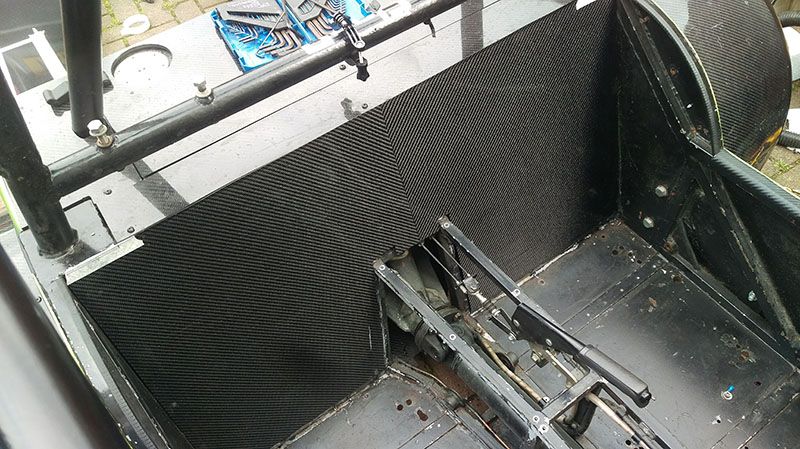
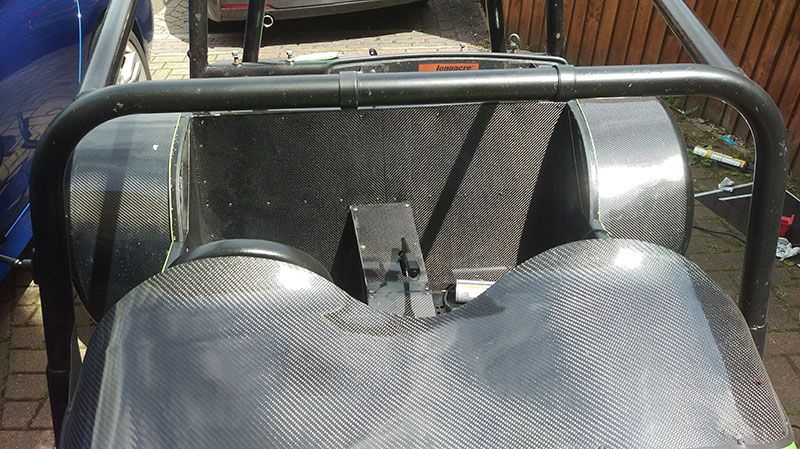
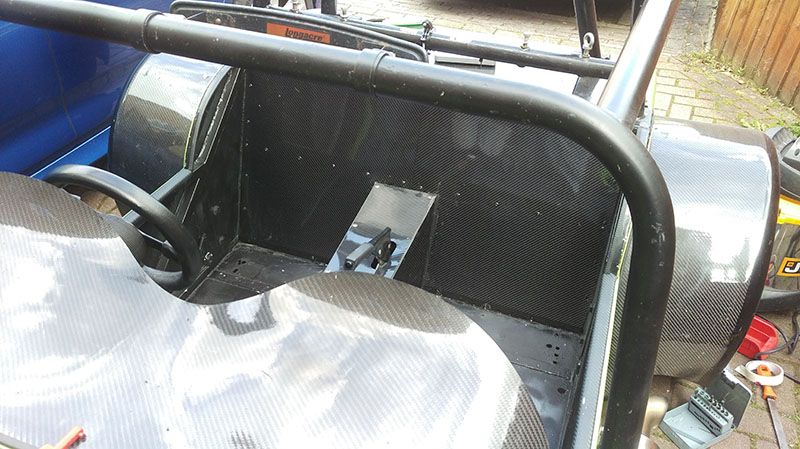

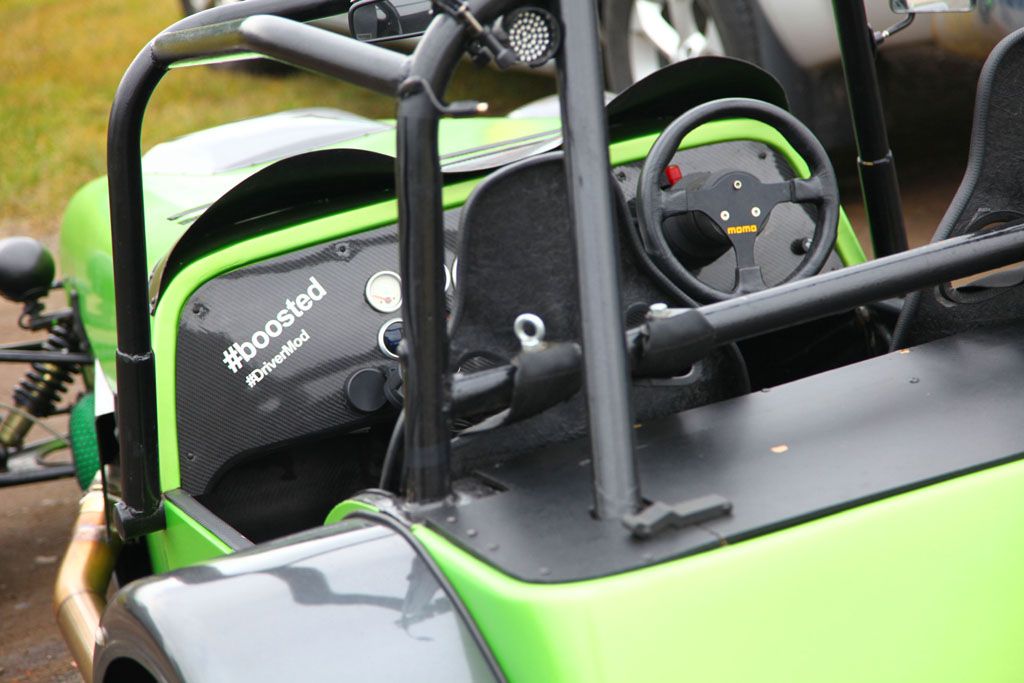
Interior done (unless I trip over some CF seats somewhere...)
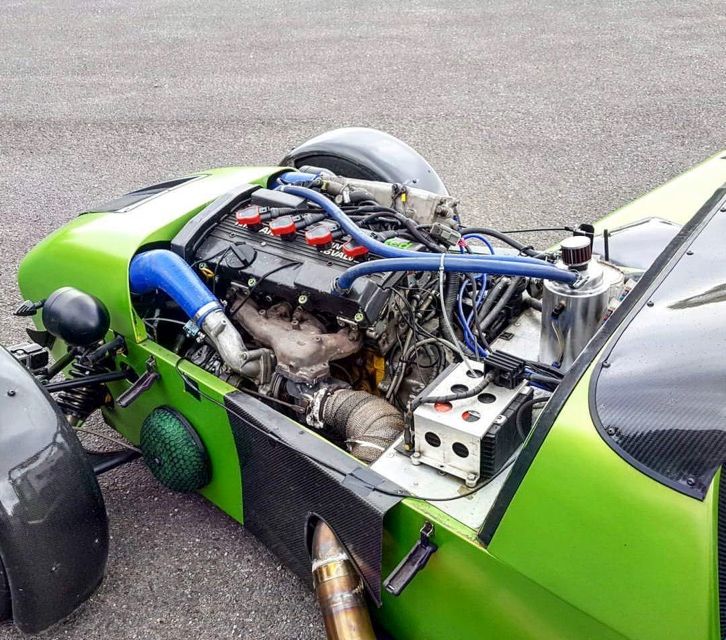
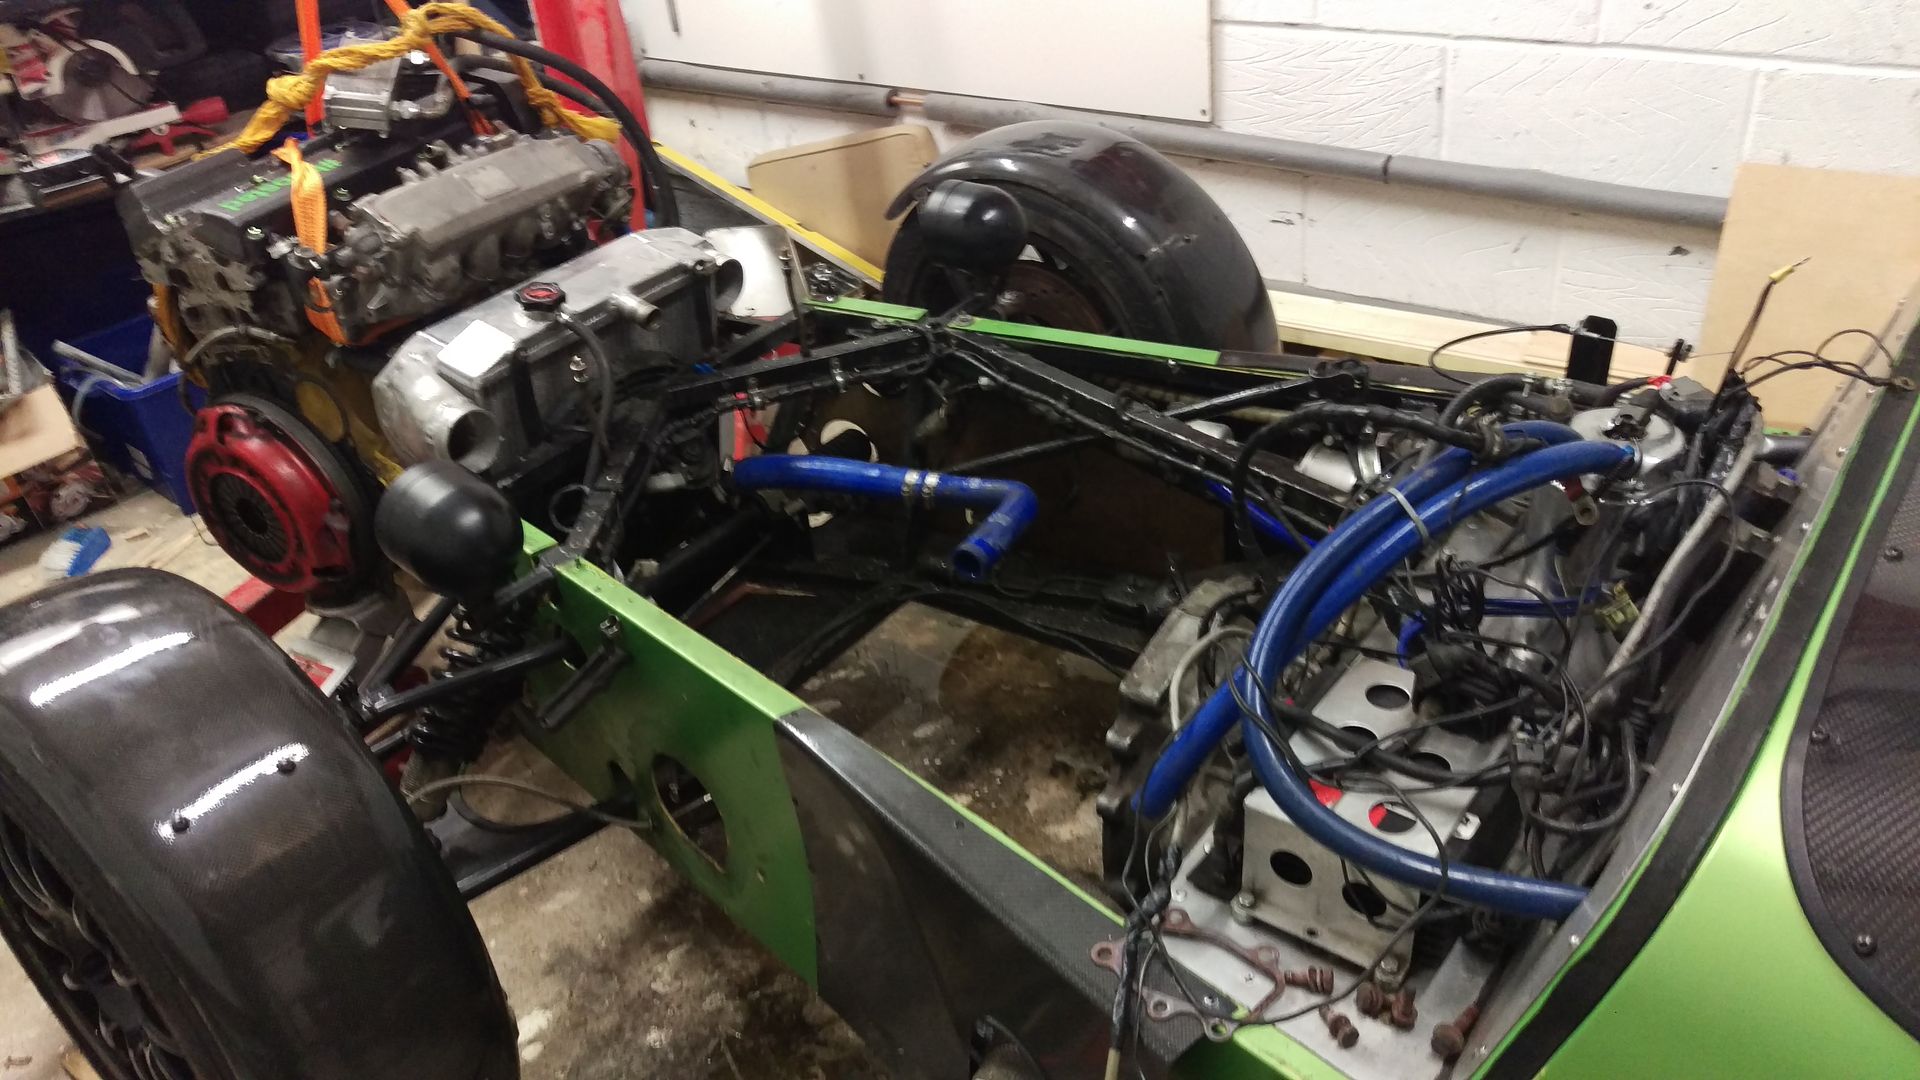
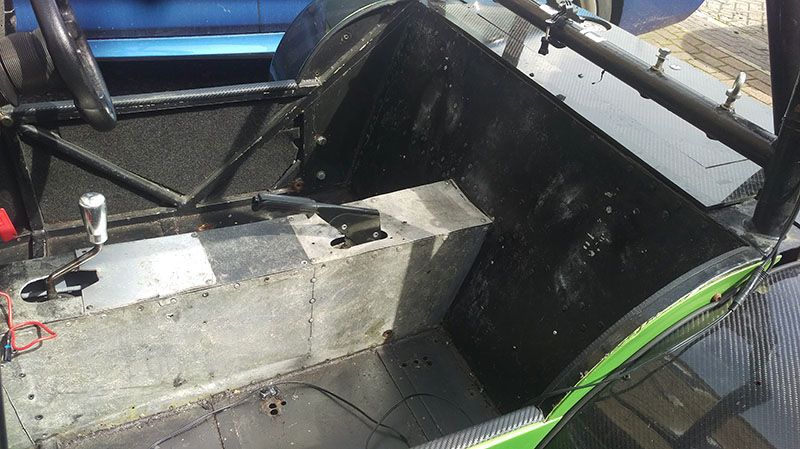
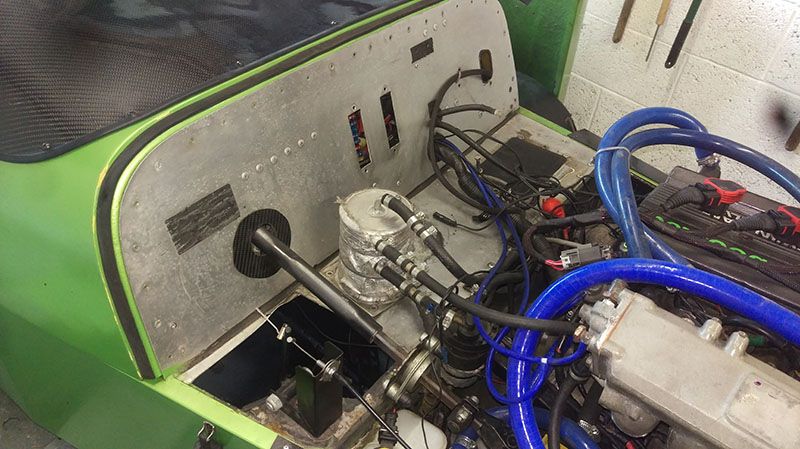
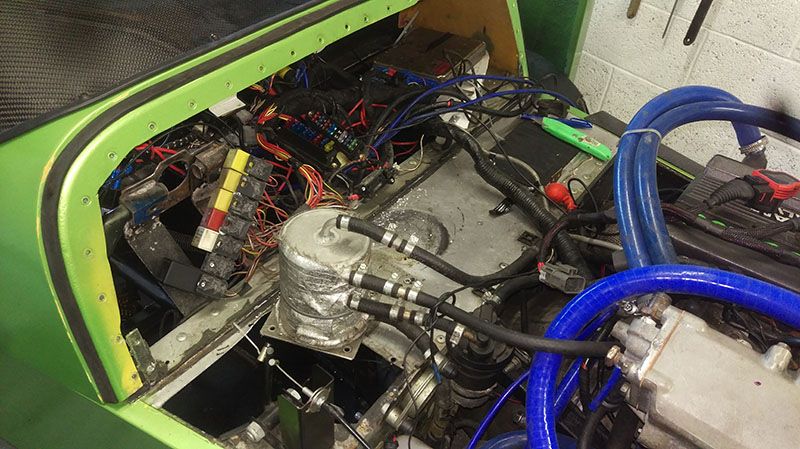
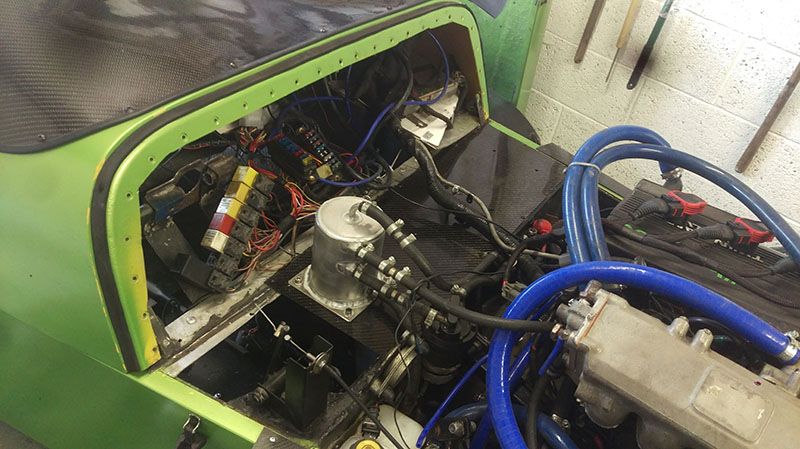
Now lets look at that mess under the bonnet;

All sat tight ready for the bi-annual update? OK then
After the last trackway I decided it would be a good idea to change the clutch and flywheel. The flywheel was replaced for a 5kg, down 8kg from the factory 13kg one!! Great weight saving and great improvement on acceleration.
I also replaced the clutch at the same time.


It's a good job I decided to take it out...this could have been very nasty indeed.

I then broke the clutch in, the only way I know how
I did a trackway at Blyton to get the year started


Managed a 1.11 around Blyton, more than happy with that.
Made a car friend and went to the East-coast

Time for some improvements; I'm all about the carbon fibre this season -


Interior done (unless I trip over some CF seats somewhere...)
Now lets look at that mess under the bonnet;


Edited by dave2007bc on Thursday 7th May 10:30
RenPug said:
That looks a lot of fun. I see a photo of Noble Motorsport on the first page, are you local to them?
No - Huddersfield. Noble Motorsport (historically) always mapped by N/A, TBd powered cars so it was a natural choice to go back to them with this car.tankplanker said:
How much weight do you think you have saved with the carbon bits?
I'm not sure yet. I've tried to keep a running total and think I'm at around 30-35kg off. The side panels (see this current post) took off nearly 9kg alone!Krikkit said:
Looks awesome, how's the engine doing now you've chopped some more holes?
That lap around Blyton is good work, looks a bit lively mind!
Holes for the engine didn't make much different to be honest, but the new rad (see this post) made a huge difference.That lap around Blyton is good work, looks a bit lively mind!
Atmospheric said:
I now fully understand kit cars.
Currently the manufacturers don't make a car which I want as a fun car at an affordable price.
Seeing what you have done, has inspired me; make what you want how you want it. It's bloody excellent
I honestly believe there isn't a way to go this fast and have this much fun for this amount of money. I regularly look at car for sale ads and consider moving this on but to have the same amount of 'grunt' in a normal car I'd need at least 650-700bhp and that would mean major expense compared to the kit car so I always end up closing my browser and buying more carbon fibre stuff haha.Currently the manufacturers don't make a car which I want as a fun car at an affordable price.
Seeing what you have done, has inspired me; make what you want how you want it. It's bloody excellent
Ultimate weight saving with a carbon fibre VIN plate -

I was having major problems with over-heating still. I spoke to numerous companies that make bespoke stuff but was told to simply replace the 'copy' chinese radiator I had for a proper one. Out came the wallet


The old rad was replaced for a slightly thinner (but crucially lighter!) Mishimoto version. Temps are hugely reduced, I genuinely can't believe the difference.
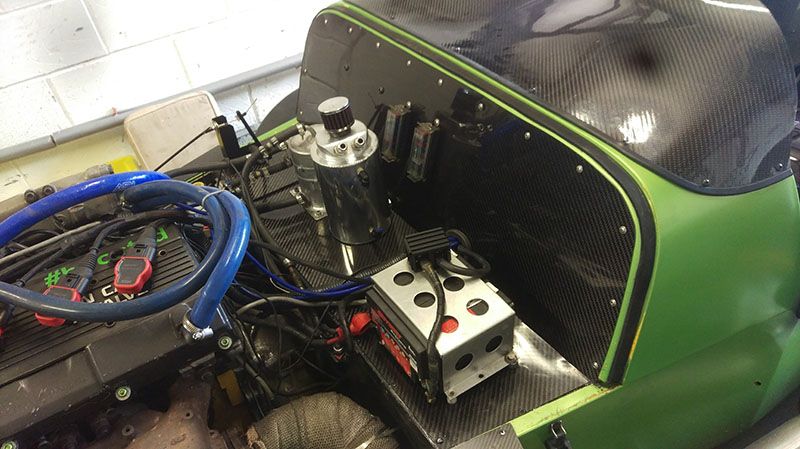
More carbon weight saving in the form of a carbon-fibre coil-pack cover

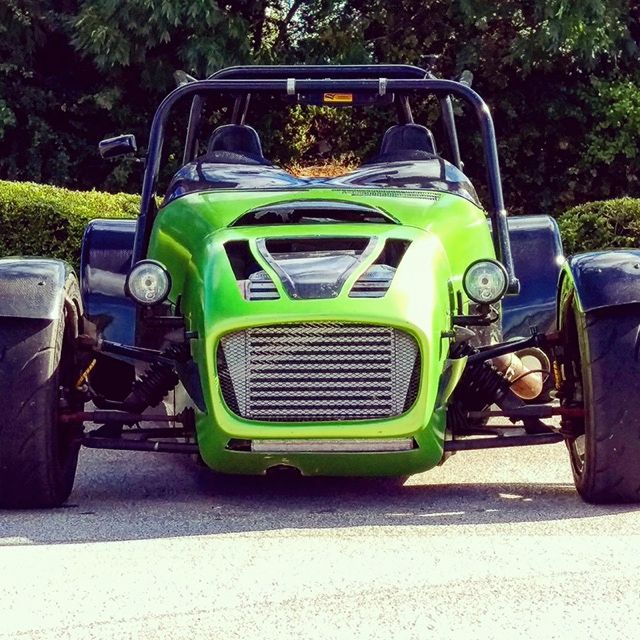
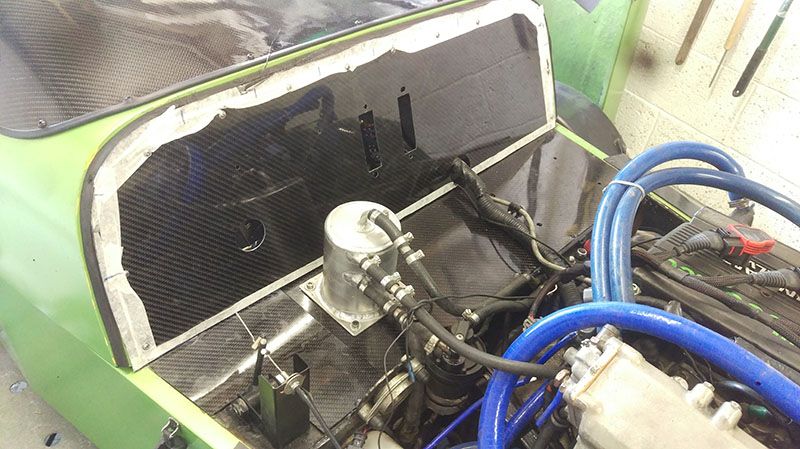
I then decided to rip the car apart during the 'warmest' weeks we had over Summer. The reason; carbon fibre side panels. Partially weight saving..partially to save me money when the car gets its new colour. More on that later..
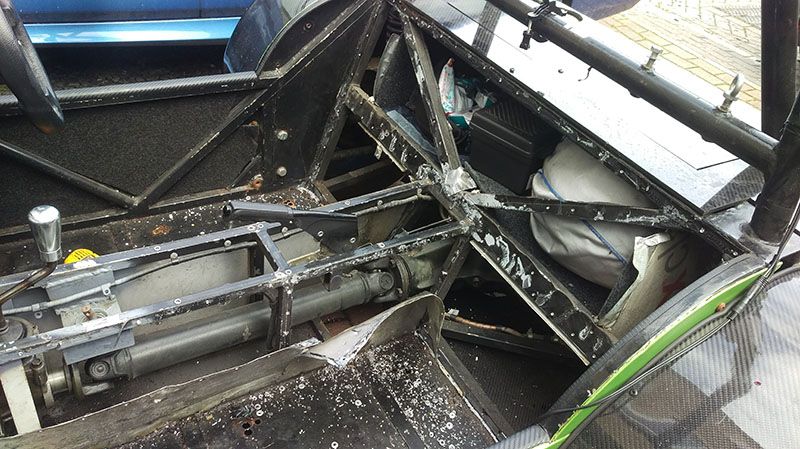
The old side panels were fibre glass so it was a mixture of wood chisels, dreamers and grinders to get it all off.


I decided to 'do it properly' which meant all the front suspension came off.


I had vented side panels before; this time I upgraded them to 'fins' to give further cooling.


Finished!!!


Replaced the headlights for something brighter, smaller and again lighter!

Then went out for a drive with my buddy. He has a Hayabusa powered 'MK' kit car. We did some comparative roll-racing. My car goes past his like it's standing still; I genuinely thought he'd put the brakes on and given up as I went past!


I'm at the last car-show of the year this weekend and then all the panels that are currently green are coming off to go to the local bodyshop for a new colour. This will be totally different to the current/previous ones.
Gassing Station | Readers' Cars | Top of Page | What's New | My Stuff