E36 Track Car - Replacement Engine Build(s)
Discussion


After having a number of BMWs, from E30s, E36s, and an E46 in the past, I wanted another E36 for track days, so picked a solid example up, '97 328i M Sport Coupe. From having the previous models I started by pulling everything off the chassis, and replacing/upgrading where bits had failed in the past. Although, I thought a more interesting start to the thread would be the history of an engine rebuild that took a number of turns before coming good, so I will come back to the chassis later.
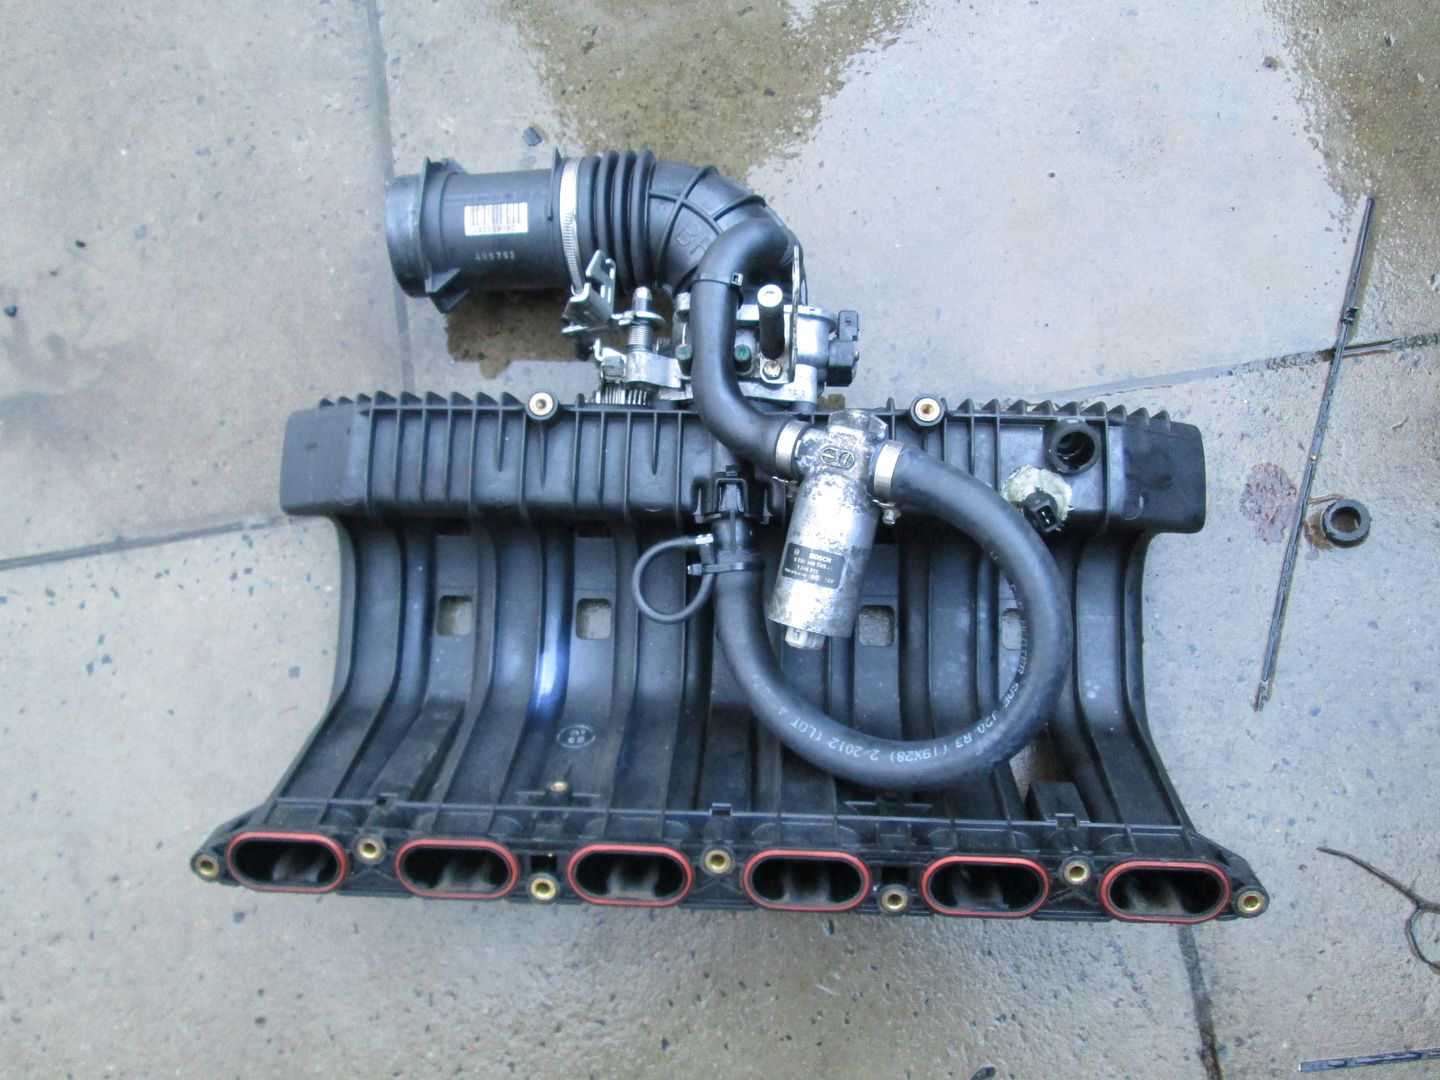
As the chassis work had nearly all been completed, I wanted to turn my attention to the tired, original 200k+ M52 Nikasil engine which was blowing oil past the rings and burning it just as quick. Performance wise it was OK, with the M50 inlet and different flash on the ECU it made 216hp, 205lb/ft, although it just felt really flat to drive. Originally I decided to just rebuild a 328 motor, as all I wanted was reliability to go with now good chassis, which drove well.
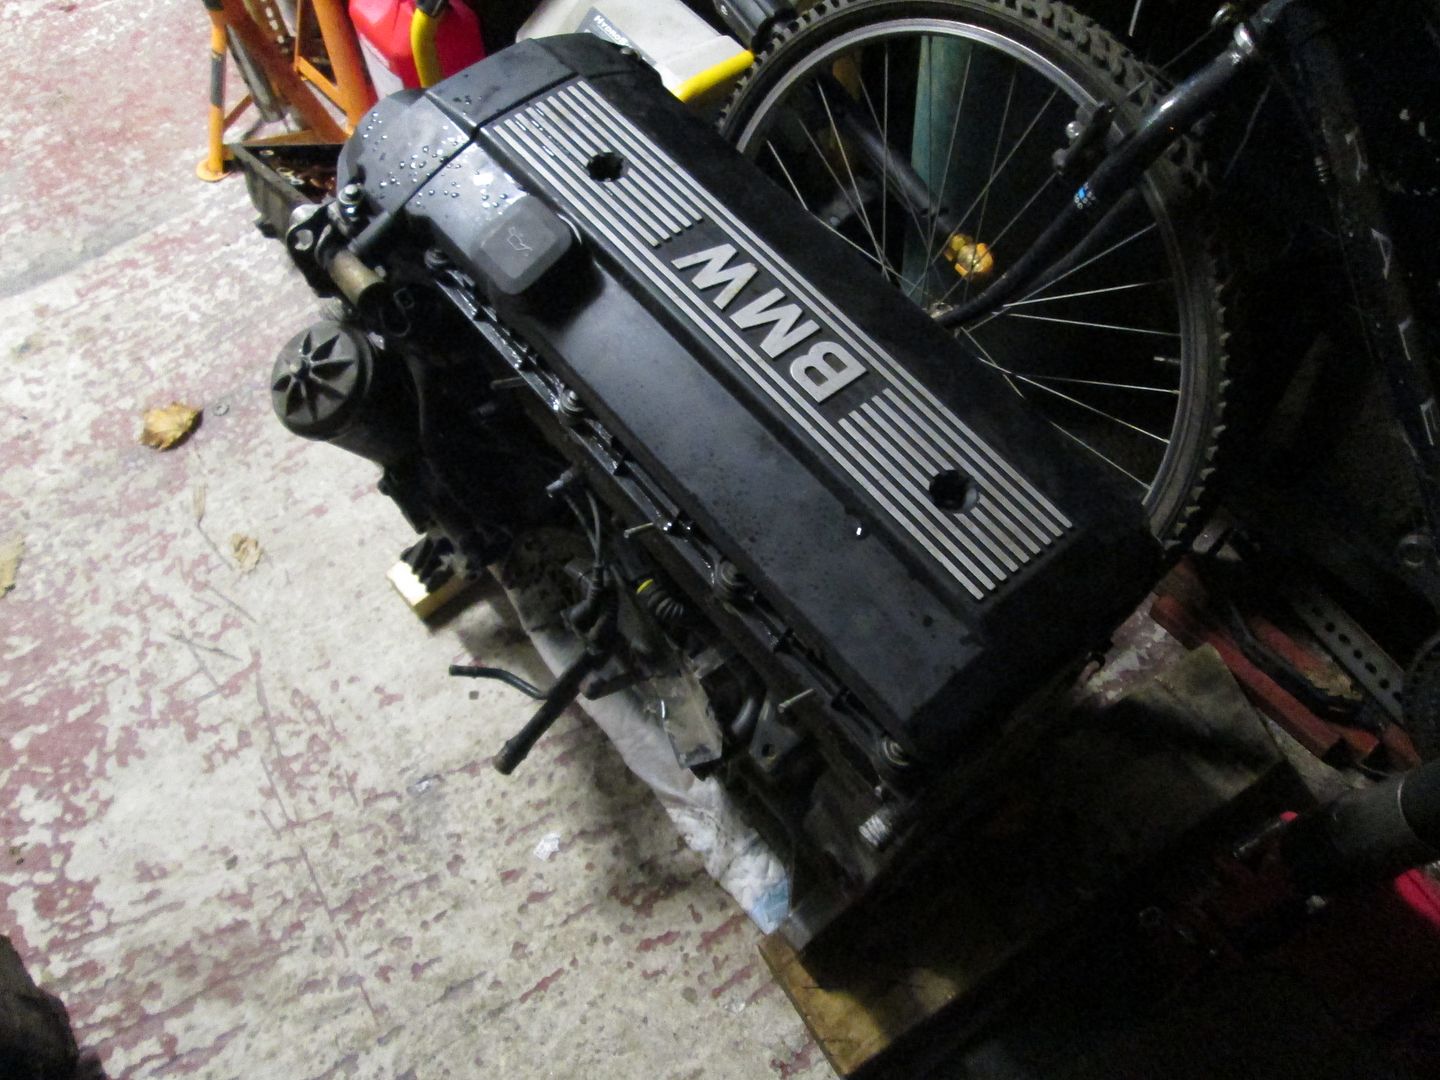
I picked up an Alusil M52B28 on around 90k miles, and stripped everything down ready for the head and block to go to the machine shop.

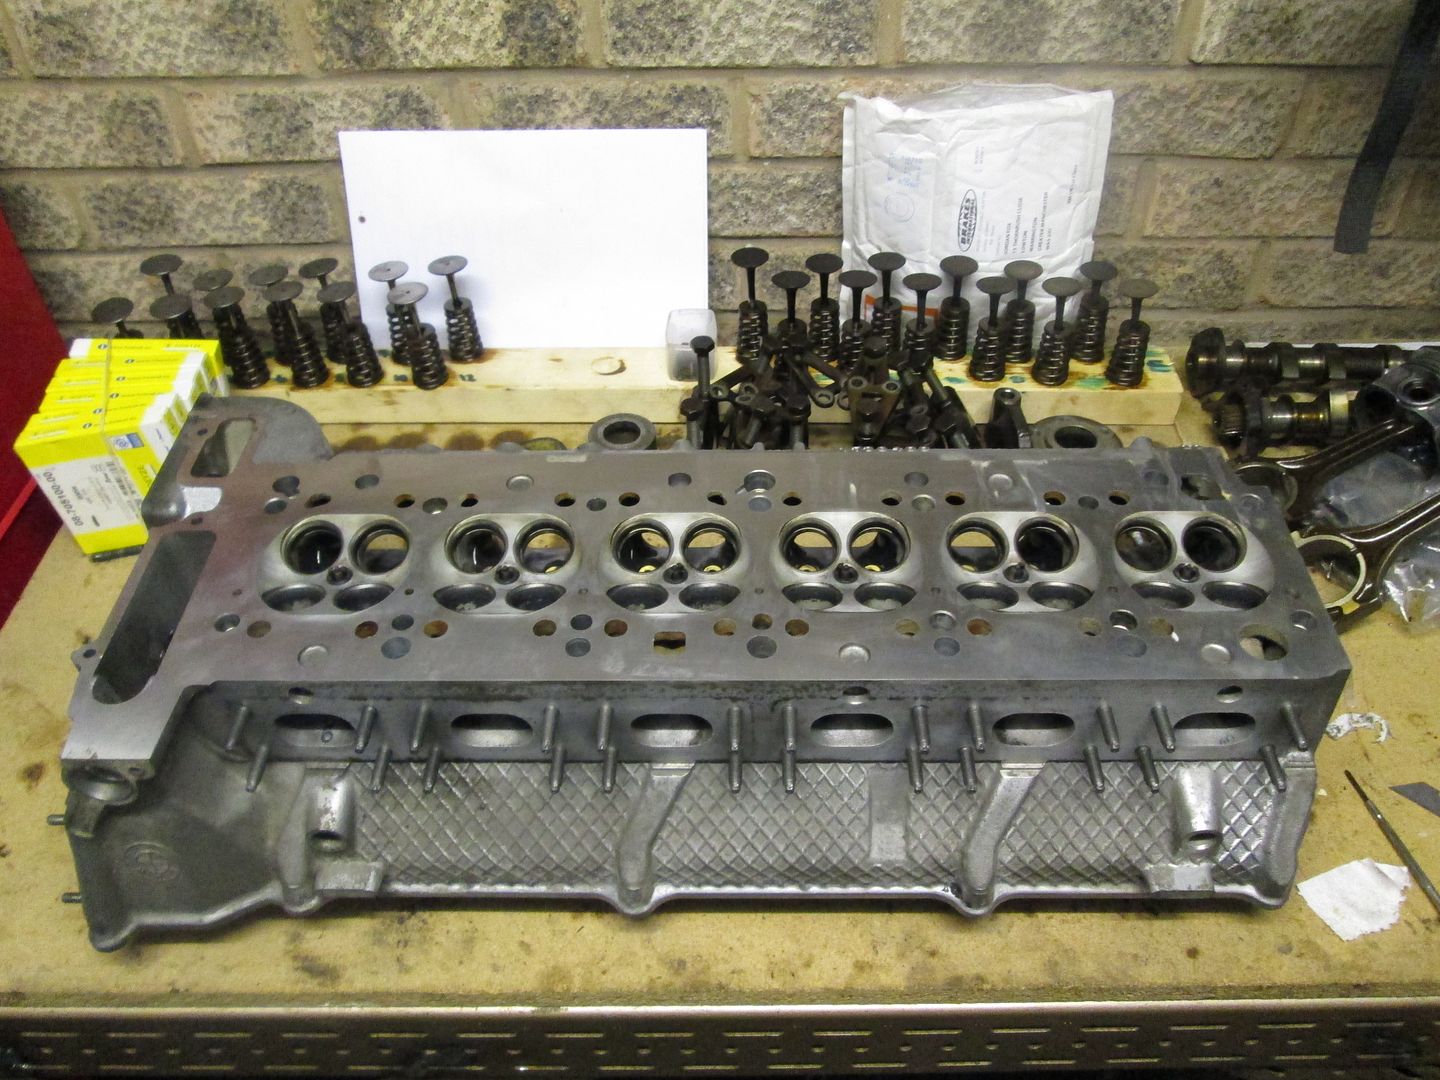
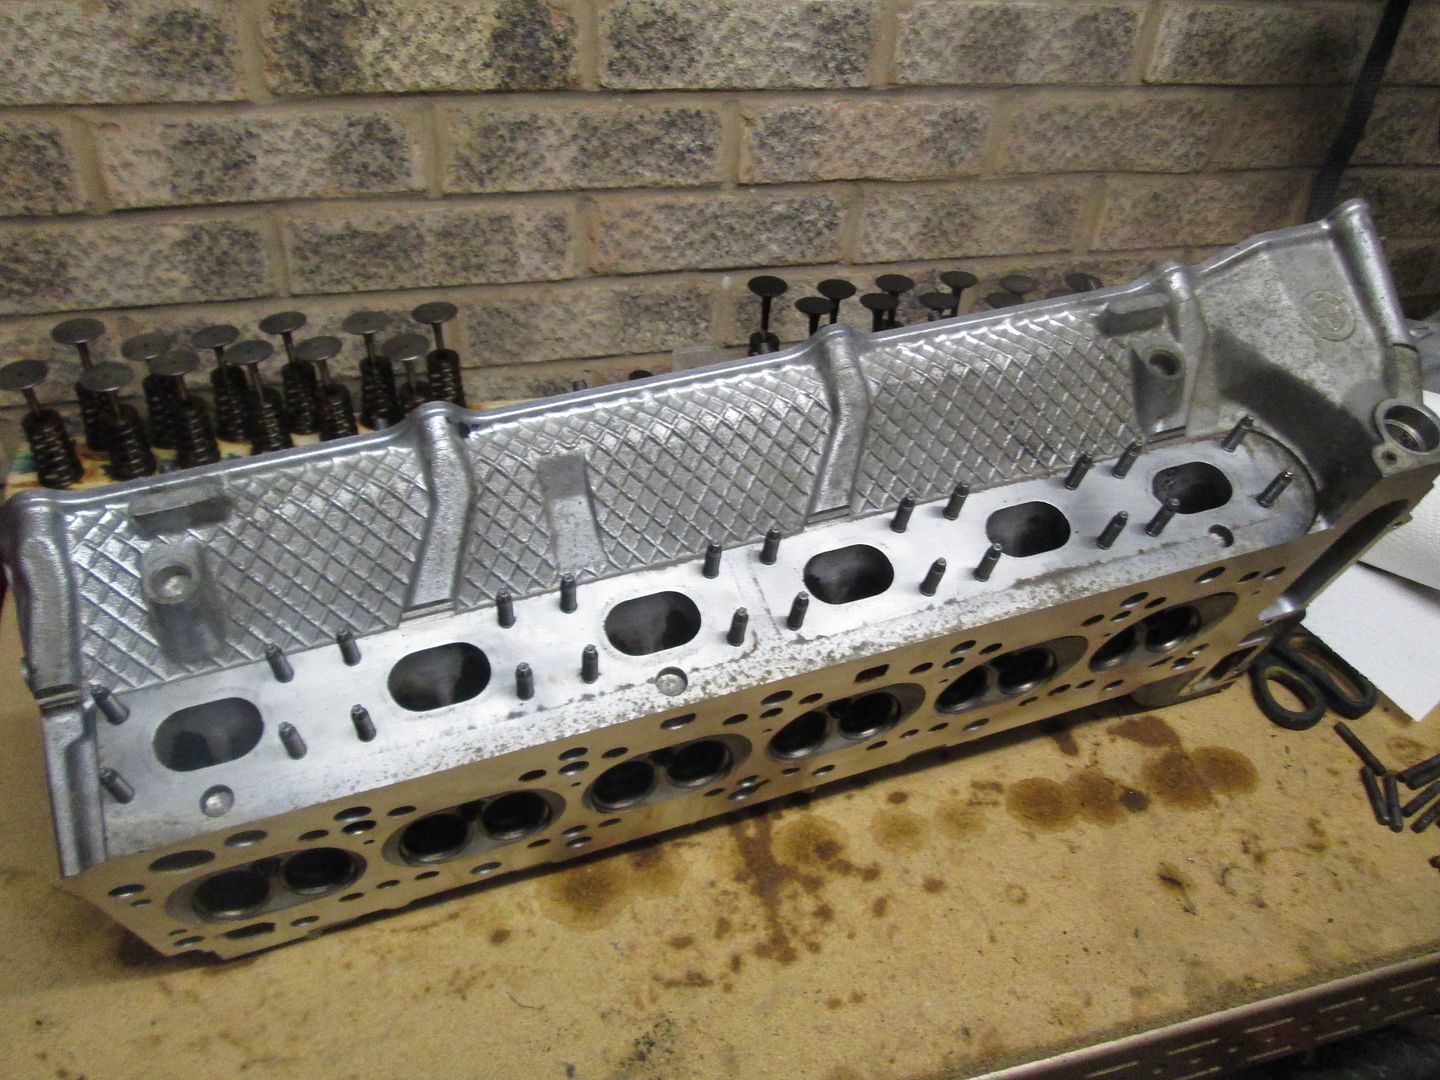
Around a week later I had the skimmed head back, along with the decked and honed block.
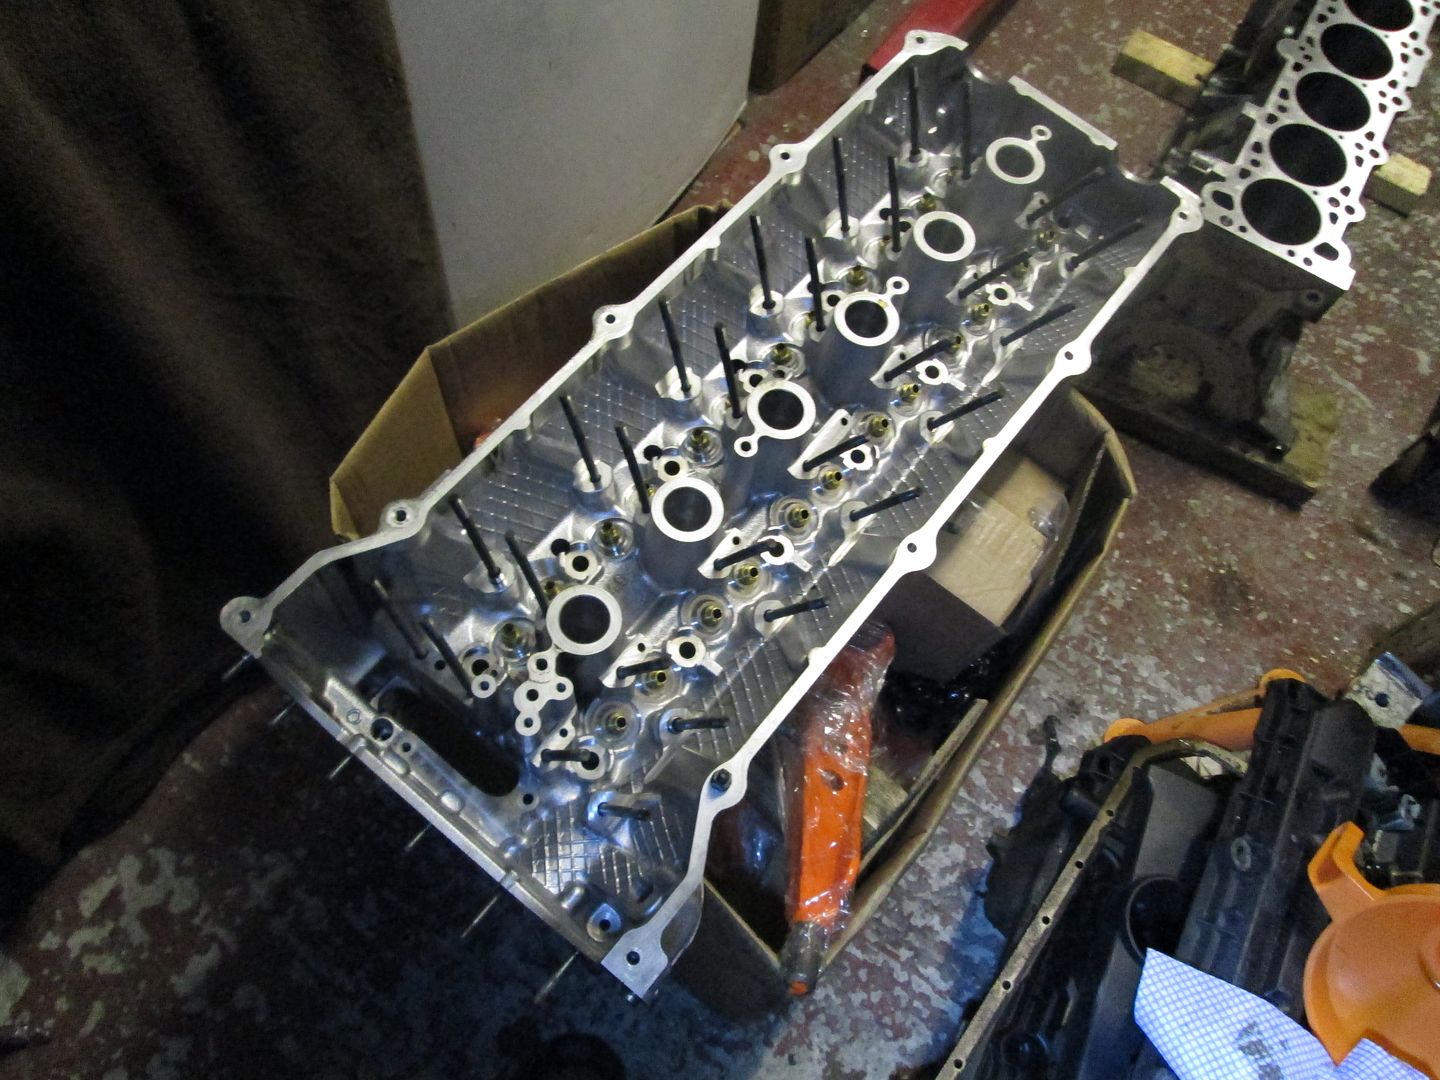
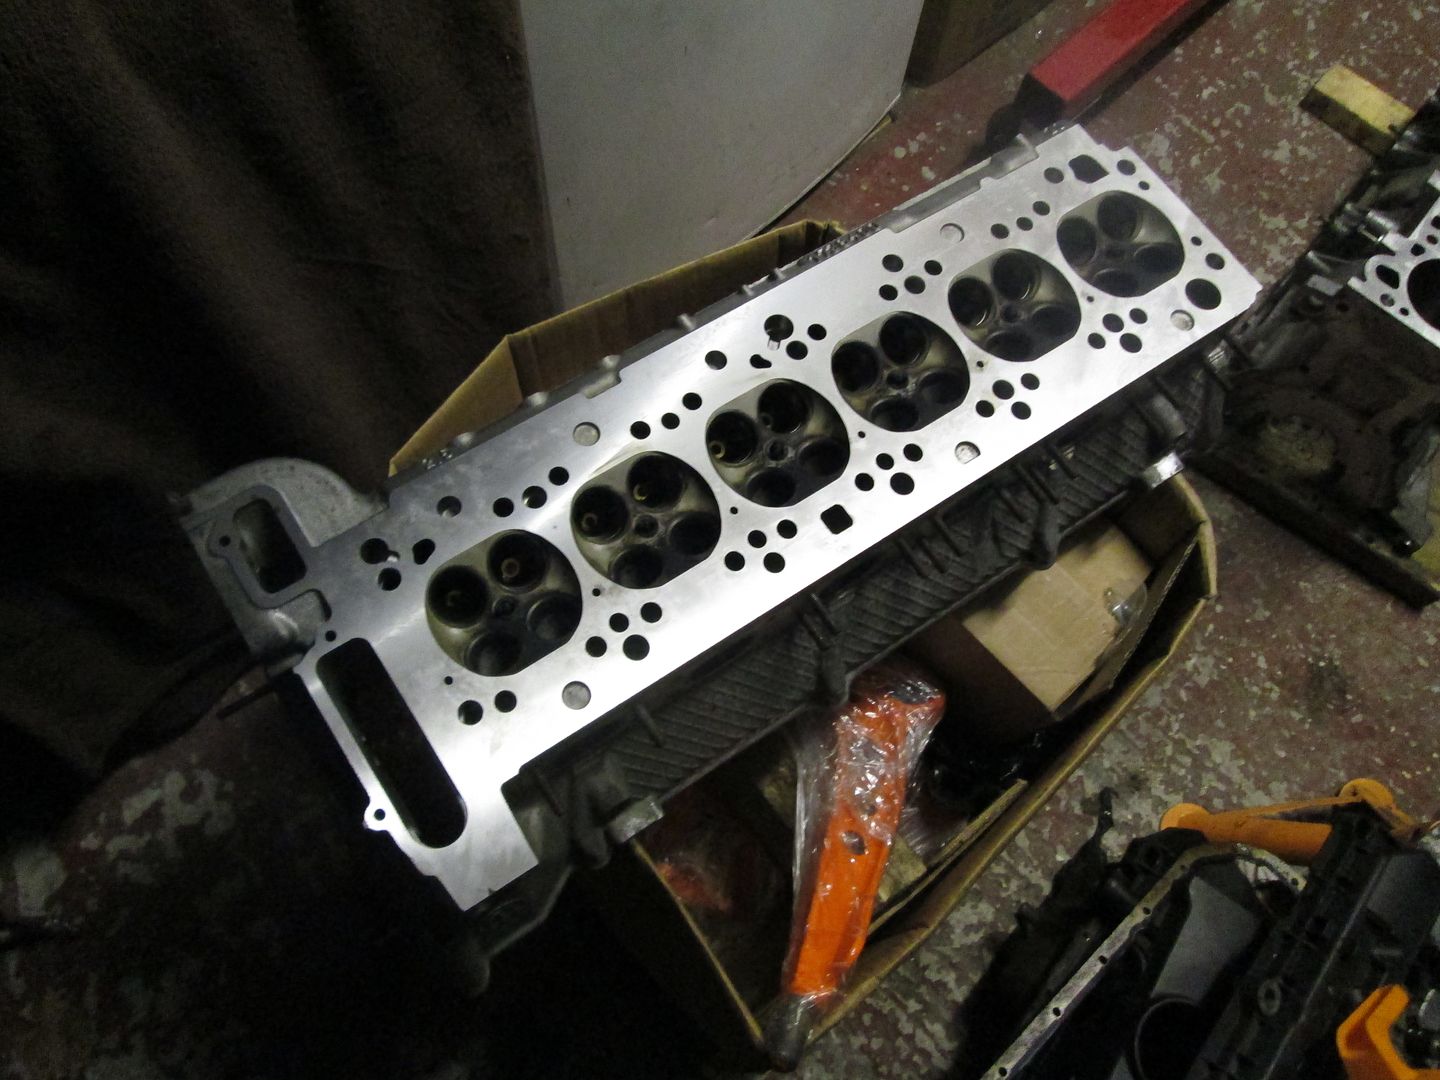
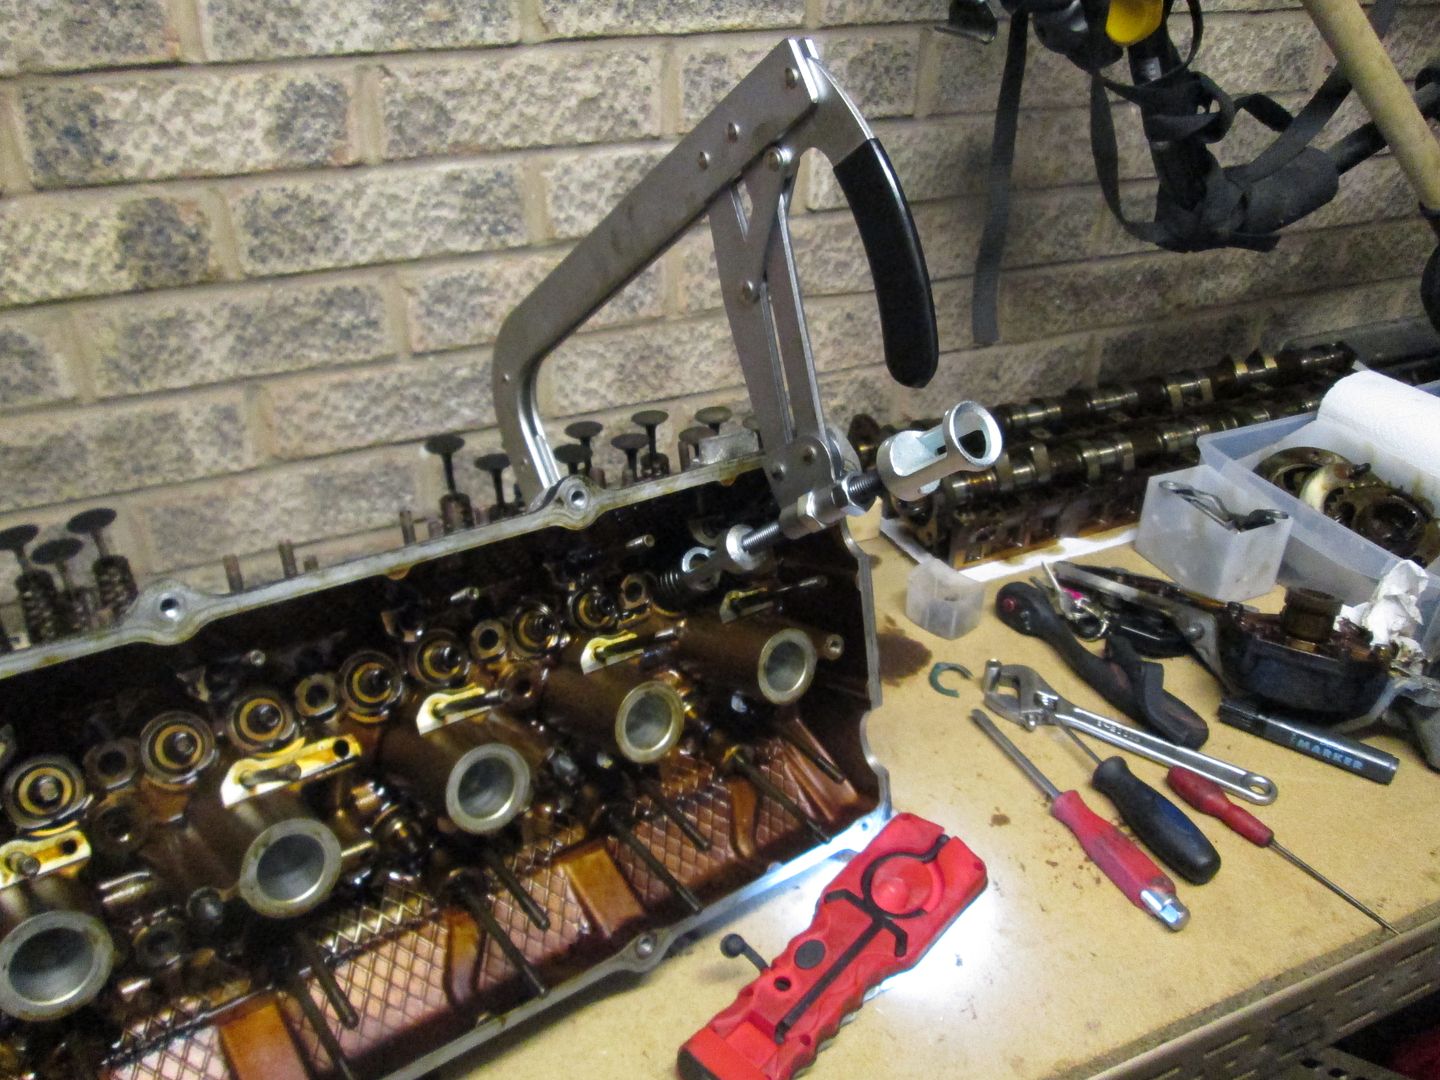
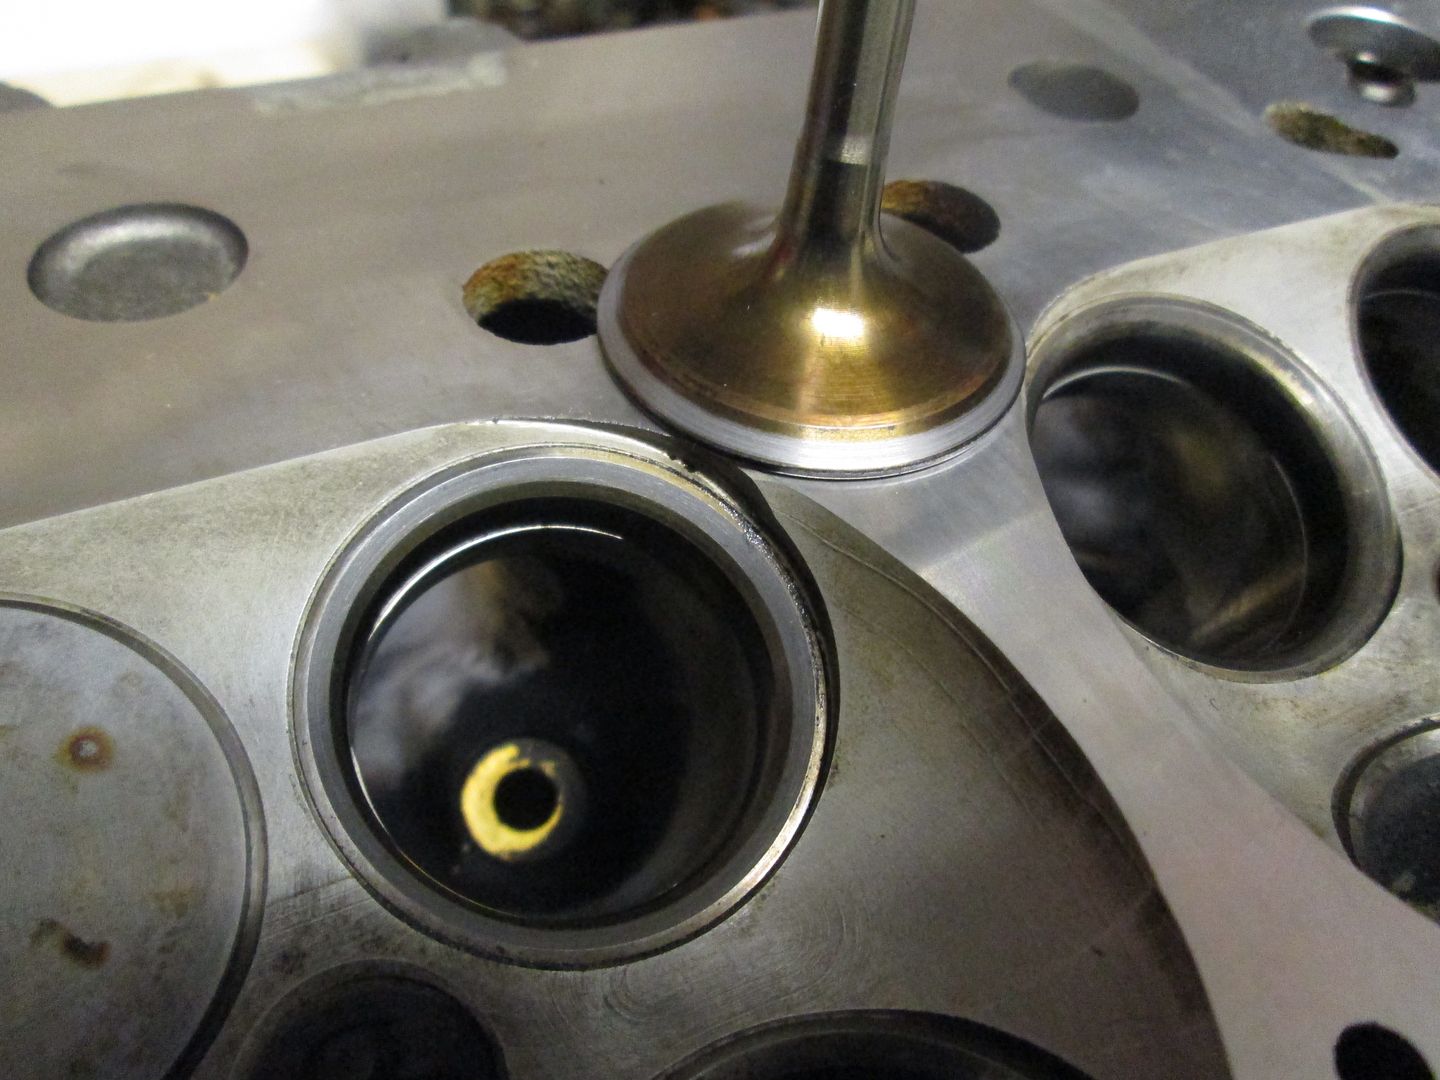
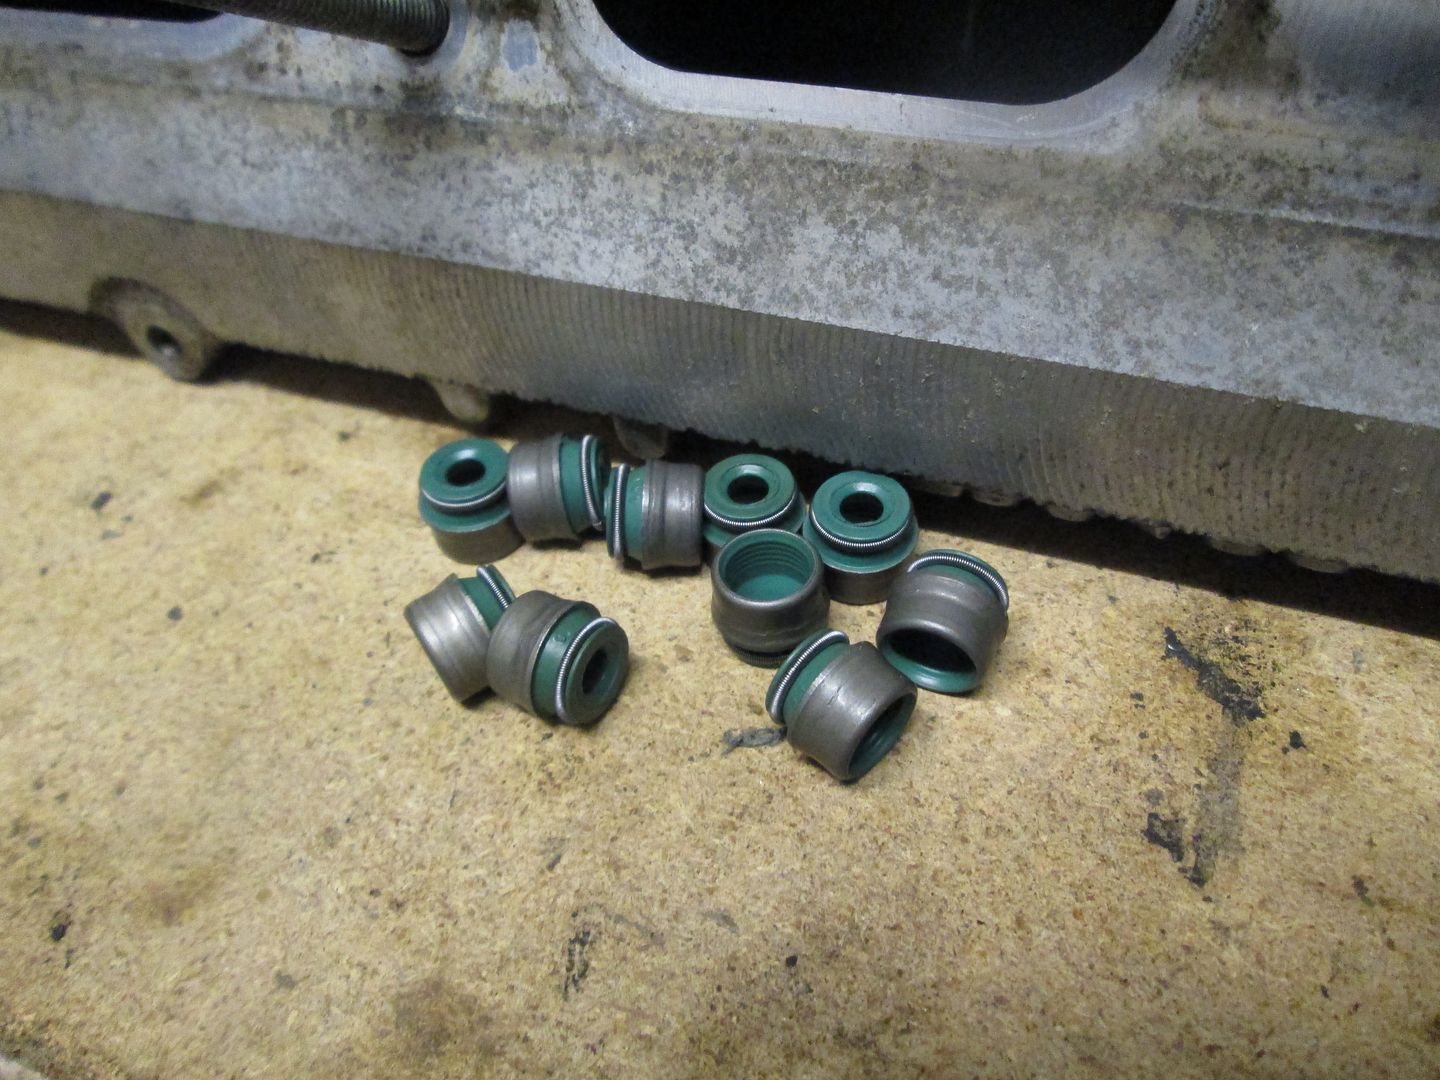
Built up the head with new stem seals, and 24 relapped valves..
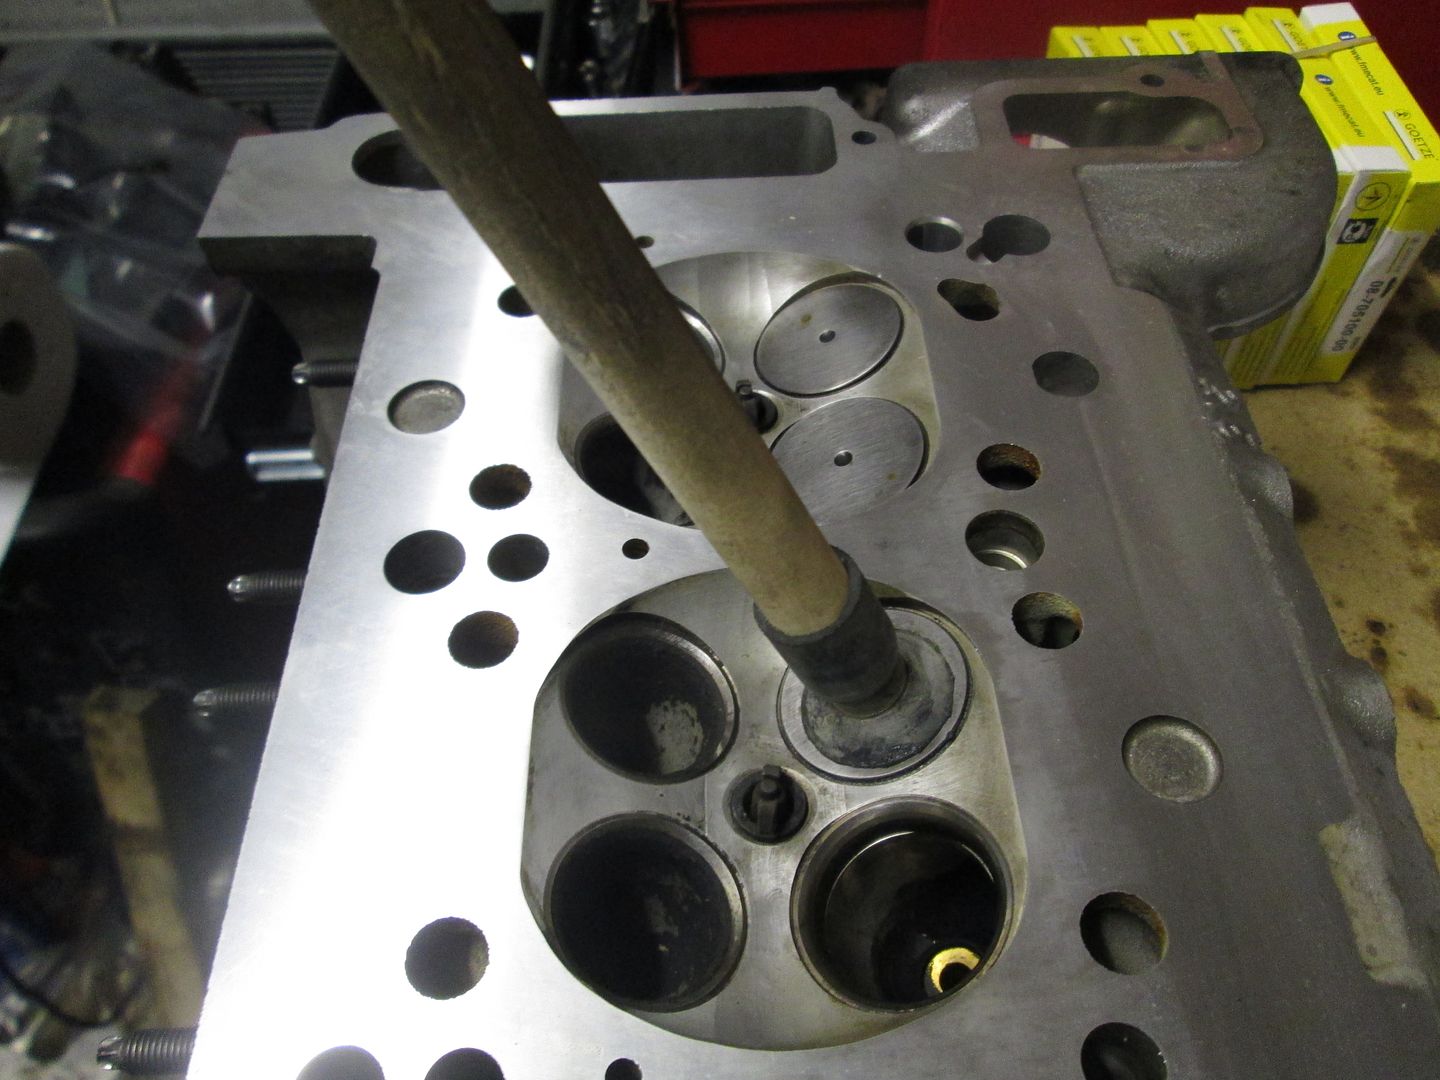
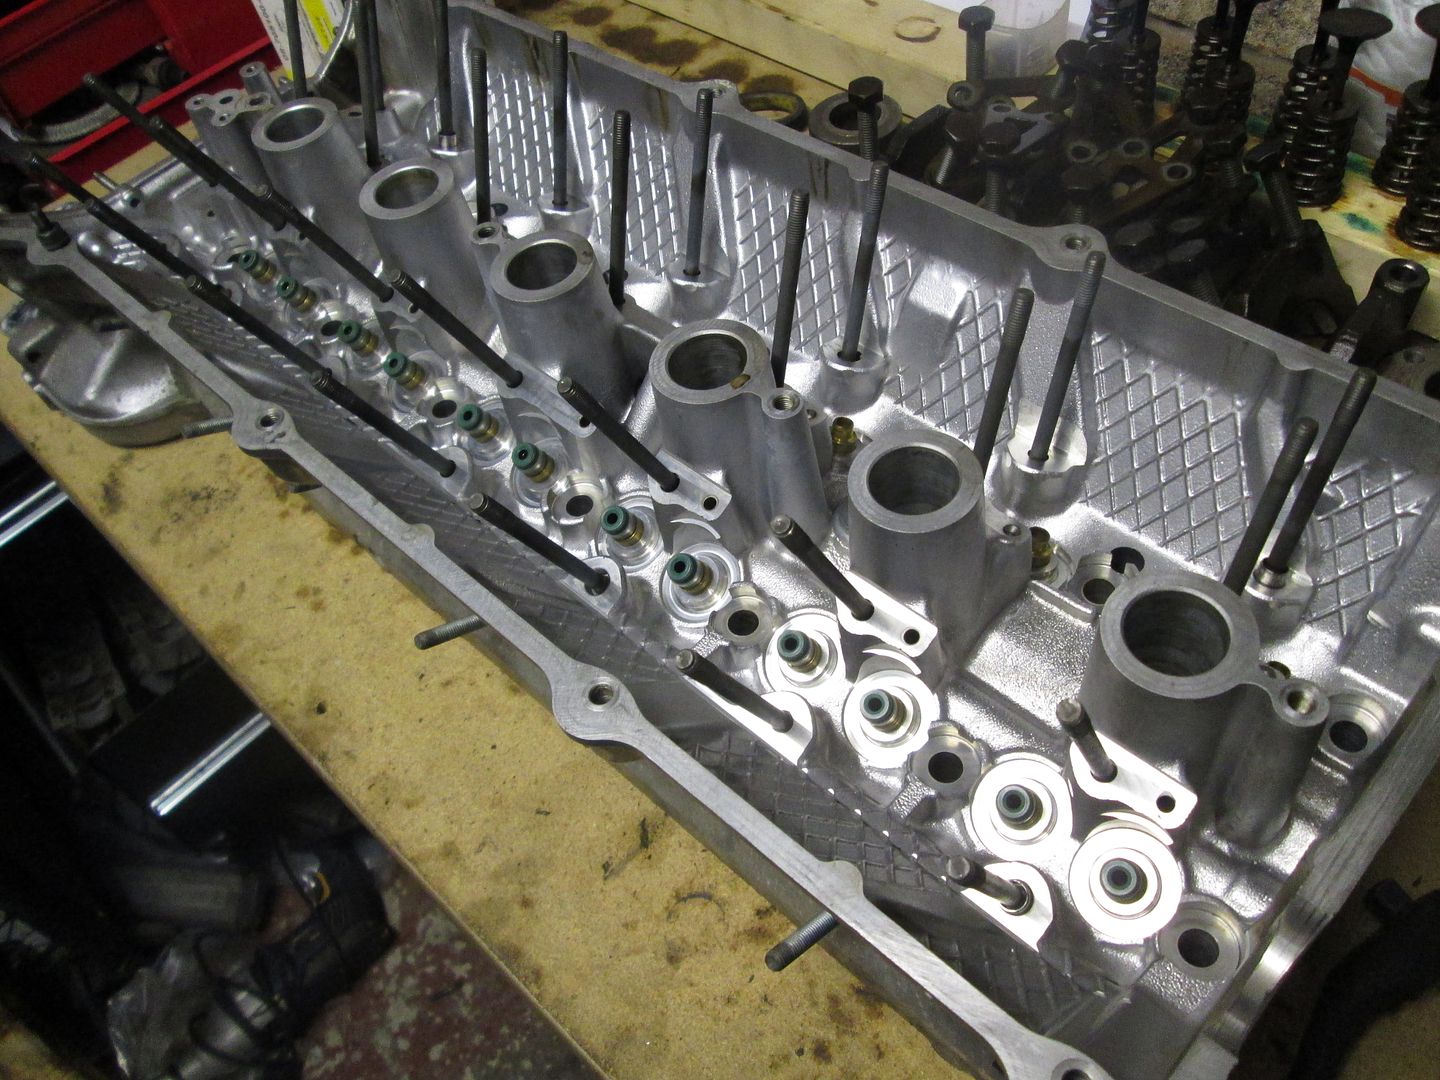
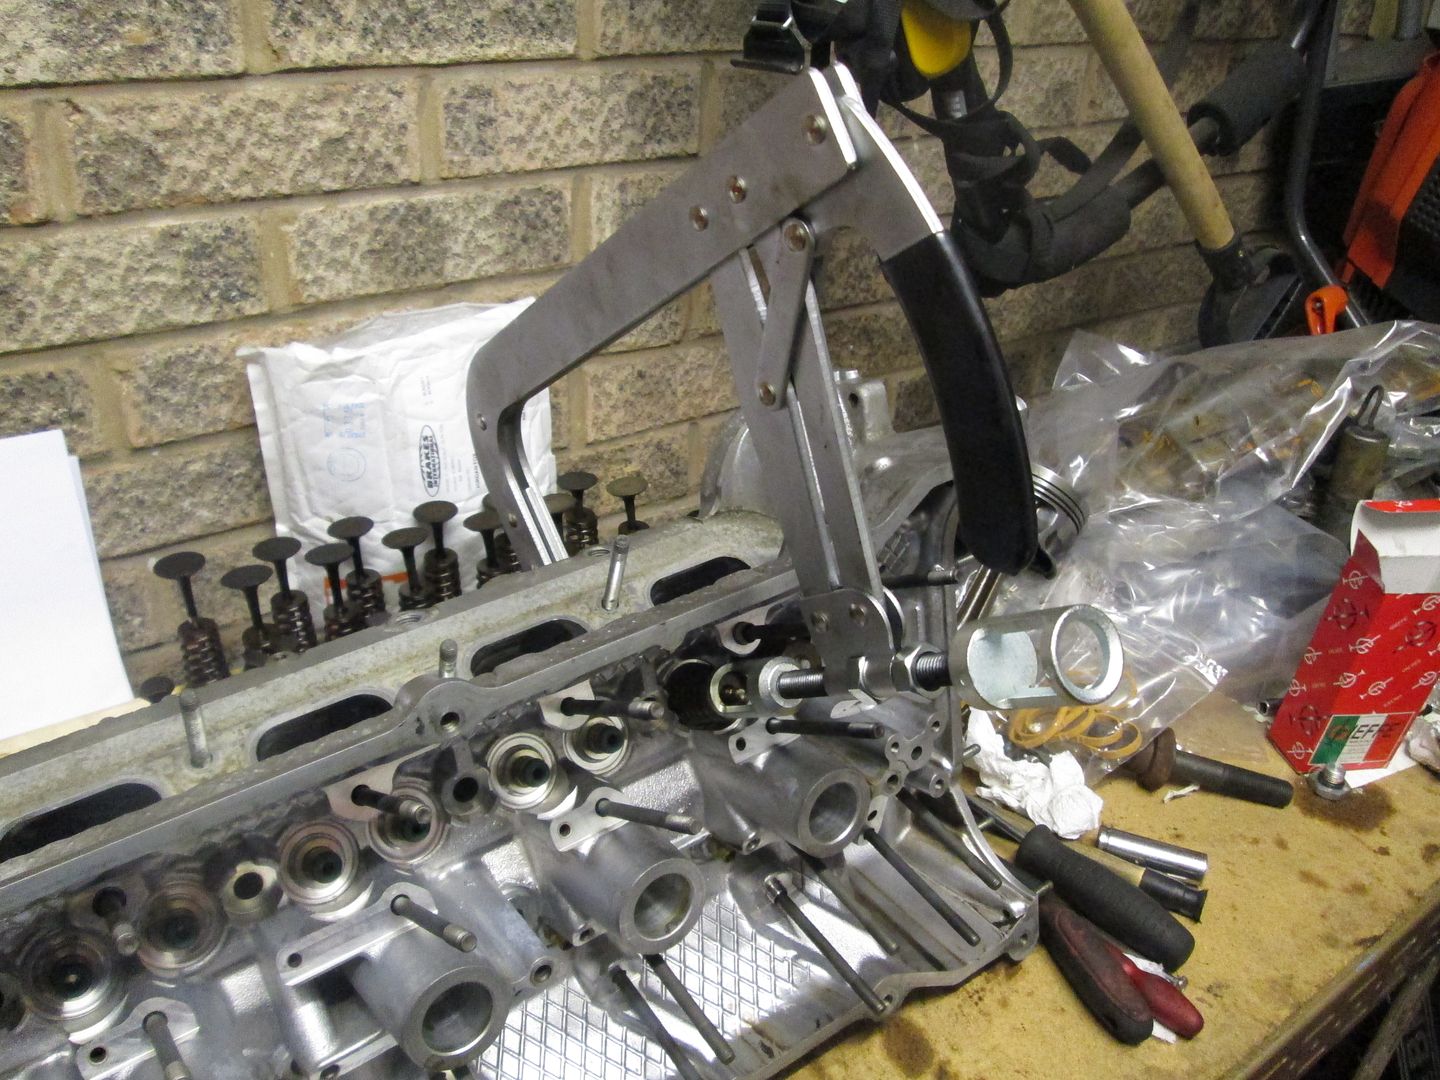
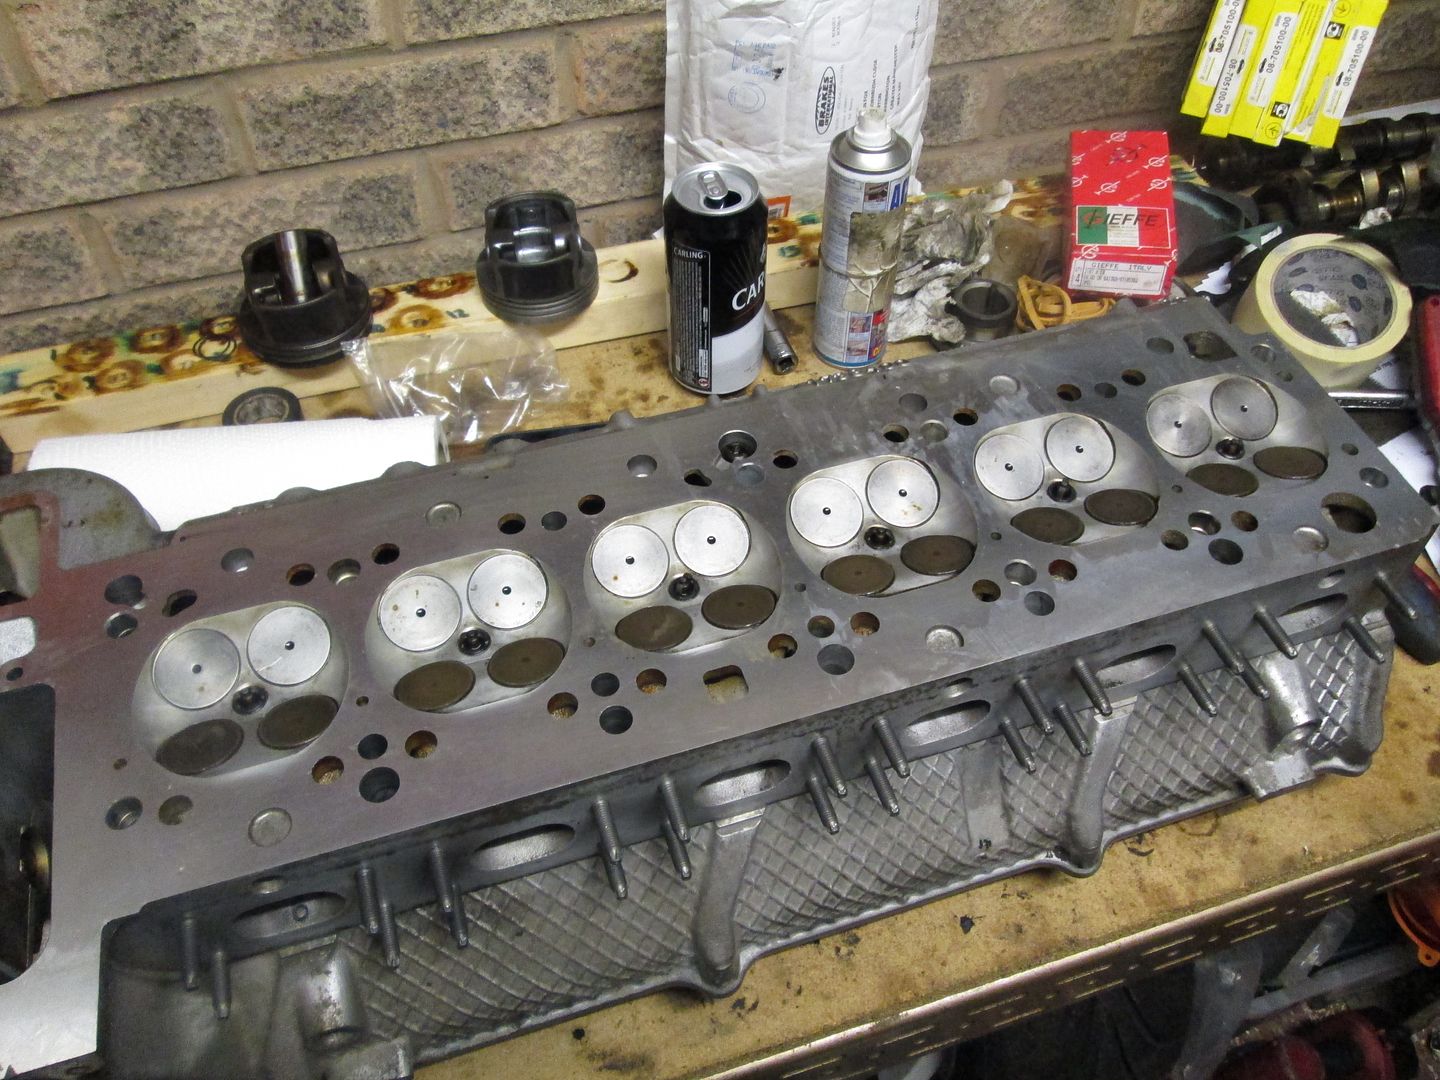
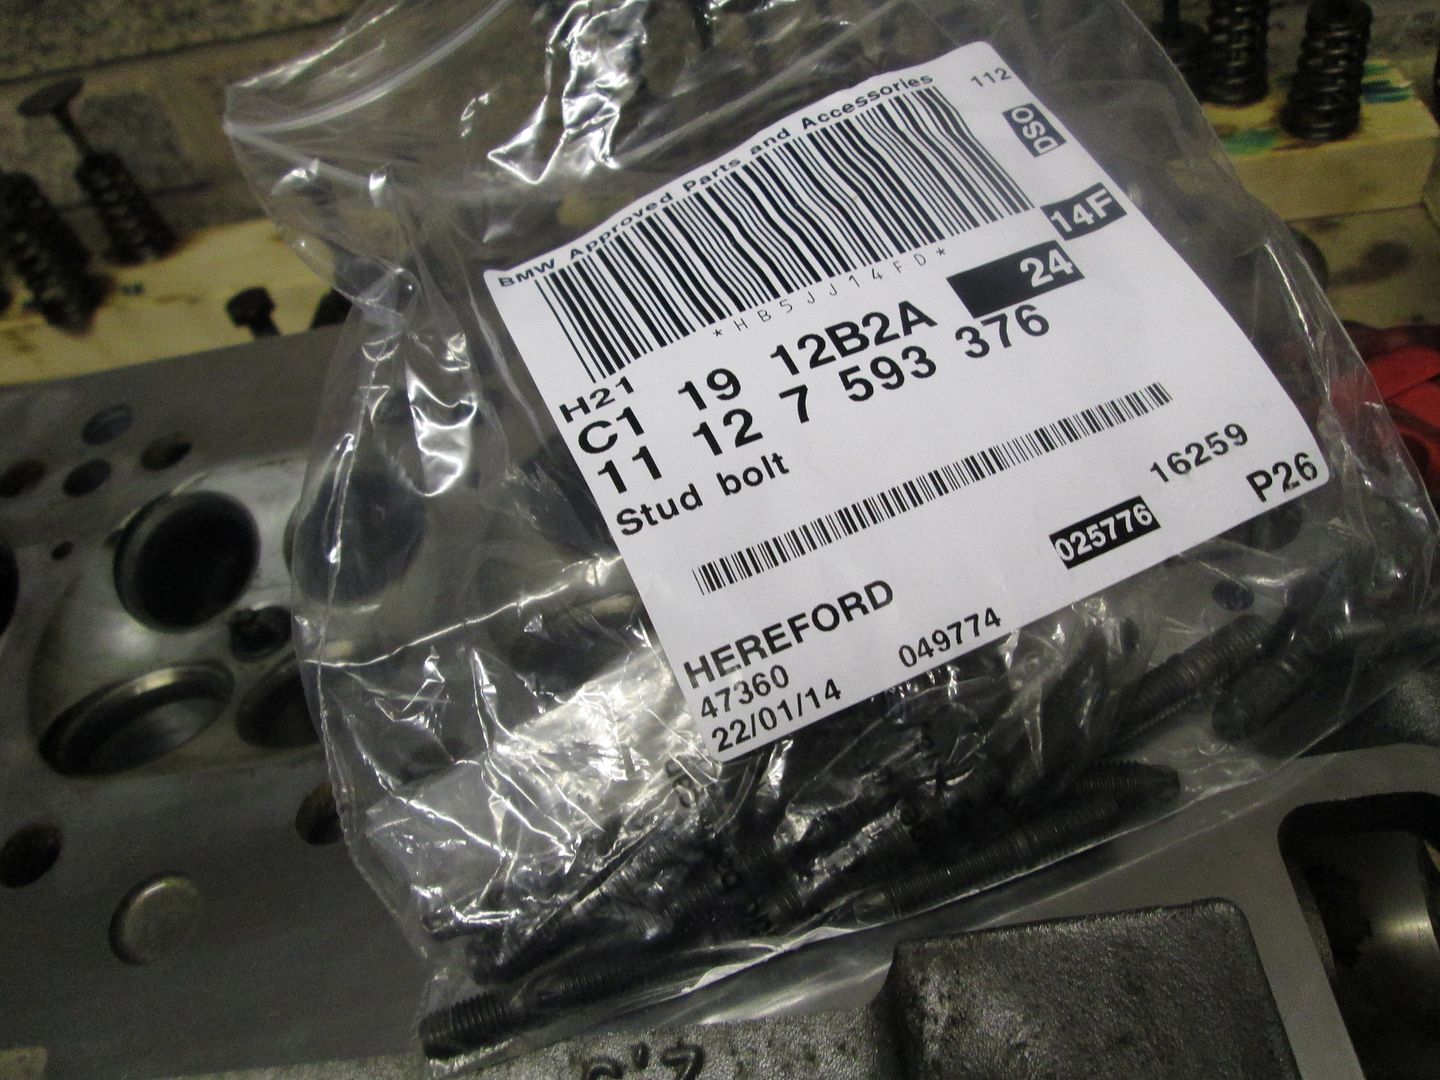
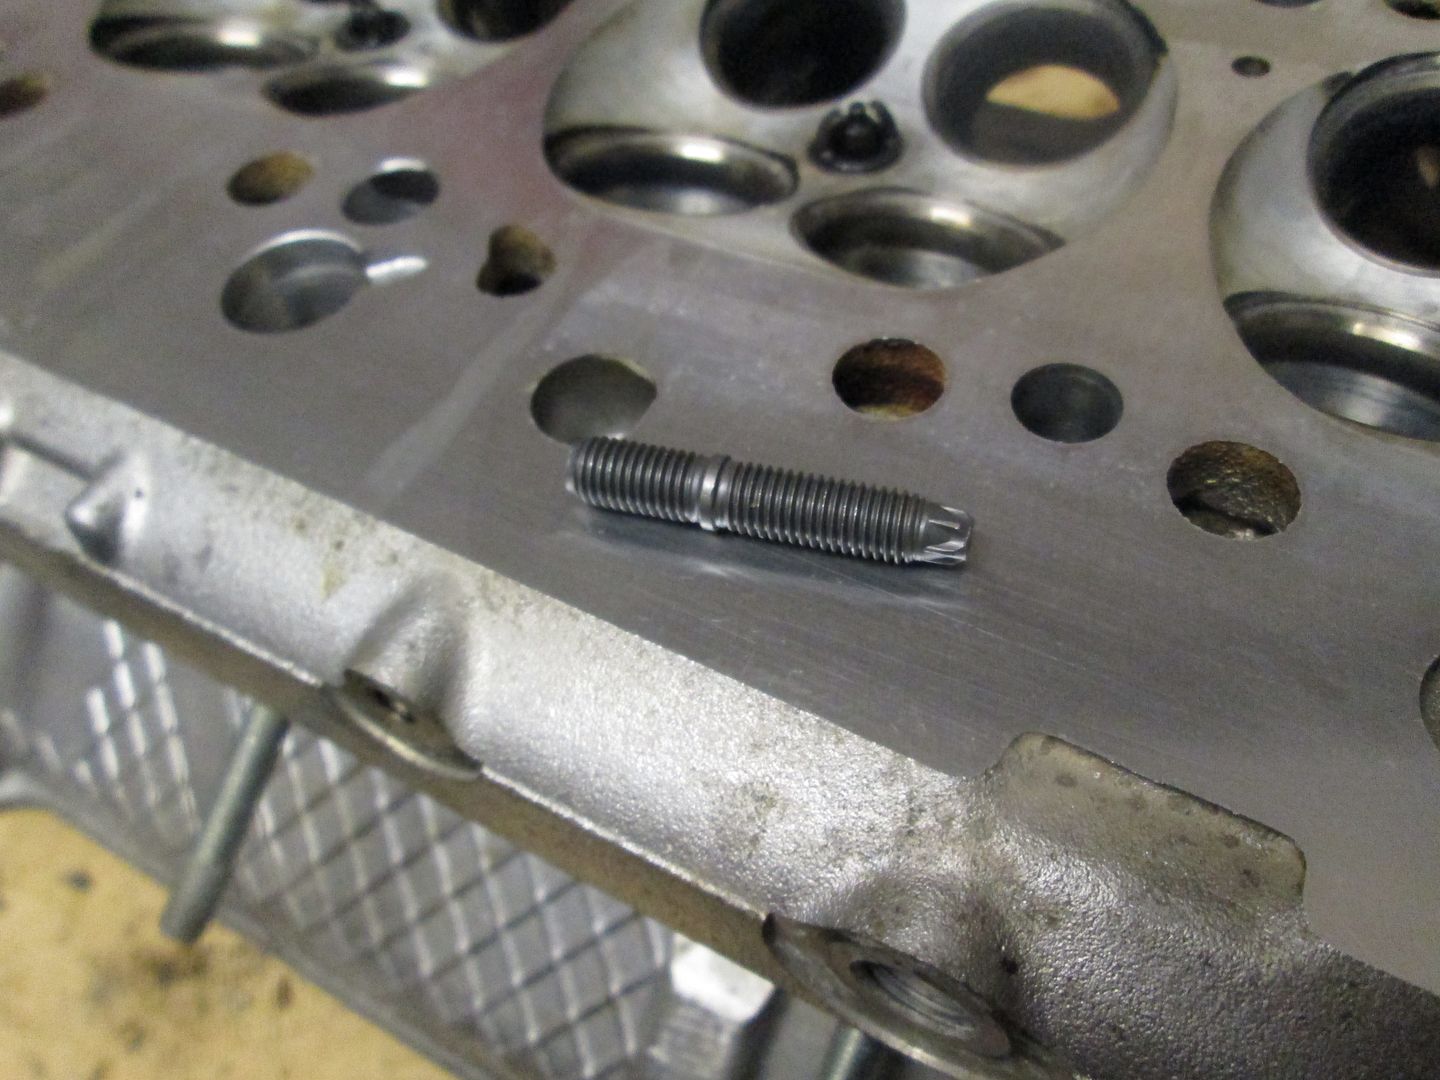
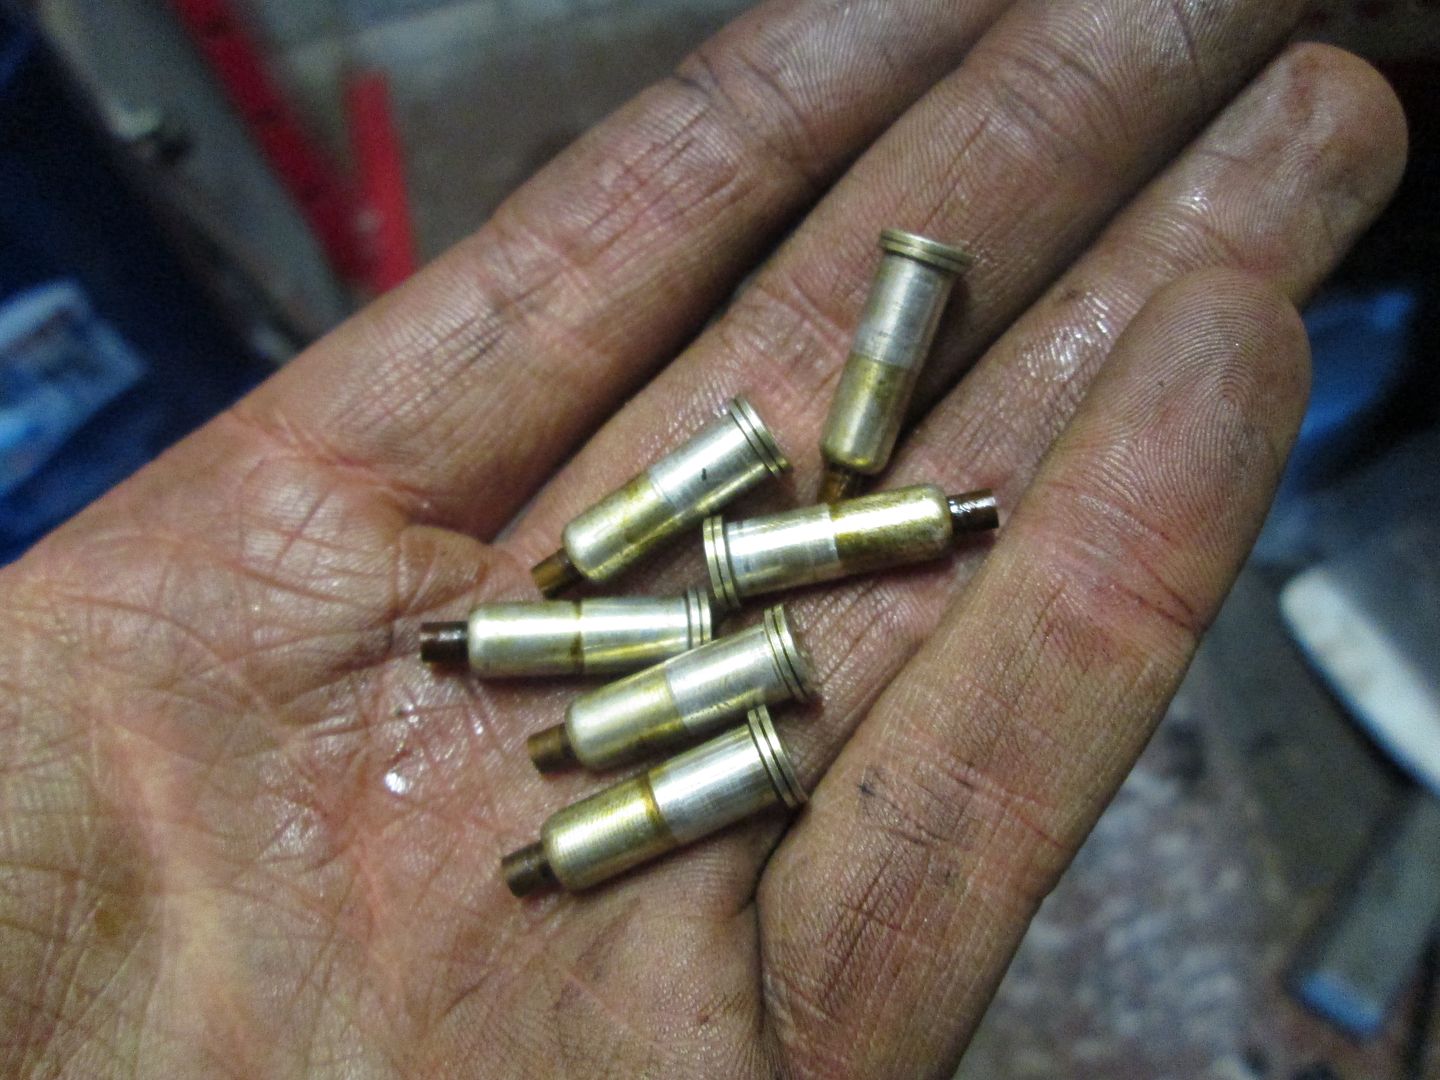
Quick leak down test and everything was OK. I wanted to replace the 24 exhaust studs at this stage, as some of the old ones were missing and others very rusty. The original M52 items (11121744057) were expensive at £1.91 each, whereas the E60 N52 items (11127593376) where much cheaper at £0.50 each. These also have an E-Torx on the end of the stud for ease of fitting.
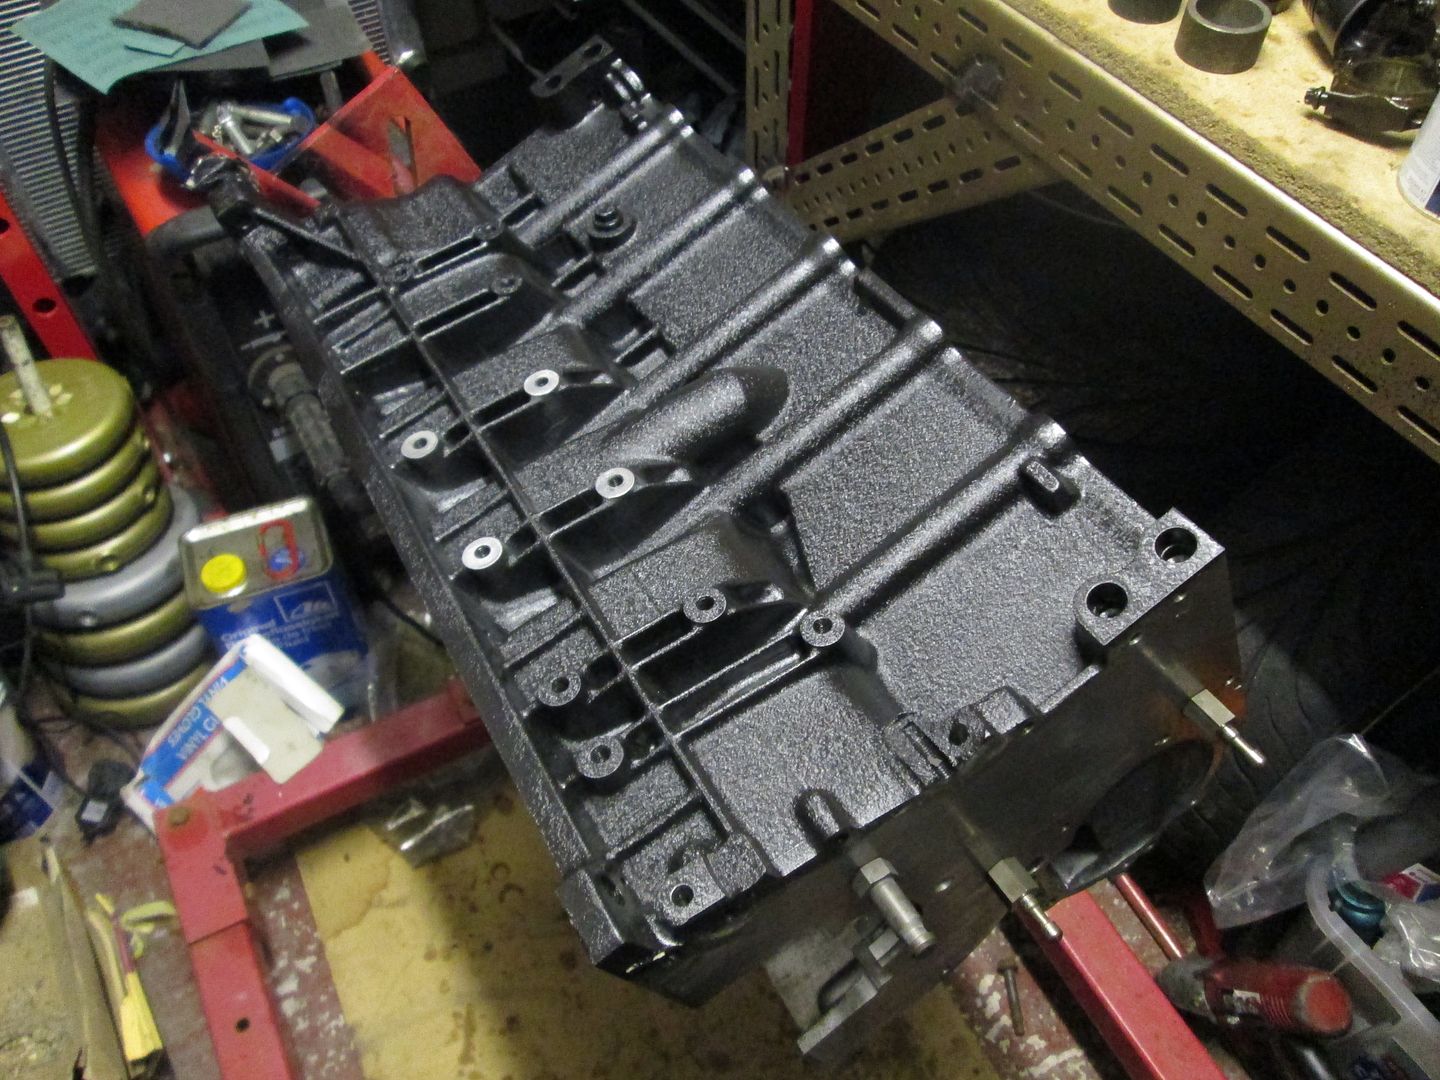
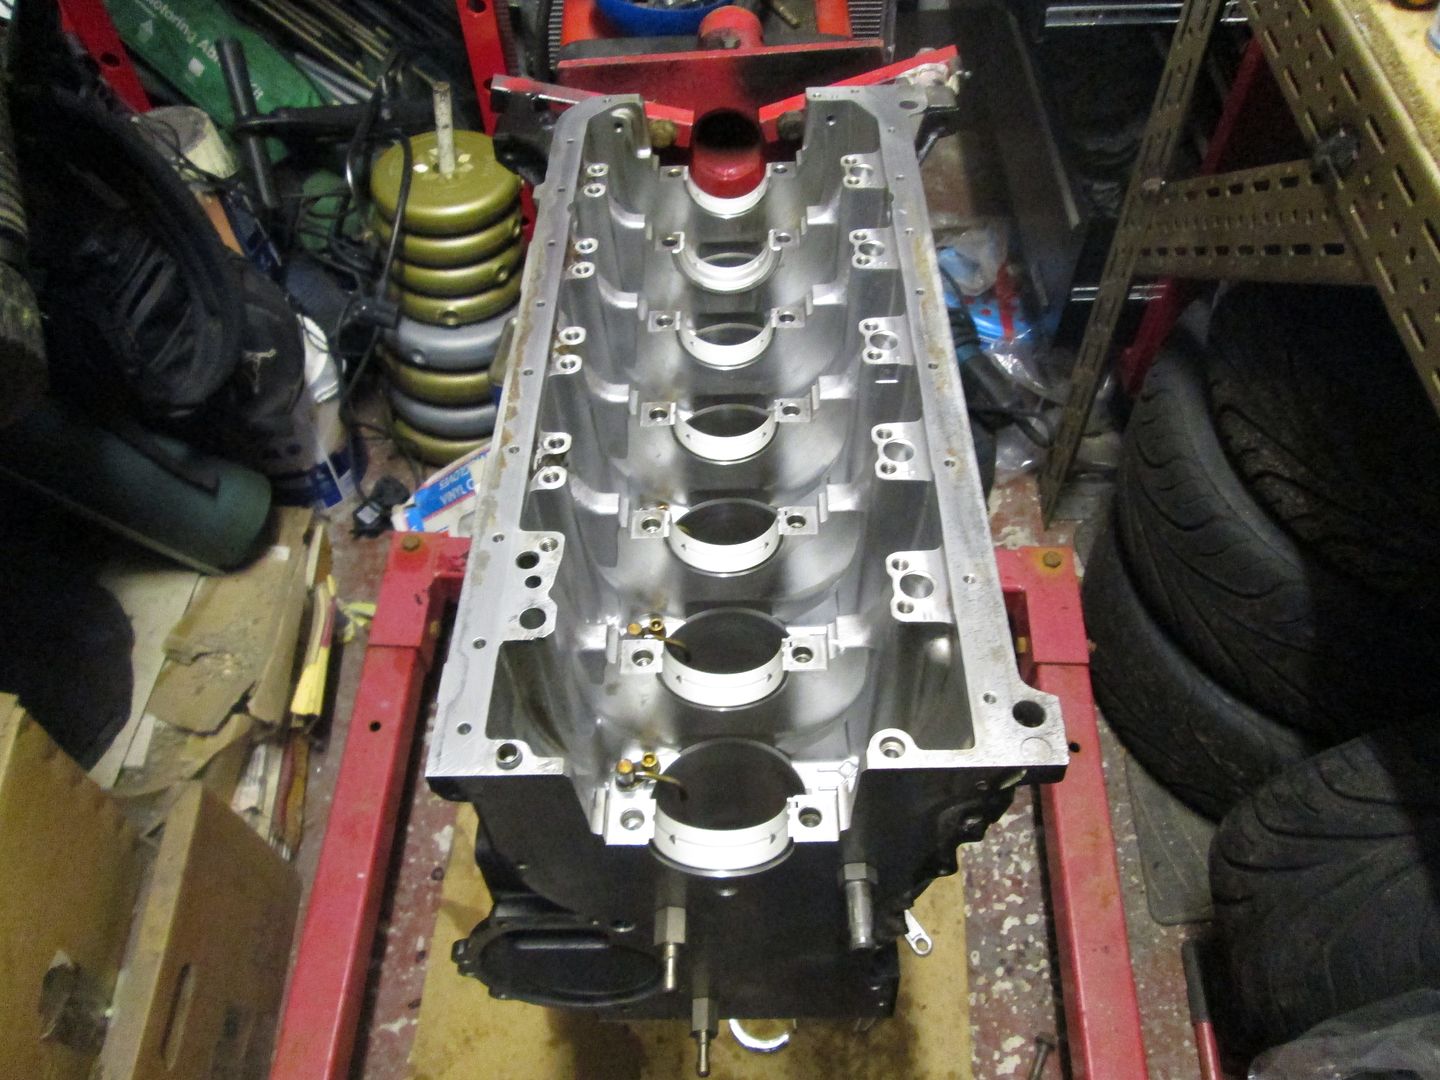
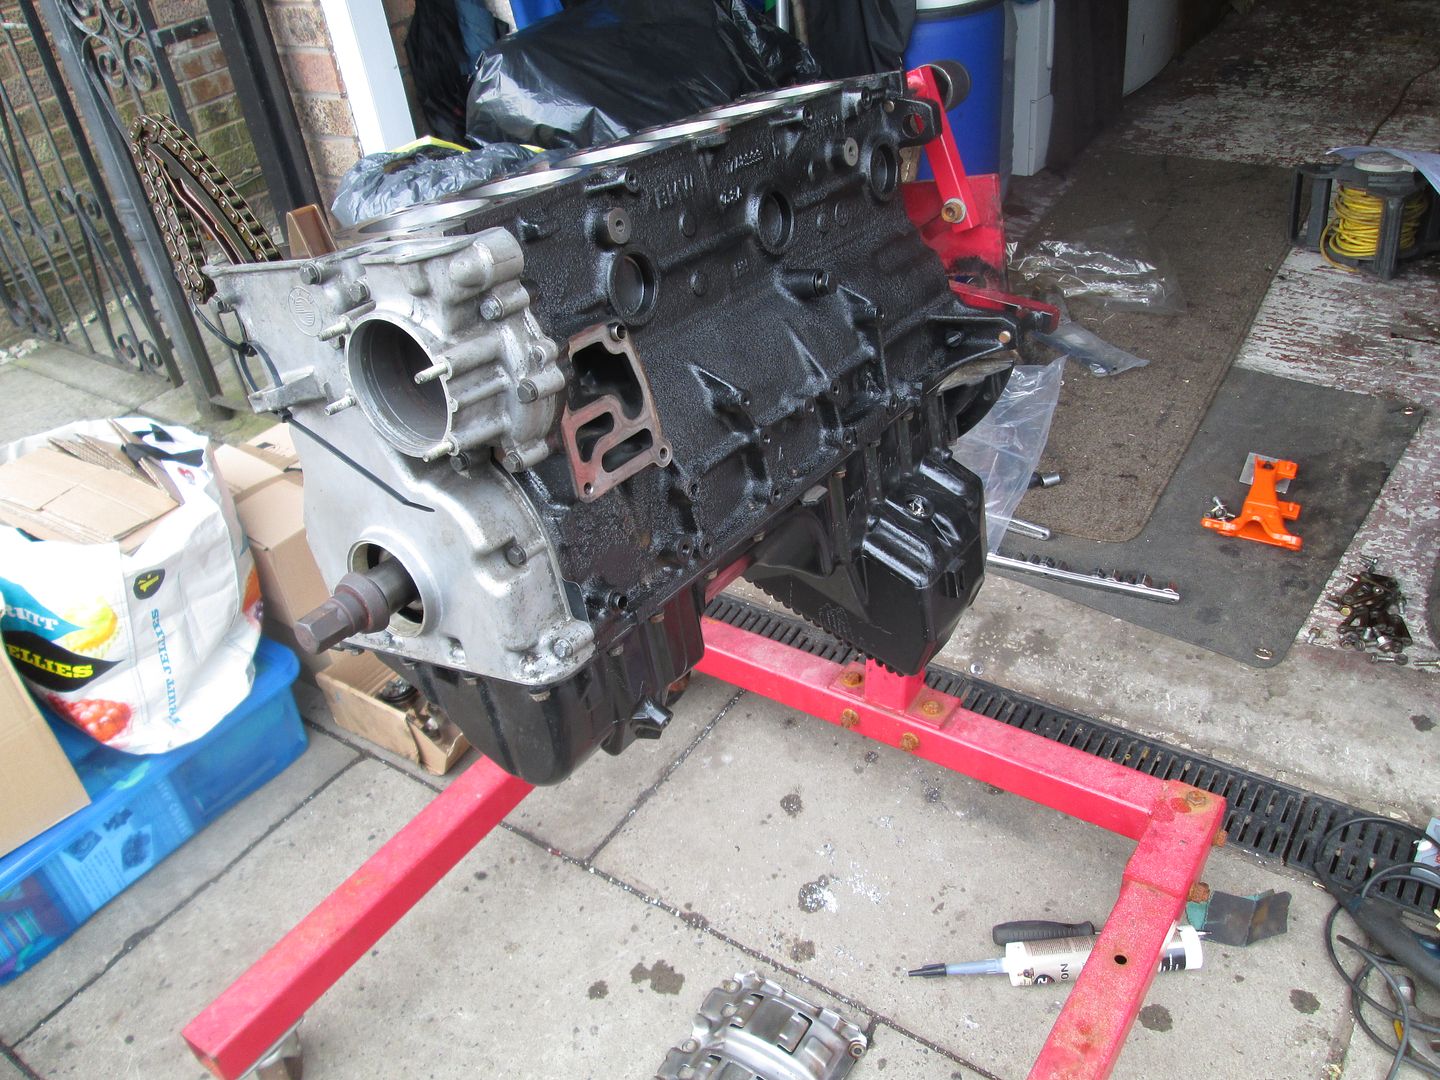
Next the block was put on the stand and given a quick coat of paint.
Oil jets refitted and torqued.
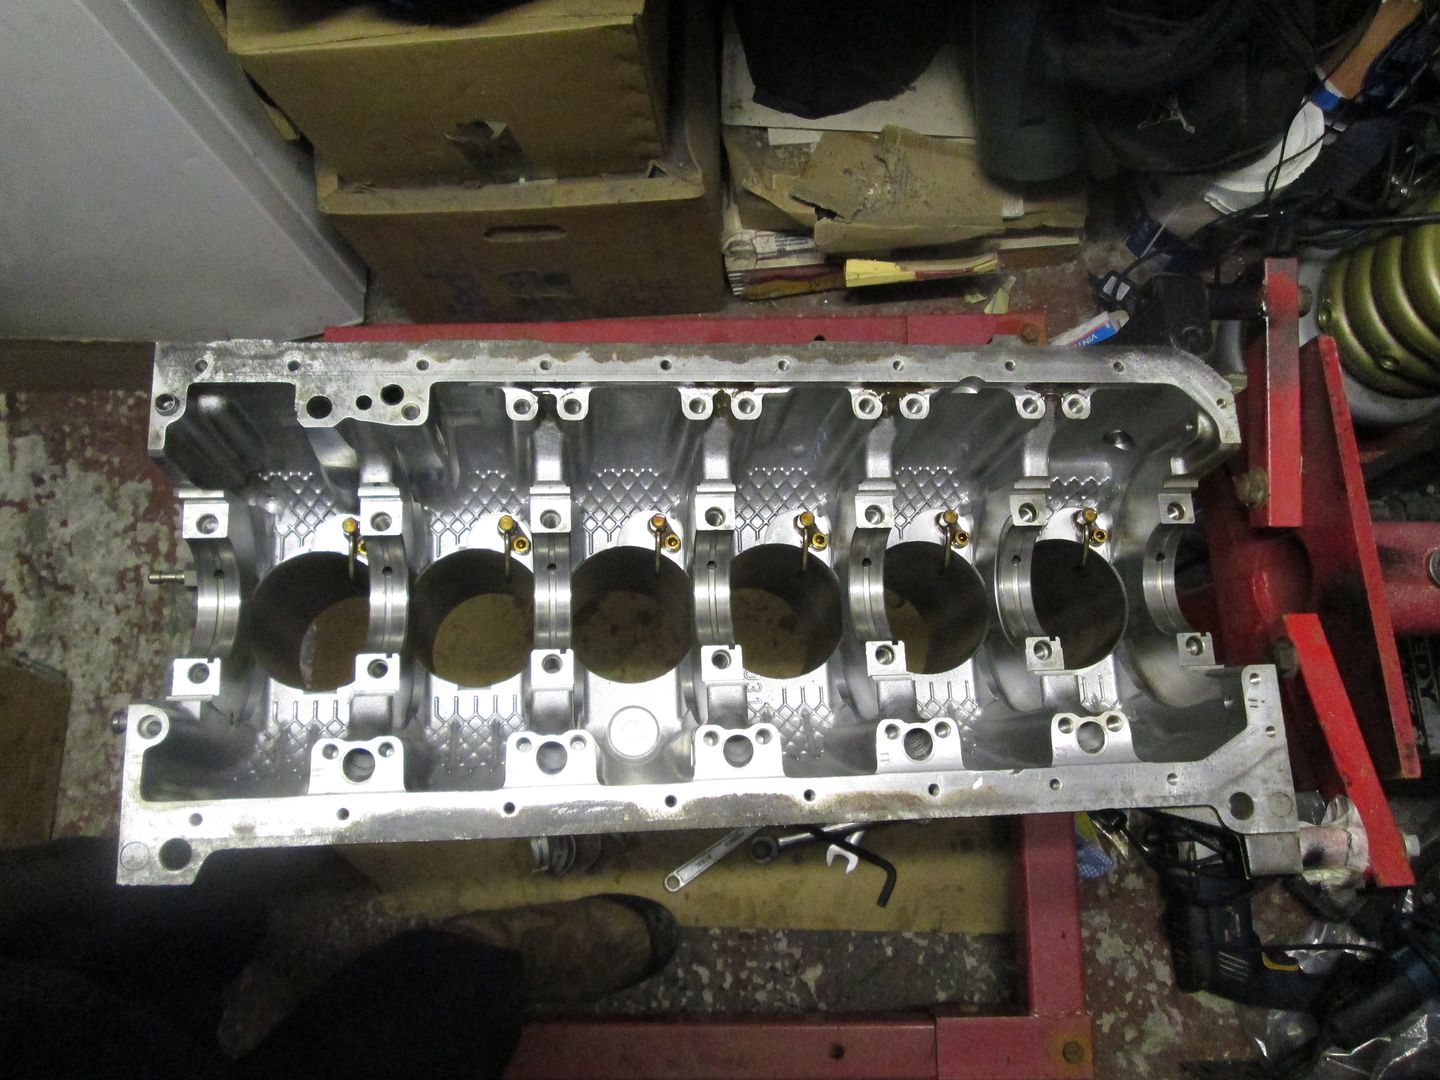
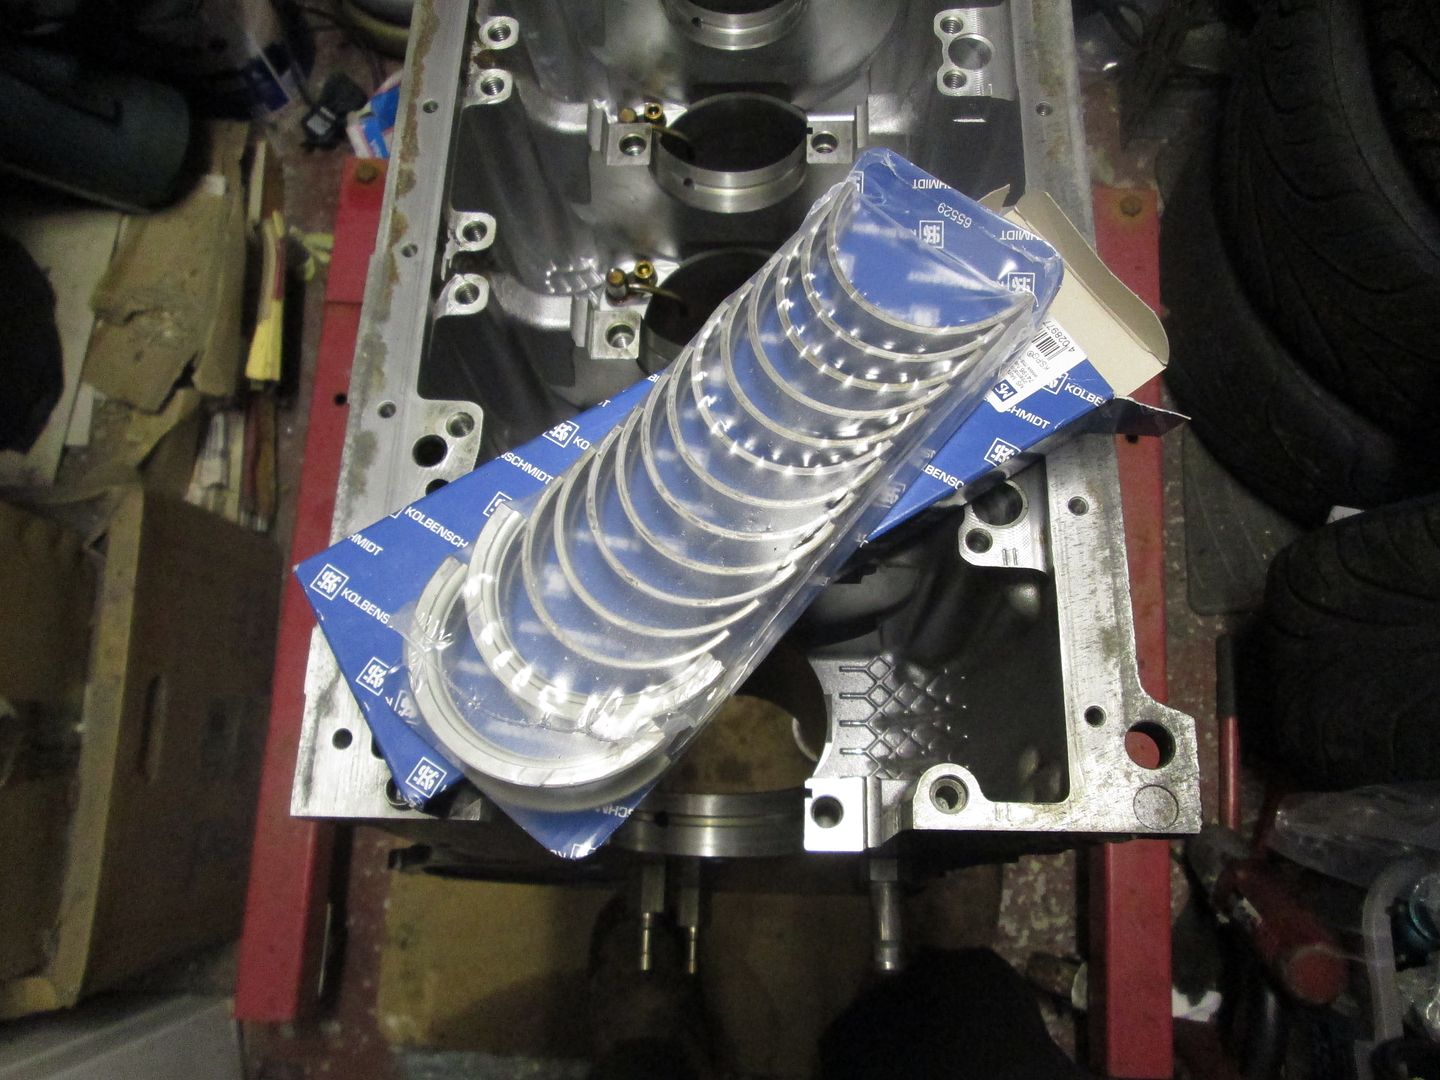
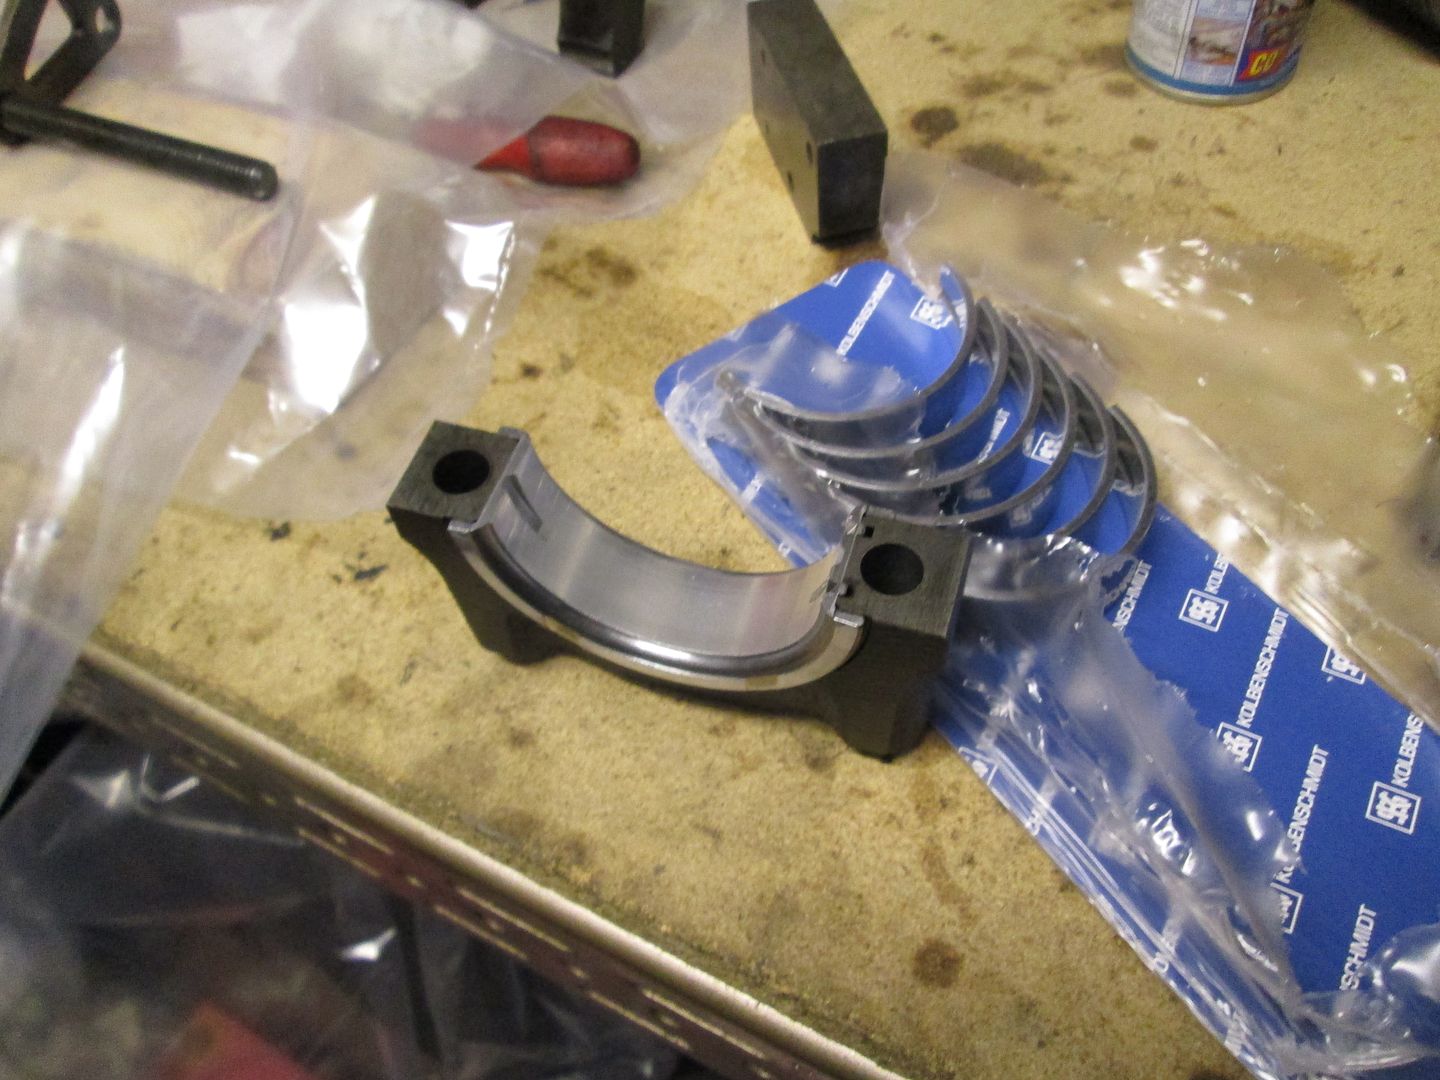
The bearing faces were then given a quick wipe down, and new bearings fitted to the block and caps.
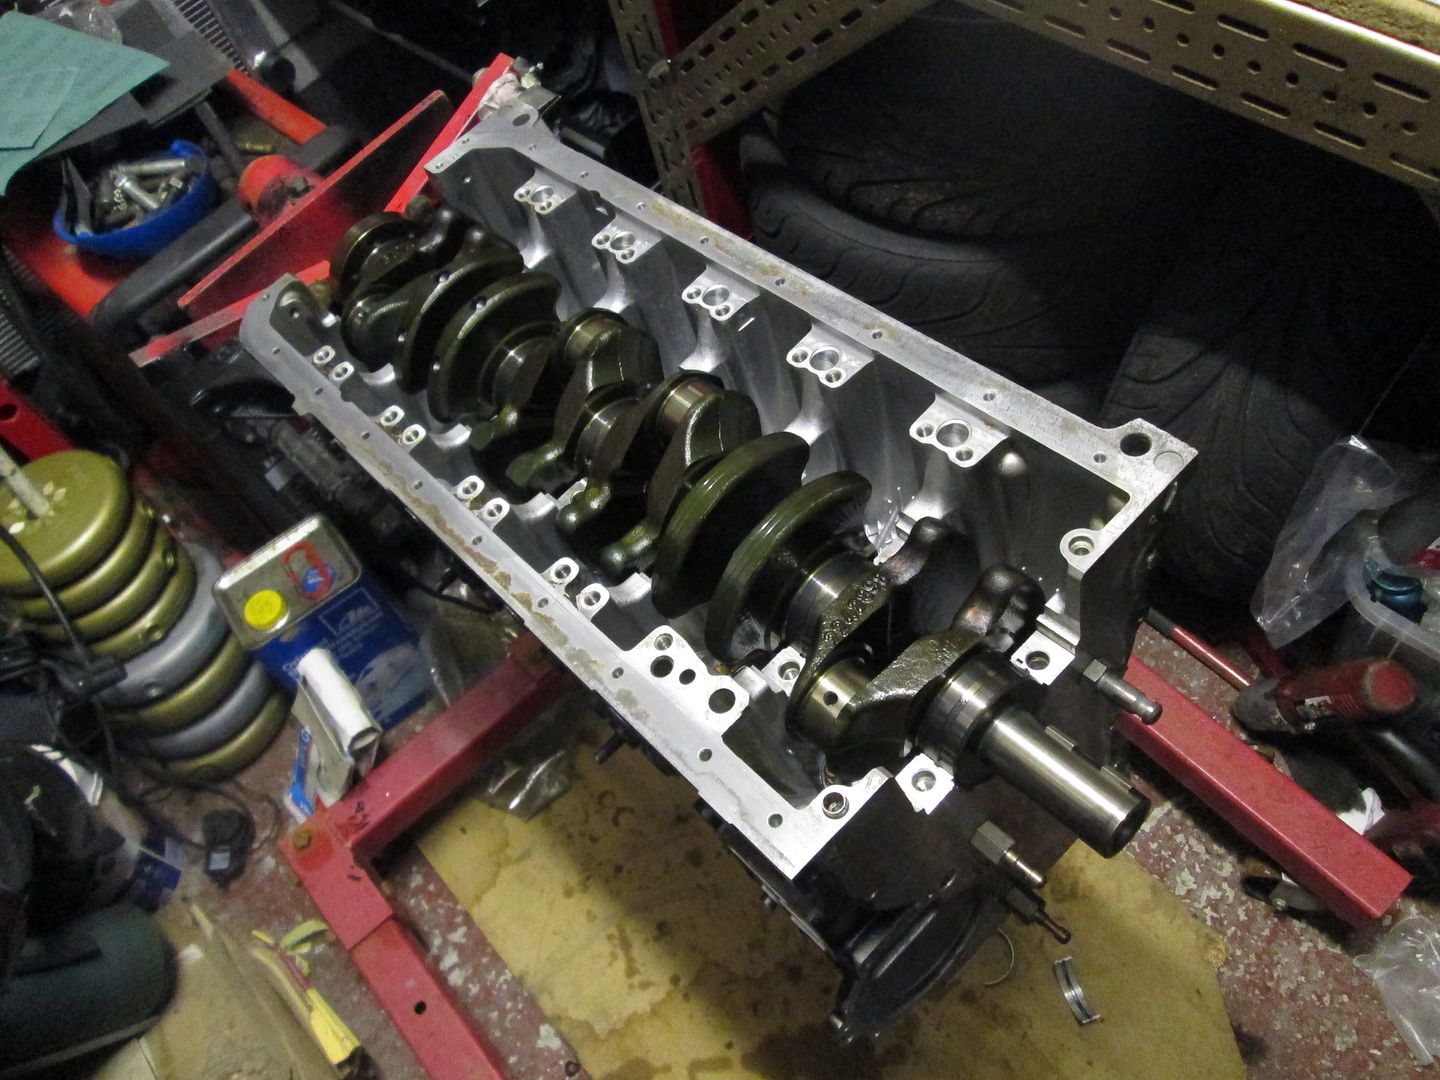
Dropped the crank in to place and torqued the caps down with some Plastigauge to check for stock clearances - which was all OK.
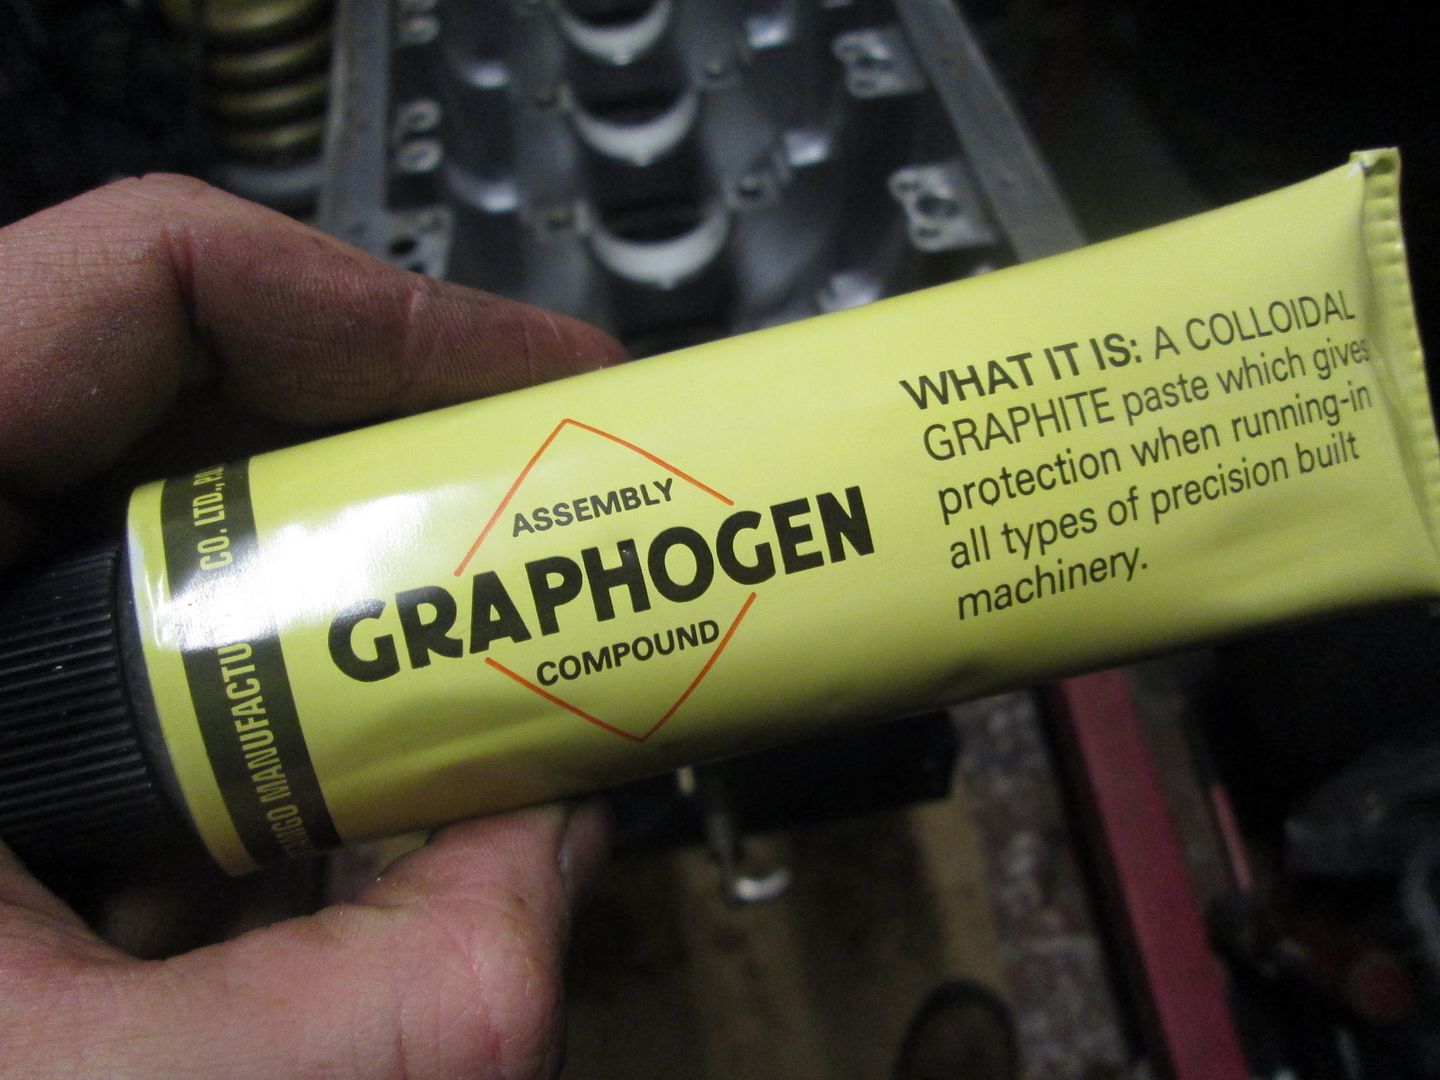
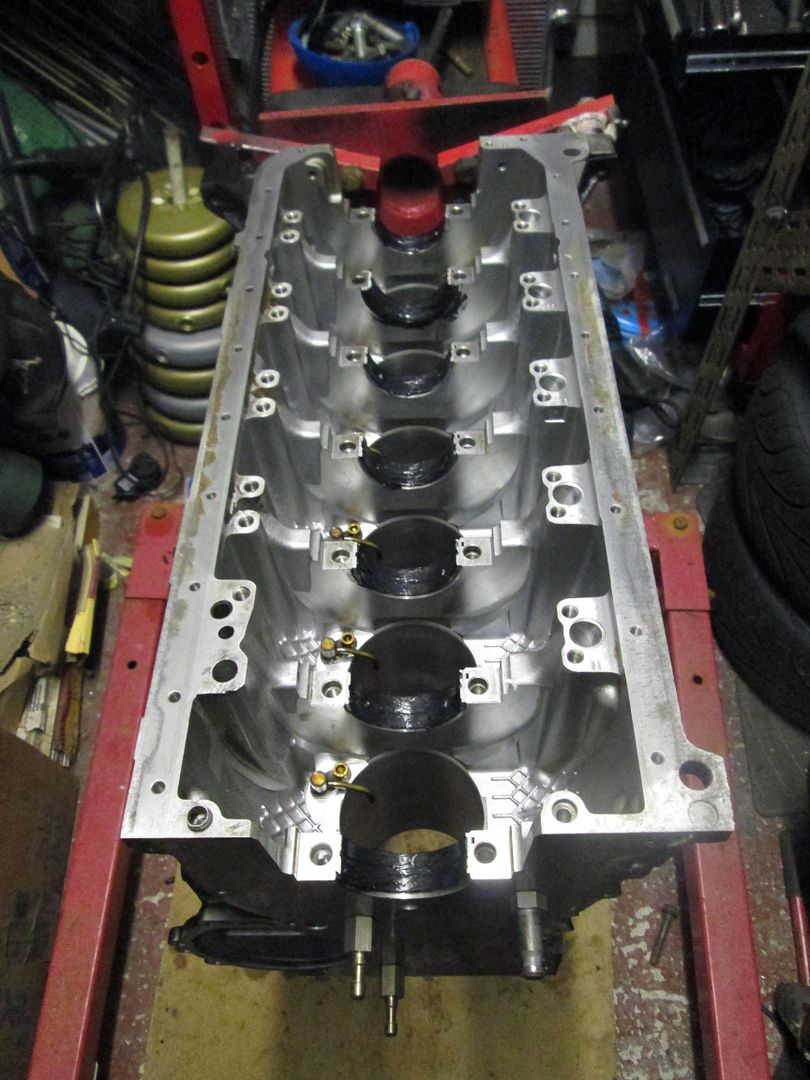
The crank removed again, and assembly grease added, then caps torqued down with new bolts.
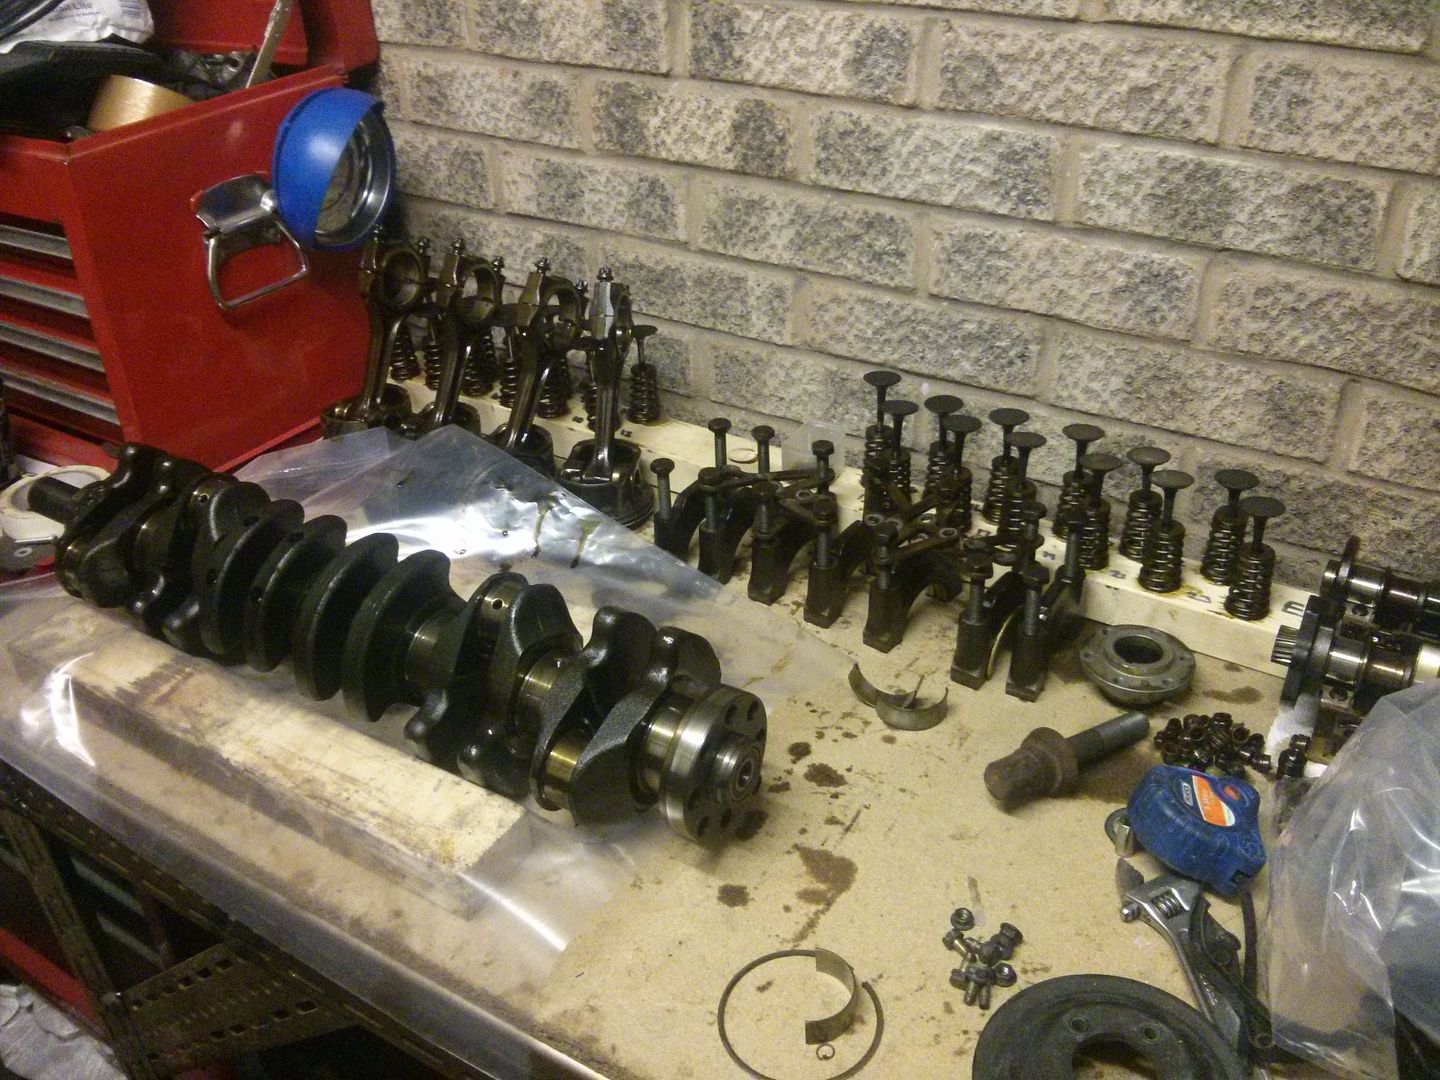
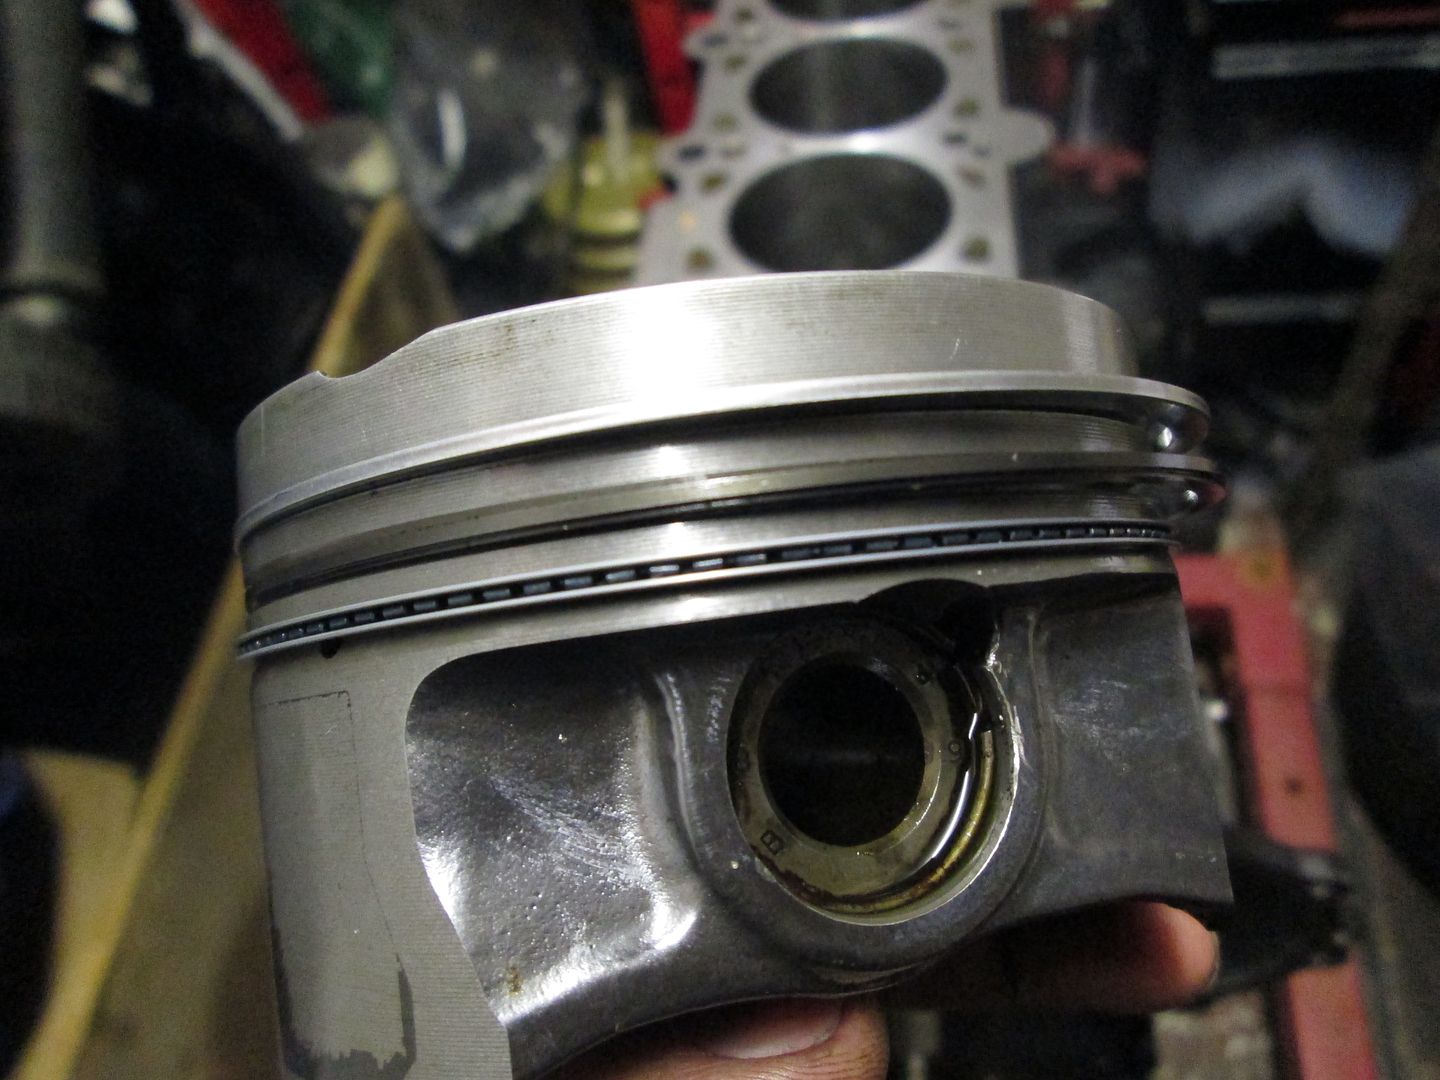
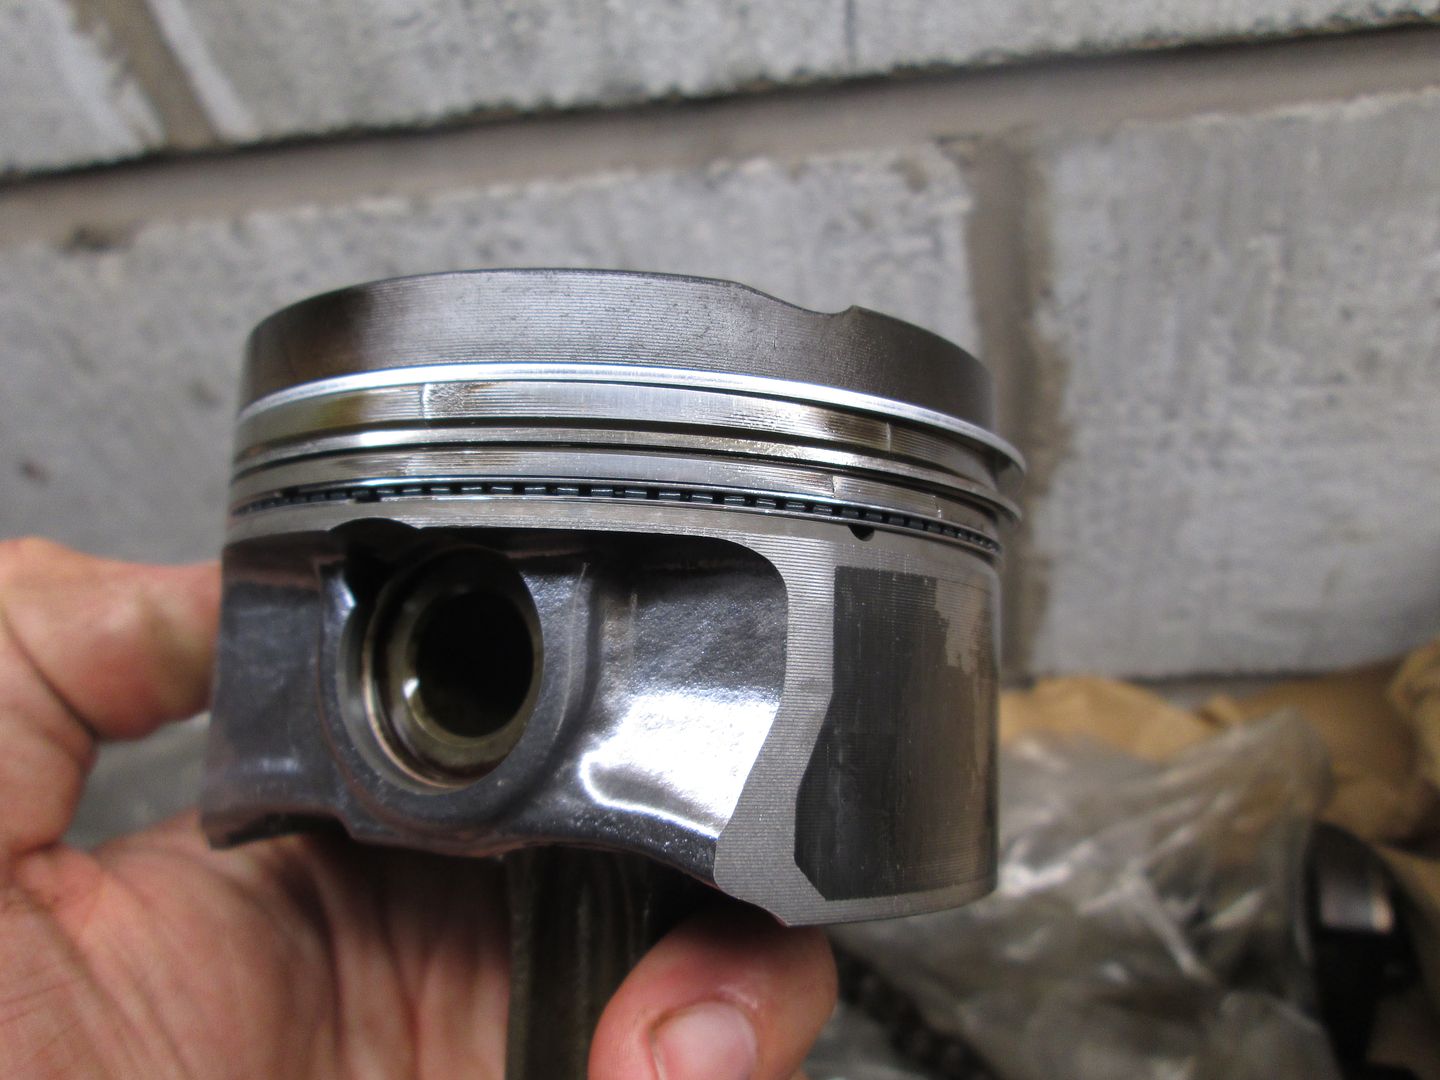
Pulled the pistons apart, which were checked and cleaned. Re-assembled and ready for new rings..
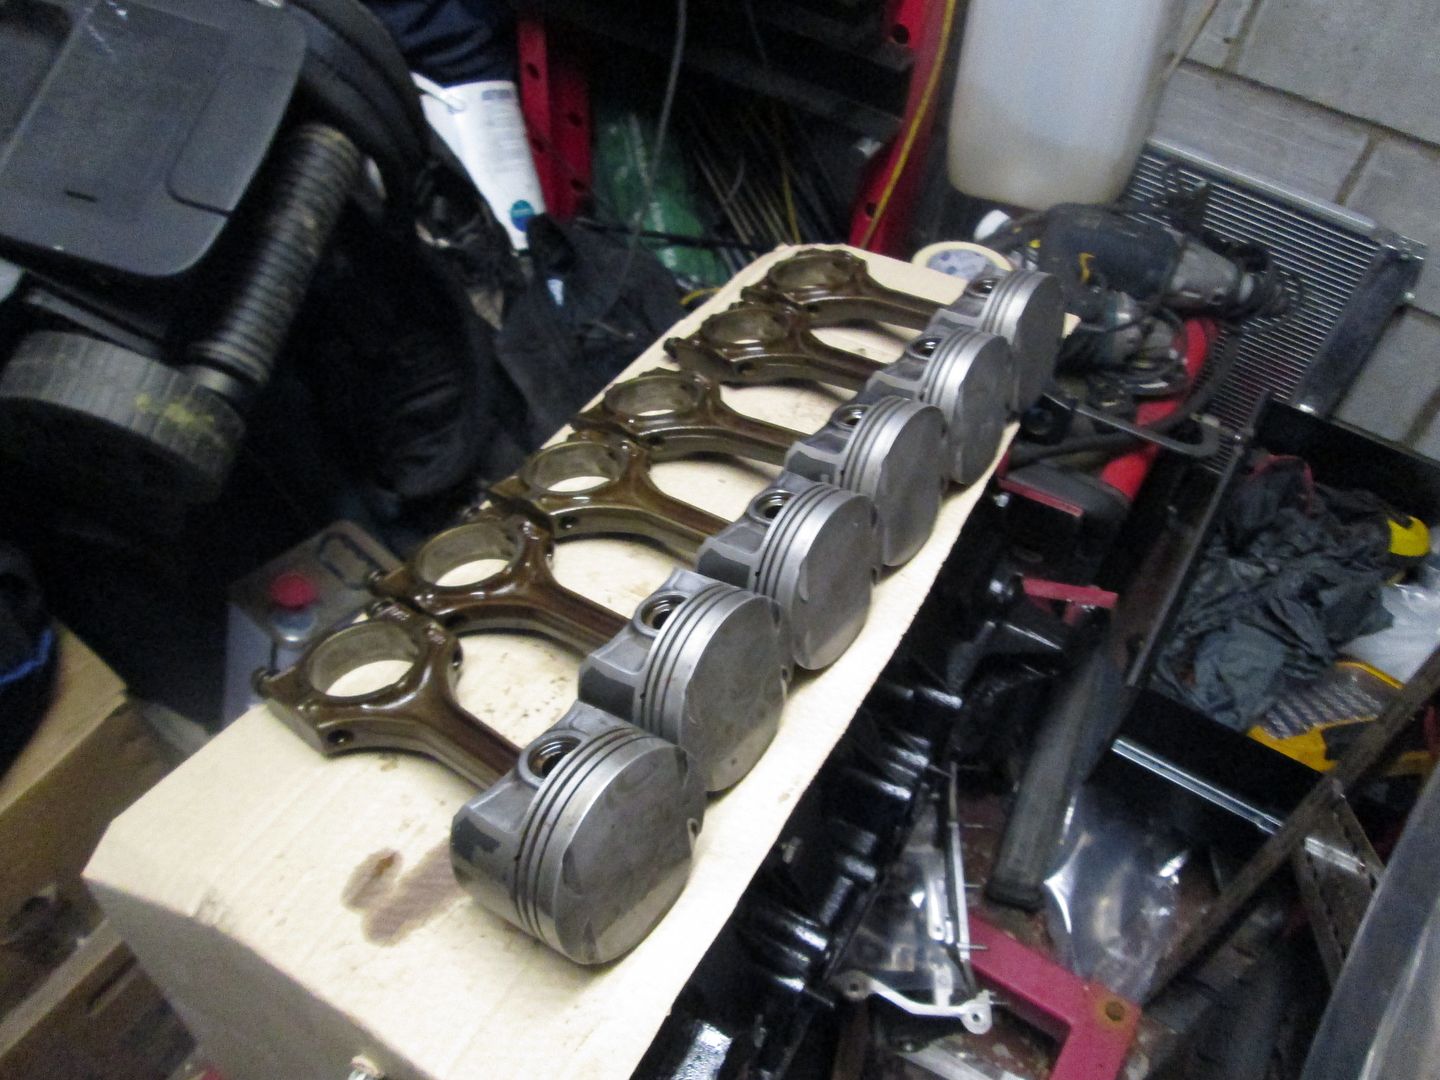
Some new piston rings..
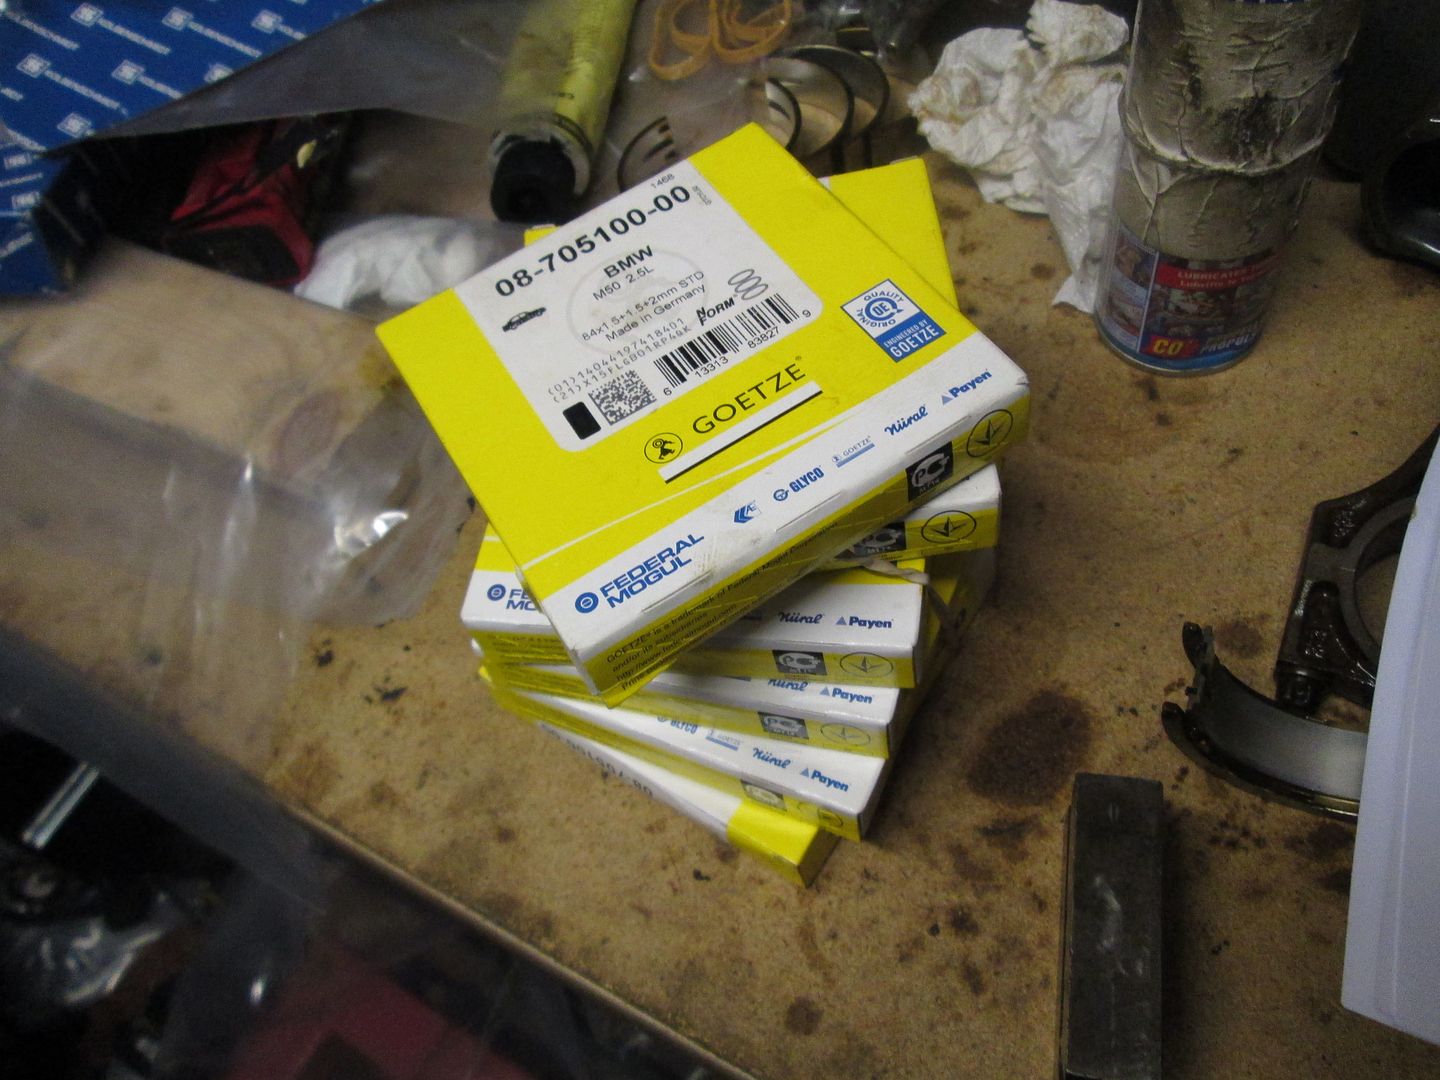
Which were then gapped for each cylinder..
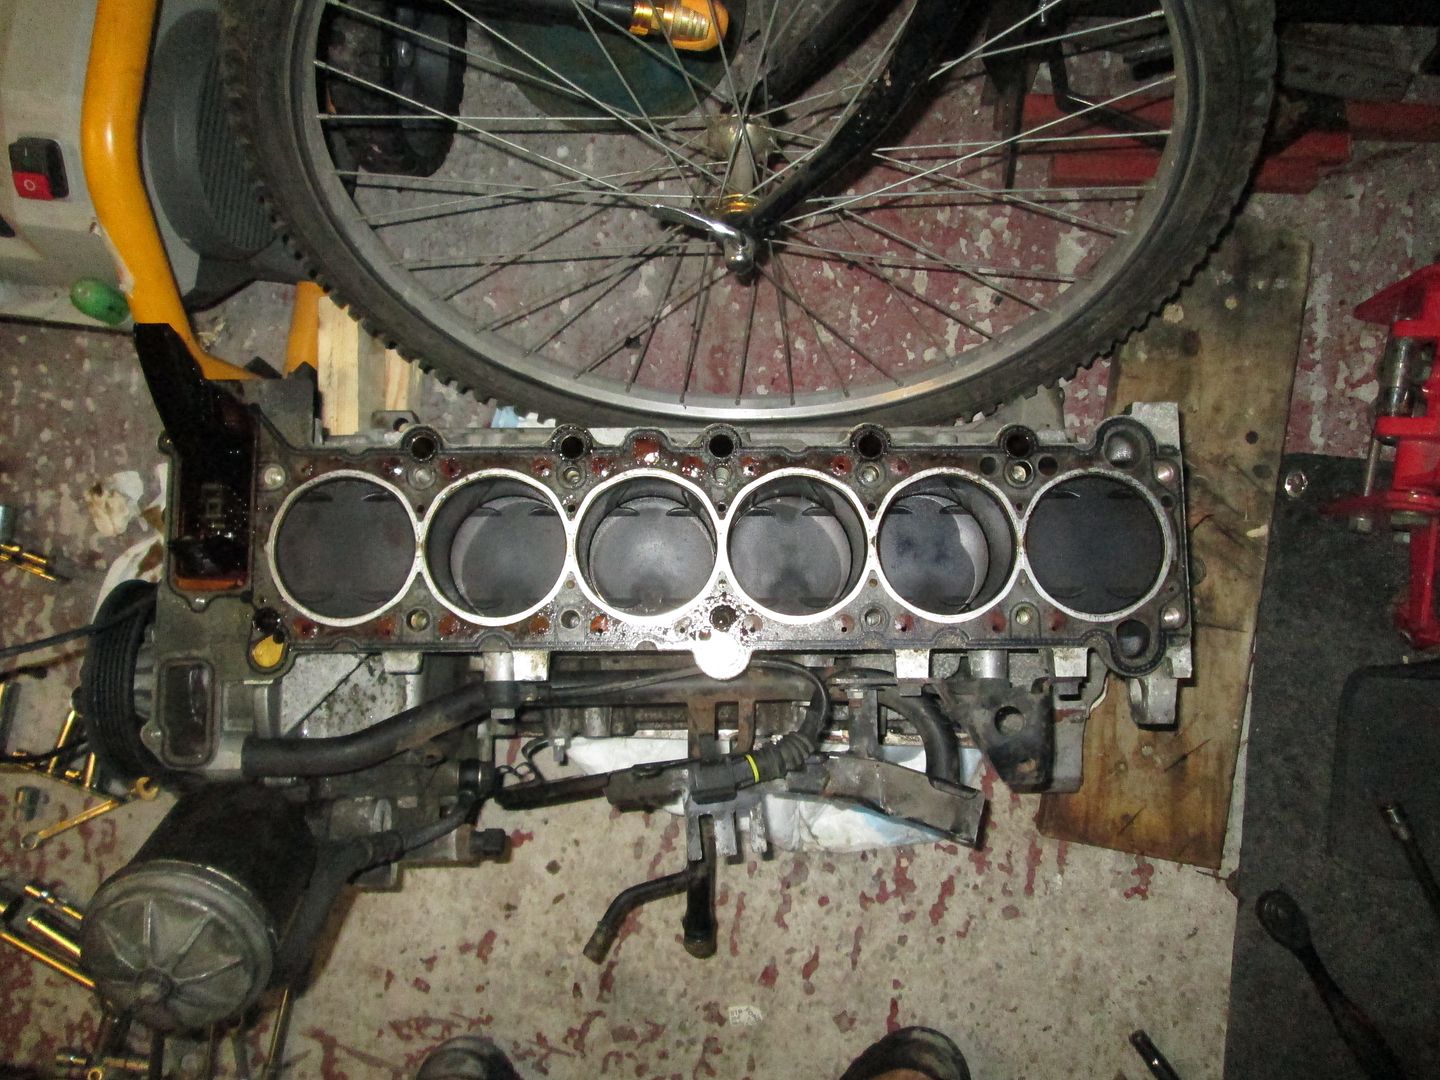
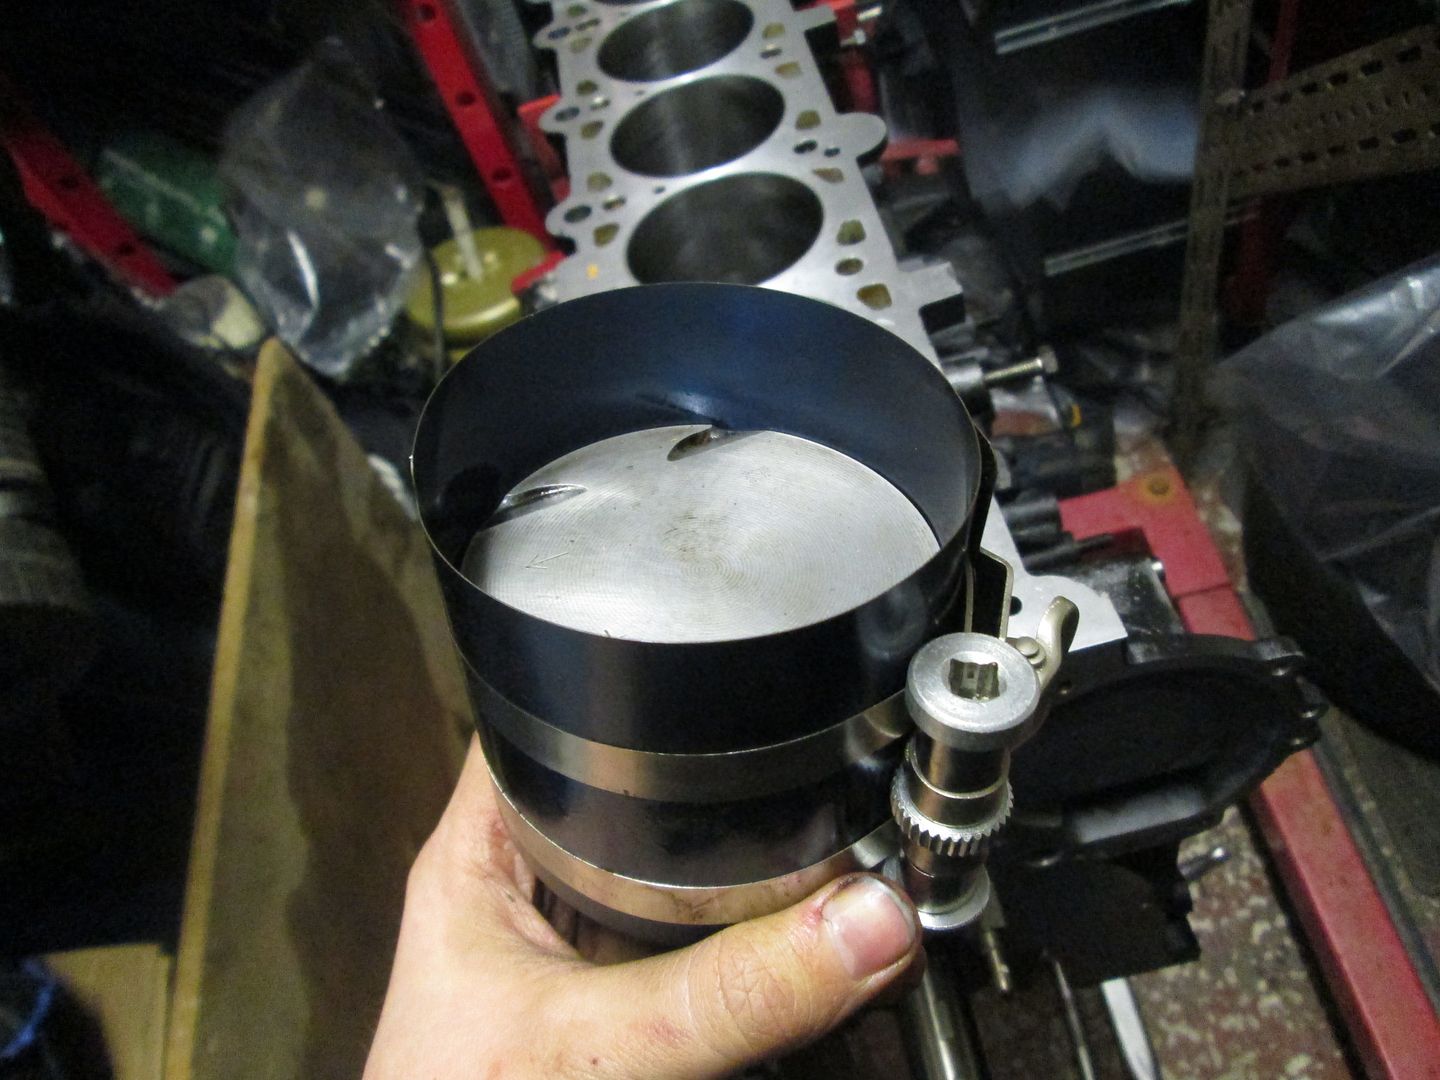
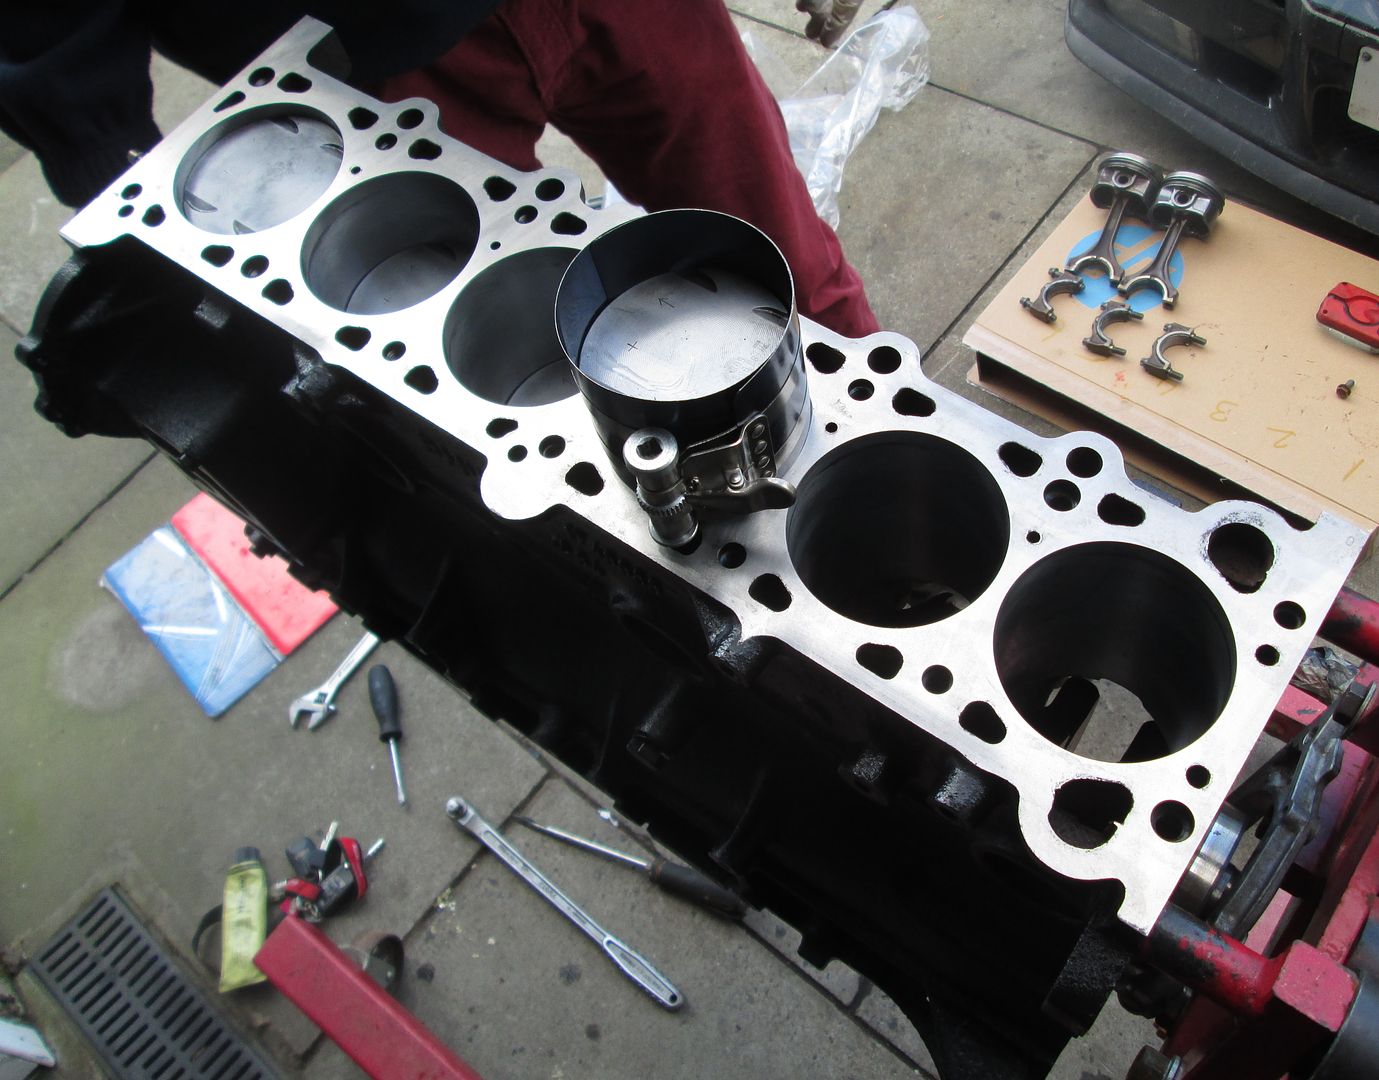
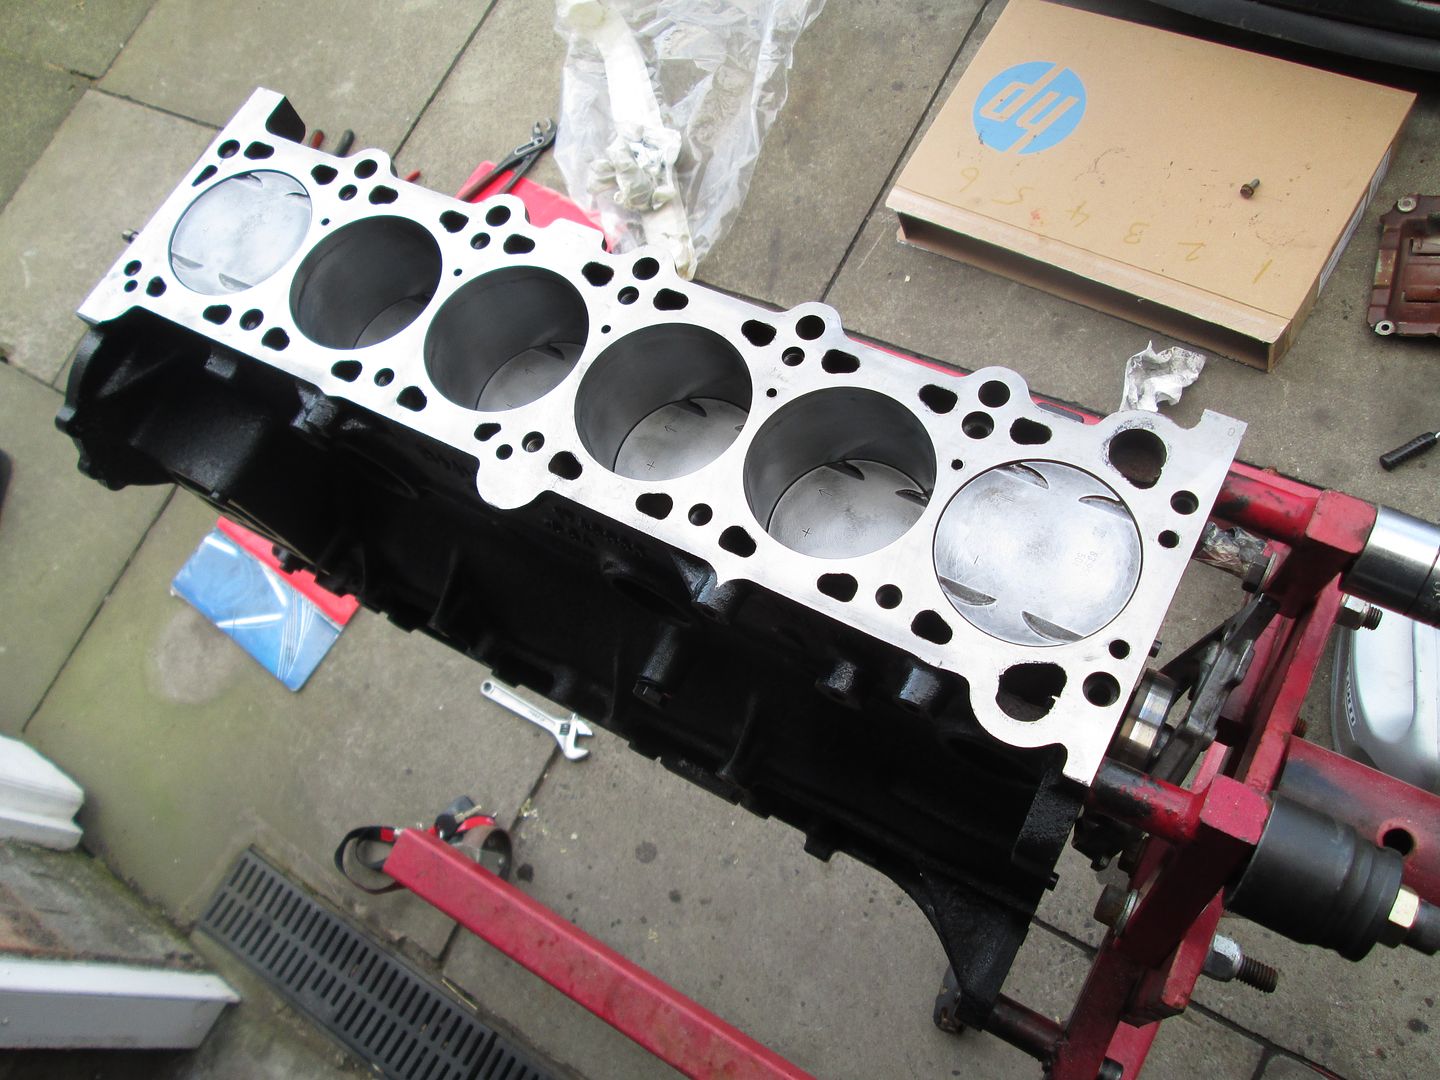
Then in turn fitted to the piston, and dropped into the block..
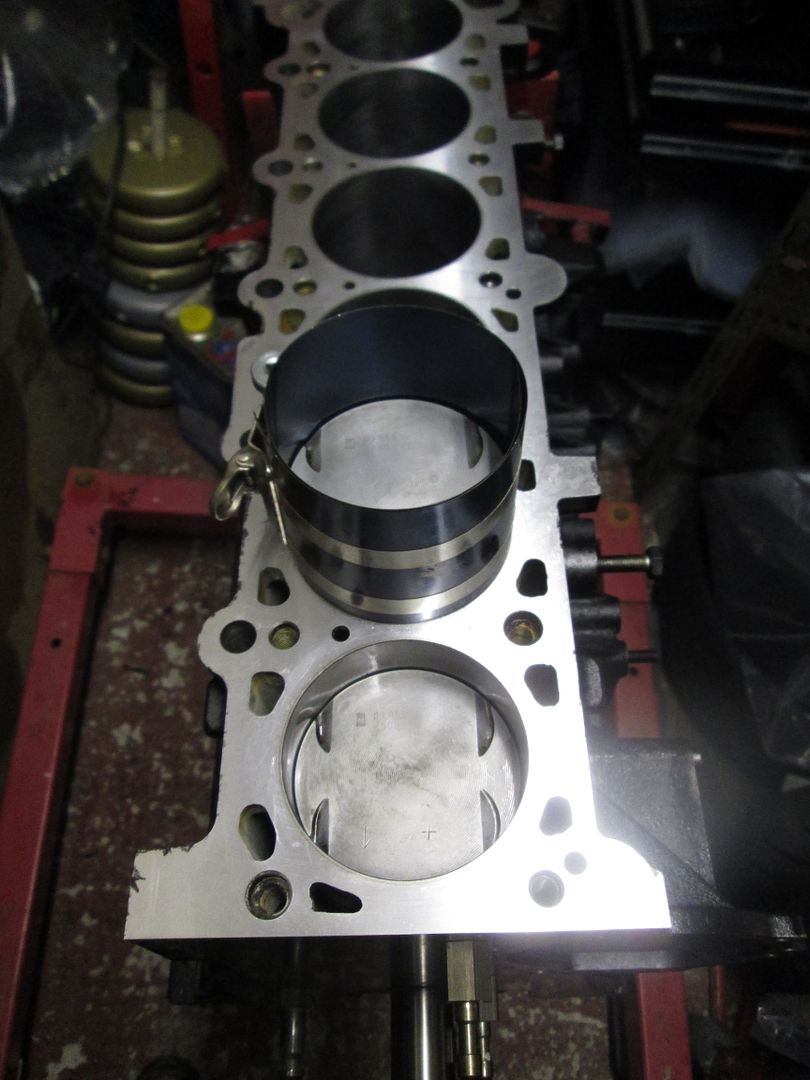
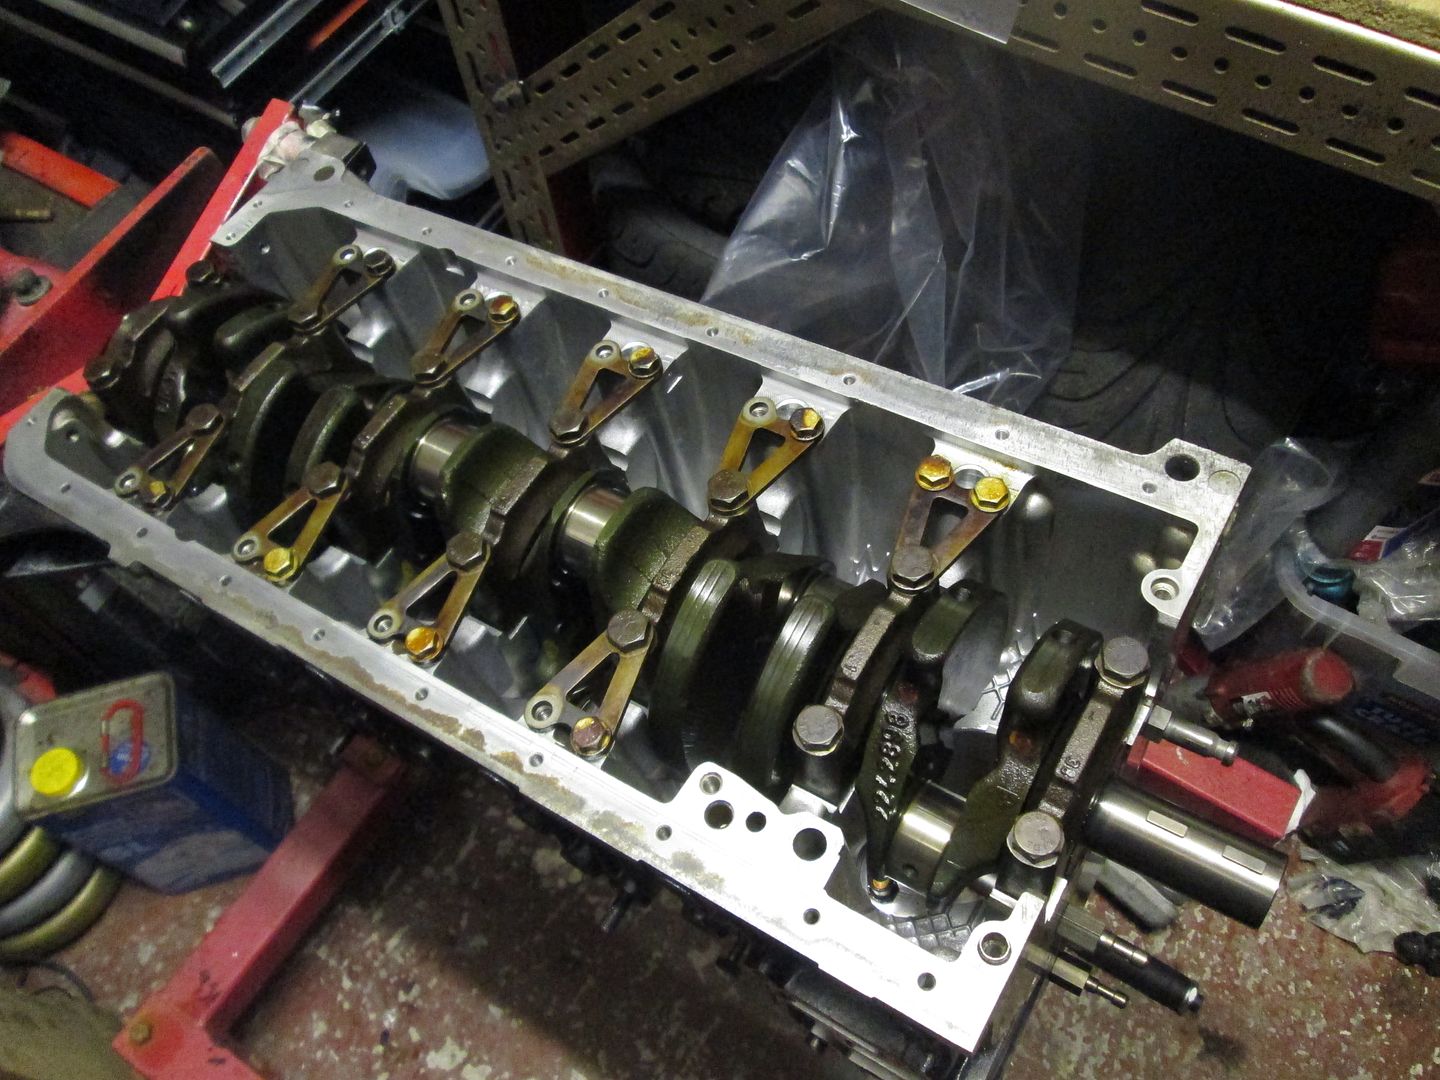
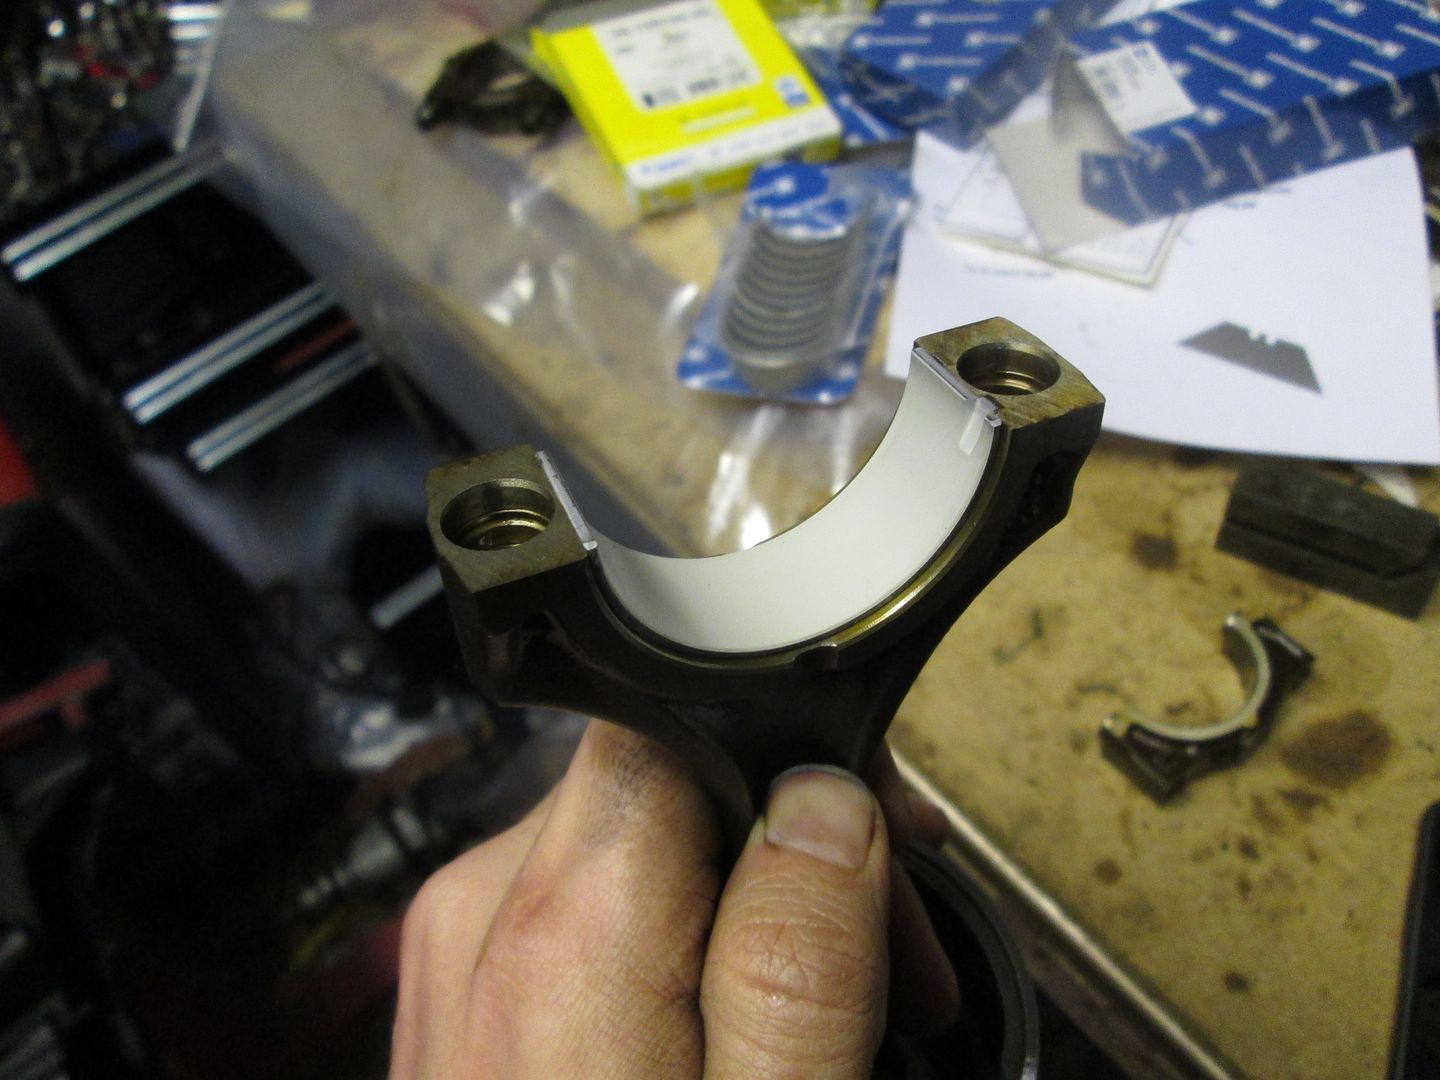
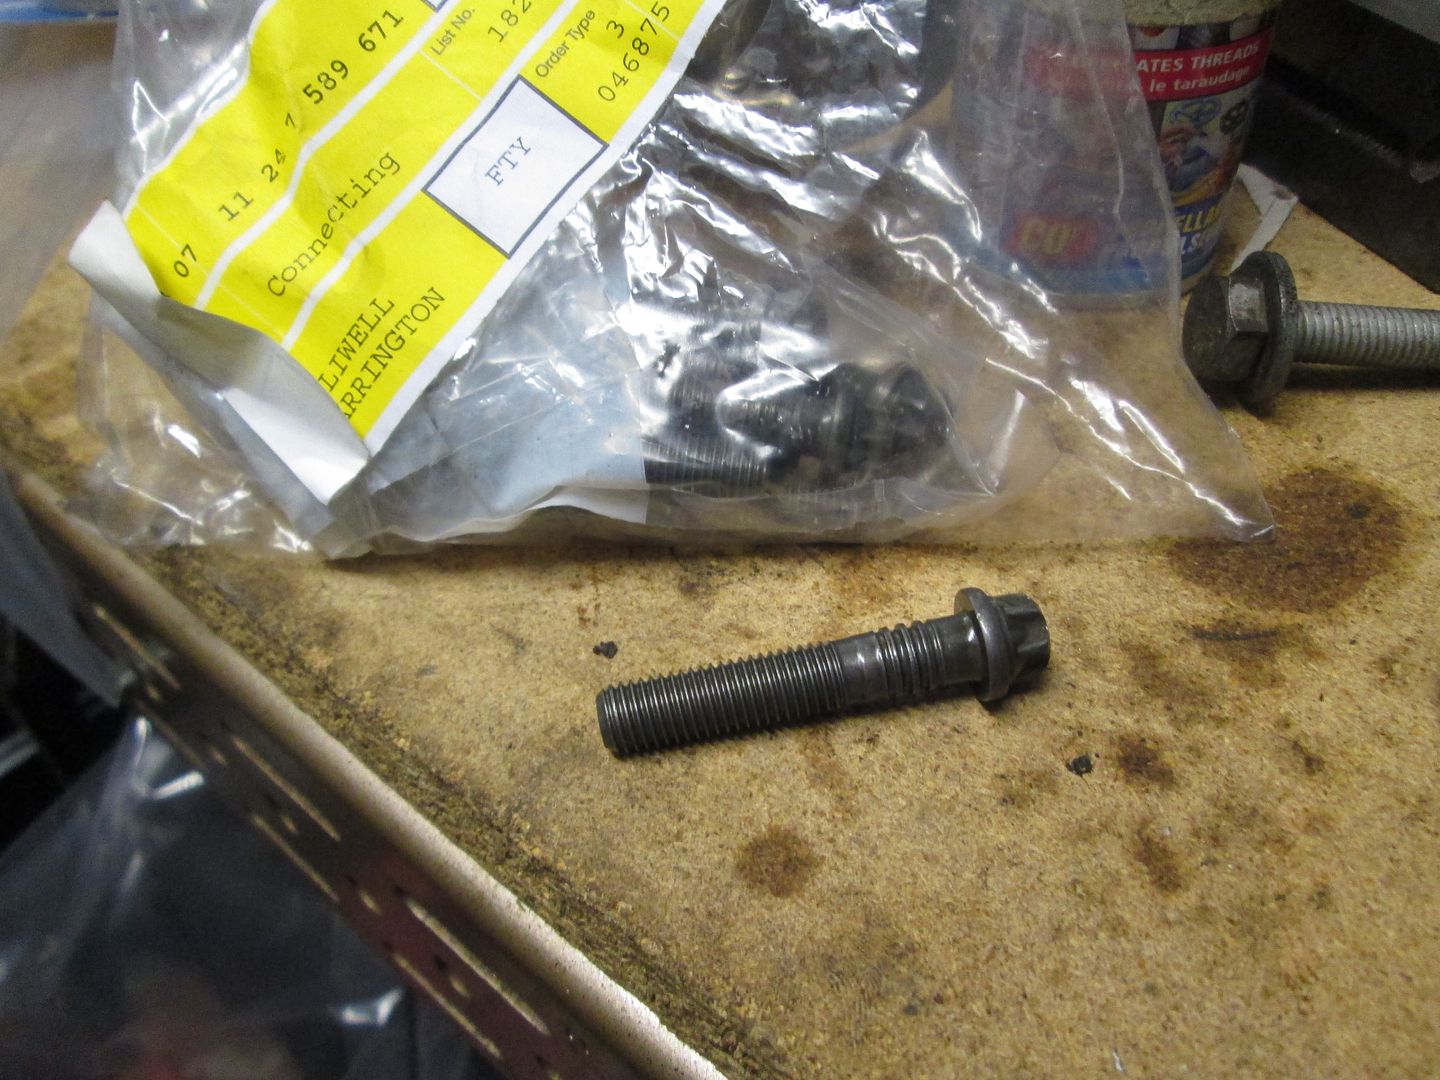
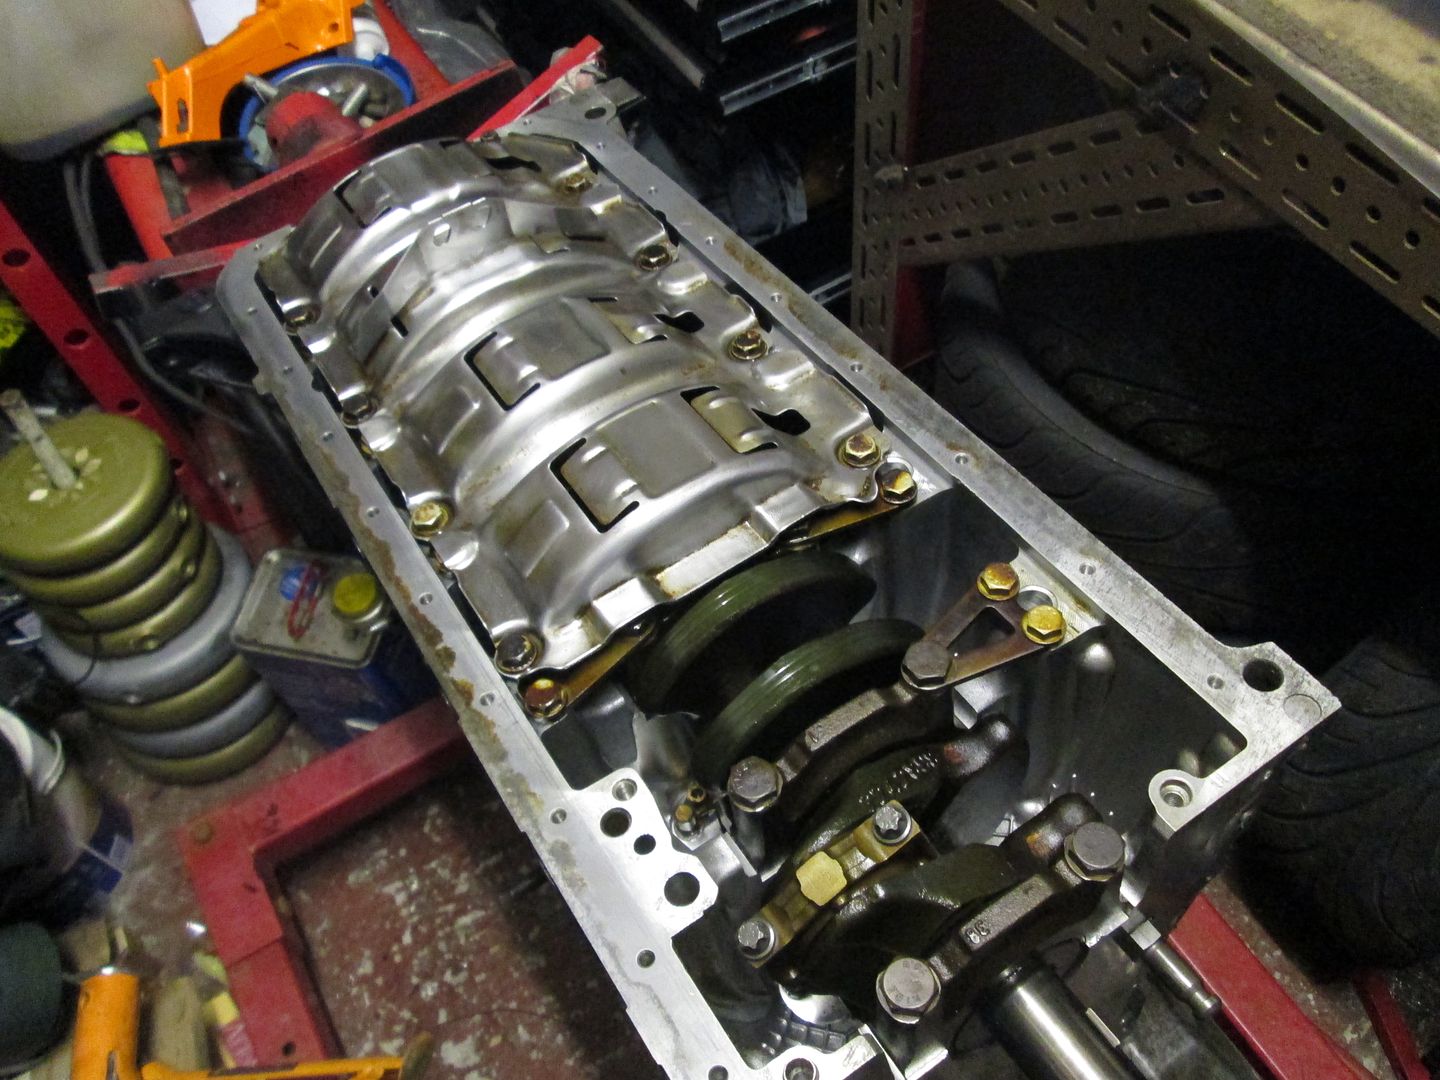
New big end bearings were fitted to each rod and cap, then torqued up to the crank with plenty of assembly grease and new connecting rod bolts..
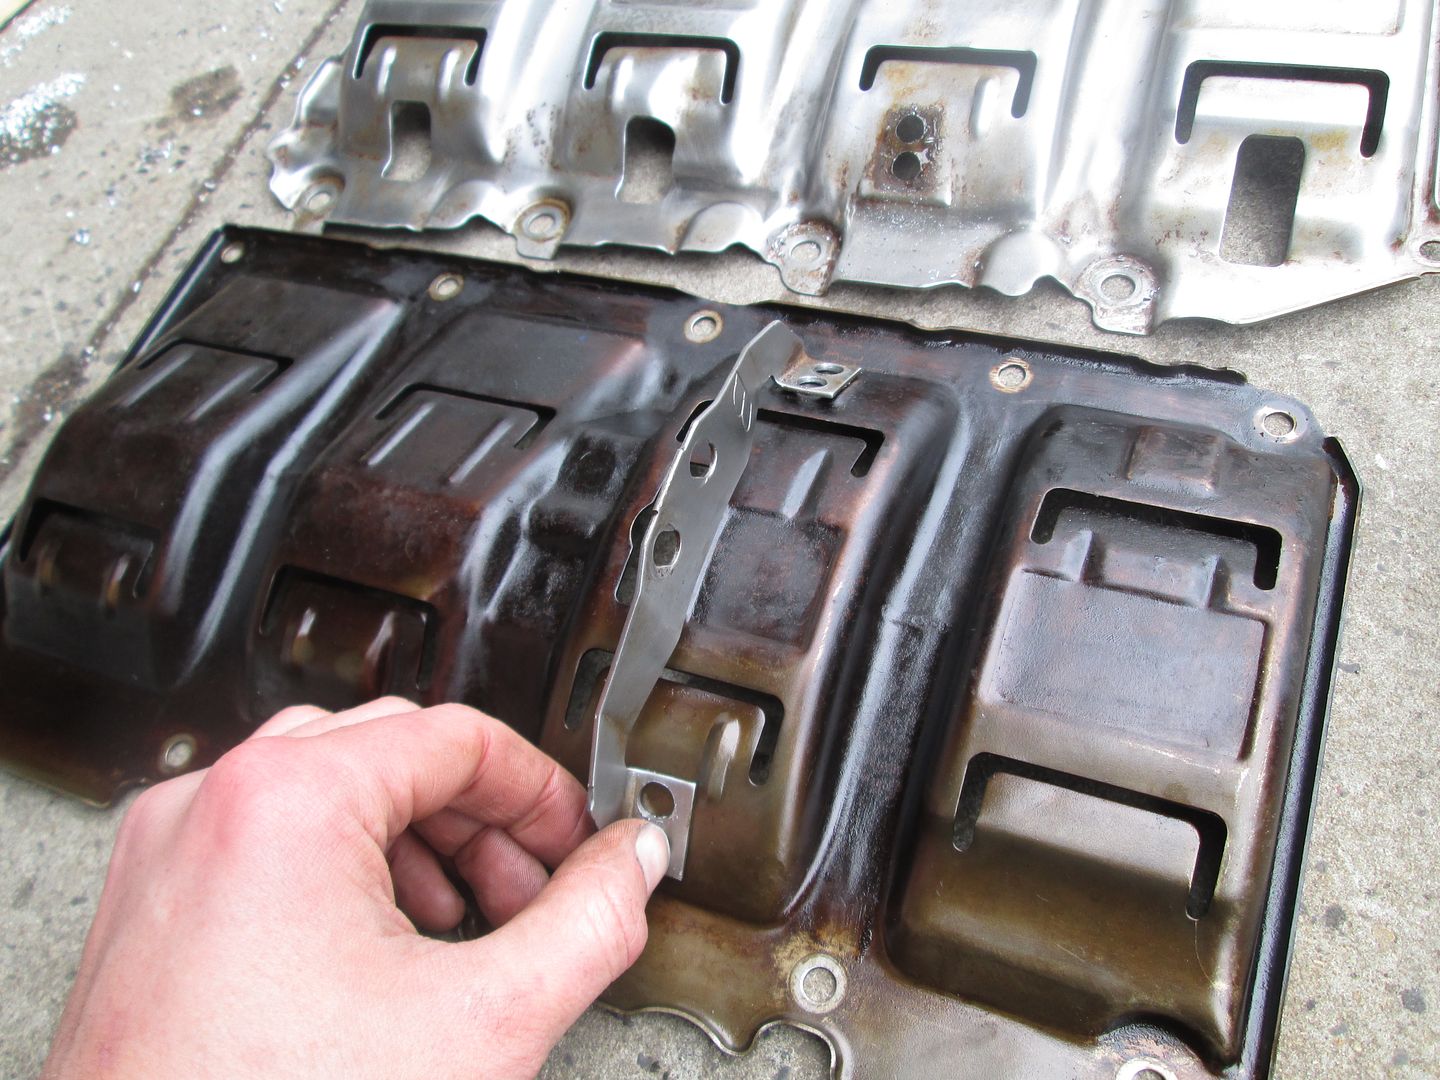
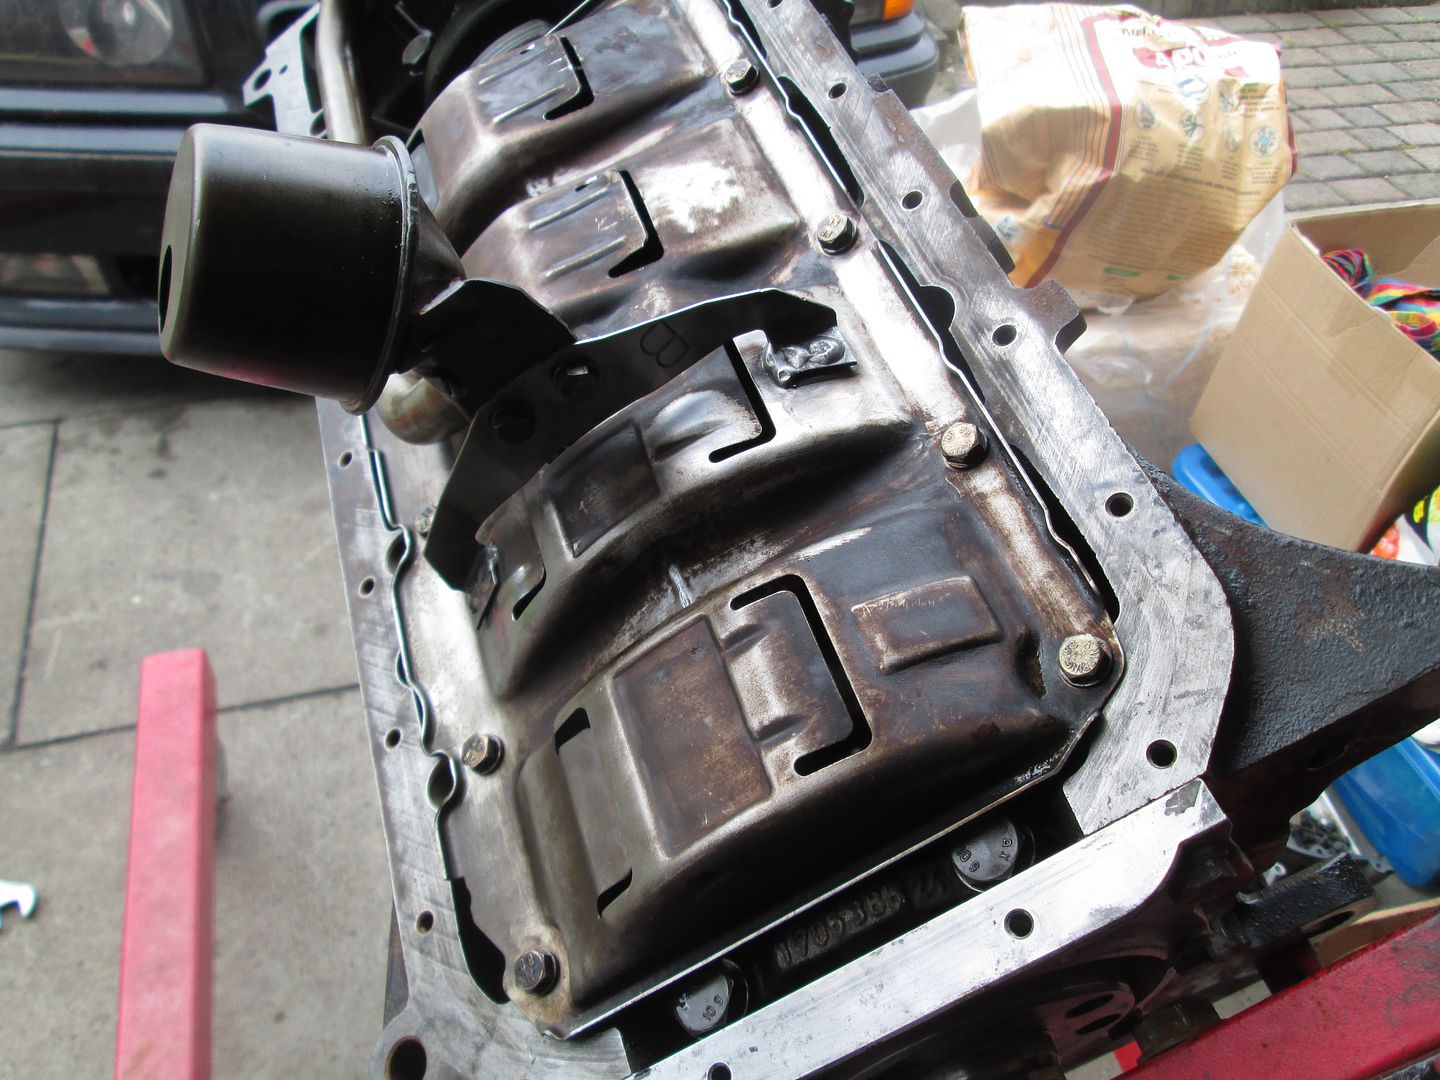
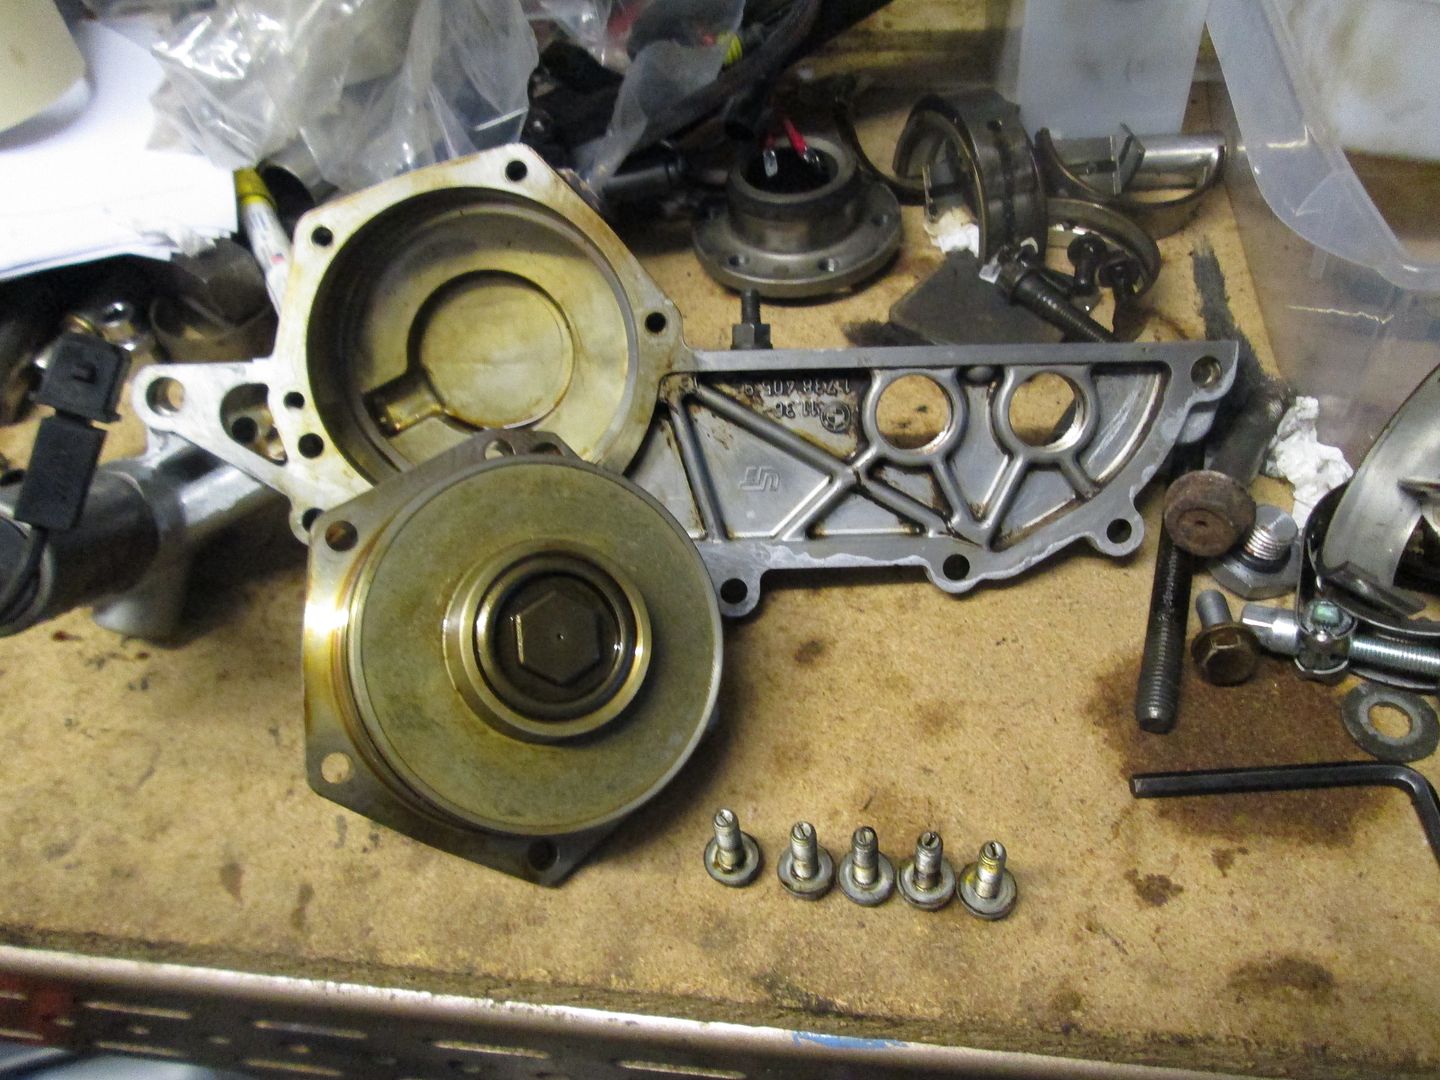
The windage/baffle plate and oil pump were then fitted, along with the sump and a new gasket..
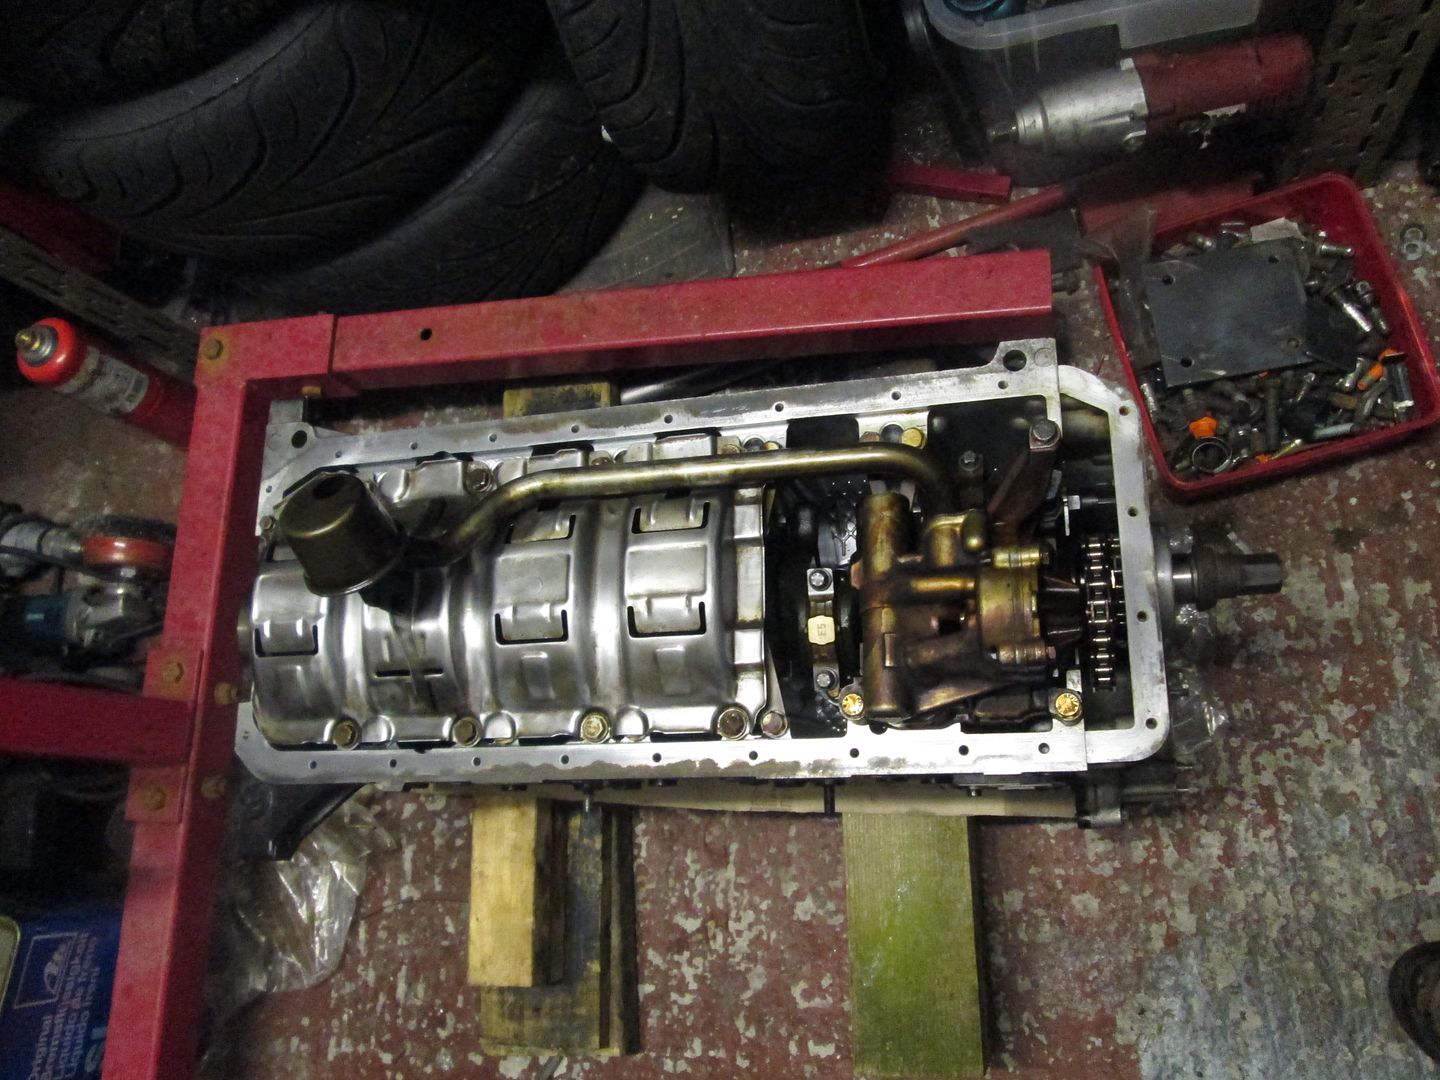
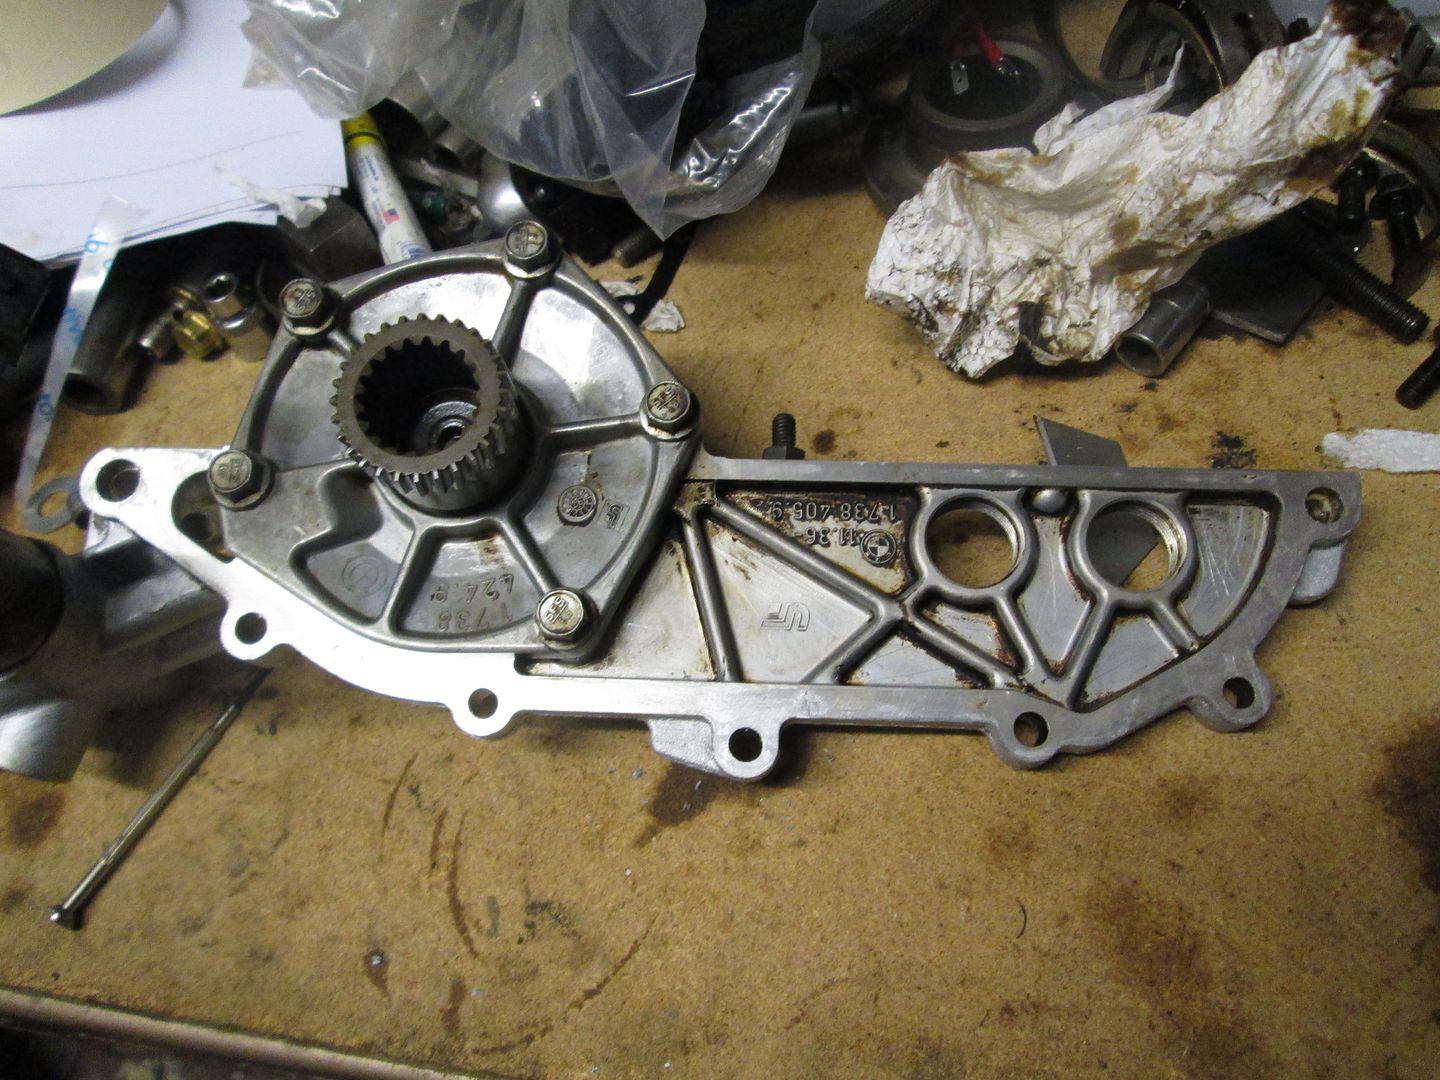
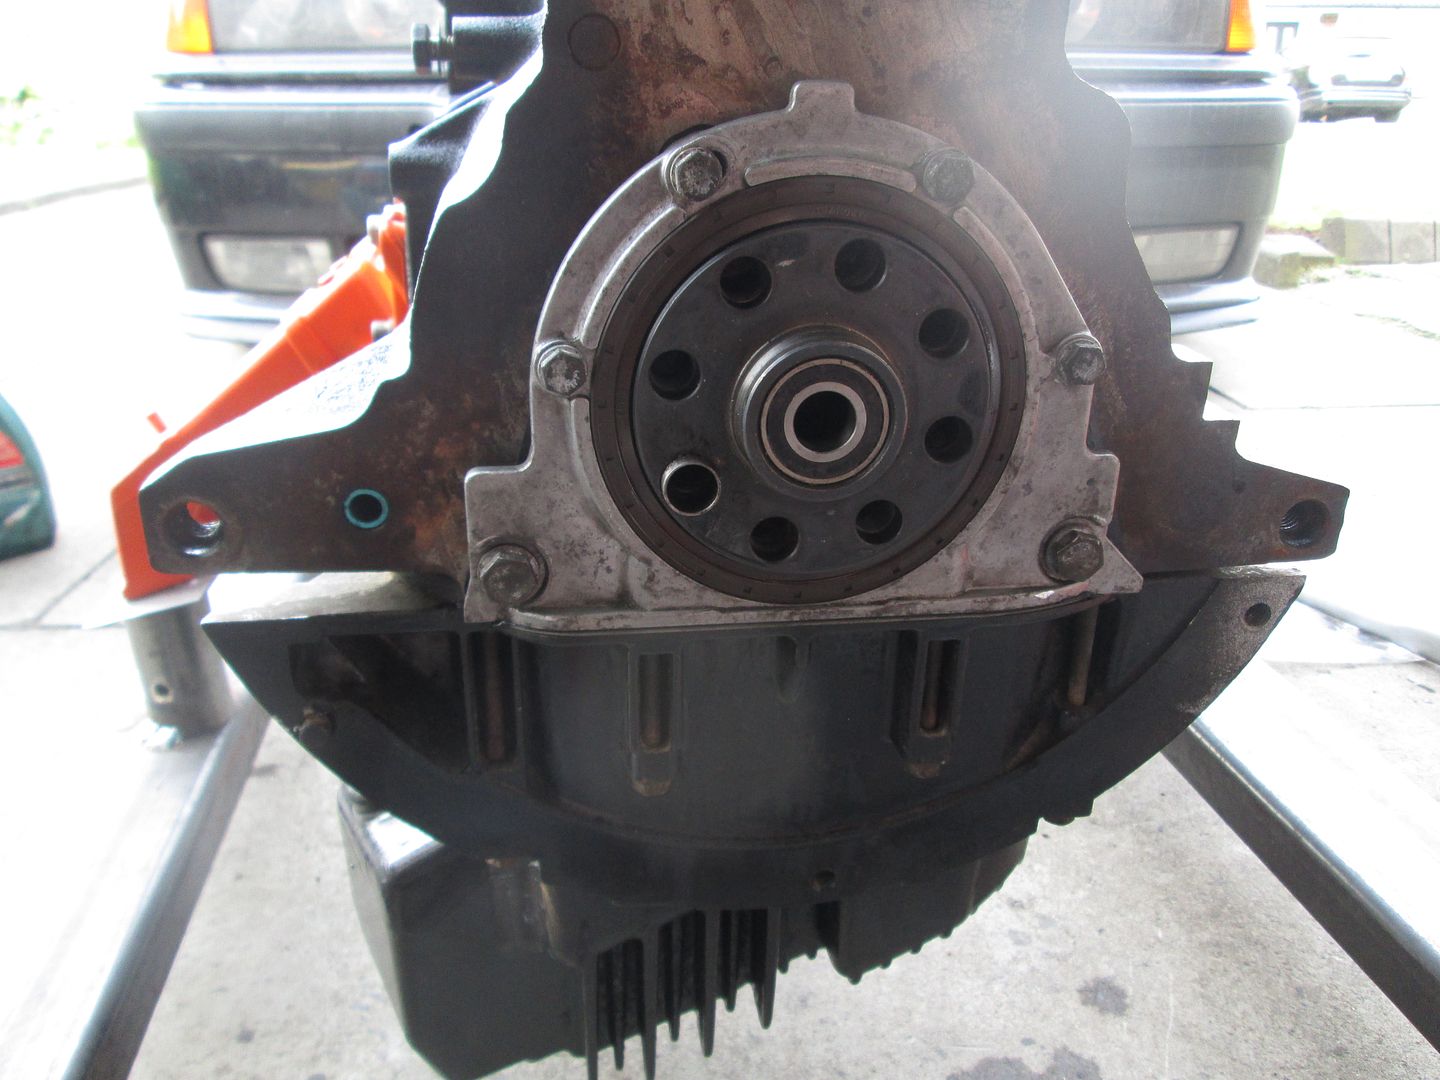
Other small jobs included fitting the chains, new chain guides, the timing case cover, and the flywheel end cap. All with new gaskets again.

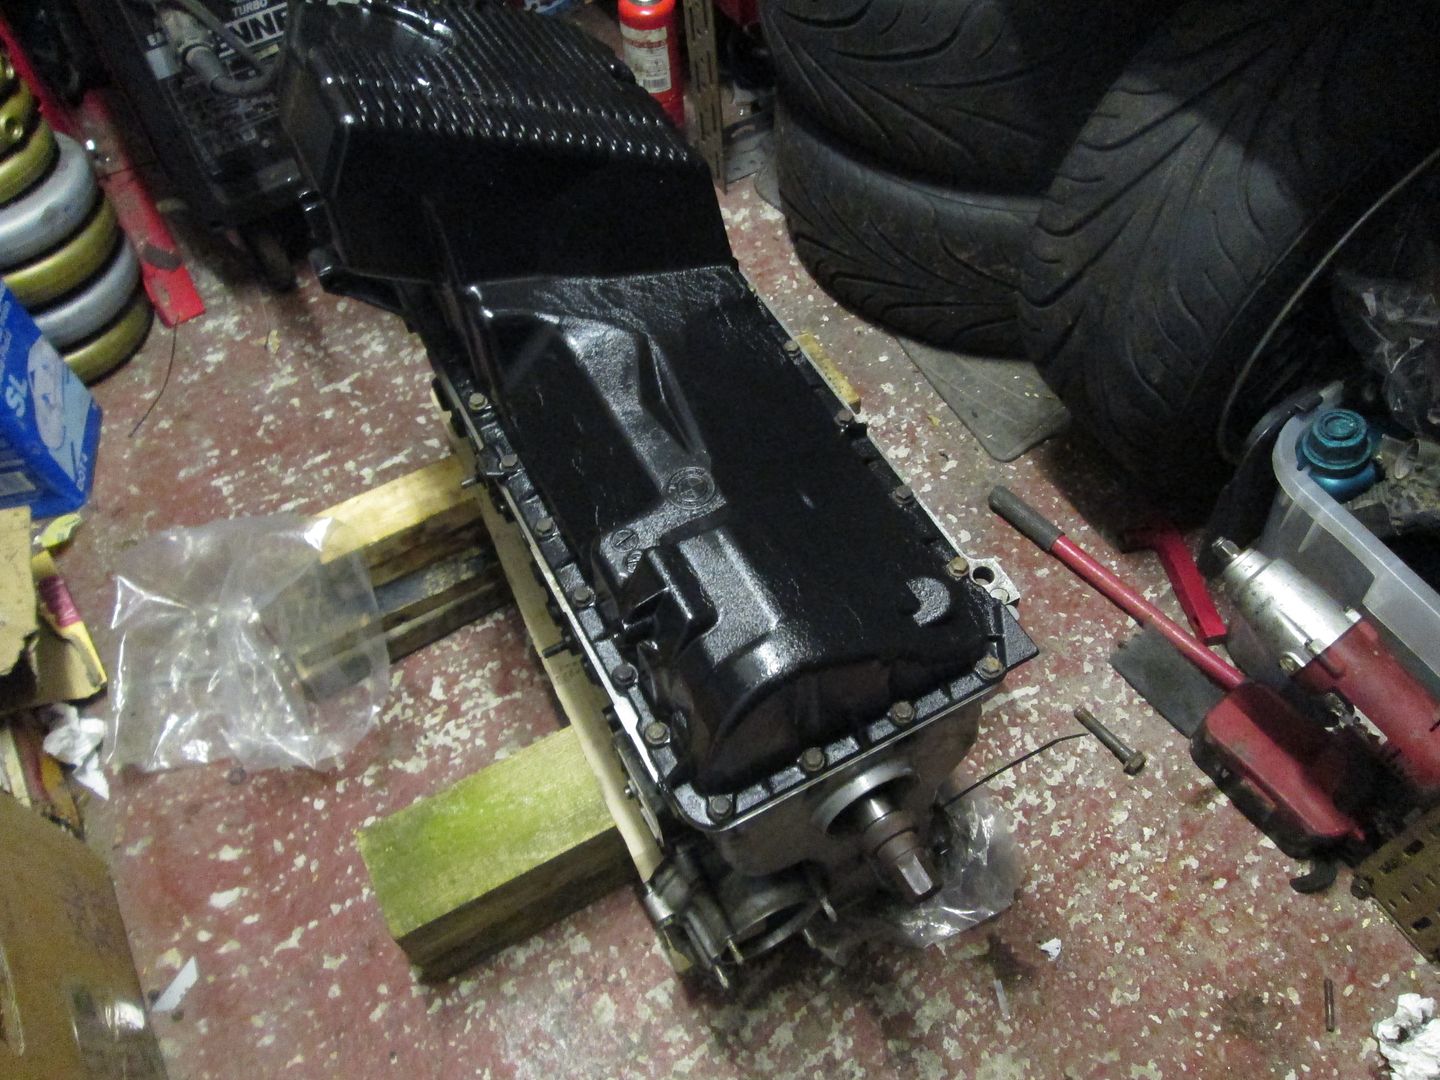
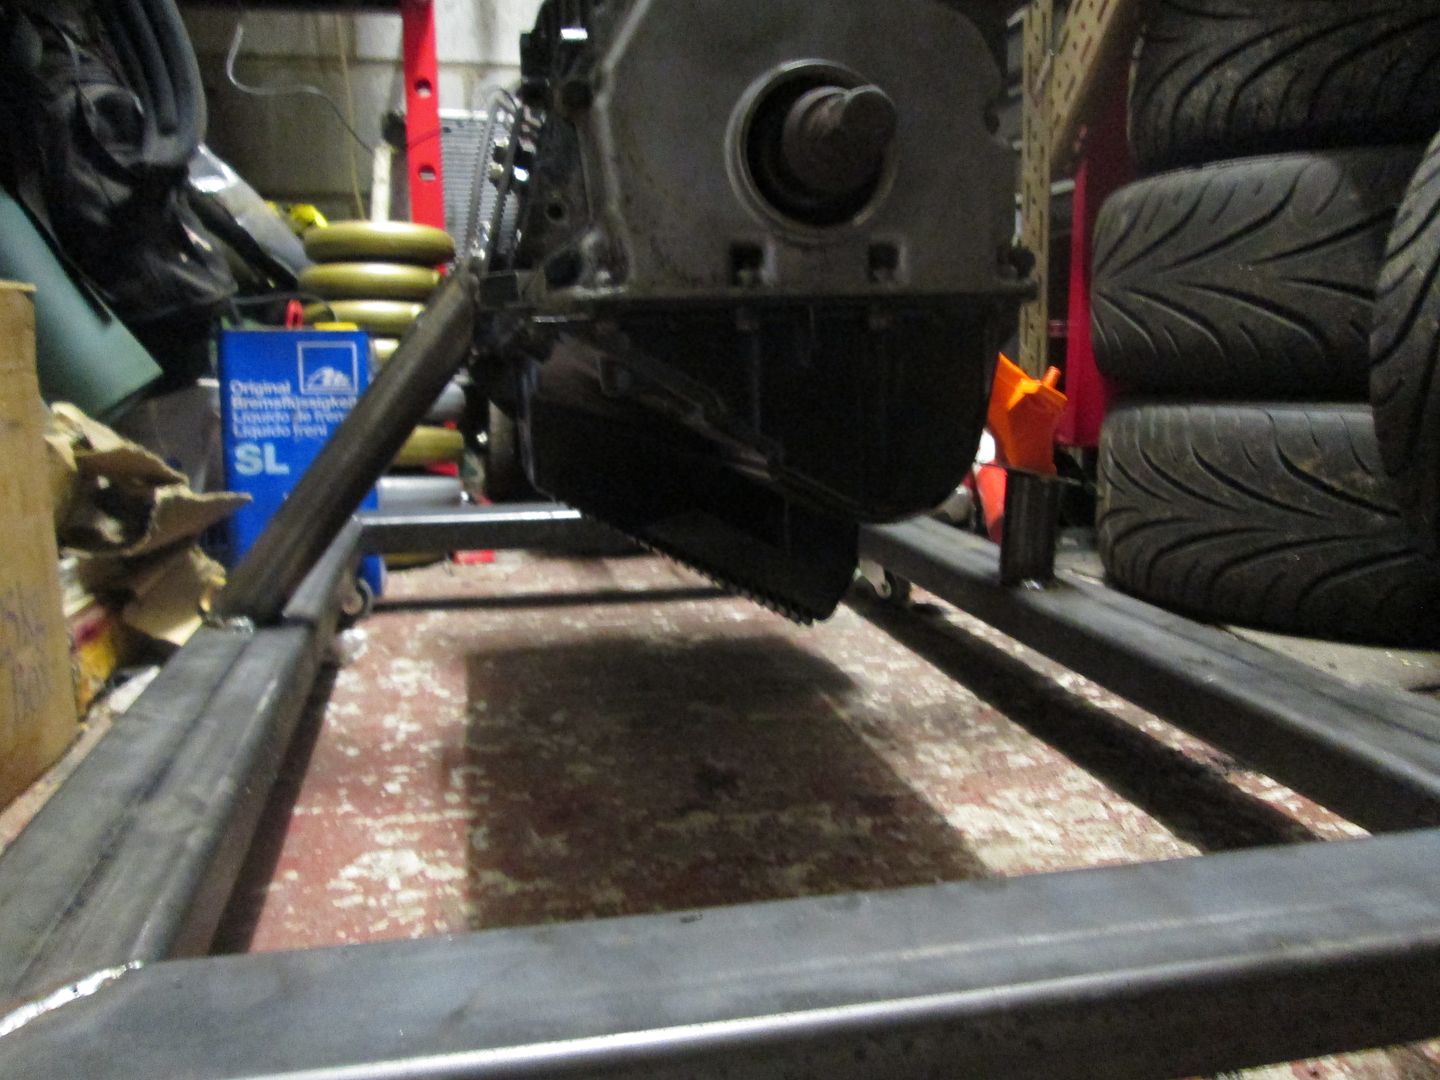
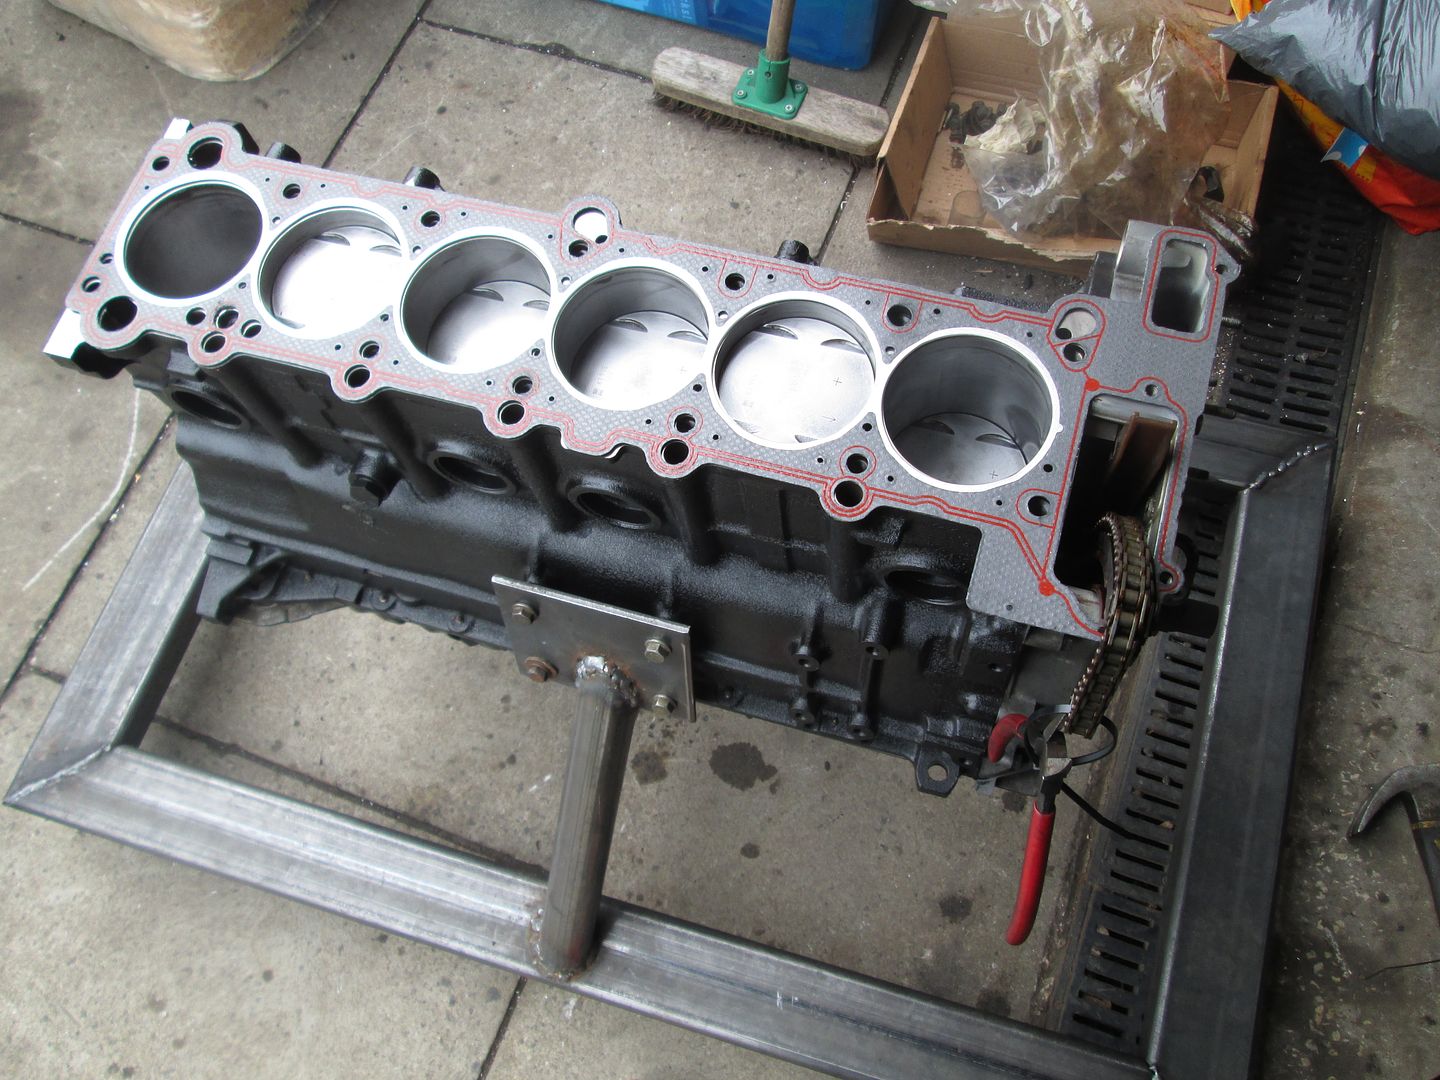
As some of you may know, the sump on these engines practically sits at a 45 degree angle, so to make things easier when building the rest of the engine I quickly knocked up a frame for it to sit on, along with some castors.
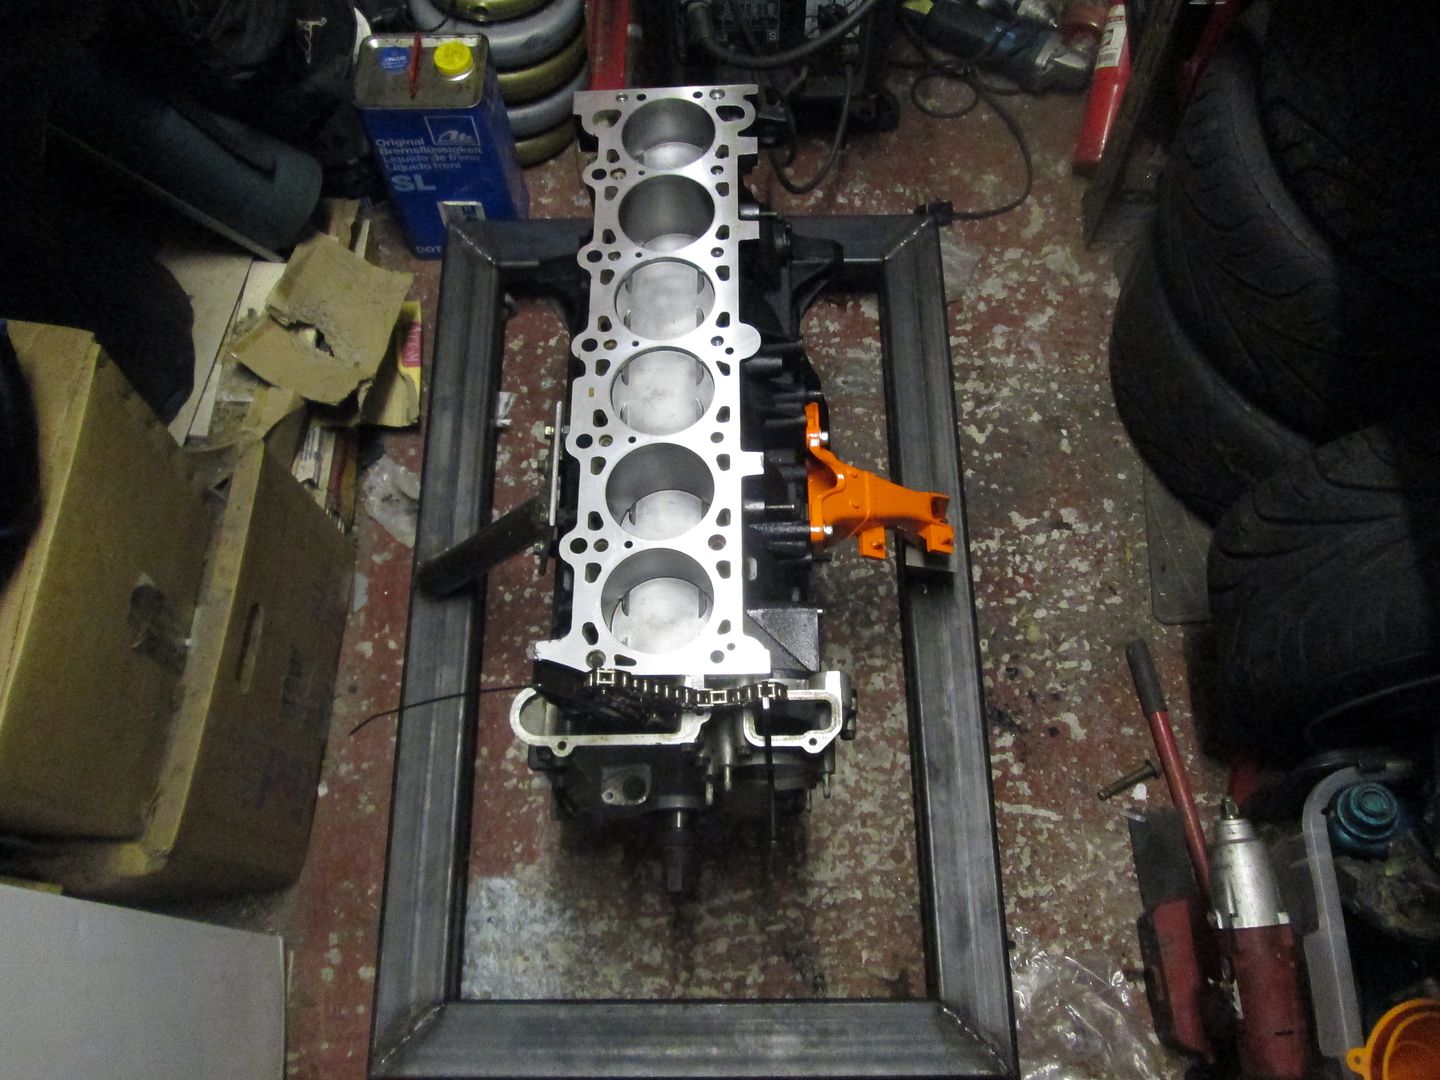
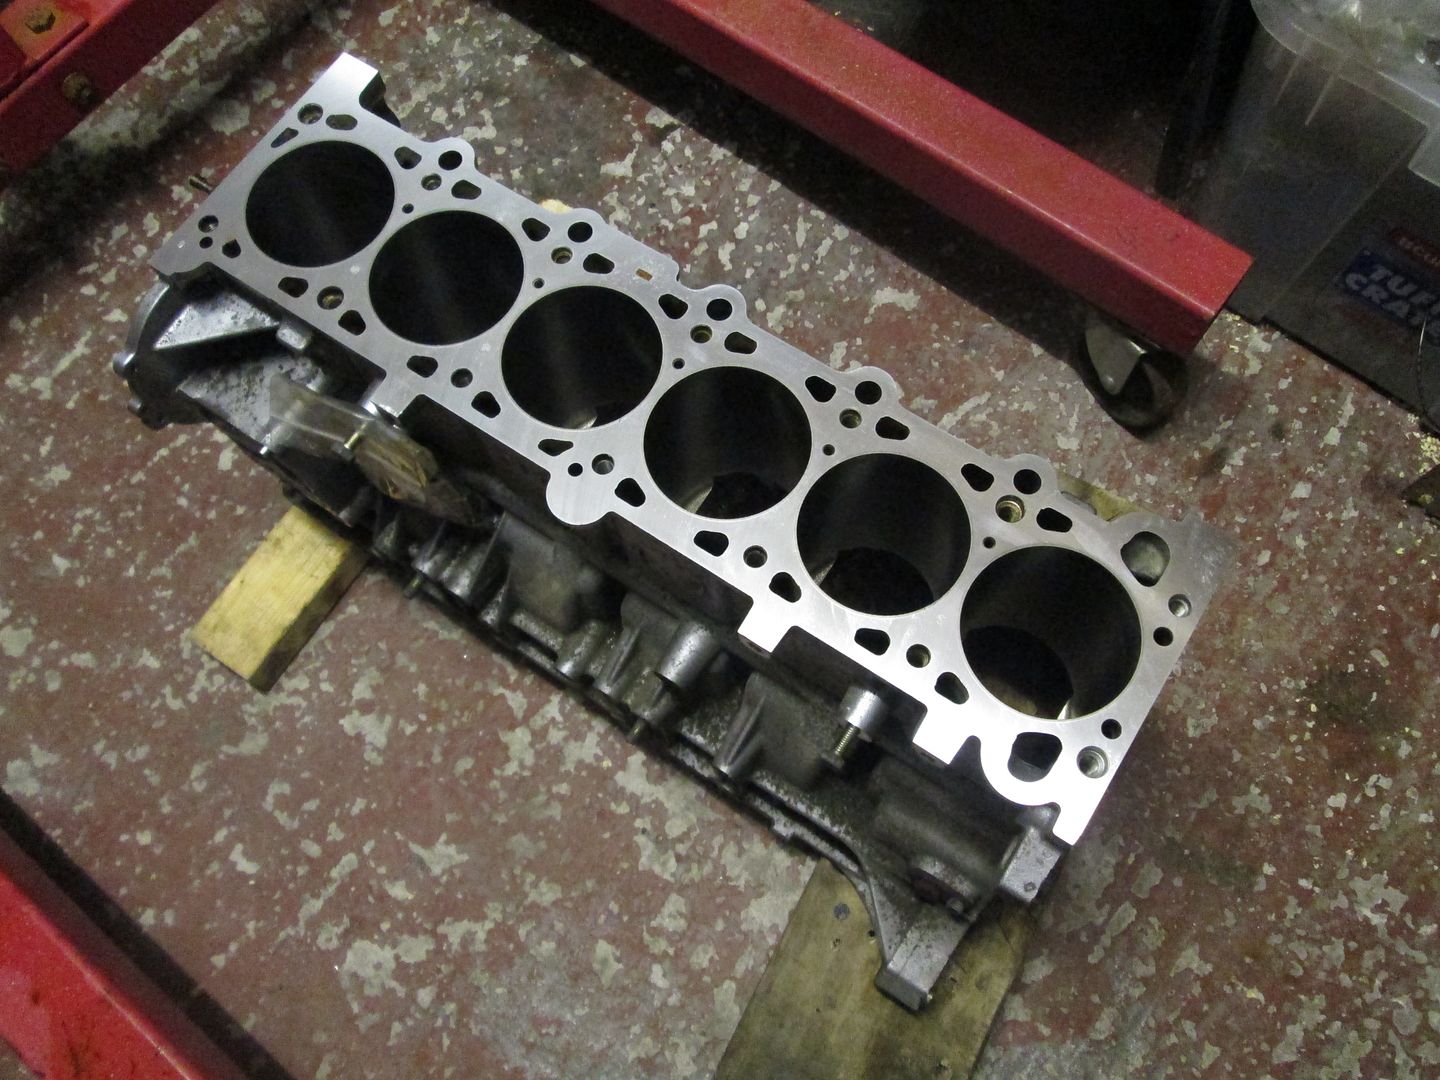
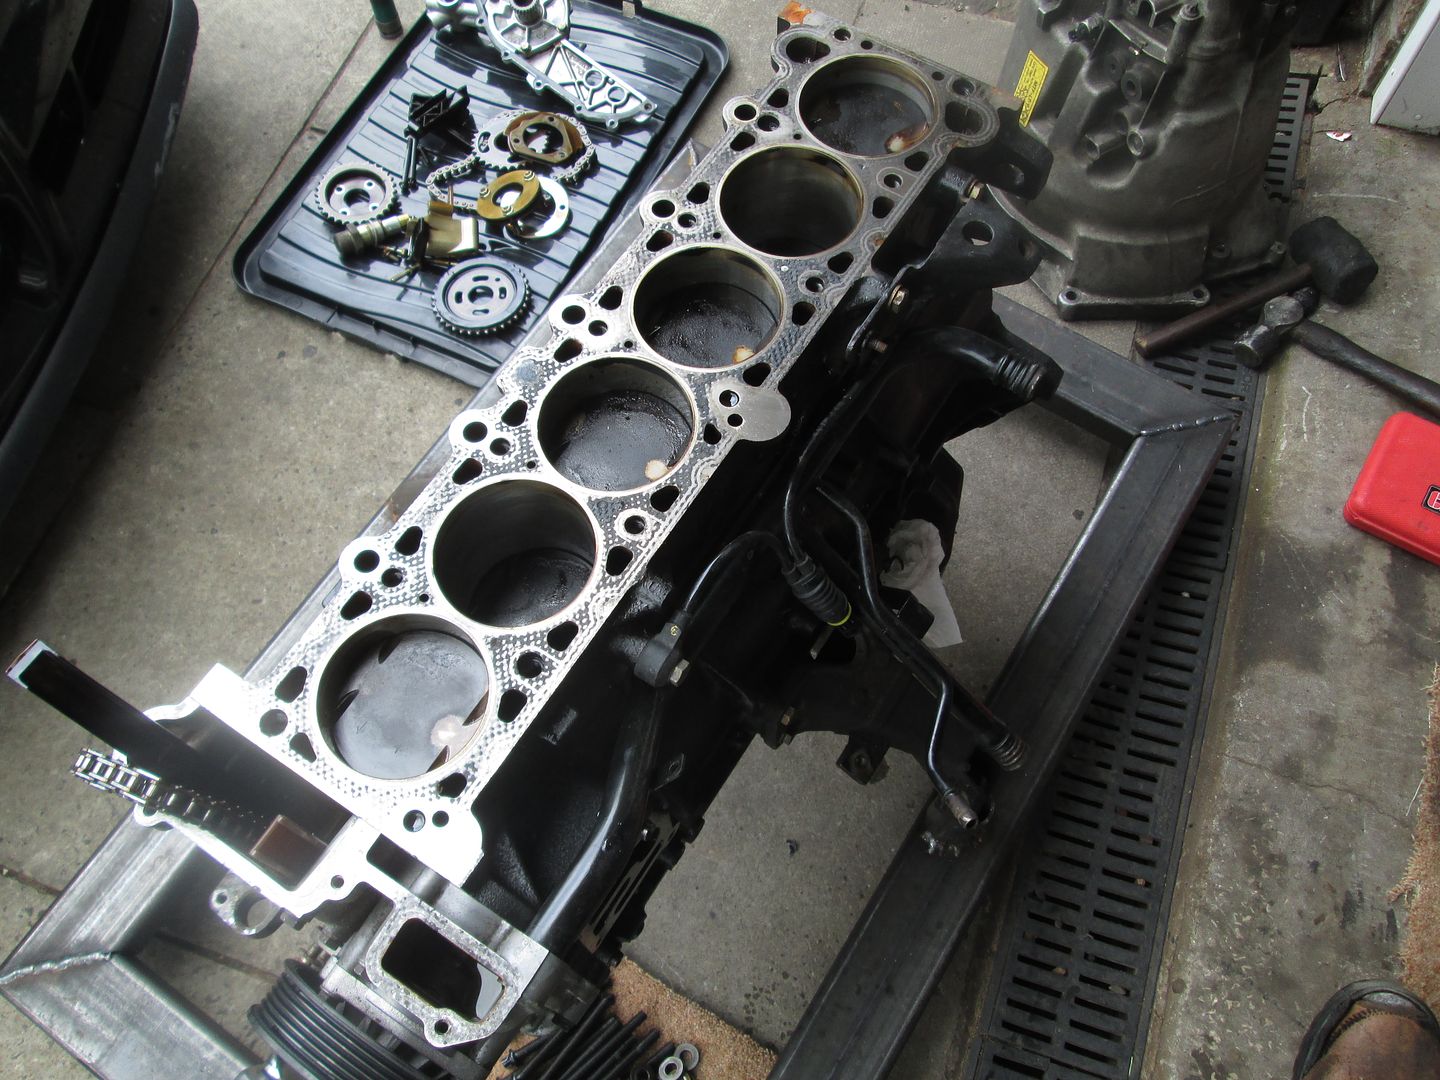
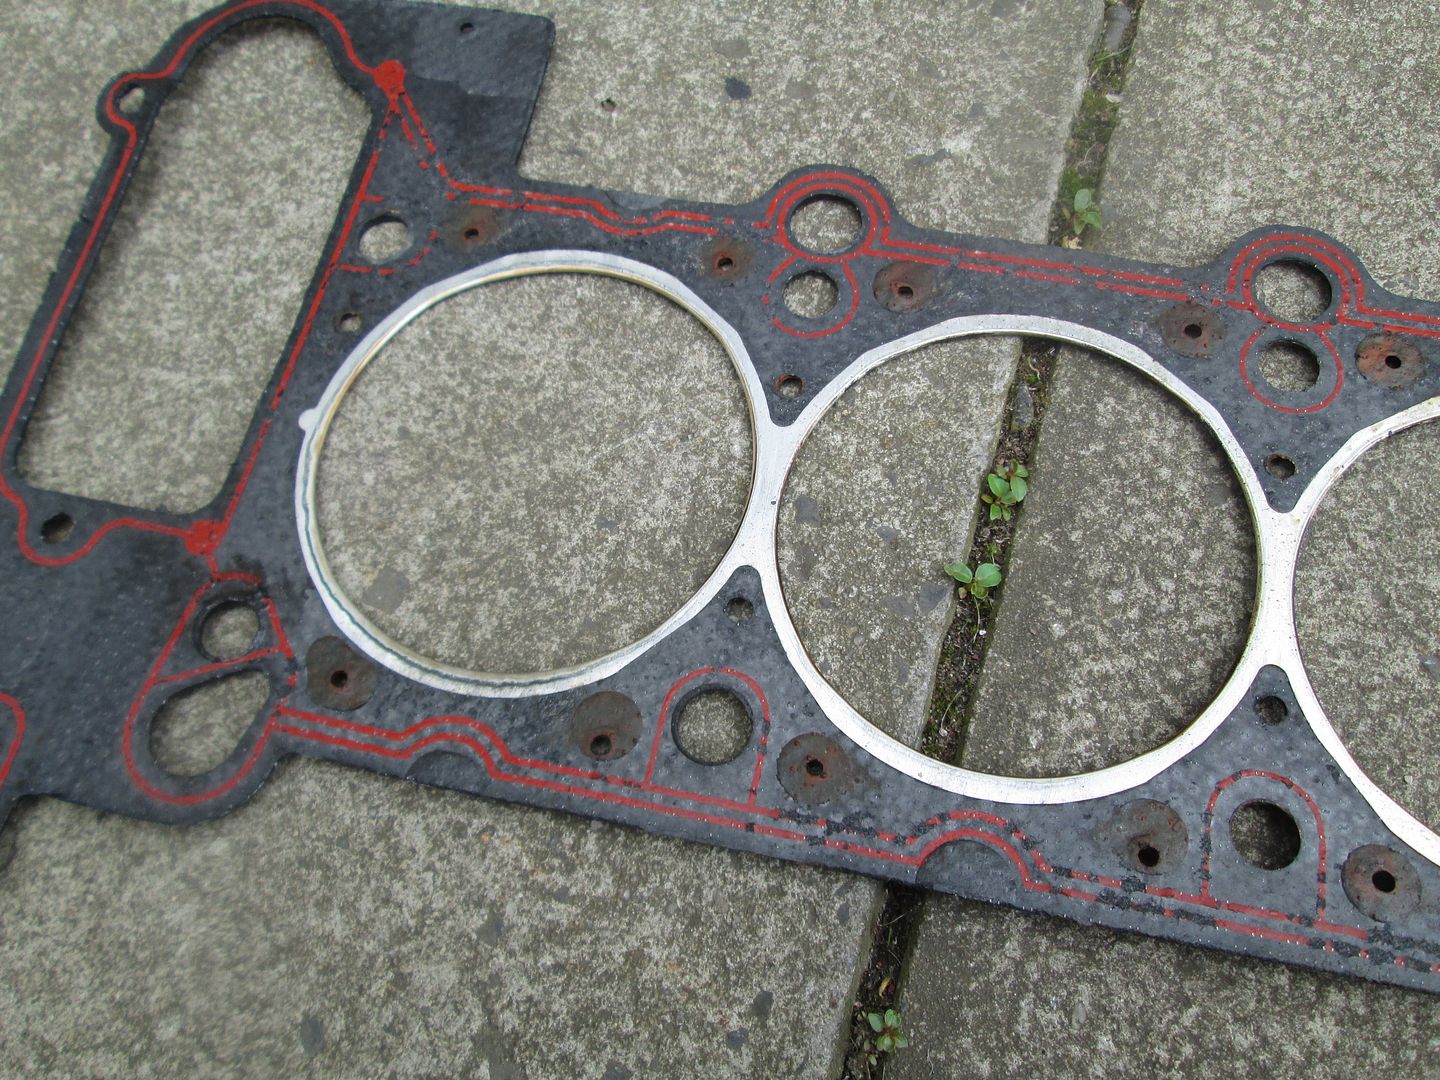
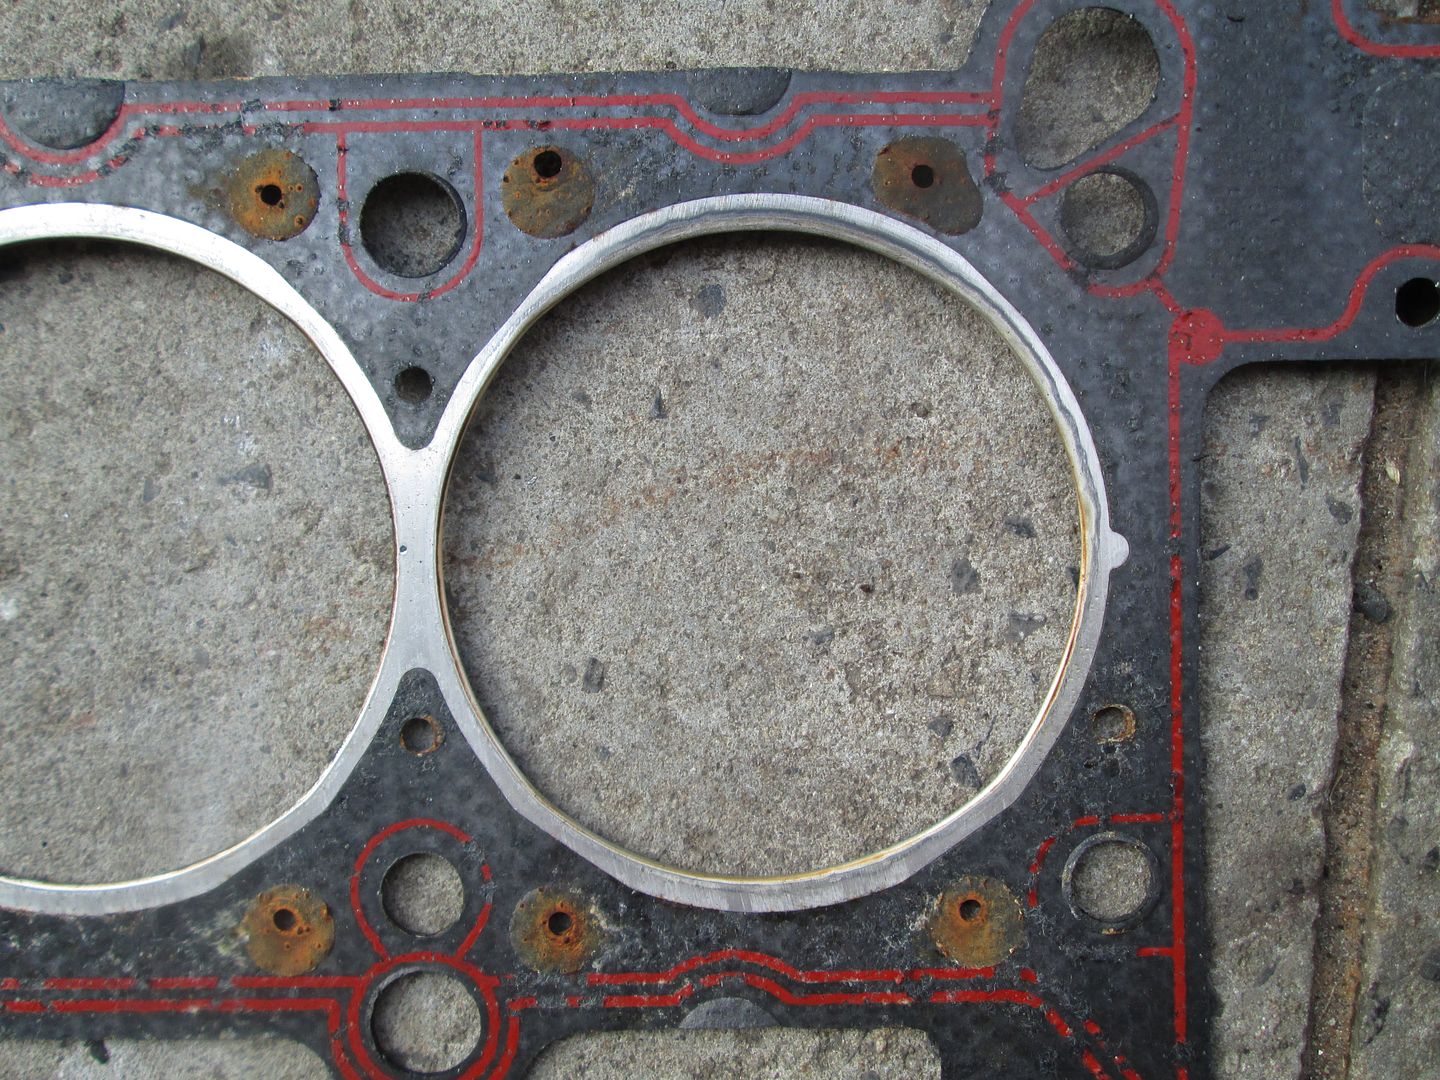
The obvious next step was to bolt the head onto the block. So a new headgasket went on, then the head on its dowels..

Lastly a set of new head bolts. The sequence for the engines with an Aluminium engine block is 40nm, then 90 degrees, then a further 90 degrees. All twelve bolts held 40nm in order - when moving back to bolt #1 to perform the first 90 degree application the threads pulled straight out of the block, lovely.
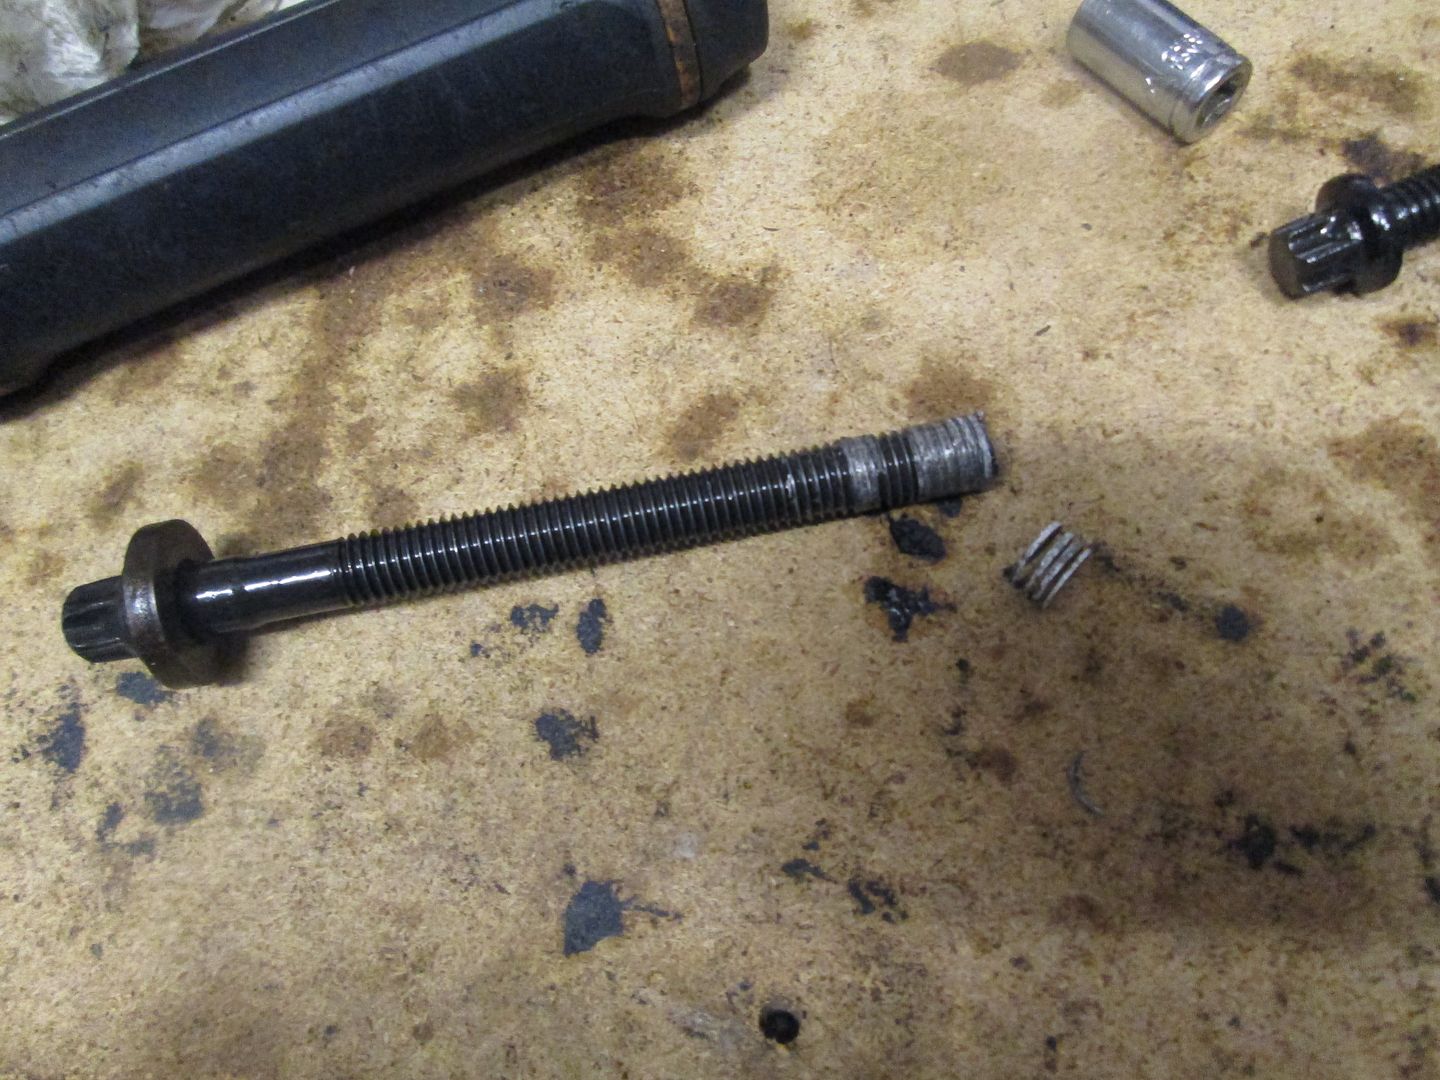
I had heard of this issue before, but more so on the newer M54s, and not the older M52s. After speaking to a number of people, specialists and reading the forums it was a 50/50 split between using some proper 'timeserts' to basically helicoil the block or start again with a cast iron block from the M50 series of engines. I had seen people have success with the thread repair, and others where it had lifted after 1000 miles or more - I suppose that is also down to quality of installation also. Considering this engine would live its life at fairly high RPMs on track, I did not want to risk the head lifting after X amount of miles, so set about sourcing a cast iron M50 engine block...
As the chassis work had nearly all been completed, I wanted to turn my attention to the tired, original 200k+ M52 Nikasil engine which was blowing oil past the rings and burning it just as quick. Performance wise it was OK, with the M50 inlet and different flash on the ECU it made 216hp, 205lb/ft, although it just felt really flat to drive. Originally I decided to just rebuild a 328 motor, as all I wanted was reliability to go with now good chassis, which drove well.
I picked up an Alusil M52B28 on around 90k miles, and stripped everything down ready for the head and block to go to the machine shop.
Around a week later I had the skimmed head back, along with the decked and honed block.
Built up the head with new stem seals, and 24 relapped valves..
Quick leak down test and everything was OK. I wanted to replace the 24 exhaust studs at this stage, as some of the old ones were missing and others very rusty. The original M52 items (11121744057) were expensive at £1.91 each, whereas the E60 N52 items (11127593376) where much cheaper at £0.50 each. These also have an E-Torx on the end of the stud for ease of fitting.
Next the block was put on the stand and given a quick coat of paint.
Oil jets refitted and torqued.
The bearing faces were then given a quick wipe down, and new bearings fitted to the block and caps.
Dropped the crank in to place and torqued the caps down with some Plastigauge to check for stock clearances - which was all OK.
The crank removed again, and assembly grease added, then caps torqued down with new bolts.
Pulled the pistons apart, which were checked and cleaned. Re-assembled and ready for new rings..
Some new piston rings..
Which were then gapped for each cylinder..
Then in turn fitted to the piston, and dropped into the block..
New big end bearings were fitted to each rod and cap, then torqued up to the crank with plenty of assembly grease and new connecting rod bolts..
The windage/baffle plate and oil pump were then fitted, along with the sump and a new gasket..
Other small jobs included fitting the chains, new chain guides, the timing case cover, and the flywheel end cap. All with new gaskets again.
As some of you may know, the sump on these engines practically sits at a 45 degree angle, so to make things easier when building the rest of the engine I quickly knocked up a frame for it to sit on, along with some castors.
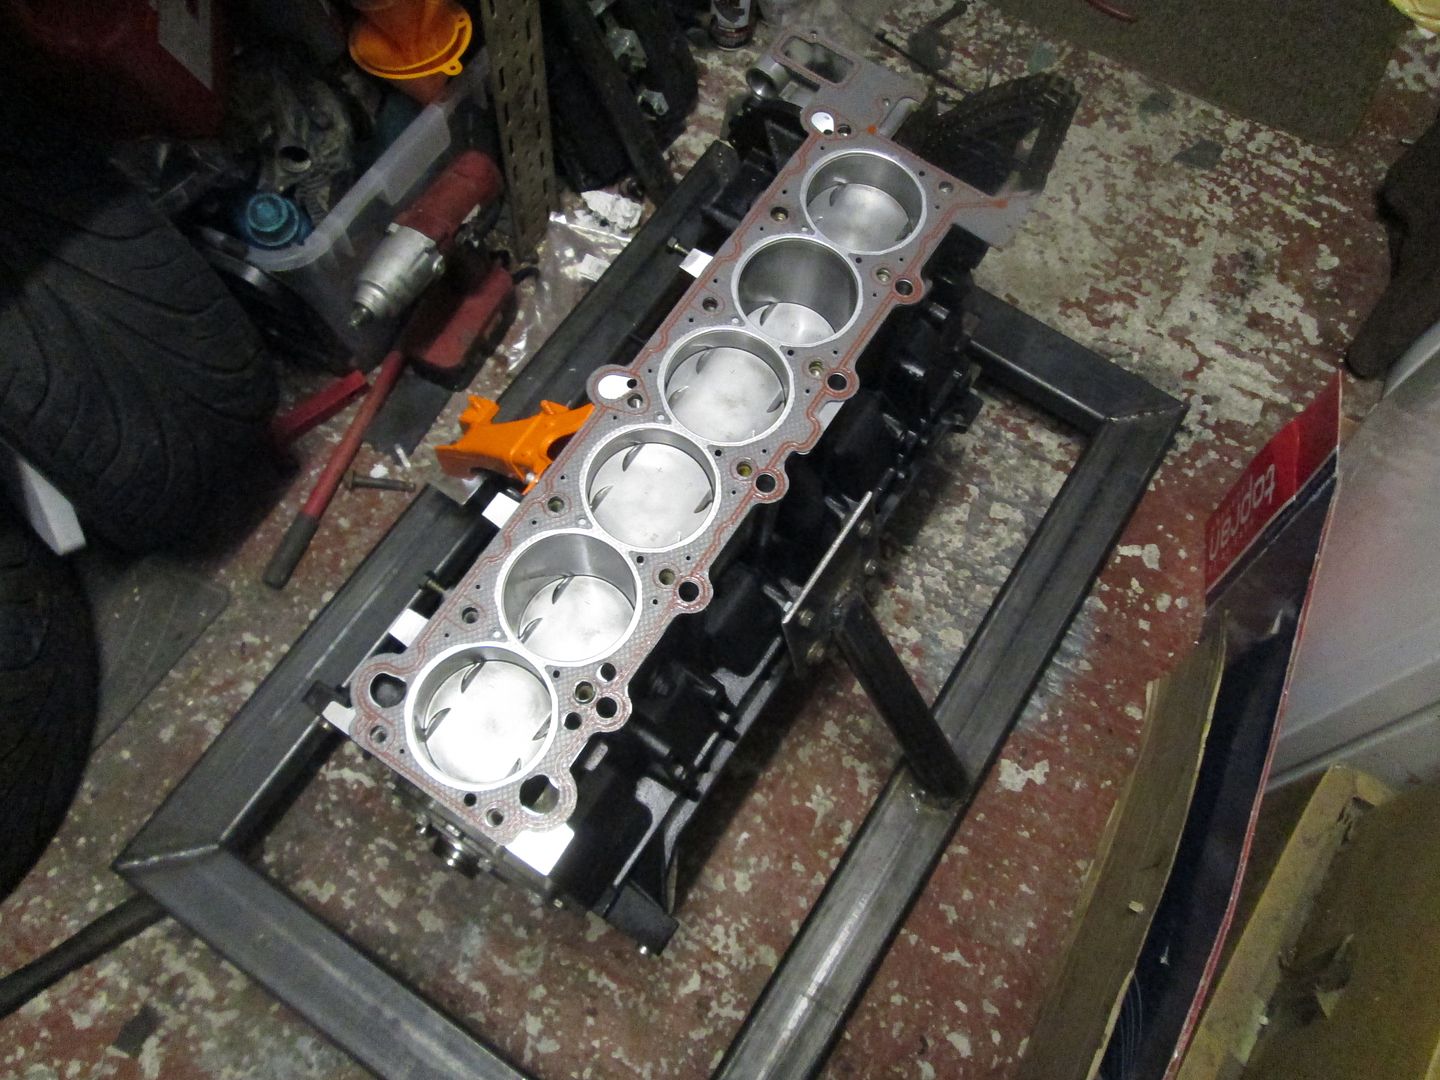
The obvious next step was to bolt the head onto the block. So a new headgasket went on, then the head on its dowels..
Lastly a set of new head bolts. The sequence for the engines with an Aluminium engine block is 40nm, then 90 degrees, then a further 90 degrees. All twelve bolts held 40nm in order - when moving back to bolt #1 to perform the first 90 degree application the threads pulled straight out of the block, lovely.
I had heard of this issue before, but more so on the newer M54s, and not the older M52s. After speaking to a number of people, specialists and reading the forums it was a 50/50 split between using some proper 'timeserts' to basically helicoil the block or start again with a cast iron block from the M50 series of engines. I had seen people have success with the thread repair, and others where it had lifted after 1000 miles or more - I suppose that is also down to quality of installation also. Considering this engine would live its life at fairly high RPMs on track, I did not want to risk the head lifting after X amount of miles, so set about sourcing a cast iron M50 engine block...
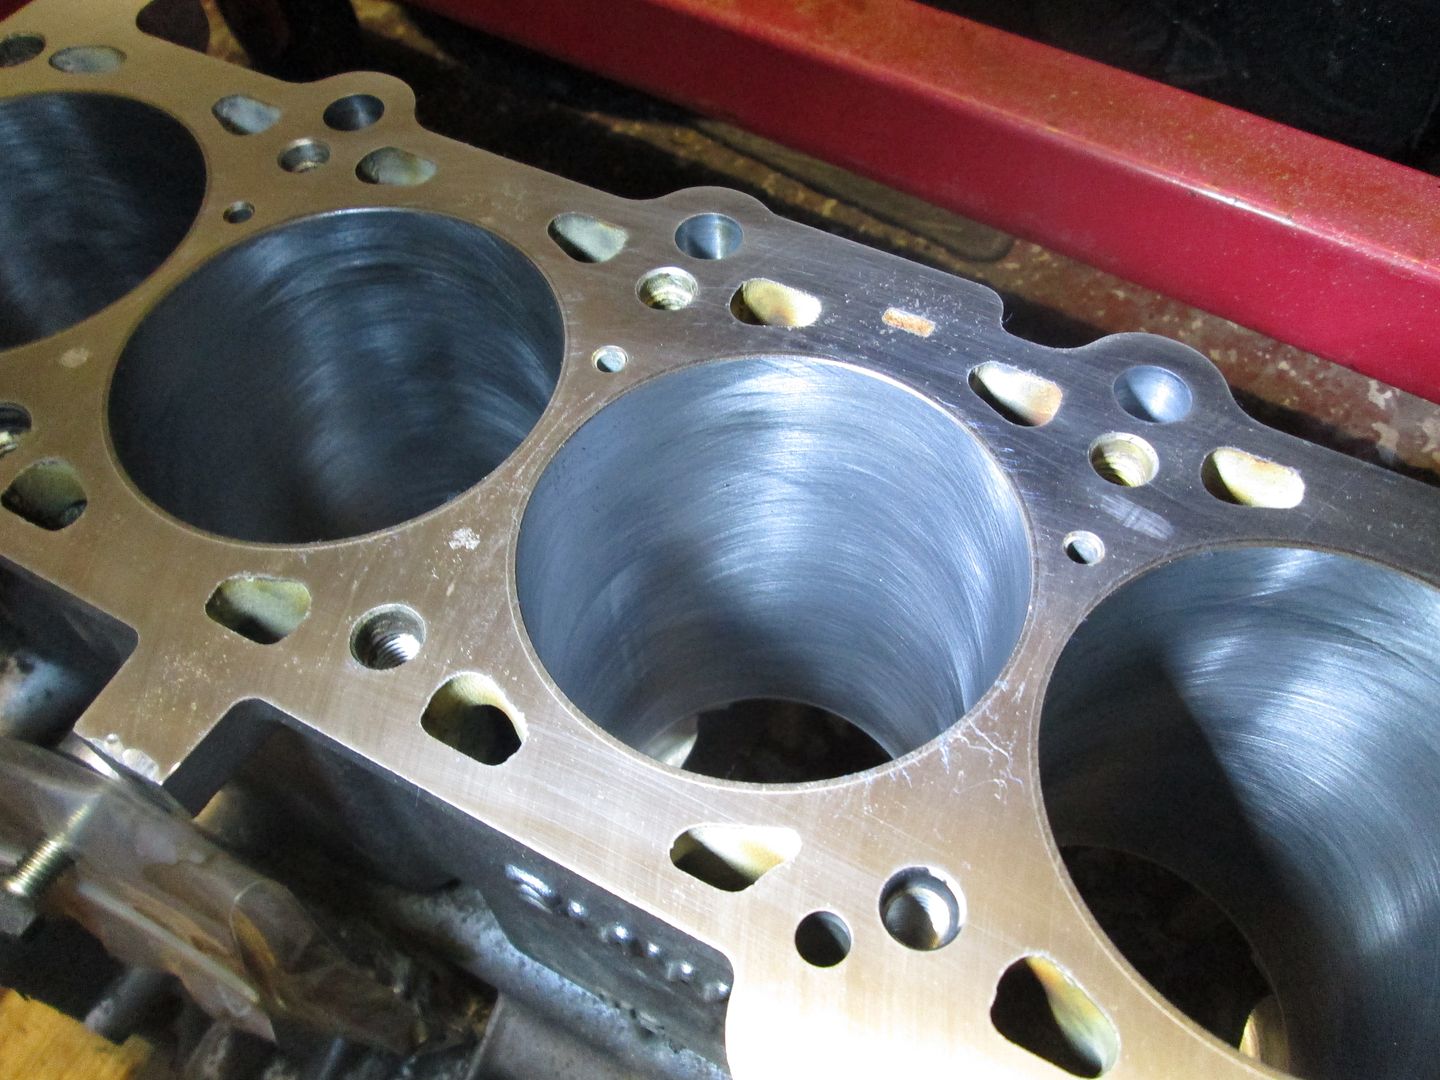
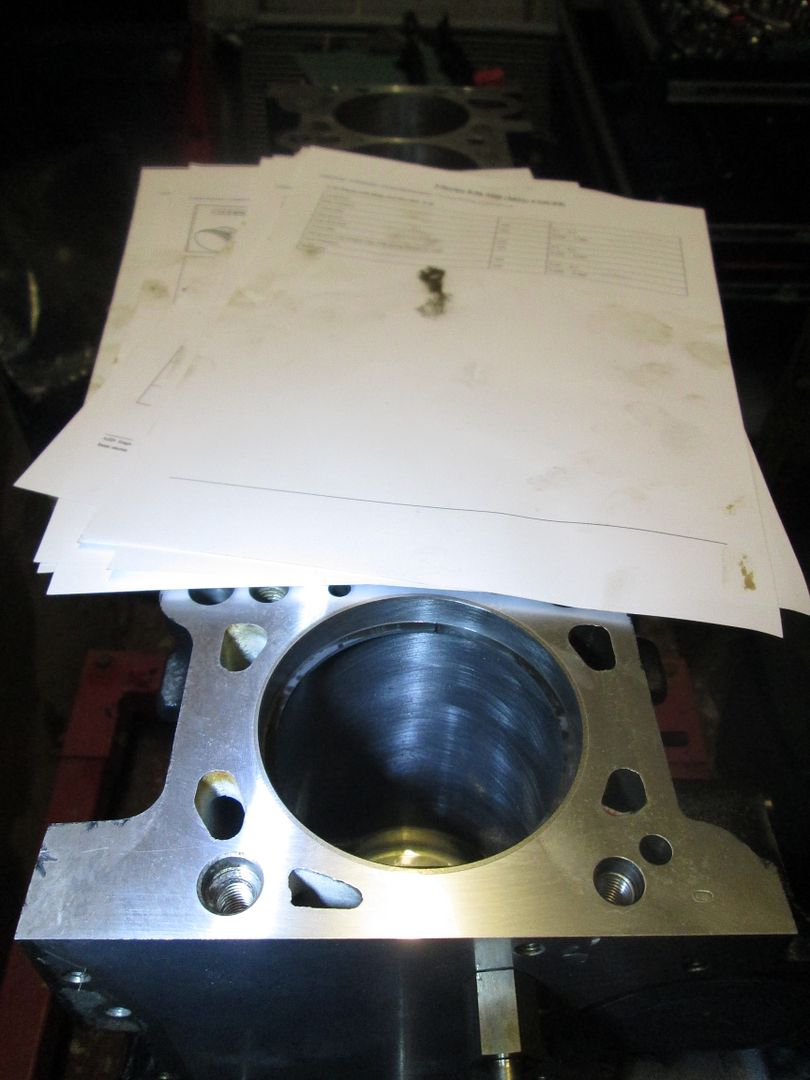
Please enter your BBcode here.At the time M50 blocks were quite hard to come by, especially stripped bare. The priority was good clean bores, without any damage or marking. I purchased one from a 'trusted' seller, it was a complete bottom end, very cheap and he assured me the block was fine. Once stripped down, it went on the honing machine which revealed extensive bore wear..
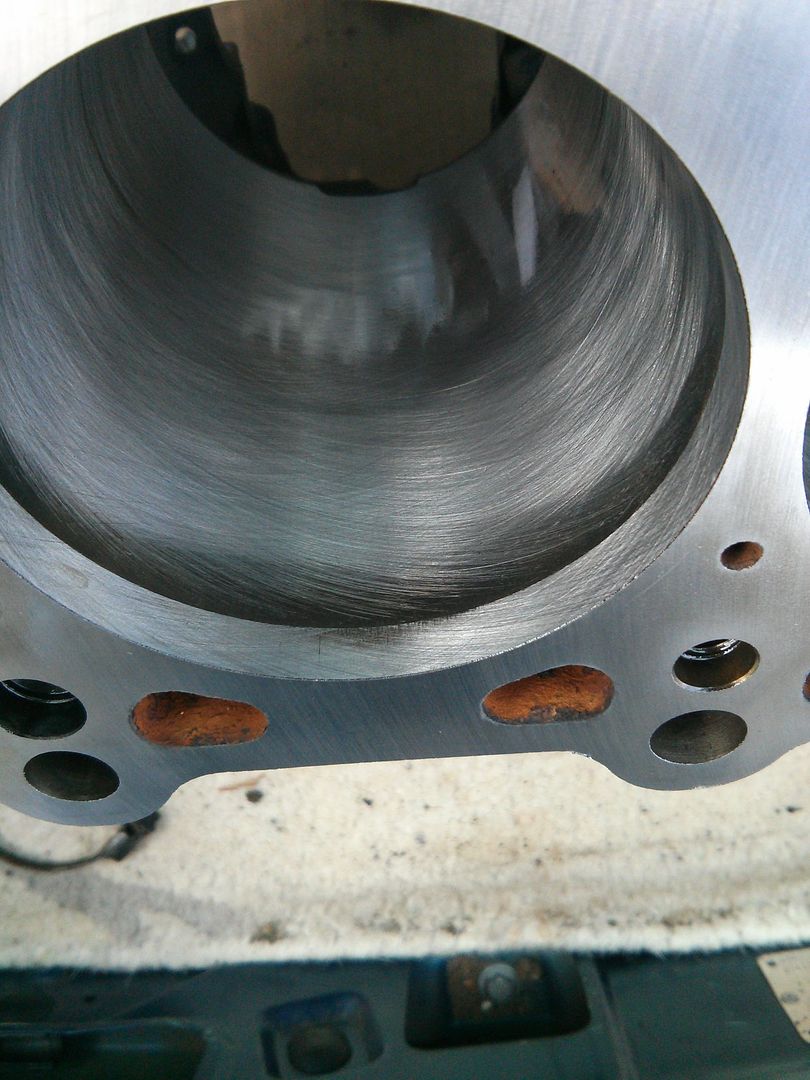
So in the end it was a good 50kg lump of scrap iron. Luckily I managed to recoup the loss of purchasing that by selling the rotating bottom end assembly. After a couple more weeks, I managed to source a pair of good condition M50 blocks, both already stripped down and very cheap.
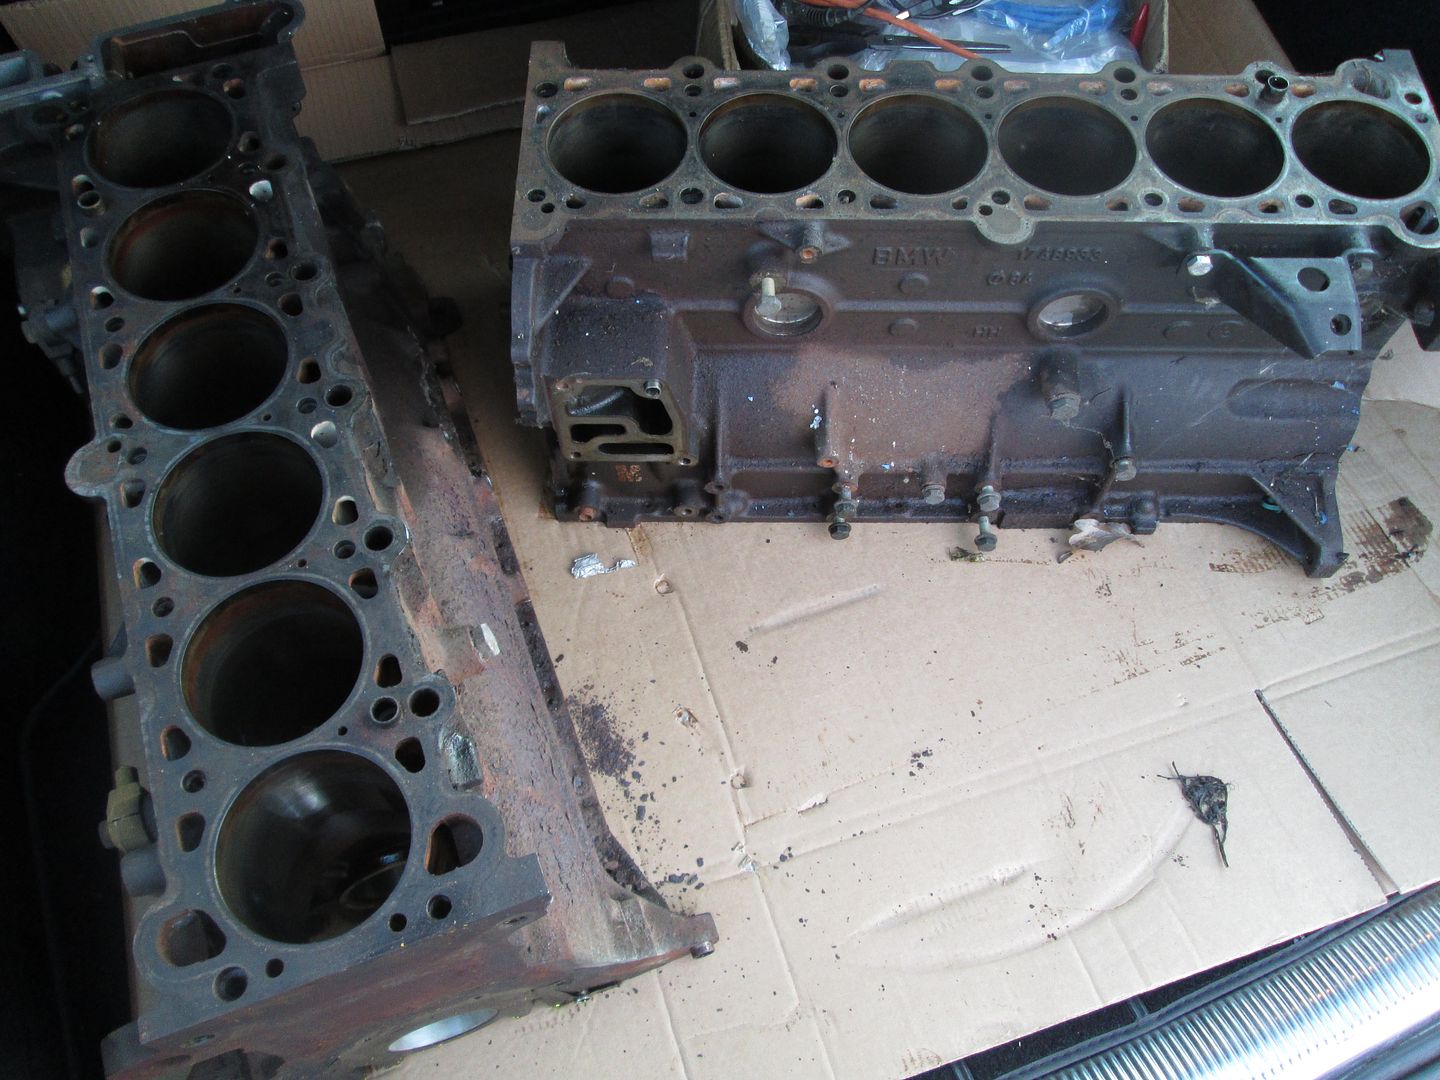
One was picked, which then went to be decked and honed again. The other was kept as a spare.
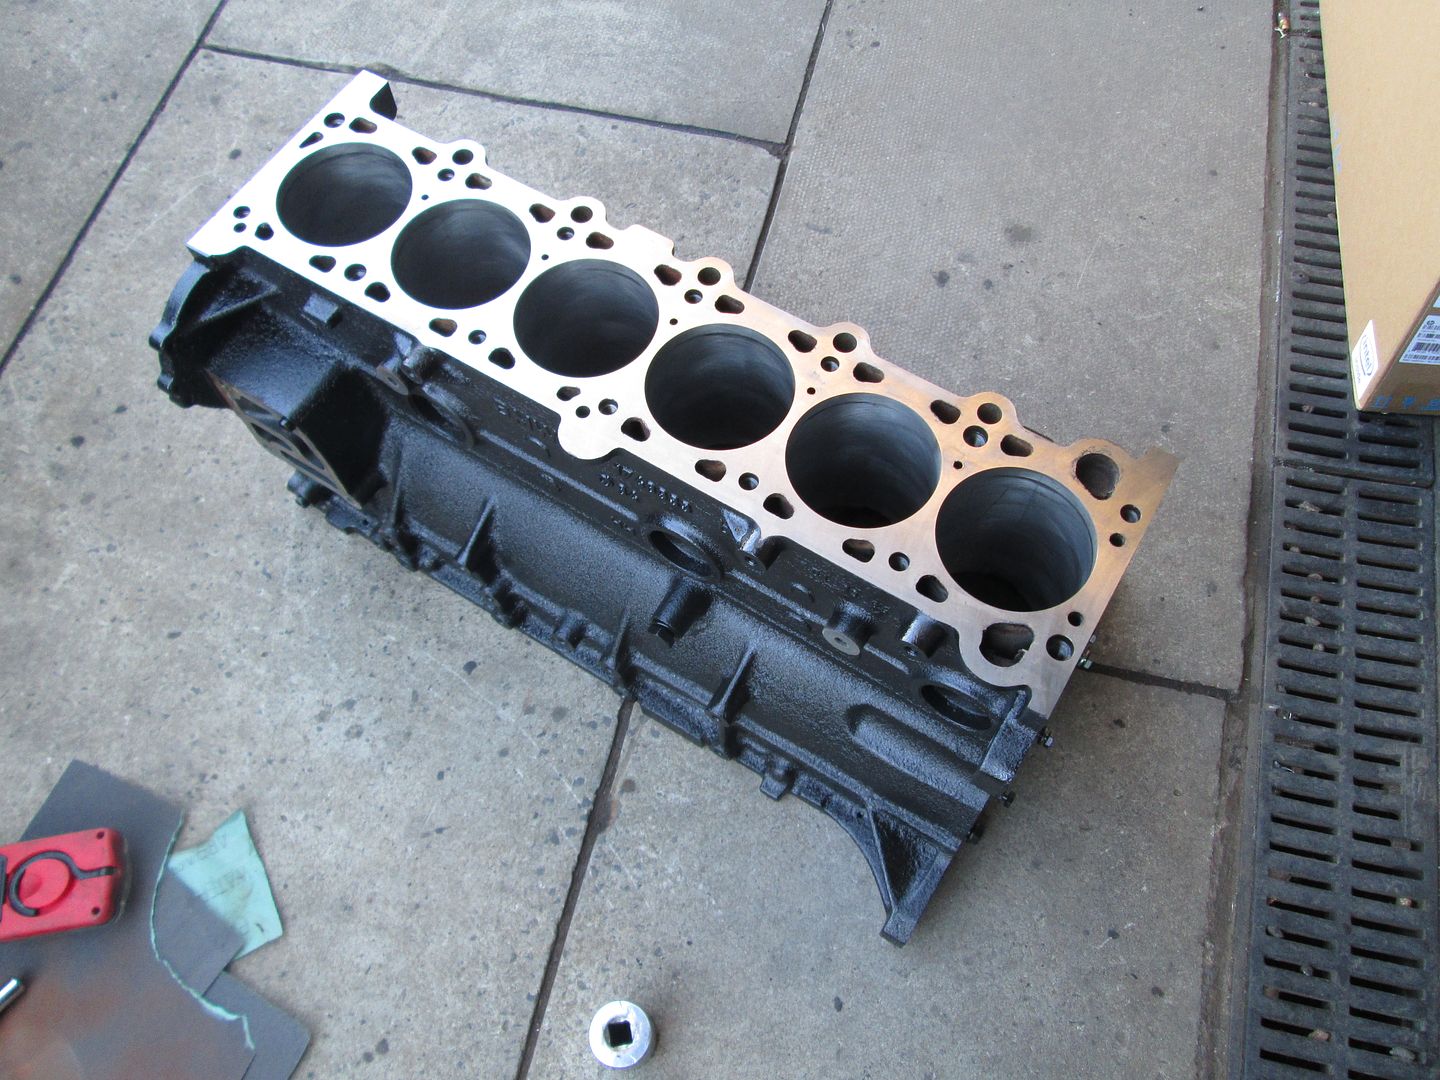
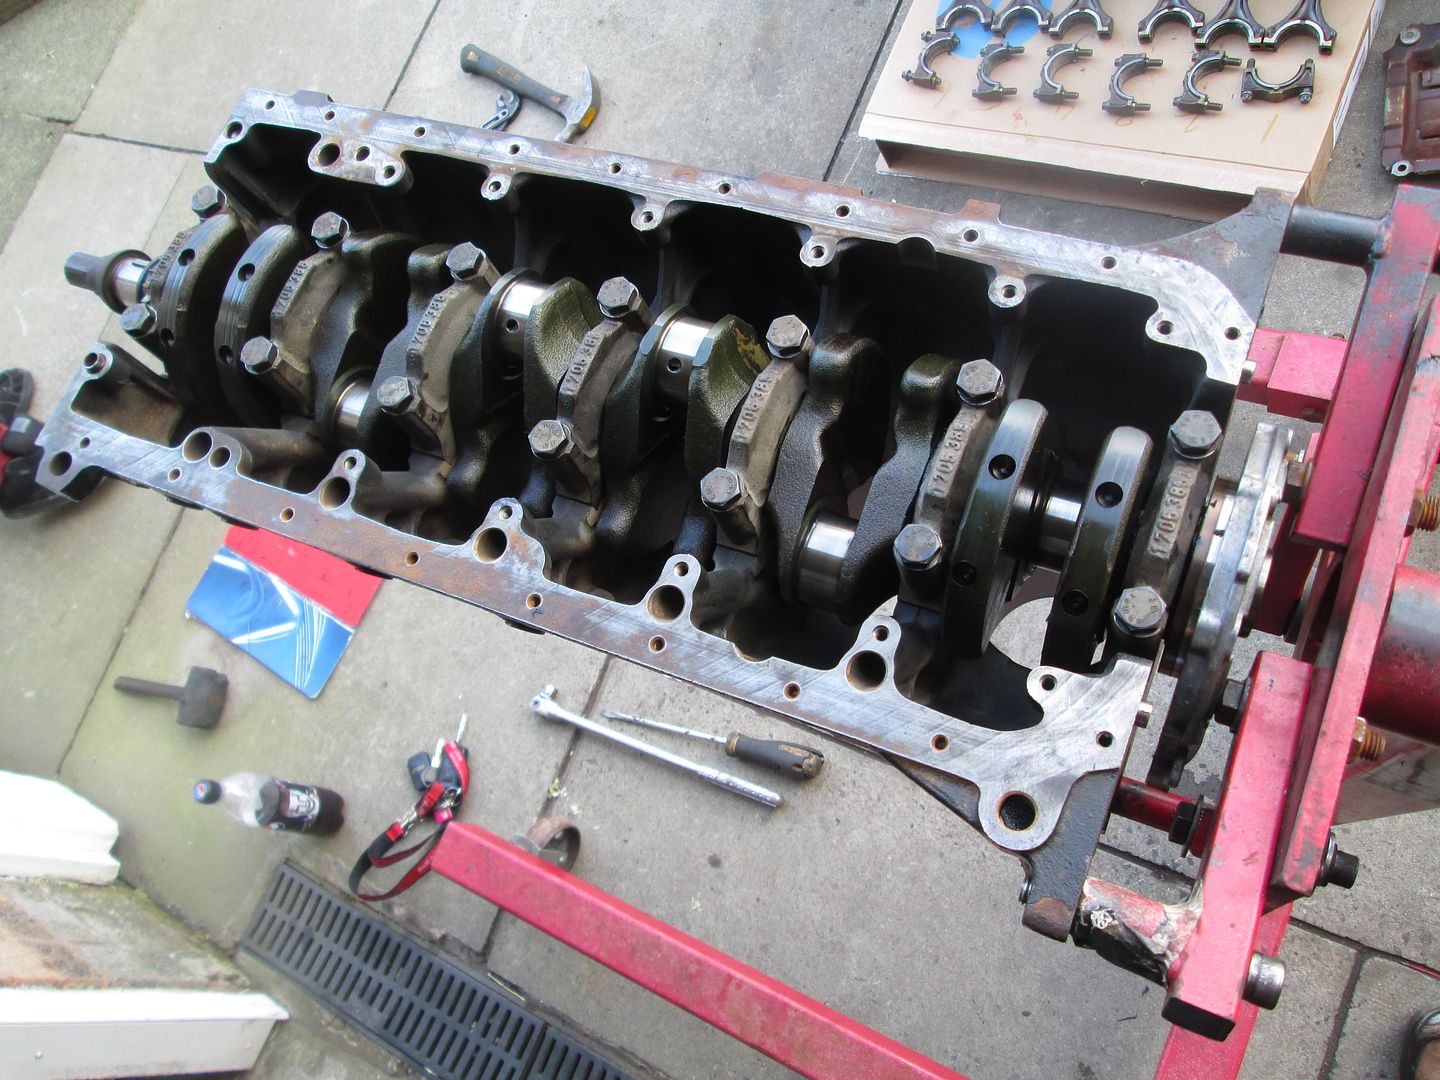
The M52 aluminium block was stripped of its parts, then the same process repeated for the M50 iron block. Surfaces cleaned, Plastigauged, then assembly grease..
Ring gaps checked again, each one fitted and connected with another new set of rod bolts..
There are a few slight differences with the M50 iron block (aside from the weight increase). The piston oil jets are different, they sit under the bearing journal instead of being separate..
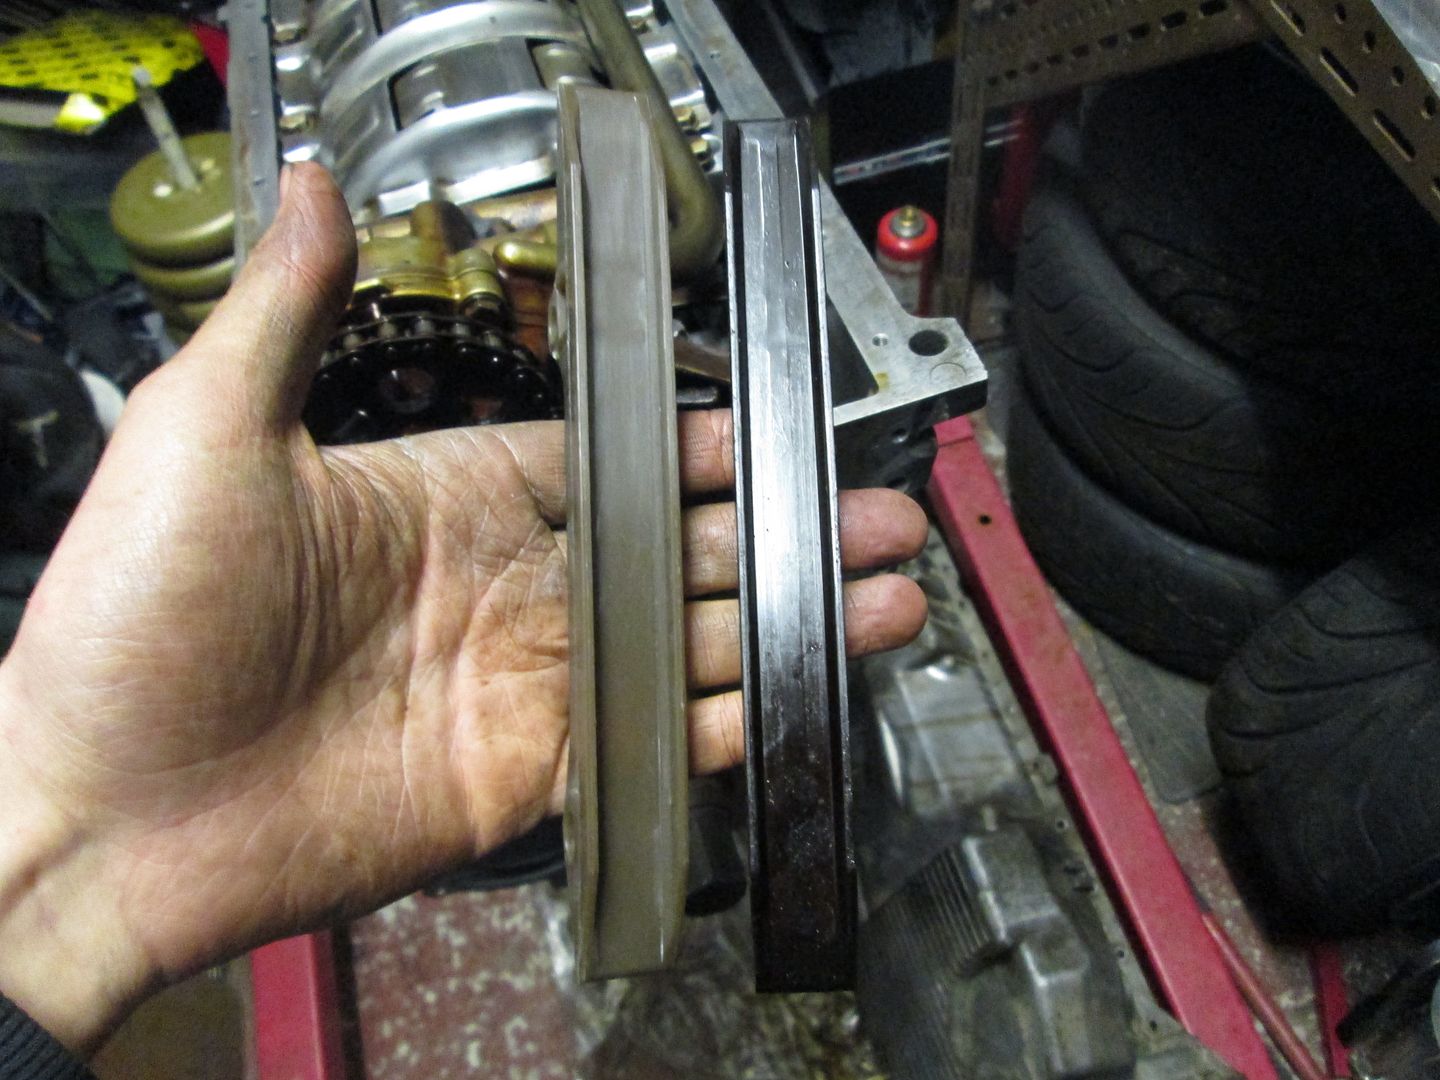
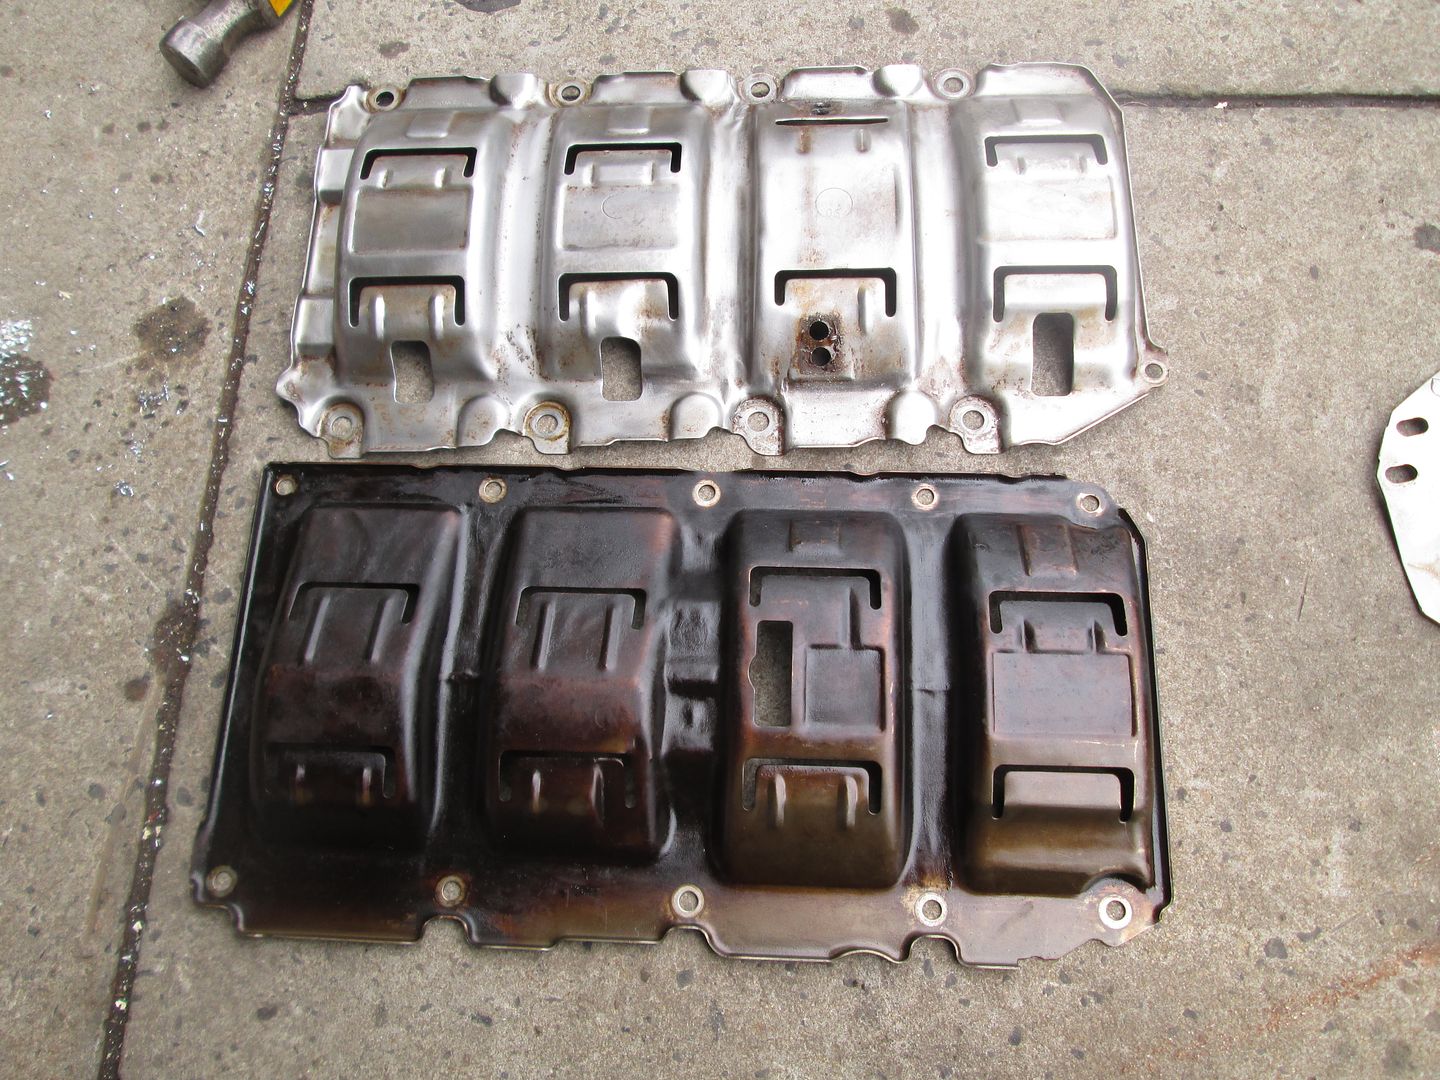
The windage/baffle plate is different, as the iron block does not have the support webbing that the aluminium one does. This means the oil pump pickup mounting is in a different place. A few spot welds drilled out on the M52 item and then welded onto the M50 item in the correct place wasn't too much work. You also have to knock a bit of shape into the far two channels of the plate, otherwise the rod caps will touch the plate. This is due to the M52 crank having a longer stroke than the M50. Easily done once assembled though.
Lastly one of the oil pump bolts is in a slightly different location, by all of 1mm. This is sorted by opening the hole up on the oil pump, plenty of material available to do so. You could also use an M50 pump to get around the above two issues, but I didn't have one and I knew the M52 item had been cleaned/rebuilt. The sump, chain guides, chains and timing covers were then also fitted..
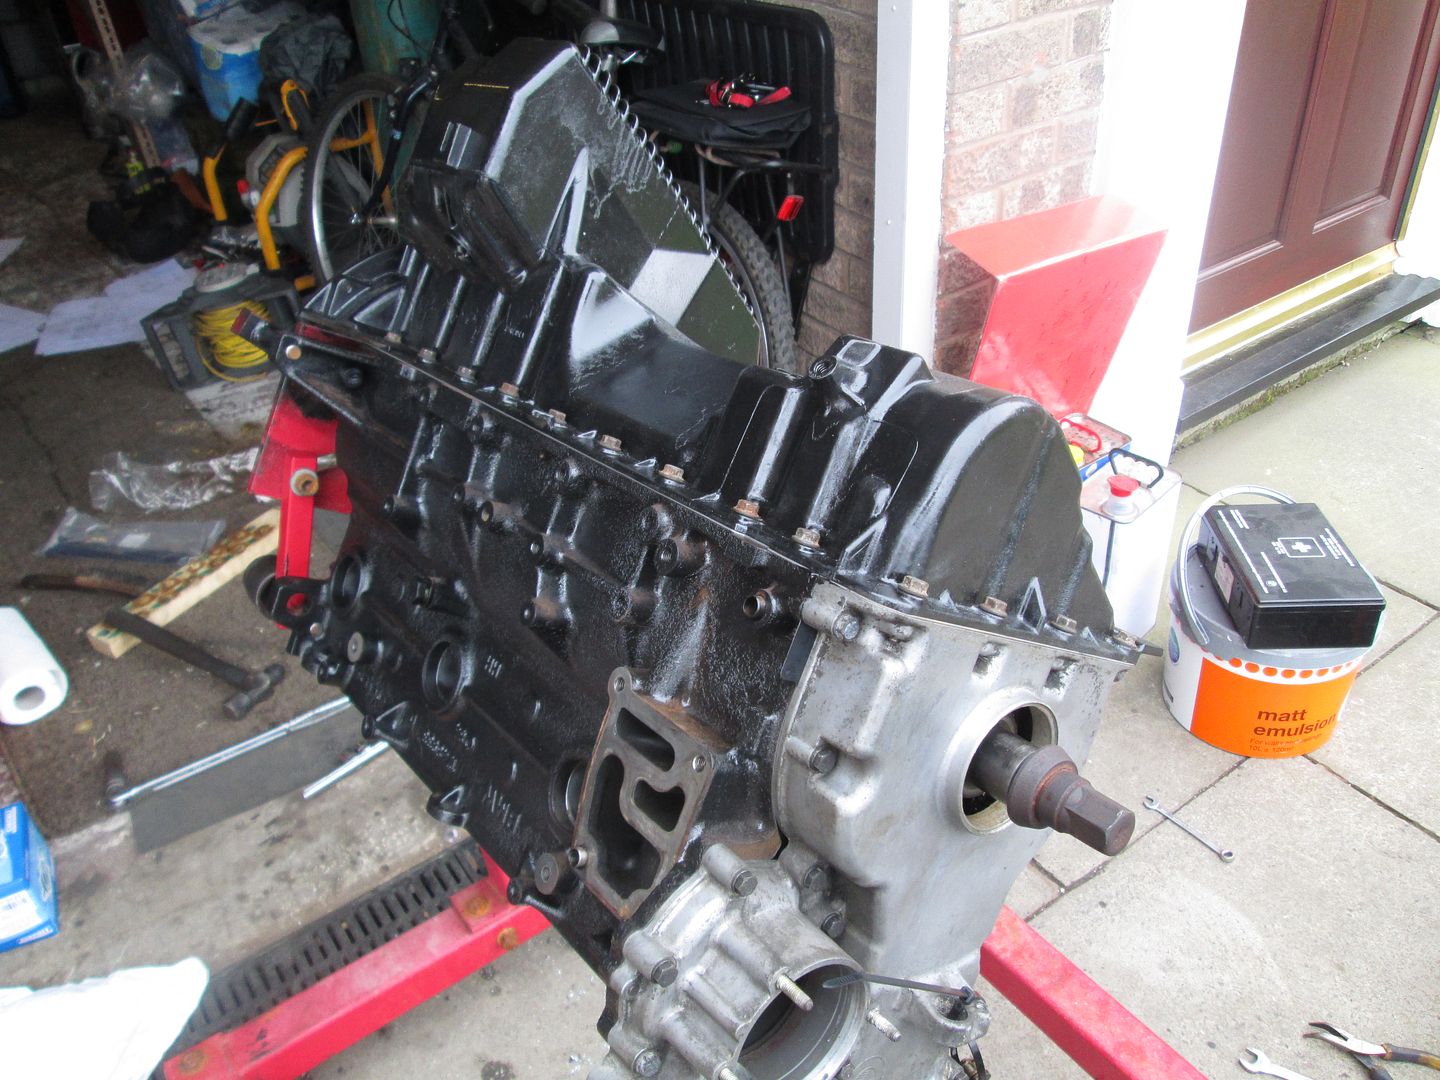
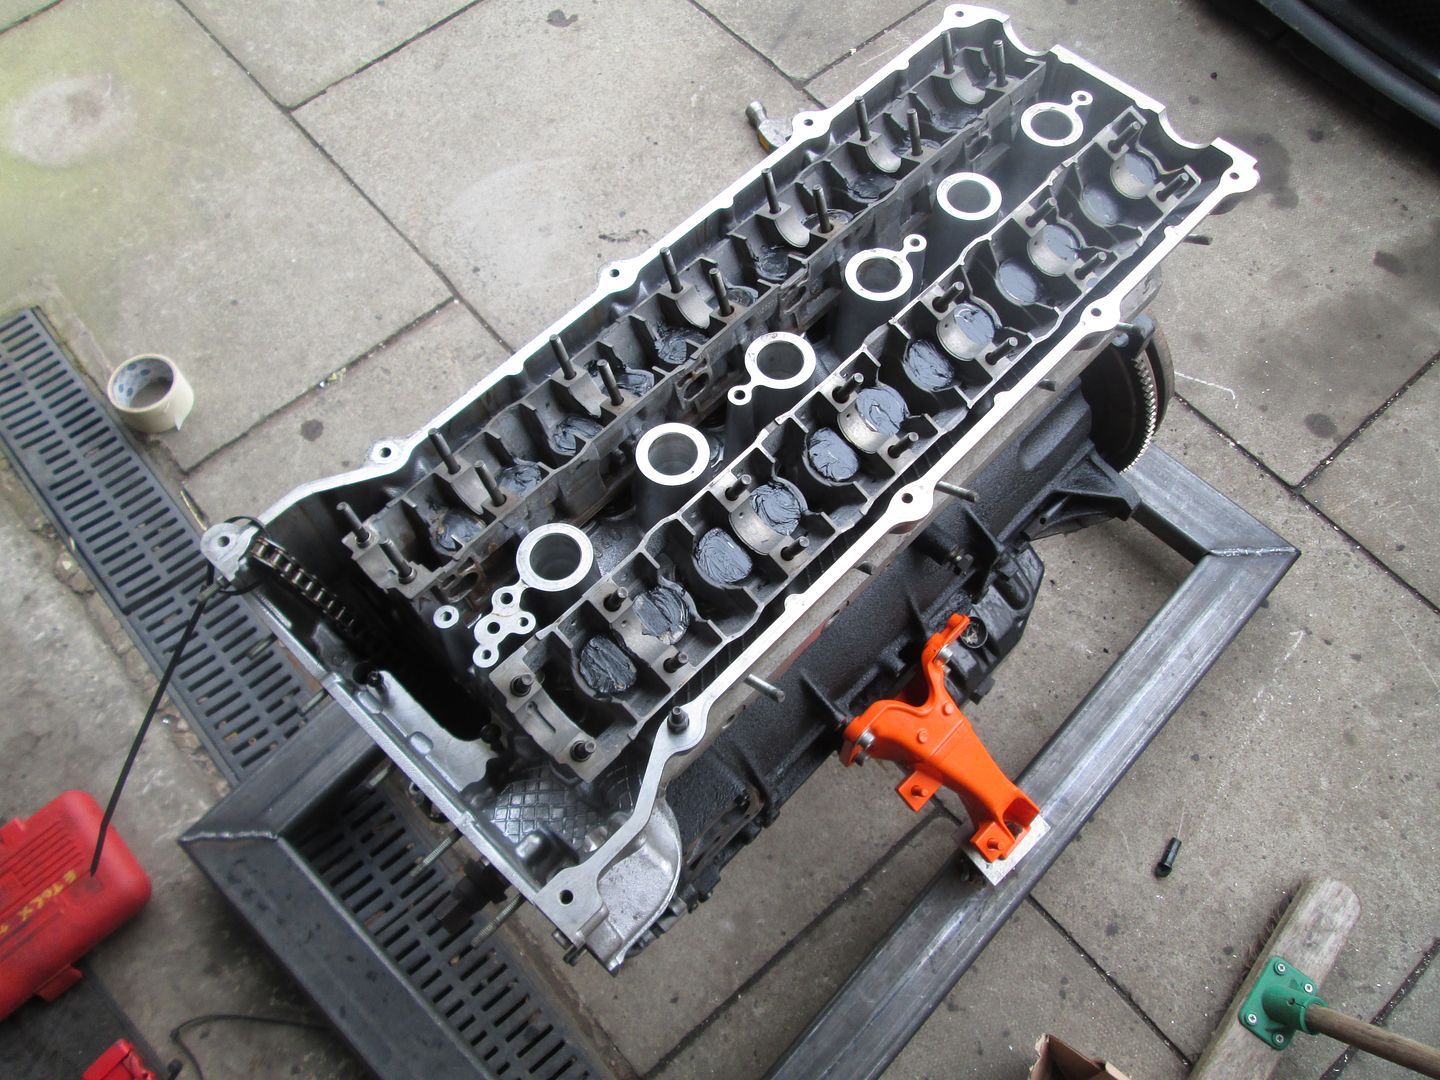
Back onto the lower stand, and another new headgasket. Head dropped on and torqued down to the M50 iron block specification, everything held well this time.

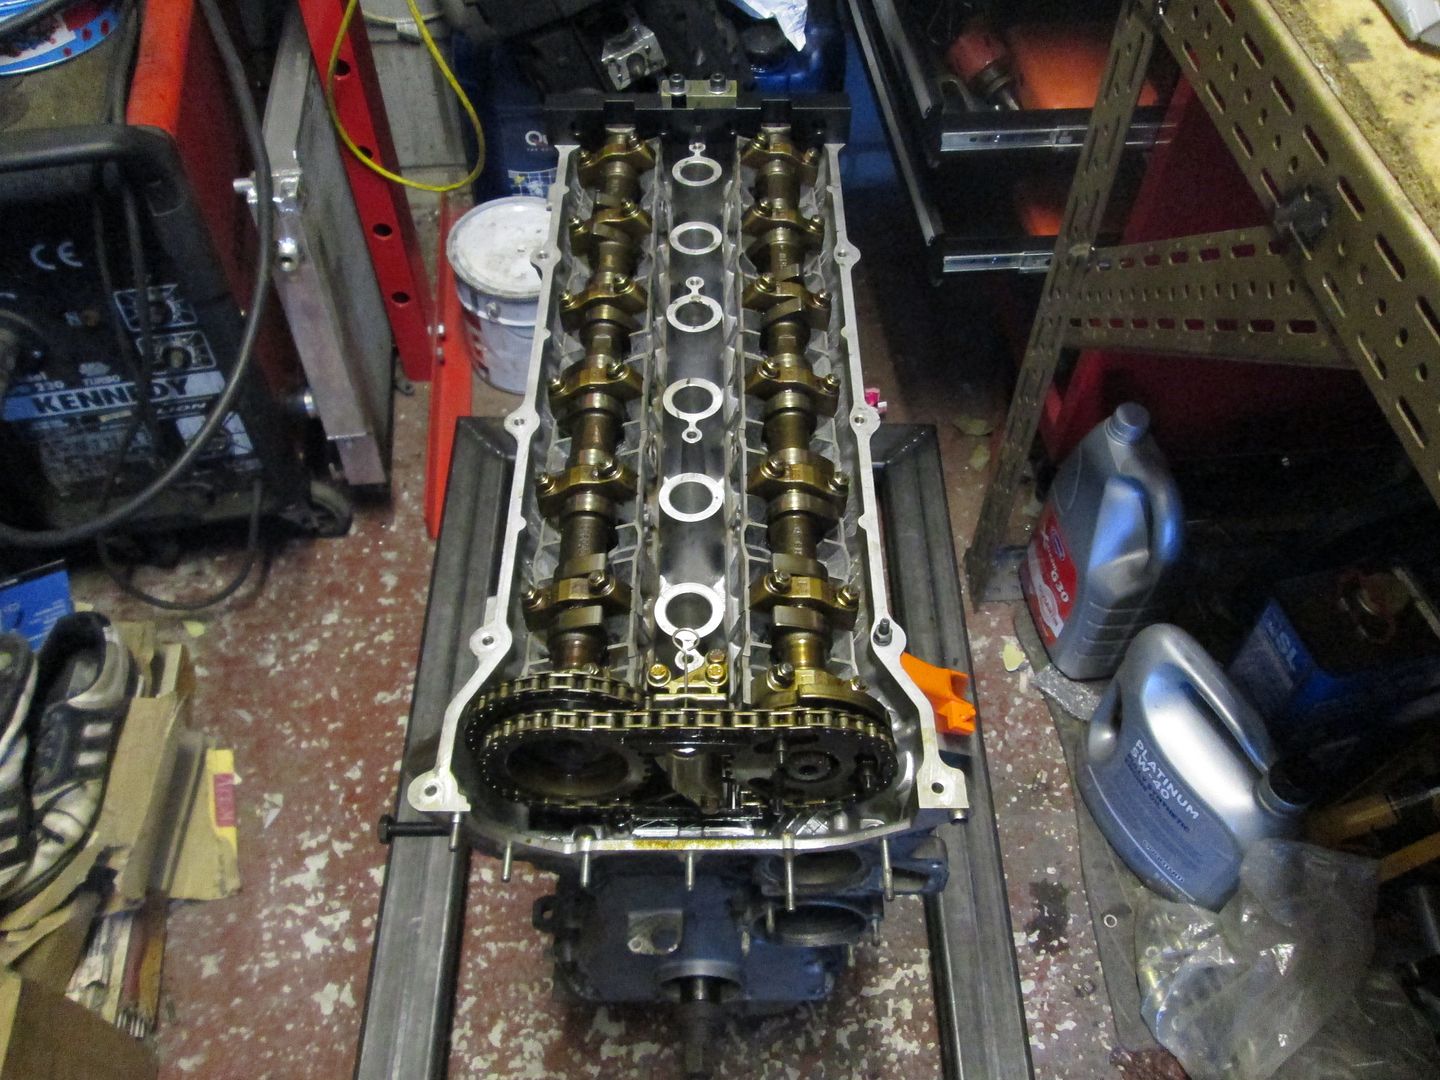
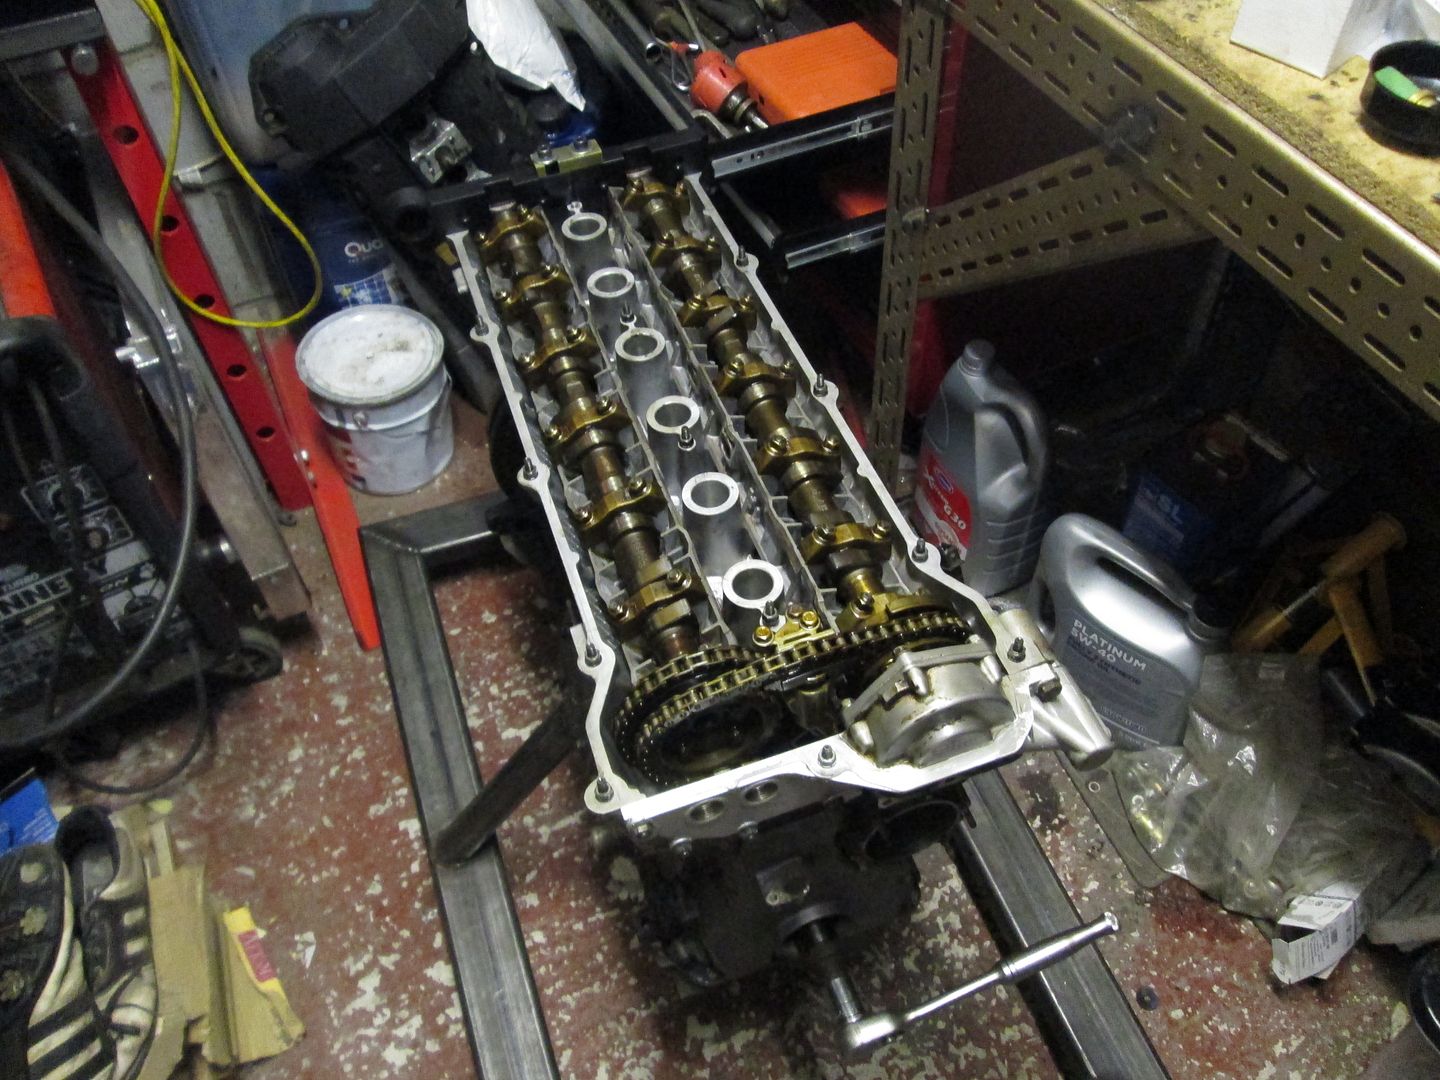
The hydraulic tappets were then fitted, along with the cam trays, cams and caps. All with plenty of assembly grease again.
The engine was then timed up, along with new tensioner springs..

VANOS unit was pulled apart and seals replaced..
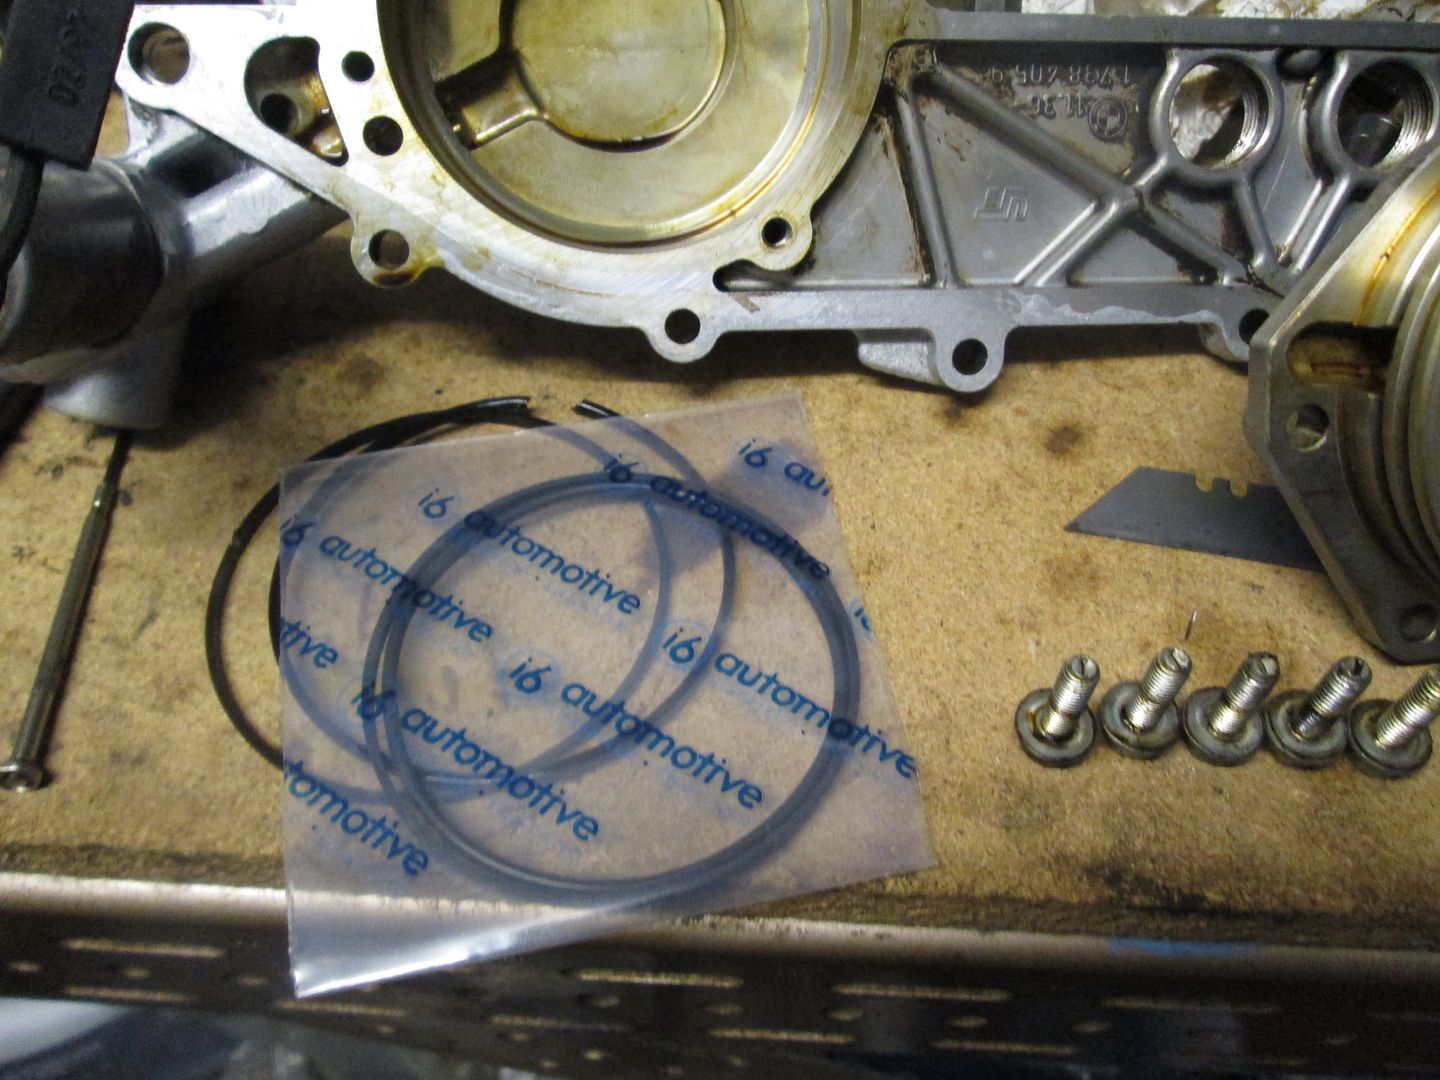

The VANOS unit was then installed onto the head, with a new gasket..
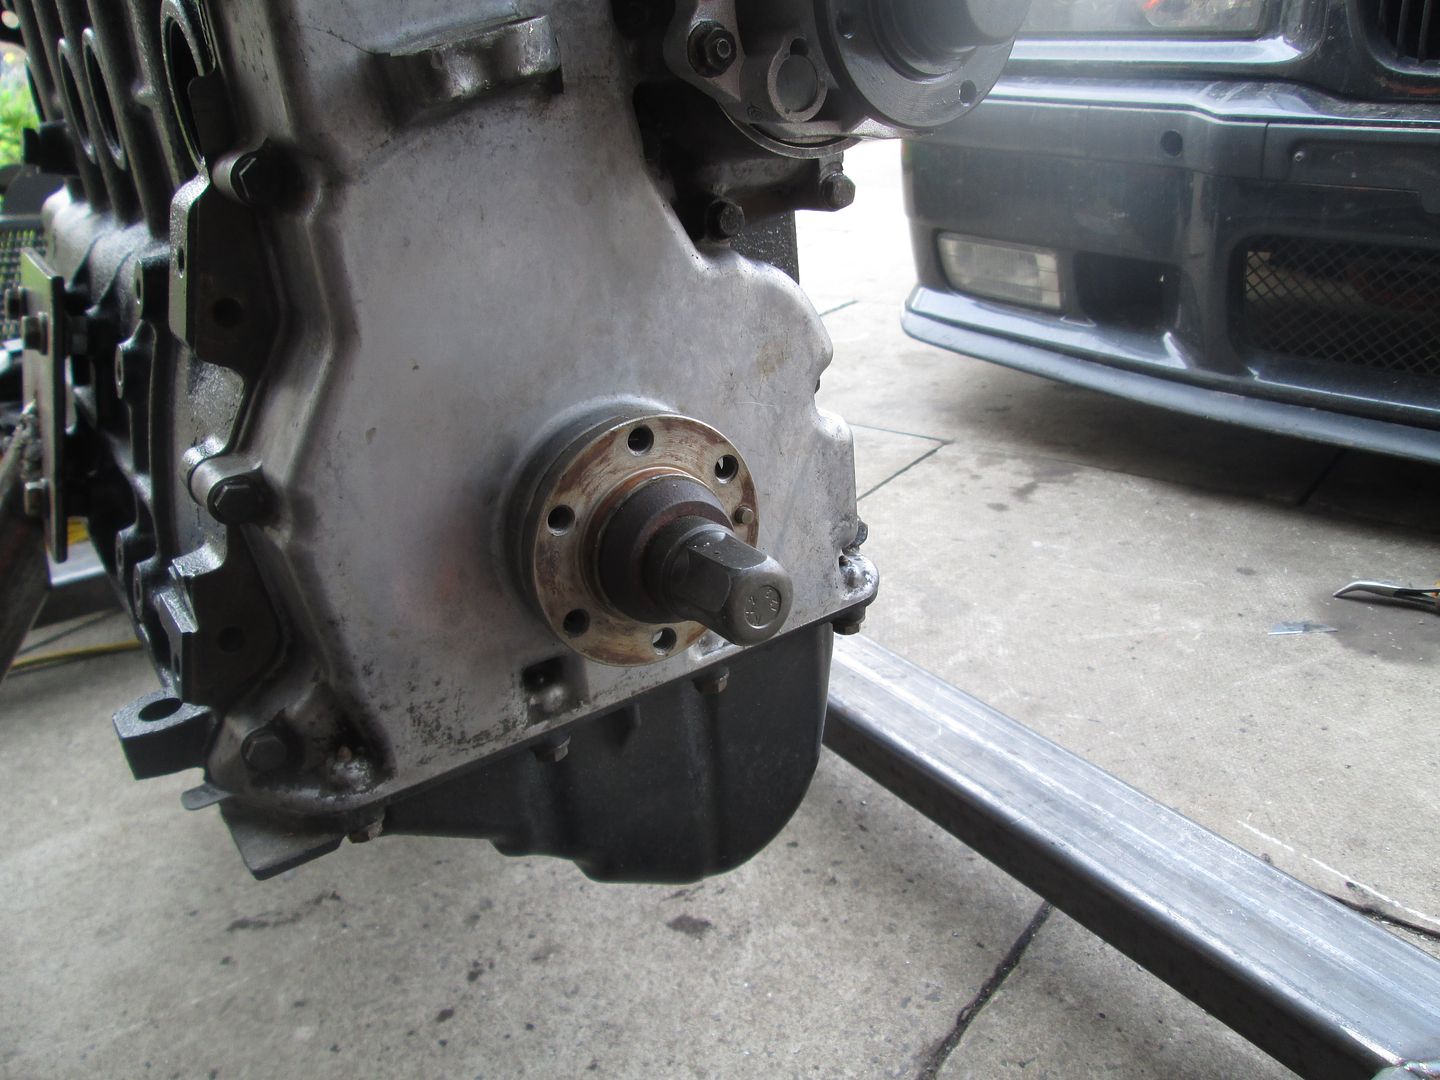
New crank seals at both ends, with a new crank bolt and torqued to spec..
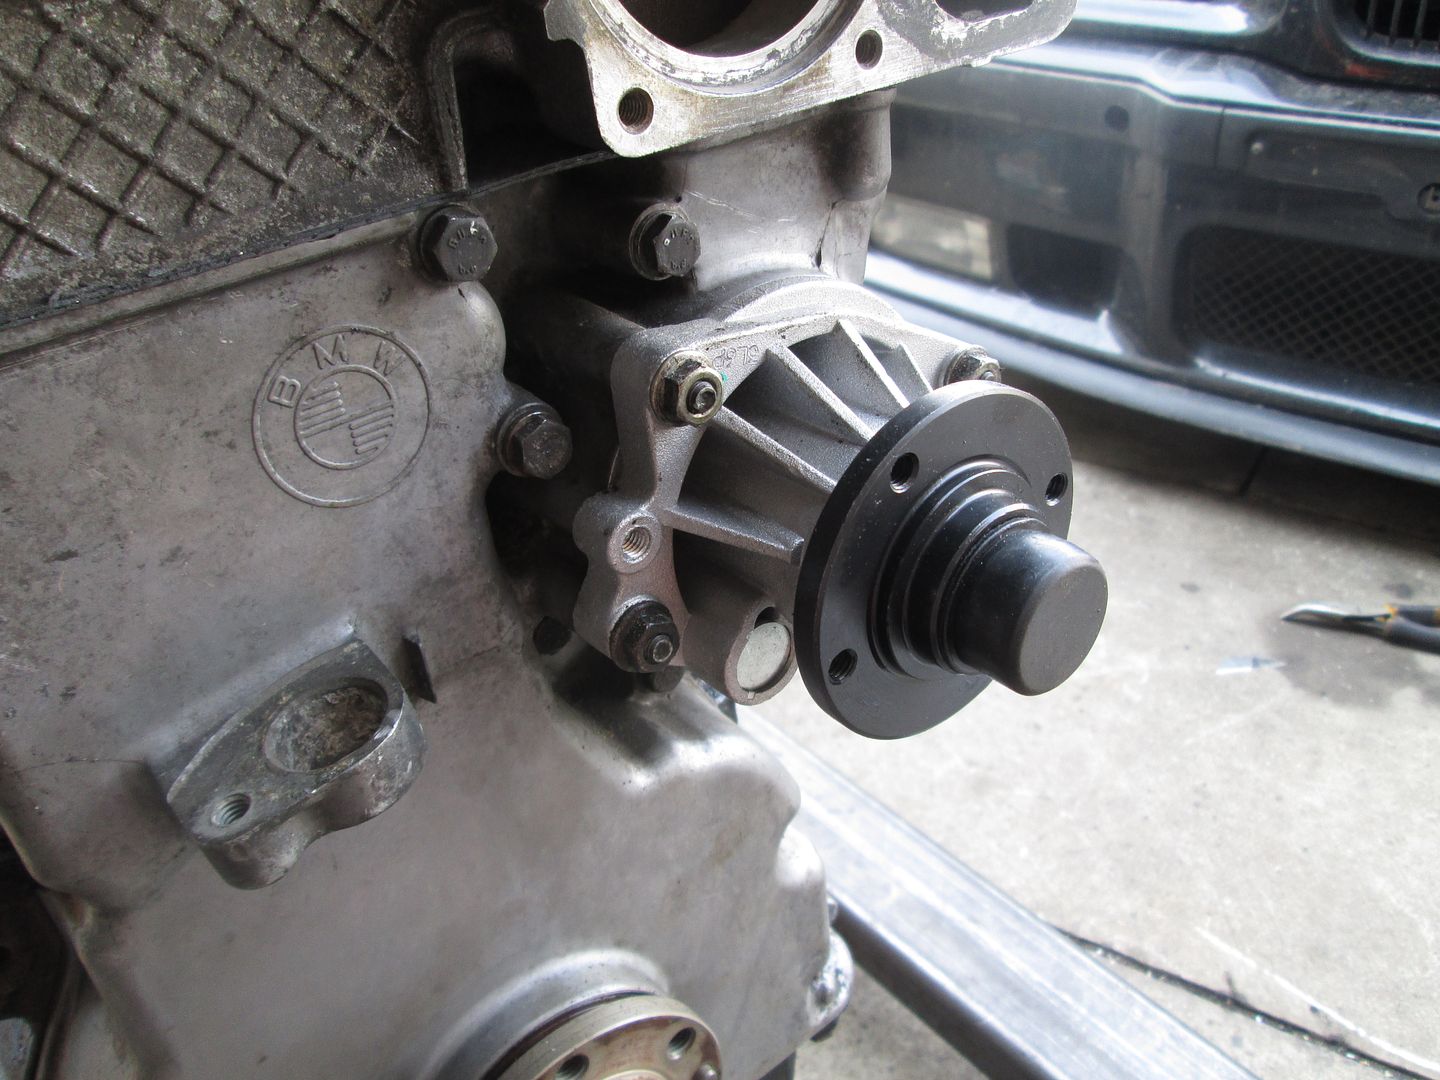
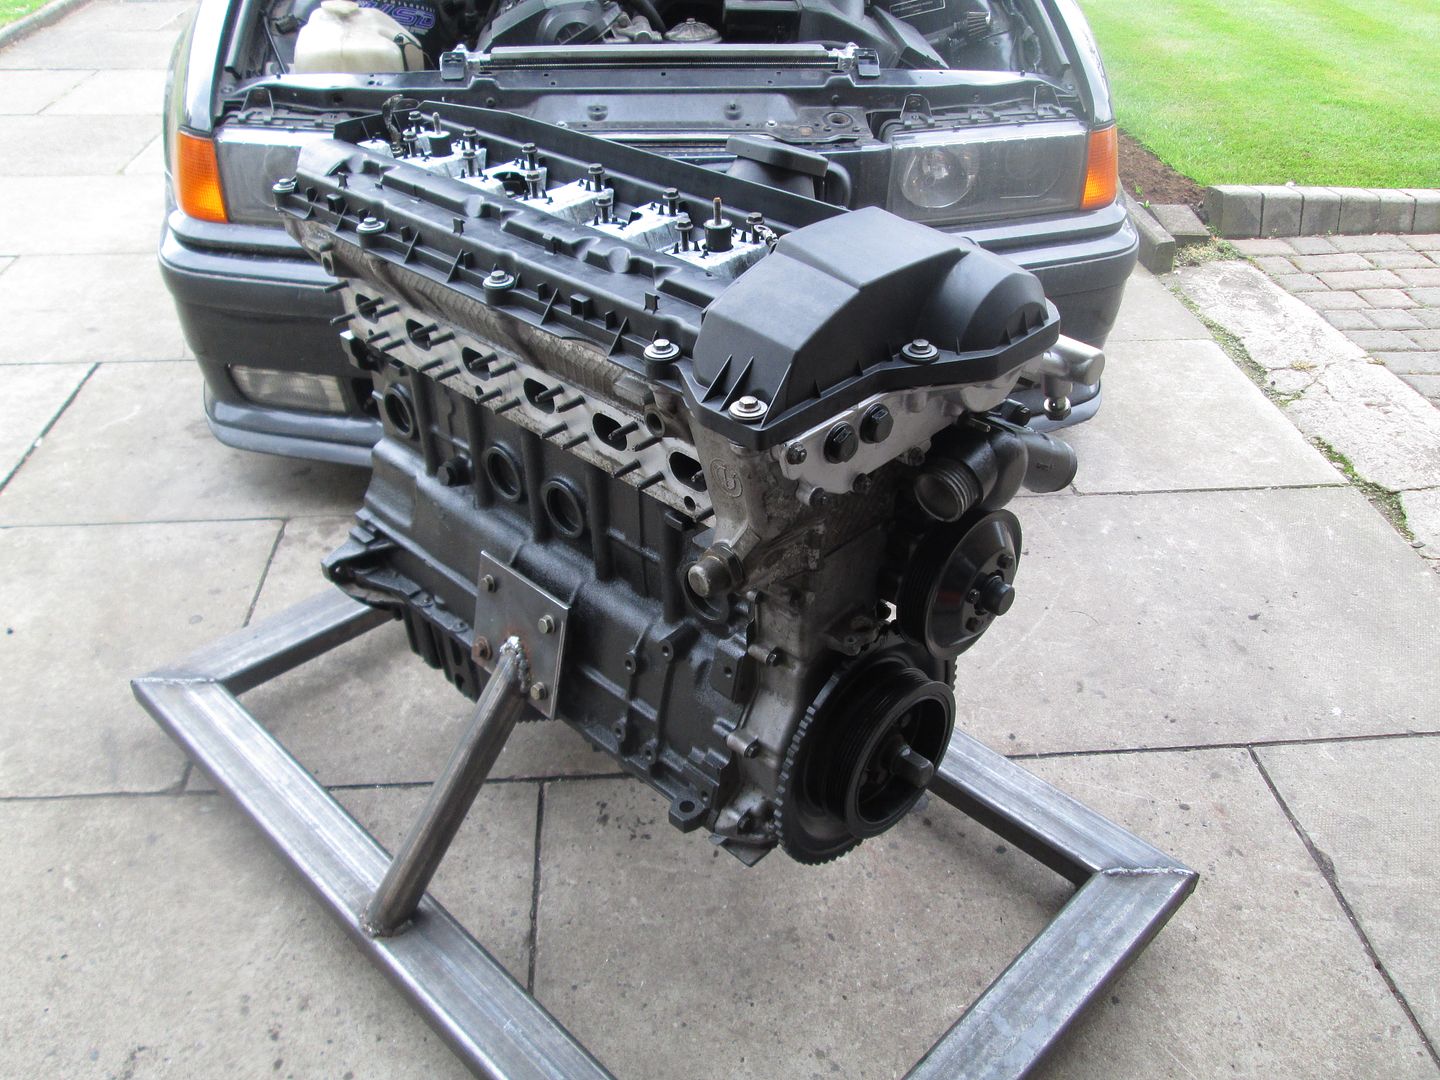
Metal impeller water pump, low temperature thermostat, new rocker cover gasket and the main timing pulley..
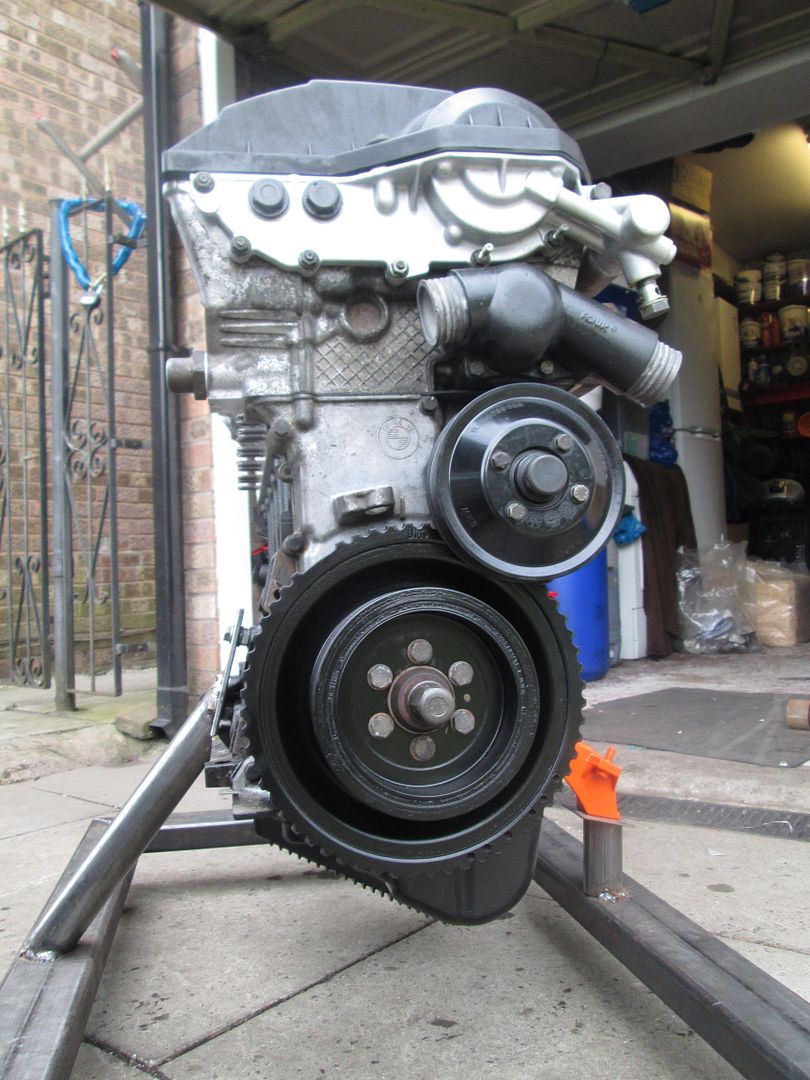
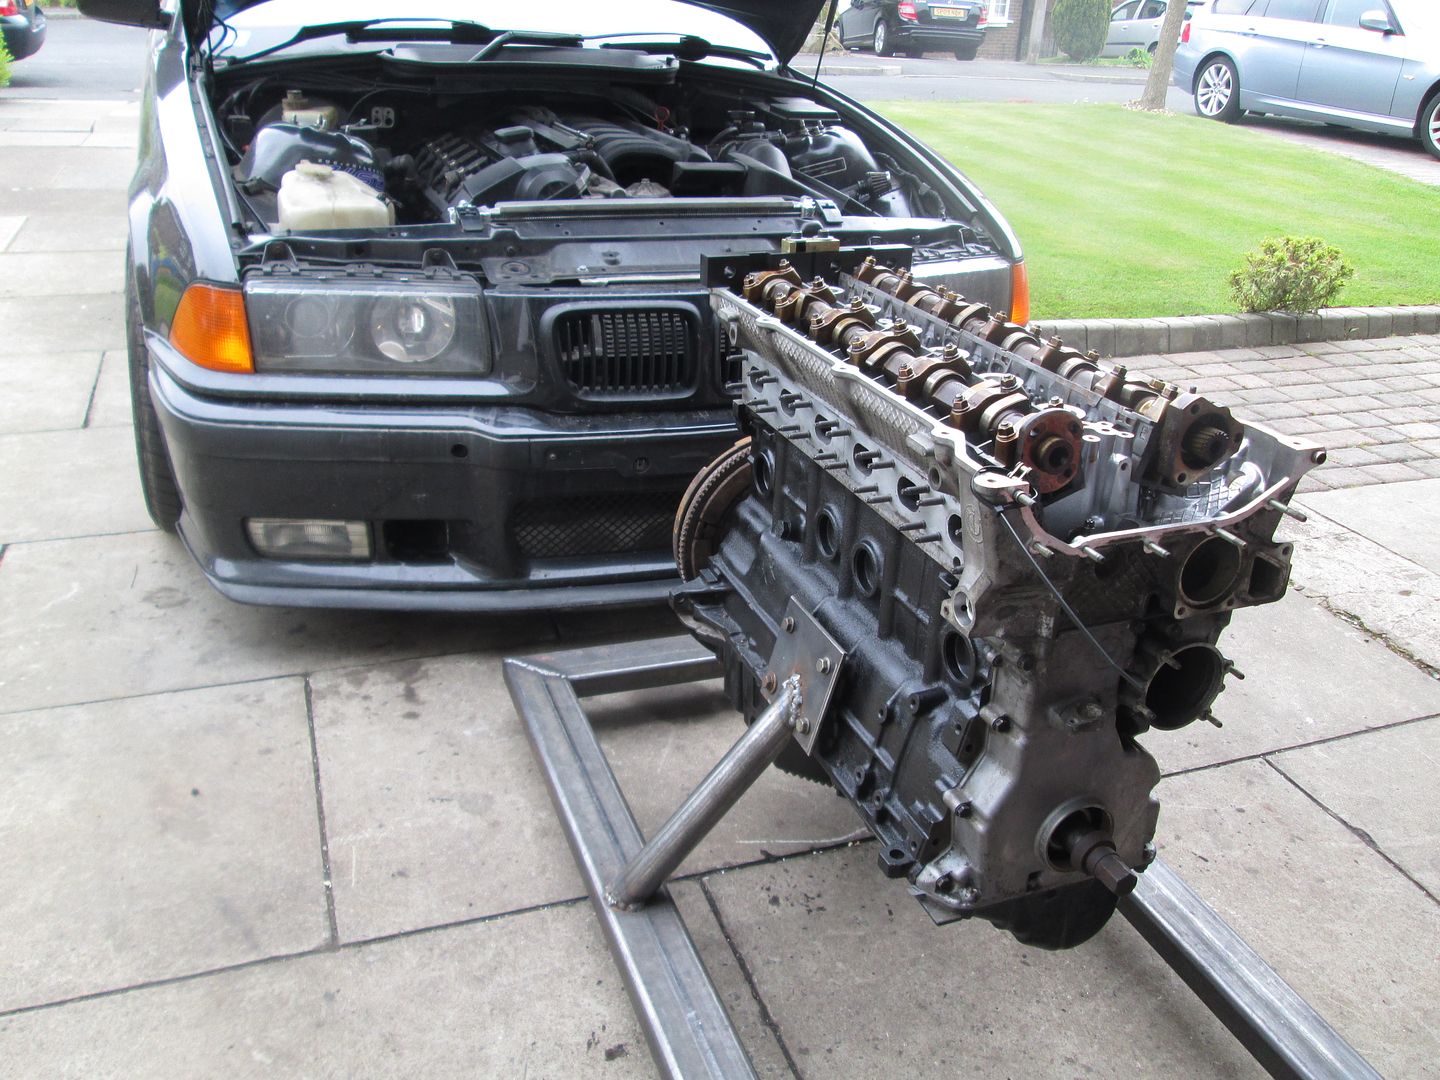
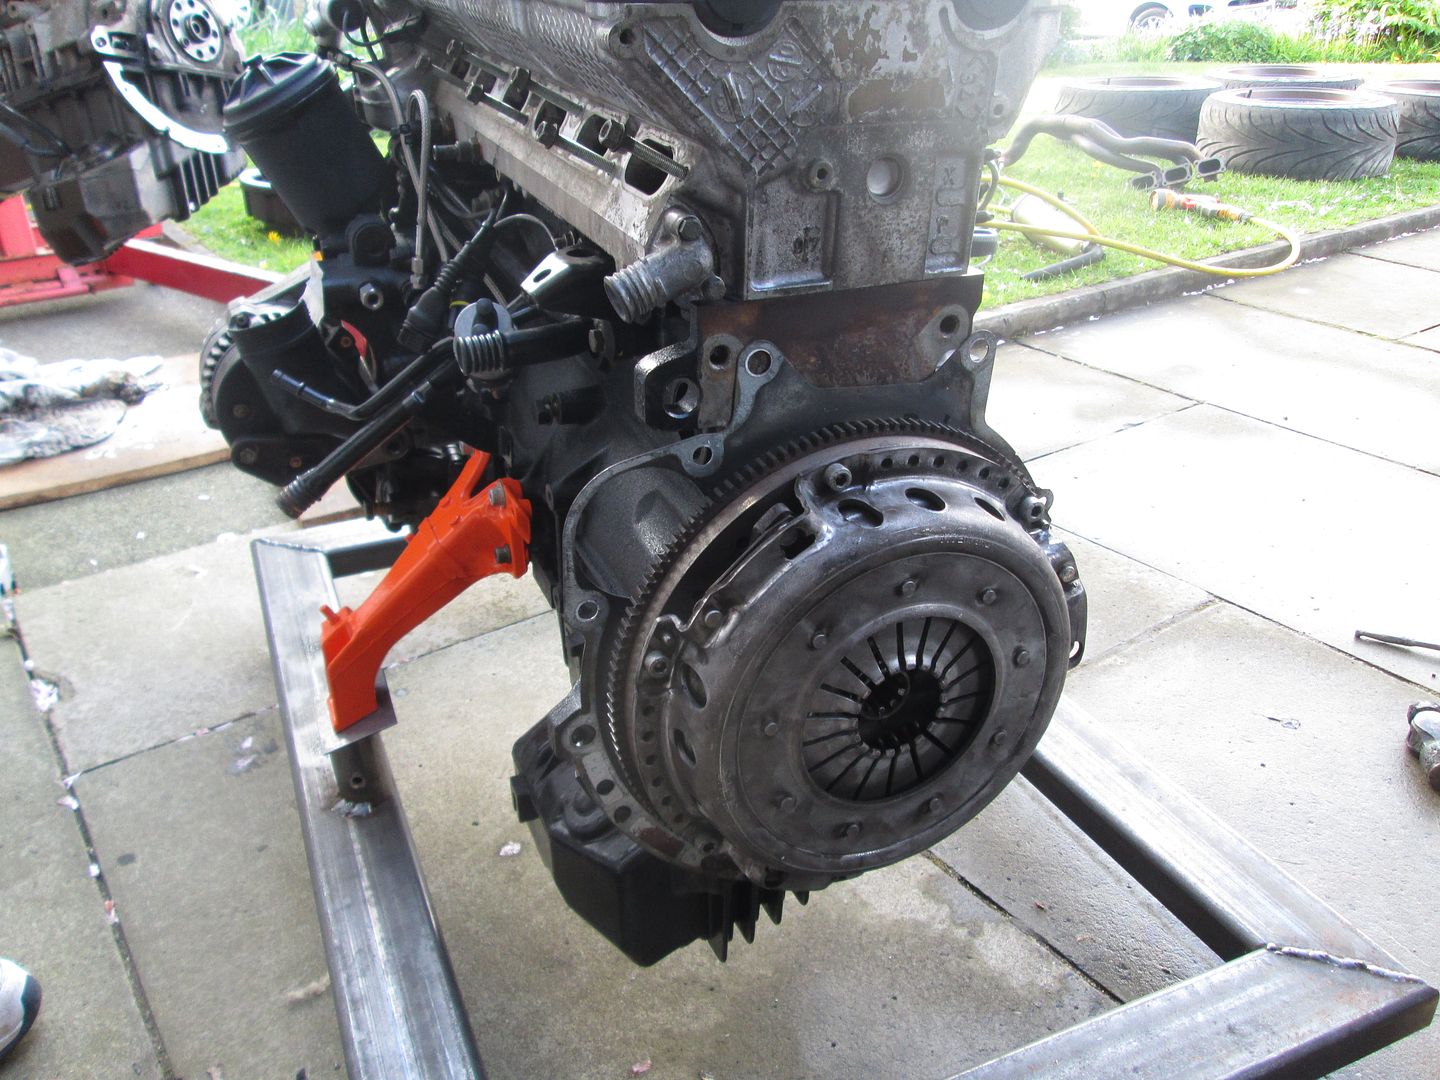
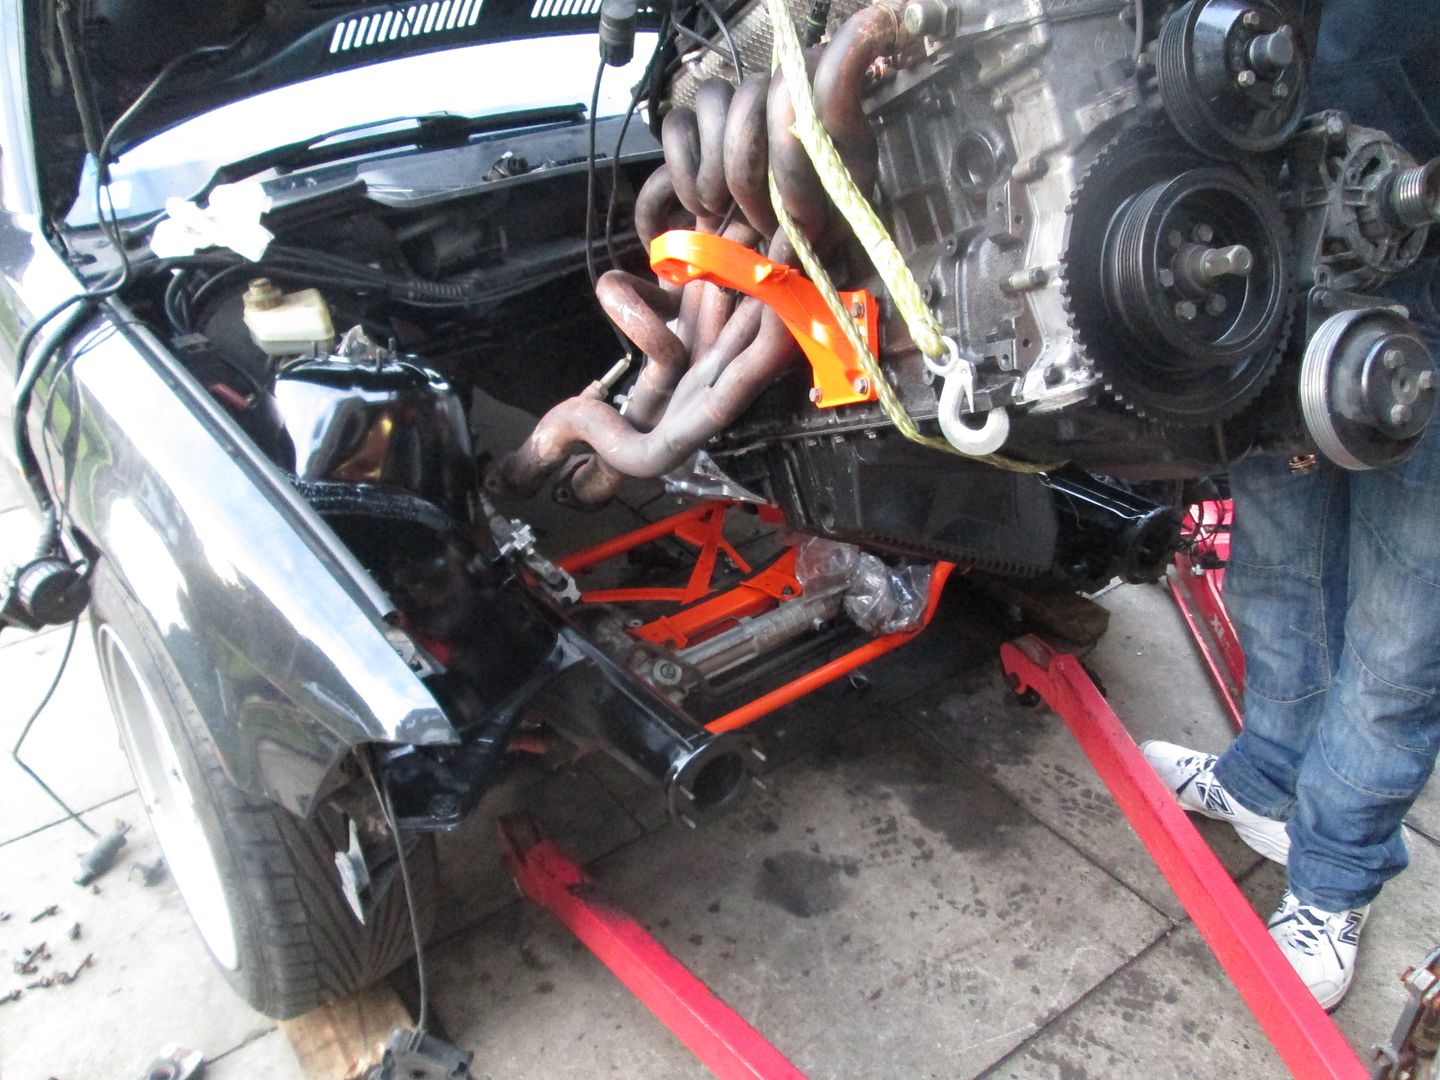
With the engine complete, all that was left to do is actually put it into the car. The old +200k motor was pulled out..
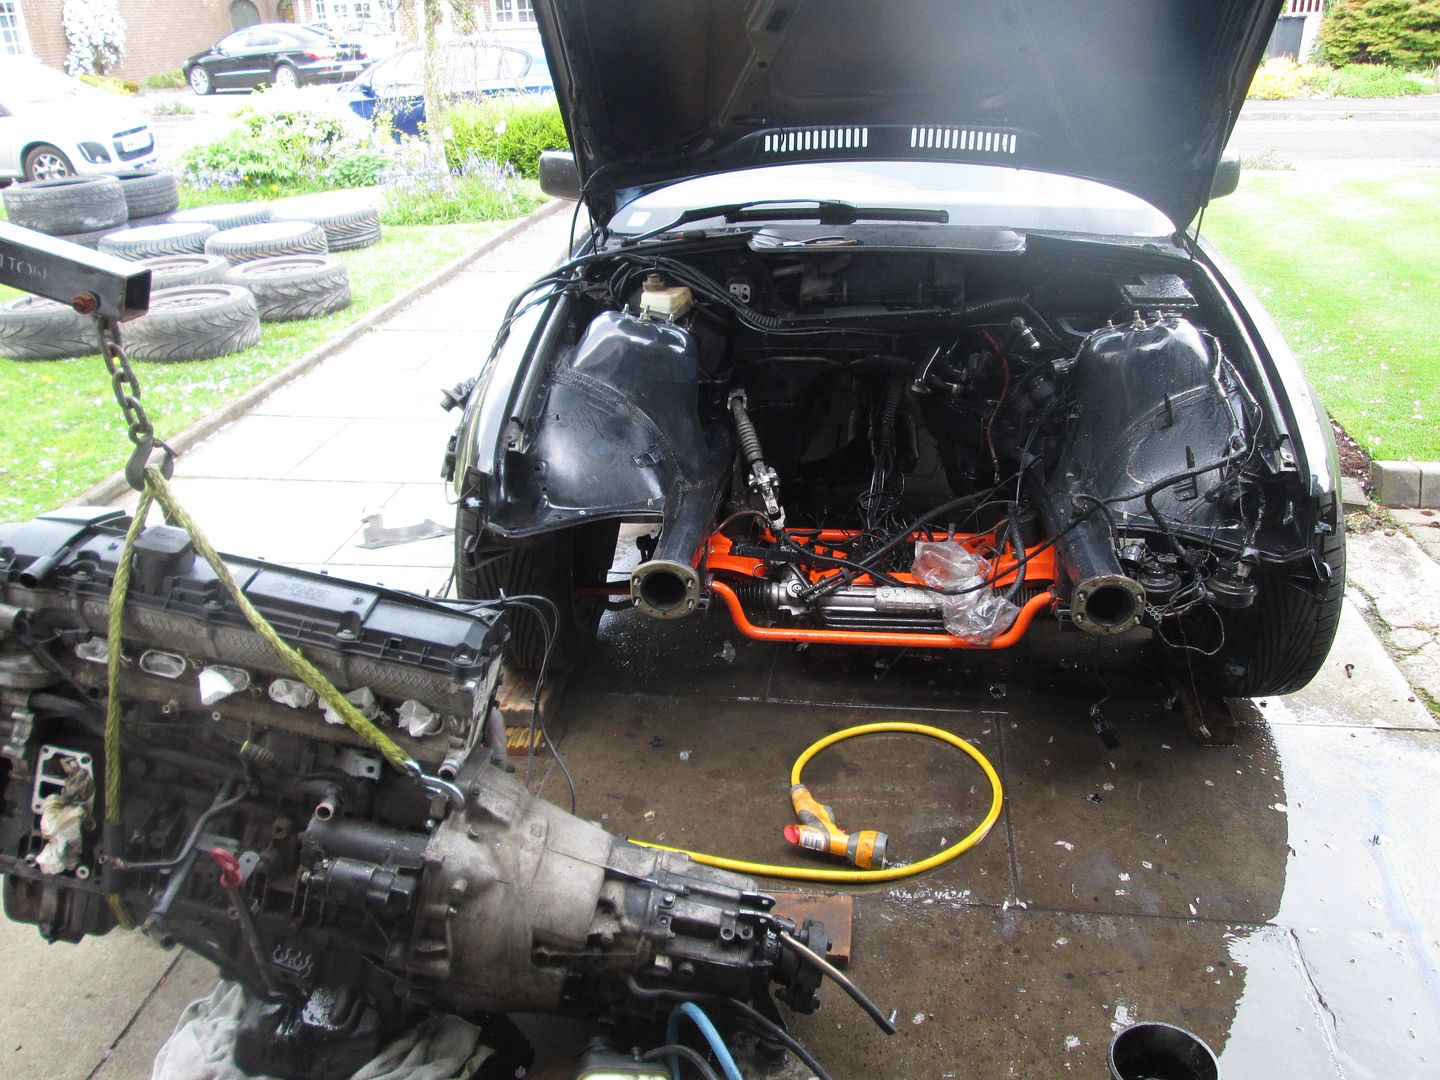
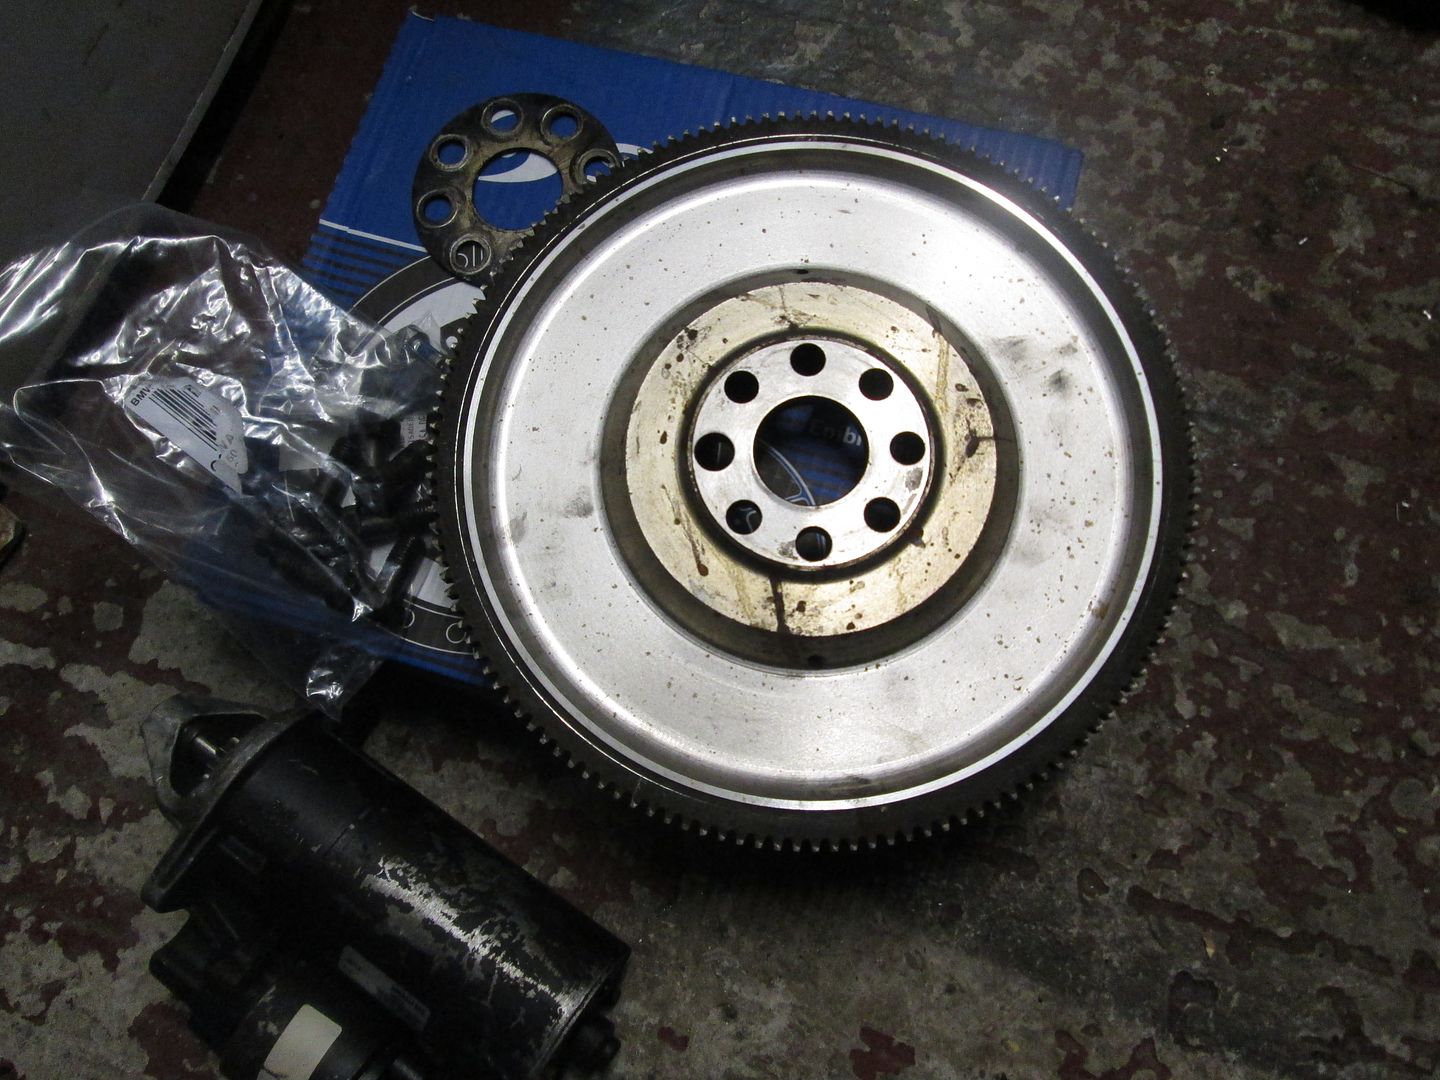
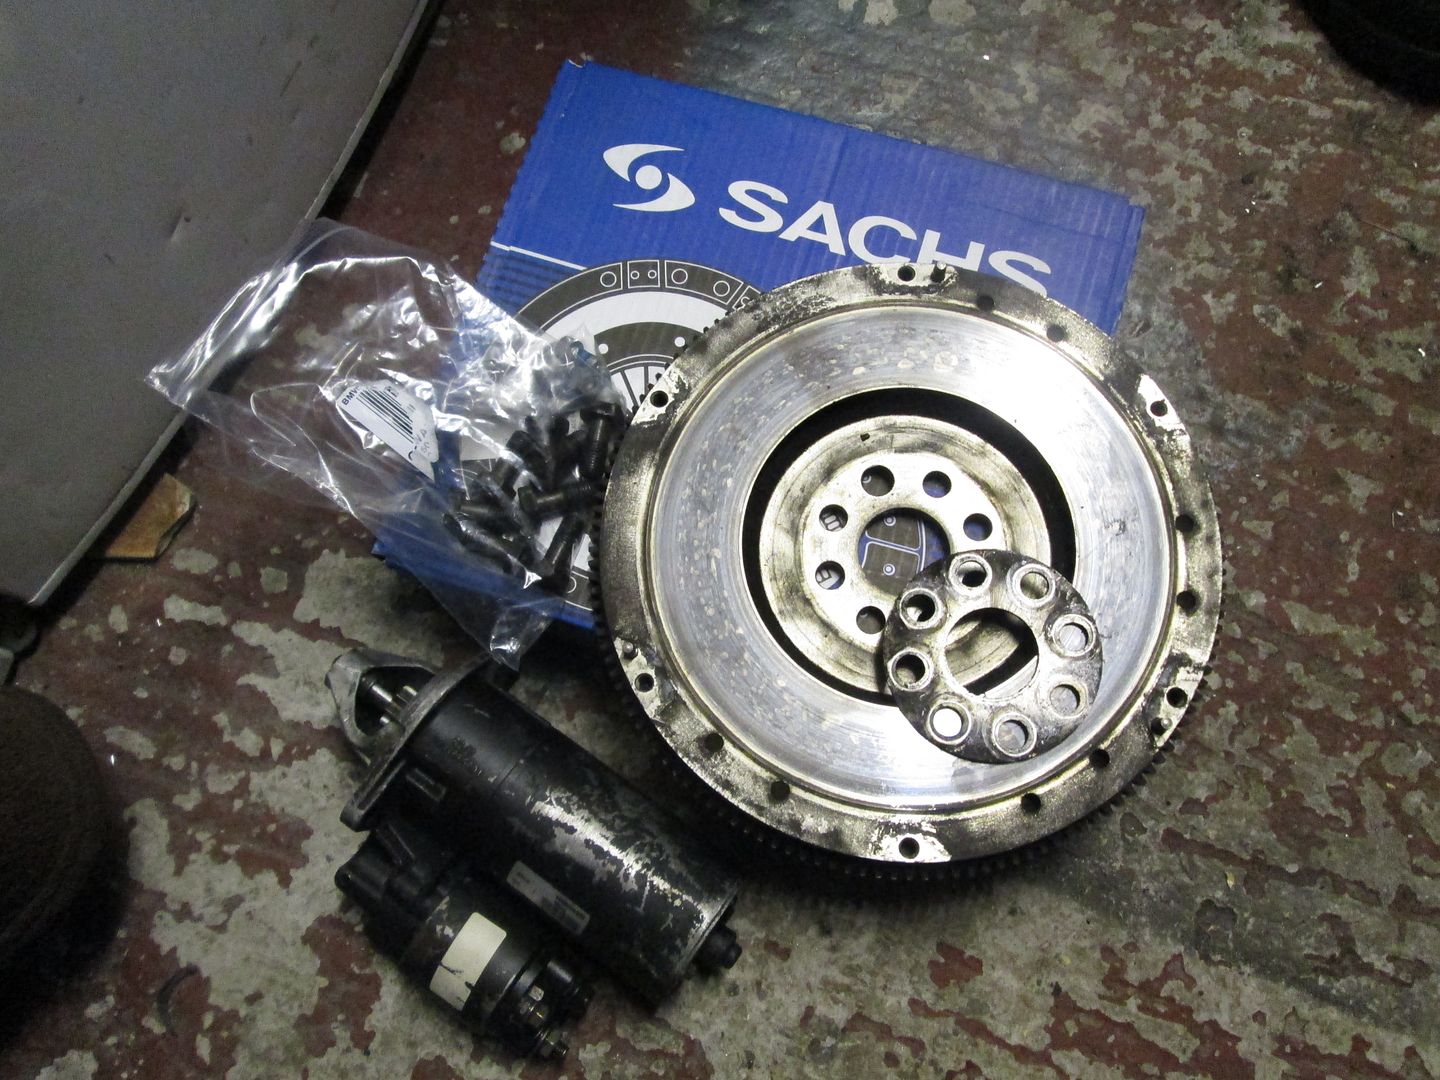
The flywheel and clutch set up were removed, and fitted to the new engine. This consists of an M20 325i flywheel, and a Sachs clutch. Contrary to popular belief, you do not need a taller release bearing to make this work if you are using the ZF (standard 328i and M3) transmission. It all works fine.
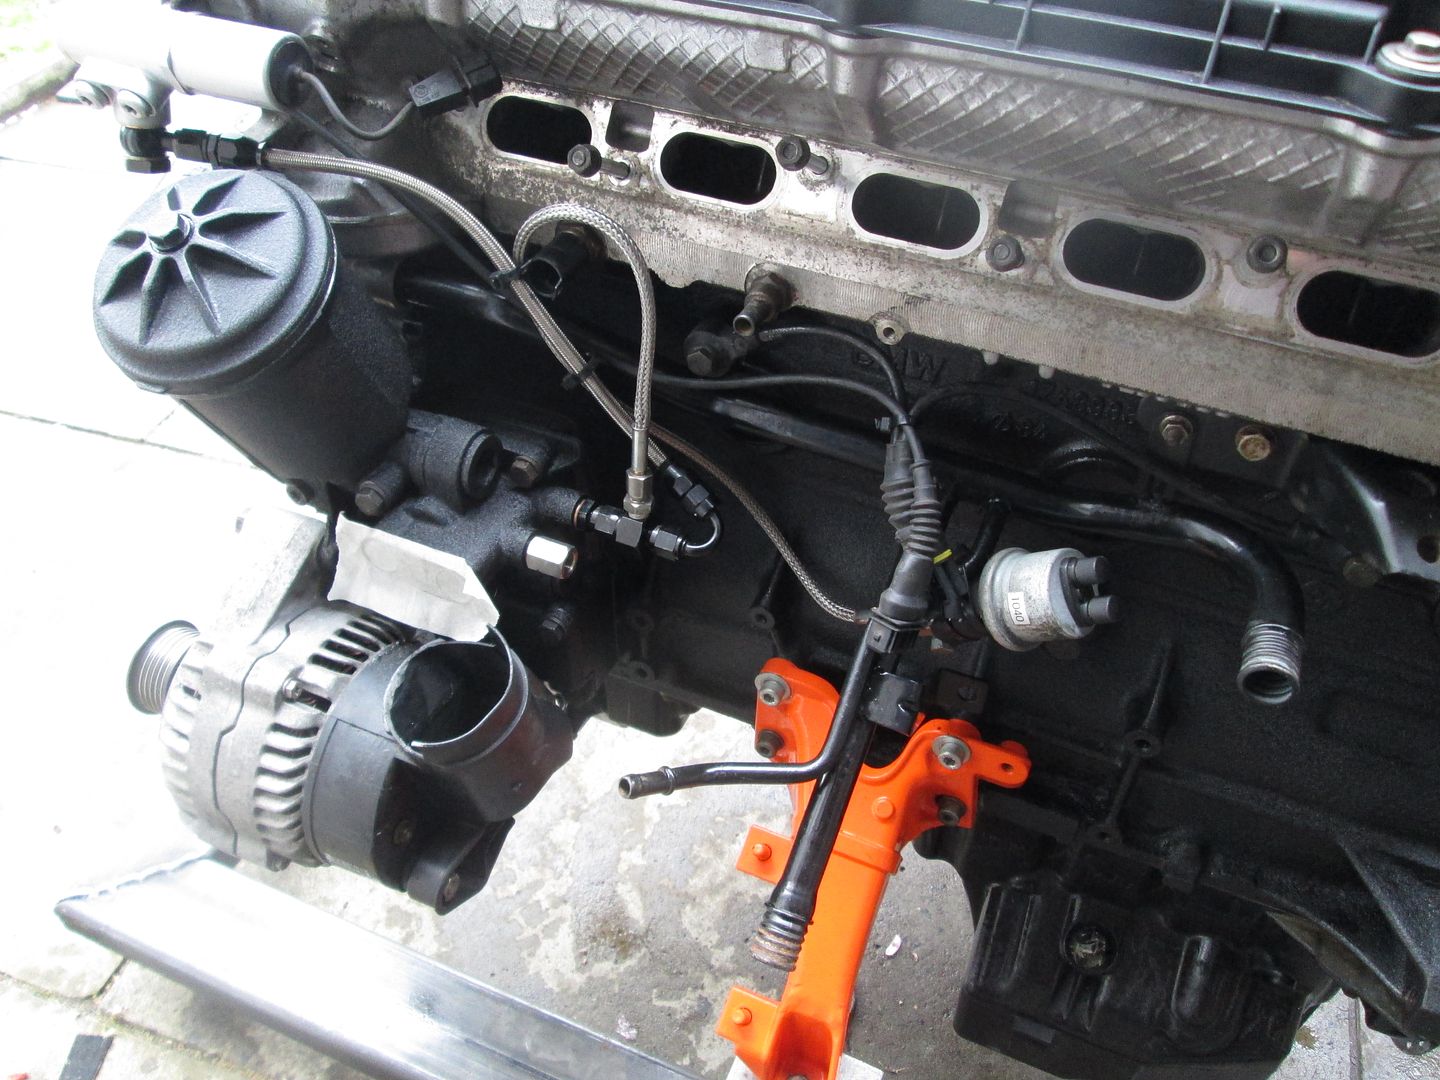
I also fitted the oil filter housing (with a new gasket) and various other bits before the engine went into the car. The oil filter housing had been previously changed to one from an M3, as I ran an oil cooler on the old engine, along with auxiliary oil pressure/temperature gauges. The 'new' VANOS oil feed line was also swapped, previously in use on the old engine also.
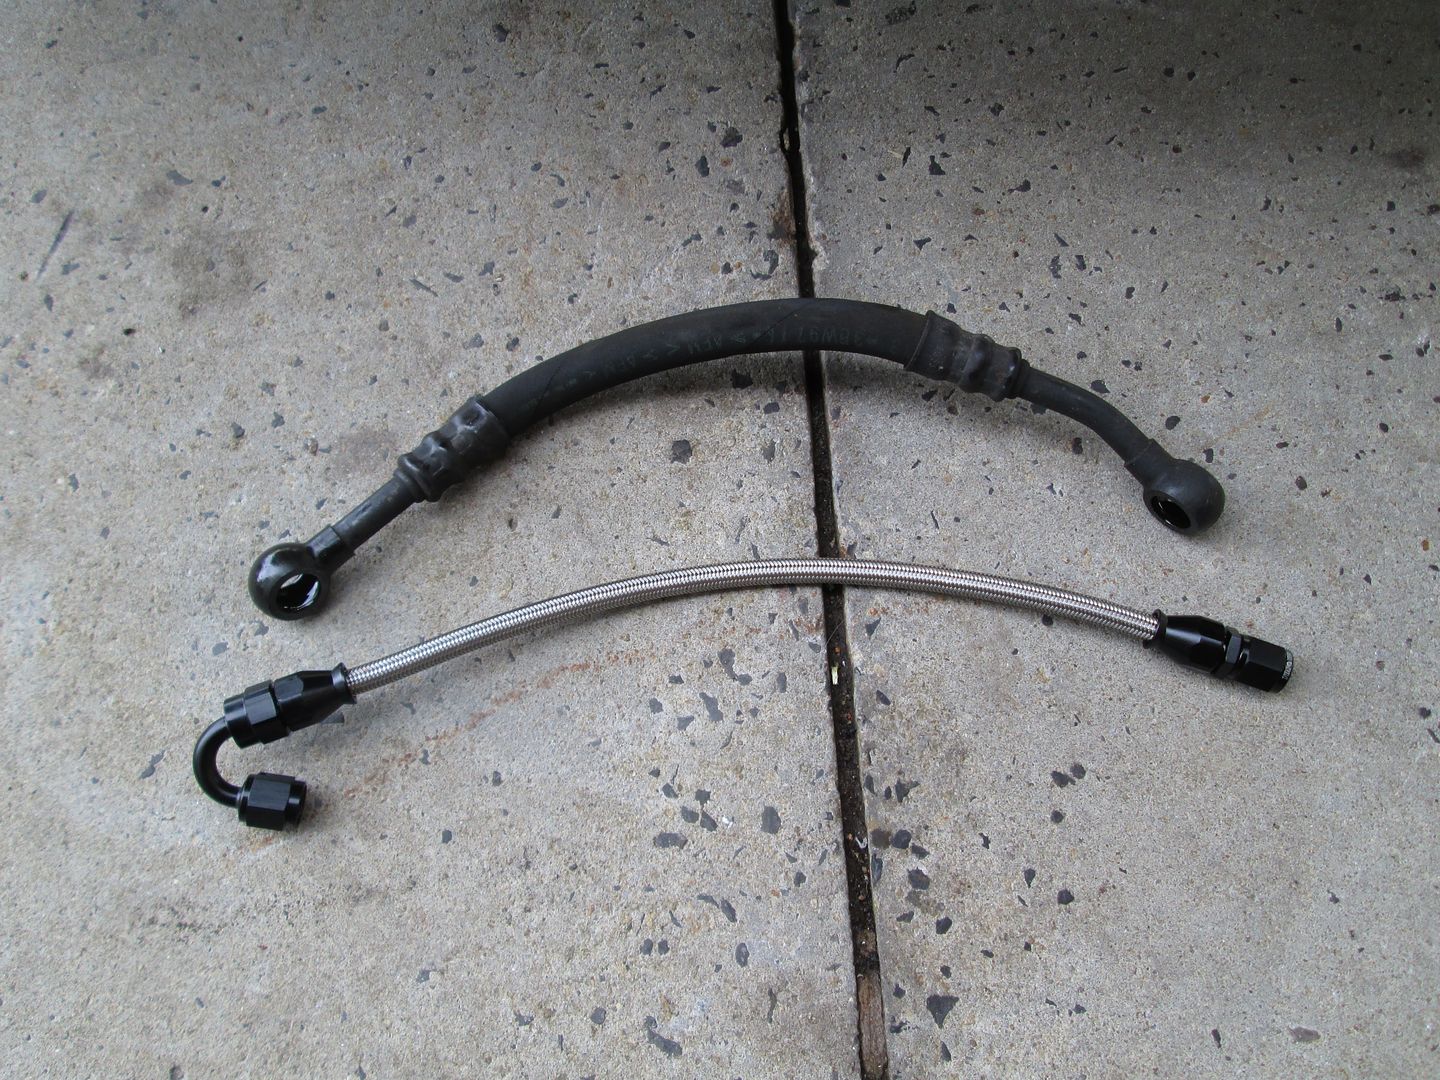
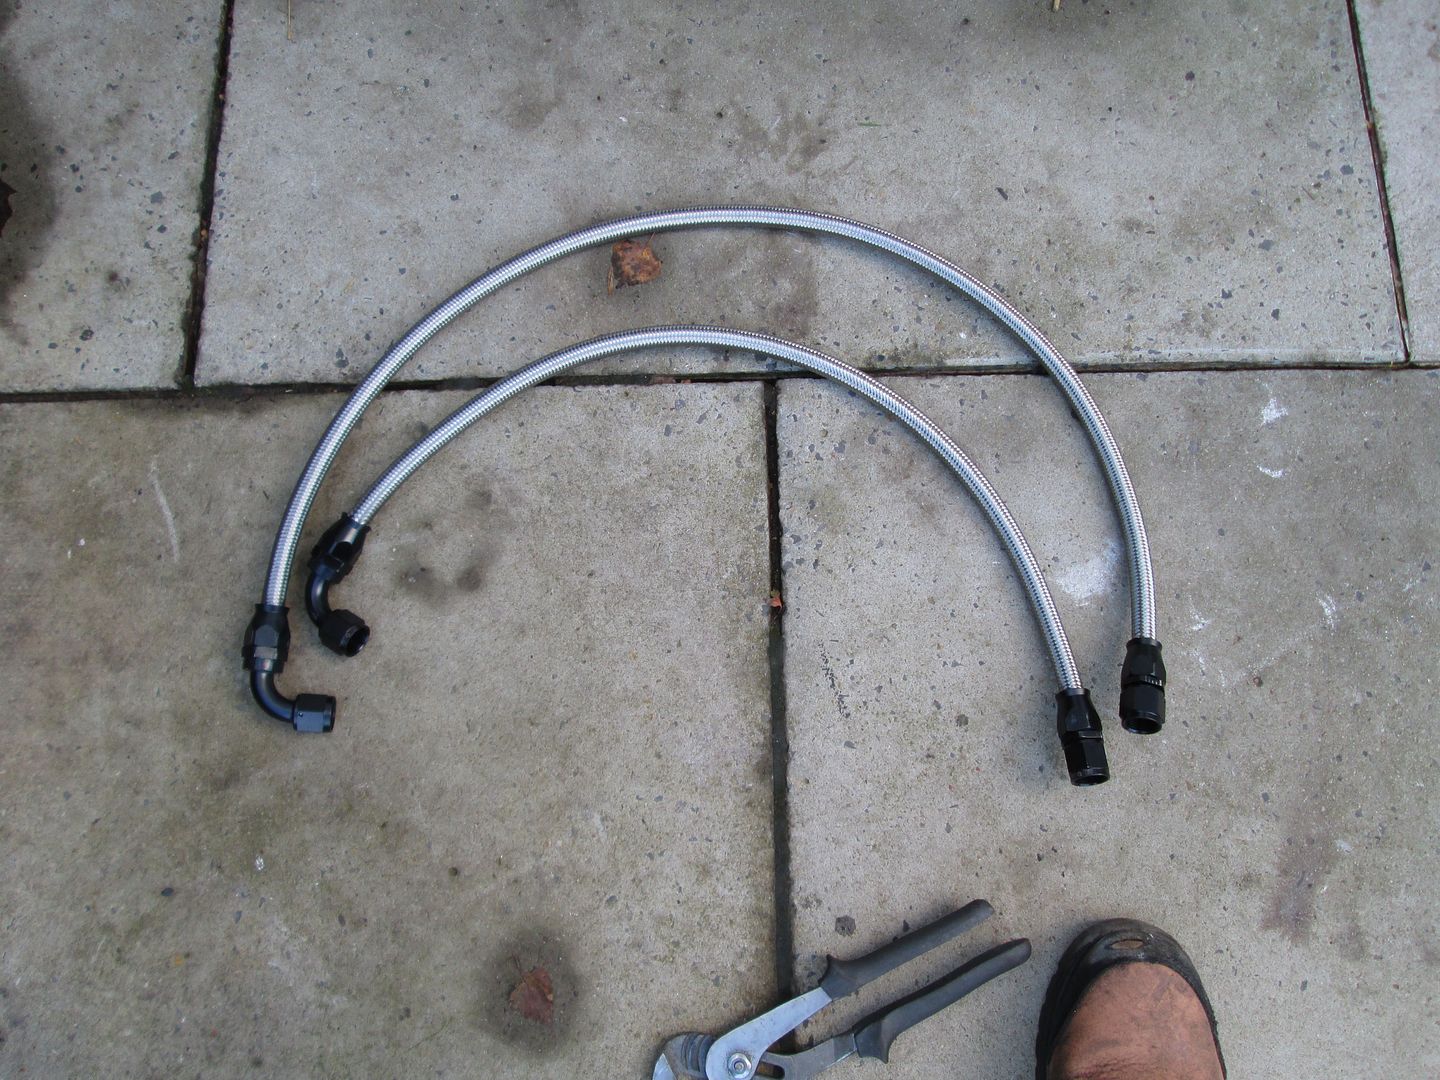
So from a while back, the M3 Oil Cooler fitting > -AN10 adaptor..
..and matching lines that were made up.
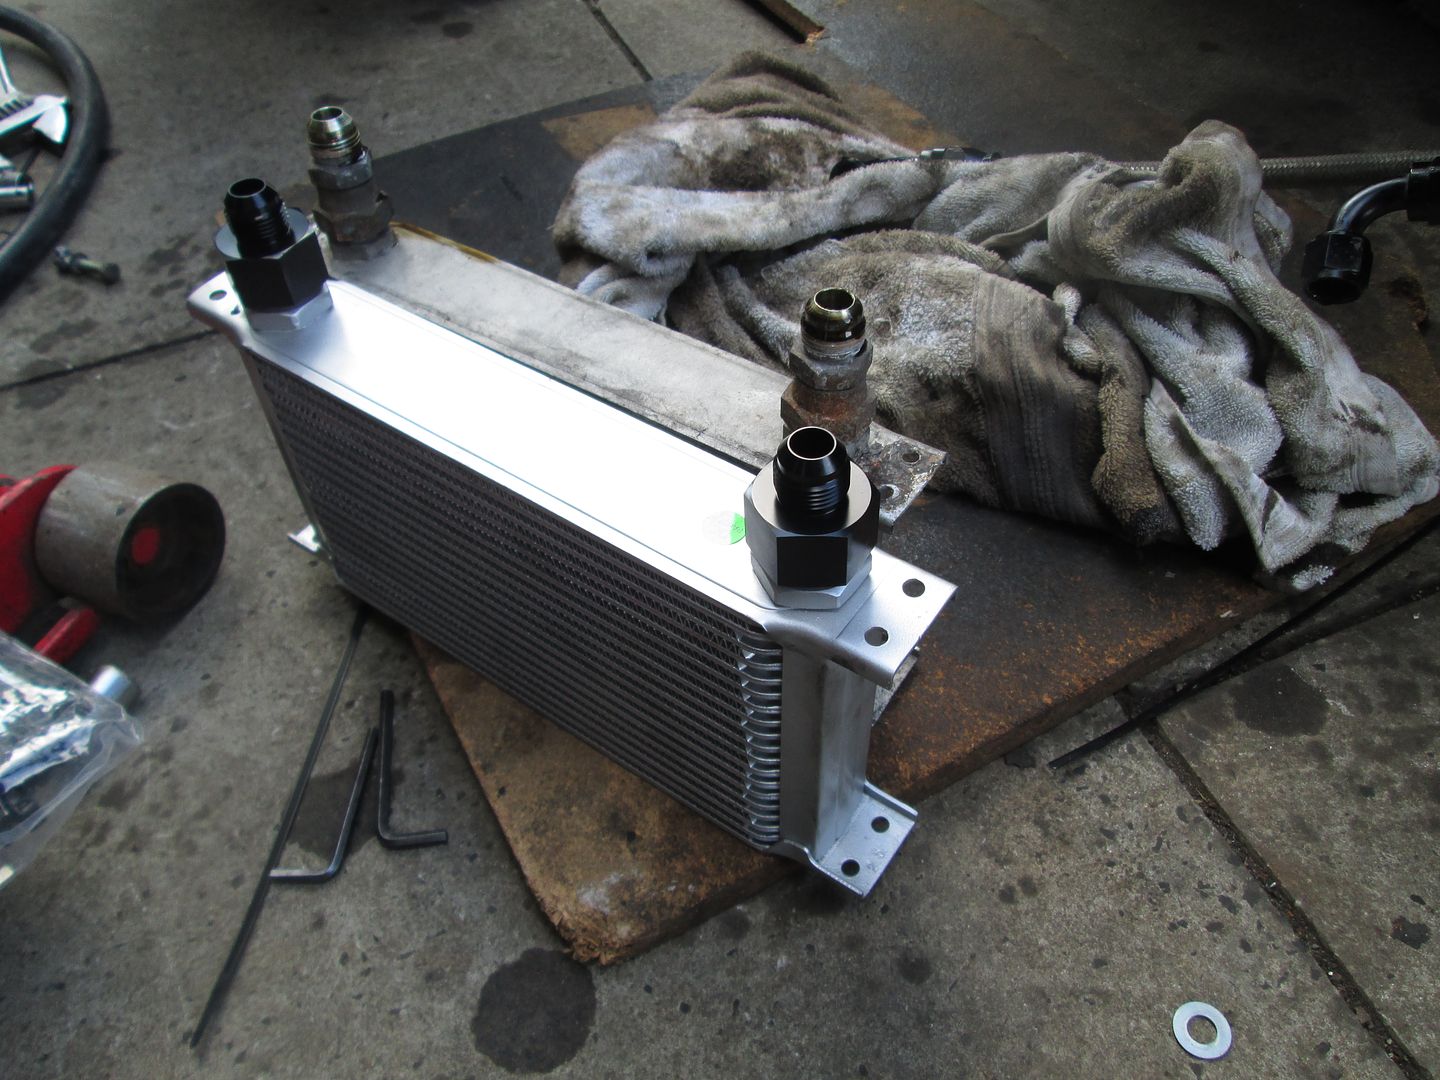
I previously ran a 13 row cooler, but with the new engine have gone to a new 19 row for the relative low cost..
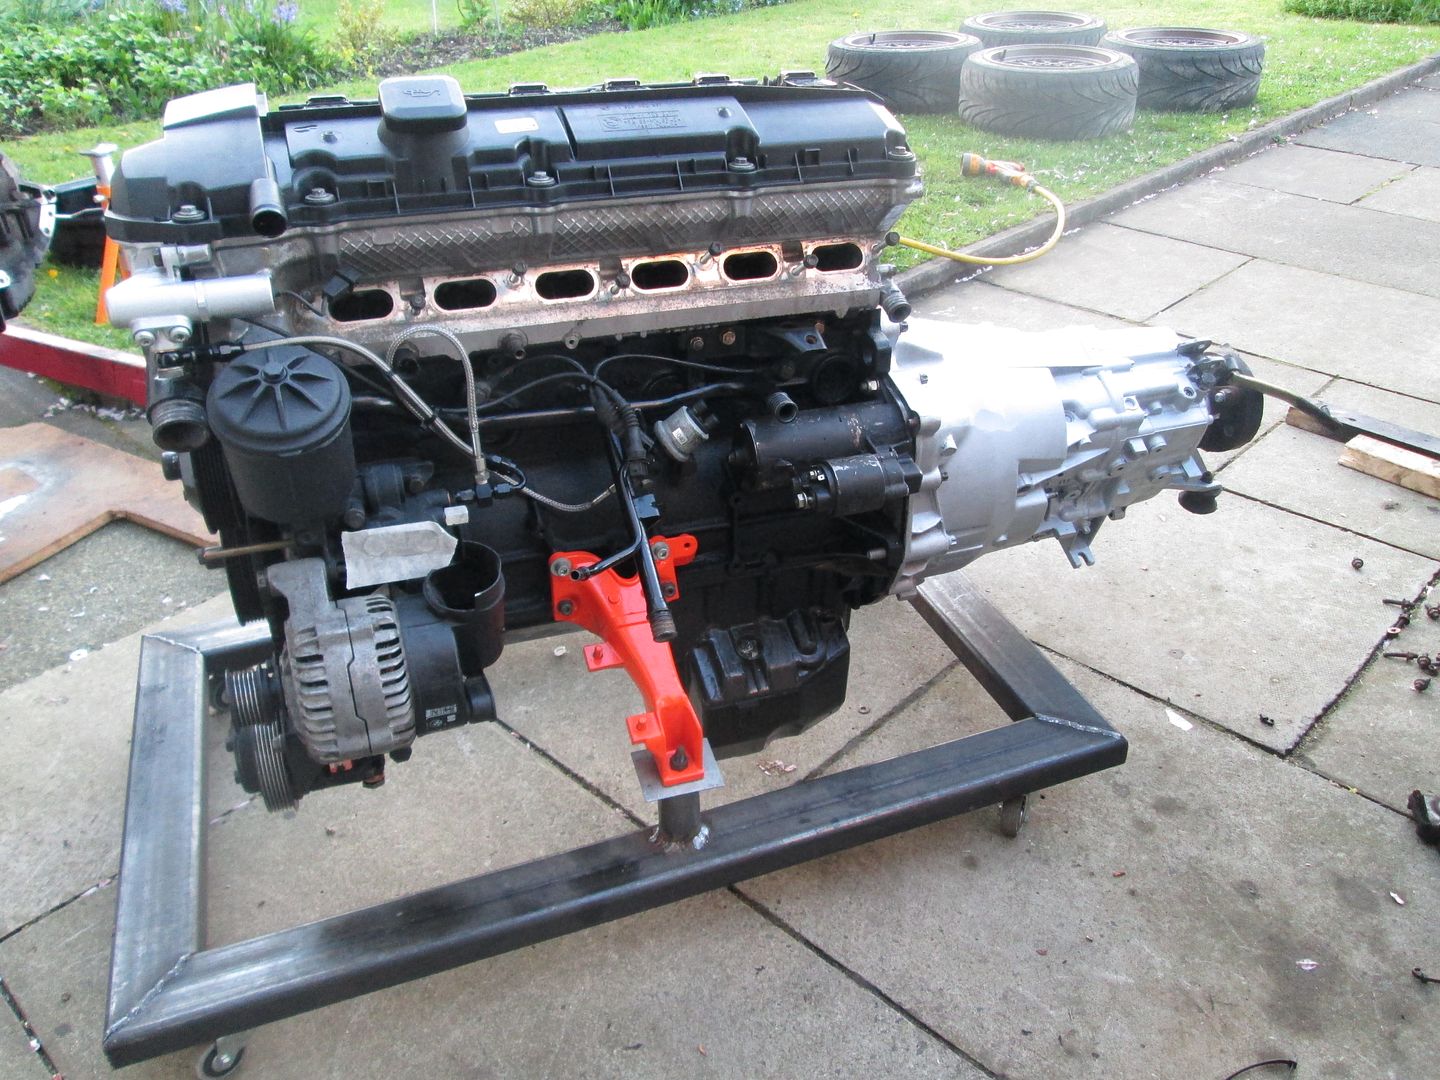
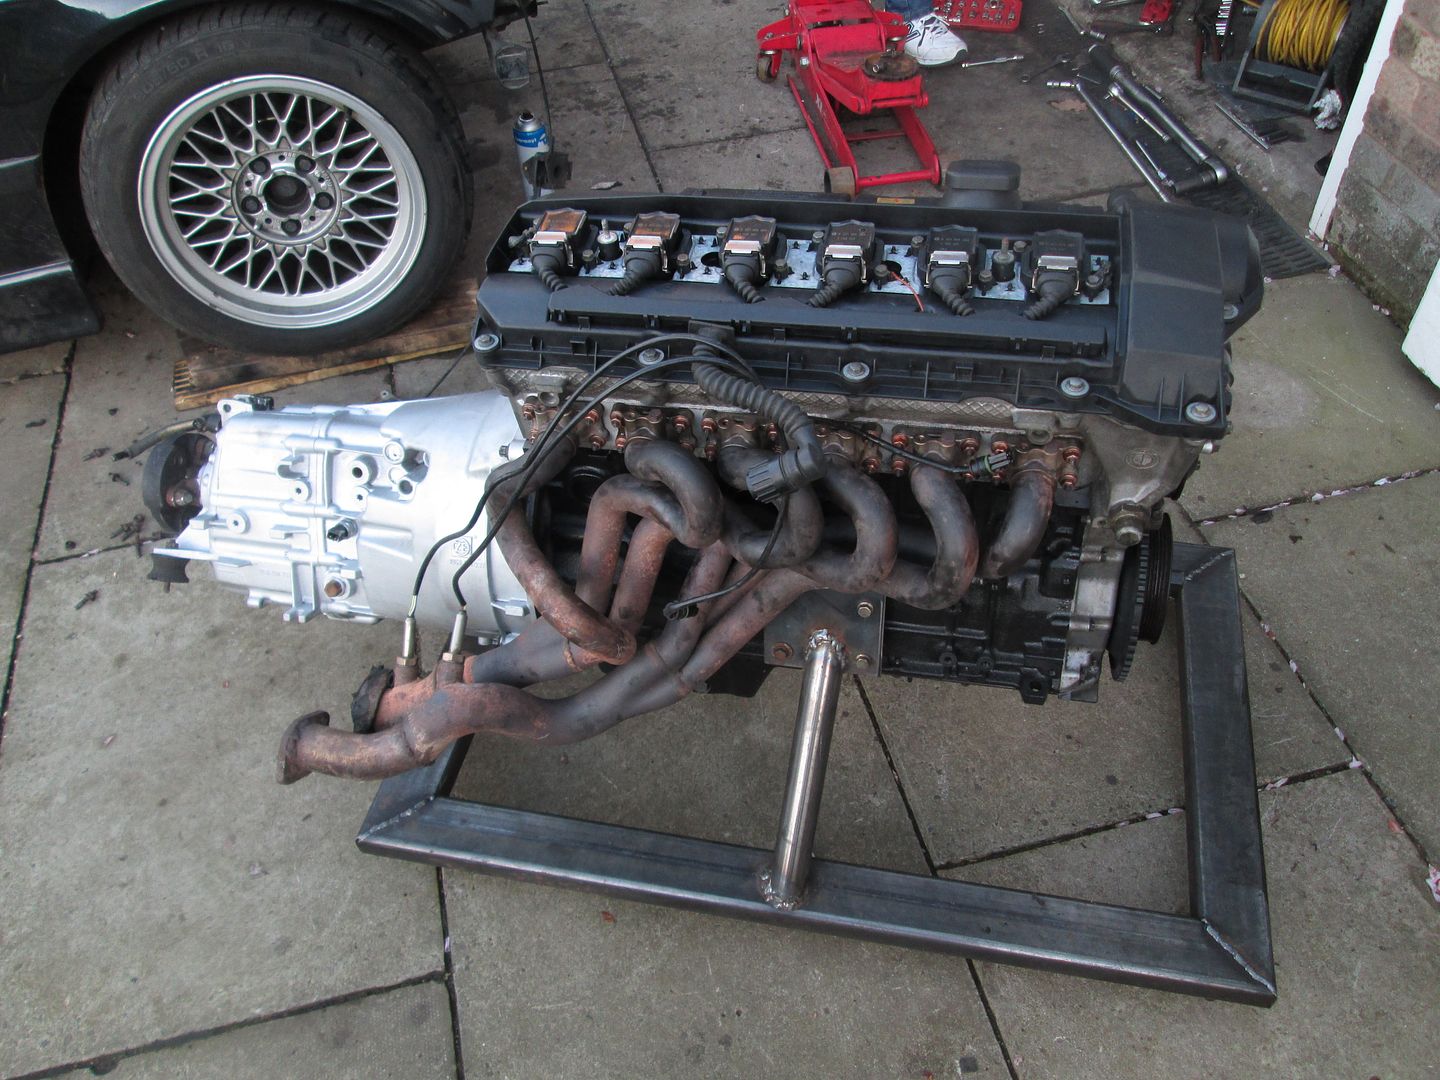
The gearbox was cleaned up, given a coat of paint and fitted to the engine along with a couple of new shifter bushes..
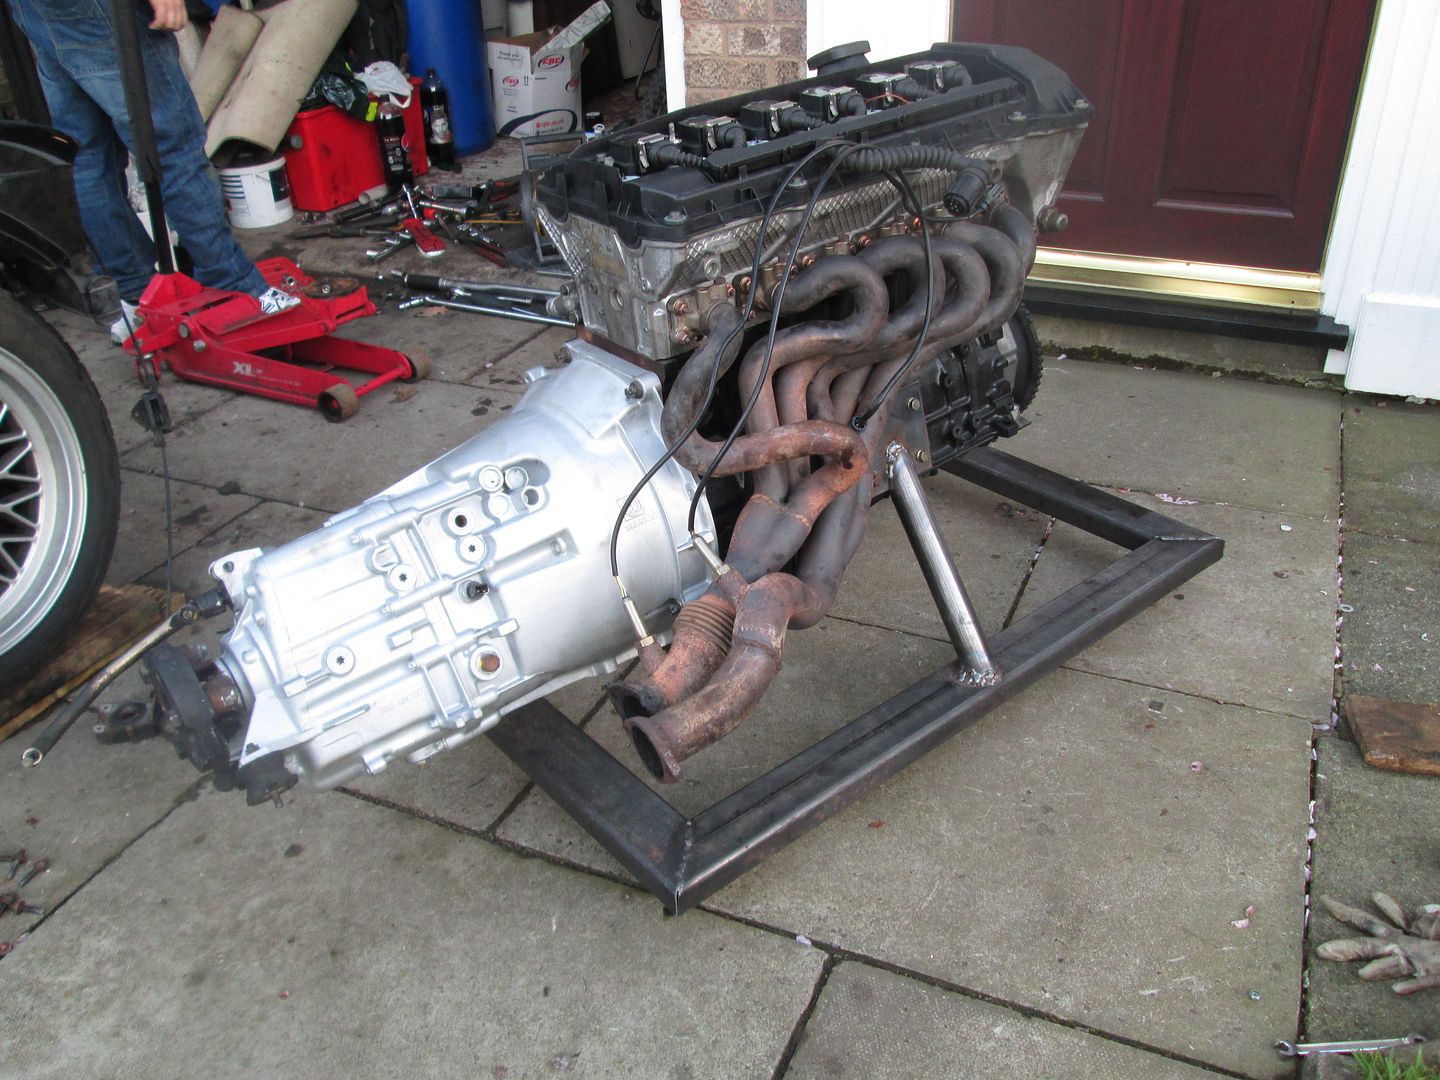
M3 3.2 exhaust manifolds also fitted while the engine was out for ease (modified to work with a standard 328i exhaust) with new nuts on the new studs..
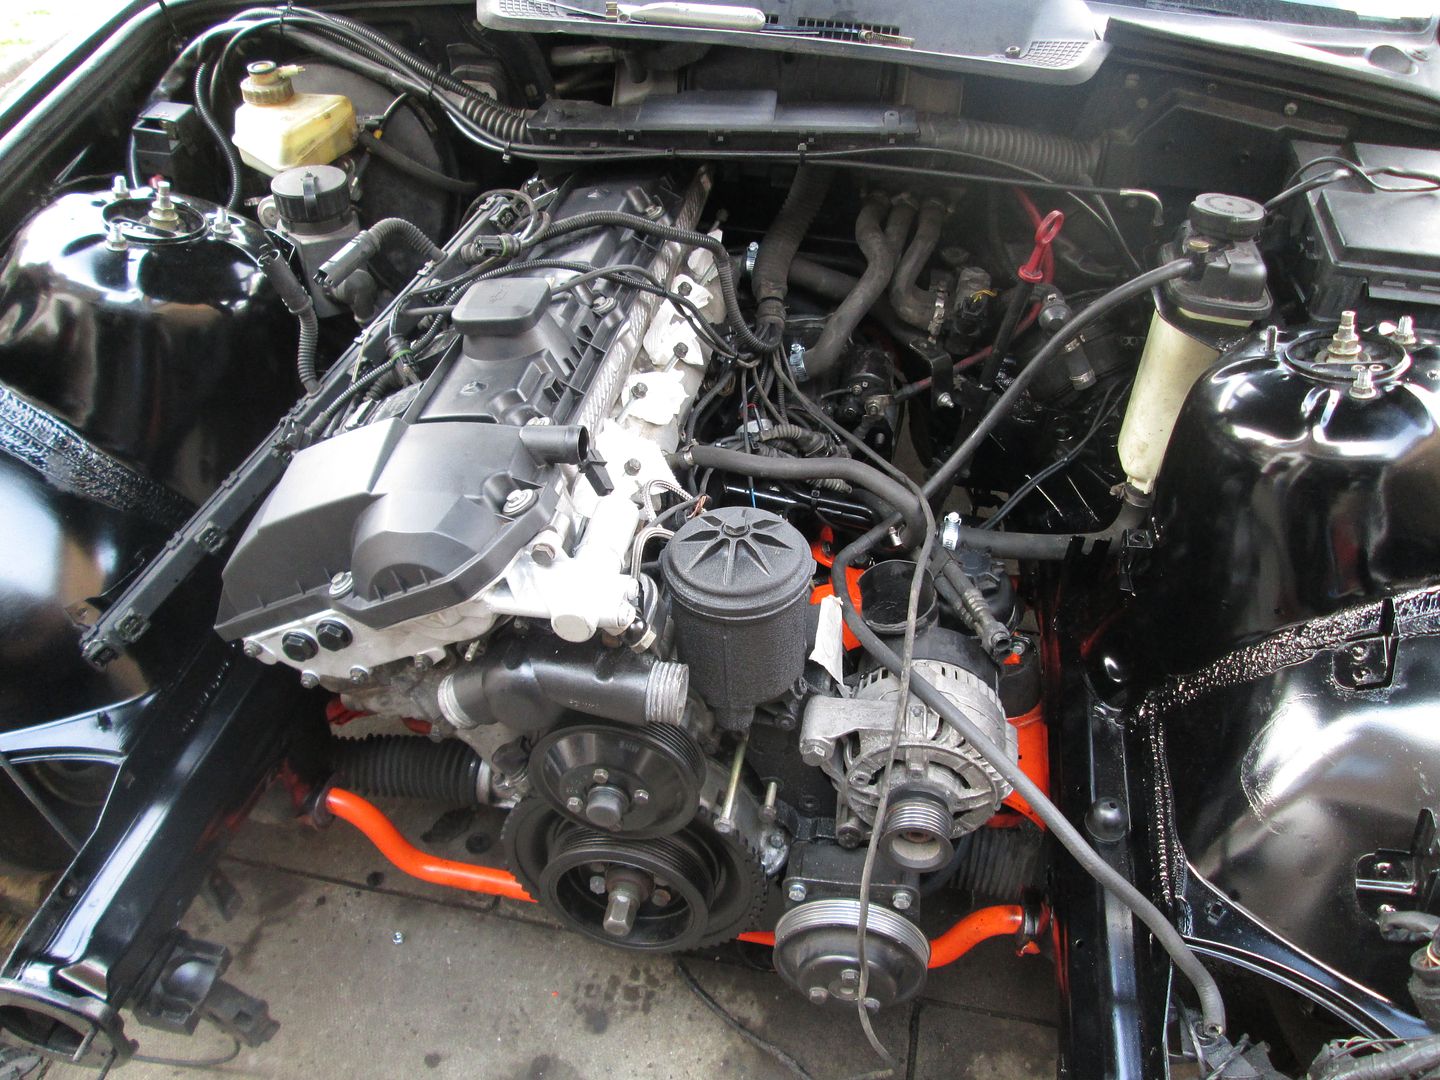
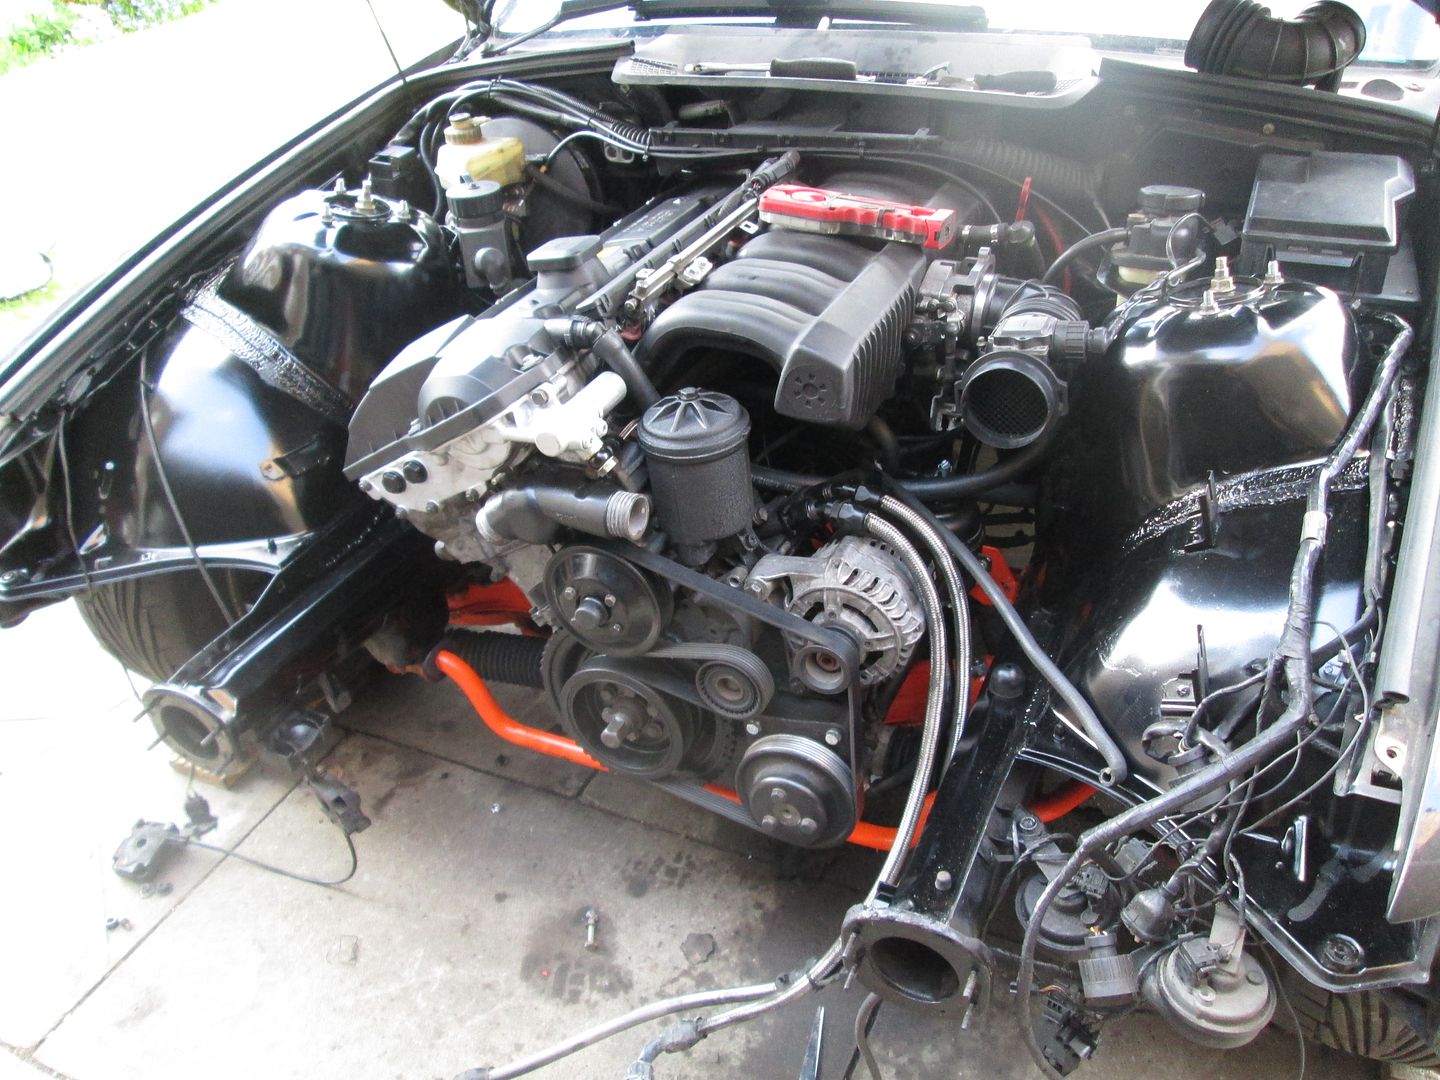
Finally it was lifted in to place and sat on the mounts. The rest of the ancillary setup was fitted, wiring connected, and the pipework under the inlet manifold for the idle control valve replaced. I don't run a PCV breather setup.
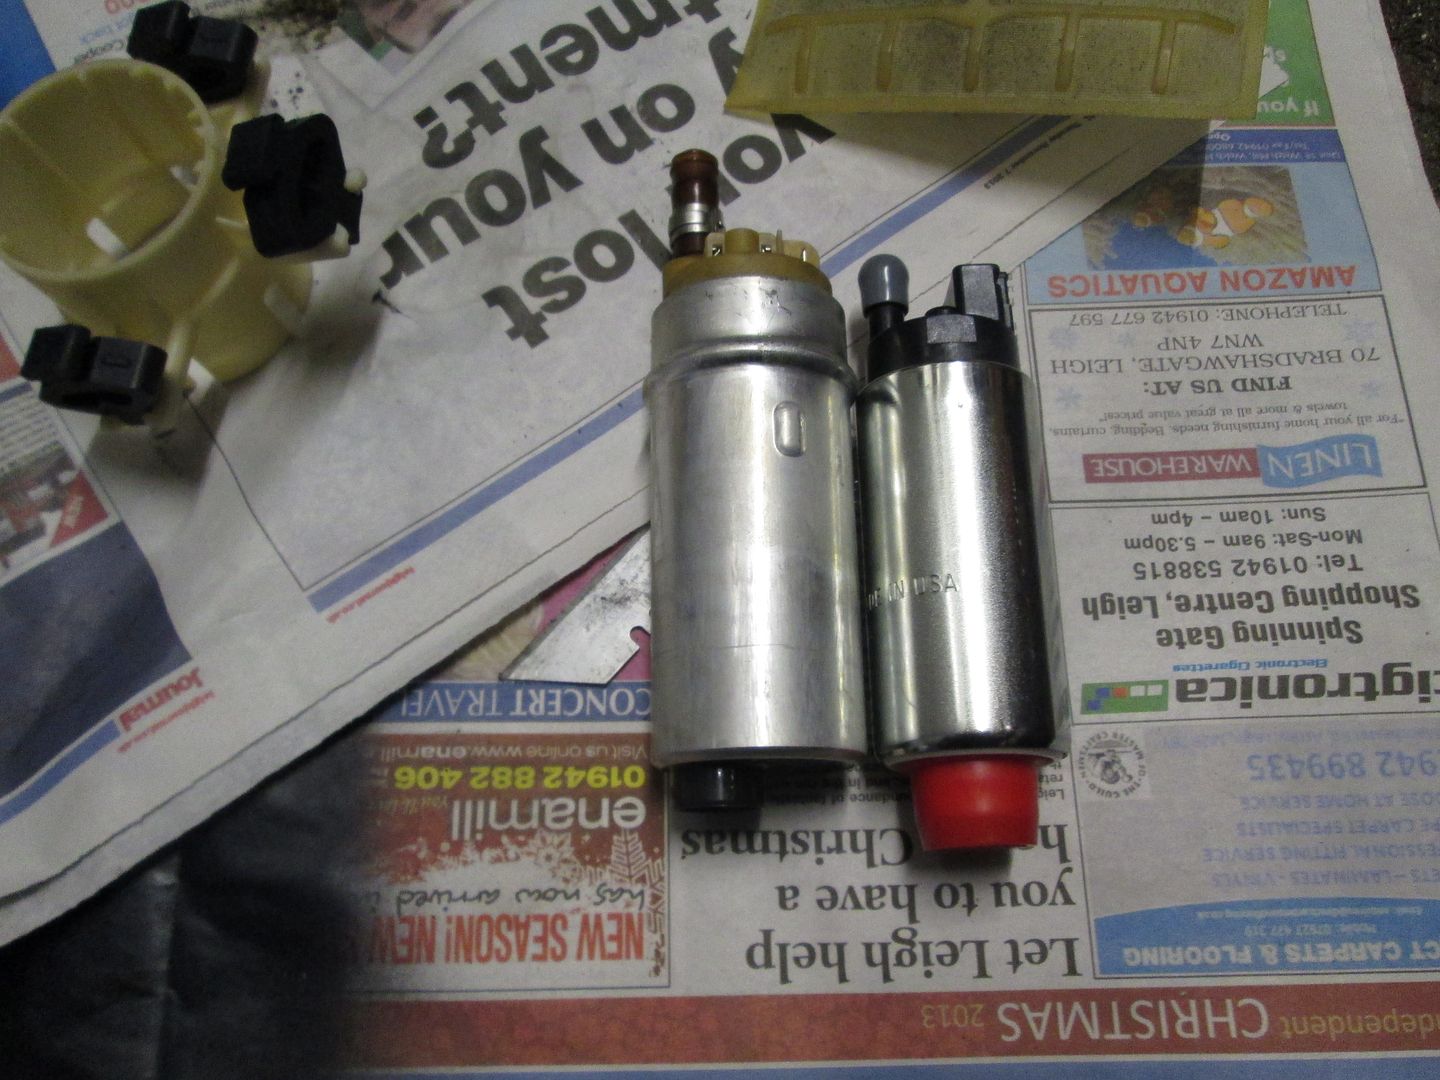
Fuel pump was replaced with a Walbro 255lph unit, considering the old one was original and way past the 200k marker.
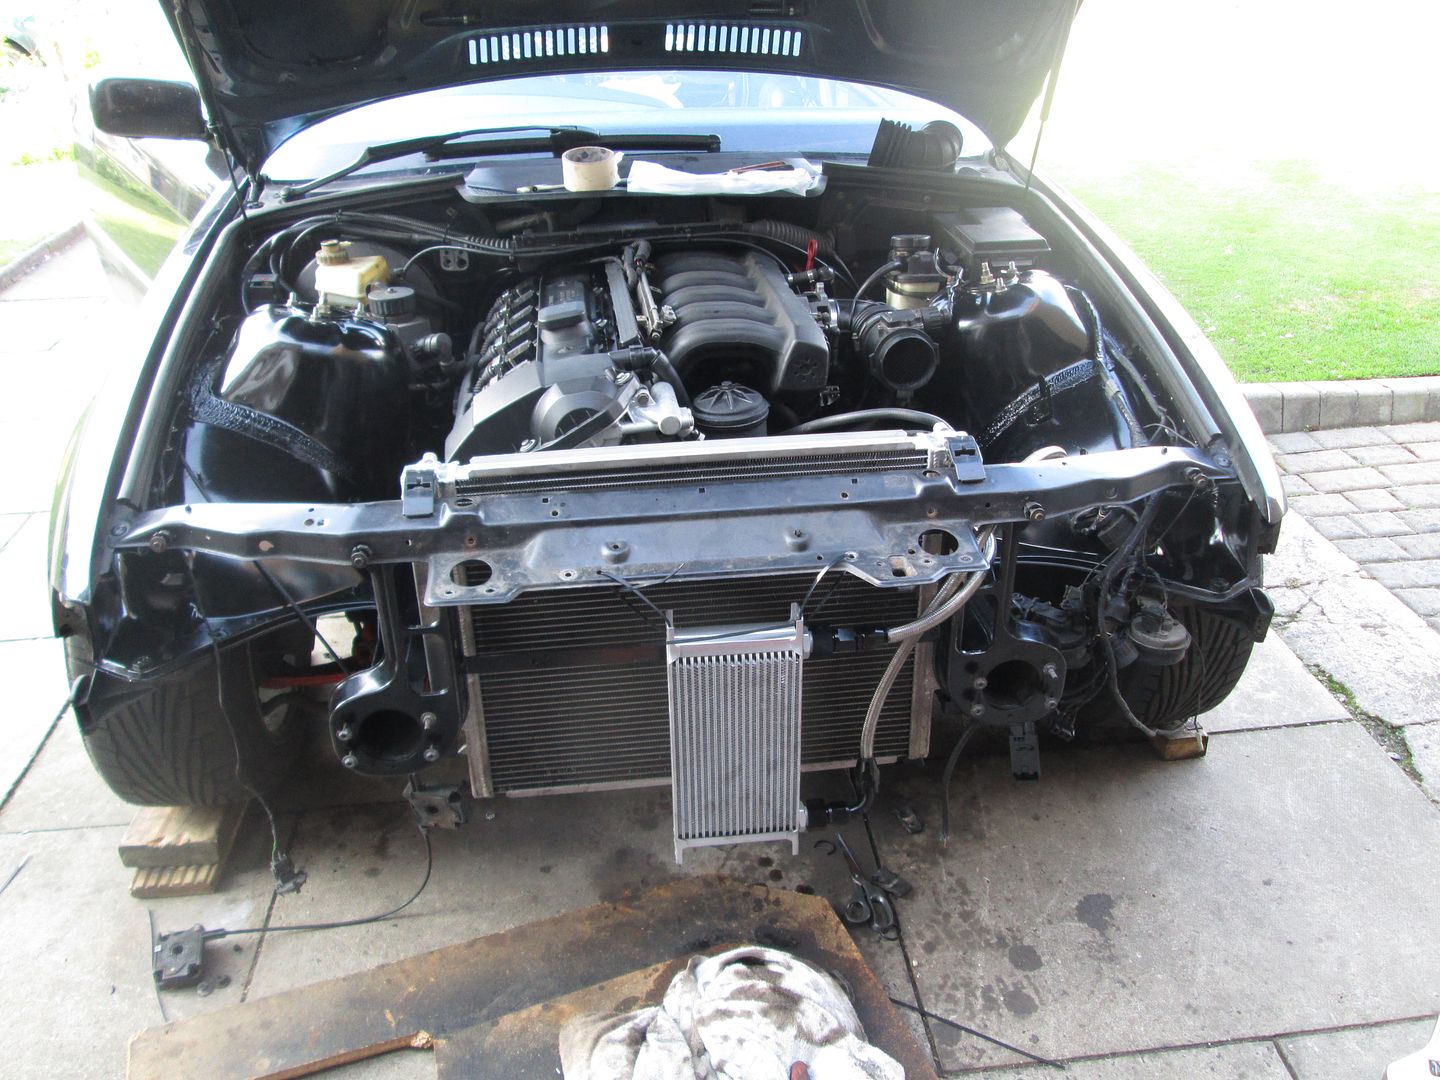
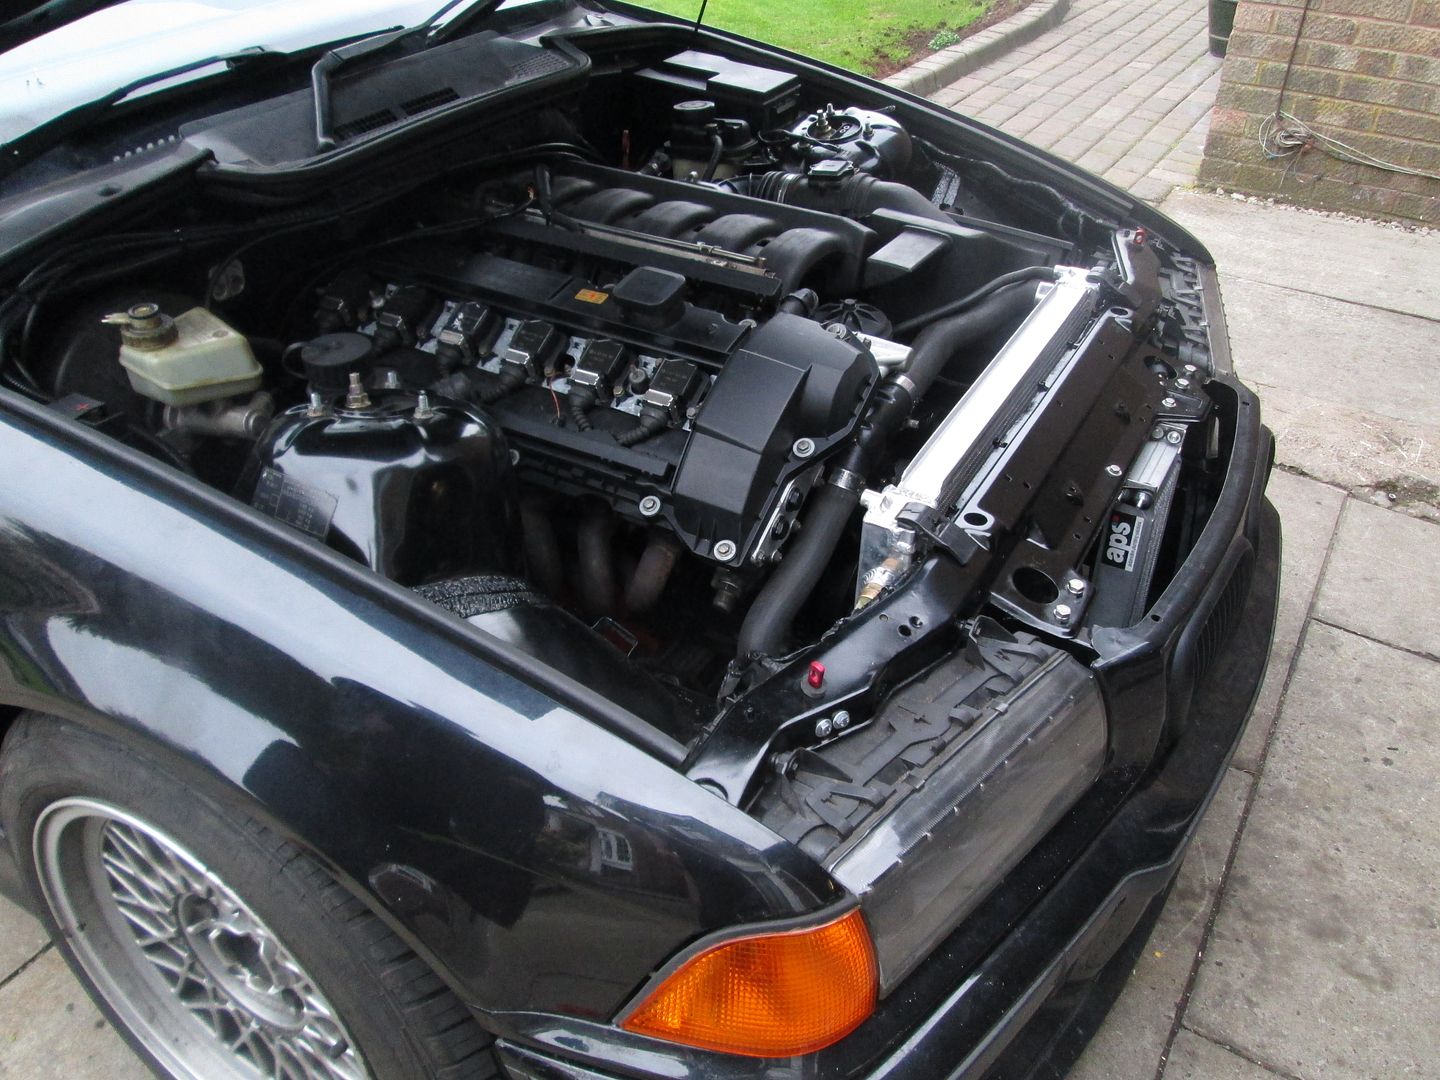
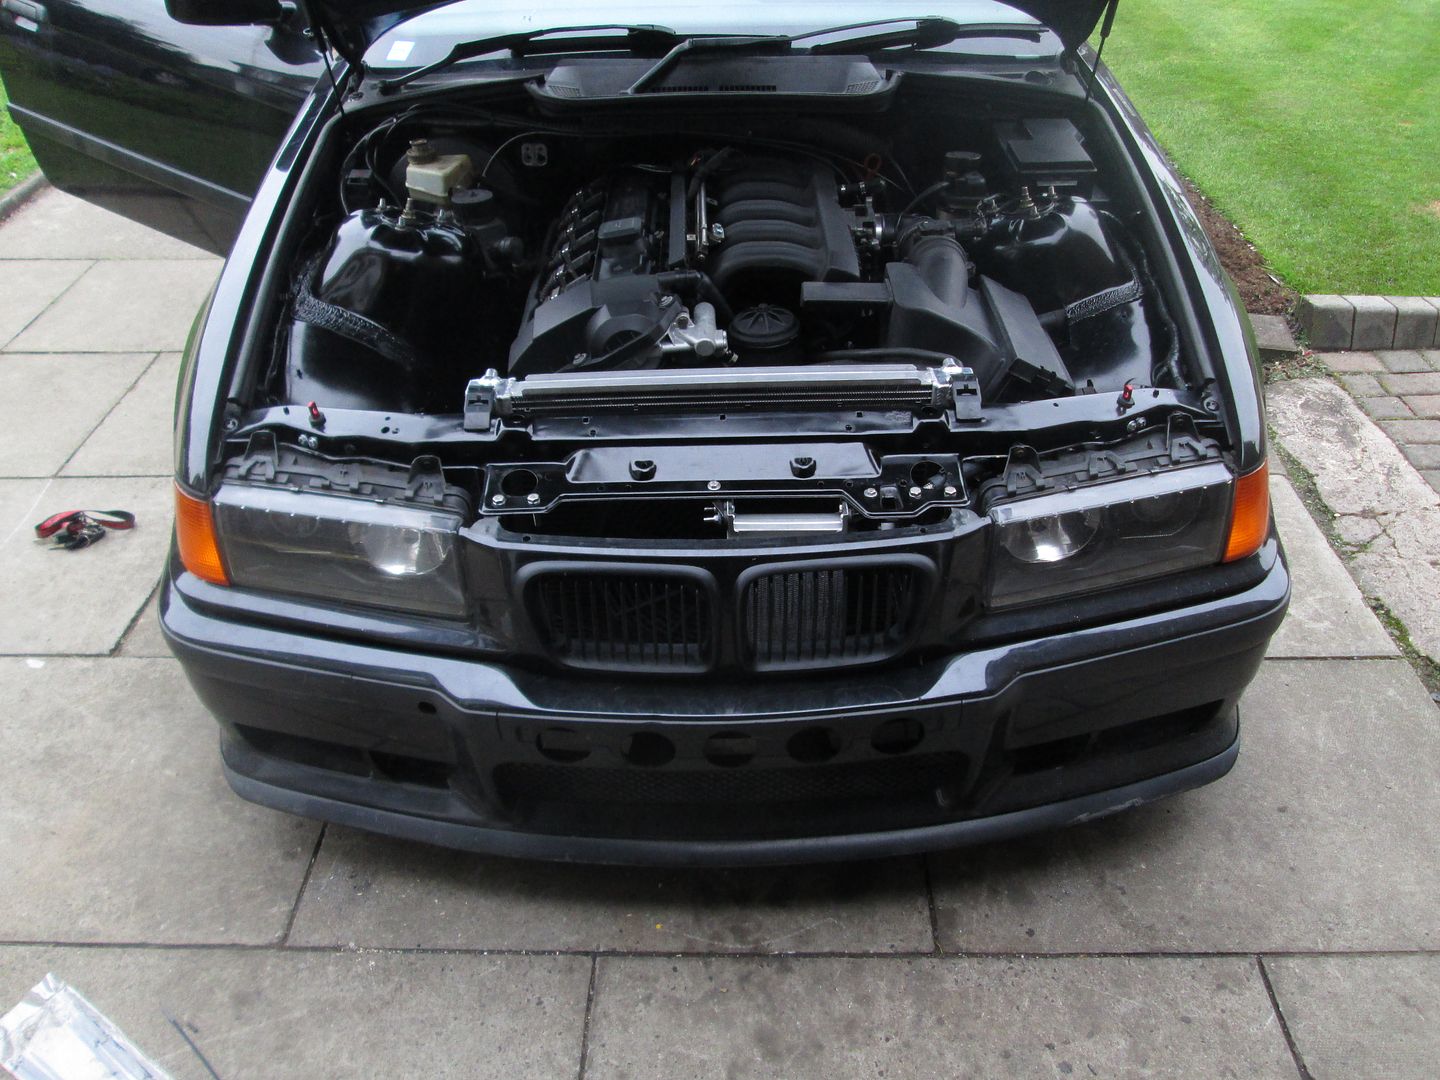
As you may notice from the pictures, I don't run a standard radiator setup. Its actually an M3 radiator with a header tank from a different model, mounted at the back of the engine bay. The front end was left half assembled in case there were any issues..
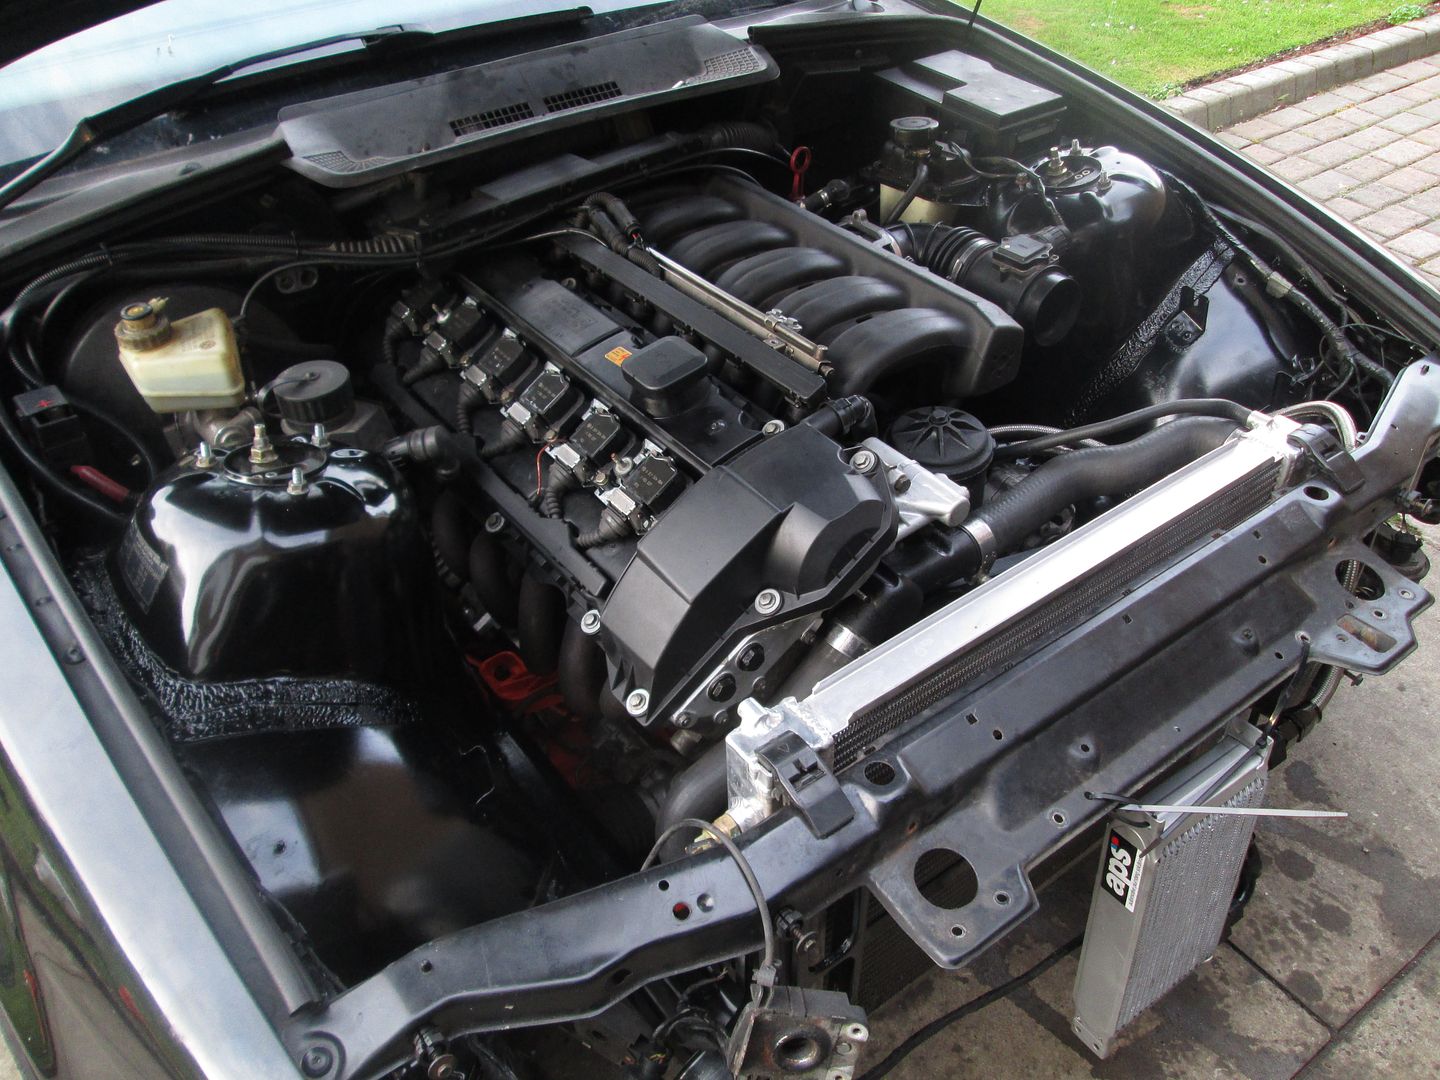
With everything connected, mineral oil in the engine and other fluids filled, it was ready to run. Cranked it over without the ECU to build some oil pressure, then..
https://www.youtube.com/watch?v=nn4wX-Pdm3o
After running it for a short period of time to check for any leaks, all seemed OK, so the rest of the front end was assembled. The oil cooler was properly mounted from all four points, with some rubber bushes..
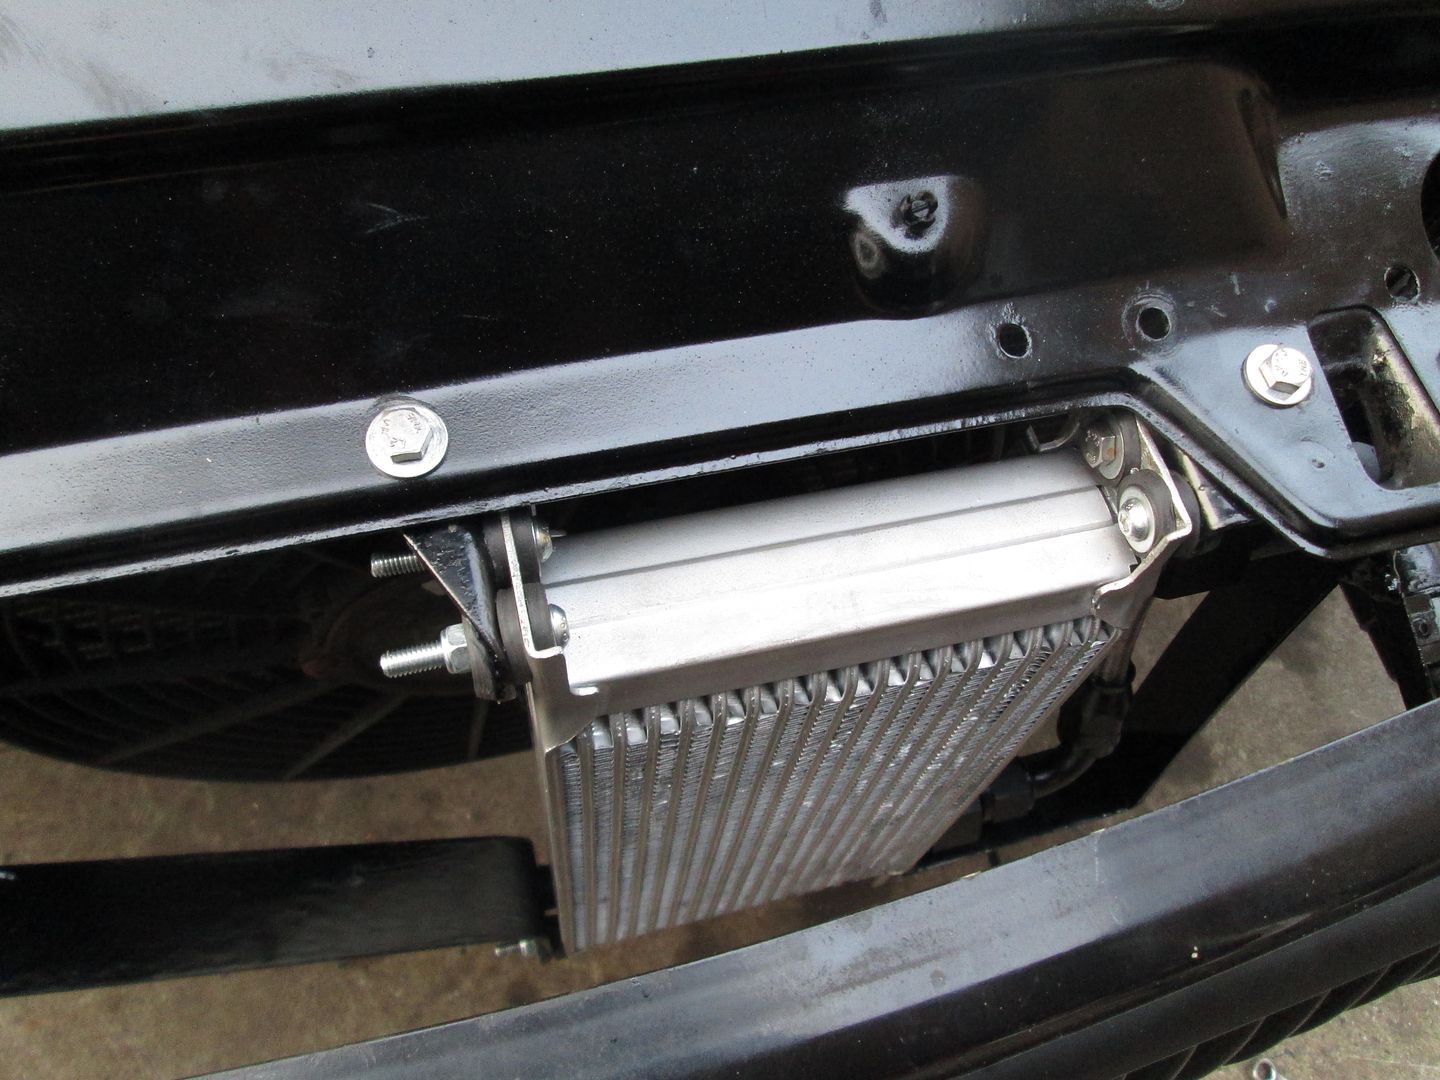
Oil lines routed and protected..

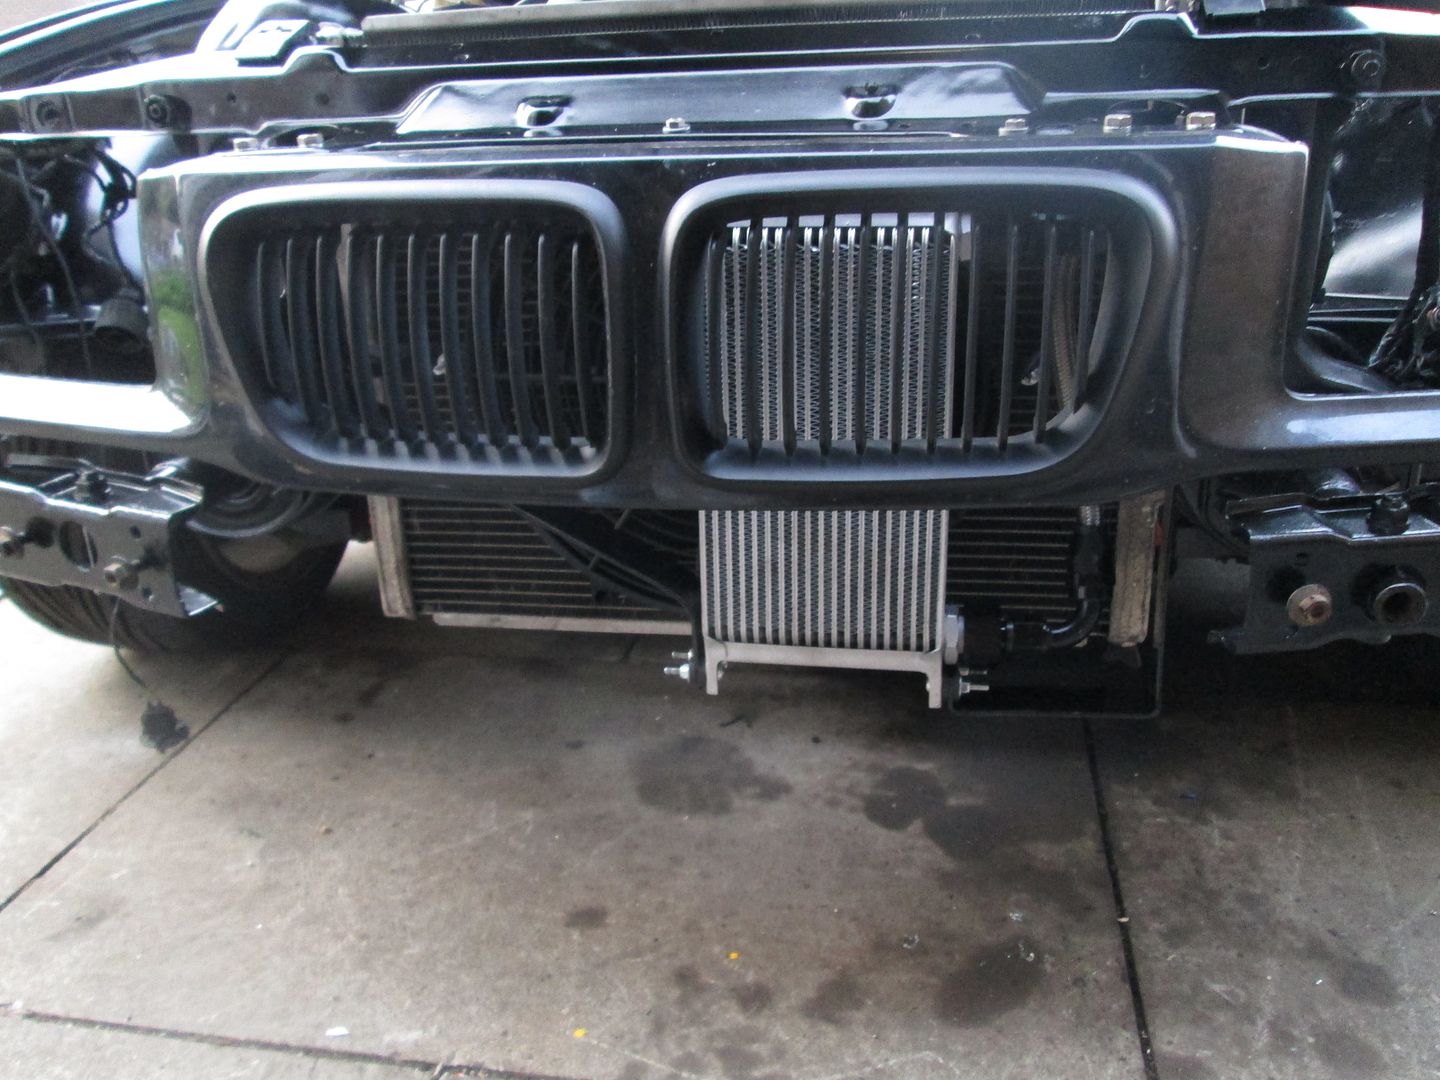
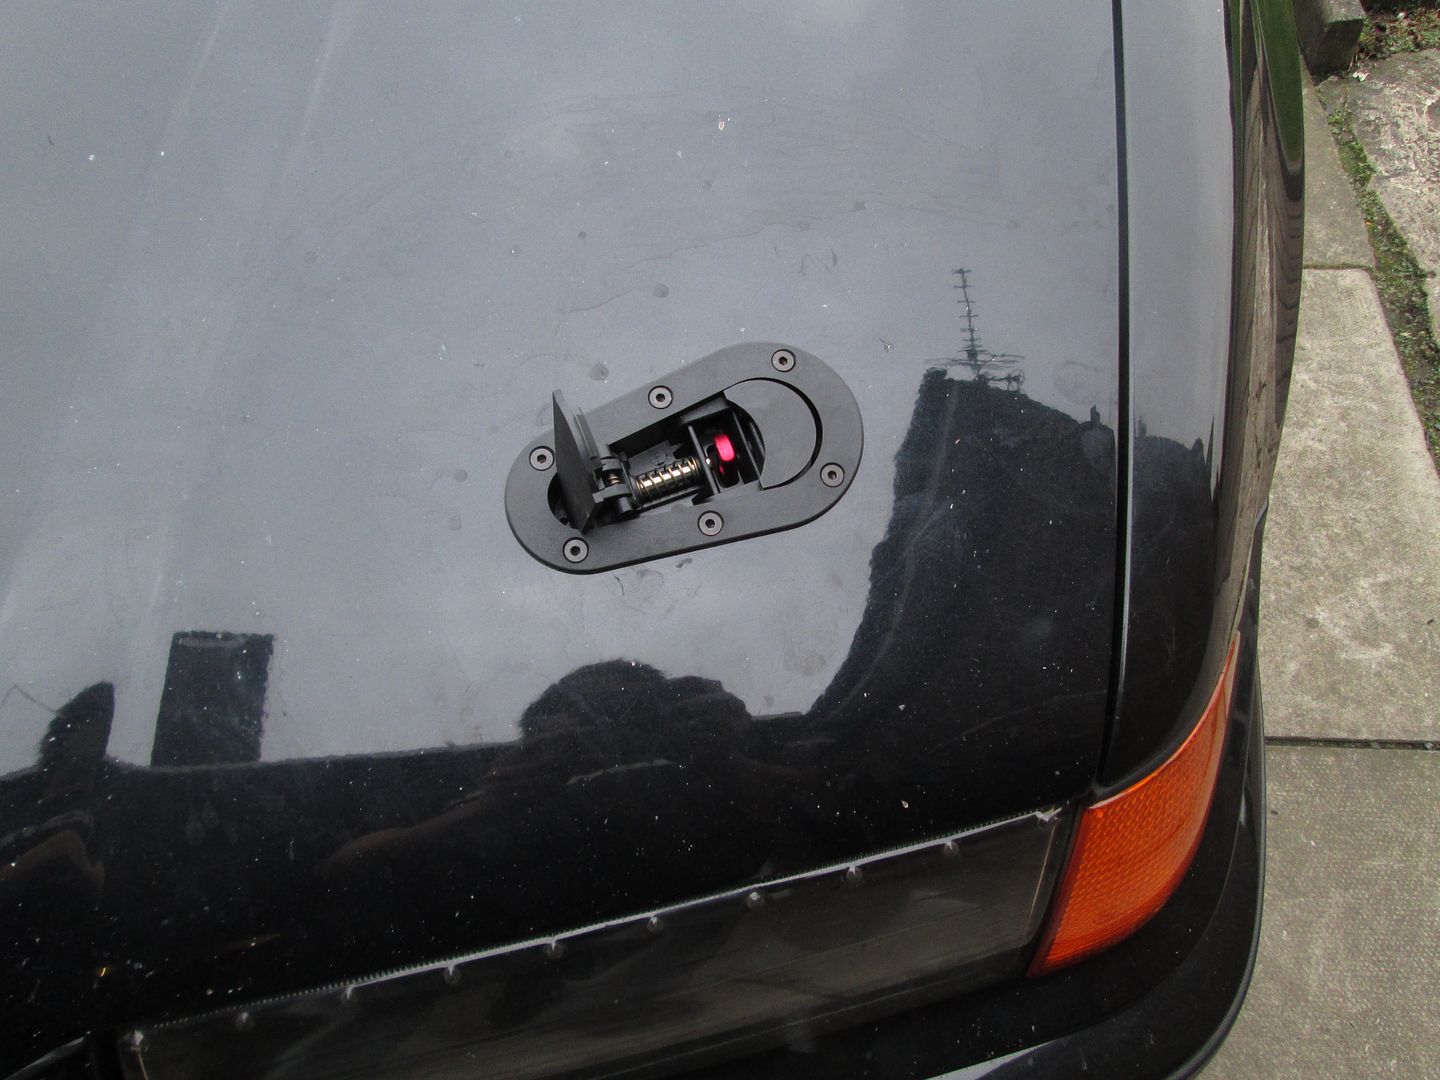
Due to the way the oil cooler was now fitted, and the position of the oil lines, the standard bonnet catches were a bit too close. Instead, I decided to fit some aerocatches I had from a previous car.
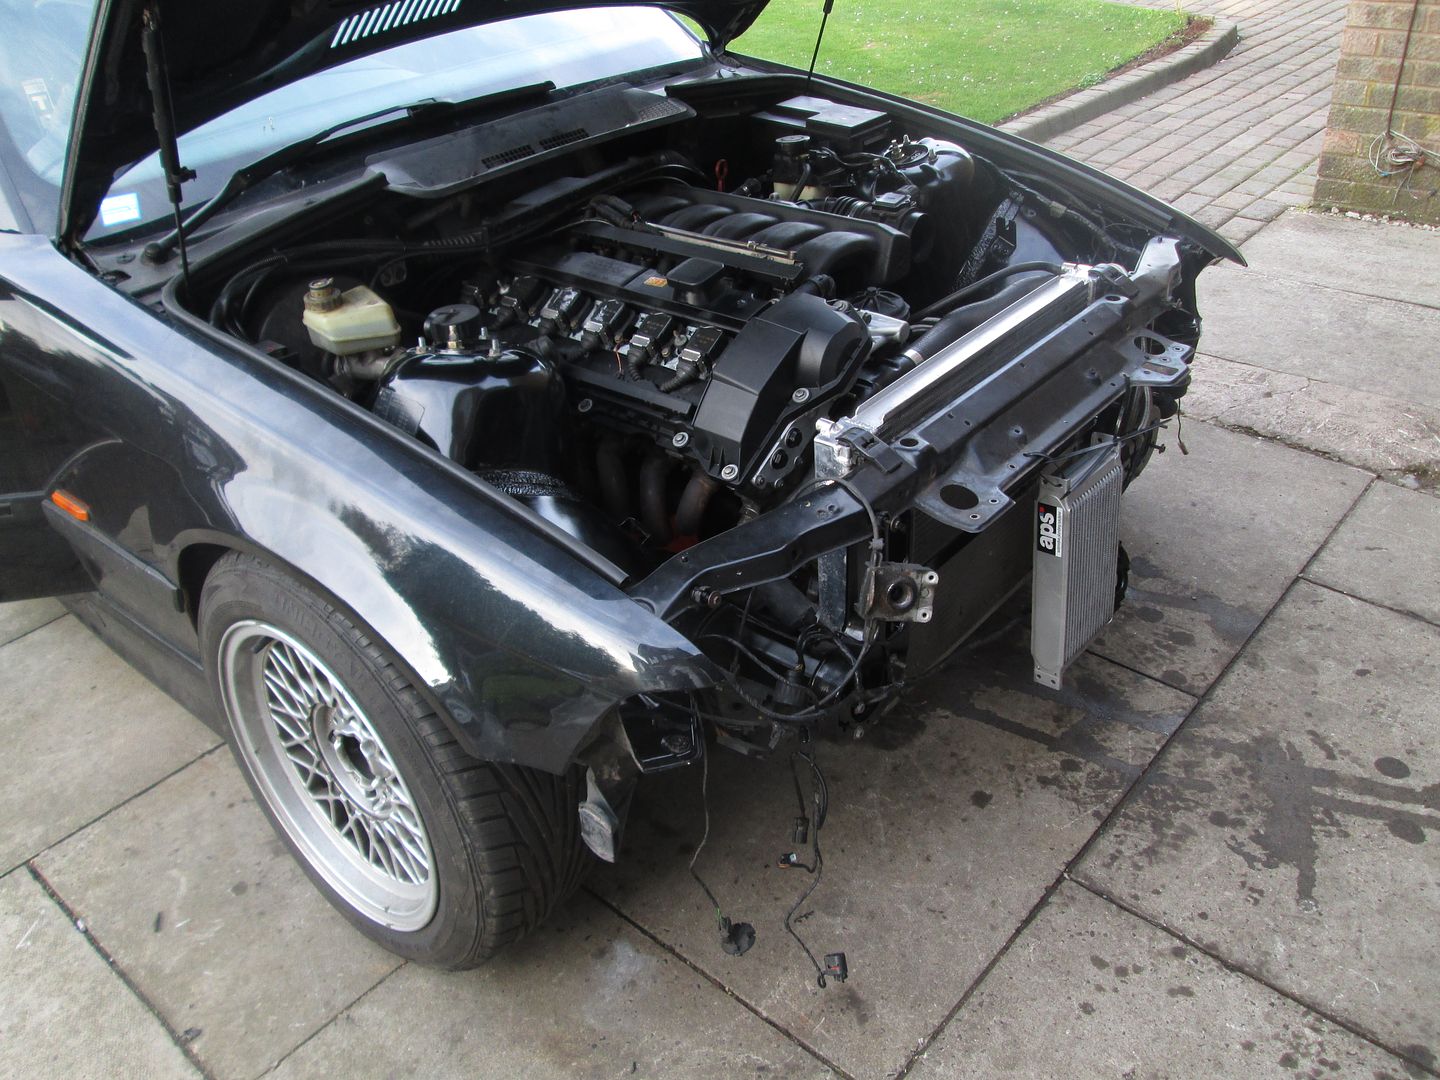
The standard airbox and front bumper were put back on..
Then the engine just needed some running in miles to see how everything went...


After approximately 750 miles of opening the engine up, the mineral oil was dropped and changed. Everything seemed well, engine was much stronger and no more oil blowby. Next job was to get it back out on track...
So in the end it was a good 50kg lump of scrap iron. Luckily I managed to recoup the loss of purchasing that by selling the rotating bottom end assembly. After a couple more weeks, I managed to source a pair of good condition M50 blocks, both already stripped down and very cheap.
One was picked, which then went to be decked and honed again. The other was kept as a spare.
The M52 aluminium block was stripped of its parts, then the same process repeated for the M50 iron block. Surfaces cleaned, Plastigauged, then assembly grease..
Ring gaps checked again, each one fitted and connected with another new set of rod bolts..
There are a few slight differences with the M50 iron block (aside from the weight increase). The piston oil jets are different, they sit under the bearing journal instead of being separate..
The windage/baffle plate is different, as the iron block does not have the support webbing that the aluminium one does. This means the oil pump pickup mounting is in a different place. A few spot welds drilled out on the M52 item and then welded onto the M50 item in the correct place wasn't too much work. You also have to knock a bit of shape into the far two channels of the plate, otherwise the rod caps will touch the plate. This is due to the M52 crank having a longer stroke than the M50. Easily done once assembled though.
Lastly one of the oil pump bolts is in a slightly different location, by all of 1mm. This is sorted by opening the hole up on the oil pump, plenty of material available to do so. You could also use an M50 pump to get around the above two issues, but I didn't have one and I knew the M52 item had been cleaned/rebuilt. The sump, chain guides, chains and timing covers were then also fitted..
Back onto the lower stand, and another new headgasket. Head dropped on and torqued down to the M50 iron block specification, everything held well this time.
The hydraulic tappets were then fitted, along with the cam trays, cams and caps. All with plenty of assembly grease again.
The engine was then timed up, along with new tensioner springs..
VANOS unit was pulled apart and seals replaced..
The VANOS unit was then installed onto the head, with a new gasket..
New crank seals at both ends, with a new crank bolt and torqued to spec..
Metal impeller water pump, low temperature thermostat, new rocker cover gasket and the main timing pulley..
With the engine complete, all that was left to do is actually put it into the car. The old +200k motor was pulled out..
The flywheel and clutch set up were removed, and fitted to the new engine. This consists of an M20 325i flywheel, and a Sachs clutch. Contrary to popular belief, you do not need a taller release bearing to make this work if you are using the ZF (standard 328i and M3) transmission. It all works fine.
I also fitted the oil filter housing (with a new gasket) and various other bits before the engine went into the car. The oil filter housing had been previously changed to one from an M3, as I ran an oil cooler on the old engine, along with auxiliary oil pressure/temperature gauges. The 'new' VANOS oil feed line was also swapped, previously in use on the old engine also.
So from a while back, the M3 Oil Cooler fitting > -AN10 adaptor..
..and matching lines that were made up.
I previously ran a 13 row cooler, but with the new engine have gone to a new 19 row for the relative low cost..
The gearbox was cleaned up, given a coat of paint and fitted to the engine along with a couple of new shifter bushes..
M3 3.2 exhaust manifolds also fitted while the engine was out for ease (modified to work with a standard 328i exhaust) with new nuts on the new studs..
Finally it was lifted in to place and sat on the mounts. The rest of the ancillary setup was fitted, wiring connected, and the pipework under the inlet manifold for the idle control valve replaced. I don't run a PCV breather setup.
Fuel pump was replaced with a Walbro 255lph unit, considering the old one was original and way past the 200k marker.
As you may notice from the pictures, I don't run a standard radiator setup. Its actually an M3 radiator with a header tank from a different model, mounted at the back of the engine bay. The front end was left half assembled in case there were any issues..
With everything connected, mineral oil in the engine and other fluids filled, it was ready to run. Cranked it over without the ECU to build some oil pressure, then..
https://www.youtube.com/watch?v=nn4wX-Pdm3o
After running it for a short period of time to check for any leaks, all seemed OK, so the rest of the front end was assembled. The oil cooler was properly mounted from all four points, with some rubber bushes..
Oil lines routed and protected..
Due to the way the oil cooler was now fitted, and the position of the oil lines, the standard bonnet catches were a bit too close. Instead, I decided to fit some aerocatches I had from a previous car.
The standard airbox and front bumper were put back on..
Then the engine just needed some running in miles to see how everything went...
After approximately 750 miles of opening the engine up, the mineral oil was dropped and changed. Everything seemed well, engine was much stronger and no more oil blowby. Next job was to get it back out on track...
Edited by f0xy on Saturday 3rd January 19:33
f0xy said:
More to come on that shortly - whether that was a contributing factor or not who knows, at the time the leak down test was OK but this head ends up being scrapped anyway... 
Hmmm sorry but it was the only thing in the thread that really popped out at me - rest looked like great workMain reason was I wanted a 'new' engine, at the time I wasn't chasing power and just wanted to learn about this particular series of engine. I've previously done a number of 4 cylinder rebuilds on other track day cars I've had, so this was a bit different. Also the relative cost of a rebuild (even with the issues) is much less than the price people are selling the S50's for..
Yeah, in hindsight it would have been much easier to start with an M3, well apart from the initial purchase price also considering this was circa £1k, but I wouldn't have learnt anything. The chassis/setup was done quite a way before all this engine stuff, so I already had a good base, just an old engine at the time
So with the engine run in and a day at Oulton Park (my local circuit) booked, I had the alignment checked and headed over.

https://www.youtube.com/watch?v=R33OFQ0PnGk
The engine seemed to go well, oil pressure good, water temperature good, but if anything oil temperature was a tad higher than with the old engine by a few degrees. Thought nothing of it, until the day was over and the engine developed a slight miss fire. Once I had the car home, I plugged the laptop in and there was a fault logged for missfire on cylinder 1. I checked the plug, coil pack and injector. Swapped out each in turn but the miss fire remained. A quick compression test revealed..

All other cylinders were bang on as expected. Obviously a problem internally with cylinder 1 somewhere. I pulled the engine back out..

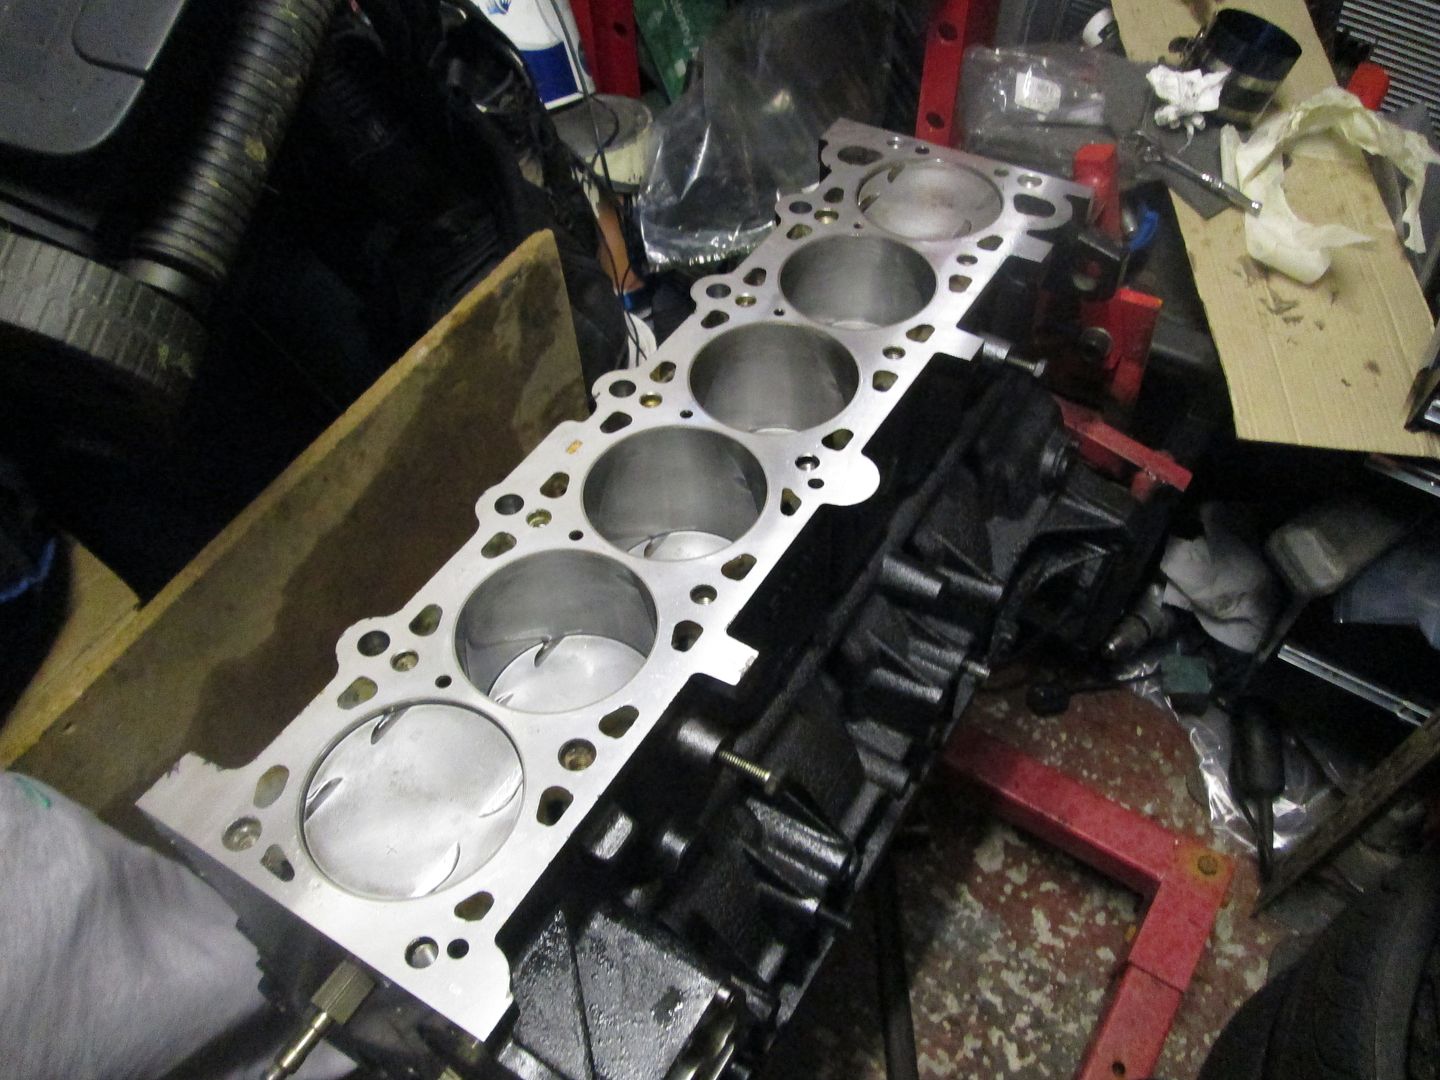
To reveal some discolouration on cylinder 1, looking like its been lean. Head off..
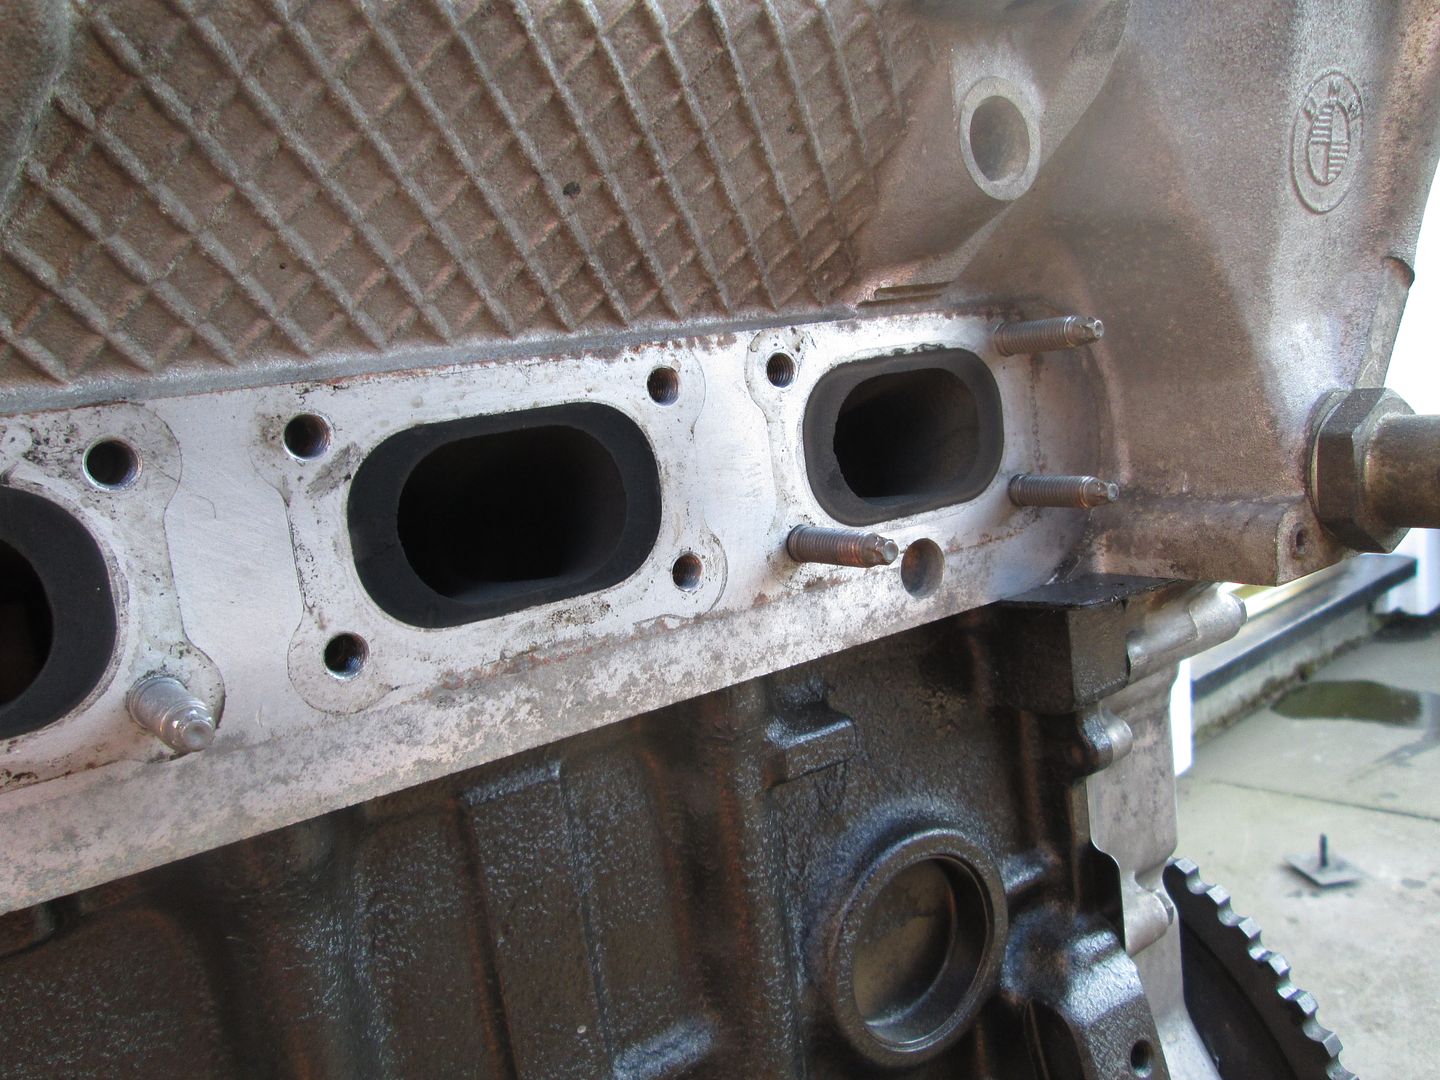
Pulled the pistons out of the block to reveal..
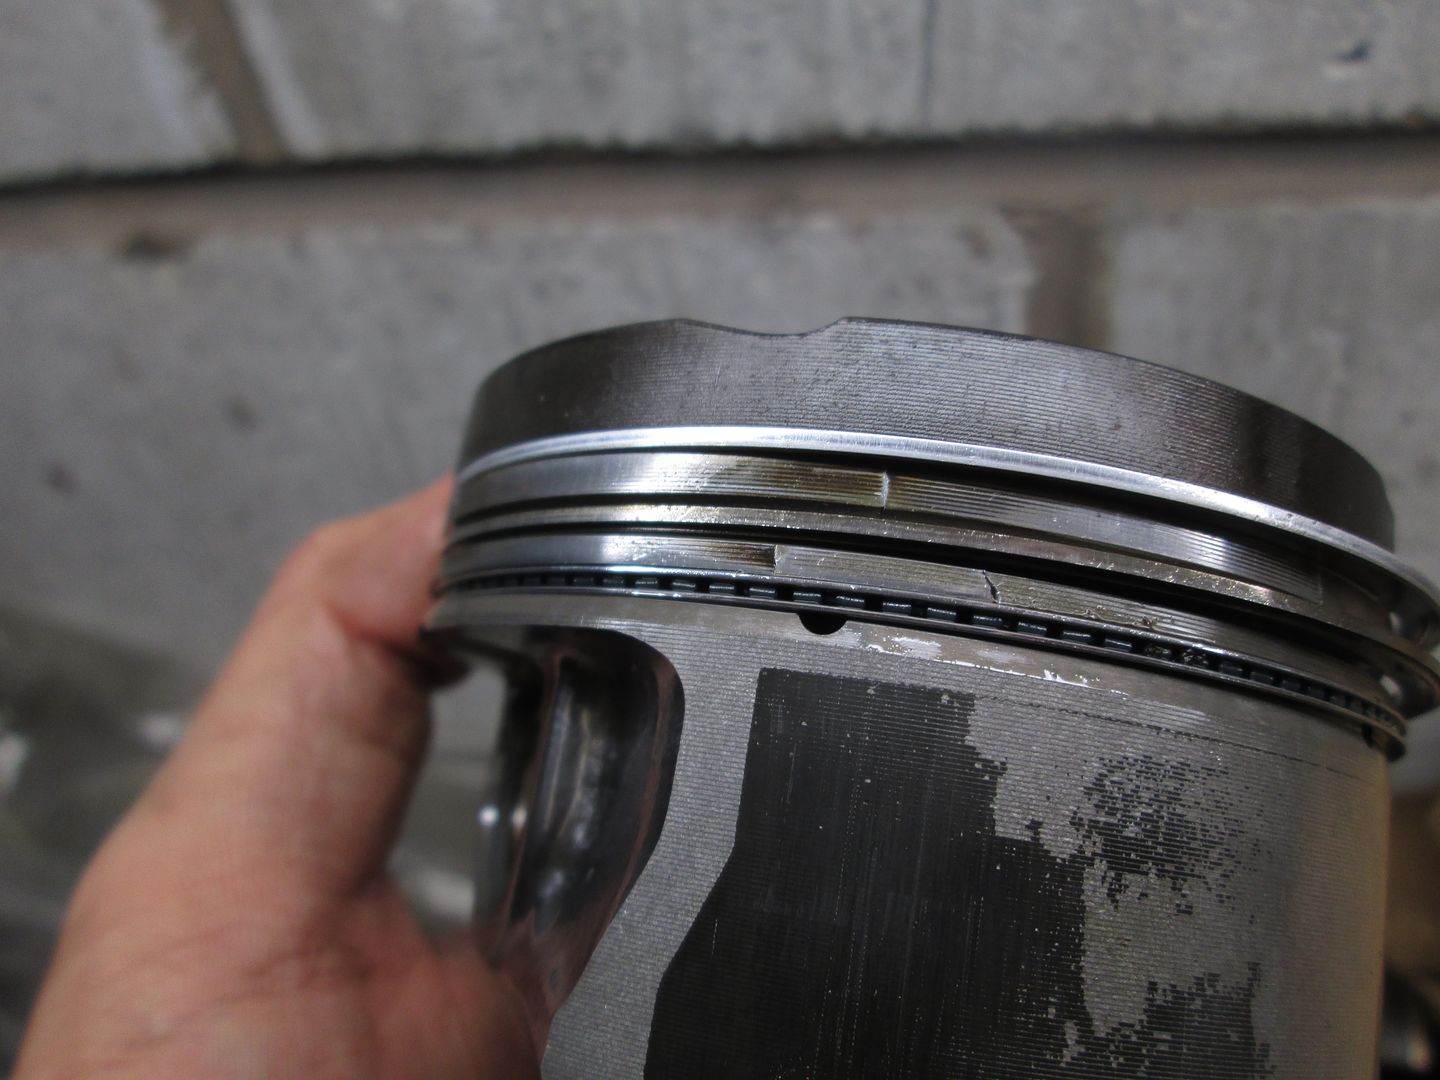
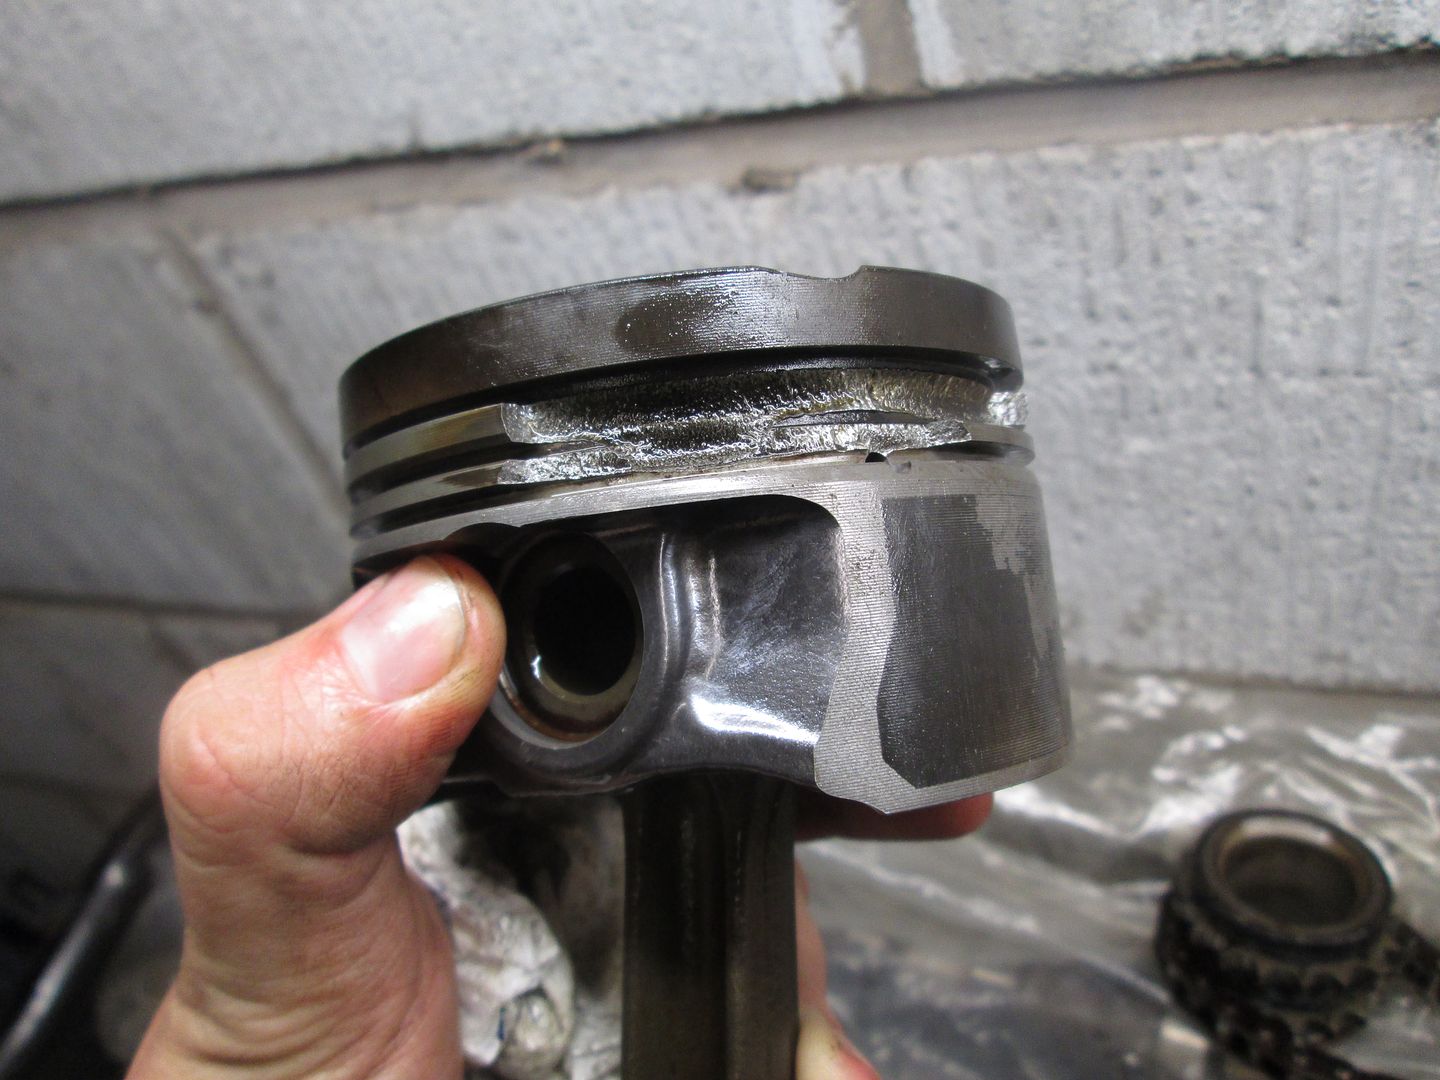
So its just been a bit lean then...... Whether there was an issue with the head, or gasket, or an injector had an issue, or the piston was damaged beforehand? Who knows. They were all checked again before installation and none looked to have an issue.
Ended up putting it down to bad luck... but at the time I didn't know whether to break the car for parts, or carry on and get another second hand engine, or do something a bit different...
https://www.youtube.com/watch?v=R33OFQ0PnGk
The engine seemed to go well, oil pressure good, water temperature good, but if anything oil temperature was a tad higher than with the old engine by a few degrees. Thought nothing of it, until the day was over and the engine developed a slight miss fire. Once I had the car home, I plugged the laptop in and there was a fault logged for missfire on cylinder 1. I checked the plug, coil pack and injector. Swapped out each in turn but the miss fire remained. A quick compression test revealed..
All other cylinders were bang on as expected. Obviously a problem internally with cylinder 1 somewhere. I pulled the engine back out..
To reveal some discolouration on cylinder 1, looking like its been lean. Head off..
Pulled the pistons out of the block to reveal..
So its just been a bit lean then...... Whether there was an issue with the head, or gasket, or an injector had an issue, or the piston was damaged beforehand? Who knows. They were all checked again before installation and none looked to have an issue.
Ended up putting it down to bad luck... but at the time I didn't know whether to break the car for parts, or carry on and get another second hand engine, or do something a bit different...
Edited by f0xy on Saturday 3rd January 20:37
Darn, did you only manage one track day on a rebuilt engine?
You're certainly committed. Seems like a lot of work. However, I've learnt from experience that if you can do a job, do it yourself.
I've not had a great experience recently with a bmw specialist.
Keep at it though, it's a learning curve for sure.
You're certainly committed. Seems like a lot of work. However, I've learnt from experience that if you can do a job, do it yourself.
I've not had a great experience recently with a bmw specialist.
Keep at it though, it's a learning curve for sure.


Dr Imran T said:
Darn, did you only manage one track day on a rebuilt engine?
You're certainly committed. Seems like a lot of work. However, I've learnt from experience that if you can do a job, do it yourself.
I've not had a great experience recently with a bmw specialist.
Keep at it though, it's a learning curve for sure.
Yep, it literally started miss firing as I got home unfortunately, but learnt a huge amount again just due to the difference with this specific engine like you say.You're certainly committed. Seems like a lot of work. However, I've learnt from experience that if you can do a job, do it yourself.
I've not had a great experience recently with a bmw specialist.
Keep at it though, it's a learning curve for sure.
vx220 said:
Just out of interest, did you measure the weight difference between the aluminium and iron blocks?
Cheers
Yeah. The M52 Aluminium block is 22kg. The M50 cast iron block is 40kg. So 18kg difference - although the M20 flywheel is 5kg, and the original DMF is 13kg. So in the grand scheme of things the difference is only 10kg. Saved the weight elsewhere really, one of the posts to come shows how 30kg was saved on changing the stock exhaust!Cheers
Sf_Manta said:
I'd have the block honed assuming that the bores weren't badly damaged.
Good excuse to have low compression pistons in and go with a forced induction setup
The bore looked OK to be honest, I've still got it as a 'spare'. I built another engine after this, which I will post once wrote up Good excuse to have low compression pistons in and go with a forced induction setup
Even if you're not adding more power, it's peace of mind knowing that the weak links in the engine are eliminated for reliability.
Also, do you run a baffled sump? didn't see any mention of baffles, or a oil pressure sensor for a gauge to monitor pressure levels. maybe a thought to invest in.
Sf_Manta said:
Alright, though if you're building an engine for track days, it's probably worth getting decent fixings from ARP for the rods, head and flywheel.
Even if you're not adding more power, it's peace of mind knowing that the weak links in the engine are eliminated for reliability.
Also, do you run a baffled sump? didn't see any mention of baffles, or a oil pressure sensor for a gauge to monitor pressure levels. maybe a thought to invest in.
Yep, I have used ARP fasteners in the bottom end now, as of the newest build (to come). Yeah, I have ran Oil Temp/Pressure gauge since the original engine, the pressure sender can be seen in the picture before the new engine was lifted in Even if you're not adding more power, it's peace of mind knowing that the weak links in the engine are eliminated for reliability.
Also, do you run a baffled sump? didn't see any mention of baffles, or a oil pressure sensor for a gauge to monitor pressure levels. maybe a thought to invest in.
I also now run a wideband and datalogger, which will become clear with the next post. No aftermarket baffle setup no, just the standard lower baffle in the standard sump...olly22n said:
Well get writing it then!
Anymore on the car development before the engine?
Very soon.. its running a 3.15 LSD, along with every part underneath having been replaced.Anymore on the car development before the engine?
Edited by f0xy on Saturday 3rd January 21:52
Gassing Station | Readers' Cars | Top of Page | What's New | My Stuff