Discussion


Are you on the MPSOC Facebook page?
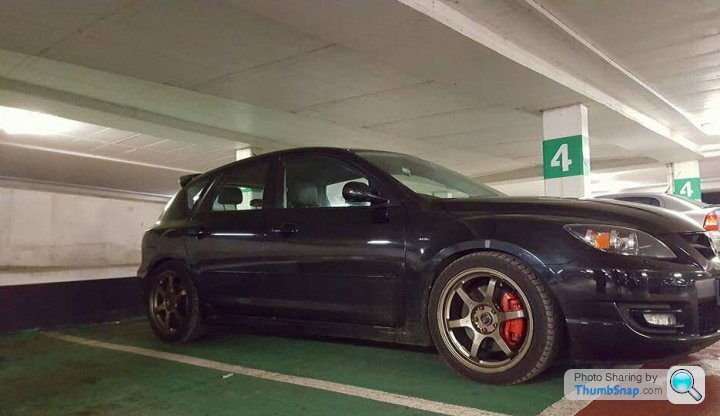
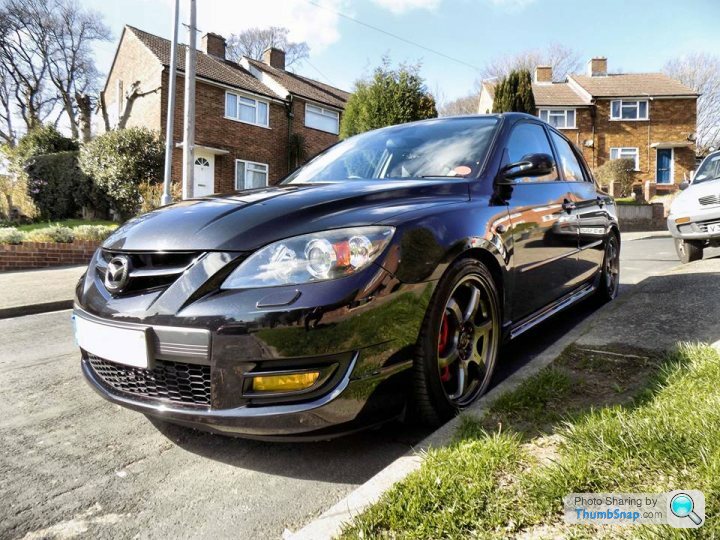
Looks like a tidy little 3! I have a 6 and had the same old smokey turbo it's going up north to have a full forge, meth and BNRS4 install on Tuesday
Just something to be aware of (you may have mentioned it?) but the VVT - they like to go pop, recommended to be replaced around 50-70k
Looks like a tidy little 3! I have a 6 and had the same old smokey turbo
it's going up north to have a full forge, meth and BNRS4 install on Tuesday Just something to be aware of (you may have mentioned it?) but the VVT - they like to go pop, recommended to be replaced around 50-70k
a7x88 said:
Are you on the MPSOC Facebook page?
Looks like a tidy little 3! I have a 6 and had the same old smokey turbo it's going up north to have a full forge, meth and BNRS4 install on Tuesday
Just something to be aware of (you may have mentioned it?) but the VVT - they like to go pop, recommended to be replaced around 50-70k
I am - great bunch on there. I'm only on 38k but periodically check the VVT. The chain seems to be nice and tight at the moment touch wood Looks like a tidy little 3! I have a 6 and had the same old smokey turbo
it's going up north to have a full forge, meth and BNRS4 install on Tuesday Just something to be aware of (you may have mentioned it?) but the VVT - they like to go pop, recommended to be replaced around 50-70k
I've now had this car for 2 years. MOT time was looming again..

It flew straight through again with no advisories!
I now have the braided hoses fitted and the brake pedal feels so much firmer and responsive. Hopefully I can fit the BNR S3 soon. Just need to do some logs with the K04 and save some more pennies so my local garage can do the work..
It flew straight through again with no advisories!
I now have the braided hoses fitted and the brake pedal feels so much firmer and responsive. Hopefully I can fit the BNR S3 soon. Just need to do some logs with the K04 and save some more pennies so my local garage can do the work..
Right the money has now been saved for the turbo swap. I also got a few odd bits done in the meantime..
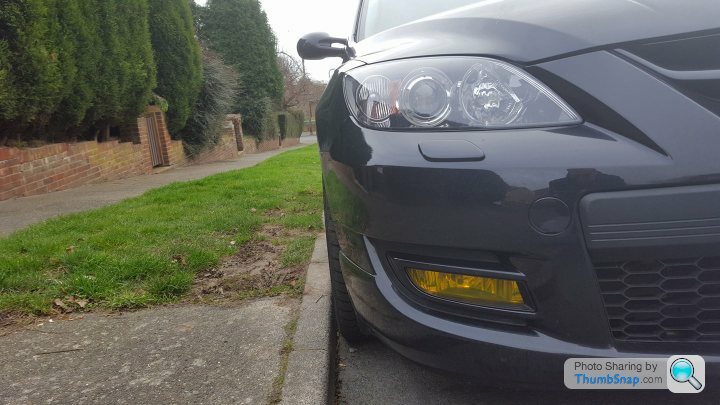
Yellow fogs:
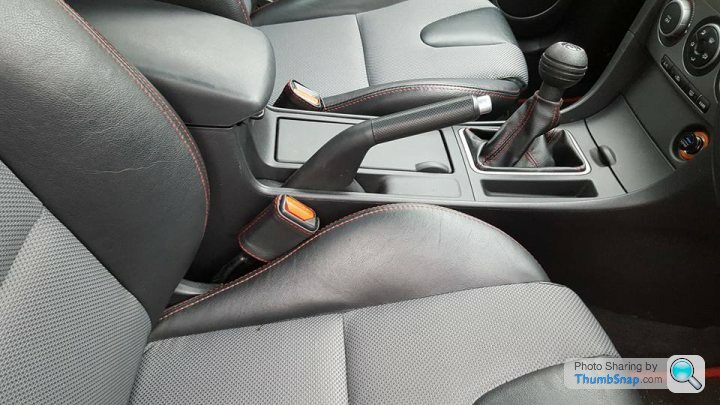
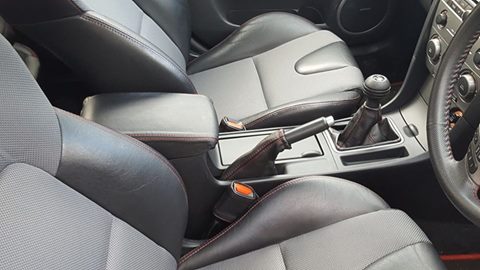
Added some additional leather to the interior. This took a bit of work to fit correct.
Before:
After:
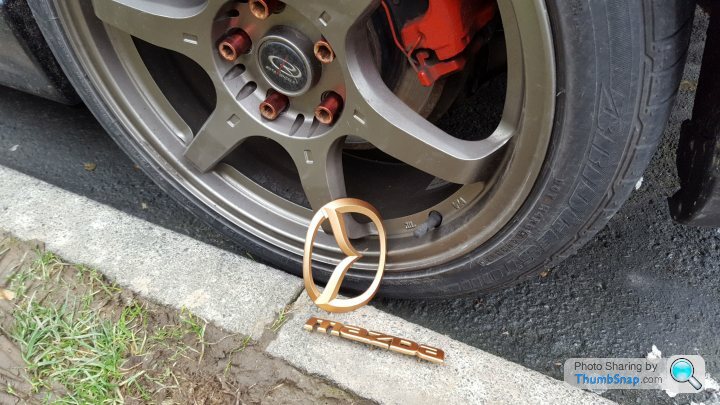
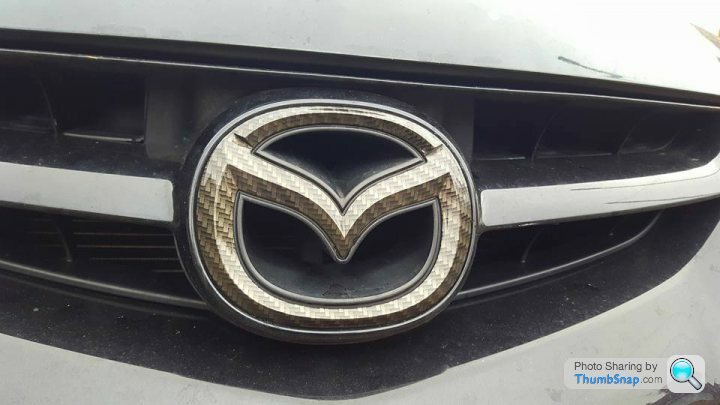
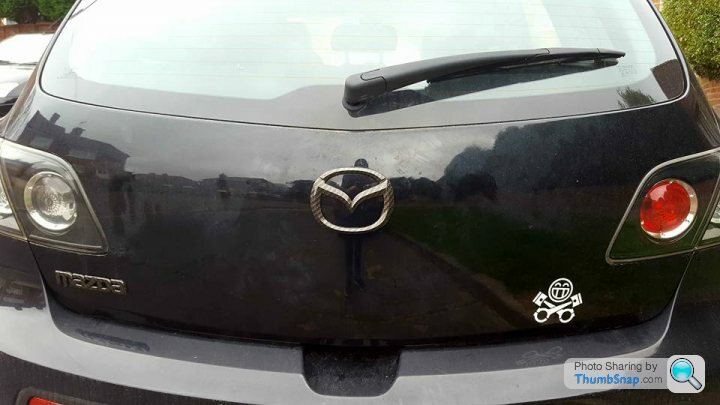
I plastidipped my rear badges bronze but quickly changed them back as they look more copper then bronze:
Clear rear light but removed as didn't fit correct:
I also tried fitting an RX8 vent but they don't fit either
Thought about leather trimming the bottom half of the dash maybe one day:

EBCS test fitting:
Next jobs are to get the badges hydro dipped carbon fibre/bronze and the battery lid, panel and the fuse box cover a normal carbon fibre colour. This is just to see what it looks like before I consider doing other car parts plus I need to get the panel behind the EBCS done before it gets permanently fitted when the new turbo goes on..
Yellow fogs:
Added some additional leather to the interior. This took a bit of work to fit correct.
Before:
After:
I plastidipped my rear badges bronze but quickly changed them back as they look more copper then bronze:
Clear rear light but removed as didn't fit correct:
I also tried fitting an RX8 vent but they don't fit either
Thought about leather trimming the bottom half of the dash maybe one day:
EBCS test fitting:
Next jobs are to get the badges hydro dipped carbon fibre/bronze and the battery lid, panel and the fuse box cover a normal carbon fibre colour. This is just to see what it looks like before I consider doing other car parts plus I need to get the panel behind the EBCS done before it gets permanently fitted when the new turbo goes on..
A bit more leather and some hydro dipping done:
 [url]
[url]
 |http://thumbsnap.com/ZfHlkn2l[/url][url]
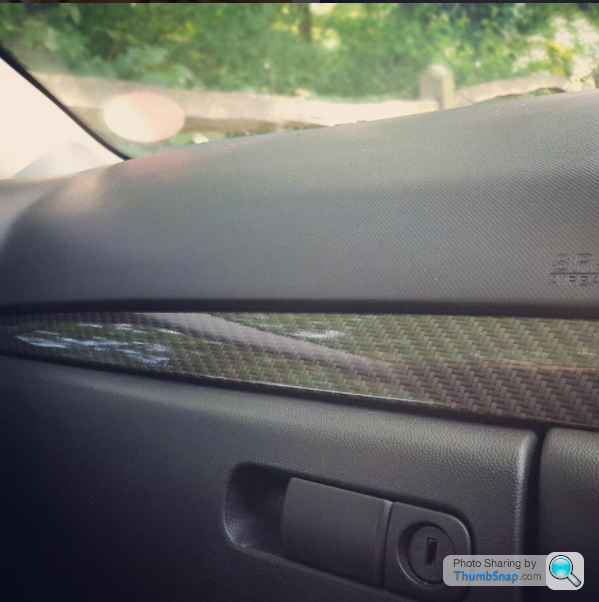
The leather speedo surround was fiddly to fit but it looks 100% better than oem
 |http://thumbsnap.com/x9I1SnrD[/url][url]
The battery box lid isn't 100% perfect so may get it re-done. The fuse box will be done but had to get a spare cover 1st.
 |http://thumbsnap.com/BjJfZaln[/url]
Still not too happy with the gear changes so will switch to the above gearbox oil shortly. I also removed the seatbelt covers as they are getting annoying. More importantly it's time to get the car booked in for the turbo change!!
[url]|http://thumbsnap.com/ZfHlkn2l[/url][url]The leather speedo surround was fiddly to fit but it looks 100% better than oem
|http://thumbsnap.com/x9I1SnrD[/url][url]The battery box lid isn't 100% perfect so may get it re-done. The fuse box will be done but had to get a spare cover 1st.
|http://thumbsnap.com/BjJfZaln[/url]Still not too happy with the gear changes so will switch to the above gearbox oil shortly. I also removed the seatbelt covers as they are getting annoying. More importantly it's time to get the car booked in for the turbo change!!
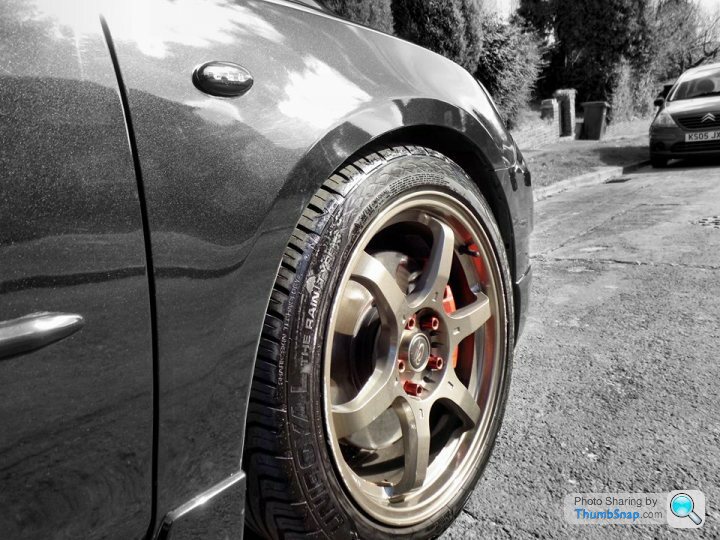
I also got the car cleaned for the 1st time in ages. Got a few fancy shots done with a new camera I got myself:
 [url]
[url]
 |http://thumbsnap.com/EzrKNK8J[/url][url]
 |http://thumbsnap.com/swFT7agu[/url][url]
|http://thumbsnap.com/EzrKNK8J[/url]
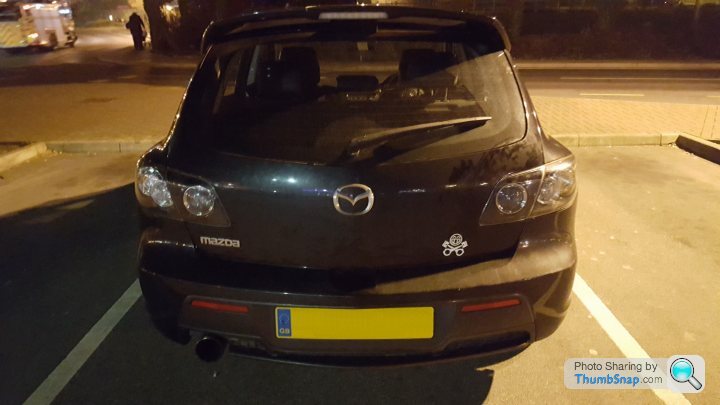
The car isn't looking much like a sleeper anymore..
[url]|http://thumbsnap.com/EzrKNK8J[/url][url]|http://thumbsnap.com/swFT7agu[/url][url]|http://thumbsnap.com/EzrKNK8J[/url]The car isn't looking much like a sleeper anymore..

BNR S3 turbo now fitted along with the Grimmspeed boost controller. I also managed to get a Forge V2 Recirc valve at a reasonable price!
The red lines are now all clamped/tied down since the below was taken..
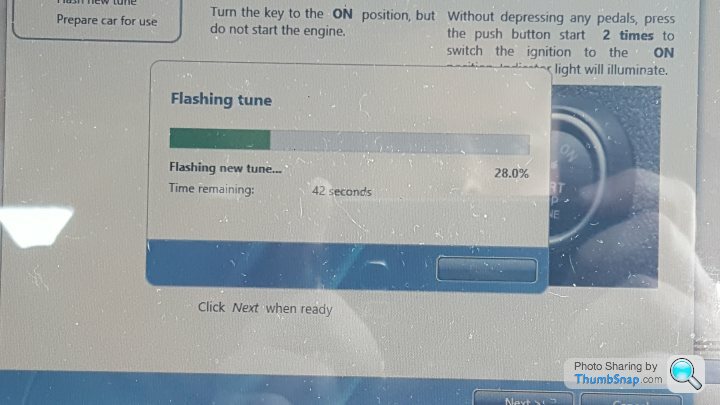
New base map added:
A picture of the old K04 turbo:
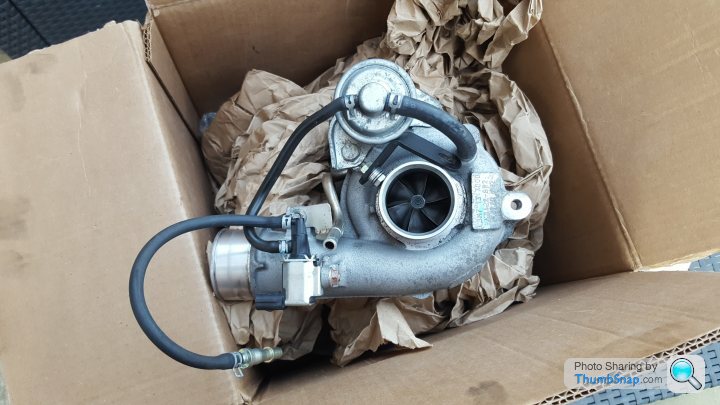
The car feels much better to drive now - no more smoke worries and more power on tap!!
Now time to get some more logs and to get some more mapping done..
The red lines are now all clamped/tied down since the below was taken..
New base map added:
A picture of the old K04 turbo:
The car feels much better to drive now - no more smoke worries and more power on tap!!
Now time to get some more logs and to get some more mapping done..
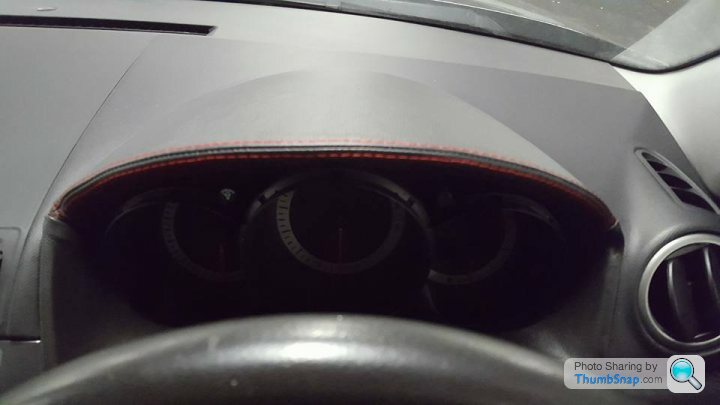
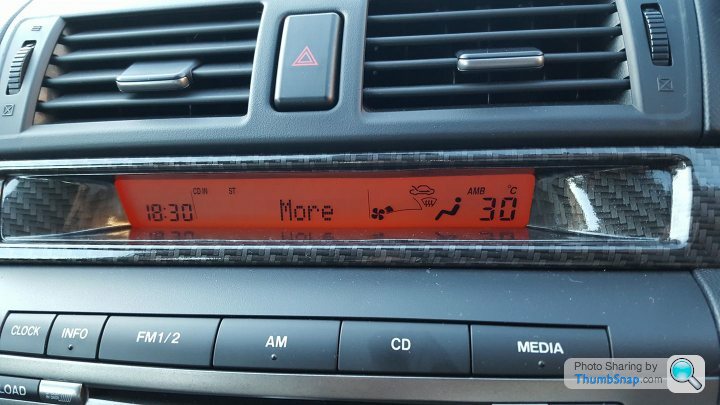
I decided to make the car a bit more interesting so got some more dipping done. There's a bit of an odd bow in the display surround so I might change this at a later date.:
 [url]
[url]
 |https://thumbsnap.com/MnAKC1lU[/url][url]
 |https://thumbsnap.com/SEMwmFo8[/url][url]
 |https://thumbsnap.com/2iKlM1RR[/url]
I plan to get the speaker surrounds done next - here's a picture of them removed - please excuse the Instagram filter as Photobuckets taking ages to load:
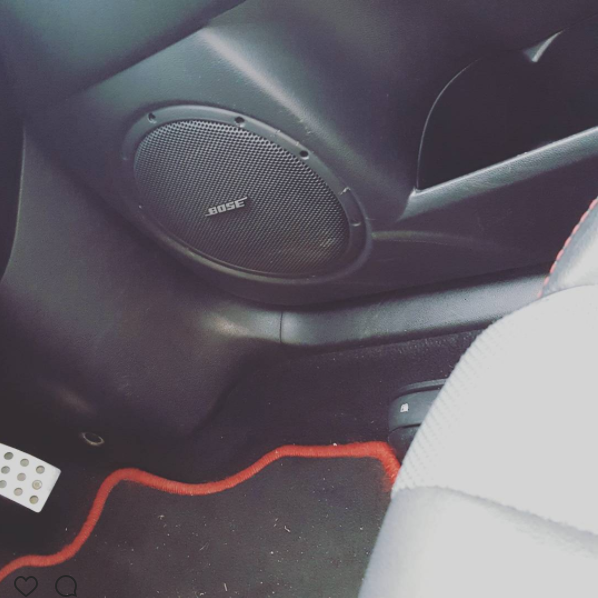
I'm also going to get the battery tray re-done so it has some more shine to match the fuse box cover.
Mapping is going well. I found a pic that shows the differences in turbo size. The far left is the stock K04, with the BNR S3 in the middle and BNR S4 on the right:
I did notice a jolt under boost on a spirited drive. This could be down to the fuel I was using at the time (BP 97) or a boost leak. By chance someone mentioned there was a filter for sale on Ebay for £135. The price was very cheap for what it is so here it is:
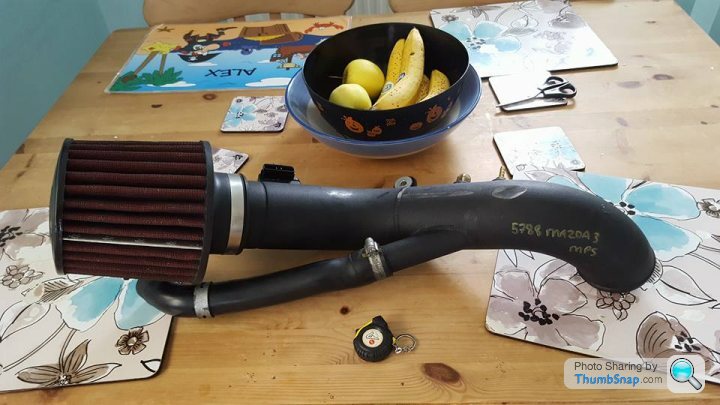
It turns out to be a 3" HTP intake and includes the MAF housing. These usually retail for well over £300. It's a one piece intake so less chances of boost leaks. My current intake is 2.5" so it may also give me a small increase in power. The only thing it didn't come with is a reducer pipe for the turbo so I have one on order along with an EGR delete kit.
I've done a few more cosmetic bits as can't spent too much as have a holiday coming up. I turned my attention to the lights. One of the front ones was starting to yellow so I thought some eye brow things may cover them up. Here's a test fit:
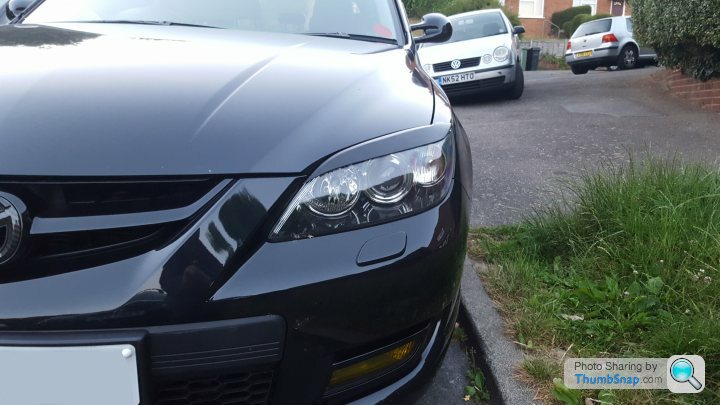
In their current state they are just unpainted black fibreglass so I'm going to get them dipped the same colour as the badges. I had another look at the lights and one's too yellow to just cover up so I had a go at restoring it with an off the shelf kit:
Before:
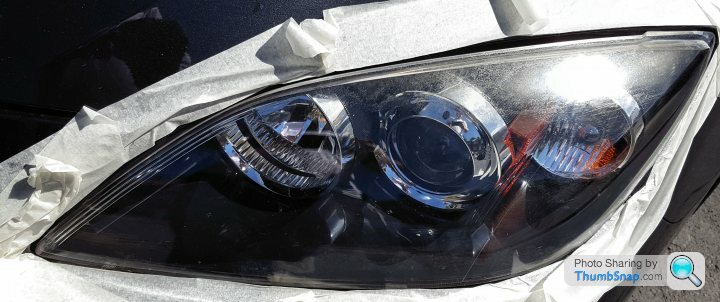
During:

After:
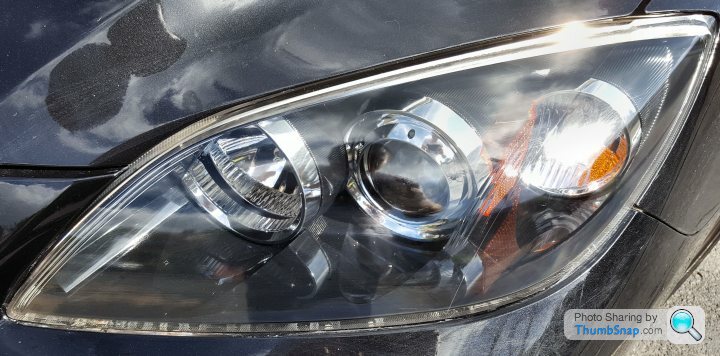
It was my 1st attempt at something like this and was all done by hand. The finish isn't perfect so I may go over them again another time to try and clear out some of the remaining marks.
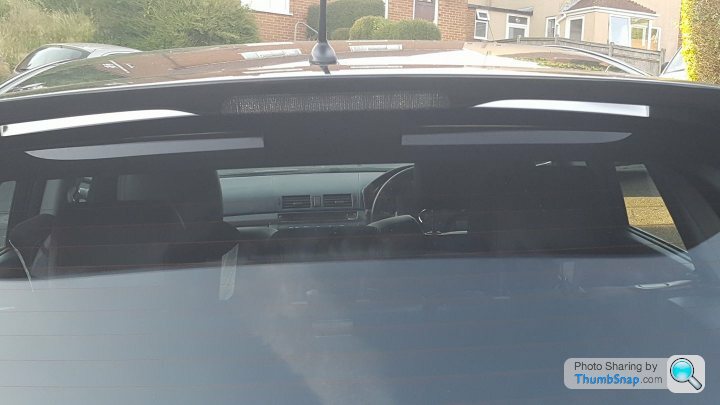
I also wanted to do something with the rear lights and decided a light tint would make them look a bit nicer. I started with some fly eye stuff but didn't like the finish so that's confined to the middle brake light for now:
 |https://thumbsnap.com/2NHYNWr6[/url]
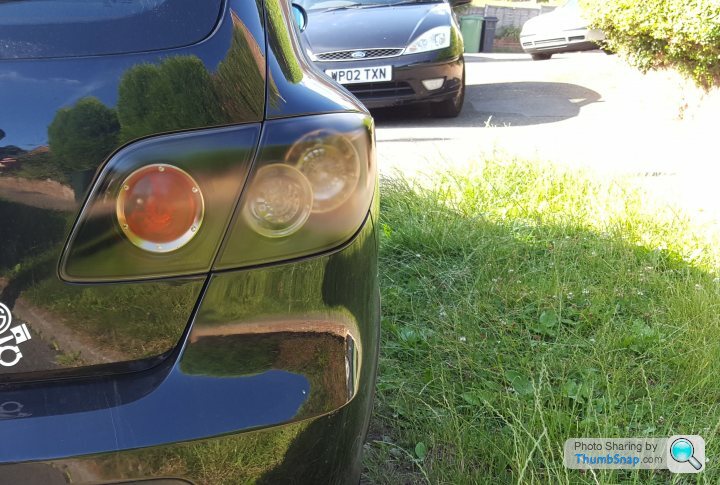
I took some brave pills and bought some tinting spay:

5 layers later (still drying off):
 [url]
[url]
It's an improvement but there's like a frost effect at the moment so when it dries out I'll attempt to smooth it out with some t-cut wax/polish. If it still looks naff then I will revert back to OEM and get a tinting company to lightly tint them for me at a later date.
I had a bit of spare time this weekend so also fitted the front mud flaps I bought a while ago. The rears will be added at a later date as you have to take the wheels off to do them ones.They were a complete nightmare to fit but they're on now!!
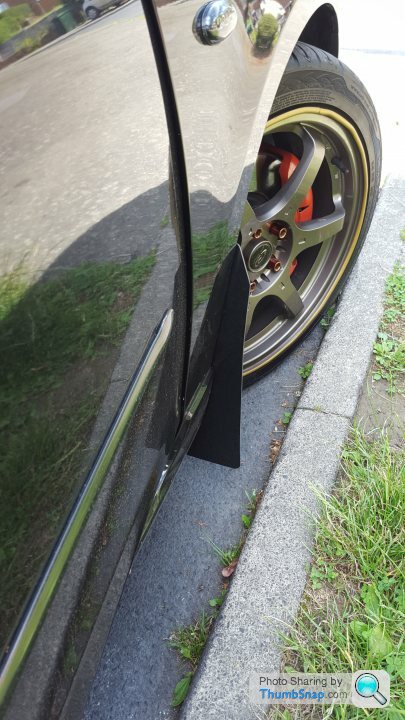
Hopefully they will stop some further stones or grit from flicking up and marking the paintwork..
[url]|https://thumbsnap.com/MnAKC1lU[/url][url]|https://thumbsnap.com/SEMwmFo8[/url][url]|https://thumbsnap.com/2iKlM1RR[/url]I plan to get the speaker surrounds done next - here's a picture of them removed - please excuse the Instagram filter as Photobuckets taking ages to load:
I'm also going to get the battery tray re-done so it has some more shine to match the fuse box cover.
Mapping is going well. I found a pic that shows the differences in turbo size. The far left is the stock K04, with the BNR S3 in the middle and BNR S4 on the right:
I did notice a jolt under boost on a spirited drive. This could be down to the fuel I was using at the time (BP 97) or a boost leak. By chance someone mentioned there was a filter for sale on Ebay for £135. The price was very cheap for what it is so here it is:
It turns out to be a 3" HTP intake and includes the MAF housing. These usually retail for well over £300. It's a one piece intake so less chances of boost leaks. My current intake is 2.5" so it may also give me a small increase in power. The only thing it didn't come with is a reducer pipe for the turbo so I have one on order along with an EGR delete kit.
I've done a few more cosmetic bits as can't spent too much as have a holiday coming up. I turned my attention to the lights. One of the front ones was starting to yellow so I thought some eye brow things may cover them up. Here's a test fit:
In their current state they are just unpainted black fibreglass so I'm going to get them dipped the same colour as the badges. I had another look at the lights and one's too yellow to just cover up so I had a go at restoring it with an off the shelf kit:
Before:
During:
After:
It was my 1st attempt at something like this and was all done by hand. The finish isn't perfect so I may go over them again another time to try and clear out some of the remaining marks.
I also wanted to do something with the rear lights and decided a light tint would make them look a bit nicer. I started with some fly eye stuff but didn't like the finish so that's confined to the middle brake light for now:
|https://thumbsnap.com/2NHYNWr6[/url]I took some brave pills and bought some tinting spay:
5 layers later (still drying off):
[url]It's an improvement but there's like a frost effect at the moment so when it dries out I'll attempt to smooth it out with some t-cut wax/polish. If it still looks naff then I will revert back to OEM and get a tinting company to lightly tint them for me at a later date.
I had a bit of spare time this weekend so also fitted the front mud flaps I bought a while ago. The rears will be added at a later date as you have to take the wheels off to do them ones.They were a complete nightmare to fit but they're on now!!
Hopefully they will stop some further stones or grit from flicking up and marking the paintwork..
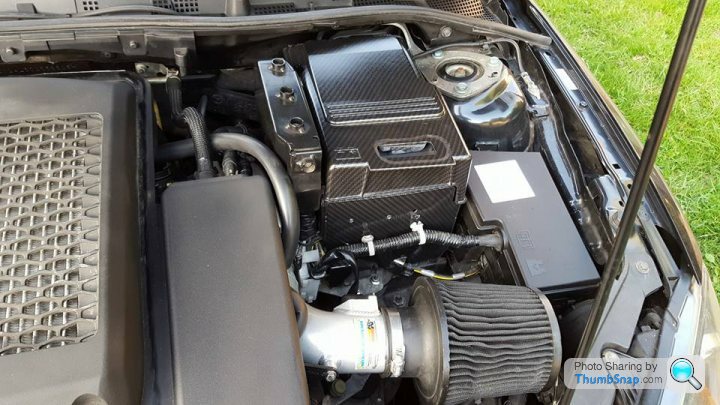
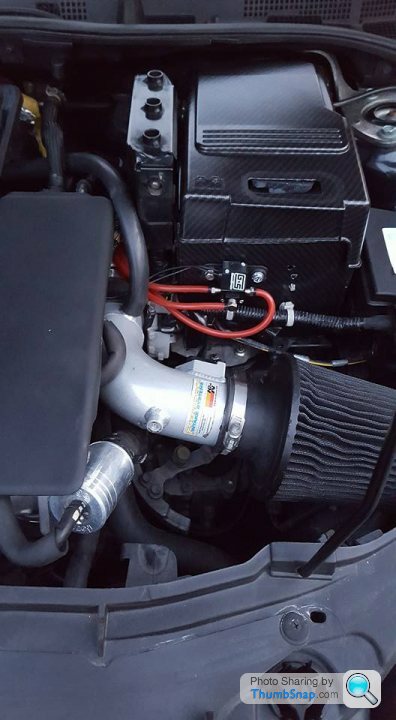
Time to fit the intake. Getting the old one out wasn't so bad as it separates into pieces:

Fitting the new one though..
Being one piece and and an inch wider proved problematic. Due to the weather not being on my side a job I thought may take a few hours took most of the day
Here's a comparison of old and new together:

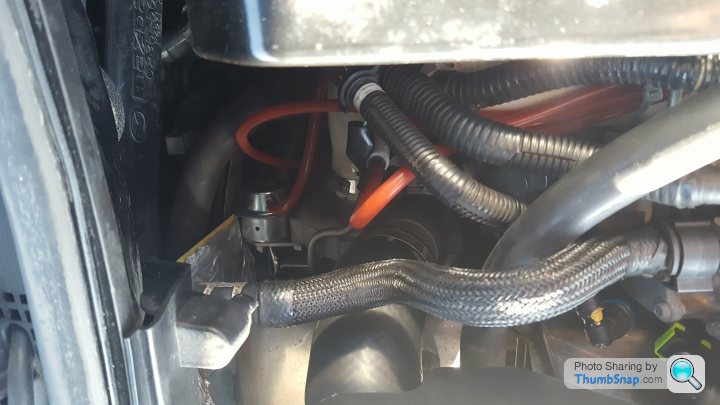
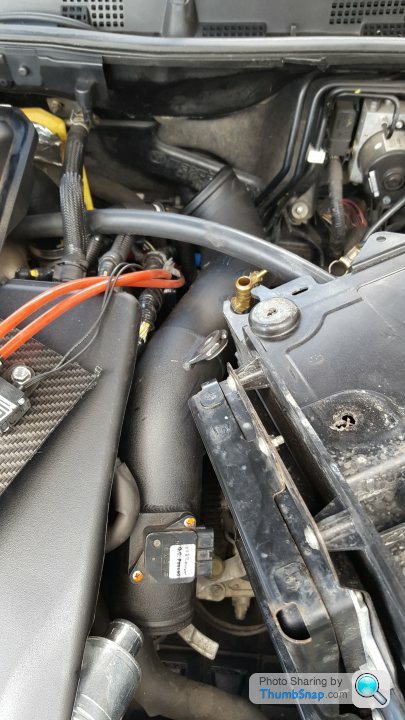
It turns out that the reducer pipe I got was too long so it needed to be cut down. In fact a lot of the pipes/lines were now at the wrong size so I ended up cutting them down. These included the piper going to the rocker at the top of the engine from the intake, one of the lines going to the boost controller and the tube that connects the intake to the forge v2.
After a poor attempt of cutting and slicing my thumb in the process - here's a questionable reducer pipe:
Hopefully it won't cause any boost leaks but it's on there very tight. I'll replace it with a proper one when I get the chance.
Most of the space issues are down to the ECU being securely stuck to the battery box with rivets. If it just unclipped then life would be so much easier..
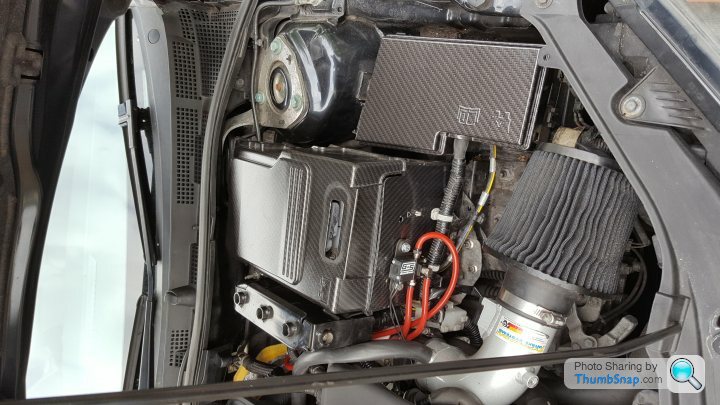
All fitted:
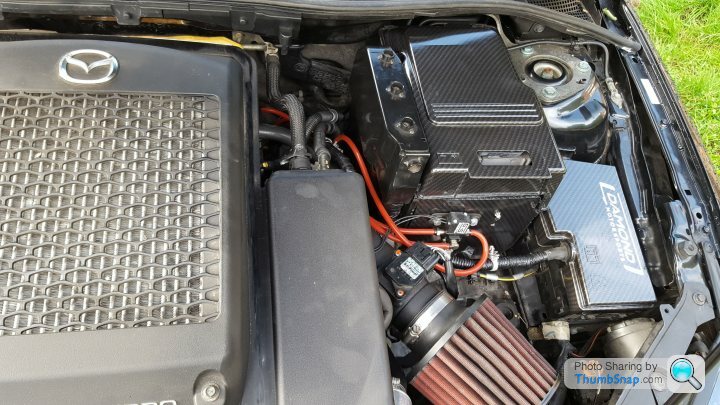
I just need to do the 40 mile run in and give it some ecu logs now it's been flashed with new maf settings. Touch wood there will be no boost leaks and a little more power I used a virtual dyno on a previous run and it calculated the power to be 311bhp!! You might notice that the battery box has moved a bit. I drilled out the underneath to give some more clearence as it was evident the last owner of the intake had it scrub against the ECU cover.
I'm now going to add an ecu relocation kit and smaller battery tray to my future mods list. I can then get a garage to fit the VVT kit along with catch cans, an EGR removal kit and the small battery/ecu relocation at the same time to save me doing it.. It will then assist if I decide to go big turbo later on down the line.
Fitting the new one though..
Being one piece and and an inch wider proved problematic. Due to the weather not being on my side a job I thought may take a few hours took most of the day
Here's a comparison of old and new together:
It turns out that the reducer pipe I got was too long so it needed to be cut down. In fact a lot of the pipes/lines were now at the wrong size so I ended up cutting them down. These included the piper going to the rocker at the top of the engine from the intake, one of the lines going to the boost controller and the tube that connects the intake to the forge v2.
After a poor attempt of cutting and slicing my thumb in the process - here's a questionable reducer pipe:
Hopefully it won't cause any boost leaks but it's on there very tight. I'll replace it with a proper one when I get the chance.
Most of the space issues are down to the ECU being securely stuck to the battery box with rivets. If it just unclipped then life would be so much easier..
All fitted:
I just need to do the 40 mile run in and give it some ecu logs now it's been flashed with new maf settings. Touch wood there will be no boost leaks and a little more power
I used a virtual dyno on a previous run and it calculated the power to be 311bhp!! You might notice that the battery box has moved a bit. I drilled out the underneath to give some more clearence as it was evident the last owner of the intake had it scrub against the ECU cover.I'm now going to add an ecu relocation kit and smaller battery tray to my future mods list. I can then get a garage to fit the VVT kit along with catch cans, an EGR removal kit and the small battery/ecu relocation at the same time to save me doing it.. It will then assist if I decide to go big turbo later on down the line.
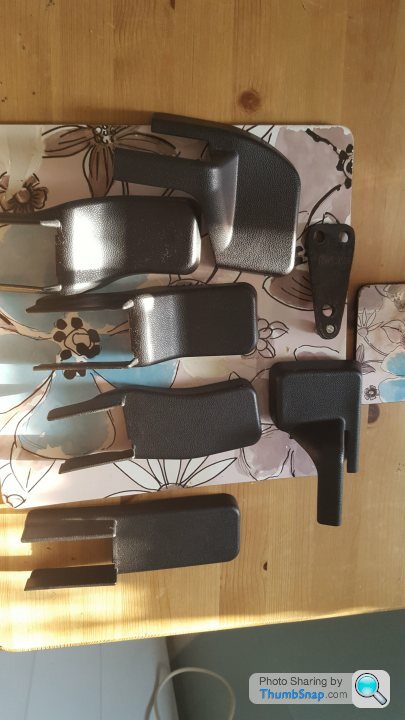
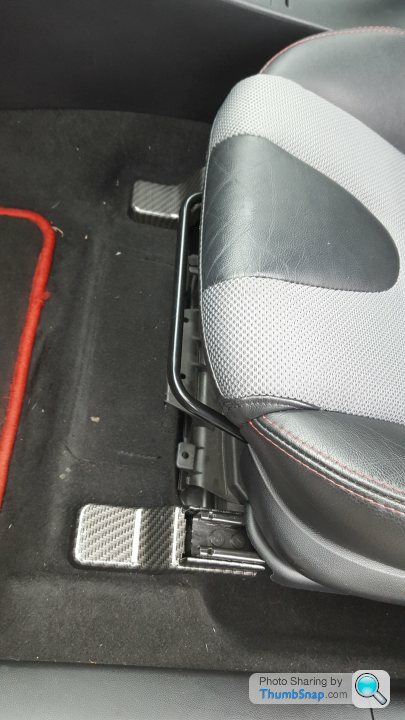
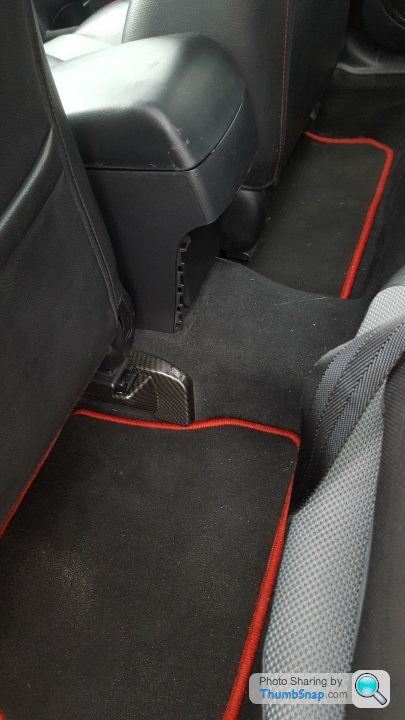
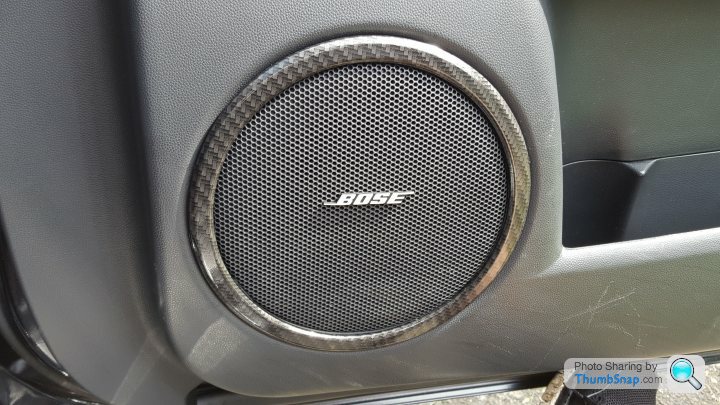
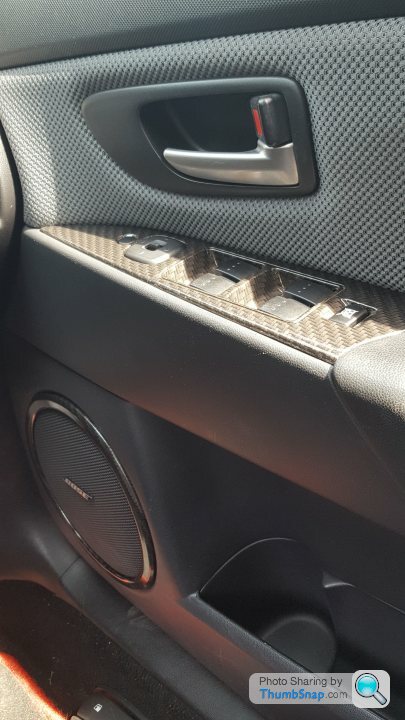
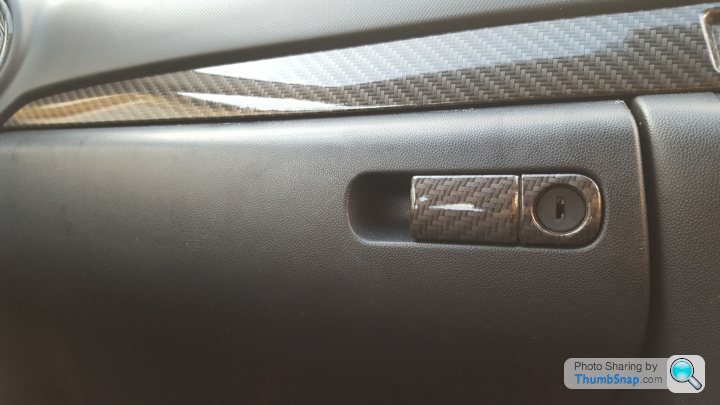
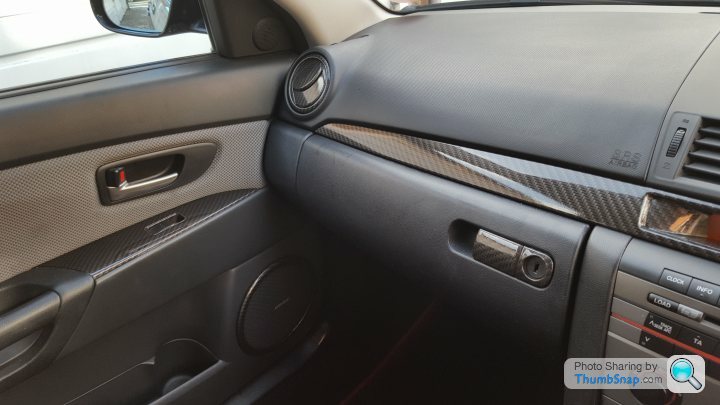
I got some more parts dipped - this time it was the window switches, glove box handle and some plastics under the seats. The speaker surrounds were a pain to put back and there's a slight issue with one of the trims under the seats but it's not really noticable:
Under seat trim taken off:
Finished pics:
Speaker surround:
Switches and other bits:
 [url]
[url]
 |https://thumbsnap.com/0tTNZDDh[/url]
Under seat trim taken off:
Finished pics:
Speaker surround:
Switches and other bits:
[url]|https://thumbsnap.com/0tTNZDDh[/url]I did originally have a black coupler for the intake but change it to a red one - this caused problems as the intake now rubbed on the ecu case and I kept having trouble with the clips and had a potential boost leak so I ended up changing it back. One issue with the Europe MPS is that the ecu is stuck to the battery tray and you can't easily detach it so every time I need to get to the intake I have to keep the battery tray in the engine bay with the ECU attached and wiggle it around. This was a massive PITA so it was time for some action.
1st off it's time to drill out the rivets (I've never drilled out rivets before):

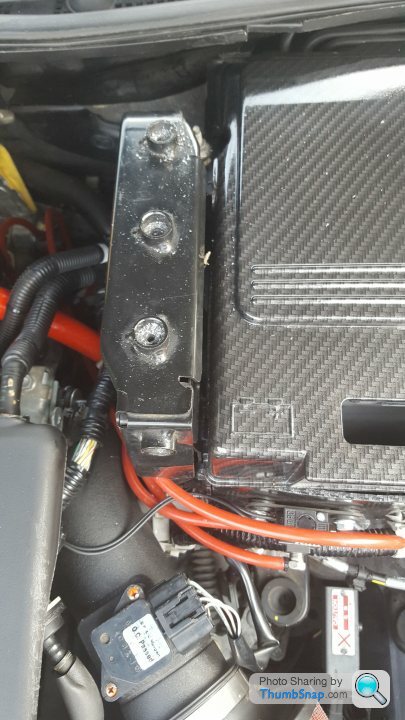
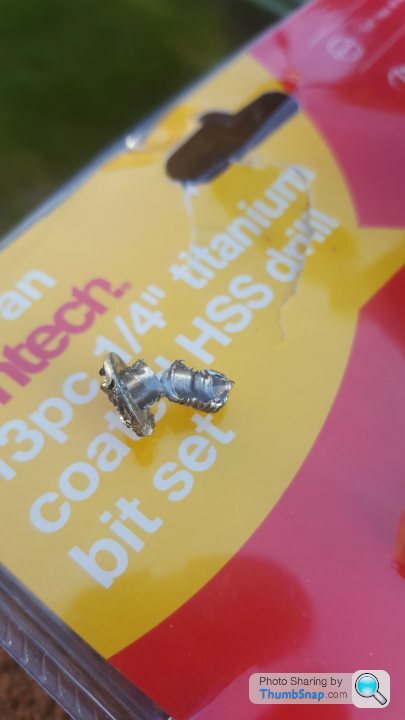
There were a few rivets that were a pain but generally it went ok.. better than I thought it would be
Partial liberation:

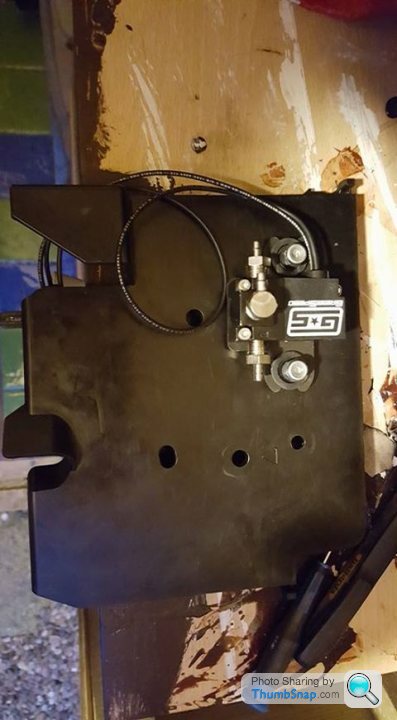
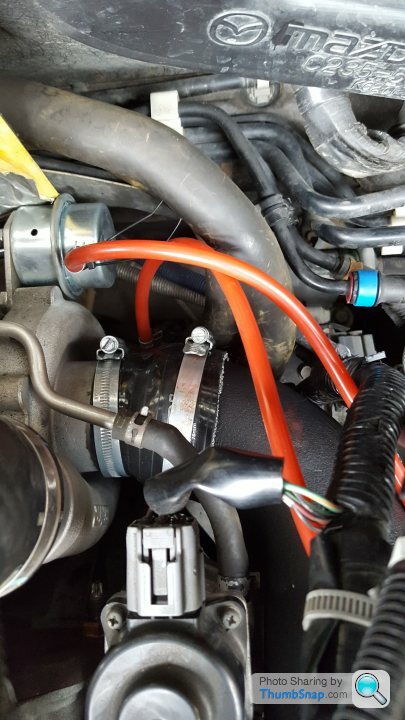
i also moved the boost controller nearer to the turbo so it's a bit more tucked away. I did find a really good place for the ECU but there's a risk of the wires catching and rubbing when the bonnet was shut down:

I ended up placing the ecu on the fuse box for now:
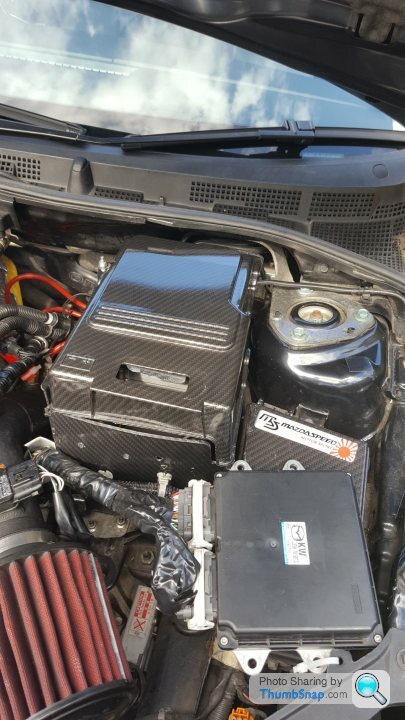
Luckily shortly after doing this Corksport announced a new battery tray that fits a 51r battery and relocates the ECU to the battery tray - I plan to get this in the future and get the fuse box re-dipped as I kind of scratched it getting annoyed with the battery tray. Now it's so much easier to get access to the intake and turbo - a job such as removing and re-fitting an intake that took me a good few hours now can be done in around 45 mins!!
1st off it's time to drill out the rivets (I've never drilled out rivets before):
There were a few rivets that were a pain but generally it went ok.. better than I thought it would be
Partial liberation:
i also moved the boost controller nearer to the turbo so it's a bit more tucked away. I did find a really good place for the ECU but there's a risk of the wires catching and rubbing when the bonnet was shut down:
I ended up placing the ecu on the fuse box for now:
Luckily shortly after doing this Corksport announced a new battery tray that fits a 51r battery and relocates the ECU to the battery tray - I plan to get this in the future and get the fuse box re-dipped as I kind of scratched it getting annoyed with the battery tray. Now it's so much easier to get access to the intake and turbo - a job such as removing and re-fitting an intake that took me a good few hours now can be done in around 45 mins!!
Edited by maxdb on Friday 22 September 22:12
Gassing Station | Readers' Cars | Top of Page | What's New | My Stuff