MG Midget - My First Classic
Discussion


Thanks! 
This is not a concours build, nowhere near in fact, as I don't have the time, room, money, skill or inclination for that.
And I actually want to drive it! Well, I think I do, I might hate it for all I know!
But I am hoping to end up with a very presentable car at the end of this, hopefully for spring or summer next year.
I'm hoping that all the little details, no matter how small, will add up to a big difference.
Ah, this brings back memories . I've had a couple of 1500s in my time.
Have fun with it! If the engine mounts are shot I'd change them now. They are a royal pain to change in situ!
I'd also use nothing else but Glytasyn G48 coolant when it is all put back together, unless you fancy trying Evans. IME there are alot of cheaper Blue Coolants out there which have very poor inhibitors, but of course they sell because they are cheap.
There is some lovely work going on there. It should look very straight when you get it all done.
. I've had a couple of 1500s in my time.Have fun with it! If the engine mounts are shot I'd change them now
. They are a royal pain to change in situ!I'd also use nothing else but Glytasyn G48 coolant when it is all put back together, unless you fancy trying Evans. IME there are alot of cheaper Blue Coolants out there which have very poor inhibitors, but of course they sell because they are cheap
.There is some lovely work going on there. It should look very straight when you get it all done
.
Haha, I know!
Imagine taking the dashboard and steering column out of a modern car, and how many days that would take!!
I got that lot out of this car in about an hour and twenty minutes!
And thanks, I'll try!
The most difficult part for me at the moment is that for what I want to do I need to take more parts off first, particularly the gearbox, but the crappy little garage I have is crammed full of stuff already, and I've got boxes of parts inside the house. So my biggest problem isn't the spanner work it's the logistics of it.
I haven't really thought this all through at all!
A few things......
The FIRST bolt to refit and tighten when refitting engine is the bottom one on the drivers side of the bell housing. It's a different bolt from the rest - thicker shaft which is a tight fit through the backplate and bell housing. This dowel bolt combined with the pin at the top ensures perfect alignment (i.e. it will ensure you don't rip your clutch to bits in not many miles). Don't use a standard bolt or leave that one until last.
The MG guys have a bit of a downer on the 1500 because its a Spitfire engine. It's nowhere near as fragile as often stated provided you keep good oil in it (Valvoline VR-1 20W50 or Penrite 20W60 would be my recommendations). Good cooling is important - I don't know how the cooling is on the Midget compared with the Spitfire but on the Spitfire the usual advice would be to fit a bigger radiator first, oil cooler 2nd (I don't have an oil cooler but I have a wide radiator and my engine has stood up to a lot of hard driving over the years).
Spitfire2 said:
A few things......
The FIRST bolt to refit and tighten when refitting engine is the bottom one on the drivers side of the bell housing. It's a different bolt from the rest - thicker shaft which is a tight fit through the backplate and bell housing. This dowel bolt combined with the pin at the top ensures perfect alignment (i.e. it will ensure you don't rip your clutch to bits in not many miles). Don't use a standard bolt or leave that one until last.
The MG guys have a bit of a downer on the 1500 because its a Spitfire engine. It's nowhere near as fragile as often stated provided you keep good oil in it (Valvoline VR-1 20W50 or Penrite 20W60 would be my recommendations). Good cooling is important - I don't know how the cooling is on the Midget compared with the Spitfire but on the Spitfire the usual advice would be to fit a bigger radiator first, oil cooler 2nd (I don't have an oil cooler but I have a wide radiator and my engine has stood up to a lot of hard driving over the years).
Thanks for that info, very useful!The FIRST bolt to refit and tighten when refitting engine is the bottom one on the drivers side of the bell housing. It's a different bolt from the rest - thicker shaft which is a tight fit through the backplate and bell housing. This dowel bolt combined with the pin at the top ensures perfect alignment (i.e. it will ensure you don't rip your clutch to bits in not many miles). Don't use a standard bolt or leave that one until last.
The MG guys have a bit of a downer on the 1500 because its a Spitfire engine. It's nowhere near as fragile as often stated provided you keep good oil in it (Valvoline VR-1 20W50 or Penrite 20W60 would be my recommendations). Good cooling is important - I don't know how the cooling is on the Midget compared with the Spitfire but on the Spitfire the usual advice would be to fit a bigger radiator first, oil cooler 2nd (I don't have an oil cooler but I have a wide radiator and my engine has stood up to a lot of hard driving over the years).
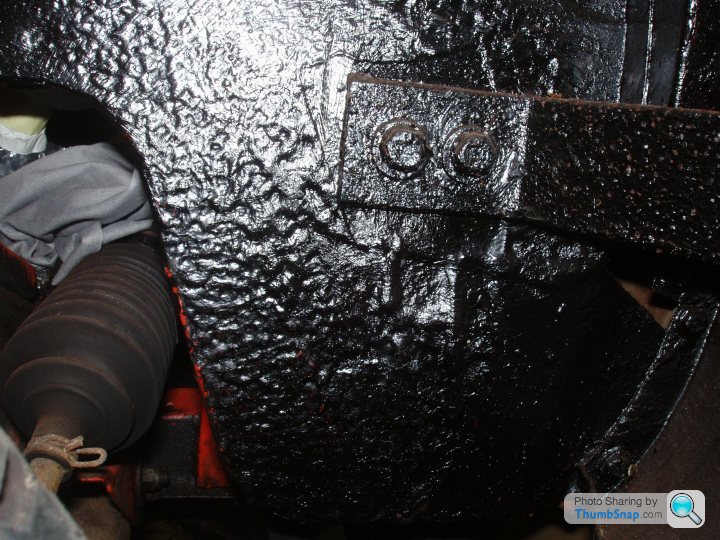
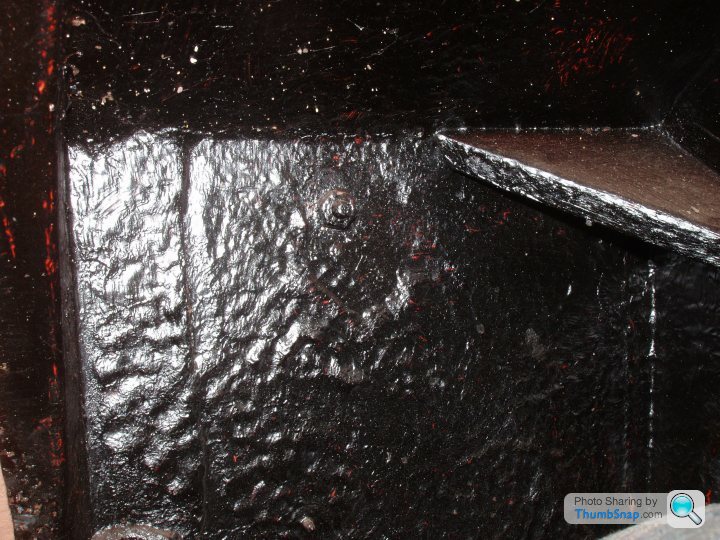
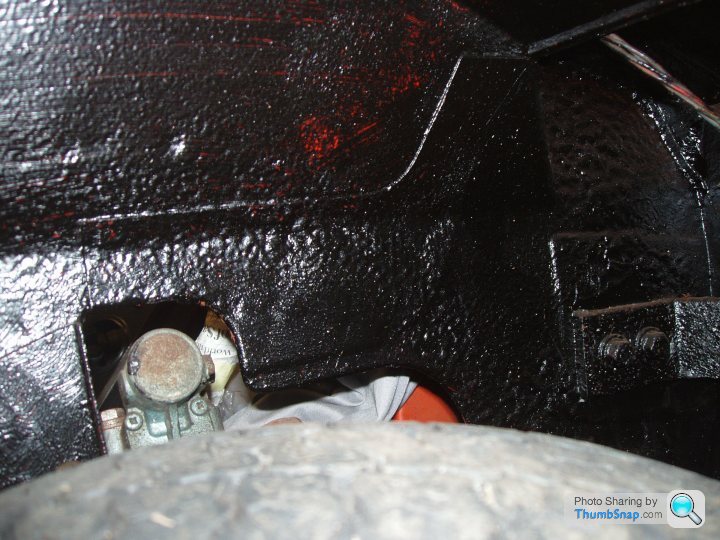
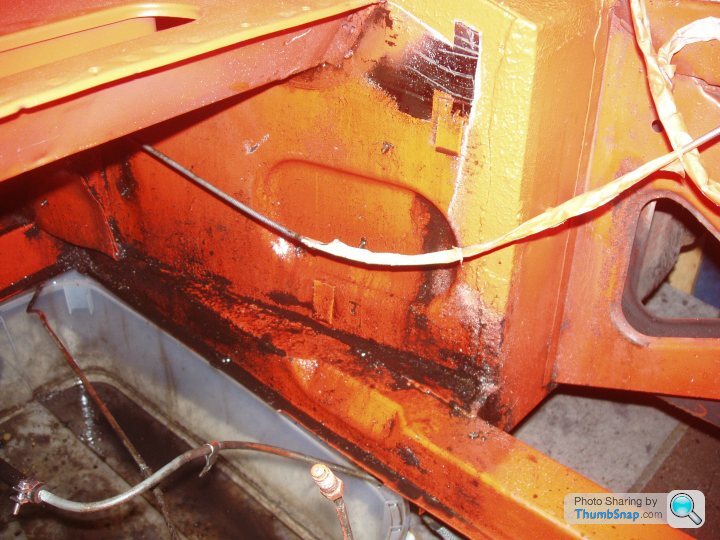
I don't suppose anyone can identify the underseal that has been brushed on to the inner arches and floor..?
I want to go over a few bits of it and would like to use the same or very similar stuff, if possible.
Here it is, thanks!
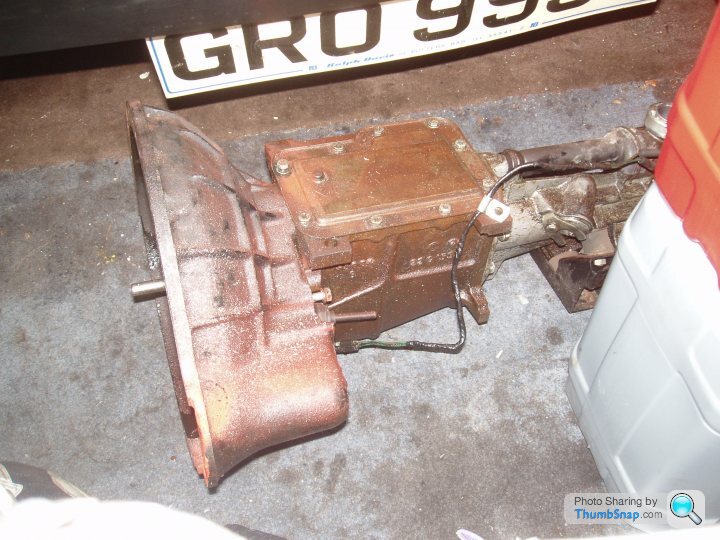
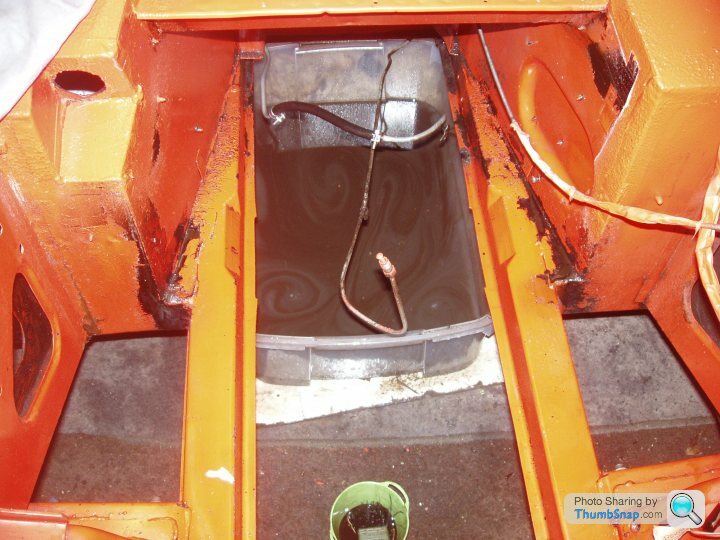
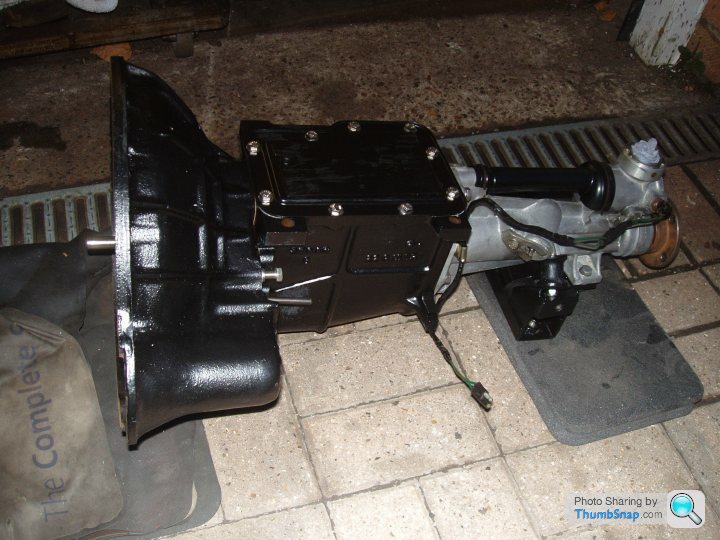
Last week and this week has mostly been removing the dinky little gearbox and tidying up the transmission tunnel.
I'm only using rattle cans, but it's still a big improvement on how it was before;
The dinky little gearbox;
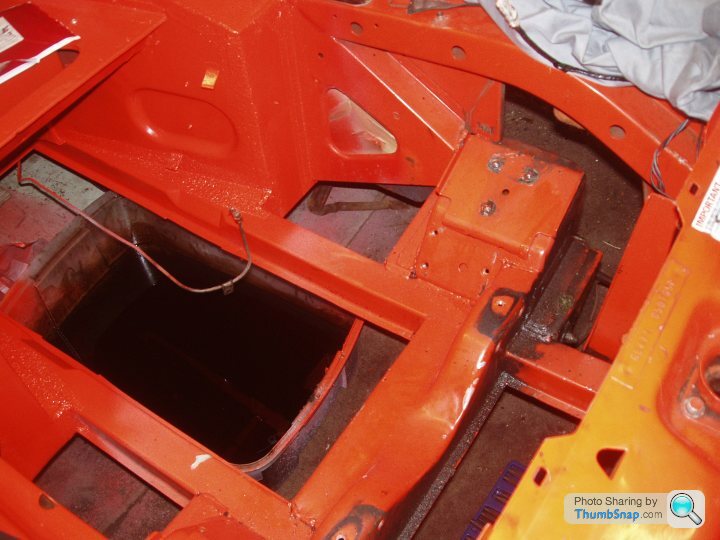
The oily, dirty, chipped and scratched tunnel;
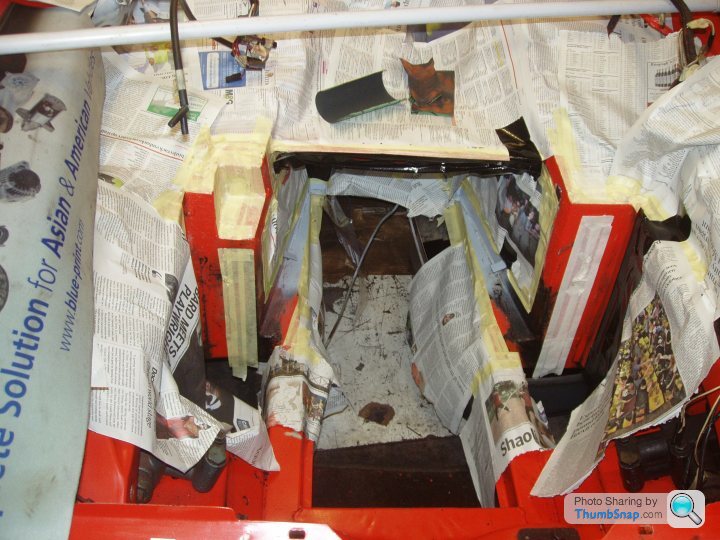
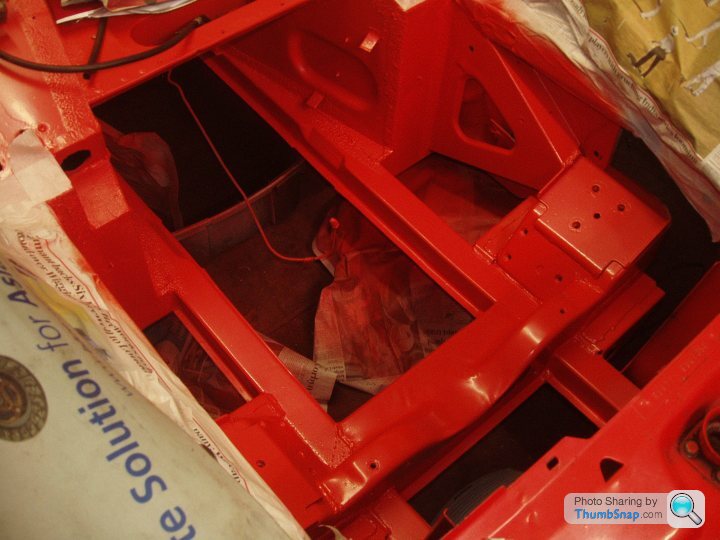
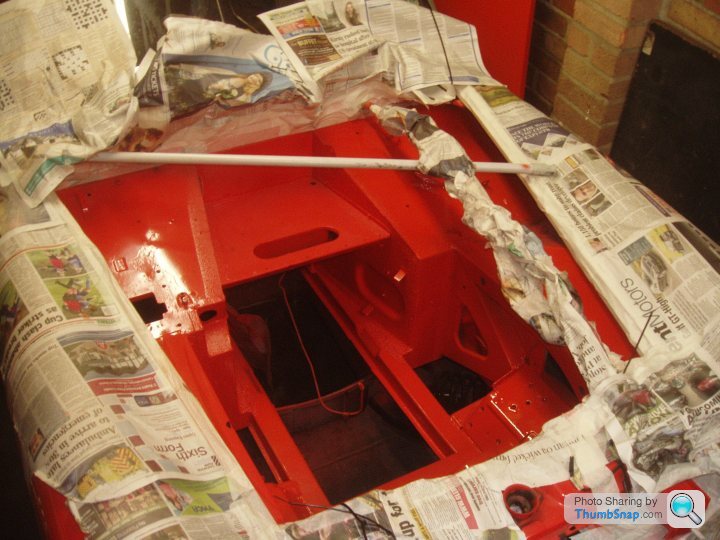
It took ages to mask everything ready for new spray-on seam sealer;
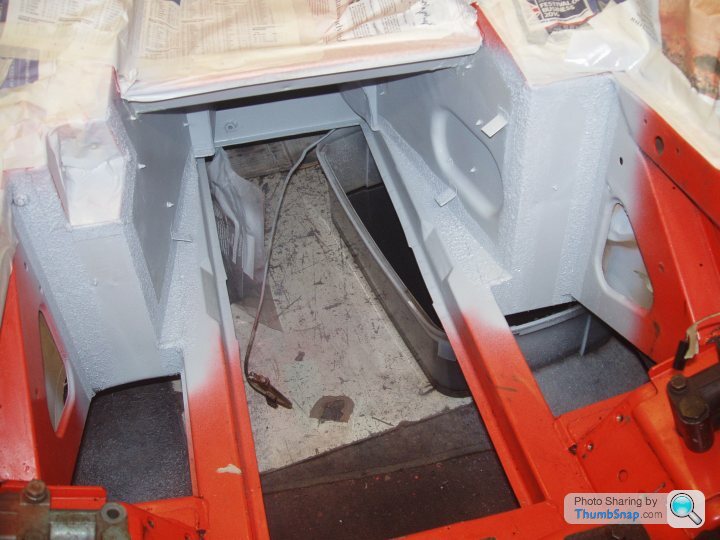
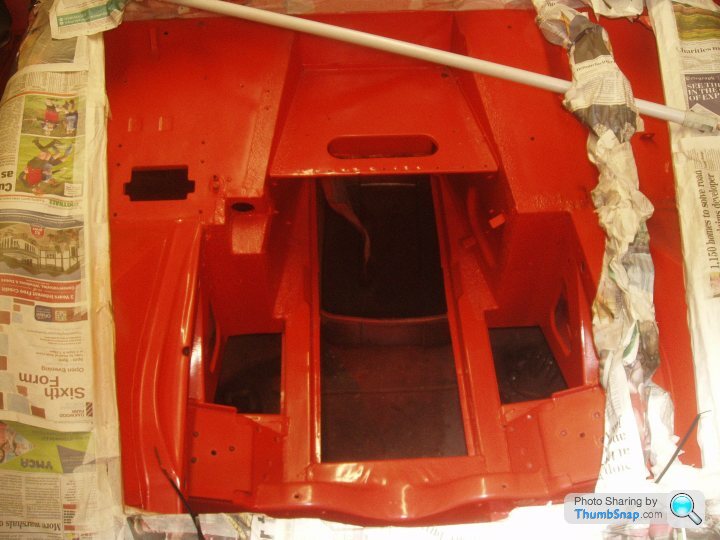
Then I coloured it in (not finished off just yet);

A tip for anyone painting stuff in a cold garage, especially this time of year, and in case you don't already know;
Warm up the panel you're about to paint with a heat gun or similar before applying the paint.
Otherwise, the solvents don't work properly and you'll be left with a dull and milky coloured finish.
Don't ask me how I found that out!
I'm only using rattle cans, but it's still a big improvement on how it was before;
The dinky little gearbox;
The oily, dirty, chipped and scratched tunnel;
It took ages to mask everything ready for new spray-on seam sealer;
Then I coloured it in (not finished off just yet);
A tip for anyone painting stuff in a cold garage, especially this time of year, and in case you don't already know;
Warm up the panel you're about to paint with a heat gun or similar before applying the paint.
Otherwise, the solvents don't work properly and you'll be left with a dull and milky coloured finish.
Don't ask me how I found that out!
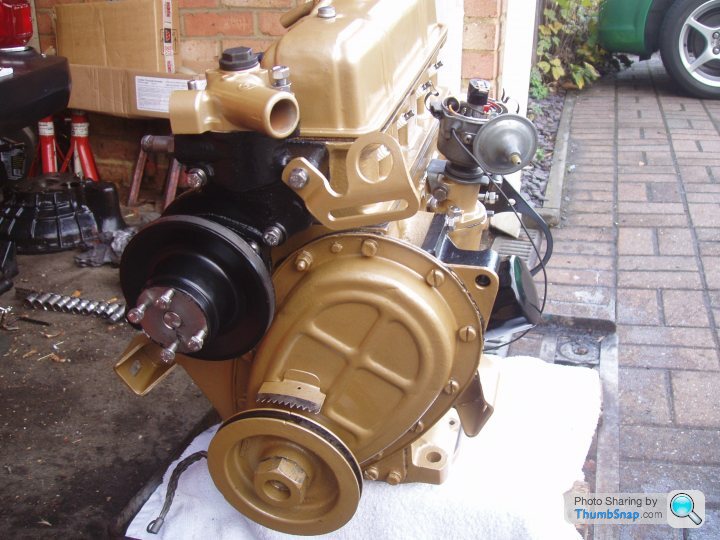
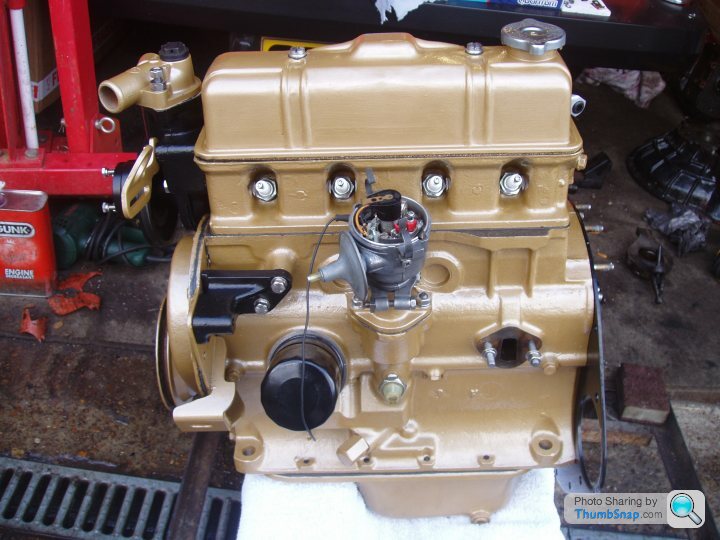
Engine is just about done;
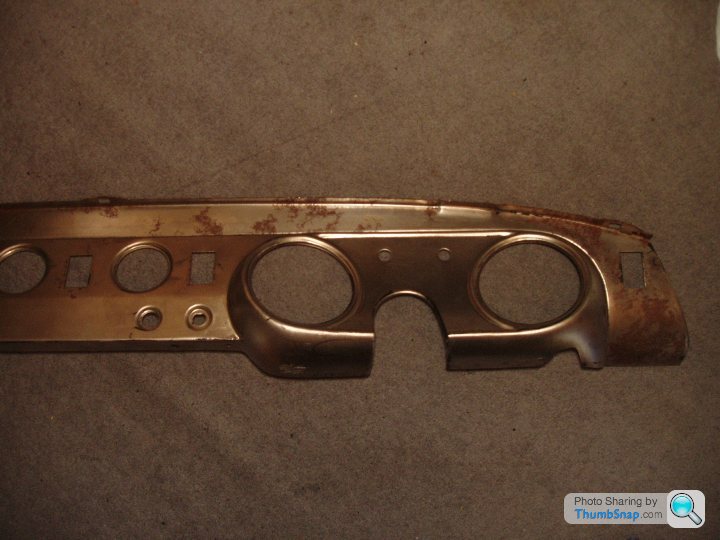
Thanks to a mate of a mate's brother the dashboard has been dipped to strip the paint ready for a fresh coat (still some more prep. to do);

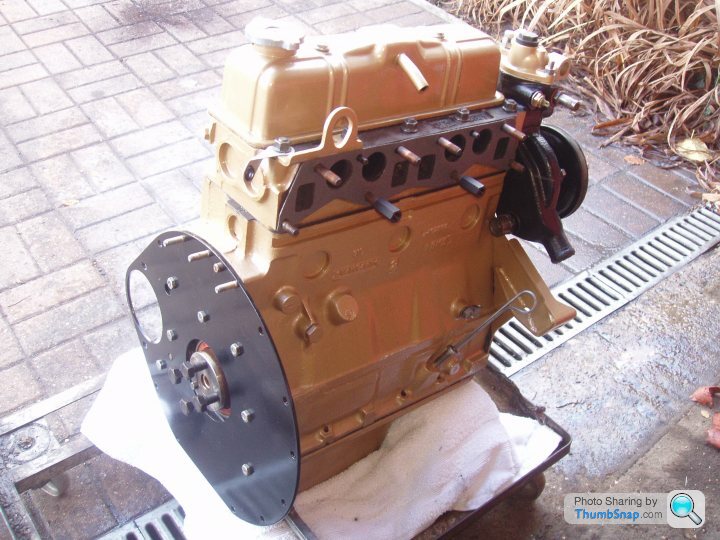
And I've removed the gearbox bell housing and clutch release mechanism ready for a light tidy up of the gearbox, mostly cosmetics.
Thanks to a mate of a mate's brother the dashboard has been dipped to strip the paint ready for a fresh coat (still some more prep. to do);
And I've removed the gearbox bell housing and clutch release mechanism ready for a light tidy up of the gearbox, mostly cosmetics.
Another update, although progress is still a little slow for my liking;
Gearbox cleaned, painted and with new gaskets, oil seals and mountings;
The release arm has been refreshed with new bushes, pins, rods and release bearing;

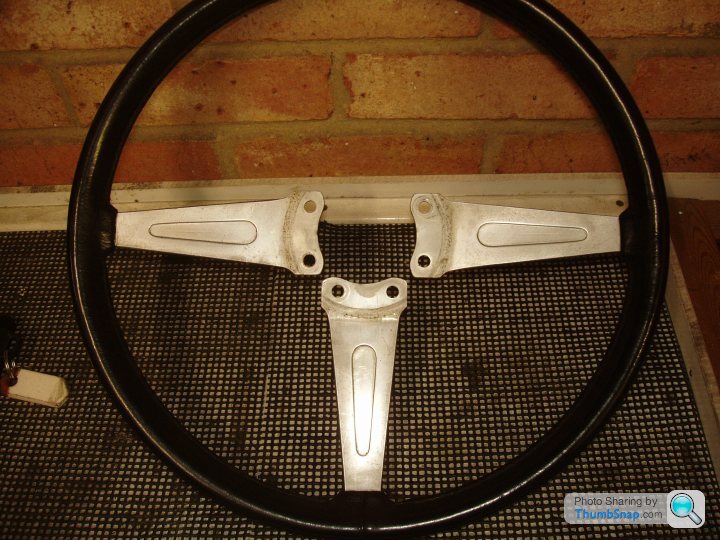
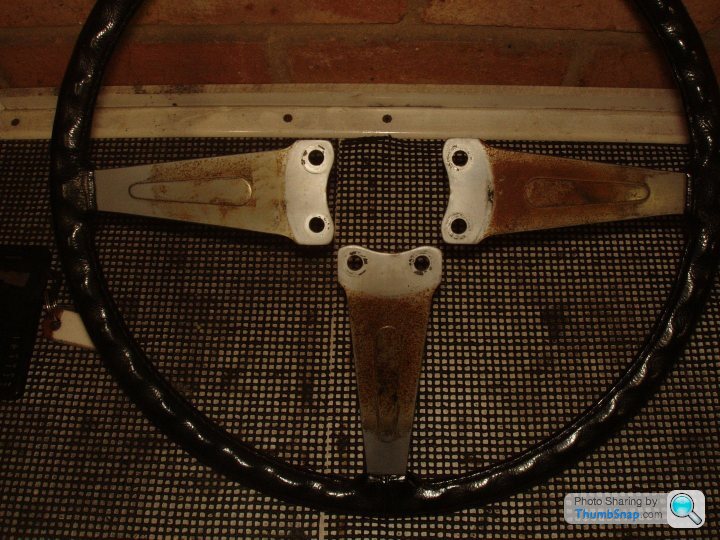
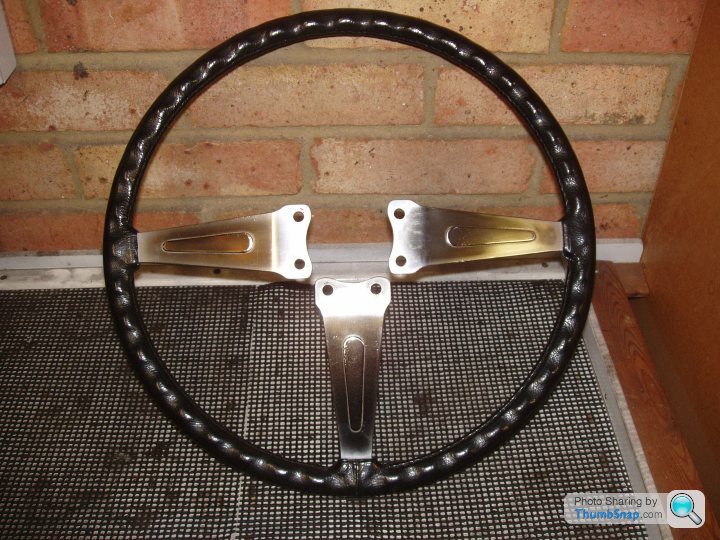
Steering wheel cleaned and polished (it's not really as shiney as the camera flash makes it look);

How the car looked a few days ago;

More cleaning and repainting in the engine bay;
I'm hoping to finish off the engine bay prep. in the next week or so and start putting things back in there...
Gearbox cleaned, painted and with new gaskets, oil seals and mountings;
The release arm has been refreshed with new bushes, pins, rods and release bearing;
Steering wheel cleaned and polished (it's not really as shiney as the camera flash makes it look);
How the car looked a few days ago;
More cleaning and repainting in the engine bay;
I'm hoping to finish off the engine bay prep. in the next week or so and start putting things back in there...
It's taking longer than I hoped, as usual, but I've made a little bit of progress;
I went over the paint with a medium scotch pad and some 1000 grit wet & dry and lacquered it.
Which involved a lot more masking;
Then I went over the lacquer with a scotch pad / compound, and removed that pesky brake pipe which goes to a T-piece at the rear, which was a bit of a faff to get undone.
I will be making a new pipe, which I why I never masked it and it turned orange!
This section of inner wing gave me a right headache, all my fault though.
I got a few big runs, more like a tsunami really, putting the orange on, then when that was sorted I stuffed up the lacquer too.
It ended up going mostly down to bare metal for a large section and starting again.
Finally got it to an acceptable (not that it's brilliant) level.

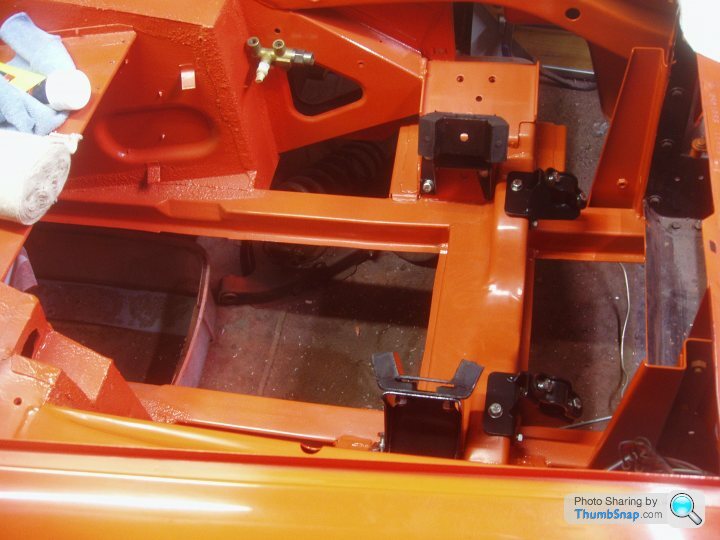
There is still work to do in the engine bay but I've finally started putting a few bits back in, which is a good feeling.
The photos of the paintwork are quite flattering, but as I've only used rattle cans in a cramped, cluttered, cold, damp single garage I am a little bit pleased with the results.
I went over the paint with a medium scotch pad and some 1000 grit wet & dry and lacquered it.
Which involved a lot more masking;
Then I went over the lacquer with a scotch pad / compound, and removed that pesky brake pipe which goes to a T-piece at the rear, which was a bit of a faff to get undone.
I will be making a new pipe, which I why I never masked it and it turned orange!
This section of inner wing gave me a right headache, all my fault though.
I got a few big runs, more like a tsunami really, putting the orange on, then when that was sorted I stuffed up the lacquer too.
It ended up going mostly down to bare metal for a large section and starting again.
Finally got it to an acceptable (not that it's brilliant) level.
There is still work to do in the engine bay but I've finally started putting a few bits back in, which is a good feeling.
The photos of the paintwork are quite flattering, but as I've only used rattle cans in a cramped, cluttered, cold, damp single garage I am a little bit pleased with the results.
Edited by Martin350 on Friday 3rd February 01:51

Gassing Station | Readers' Cars | Top of Page | What's New | My Stuff