Discussion
Sorry for lack of updates but been flat out to get the car off to paint.
Next job was to make the carbon panels, templates had already been made by myself ages ago, these where then marked out for cutting
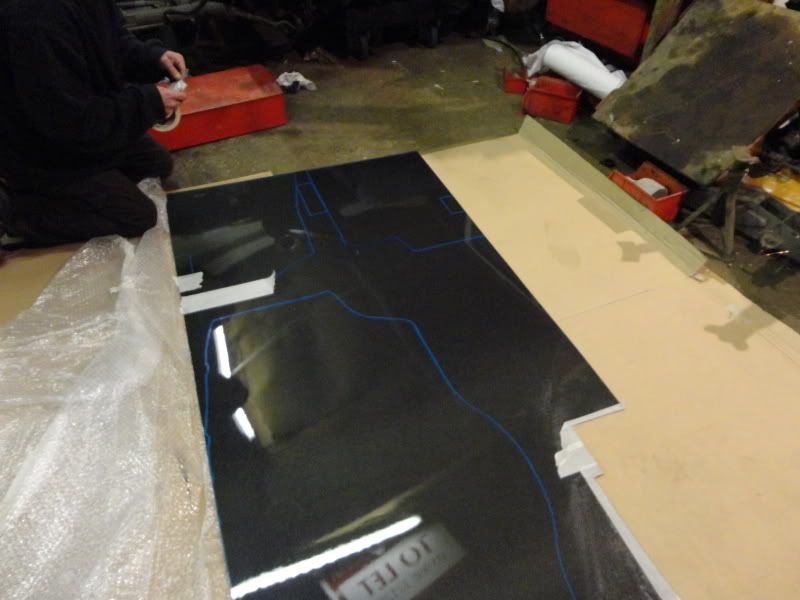
These were then covered in tape and cutting to shape, taking on roughly 3 hours per side to get perfect
Passenger side
Drivers Side
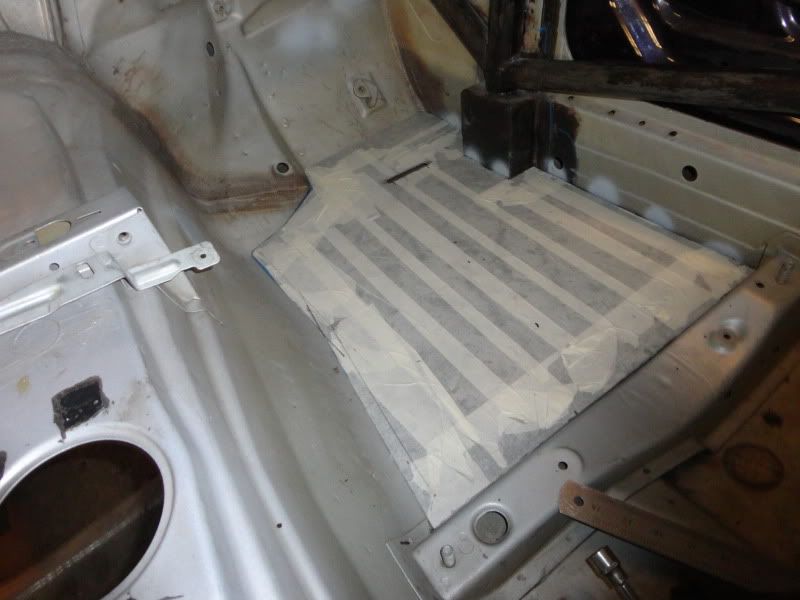
Whilst this was being done i was treating and priming the remaining underfloor areas.
Also put on the new bootlid i got in order to remove the spoiler, the bootlid is a bit rotten and therefore is not being used, but we dropped my spoiler from the M3 so needed a replacement.
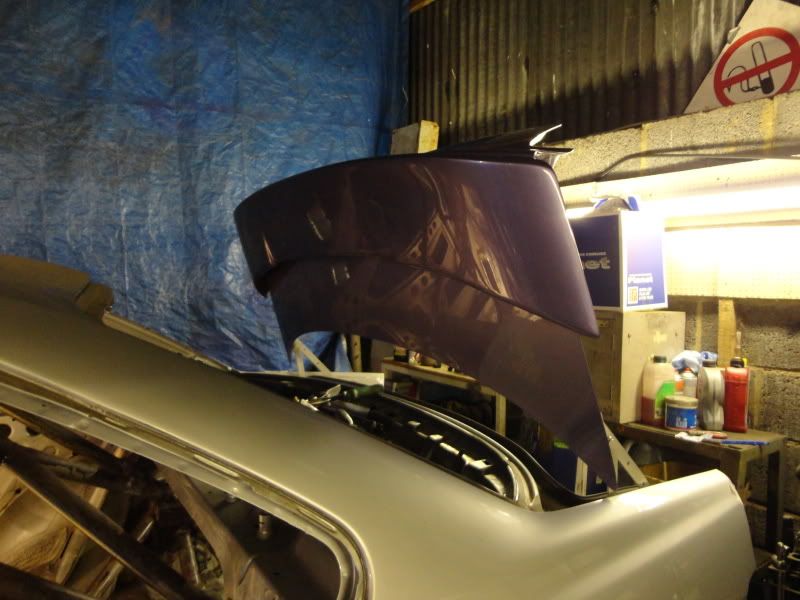
Spoiler came off although one of the studs snapped and is going to be a pain in the arse to remove
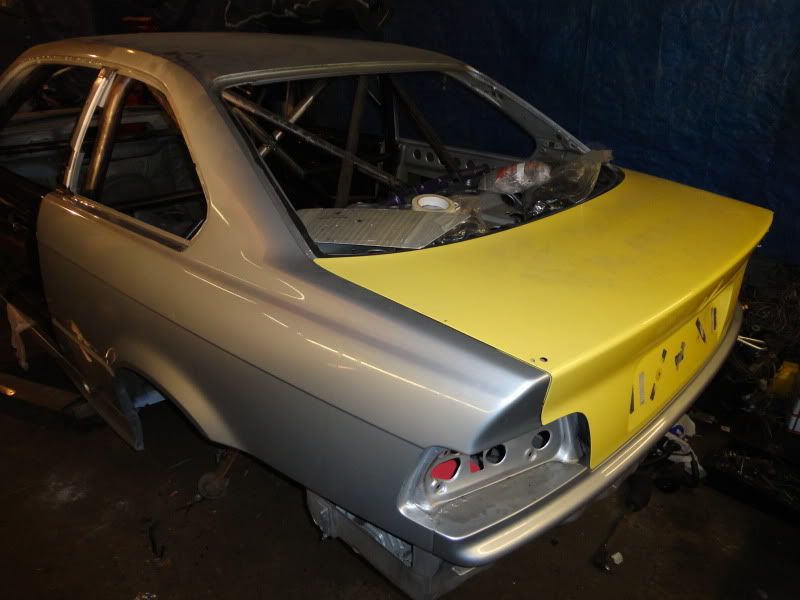
With this done the violet bootlid was removed and replaced with the yellow one which will be used.
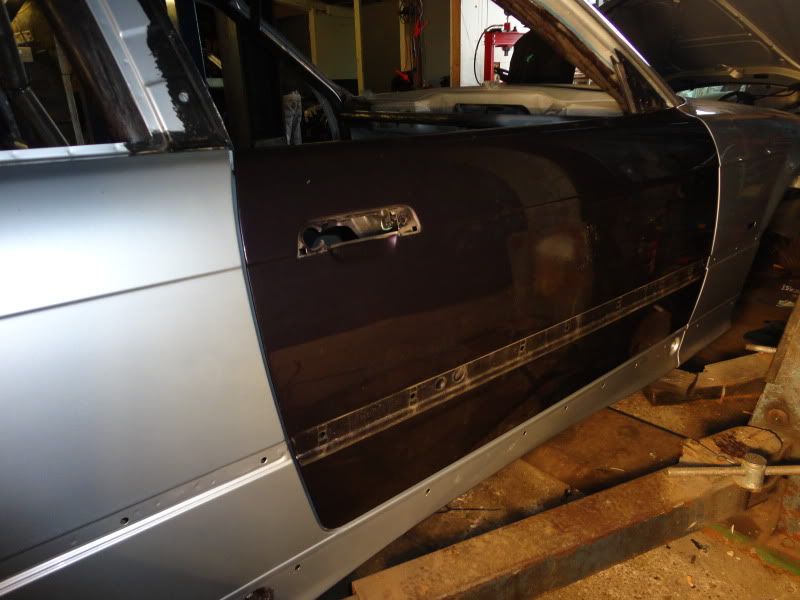
Stripped the ali doors and then fitted them up, this took arouns 2 hours per door to get the fitment correct, even using feeler gauges to ensure equal gap around the doors
Next up the dollys where made, front using an old front subframe and the back bolted into the rear subframe mounting points.
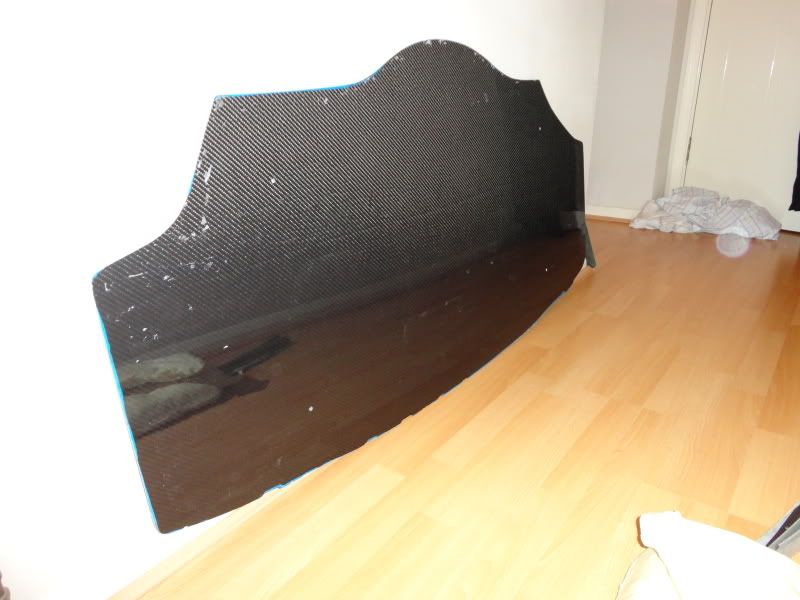
Carbon fibre boot floor was then made, again taking around 8 hours to get perfect, it now fits aorund all the lumps and bumps in the boot
We then attempted to fit my carbon doors cards, however they could not be fitted as one of them is out of shape and will have to go back as it will not fit on the top of door.. not a big problem though ,as doors are ali and doesnt matter if we drill into them after paint.
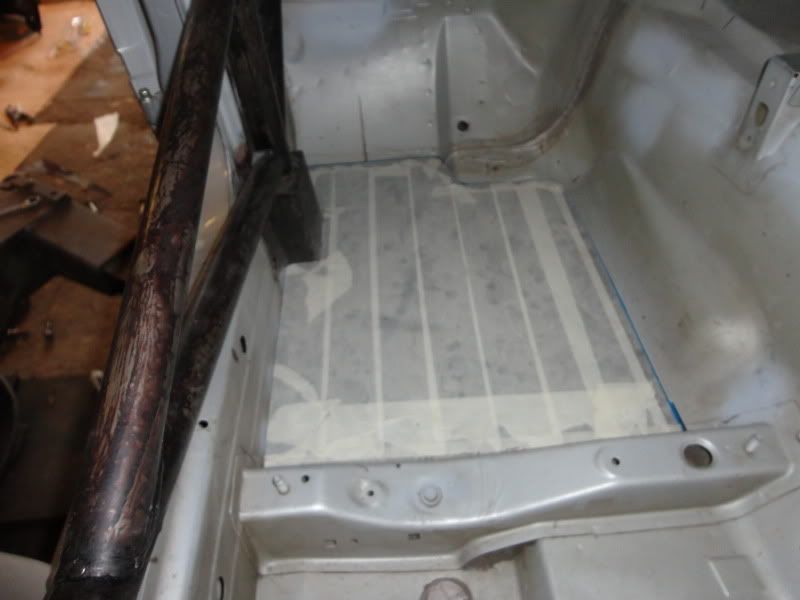
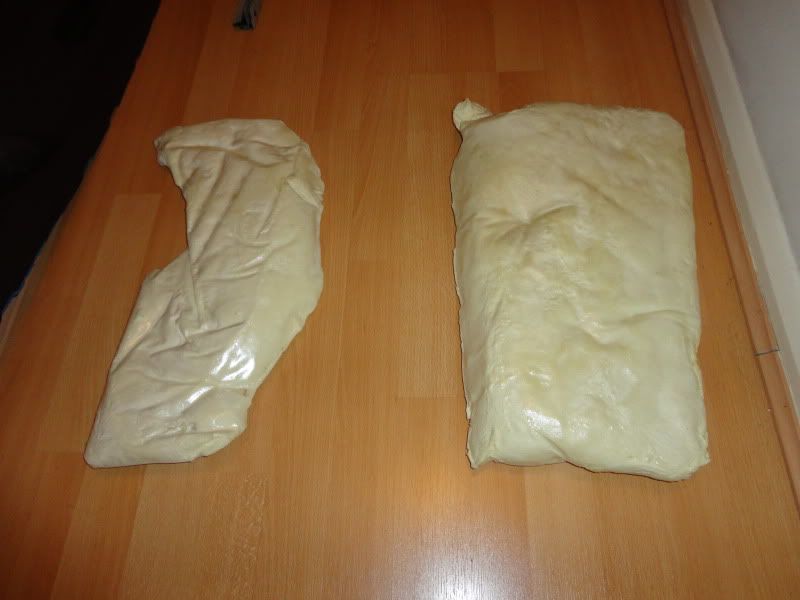
We then needed to fill the voids under the carbon foot plates to make them more rigid.
For this we used a foam kit designed for moulding racing seats.
Firstly we filled the void with the foam mixture inside a bag them placed a piece of wood with a car battery on top to weigh it down.
First attempt didnt go to well as we used to much mixture and when it expanded it lifted the wood and battery about 3 inches in the air.
Anyway we got this cracked and done.
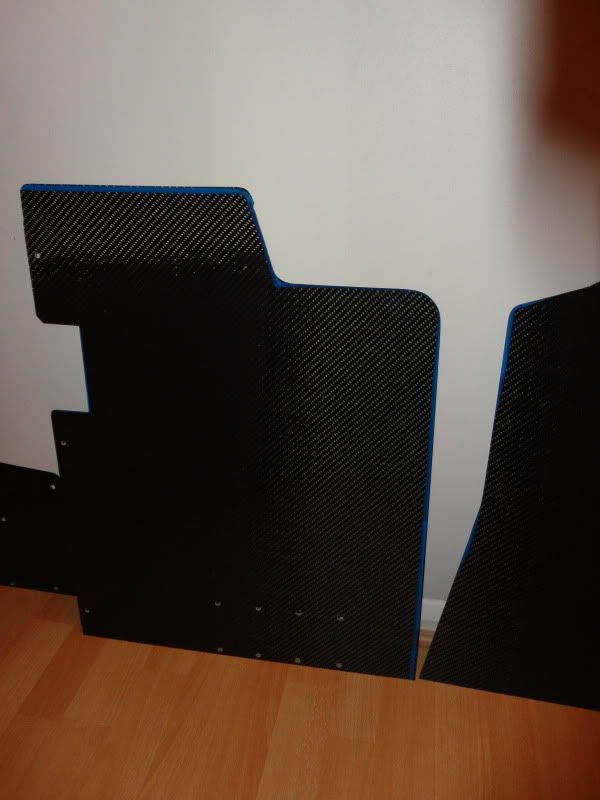
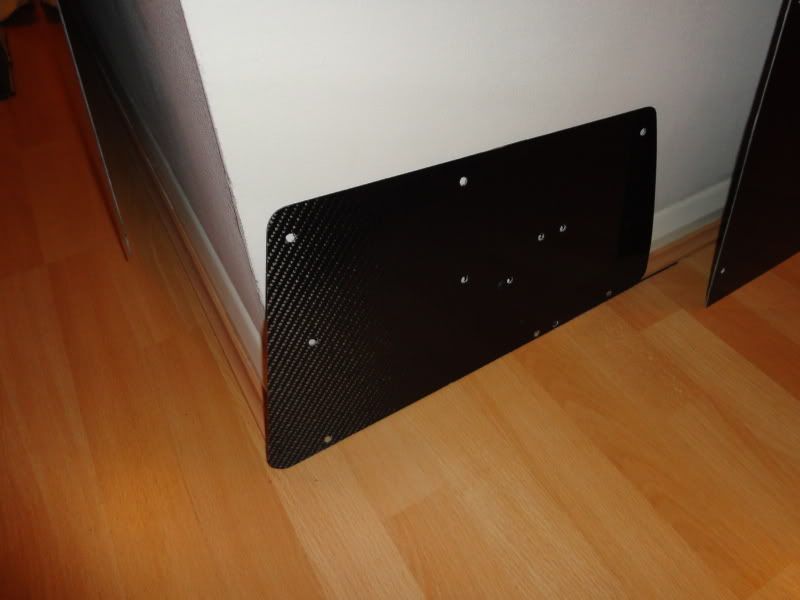
This how the carbon panels look after the tape was removed, need to be finished off with wet and dry and cleaned up still.
Passegner Side
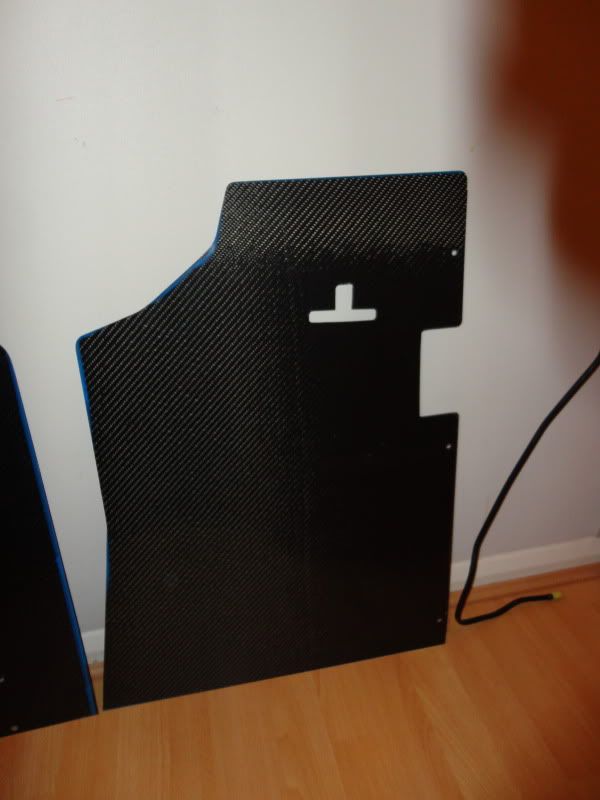
Drivers side, *note notch cut for accelator pedal to fit through as per standard carpet*
Boot floor
Fuel system panel as mentioned earlier in the thread
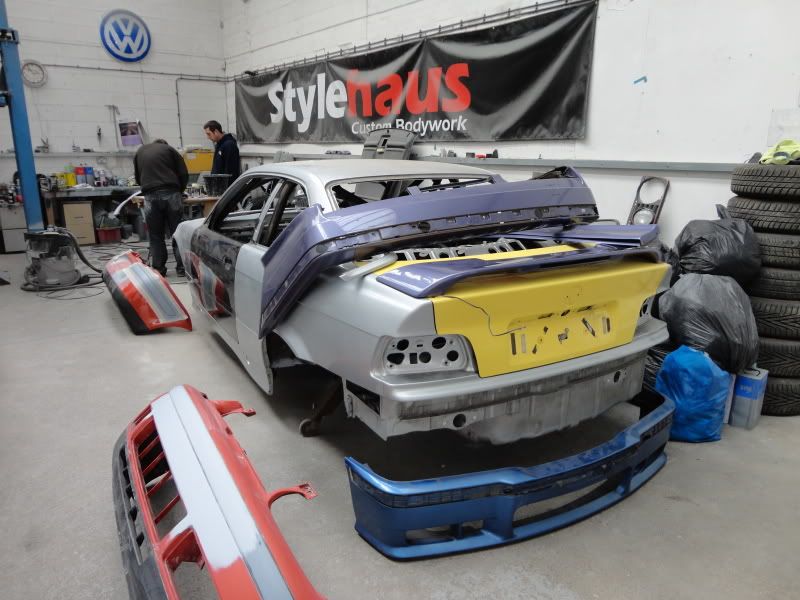
The car is now at Stylehaus in Northampton awaiting its shiney Alpine White paintjob
Next job was to make the carbon panels, templates had already been made by myself ages ago, these where then marked out for cutting

These were then covered in tape and cutting to shape, taking on roughly 3 hours per side to get perfect
Passenger side

Drivers Side

Whilst this was being done i was treating and priming the remaining underfloor areas.
Also put on the new bootlid i got in order to remove the spoiler, the bootlid is a bit rotten and therefore is not being used, but we dropped my spoiler from the M3 so needed a replacement.

Spoiler came off although one of the studs snapped and is going to be a pain in the arse to remove
With this done the violet bootlid was removed and replaced with the yellow one which will be used.

Stripped the ali doors and then fitted them up, this took arouns 2 hours per door to get the fitment correct, even using feeler gauges to ensure equal gap around the doors

Next up the dollys where made, front using an old front subframe and the back bolted into the rear subframe mounting points.
Carbon fibre boot floor was then made, again taking around 8 hours to get perfect, it now fits aorund all the lumps and bumps in the boot

We then attempted to fit my carbon doors cards, however they could not be fitted as one of them is out of shape and will have to go back as it will not fit on the top of door.. not a big problem though ,as doors are ali and doesnt matter if we drill into them after paint.
We then needed to fill the voids under the carbon foot plates to make them more rigid.
For this we used a foam kit designed for moulding racing seats.
Firstly we filled the void with the foam mixture inside a bag them placed a piece of wood with a car battery on top to weigh it down.
First attempt didnt go to well as we used to much mixture and when it expanded it lifted the wood and battery about 3 inches in the air.
Anyway we got this cracked and done.

This how the carbon panels look after the tape was removed, need to be finished off with wet and dry and cleaned up still.
Passegner Side

Drivers side, *note notch cut for accelator pedal to fit through as per standard carpet*

Boot floor

Fuel system panel as mentioned earlier in the thread

The car is now at Stylehaus in Northampton awaiting its shiney Alpine White paintjob


Edited by Bmdub on Saturday 5th May 20:38
So with the car at paint, i thought id get cracking on the list of jobs i need to get done before it returns.
First off, finish the carbon fibre panels, these where cleaned with Auto Glym Intensive Tar Remover to remove traces of masking tape and paint from where templates had been drawn.
I then rubbed down the edges with 400 grit wet and dry before sealing them with wax. Finally giving the whole panel a polish with Dodo Juice Lime Prime.
Passenger side
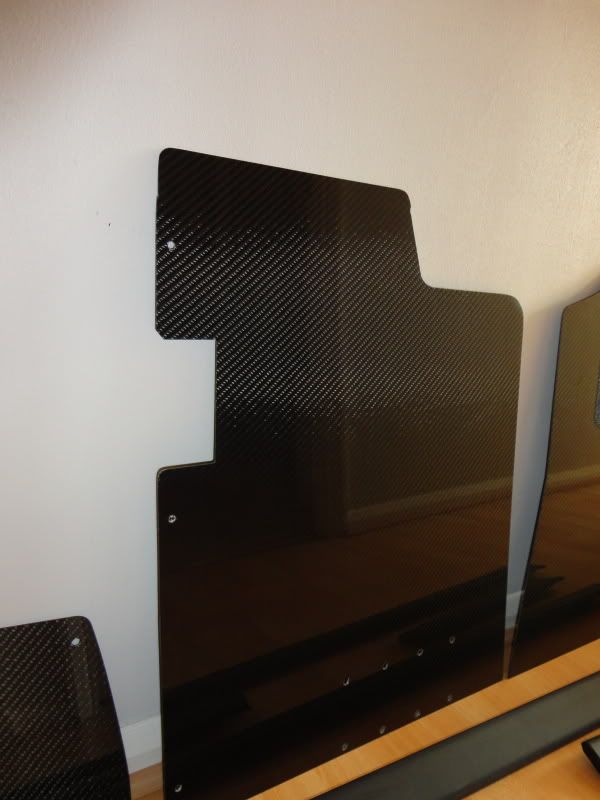
Boot floor
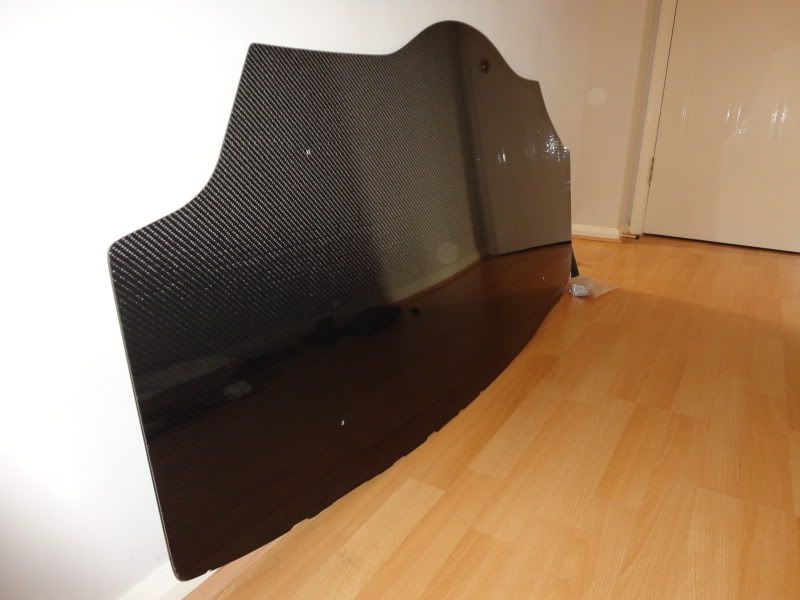
The drivers side panel recieved the grip pad, which i based on the original pad found on the OEM carpets
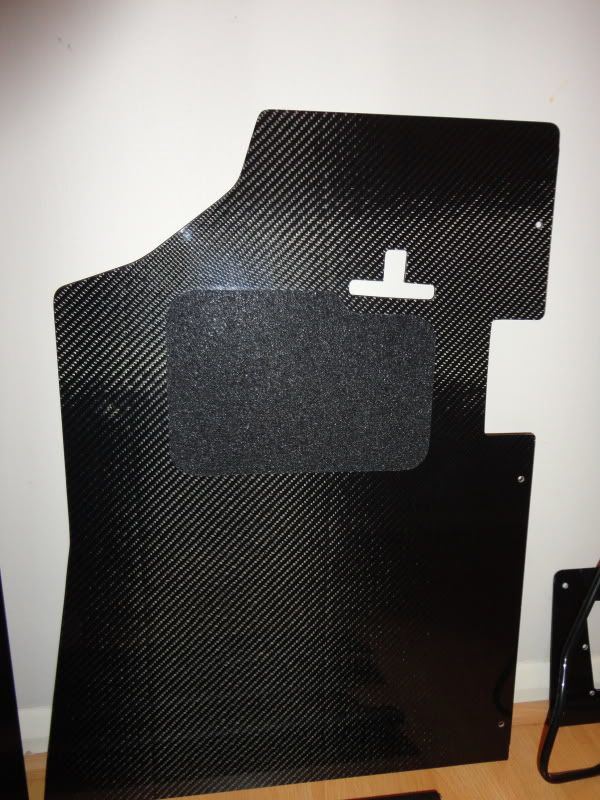
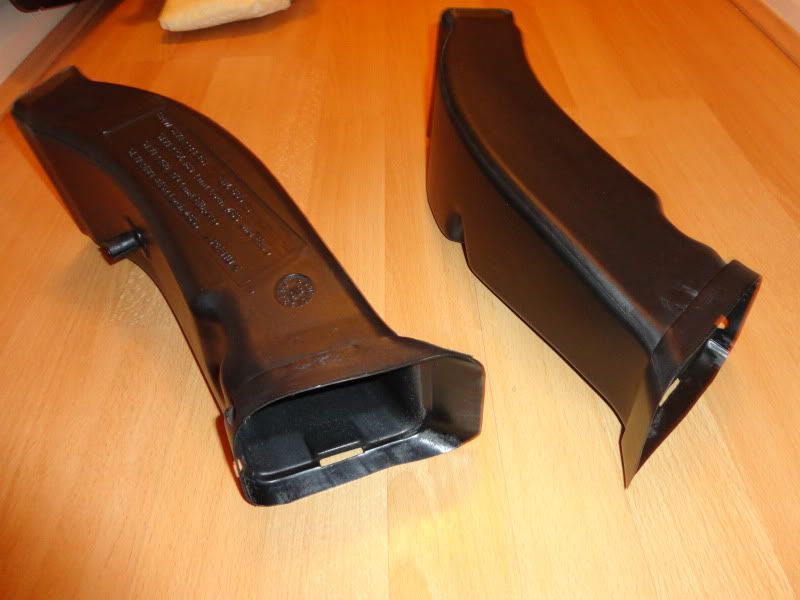
Once they were done i thought id do a spot of cleaning.
Brake ducts
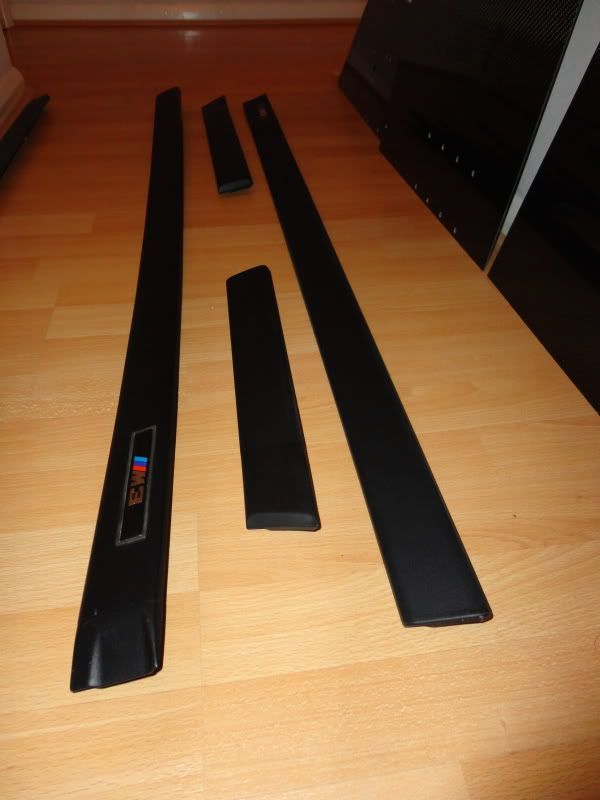
Side trims
Hoping to get the dash finished this week so that i can send that of to be flocked
First off, finish the carbon fibre panels, these where cleaned with Auto Glym Intensive Tar Remover to remove traces of masking tape and paint from where templates had been drawn.
I then rubbed down the edges with 400 grit wet and dry before sealing them with wax. Finally giving the whole panel a polish with Dodo Juice Lime Prime.
Passenger side

Boot floor

The drivers side panel recieved the grip pad, which i based on the original pad found on the OEM carpets

Once they were done i thought id do a spot of cleaning.
Brake ducts

Side trims

Hoping to get the dash finished this week so that i can send that of to be flocked

Edited by Bmdub on Monday 7th May 20:49
Mr.Jimbo said:
YOu can get portable ones, a punch and die which bolt together, you drill the right size hole, put the die on the back, bolt the punch into the die from the front and tighten up, bingo. They're amazingly useful for stuff like this!
Amazing build mate. Got a link to one of those swaggers? Not sure what to look for!
J381 said:
Amazing build mate.
Got a link to one of those swaggers? Not sure what to look for!
Here you go mateGot a link to one of those swaggers? Not sure what to look for!
http://www.ebay.co.uk/itm/6-HOLE-SWAGER-SET-FLARIN...
Sorry for the lack of updates, with the car being at paint there is not to much going on.
However i do have the following updates
ARP Rod Bolts arrived.
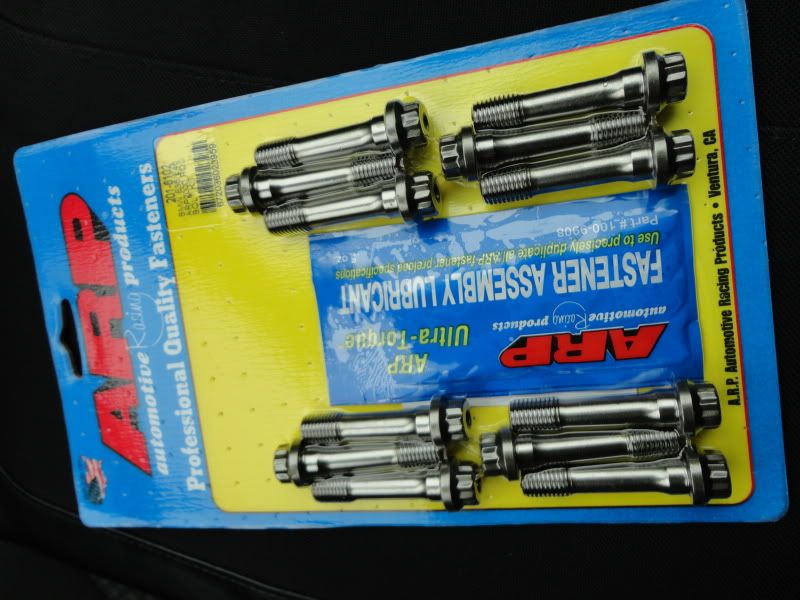
New shells are on order from BMW
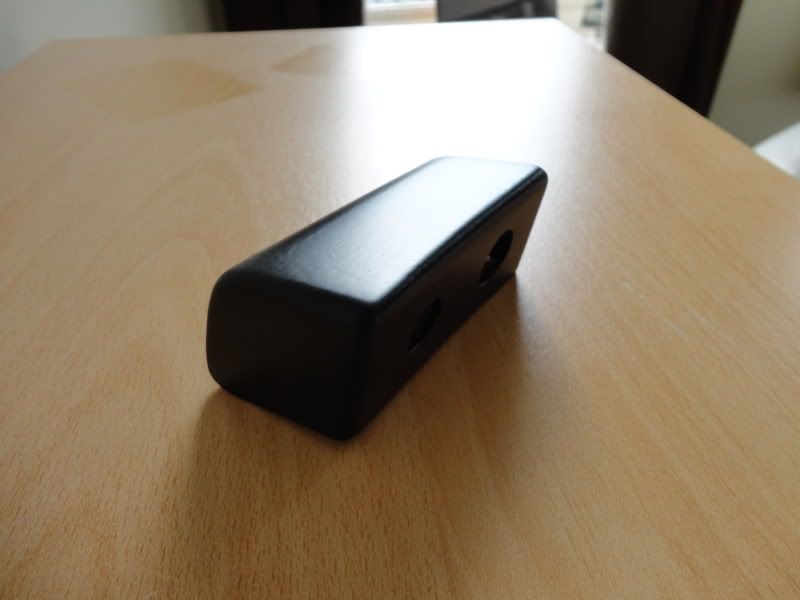
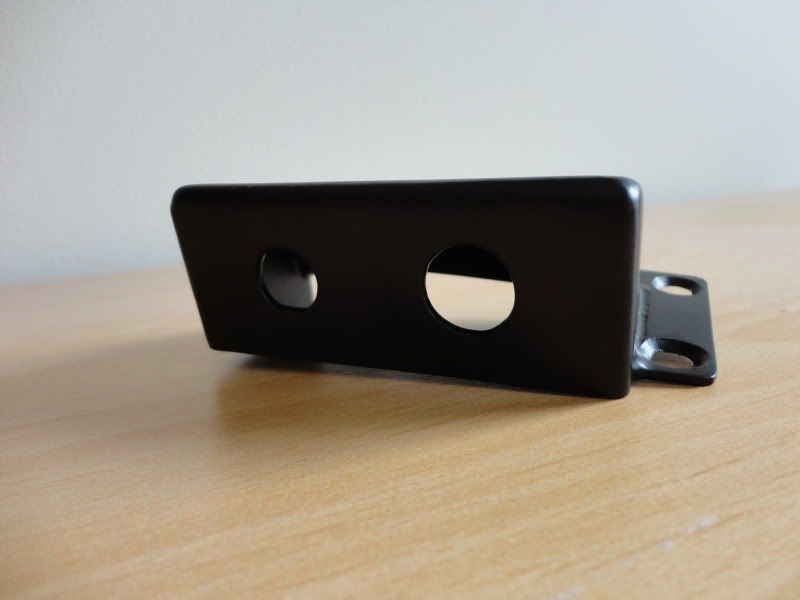
Popped up to Pro Alloy today to pick up my bits which have now been powder coated and finshed.
Box for external fire extinguisher and kill switch buttons
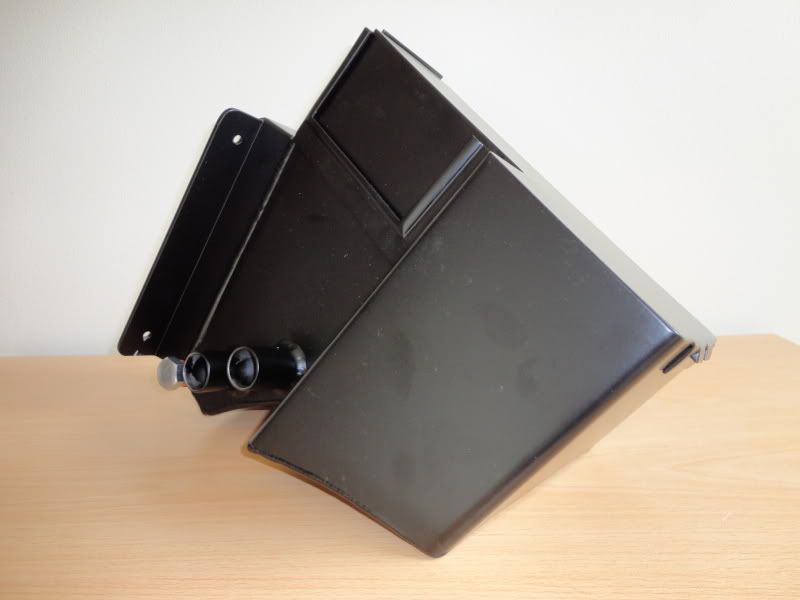
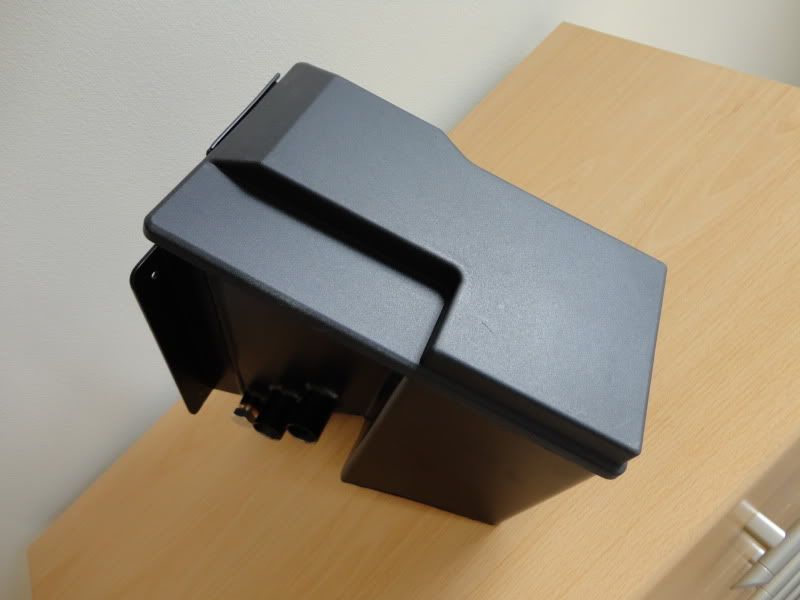
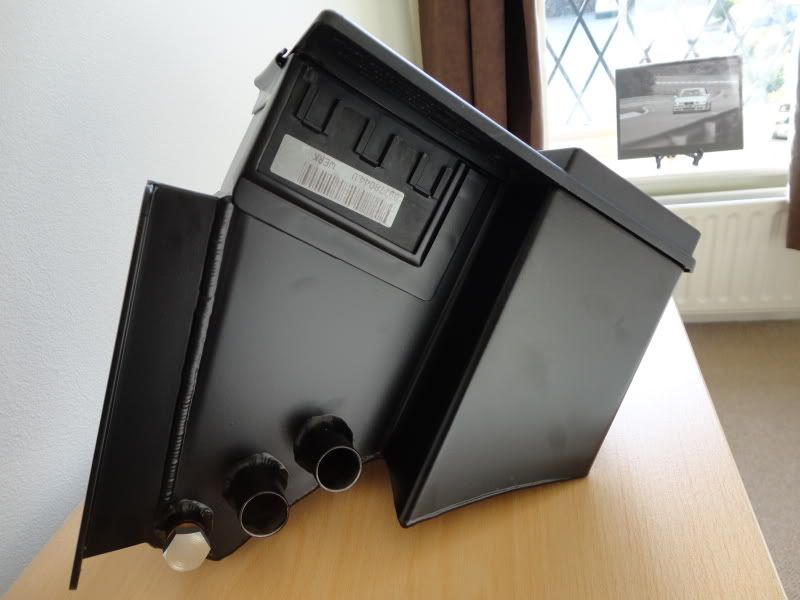
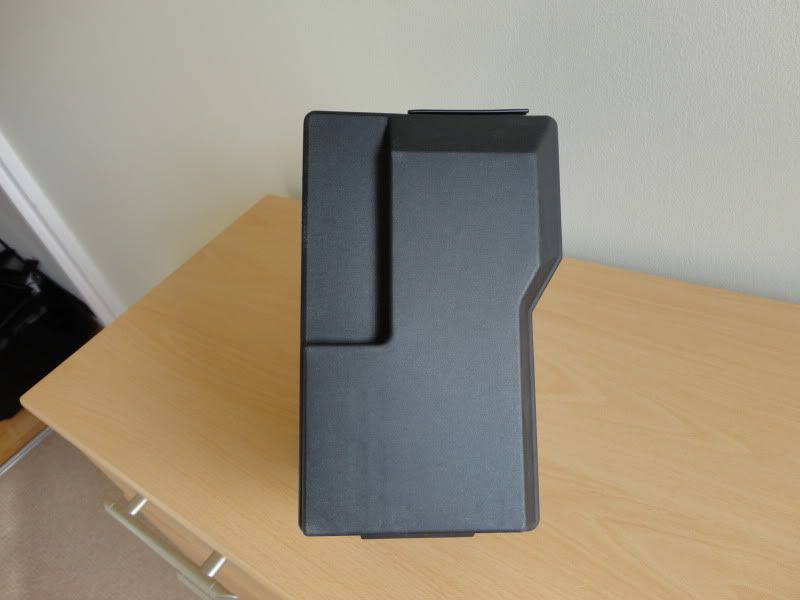
Now those of you who have been following my build will know that we were having a catch tank made to replicate the fuse box and fill the void left now that the fuse box is in the glovebox.
This is the finished result
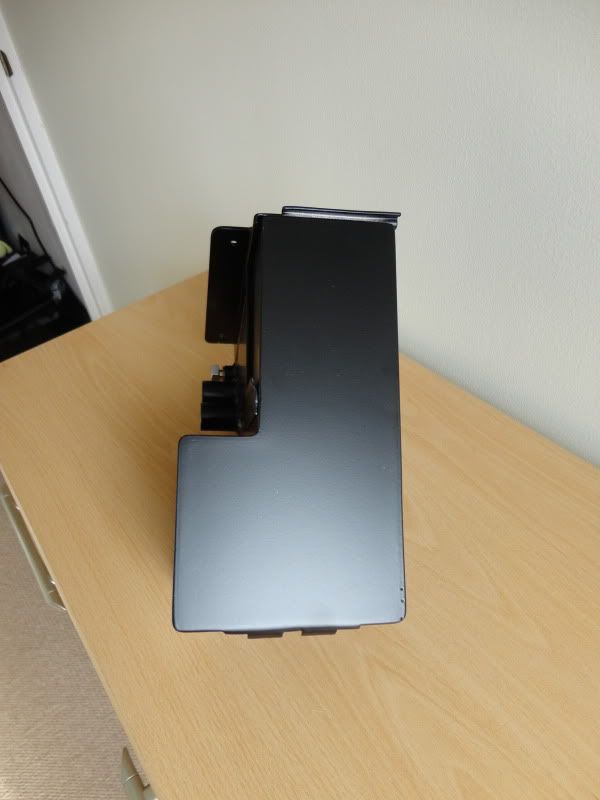
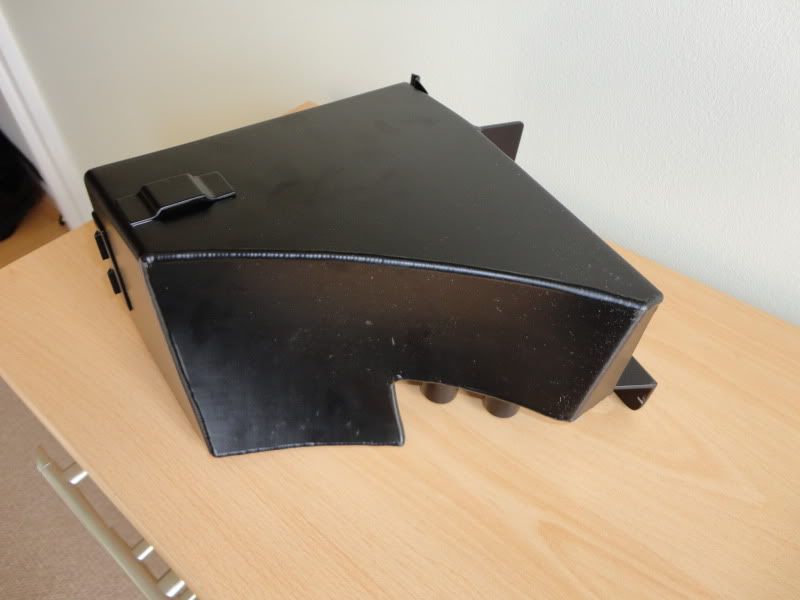
With relay mounting points fitted, this section was cut from the OEM fuse box and fitted into a frame made on the ctach tank
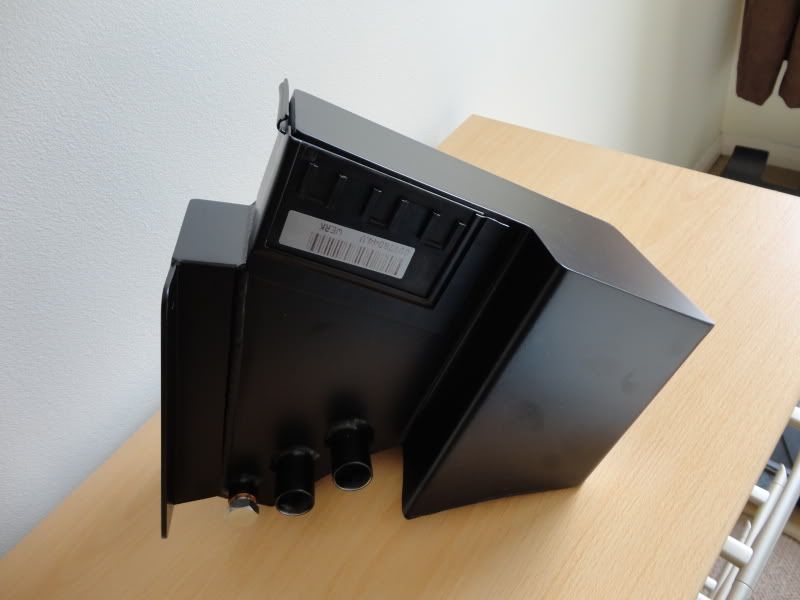
and with the OEM fuse box lid clipped into place
Going to Bilstein tomorrow to drop of my shocks for revalving to motorsport spec, on the way back will pop into Stylehaus to see how the paintjob is coming along
However i do have the following updates
ARP Rod Bolts arrived.

New shells are on order from BMW
Popped up to Pro Alloy today to pick up my bits which have now been powder coated and finshed.
Box for external fire extinguisher and kill switch buttons


Now those of you who have been following my build will know that we were having a catch tank made to replicate the fuse box and fill the void left now that the fuse box is in the glovebox.
This is the finished result


With relay mounting points fitted, this section was cut from the OEM fuse box and fitted into a frame made on the ctach tank

and with the OEM fuse box lid clipped into place


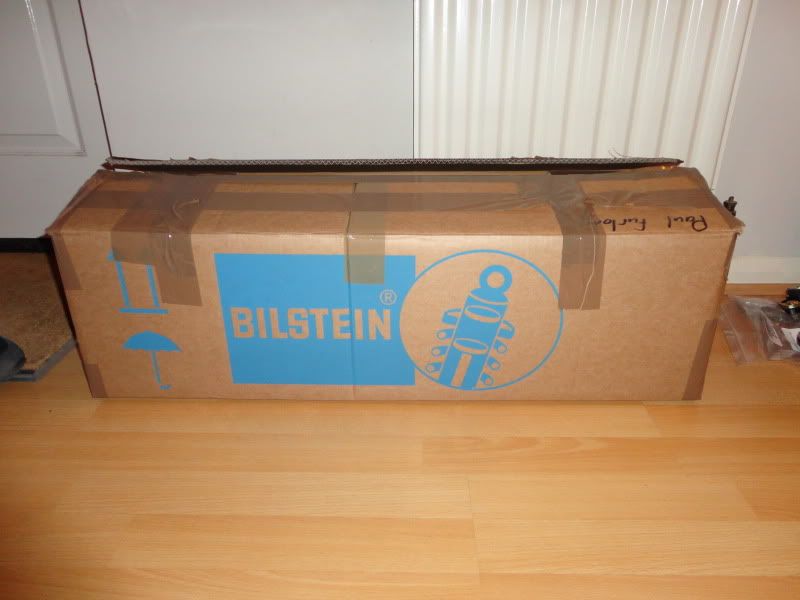
Going to Bilstein tomorrow to drop of my shocks for revalving to motorsport spec, on the way back will pop into Stylehaus to see how the paintjob is coming along
Edited by Bmdub on Wednesday 16th May 18:37
Well progress is very slow at the moment, still waiting for the shell to be painted 
I the meantime i have been doing a couple of other bits that needed to be done.
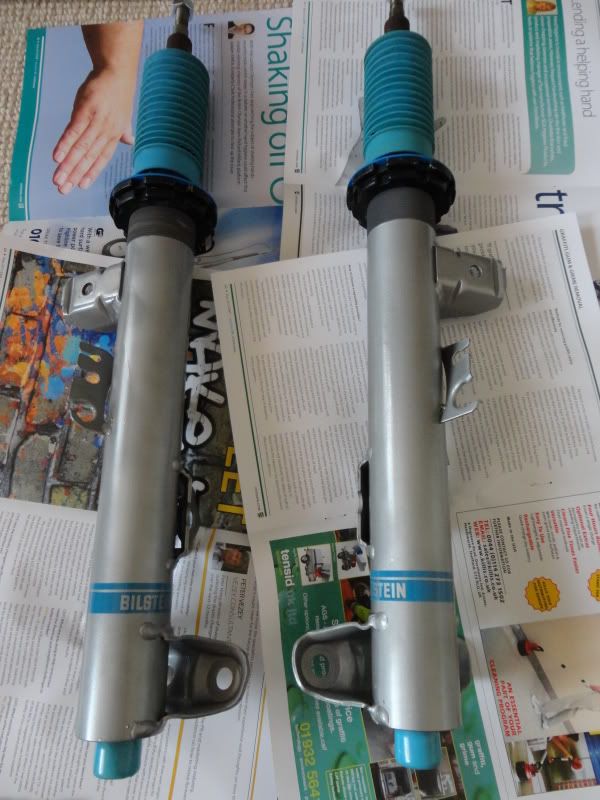
Shocks back from full rebuild at Bilstein, everything is new internally, also they have been re valved to make them stiffer for the track and the springs were tested and rated at eibach, which is on the same estate.
As well as a rebuild, they got the front bodies re-plated as they had corroded very badly.
All of this for just over £400 is great value IMO as they are basically new shocks now.
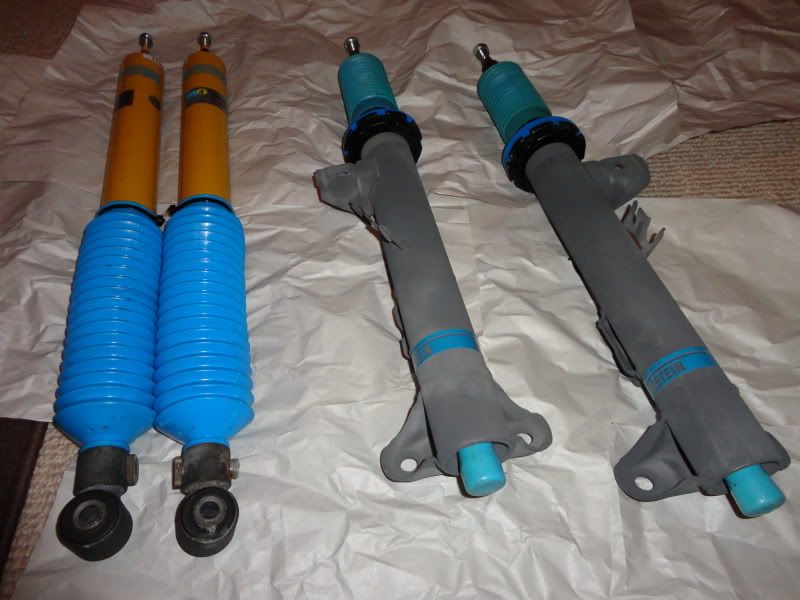
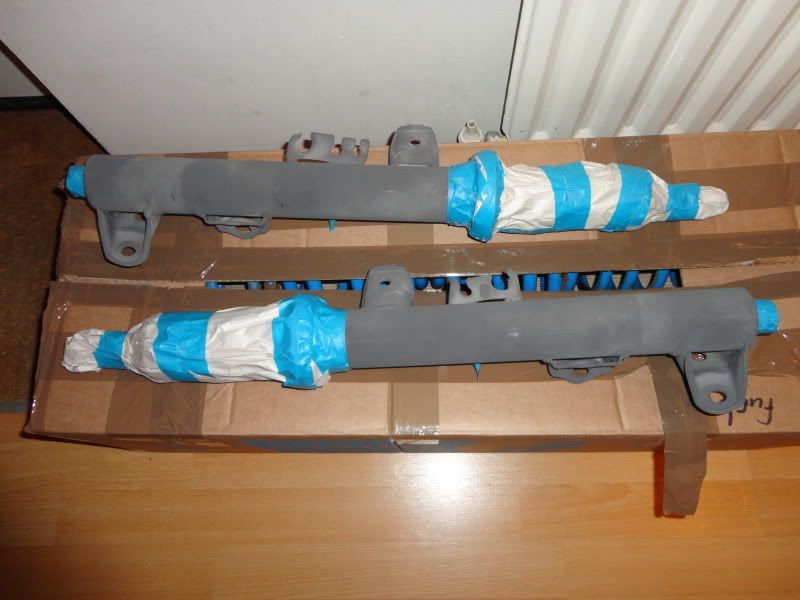
Although the plating is very good and had tidied up the bodies, i want to try and get them back to how they looked when they were new with the shiney silver plating, so i have decided to give them a coat of shiney silver paint, this will also protect them a bit better i hope.
Masked up
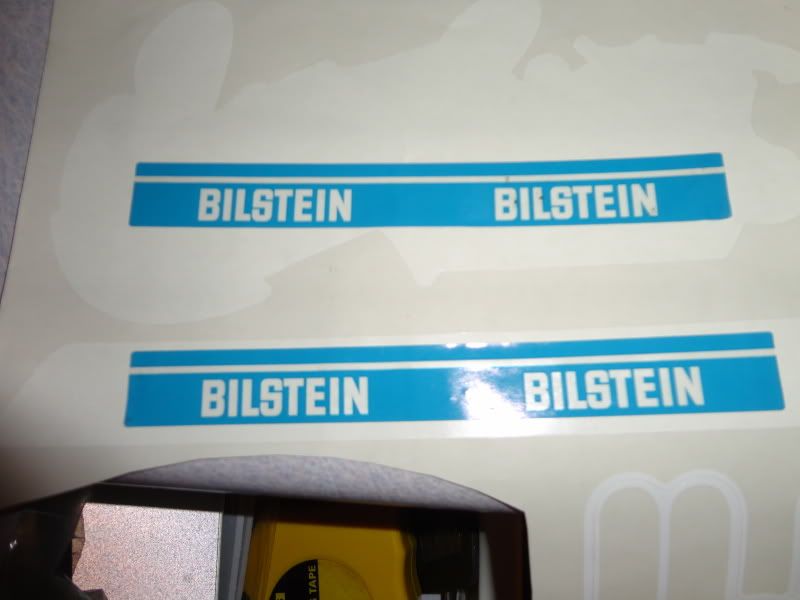
New stickers to go on after paint
Other than this i have removed the rocker cover, spark plug cover and plenum chamber all of which had been sent off for powder coating in original finish.

I the meantime i have been doing a couple of other bits that needed to be done.
Shocks back from full rebuild at Bilstein, everything is new internally, also they have been re valved to make them stiffer for the track and the springs were tested and rated at eibach, which is on the same estate.
As well as a rebuild, they got the front bodies re-plated as they had corroded very badly.
All of this for just over £400 is great value IMO as they are basically new shocks now.


Although the plating is very good and had tidied up the bodies, i want to try and get them back to how they looked when they were new with the shiney silver plating, so i have decided to give them a coat of shiney silver paint, this will also protect them a bit better i hope.
Masked up

New stickers to go on after paint

Other than this i have removed the rocker cover, spark plug cover and plenum chamber all of which had been sent off for powder coating in original finish.
Gassing Station | Readers' Cars | Top of Page | What's New | My Stuff


