Johns cerbera rebuild and upgrade
Discussion


I just stumbled across this whilst looking whistfully at the Cerbera forum, I miss mine...
Looks like a fantastic machine you're making there, congratulations. What is the foam you're using for your fibreglass plug? I need to make up some wide arches myself and was looking into options.
Looks like a fantastic machine you're making there, congratulations. What is the foam you're using for your fibreglass plug? I need to make up some wide arches myself and was looking into options.
first door sill out of the mould well pleased great surface.
https://photos.app.goo.gl/sIENMepNwvrEuNN62
john
https://photos.app.goo.gl/sIENMepNwvrEuNN62
john
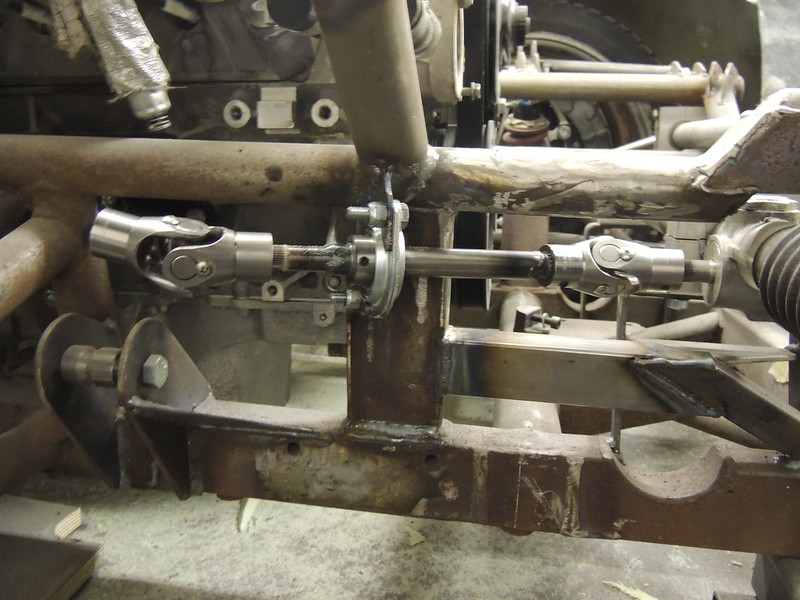
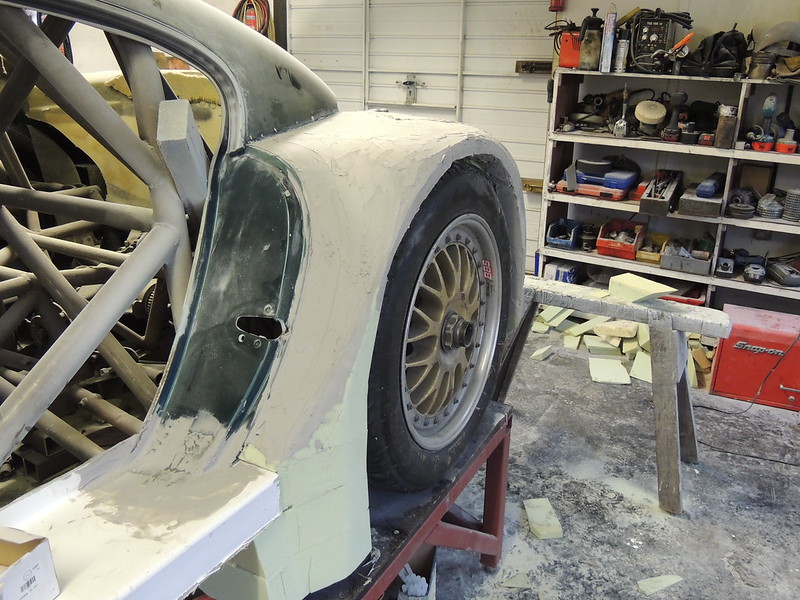
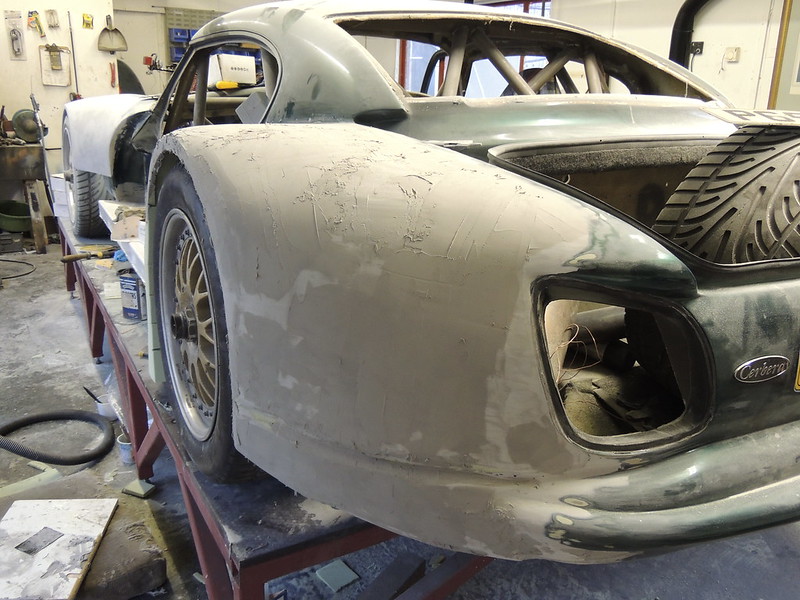
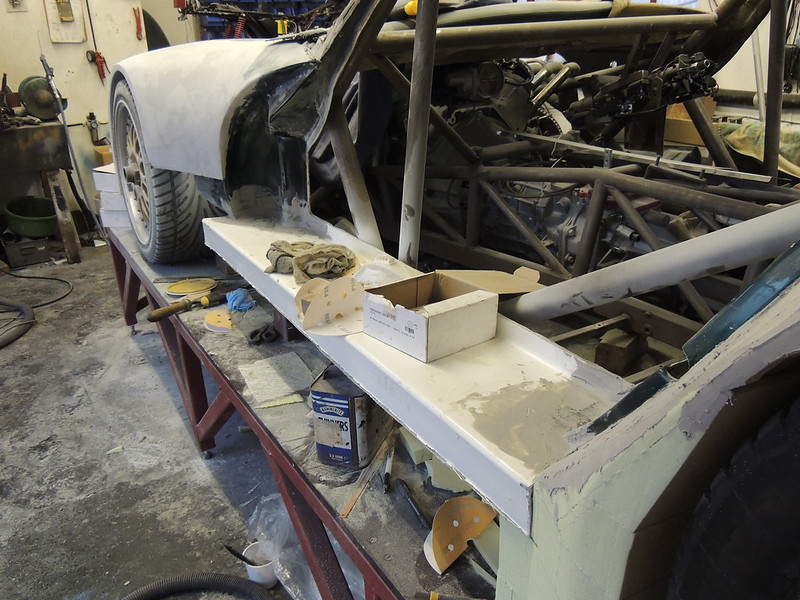
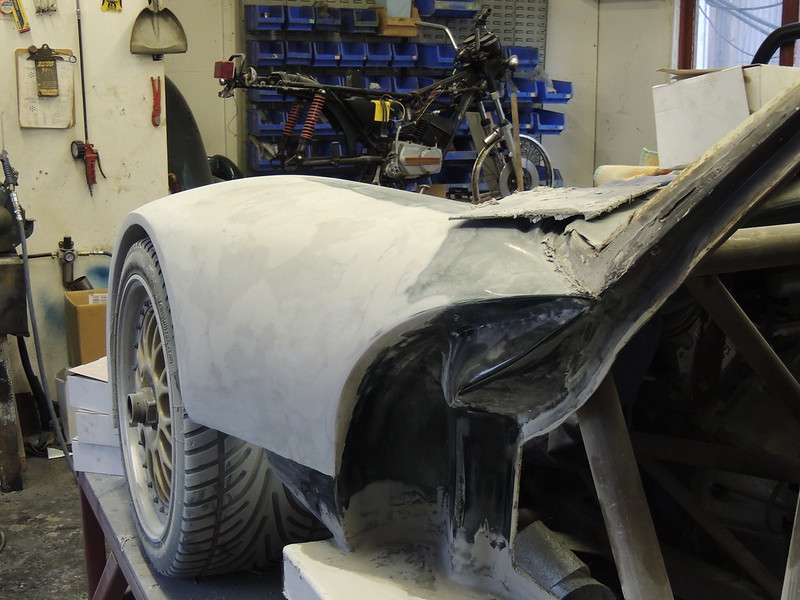
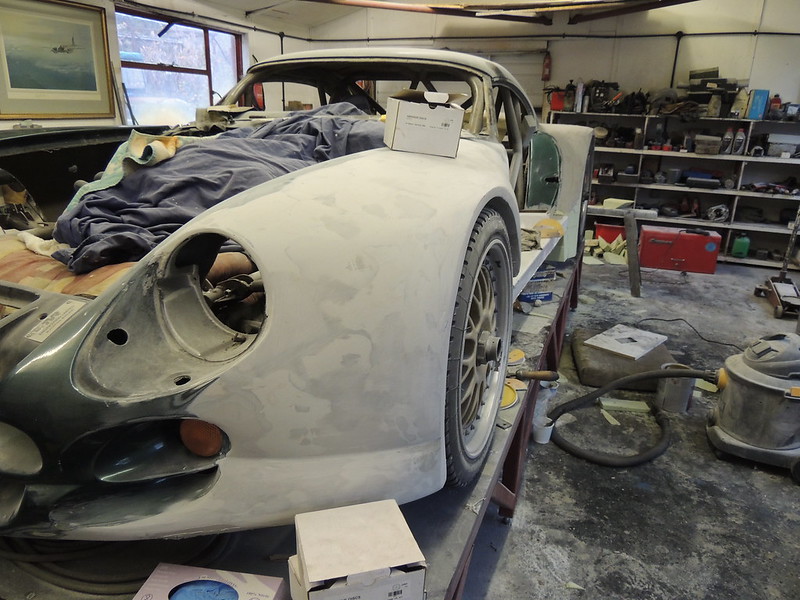
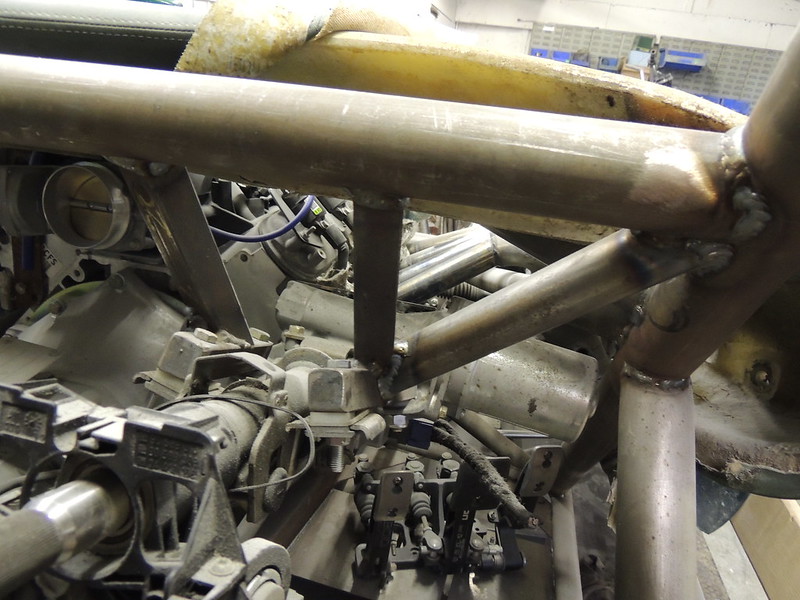
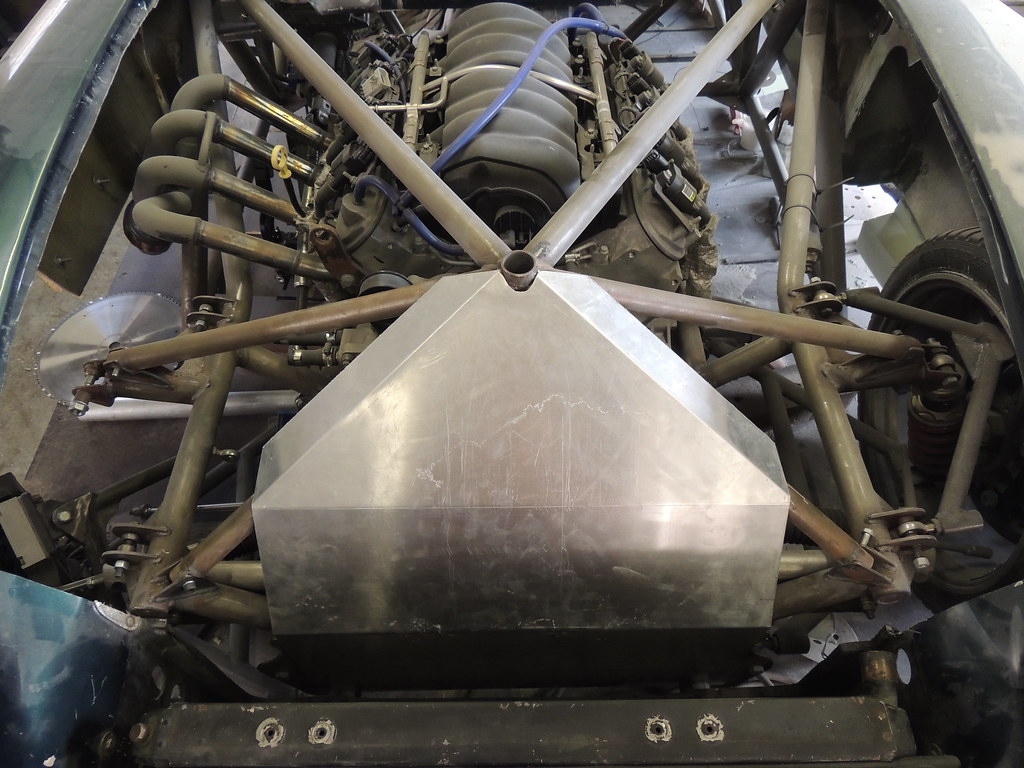
long time since i posted been busy restoring two wedges plus power steering to a griff etc. etc. but now having a concerted effort on the cerb finally finished the power steering column and the mounting for the power unit and lots of work to the n/s plugs for the new wings also laid up the bonnet with the cooling duct for the rad pics on that to follow but pics should give you a flavour of the work.
john
 DSCN2872 by Brundall Motorsport, on Flickr
 DSCN3096 by Brundall Motorsport, on Flickr
 DSCN3095 by Brundall Motorsport, on Flickr
 DSCN3094 by Brundall Motorsport, on Flickr
 DSCN3093 by Brundall Motorsport, on Flickr
 DSCN3091 by Brundall Motorsport, on Flickr
 DSCN3098 by Brundall Motorsport, on Flickr
 DSCN3099 by Brundall Motorsport, on Flickr
 DSCN3100 by Brundall Motorsport, on Flickr
 DSCN3102 by Brundall Motorsport, on Flickr
john
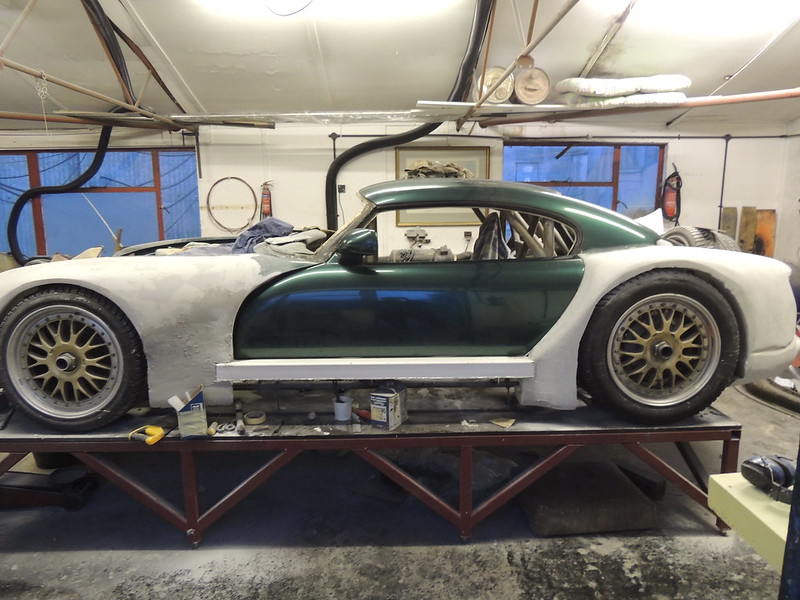
DSCN2872 by Brundall Motorsport, on FlickrDSCN3096 by Brundall Motorsport, on FlickrDSCN3095 by Brundall Motorsport, on FlickrDSCN3094 by Brundall Motorsport, on FlickrDSCN3093 by Brundall Motorsport, on FlickrDSCN3091 by Brundall Motorsport, on FlickrDSCN3098 by Brundall Motorsport, on FlickrDSCN3099 by Brundall Motorsport, on FlickrDSCN3100 by Brundall Motorsport, on FlickrDSCN3102 by Brundall Motorsport, on Flickrengine transmission etc. is all sorted its a chevvy ls3 producing 503 bhp and 475 ftlbs as far as i can remember all run in and mapped on emeralds engine dyno, i think pics etc. are back somwhere in the thread, driving onto a 56 magnum 6 speed box 8 1/4 diff, hollow gun barrel lathe turned drive shafts and mosler uprights hubs and brakes, bbs wheels.
john
john
Demondad said:
A fascinating engineering project for us Cerbie pervs. It would make a brilliant TV show.
Not even just Cerbie pervs - I have to confess I'm not a massive Cerb fan (for me the Tuscan is, and will always remain, the pinnacle of automotive design, although admittedly I'm biased...), but I stumbled across this thread some time ago (>1yr) and am delighted to see that the project is still making progress.John, I have the utmost admiration for your skills, and can't wait to see the end result. The bodywork alone is an absolute work of art
 This may be a naive question, but out of interest, how do you match up the offside and the nearside given that the contours appear to be hand-sculpted? Do you take measurements at datum points on either side, or is it just a case of judging everything by eye (I suspect not, but would love to know how it's done!?)?
rob it starts off being done by eye to get a basic shape certainly when on the first stage building up the foam prior to filling and fairing, then we scribe vertical lines at precise distances along the (in this case wing) using a laser level nowadays used to use a plumb bob and use the shadow cast by a lamp, then make a template of that section and form the opposite wing to that shape at that station not easy but with practise not so bad.we will be performing this very soon so will take loads of pics and post on here.
john
john
Hello, please excuse my ignorance
To me it looks like you are using car body filler on top of the foam and then you rub both sides down to the perfect shape as you have explained above, I am absolutely clueless as to what happens next.....Do you later make a mould from what you have shaped and then use that mould to make fibreglass panels or whatever, then later rip all your hard work off the vehicle to replace it with those panels
Not that I will ever be attempting this type of work but I am intrigued to know
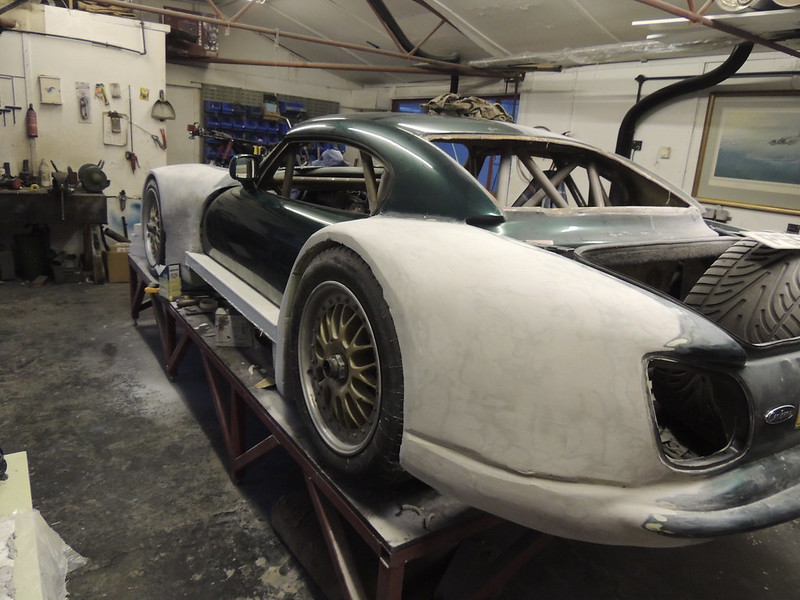
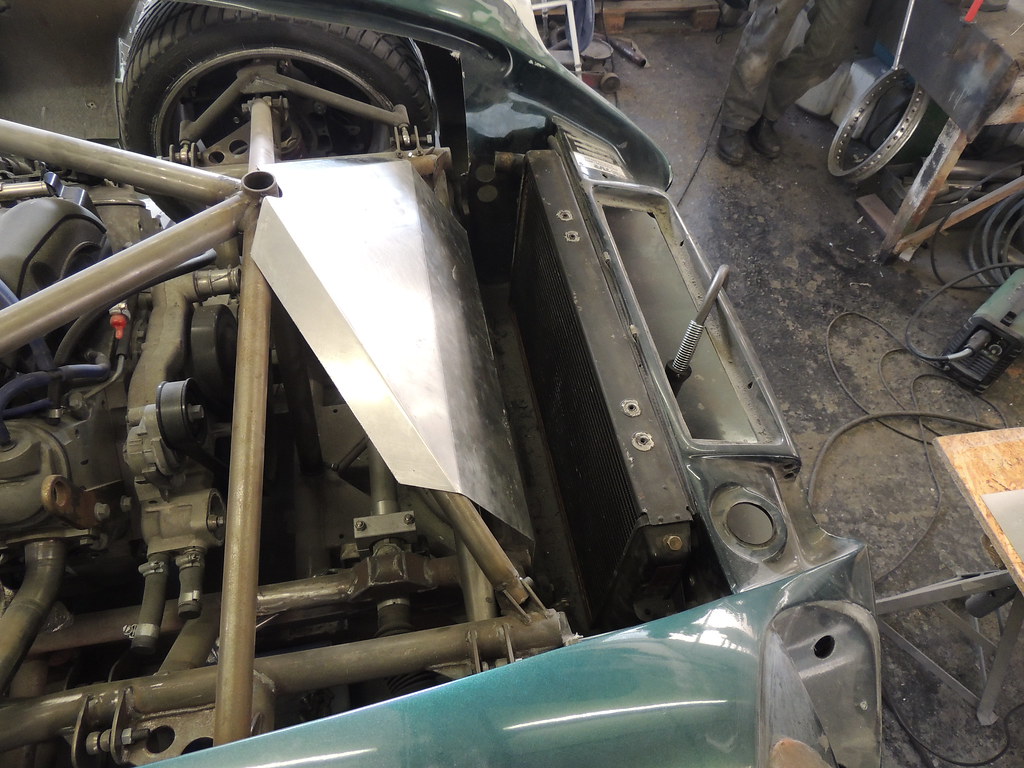
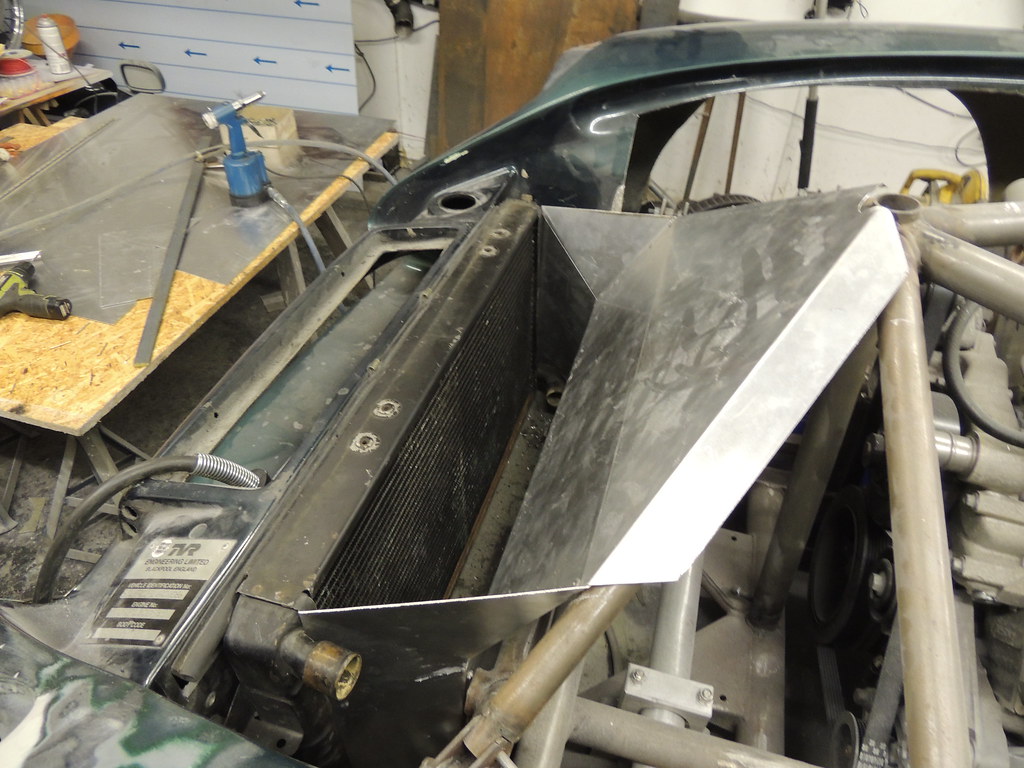
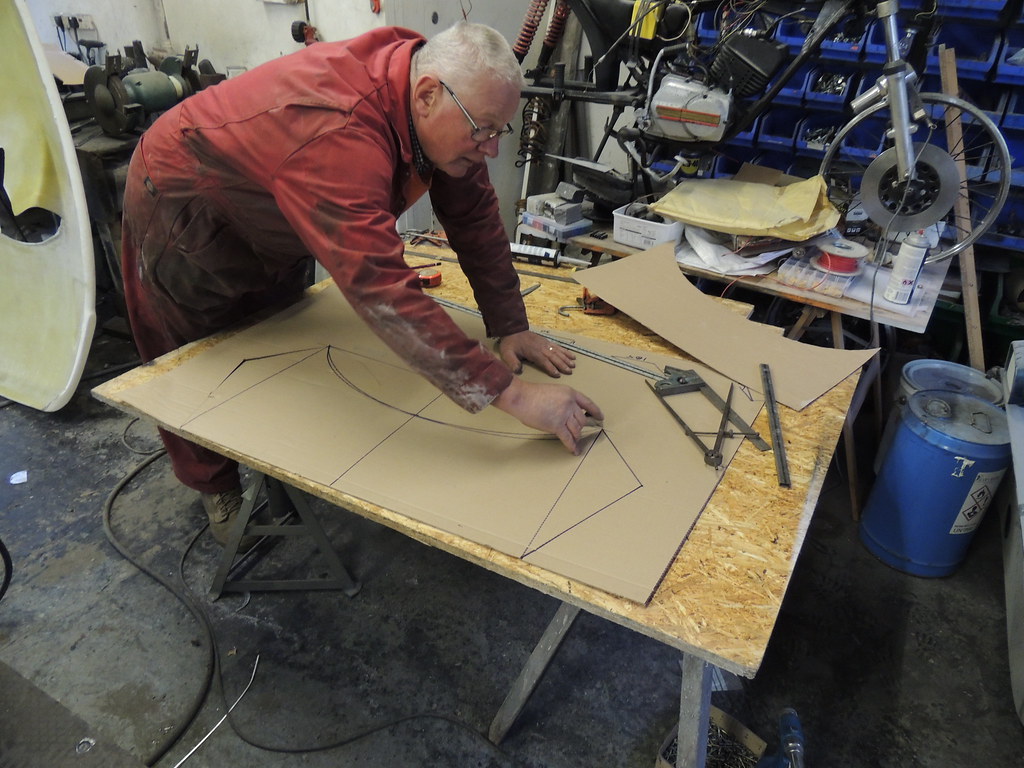
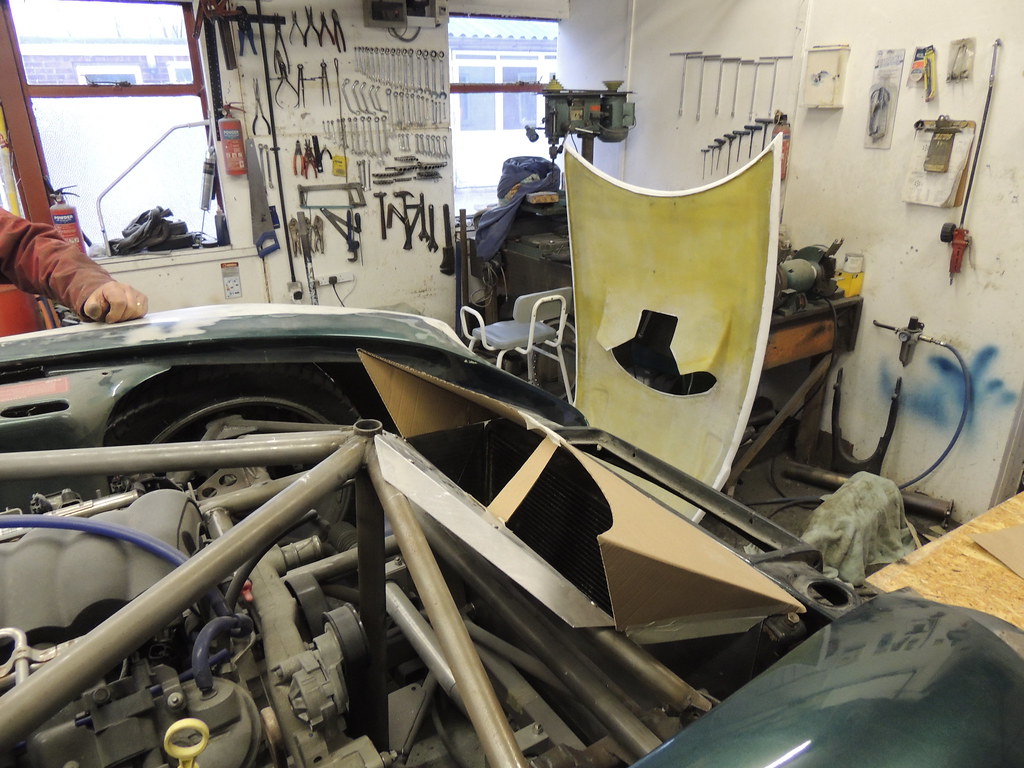
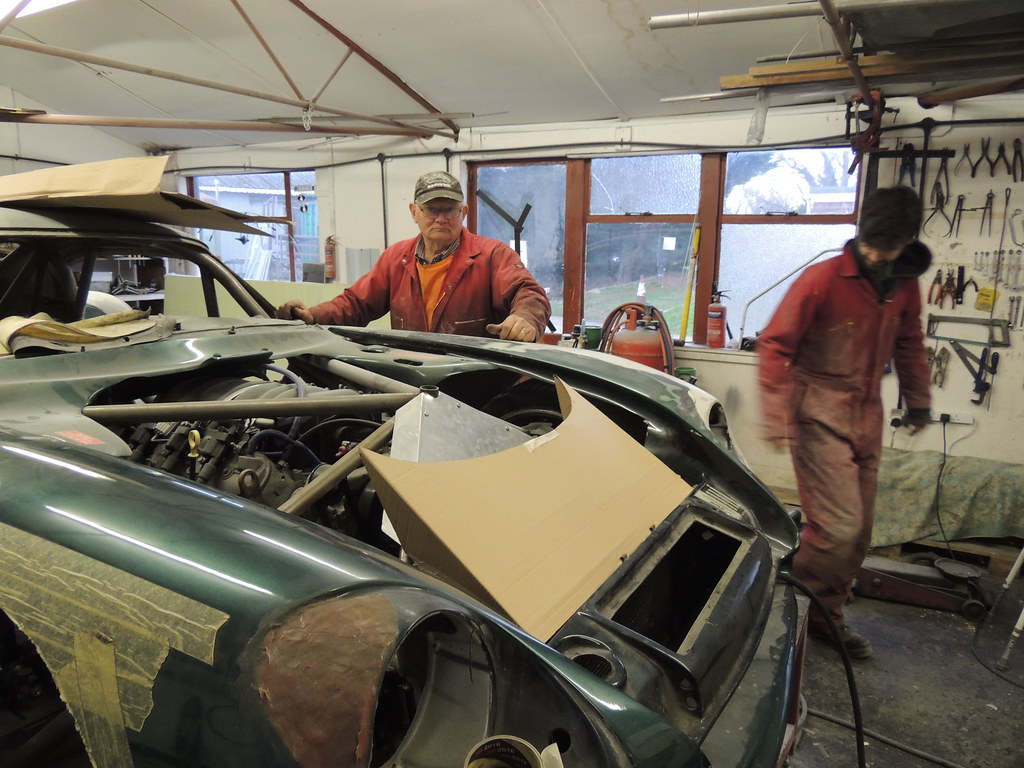
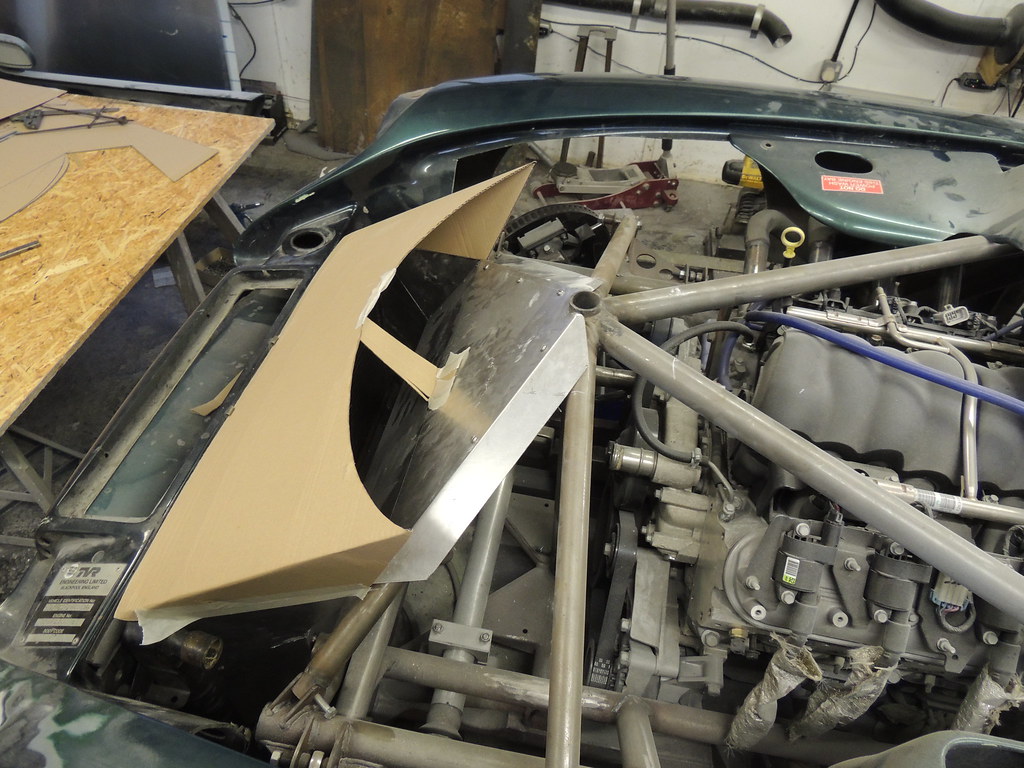
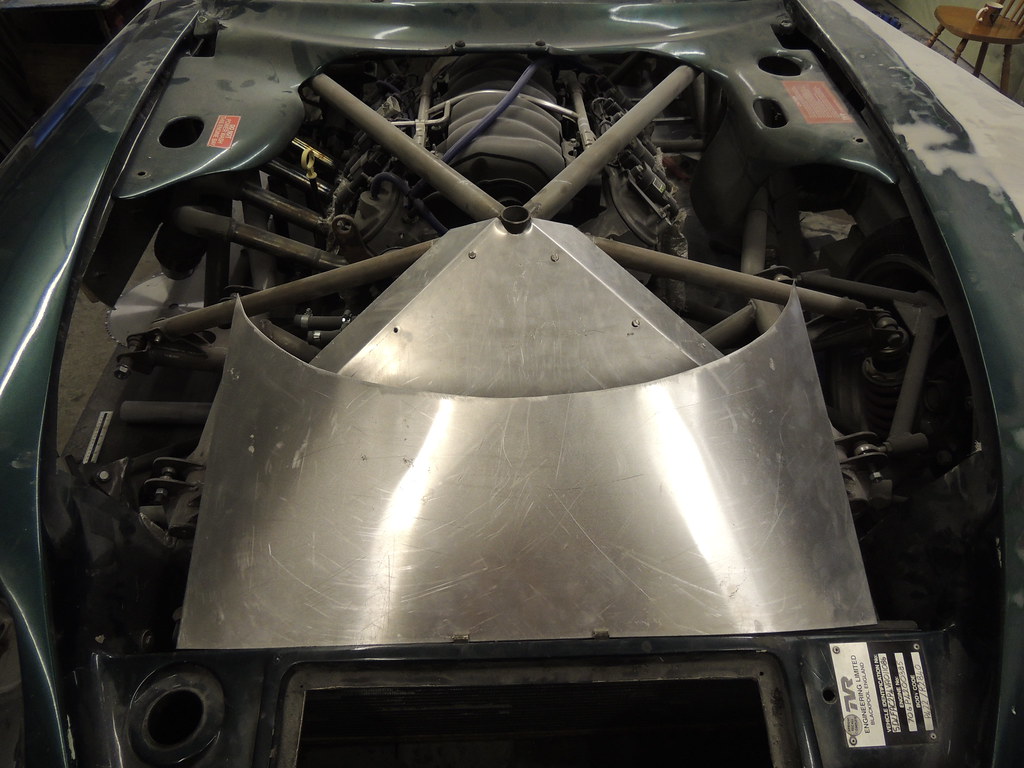
more work done finishing touches to thew plugs plus have nearly finished the air duct to carry the air from the rad out the bonnet outlet developing takes a lot of cardboard cutting etc. before the ally is finally cut but all worked out well.
john
 DSCN3104 by Brundall Motorsport, on Flickr
 DSCN3105 by Brundall Motorsport, on Flickr
 DSCN3106 by Brundall Motorsport, on Flickr
 DSCN3107 by Brundall Motorsport, on Flickr
 DSCN3108 by Brundall Motorsport, on Flickr
 DSCN3112 by Brundall Motorsport, on Flickr
 DSCN3113 by Brundall Motorsport, on Flickr
 DSCN3114 by Brundall Motorsport, on Flickr
 DSCN3115 by Brundall Motorsport, on Flickr
john
DSCN3104 by Brundall Motorsport, on FlickrDSCN3105 by Brundall Motorsport, on FlickrDSCN3106 by Brundall Motorsport, on FlickrDSCN3107 by Brundall Motorsport, on FlickrDSCN3108 by Brundall Motorsport, on FlickrDSCN3112 by Brundall Motorsport, on FlickrDSCN3113 by Brundall Motorsport, on FlickrDSCN3114 by Brundall Motorsport, on FlickrDSCN3115 by Brundall Motorsport, on FlickrEdited by Engineer1949 on Monday 17th December 20:09
Gassing Station | Cerbera | Top of Page | What's New | My Stuff